Limeyglue
-
Posts
375 -
Joined
-
Last visited
Content Type
Profiles
Forums
Events
Gallery
Everything posted by Limeyglue
-
Yep it's based on the newer Revell body. But it has a better firewall and correct canvas roof section
-
Its a really nice casting. The visor is a bit out of shape as its been stored in a hot attic at my friend's
-
This looks really cool. The chop looks perfect
-
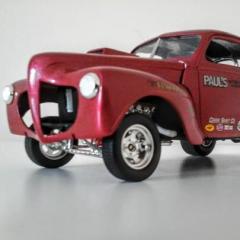
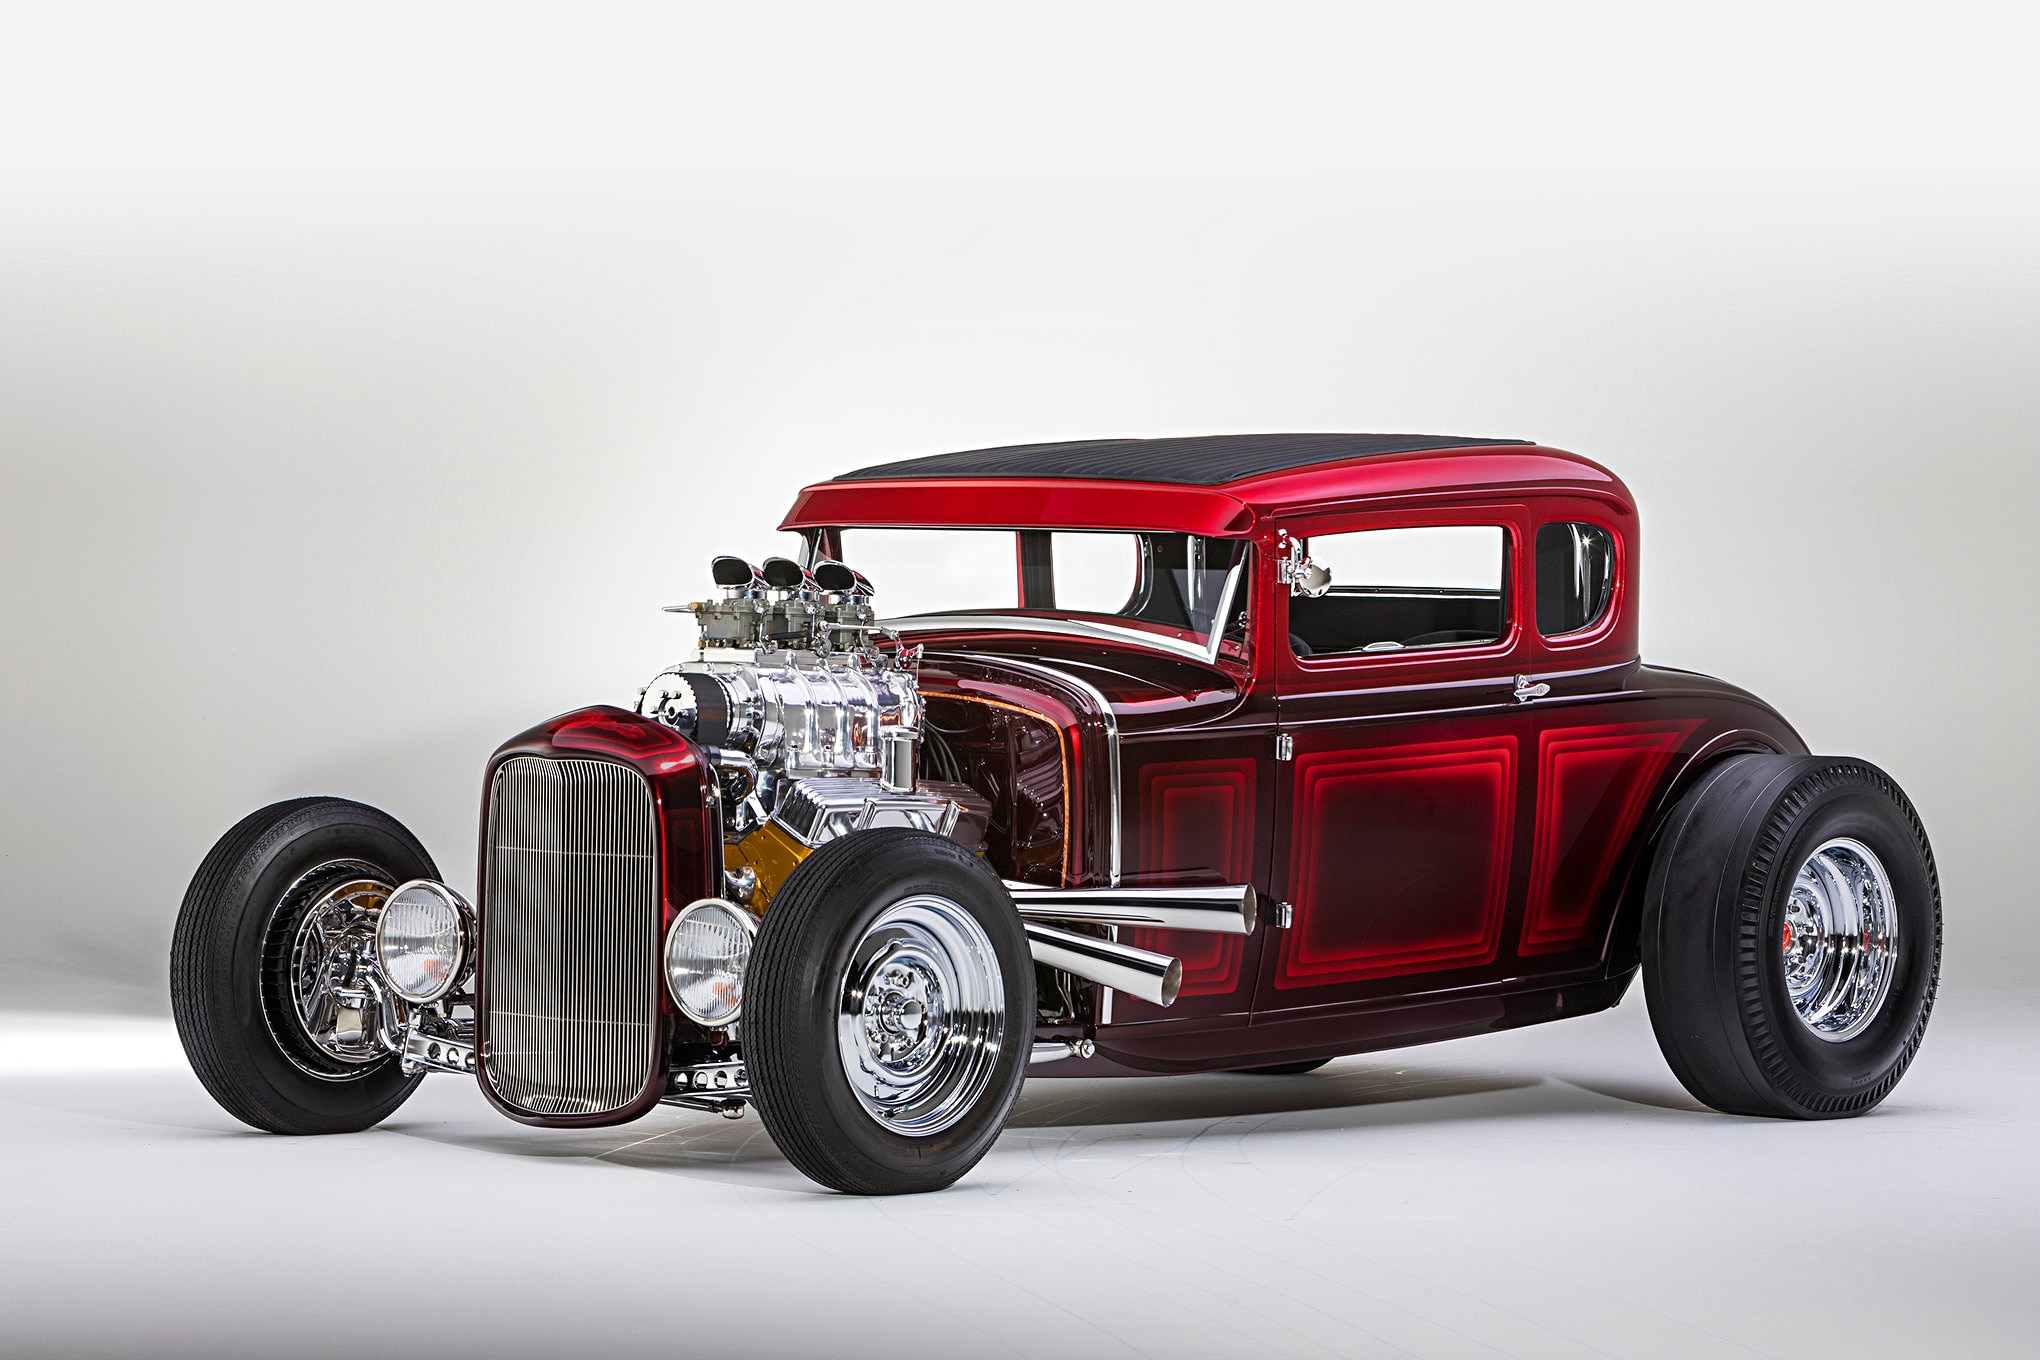
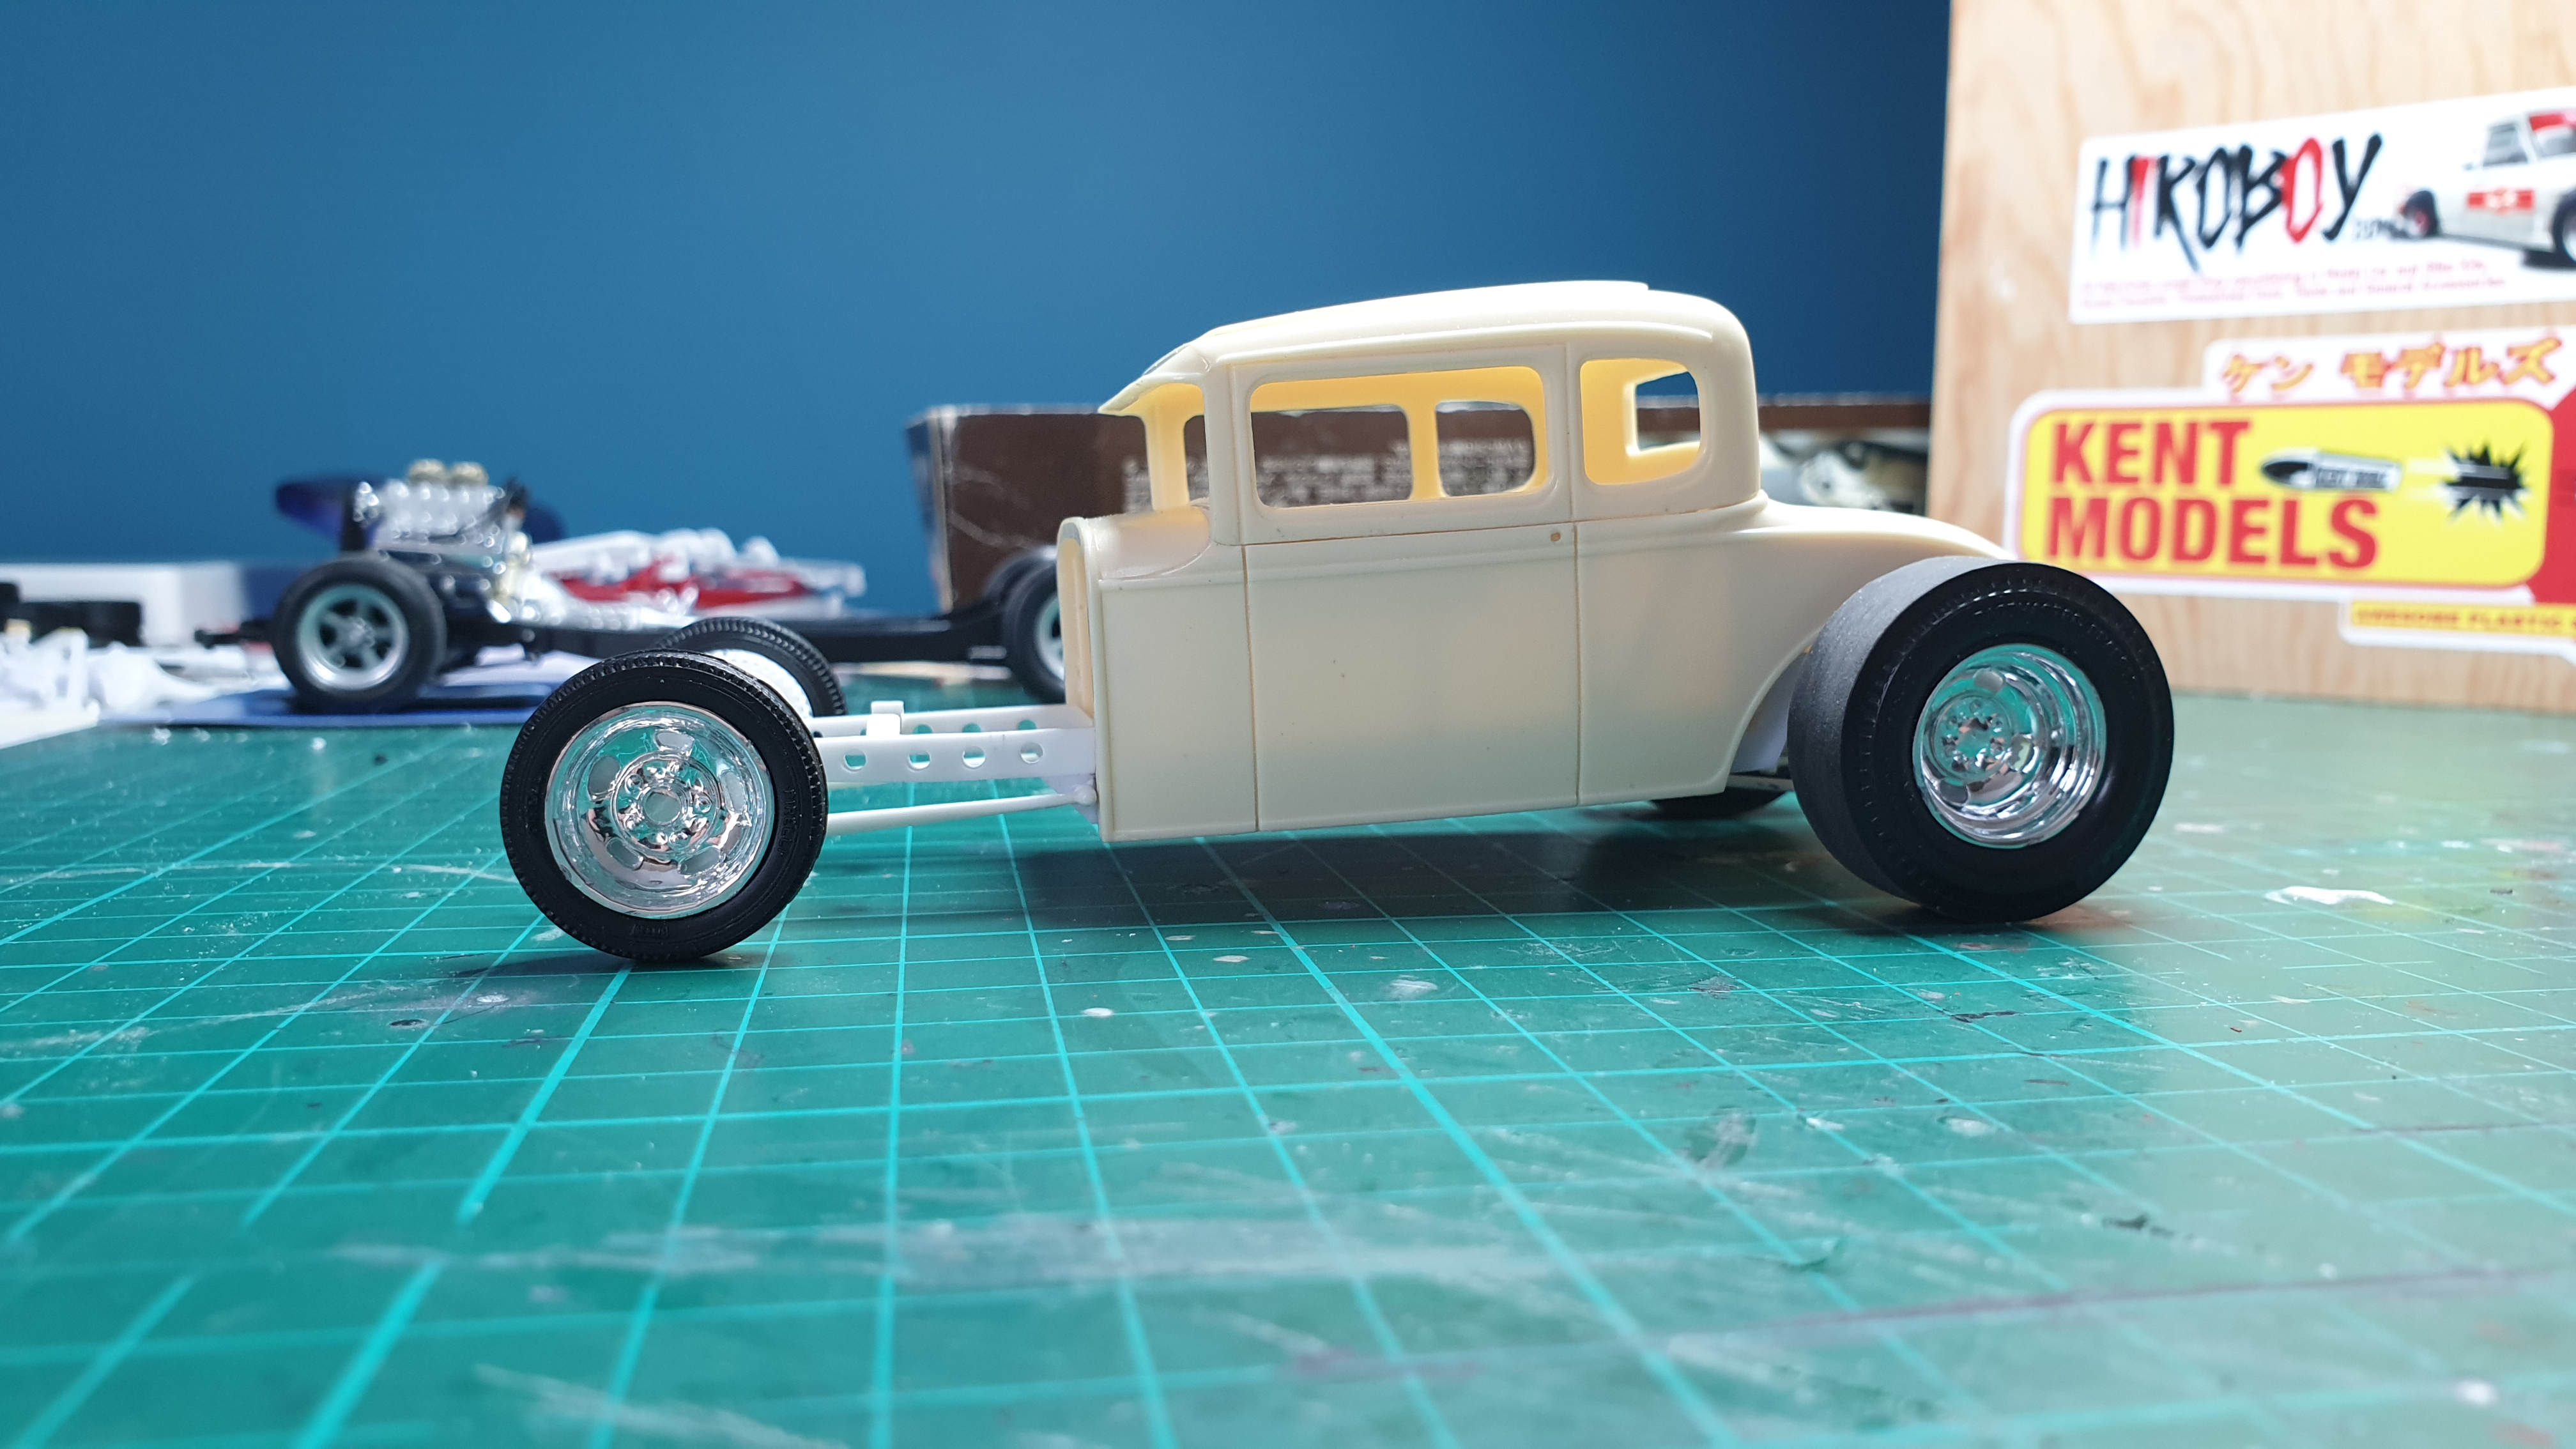
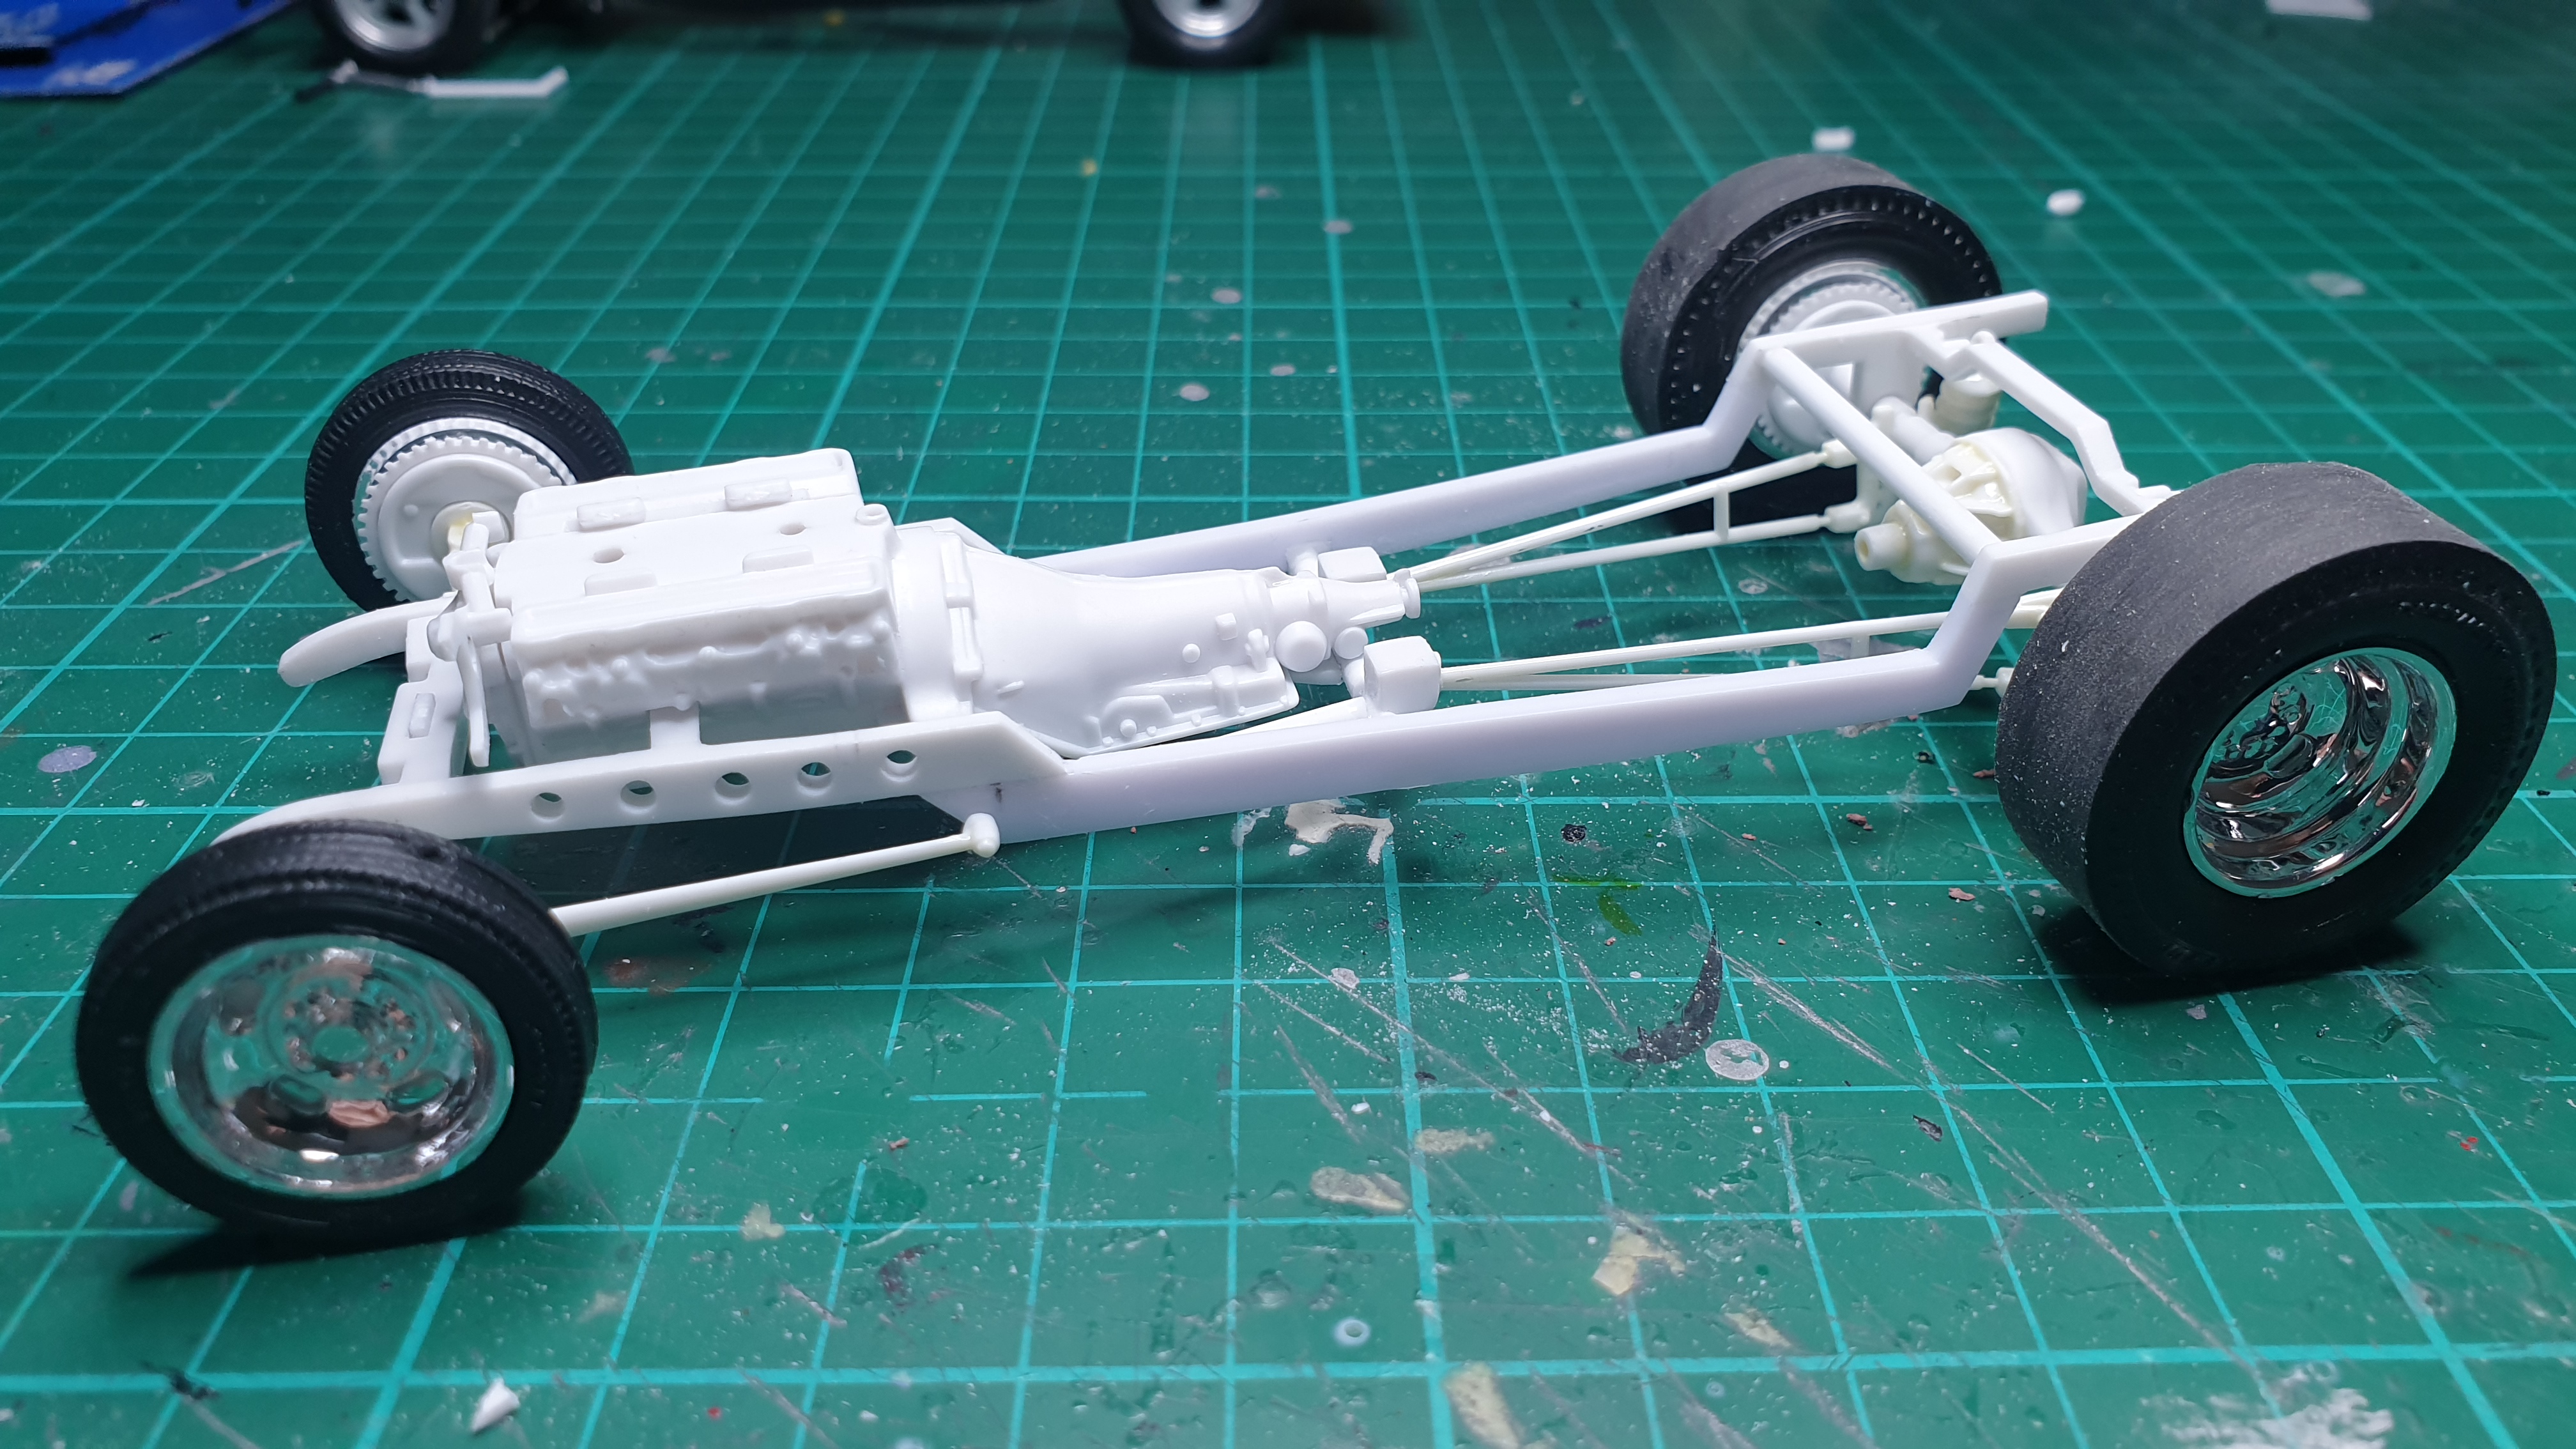
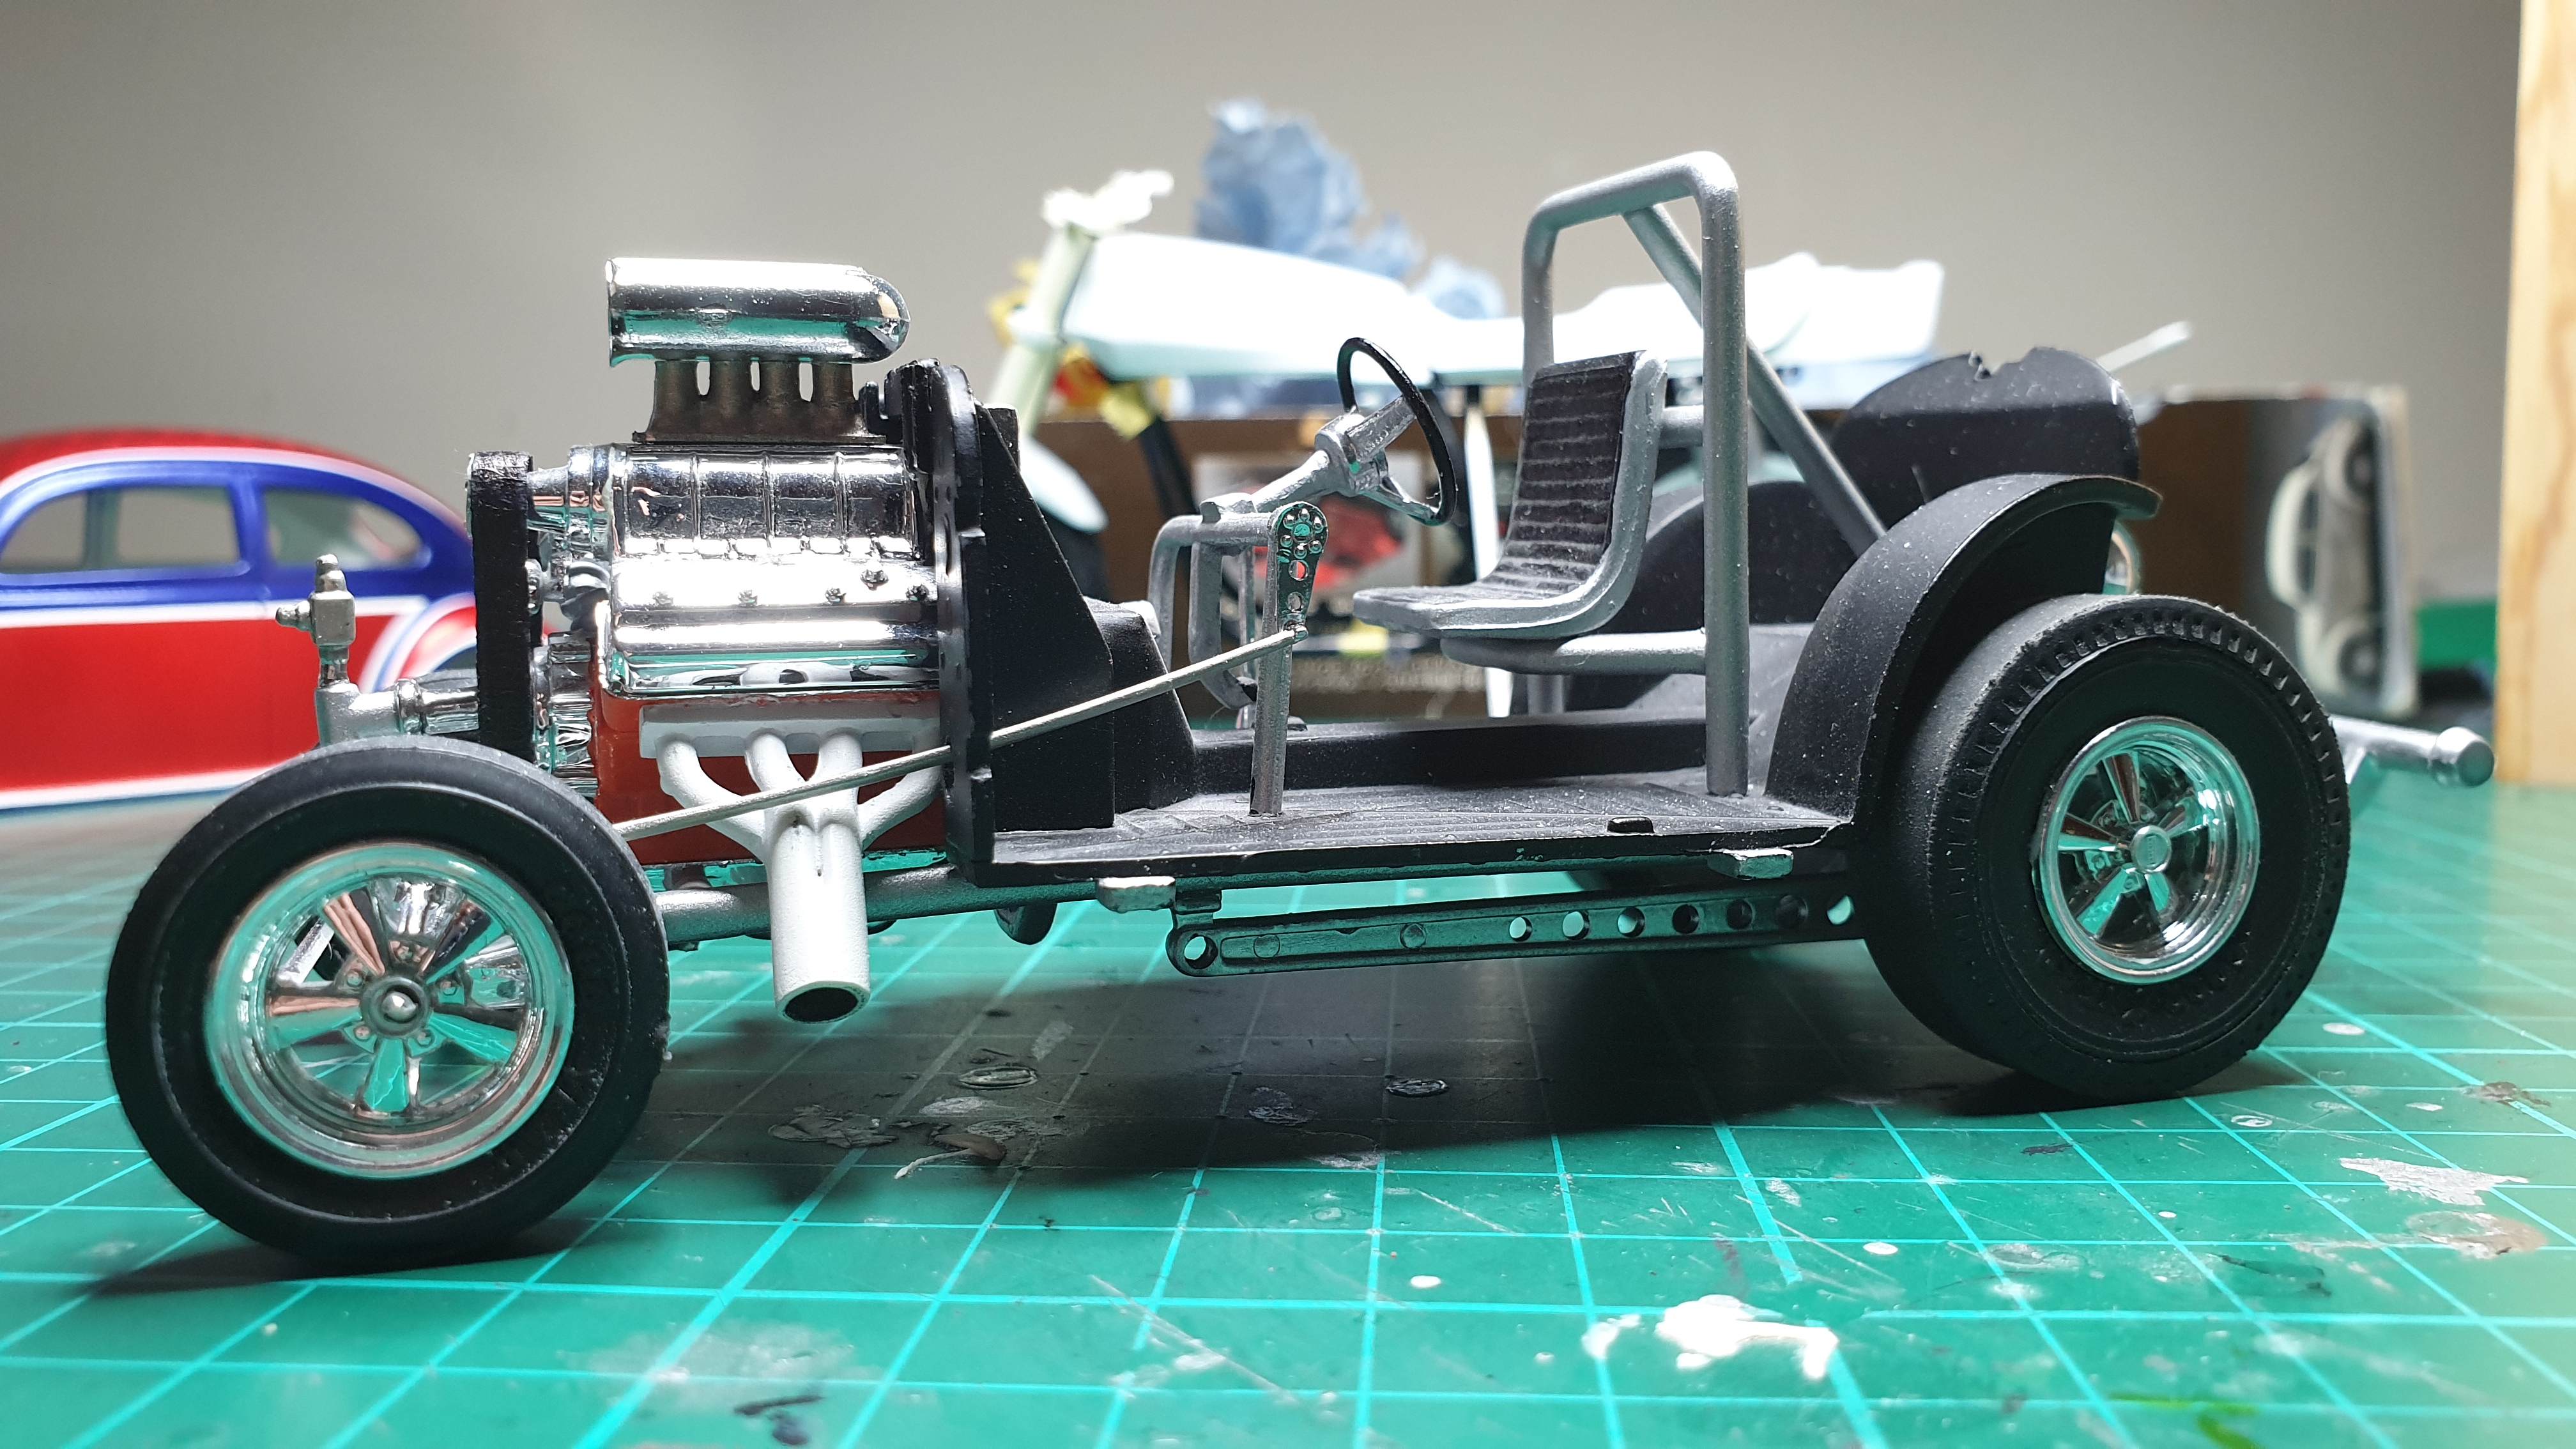
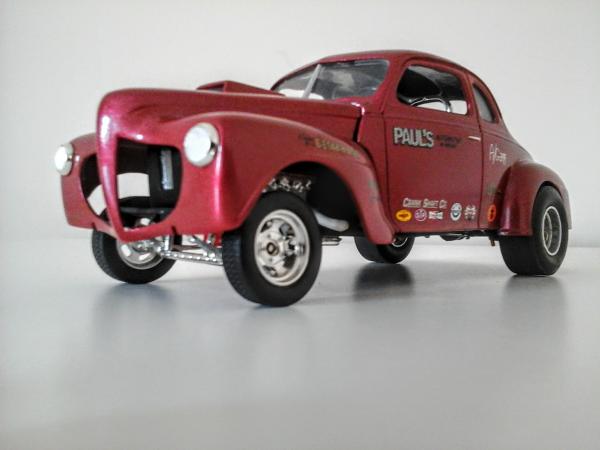
Got a Drag City Casting body from my friend so I started another project. So far I have z'd the front of the frame and raised the rear kick up and made a new gearbox crossmember with some extra bracing. At first it was going to be fairly traditional, steel wheels, six carb nailhead but then I saw the red coupe online and ended up in another direction. The new wheels are from the Stone,Woods,Cook Willys I'm also going to fit the injection to the engine instead of the carbs. About to start work on the floor for engine clearance. Thanks for looking Lee

-
It's painted pearl white inside
-
Really nice job. Love the wheels and stance
-
Thanks Mischa, yes it's my second attempt at airbrushing I'm still learning the best way of doing it but I'm getting there.
-
Thanks Scott. This is the boxing from the 80's I found the front end fiddly and had to relocate the rear axle so the wheels fit in the centre of the arches
-
Thanks guys
-
Thanks guys. I'm really pleased with it
-
Thanks guys I'm very pleased how it turned out
-
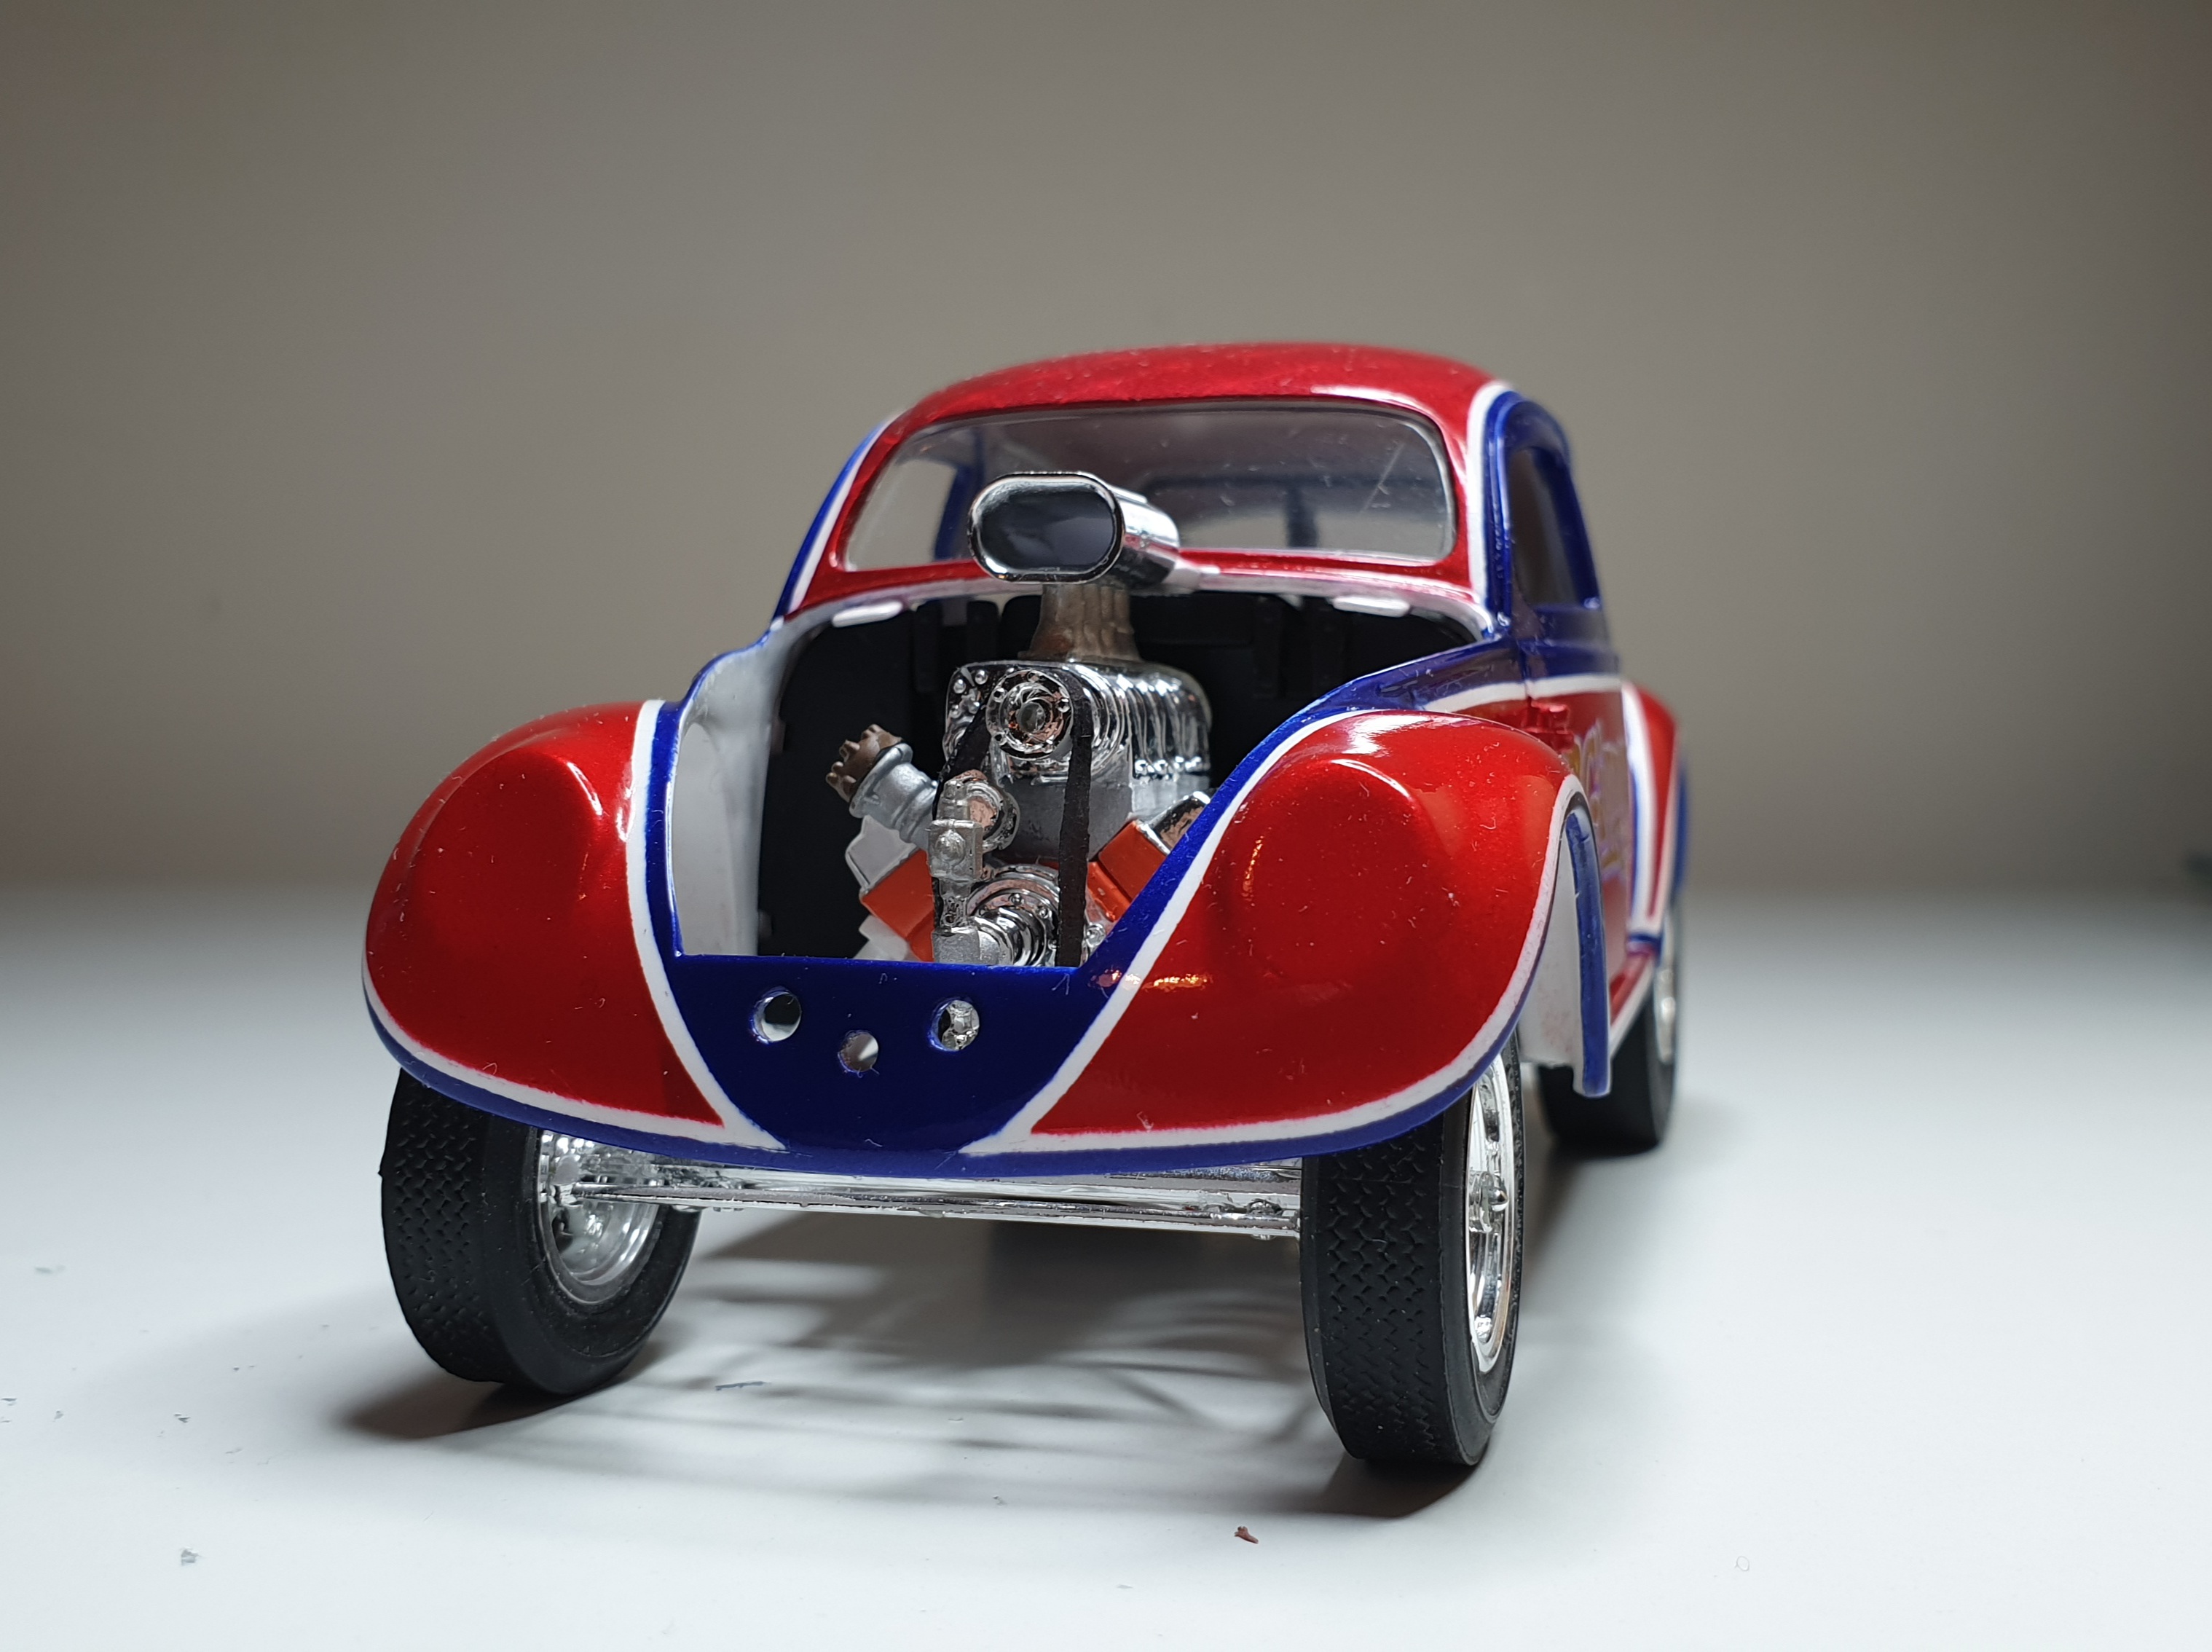
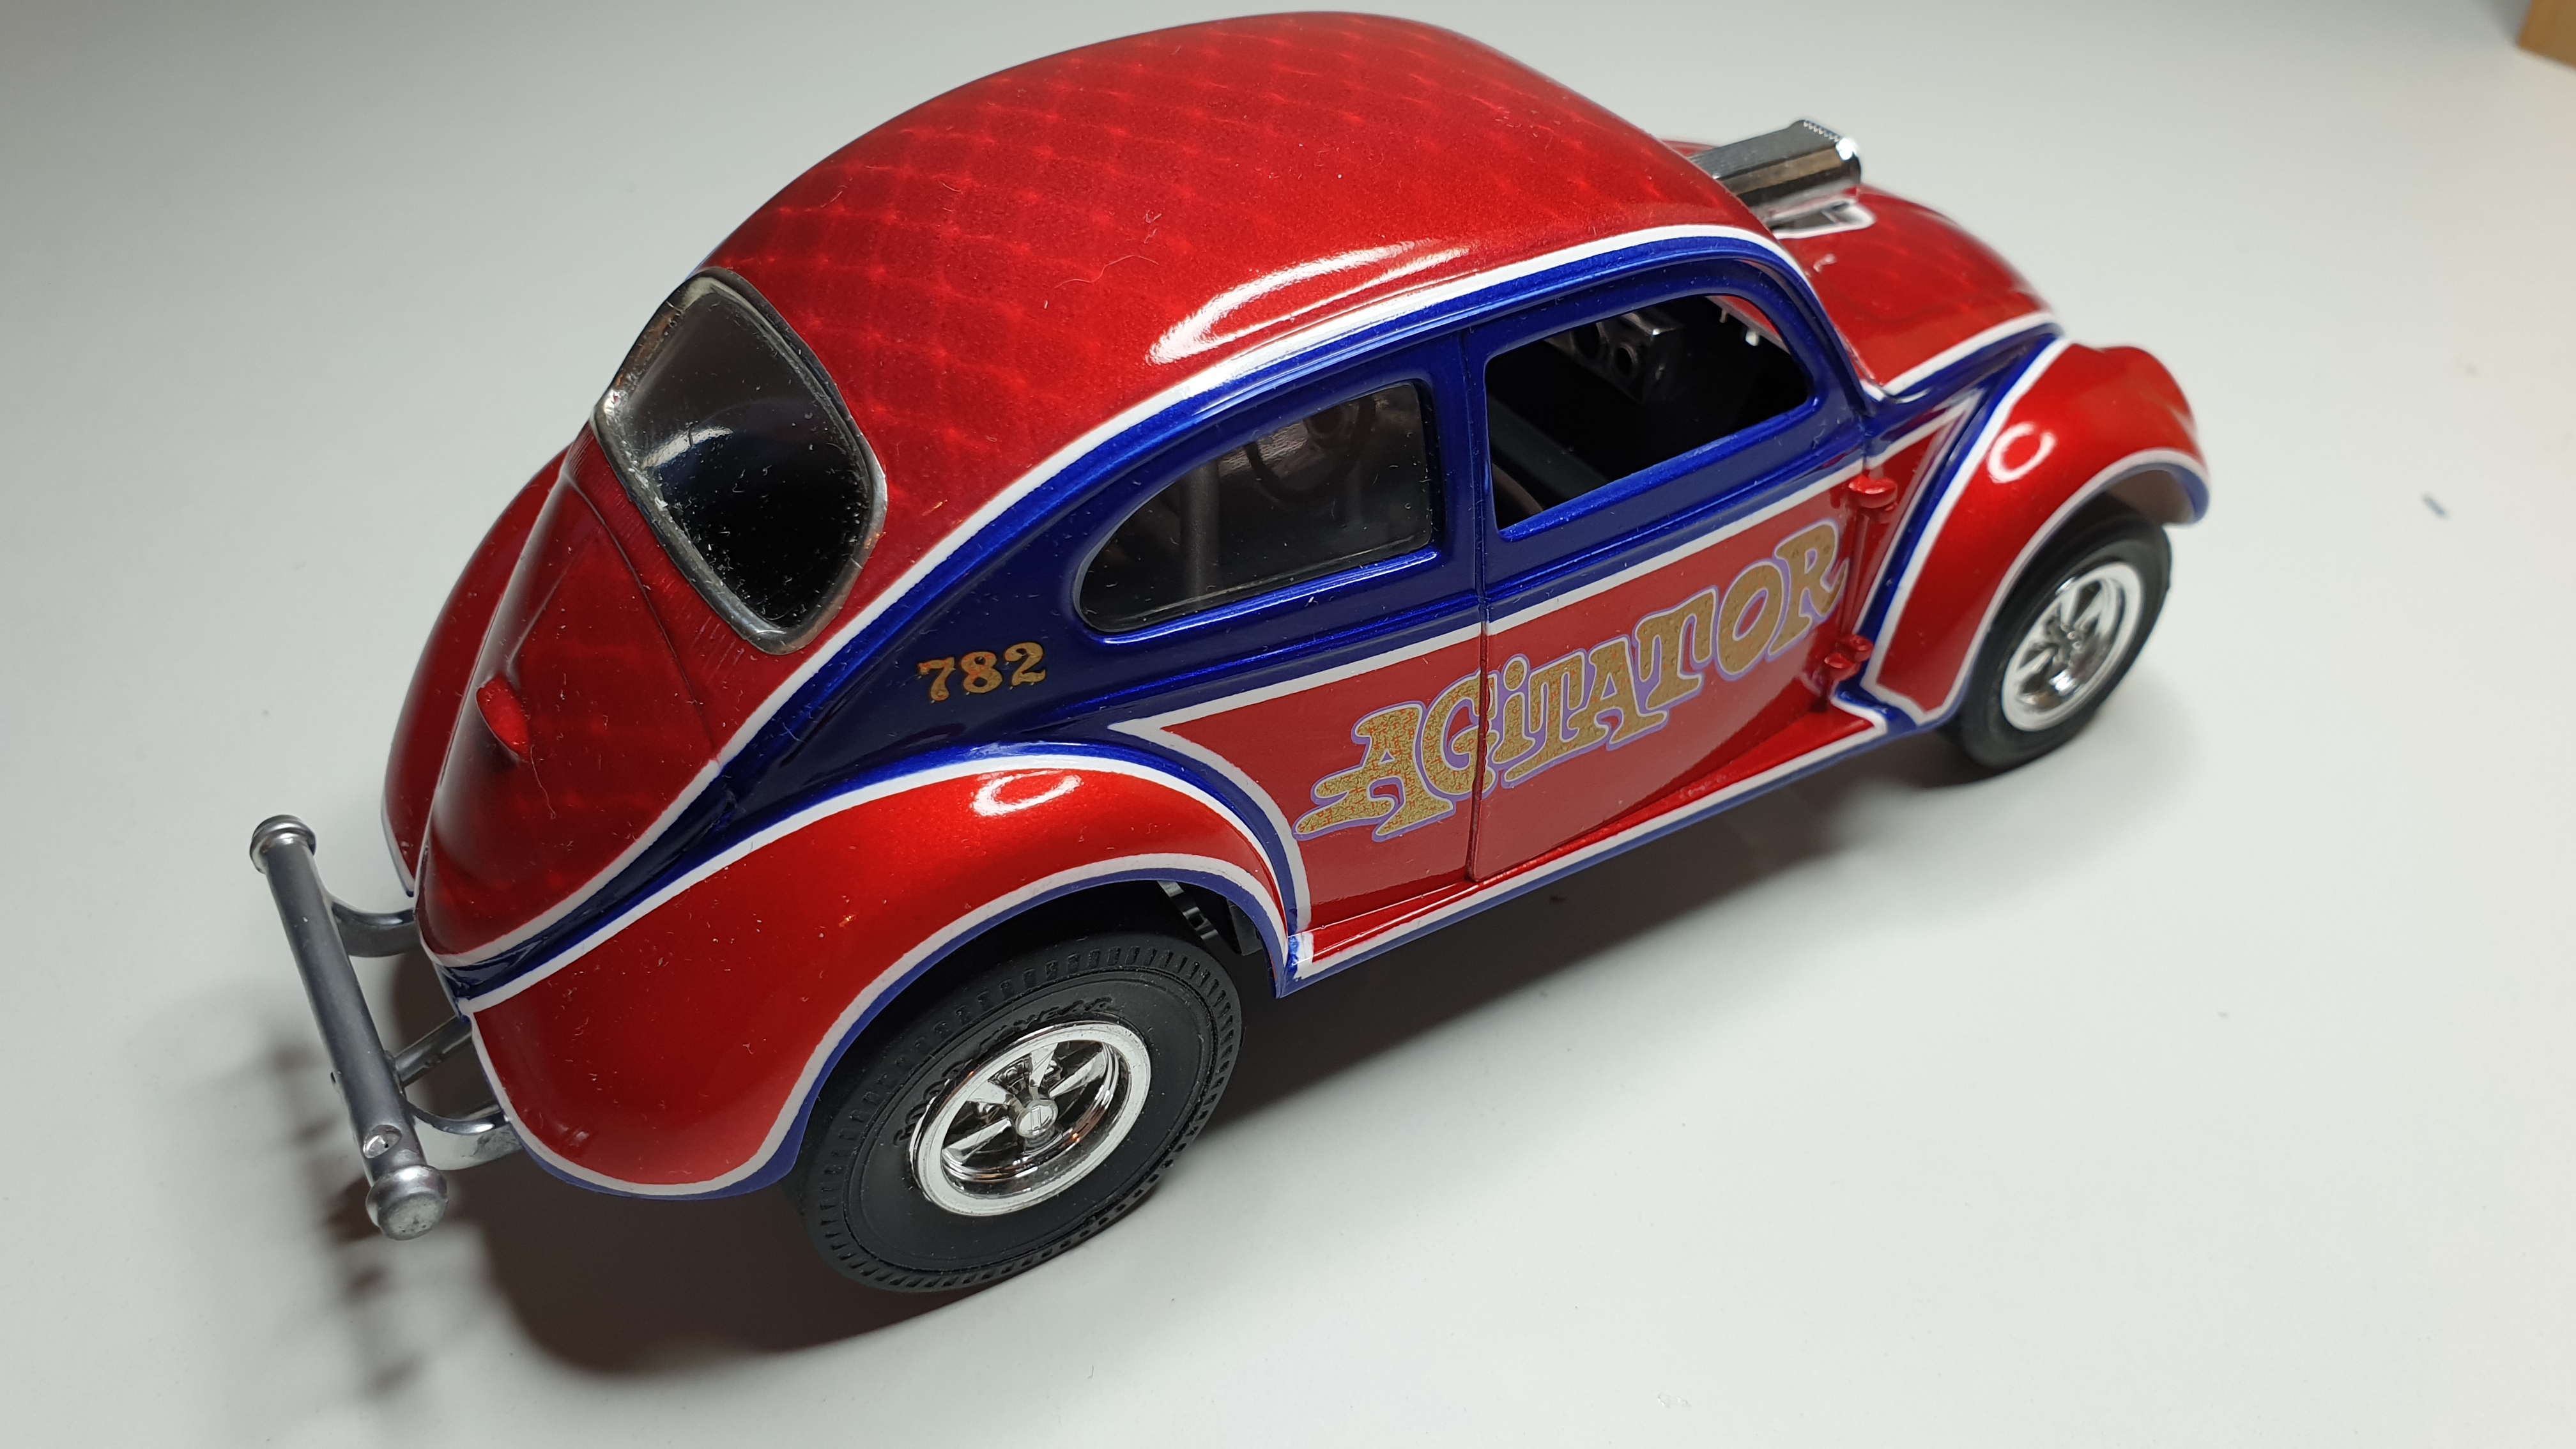
Just finished up my AWB Beetle. Painted in pearl white base with metallic red on the wings with racing blue and clear red over light gunmetal grey on the roof and hood. Its an old Union kit so the chassis is not the best. I've added some ladder bars from my spares box and made a new pitman arm and linkage rod as the kit one is horrible. Thanks for looking Lee
-
Thanks guys. Much appreciated
-
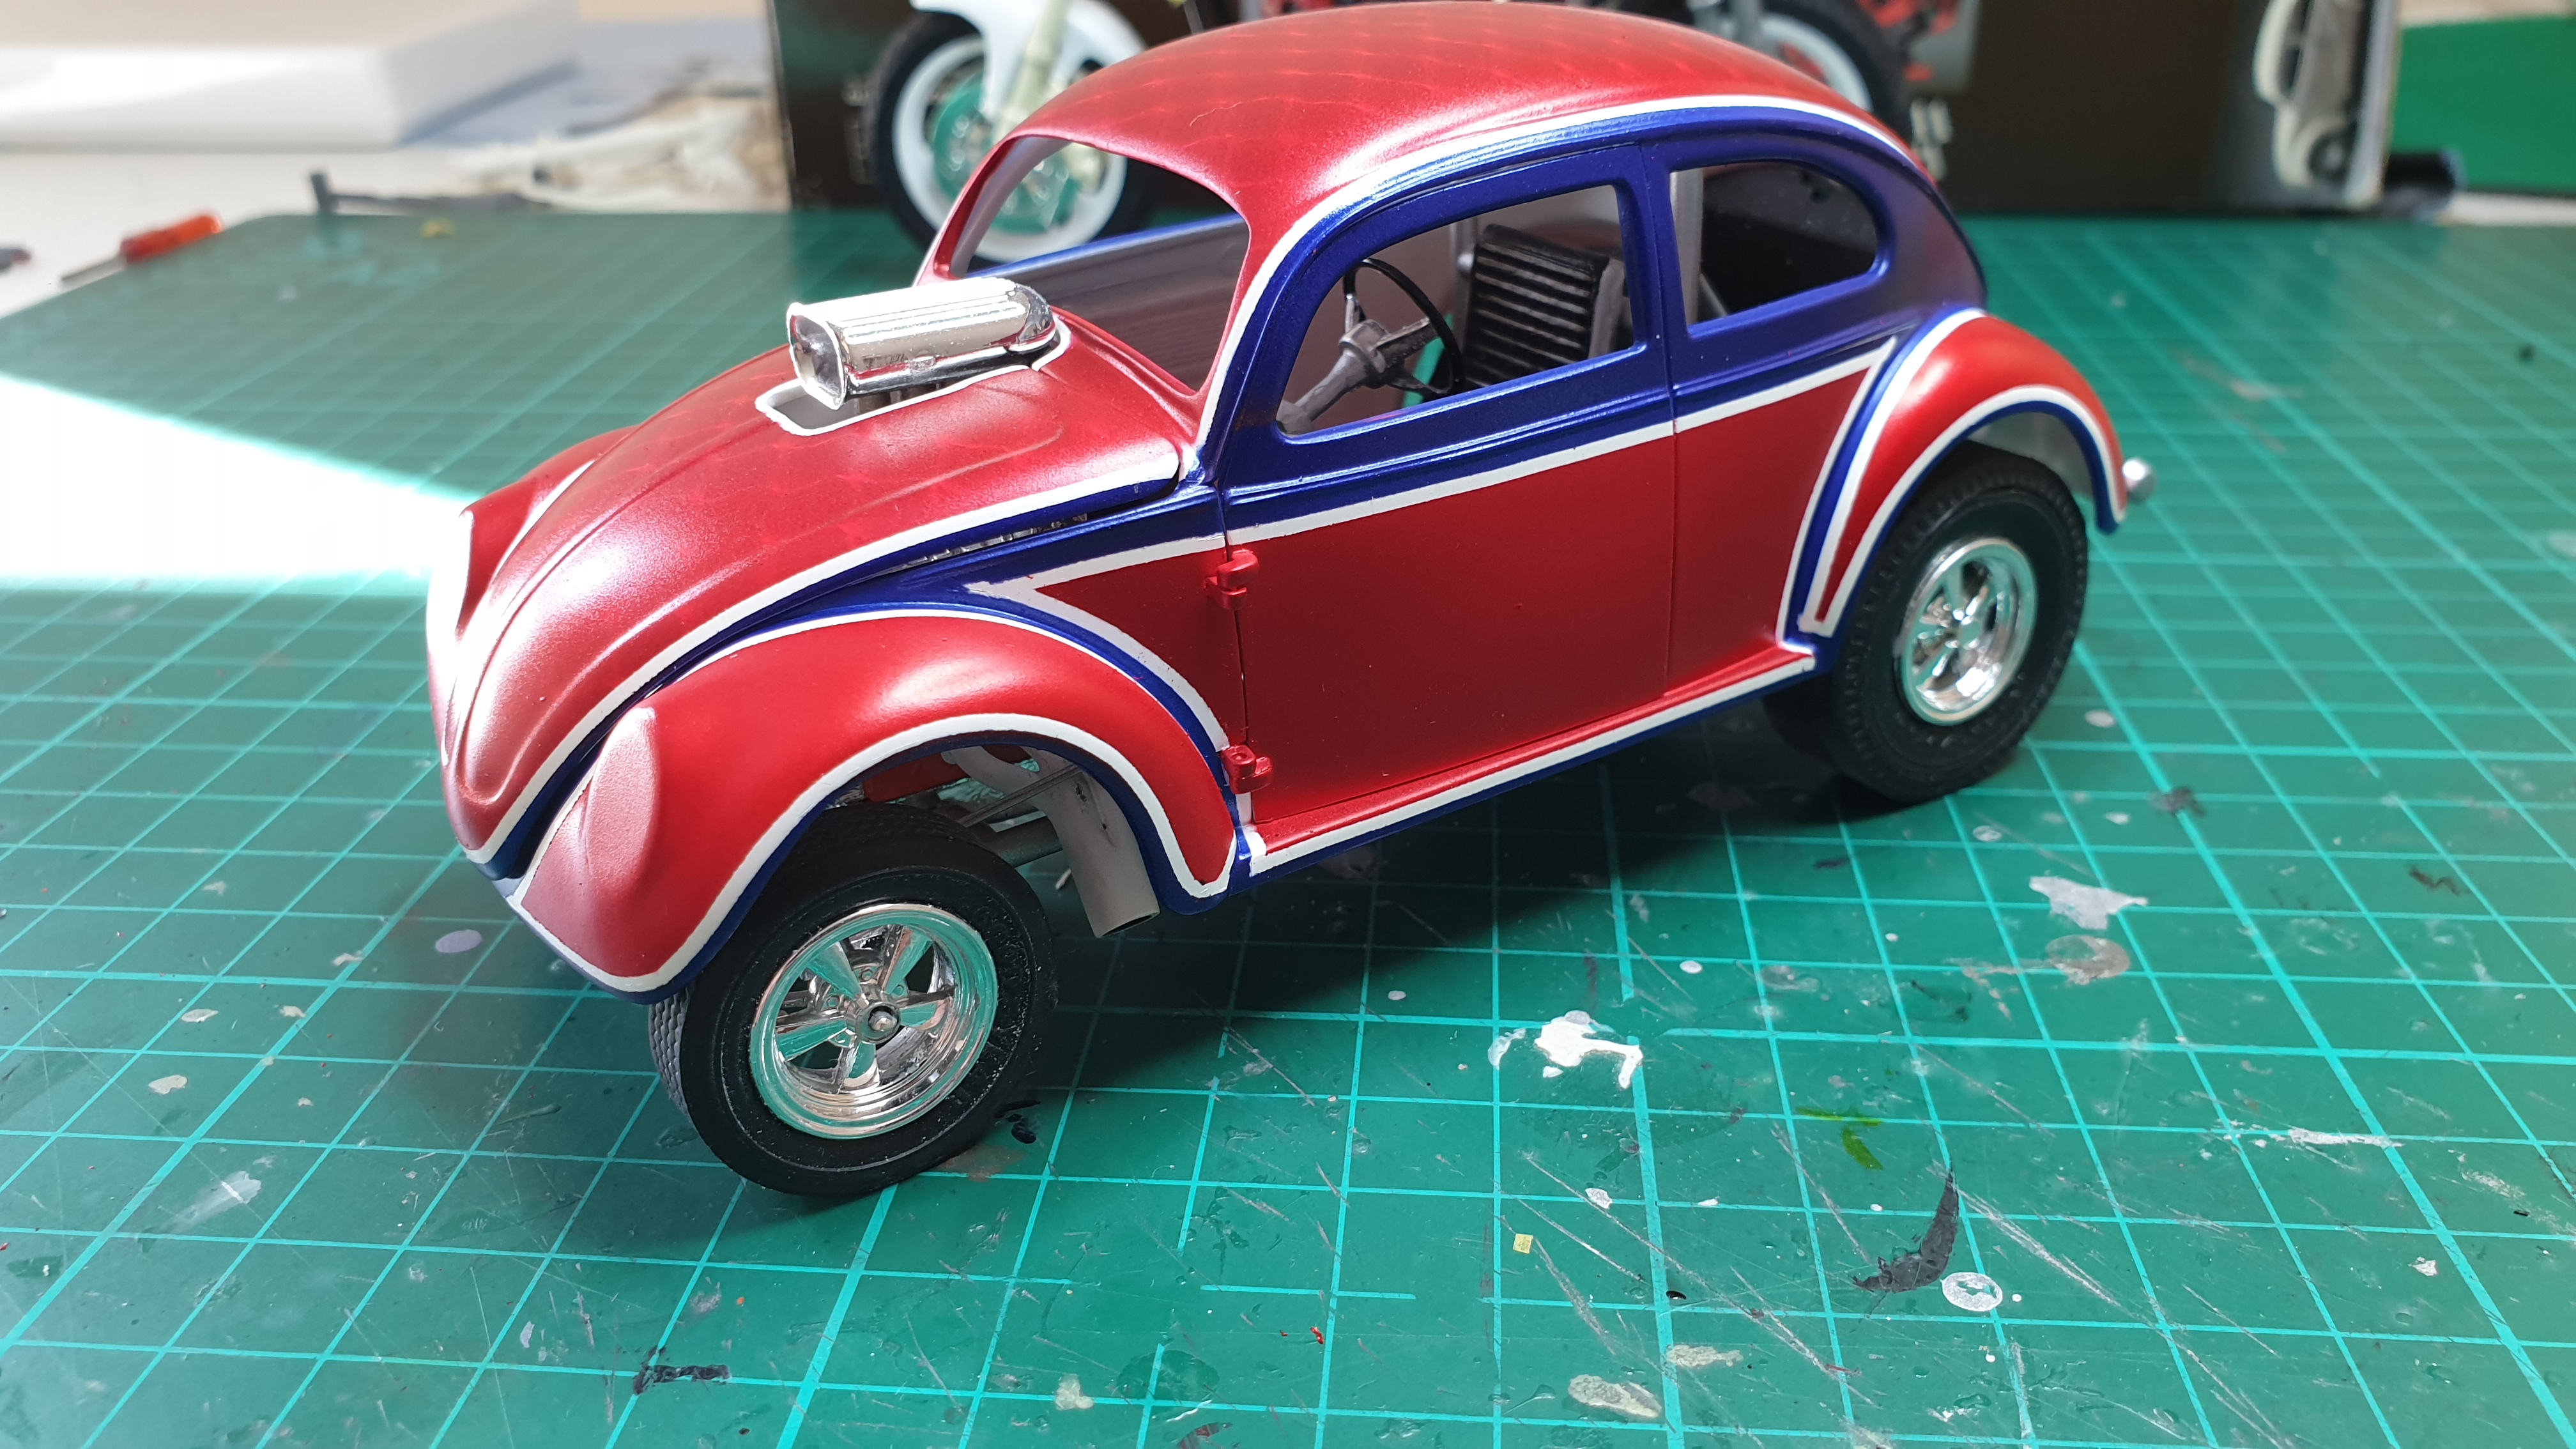
Here is my latest WIP. Its a Union Beetle that I built a number of years ago bt made a real fubar of the body. I have added a few parts to the old chassis and engine such as a front mounted fuel pump and a distributor from my spares box and a scoop from the Revell 29 roadster. I also moved the rear axle back so the wheels fit in the arches better. This meant making a new longer prop shaft. I have also added some long ladder bars again from my spares. I made a new pitman arm and steering rod as the kit one looked like a giant hockey stick!. The body is new but this time I decided to remove the rear lights and fill in the front ones. The paint was going to be a copy of the Empi inch pincher but after spending six hours just masking the white lines I changed my mind. It's now painted with a pearl white base with racing blue and metallic red on the sides and wings. The roof is painted light gunmetal gray over a bag that held some onions! I then painted clear red over this. Thanks for looking Lee
-
Yep same here it's not perfect fit but it closes so I'm not going to mess with it
-
To be honest I've no idea! A member of my model club gave me compressor and a Pasche airbrush. All I did was set the pressure fairly low and set the brush so the minimum amount of paint came through. Once I started painting I actually painted the masking first and then moved slowly across to where I wanted to paint to try and control the amount of paint went on the area I wanted to paint
-
Thanks Dan. I've only used rattle cans until now but I must admit I'm a convert now
-
Love it. Nice clean build
-
Thanks for the great comments guys. Much appreciated
-
Thanks Alan
-
I just started with a light coat and then built the coats until I was happy with the coverage
-
Yep plenty of it!
-
The body mods are brilliant they flow really well. Can't wait to see it in paint
-
Love the paint
-
Thanks guys. Really pleased with how it turned out