Chariots of Fire
-
Posts
2,782 -
Joined
-
Last visited
Content Type
Profiles
Forums
Events
Gallery
Everything posted by Chariots of Fire
-
 A beautiful build! That's really going to take up some shelf space. Where did the dozer come from?
 -
Very nicely done, Pavel. Your weathering and aging techniques are exceptional. You really captured an old look.
-
1952 Ford F7 is finished
Chariots of Fire replied to Chariots of Fire's topic in Model Trucks: Big Rigs and Heavy Equipment
Jonathan: I am pleased that you passed on the information. No apologies required. You fellas on the west side do things a bit different that we do back in the old east. Our terrain and vegetation is no where near as dramatic as yours but we can get some pretty intense natural cover fires on occasion. If you or anyone else has questions or would like to see some other similar rigs, both real and in model form let me know. I'd love to share them. -
1952 Ford F7 is finished
Chariots of Fire replied to Chariots of Fire's topic in Model Trucks: Big Rigs and Heavy Equipment
You have some unique builds there. Some wiring on the engine of the old hot rod would look nice. Not too many Studes are made up that way. Cool.! -
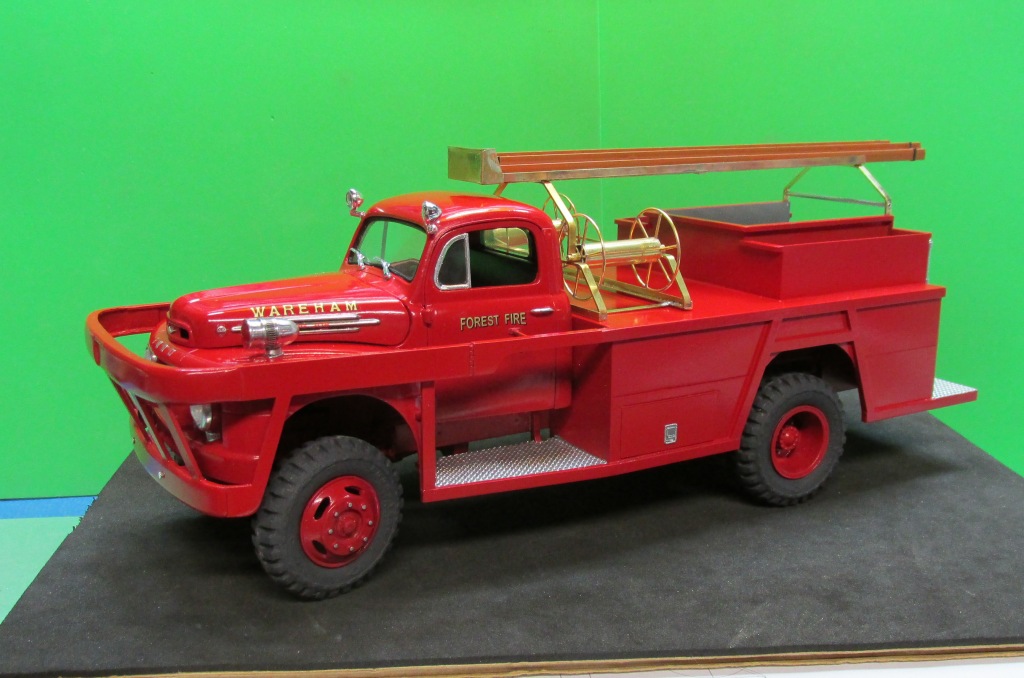
Work on a 1952 Ford F7 brush rig has come to a close. Here are a few shots of the completed rig.
-
Scratch/bashing a 702
Chariots of Fire replied to landman's topic in WIP: Model Trucks: Big Rigs and Heavy Equipment
Just a thought on those 5 plugs. If you wrap some spool wire around a piece of small brass or aluminum tubing 2-3 times and then cut the wrappings you end up with nice small rings. Just trim the ends and squeeze them together. You can do any size you want. -
1952 F-7 Ford
Chariots of Fire replied to Chariots of Fire's topic in WIP: Model Trucks: Big Rigs and Heavy Equipment
And work continues. The main portion of the plumbing and rotary pump that is powered by the Wisconsin V-4 are nearly complete. Still needed are the lines to connect to the booster reels. Hard suction lines are made of plastic tubing wrapped in masking tape and painted with Floquil weathered black. Couplings are aluminum tubing. The small steps are made from aluminum sheet stock and aluminum foil embossed over a piece of plastic treadplate. This give the impression of a thin piece of treadplate rather than the thick section if plastic treadplate was used directly. The ladder is temporary. Still to be made are a wood 2 section ladder and a separate roof ladder. The tiedown still has to be made. -
You can avoid the cracking by laminating thinner pieces until you get the thickness you want. Just be careful to line each successive layer up with the one under it and then trim off the excess. Works like a charm.
-
GMC C6500
Chariots of Fire replied to Arnd's topic in WIP: Model Trucks: Big Rigs and Heavy Equipment
That's some nice work. Have you thought of running some warm water over the hood to see if it will move a bit? You might be able to get the warp out of it by taping it to a wood block and then hit it was some warm water and then some cool water to help it set. -
1952 F-7 Ford
Chariots of Fire replied to Chariots of Fire's topic in WIP: Model Trucks: Big Rigs and Heavy Equipment
Work continues. Had to get another can of Duplicolor #398 red today so I could finish up the ladder rack and hose reels. Been using that particular color a long time. Anyway with the hose reels painted I could put on the booster hose. It's just electrical wire that has the look of rubber booster hose. Nozzles are yet to be made up. The Wisconsin V-4 pump engine is now complete with switches, gages and decals. It's ready to be installed in place once the plumbing is ready. The ladder rack still needs the hold down bracket near the back. The rack will be installed last so it will be easier to put in the plumbing and fill the hose bed. -
1952 F-7 Ford
Chariots of Fire replied to Chariots of Fire's topic in WIP: Model Trucks: Big Rigs and Heavy Equipment
I used 4 mm on each side. If you go to the first page of the post you can get an idea of where the strips were added. -
1952 F-7 Ford
Chariots of Fire replied to Chariots of Fire's topic in WIP: Model Trucks: Big Rigs and Heavy Equipment
With the ladder rack and hose reels essentially done more work was done on the Wisconsin V-4 engine that powered the topside rotary gear pump. The V-4 is half of the kit V-8 that came with the Revel F-1 Ford. The rest is scratch built using various plastic stock material and some thin brass shim stock for the covers. The V-4 is air cooled by a front fan that looks a lot like jet engine turbine blades. Still plenty to do to finish the engine and get on with the pump and plumbing. -
1952 F-7 Ford
Chariots of Fire replied to Chariots of Fire's topic in WIP: Model Trucks: Big Rigs and Heavy Equipment
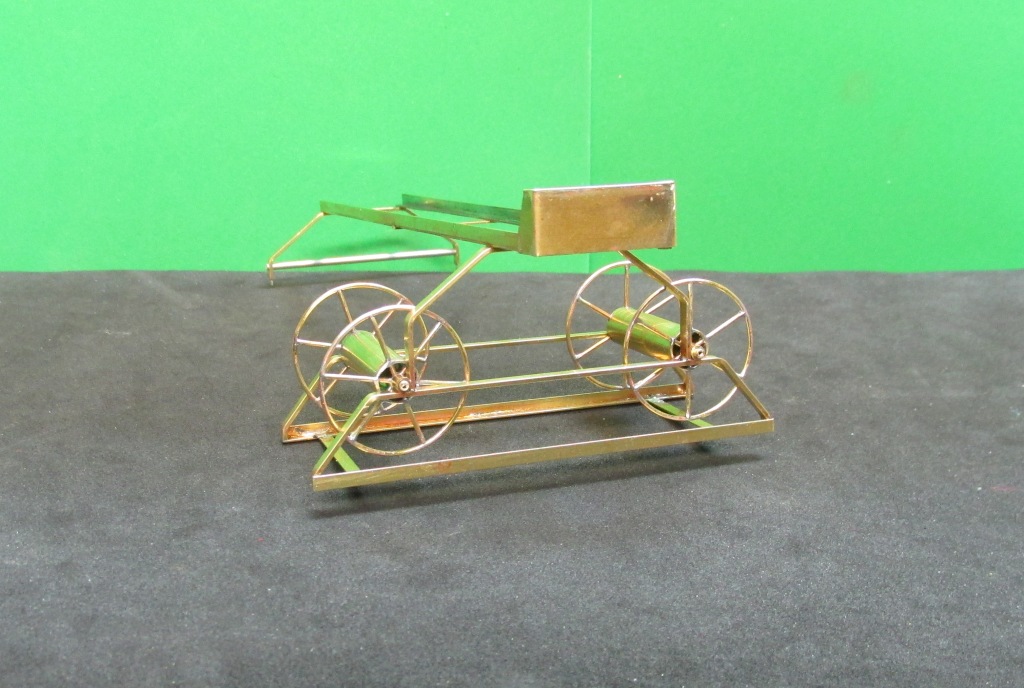
Work continues on the F-7. With the body now painted and in position I could pay some attention to the hose reels and ladder rack. The reels, frame and rack are made of soldered brass strip stock, tubing and wire. The reel spokes were marked out on paper first to get the proper spacing and angle. They were soldered at the center and then trimmed to fit inside the outside circle. Ends were soldered. The inside tube was drilled out in 6 equally spaced points and then the tubing was cut leaving the holes at each end. The holes were notched so that the spokes would slide into place. Then all was soldered together and the center drilled out so that a small inner shaft of tubing could extend into the receiving tubes on the frame. All of this gets painted red eventually. What a shock I got when I opened a new package of K&S 1/64 x 1/32 strip stock however! Up until now each piece has been well shaped as if it was extruded. These pieces look as if they were cut to the 1/32 width with a big knife! Edges were rough and not cleaned up. Very disappointed in K&S.
-
April Mack Madness
Chariots of Fire replied to Superpeterbilt's topic in WIP: Model Trucks: Big Rigs and Heavy Equipment
I should have said the mixer is on an AP chassis, not an AC chassis. It has a 6 cylinder engine instead of a four. These trucks had Westinghouse air brakes all around and pneumatic tires on front but hard rubbers on the back because of the weight. Originally the chassis were made as off road dump trucks that could carry 14 to 16 tons of rock and soil, a lot for their day. -
Fenders look good Terry. Pretty close to the ones Jeff and I did. One tough looking truck.
-
April Mack Madness
Chariots of Fire replied to Superpeterbilt's topic in WIP: Model Trucks: Big Rigs and Heavy Equipment
Here is one that Jeff Harper did a couple of years ago. Typical of the type of mixers that were used on the constrution of Boulder (Hoover) dam out on the Arizona/Nevada border. -
1952 F-7 Ford
Chariots of Fire replied to Chariots of Fire's topic in WIP: Model Trucks: Big Rigs and Heavy Equipment
-
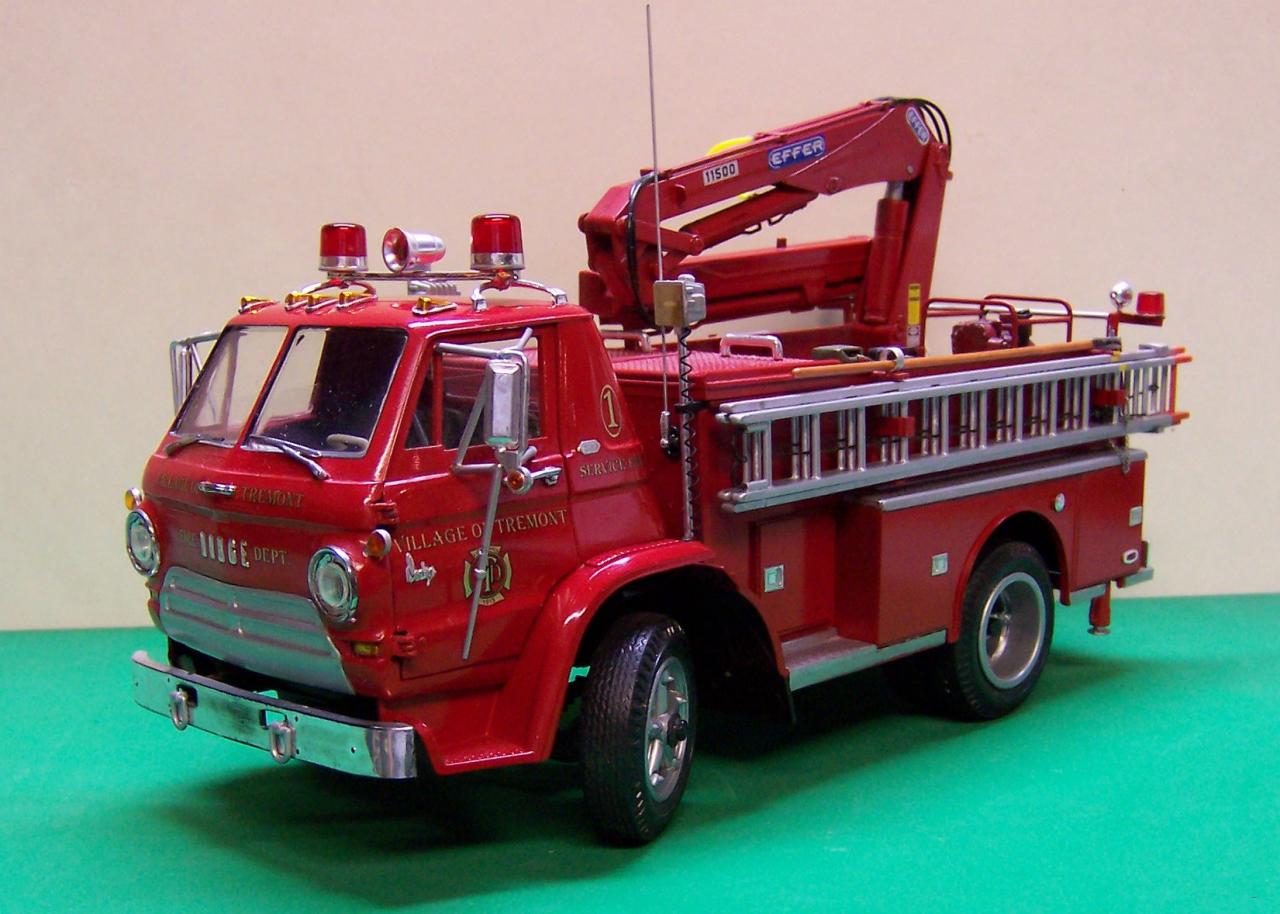
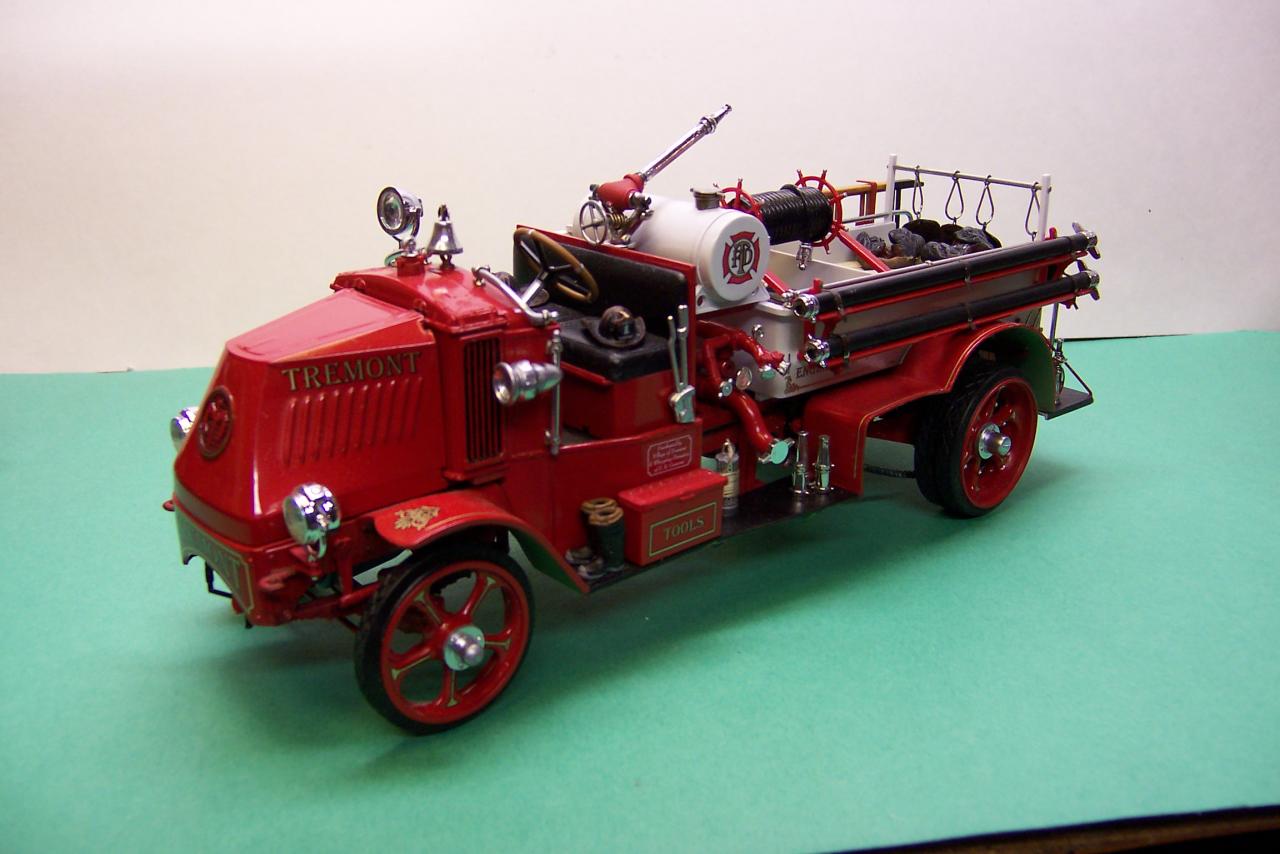
post just your cabovers here
Chariots of Fire replied to Ken Gilkeson's topic in Model Trucks: Big Rigs and Heavy Equipment
Here are four of mine.
-
1952 F-7 Ford
Chariots of Fire replied to Chariots of Fire's topic in WIP: Model Trucks: Big Rigs and Heavy Equipment
Here's what it look like in all its red glory. Still plenty of detailing left to do but we are getting there.
-
They were at NNL East in 2007. They made the cover of MC magazine as well as a feature article a few months later.
-
Here's the Mack AC I did back in 2007. Was the first of a 6 part build that had the rig first as a piece of fire apparatus and finally ended up as a rusting hulk in a field. Five others built the remaining parts of the project.
-
That first one is really unique! Love to see that one as a model build.
-
Got a Mack Ac fire truck David. Will post some pics. Charlie
-
Terry: Let me know if you have trouble with the fenders. I have some resin ones that I did for the AP.
-
Terry: Just one modification I would recommend. The fenders could use some extending toward the front.