NoobModeller
-
Posts
31 -
Joined
-
Last visited
Content Type
Profiles
Forums
Events
Gallery
Everything posted by NoobModeller
-
Had some issues with uploading the images in their correct order so here it is from Imgur lol. http://imgur.com/a/8jsvw
-
Yeah it does, it comes with LHD and RHD and the Type R sprue tree has another dashboard which is only RHD. Seem to be having a problem uploading additional images lol. Anyone else?

-
-
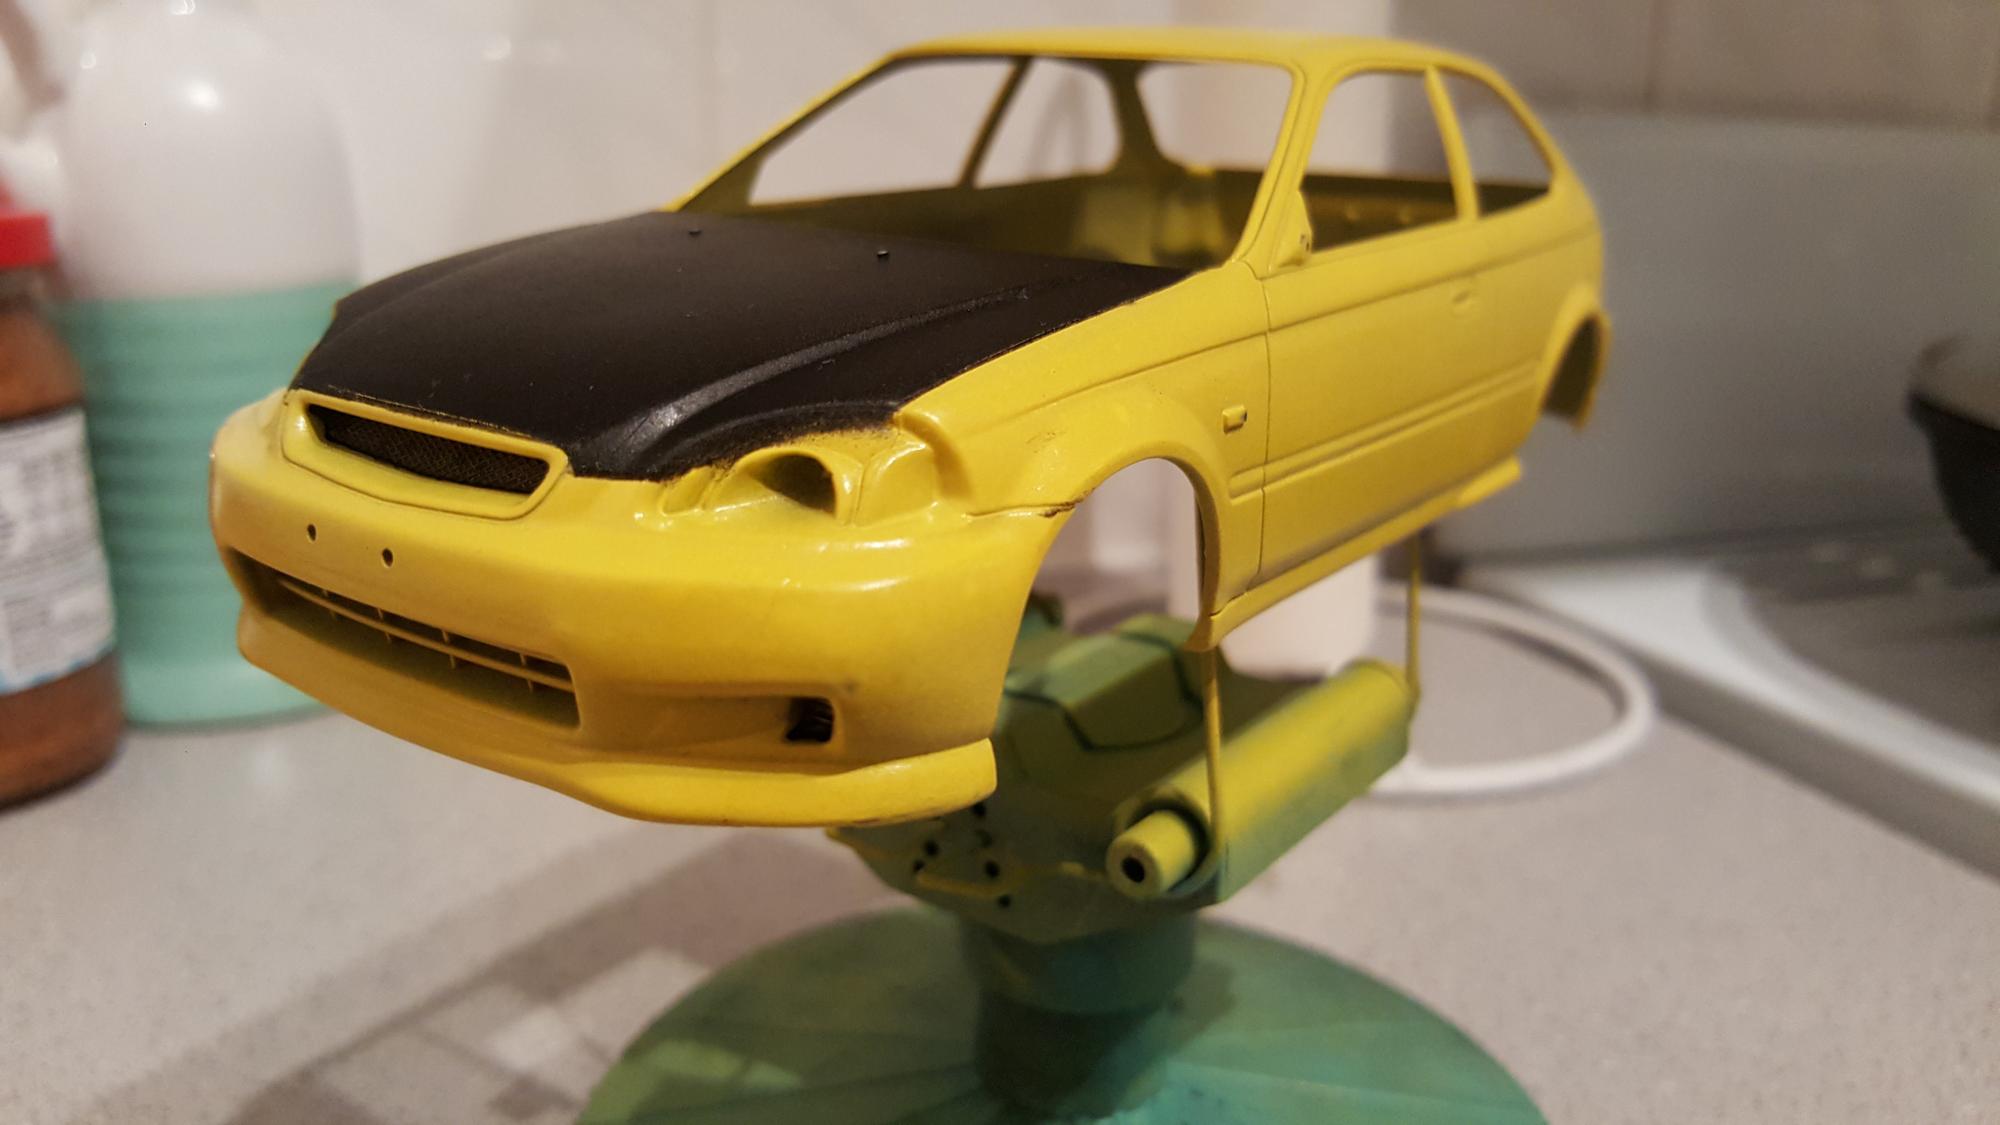
Hi all, So the 1966 Chevy Nova project has been put on hold till I can get to a shop to get more body paint (lesson learnt with the EK9 project, more on that in just a bit). So I decided to take the Fujimi EK9 kit for a quick build into a Spoon Civic look, it's not quite finished yet but made so many mistakes on the way too. Problems and Bad stuff: - Only had one small can of yellow body paint and the body could have done with another 1-2 wet coat before I sealed it with clear - I then attempted to mask and paint the black accents on the window trims on the clear plastic and turns out using painters masking tape instead of something like Tamiya tape, I had runs and leaks so had to wash that off and not as clean windows - Just general small bits of paint blemishes on the body, you'll see Anyway, after all that I am still quite happy how it's turned out given what happened lol. After the final coat of clear and polished using Novas 1 and 2 More on the interior bucket in the next post.
-
 So rather than finishing the Grumpy's Toy kit - I ended up getting the following things today: - Fujimi EK9 - 30 dollars worth of aftermarket wires, hoses and distributor kits - Tamiya Austin Mini - Couple more spray paints Lol. This is too addictive.
 -
Newbie from Sydney, Australia
NoobModeller replied to Davoski's topic in Welcome! Introduce Yourself
Another Aussie. Welcome mate. -
Another newbie from Sydney Australia
NoobModeller replied to JustAce's topic in Welcome! Introduce Yourself
I feel the same way! Lol. Incase you needed an excuse to buy more models, the Hobby and Toy fair is on this evening at Granville, I was going to go but I have no cash and will just end up being disappointed I can't buy anything lol. http://www.sydneymodelautoclub.com/#SWAPMEET -
Another newbie from Sydney Australia
NoobModeller replied to JustAce's topic in Welcome! Introduce Yourself
Hey mate, another one from Sydney too here. -
The cutting and gluing sounds like the back wheels won't move. I might have to go down the larger rod path, I went to my local hardware store and you'd be surprised how hard it was to try and find 1mm thick rods ..who knew! I might have to Macgyver my way through this, thanks for the tips! Here's another picture for you all.
-
Some more progress for you guys, annoyingly though the 1mm metal rod provided to couple the back wheels together is too short which makes it impossible to add either the drag or stock tyre for the back. But any here some more photos
-
Oh man, that is one wicked paint job mate. Amazing!
-
So I screwed up (again) on the dashboard as I wanted to change colour scheme and left the plastic for a little too long trying to get paint off it and affected the hardness of the plastic, so anyhow ordered a replacement off eBay and ordered the gauges from Best Model Car Parts as well while I was it and they both arrived today. So yeah, will be busy in next couple of days Also decided to just do a bit of dry fitting to decide whether I wanted it lowered or not lol
-
I was thinking about it, but was going to see how the colours play out. I was planning on building Grumpy's Toy, but decided I wanted to build it semi-drag.
-
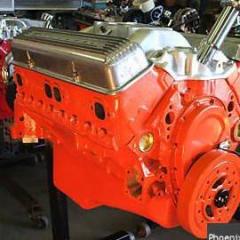
Looks ok, just in some areas, spray didn't quite get to, so I went over with a brush with Tamiya matt black acrylic and you can notice the different in layers of paint, I might leave it and try to weather it slightly with some dirt etc, see how it turns out. Any made some more progress; first time applying alot of these techniques, i.e. flocking, distributor wire, panel line using washers, all in good fun and a learning experience I've decided on a colour scheme, I am going to go metallic blue exterior and interior use the stock one seat piece for both front and back seats and go with a blue and grey upholstery. Taking my inspiration from here: http://www.hotrod.com/articles/readers-ride-1966-chevrolet-nova/
-
Thanks! Bit hard to source MAD stuff here in Australia, usually the postage makes it not worthwhile. I've now gone and done a rookie mistake, late night wasn't thinking and just wanted to quickly do something on the kit and ended up spray painting matt black on the under carriage without any primer. Would there be any adverse effects if I just prime it over the top and sand it down necessary and spray again?
-
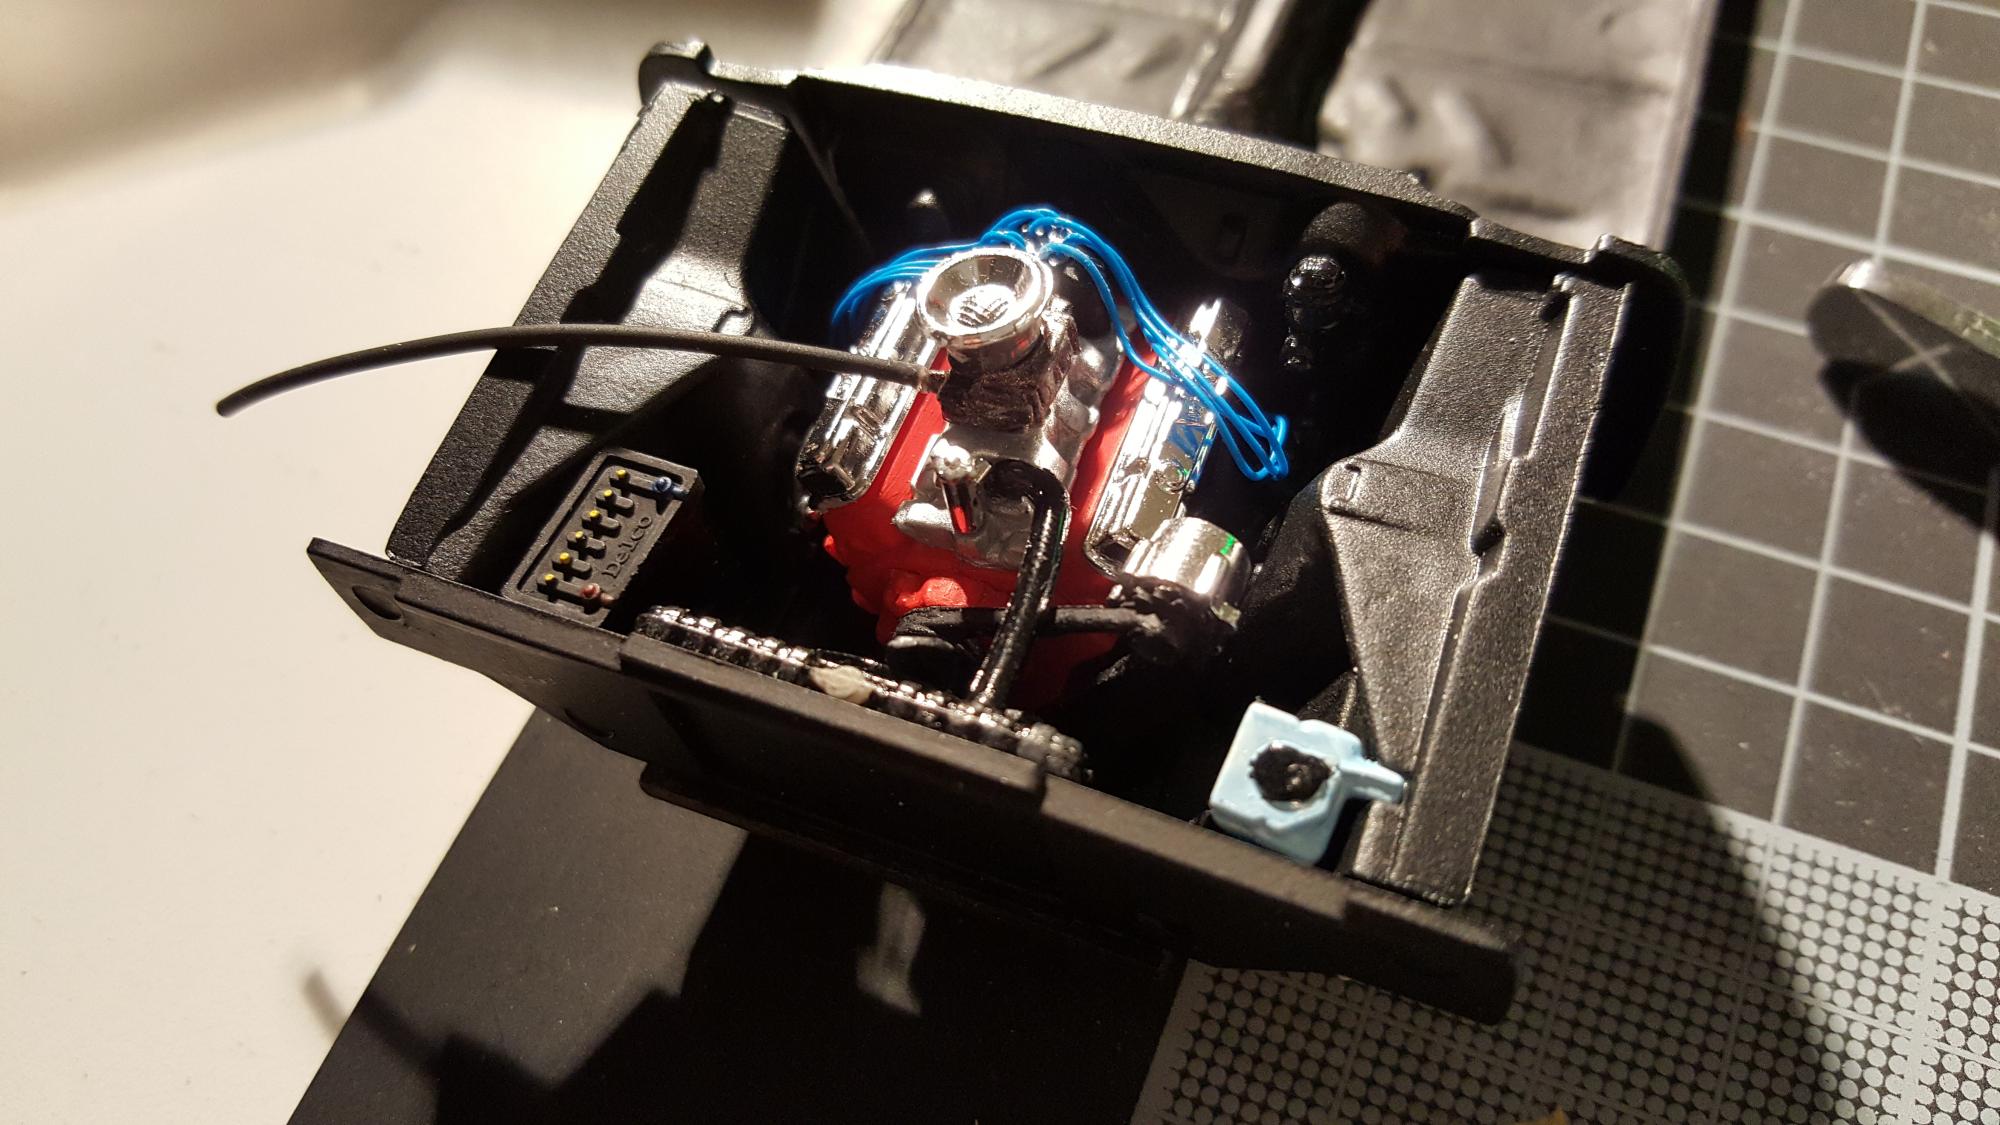
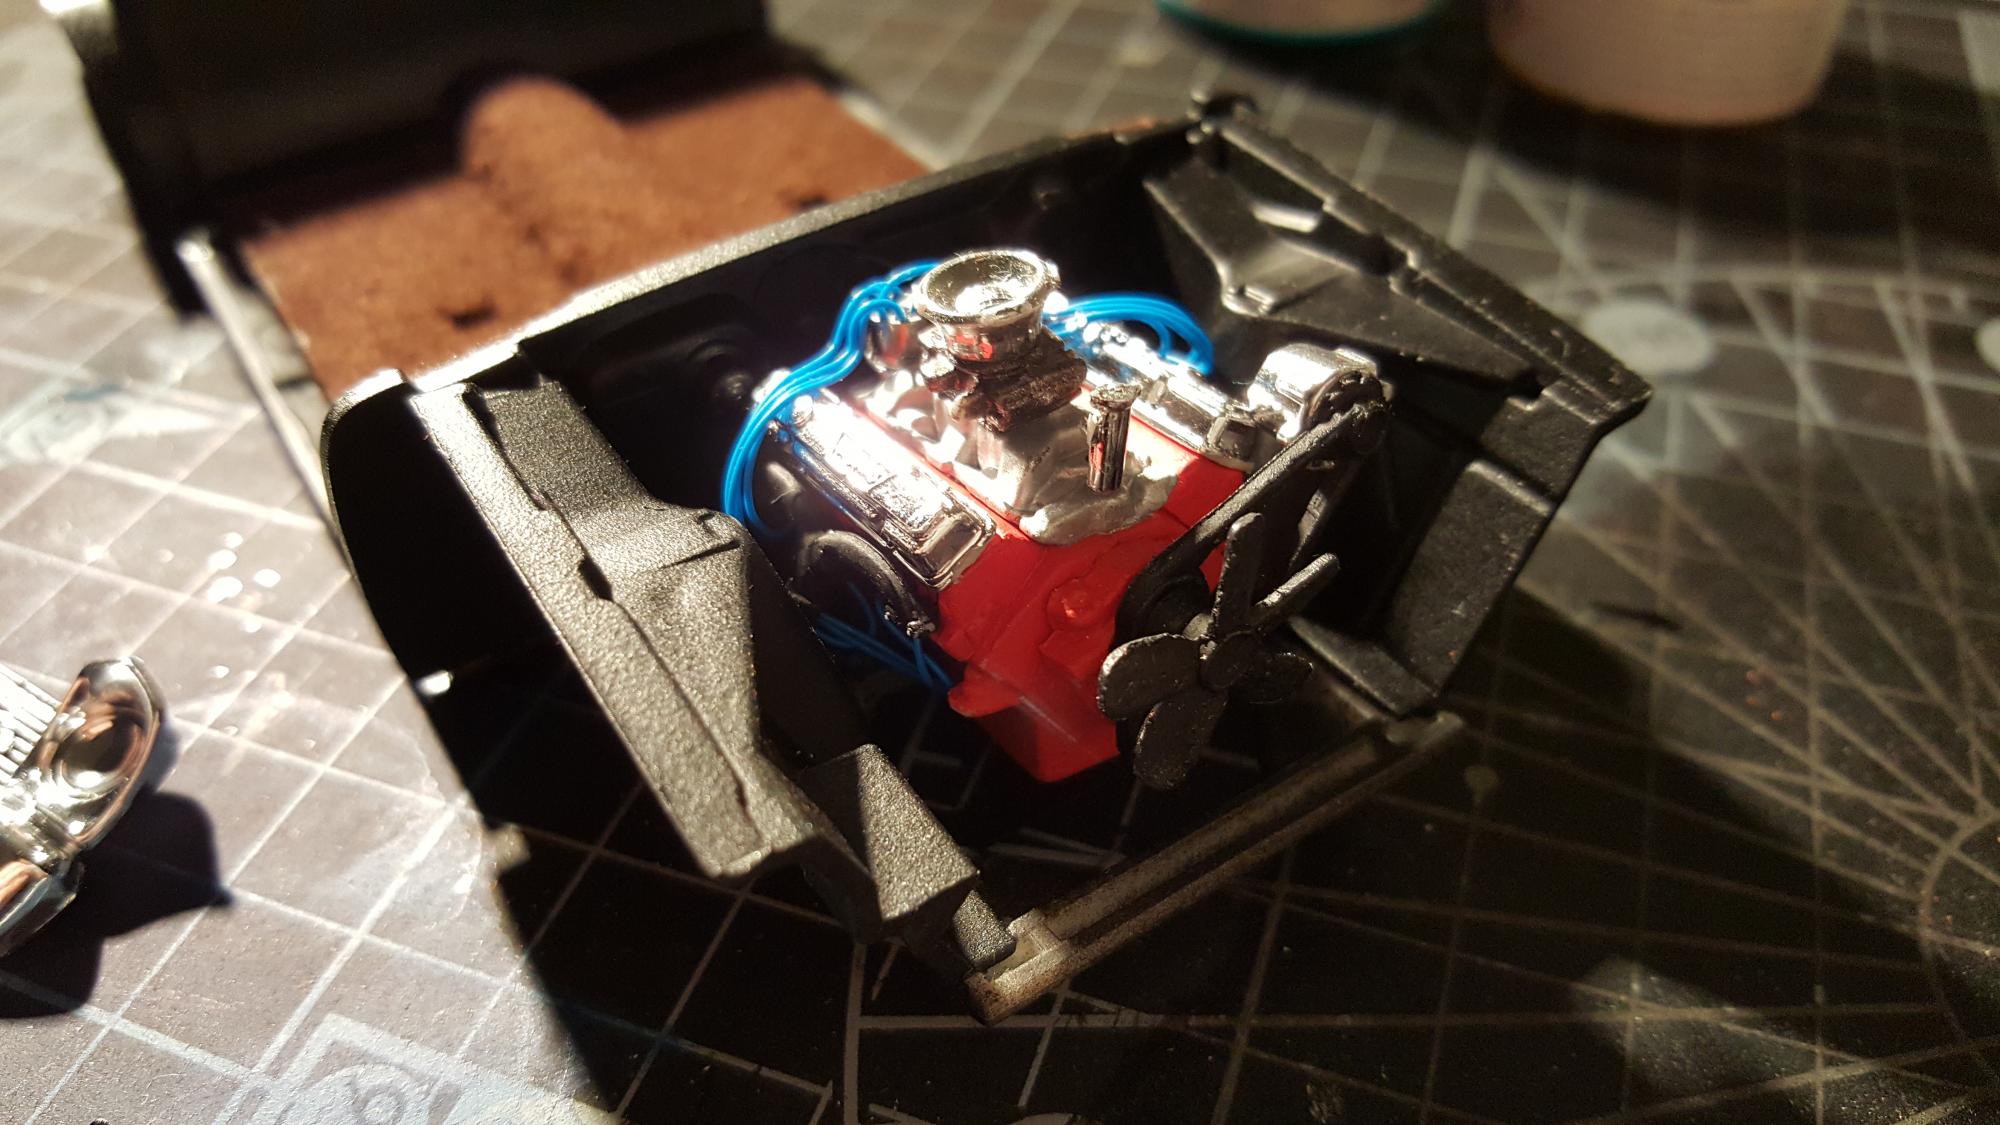
Wow thanks for the advice. That really helps a lot. Sorry guys haven't made much progress on this as I would have liked in the last couple of days (kids and work) lol. I redid the distributor wires and managed to get them a little shorter, did a dry fit into the engine bay and chassis. Looks OK. Just waiting on a few supplies like matte black paint and flocking powder and I can continue lol. More photos to come soon.
-
69 nova revell > barnfind > fully detailed engine bay
NoobModeller replied to crazyrichard's topic in WIP: Model Cars
Been watching this one for awhile, it's actually what got me to sign up as well lol that is a mighty looking fine barn. Can't wait to see what will go in it. -
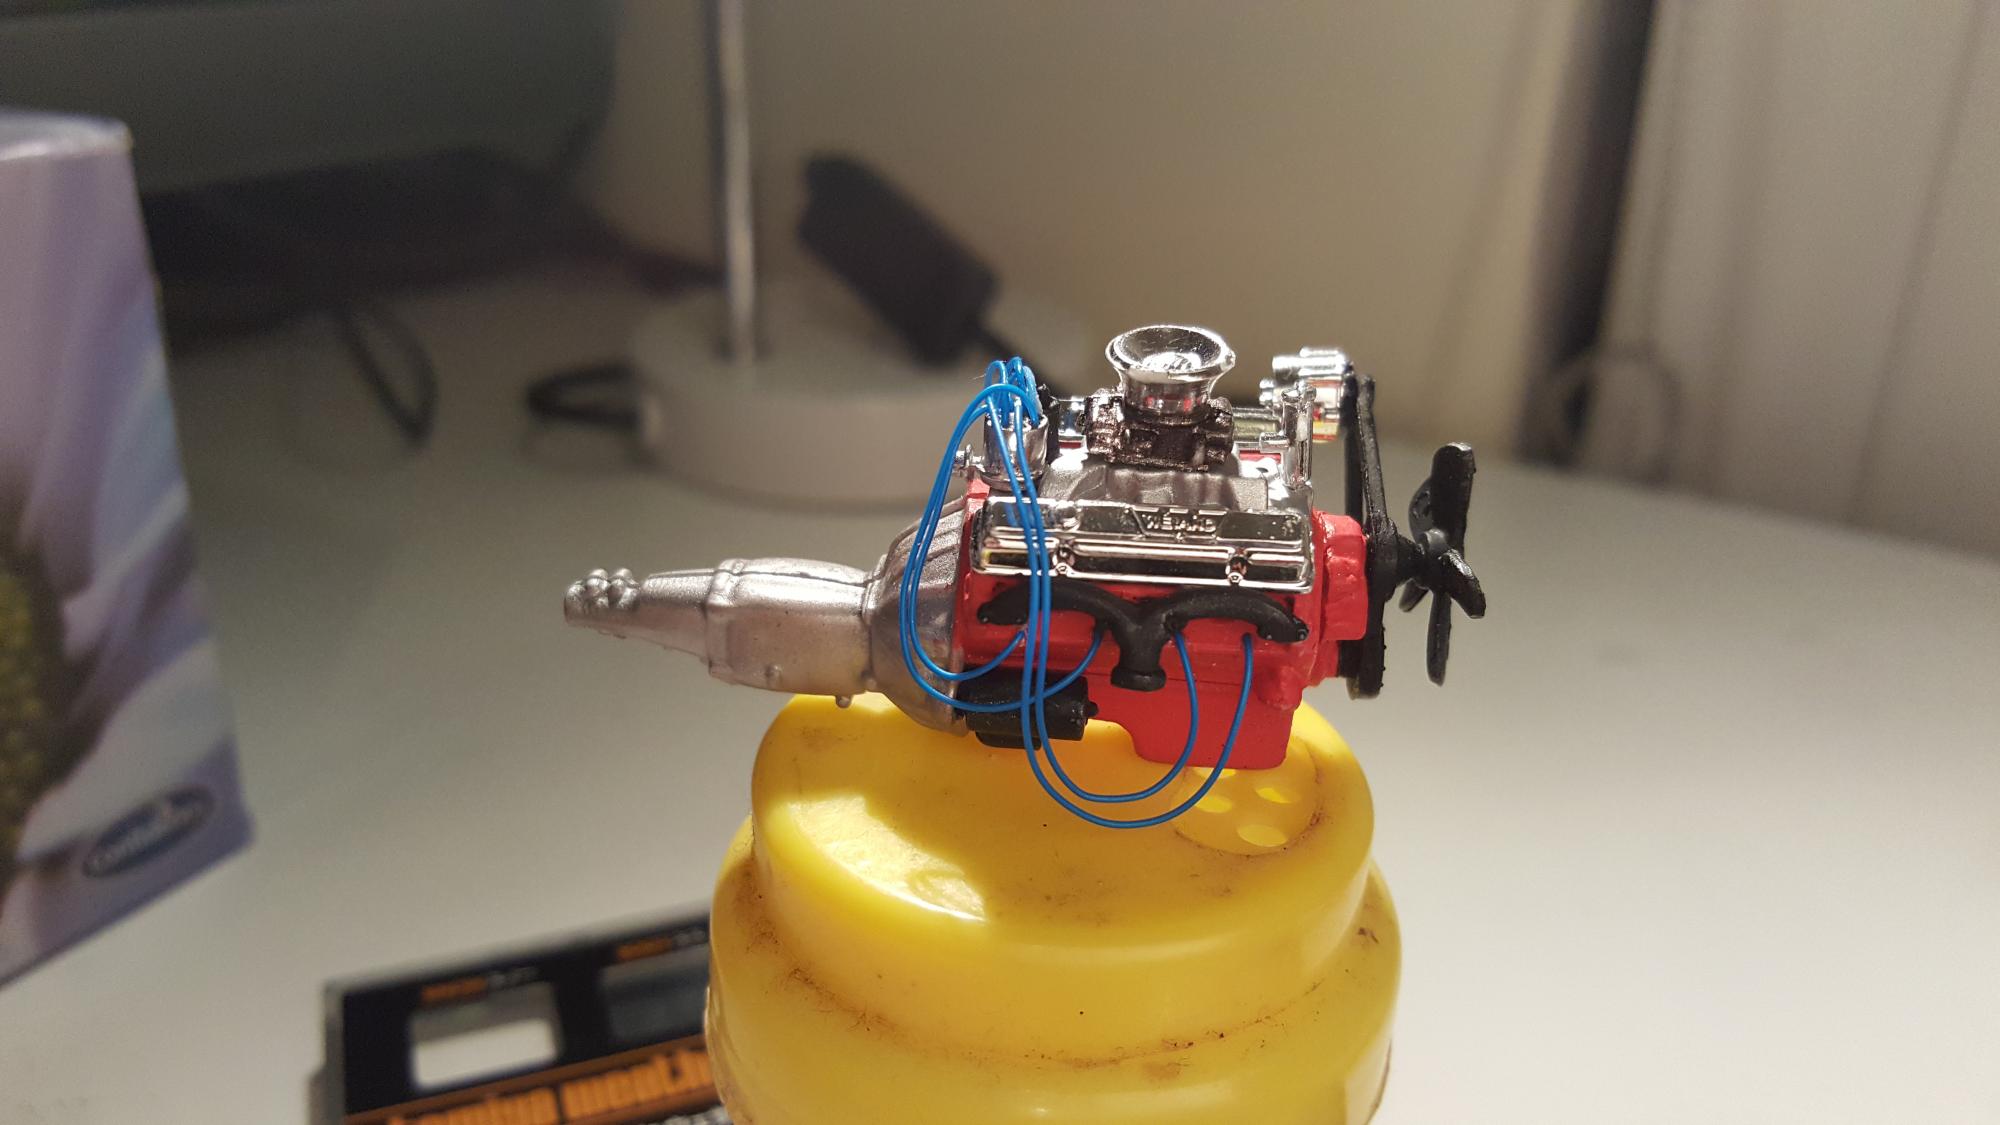
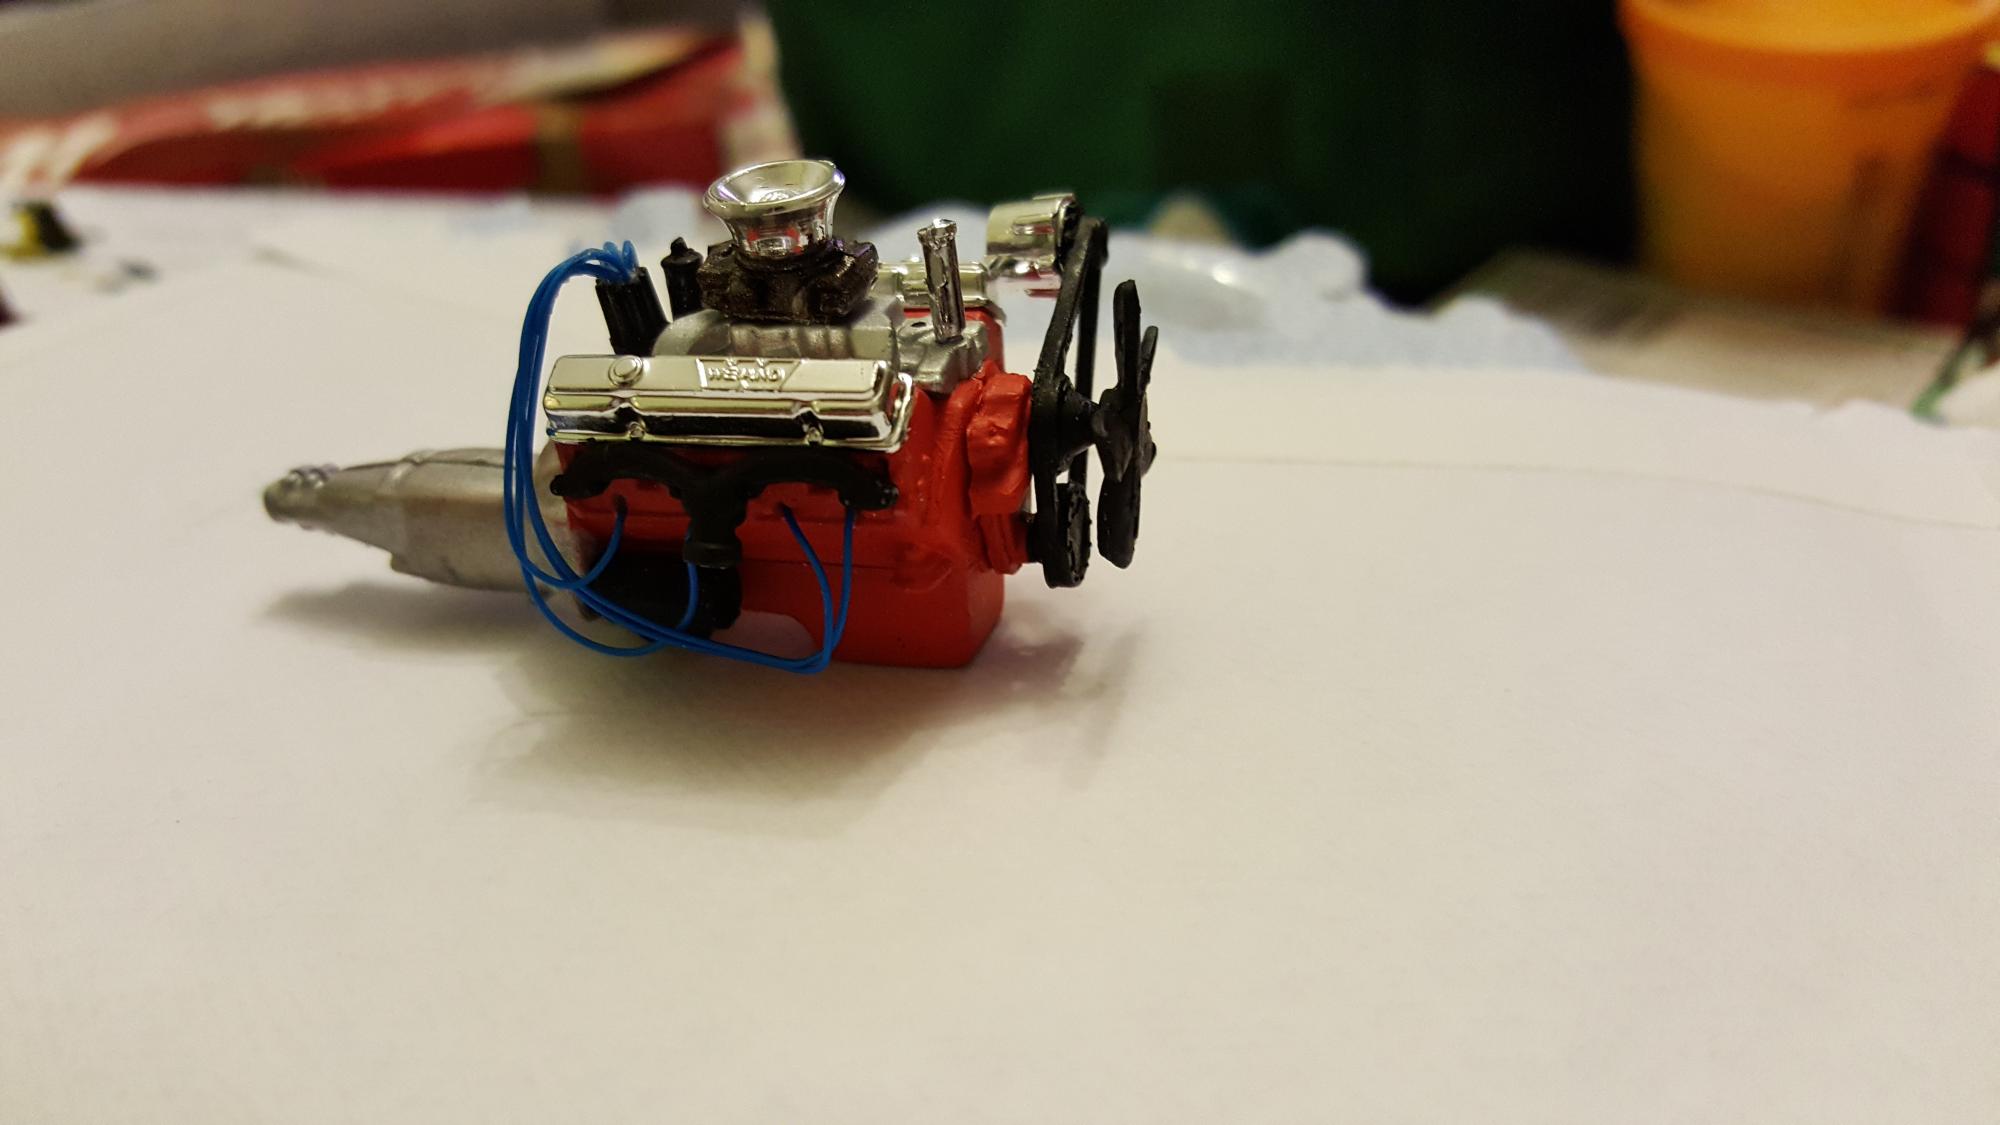
Thanks. So I didn't succeed with the distributor that came with the kit. Ended up using the metal distributor from Scale Productions. Because it was already prehold I only needed to drill them with the pin Vice and was able to feed the wires through. Think it turned out better this way.
-
So I attempted to use the existing distributor and used a pin vice to drill in to try and free up space for 8 separate pieces of wire, but was only able to get 4 in, perhaps once the glue dries, I might attempt to drill again and squeeze the other 4 in. So far only managed to get one side of the engine block done (kind of, didn't include boots). First time attempting a distro lol. I am a little unsure on how it sits though...
-
INSPIRED THINKING- Cheap Tips for Frugal Modelers
NoobModeller replied to 62rebel's topic in Tips, Tricks, and Tutorials
So because I don't have much time to head out to a craft store to get felt sheets or anything like, I was doing the laundry the other day and pulled out all the trapped lint within a tumble dryer and thought this might work. I have yet to attempt to stick it to my tub bucket for 1/25 scale just yet. But has anyone else tried this? -
Anyone here outside of the US that bought from them? I just got myself a Gauge set for the 1966 AMT Chevy Nova, just wondering what the experience is like.
-
So I managed to get the carburetor on there. Next step is to attempt my first ever distributor setup. Planning to use the existing distributor from the kit and hand drill a hole on top to add the ignition wires in. Does anyone have any tips on doing it this way or any other better ways?
-
HOLY SHOMOZZLE BATMAN! That is amazing. Definitely inspired lol
-
So because I can't stop spending, I ended up getting some 1.6mm wire and ordered a distributor kit without thinking I could probably have done one using the excess plastics from the kit and scratch build one. First time adding a distributor wiring
-
Nice colour! Great build. I always had a soft spot for Mustangs, thinking about doing another one when I have finished my other projects lol.


.jpg.644a1d3f8a7cfc77b4d3f81d2b2fd3a2.jpg)