camaro69
-
Posts
275 -
Joined
-
Last visited
Recent Profile Visitors
3,870 profile views


camaro69's Achievements
MCM Avid Poster (5/6)
-

2025 Cannonball Run - 50 years since the 1975 run.
camaro69 replied to Mattilacken's topic in Community Builds
I have to note that I won´t be able to finish the Estafette. There where so much changes in live this year that I haven´t nearly no time to do anything on it. Sorry for that and congratulations to all finishers. -
Have contacted Charles some minutes ago and now await his reply. I think we will get a solution to make my parts available again and in top notch quality. Stay tuned.
-
I already thought about it and tried to upload a design to get a feeling for the actual pricing. But anyhow I couldn't save the design to even get a price. I have to give it another try.
-
Ertl International F-2674 questions
camaro69 replied to camaro69's topic in Model Building Questions and Answers
Yeah, these links are great. Lot of informations and cool stuff to look at. Thanks again. -
Sorry guys for not replying such a long time. I´ve got many changes to my life over the last months so everything was a little bit too much. Nearly no time for the hobby at all and when I had I wanted to build something for my own collection. All I can say, that these parts are currently not available anywhere online but I will try to change this. I thought already about different possibilities. On the one hand Charles from Texas 3d Customs already offered me to print and sell my parts which is quite a nice way to sell parts in the US. On the other hand I´m still looking for a company here in Germany which would print too so I only have to ship the parts once they arrived. The next option is to offer the part files at cults or any similar platform for those people who can print parts theirself. The only concern I have with this is that there are people out there who take the files and print the parts for selfselling without any info and you have no control about this. Maybe this sounds like you can´t trust the people but I always tried to do files with the highest level of detail and accuracy possible and this took sometimes a really big amount of my limited spare time. So therefor I don´t know if this a way I want to go also. I hopefully get my parts available again at least till the end of this year. That´s my own goal. So thank all of you very much for your patience, understanding and support. Wish the best to all of you guys. Greets, Rico
-
Ertl International F-2674 questions
camaro69 replied to camaro69's topic in Model Building Questions and Answers
Hi James, thank you very much for the links. You´re right, this kit has the V800 engine. -
Hello everyone, I´m on building the Ertl International F-2674 Dump Truck currently. I want to try build it as a stinger-steered car transporter. Therefor I have some questions. I want to detail the engine bay and the chassis a little bit by adding fuel and brake lines, etc. But it is nearly impossible to find any pics online. Is there anyone who can provide some pics? Also I need some detail pics of the stinger-steering-mechanism. Any help would be much appreciated. Thank you all in advance. Rico
-
Signed in with my email and my current password and it worked fine. Thanks to the background guys for all the time and work here. Rico
-
2025 Cannonball Run - 50 years since the 1975 run.
camaro69 replied to Mattilacken's topic in Community Builds
Hi Anton, count me in. Will try to do something completely different for this year... Heller Renault Estafette. Will do the 1964's version and try to replicate the box art as good as possible. For me too I will try to detail it a bit more. Here's the picture of the kit. Happy modeling to everyone and a healthy new year. Rico
-
Hi Steve, I love reading your build threads. There is so much information for any modeler and your skills are awesome. Still so much to learn for me I think. The softtop looks top notch. Can´t wait to see more.
-
Really looking great so far. I really like that it isn´t yellow.
-
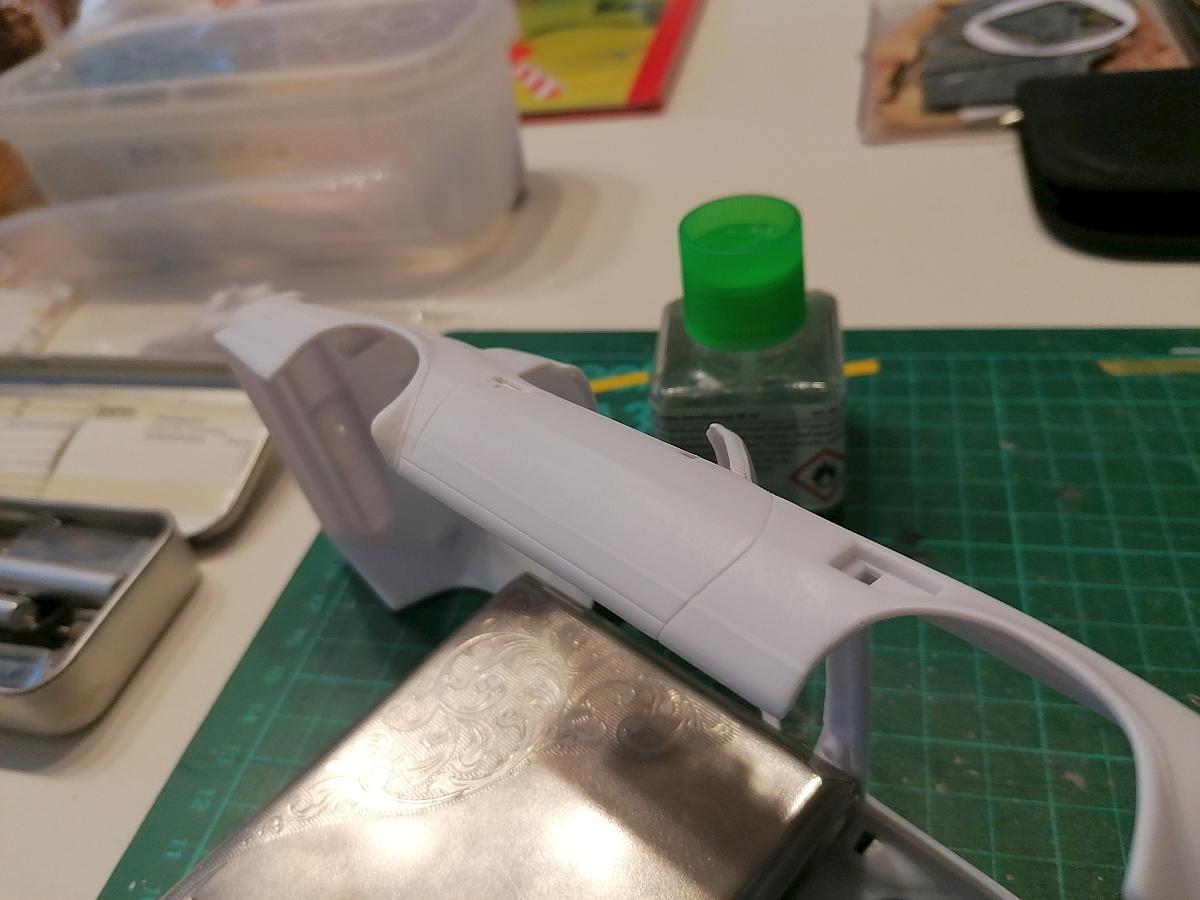
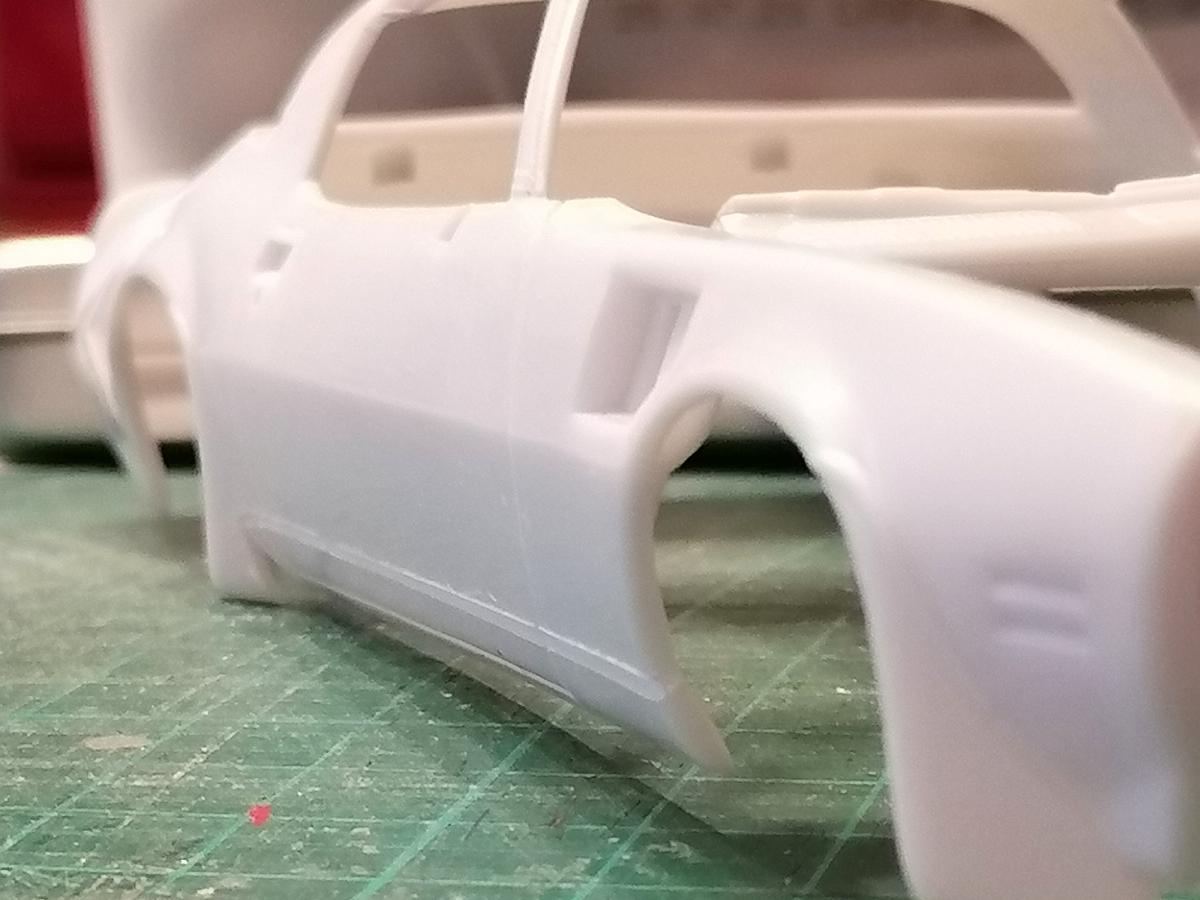
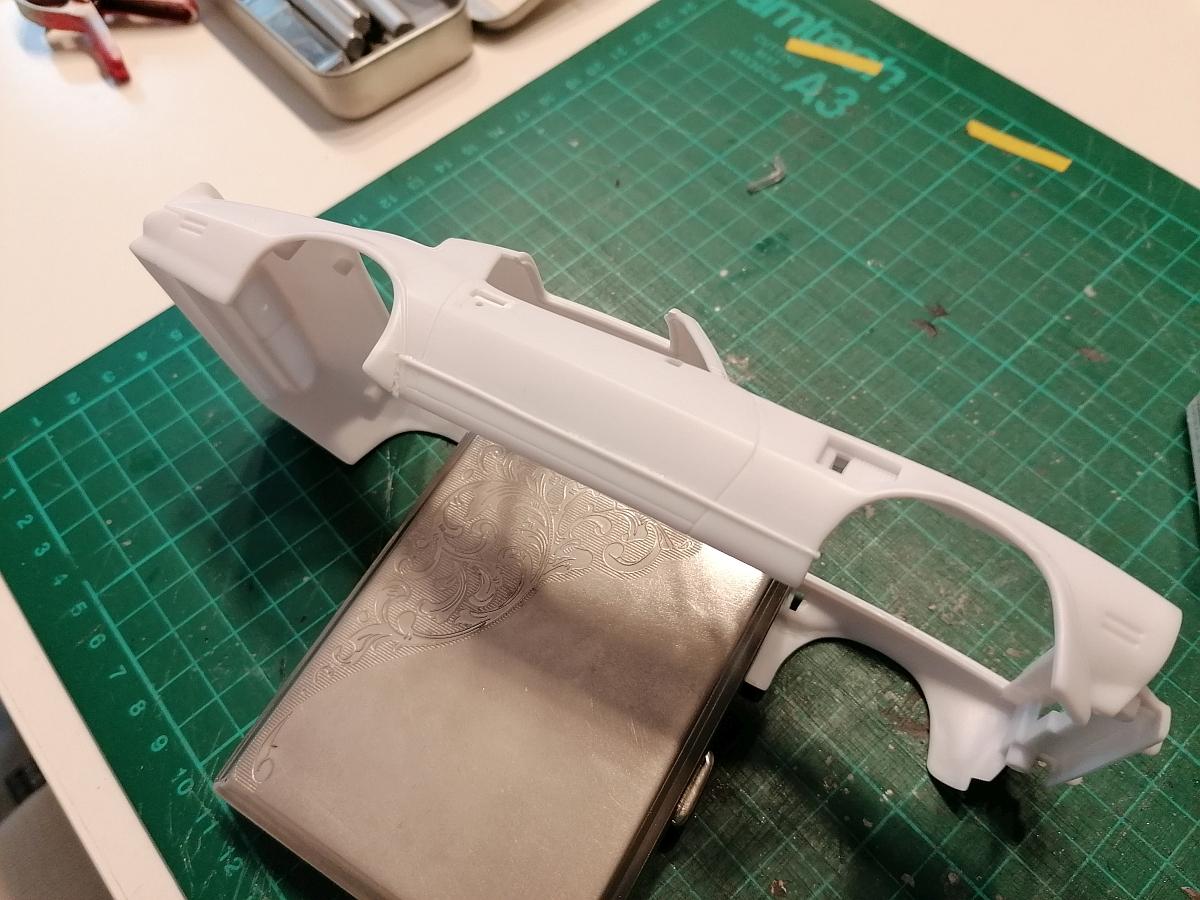
And here it is... Part 2 - more body corrections The kit comes with one simple chrome plated part with a rectangular formed survey one each side for the headlight housings and a single clear part for the lenses. Found this a cheap solution even for a former Diecast kit. So I started to scratchbuild my own headlight housings as I already did on my Corvette C4. For those who are interested I started with a piece of 0.125 x 0.156 Evergreen which I filed the reflectors in. Its one piece per side but with a vertical groove to show the two separate headlights. After I was happy with the shape of the reflectors I sanded them to the correct height so I could glue a small piece of 0.010 x 0.156 Evergreen to the bottom and the top of each reflector as separate pieces and get the correct height overall. At last I testfitted them with a photoetched piece of hexagonal mesh beside them. After the first housings were done I thought it would be time to correct the sidewalls. As Andy (Sledsel) mentioned in his thread in the reviews section they are completely wrong shaped. You can already see this in the pic above where the orange line is drawn in and also in the next one shown by the orange arrow. Everytime I´m at the model kit building day of our modeling group I hear: "Simply do it." So after a short time of thinking how this could be done I started scraping a groove where the wrong body line is molded. Additionally I cutted in the rear wheel spoiler flare directly beside the molding up to the height of the groove. After the groove was deep enough I simply could bend the lower sidewall into the new shape as you can see here. Because of the new soft plastic nothings broken in this stage. This was a simple step but the improvement is unbelievabe. When I was happy with the shape I filled the groove with some 0.025 Evergreen rod. The triangular opening on the flare I closed with a little piece of flat styrene. Next step after the glue has been dried was sanding down the rod to match the sidewalls shape and the flat styrene to the flare. Here you can also see the added grooves on the front and rear bottom of the door. This was the correction I have done first only forgot to mention it in the first post. passenger side... drivers side... front view... To take away anyones fear the chassis still fits without any modifications. You can also see the opened headlight mounting support panel. As already mentioned: questions, suggestions and critisms are much apprecciated. Thank you all for taking a look. Rico P.S.: Preview... Next part will include opening the sidemarkers, scraping the groove around them and scratchbuild the second headlight housing unit. So stay tuned.
-
Thank you Andy. It´s definitiv not a quick build but in my opinion the corrections are mostly simple to realize even for not so experienced modelers like me. Next update comes soon.
-
Thanks Mike, I really apprecciate your feedback. The body issues are very pronounced and if you want to get this body right there is a lot of work. I want to update this thread this evening because I´ve done much more already.
-
Thanks Mike, I really apprecciate your feedback. The body issues are very pronounced and if you want to get this body right there is a lot of work. I want to update this thread this evening because I´ve done much more already.