absmiami
-
Posts
4,781 -
Joined
-
Last visited
Content Type
Profiles
Forums
Events
Gallery
Everything posted by absmiami
-
wondering of Ryan Reynolds is looking for some additional set designers for Dead Pool III what do you think ?

-
the bolts are resin bits made by Master Club fr Russia they also make some neat "castle" nuts that I will use on the supension
-
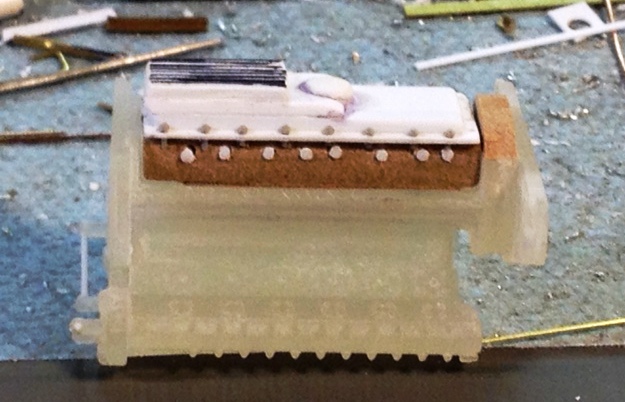
the engine sump - strips of evergreen plastic mostly the fins are alternating strips of 0.10 by 0.40 - and 0.15 by 0.20 - all liquid glued - this allows for some alignment while the glue sets
-
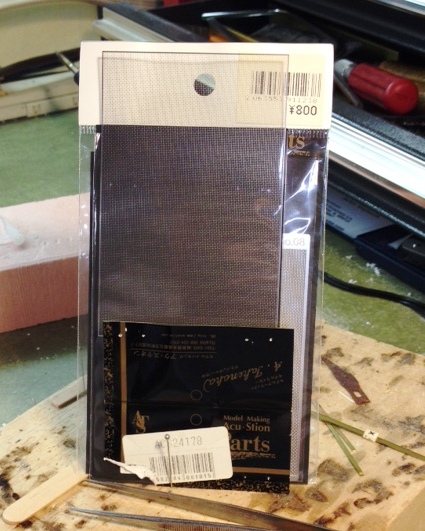
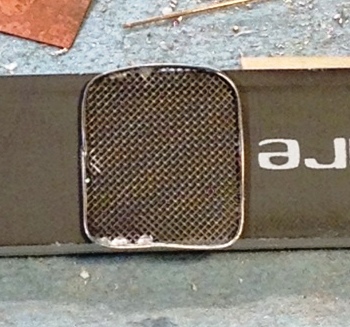
thanks to Bill JC and Tim - fr the middle of Pa ..... Pico - the mesh for the radiator core - is ACS24175 1/24th sc mesh hexagon - mite still be available - check the usual suspects don't know where I got mine - I'm sometimes lax about tracking that - if you strike out I'll send you some .... also going to use "Finisher's" photo-etched No 11 screen for the engine panel openings once again - forgot to market the package with the internet source - maybe it just floated into my workshop one day a few years ago - who knows anybody seen the announcement for a super/luxury/vintage car show in Miami next February? as part of the Miami Beach art basel weekend - google Grand Basel car show ... you'all are invited - or inverted .......
-
the engine is that really cool printed part that I posted at the beginning of this thing it was designed and printed without crankcase or sump detail - but I am adding this - as I think this car raced with an engine compartment opening in the undertray so I filed away the lower portion of the printed engine and sawed up some renshape for the crank case and then I'll make me an engine sump ...
-
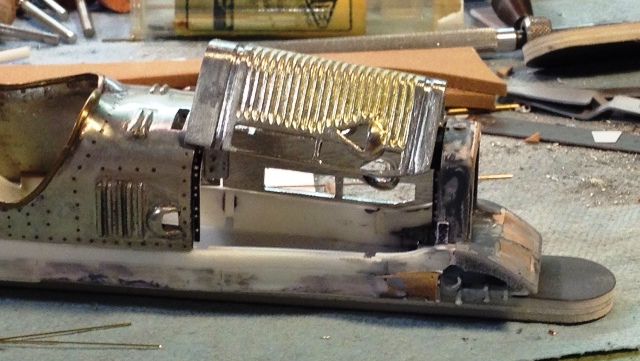
so back a few months ago I was working on the engine bonnet panels ... now that the radiator shell is attached to the frame I can check the panel fit - which needed a lot of trimming and tweeking - this is a little closer to what I had hoped for also a lot of work on the frame - but the changes are not as obvious now I can start to mess around with the driving compartment and the engine bay ...
-
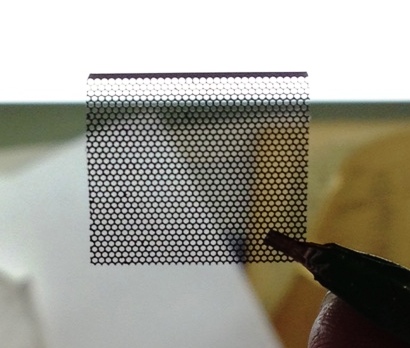
.... tiny update acu-stion also makes a photo-etch pattern that is correct for many pre-war racing radiators cores such as this Delage and your typical bugatti etc - maybe Millers also - gotta check sort of an egg crate shape - way different than modern racing radiator surfaces this will get painted or sharpied black and used in the front and back of the radiator core ....
-
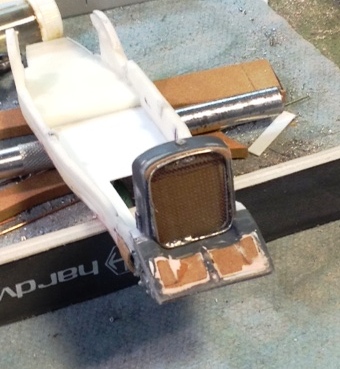
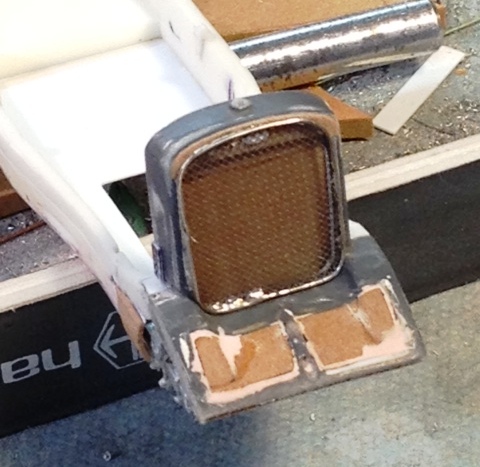
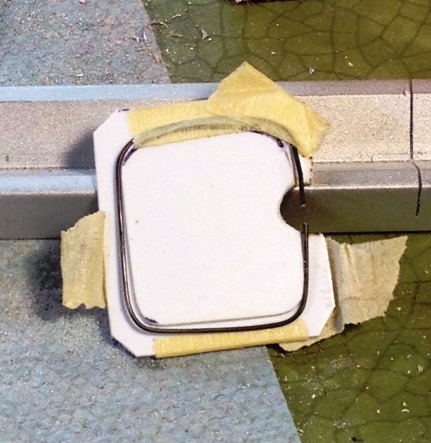
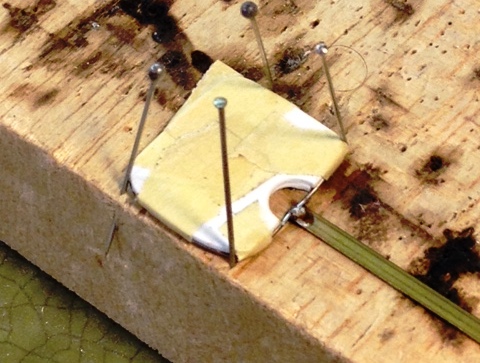
the screen needs some more cleaning/fettling but it will sit in front of the shell on some small pegs at the base and two protruding from the top of the rad shell and I'll add a photo-etched radiator pattern to the front and back of the renshape radiator ... and merry Mother's day ....
-
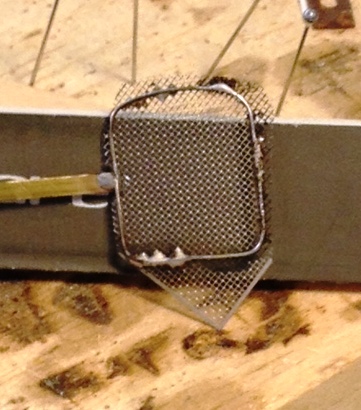
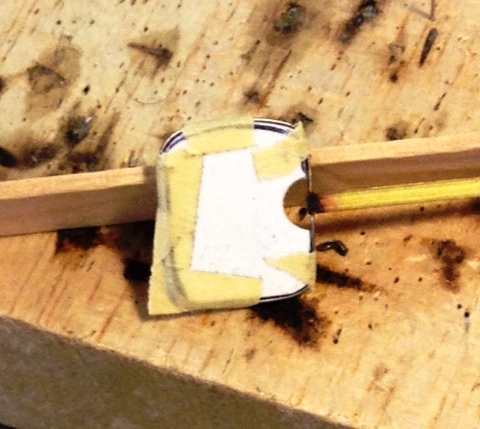
the screen is photo-etched pattern made by Acu-Stion it's cross-hatched and has some three dimensional etching - it's got the best scale appearance that I have found they make a series of different patterns - good stuff then soldered to the silver frame - with some initial cleanup some pooled solder on the top and the bottom - have to live with this - I can't heat it and "flow" it off the screen - that's OK
-
the radiator screen - the 1924-25 car had one - and the restored car does also don't know how the '25 grand prix winner managed without .... started with heated .020 nickel silver rod that was bent around a pattern made from evergreen sheet - it has a dark appearance due to the heat treatment had to try this twice - got a more correct shape the second try - and used the tip of some brass strip to solder the tips of the rod together
-
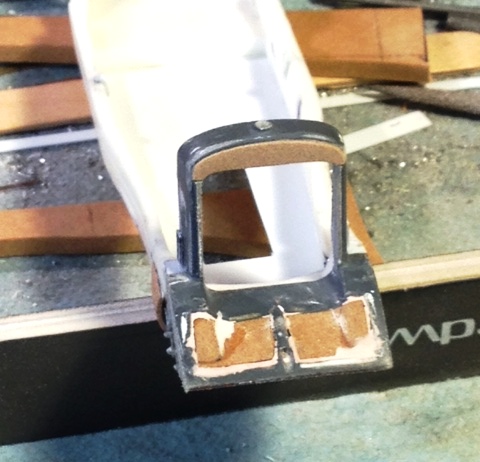
filed and sanded the surfaces and added a backing plate for the badge - somewhere in my accessory drawer is a good Delage badge - now I can figure out the radiator screen ...
-
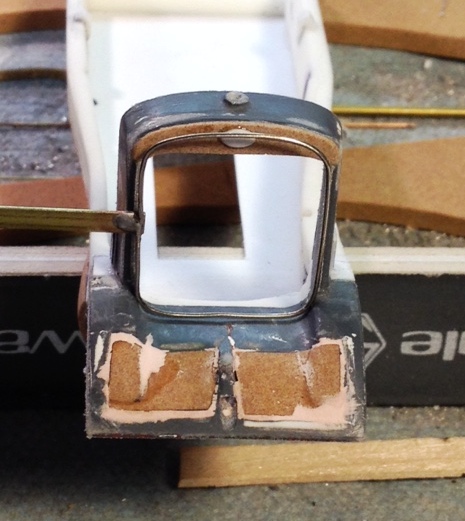
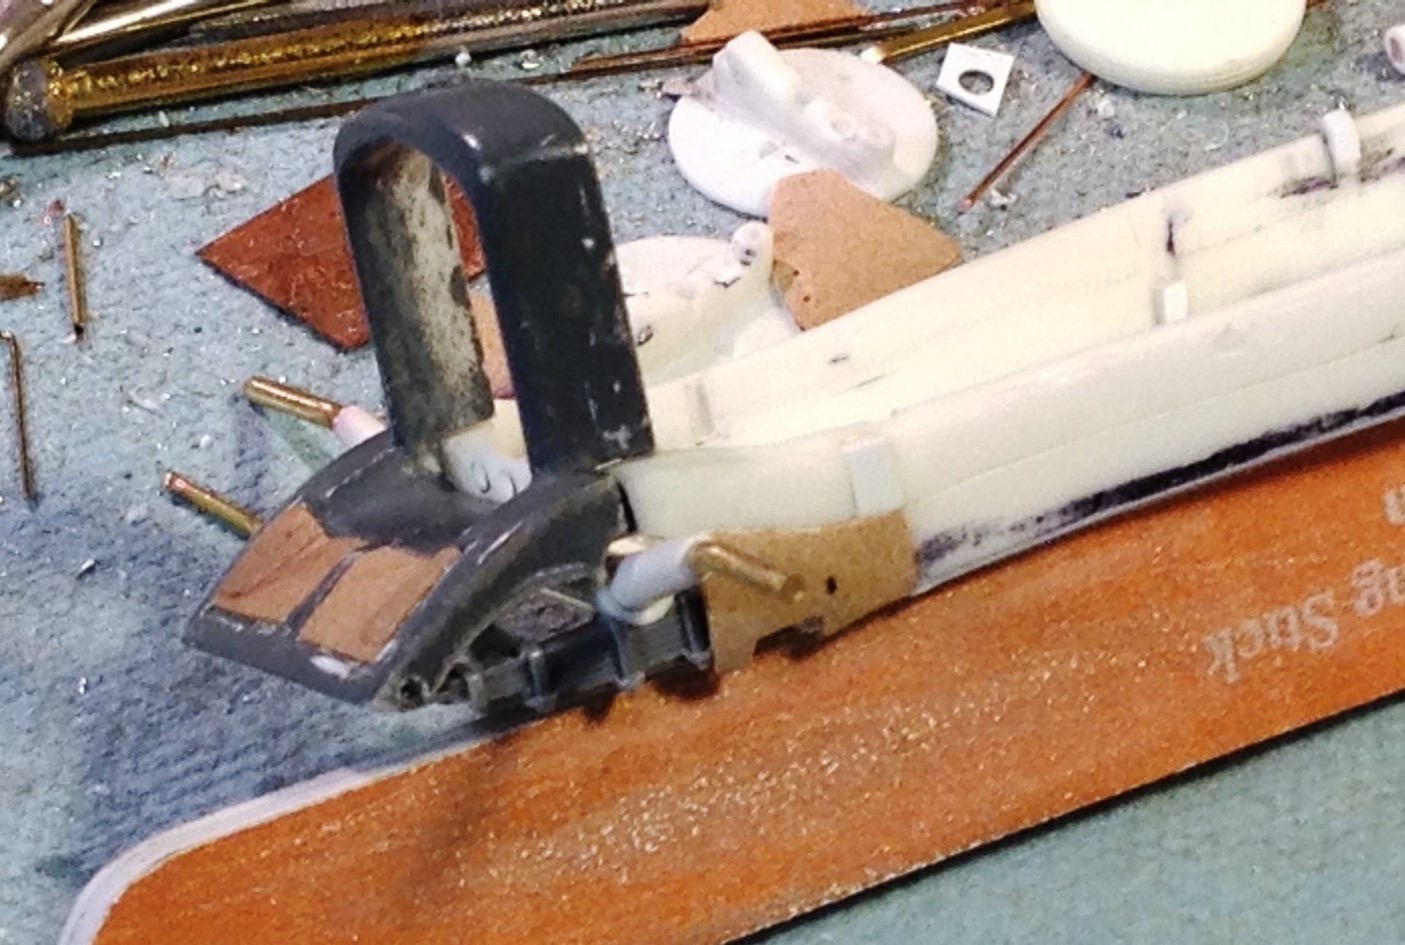
so why am I messing around with the radiator shell ?? While studying photos to make the radiator screen I realized that the shape of the radiator shell on the 1925 car - the French GP winner - is different than the shell of the restored car - which was the 24/25 interim car ... the restored car - see the pics on page 1 - has a more "formal" shape - with the badge on flat sheet-metal facing straight ahead across the top of the shell so I filed away a portion of the top of the radiator shell and replaced it with some renshape sheet ...
-
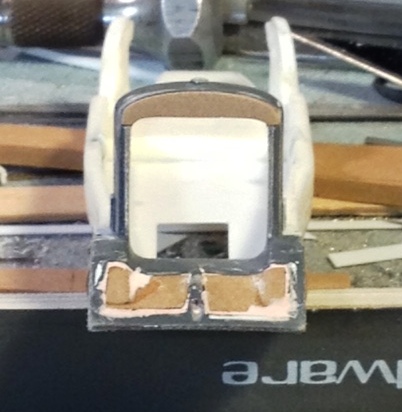
the radiator shell needs a radiator sawed up some scrap renshape - actually, there is no such thing as "scrap" renshape ... sanded to shape - the surface will get some photo-etched radiator patterns from the accessory parts drawer ...
-
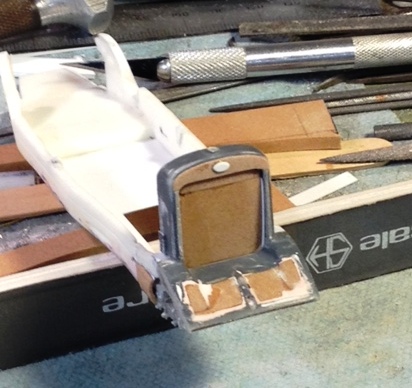
before the sump - putty and clean-up for the under-tray and the radiator grill
-
the printed engine has no sump - model factory pico sent me a picture of the sump from and old german magazine - so Ill make me a V12 Delage sump ...
-
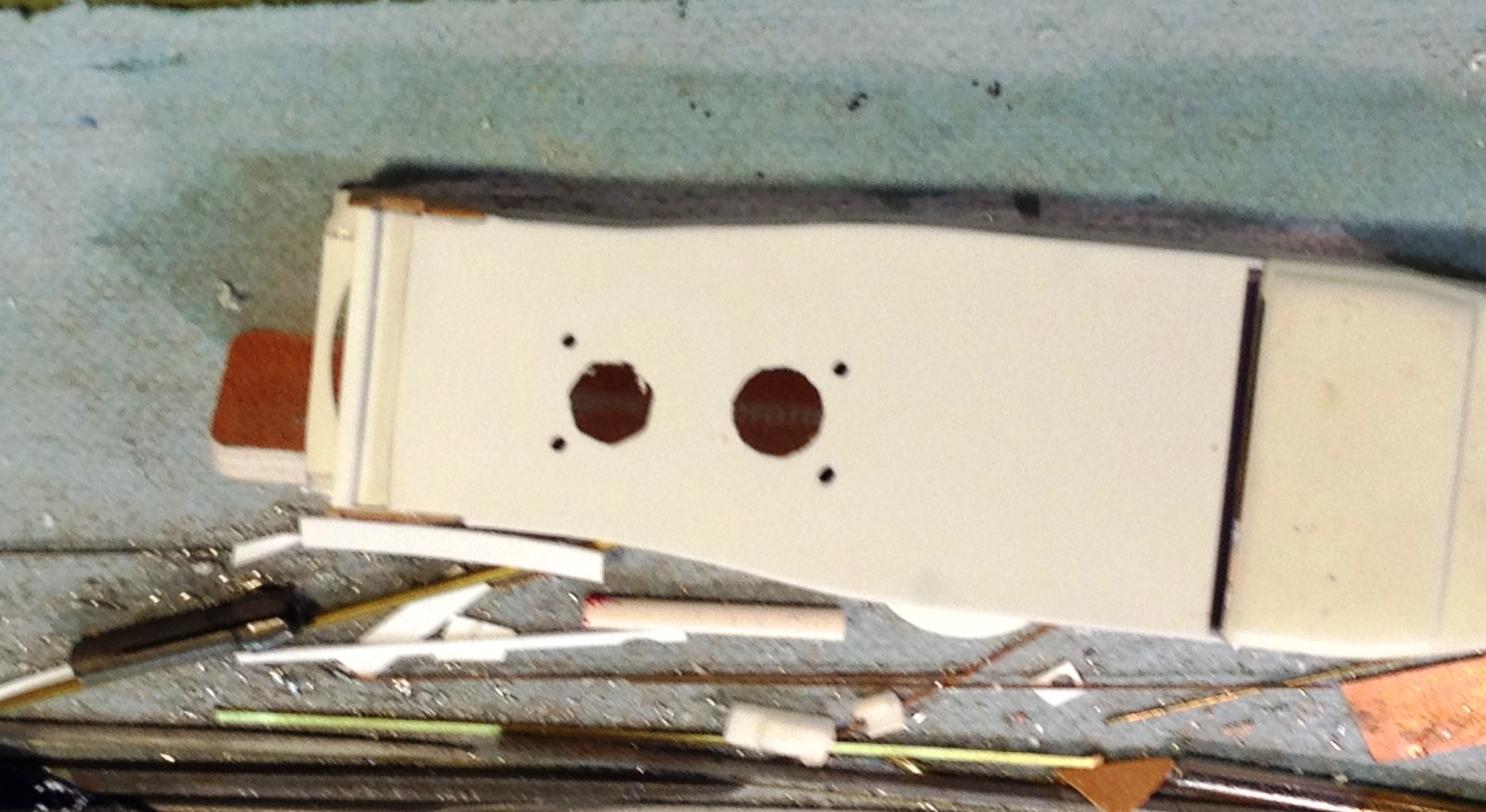
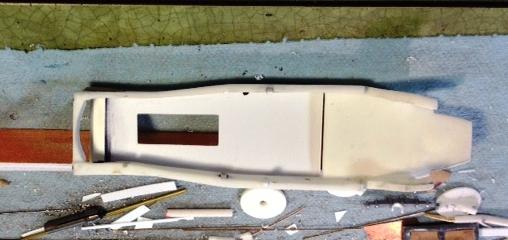
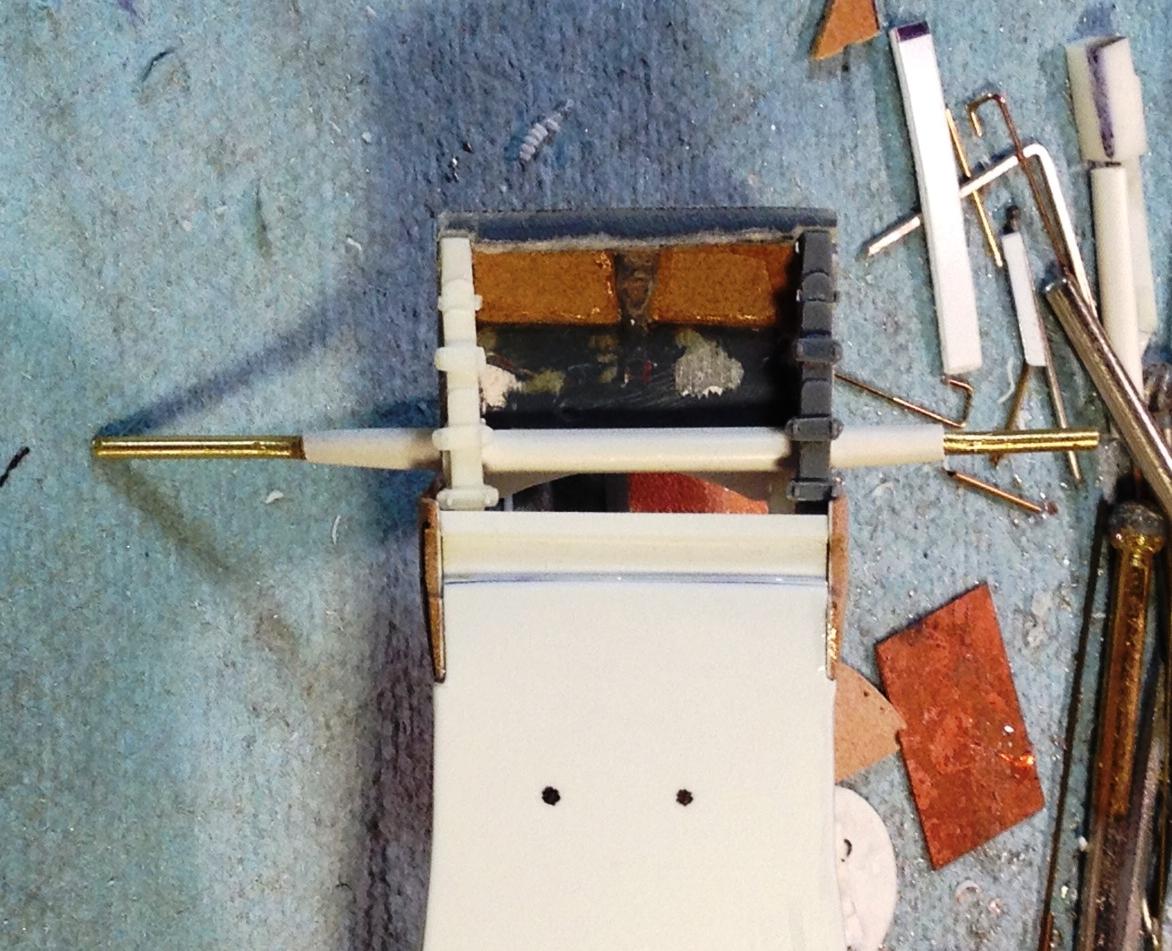
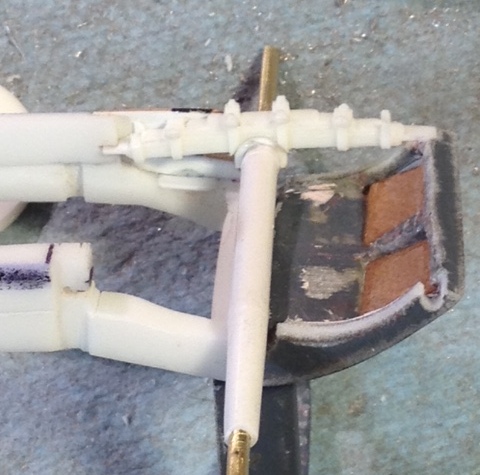
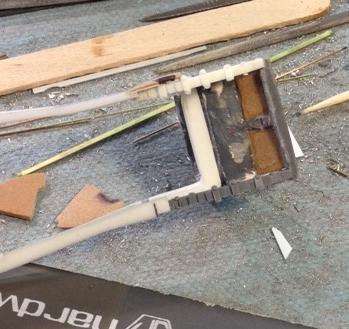
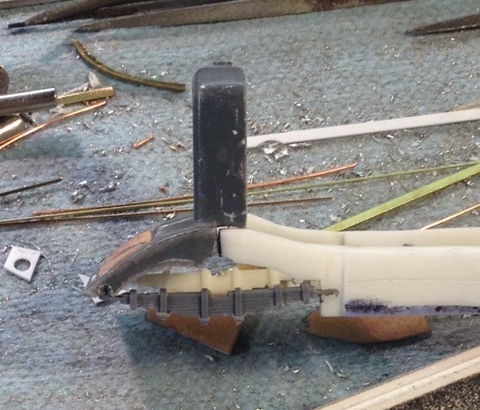
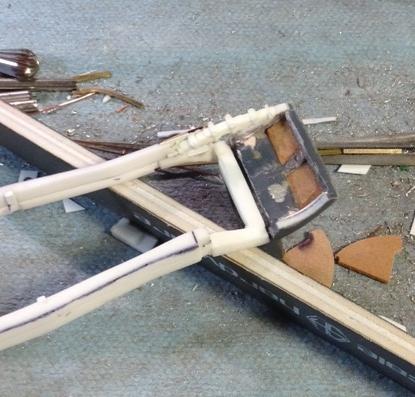
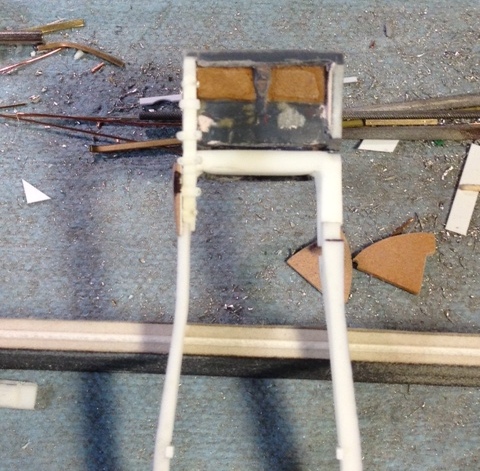
first photo shows the axle and leaf springs mocked up in the chassis - it's a tight fit ... second/third photos just show the opening for the sump in the undertray
-
time to replace the chassis tray - with .015 evergreen sheet
-
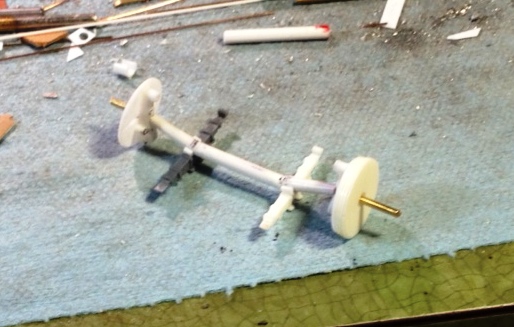
mock up pix for the axle/spring and spindles and placement into the chassis next - got to modify the front chassis cross brace , glue/attach the radiator grill/forward chassis rails, and make/attach the undertray
-
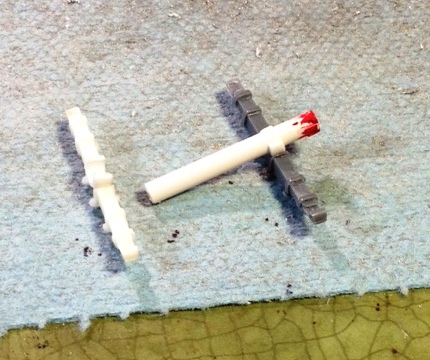
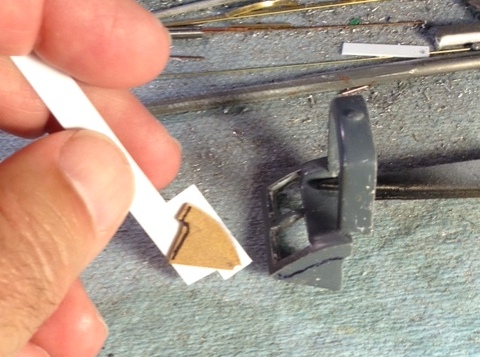
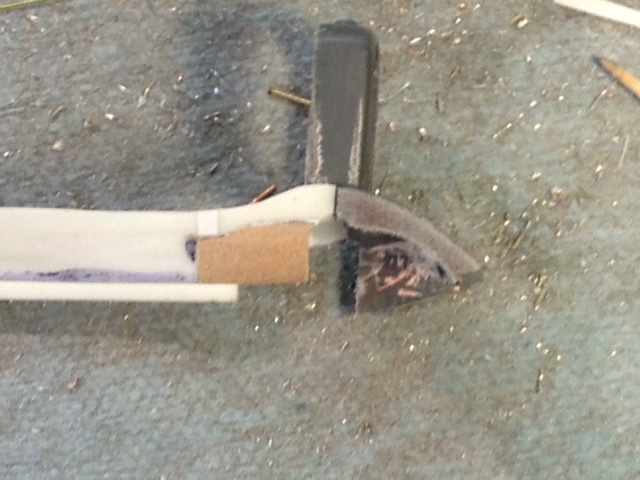
- dragged kicking and screaming into the new century .... - wow - I just learned how to use auto-correct - how exciting ! the part used to locate the front axle to the spring is cut fr tubing, filed, and glued the short length of tube is inserted into the part when gluing - to approximate the correct angle on the axle ...
-
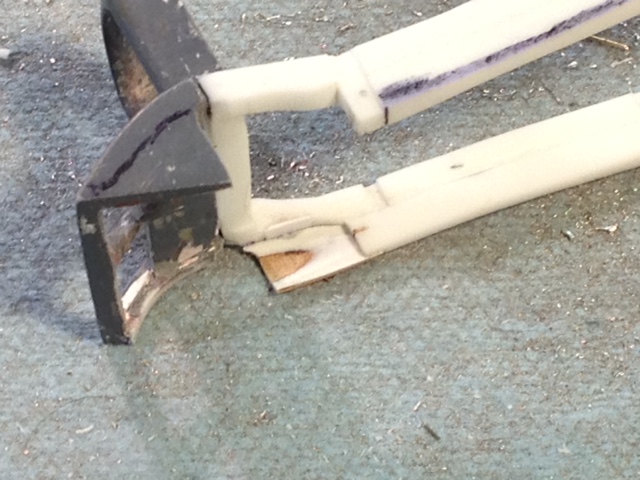
thanks for the compliment - but if you want to really see some Delage detail - check this builders blog out ..... http://www.britmodeller.com/forums/index.php?/topic/235014899-delage-15-s-8-grand-prix-18/ this guy is gonna give me nightmares ... anyway - the resin cast spindle/drum brake assembly will be used in modified form -with separate brake drum housings with sharper detail and I glued a short piece of filed evergreen plastic - fr larger section tube - to the top of leaf spring to grab the axle the real axle was just welded onto the top of the leaf spring - but this way I think I can get a safe axle attachment w/out a lot of extra glue - at least that is the plan ... and I think I have just located some tiny cast "castle" style nut/bolt assemblies - been searching for these suckers for years - more later
-
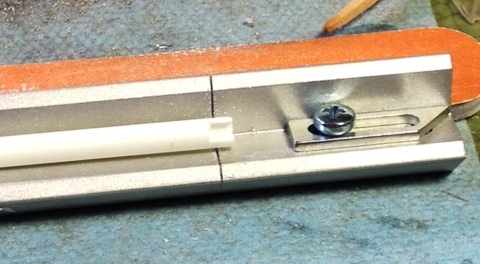
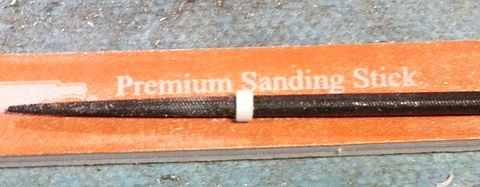
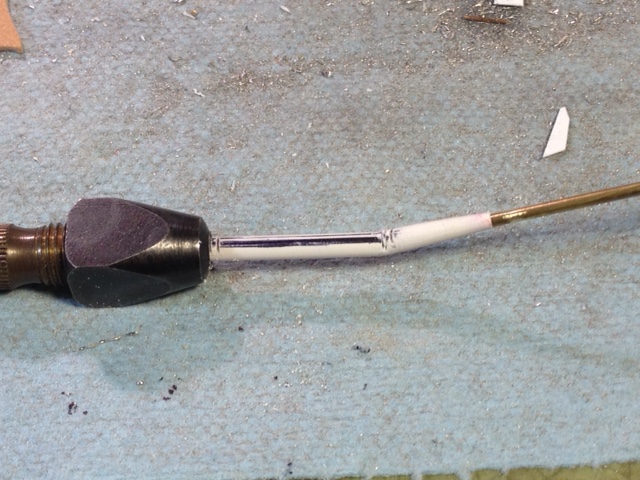
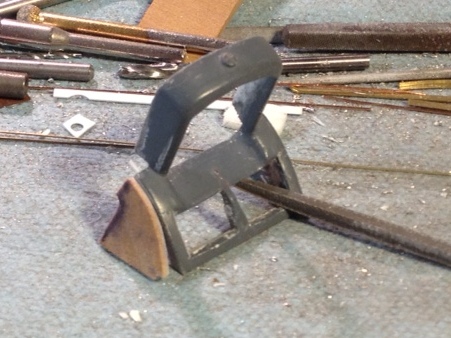
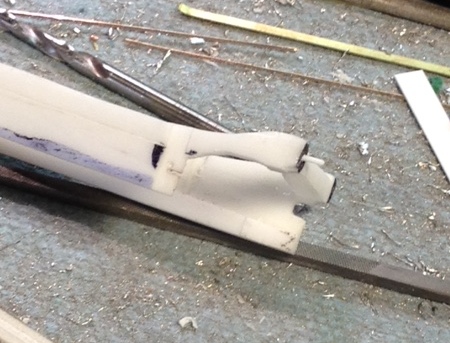
but first the front axle ... using the white metal Finecast kit part for the '27 delage GP car as a reference began with .118 Raboesch wh styrene tube - tapered the ends with files and sanding sticks - marked a guideline to center the bends - inserted brass rod - cut notches in tube - and bent by hand with the help of a pin vice that is open-ended - so that I can insert the axle assembly then glued and sanded the bends and checked on the drawings - this should work ..... the axle and spindle is one single assembly - no need to design working spindles because the mechanical brake assembly makes pose-able scale turning front wheels impractical next have to figure out a secure axle attachment part on the top of the leaf springs ....
-
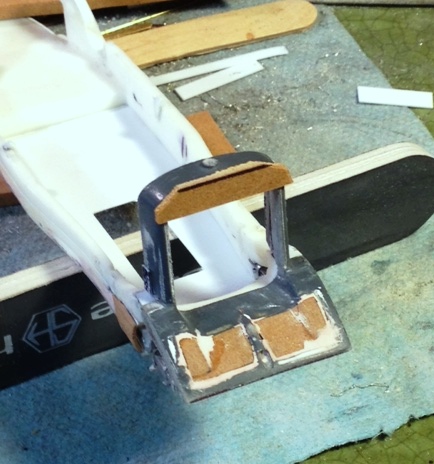
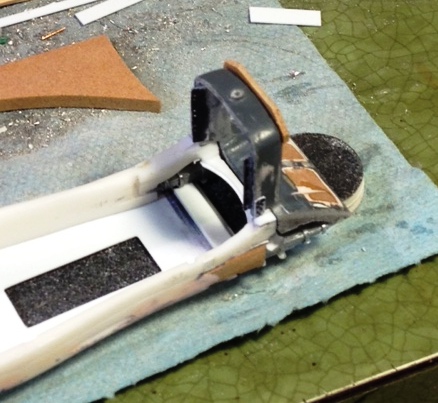
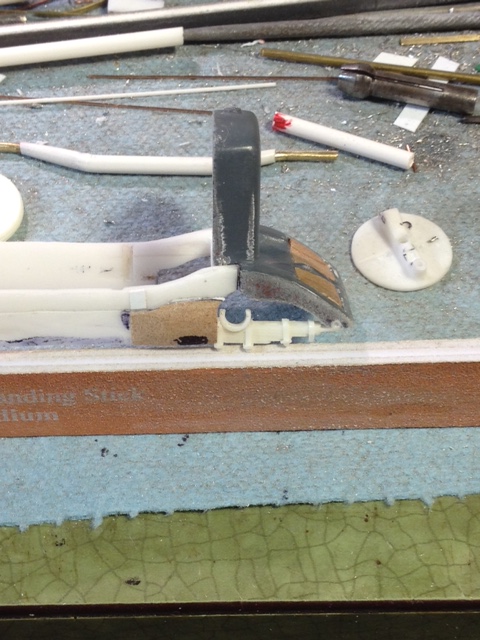
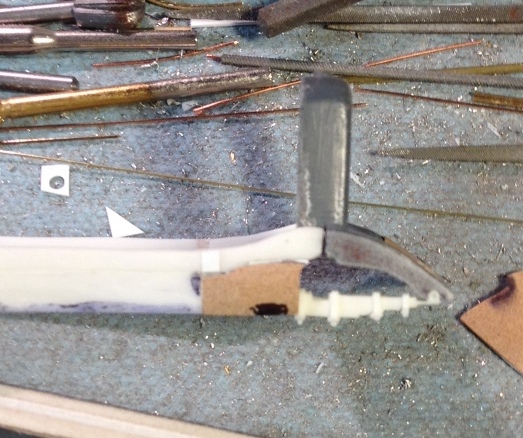
RRrrenshape: bought a half a slab over ten years ago - expensive - but it will last me a long time ... ebay is apparently an option for smaller amounts/pieces - at least one ebay seller offers board end "cutoffs" at what should be a decent price haven't tried it yet - but if you do - let me know - ask to try the brown stuff - 450 - first - that's what I've been using - but you can also order a "harder" substance the pictures show the second leaf spring in place - the gray casting - almost ready to glue the radiator/frame assembly to the main frame rails ...
-
none of the above makes sense til you see picture 0733 this is a mock up - once the radiator and front rail section is glued to the main chassis casting - not yet - the leaf spring will both locate the axle and act as a brace for the chassis assembly the leaf spring pictured is a casting from another project - I'll either use it or make something like it .... without the shaped fairings - the leaf springs can't sit under the chassis rails - where they belong ... starting to think about the axle - can use the white metal casting in the Finecast '27 Delage kit as a guide make it in nickel silver or shaped evergreen plastic ?? dunno
-
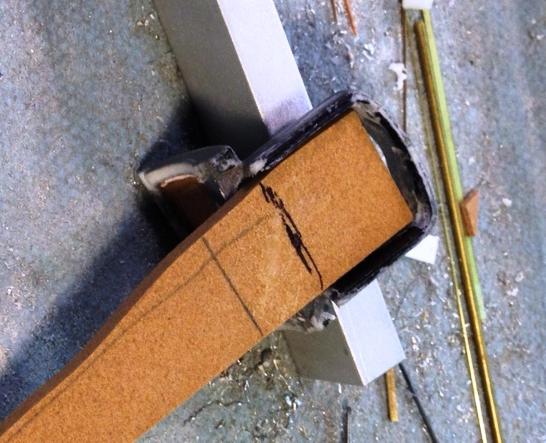
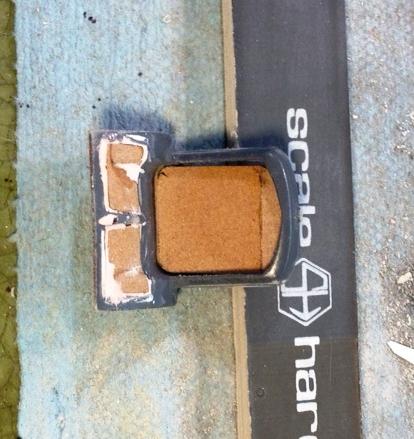
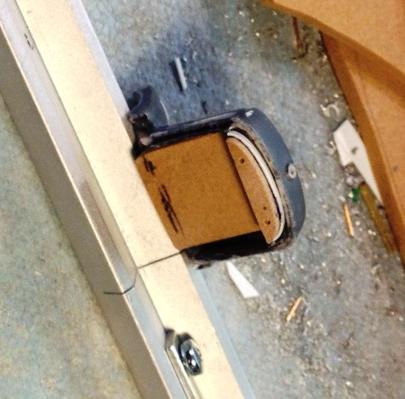
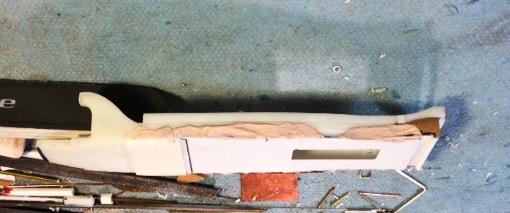
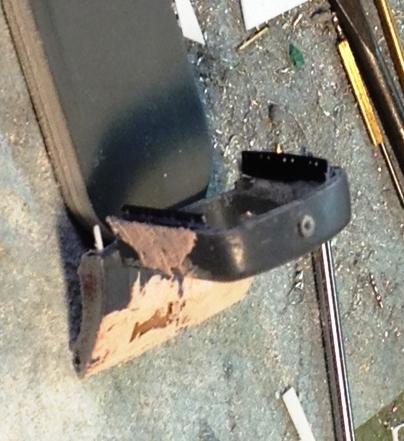
gotta make the same changes to the fairing attached to the section of chassis rail forward of the radiator so the renshape/evergreen sandwich replaces the thick resin fairing and will again be shaped with the bulge renshape is easily shaped with sanding sticks to get a precise shape also filling in the fairing ahead of the radiator - again with renshape the casting is accurate for the '25 team car - but the restored car that I am modeling does not have these openings
-
back to work using a sandwich of renshape - the brown material and .010 evergreen white sheet - to replace the forward section of the chassis tray the part is thinner and will have a shape - a slight bulge - to make room for the fr suspension leaf springs - which run directly under the chassis rail up front .... the bulge in these parts is not apparent on the scale drawings but is visible on the photos of the restored car on page 1