absmiami
-
Posts
4,857 -
Joined
-
Last visited
Content Type
Profiles
Forums
Events
Gallery
Everything posted by absmiami
-
 Thanks Shaker this is what i want for Xmas
-
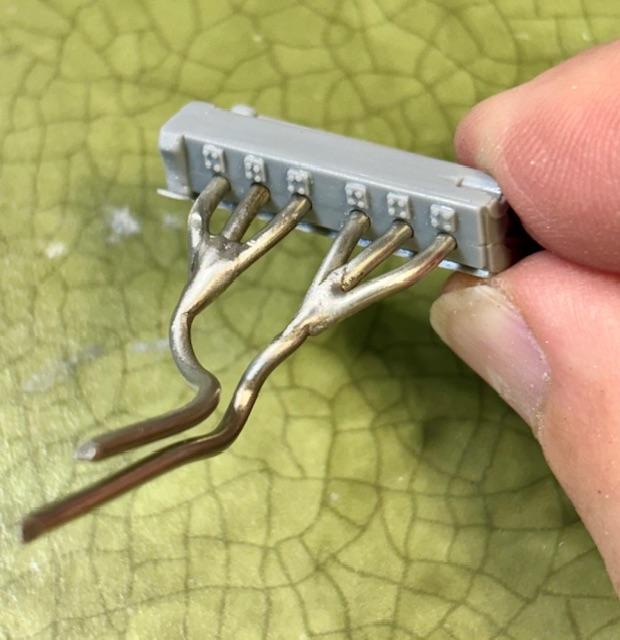
Maserati A6GCS Spyder
absmiami replied to absmiami's topic in WIP: Other Racing: Road Racing, Land Speed Racers
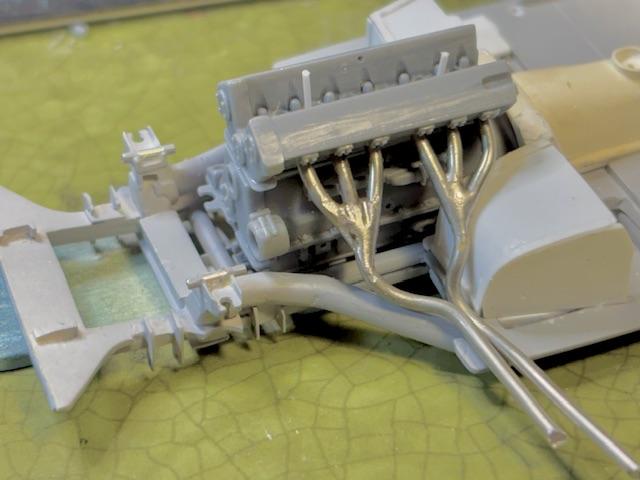
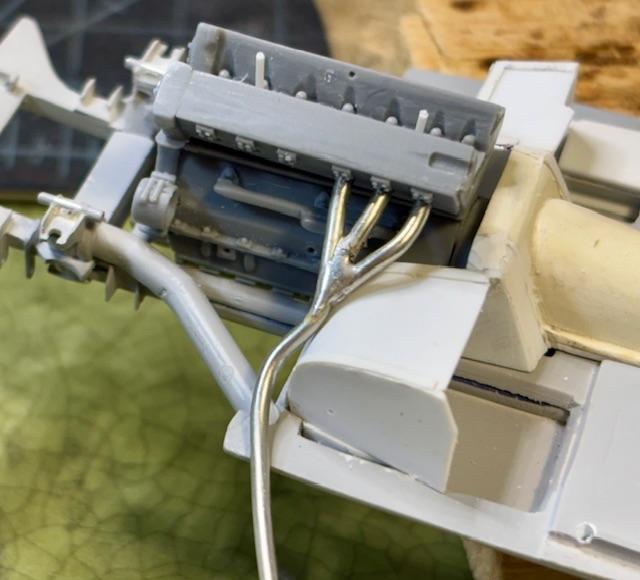
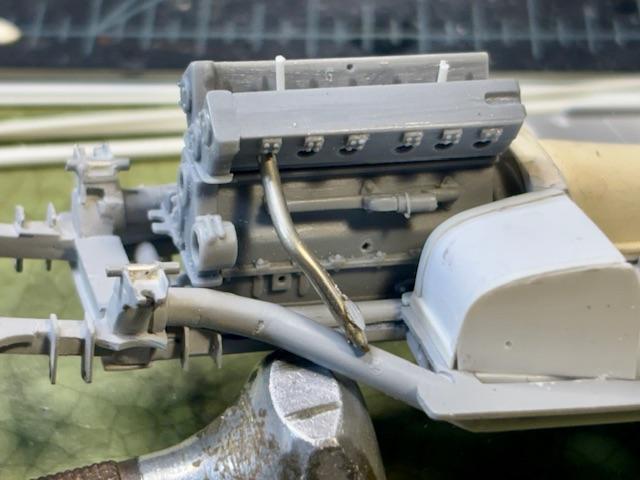
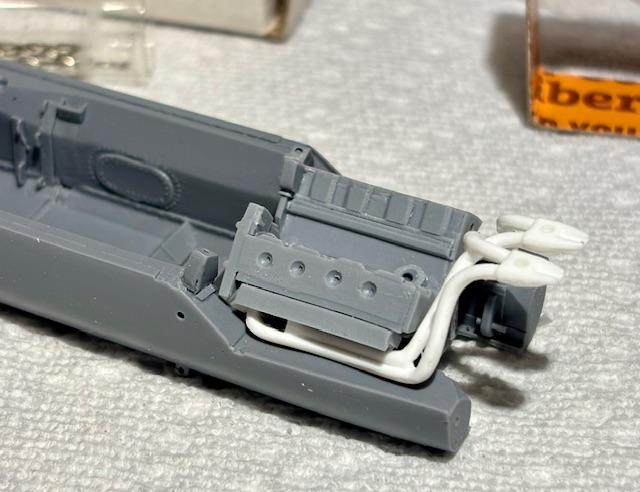
I had made brass plug wire looms - my caster took the trouble to add tabs used to attach the looms to the valve covers - thats a difficult job - but the tabs line up just right - the slender parts wont be as strong as the brass masters - but i think i can use them …
-
Maserati A6GCS Spyder
absmiami replied to absmiami's topic in WIP: Other Racing: Road Racing, Land Speed Racers
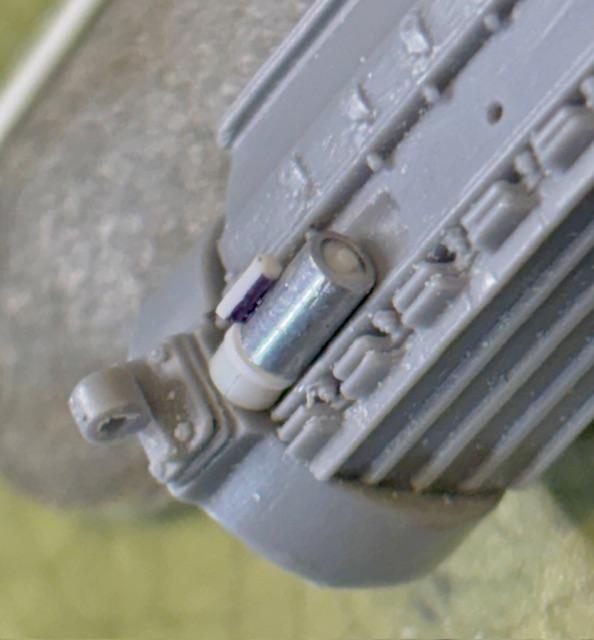
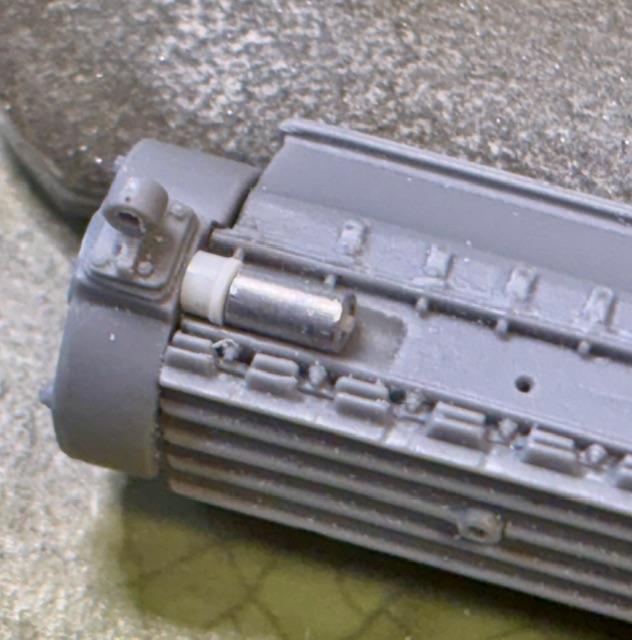
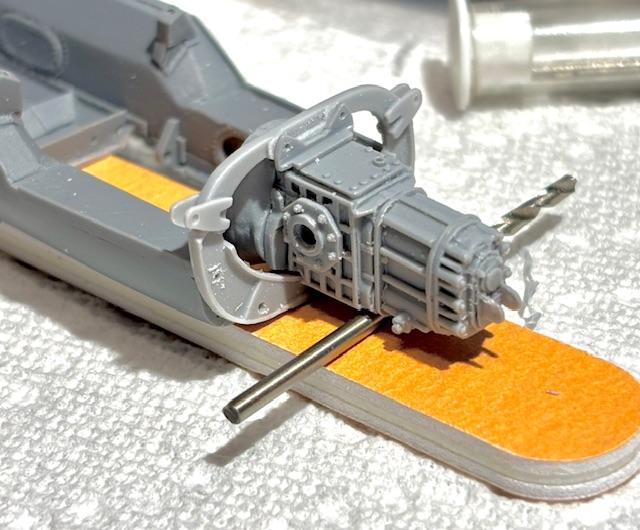
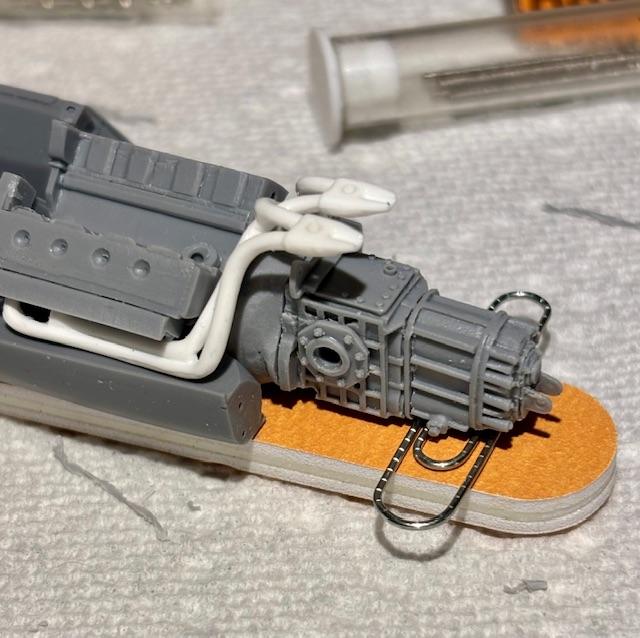
The starter is a short length of .093 alu tube with some bits and peices of Evergreen rod for detail -
-
Maserati A6GCS Spyder
absmiami replied to absmiami's topic in WIP: Other Racing: Road Racing, Land Speed Racers
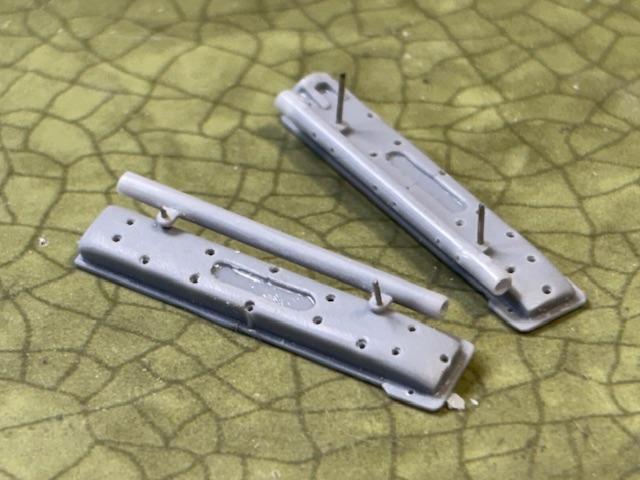
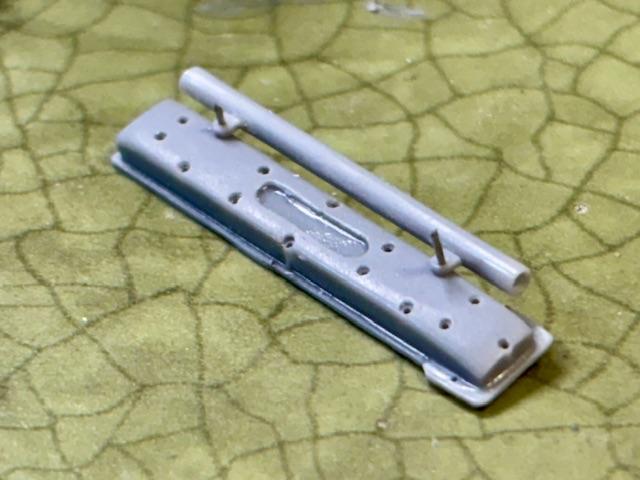
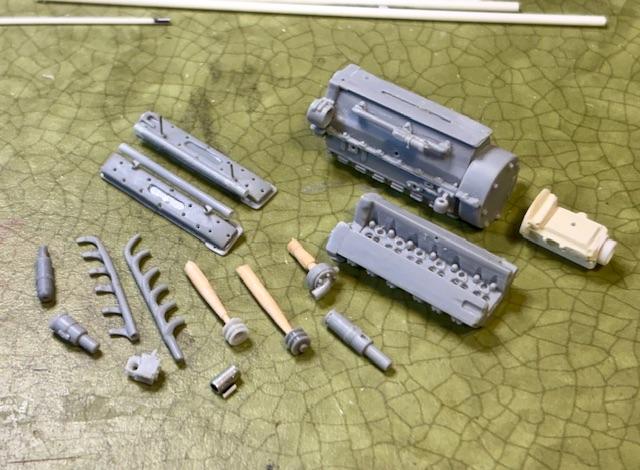
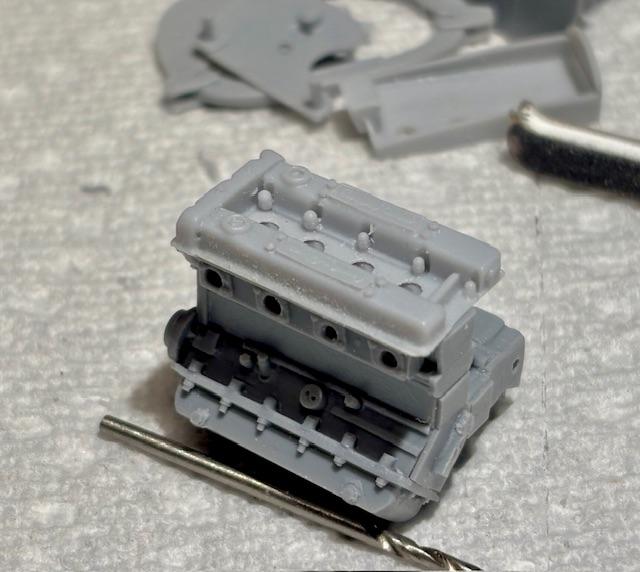
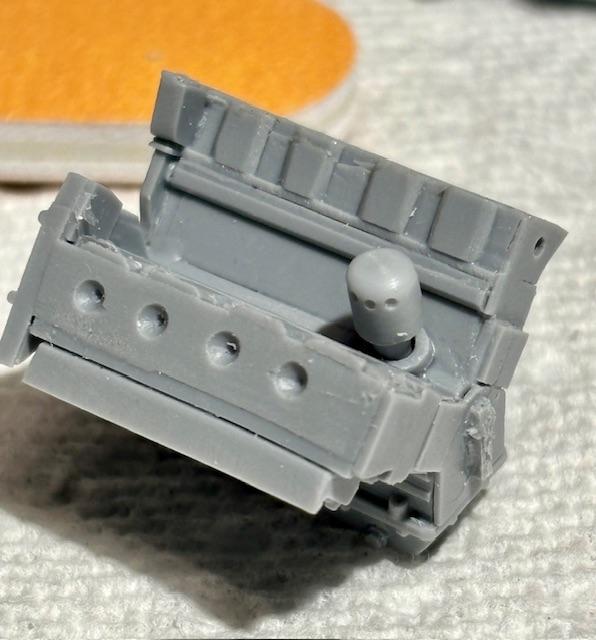
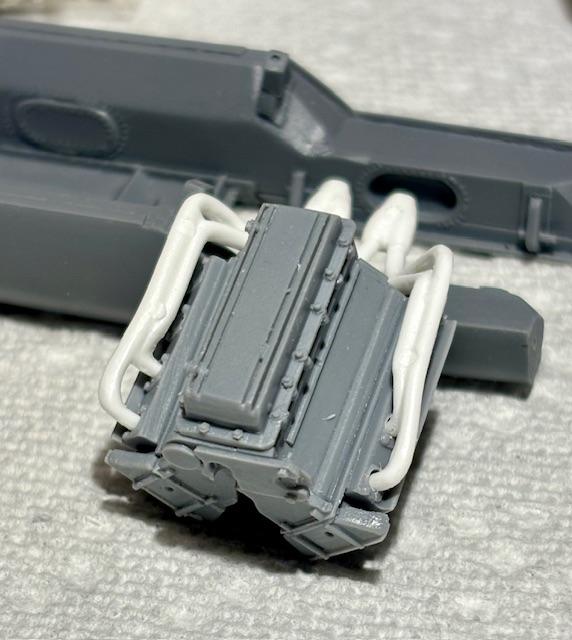
I’ve now made enough parts to paint and assemble my engine … nearly all the parts have been casted by the HOF resin caster that casted my Lotus Climax engine … the white casting in the group pose is the trans casing - even though i’ve scratched the frame and the engine - i’m finding that many of the kit’s castings are useful once modified …
-
Maserati A6GCS Spyder
absmiami replied to absmiami's topic in WIP: Other Racing: Road Racing, Land Speed Racers
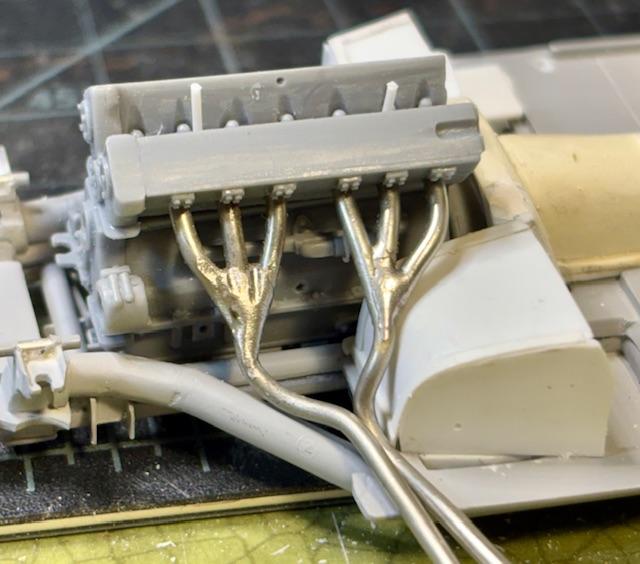
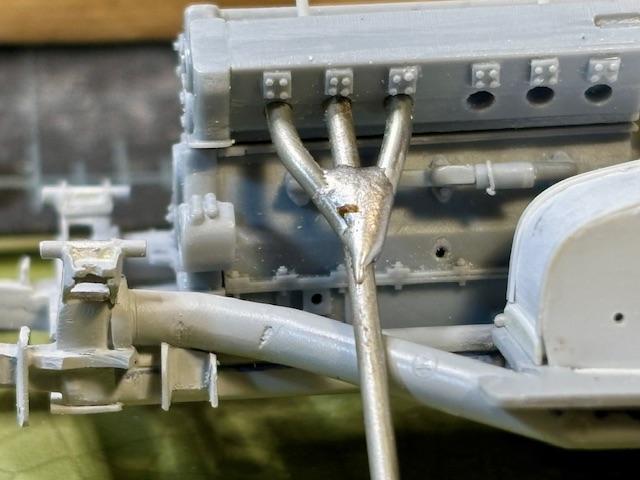
Not done yet - the manifolds don’t yet line up as neatly as they should - but the silver solder remains soft enough for some more adjustments - will do this later - i’m … exhausted …
-
Maserati A6GCS Spyder
absmiami replied to absmiami's topic in WIP: Other Racing: Road Racing, Land Speed Racers
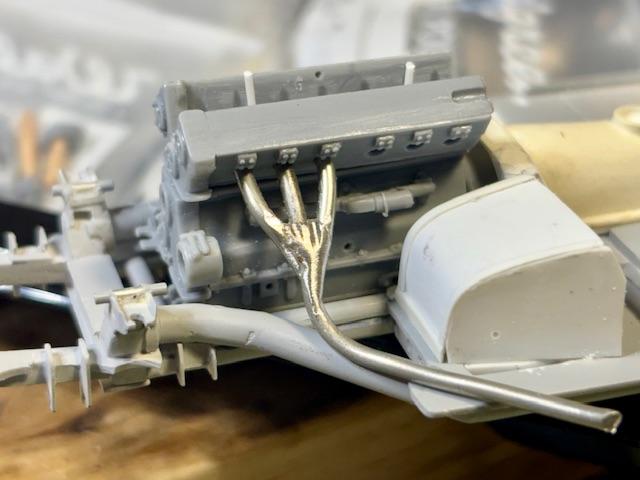
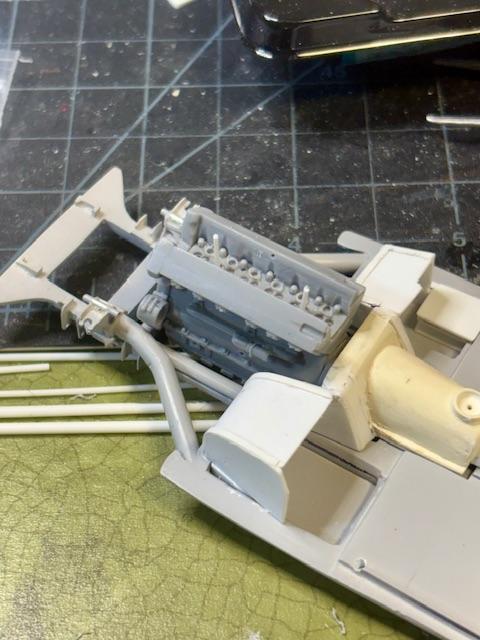
Ground a cutout into the left fender - which is exactly what the factory appears to have done - for the manifold pipes’ exit fr the eng bay …
-
Maserati A6GCS Spyder
absmiami replied to absmiami's topic in WIP: Other Racing: Road Racing, Land Speed Racers
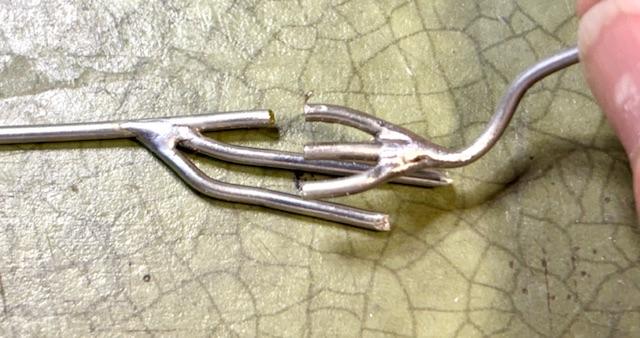
The forward manifold - and then the back manifold…
-
Maserati A6GCS Spyder
absmiami replied to absmiami's topic in WIP: Other Racing: Road Racing, Land Speed Racers
Which gave me a manifold that i can bend and adjust in place in the engine bay - the white casting is the kit side pipes - this part is pretty good - plan to use it -
-
Maserati A6GCS Spyder
absmiami replied to absmiami's topic in WIP: Other Racing: Road Racing, Land Speed Racers
Dont want to use copper or brass - because both will “work harden” after repeated bends to route the pipes - and once I’ve soldered the 3 into 1 pipes - i can’t repeatedly anneal the assembly - so i’m using silver solder - .060 for a scale 1 1/2 pipe - while working on parts for the Lotus 25 I sourced some low temp solder fr GB - using it to solder white metal - it dawned on me that i could use it on silver solder because of its higher melting point …
-
Maserati A6GCS Spyder
absmiami replied to absmiami's topic in WIP: Other Racing: Road Racing, Land Speed Racers
The pipes have to run down and past the footwell -
-
Maserati A6GCS Spyder
absmiami replied to absmiami's topic in WIP: Other Racing: Road Racing, Land Speed Racers
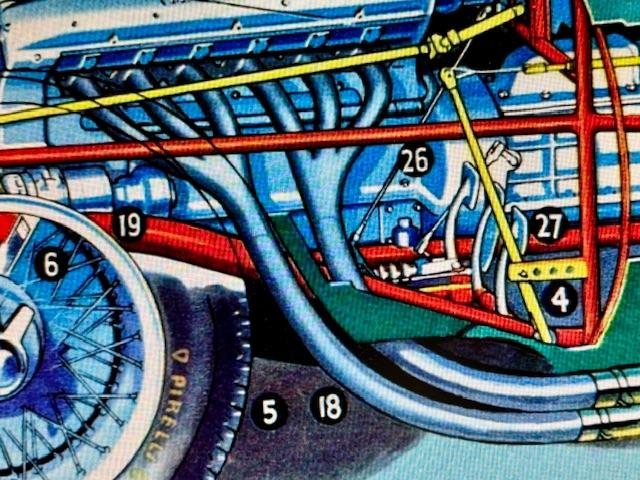
Exhaust manifolds - this is the last thing in the engine bay to tackle - two 3 into 1 pipes that exit under the fender and then into side mounted mufflers …
-
Cant tell on an i phone - but you might have enough green on it w 2 coats … looks good
-
The dog ate my … GTO seat ?
-
Was sort of hoping you mite look at some 24th sc subjects for a transkit - can we tempt you to do a proper 24th sc Jag engine ? The Tamiya 6 cyl Jag engine in their saloon kit is good - its about half way there -
-
Ooph
-
Nice save
-
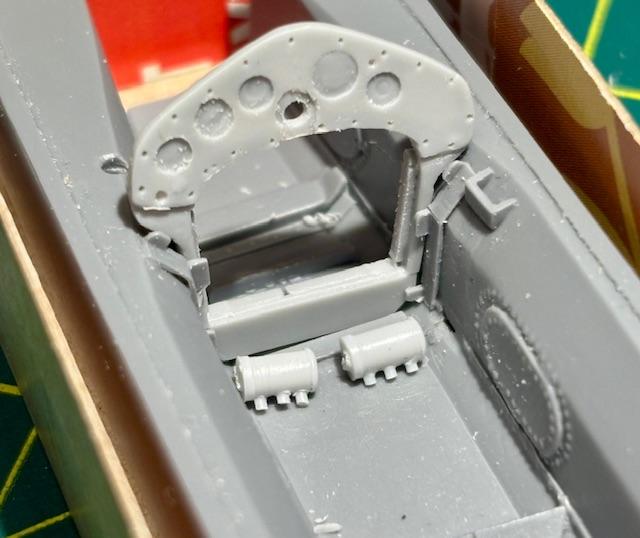
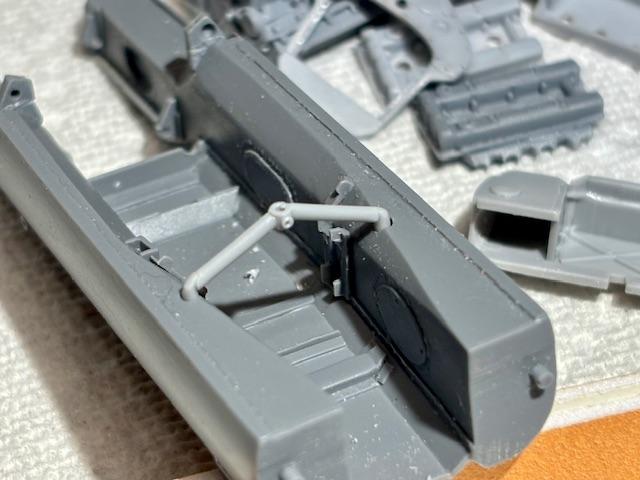
Shift gate and fuel pumps…
-
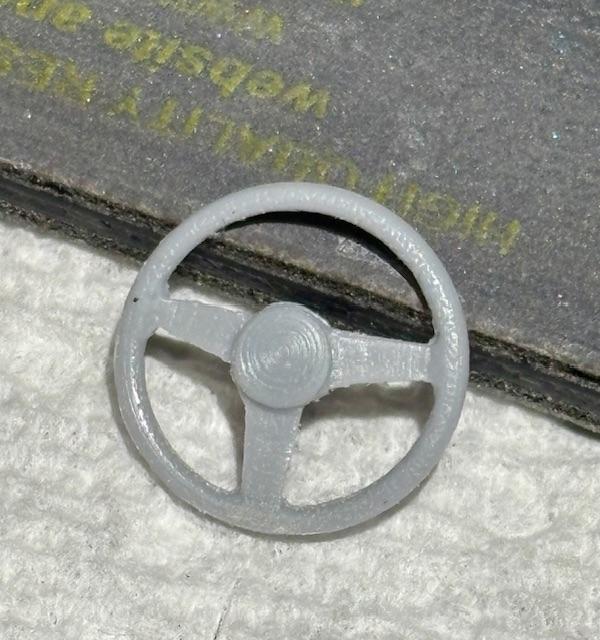
Steering wheel modified fr Auto kits Lotus 25 white metal casting - used because it has the correct diameter and shape -
-
The radiator, oil tank, and the ducts to the bulkhead - the first few 25’s actually secured the radiator without a subframe - just the pipes and the ducts - but subframes were used - i think - before the end of the ‘62 racing season - safe bet that Team mechanics added it - and then told Chapman …
-
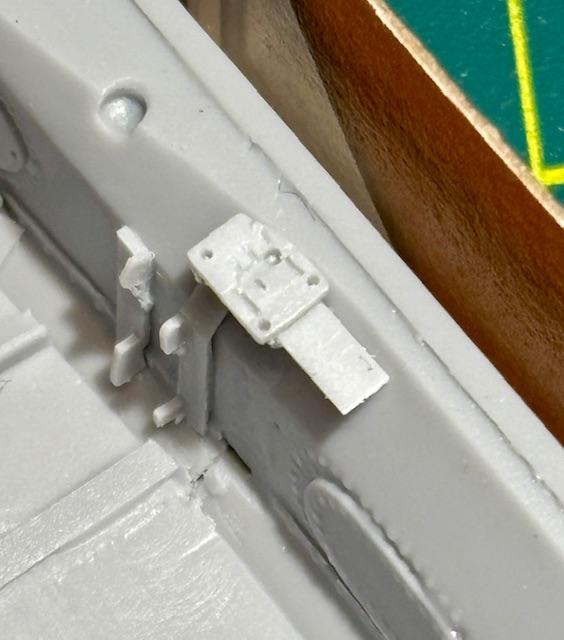
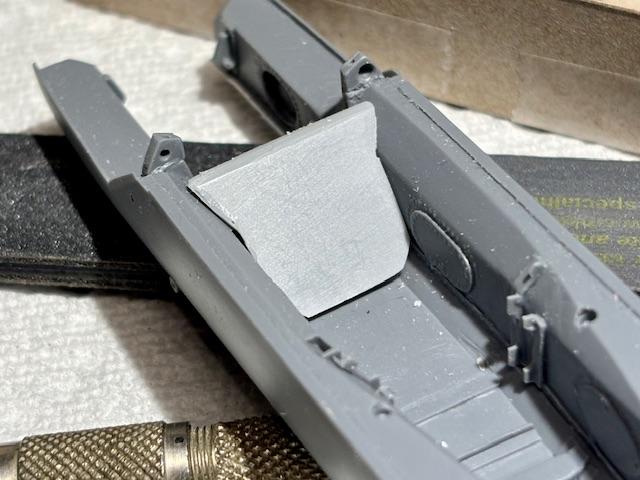
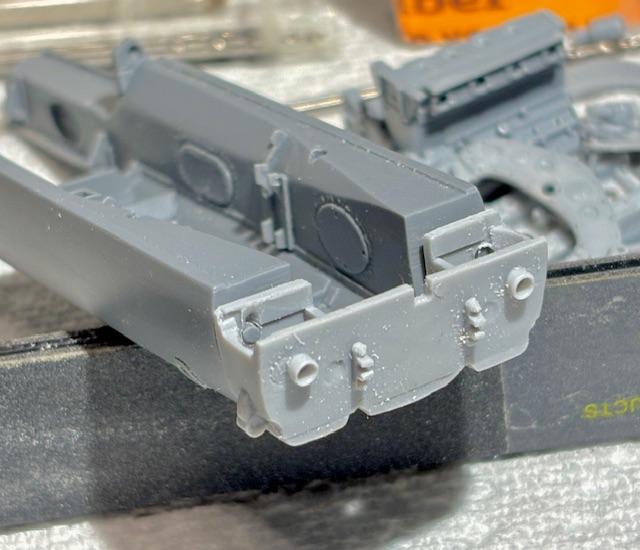
Bulkheads behind the seat … There’s an opening in one of these for a fuel bag photo on page 2 of this thread shows an opening for a fuel bag - thats an early chassis - so i think i’ll add this feature …
-
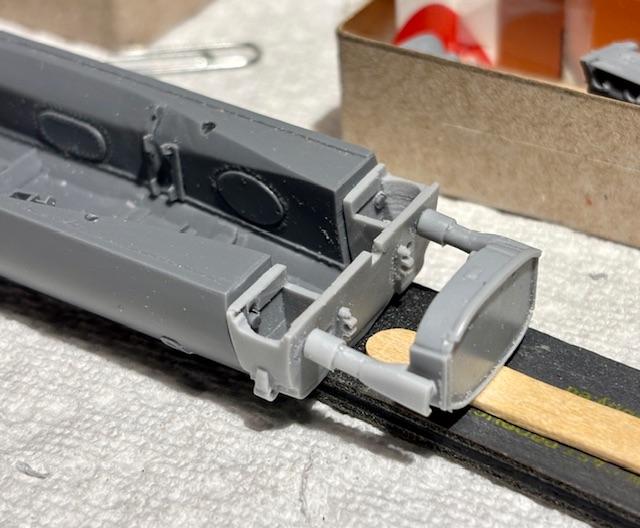
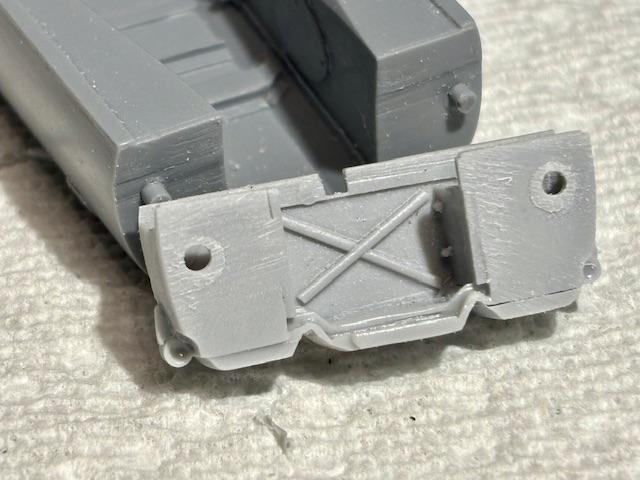
The fr susp bulkhead has gone thru some changes - now ready to drill sand paint and attach to the monocoque-
-
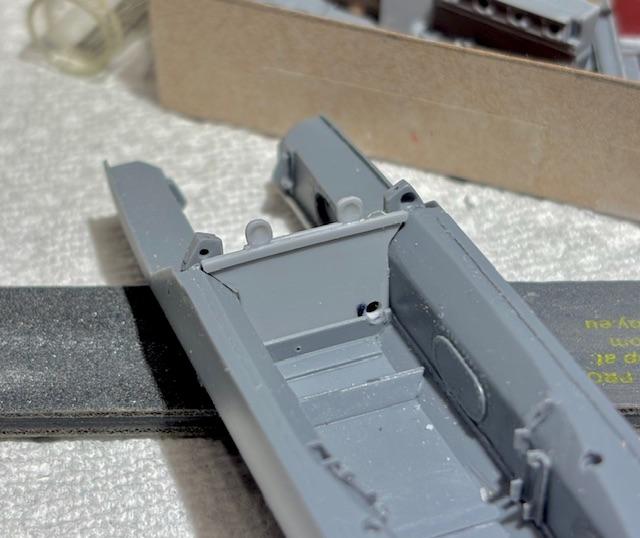
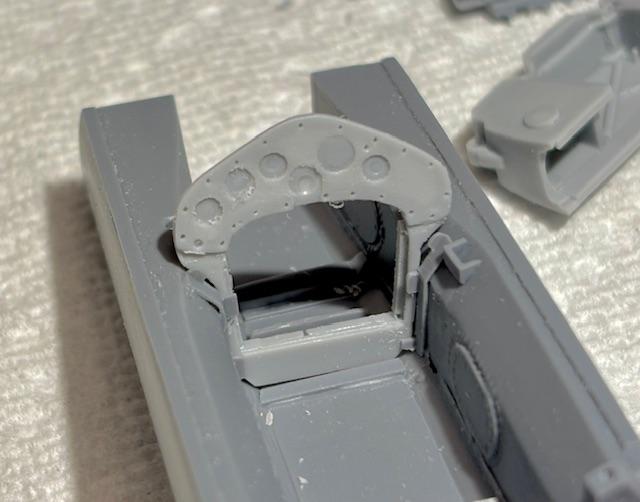
The dash bulkhead and the fuel pipe - these parts began life as Tam Lotus 25 kit parts - modified heavily to add detail -
-
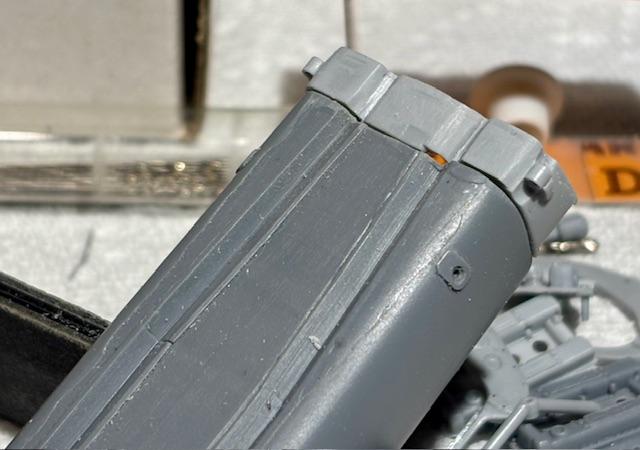
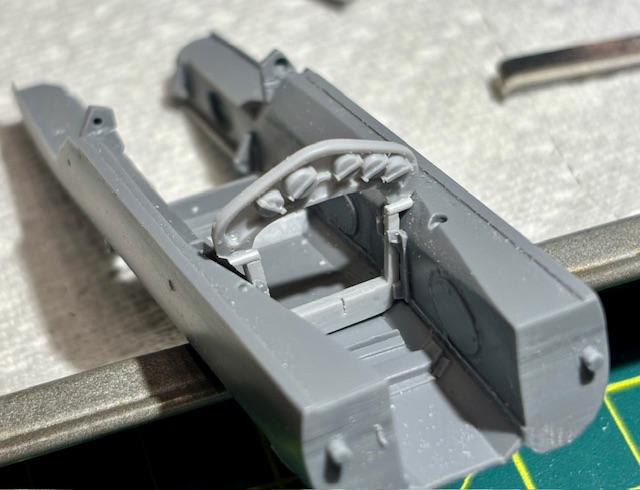
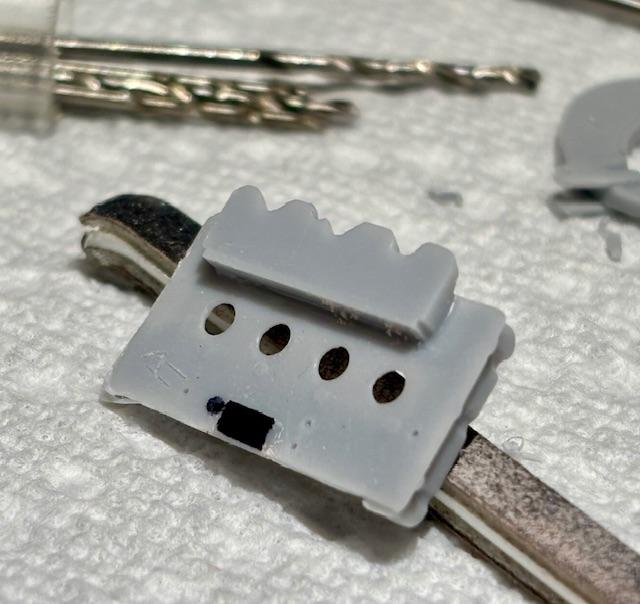
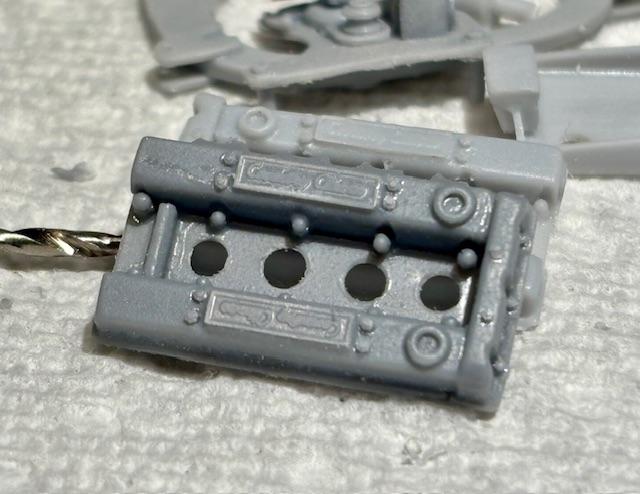
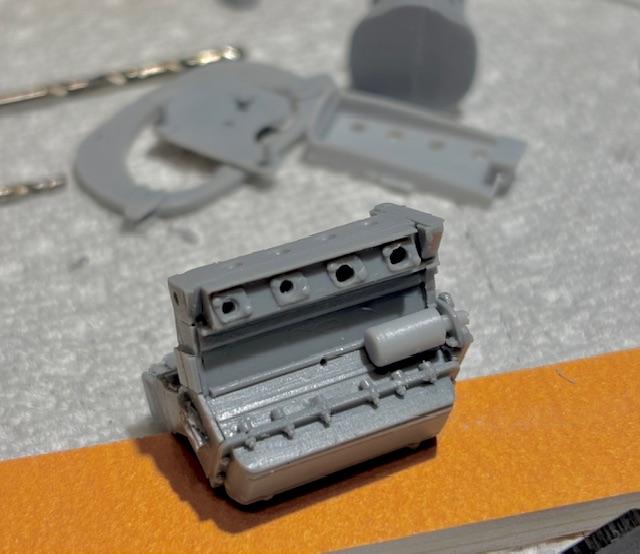
Valve covers came out great
-
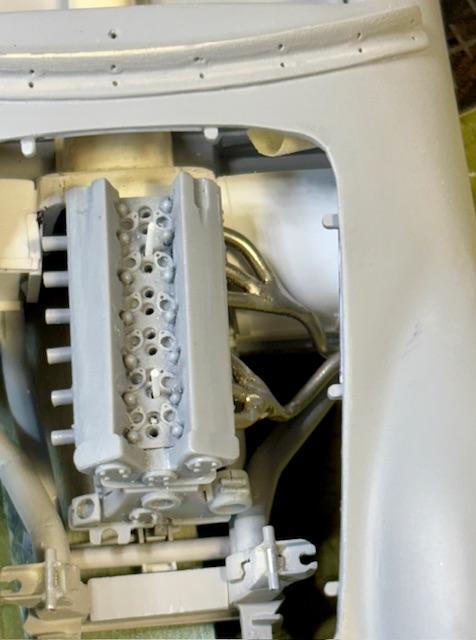
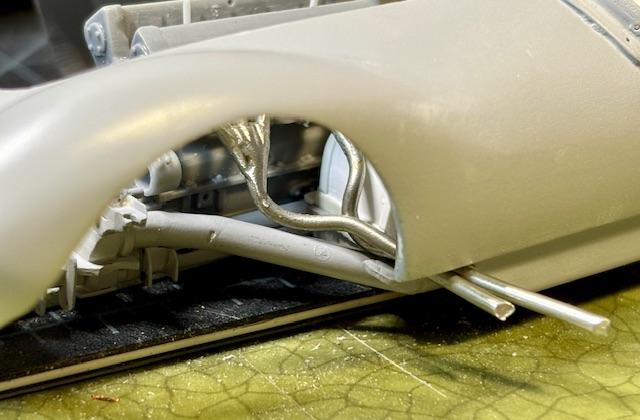
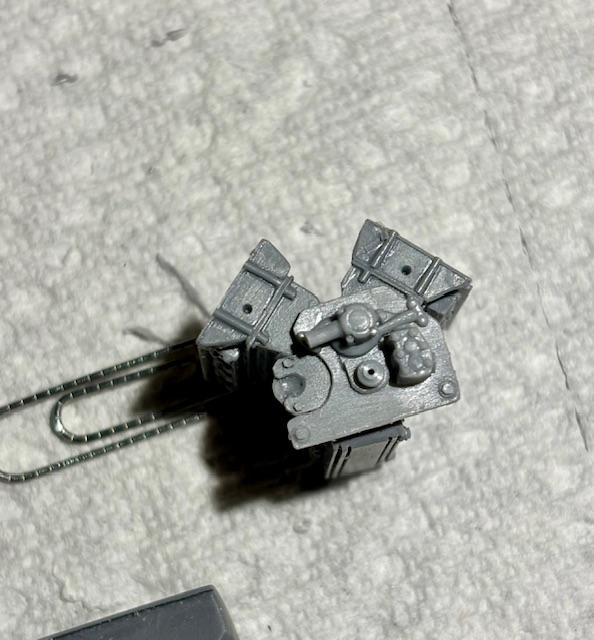
Some eng parts mockup - you can really see the quality of the castings on these shots
-
The one part that i did not scratchbuild was this white Casting - which is the forward pipe assembly found in the tamiya 20th sc Lotus 25 - was pleasently surprised that my caster was able to cast this - assembly will be easier with the use of this casting -