Dragonhawk1066
-
Posts
3,932 -
Joined
-
Last visited
Content Type
Profiles
Forums
Events
Gallery
Everything posted by Dragonhawk1066
-
Awesome build! Great effects, great color and really nice engine details. Nice job on the carpeting too!
-
Nice start. Looks to be a very convincing replica of a vinyl top. Can't wait to see more.
-
Very sharp, nice color combo.
-
Great job on the build! Those old AMT tires sure leave a lot to be desired, but unfortunately that's what came in the kits.
-
Very nice! Nothing beats the classic blue Cobra.
-
Nicely done! Very clean builds.
-
Very nice clean build. Great color choice.
-
Very cool diorama and very well done!
-
Thanks! I love the colors of the One Coat Lacquers and the paint goes on quite well out of the can. Thank you, I wanted to something out of the norm with this kit. Thanks!
-
Thank you, I've never built a Lindberg kit either until now. Not the greatest quality, but it actually went together quite well. Thanks! Thanks! I agree one doesn't see this kit done very often.
-

69 GT500 & 70 ZR1 Corvette in GREEN
Dragonhawk1066 replied to dragmodels44's topic in WIP: Model Cars
Great lookin' WIP's! Love the colors on both. -
1/16 Scale Army Vega Funny Car - Completed
Dragonhawk1066 replied to Mooneyzs's topic in Drag Racing
An absolutely stellar build!! Very clean workmanship. The thing looks real, I'm uber impressed! -
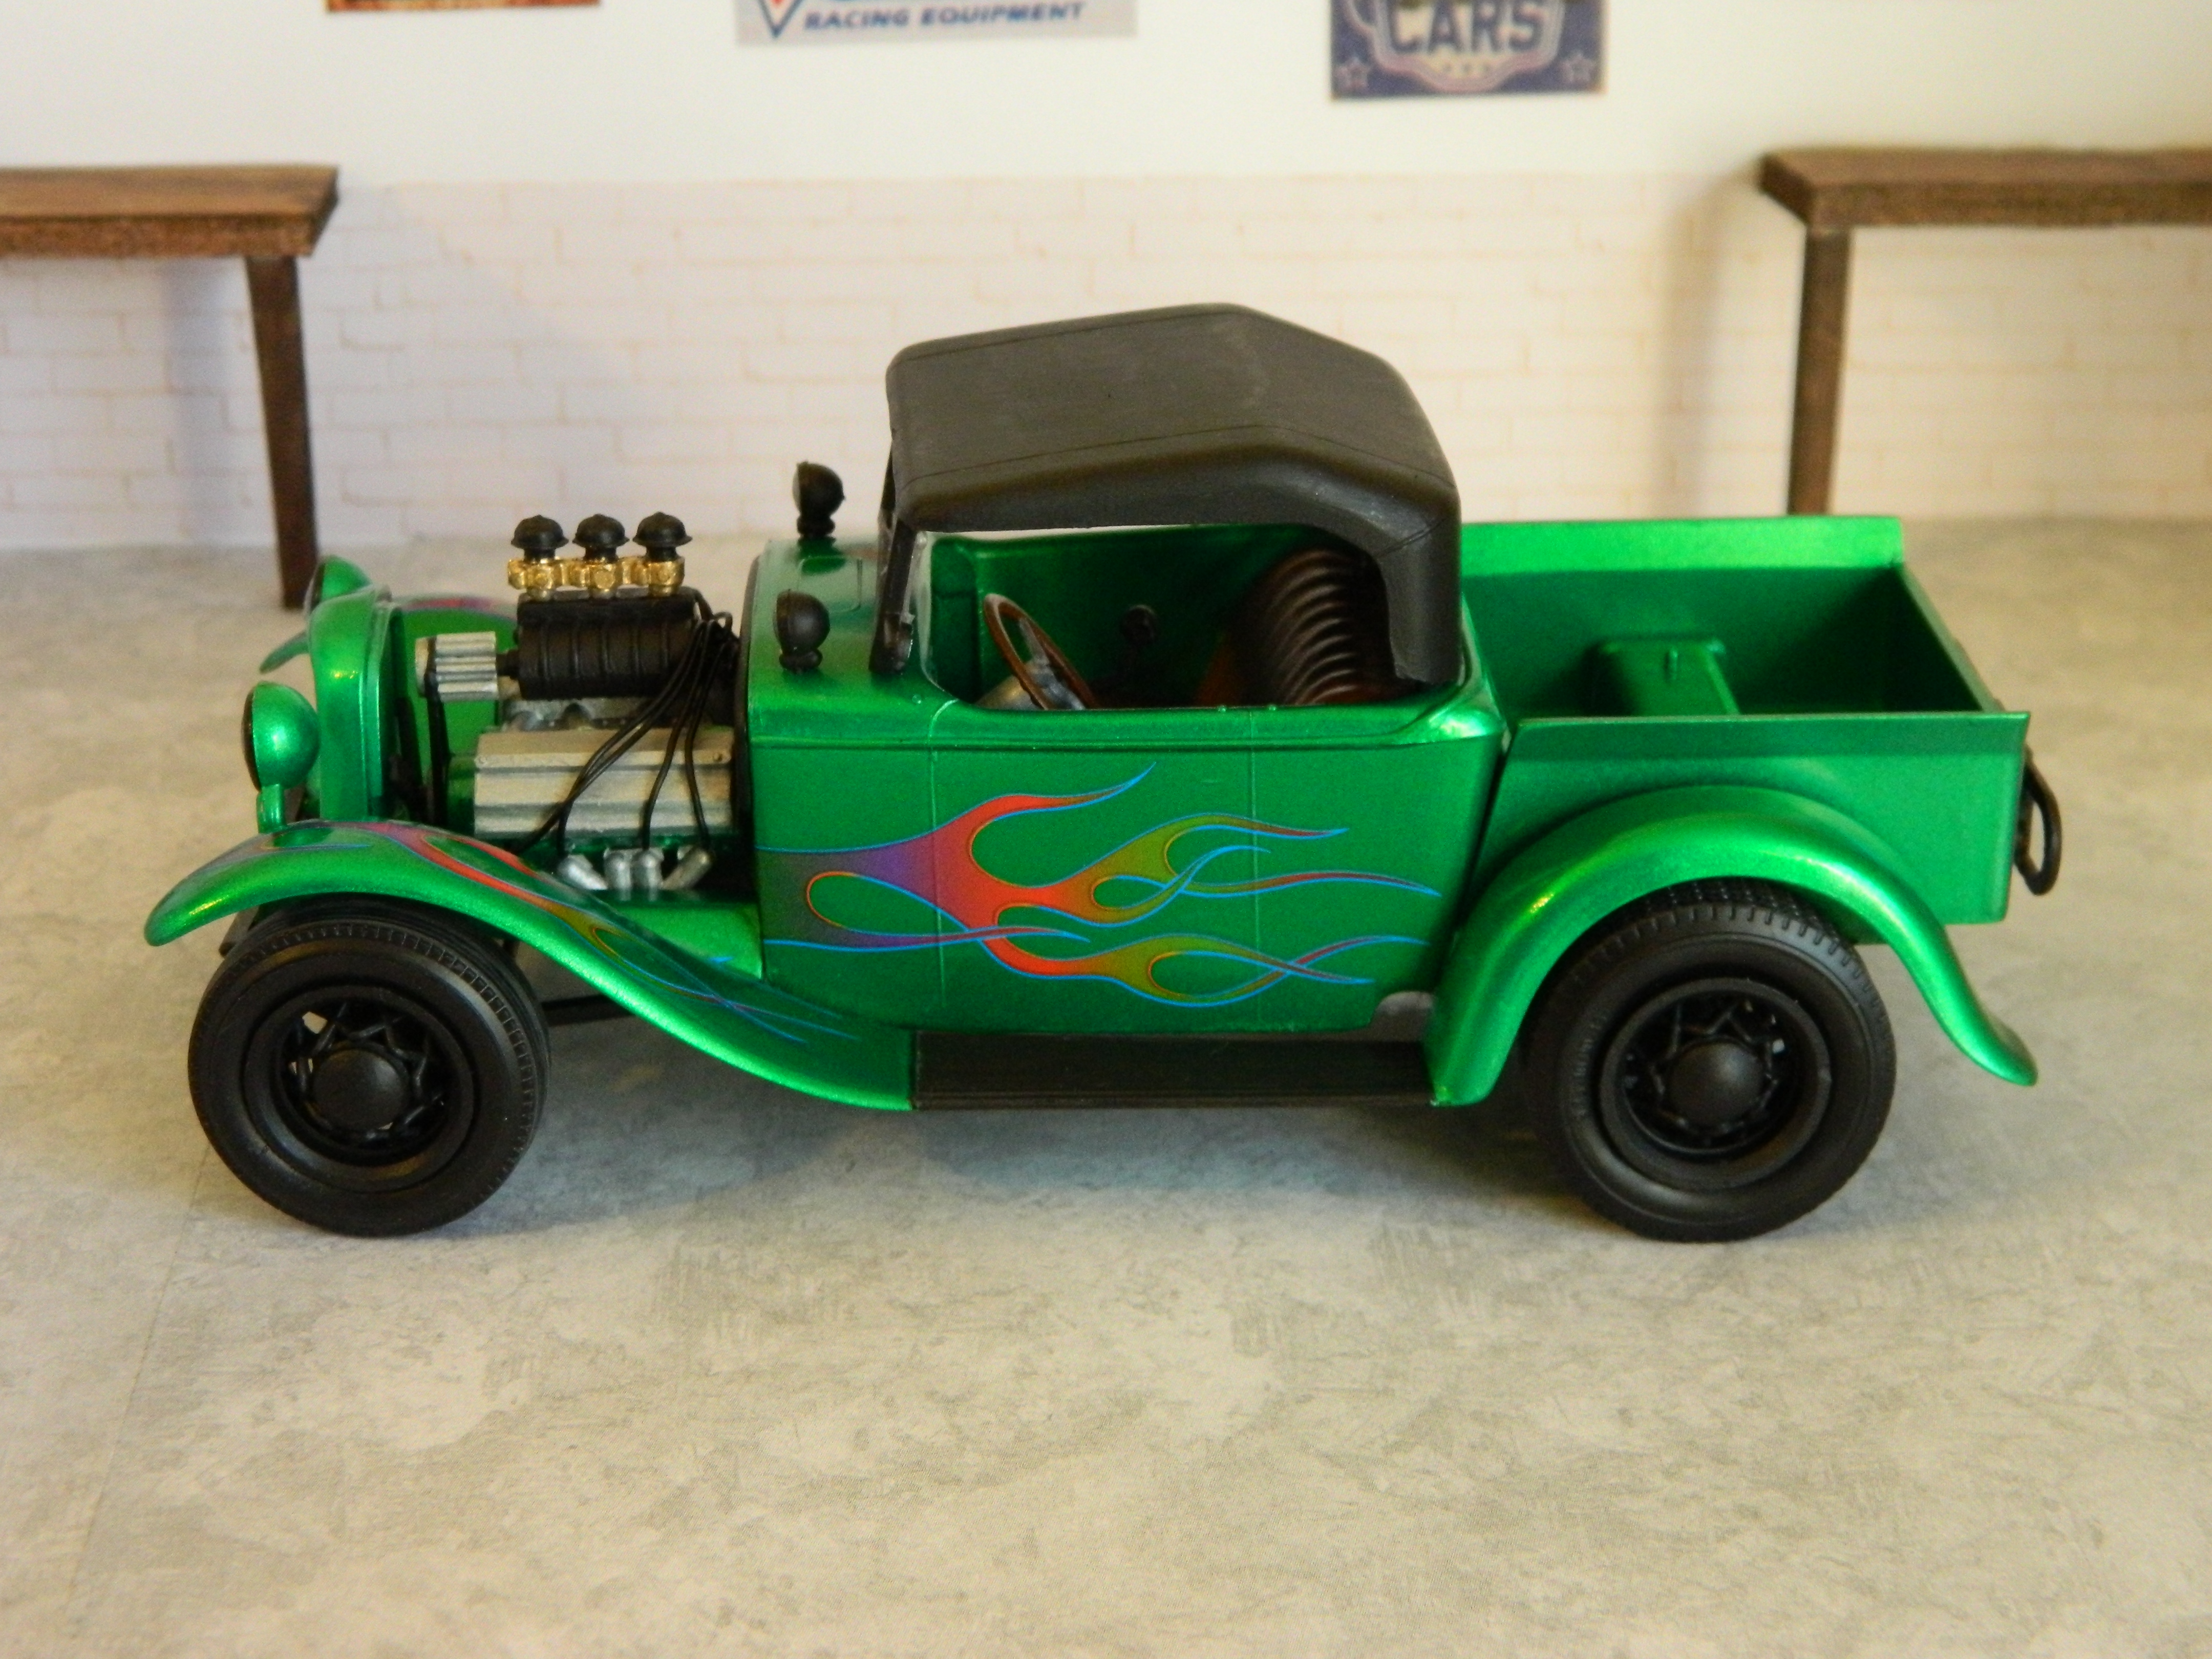
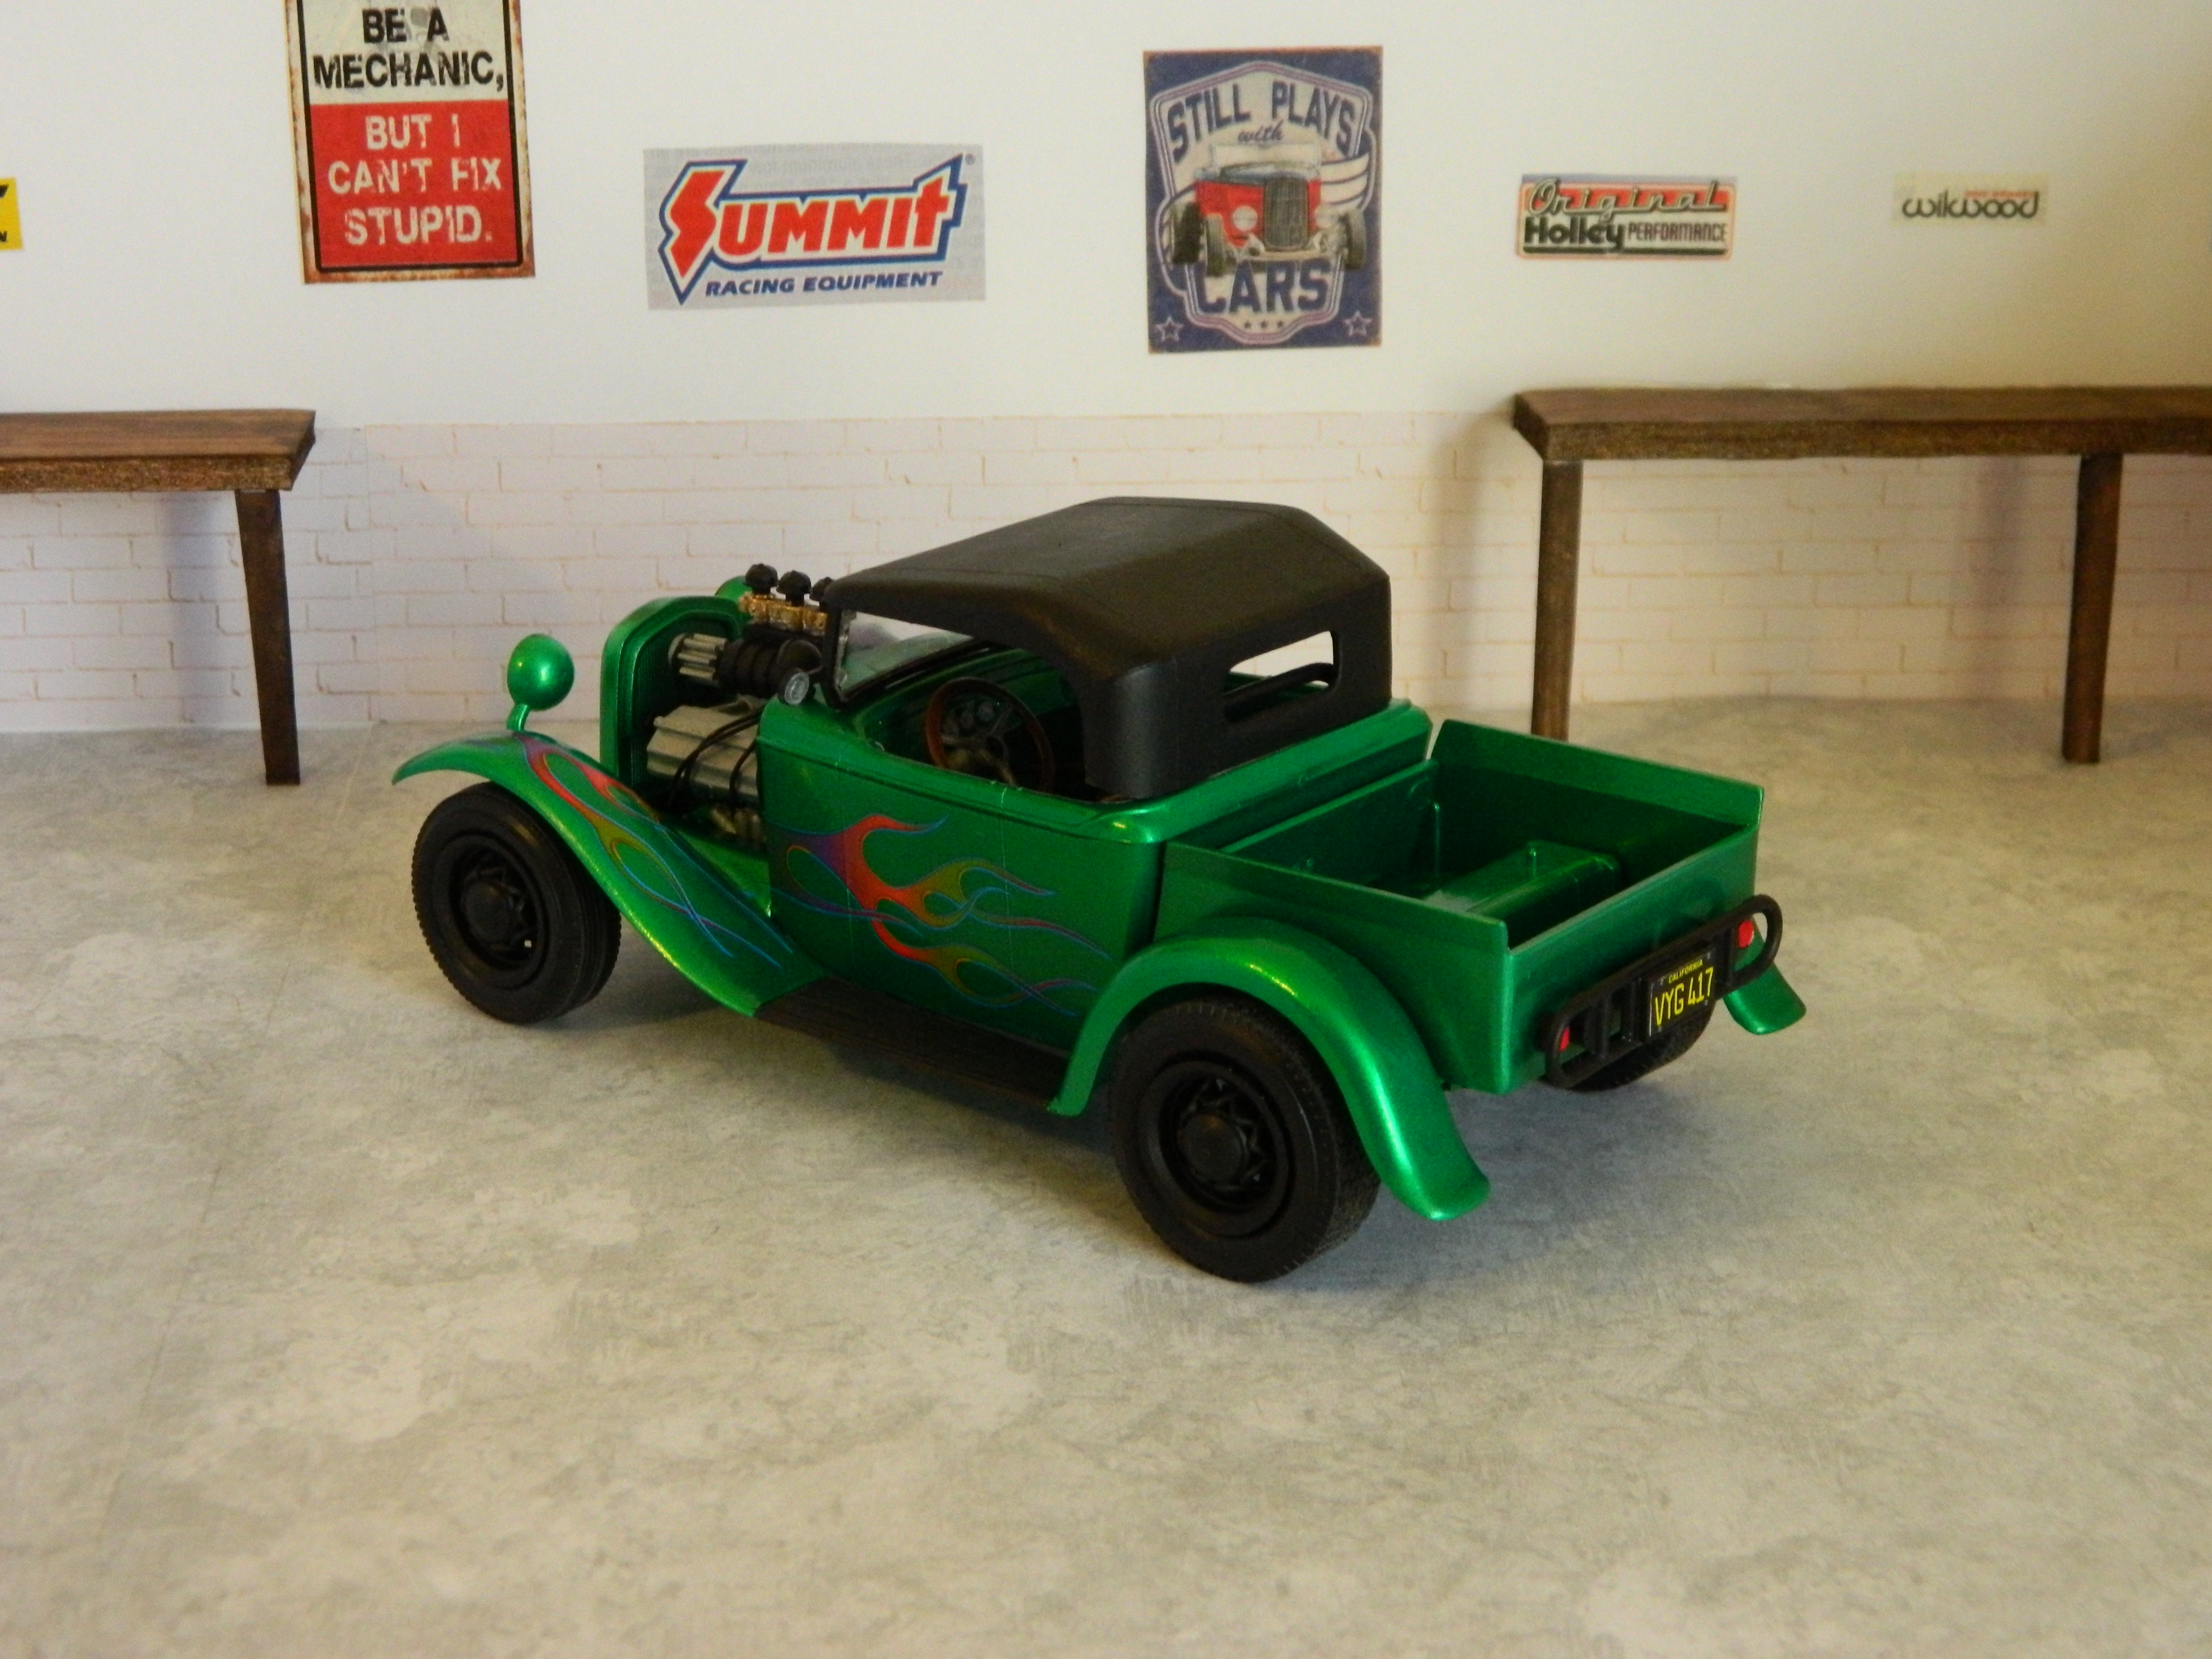
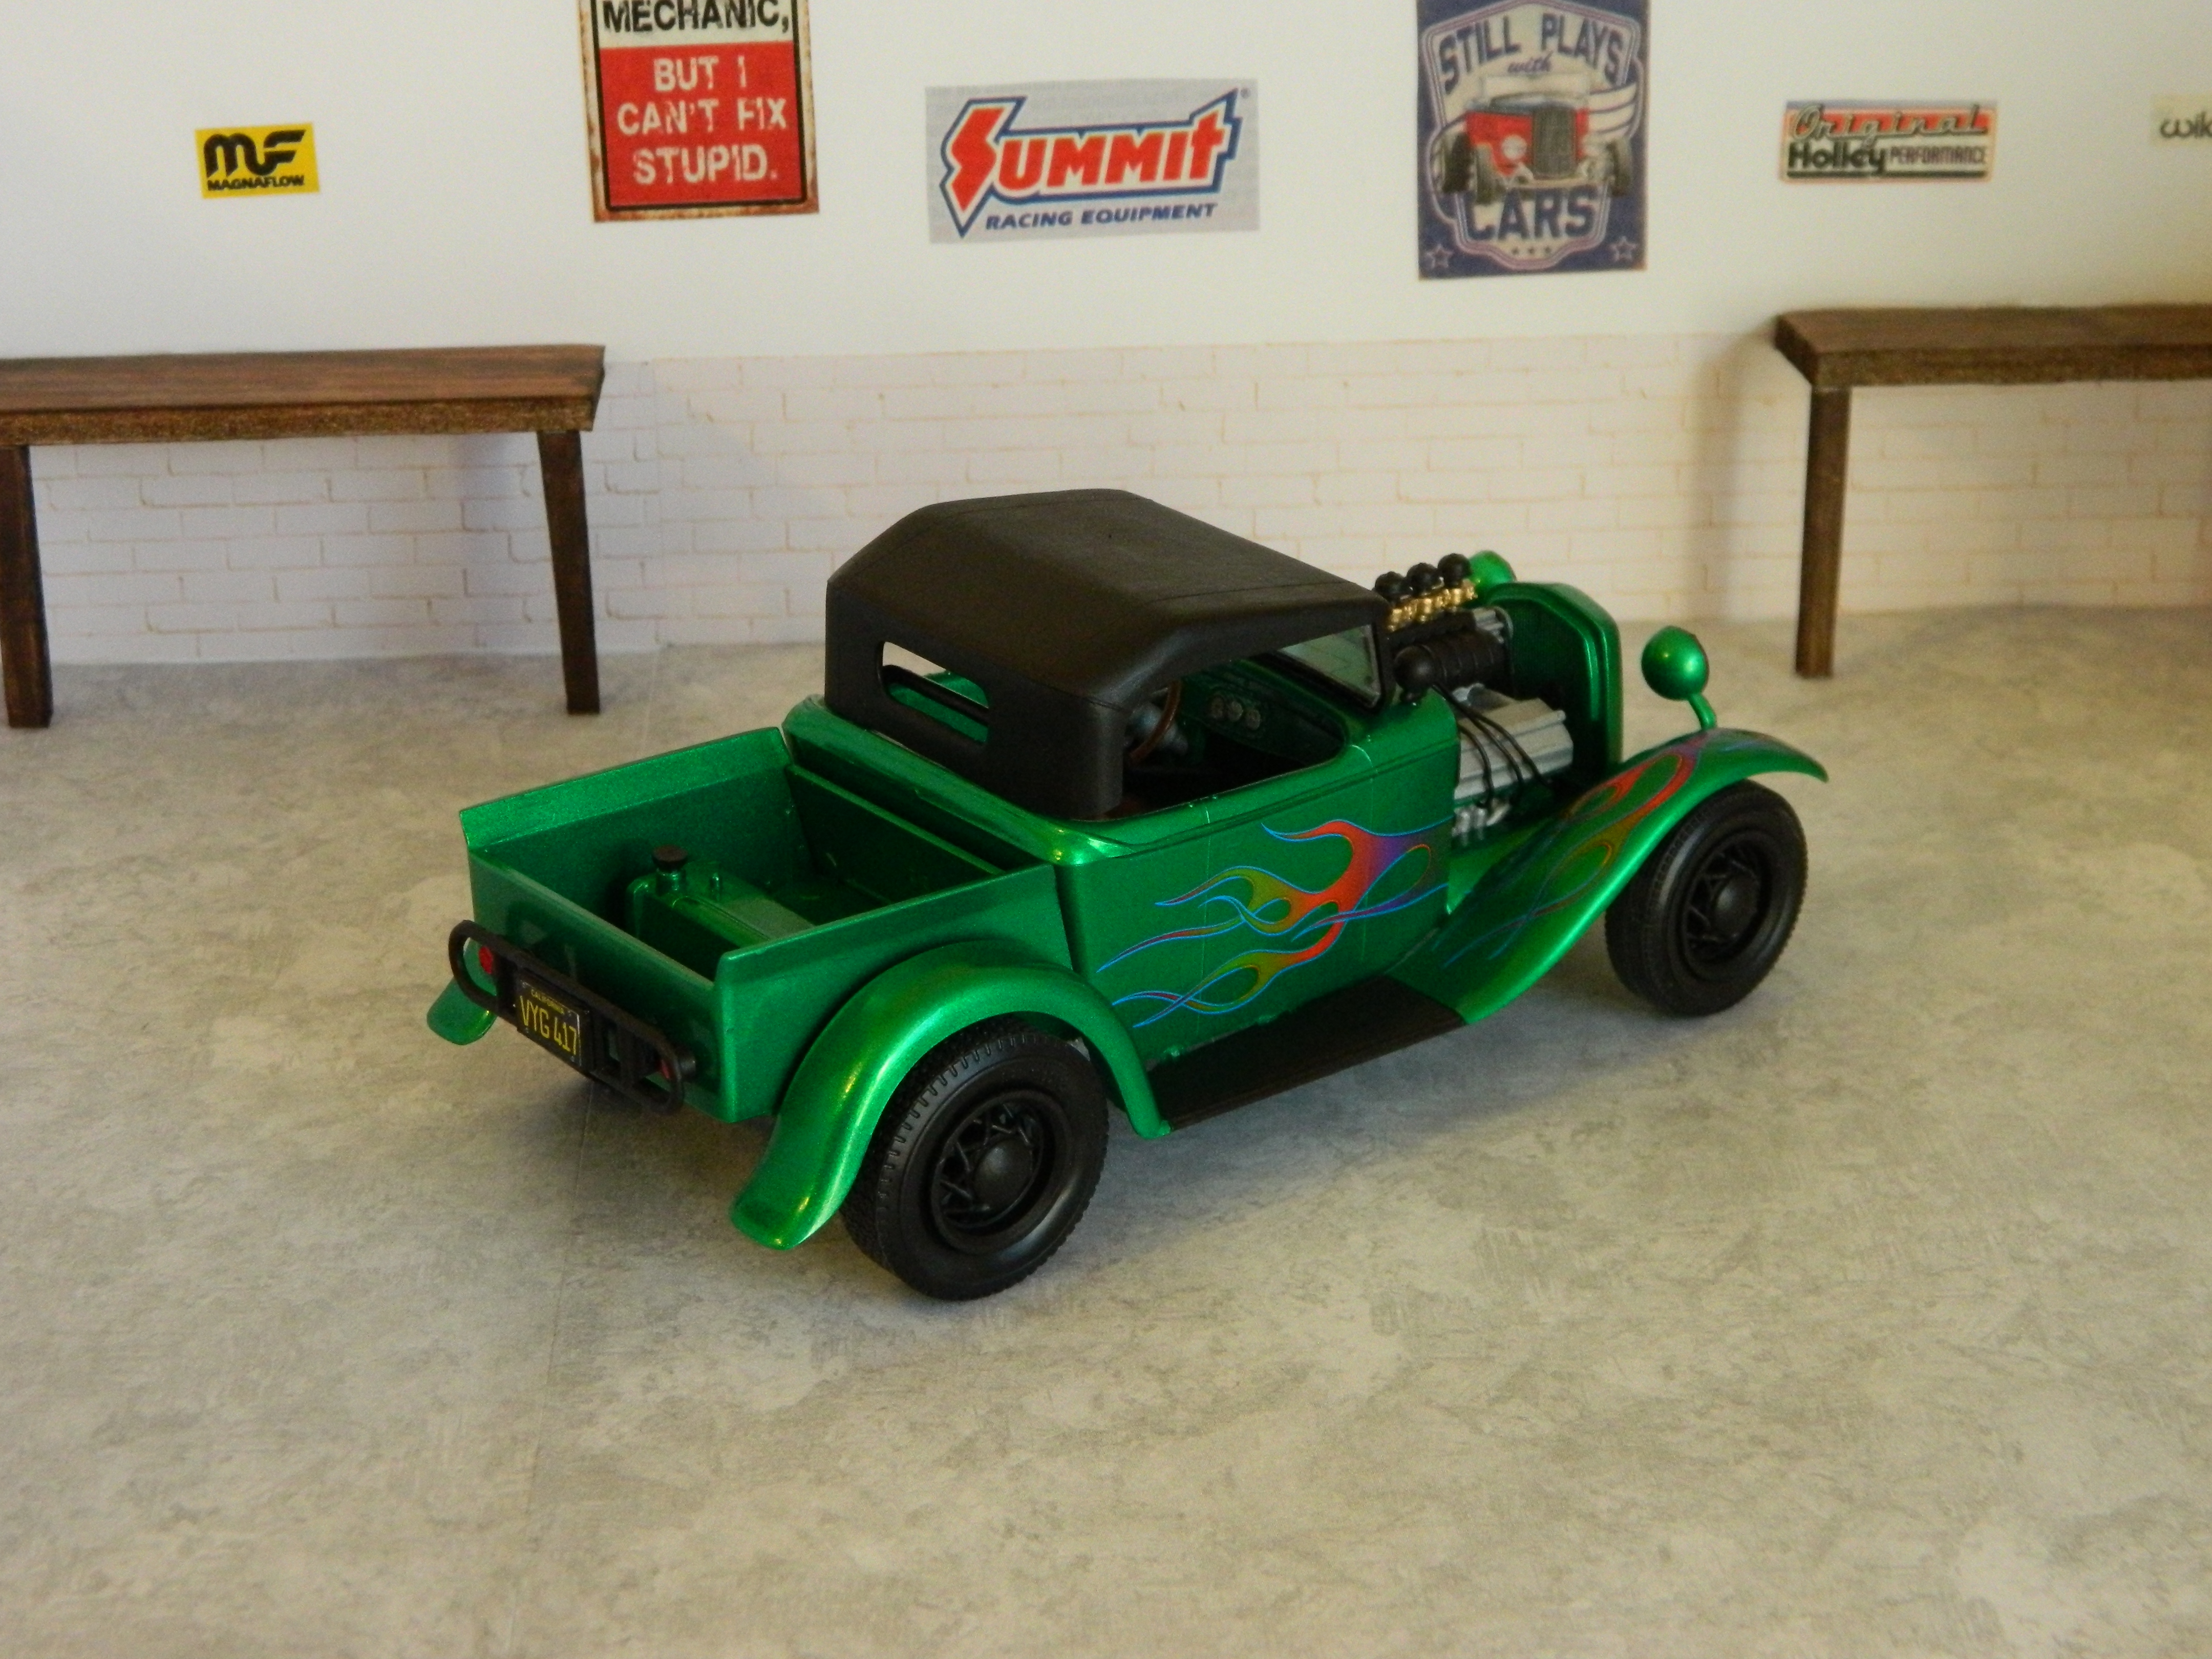
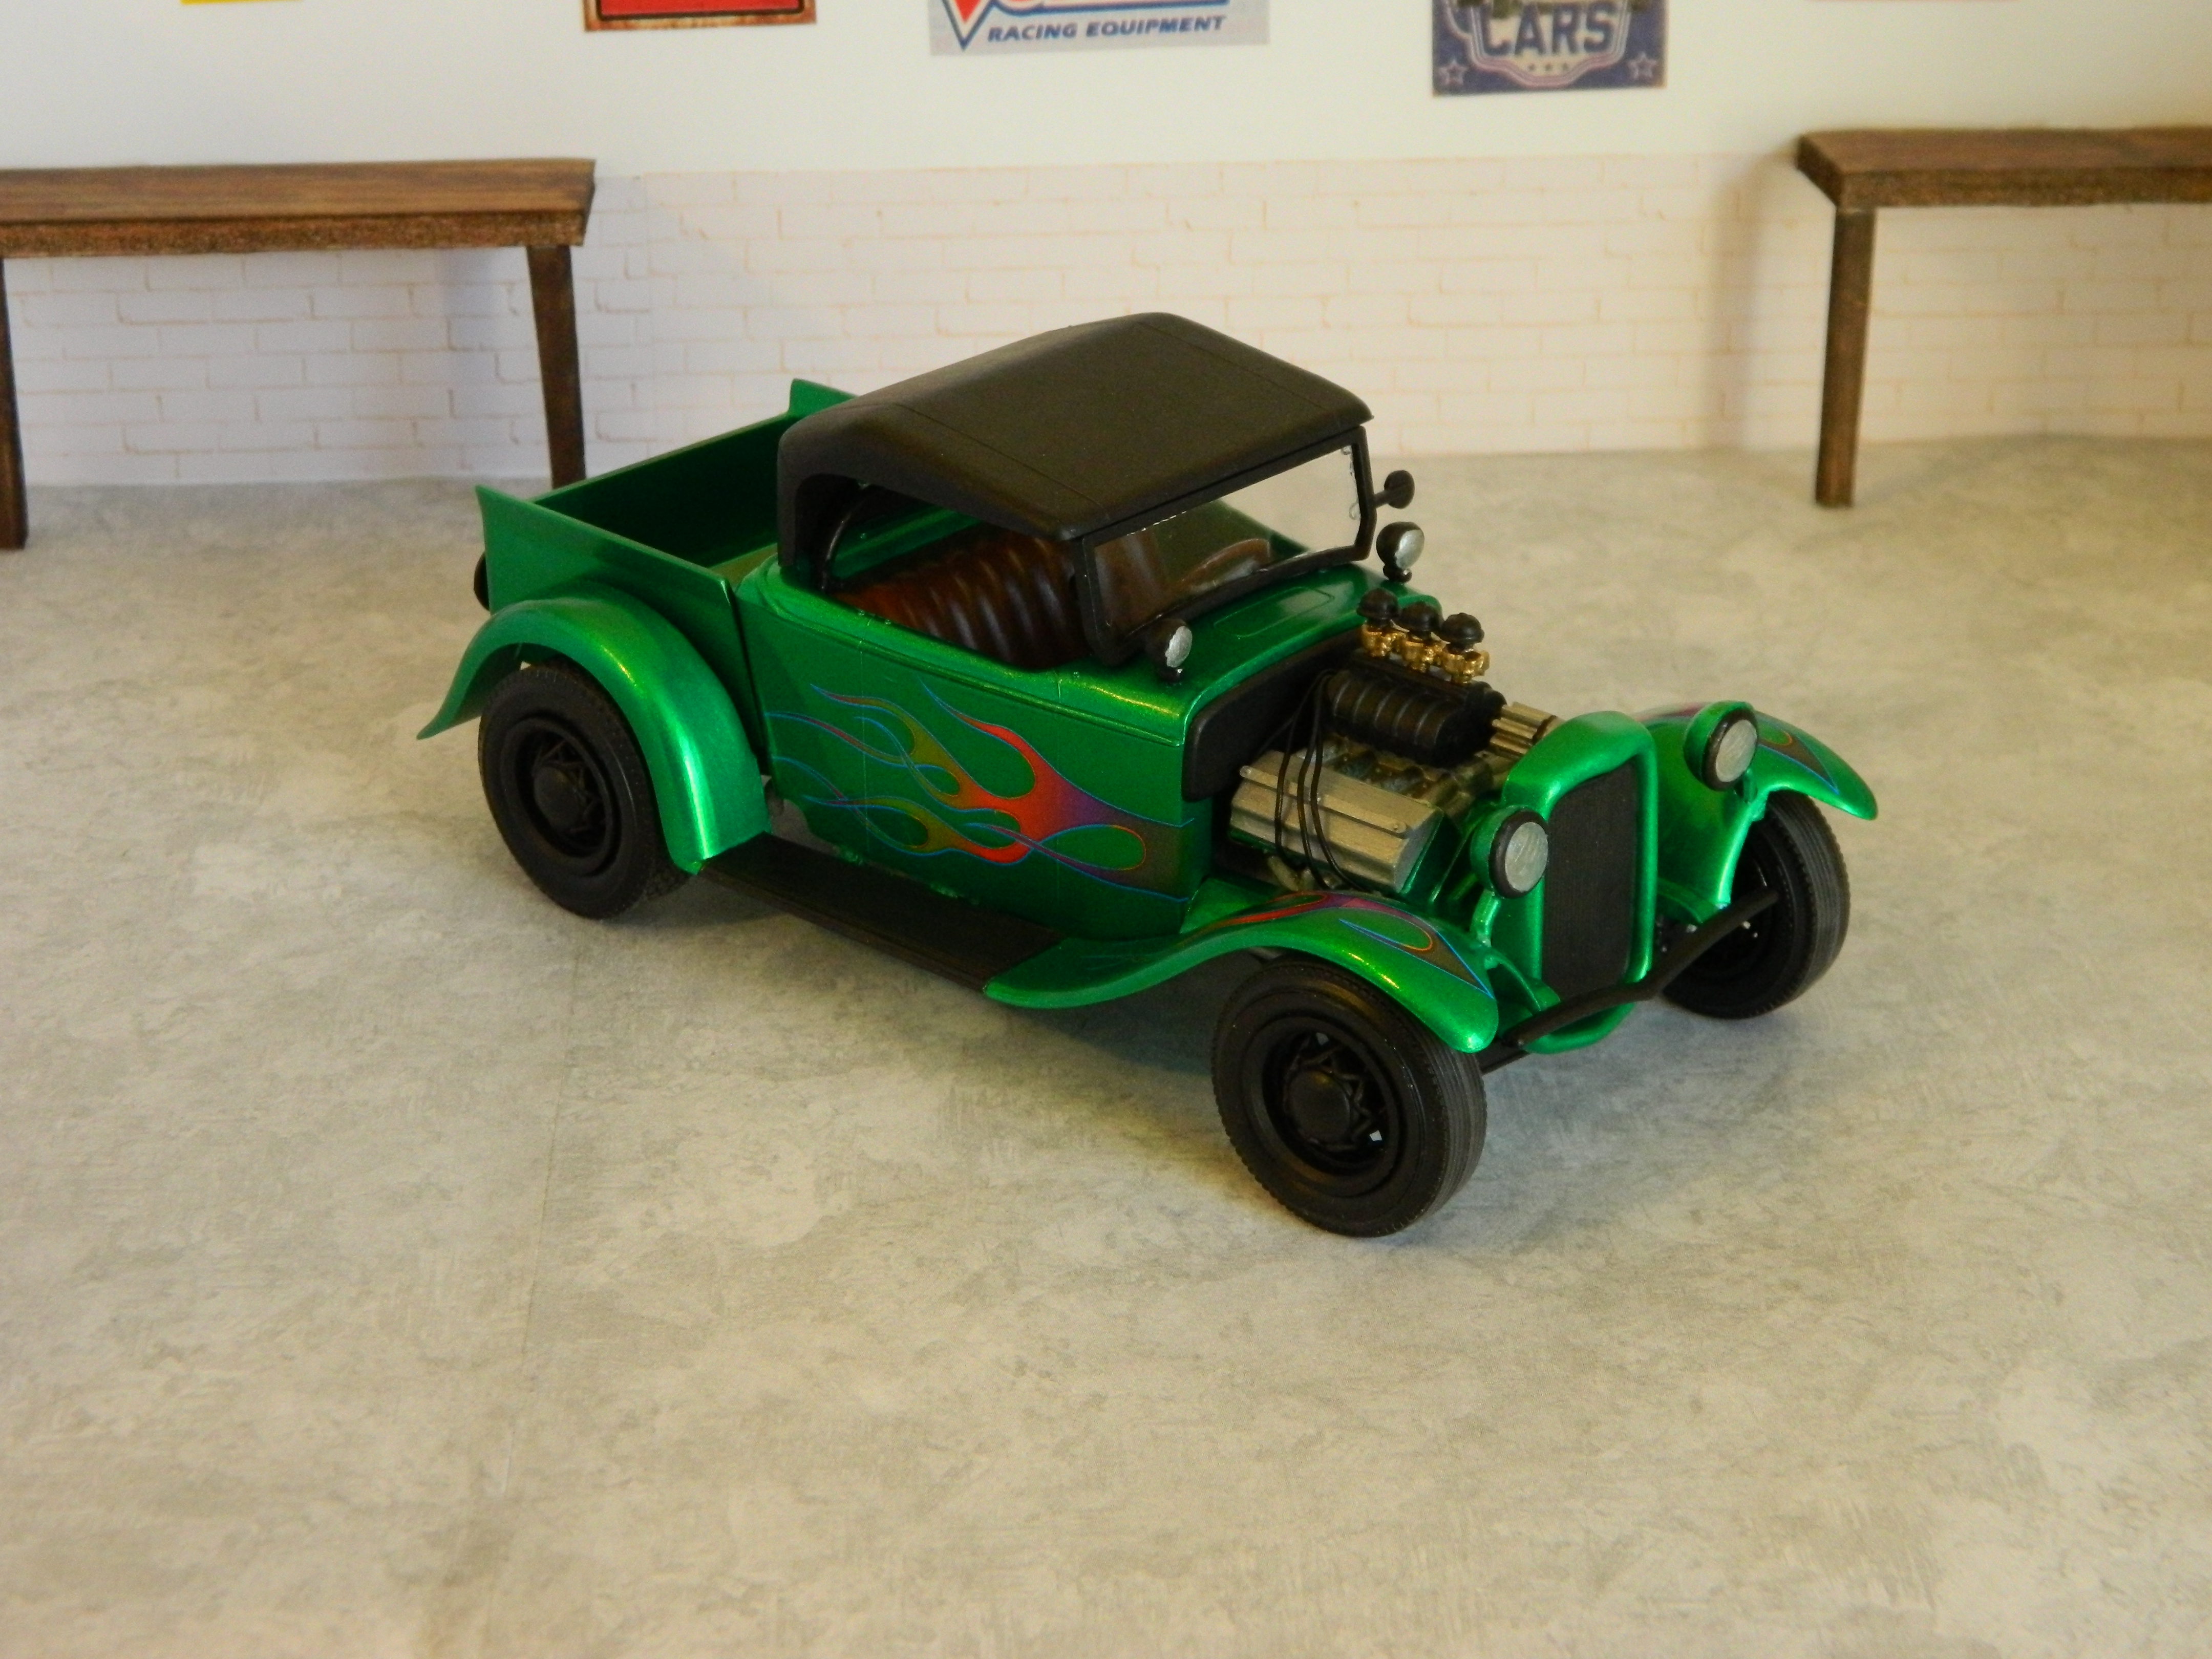
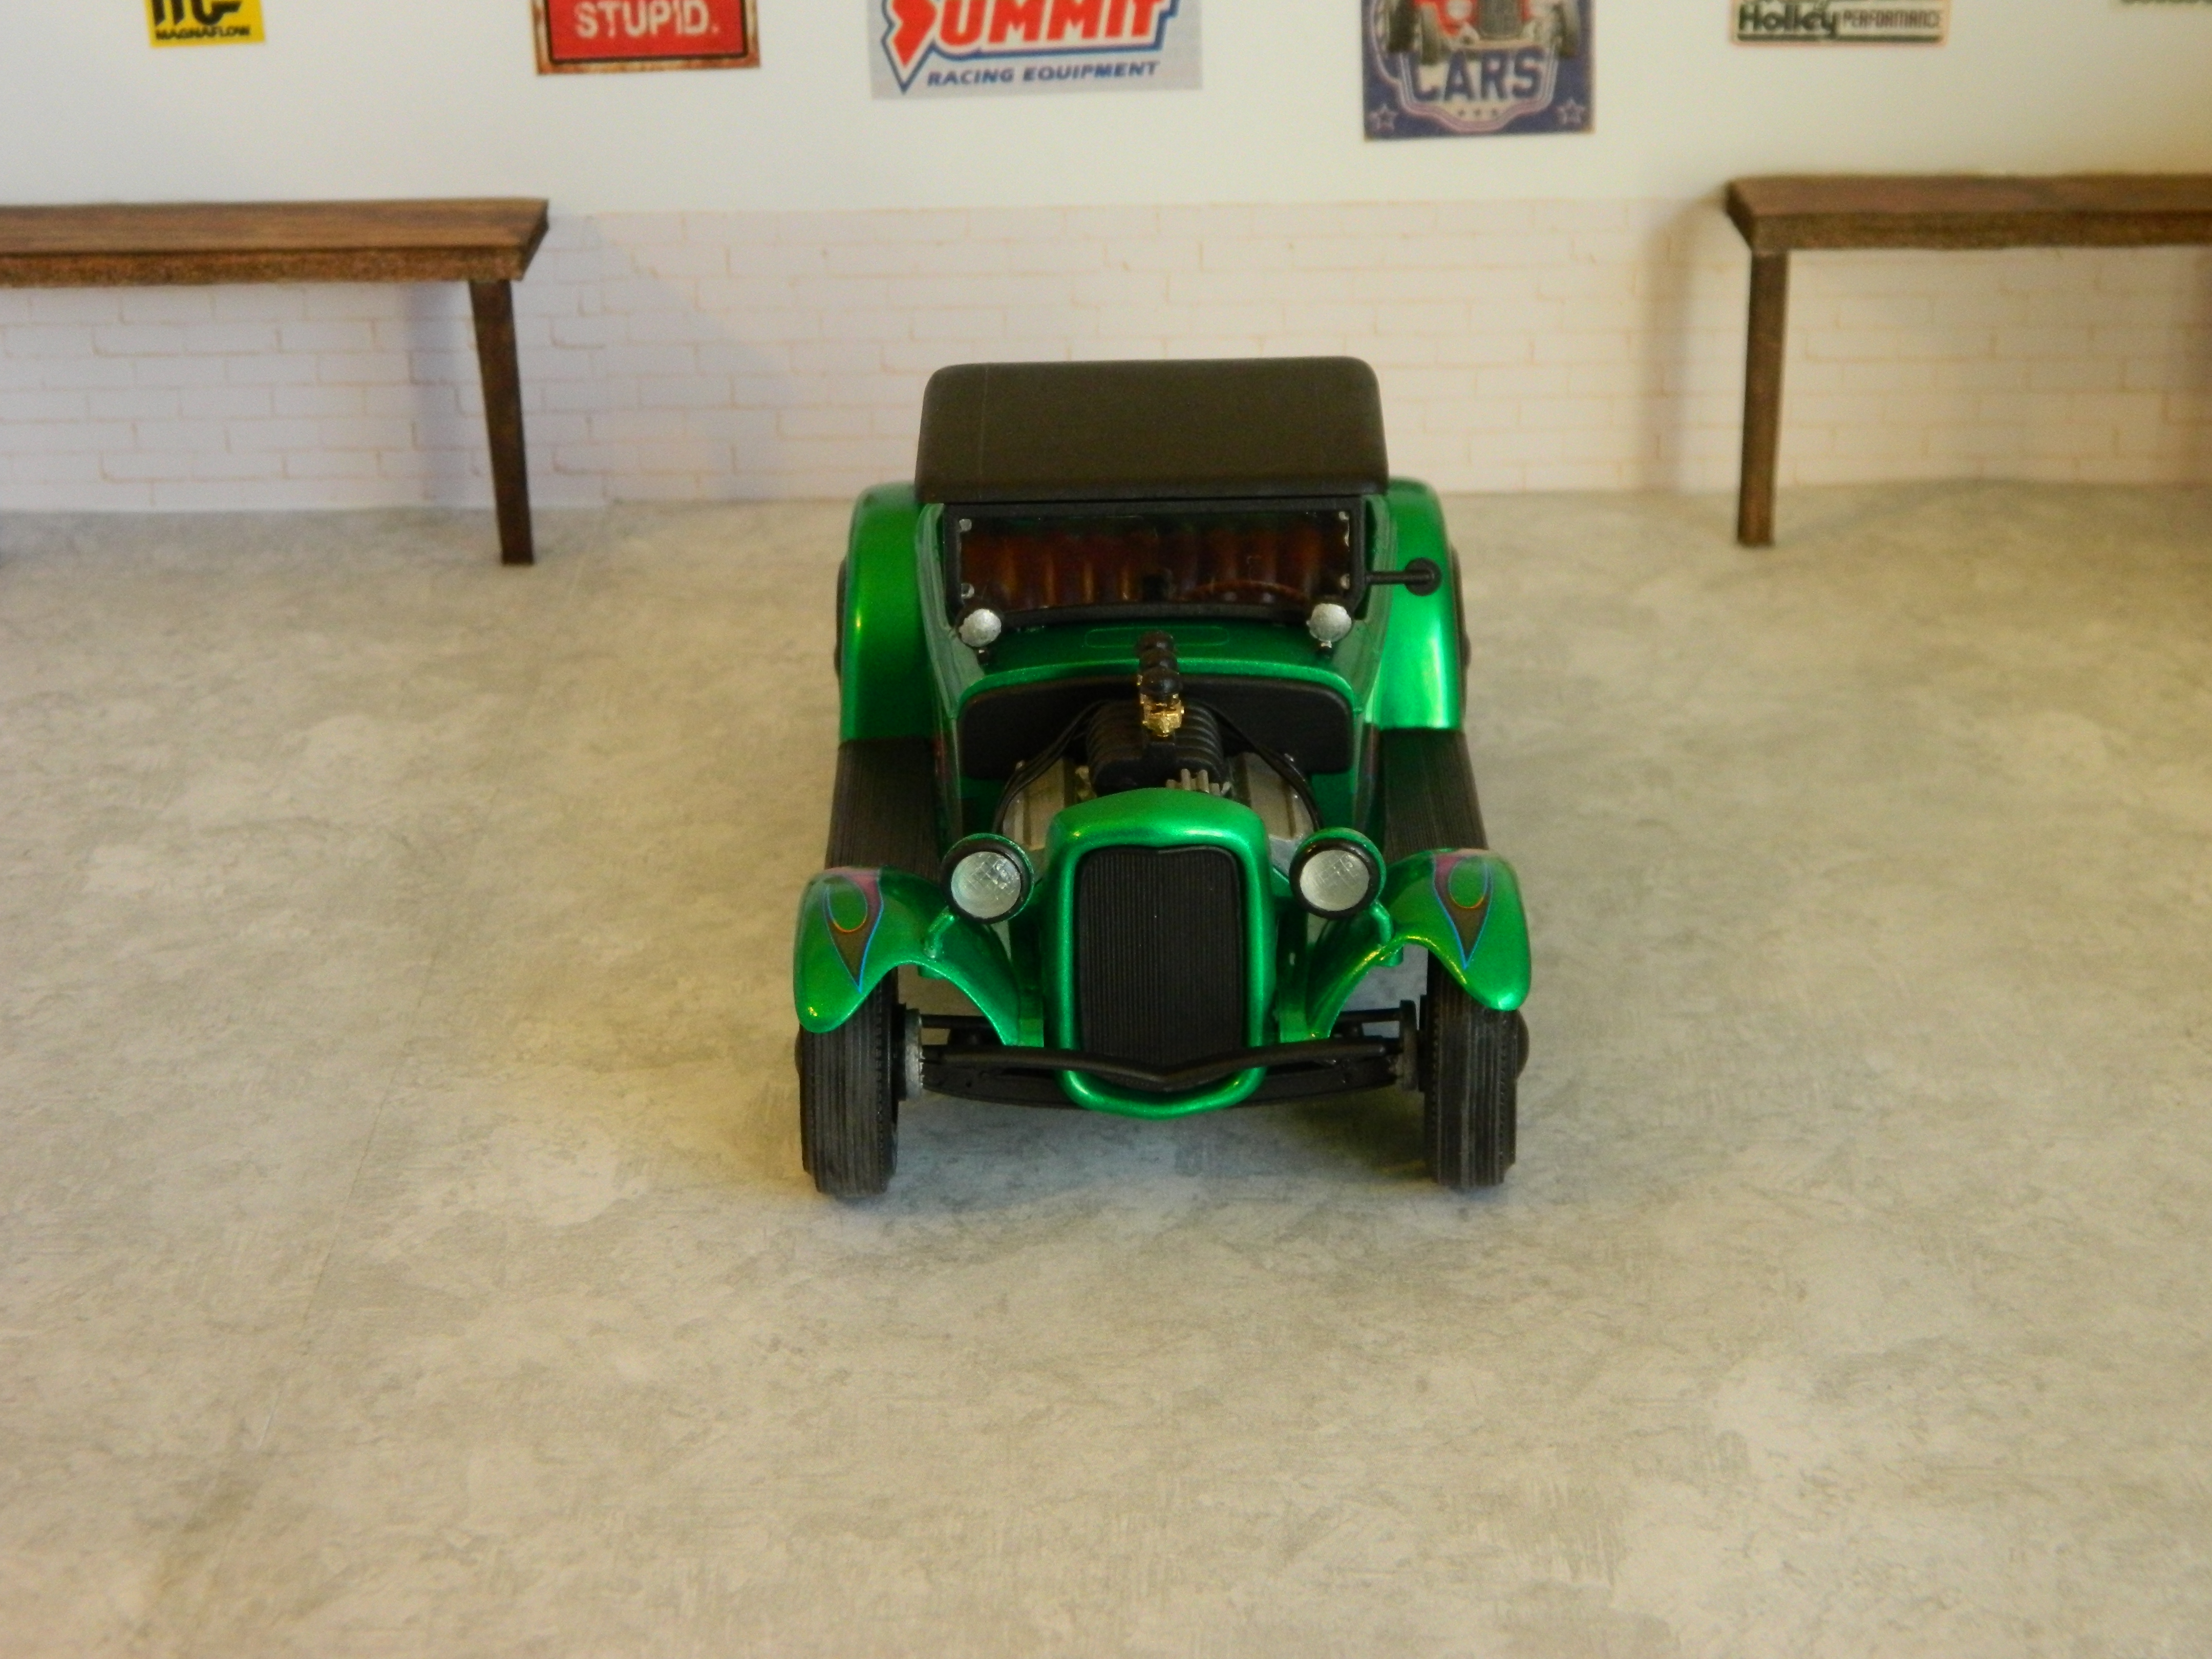
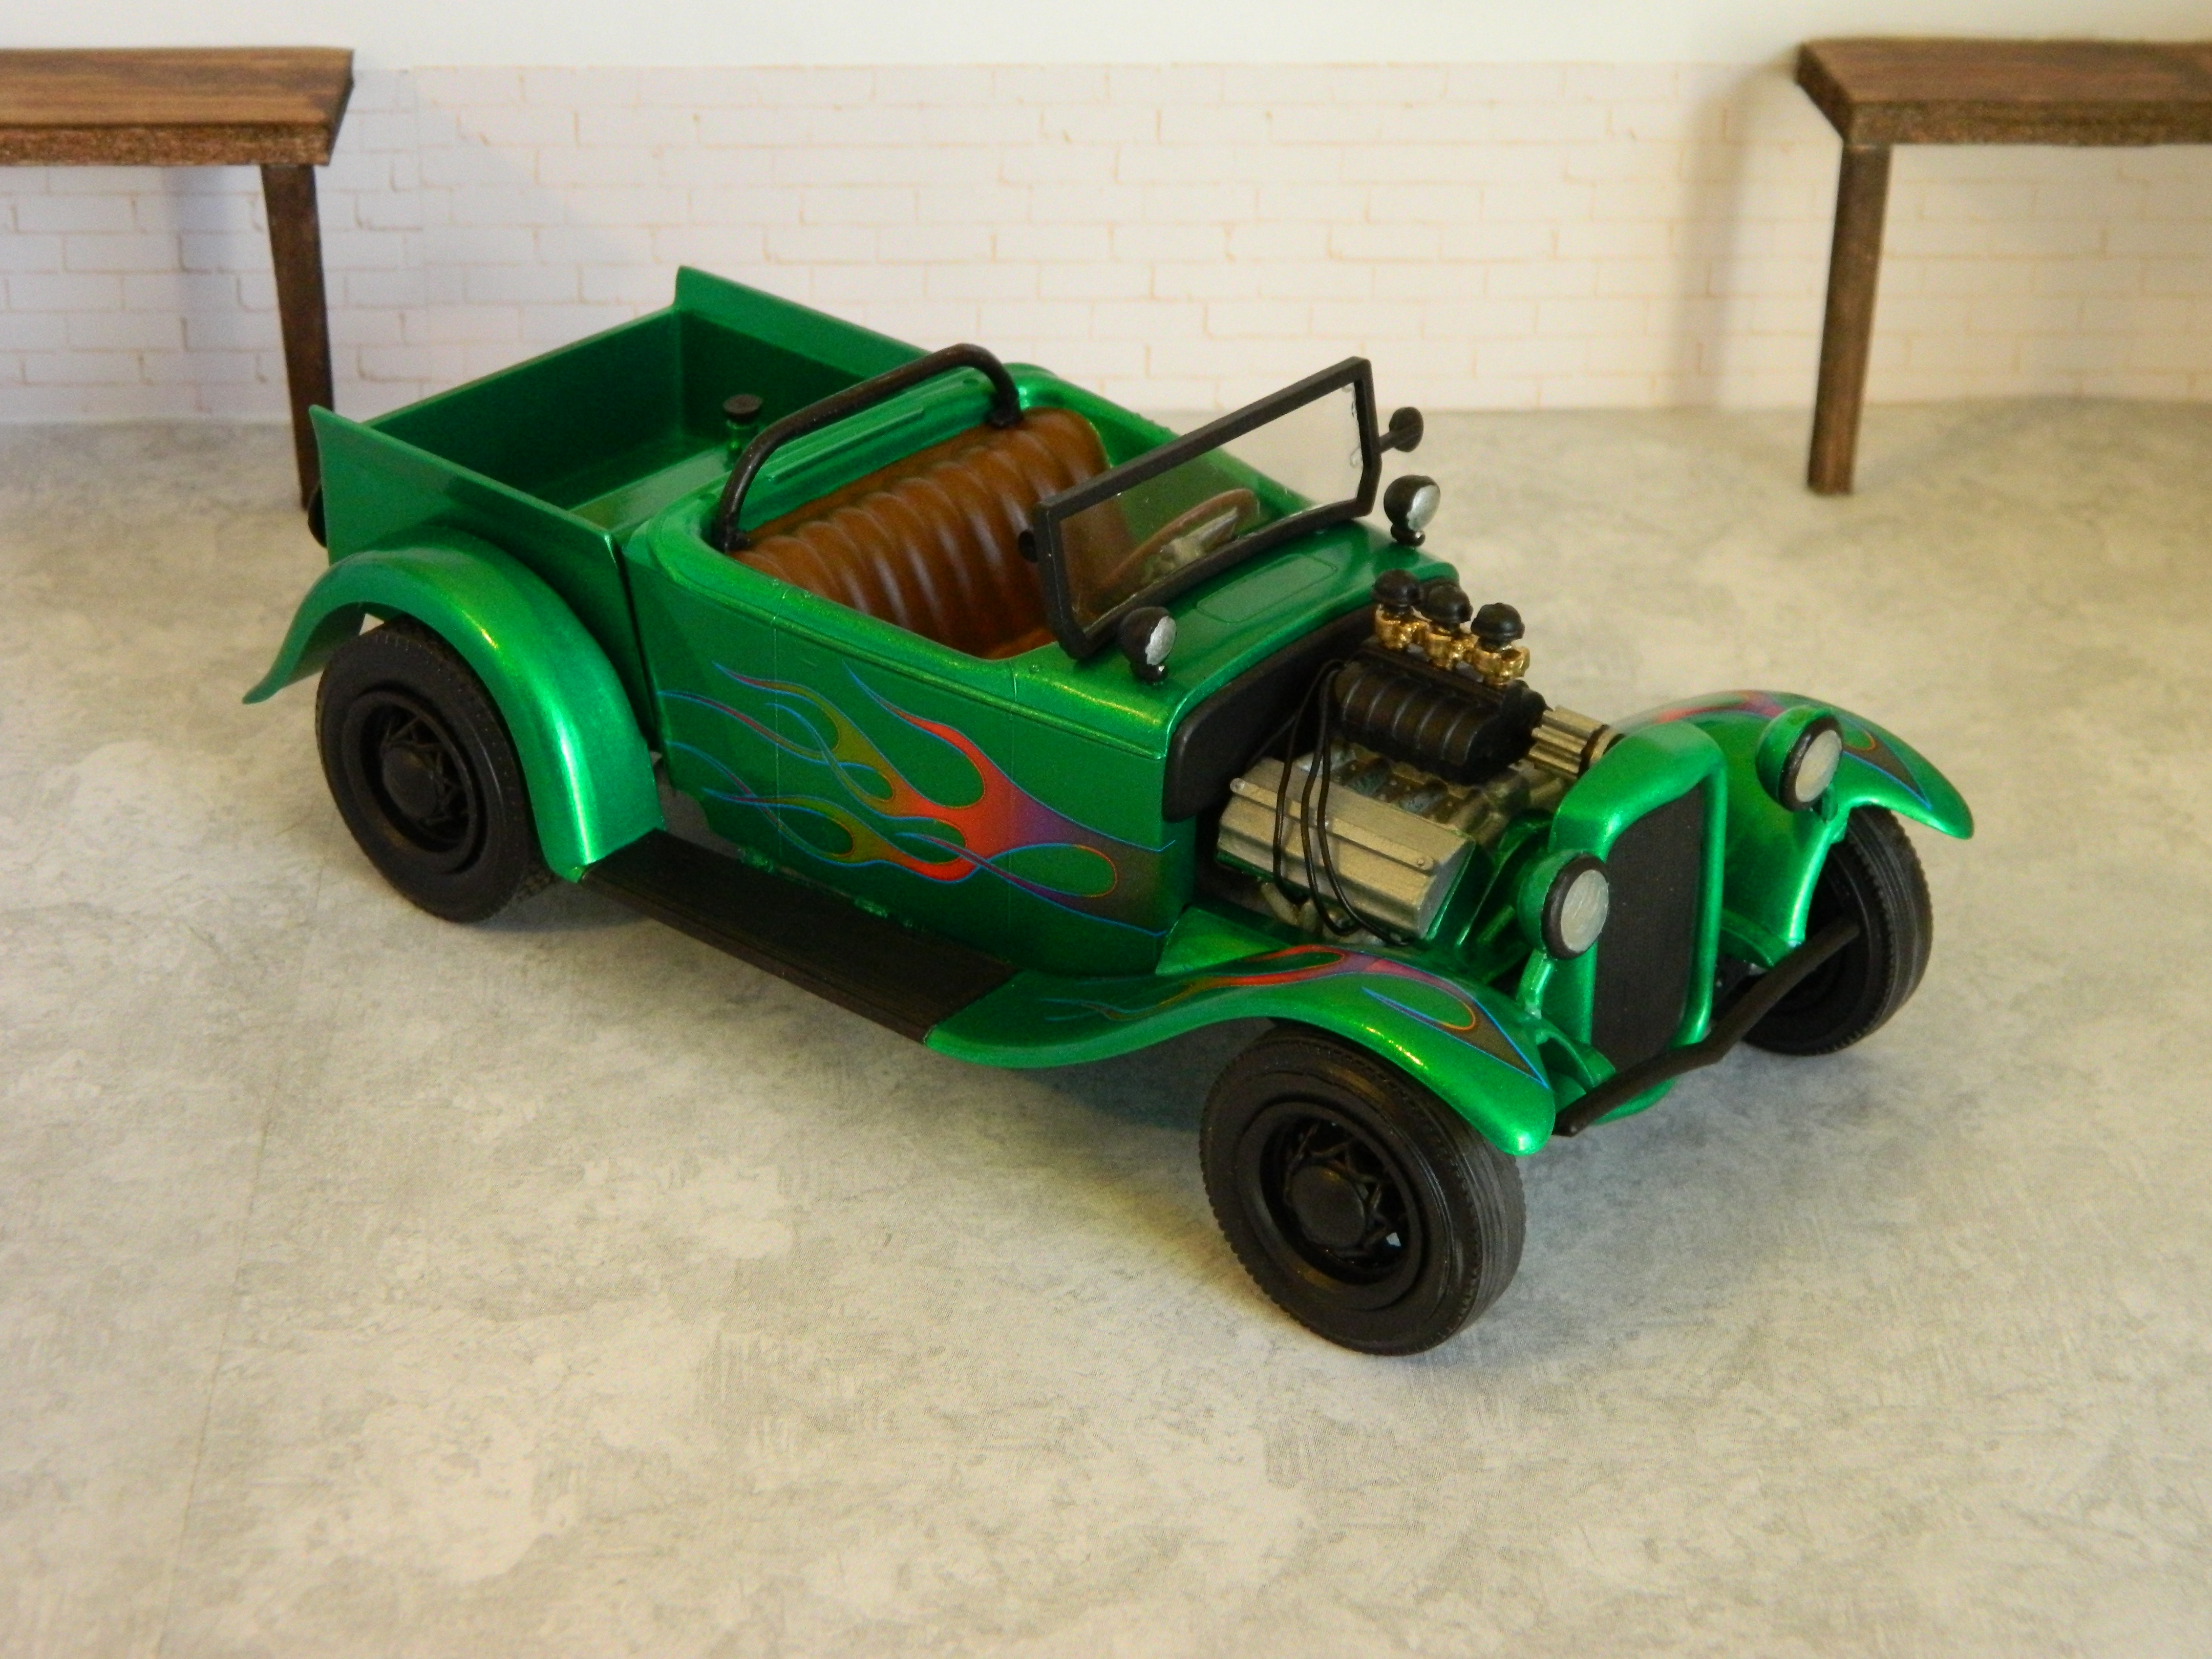
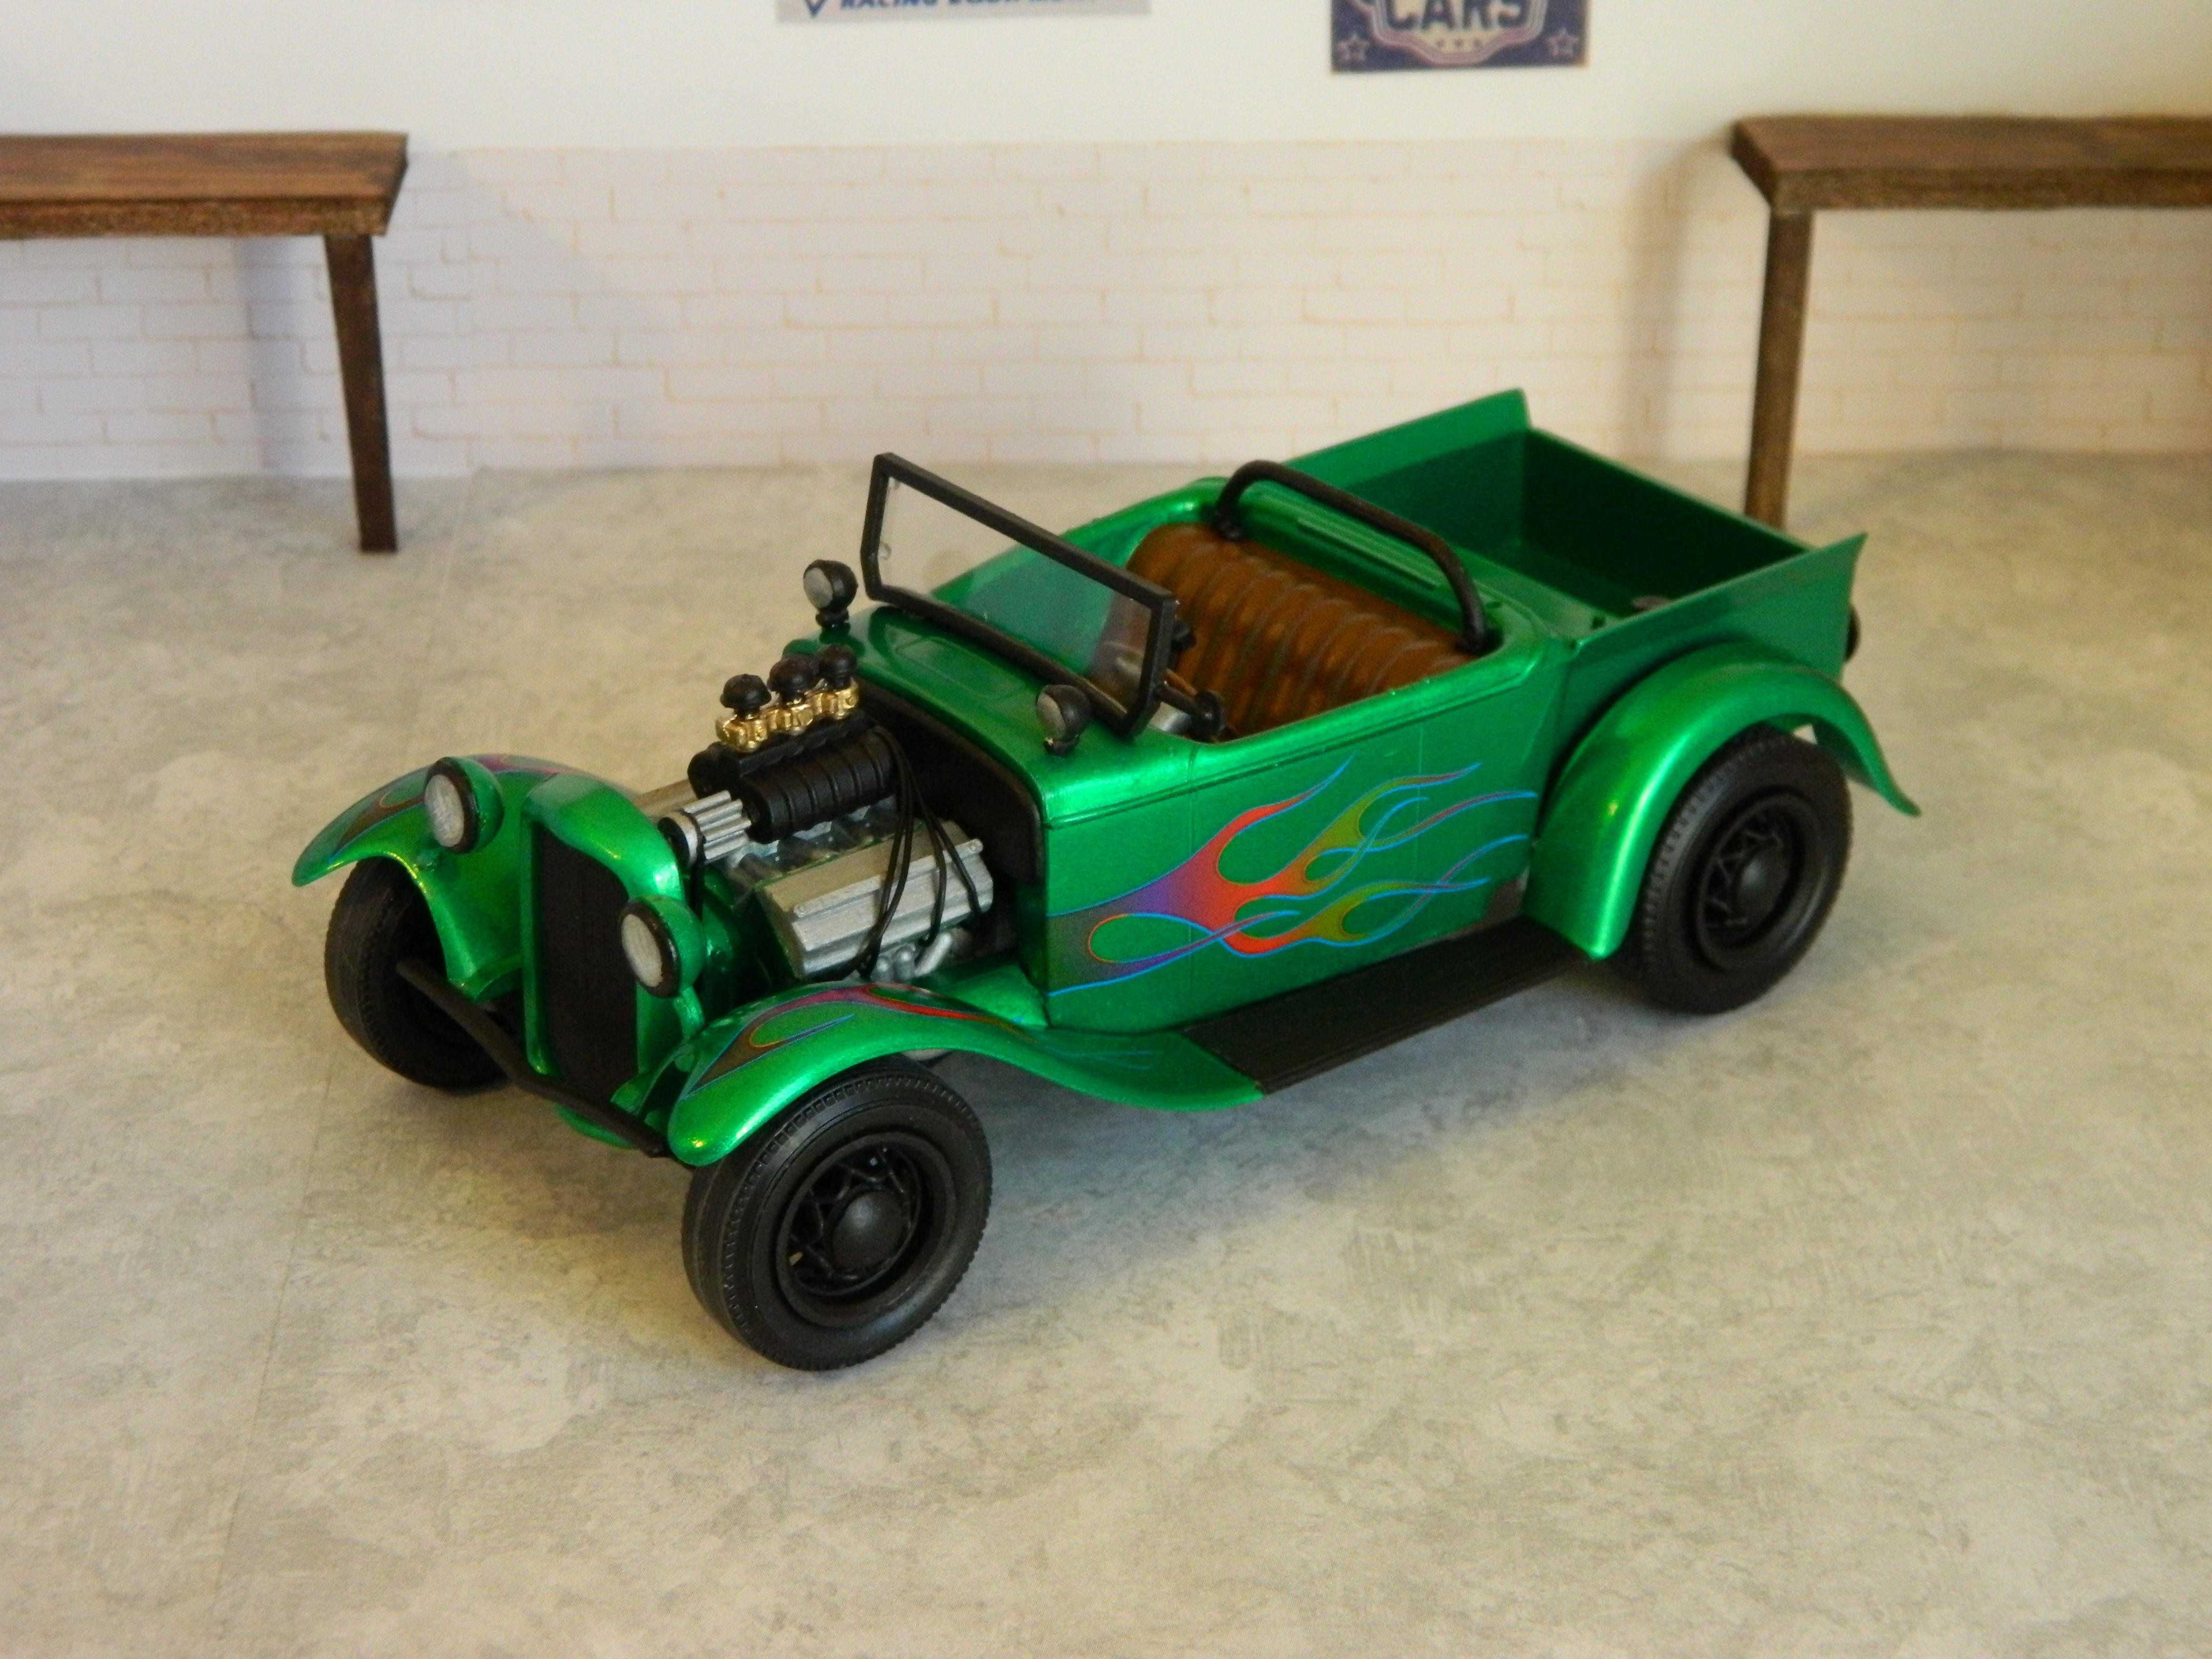
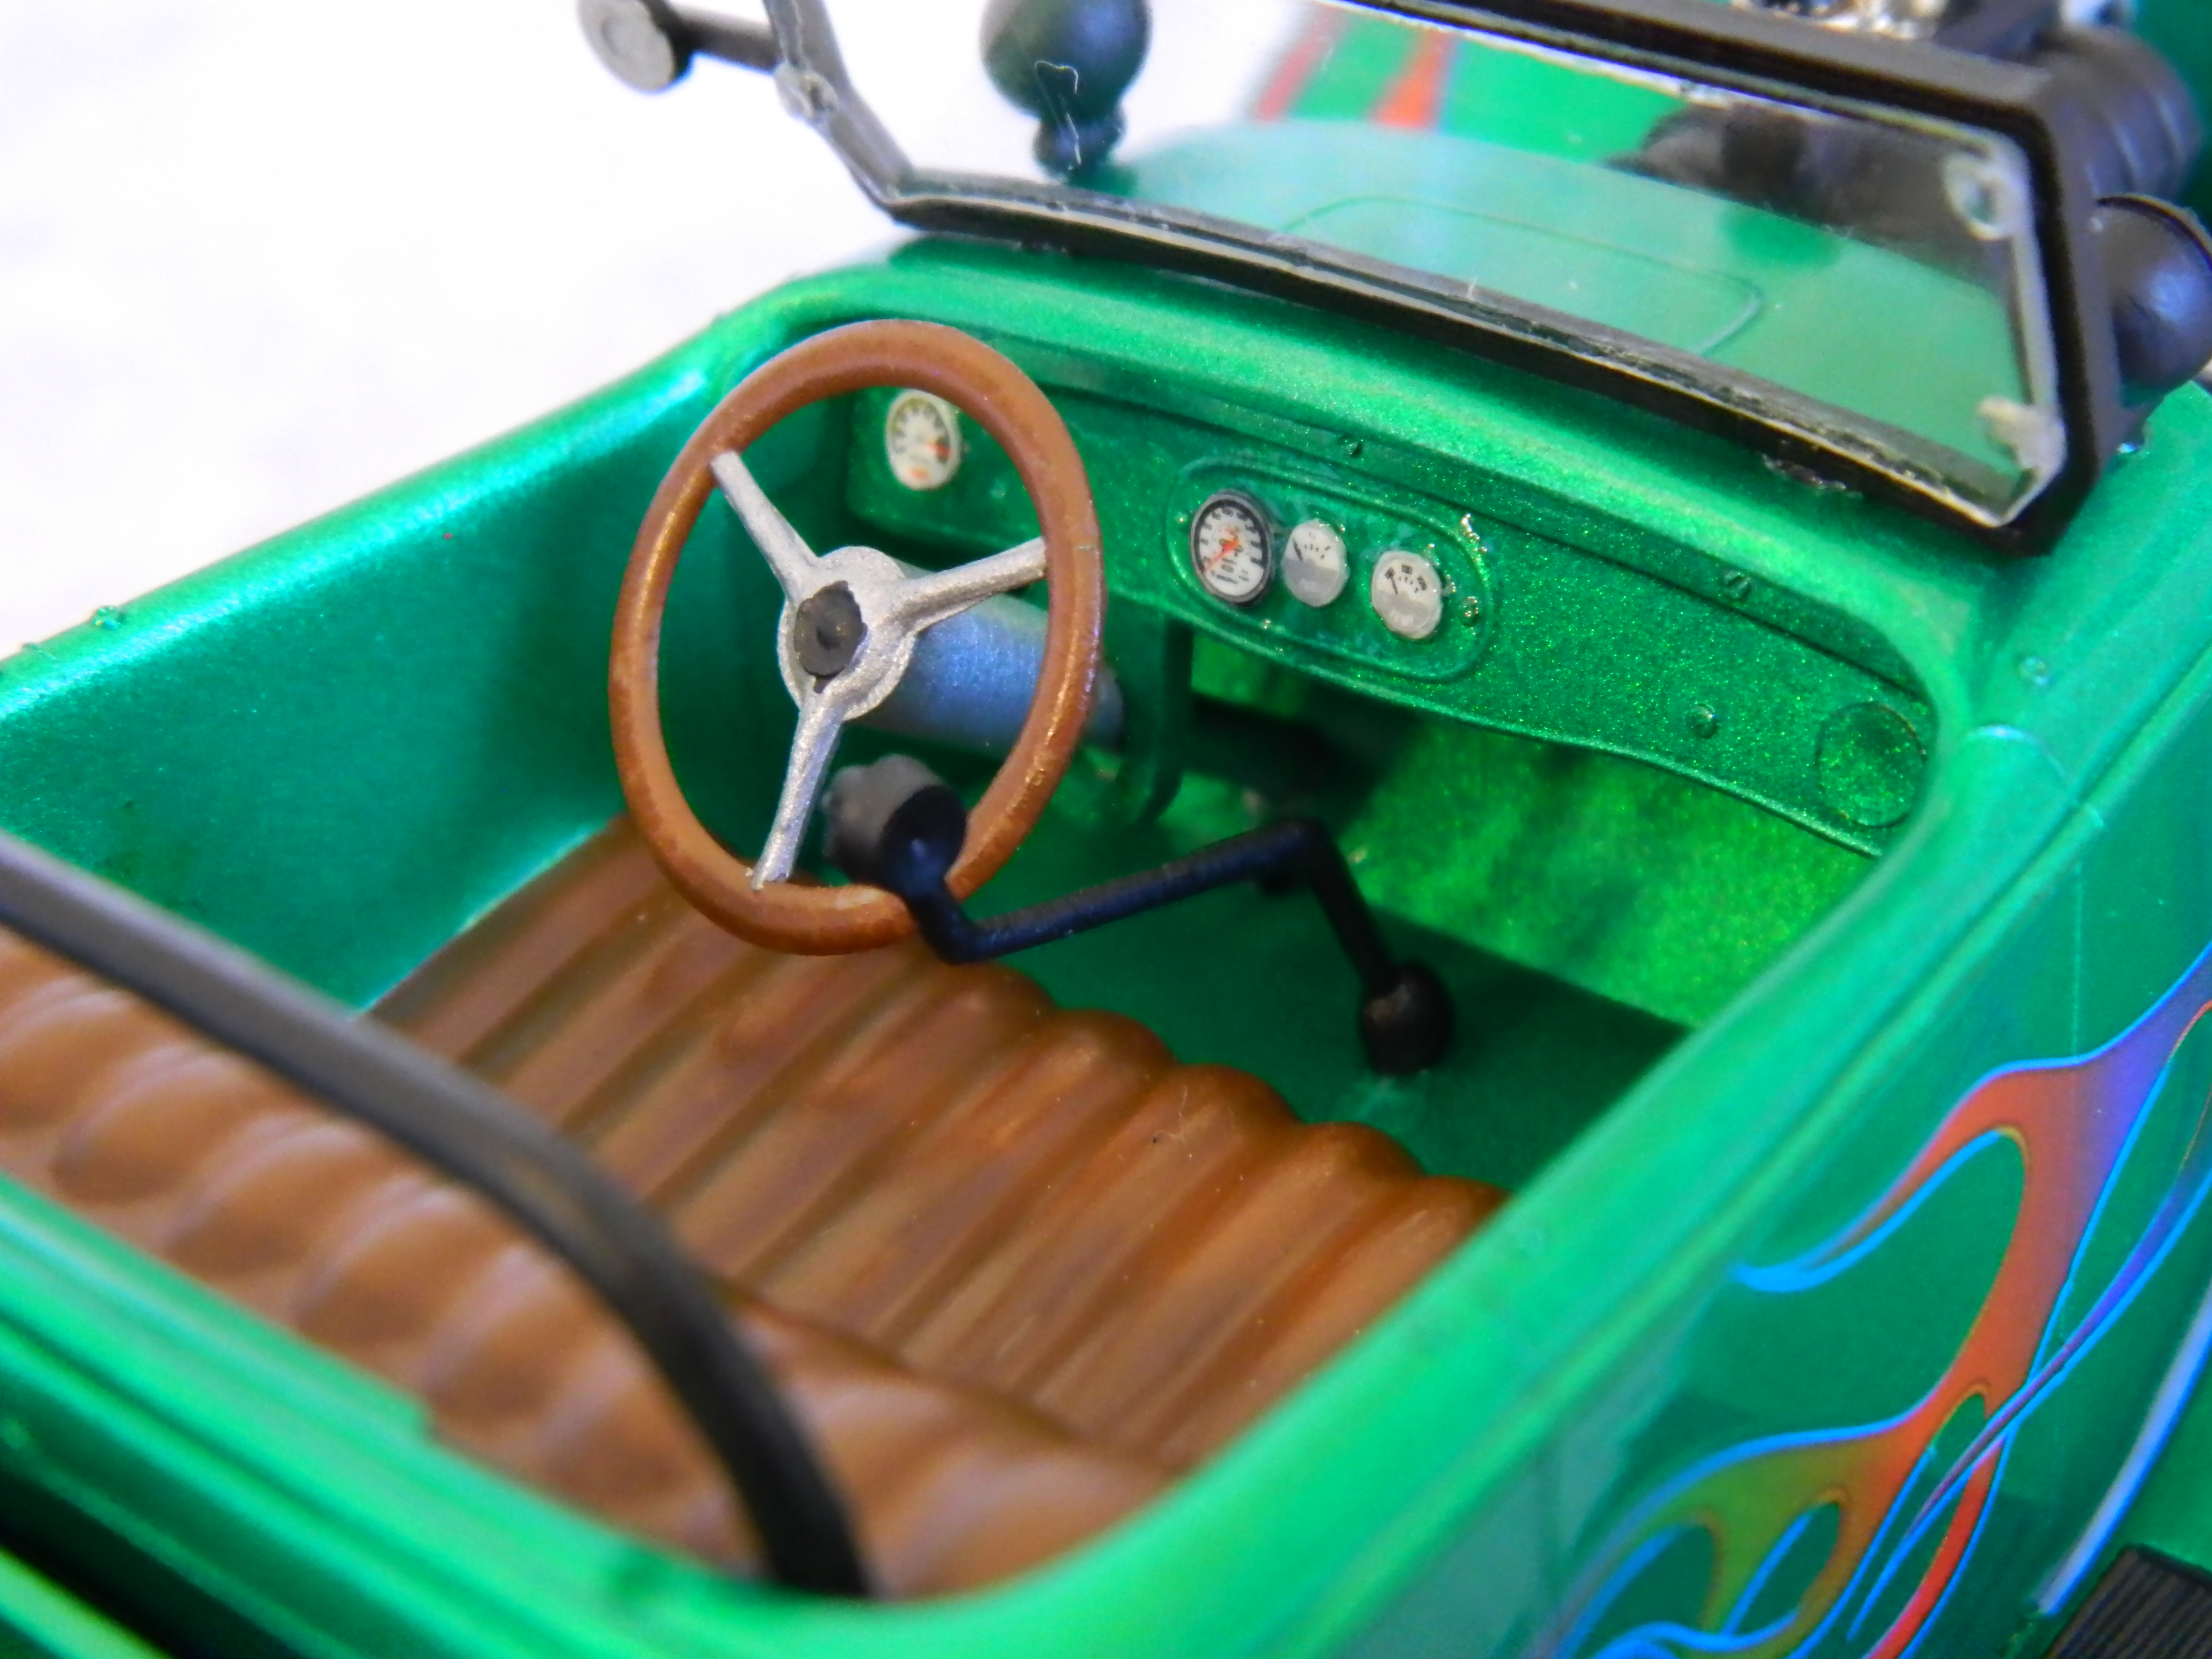
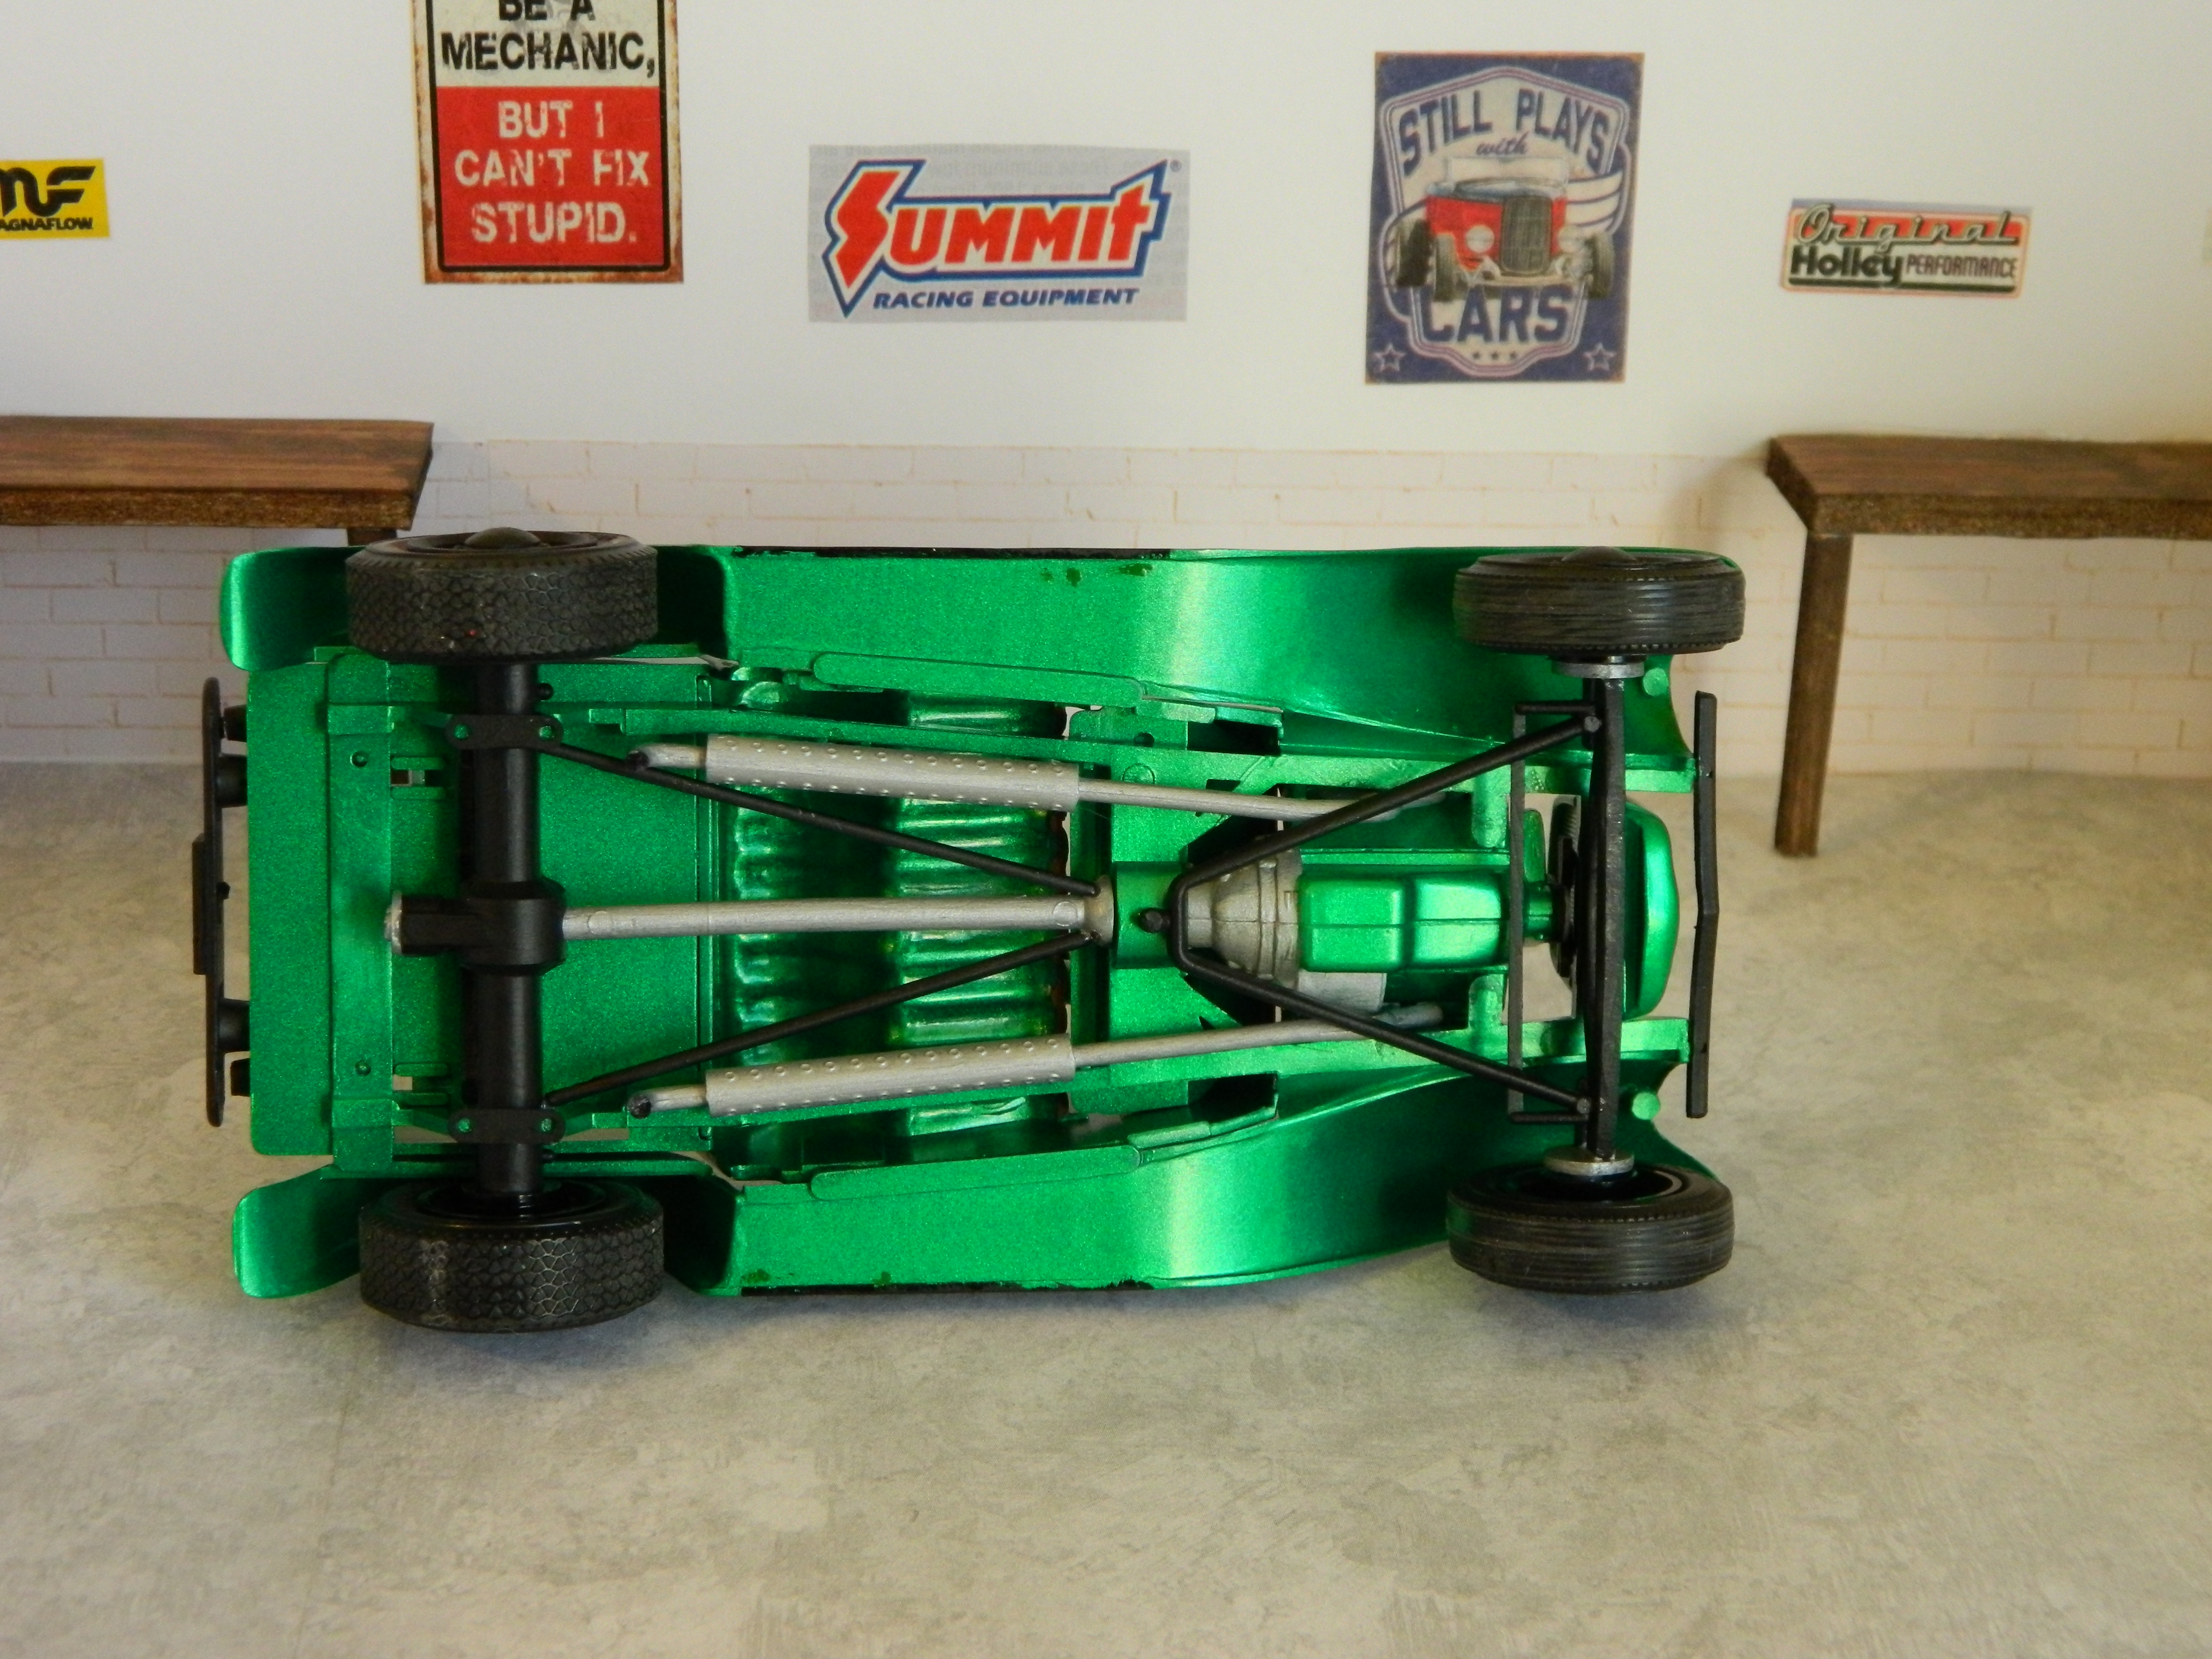
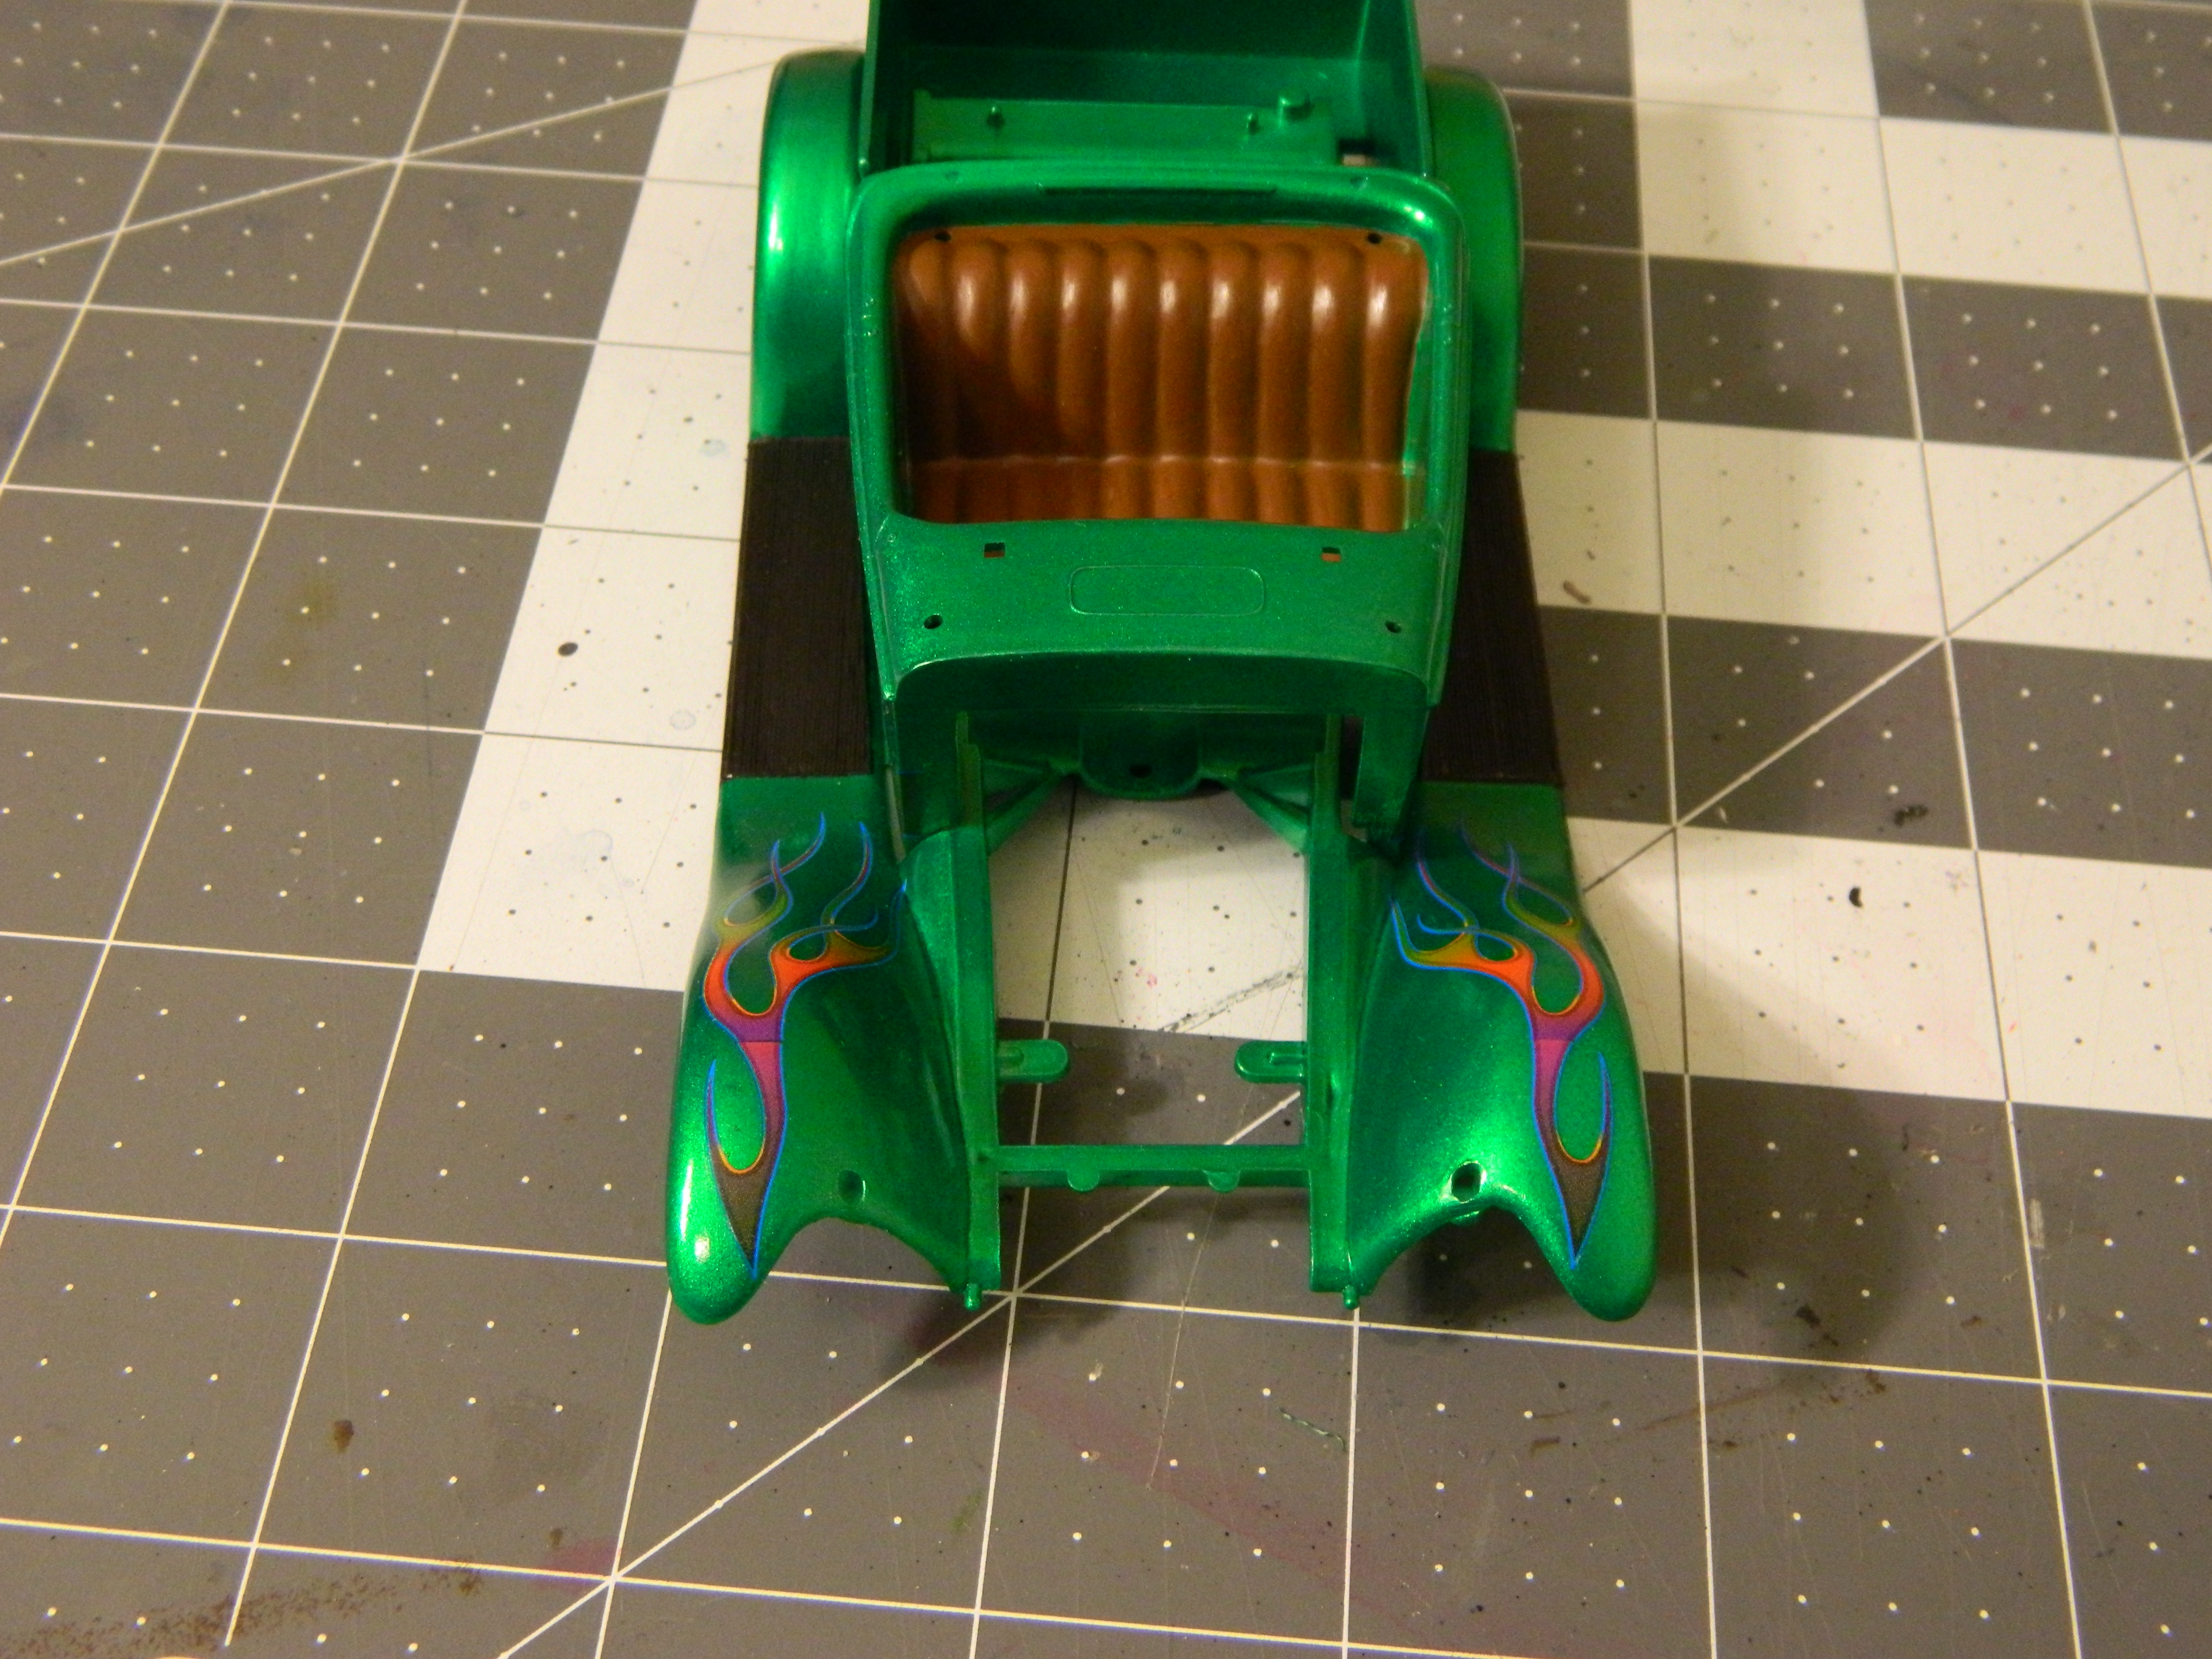
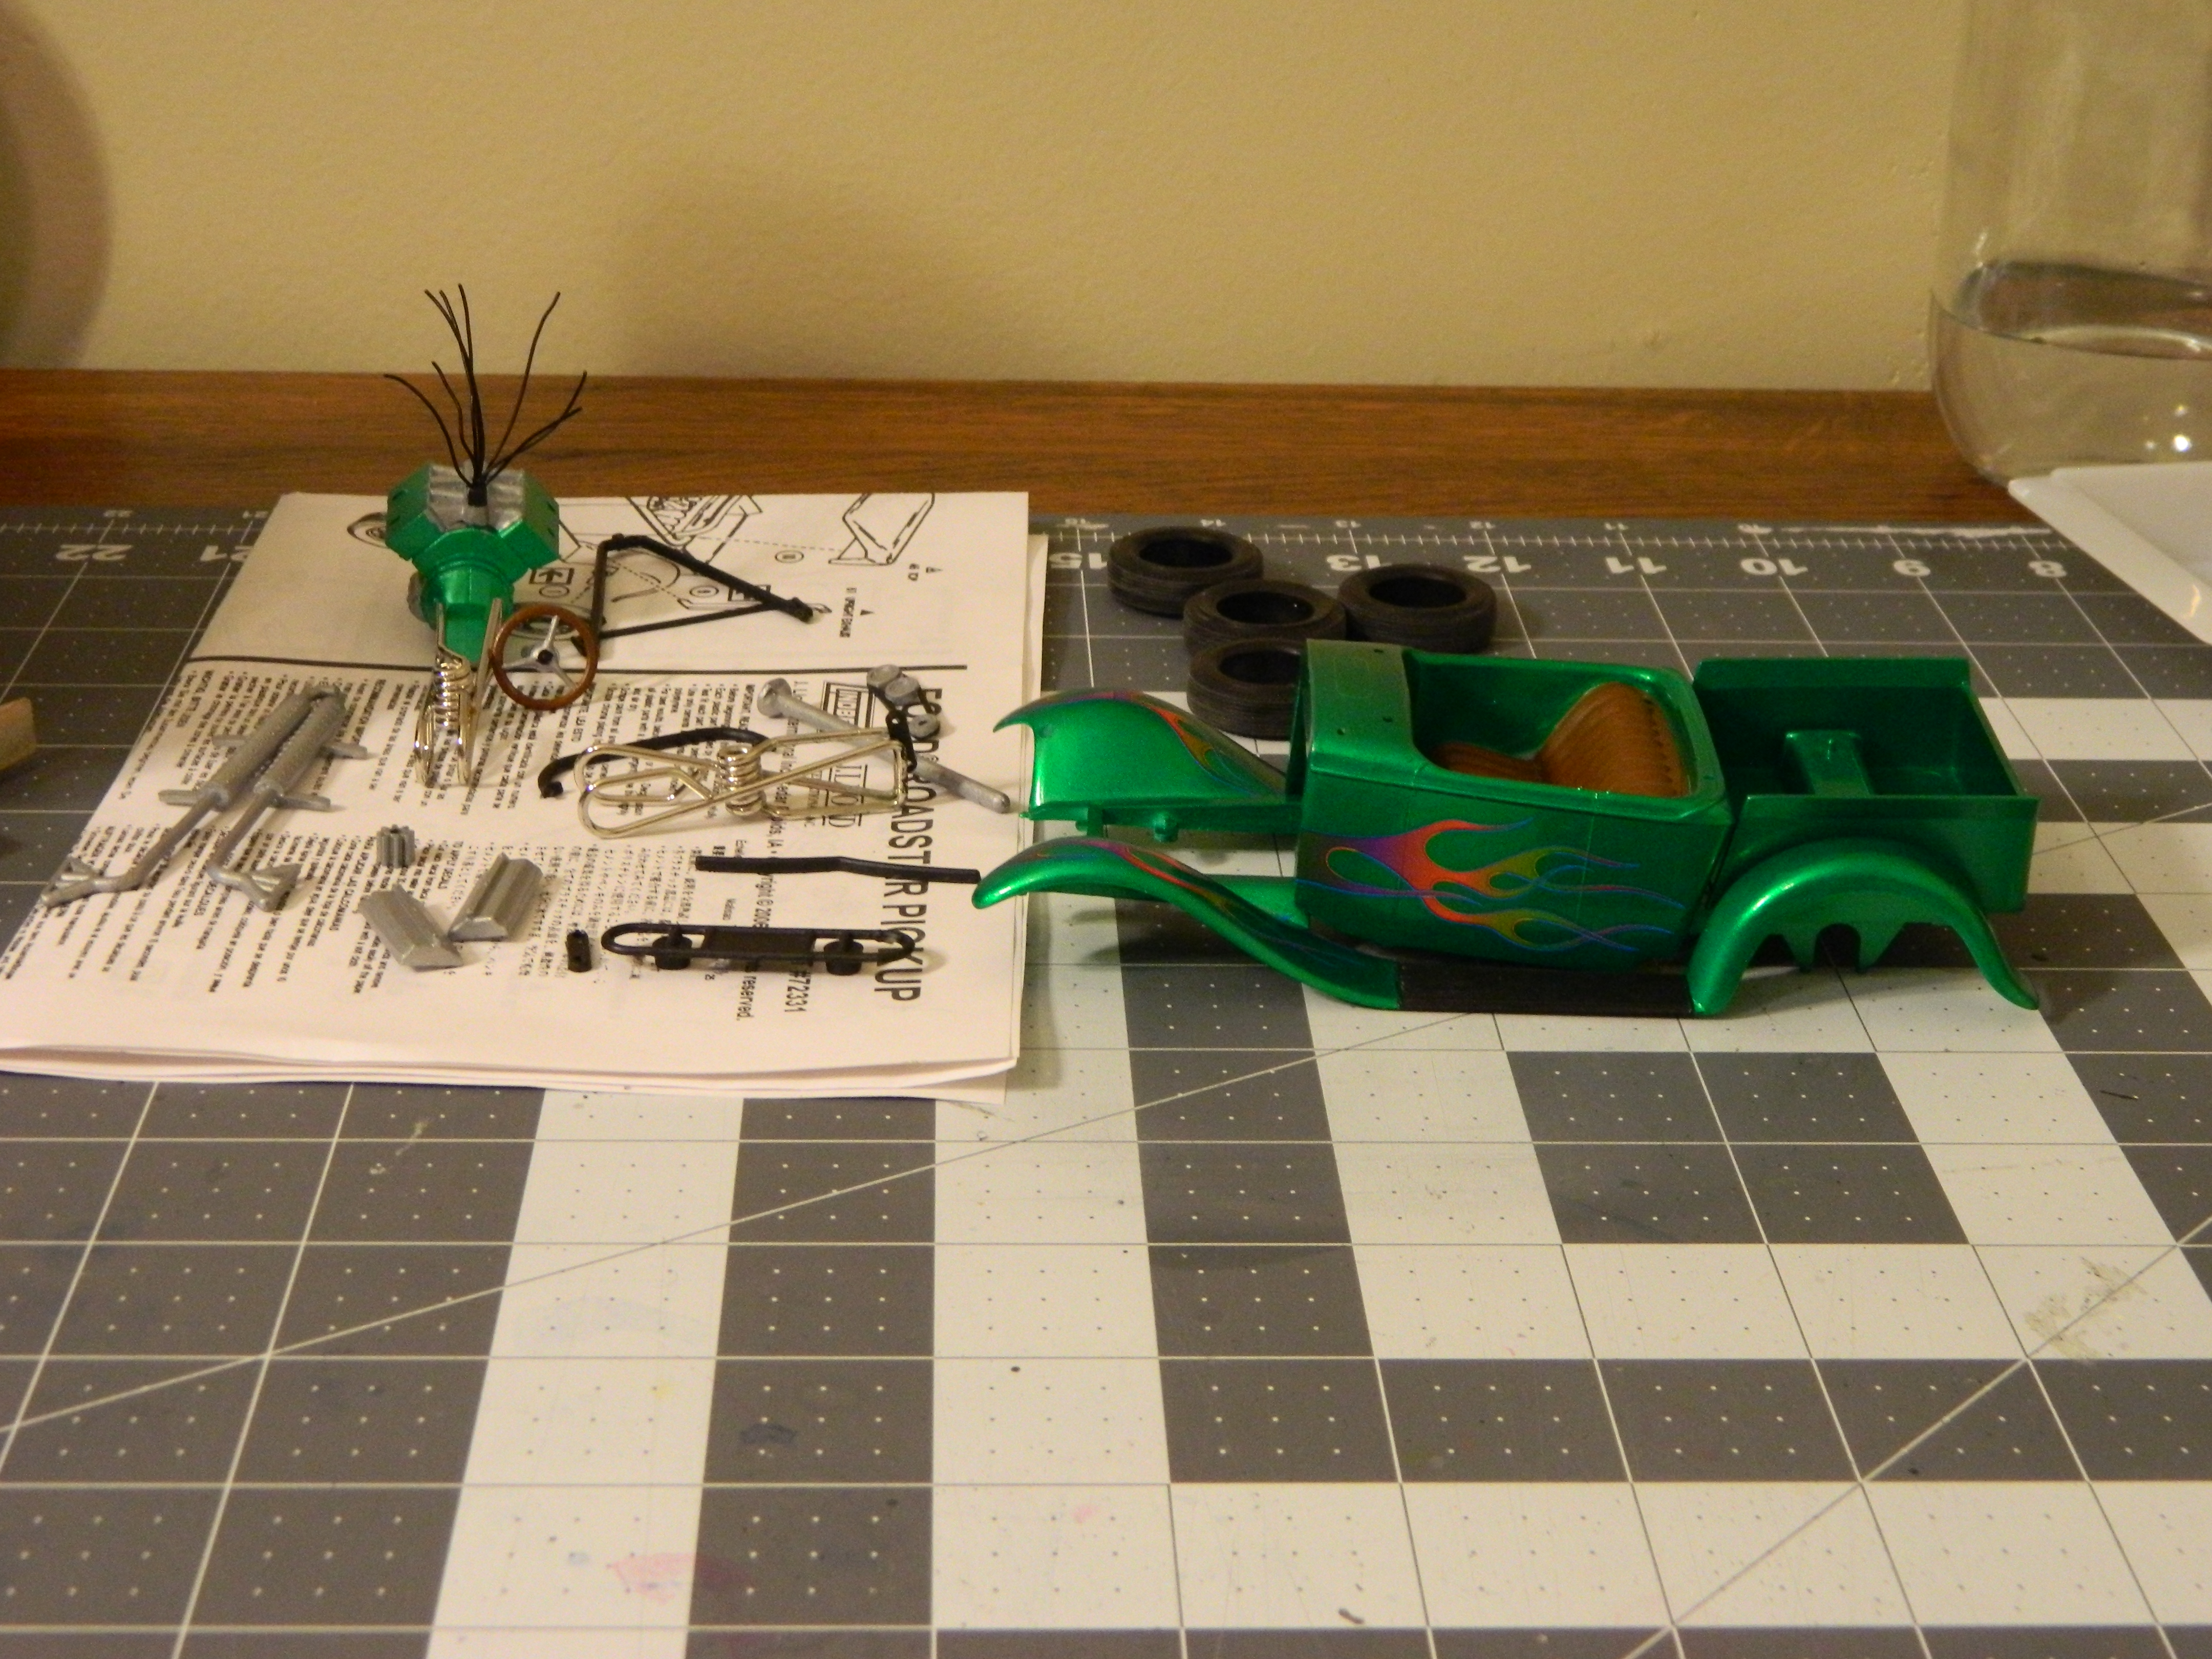
Just finished up with build #6 on the year. This one is the Lindberg '34 Ford Roadster Pickup 1/24 scale (although it looks more like 1/25). The paint is Testors One Coat Mystic Emerald and I used Model Master Leather for the seat and steering wheel. I also de-chromed all of the plated parts and painted them Flat Black. I used the decals from the Monogram '41 Willys Street Rod kit since I didn't use them on that kit, and I added plug wires to the engine. There was lots of flash and the plating was not very good on my particular kit, and even though it is a 3 in 1 with an extra frame and 3 back end choices there's not that many parts to the kit, so it was a pretty basic build. Despite those short-comings everything fit together really well. The only problem I had was at final assembly the body tub just didn't want to sit flush on the frame, despite several test fits throughout the build, so I probably just bent or twisted the frame sometime during final assembly. I don't think that it's noticeable and overall I am very happy with how this one turned out, even though I forgot to sand down the sink marks and some part numbers before painting that are visible after assembly. This was a fun little kit and went together pretty quickly once everything was painted and ready to go. Thanks for looking and Happy Modeling!

-
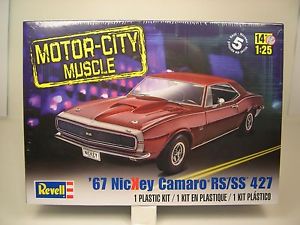
Not to open thins back up, but I have a question regarding the Revell '67 Camaro. I am assuming that the '67 Camaro SS 2 in 1 kit is the culprit in question as far as the back end being not right. If so, then my question would be is the Revell '67 Nickey Camaro essentially the same body or is it for some reason a different mold? Or is it the same kit with different cover art?
-
Revell 1970 Dodge Charger Hemi R/T in F8 Green
Dragonhawk1066 replied to mademan's topic in WIP: Model Cars
Looking spectacular so far! -
Great build of a classic muscle car! I would love to see this kit re-issued as well as some of the other old muscle car kits.
-
Lindberg '34 Ford Roadster Pickup Update #1
Dragonhawk1066 replied to Dragonhawk1066's topic in WIP: Model Cars
Thanks! There's not much to it so it should be a fun, quick build now that everything is painted. Thanks! I really like the green, and was on the fence about adding decals since I don't have many to choose from with a limited stash so far. Luckily I just finished the '41 Willys and after testing the size, was very happy that a couple of them fit and I think the colors work well. Although not the best quality, now that everything is painted, it should go together pretty quickly and so far at least everything seems to fit well. Thanks, a few new colors would be very welcome in the one coat line. Yours looks great with the custom touches, and I love the engine! -
Lindberg '34 Ford Roadster Pickup Update #1
Dragonhawk1066 replied to Dragonhawk1066's topic in WIP: Model Cars
Thanks, I'm diggin' the color combo on yours. Nice work. LOL, while the quality of the kit seems cheap, funny thing is this is the most expensive kit I bought so far outside of my 1/16 MPC Shelby Cobra 427. I paid full price at the local hobby shop, kinda makes up for all the kits I got for a reduced price at Ollies, and on Amazon and ebay. Thanks, these Testors One Coats are great to work with, I've used 4 of them now and all have turned out great. Yours looks nice, and I really like the color on it. -
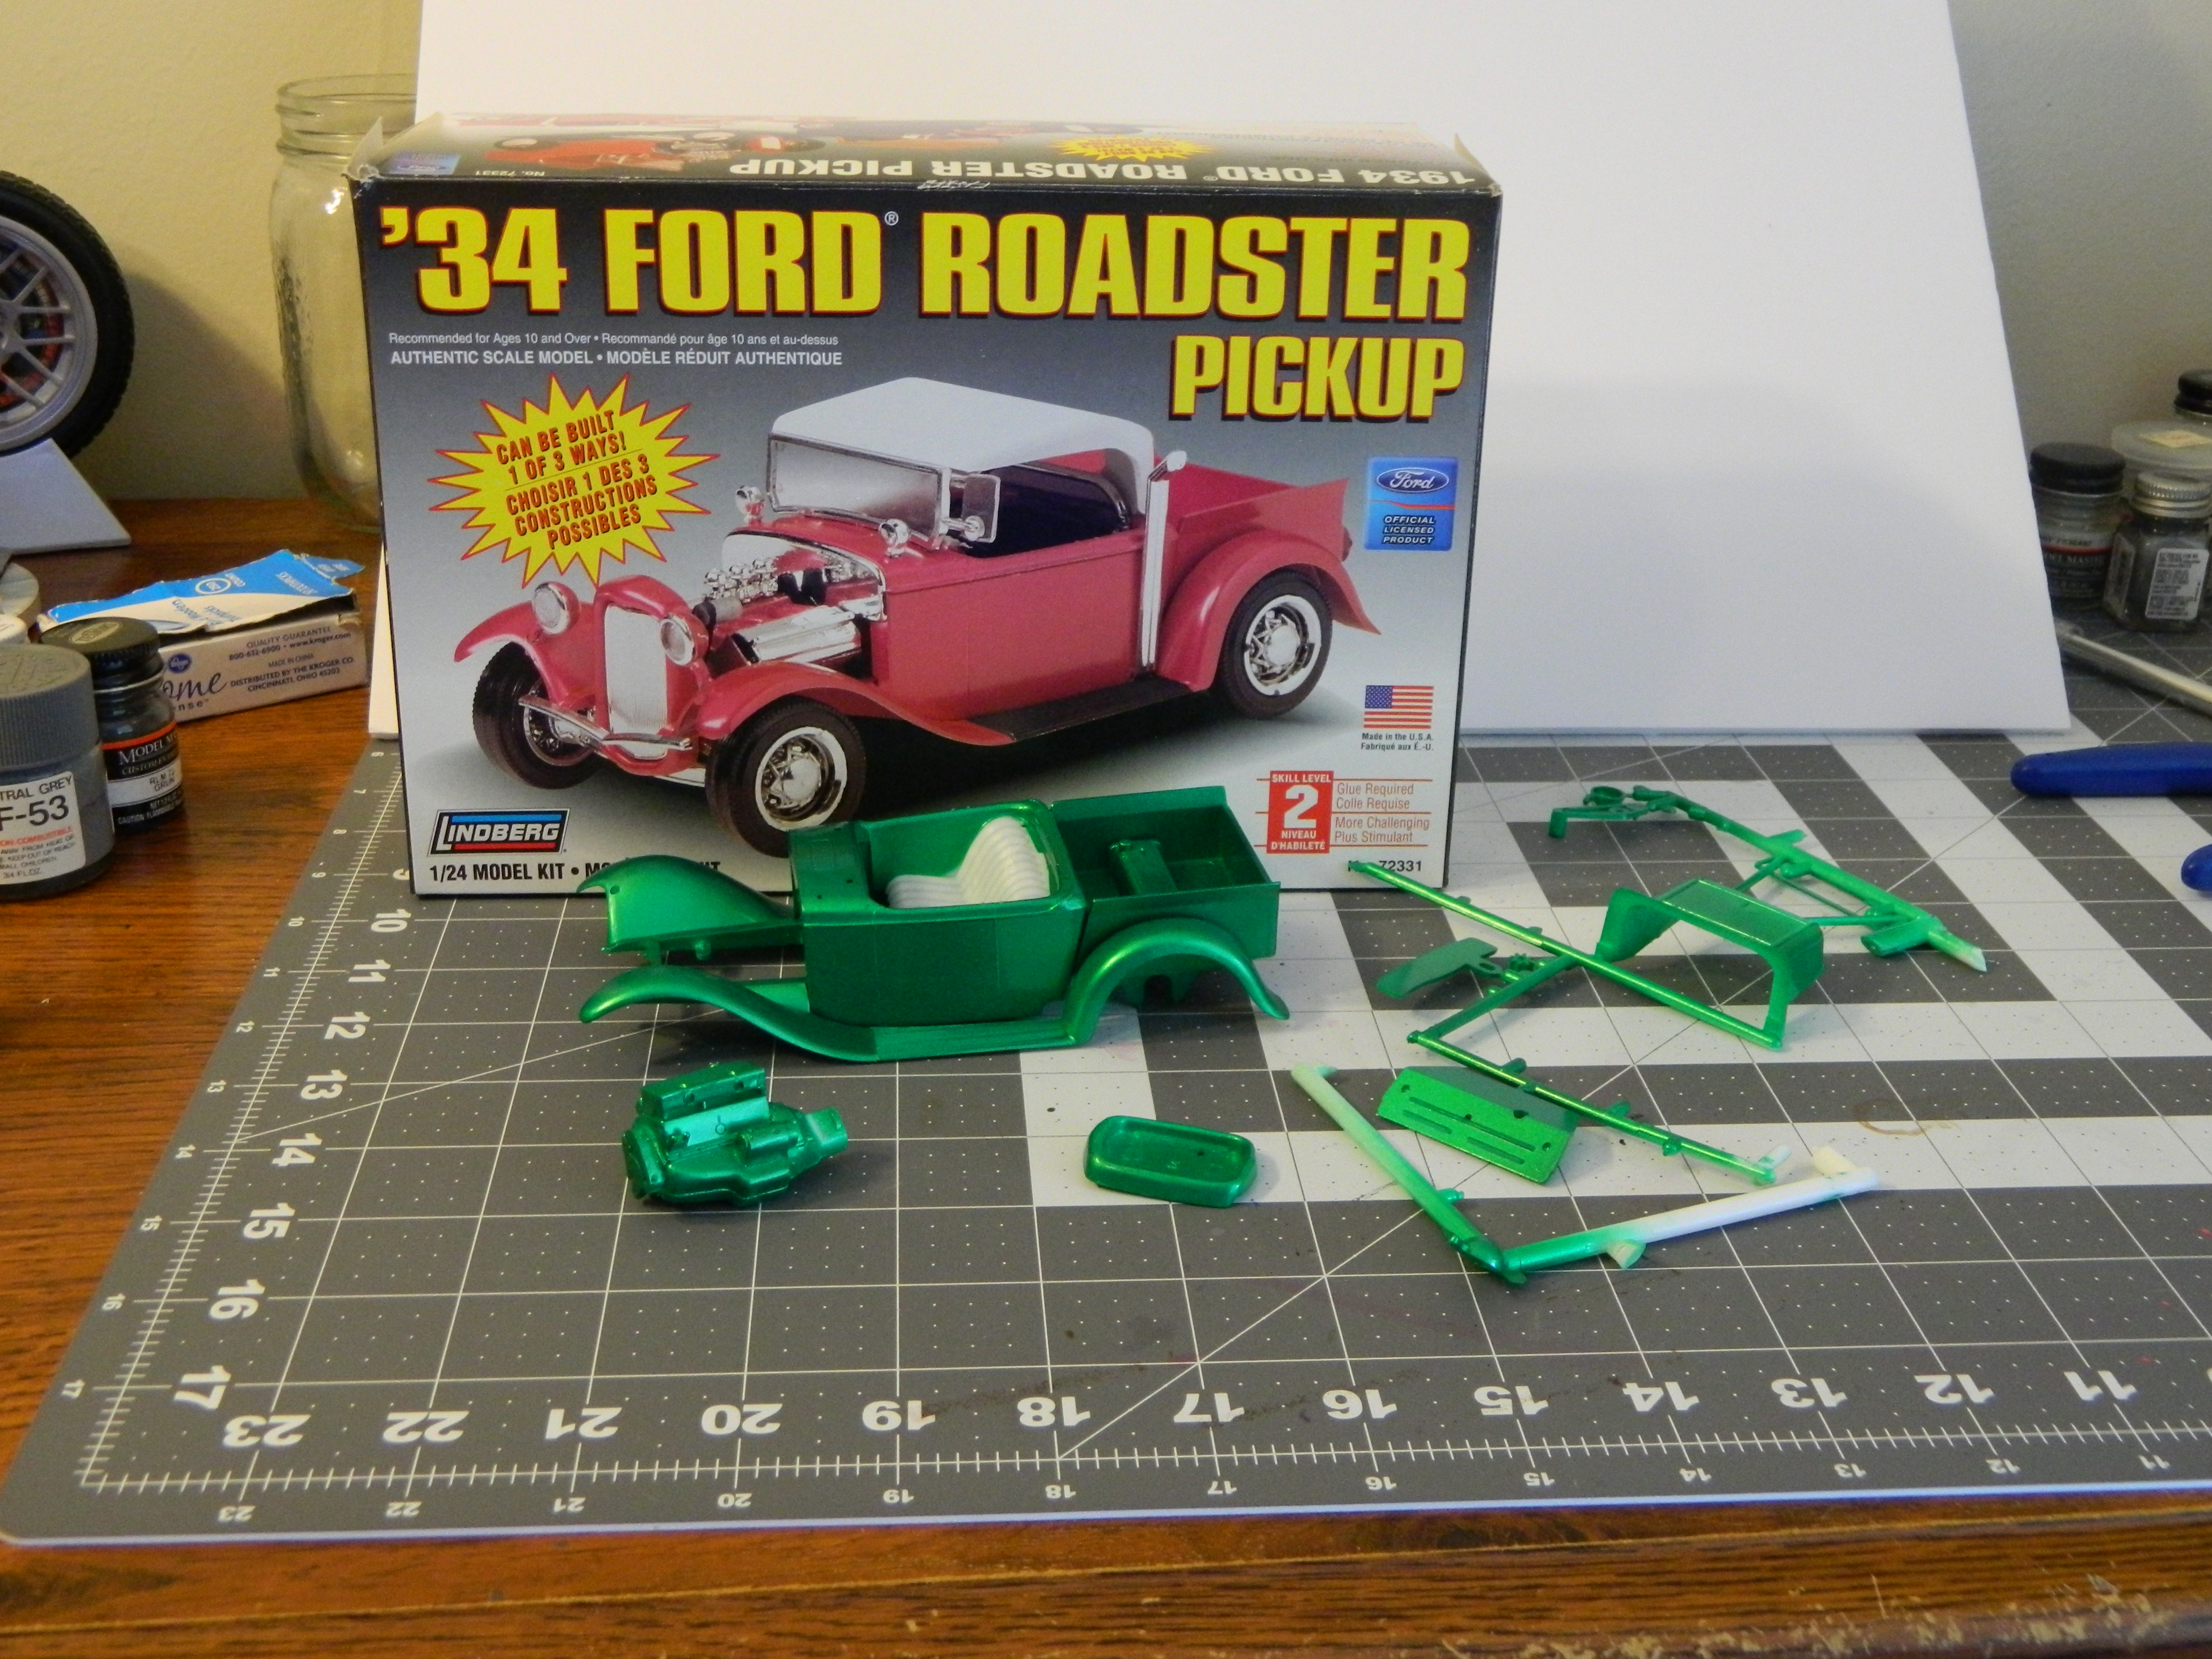
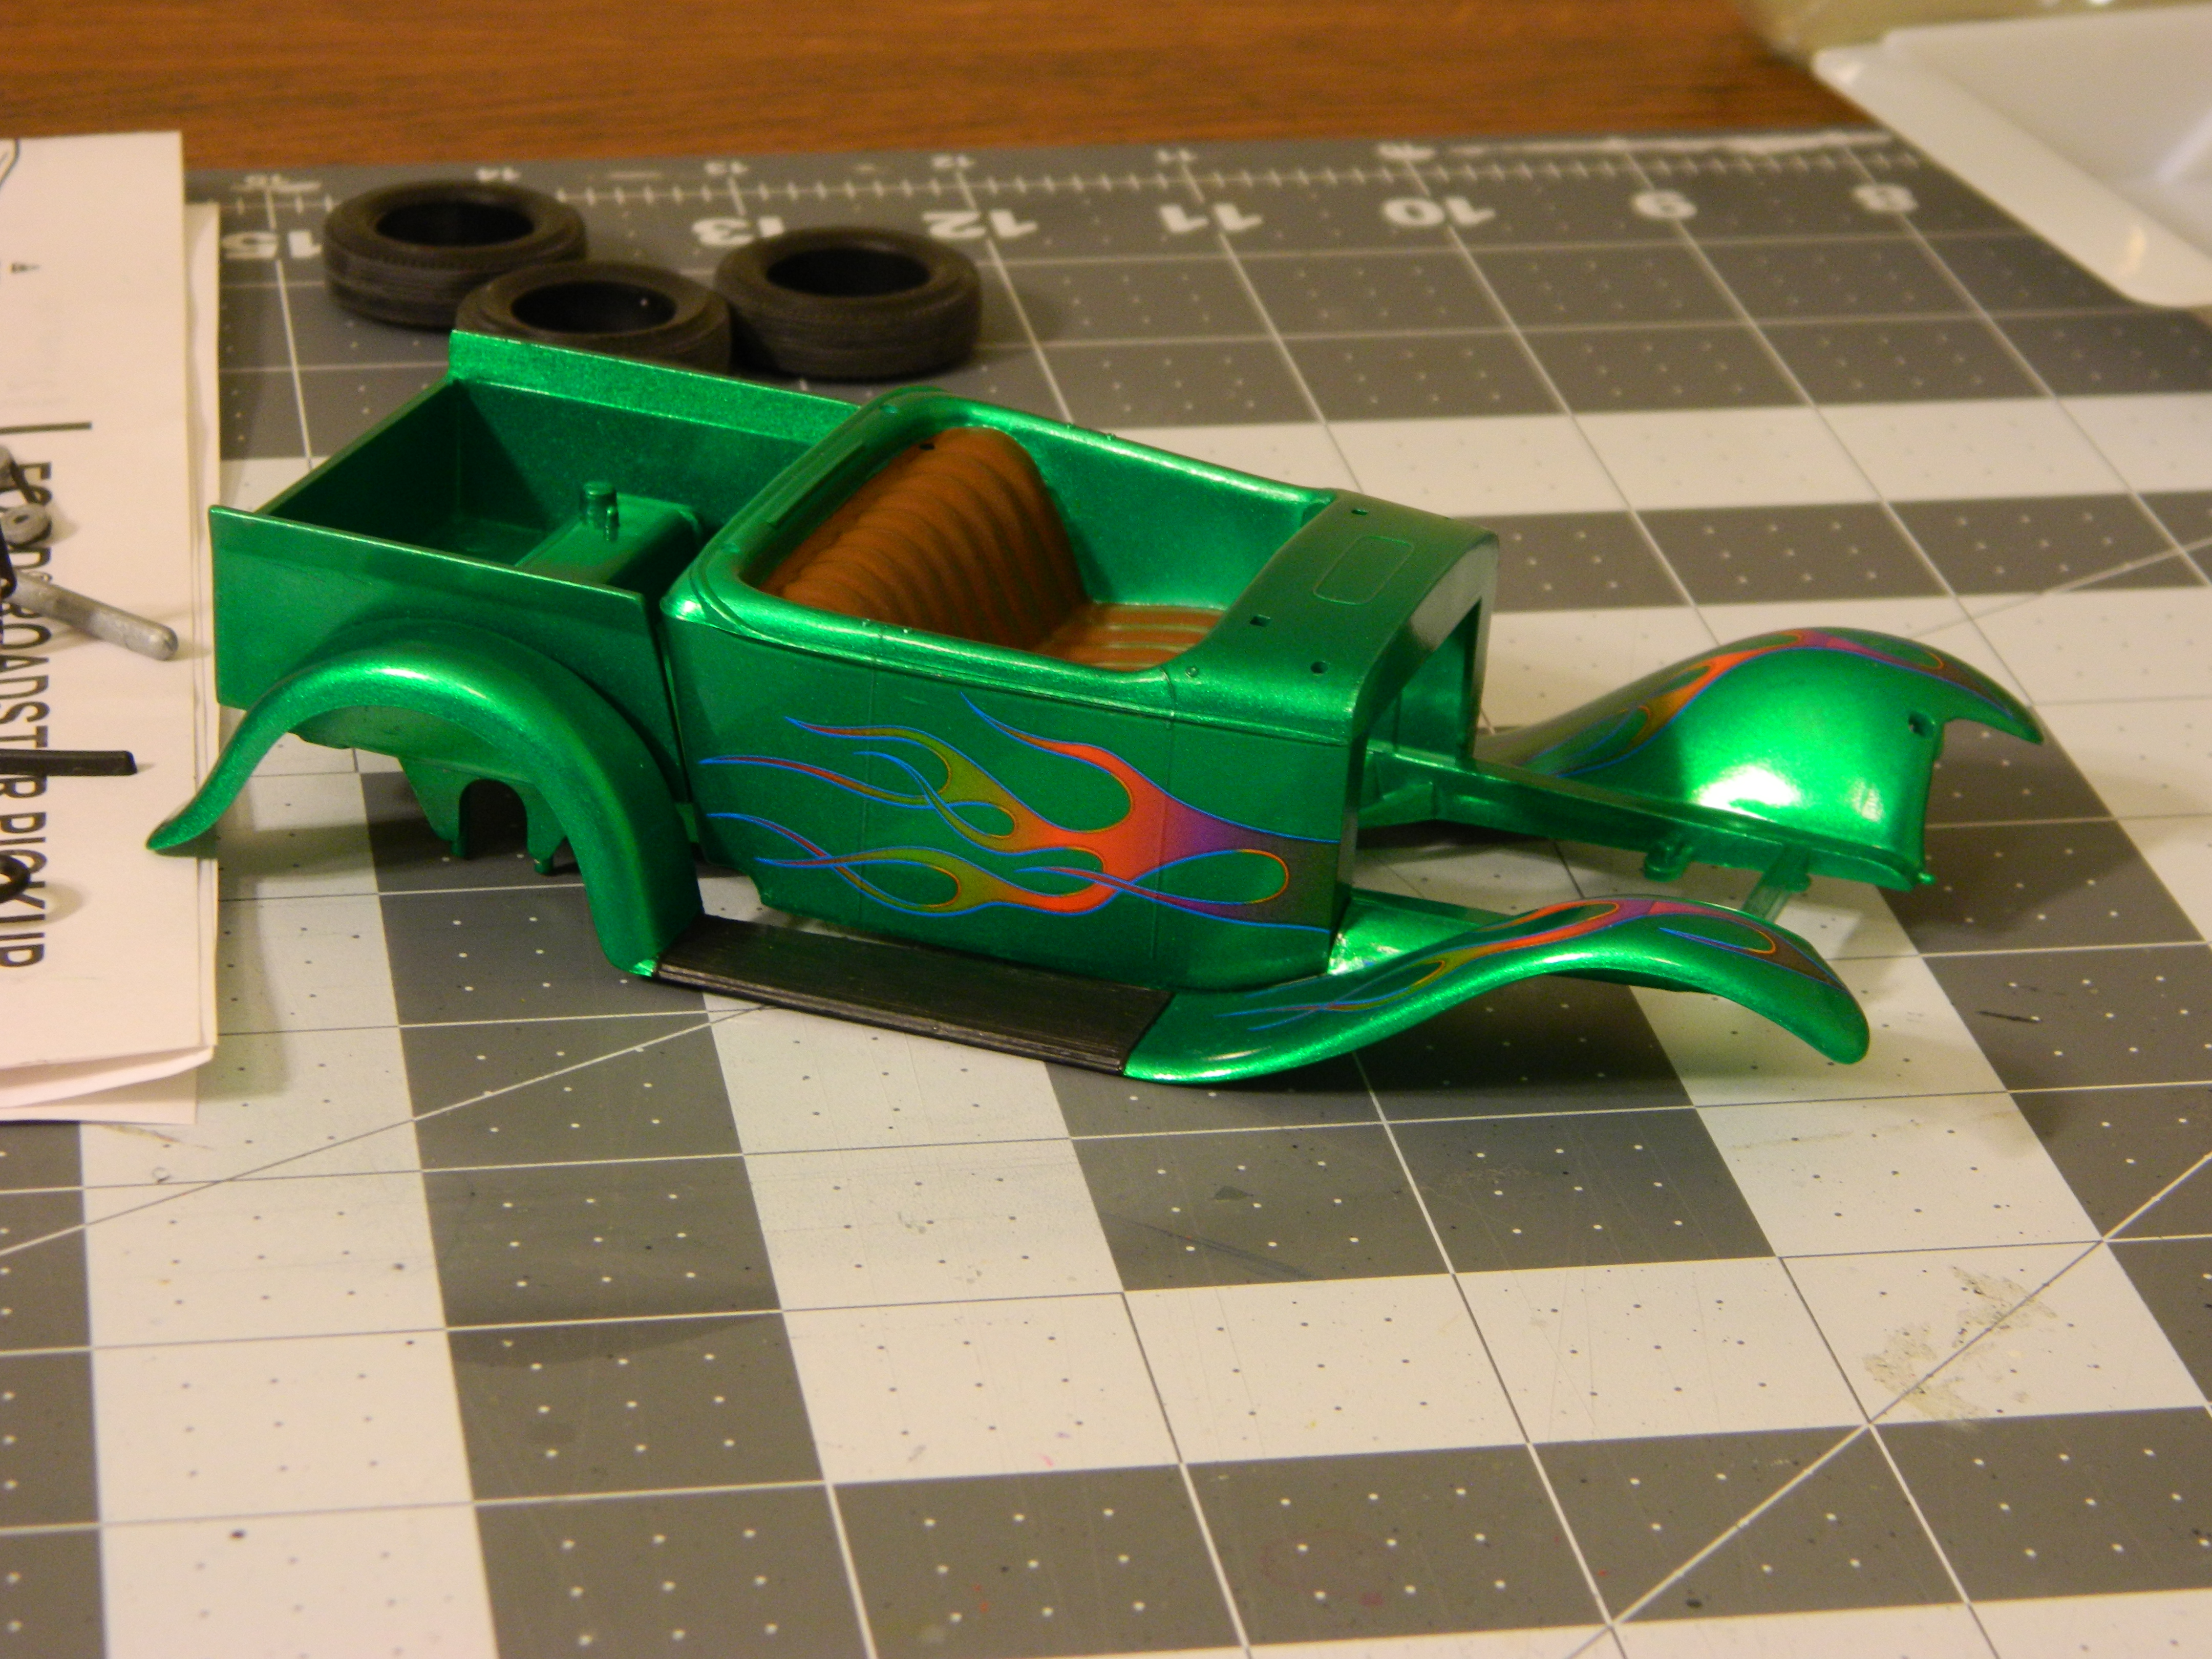
A little progress update on my Lindberg '34 Ford Roadster Pickup. Paint is Testors One Coat Mystic Emerald, with Model Master Leather seat and steering wheel. All the plated parts have been de-chromed (mainly because of poor plating) and will be painted flat black. Decals are leftover from my '41 Willys kit. This generally seems like a poor quality kit with poor plating, lots of flash, and not a lot of pieces. On a positive note the general fit seems ok so far, and I'm excited to see how it turns out.
-
Excellent work! Love the Mustang front end, great job.
-
That's a badass truck! Great paint job and I love the flames. Top notch!
-
62 F100 Prostreet
Dragonhawk1066 replied to Lorne's topic in Model Trucks: Pickups, Vans, SUVs, Light Commercial
Wow!! Absolutely incredible! Not a single detail missed, I can almost hear it run. Most impressive! -
Hudson Powered 34 Ford
Dragonhawk1066 replied to Tyler62990's topic in Model Trucks: Pickups, Vans, SUVs, Light Commercial
Outstanding!! -
I thought that was a gorgeous paint job even before seeing the outdoor pics and was blown away even more by those. Absolutely stunning build in every way.
-
That is some amazing detail on that engine, and incredible craftsmanship on the seat and rollcage. Definitely need to see this one when finished.