bobss396
-
Posts
3,685 -
Joined
-
Last visited
Content Type
Profiles
Forums
Events
Gallery
Everything posted by bobss396
-
My girlfriend came over yesterday, she knows that I was jonesing for fried chicken, mashed potatoes and homemade cowboy gravy. She brings deli supermarket fried chicken that is pretty good. Fake mashed potatoes, which are not bad. I ran into a recipe on IG for what was called cowboy gravy. Start with a sauce pan and 1 stick of butter. Get that melted, stir in 3/4 cup of flour to make a roux. Add 2 cups of chicken broth, some extra is good if it gets too thick. Keep that moving until it this out. The recipe calls for 2 tsp of each: salt, pepper and seasoning of choice. I went easy on the salt, 1 tsp of pepper would have been fine. It did come out well and I have some leftover. I will have it over cornbread with my eggs later on.
-

What Did You See In Your Yard Today?
bobss396 replied to Tim W. SoCal's topic in The Off-Topic Lounge
The Bird Buddy never lets me down. Yesterday a bluejay and grackle were the stars of the show. 0abc3b94-7e5b-439d-a04d-8d1e923b71cb.mp4 2db5a5a5-e1a9-445d-b2b6-01d1c63953ac.mp4 -
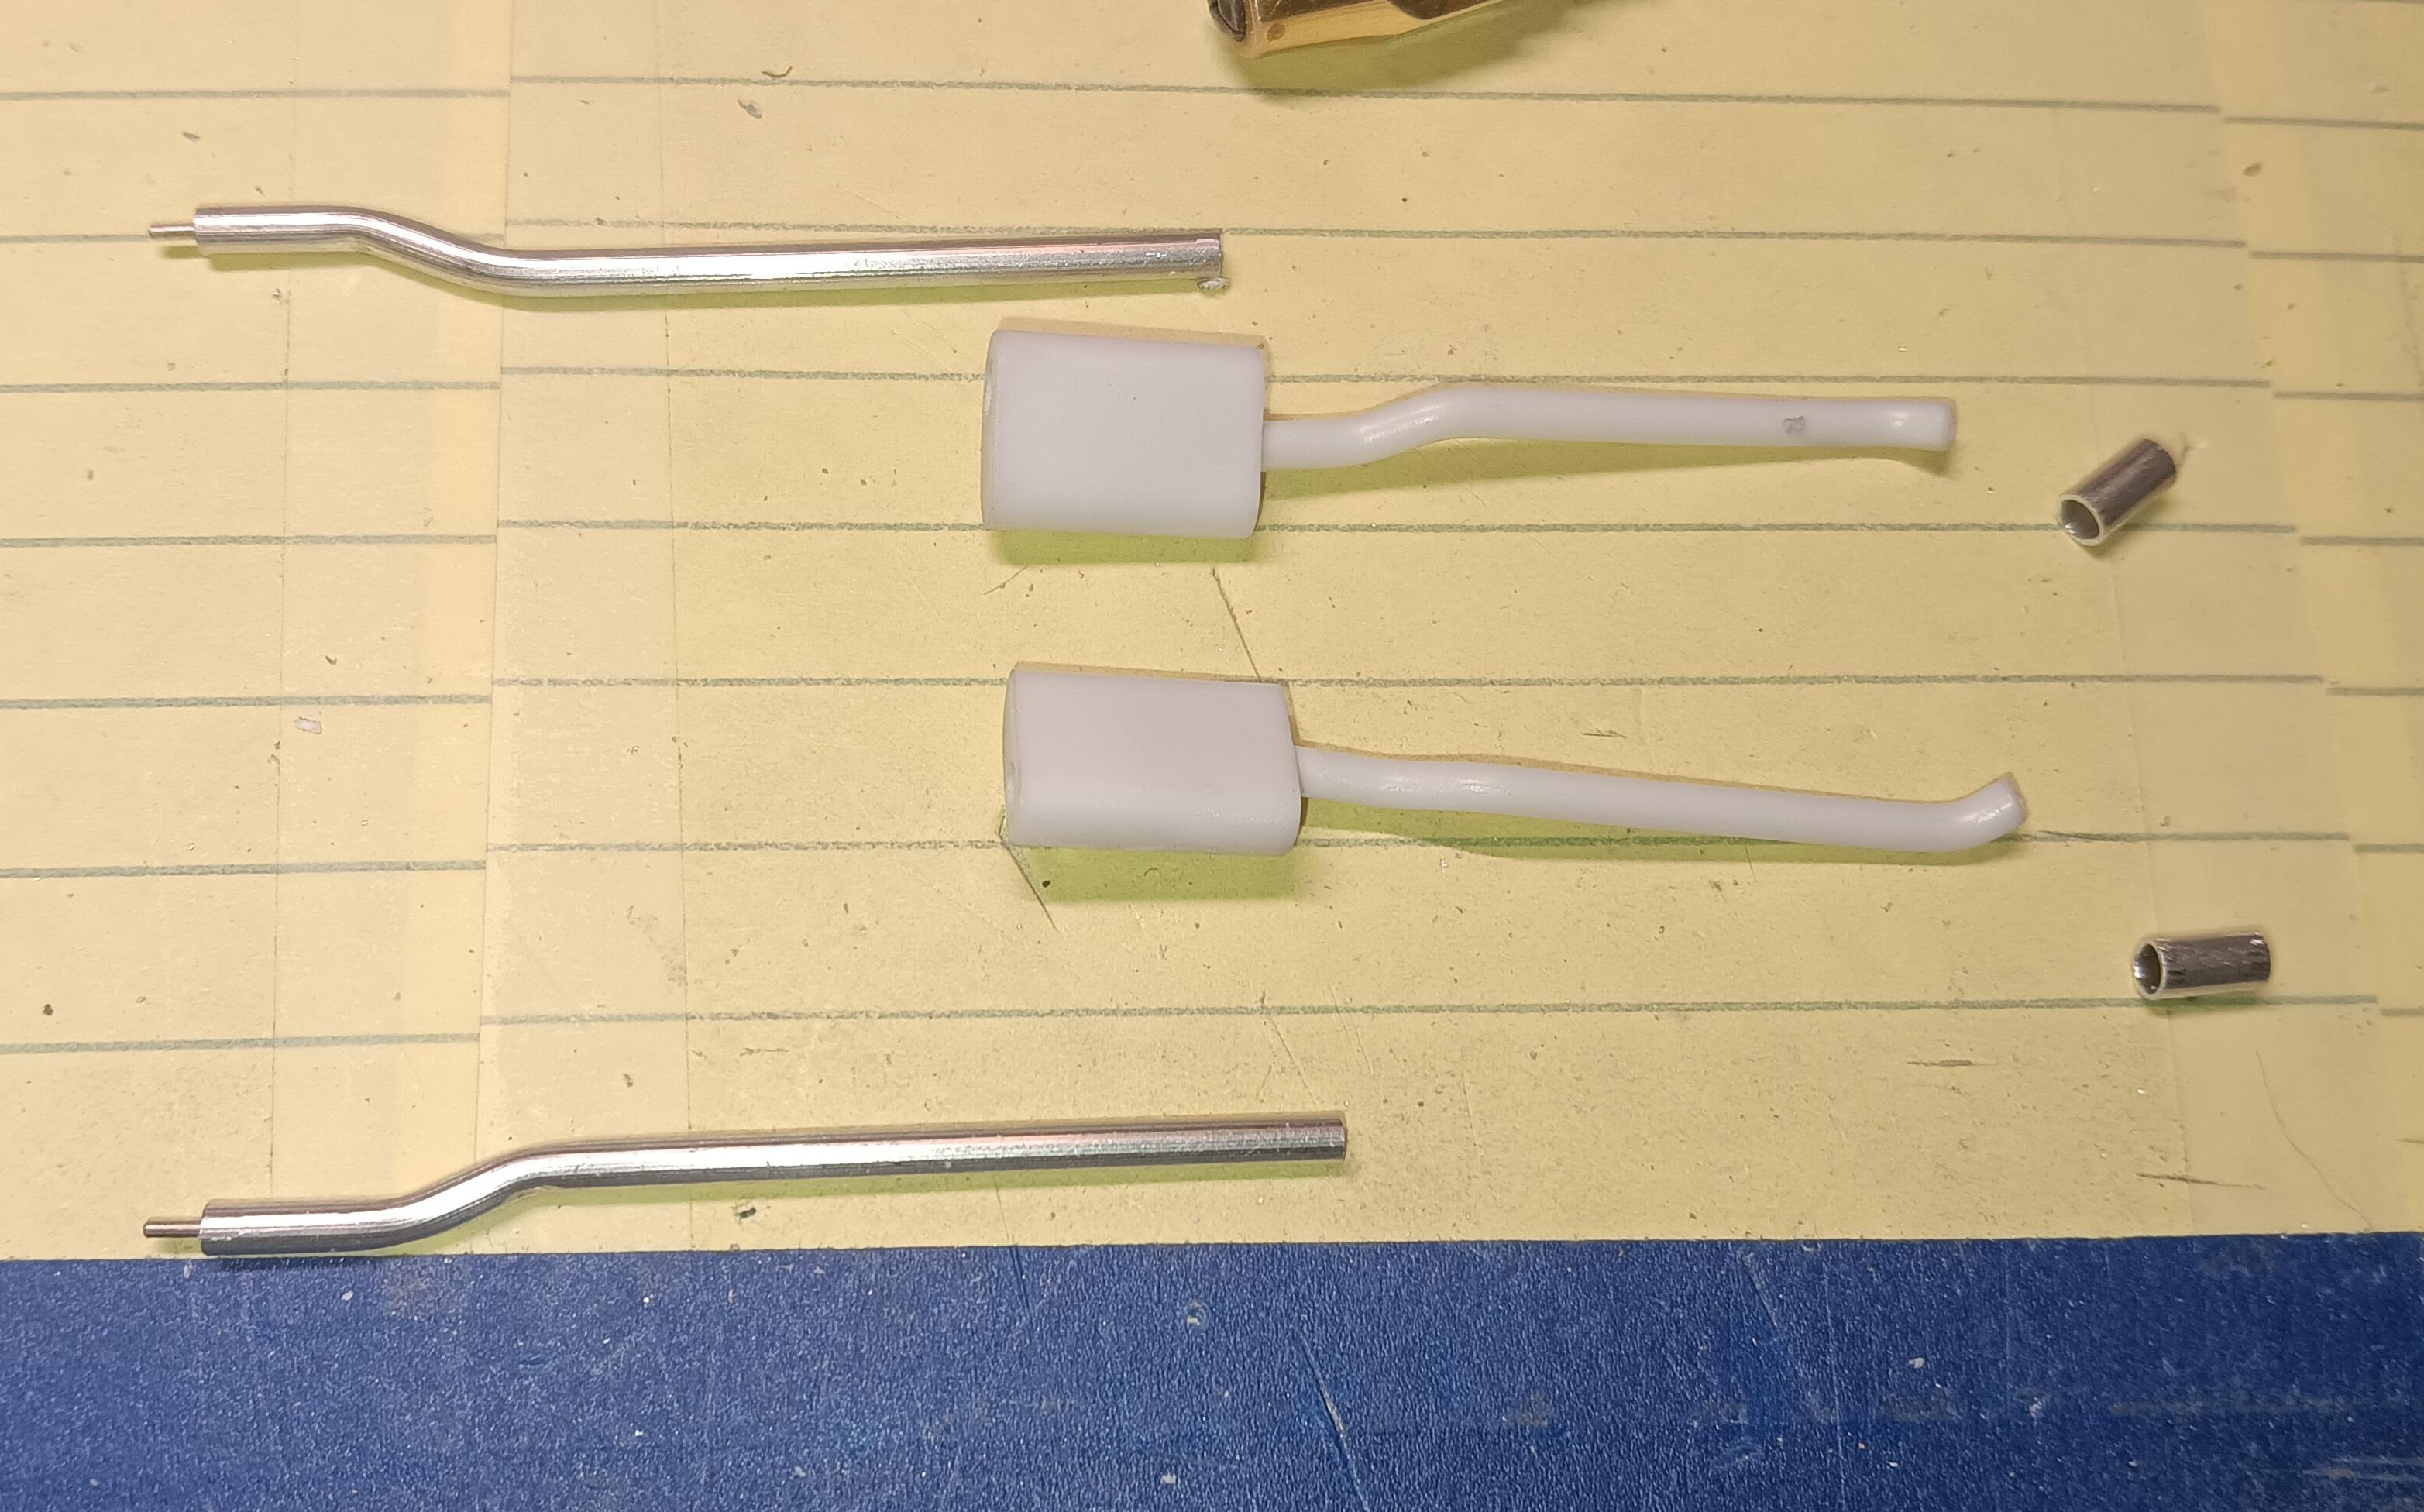
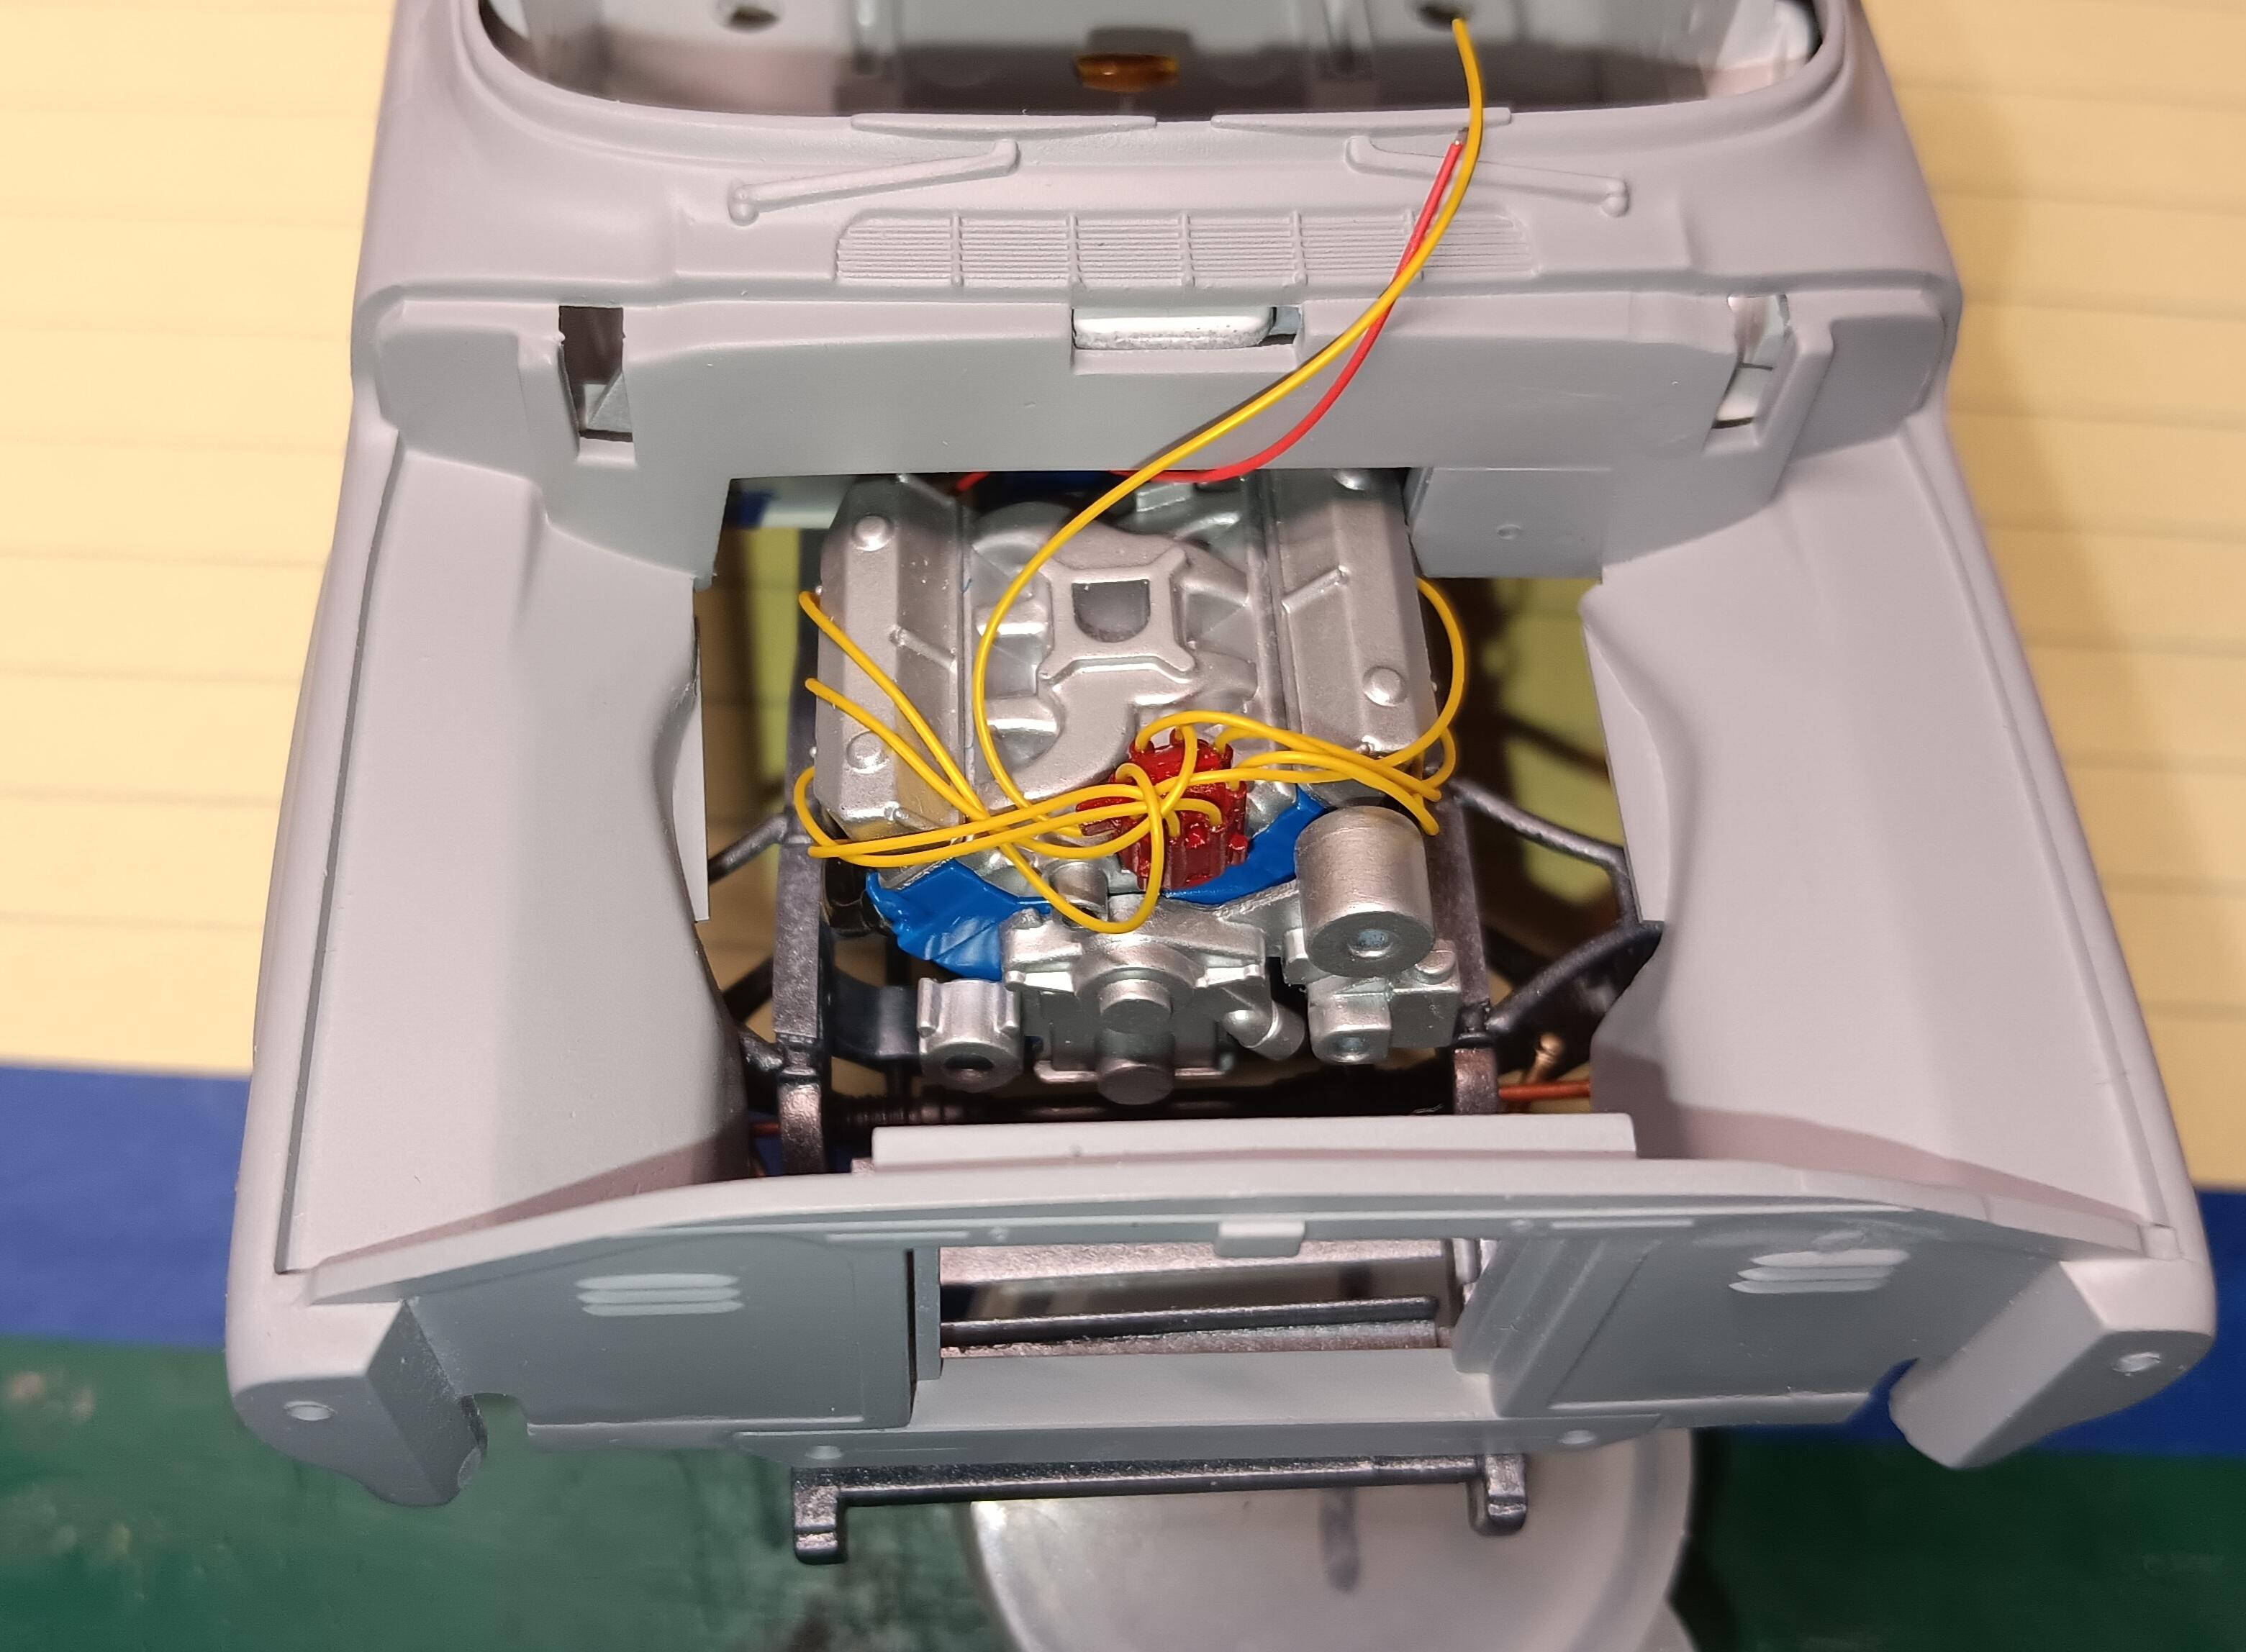
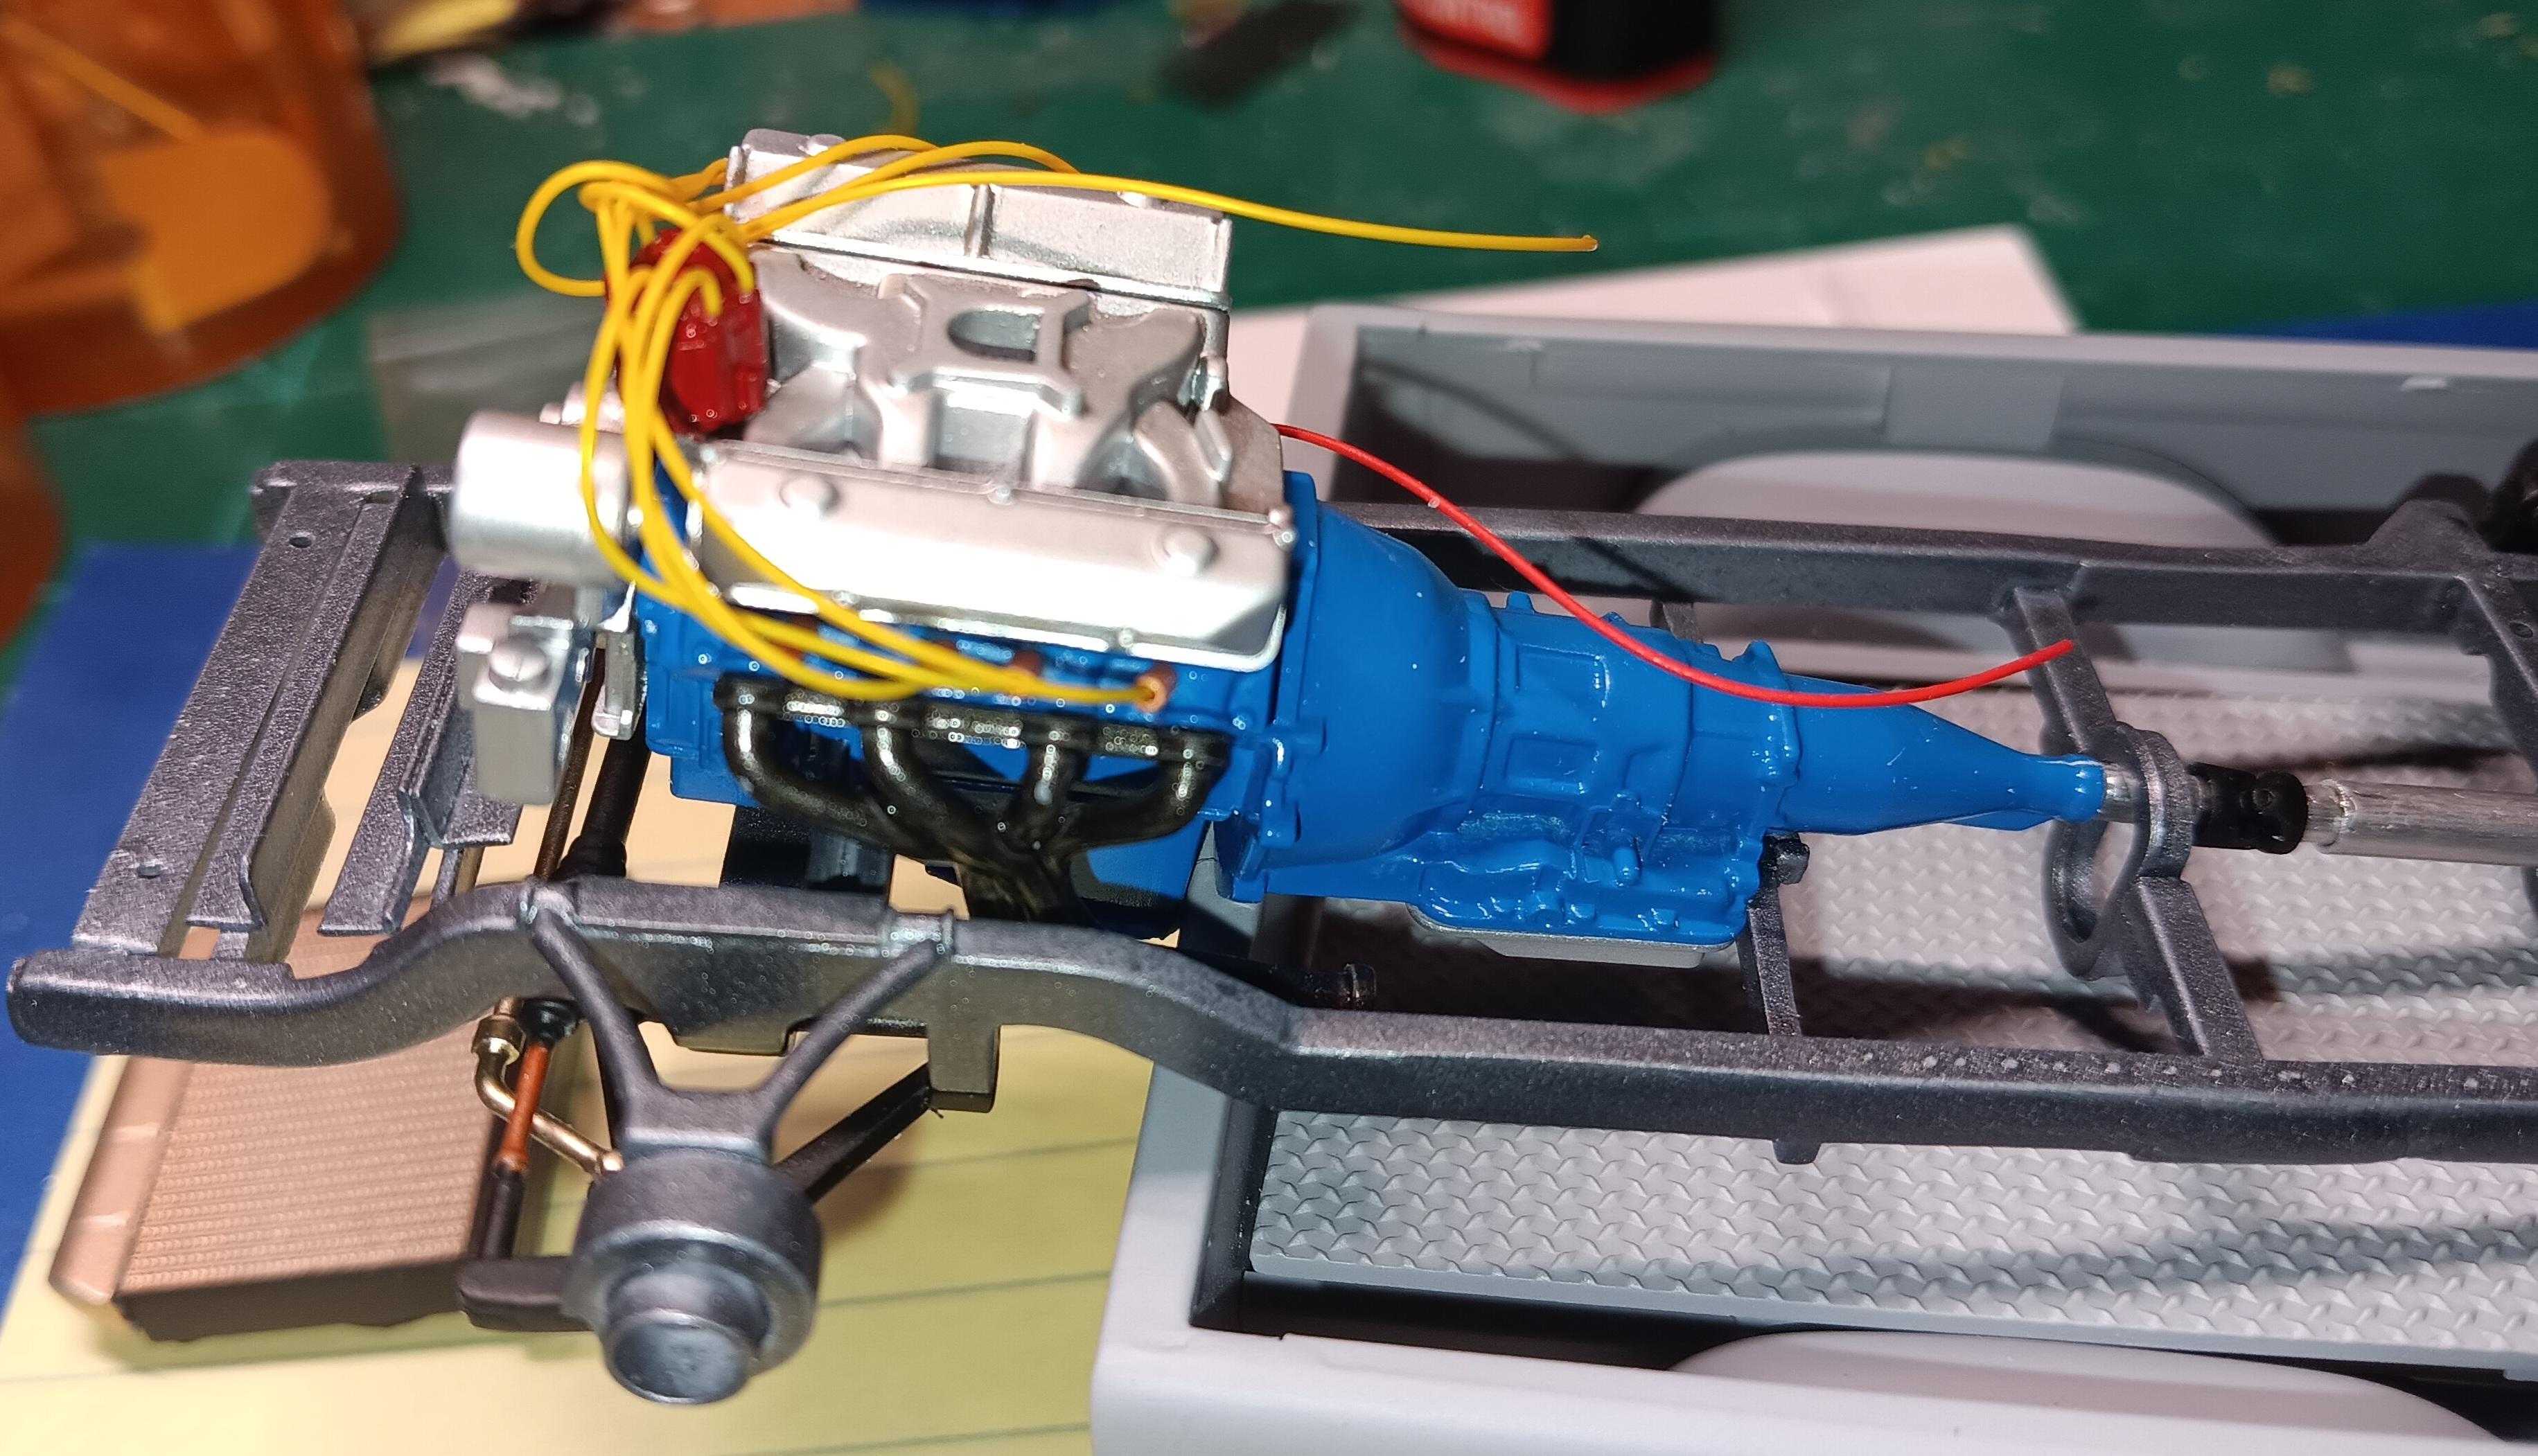
The exhaust is sorted out. On the Foose truck it is routed differently. So I made new front pipes from aluminum tubing. The firewall is ready for primer.

-
Shopping psychology ('splain this to me, Lucy)
bobss396 replied to Monty's topic in The Off-Topic Lounge
It was no worse than many areas in Queens and Brooklyn. I guess that sone shop owners got jacked up one time too many. -
Friendly loveable Squirrels..
bobss396 replied to A modeler named mike's topic in The Off-Topic Lounge
I finally saw how squirrels are accessing my Bird Buddy. It is to the right of the back door. They scale the door frame. I'd put some Pam on it, but I would get mixed up in it. -
Shopping psychology ('splain this to me, Lucy)
bobss396 replied to Monty's topic in The Off-Topic Lounge
I used to drive a tow truck in & out of NYC between 1978 and 1981. Mostly The Bronx and Queens. We would stop in Queens to bodegas and other small shops to pick up smokes and coffee. Some in Queens were partitioned off. The storefront was set back enough to keep "shoppers" out of the rain. You could not walk into the building at all. Put your order in, they had people to gather everything and deliver it to the front counter. After paying, the bags were slid out of a plexiglass window. I'd say that shoplifting was about 0%. -
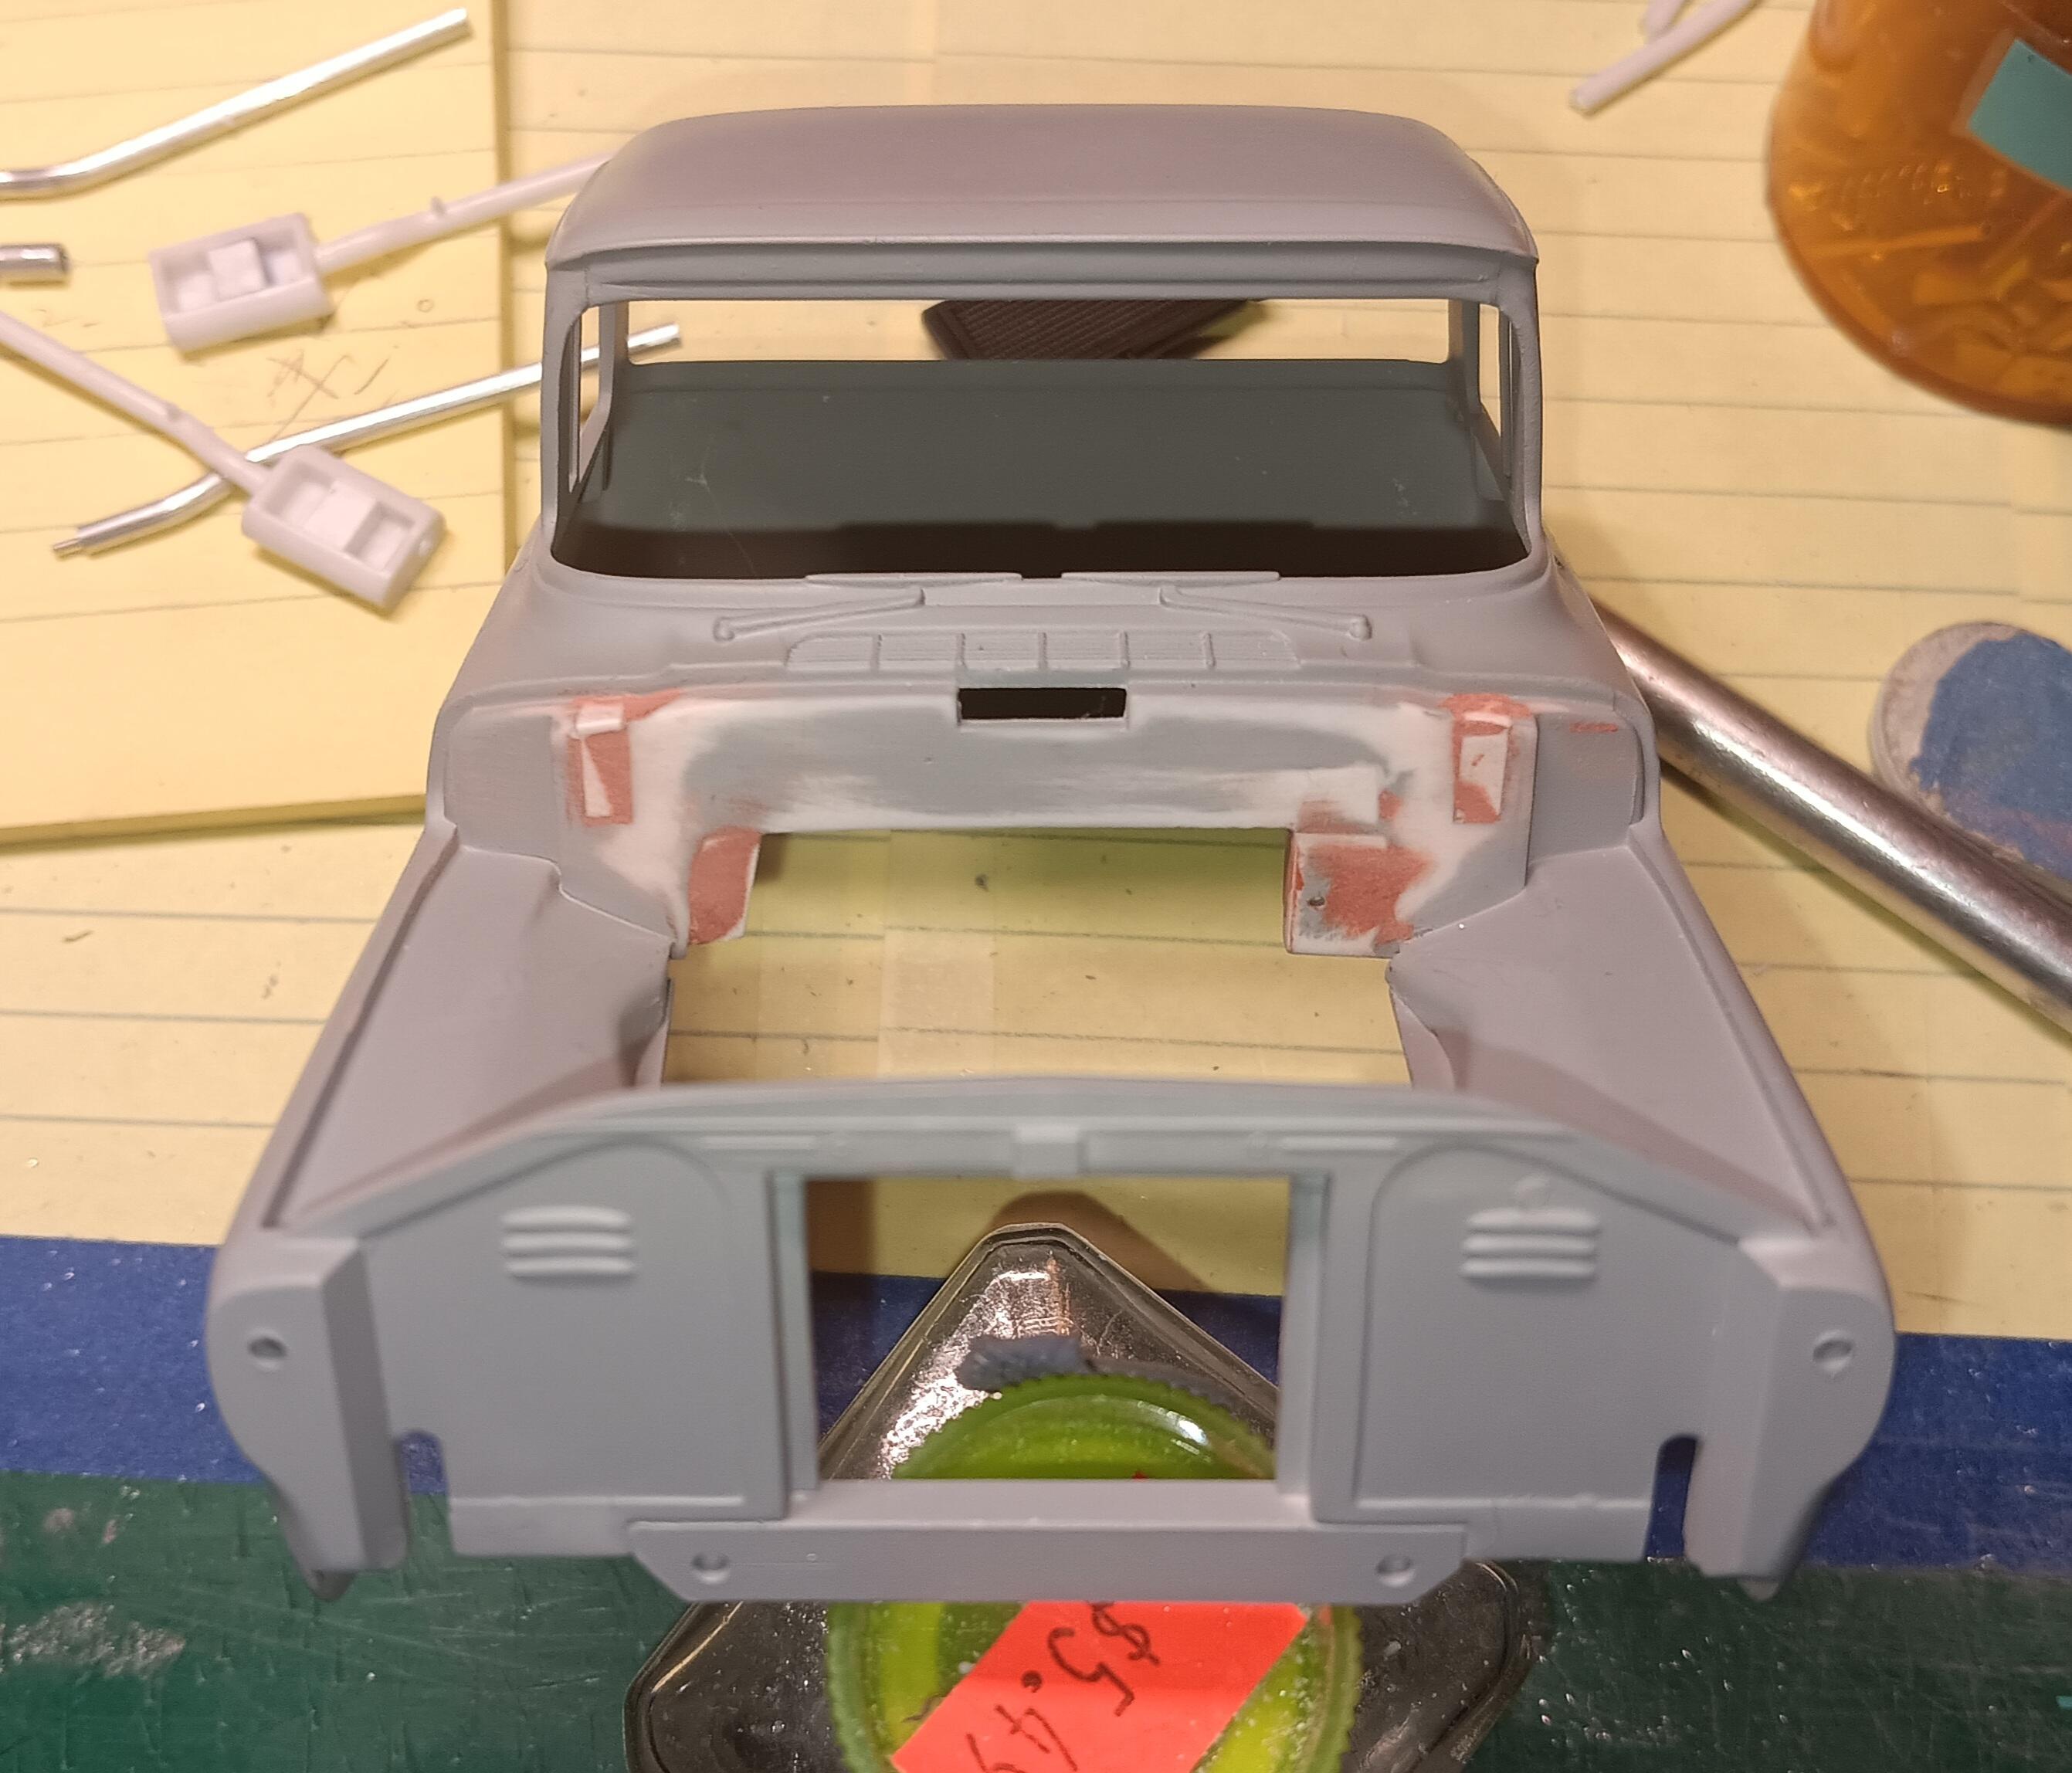
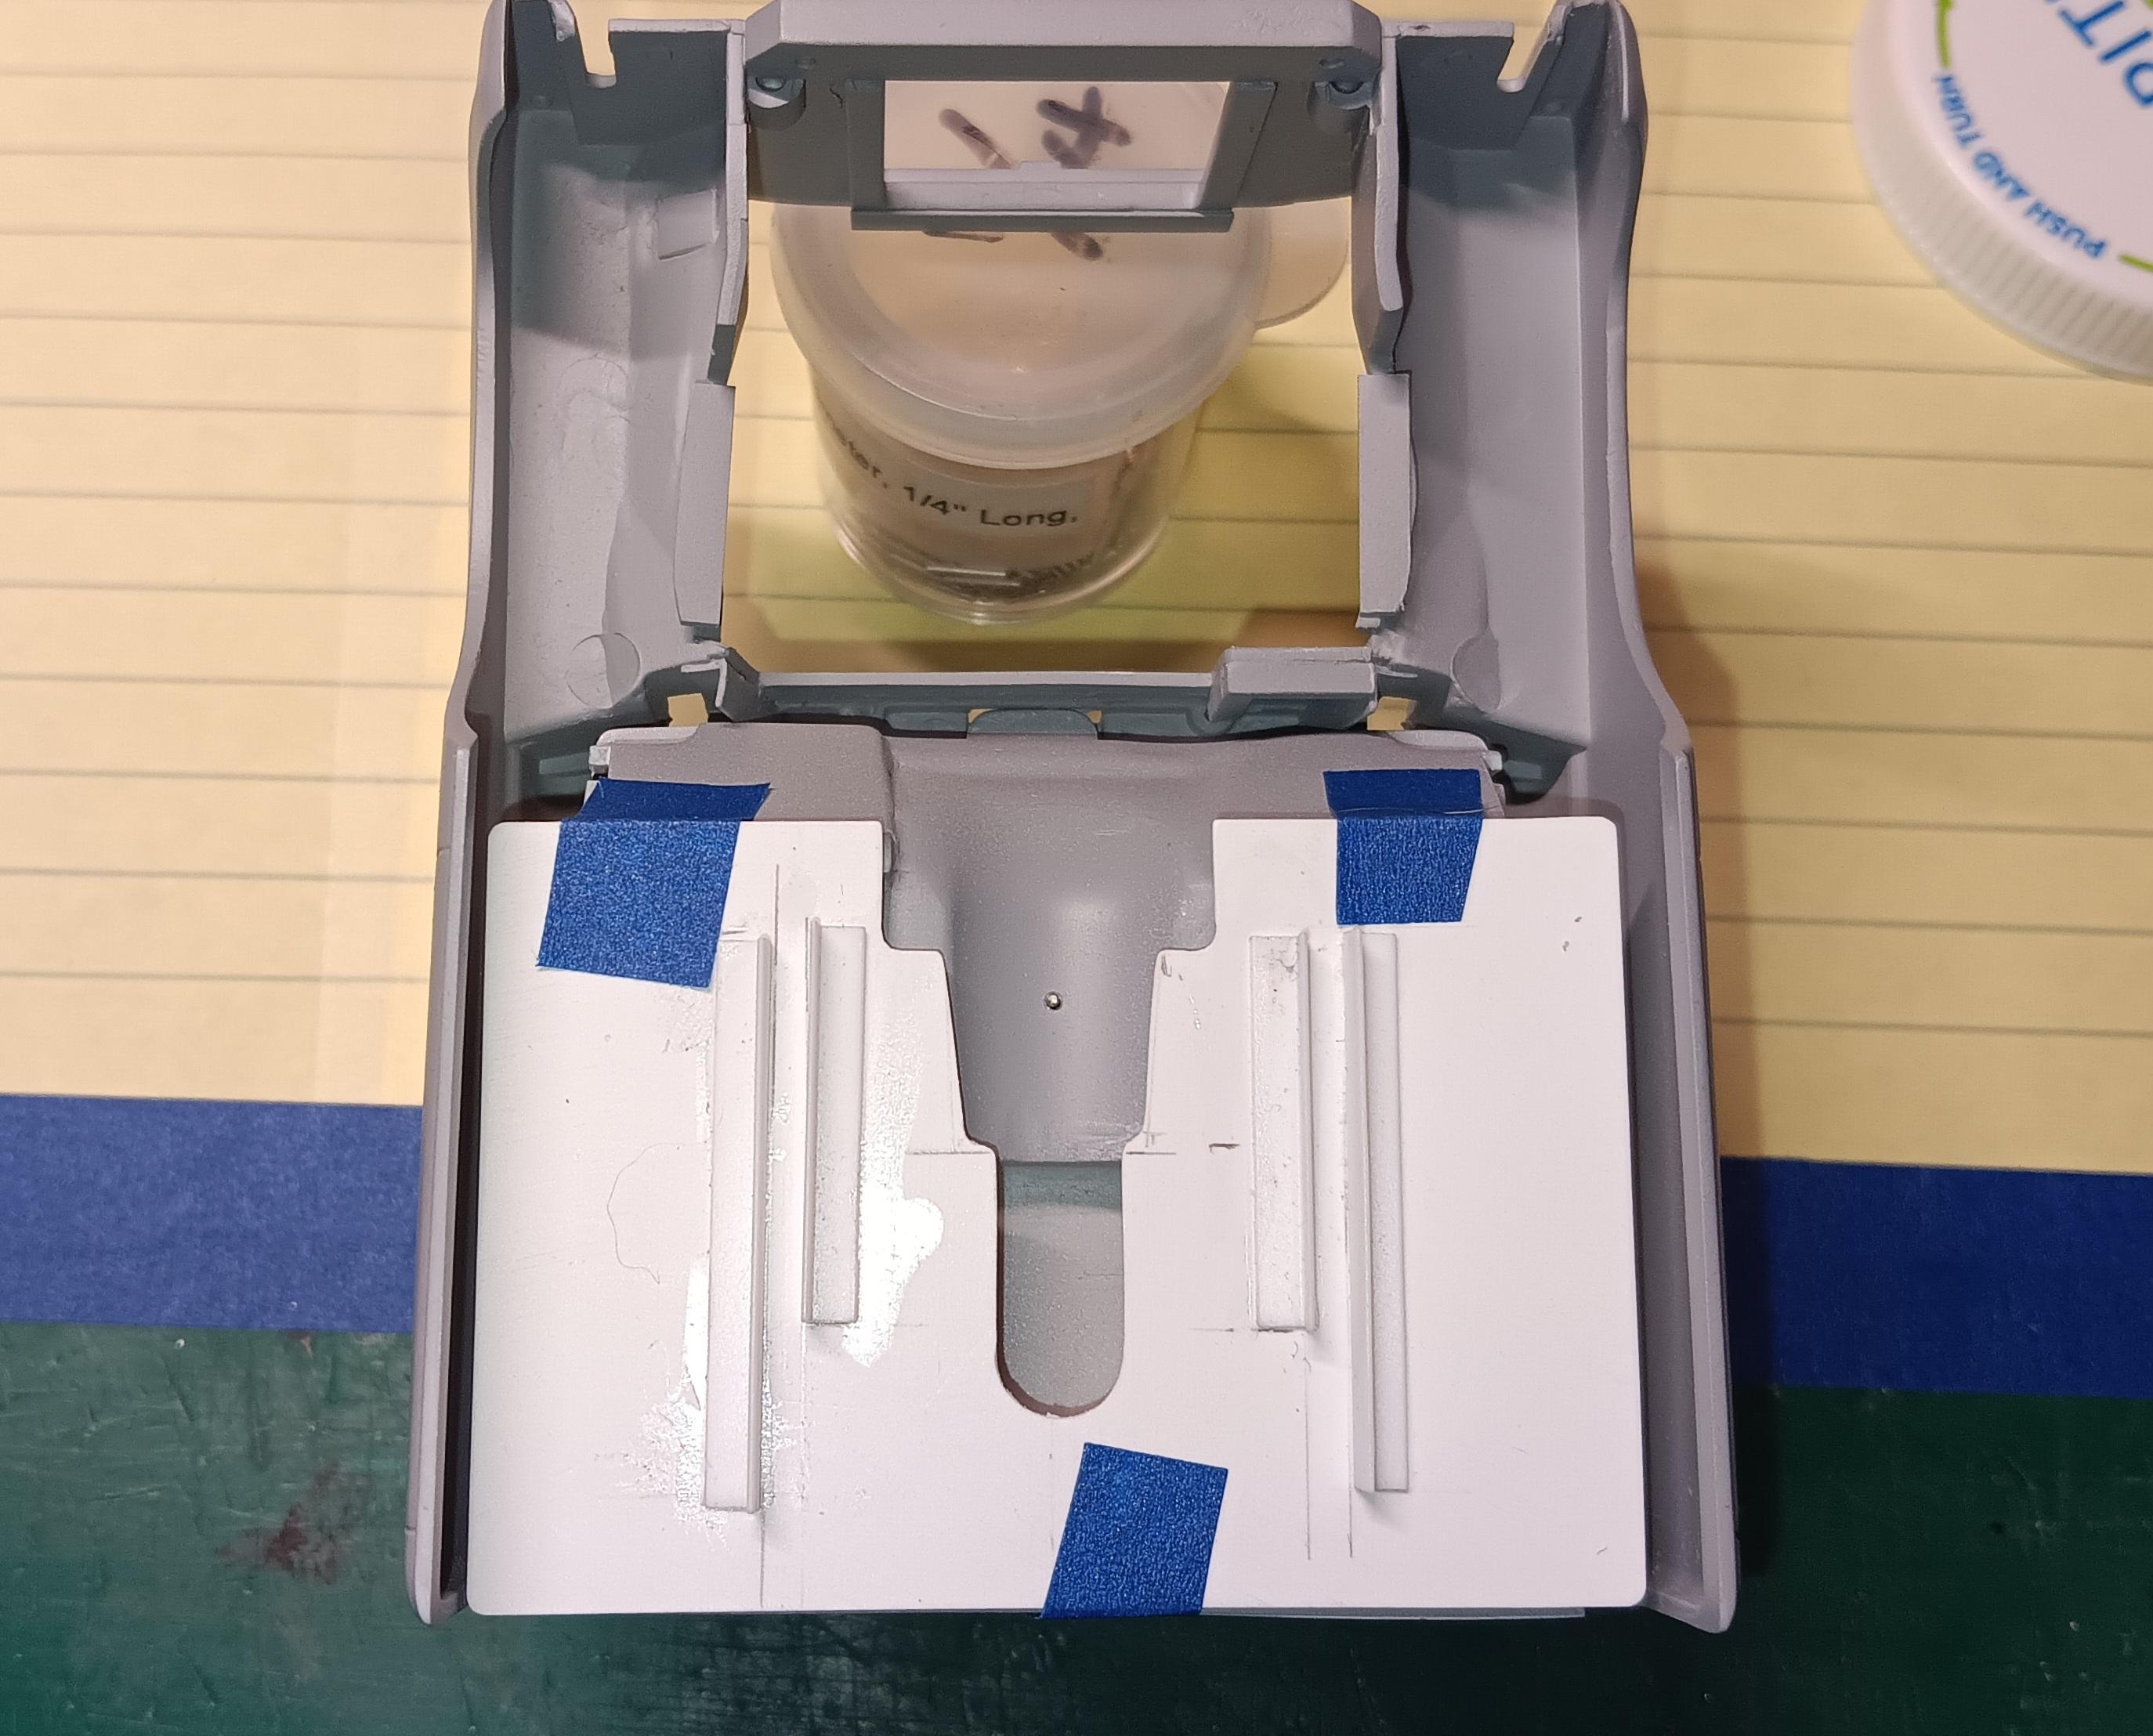
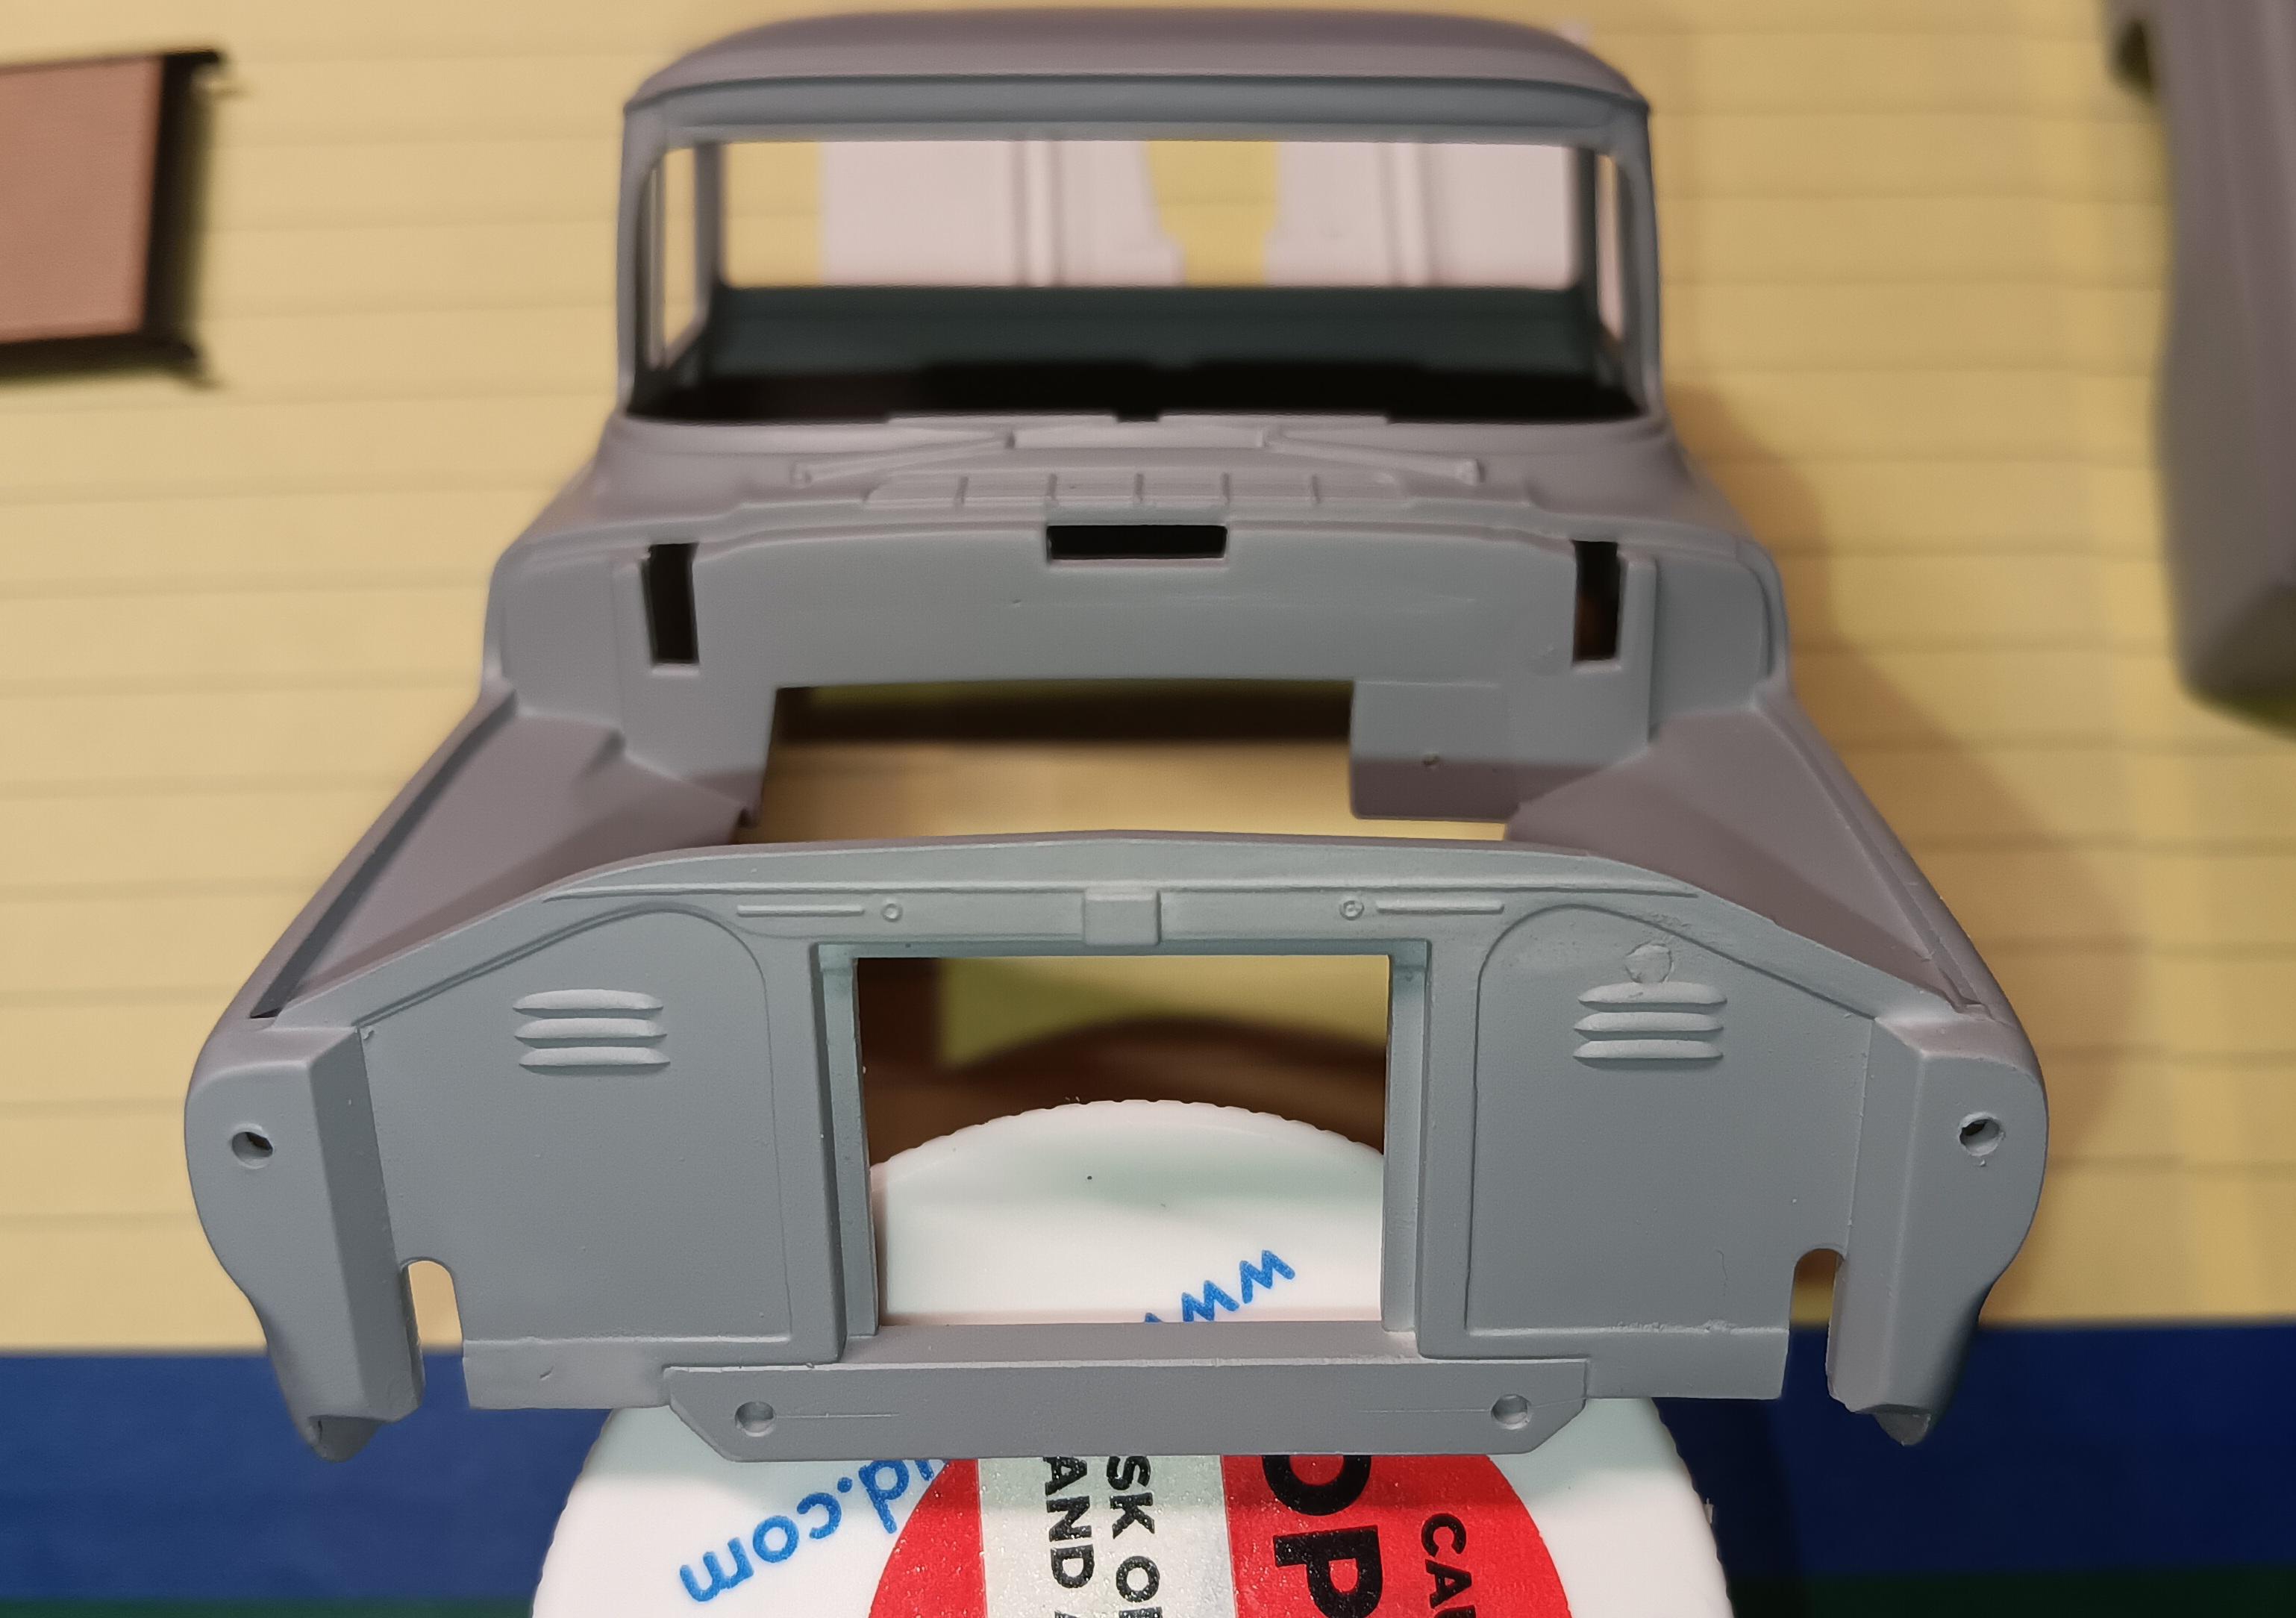
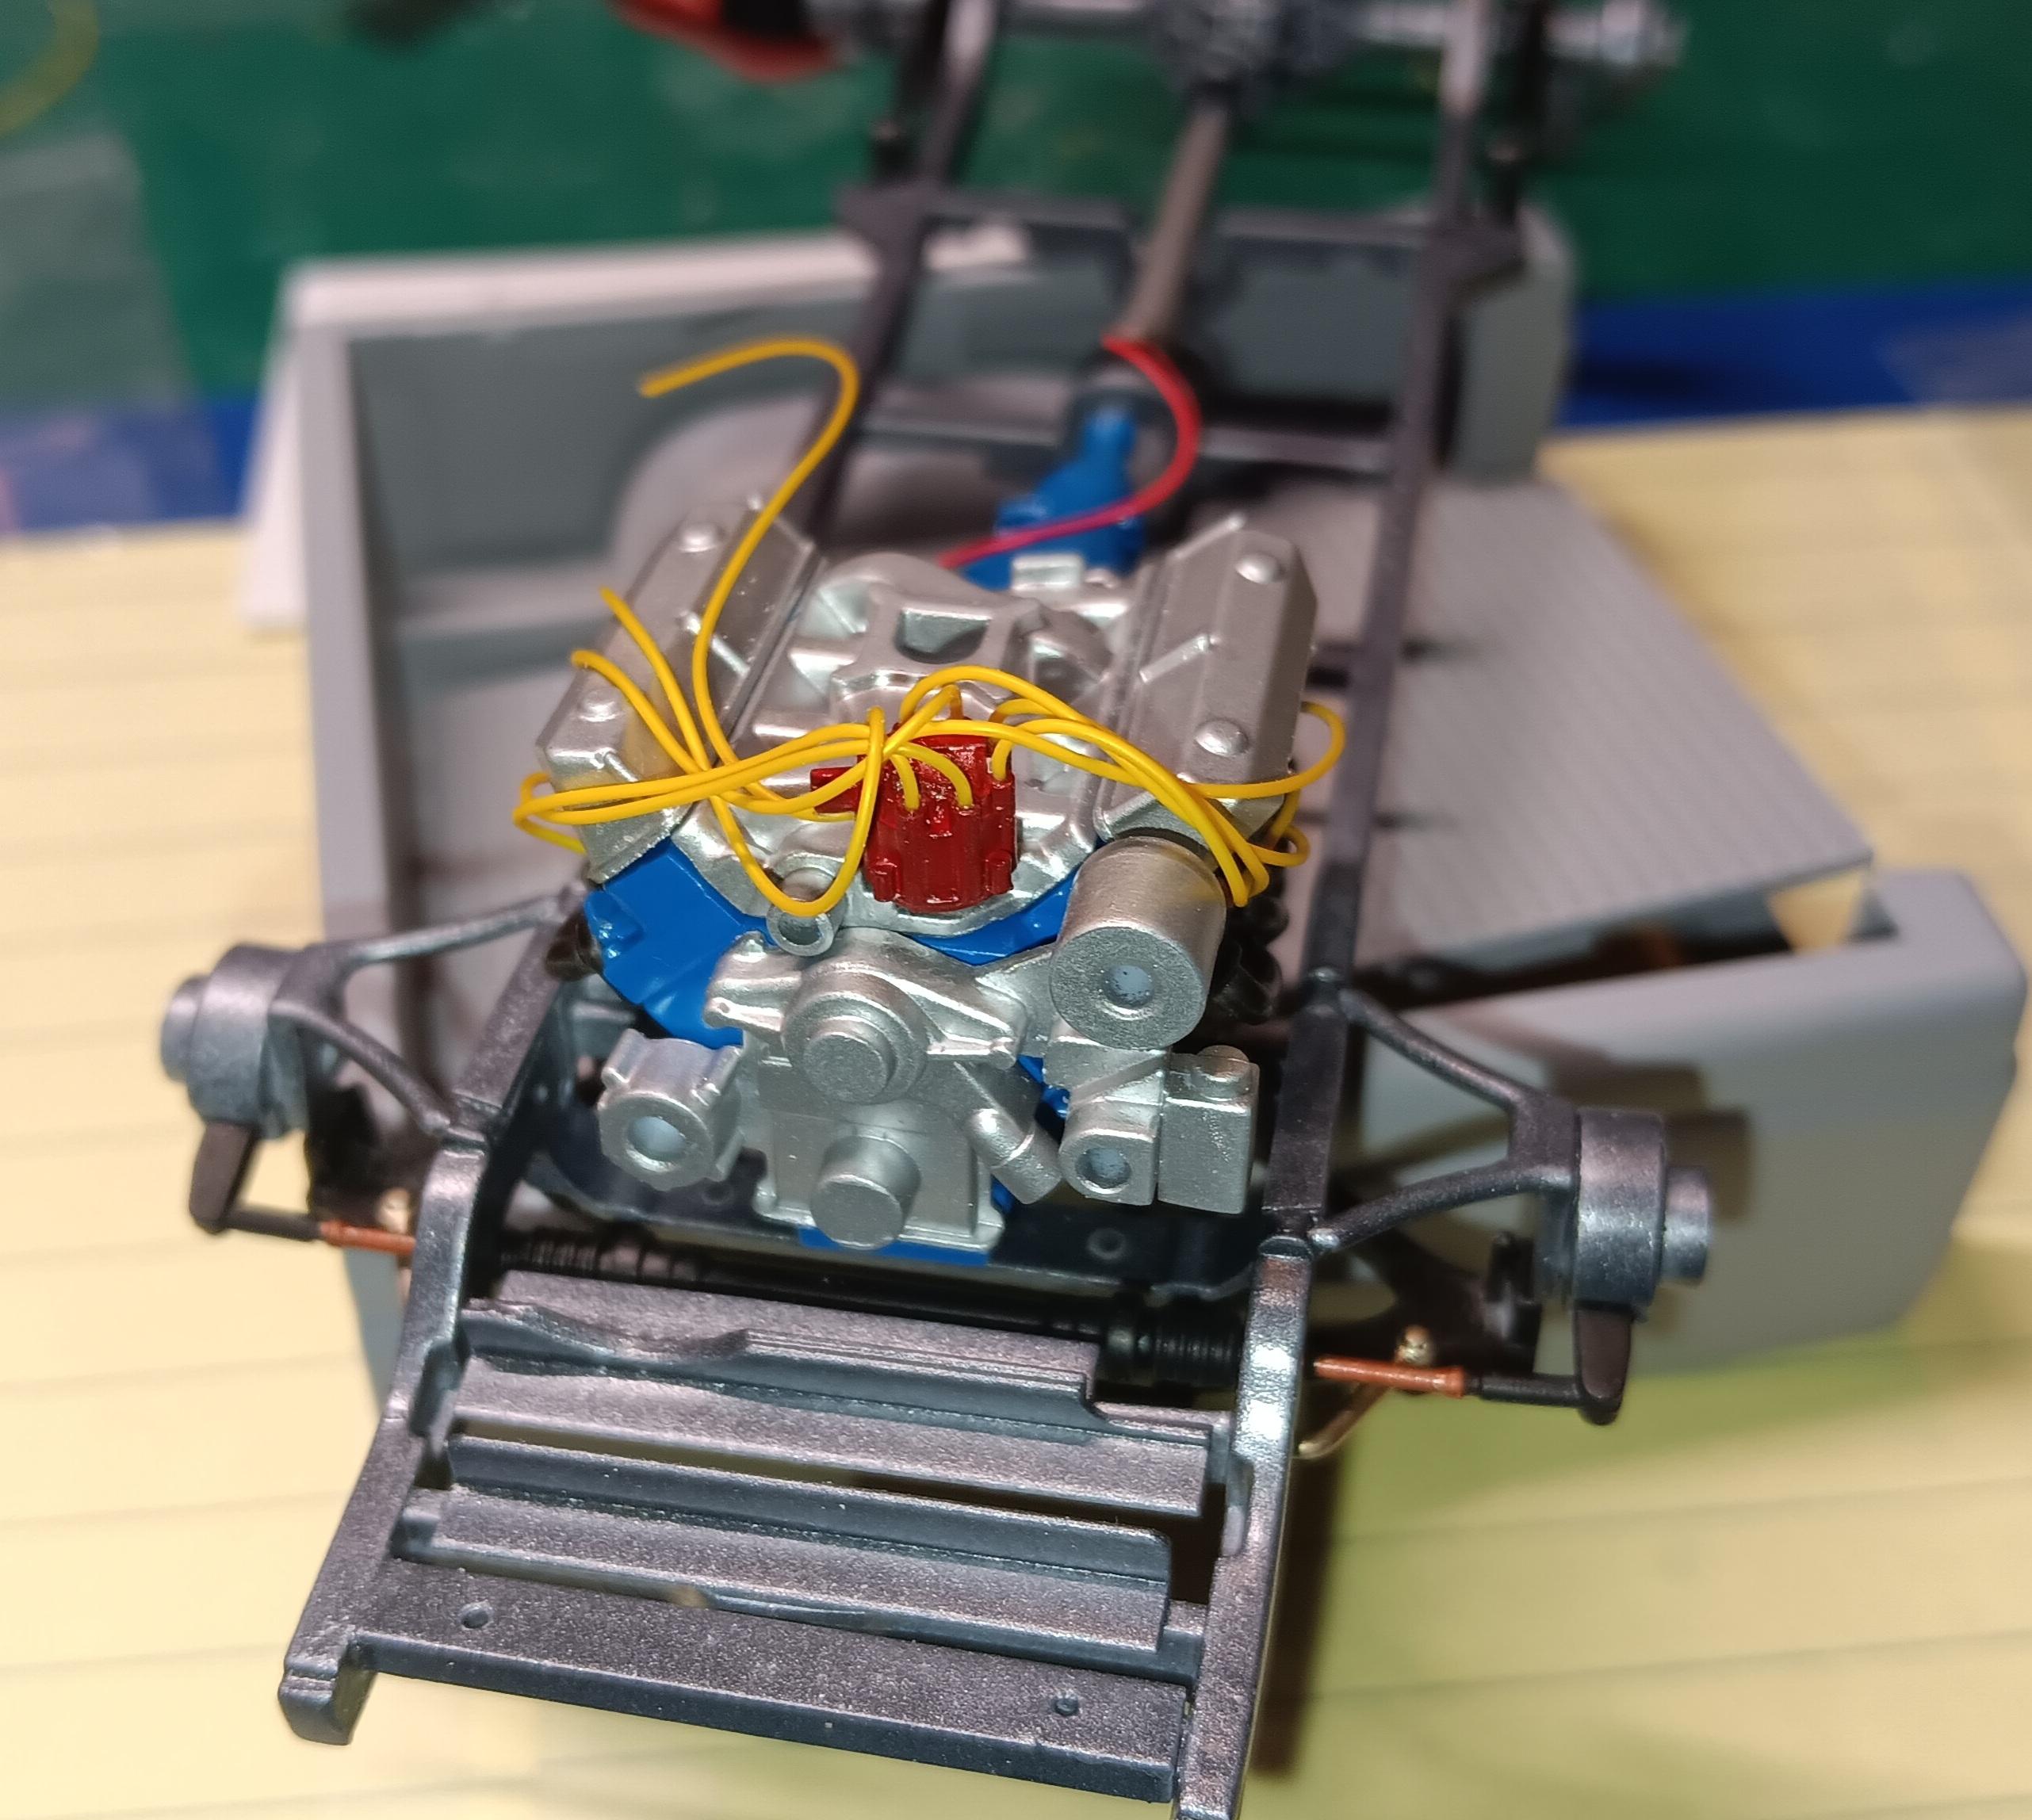
The '60 kit firewall piece, I deleted it. That's where all the space came from. Some of the opening I closed up. I needed a spot for the master & booster. I had to remove sone of that to clear a valve cover. I may have to revisit that. The '60 floor pan needed help to give me transmission space. I cut that area out, spliced in part of the Foose floor/tunnel. I have to take pix in a bit. I filled the hood holes in the firewall. Just too ugly for me.
-
The kit is very well done other than the body issues. I have a '48 Ford started too, in 2016! All in all, these kits beat some poorly executed old releases that are churned out.
-
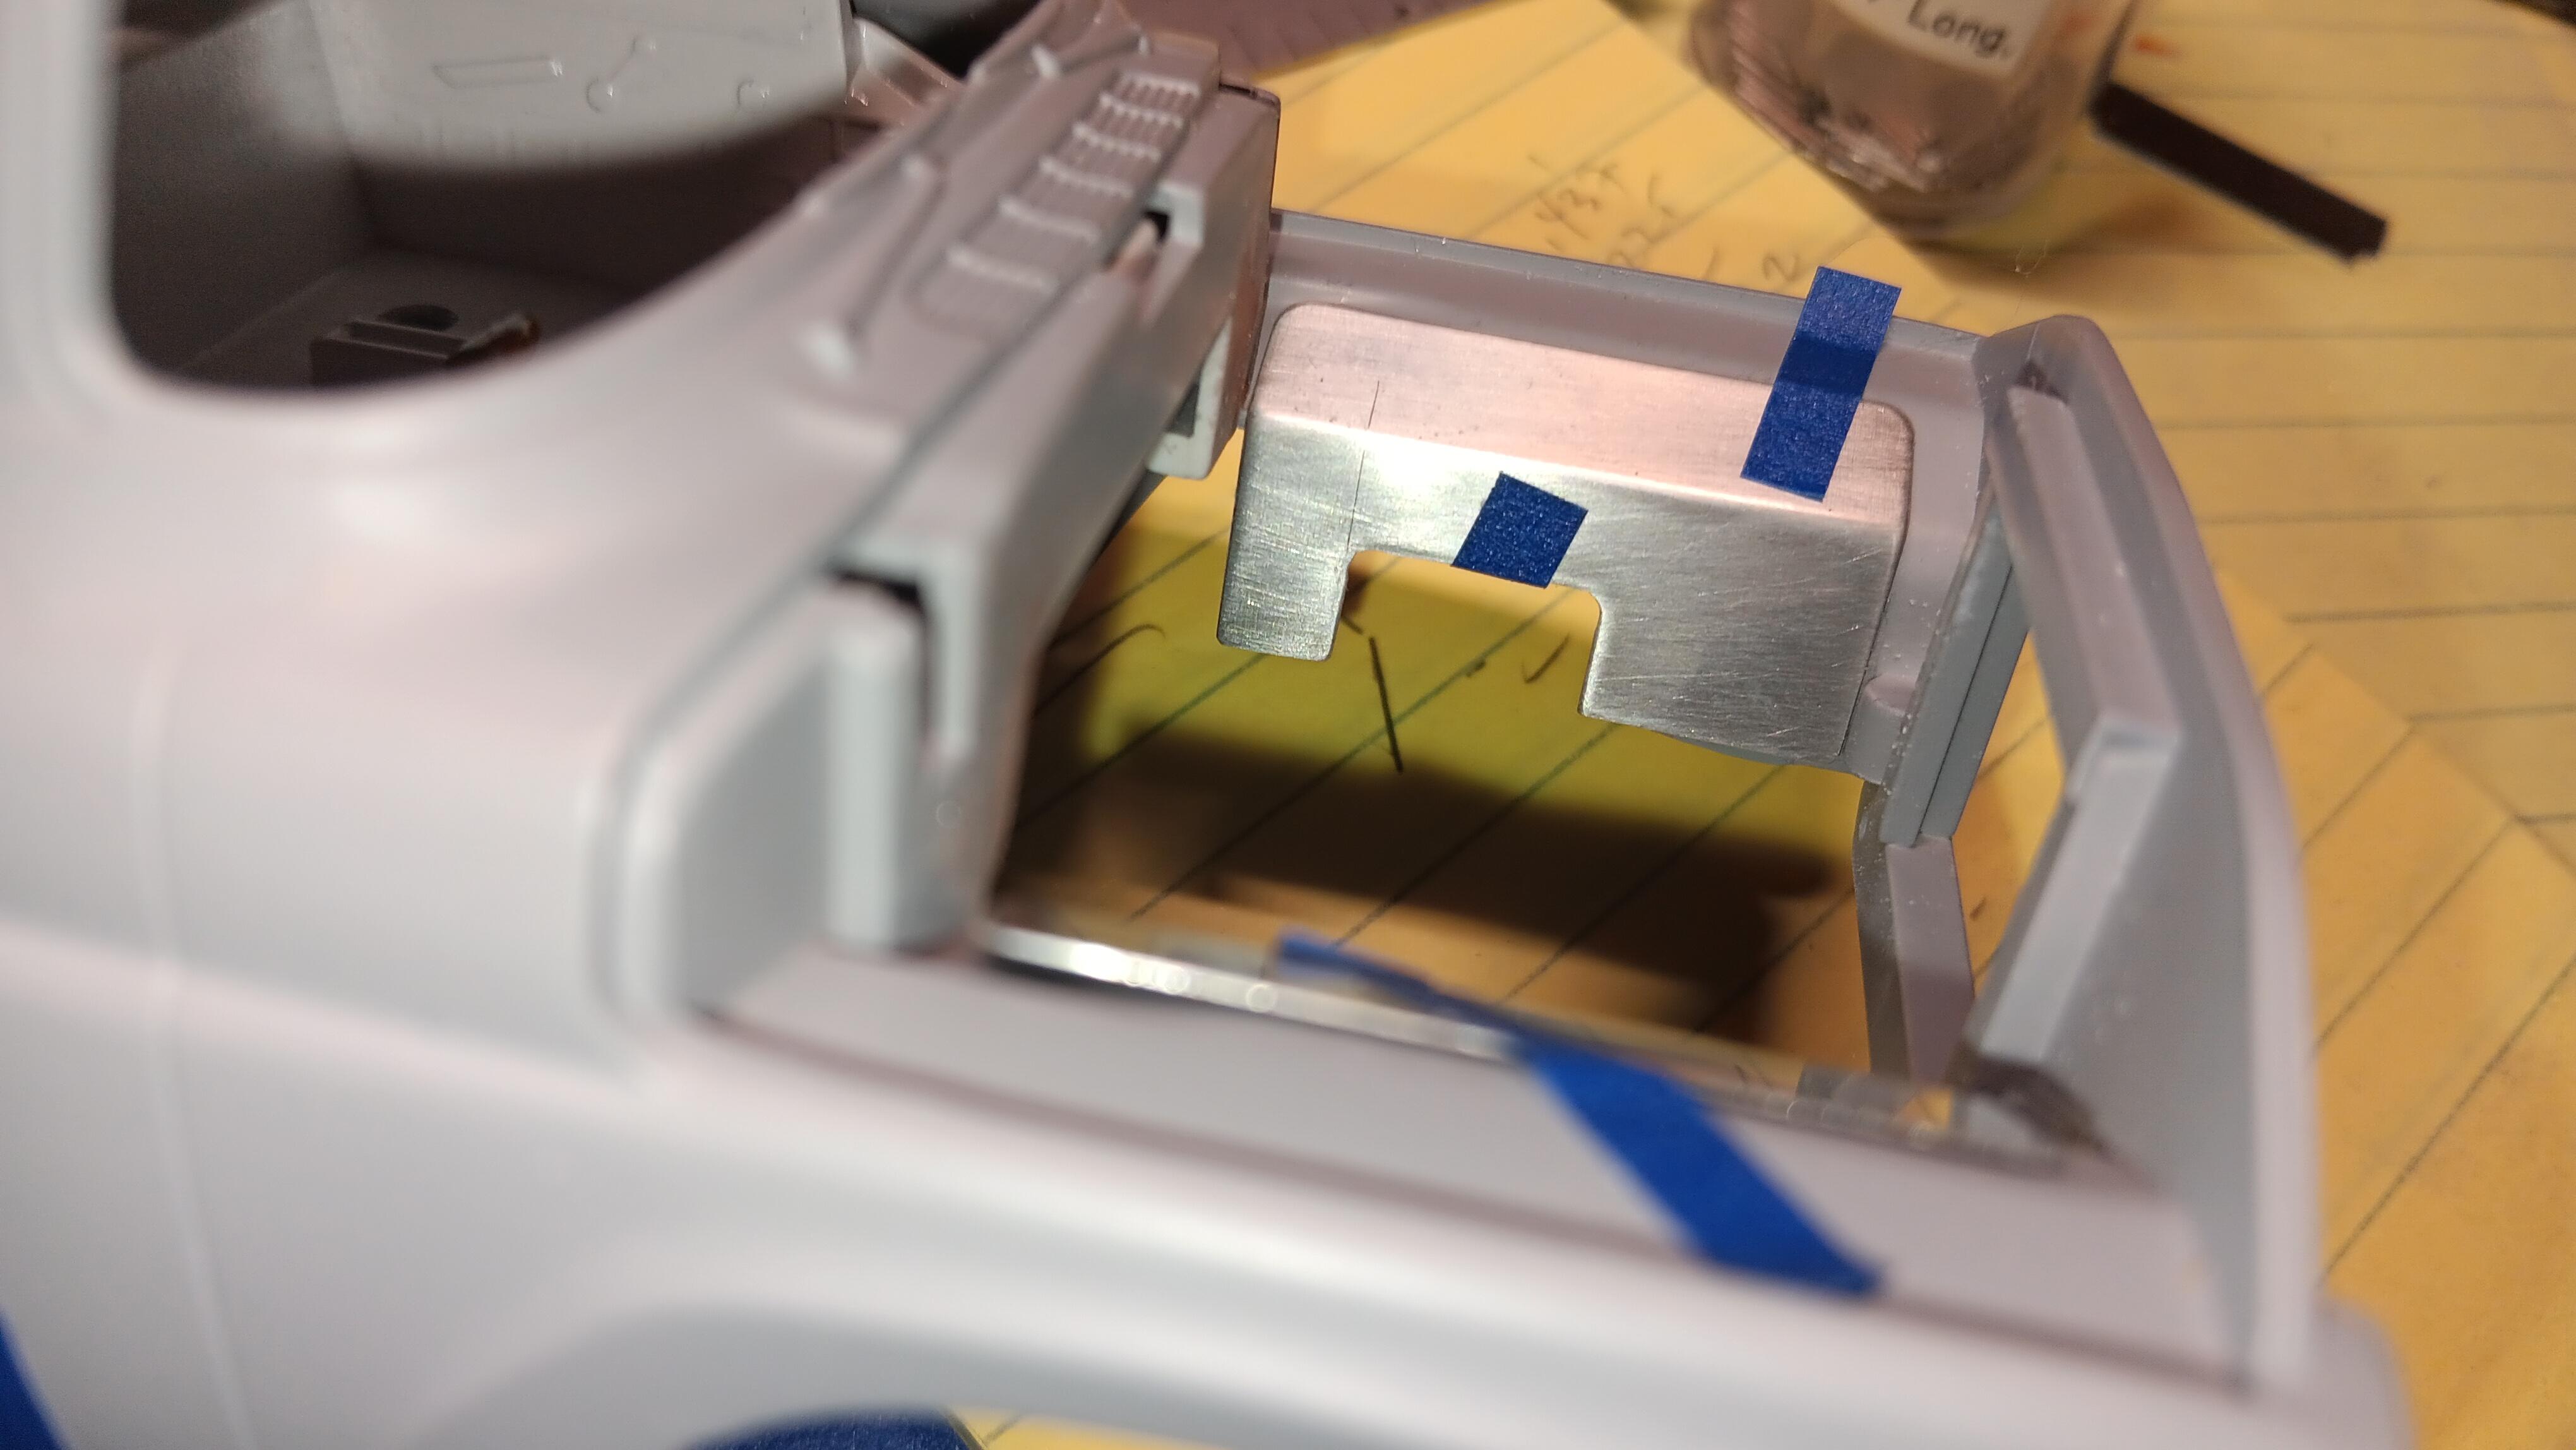
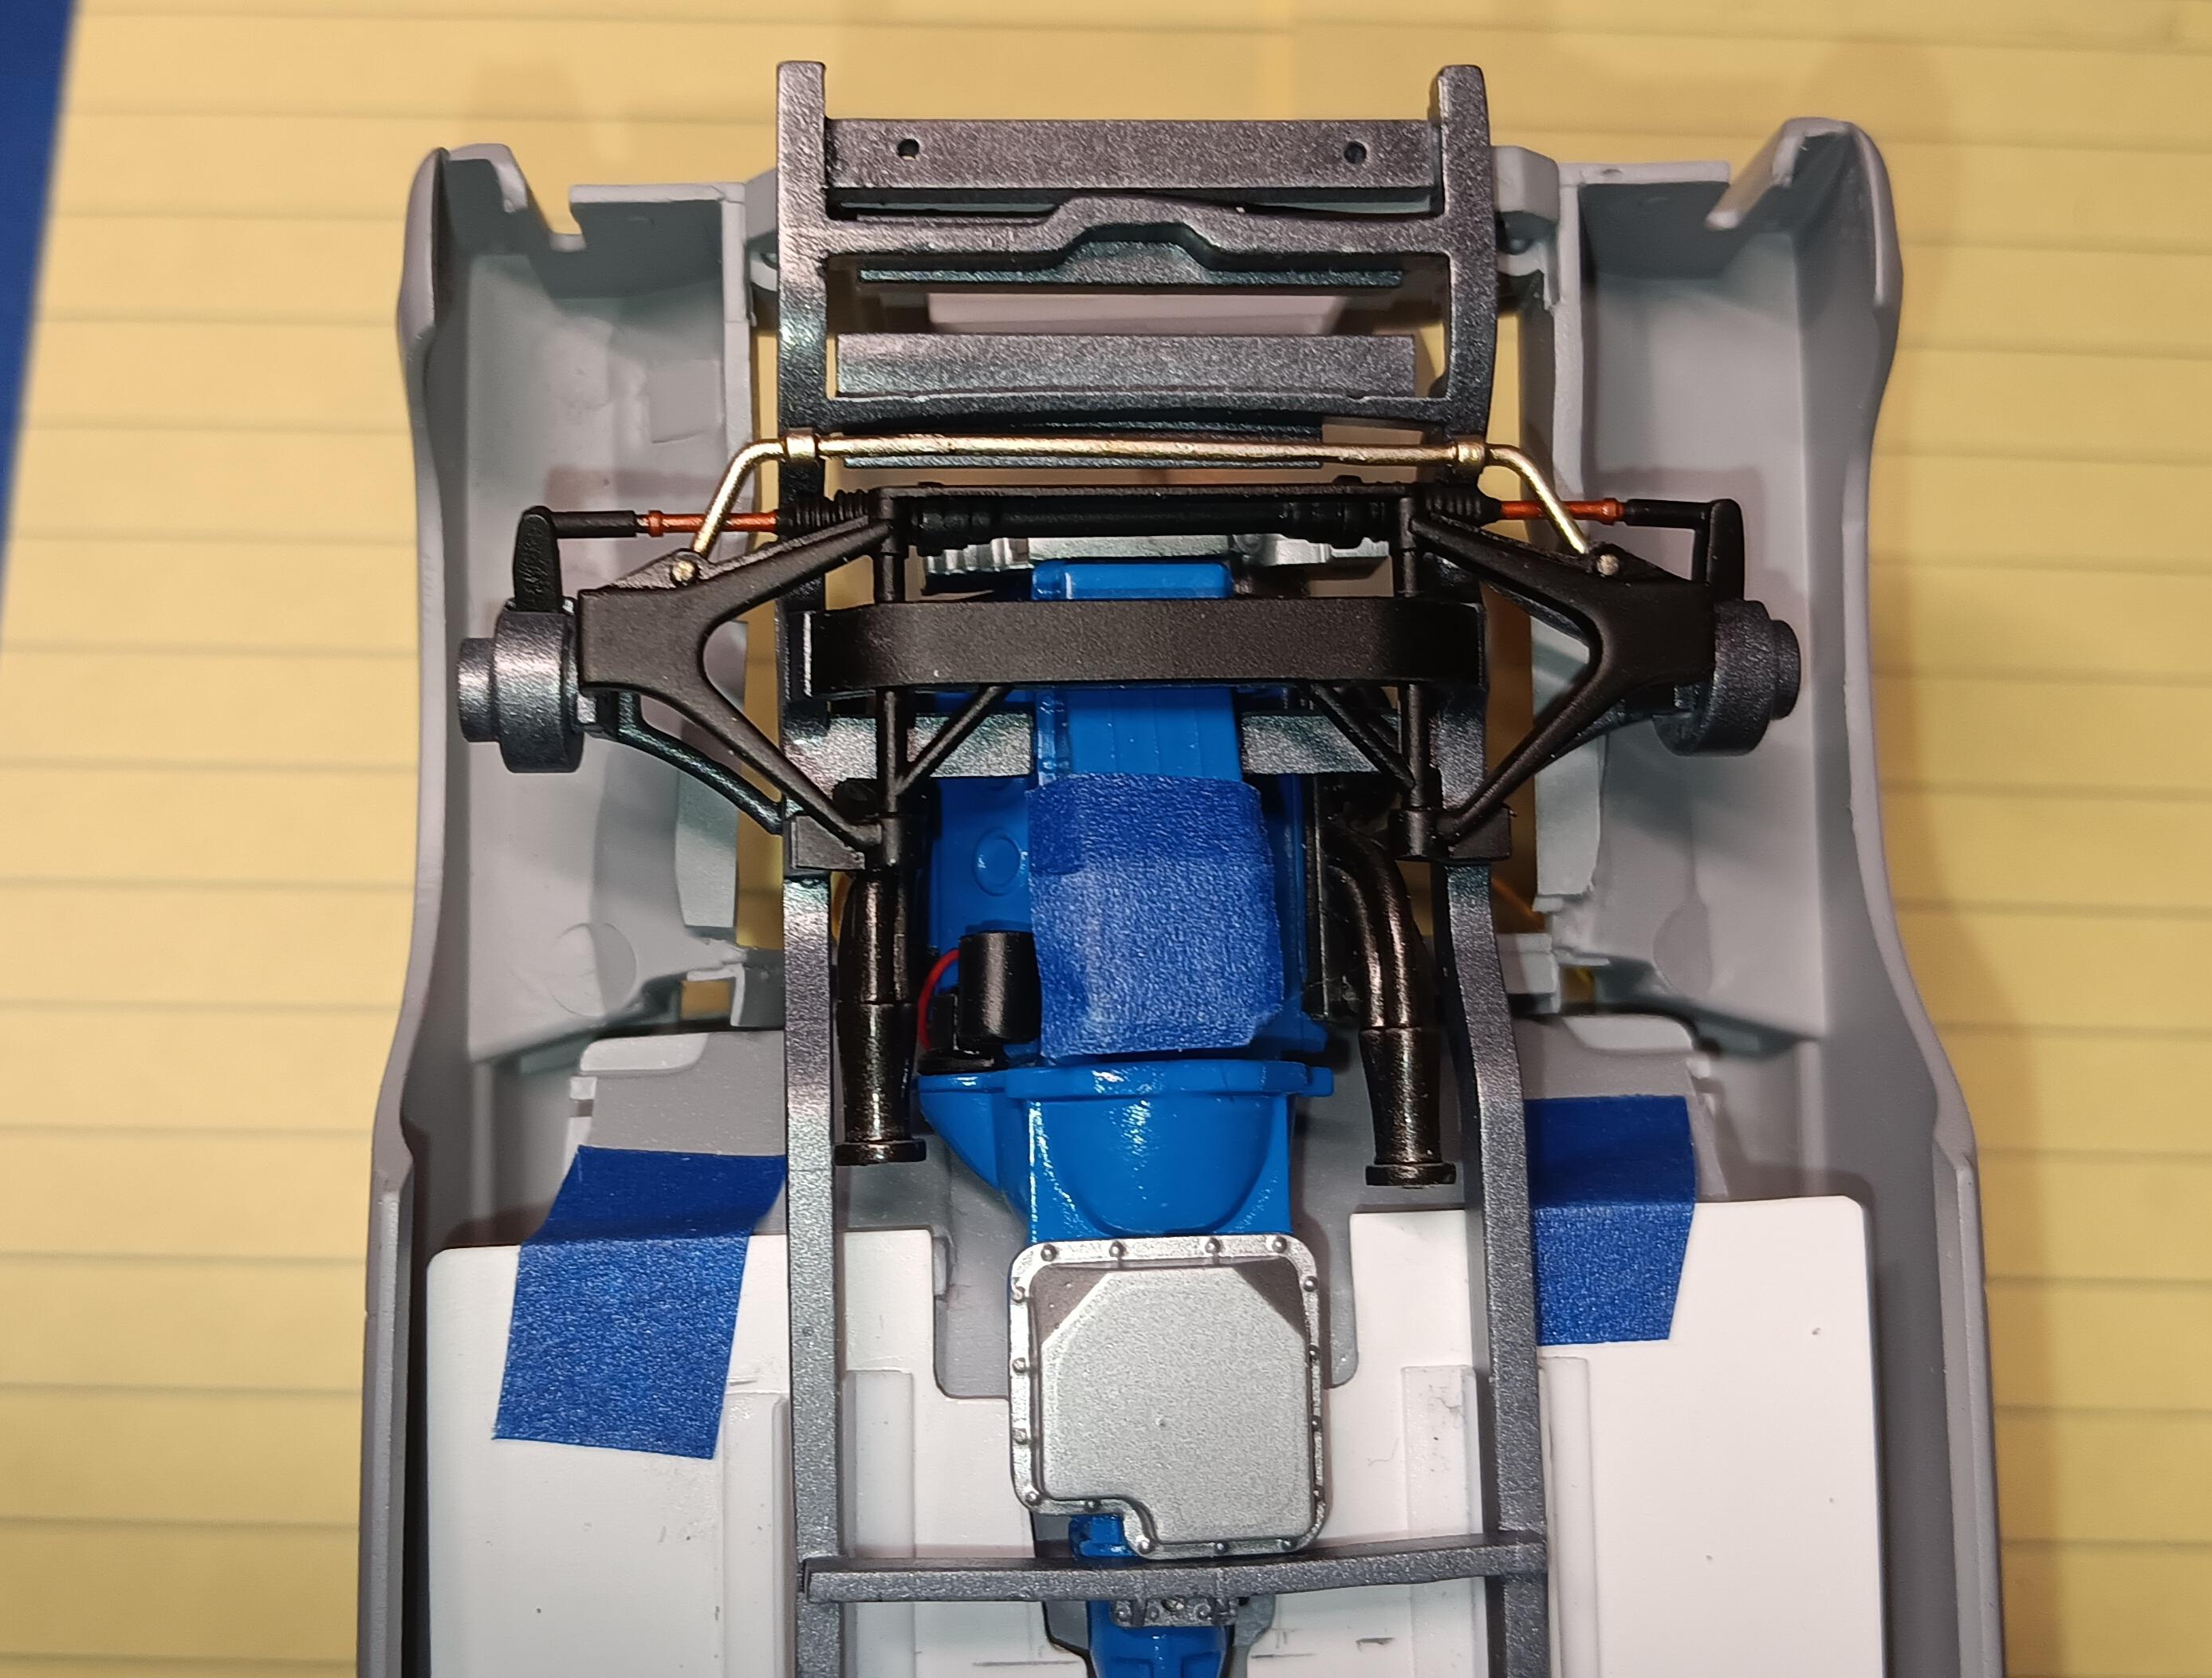
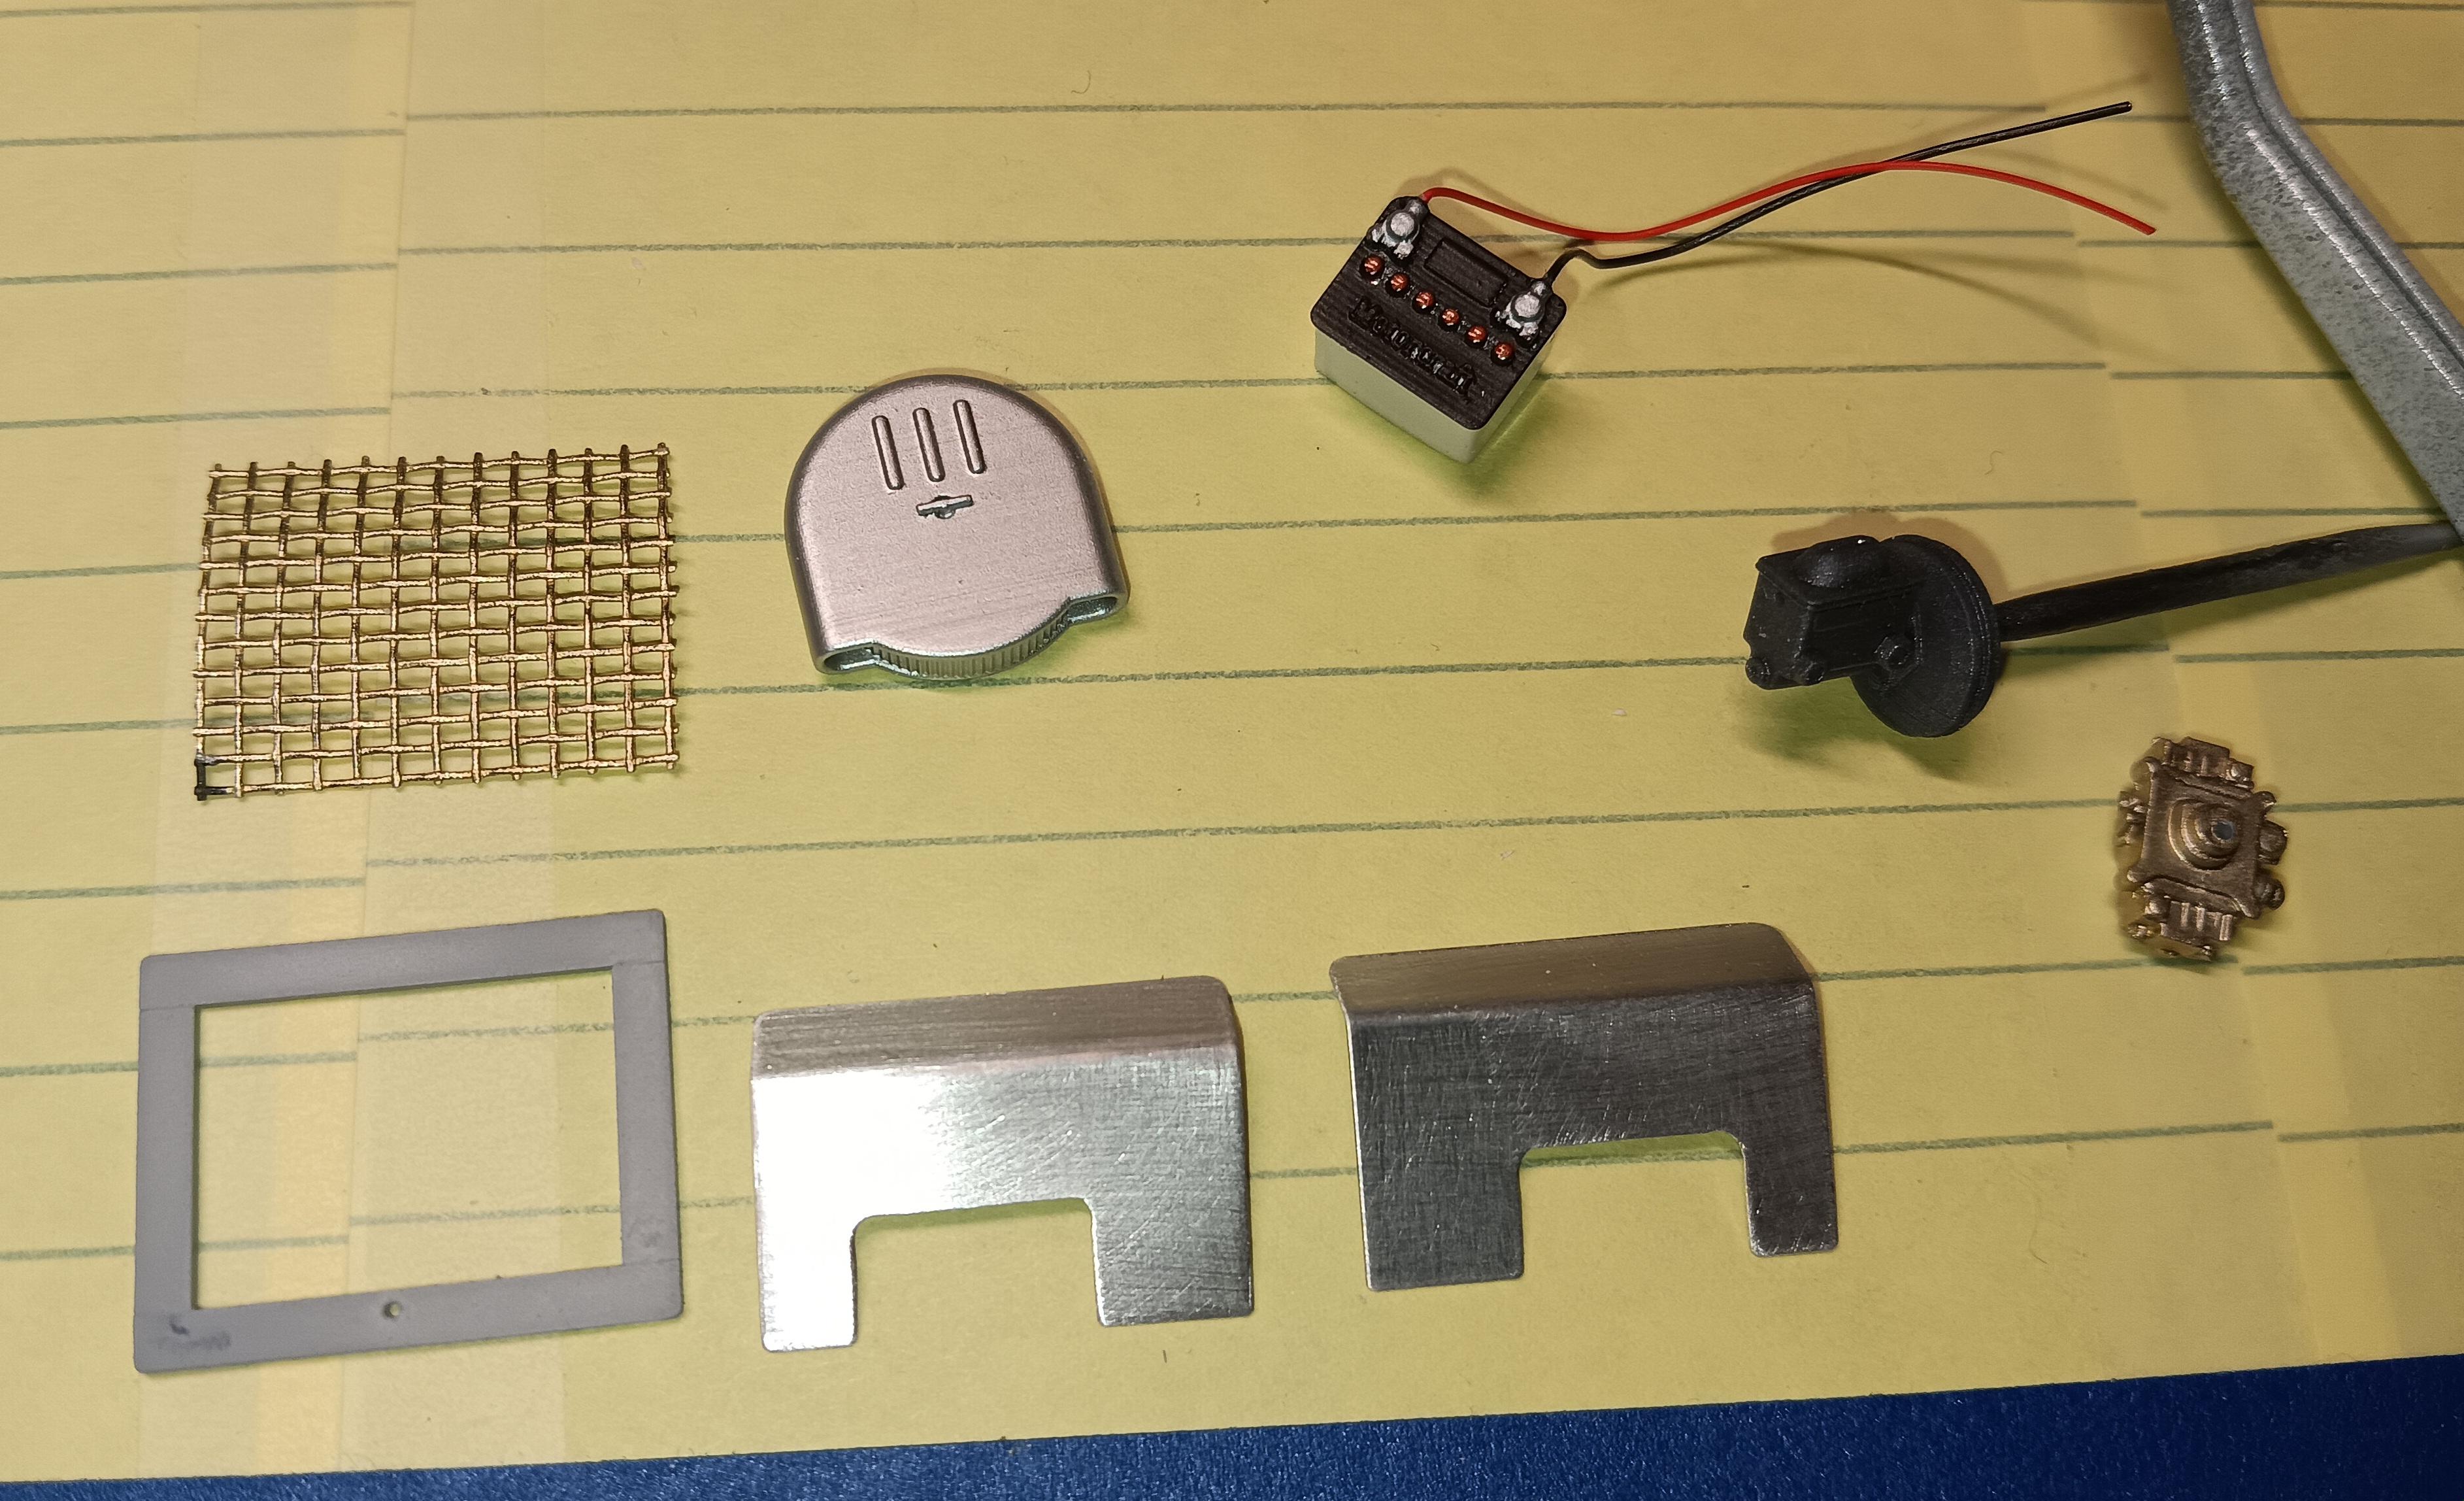
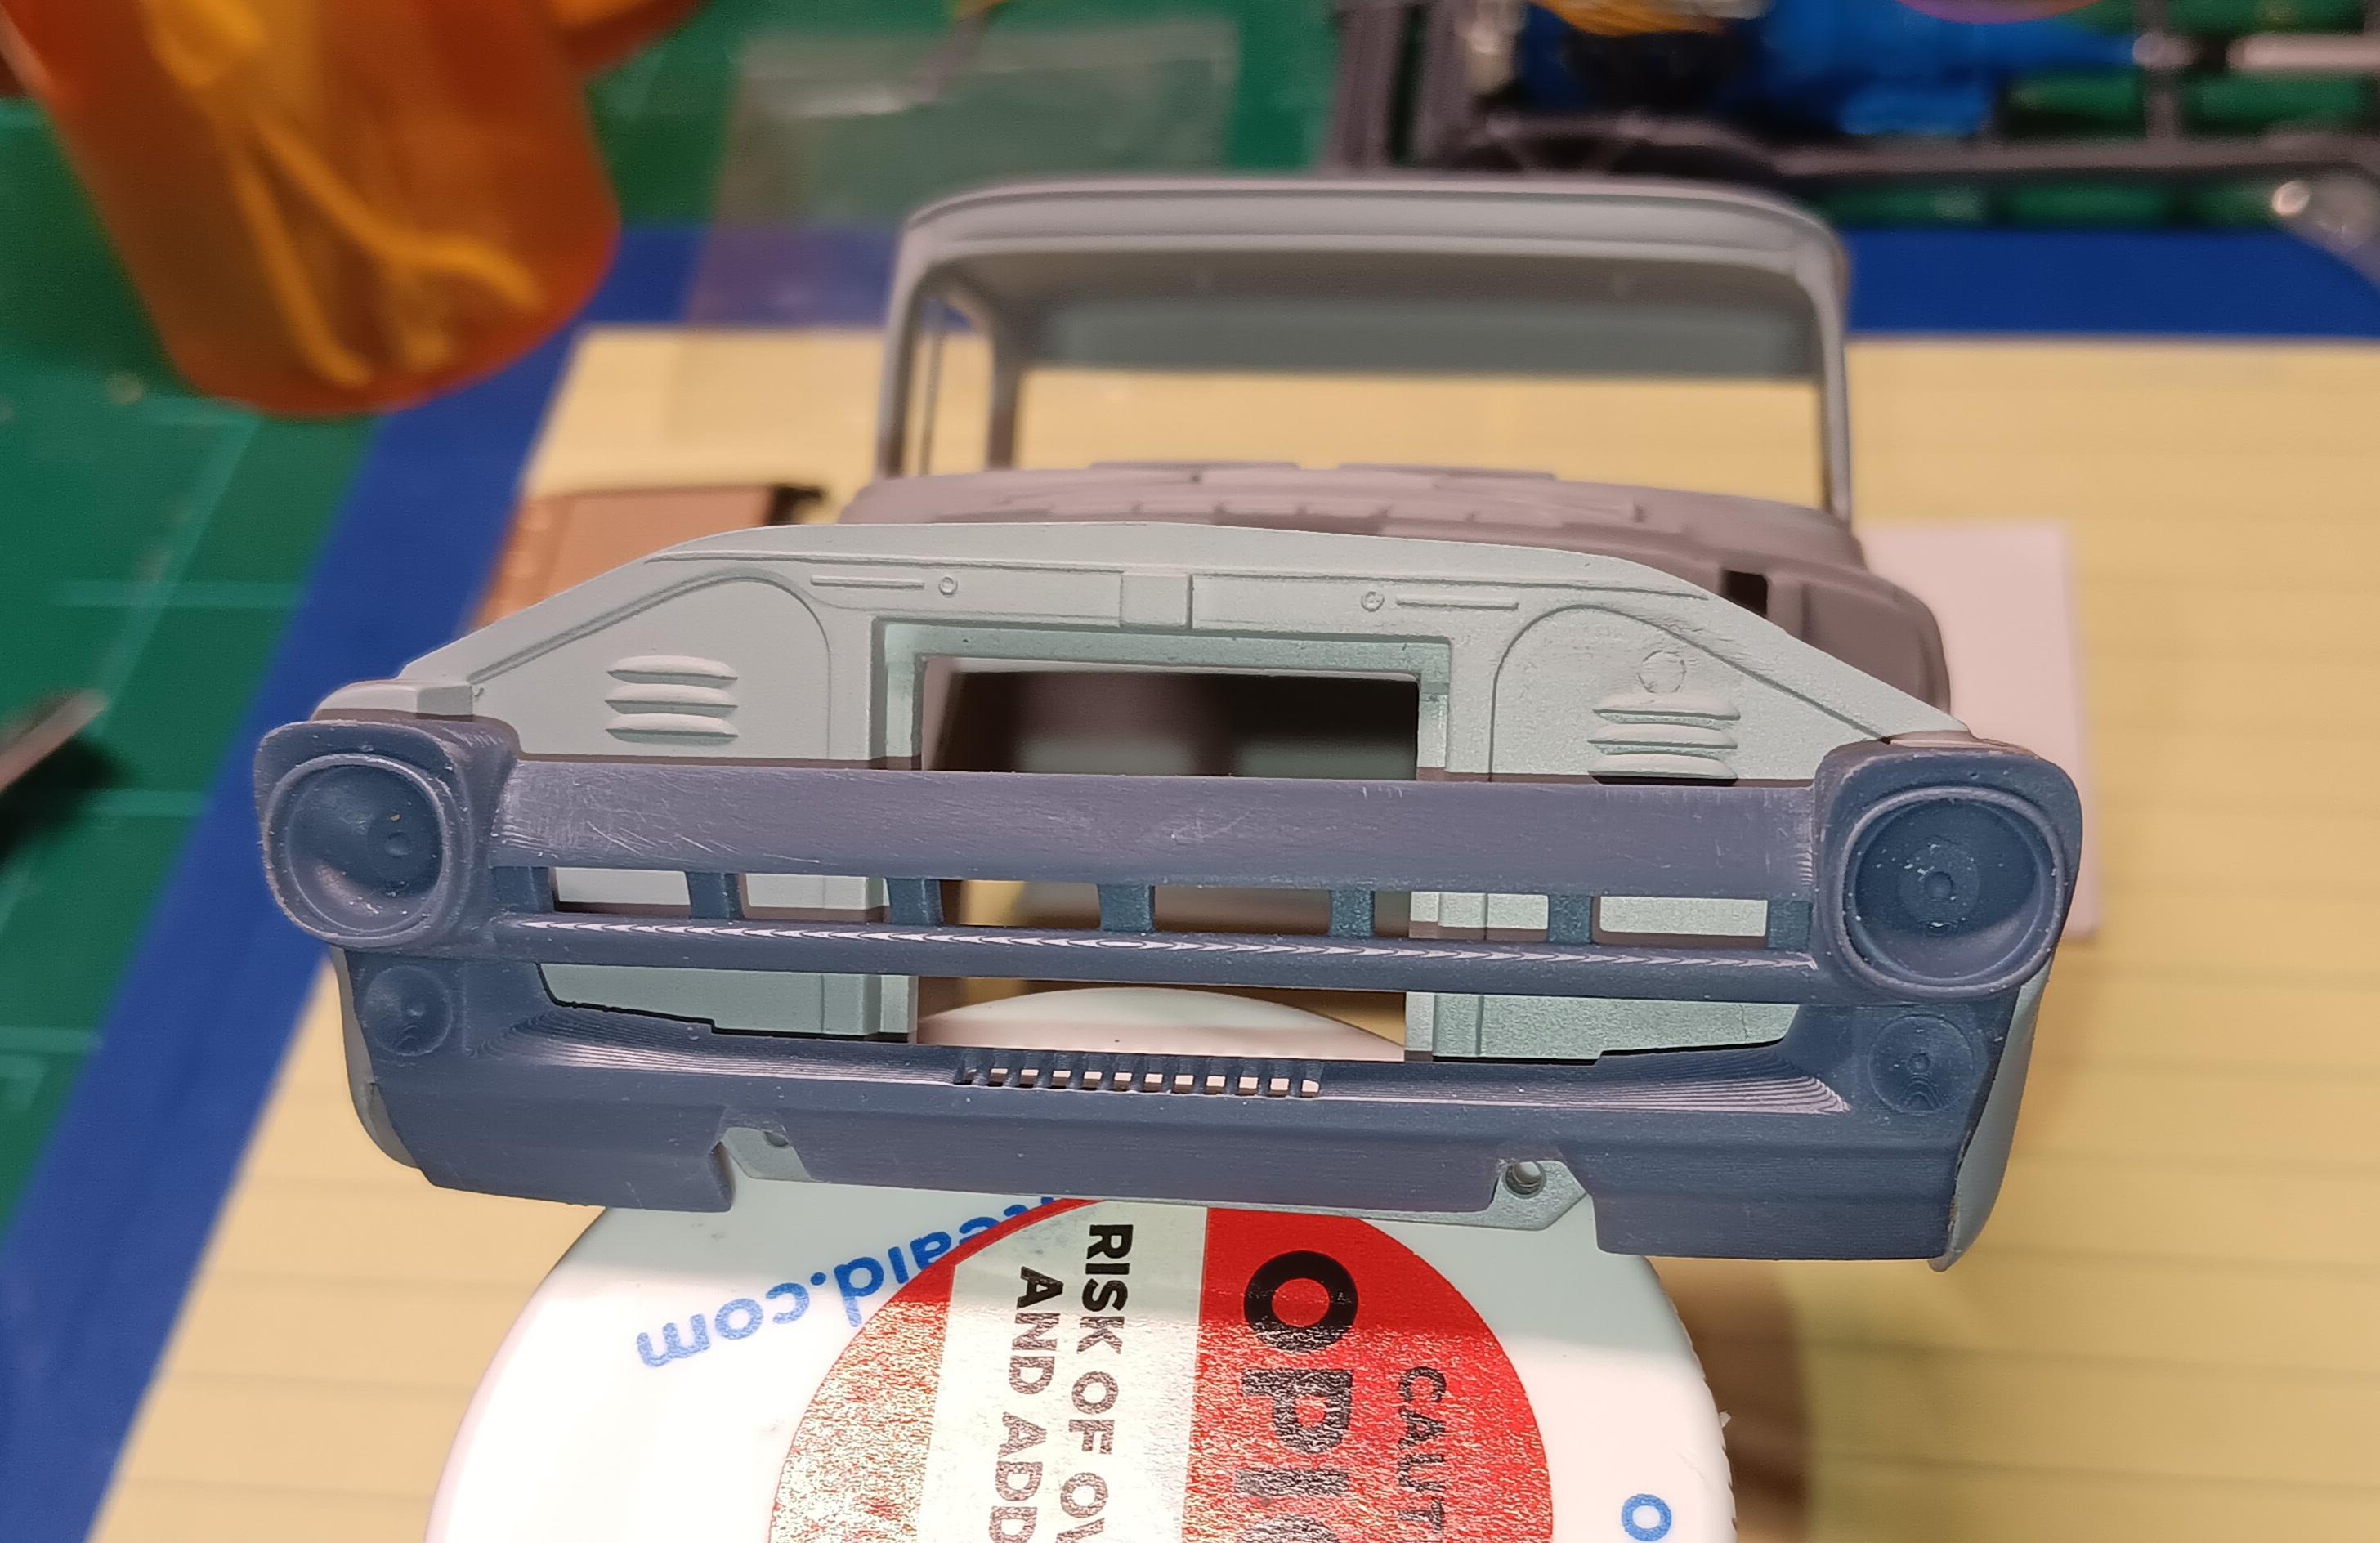
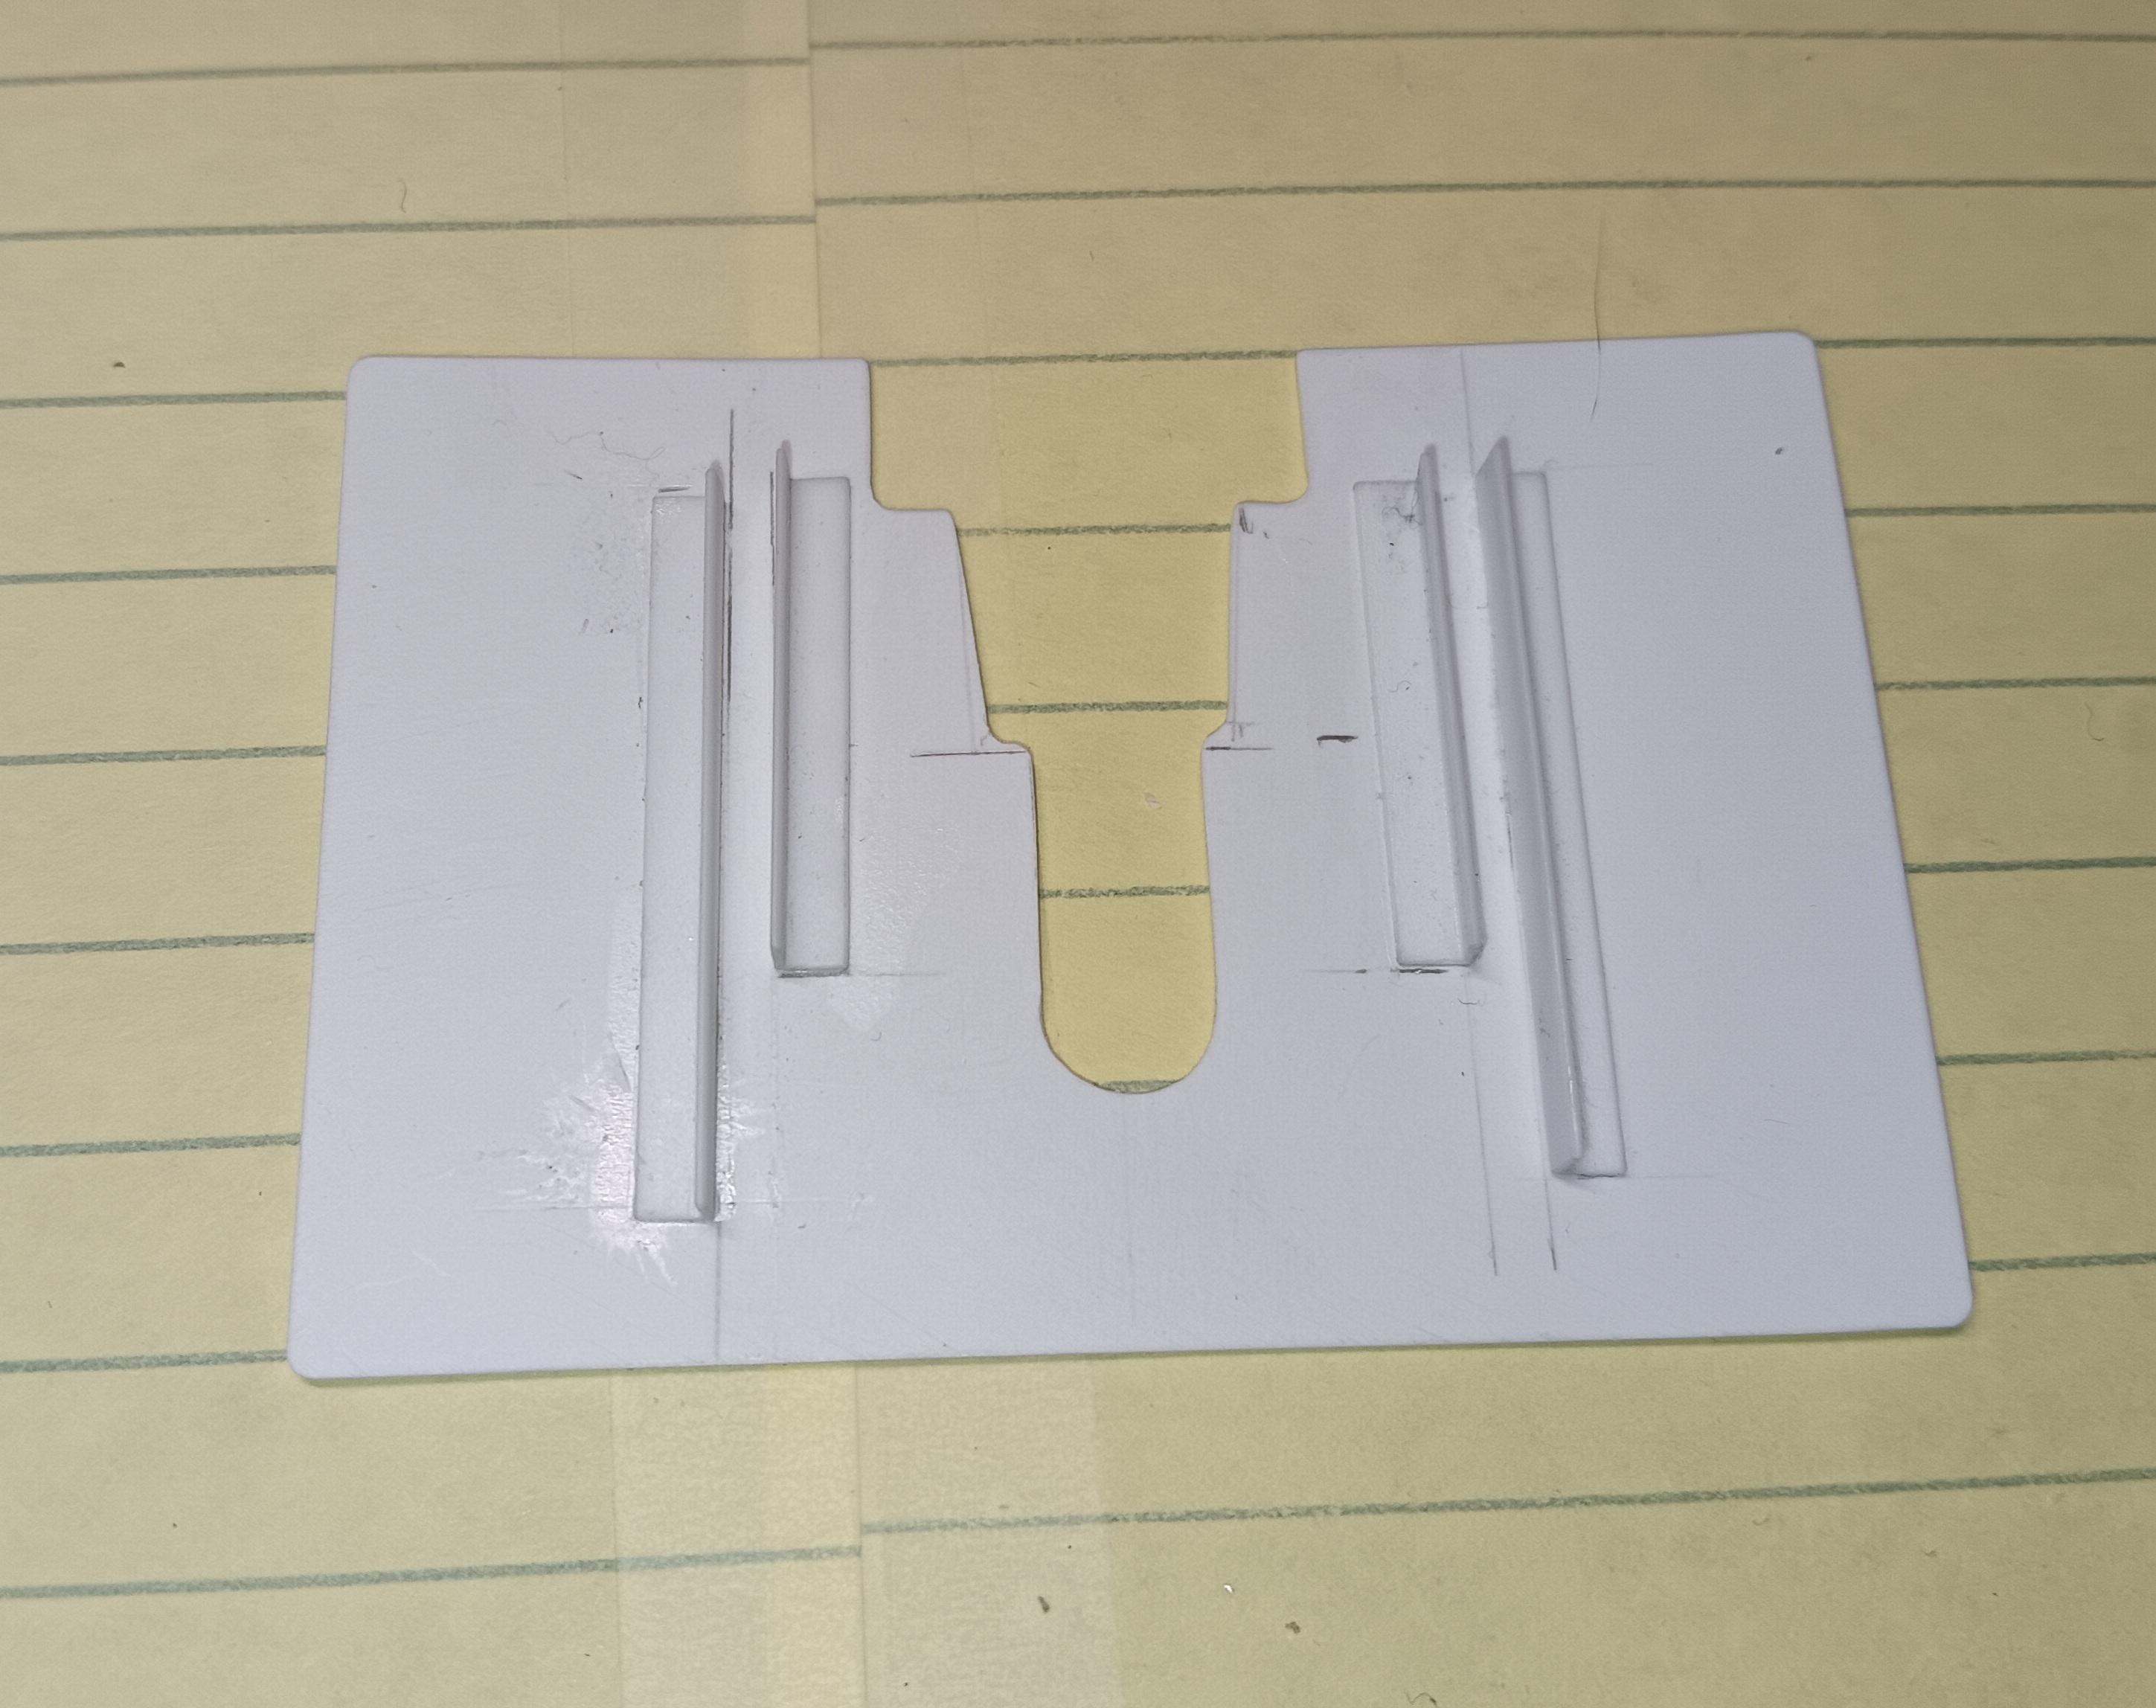
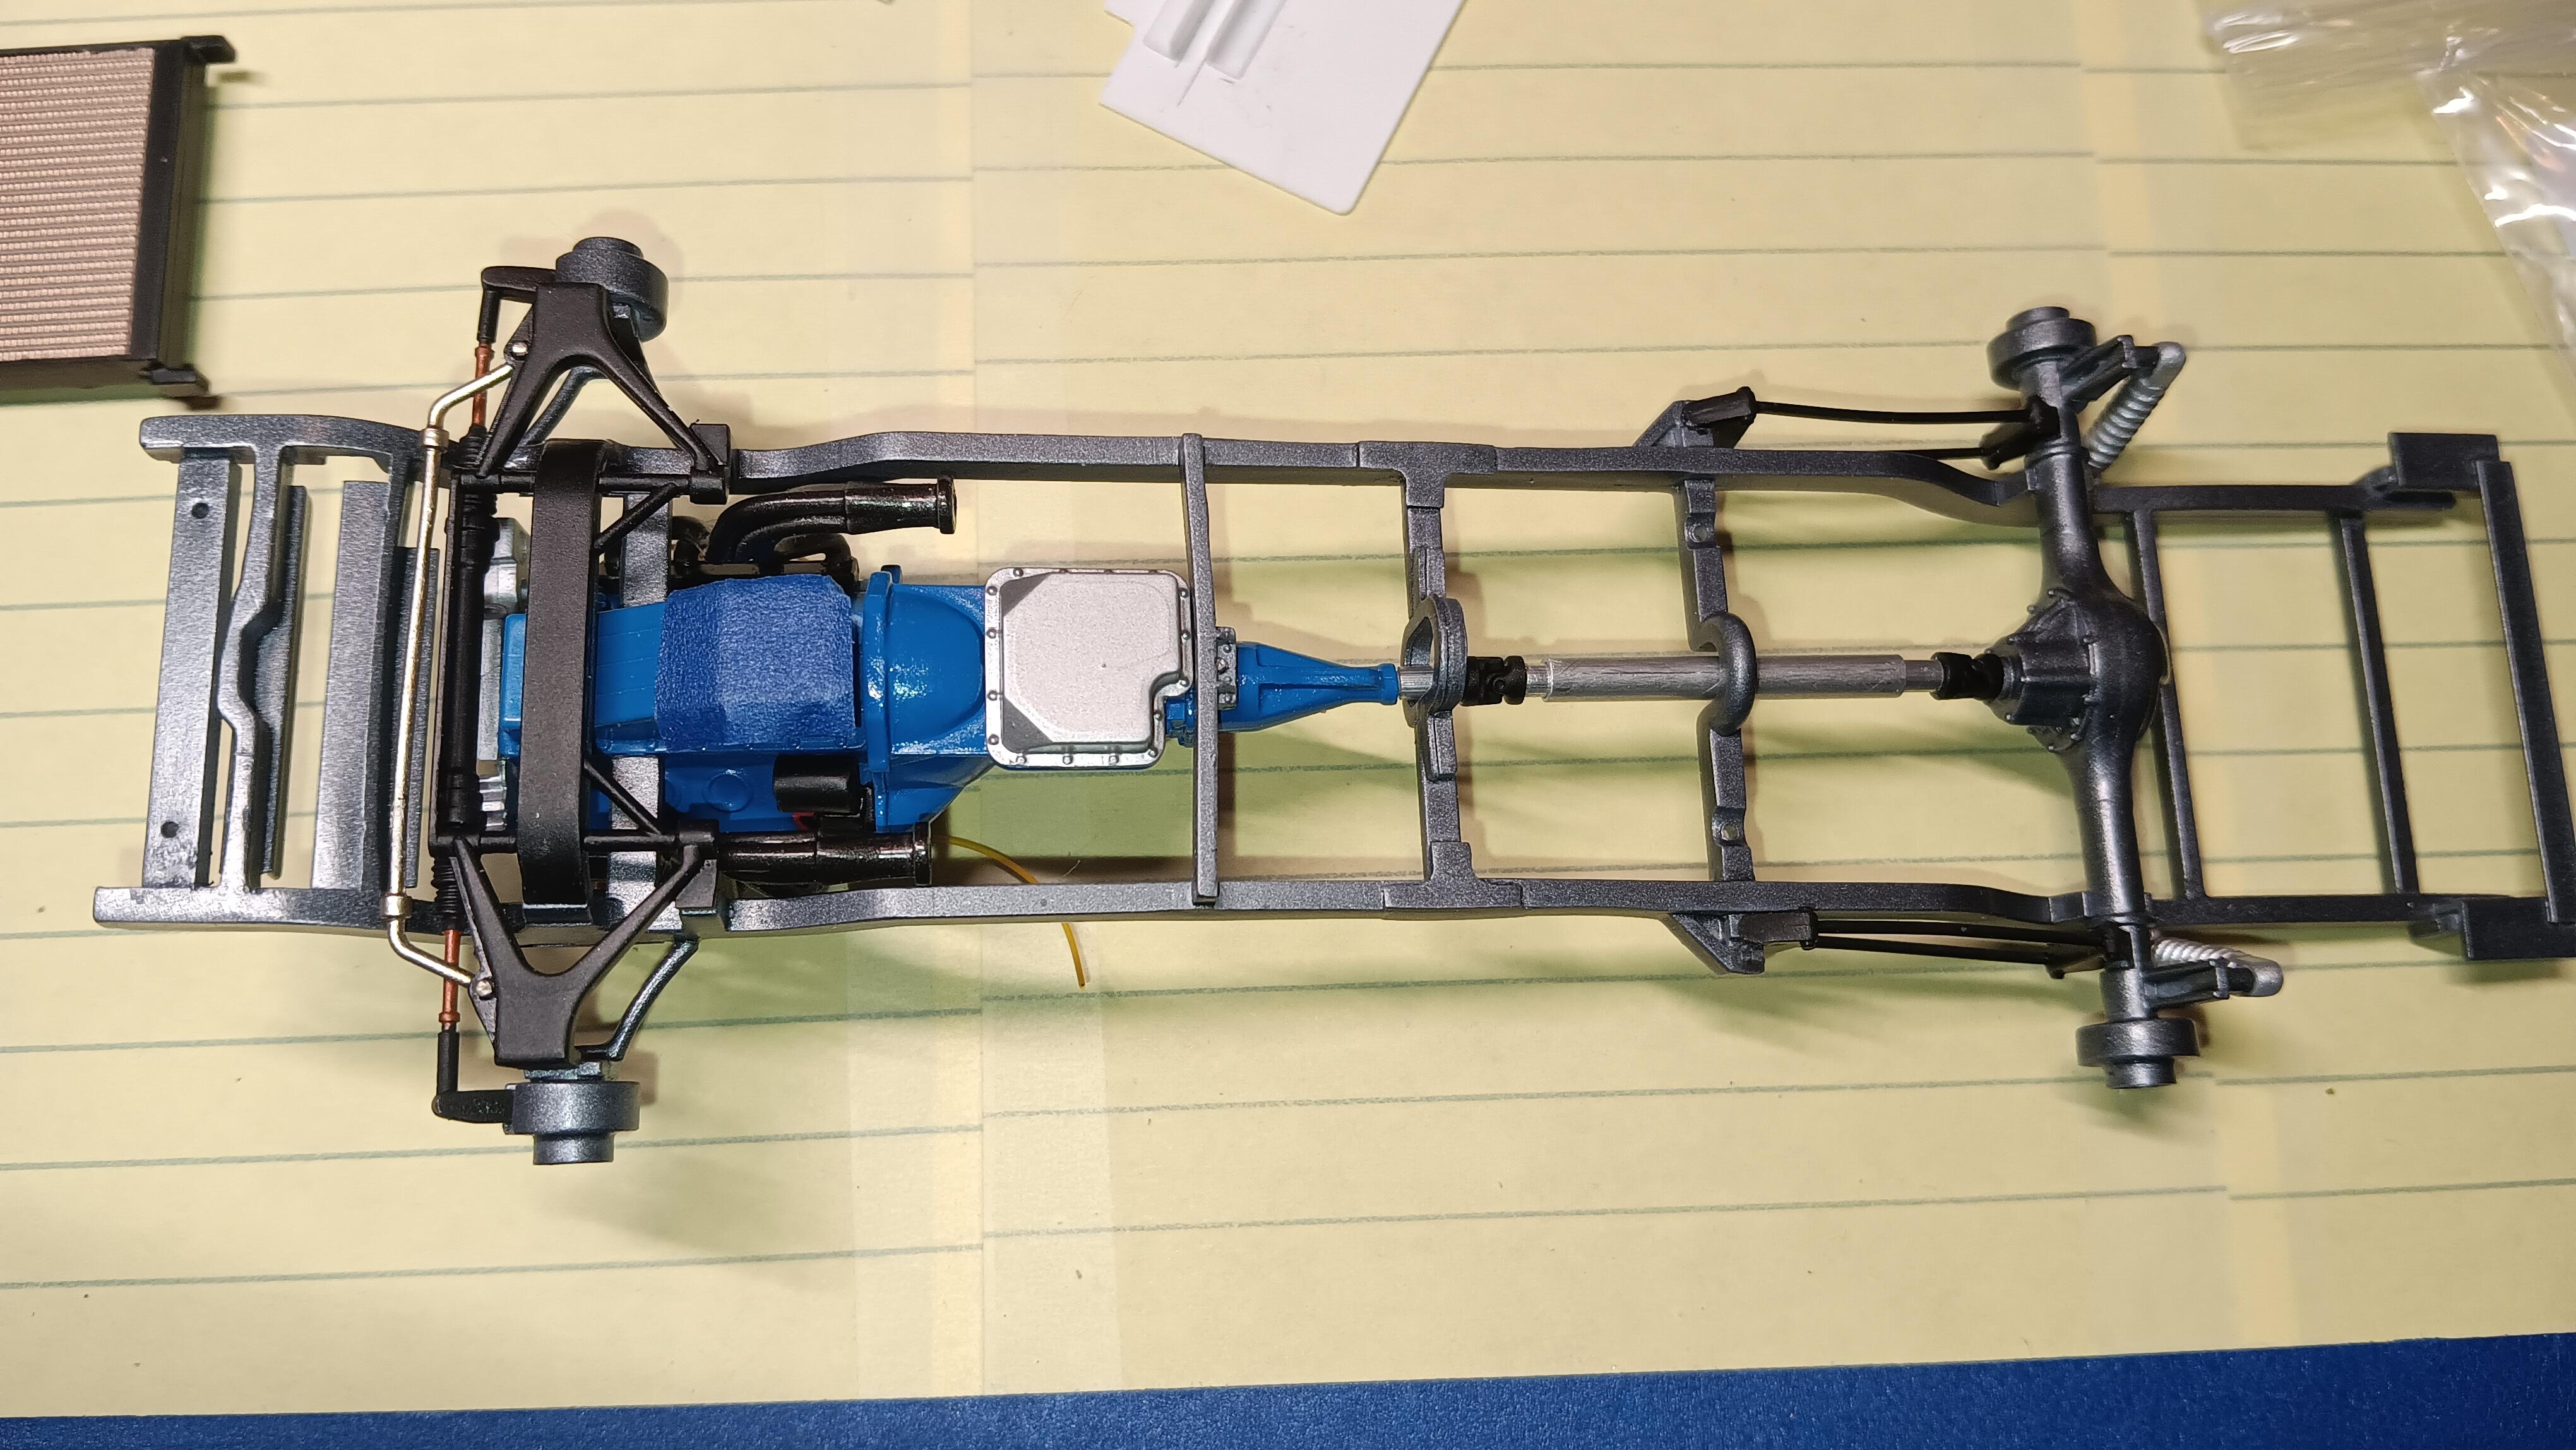
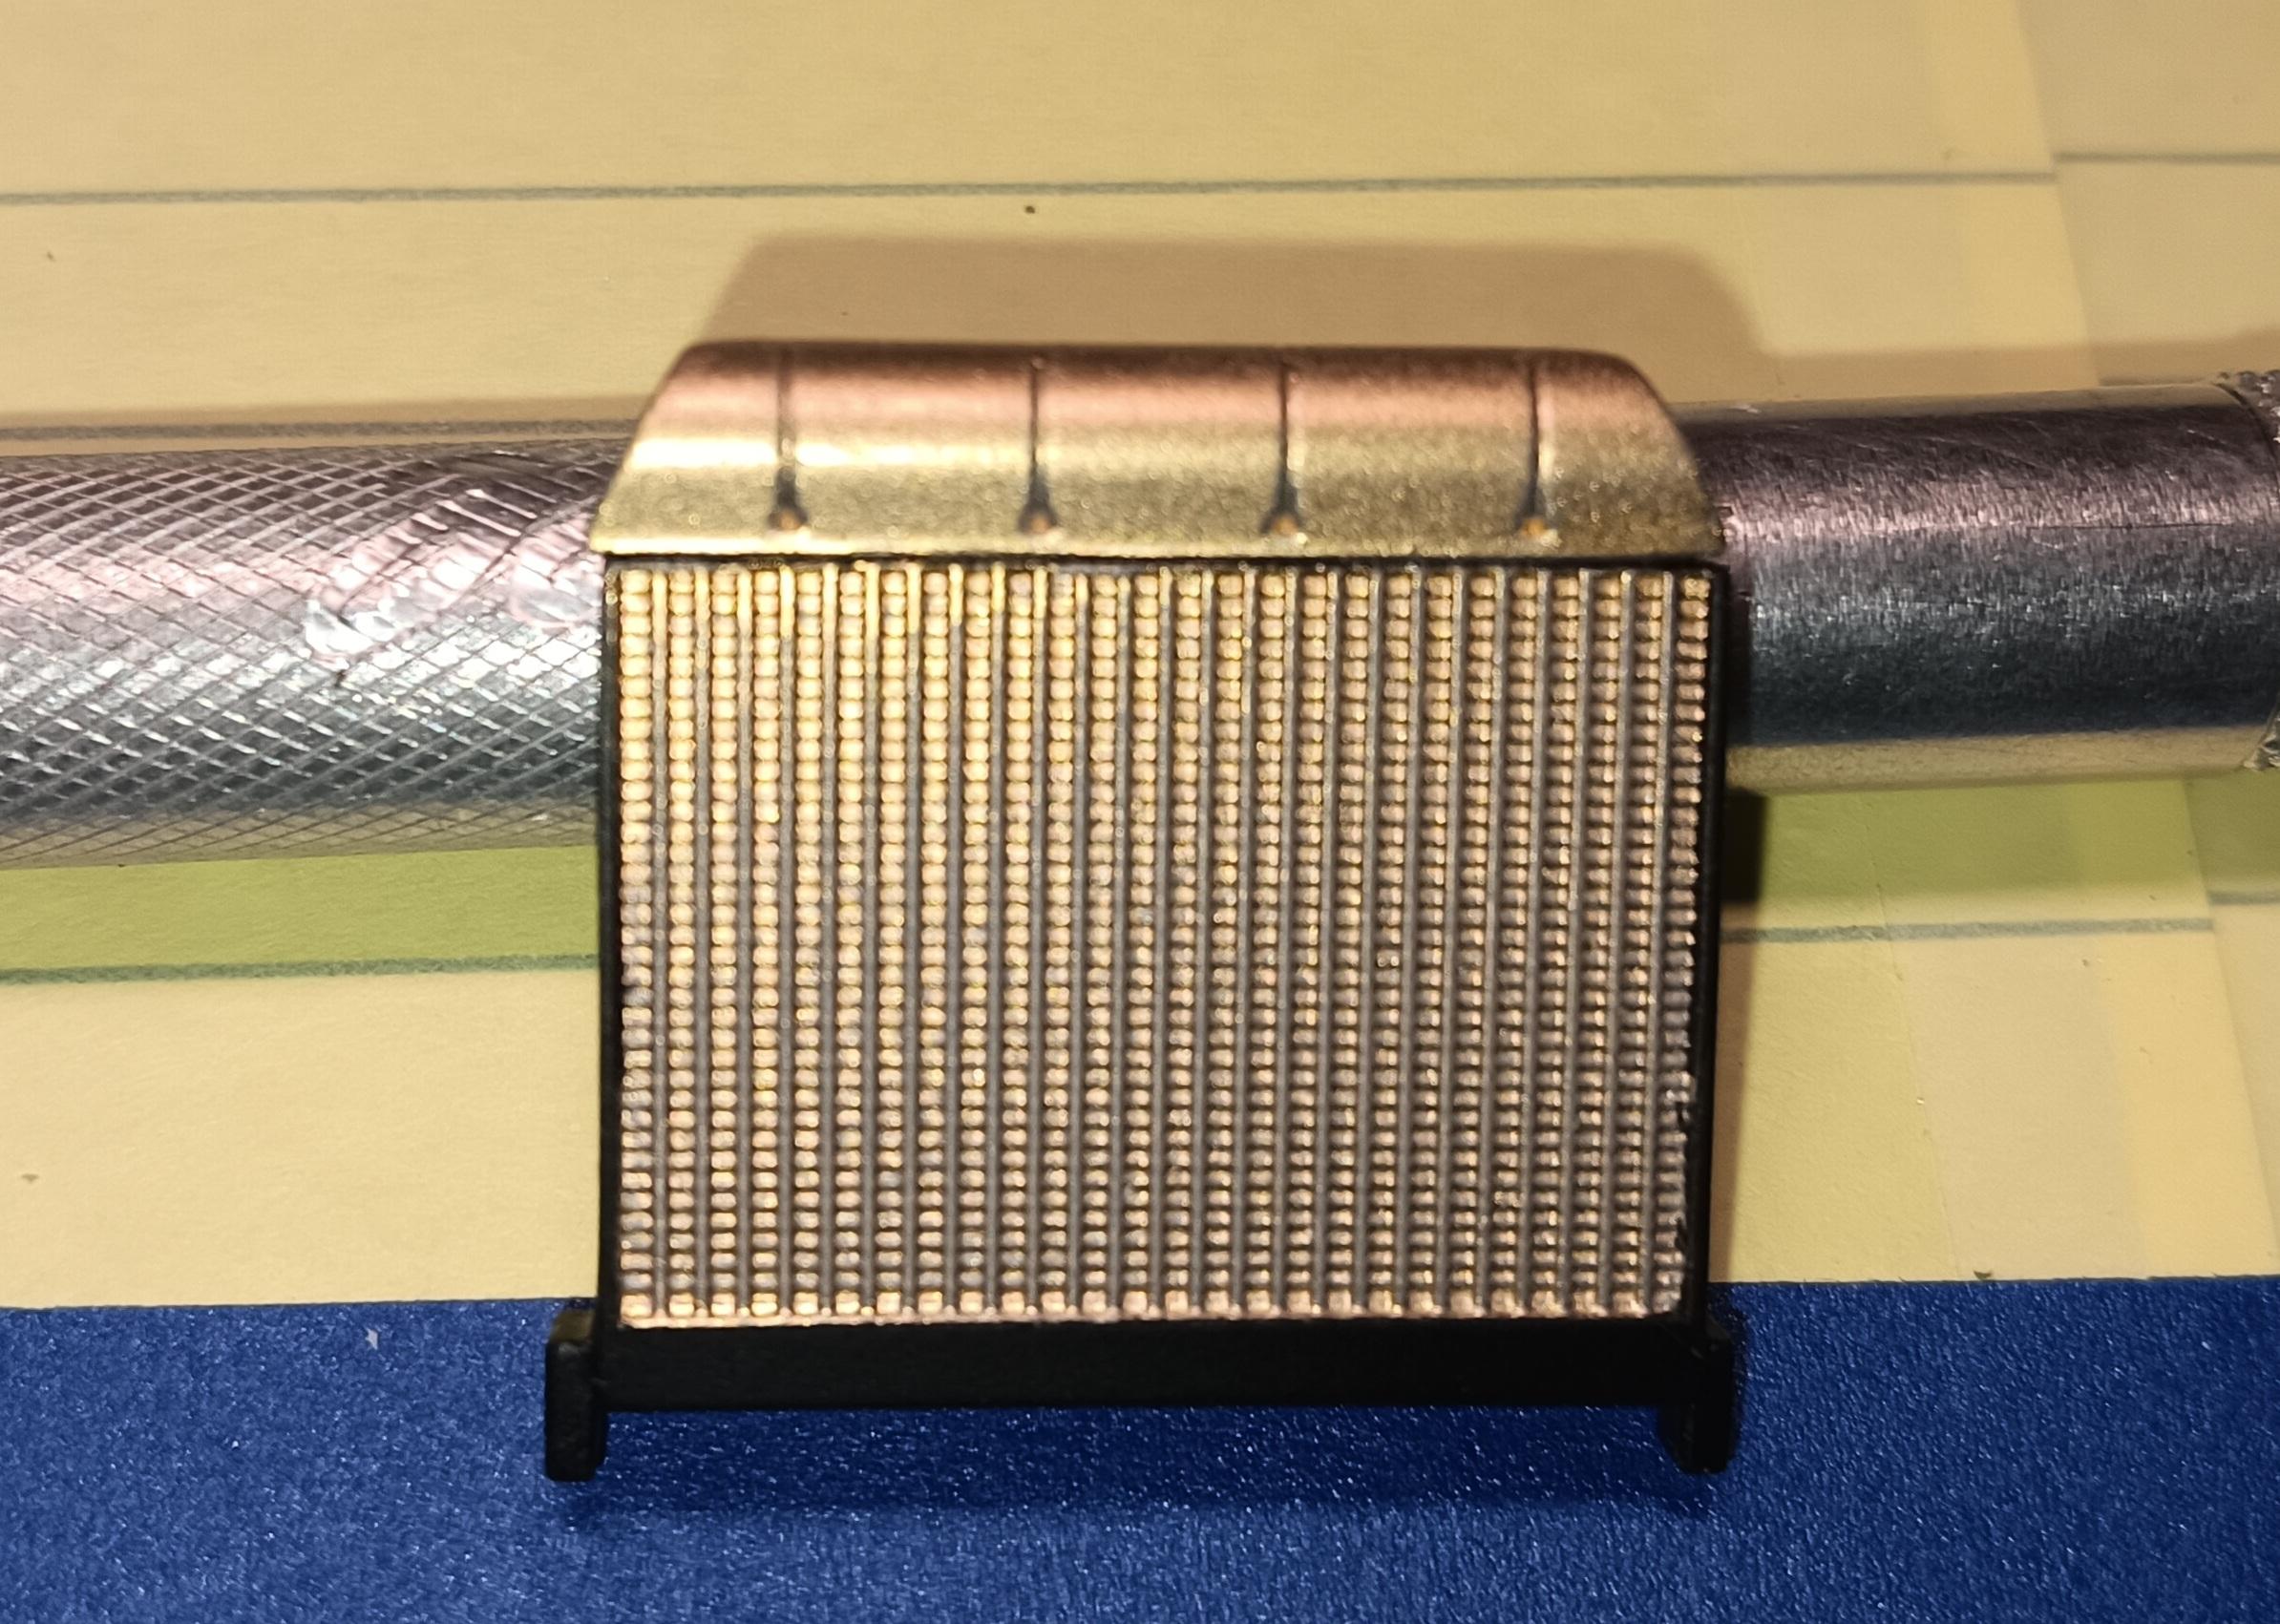
I extended the inner fender pieces to meet the radiator wall. I'm playing around with a possible firewall cover too, same .010" aluminum material.
-
Dom is our president and is on here now and then. Mike handled all the vendor tasks, his 1st time and he nailed it. No small feat. I'm missing a model from 2 years ago... likely in the house in a clever spot. The last I saw of it was at the NNL East in 2023. I'm sure I brought it home. The next show is November 20th, 1 week from today, 7 pm in Bluepoint. At the Henrietta Acompura Lodge on 27A, right off Nichols Road, at the end. Hang a left and the lodge is on the left, just after King Kullen, before 7-11.
-
I do see more AMT Mercs out on the contest tables than the Revell ones.
-
Any beauty supply store should have them. The brand is Suisse something. They are sticky on one side, place it down, soak the back with thin CA glue.
-
The '63 F100 might be interesting. But the similar era Mobieus kits are pretty much the current gold standard.
-
Round2 Walmart kits with unique box art.
bobss396 replied to Carmak's topic in Car Kit News & Reviews
Hobby Lobby is running their 40% off thing this week.... -
Very slick. I need to do one, if only to take pictures of my models. I have some diorama details saved on eBay. BUT... it has to fit in an 11" x 17" bankers box for storage. I plan on using thin laun plywood for strength. We built them as kids. My mom worked in a department store and would bring home heavy white coat boxes. They were sturdy. I would cut 2 walls out of them, make door and window frames from wood coffee stirrers or construction paper. Fab up an engine crane and so on.
-
1997 Chevy C1500
bobss396 replied to Lemcoplasticworks's topic in Model Trucks: Pickups, Vans, SUVs, Light Commercial
Nicely done ✔️! I should do one.. strive for a box stock and focus on good paint, etc. -
Again, there is some pretzel logic going on with model designers. The '59 Edsel looks light years better than the '58. I was at the NNL East when Revell introduced their new '49 Mercury. They were not happy when I suggested that a '51 would have been a better choice. Don't even mention the AMT '41 Plymouth to me, the '39 or '40 is much more pleasing to the eye.
-
Megahobby.com coming to a close Q3 2026
bobss396 replied to Dpate's topic in General Automotive Talk (Trucks and Cars)
Steven's has been around a long time, very early in the internet days. I see many items on MH that are sold out. I've bought from The Model Roundup and Hobbylinc (spelling?) lately. There was one that is long gone, Scale Dreams. They had just about anything and everything. I see very little of Detail Master stock anywhere, even on eBay. -
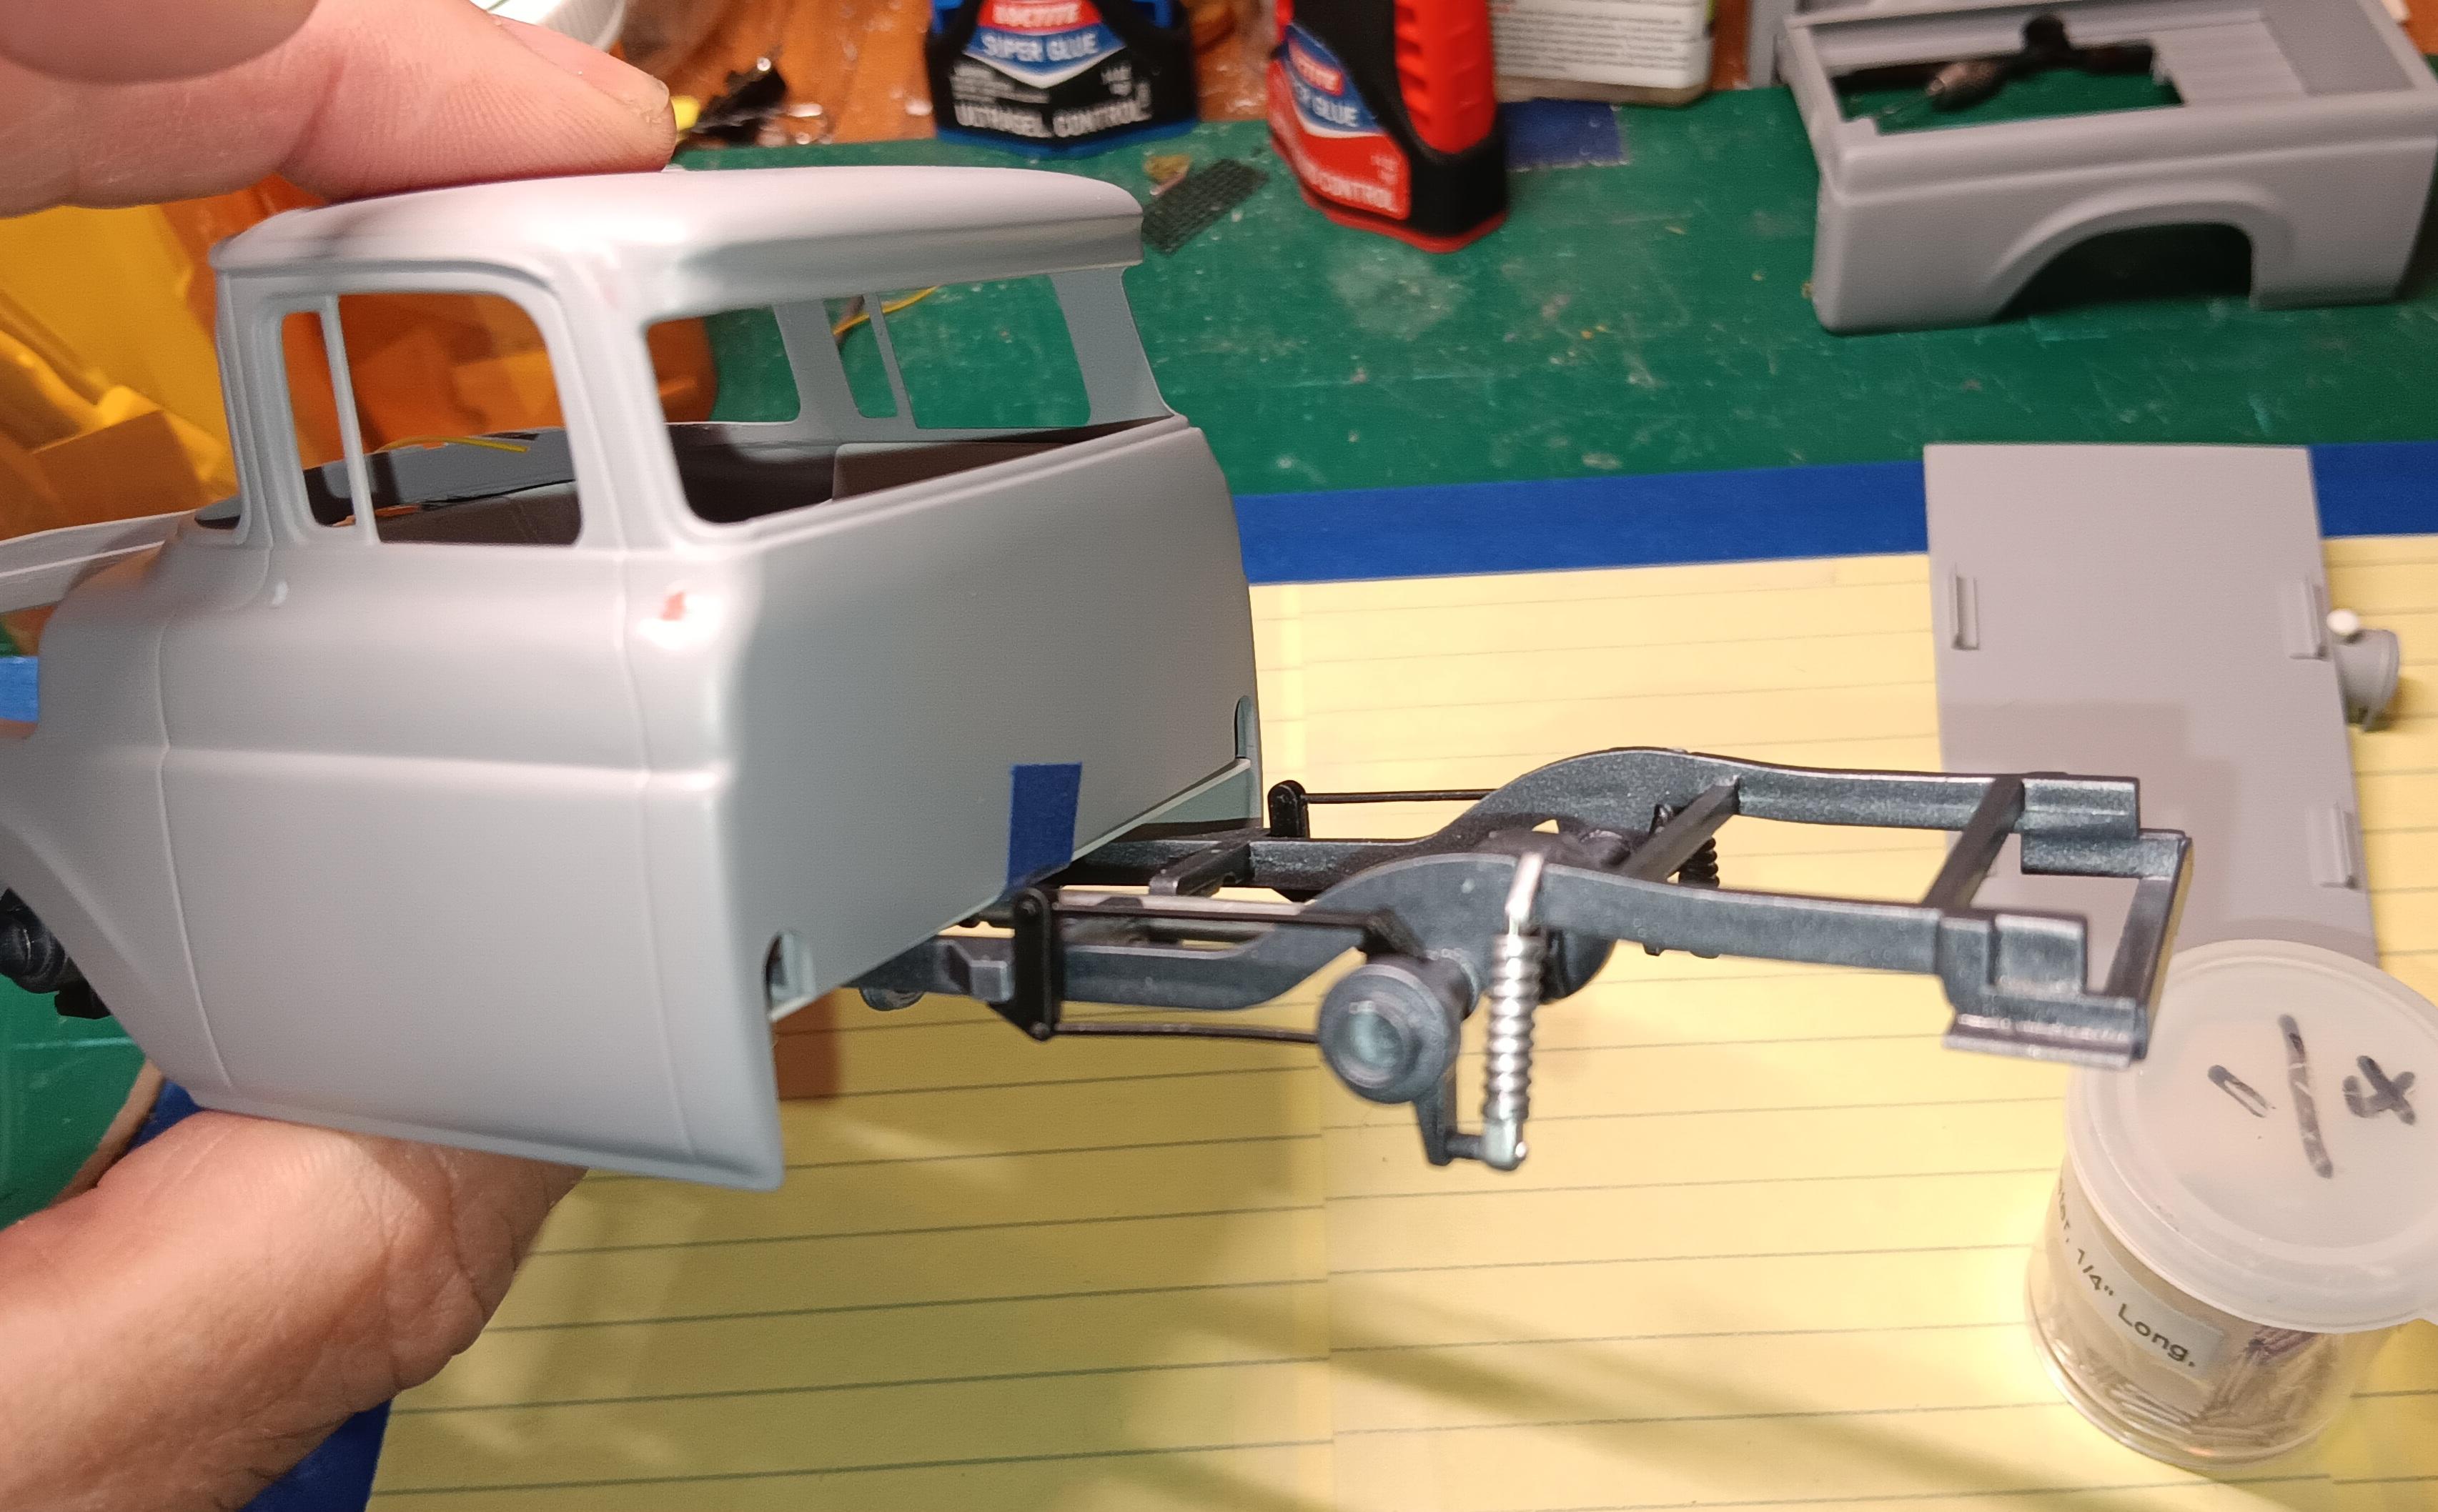
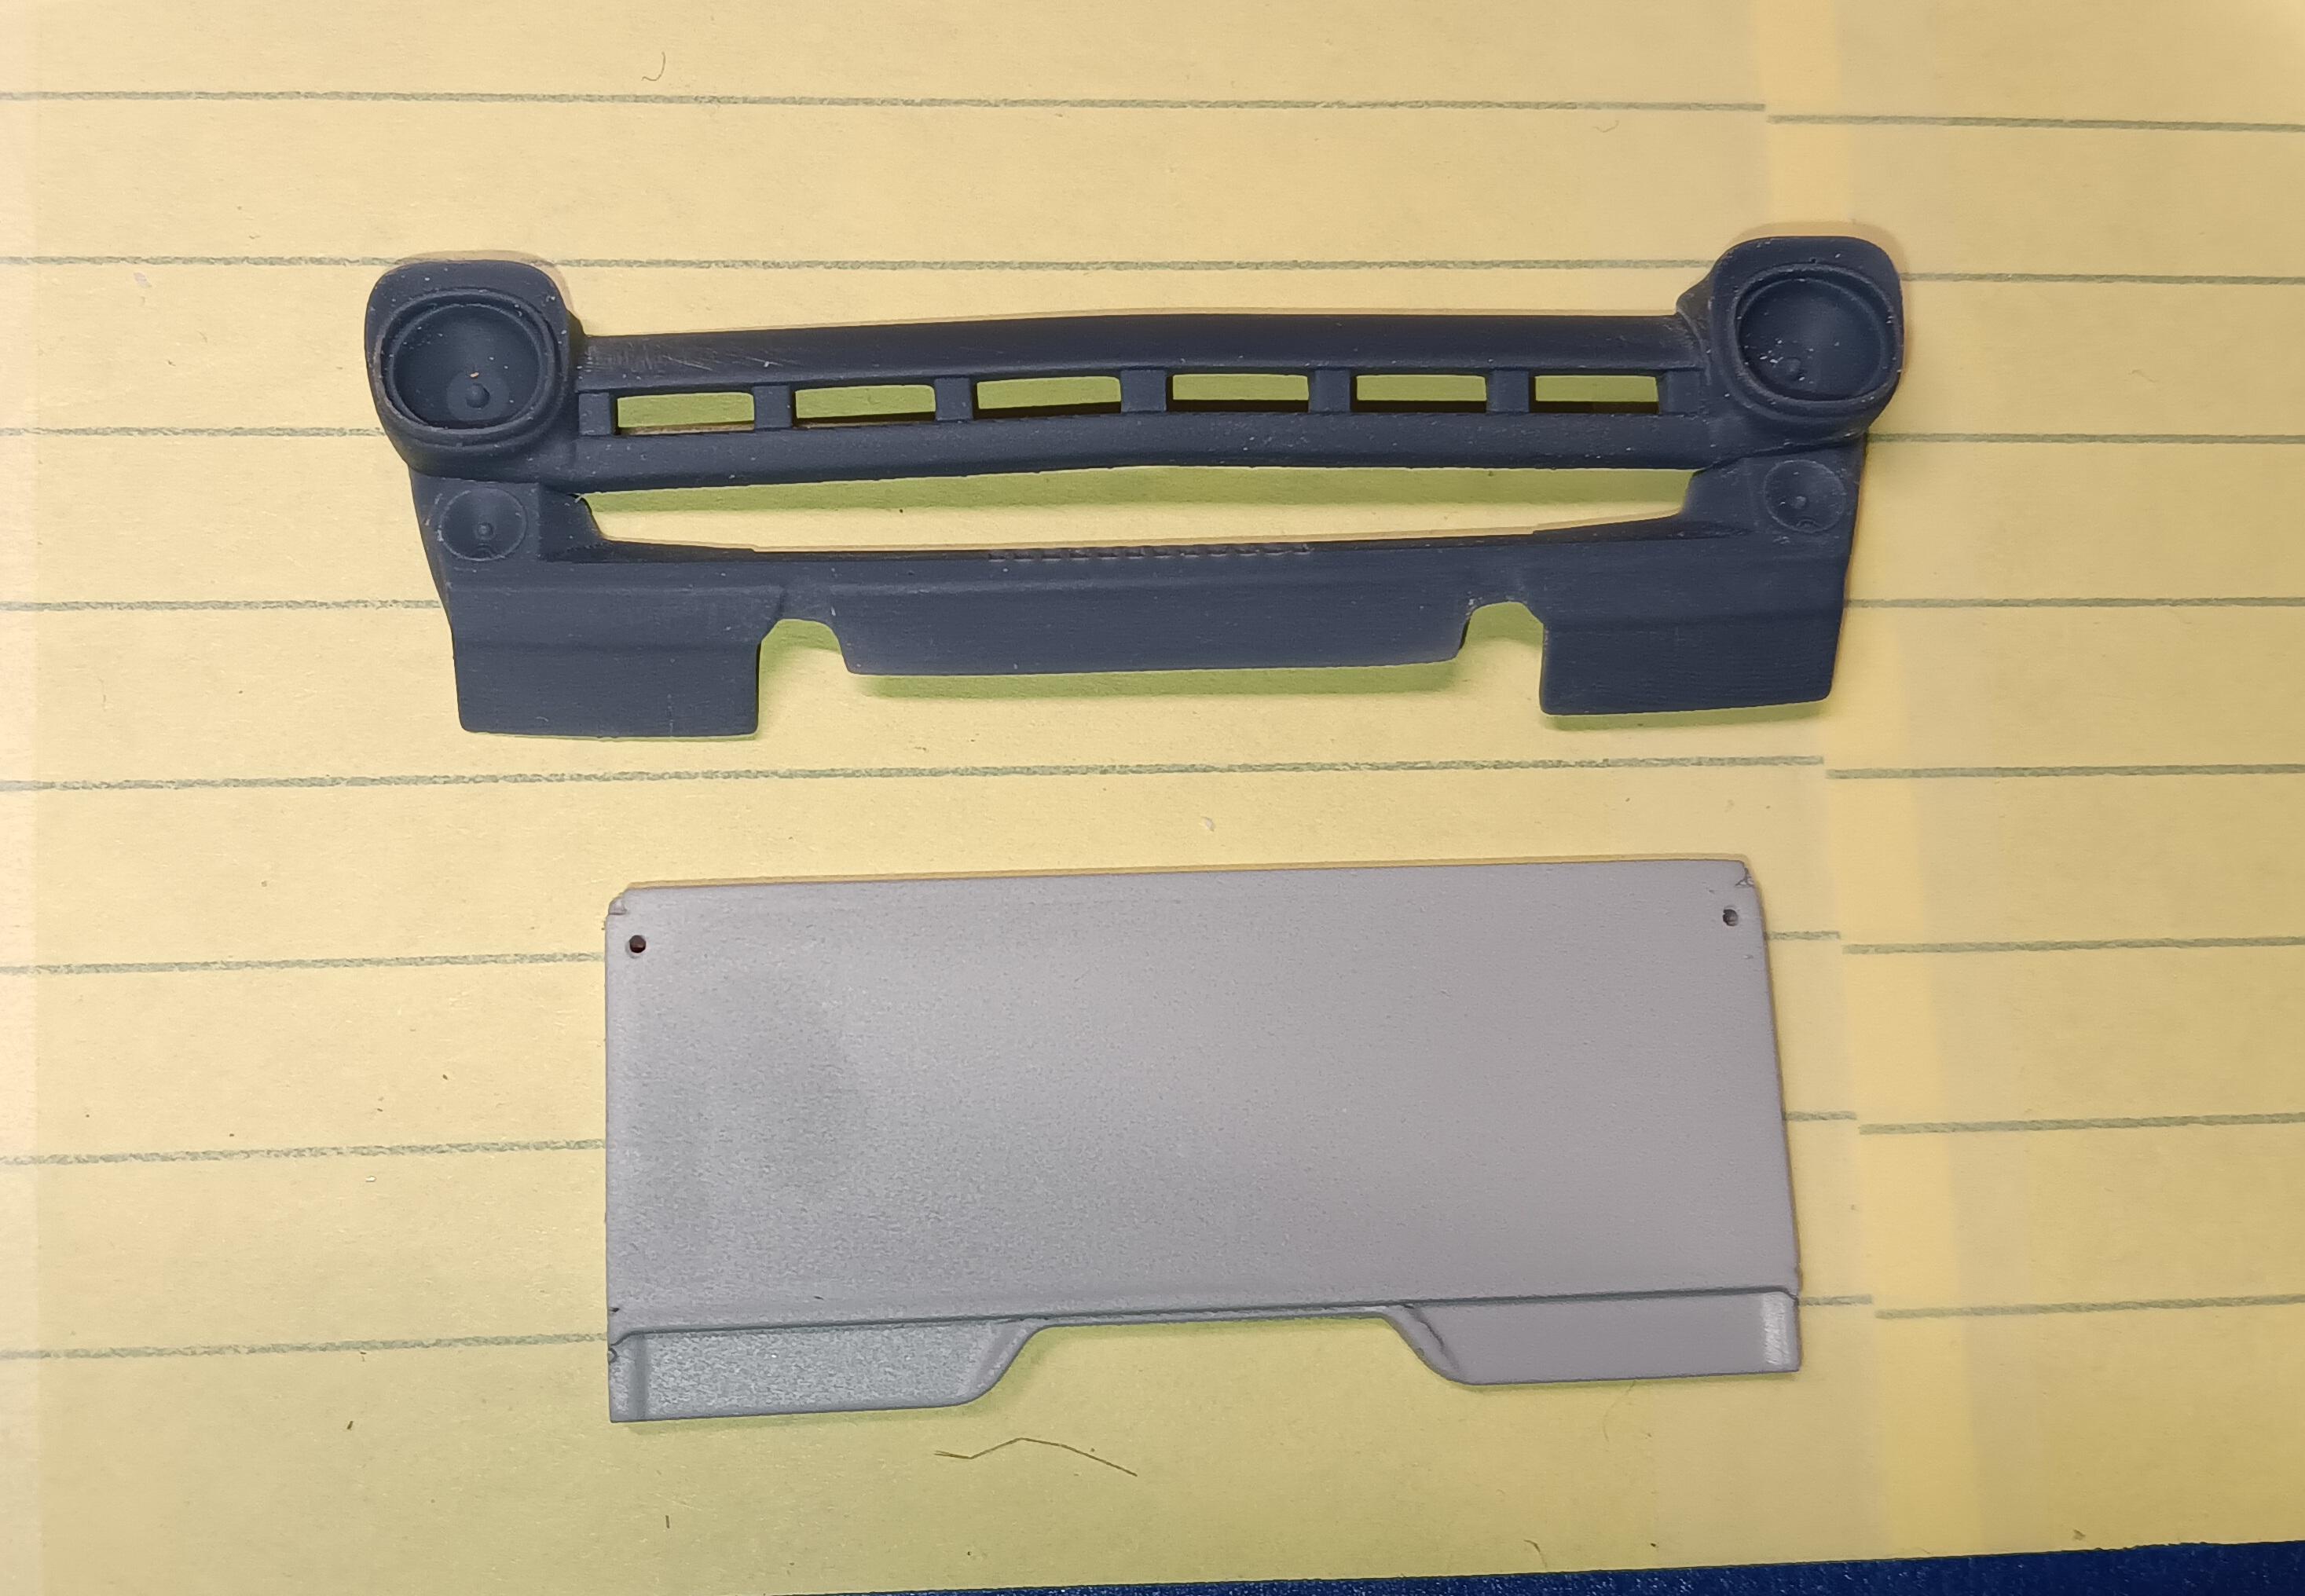
I worked on the truck late last night. The bed fits the chassis finally. I had to open the firewall (I added a piece to mount the master & booster) to clear the driver side valve cover. I closed up the passenger side by 1/8". The fender wells interfered with the upper control arms, those were opened up. They will be covered with aluminum pieces I made. The ones pictured might be made bigger. Possibly may add a firewall piece. I'm slowly working the fit bugs out of it
-
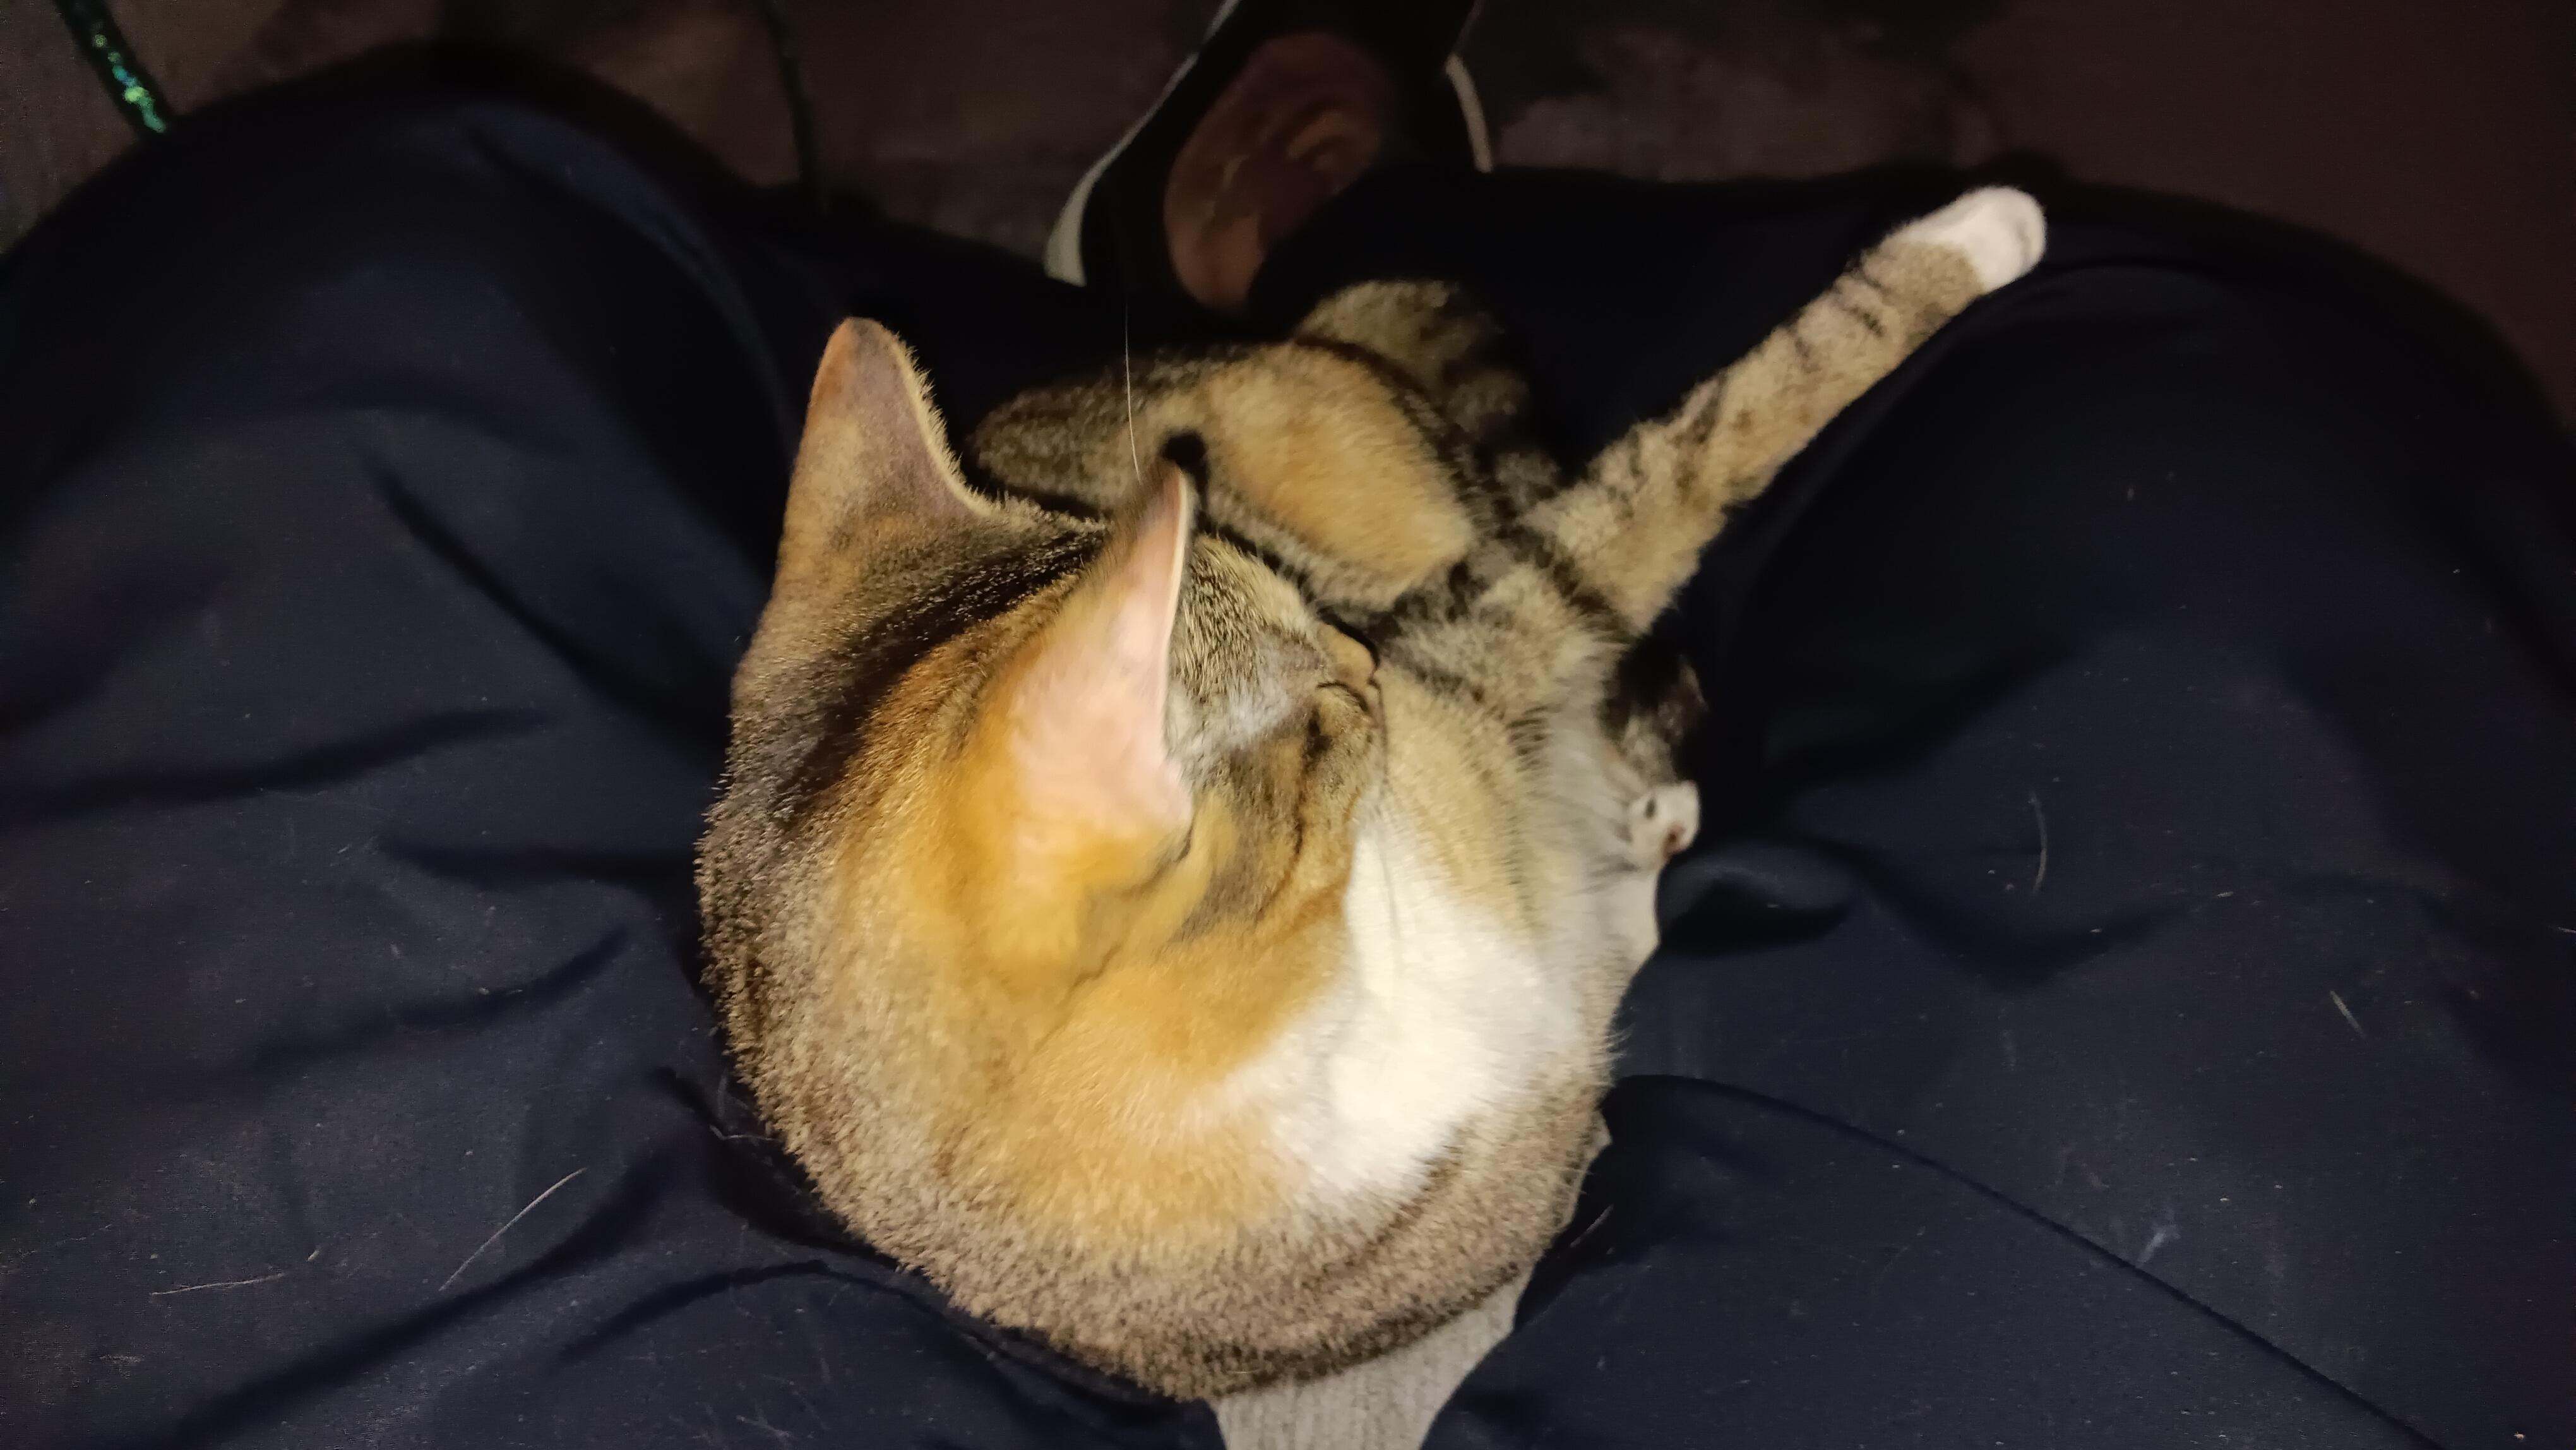
2 with Brie at my girlfriend's and 2 with Ivan when I got home.
-
Shopping psychology ('splain this to me, Lucy)
bobss396 replied to Monty's topic in The Off-Topic Lounge
The last time I was in Lowe's (2 years ago) they were down to ONE cashier and the rest were self checkout. They were in the process of putting everything else under lock and key. Now I shop mainly at Ace Hardware or buy what I need online if I can wait. -
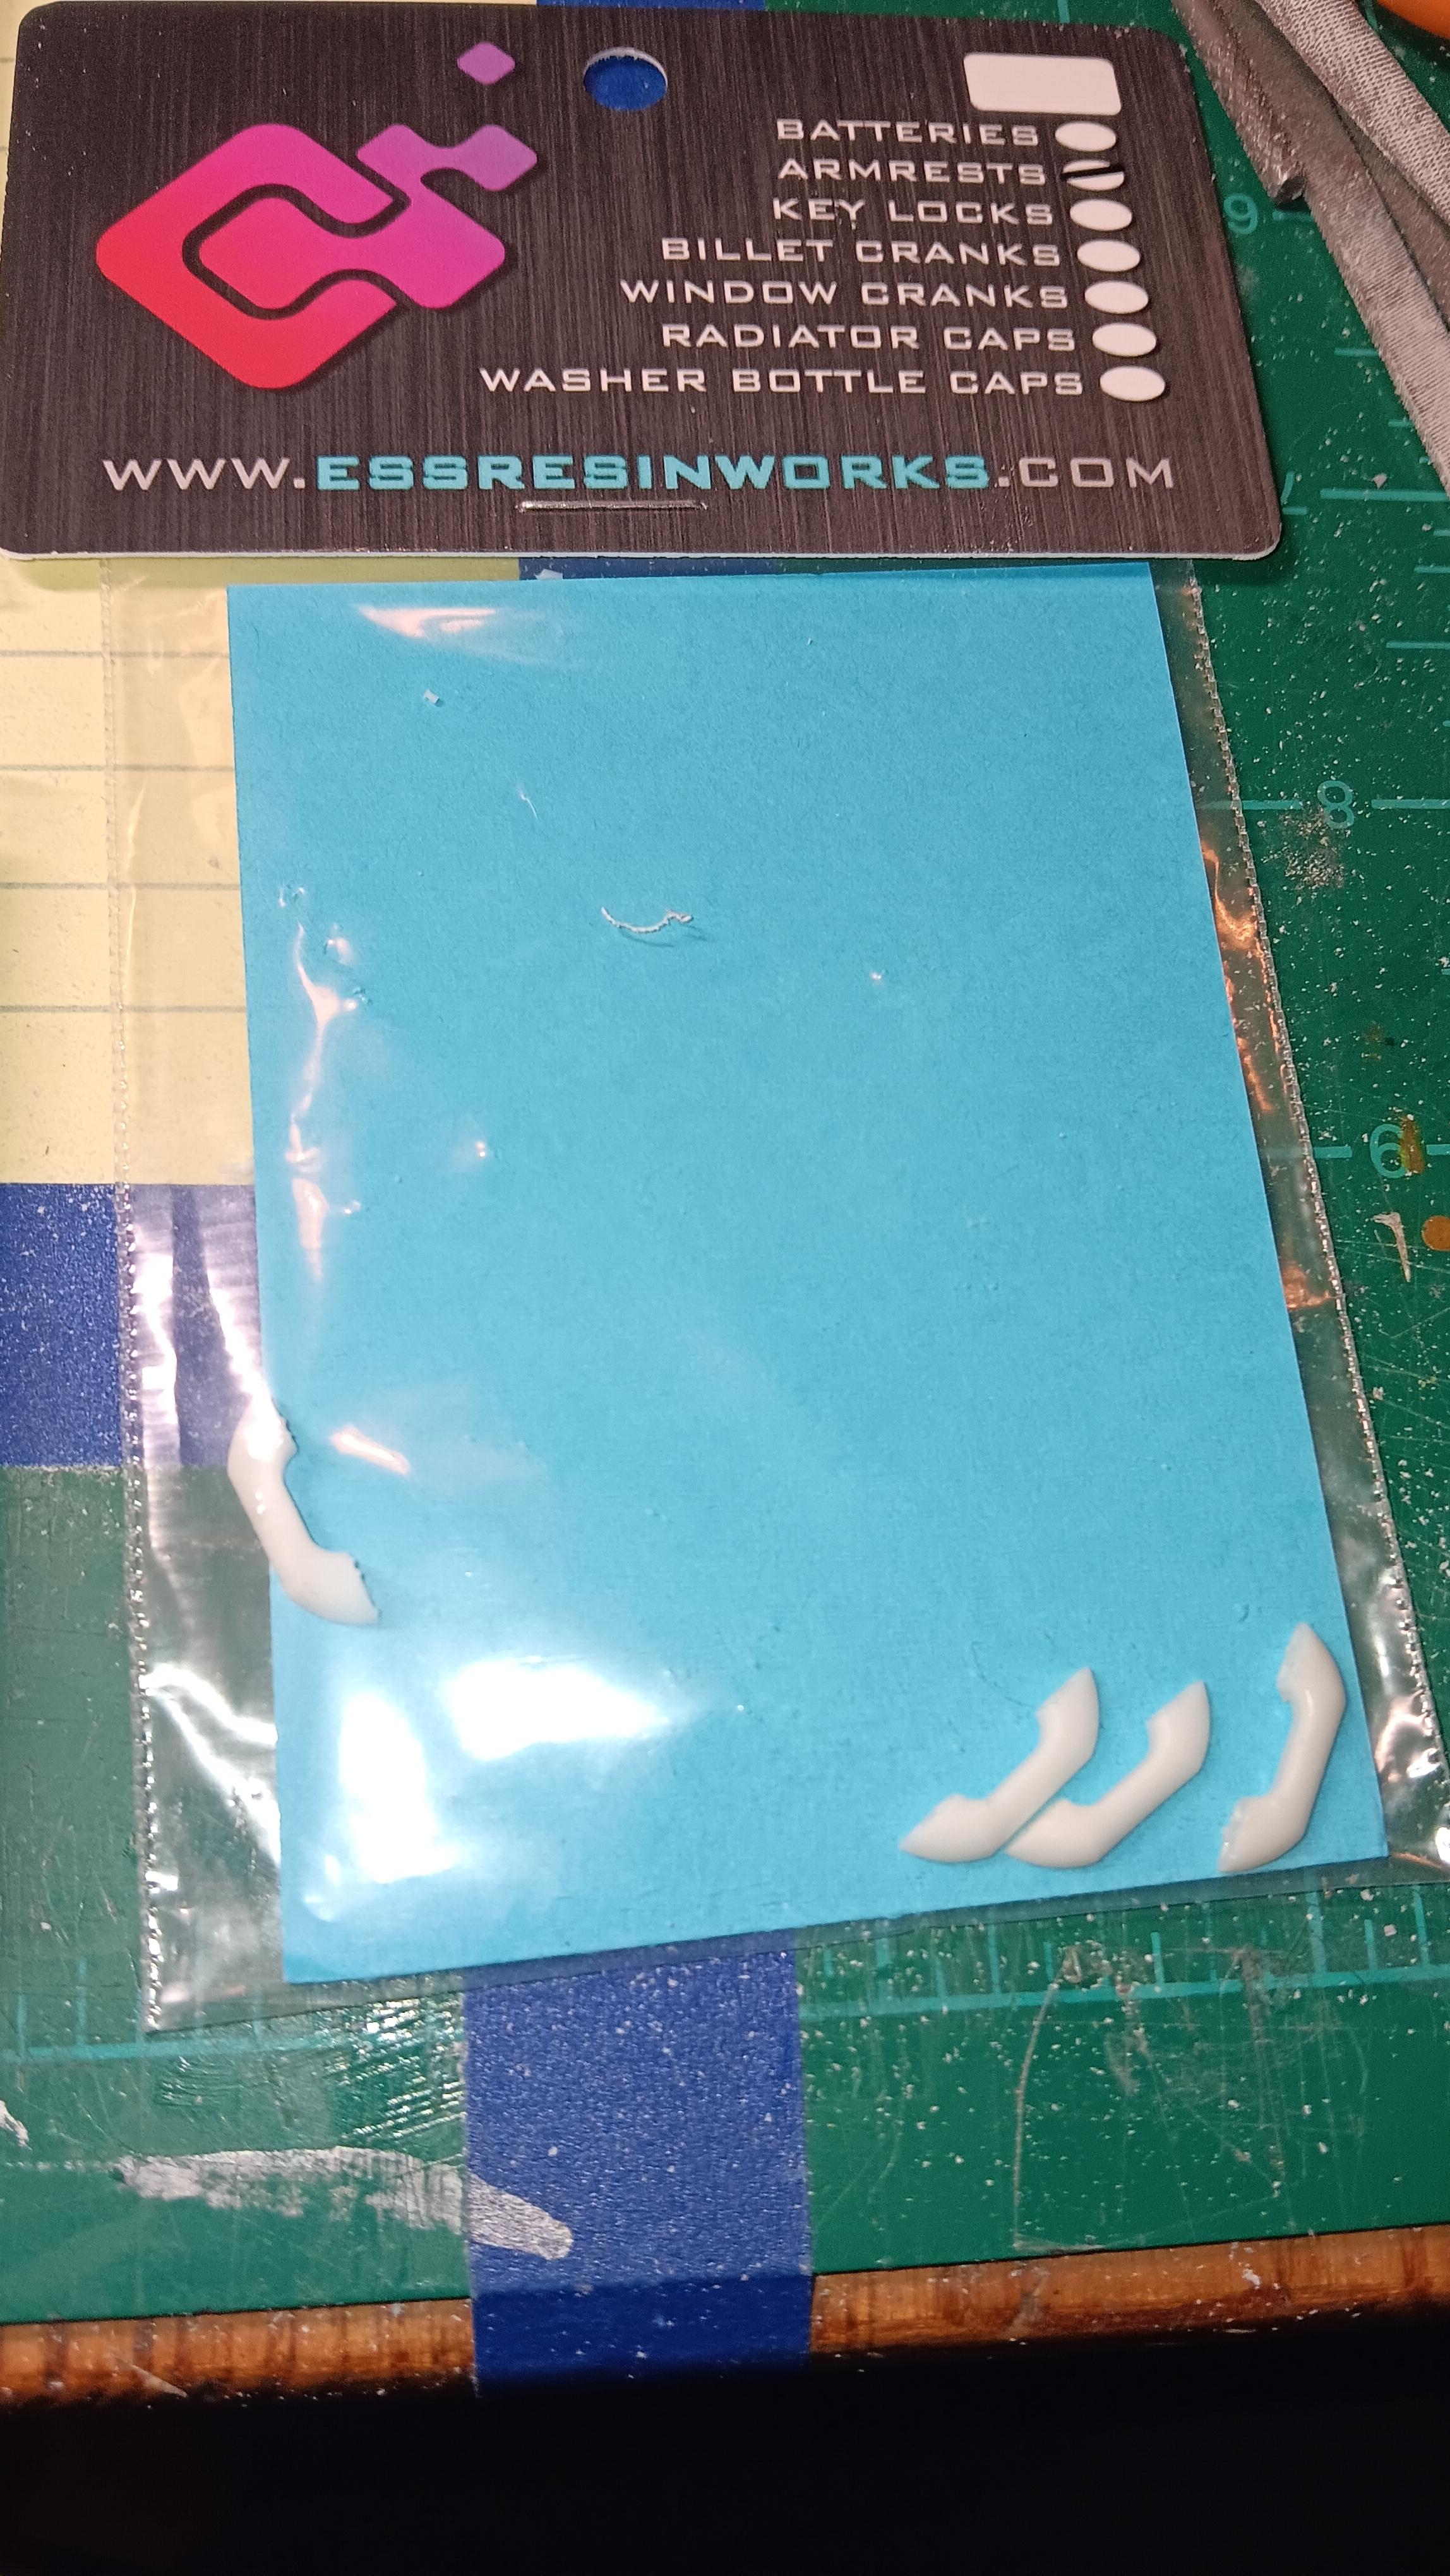
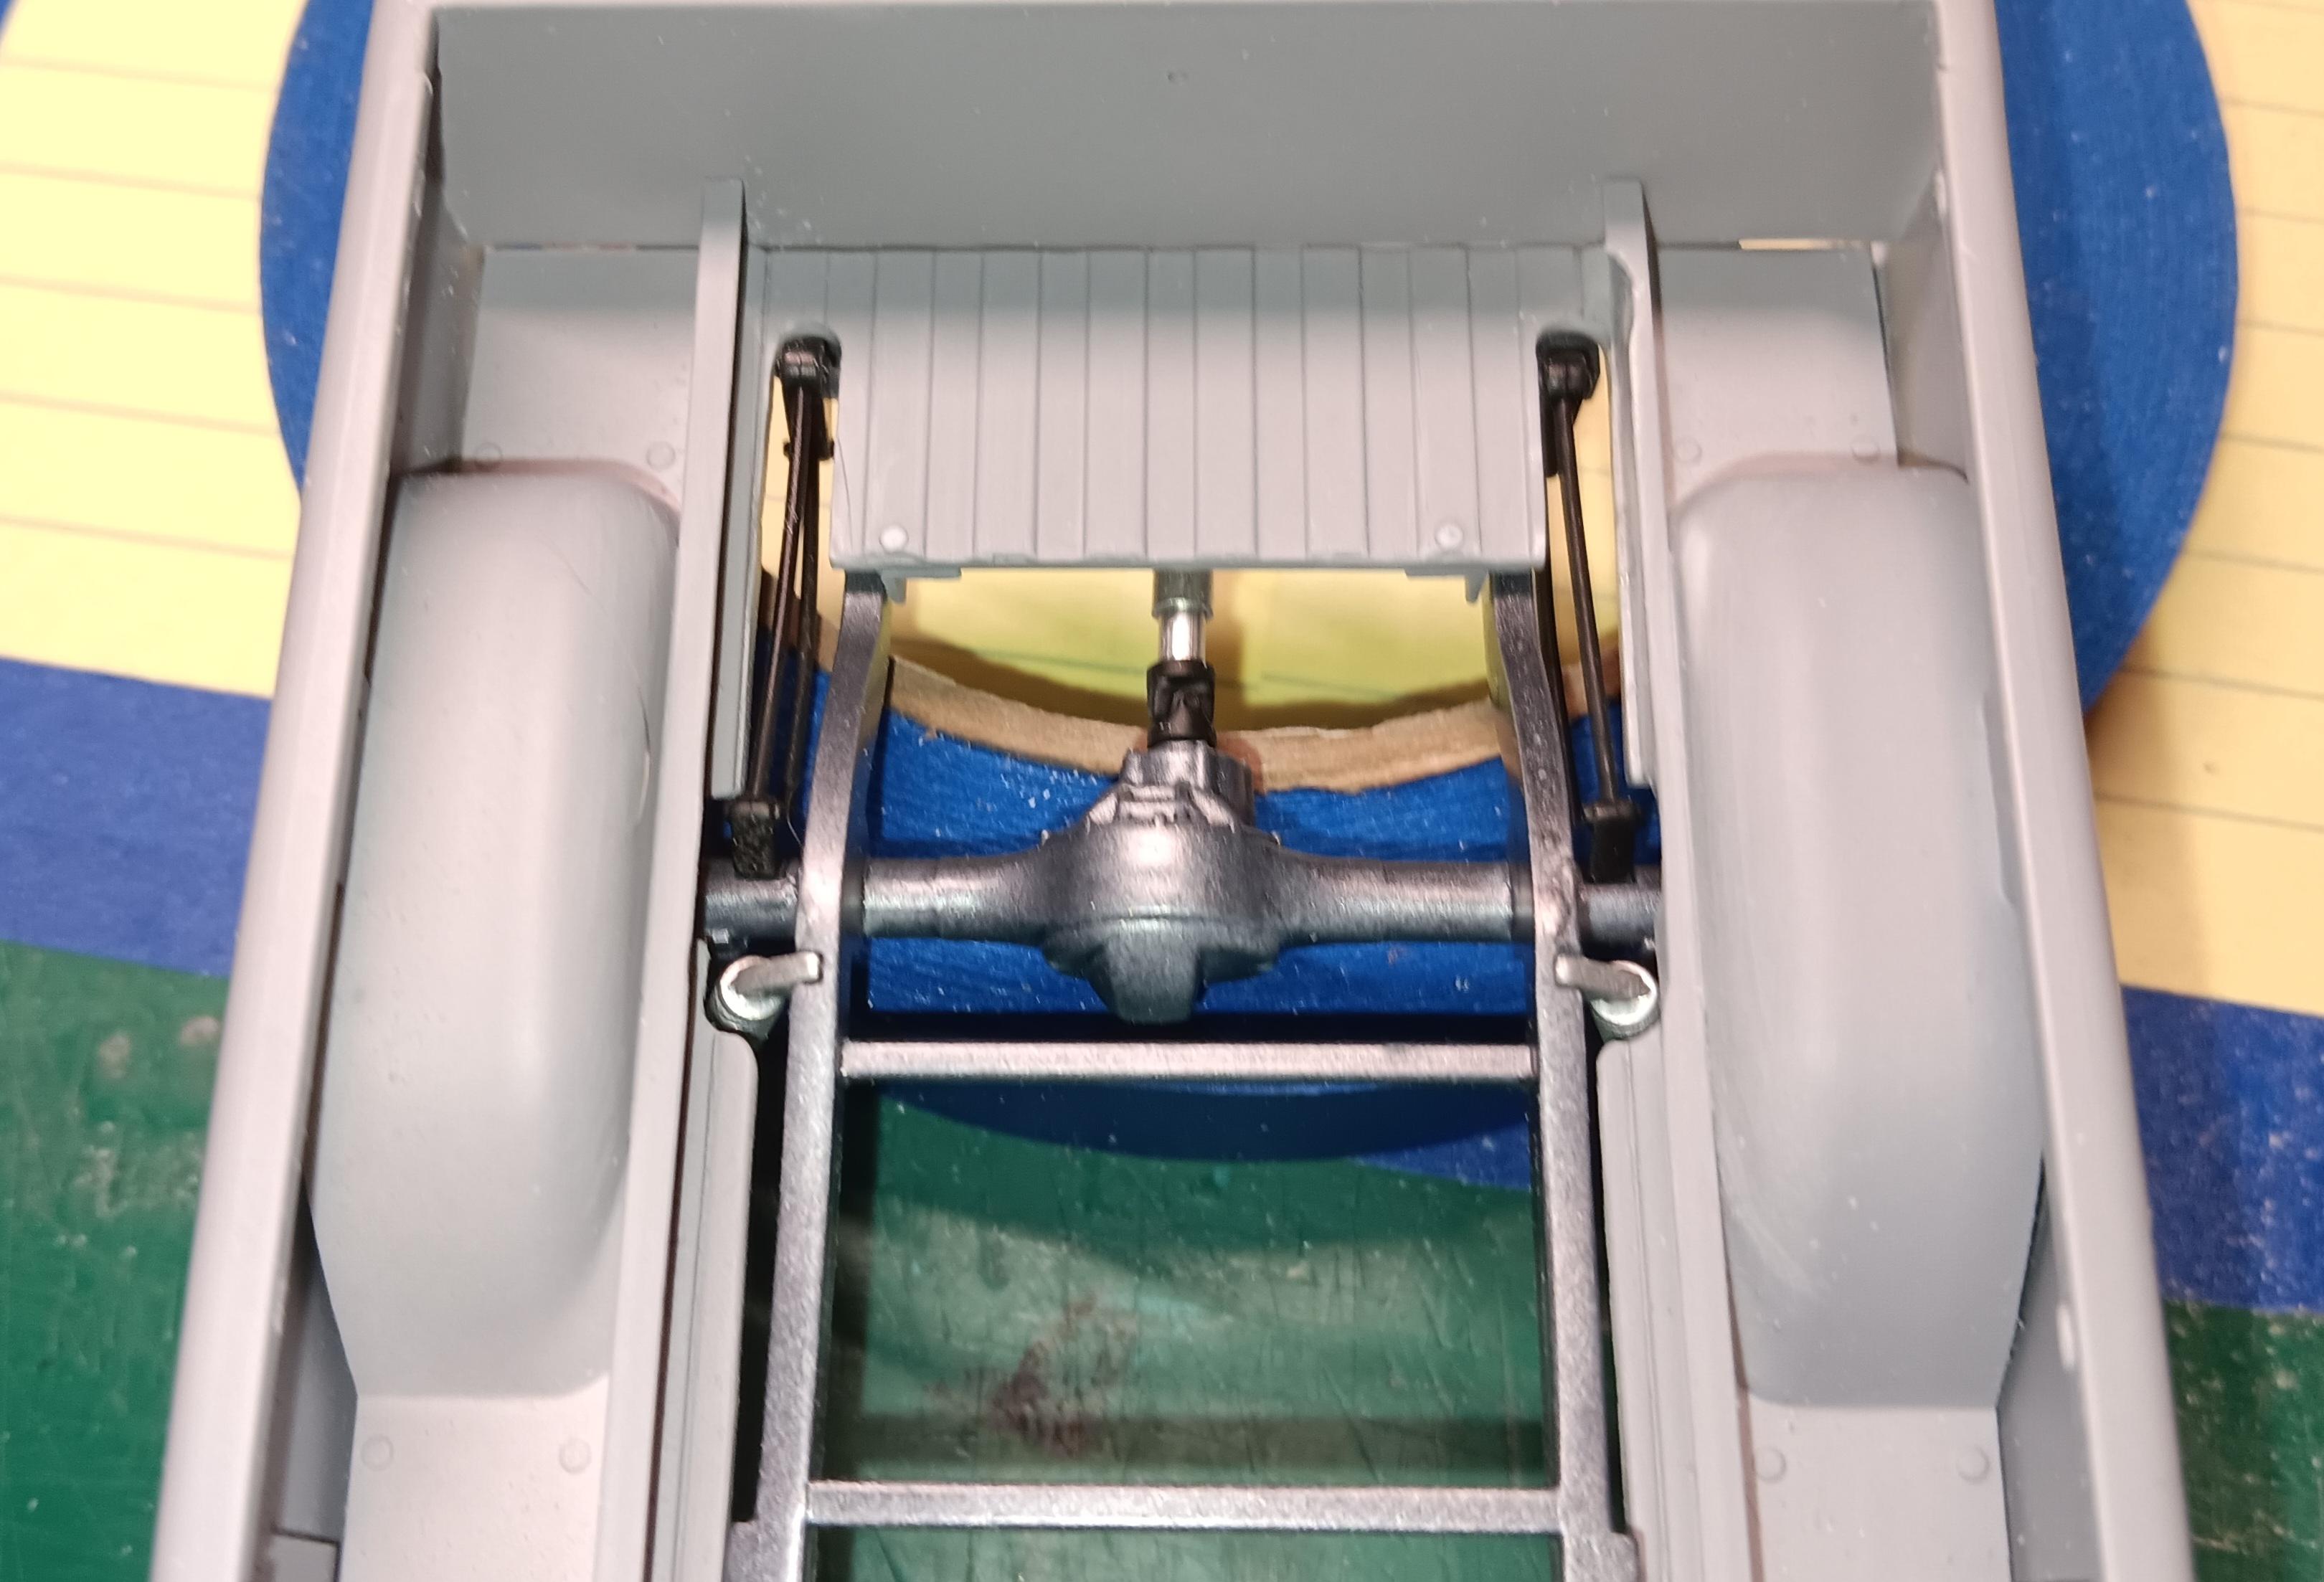
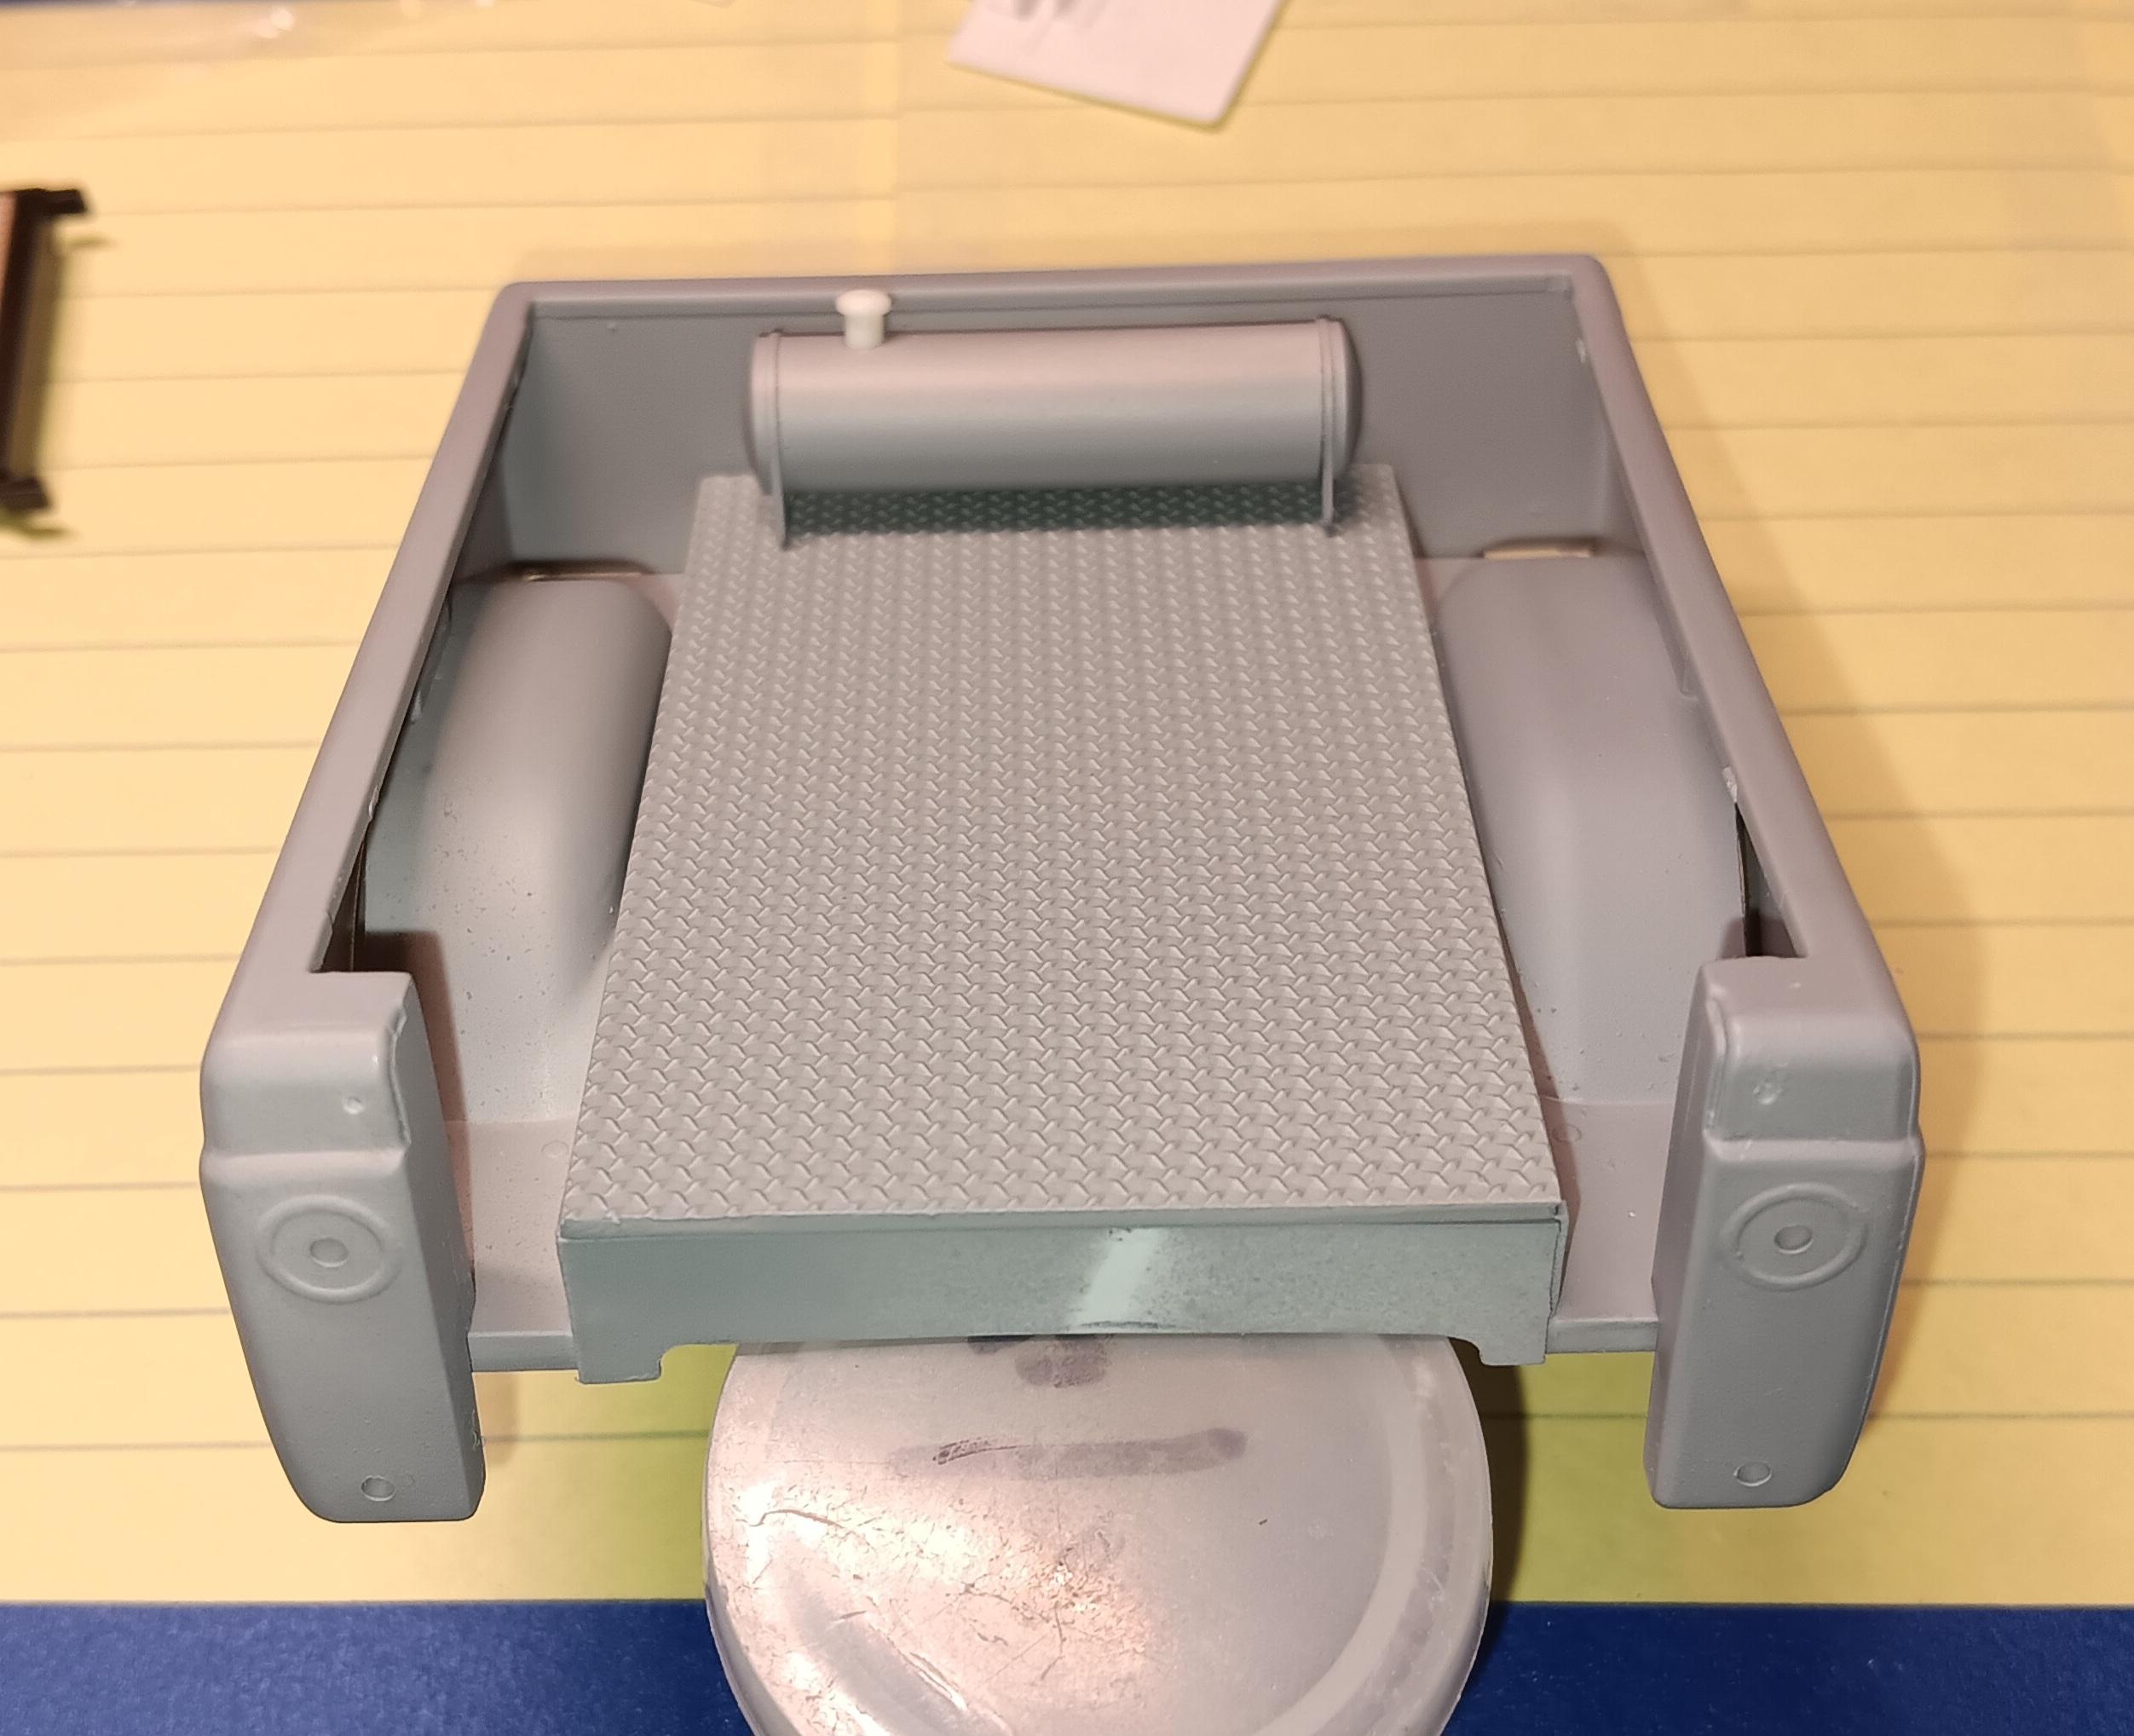
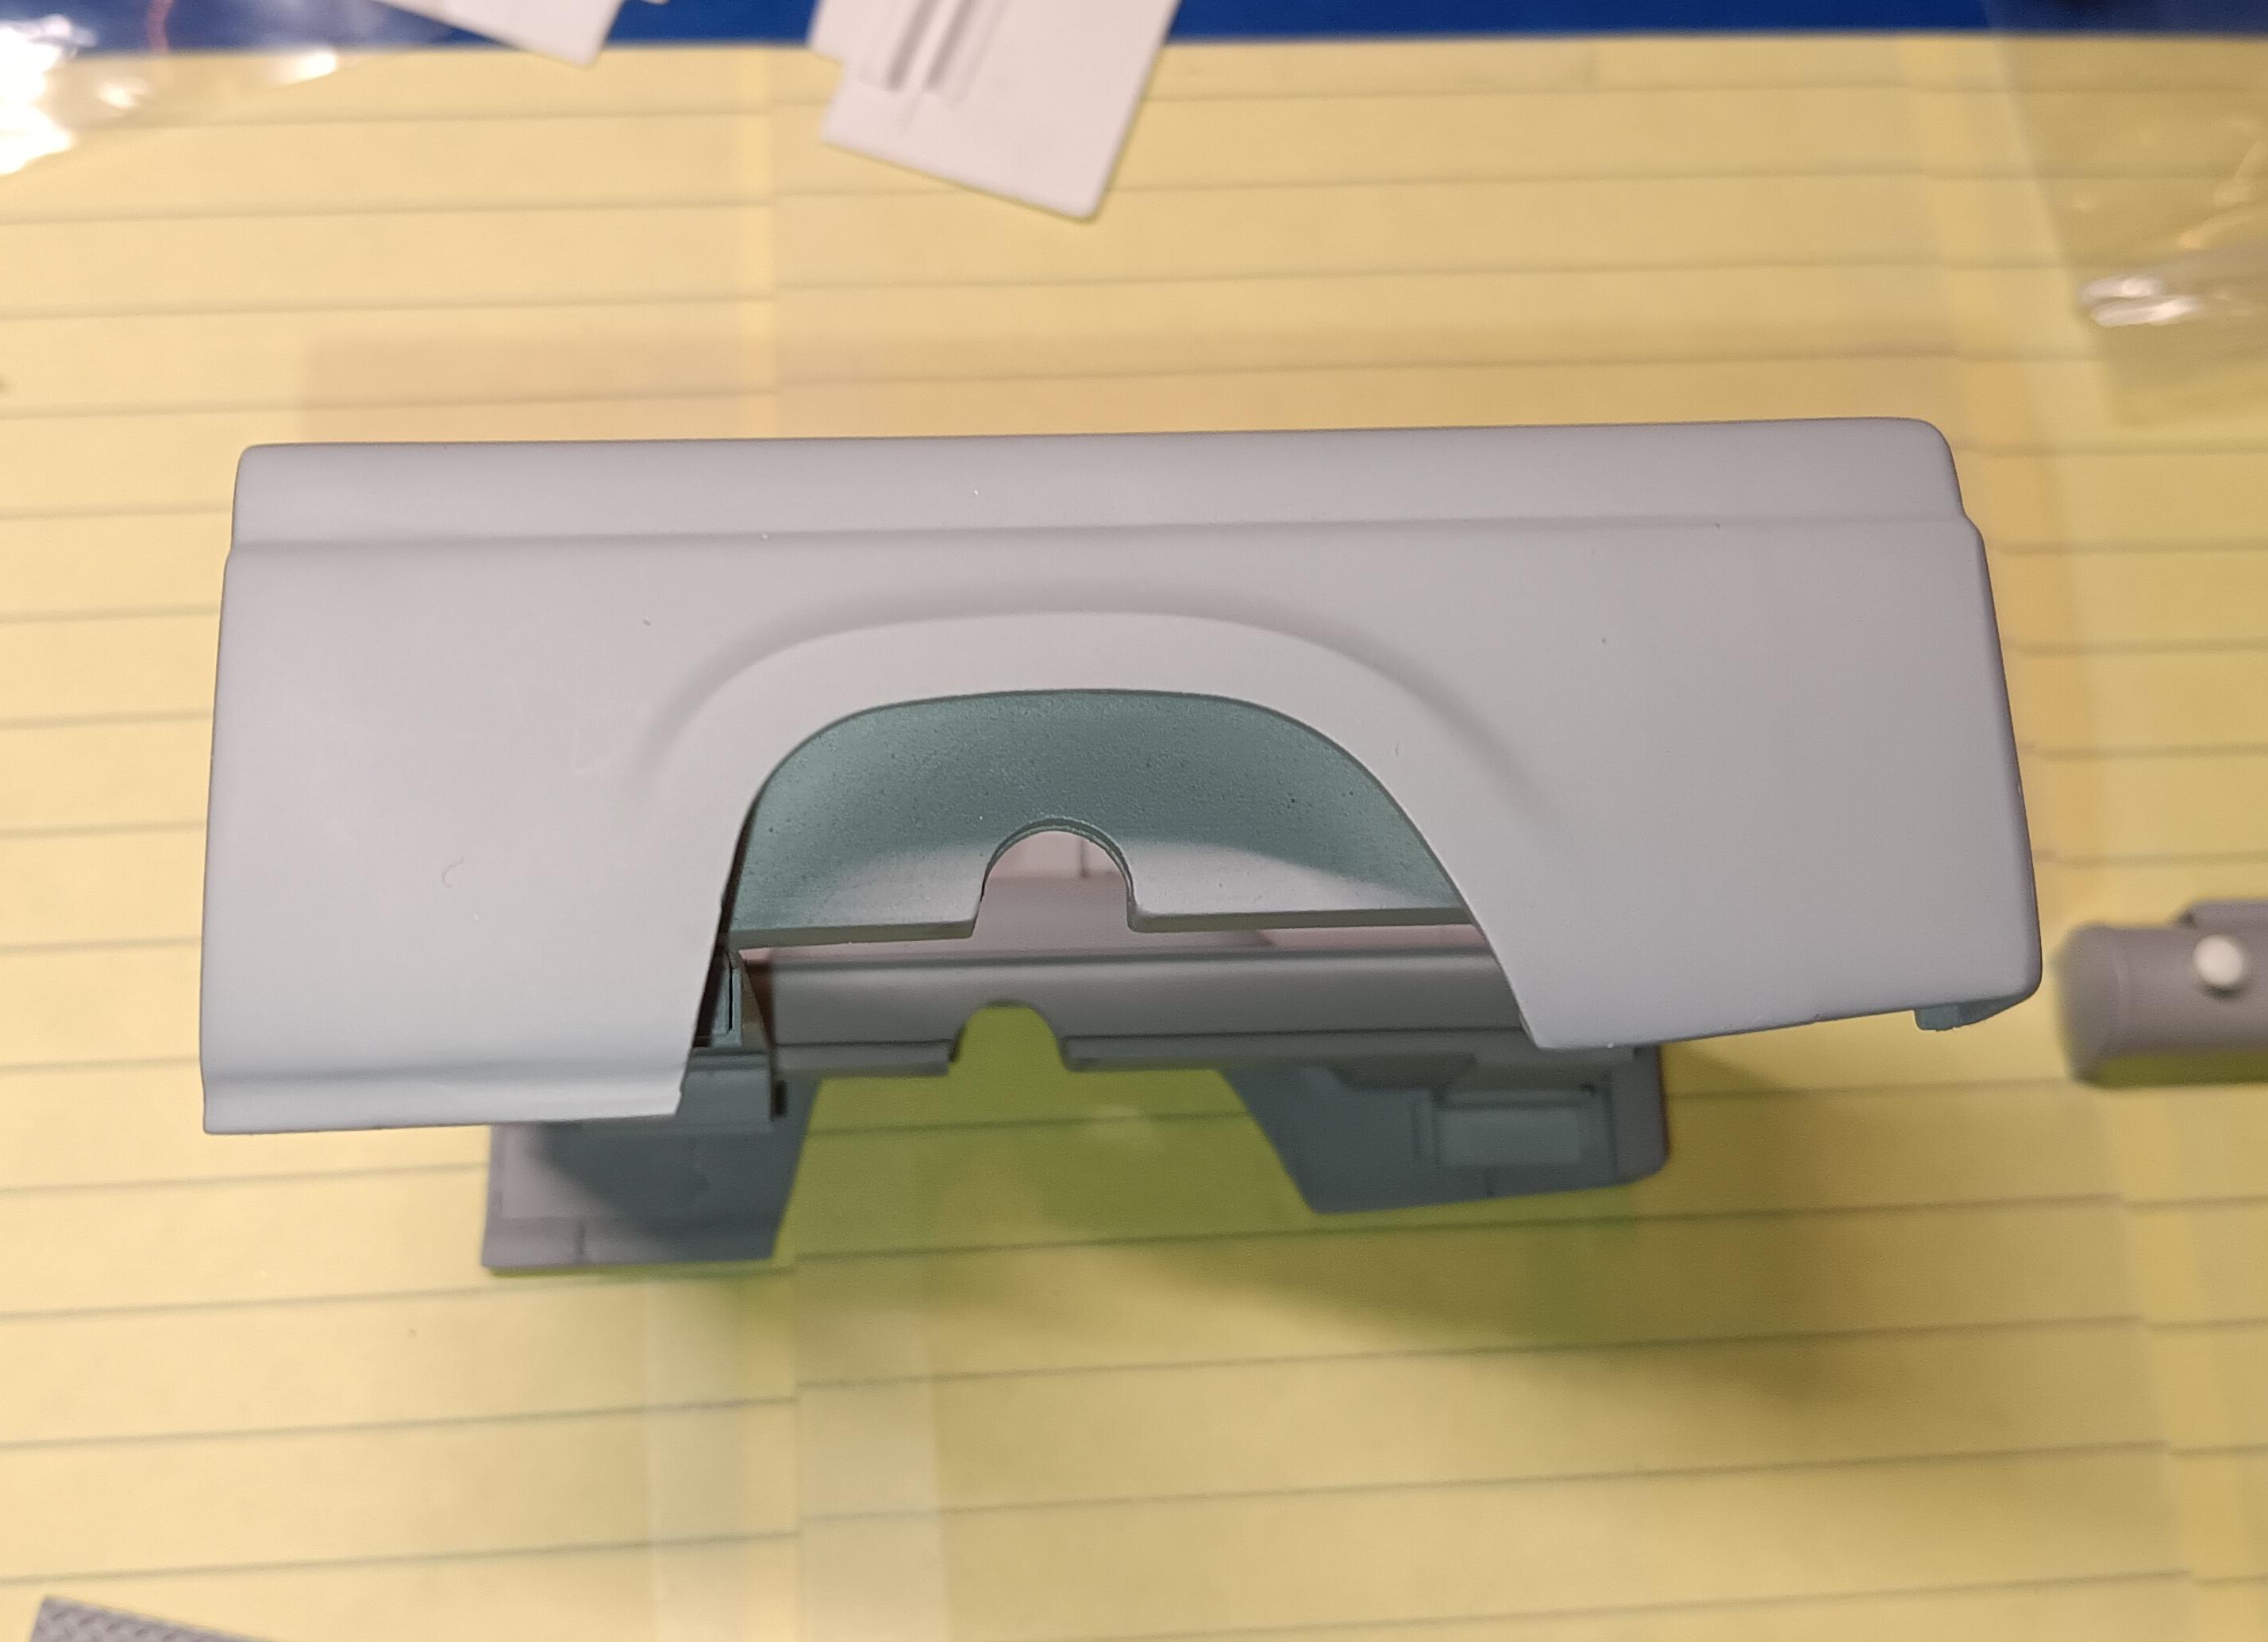
I believe it was a VCG Resins piece. Thanks. I have some window handles and arm rests from ESS Resinworks. No part pictures of the window handles, they are hard to see. I had to relieve part of the bed do the 4-link and coilovers had clearance. The bed cover hides everything anyway.
-
I went to my girlfriend's in Miller Place, more snow out that way. We cooked and watched TV.
-
I'm out east a bit... snowing 🌨...
-
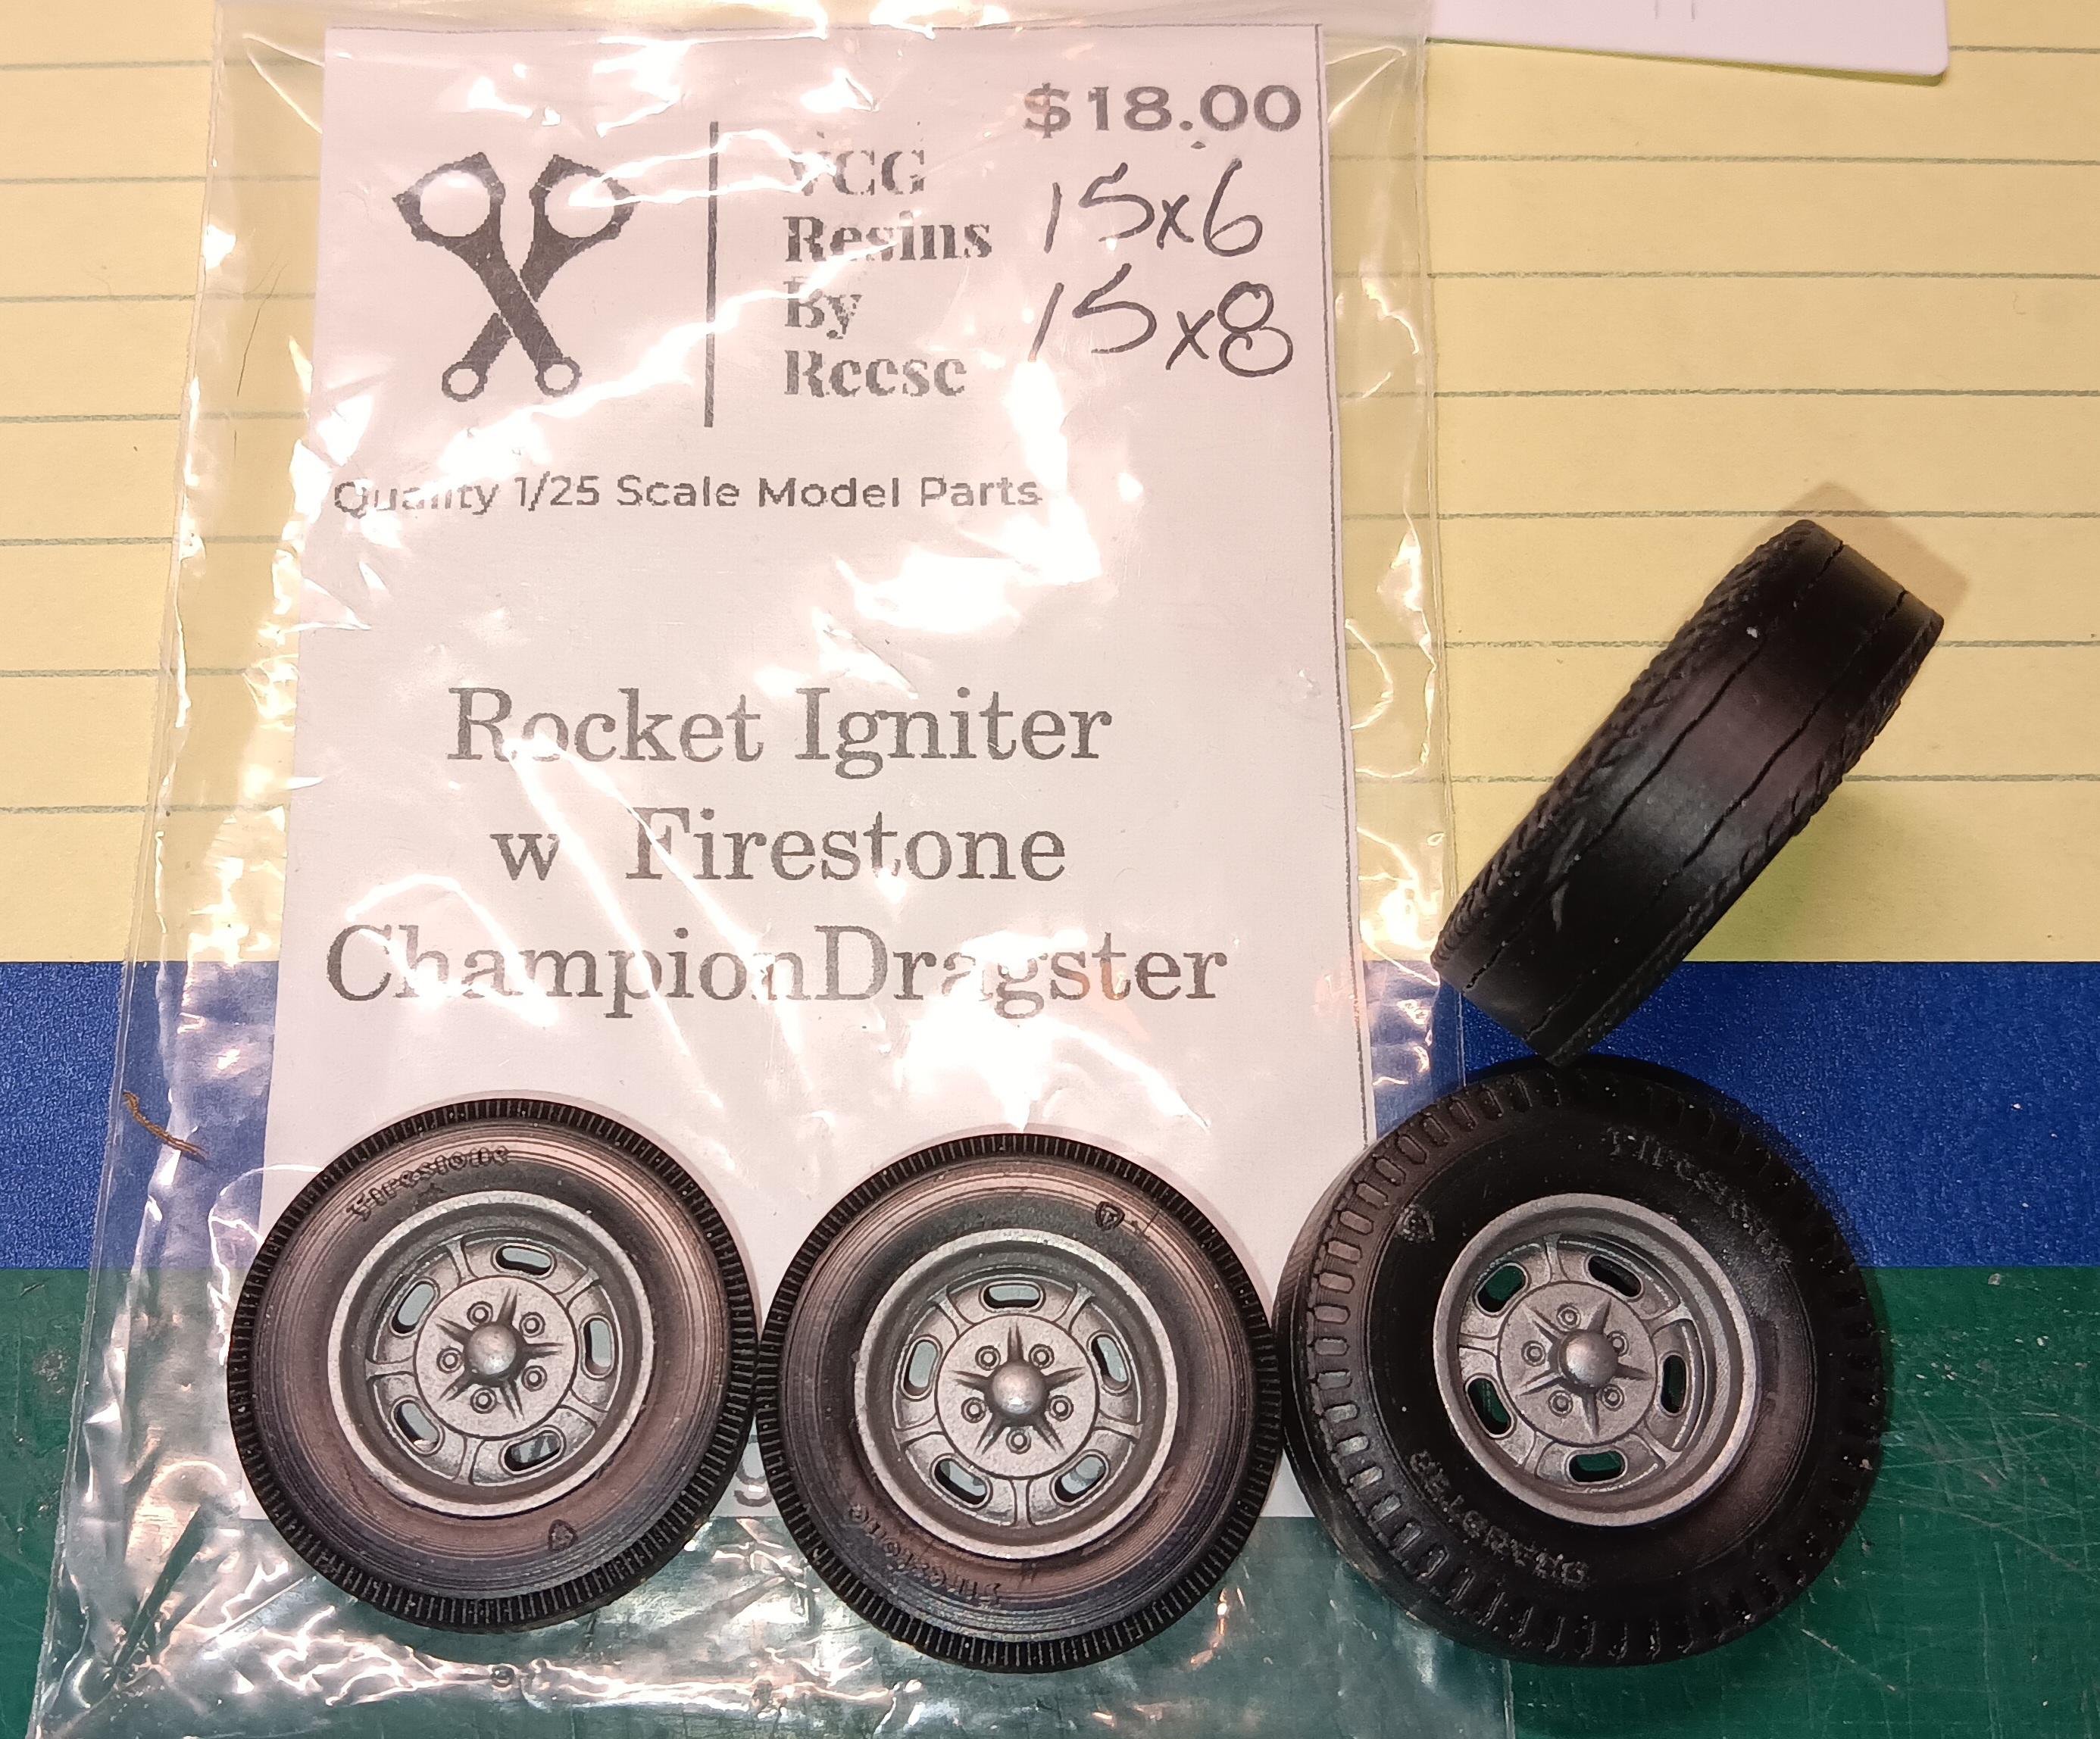
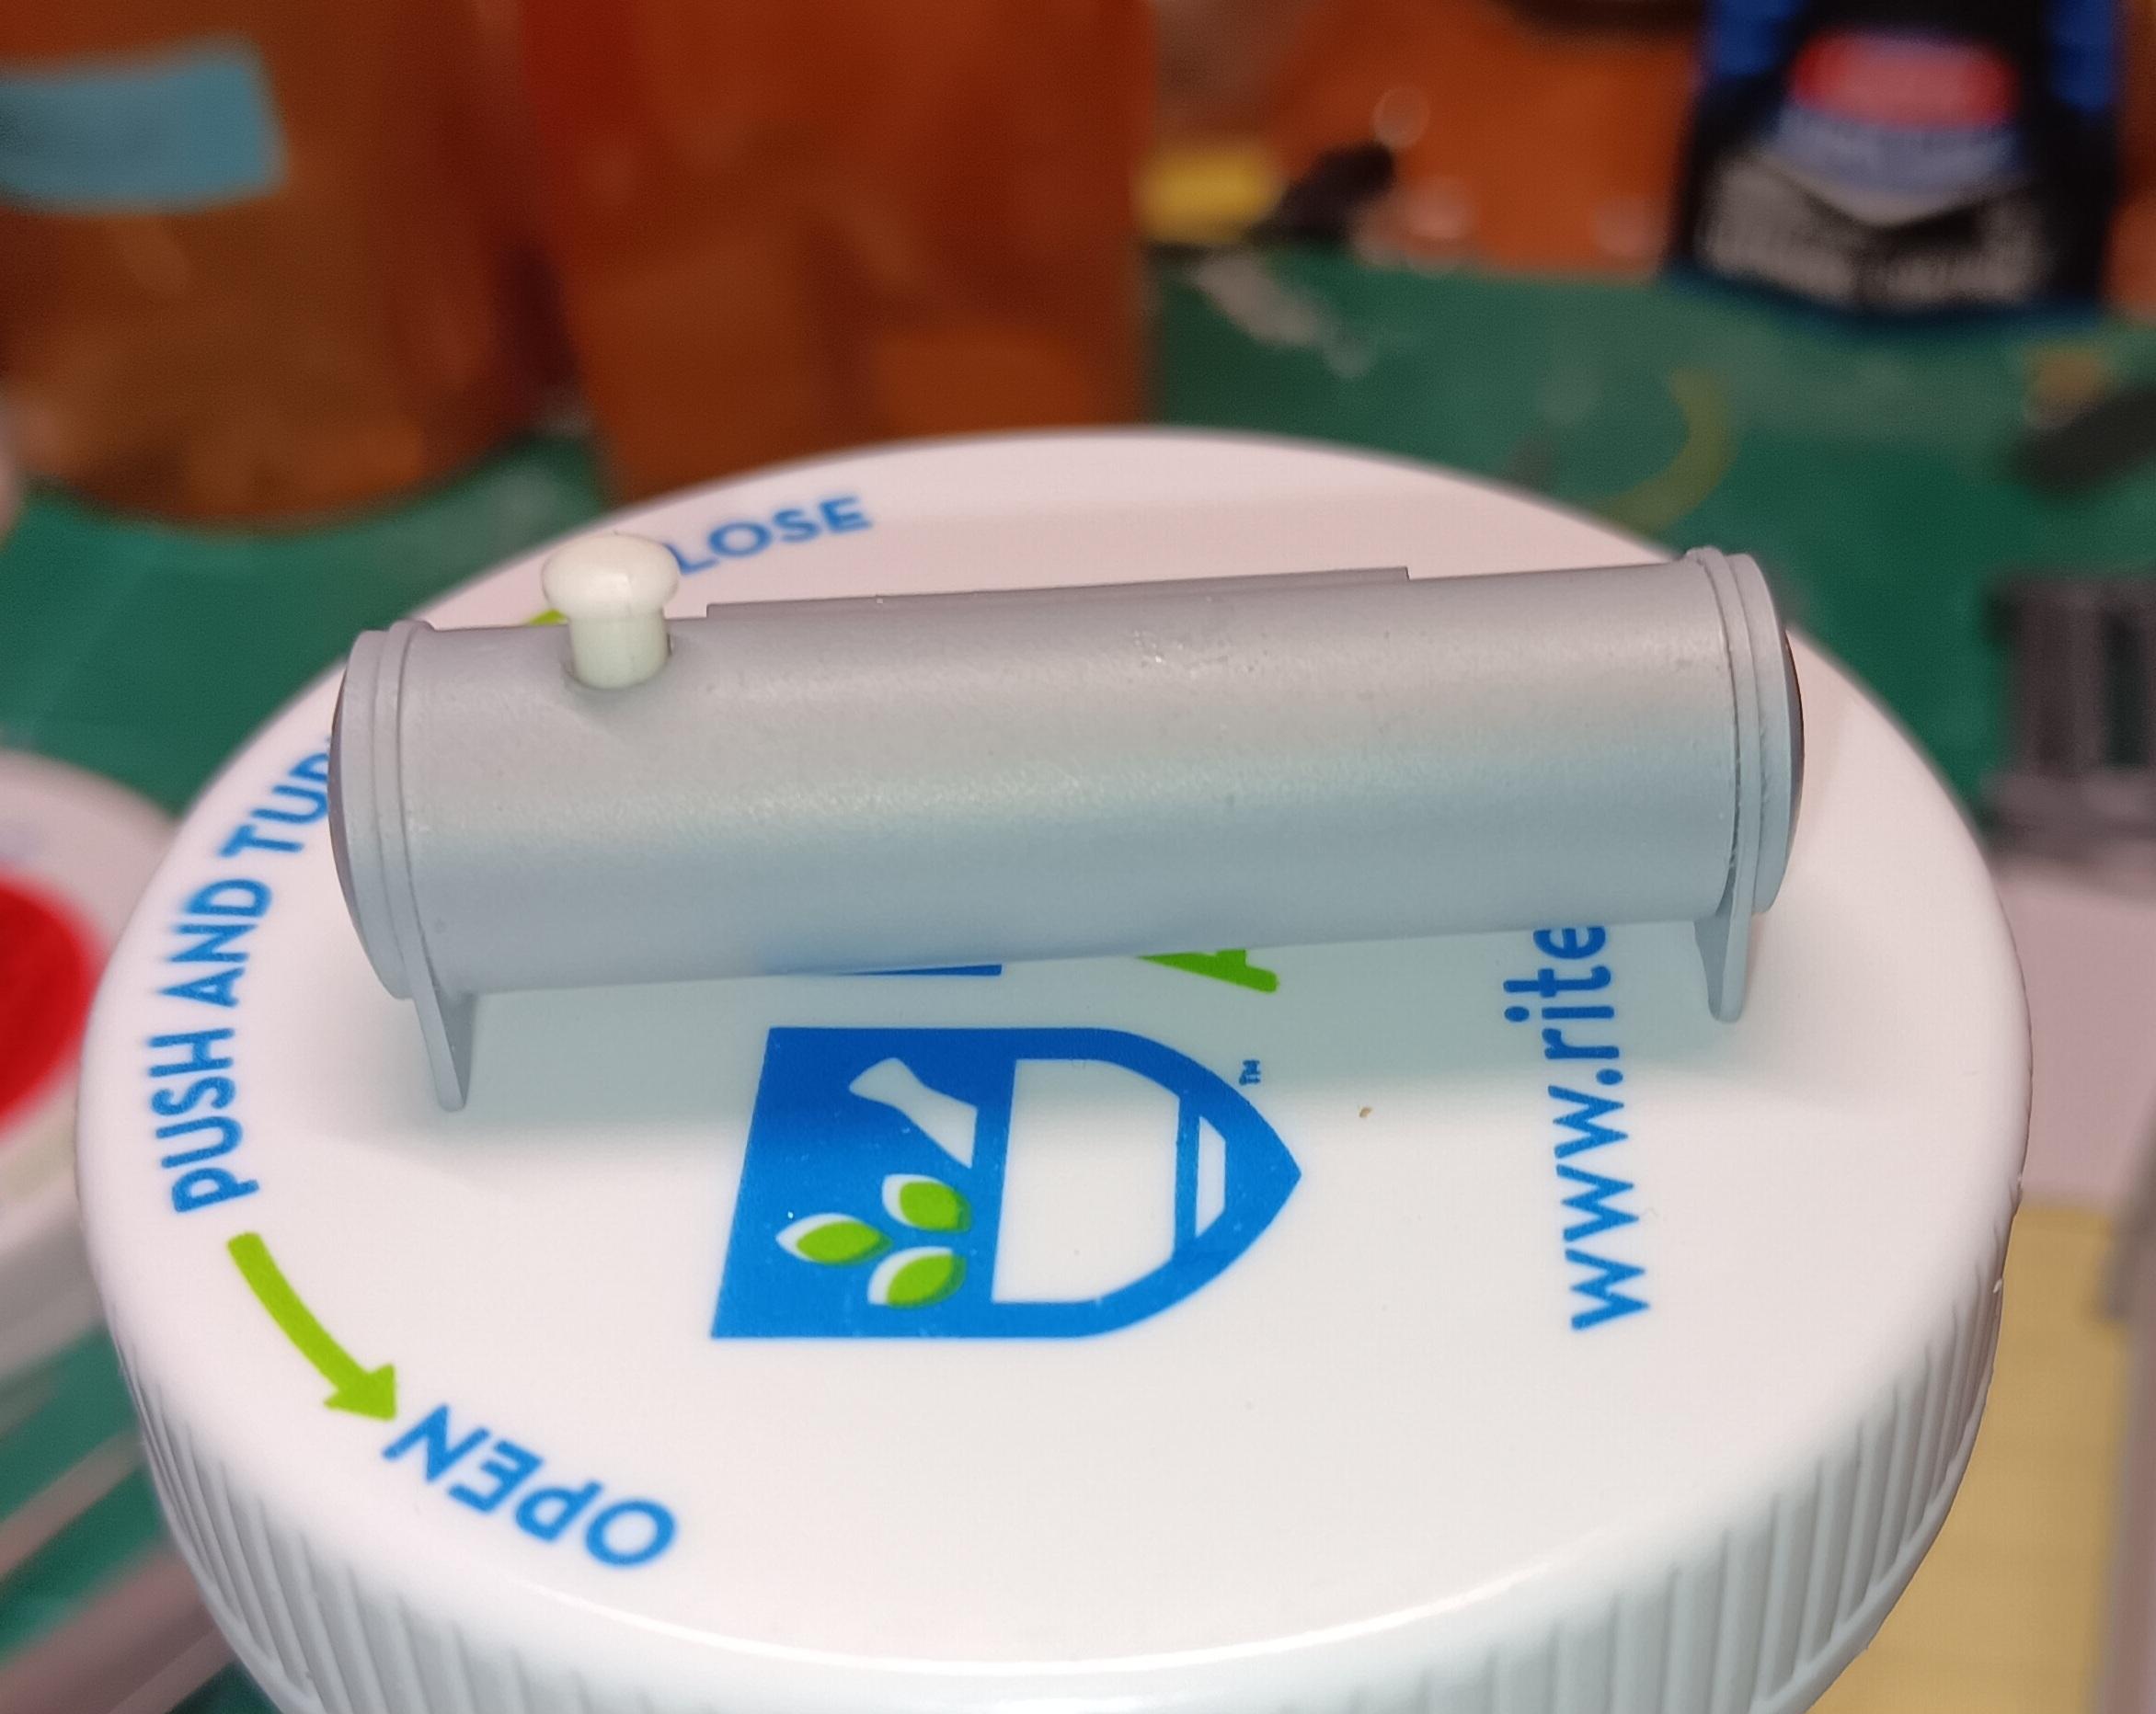
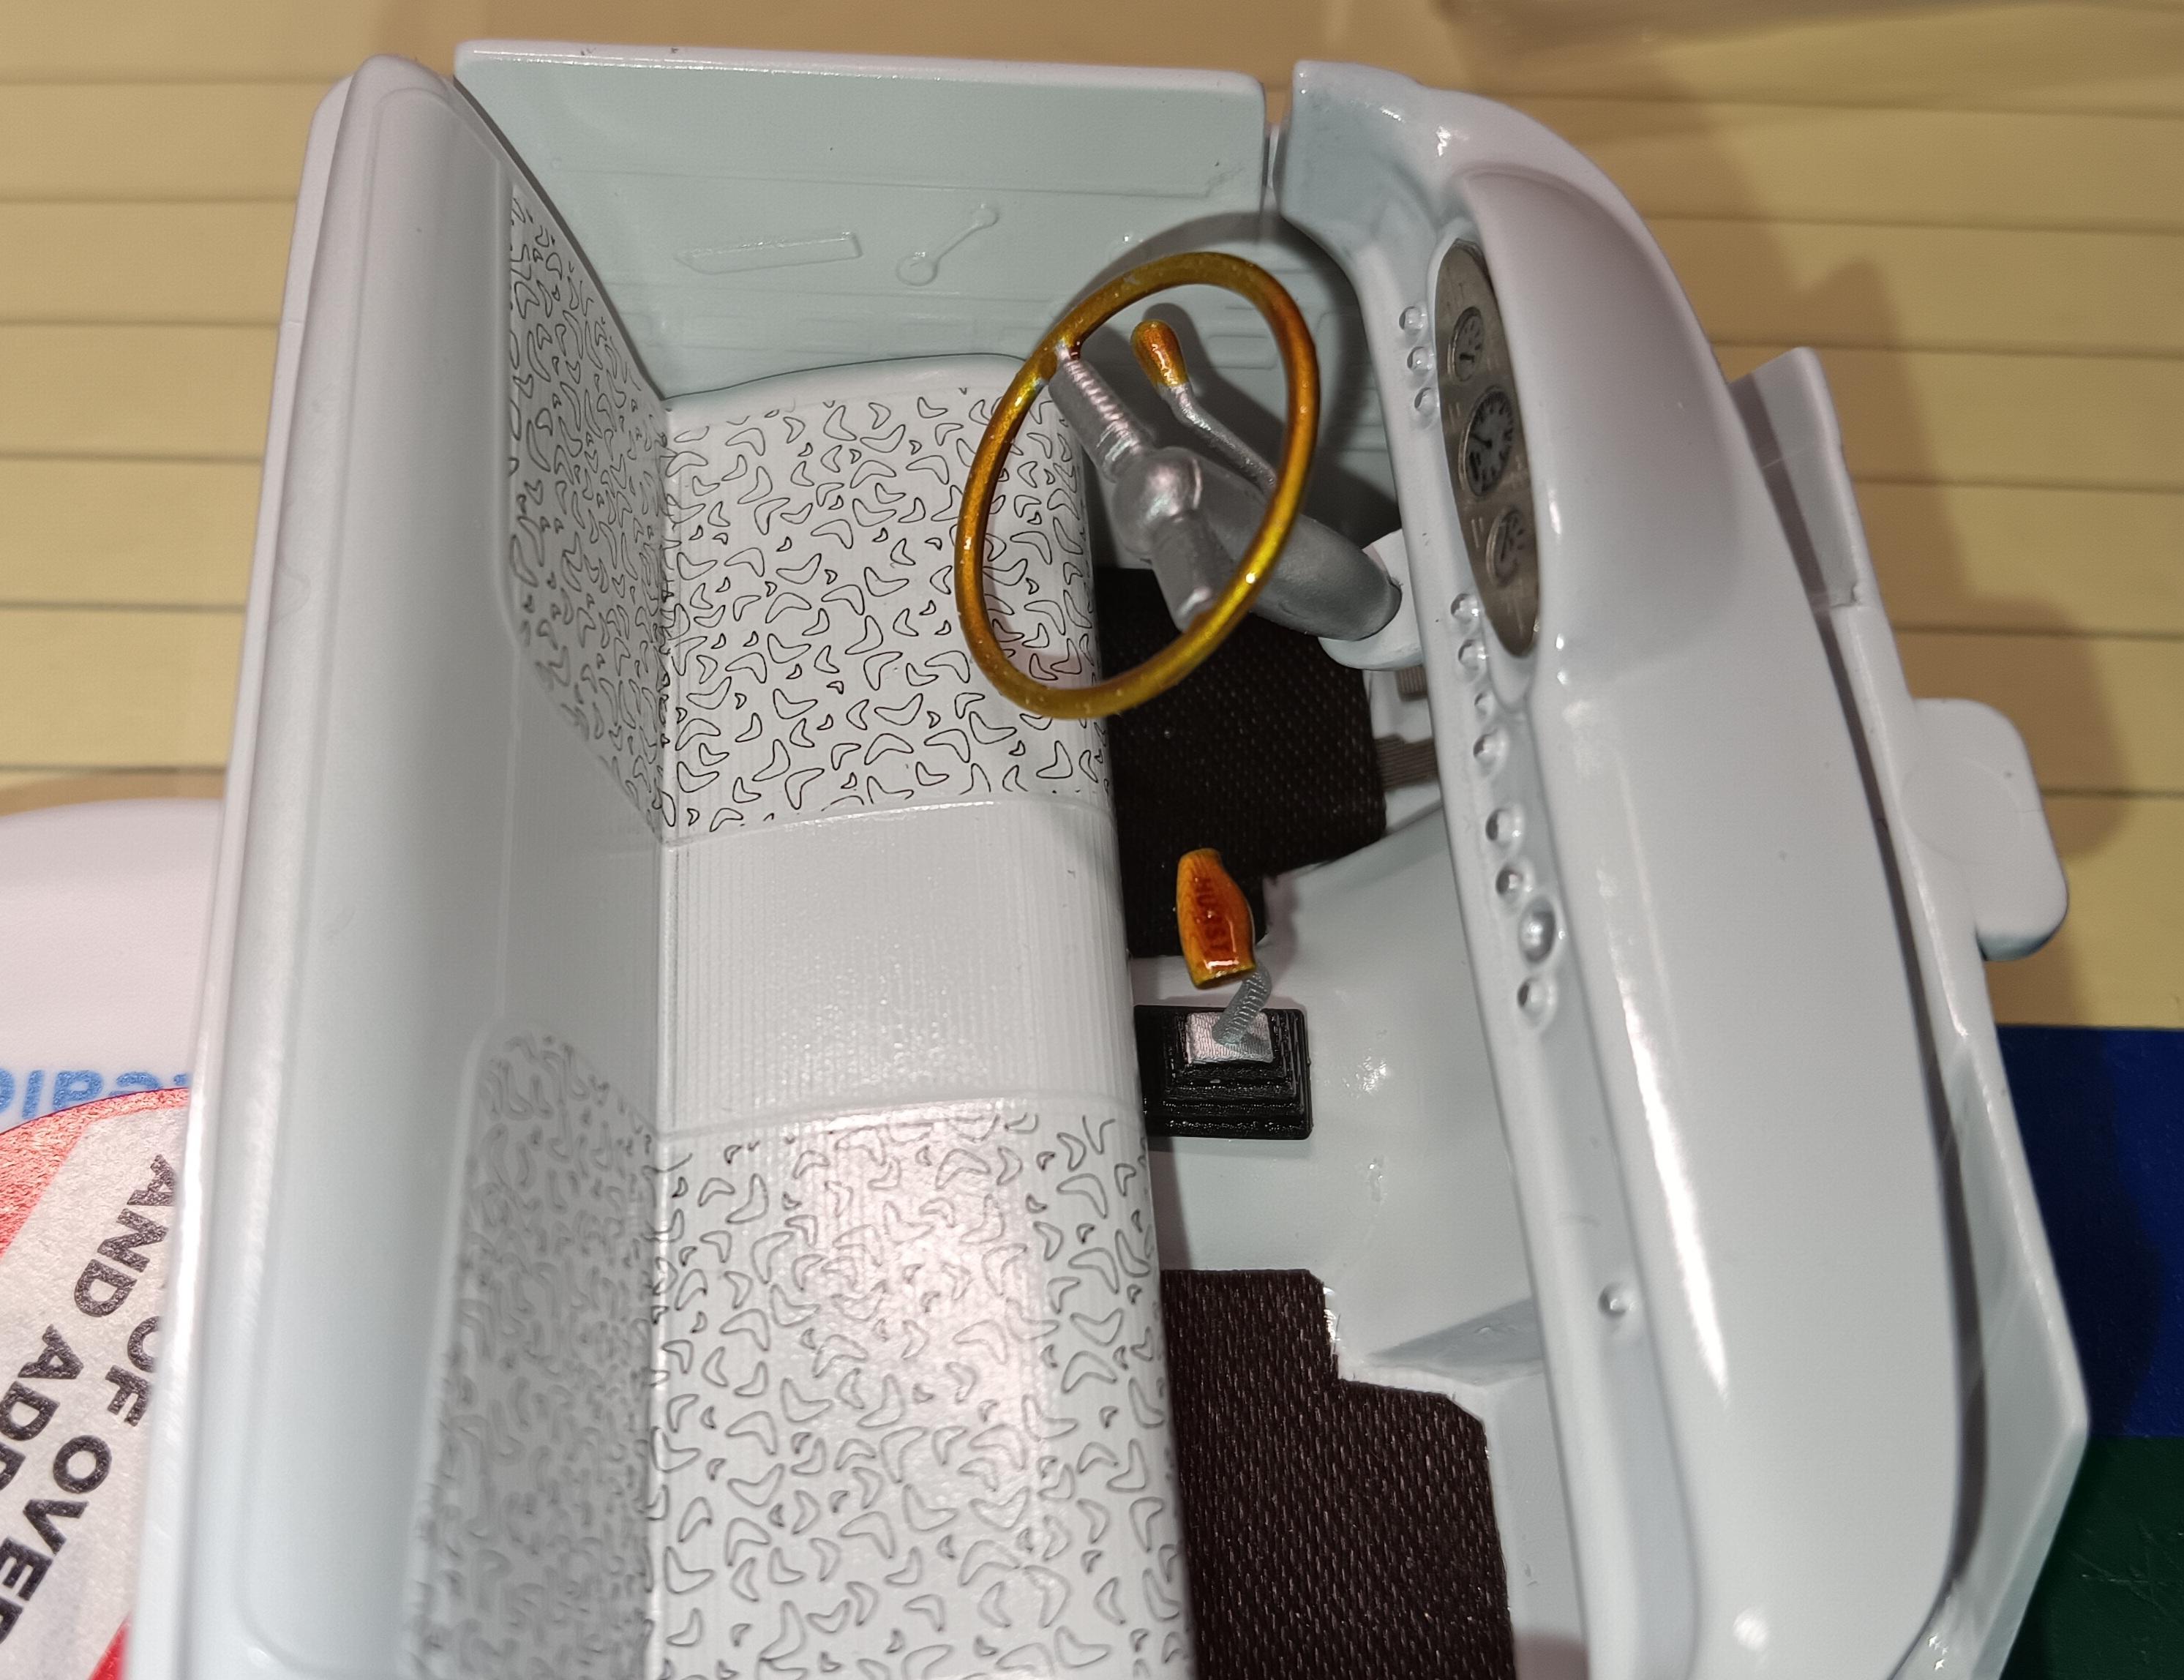
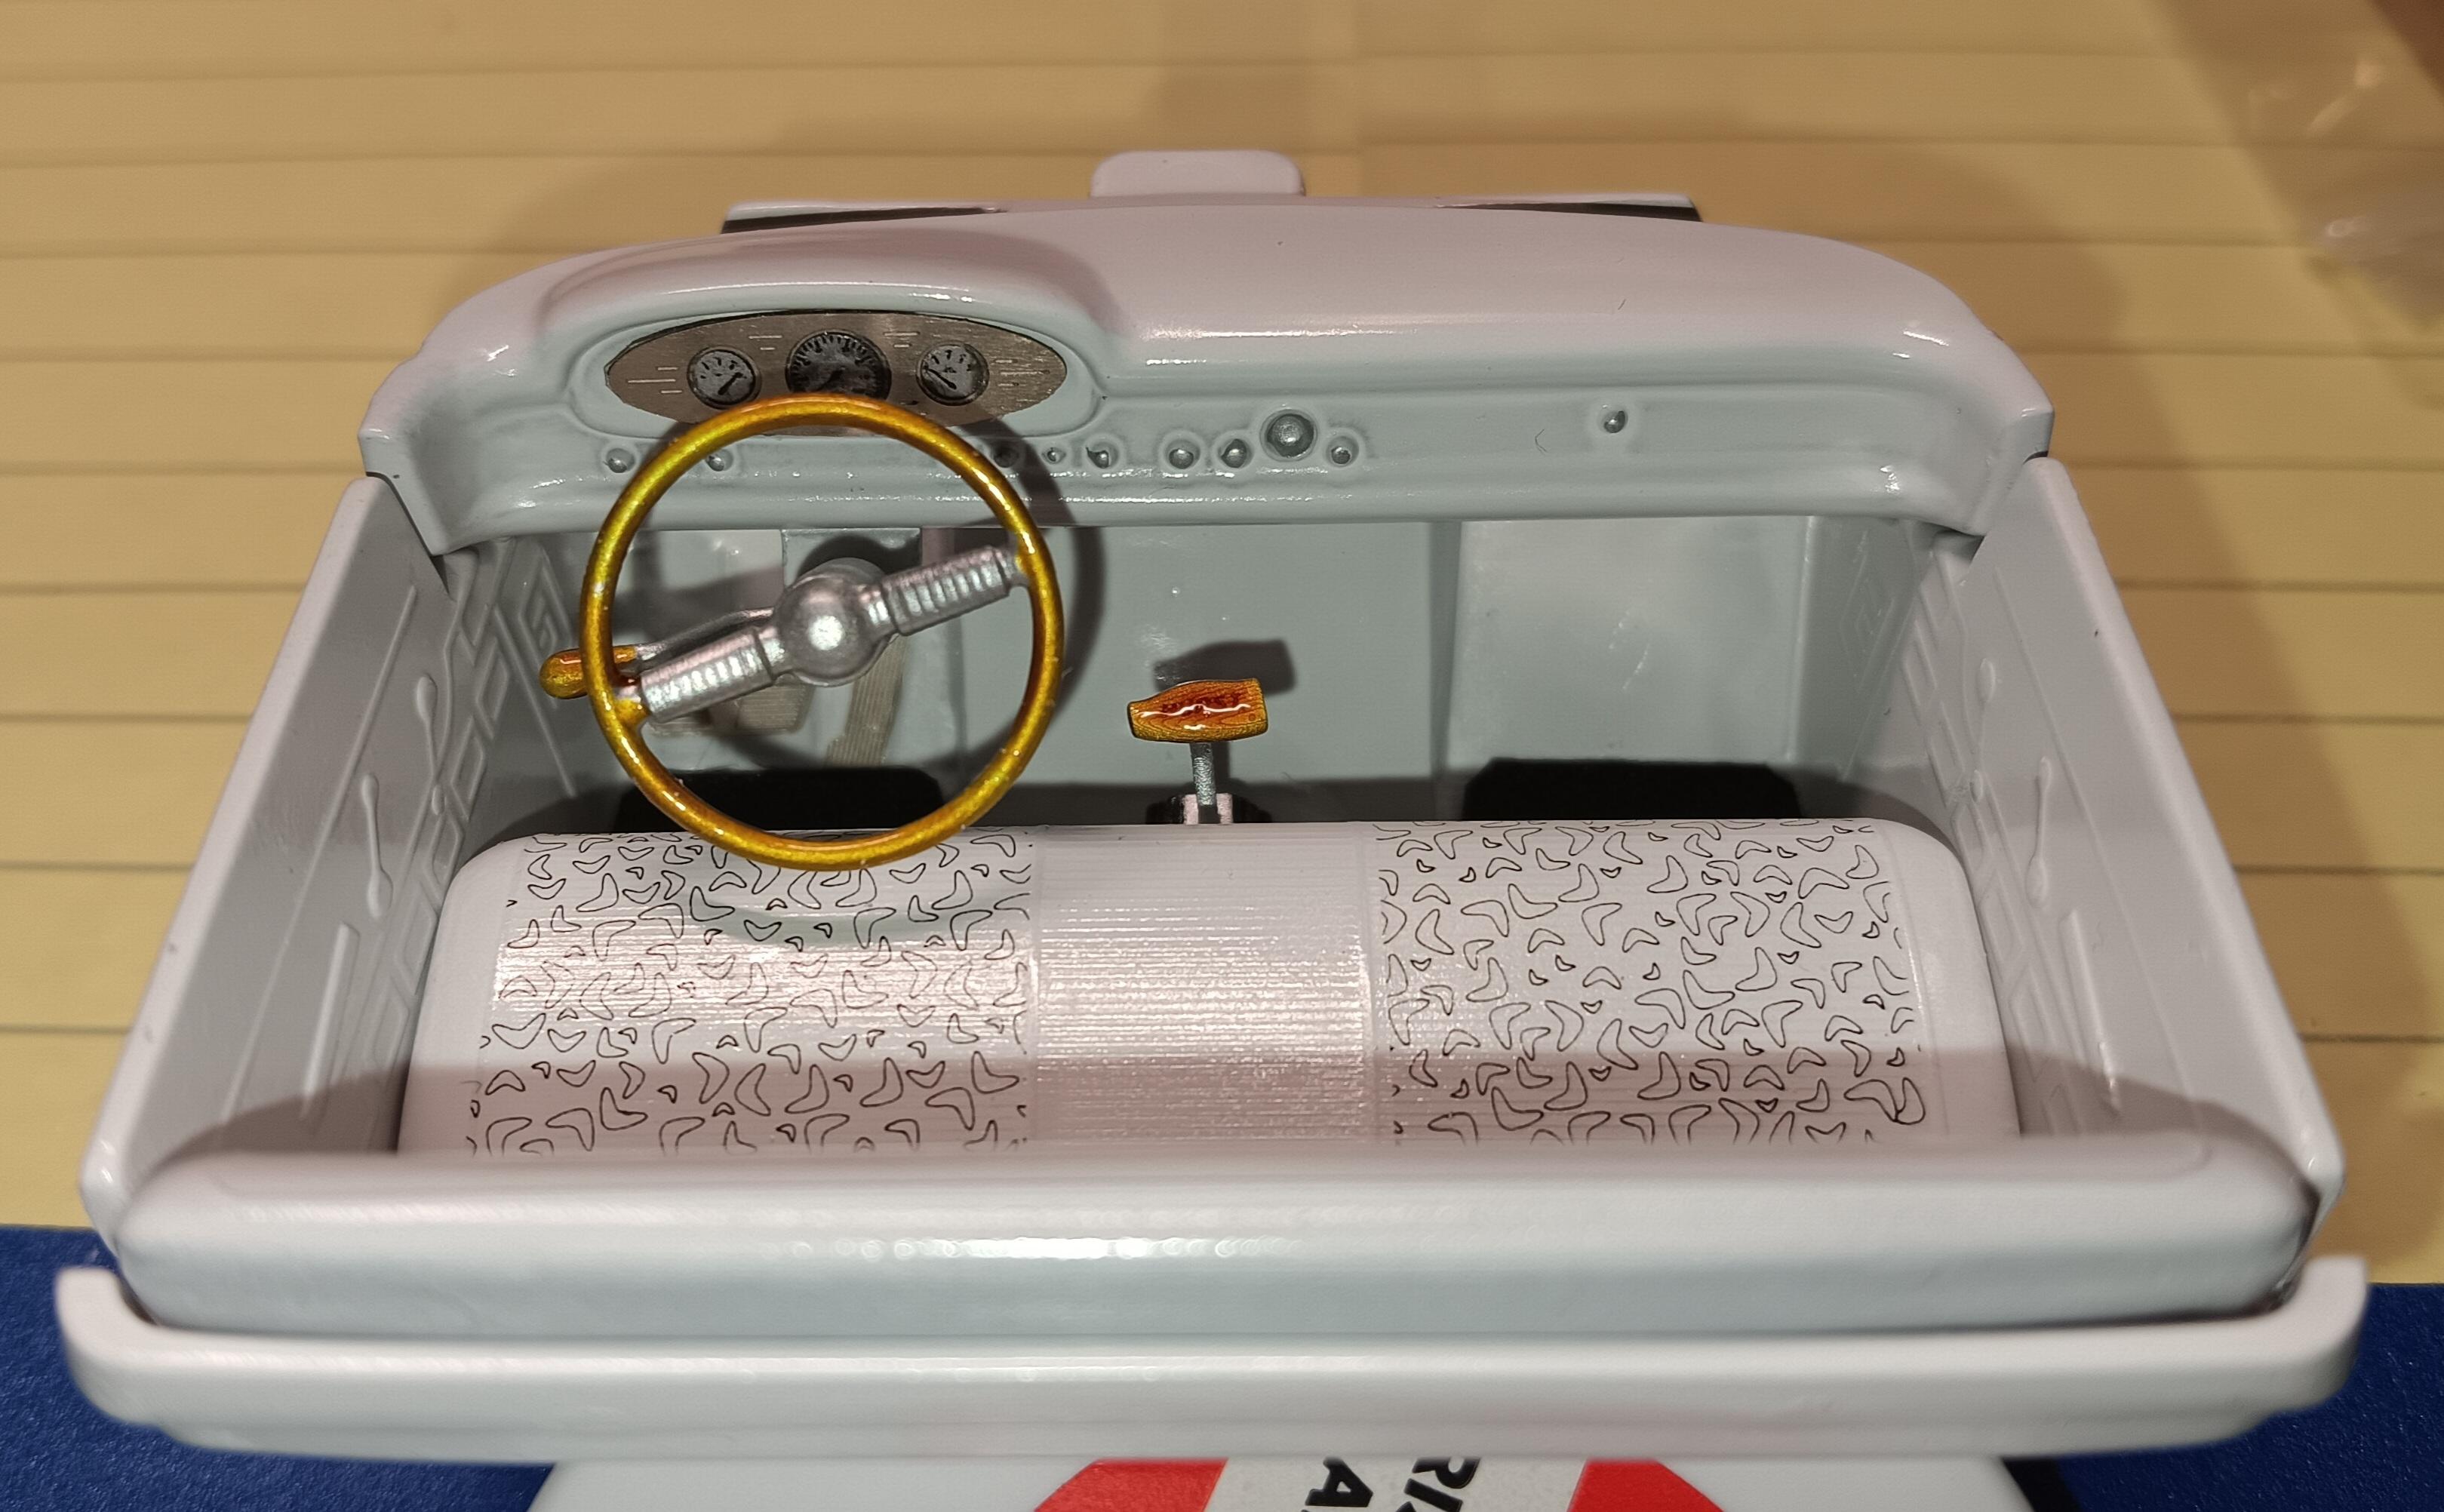
I jumped into this a couple weeks back. I'm using the AMT '60 Ford pickup and the Foose '53-ish truck kit. I'm also using a '57 conversion from Texas 3D. The hood needs work, but he is remastering it. A lot of slice & dice work with all the woes along the way. I added the rear 4-link and have a bed interference. The bed is shortened 22 scale inches. I made the bed floor from diamond plate stock. Gas tank is a Norm Veber item. Wheels & tires from VCG Resins. The interior is done, less arm rests and window handles.