GeeBee
-
Posts
4,030 -
Joined
-
Last visited
Content Type
Profiles
Forums
Events
Gallery
Everything posted by GeeBee
-

My model building days are coming to an end
GeeBee replied to slusher's topic in General Automotive Talk (Trucks and Cars)
Sorry to hear you're having problems Carl, but I'm happy that you're staying on the forum.... -
Just used the decals supplied by Revell
-
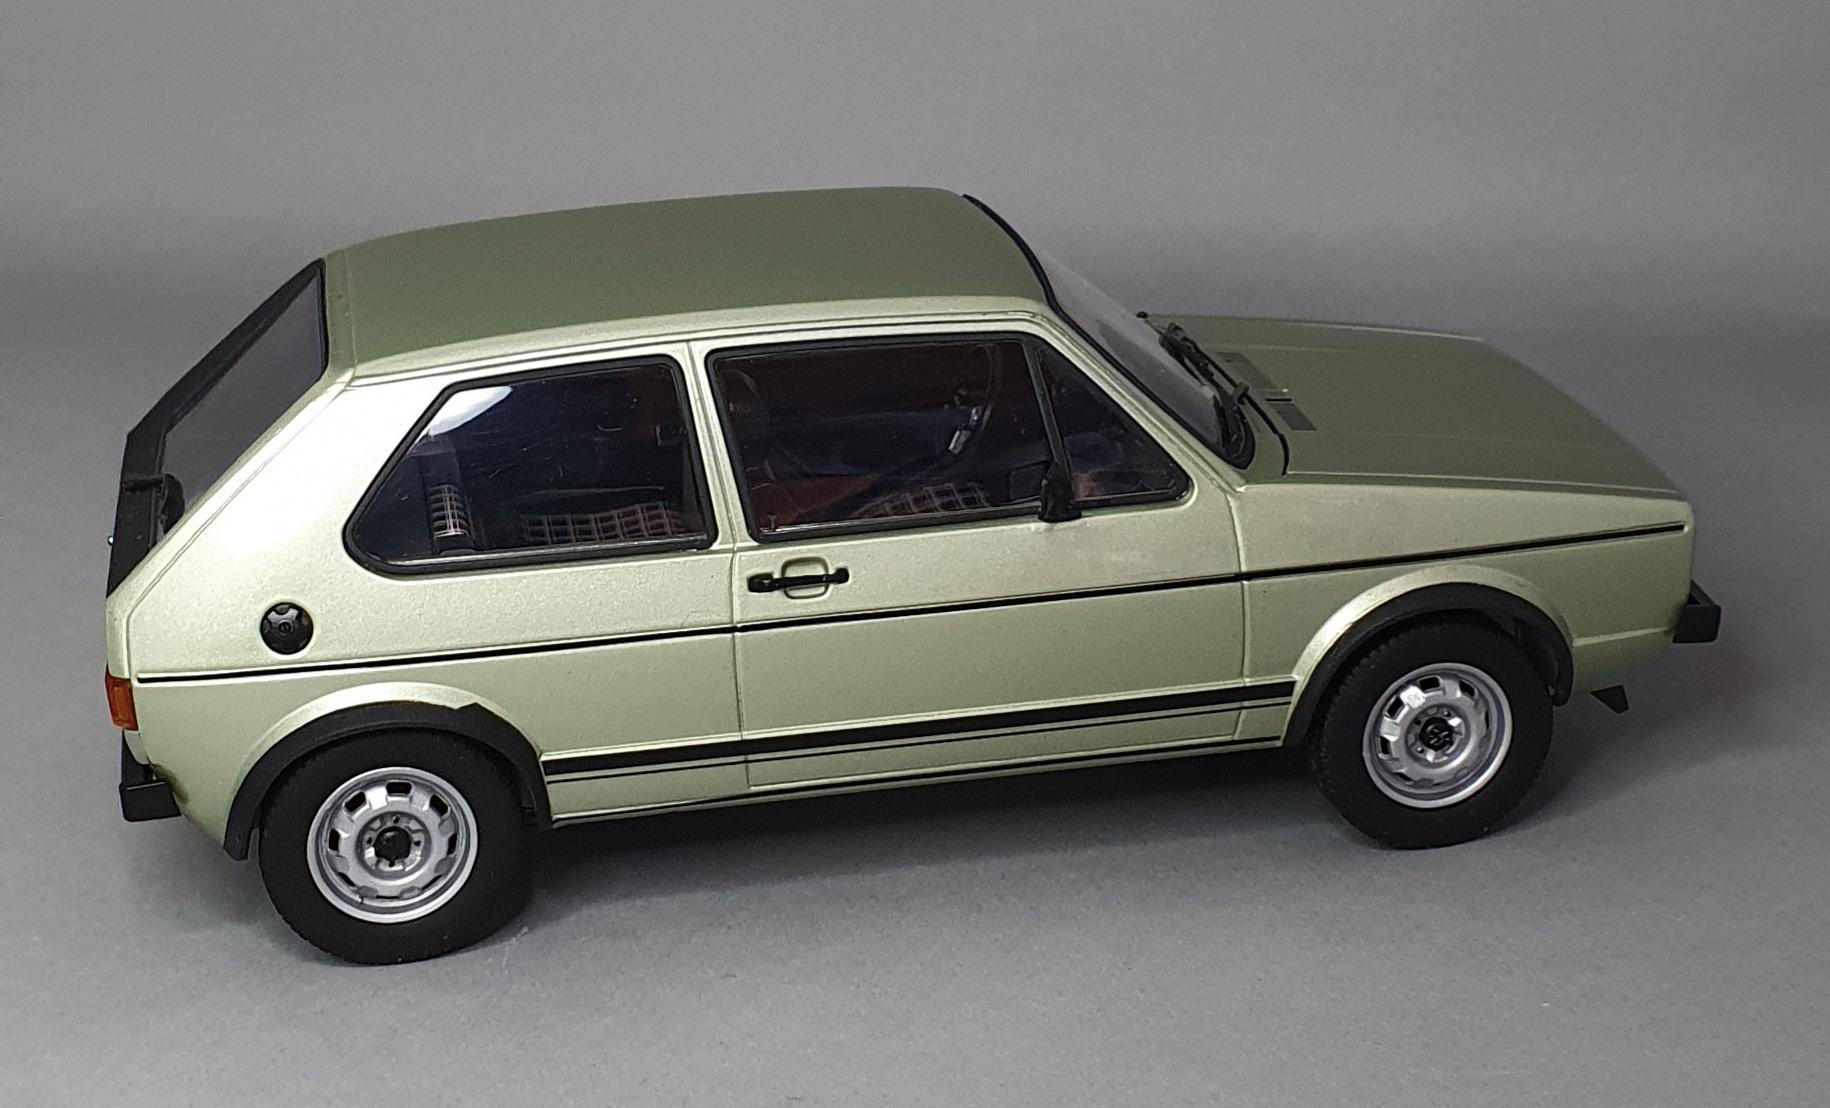
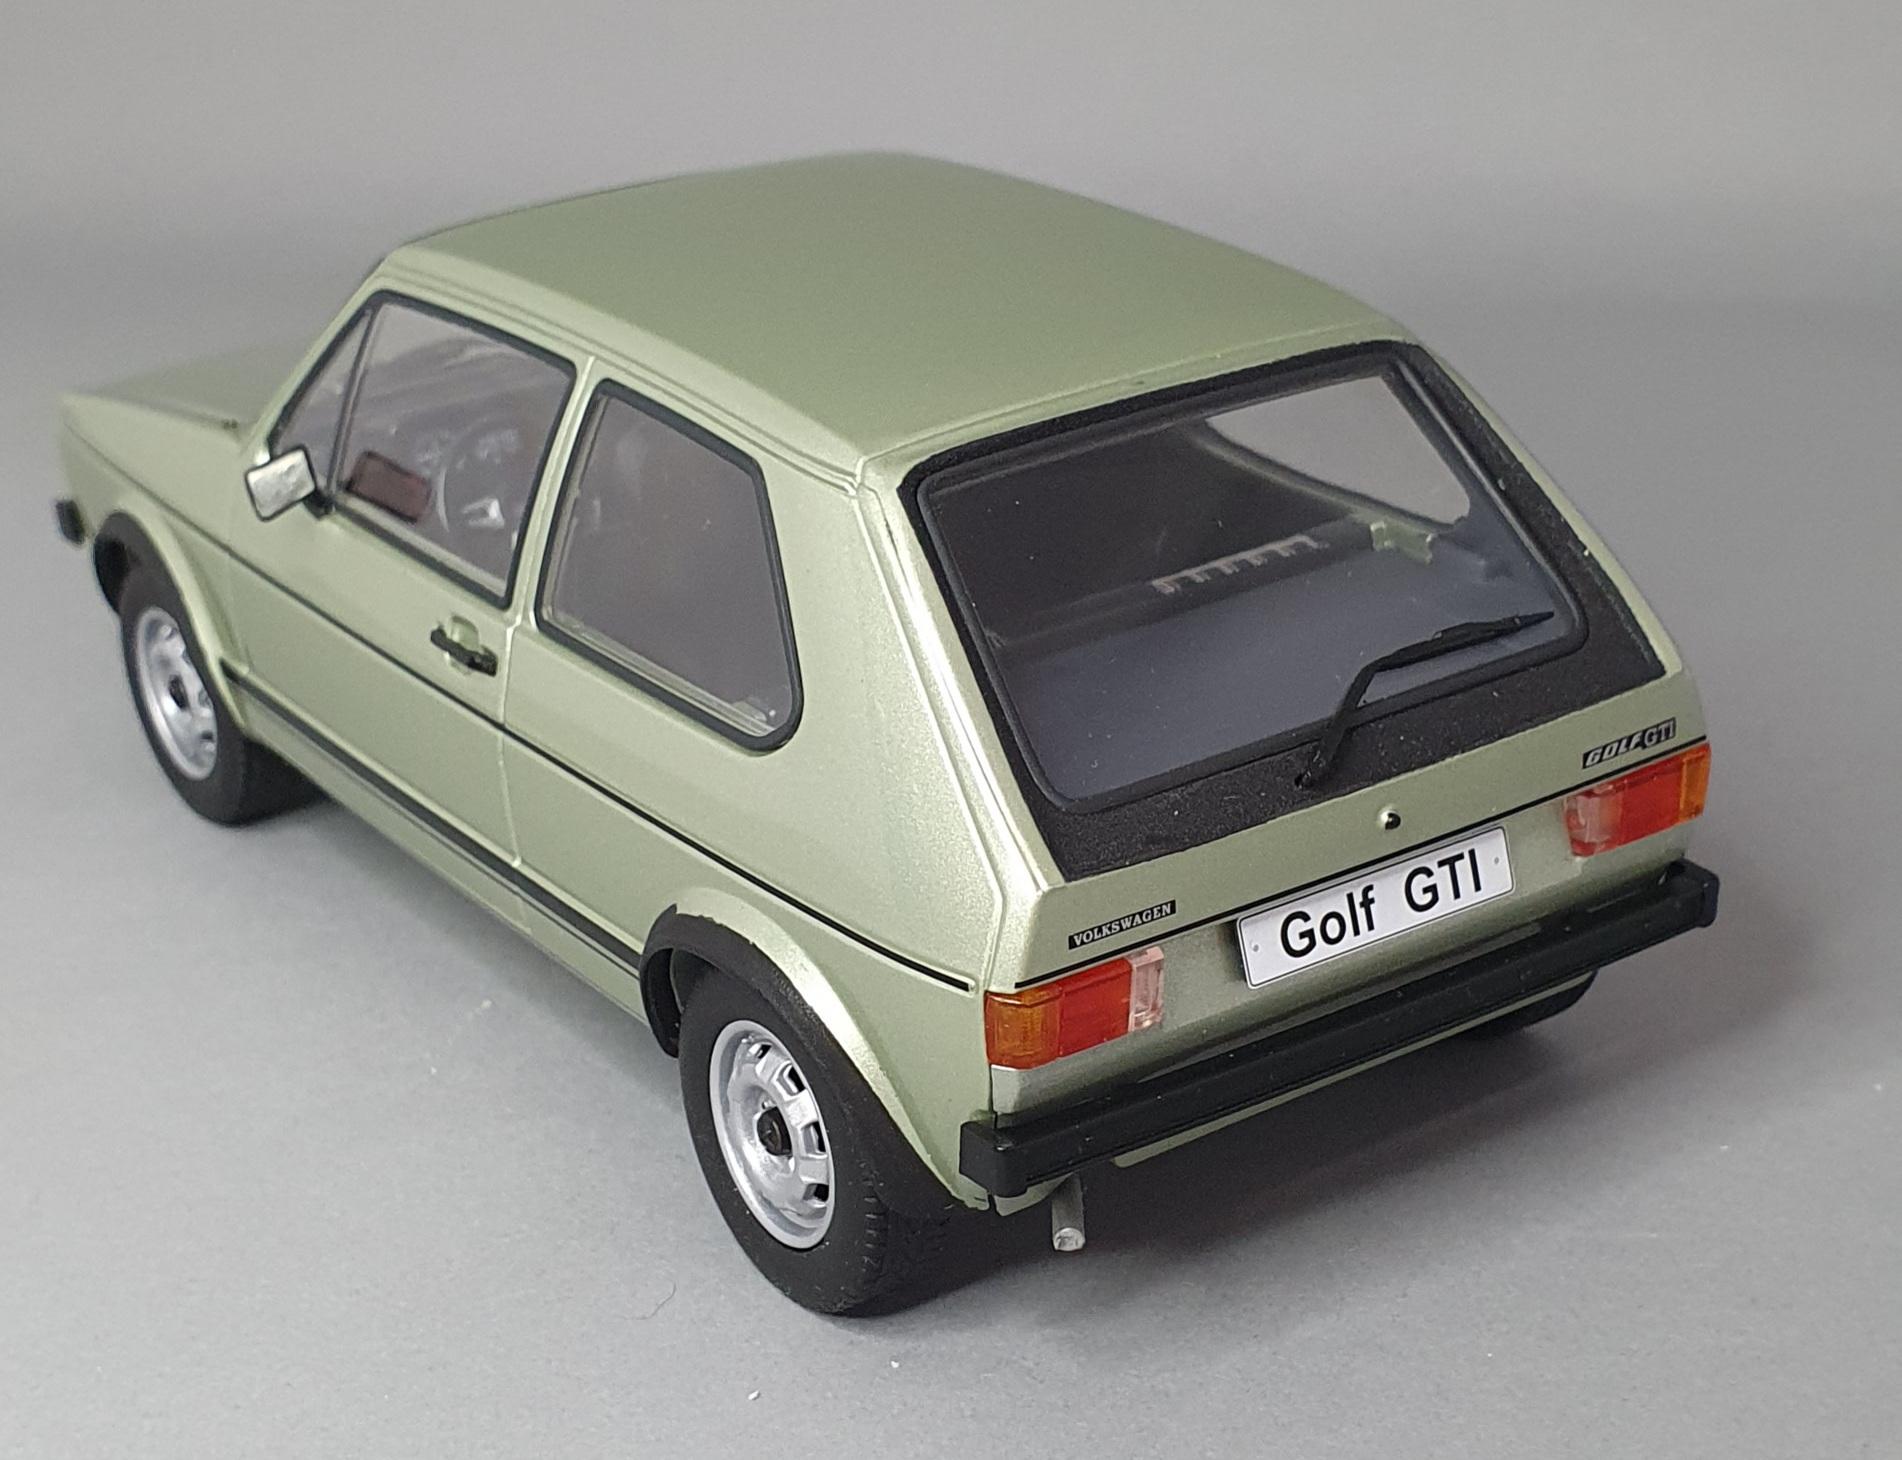
That's the one, although everyone calls them Pirelli edition, the UK model was actually a Campaign model, the German version is totally different to the UK version, the German ones had no side stripe, the bumpers and wheel arch extensions were painted in body colour, not many people in the UK have ever seen one. The top photo is a UK Campaign model, the 2nd photo is the German Pirelli version

-
All the GTI had a red stripe on the grille,(it was V.W Mars Red) non GTI models were chrome, there was a few colours that didn't have black around the rear window, Helios blue, which was used on the Pirelli model was one of them.
-
Looking good David, I'll be starting on my Edsel as soon as I've got my bench cleared, I've just popped an order in with MCW, I'll be doing mine in Coral pink and metallic grey
-
It was only available from 1979-81, not a popular colour for the GTI in the UK, although it was a very popular colour on the GL, GLS, Jetta and Audi's, all the models I've seen built have either been painted white, red or black, i wanted something totally different, and as you said, I think it really suits the MK1
-
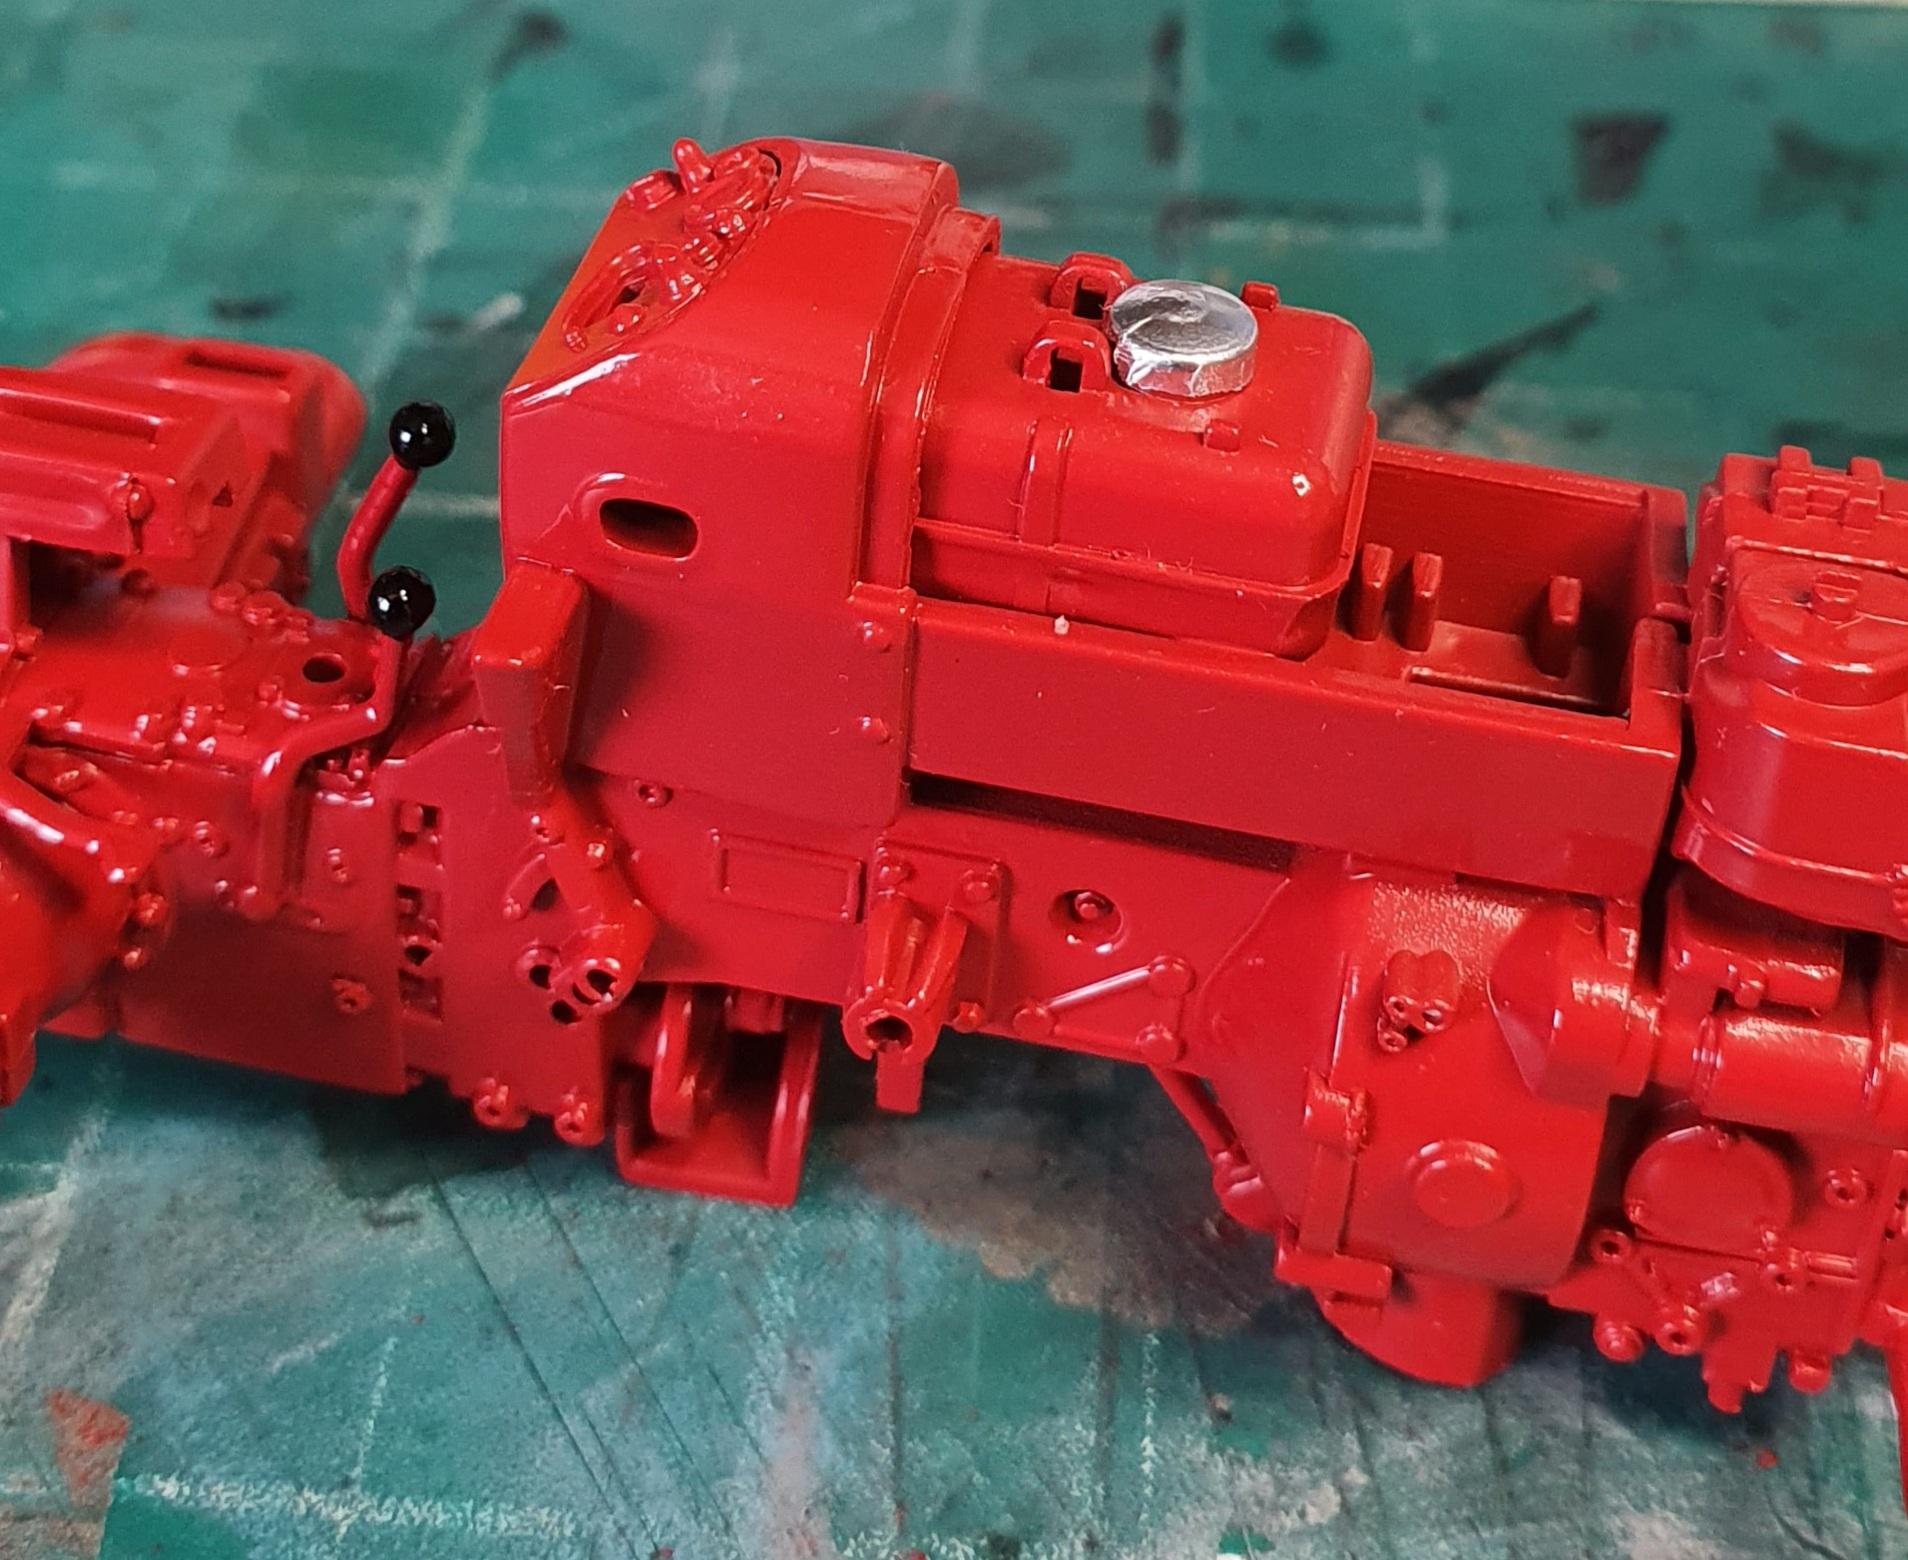
Just over a month since I've touched this one, time to start gluing pieces together, although it's designed as a snap together model, i decided from the outset that I would be glueing it together, mainly to get rid of any mold lines that shouldn't be there, the bonnet being the main one
-
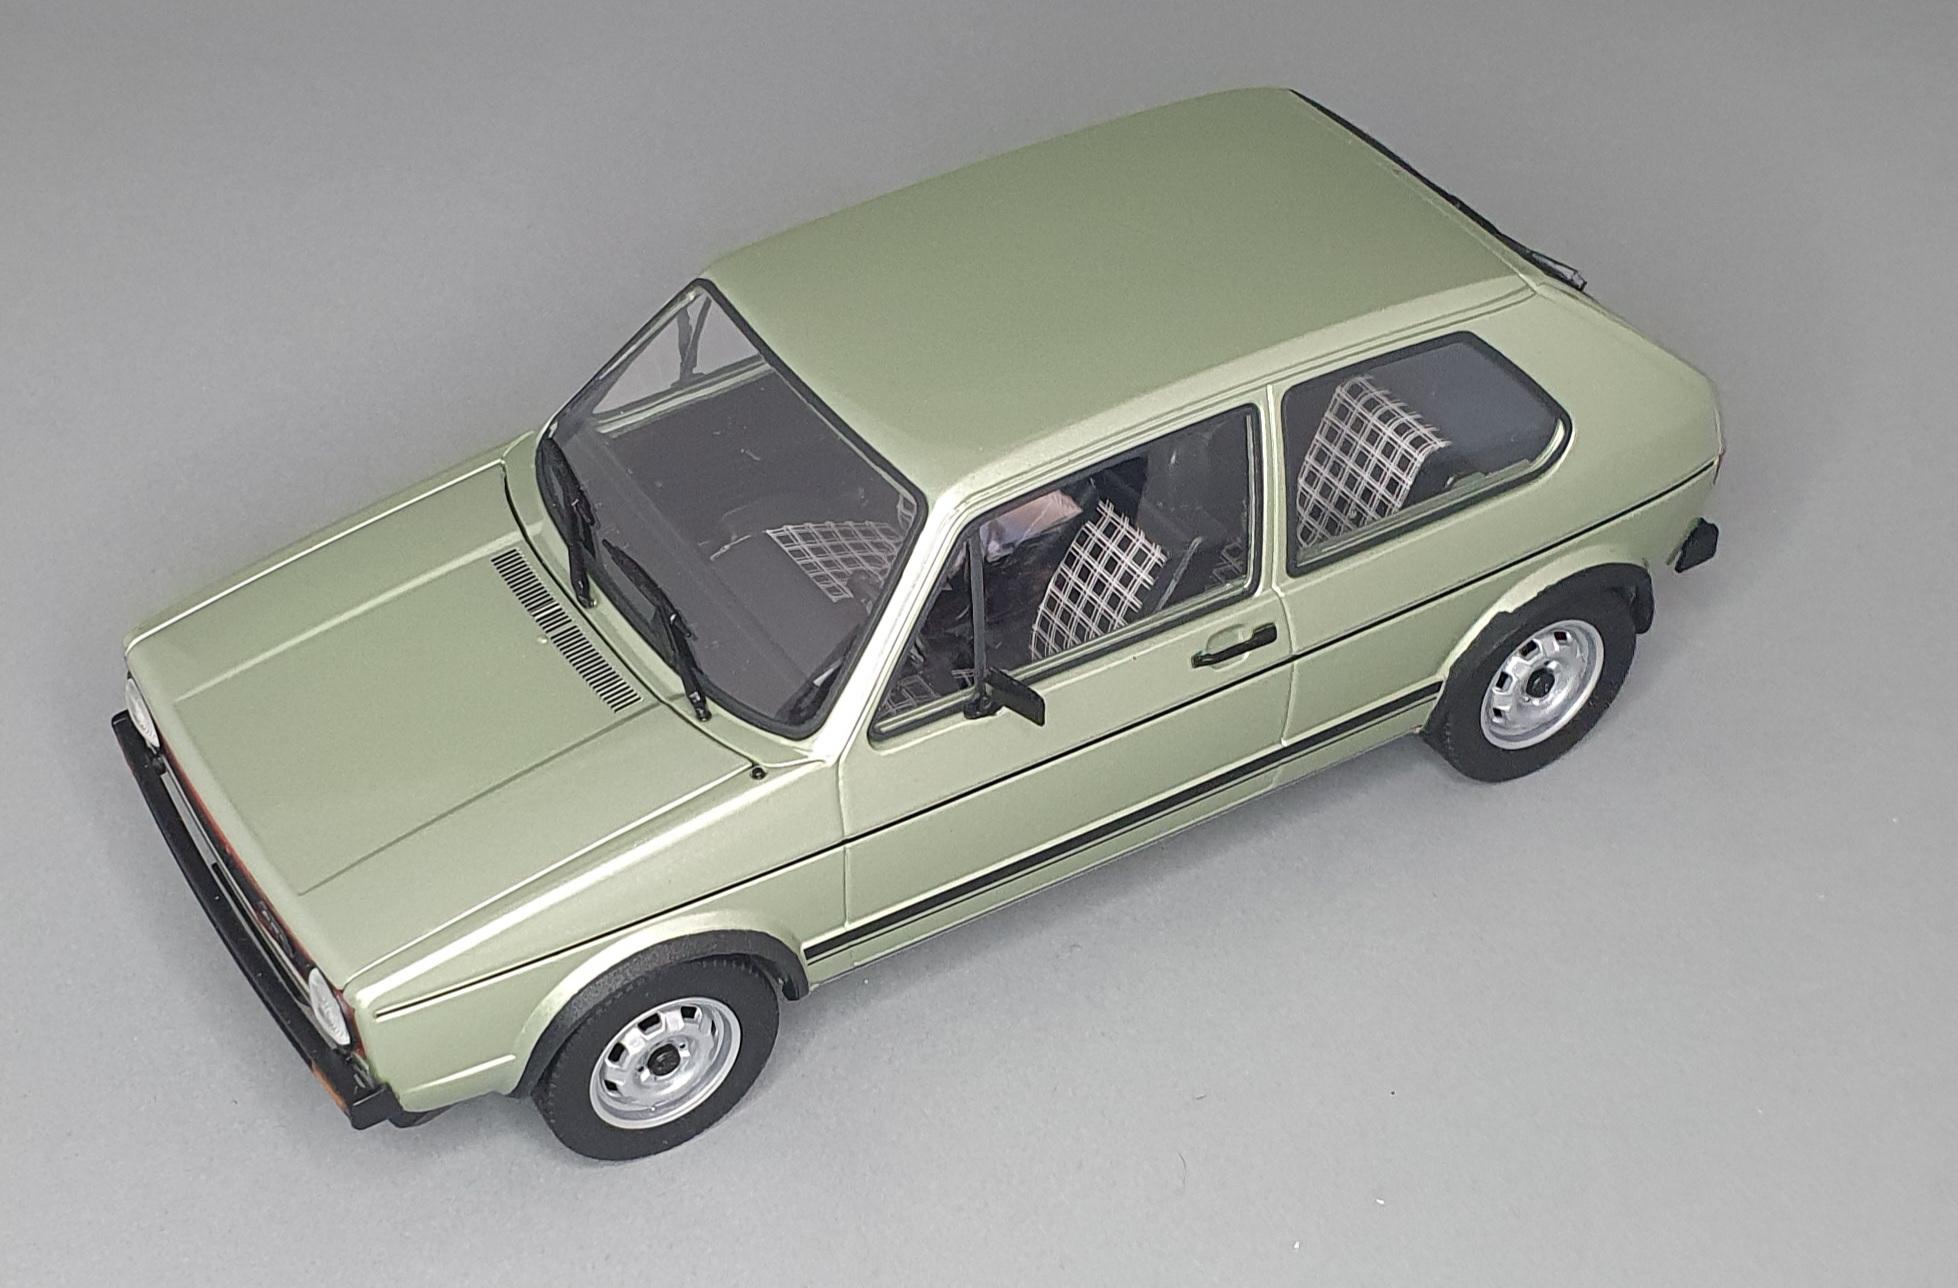
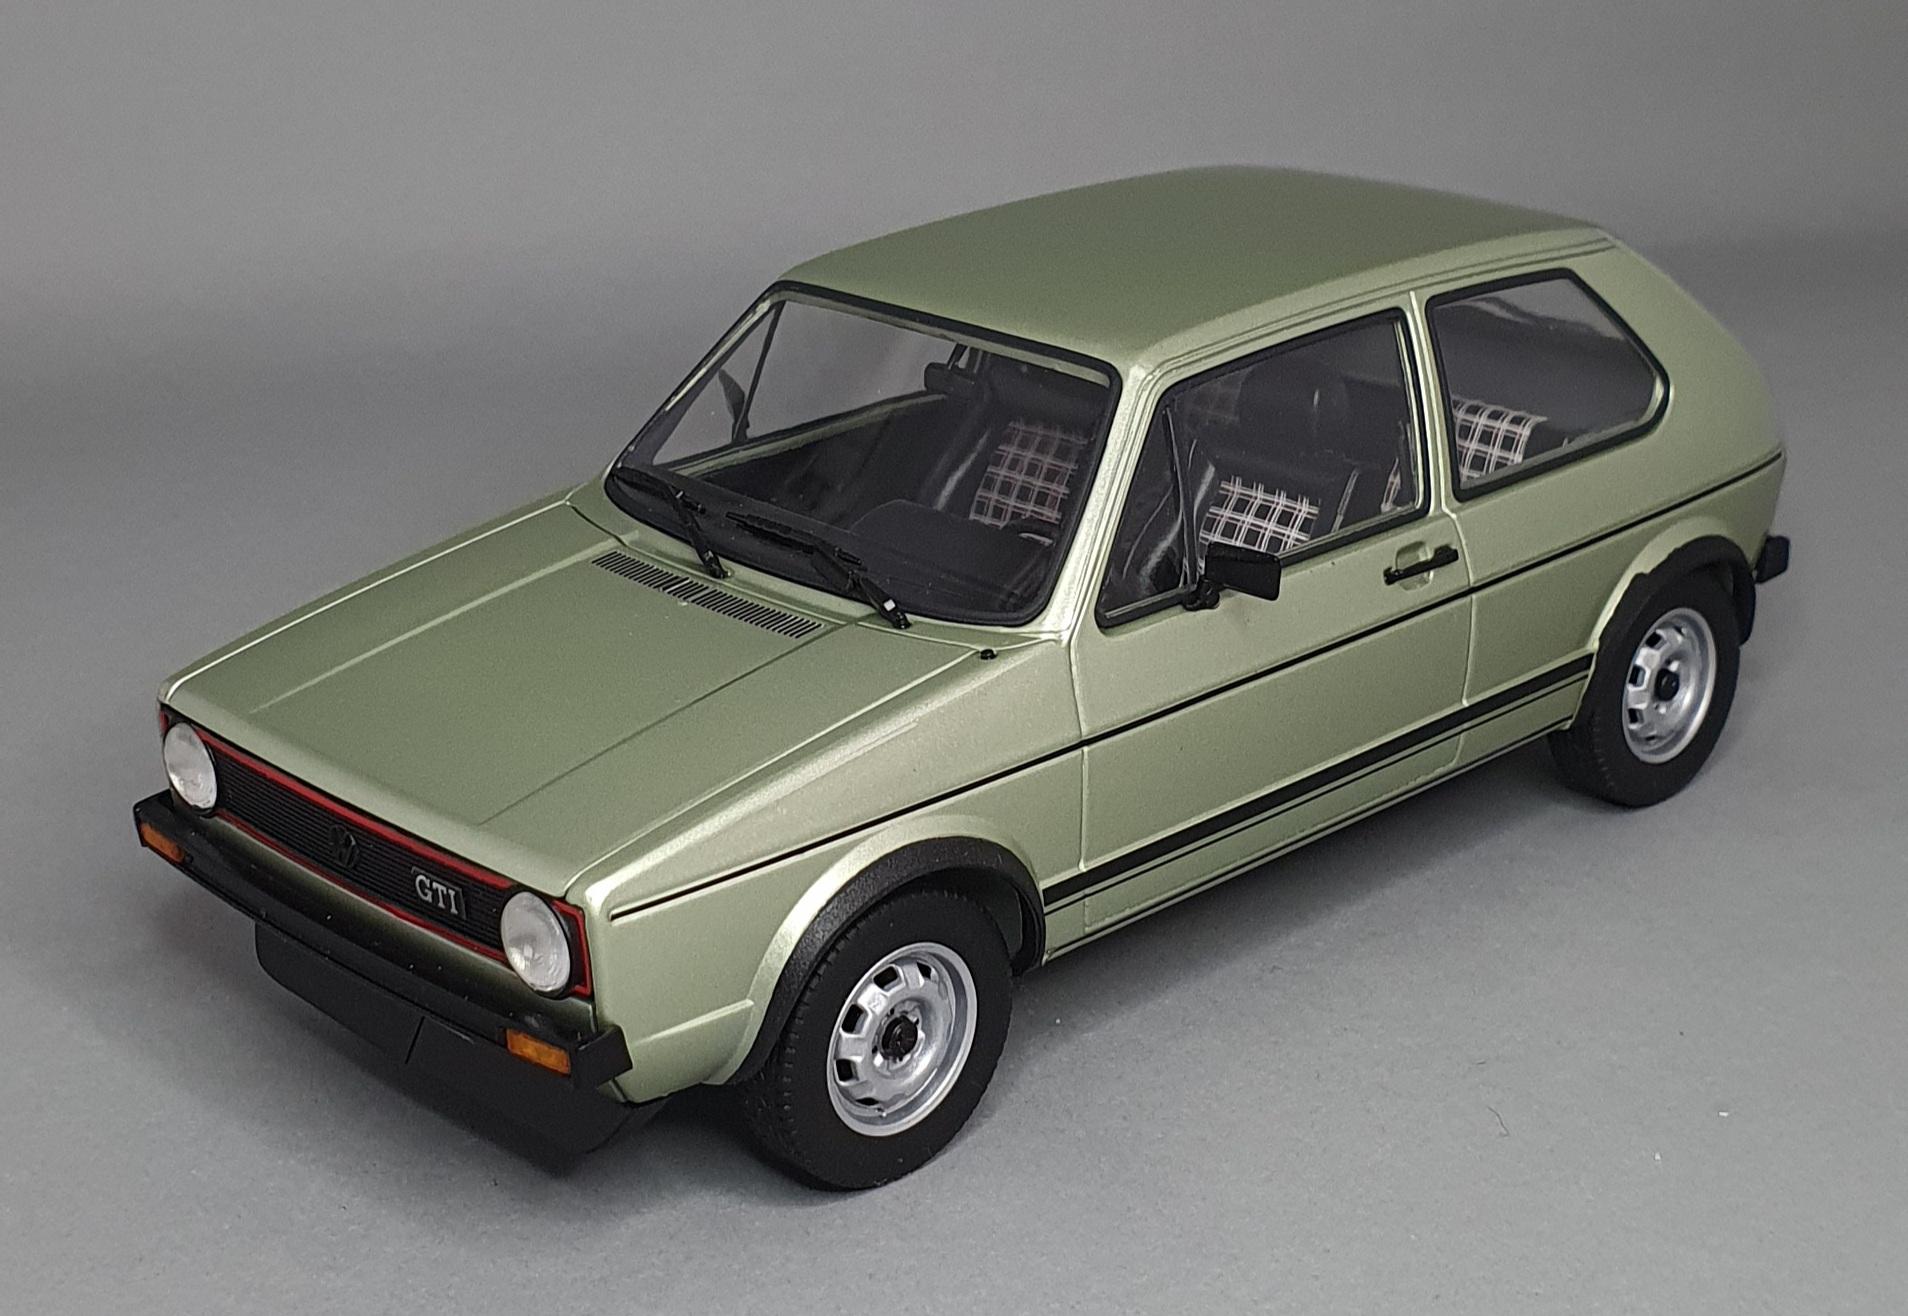
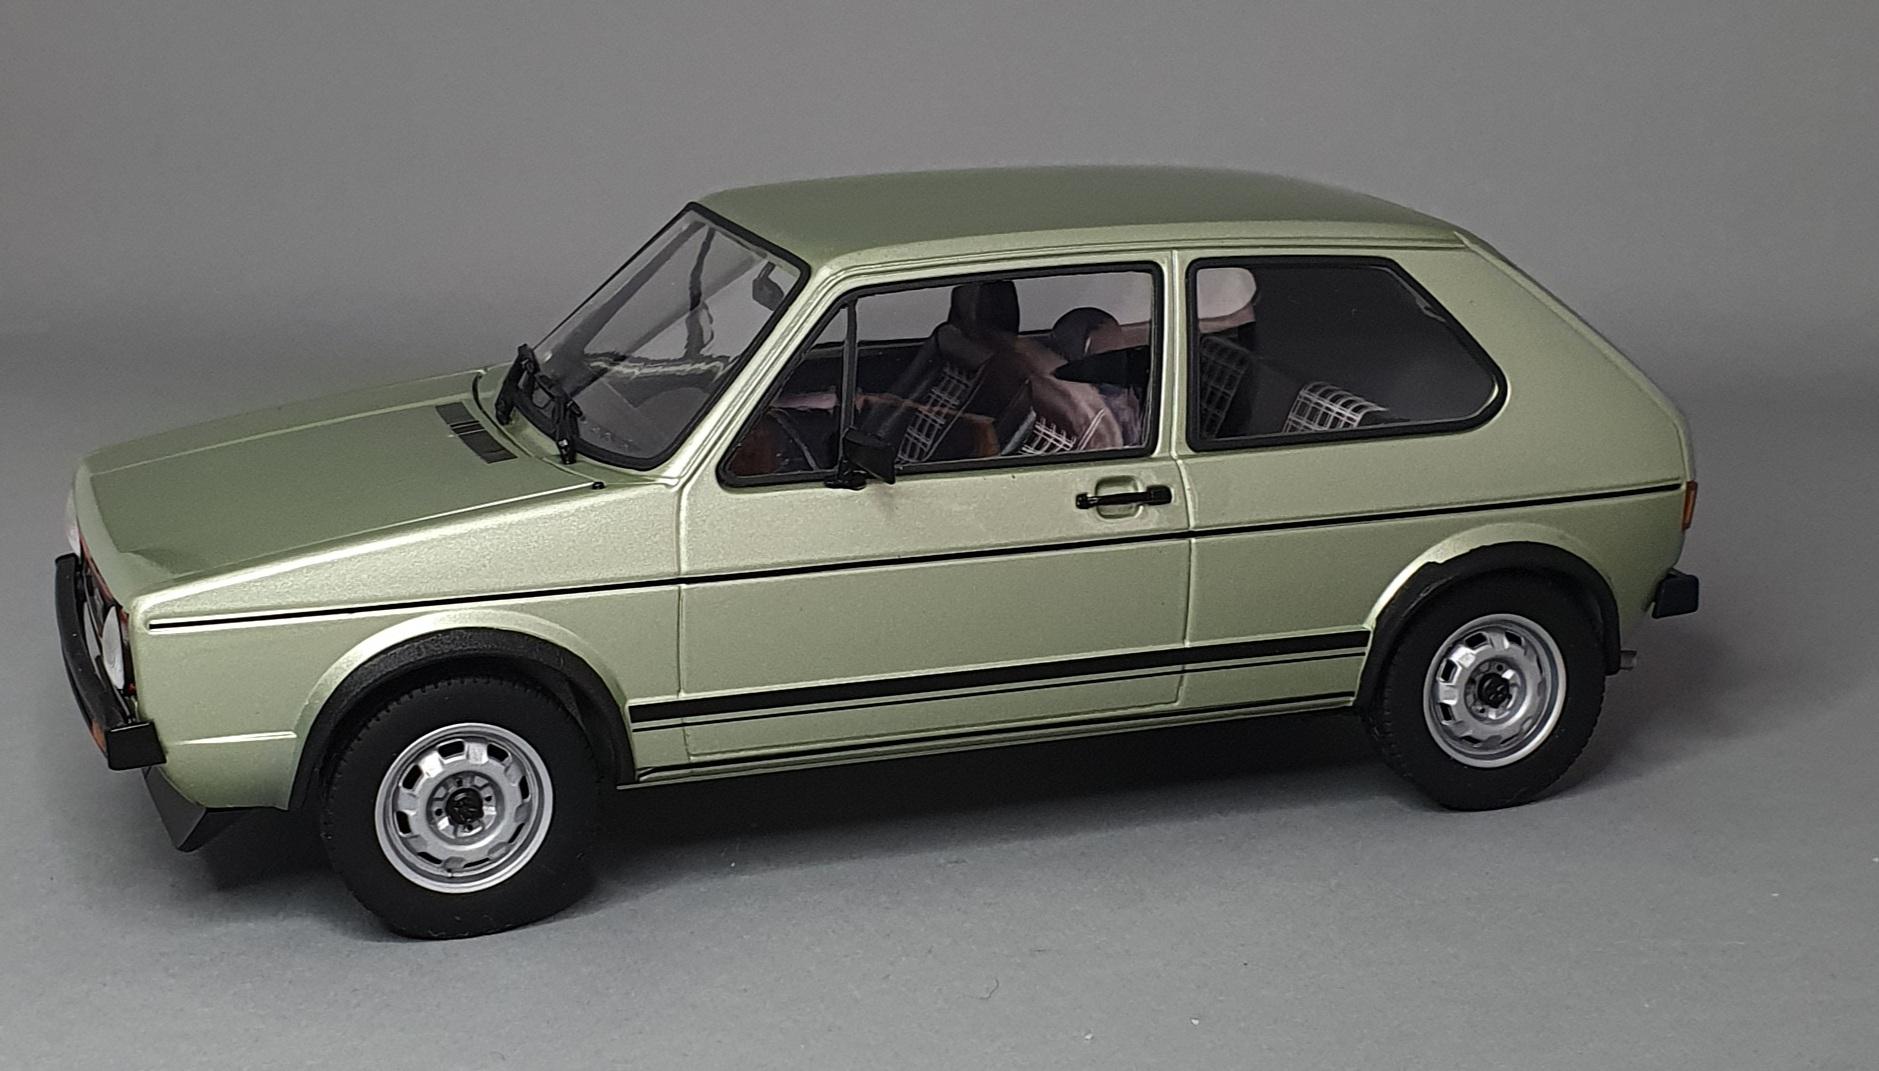
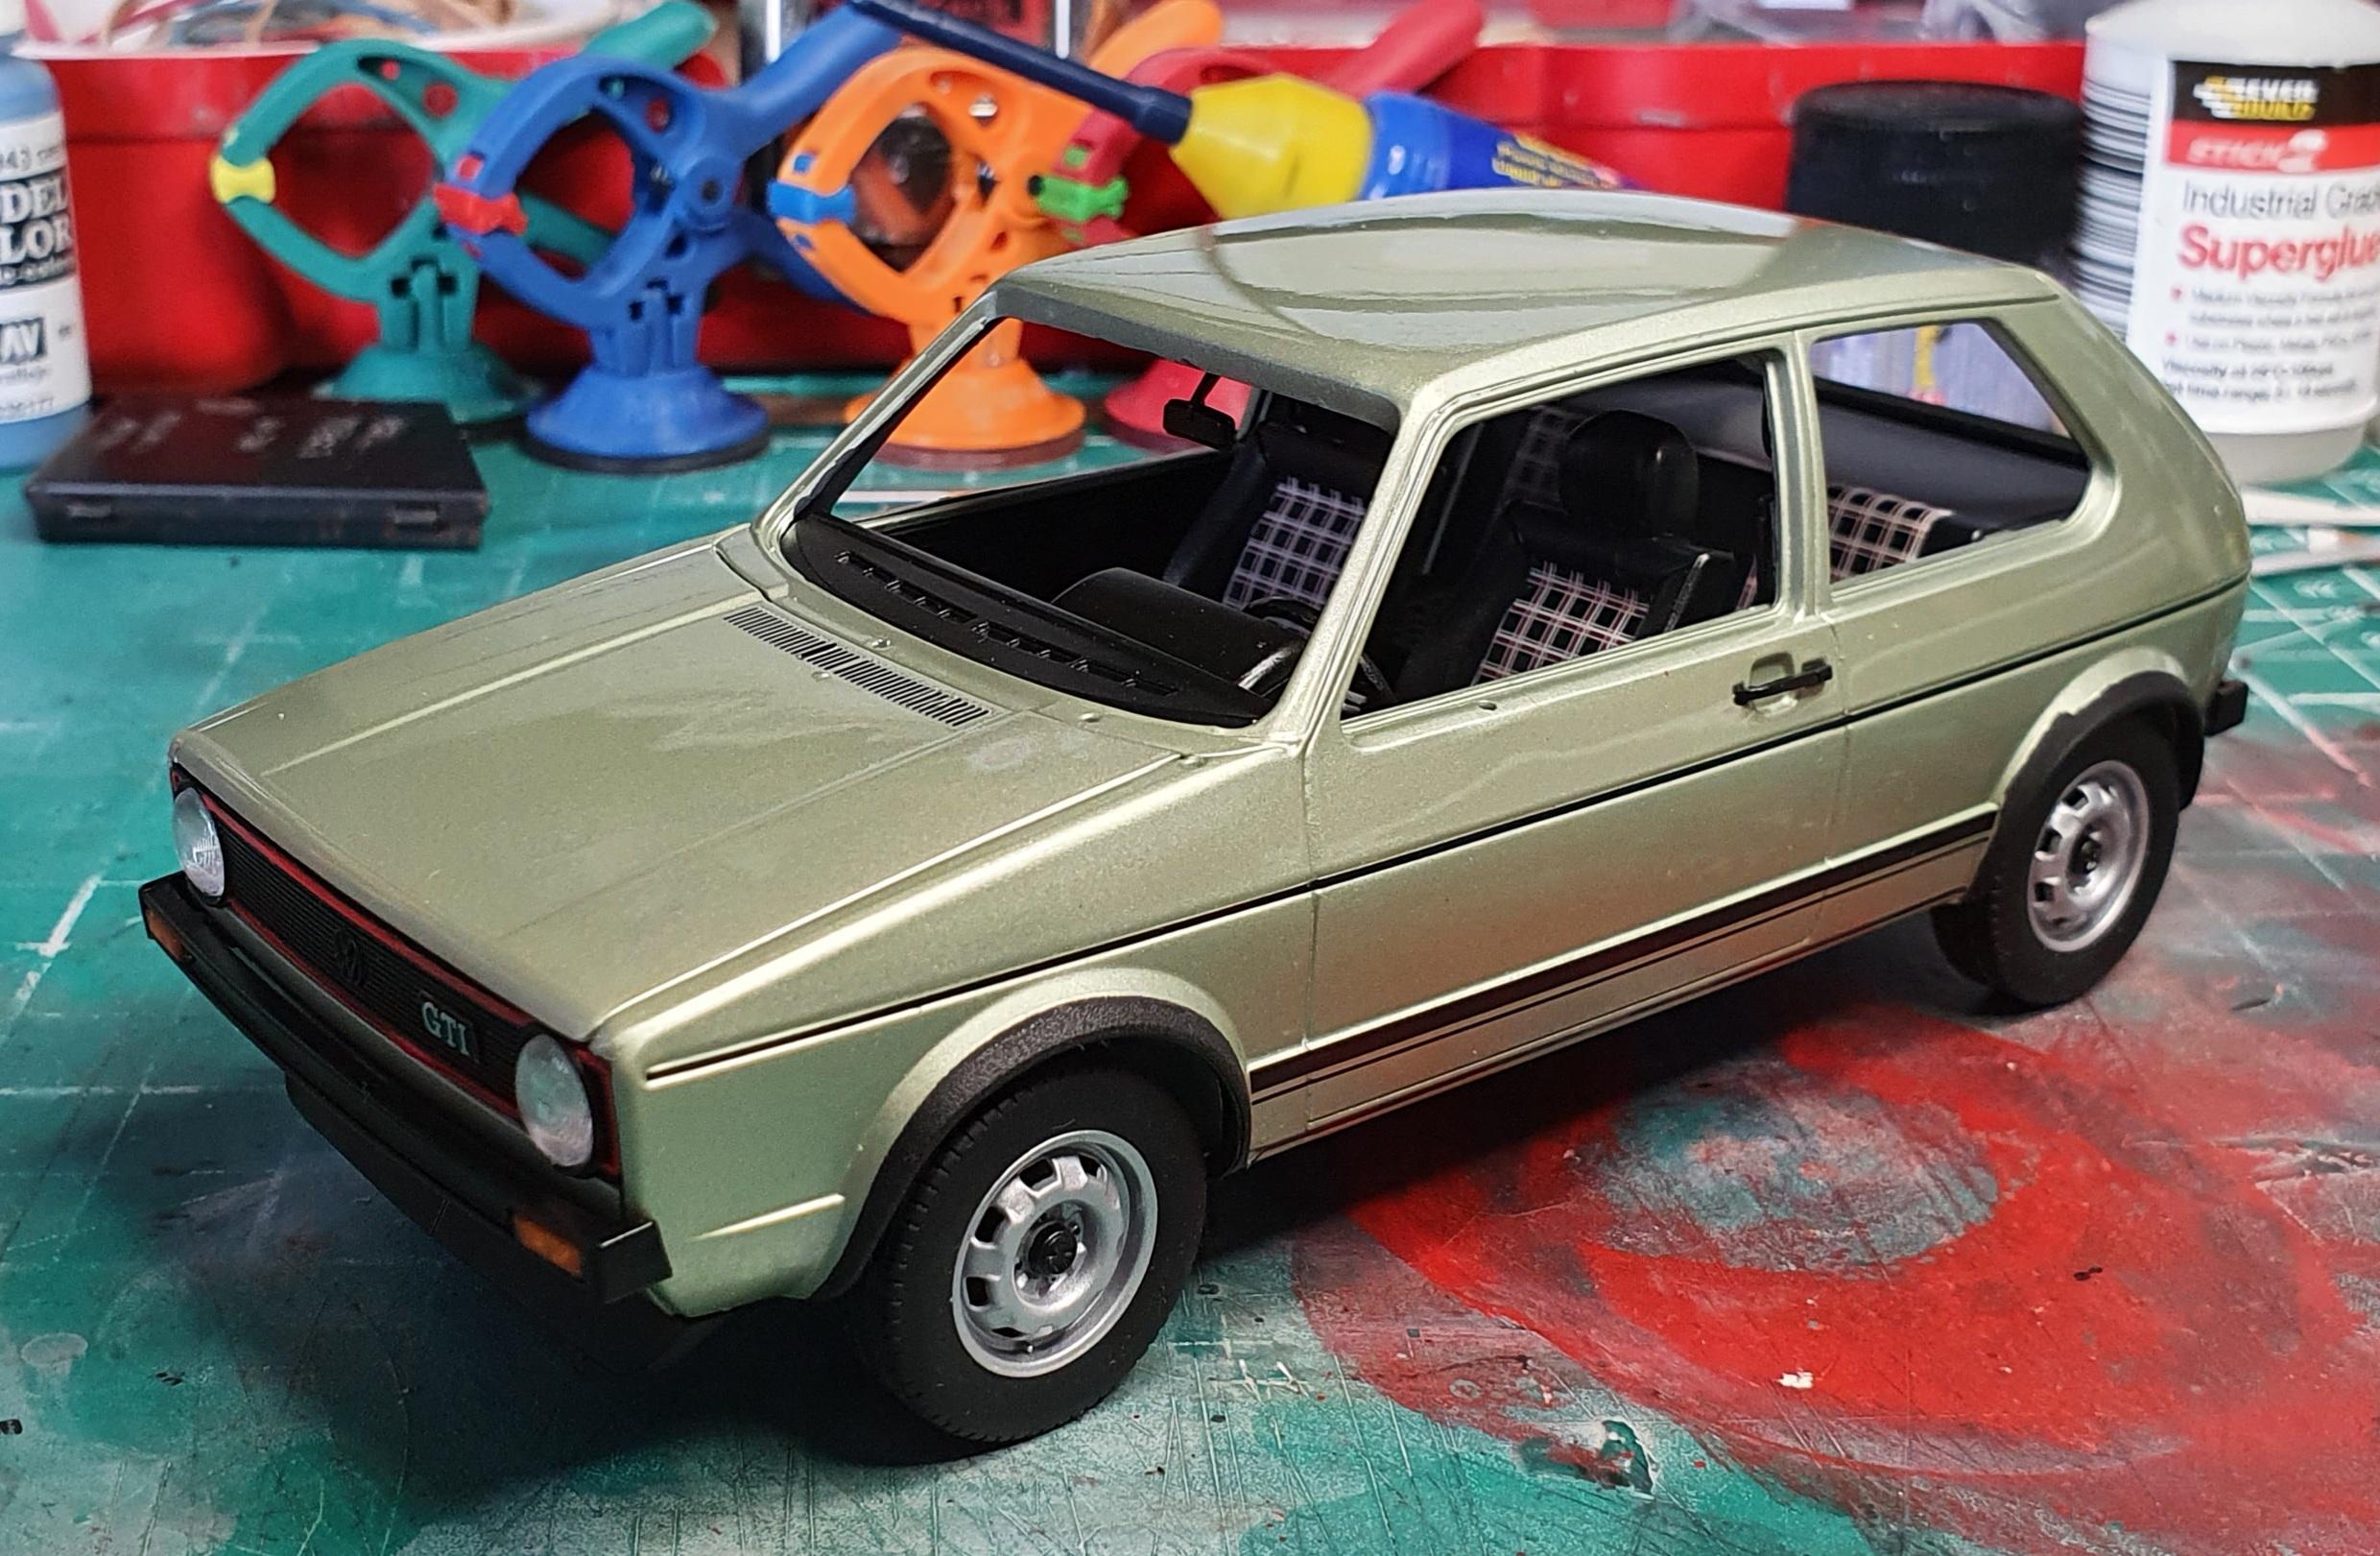
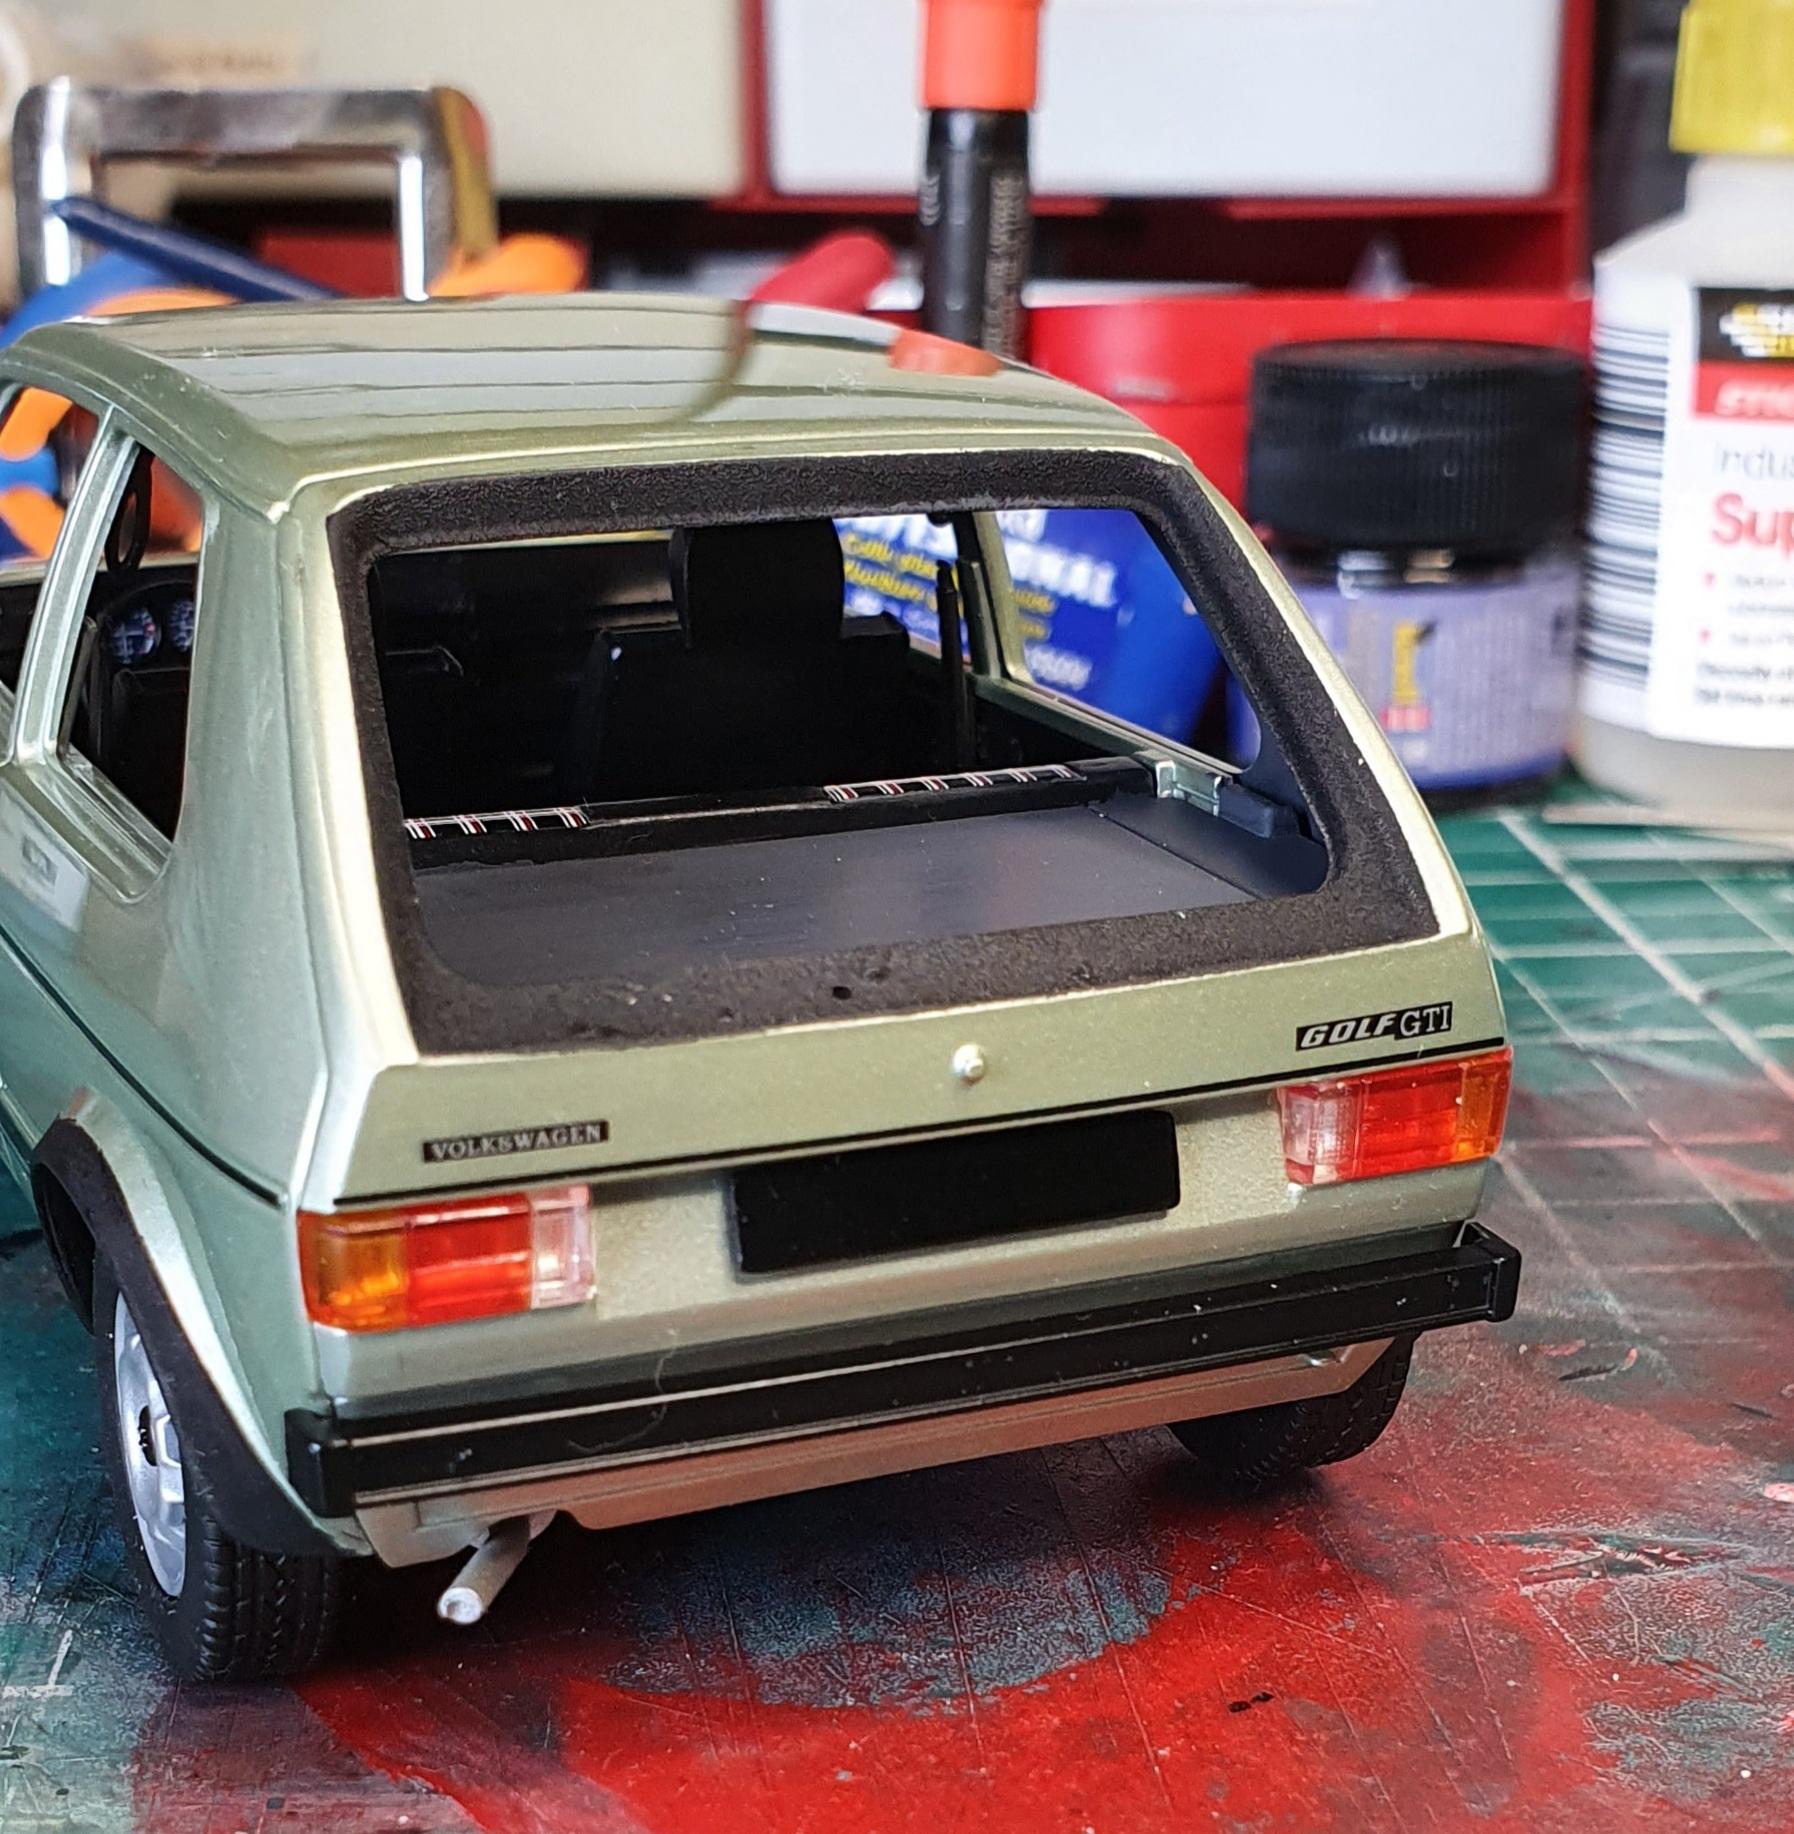
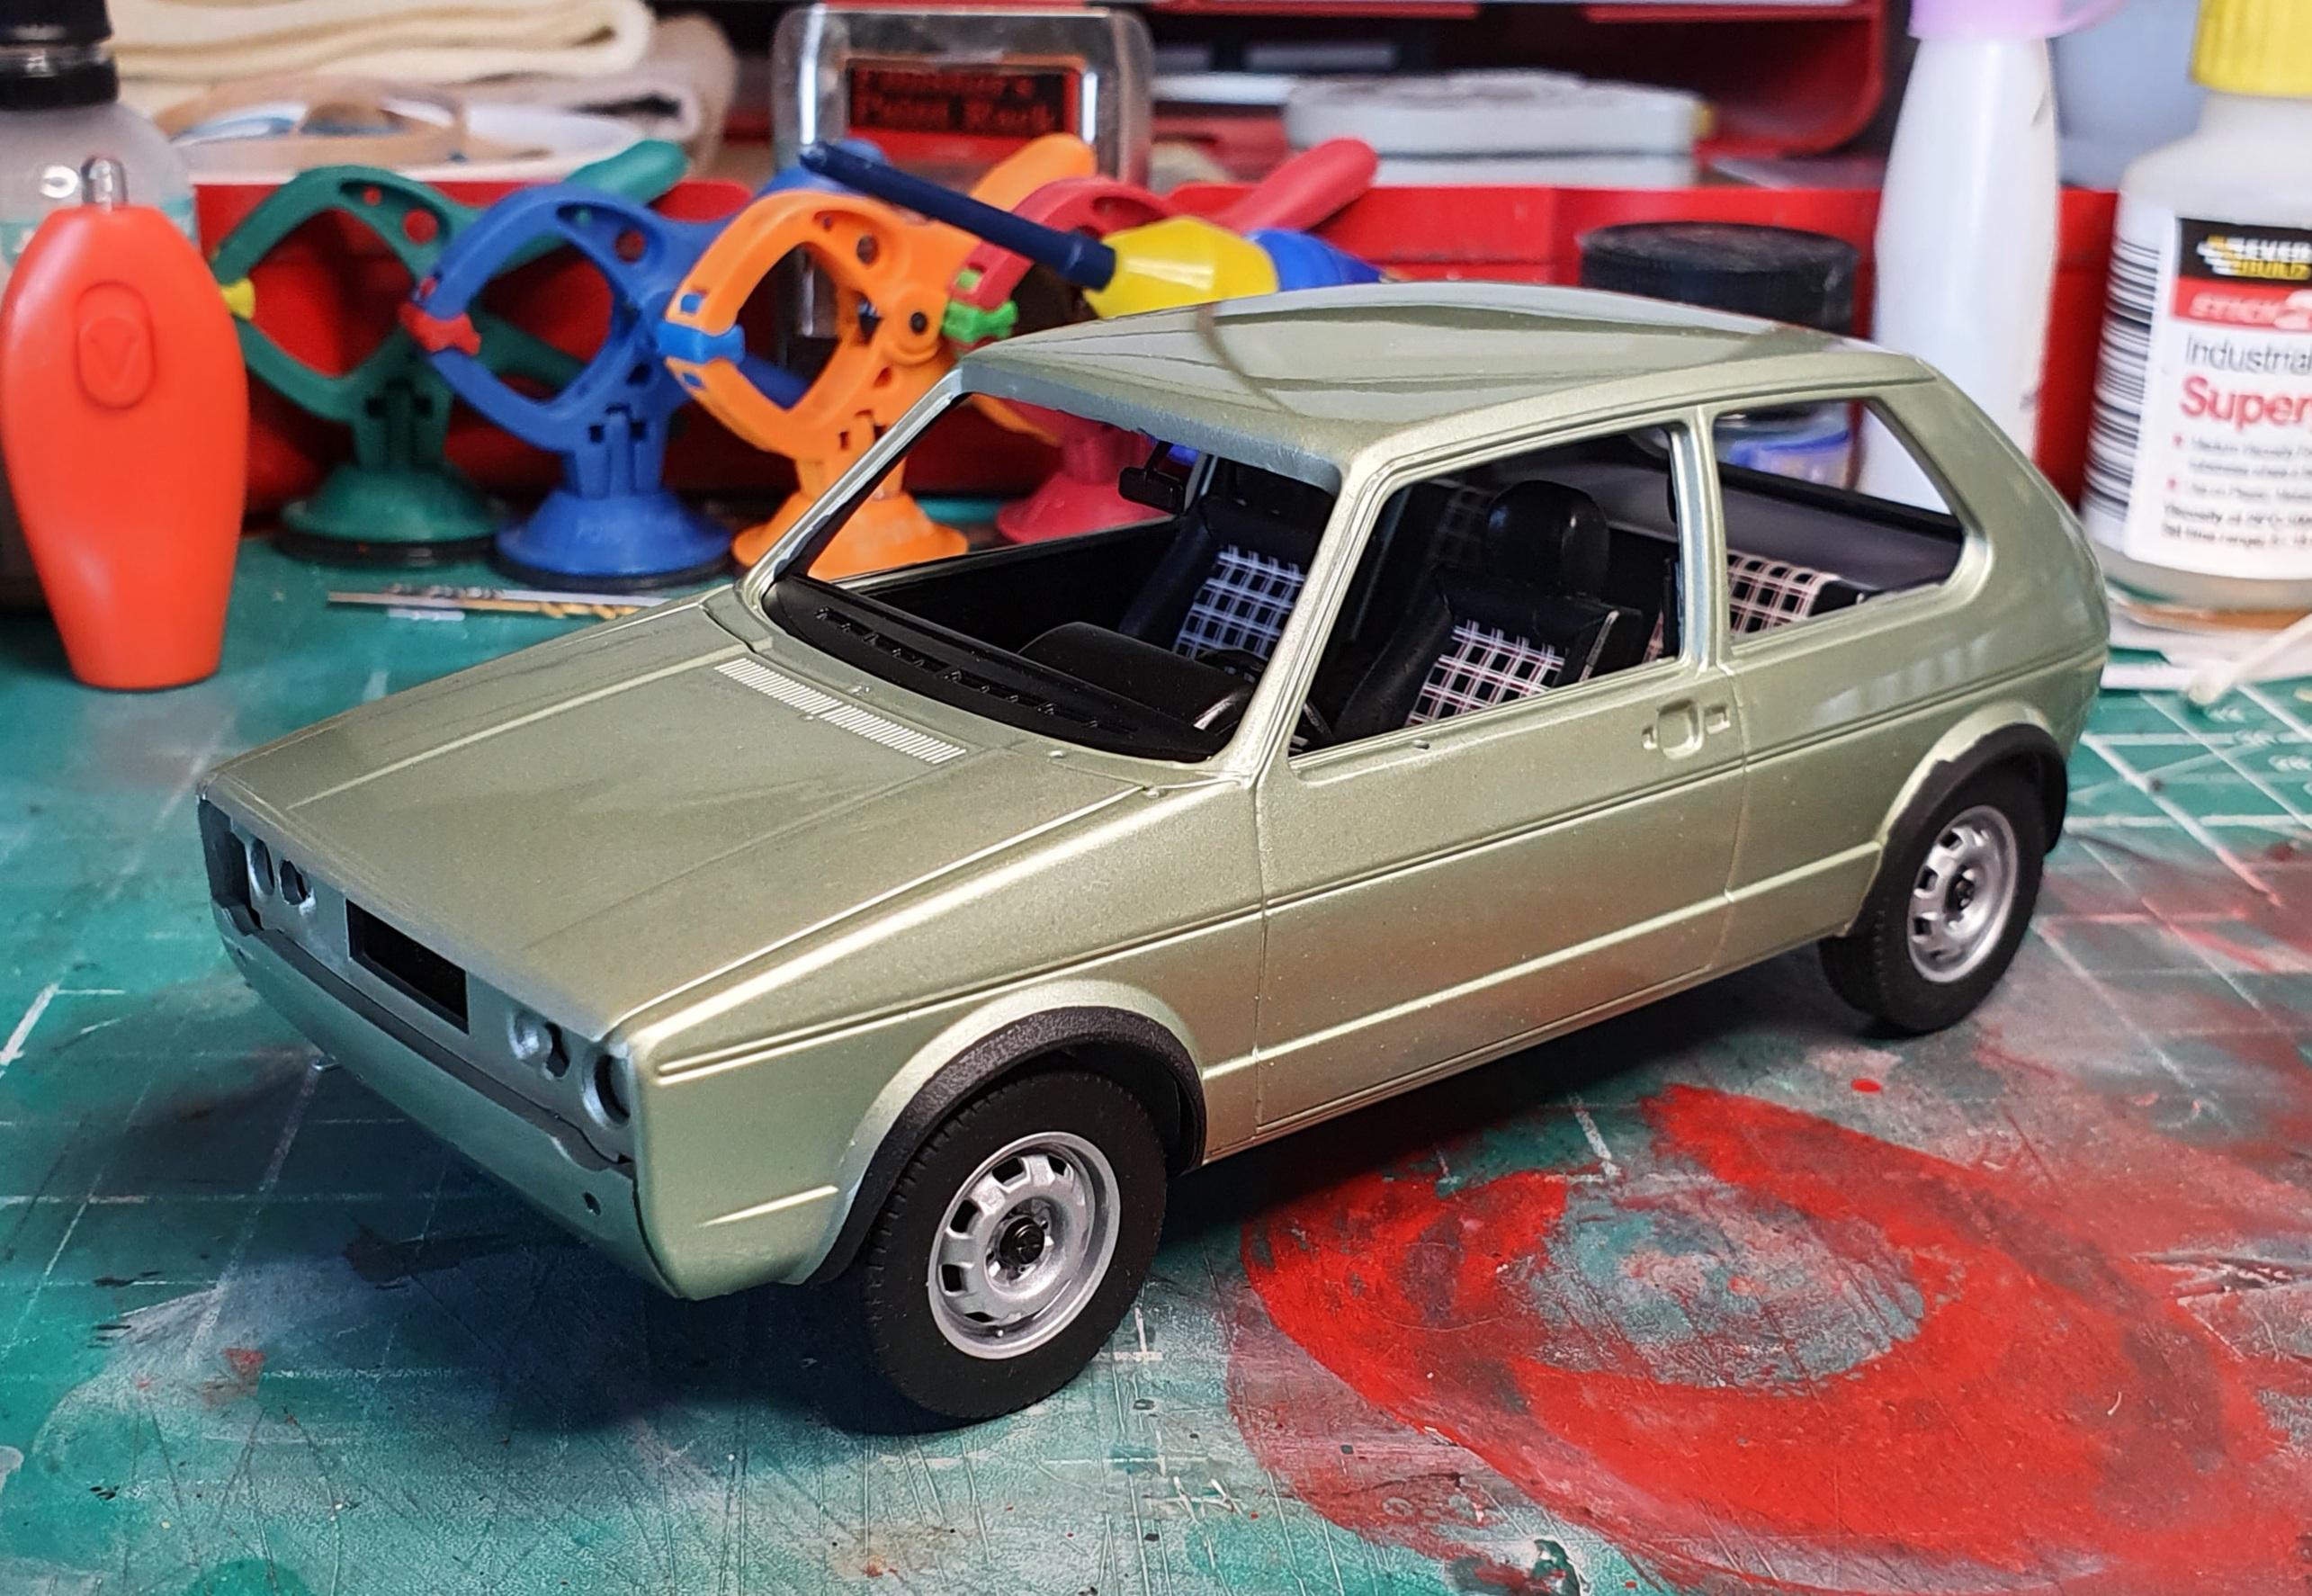
This is Revell's Volkswagen Golf GTI MK1, airbrushed using Zero paints V.W Inari Silver and a few coats of acrylic clearcoat lacquer, polished out to a factory shine
-
Got the decals applied, followed by the door handles, front grille and rear lights, the windows were the last to go in, fitted in using clear 5 minute epoxy, apart from a few smaller items, this one is finished.
-
I'm still watching the Avengers on the TV, there playing all the Avengers in Colour on one of our TV channels, it's sad when someone passes away, but 82 isn't a bad age.
-
I've seen some great models that have been painted using rattle cans, but an airbrush just gives you much more control, the smaller parts I paint just wouldn't look as good if they were painted with an aerosol, plus you have the benefit of being able to mix your own paints. I bought a Devilbis double action airbrush back in the 1980's, it took me a while to get the hang of it and carried on using aerosol paints, but once I'd learned how to use it, the only time I buy any aerosol paint is if I'm struggling to get it mixed, but i always decant the paint and shoot it through the airbrush. The Devilbis, which I've still got, has been retired due to the fact that most of the parts are impossible to find, I now use a Badger 200 for primer and small parts, and a Paasche VLS for bodyshells, but for around £75 the Badger would be a great little airbrush to get you started.
-
Very clean build.
-
AMT 1955 Chevrolet 3100 Pickup
GeeBee replied to RandyB.'s topic in Model Trucks: Pickups, Vans, SUVs, Light Commercial
Brilliant !! -
The best thing i did was to buy a good quality airbrush, and learning how to use it, you won't regret going down that road.
-
Another quality build Randy, Superb....
-
Superb build.....
-
Surely you won't pay any import duty, as Latvia is a member of the E.U
-
Even better value as in the 60mls of paint supplied is enough to paint around 4 bodies, i painted this one and stripped it as I wasn't happy with the quality, I painted it again along with the bonnet, I've got enough to paint at least 2 more models, the clearcoat applied over the base basecoat that gives you the deep shine, I'm yet to try 2k lacquer as I'm more than happy with single pack acrylic lacquer.
-
Yes,Zero paints are pre thinned paints for airbrush use, available in the UK from Hiroboy https://www.hiroboy.com/Zero_Paints--manufacturer--46.html
-
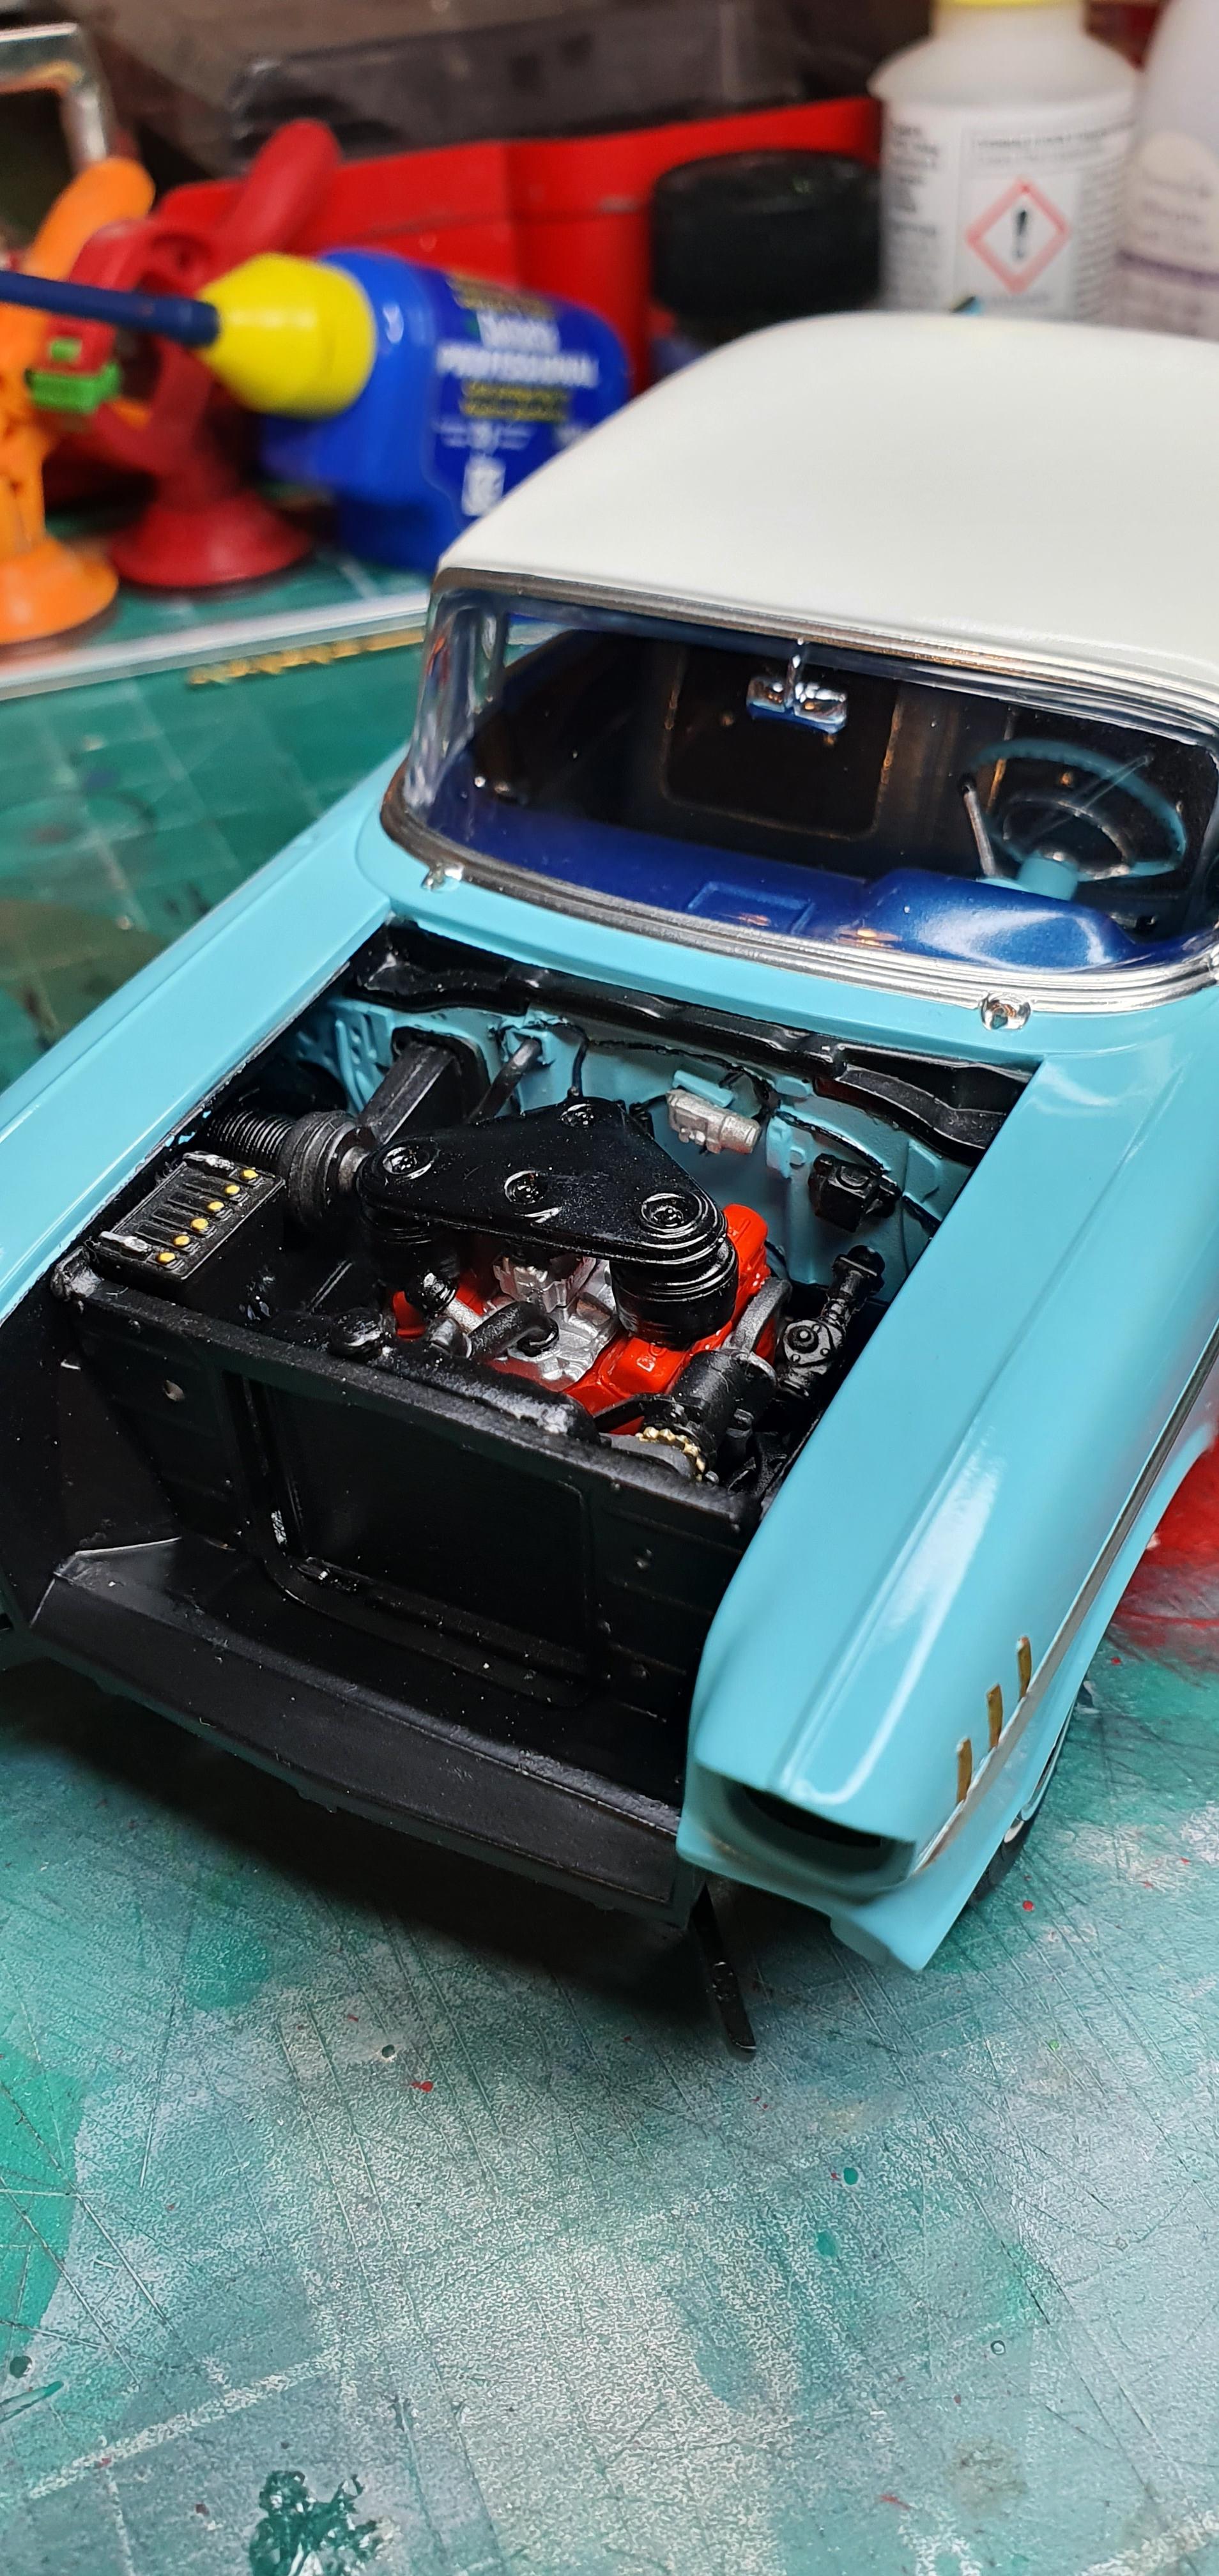
Got the top and bottom radiator hoses fitted, I had to trim the locating pins down slightly, the heater hoses seem impossible to get into place, I'm going to be using vinyl tubing to replicate these instead of the plastic items.
-
So far so good, hopefully when I fit the front grille, it won't upset things...
-
It's not my best work, it's Zero base coat, followed by a few coats of acrylic clearcoat, it's only the second time I've used basecoat, so I'm still learning.
-
I worked for V.A.G (Volkswagen-Audi Group) for 7 years from the late 80's to the mid 1990's, I've probably driven most VW, Audi and M.A.N light trucks back in the day, I had a nice MK2 Golf GTI for a while, even a Polo Gt, and a late G40 Supercharged, that was a pocket rocket, finished by having a proper Audi Quattro Coupe, that was a beast.
-
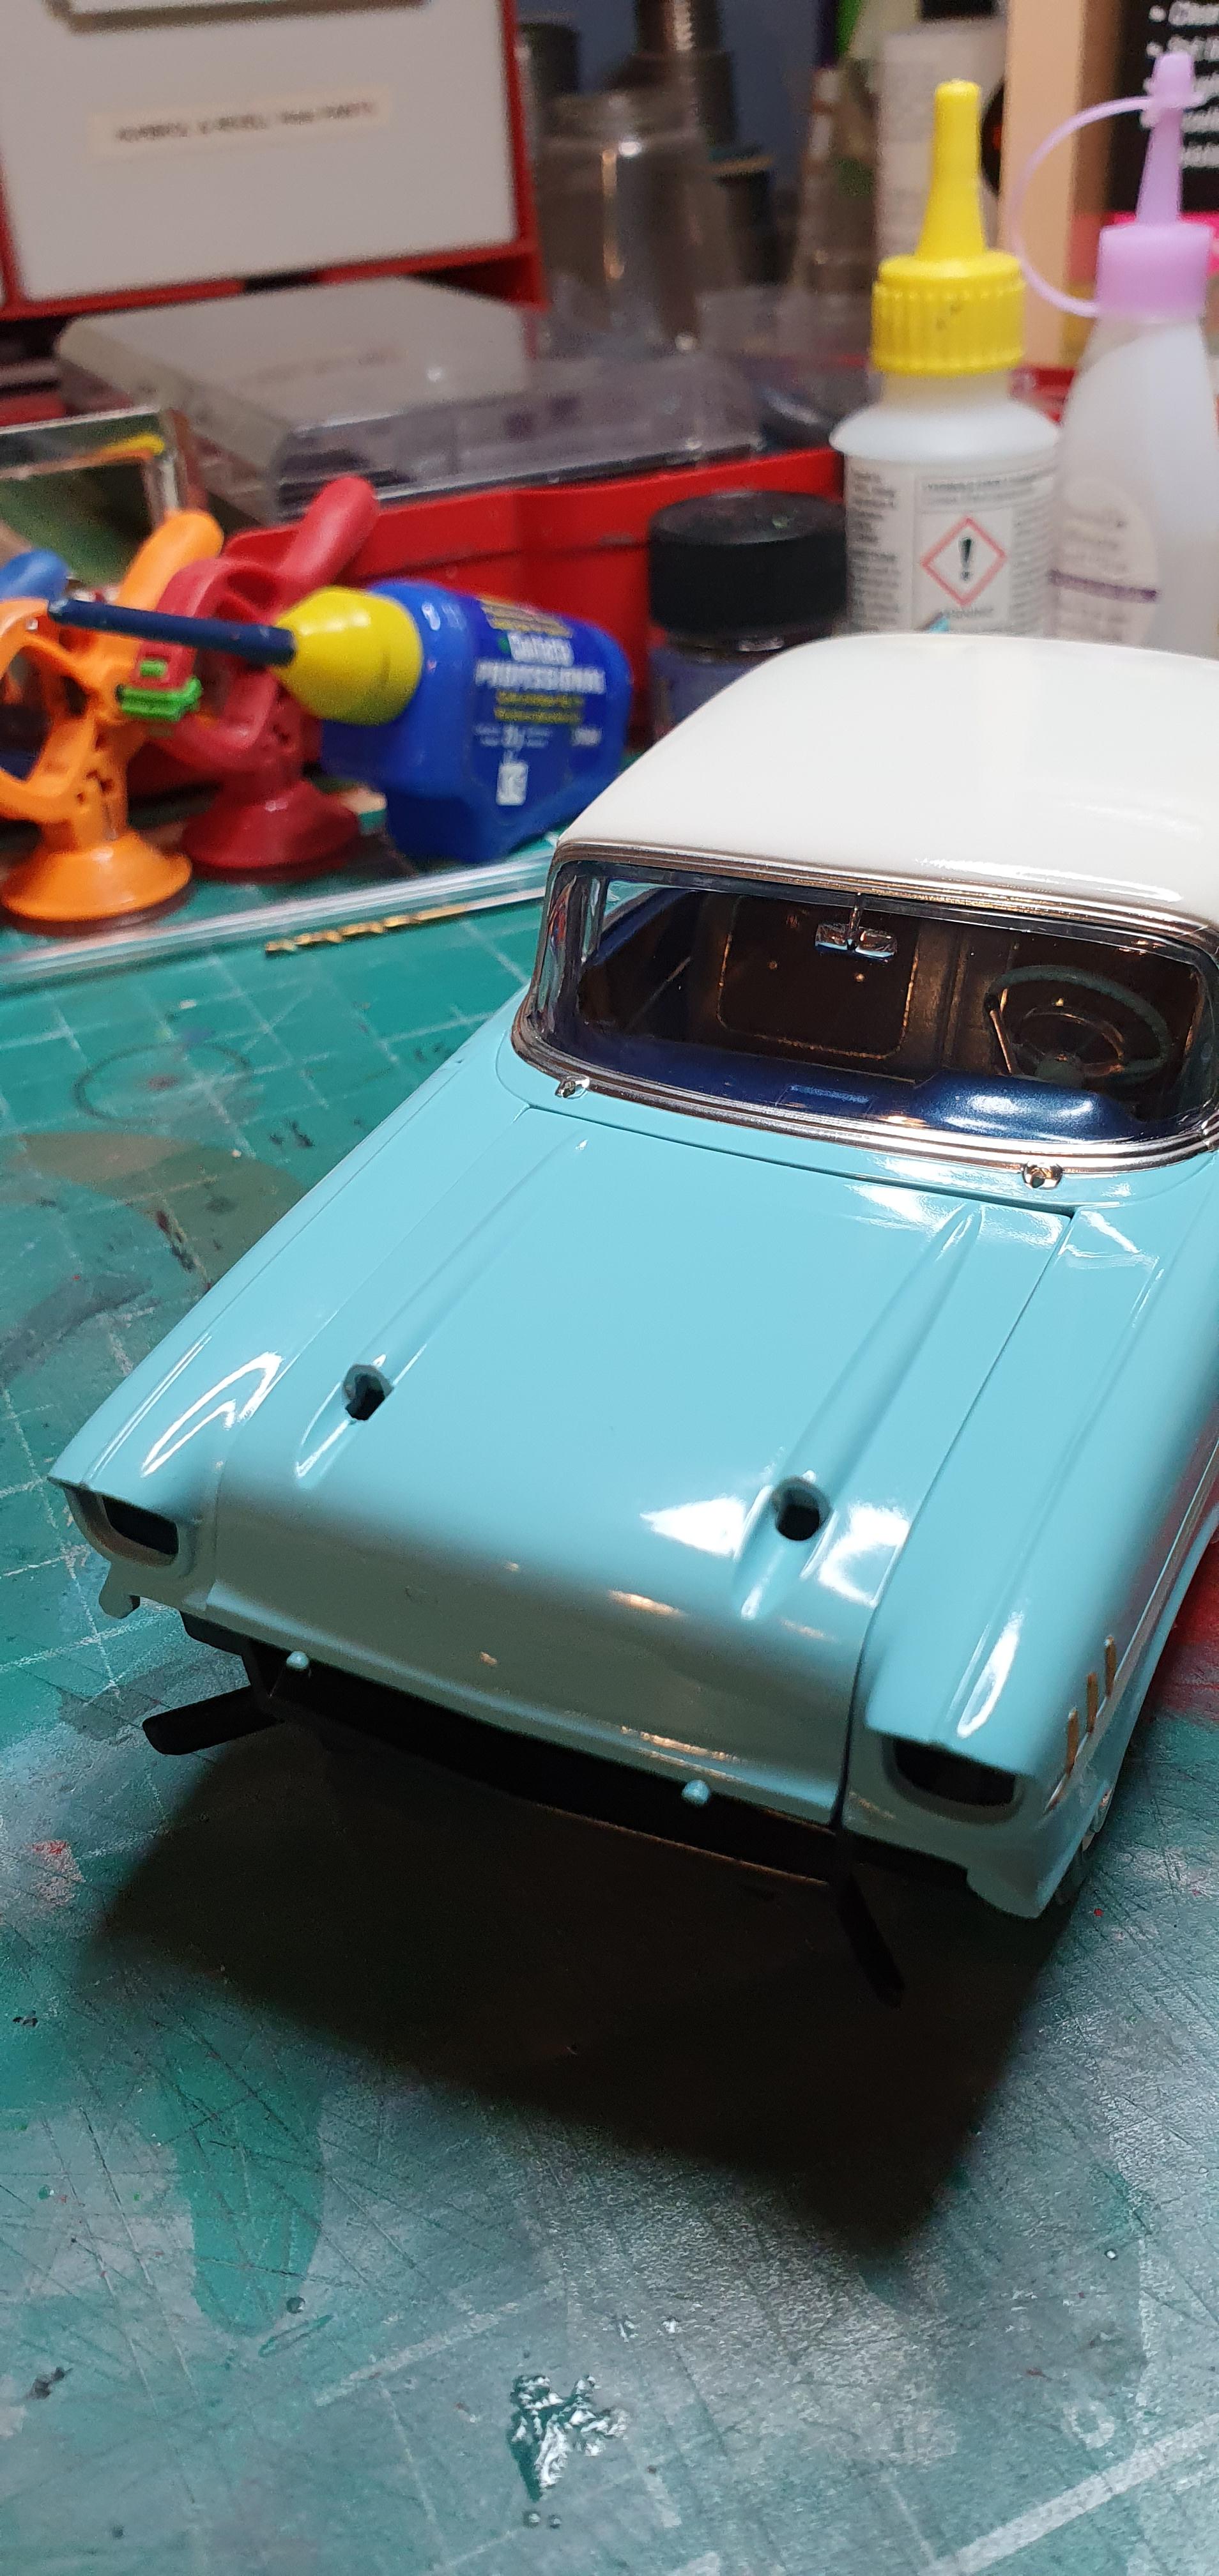
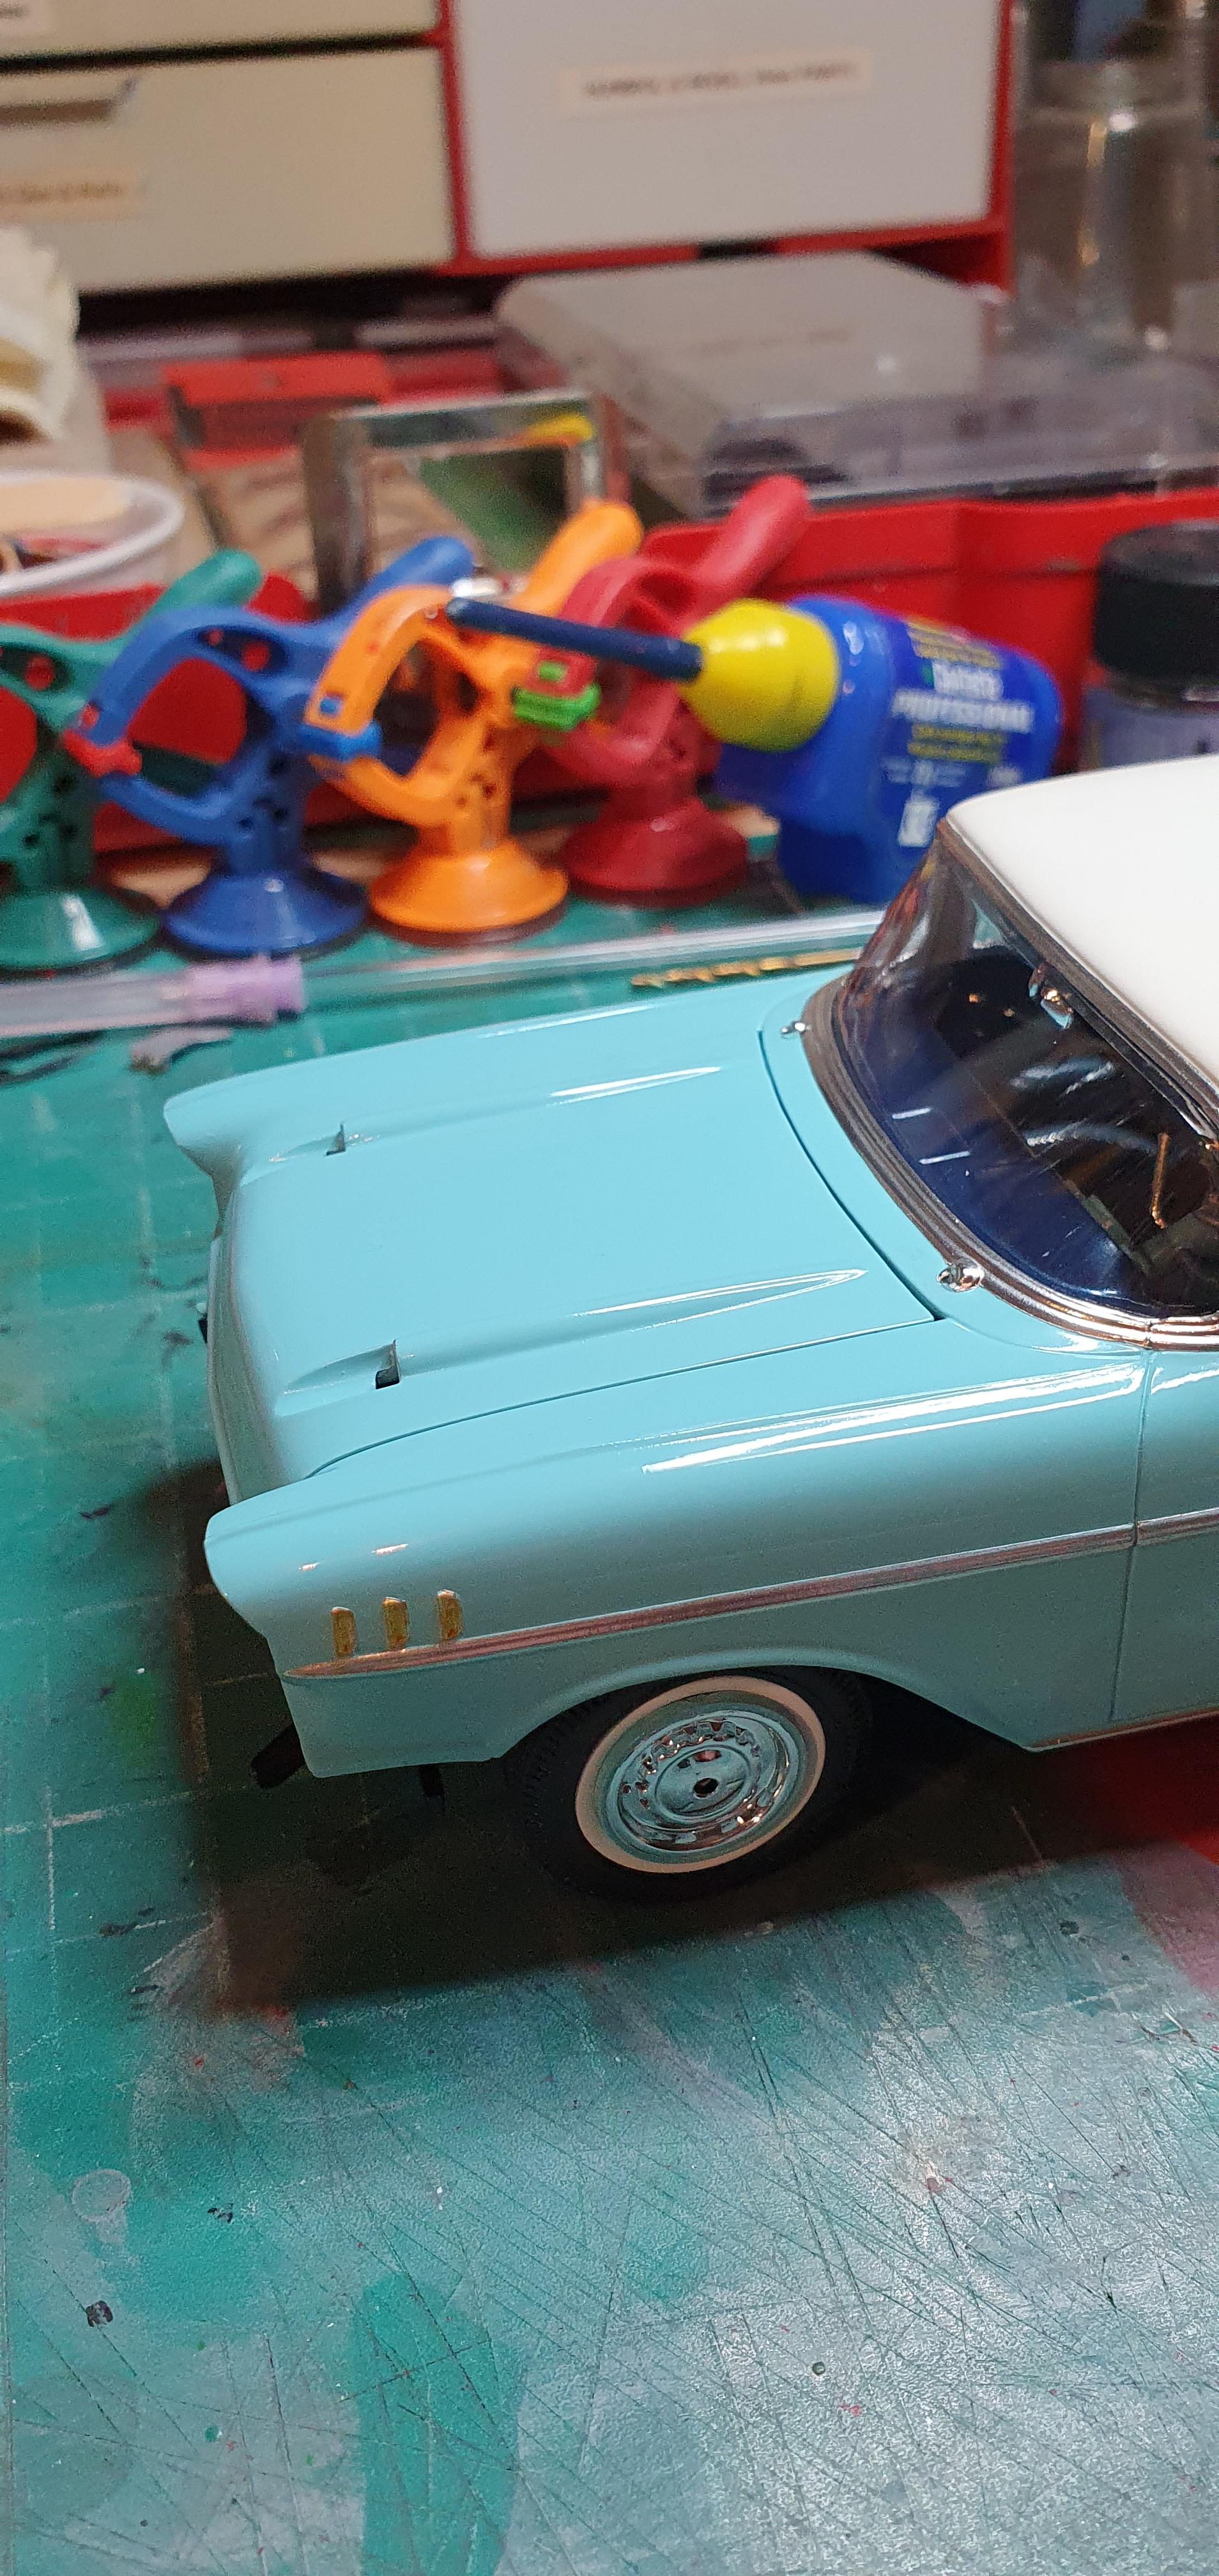
Got the interior fitted into the body, and then the body was fitted to the floorpan, not the easiest job to do, it really needed a lot of persuasion to get everything fitted properly, tight isn't the word I'd use to describe it, but once everything was lined up it only needed a few drops of UV resin to hold everything in place, got the front and rear valances fitted, I can see now why Revell tell you not to fit them earlier before the body is fitted
-
While I was using the airbrush, I managed to mask up all the windows and airbrushed the rubber seals using Tamiya rubber black, decanted from the aerosol.