NOBLNG
-
Posts
10,182 -
Joined
-
Last visited


.thumb.jpg.793df0629701a058b7f80ff815800d25.jpg)
Recent Profile Visitors
36,809 profile views


NOBLNG's Achievements
MCM Ohana (6/6)
-
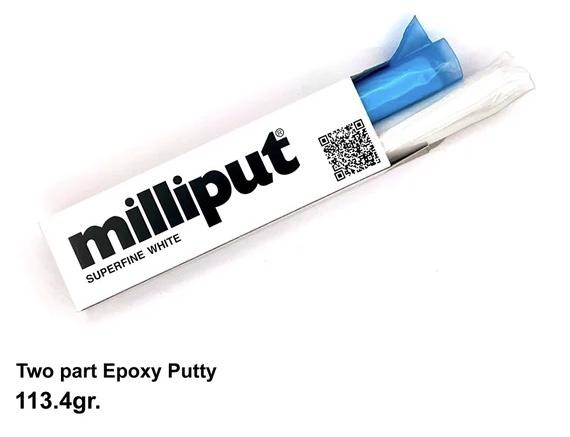
Yes it is a two part epoxy putty.

-

What did you see on the road today?
NOBLNG replied to Harry P.'s topic in General Automotive Talk (Trucks and Cars)
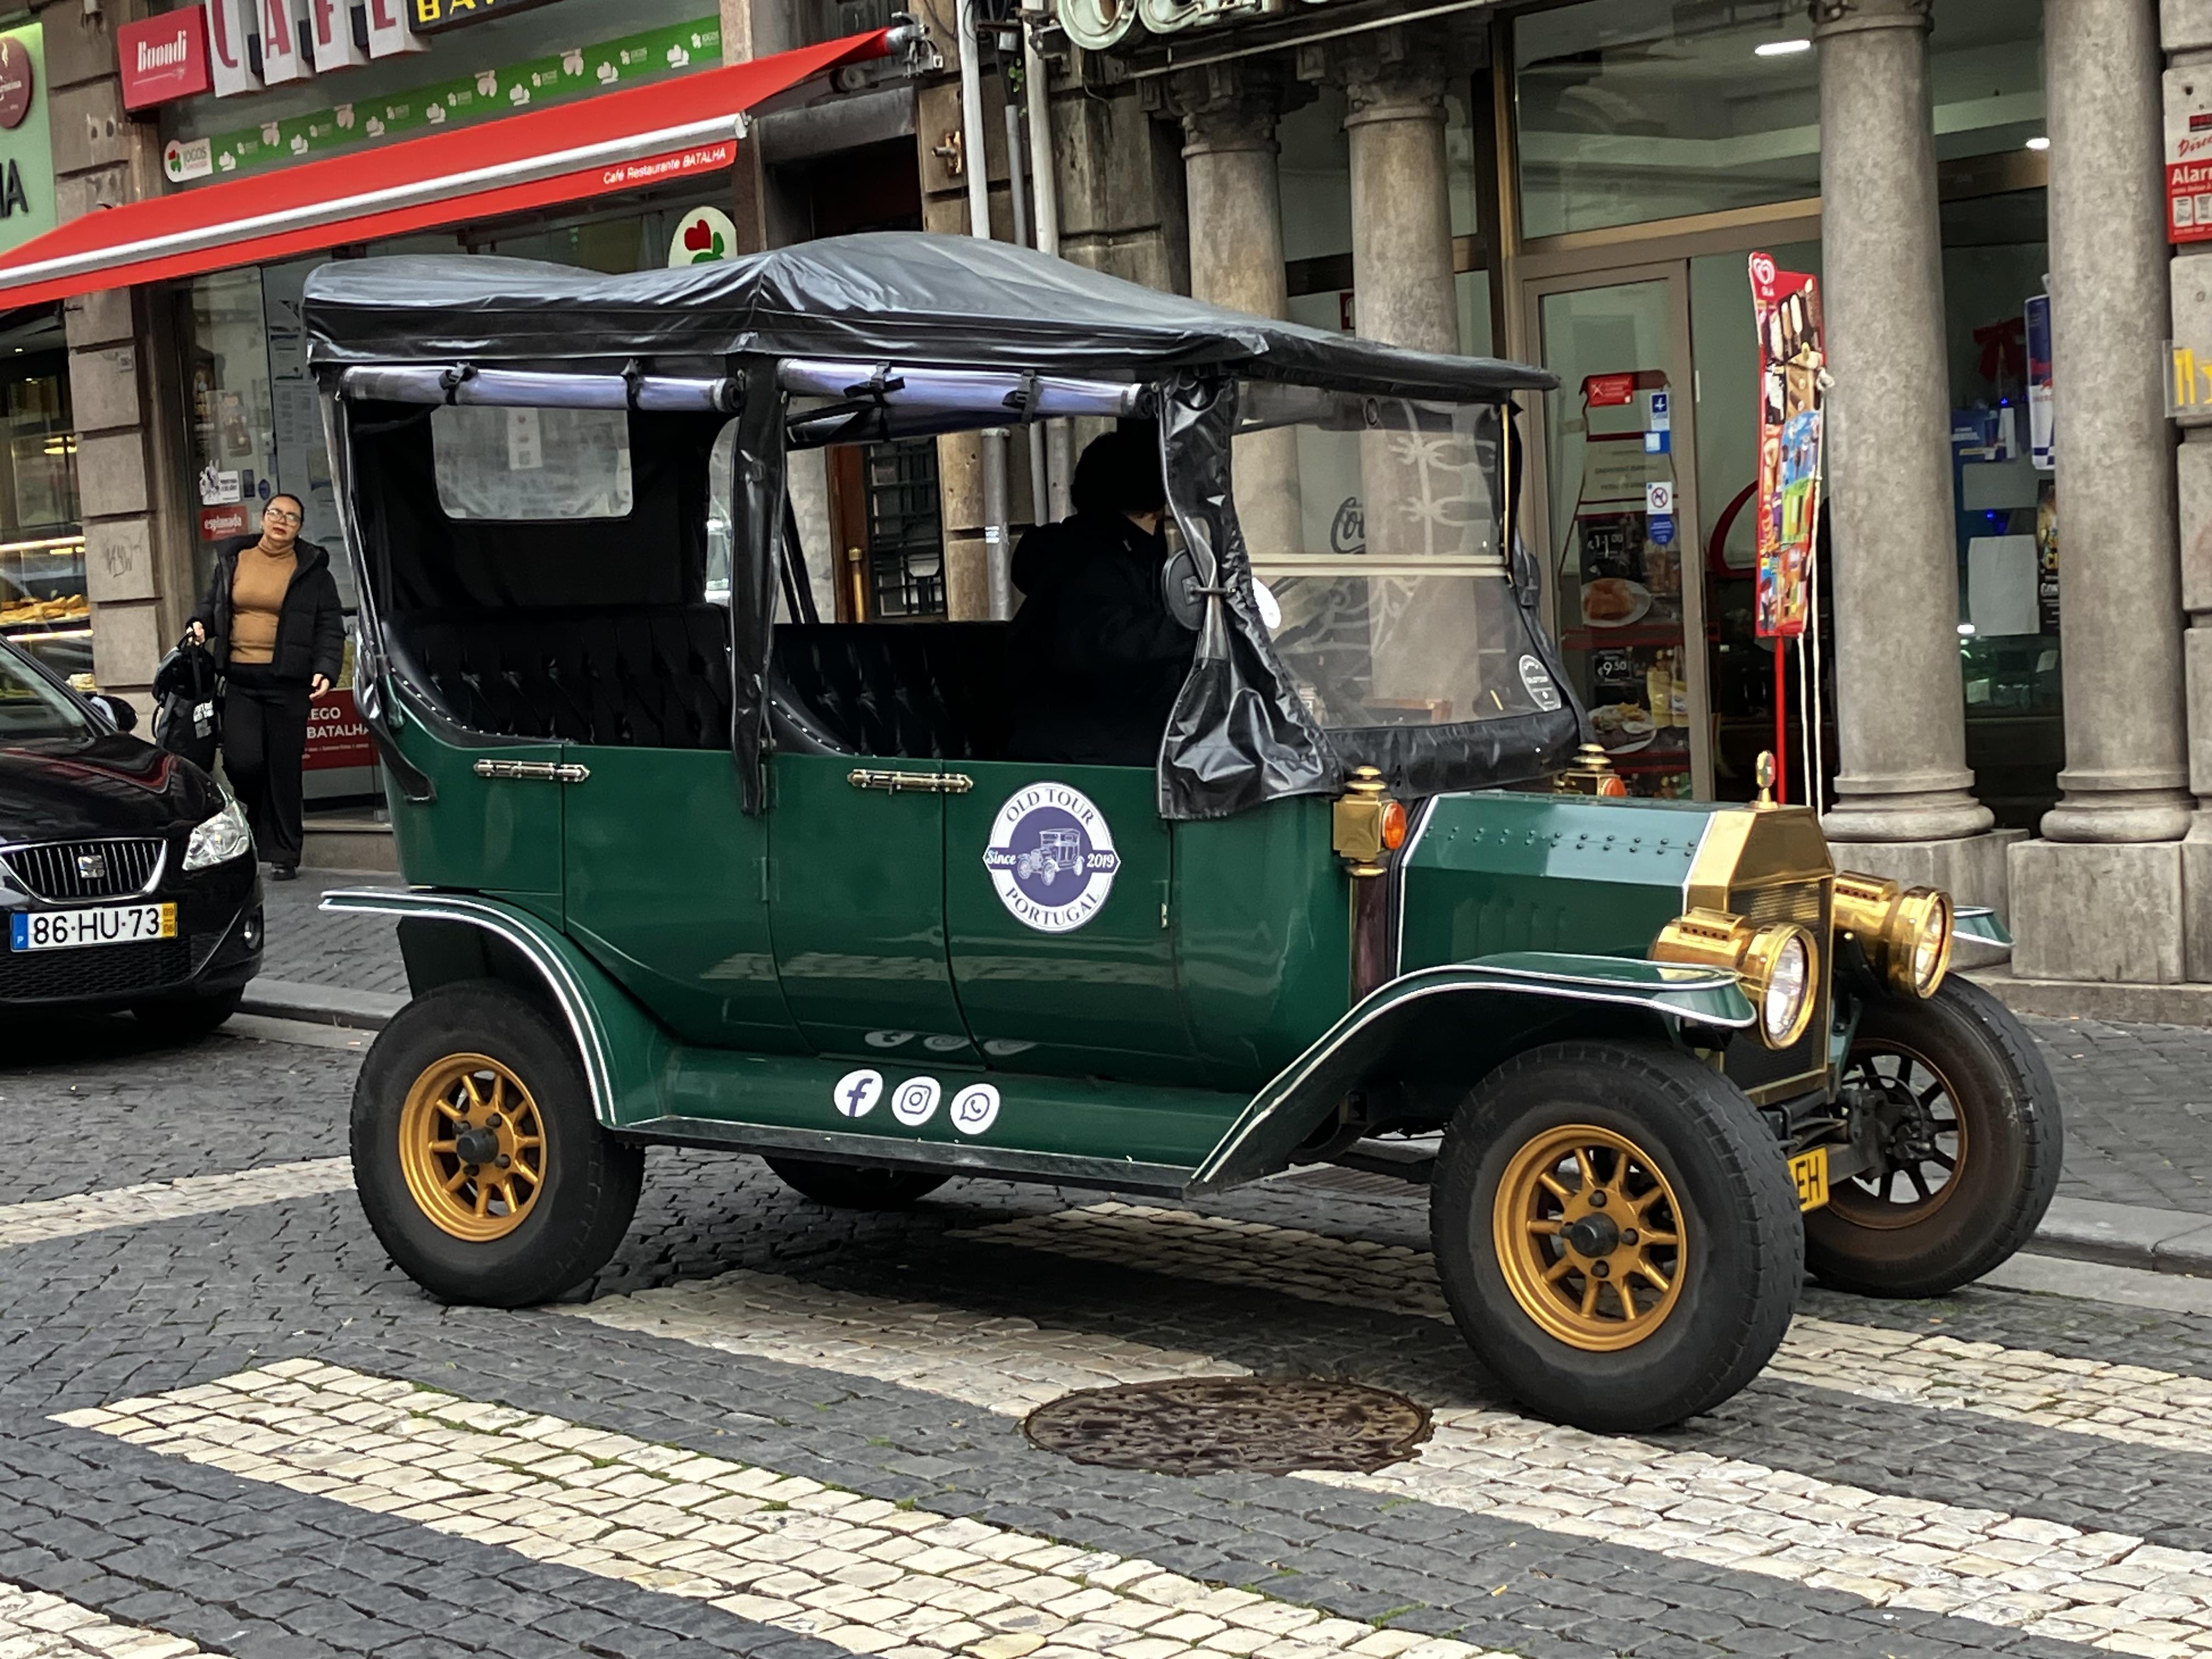
Thanks for the tip!😬 I was going to take a picture of one but decided not to for some reason.🥵 Our tour guide did tell us that we couldn’t take pictures of a bank. -
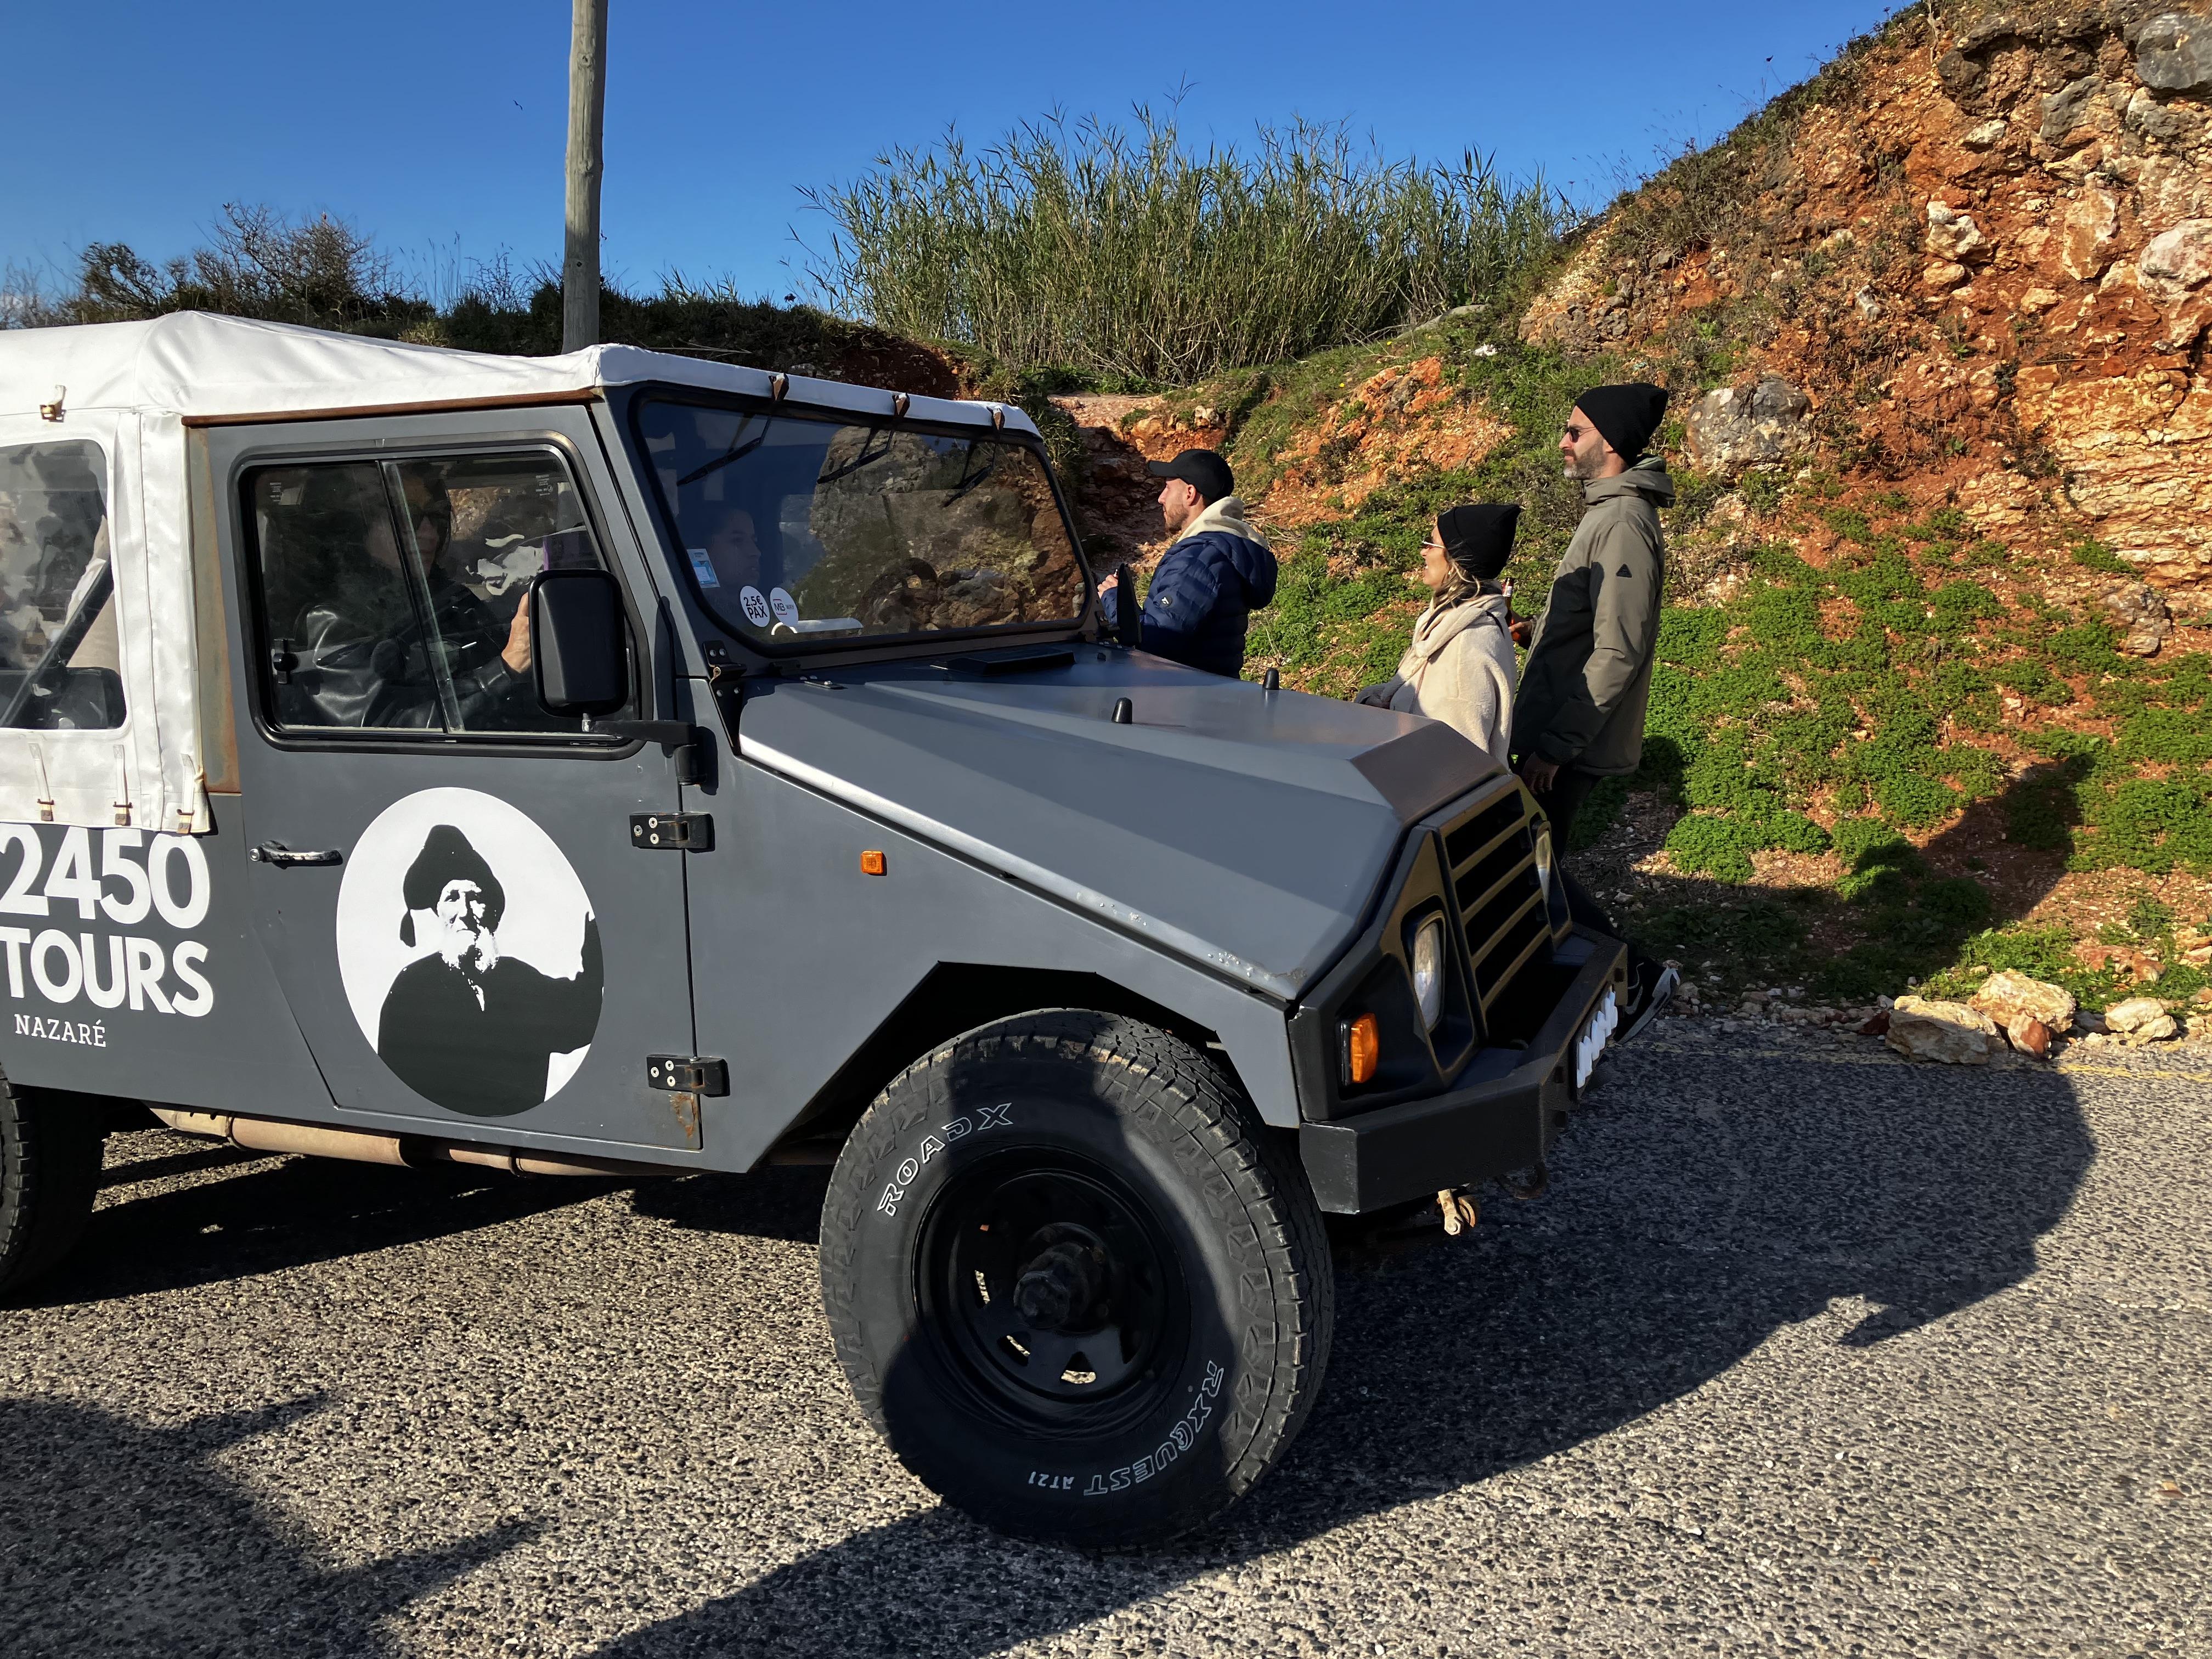
What did you see on the road today?
NOBLNG replied to Harry P.'s topic in General Automotive Talk (Trucks and Cars)
I’m on a week long tour in Portugal and saw these.
-
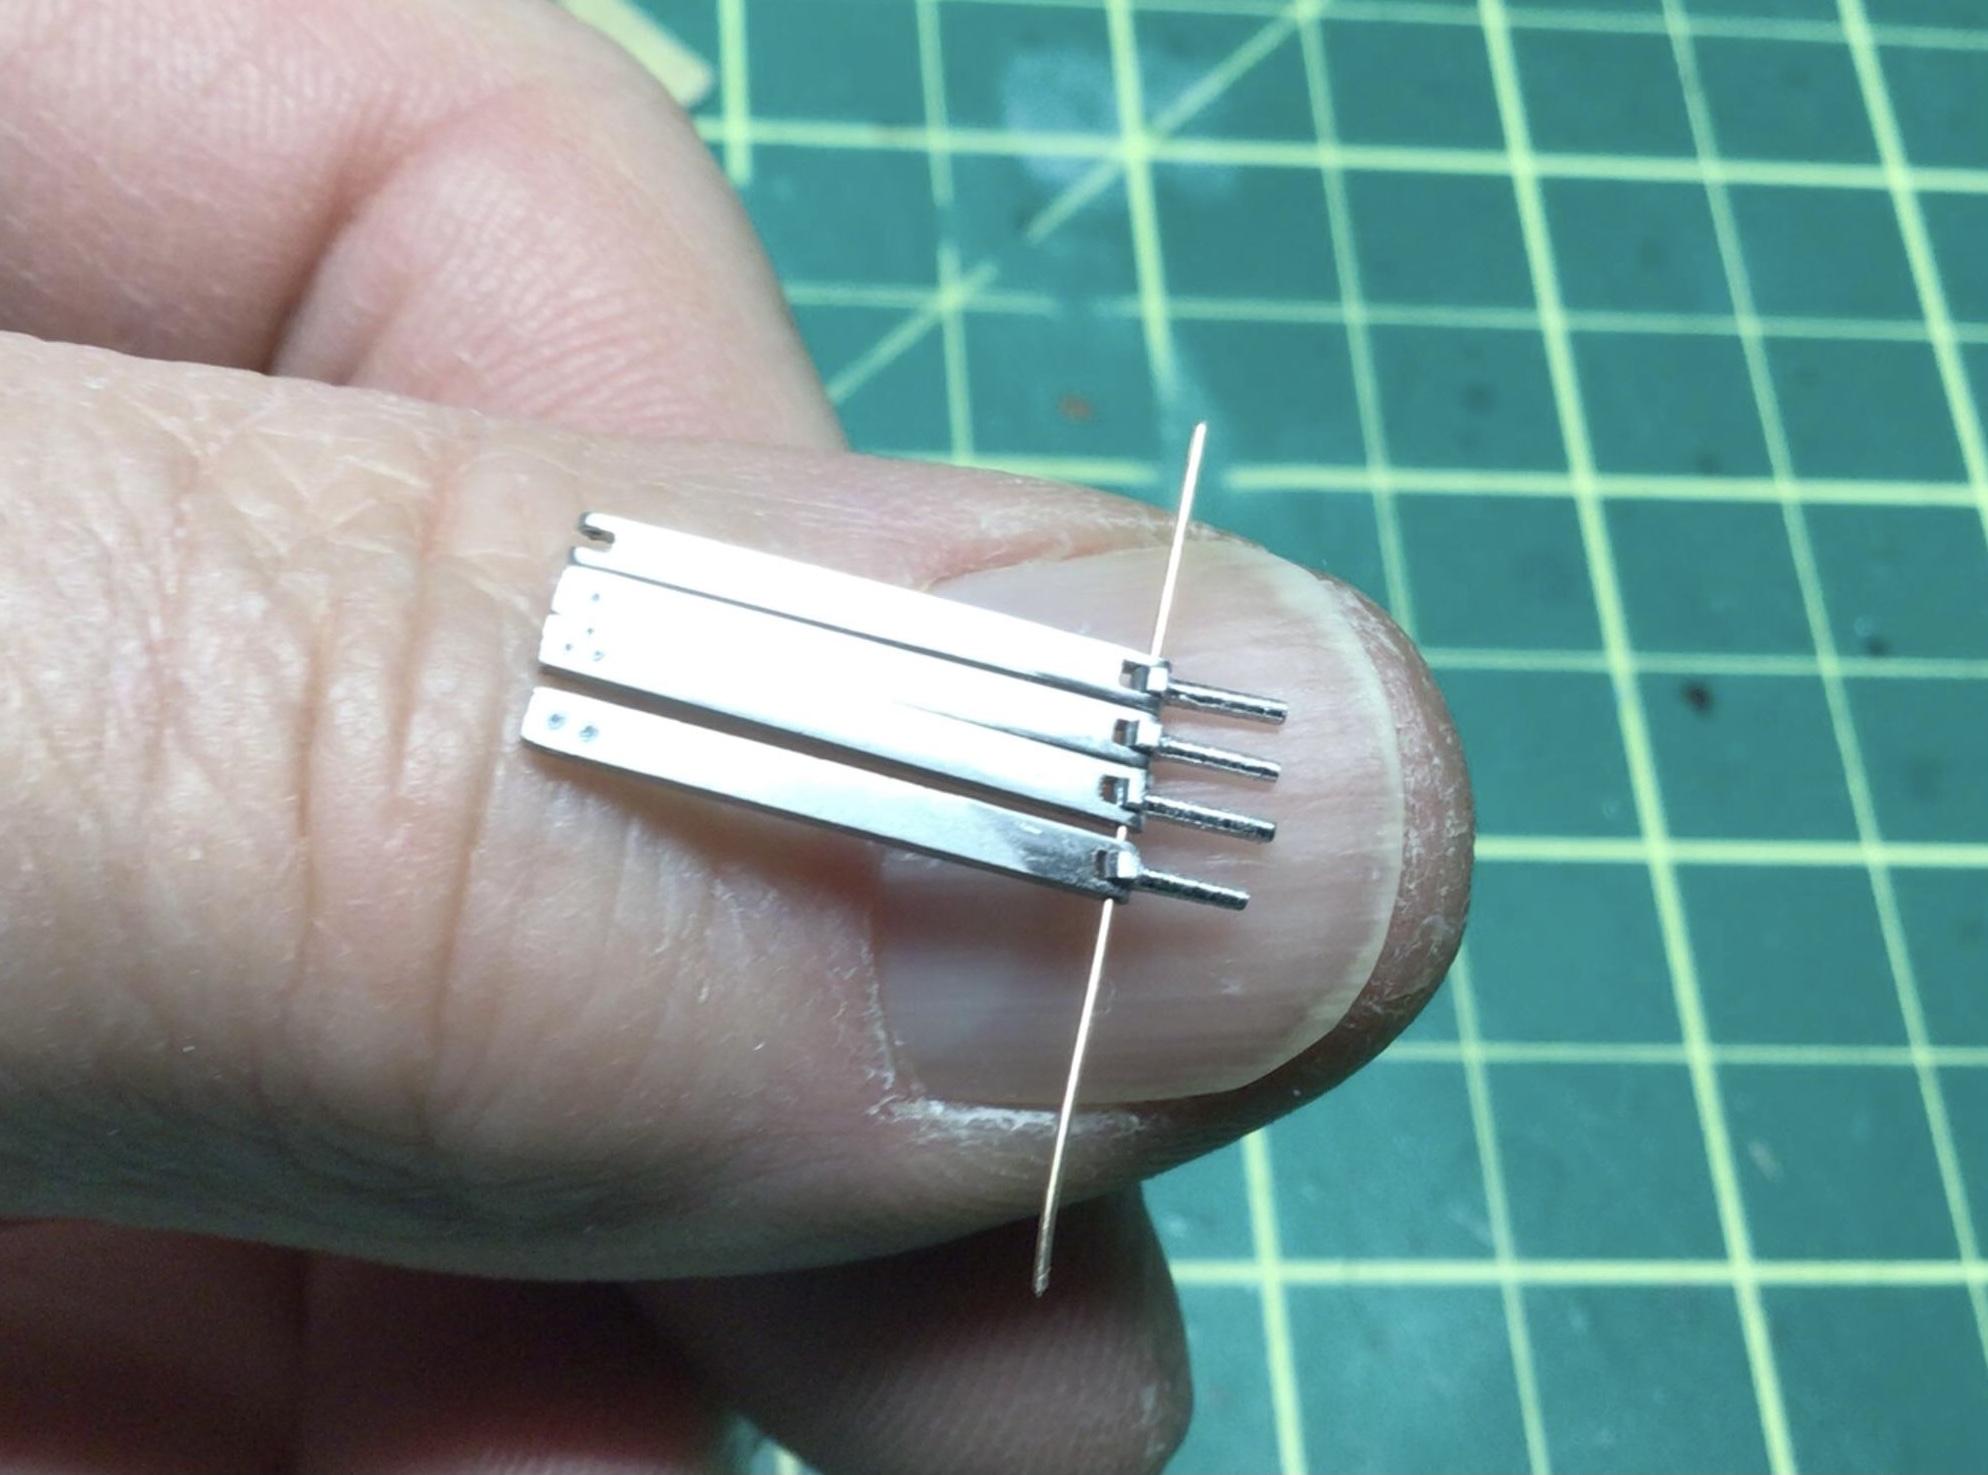
That certainly is tiny! You’re not likely to use that one by hand in a pin vise.😬 I managed to drill 0.4mm (0.0157”) holes in some aluminum hinges I made for a Toyota S-800. I mounted my rotary tool in a press stand to do it.
-
That color combo should look nice!👍
-
Possibly the Baldwin version? This one doesn’t.
-
I’ve made a bunch of them the same way, but only about 4”x5”. That way they fit in the dehydrator easily. Scratching posts might have catnip in them so if you have cats it may not be a good idea.
-
Only in my dreams…😳
-
Thoughts and ideas that hold forever true..........
NOBLNG replied to JollySipper's topic in The Off-Topic Lounge
Some work is enjoyable!
-
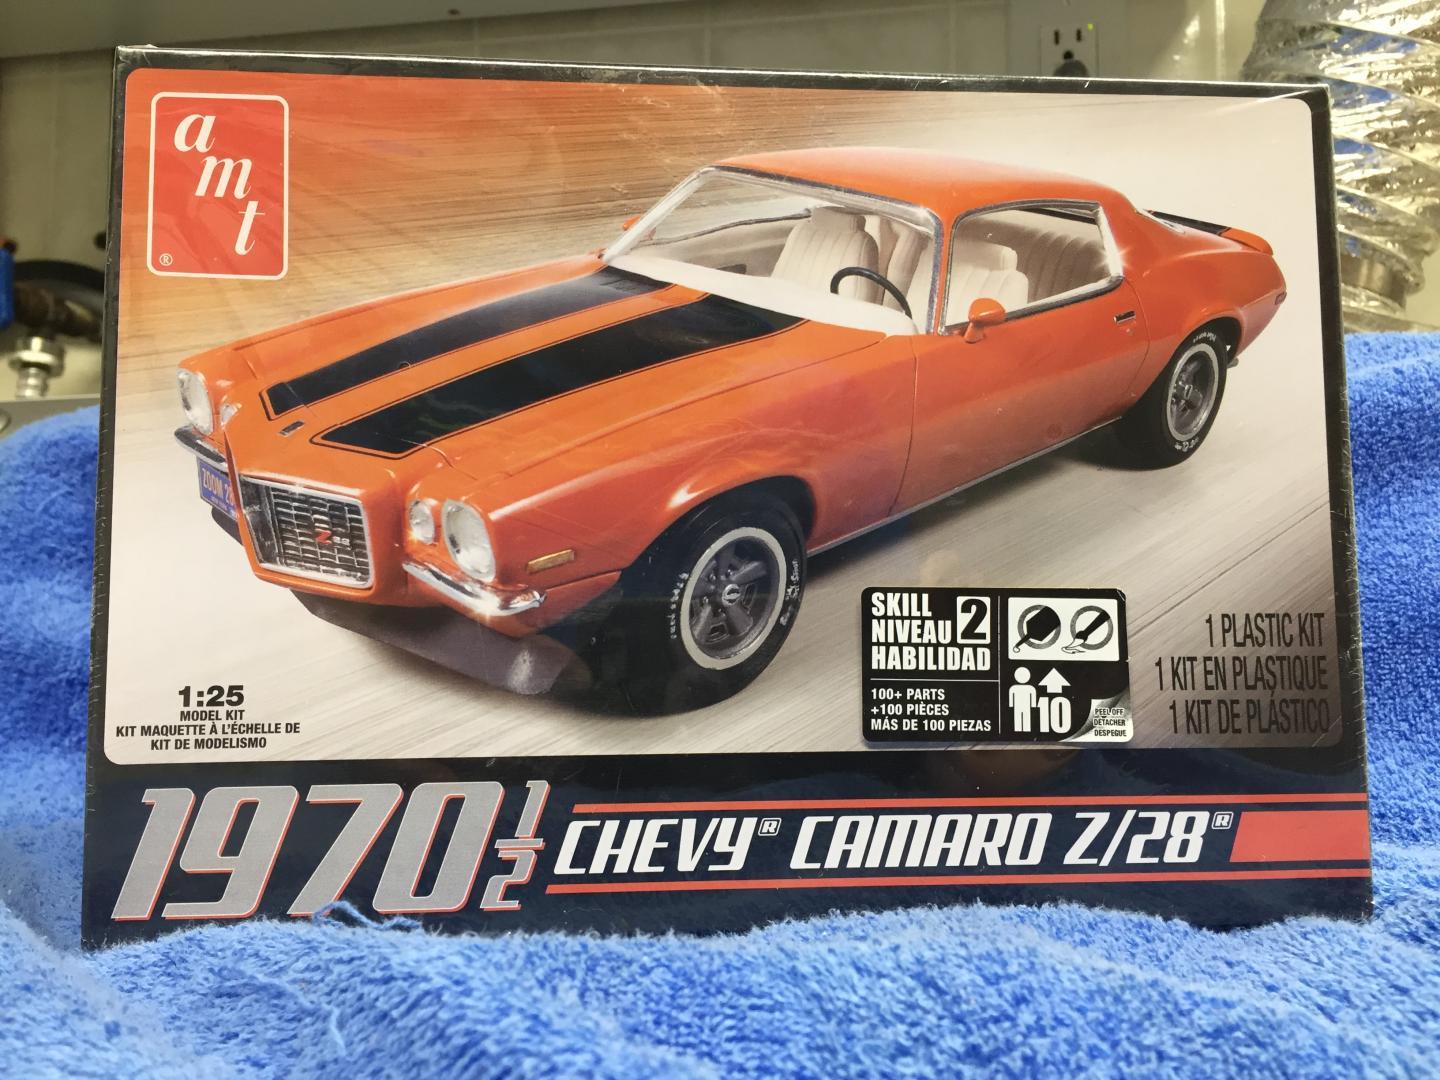
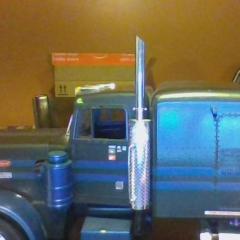
Thanks Tim. Unfortunately AMT shorted the wheelbase by four inches on this kit and stretching it is not feasible, so it will never look as sleek as it should.😕 I’ll do my best to put a decent paint job on it so I can put it on the shelf.
-
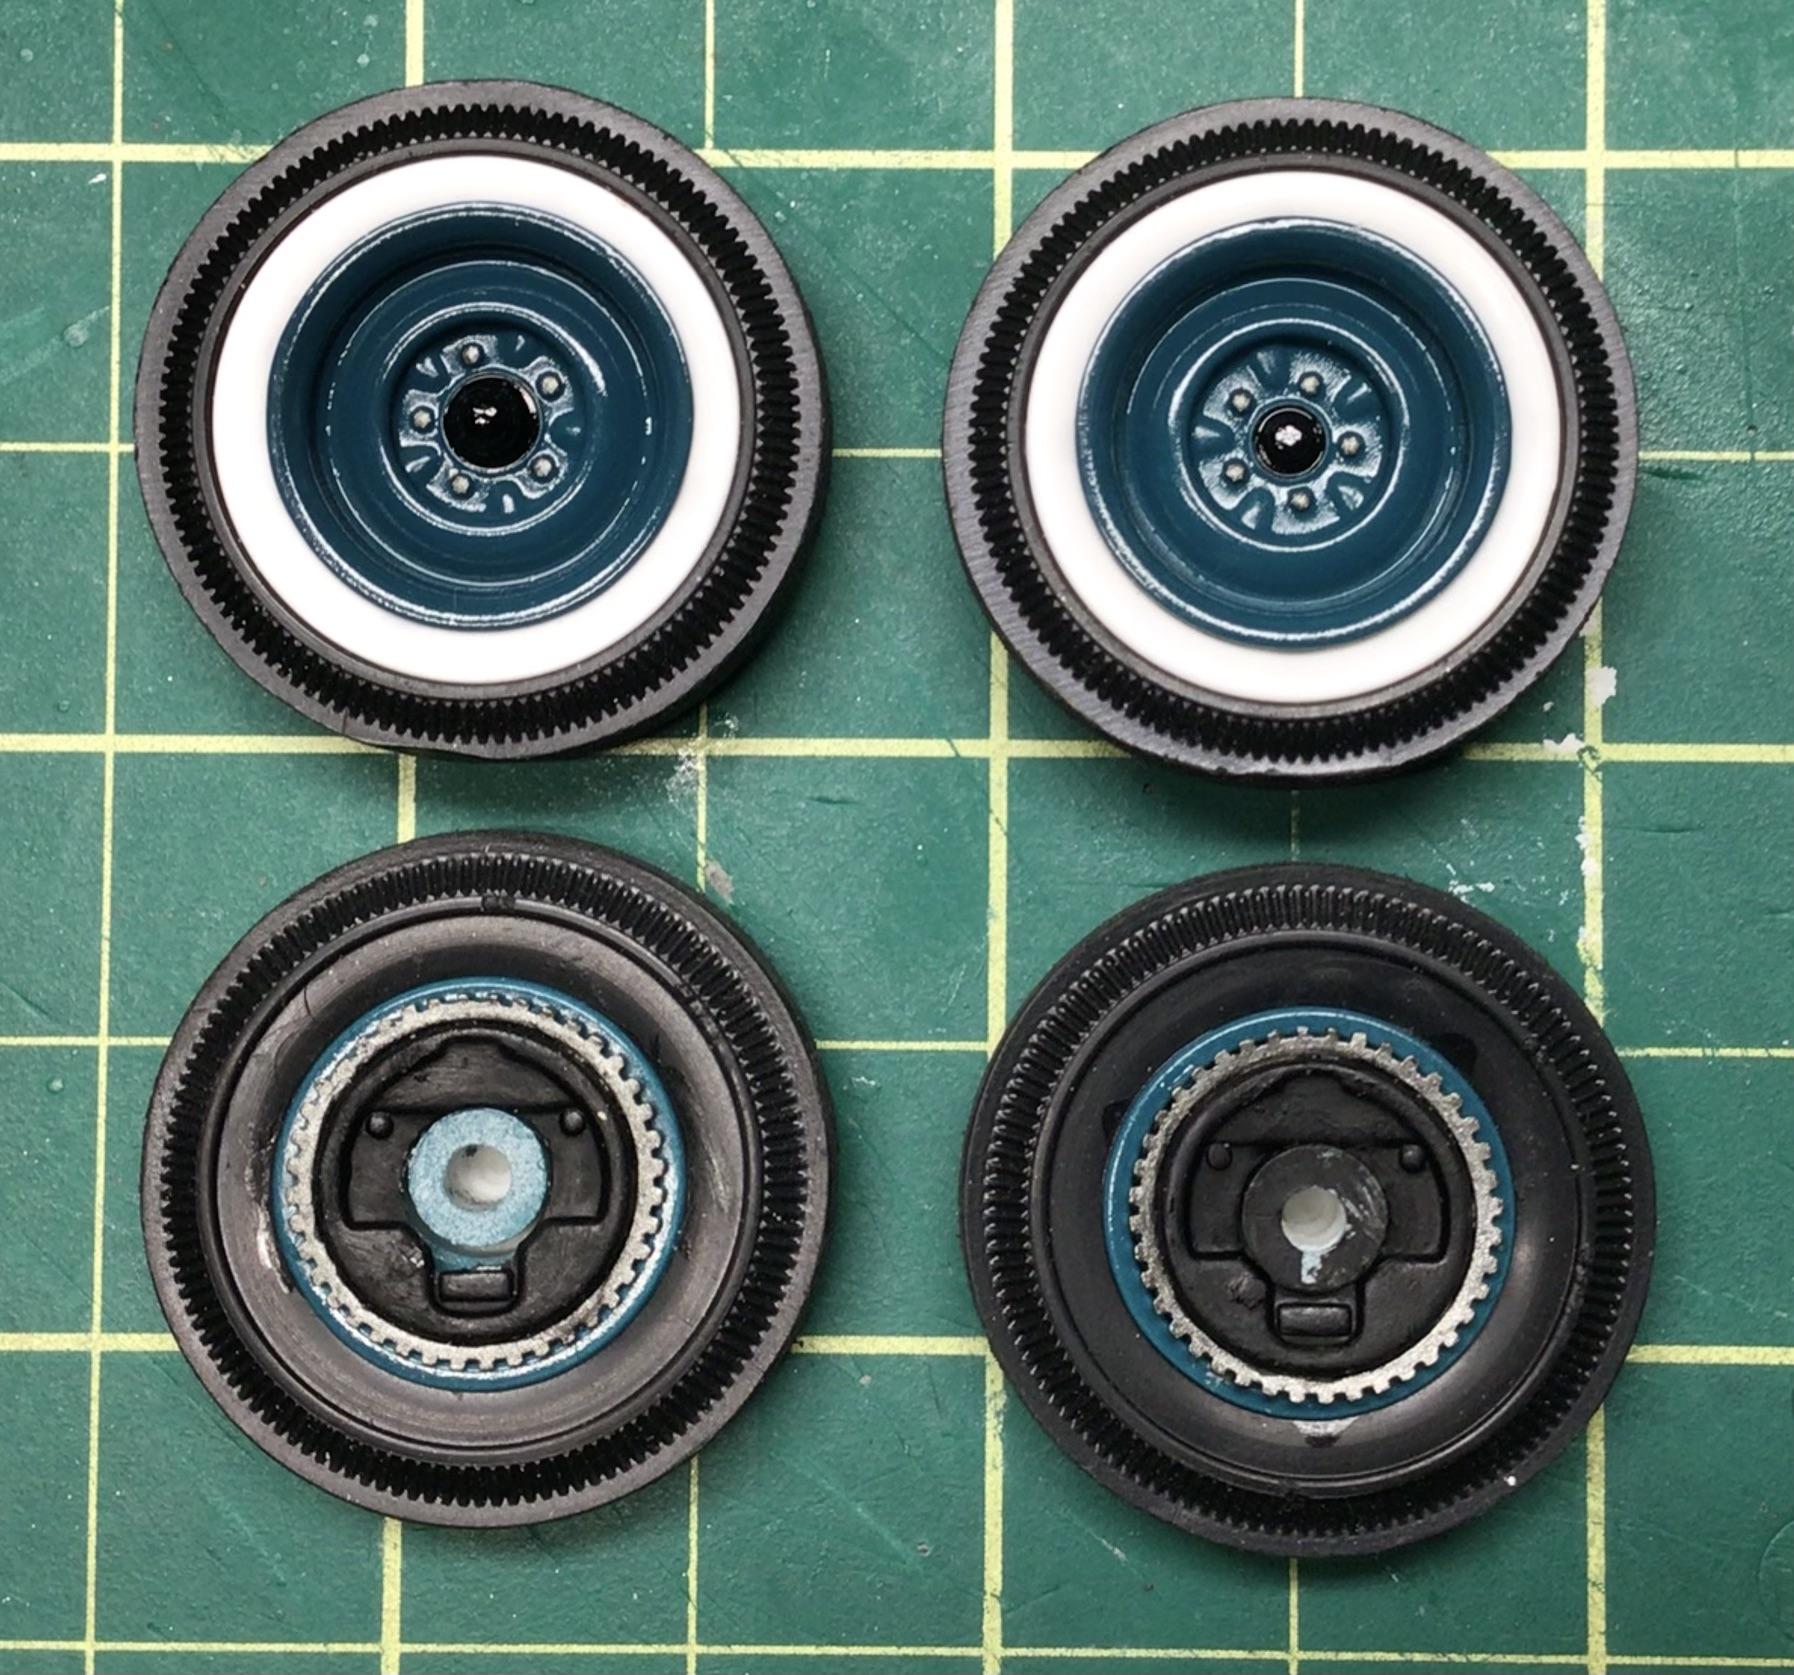
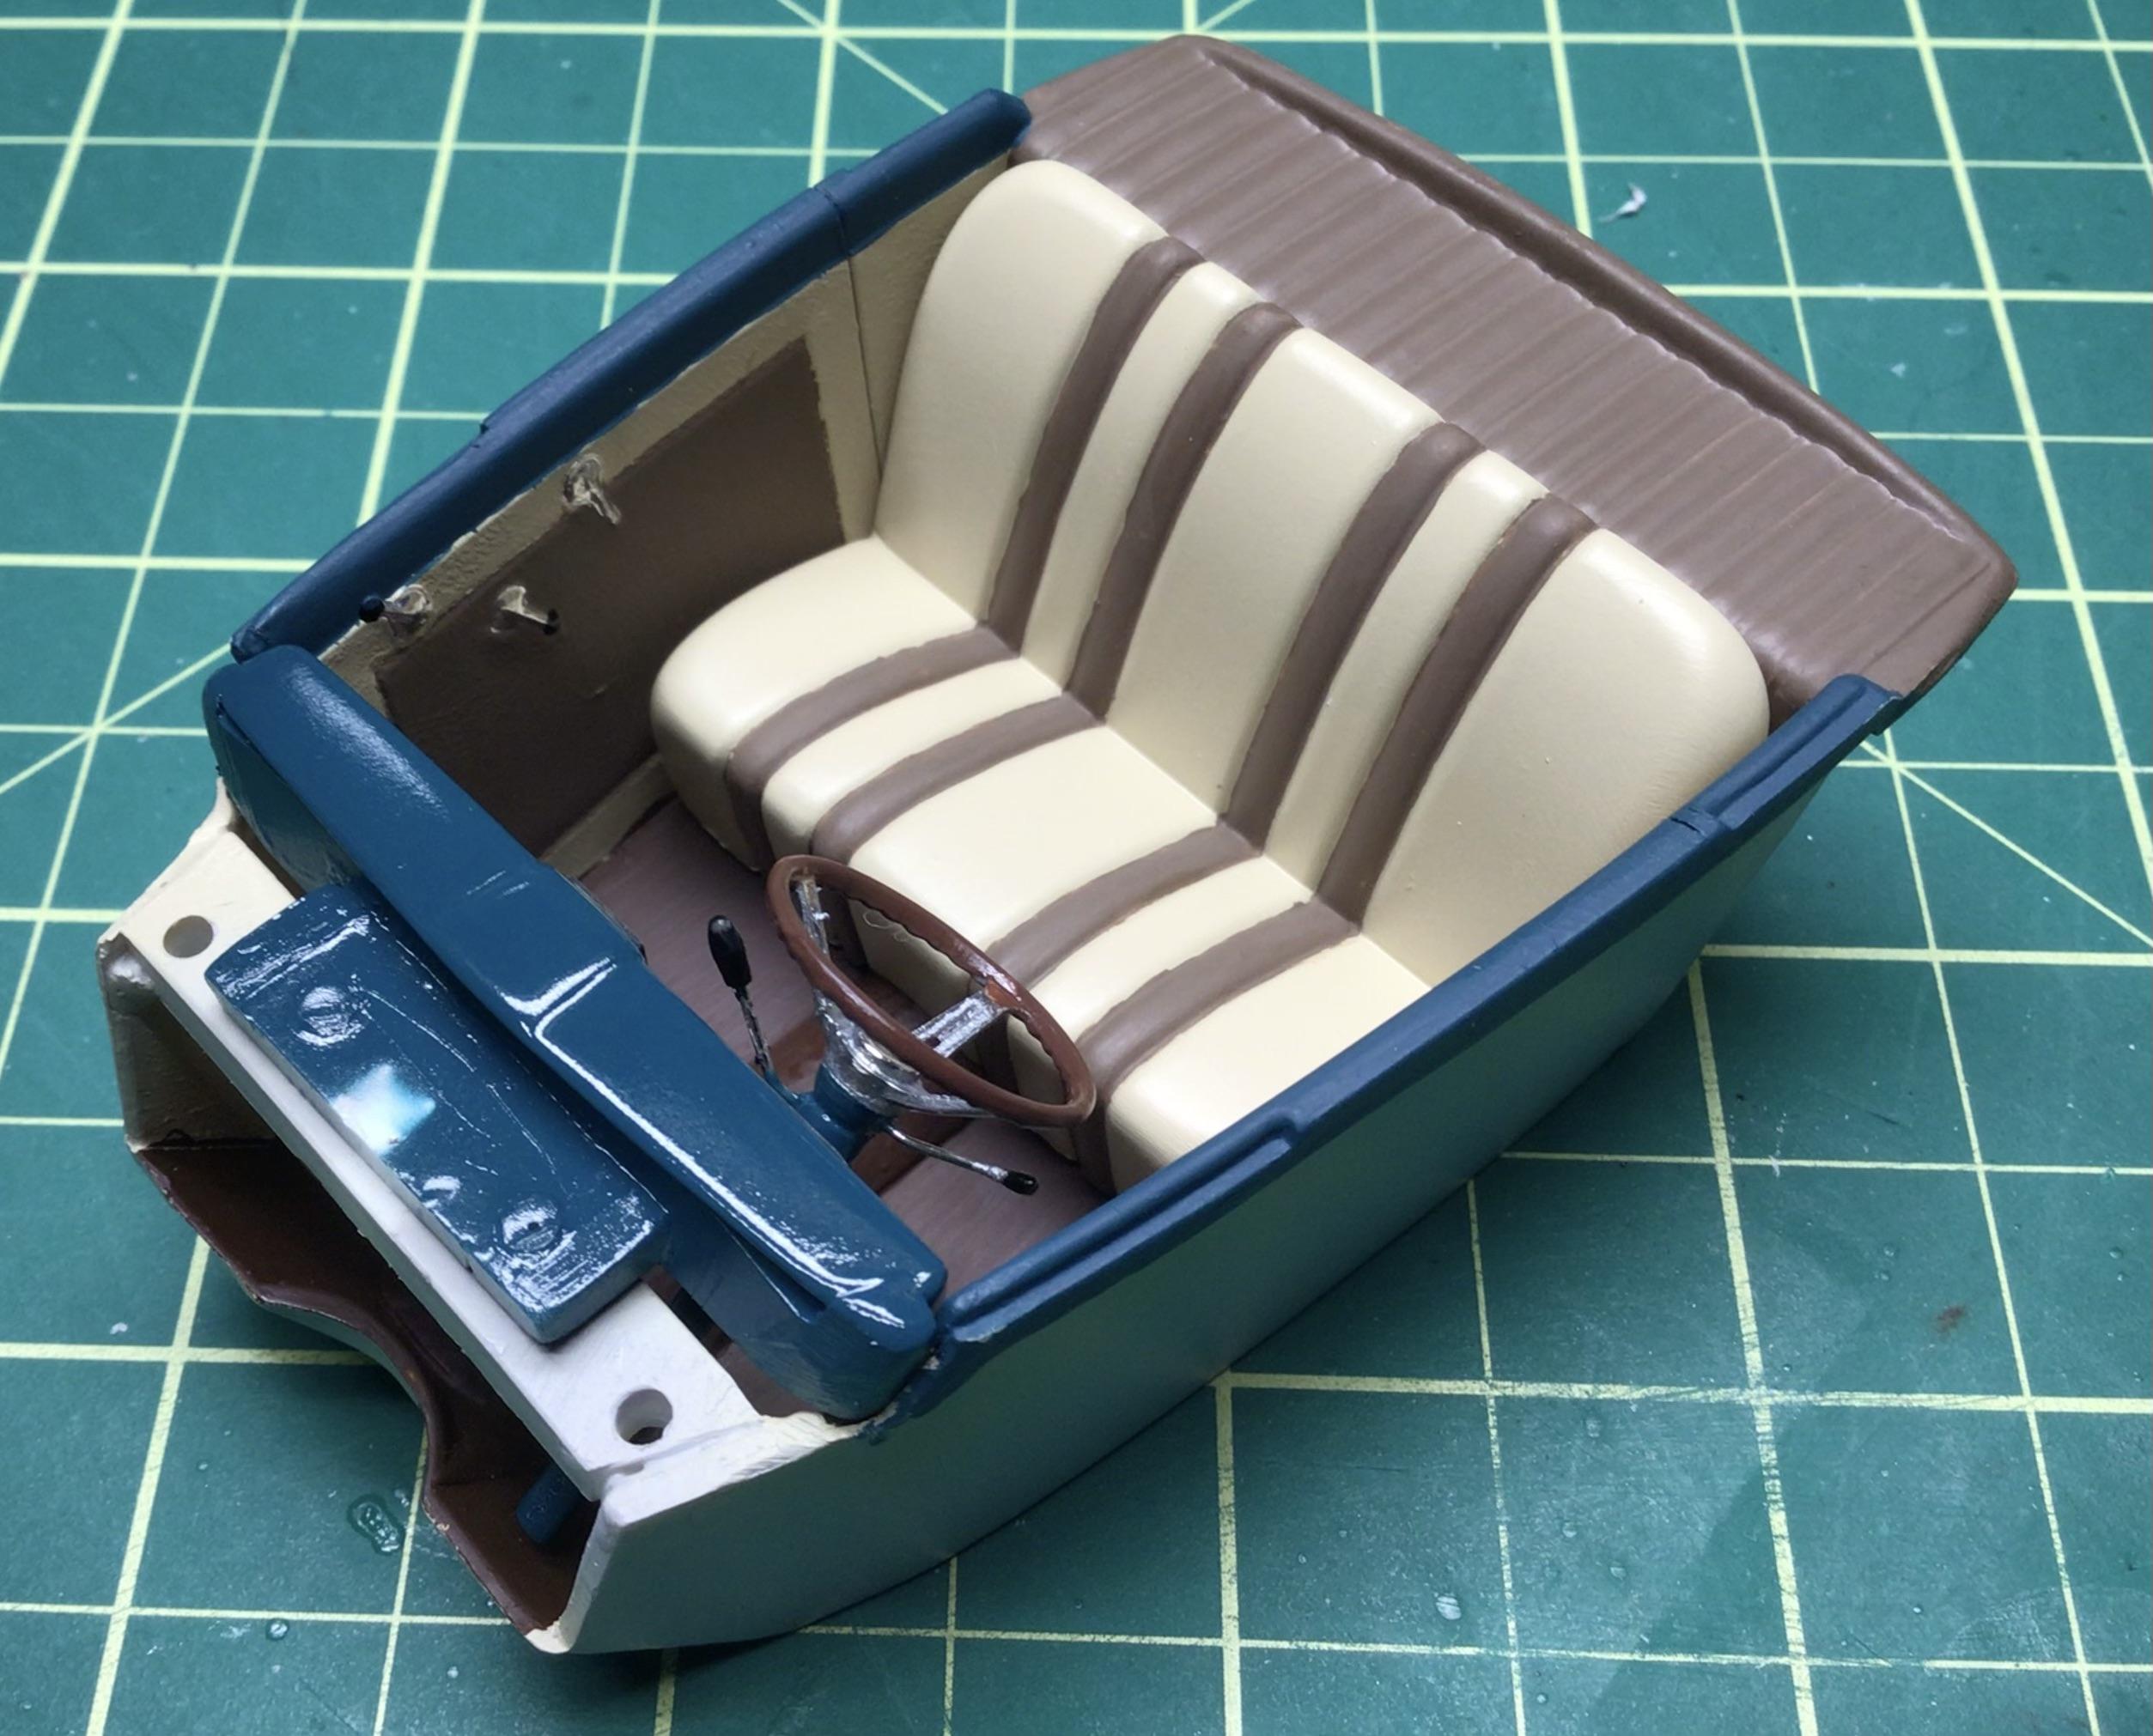
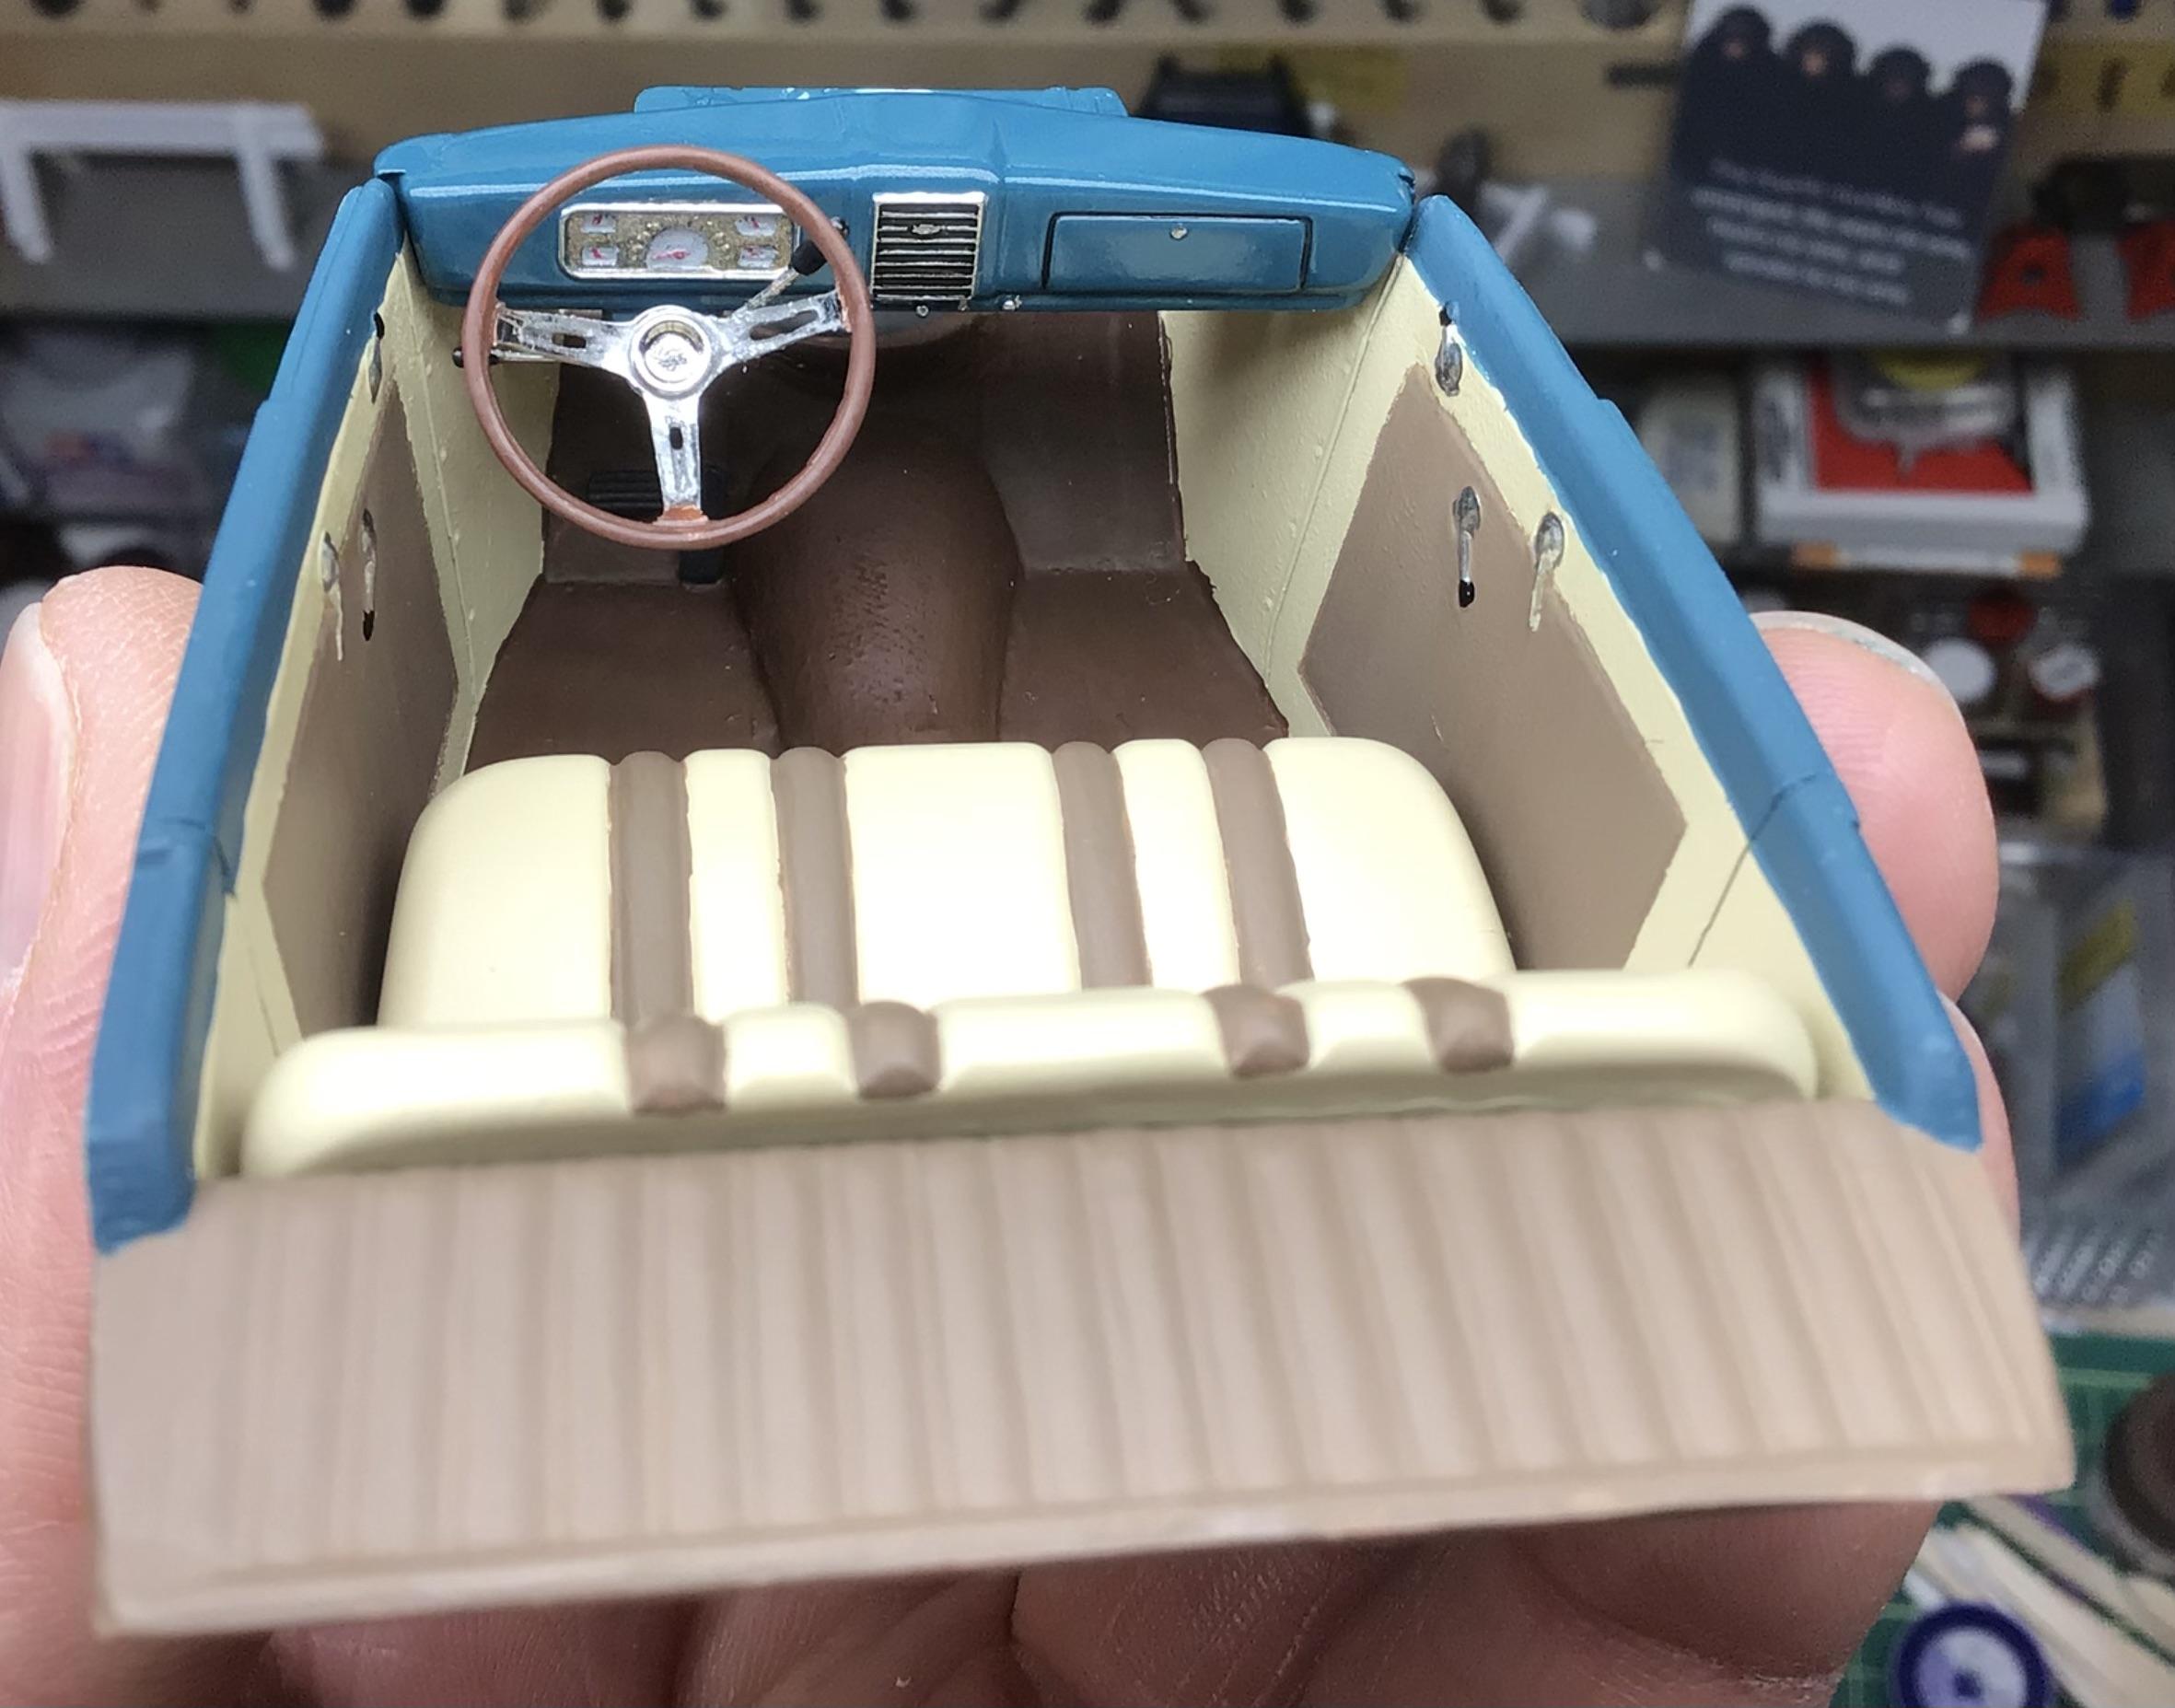
I added some resin backing plates and drums to the parts box steelies. I’ll add the hubcaps as a final step. The interior is finished too.
-
I built my first model in my bedroom, and it was a mess.😳
-
I think I would rather build another ‘41 Plymouth than this thing. At least the Plymouth is fixable with a bit of putty (ok…a lot) and sanding. I might be developing an allergy too.🥵
-
Thanks for the offer Alan. This kit actually has two tail lights, the spare tire cover and five hub caps.
-
Believe me, they DO bounce on carpet too…but silently like little ninja escape artists.🤬