michelle
-
Posts
7,500 -
Joined
-
Last visited
Content Type
Profiles
Forums
Events
Gallery
Everything posted by michelle
-
Very very cool great work
-
this is another failed 3d resin printed body I had to remove the remaining part of the roof and then replaced with a kitbashed roof I made from two roof pieces from my parts boxes the front half from a Revell 2007 charger and the back half a Revell 68 charger roof the interior and rims and tires and back windshield glass came from my parts boxes I made the front windshield glass from a piece of clear plastic from bluetooth speaker packaging

-
unless i can order it on amazon i can't order it i have no credit or debit cards i have to use gift cards to buy online and i can only get amazon or big box store gift cards for online shopping
-

MPC 1968 Dodge Coronet R/T - TS-54 Light Blue Metallic
michelle replied to RandyB.'s topic in Model Cars
Very sharp great work -
Very nice work looks great
-
Very awesome job looks great I have wanted their factory stock kit since I saw someone built one on instagram but I have no way to get one
-
thank you yes this before version is sad looking but the after restored version is one happy looking charger
-
thank you
-
Very nice work looks awesome
-
Very sharp looking great work
-
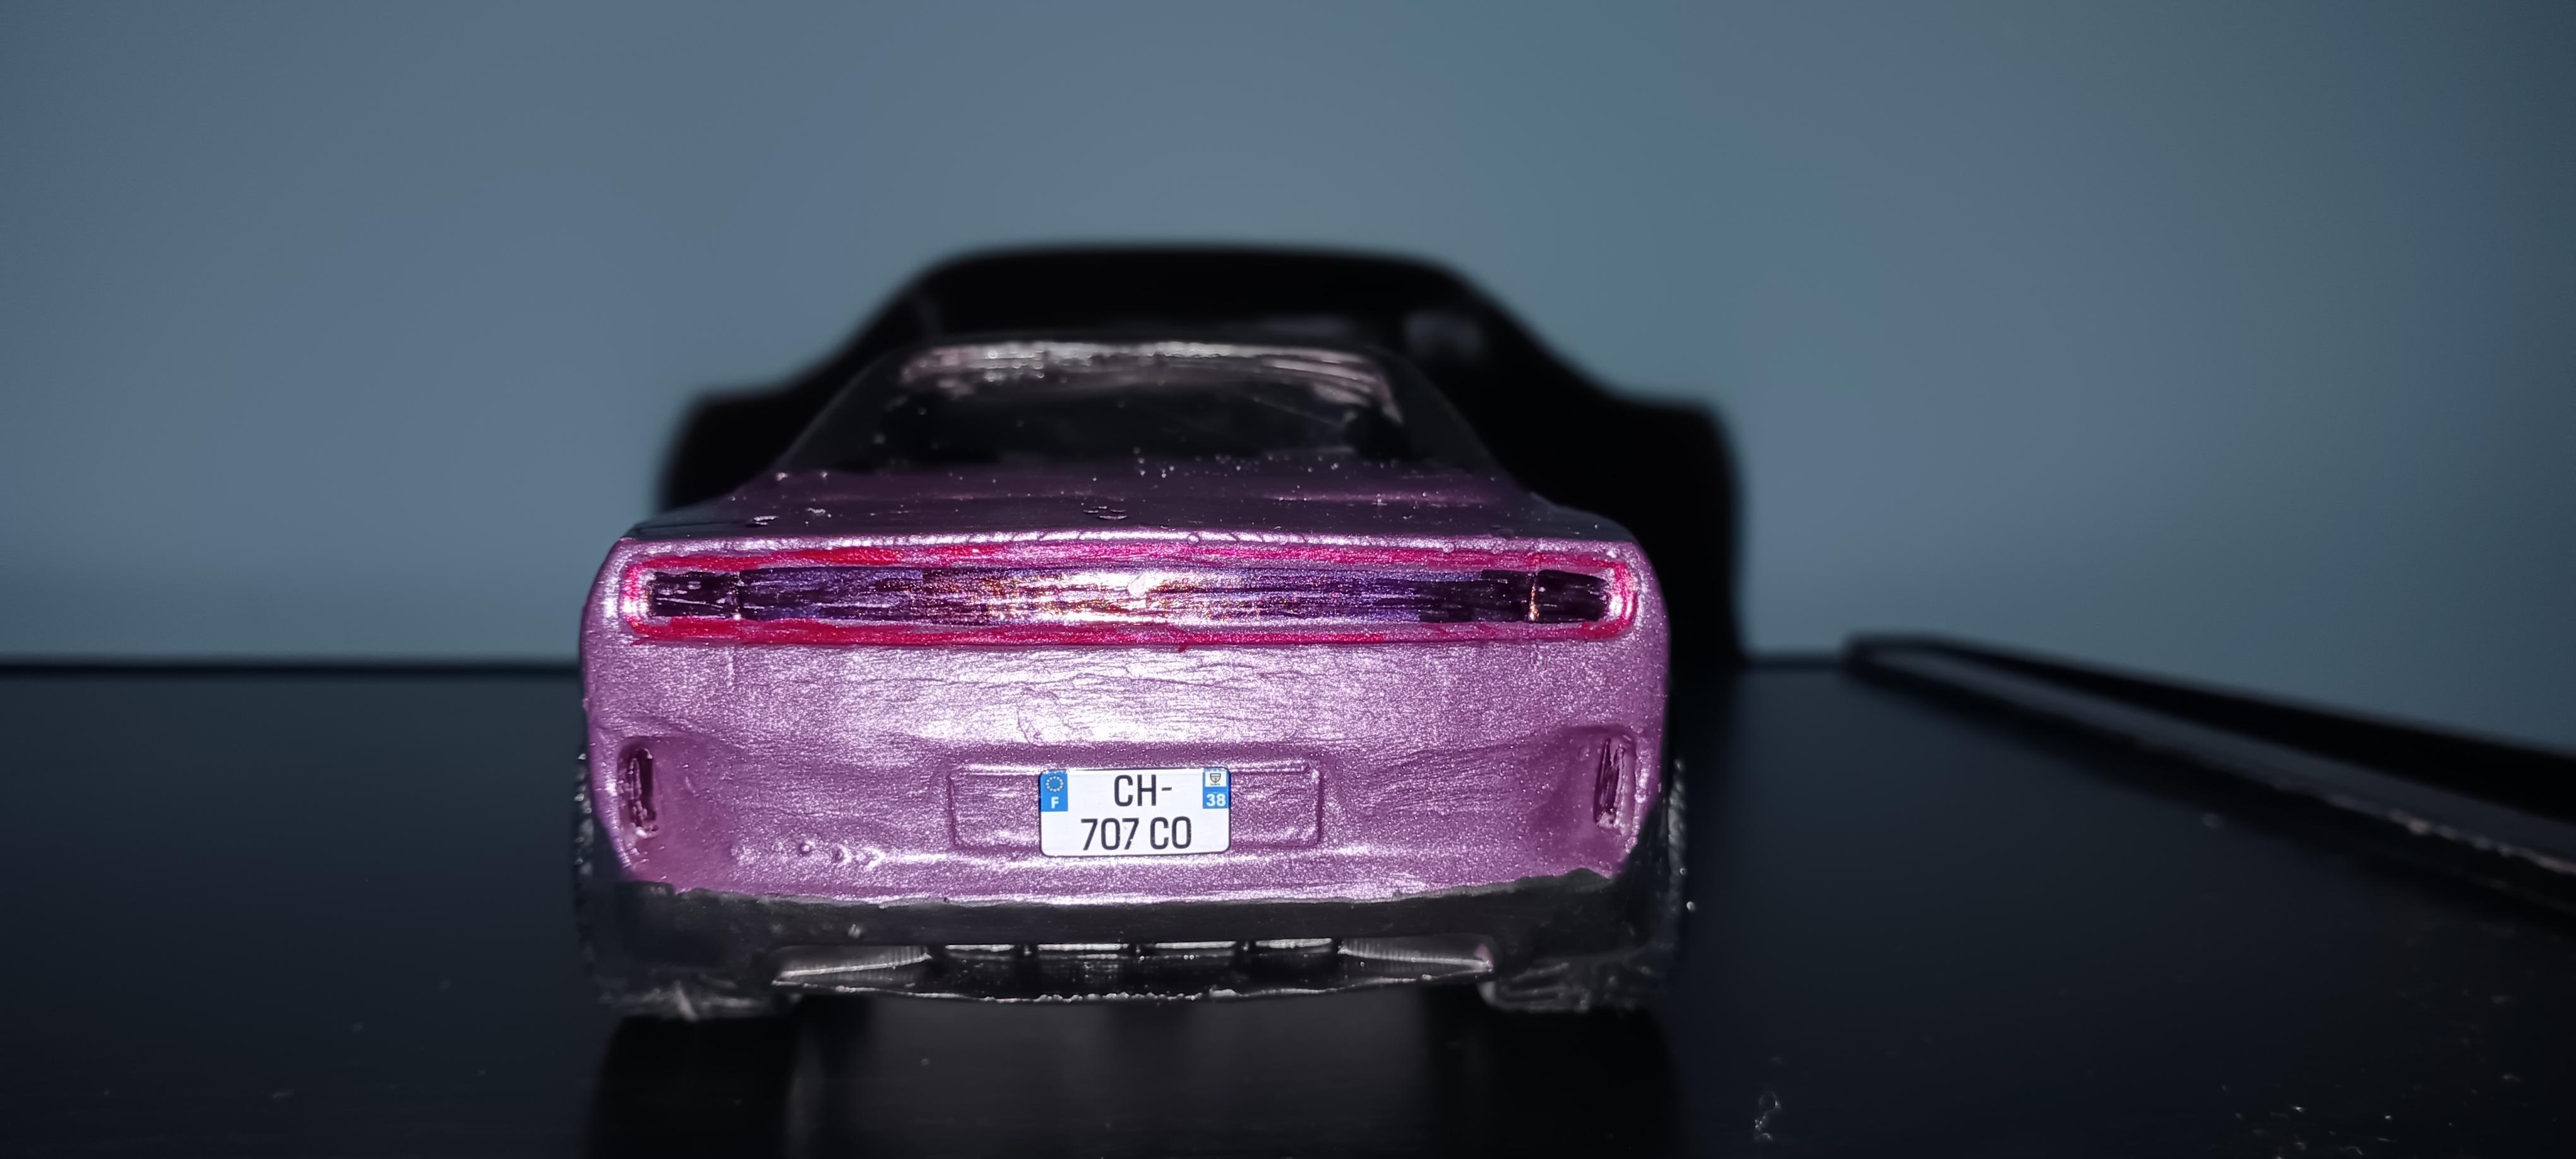
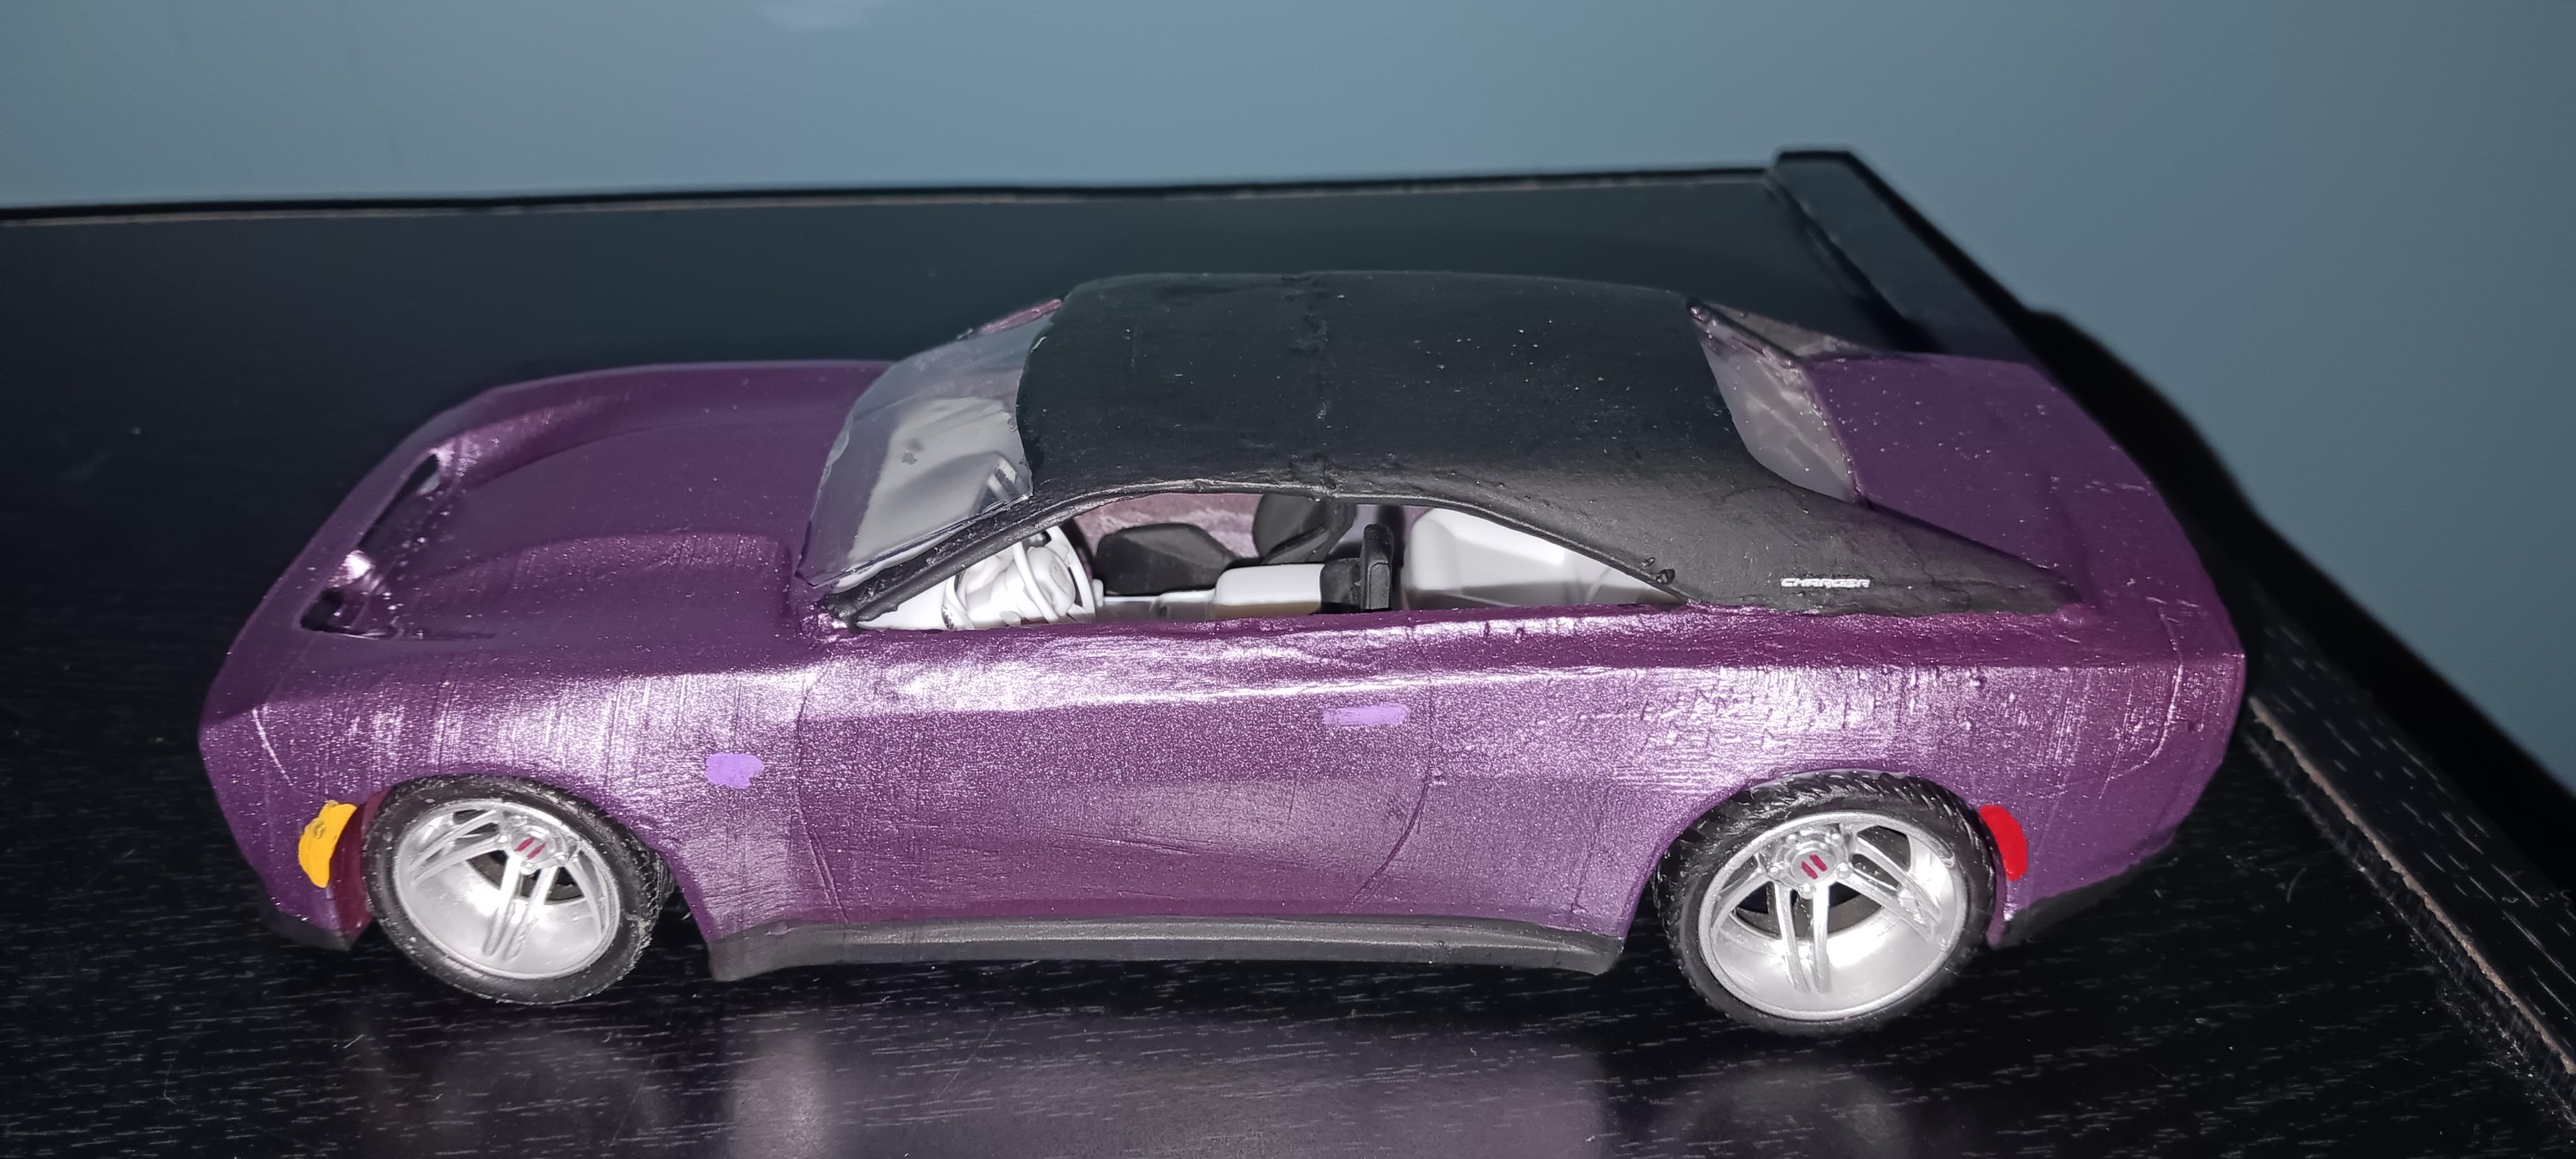
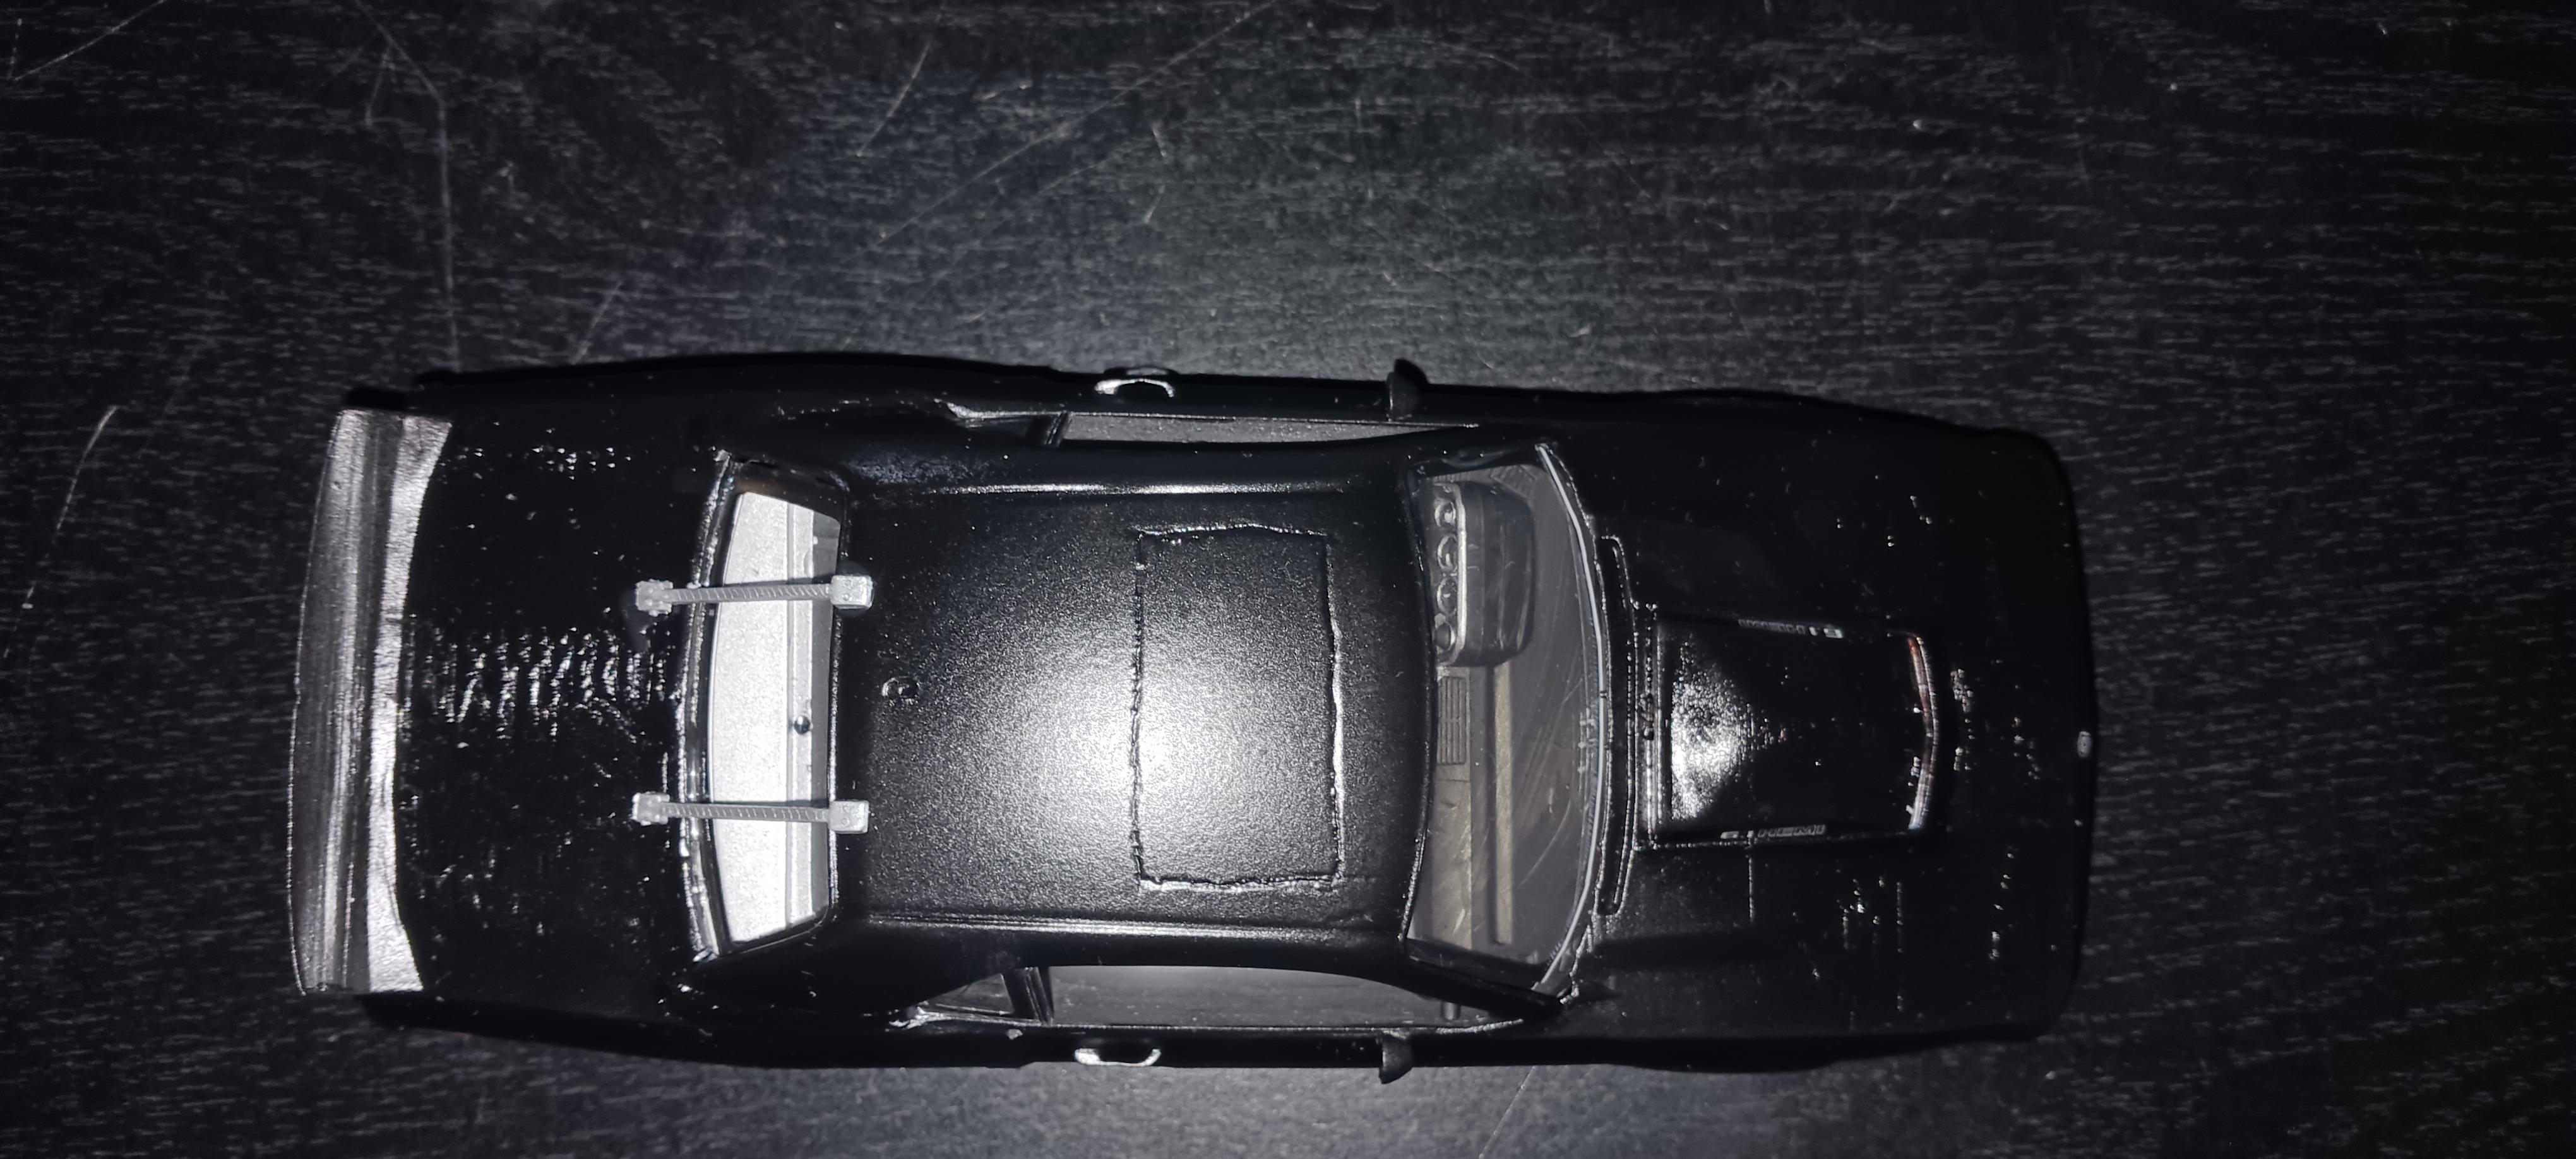
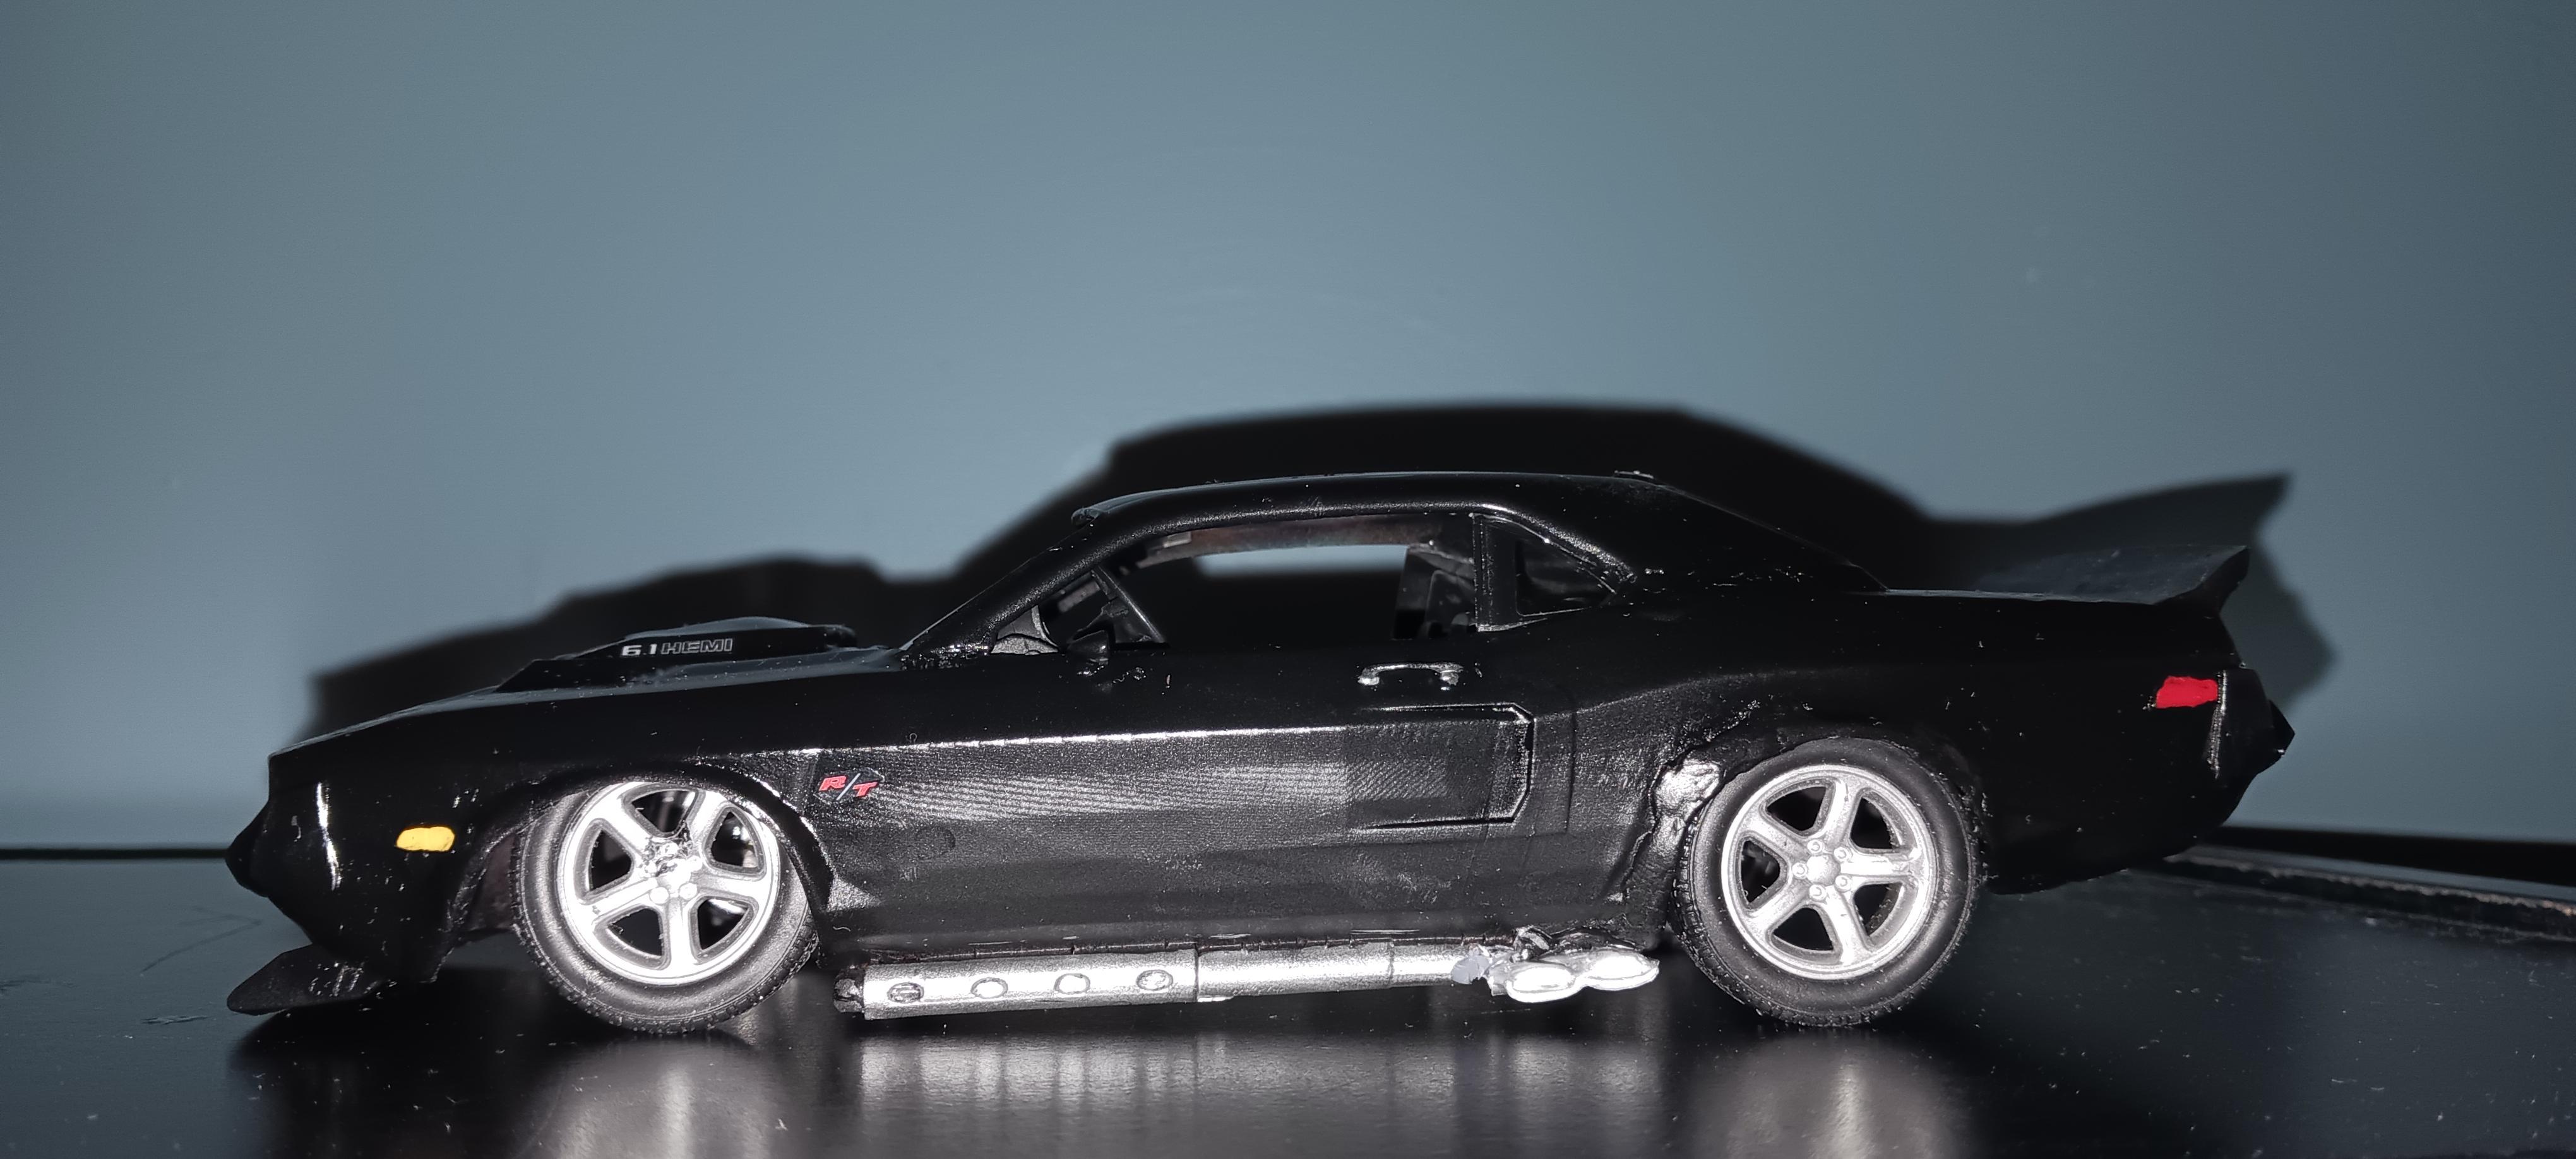
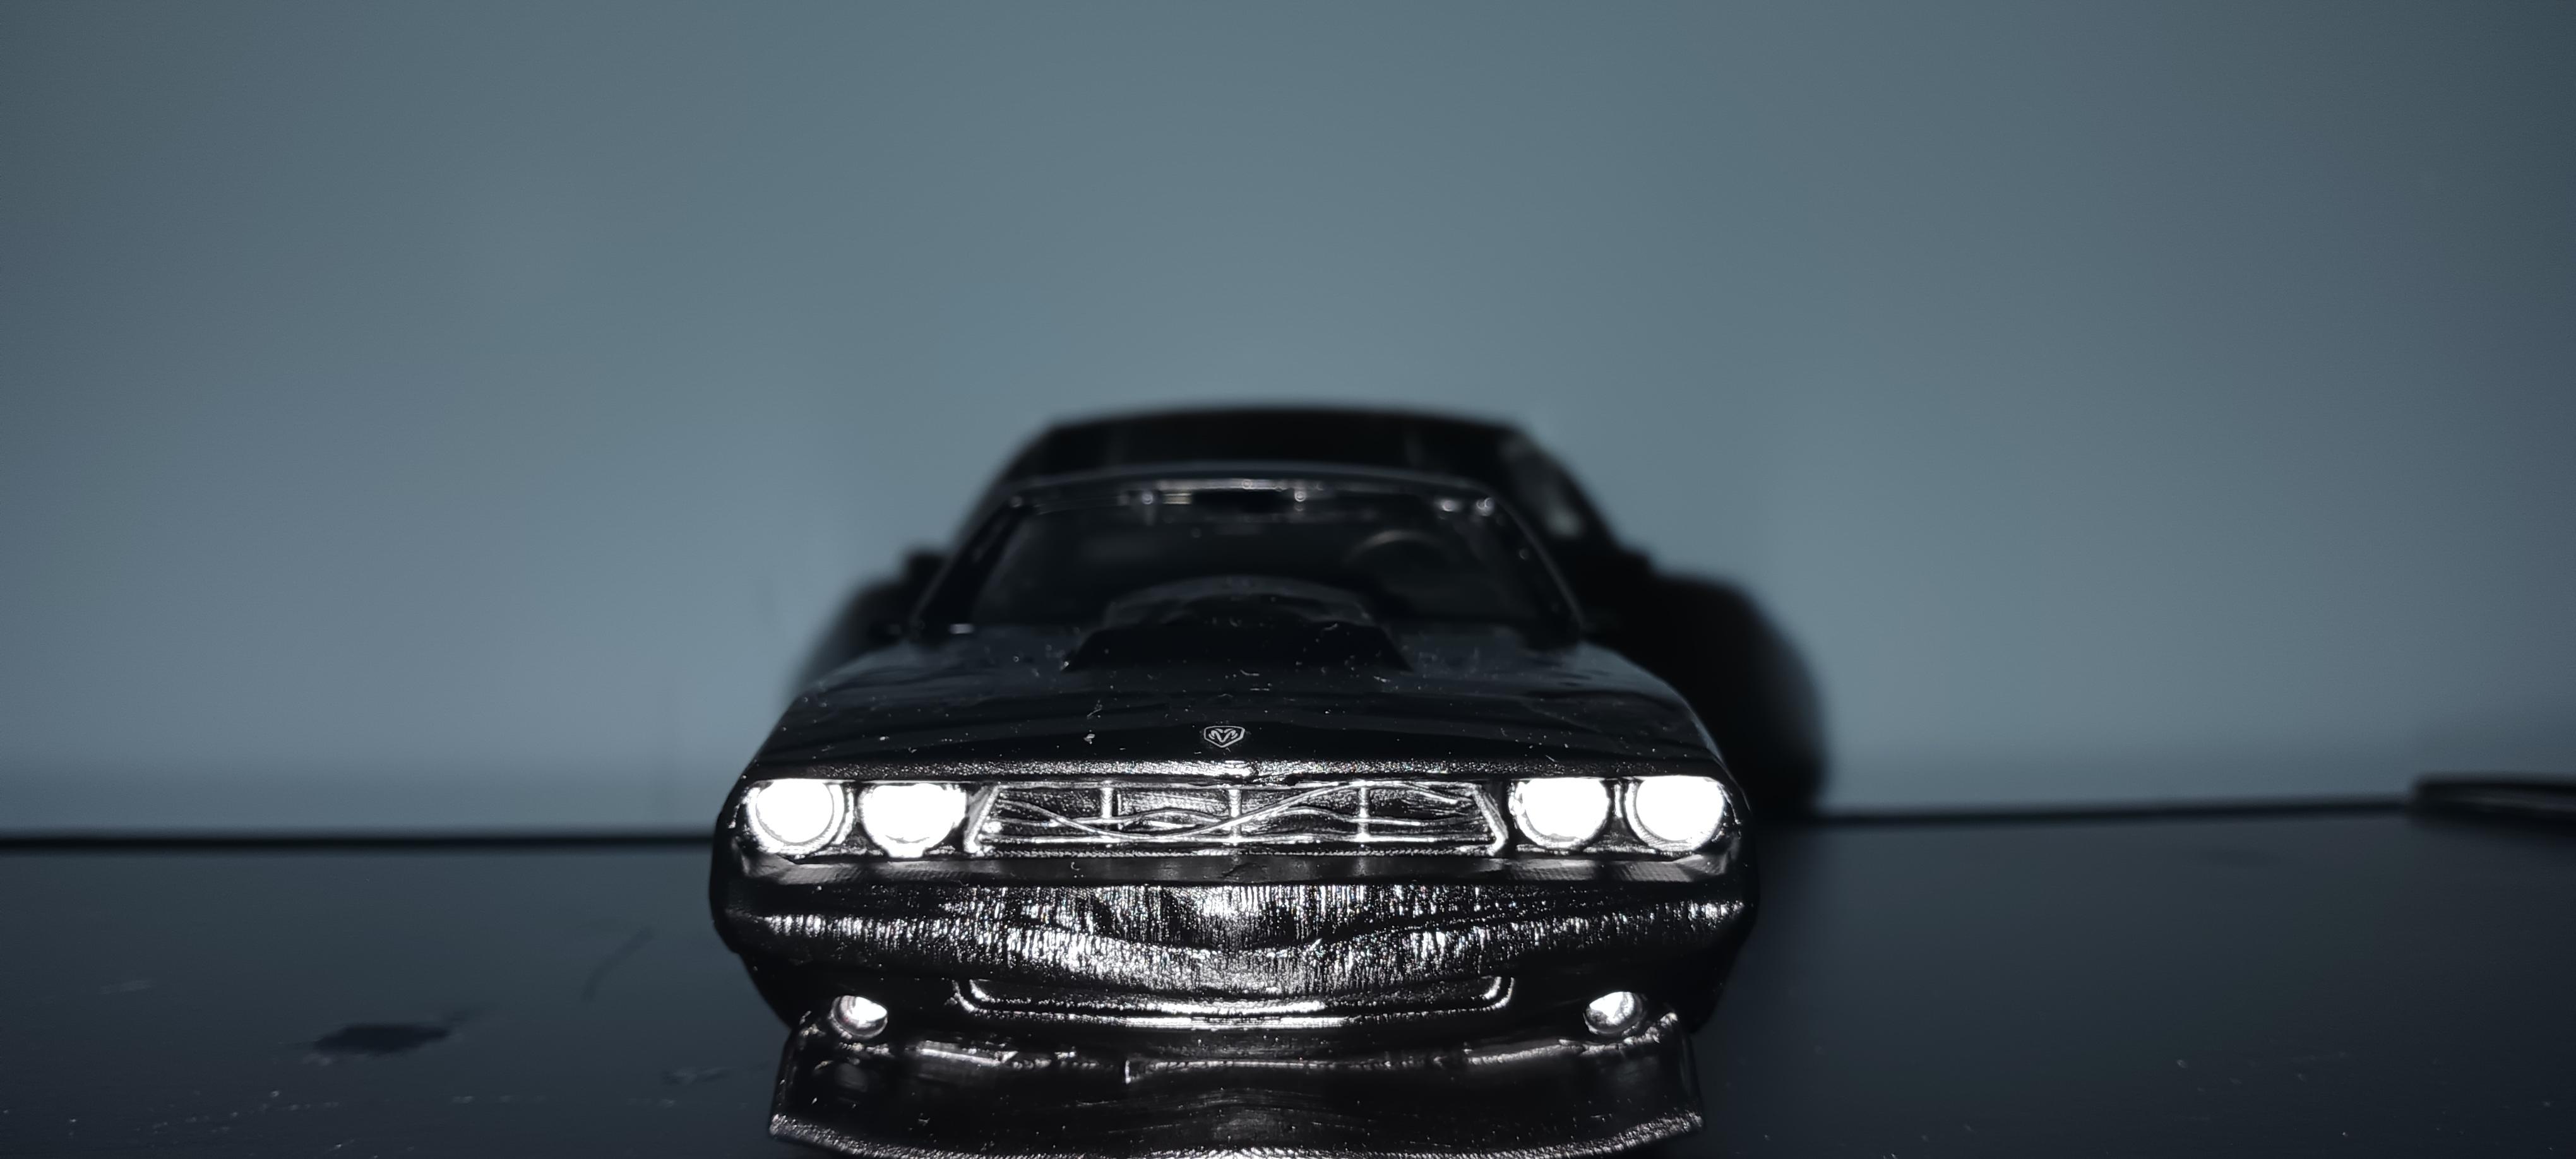
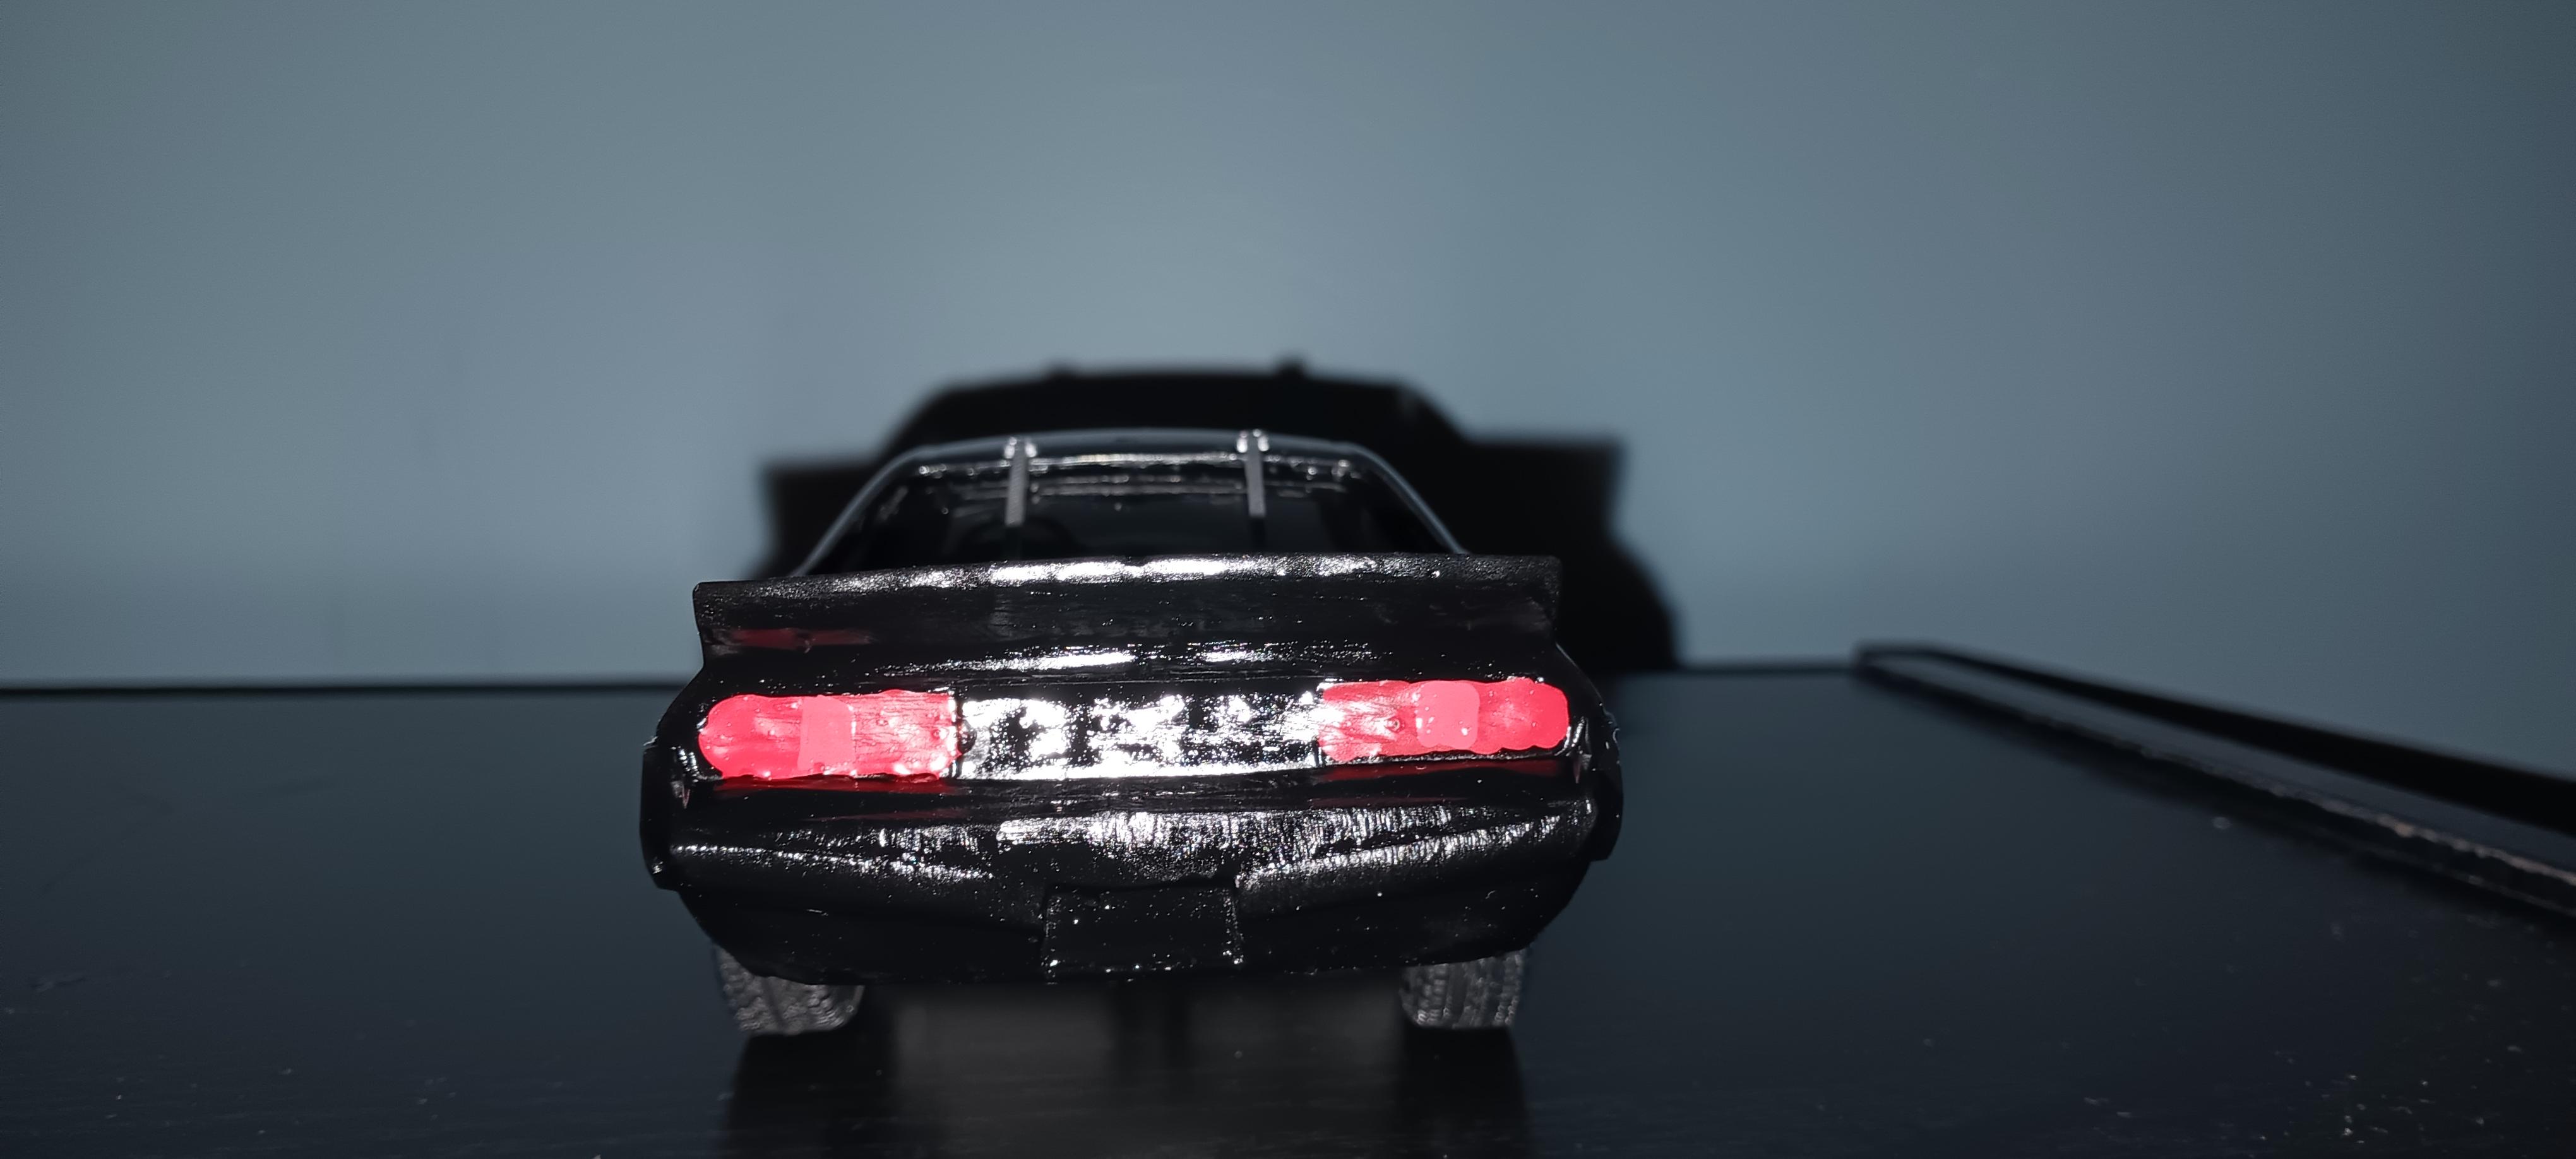
The grill is the same shape as the 72-74 challengers grille it just has vertical and horizontal slating instead of the standard 2008-2014 challengers while the taillights are set up more like the 70 and 71 and 2015-2023 challengers taillights over the 2008-2014 challengers taillight bar it also has custom side body vent moldings that kinda look like the ones on some 60’s and 70’s mustangs and a hood scoop that is similar to a gm l-88 hood scoop I did not even realize the top horizontal grill slat was so badly warped
-
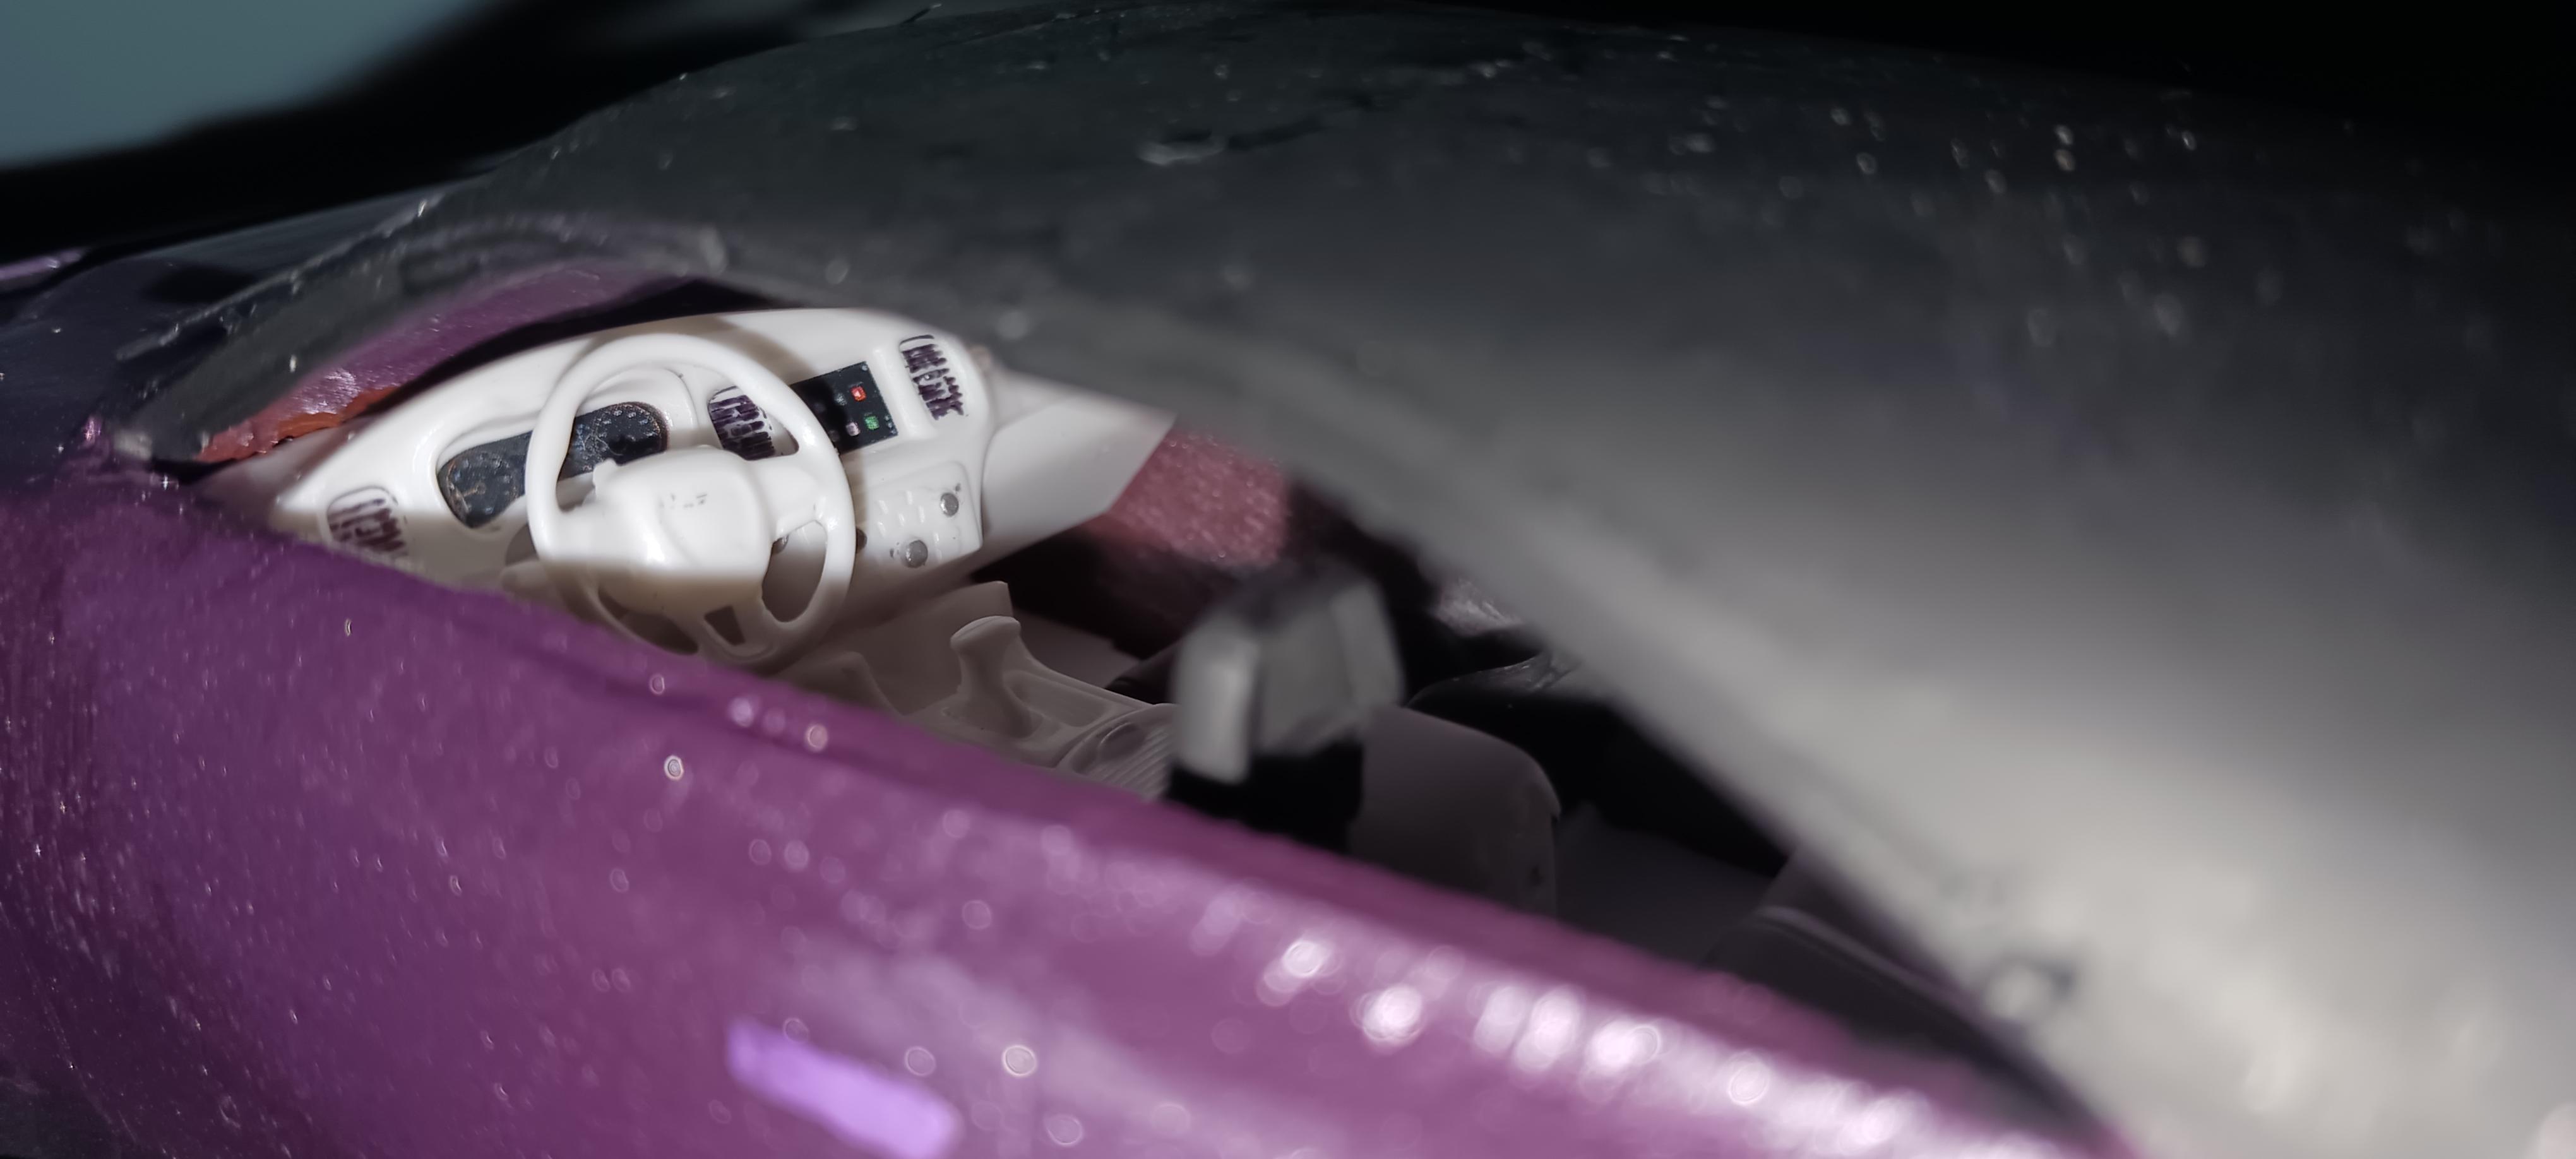
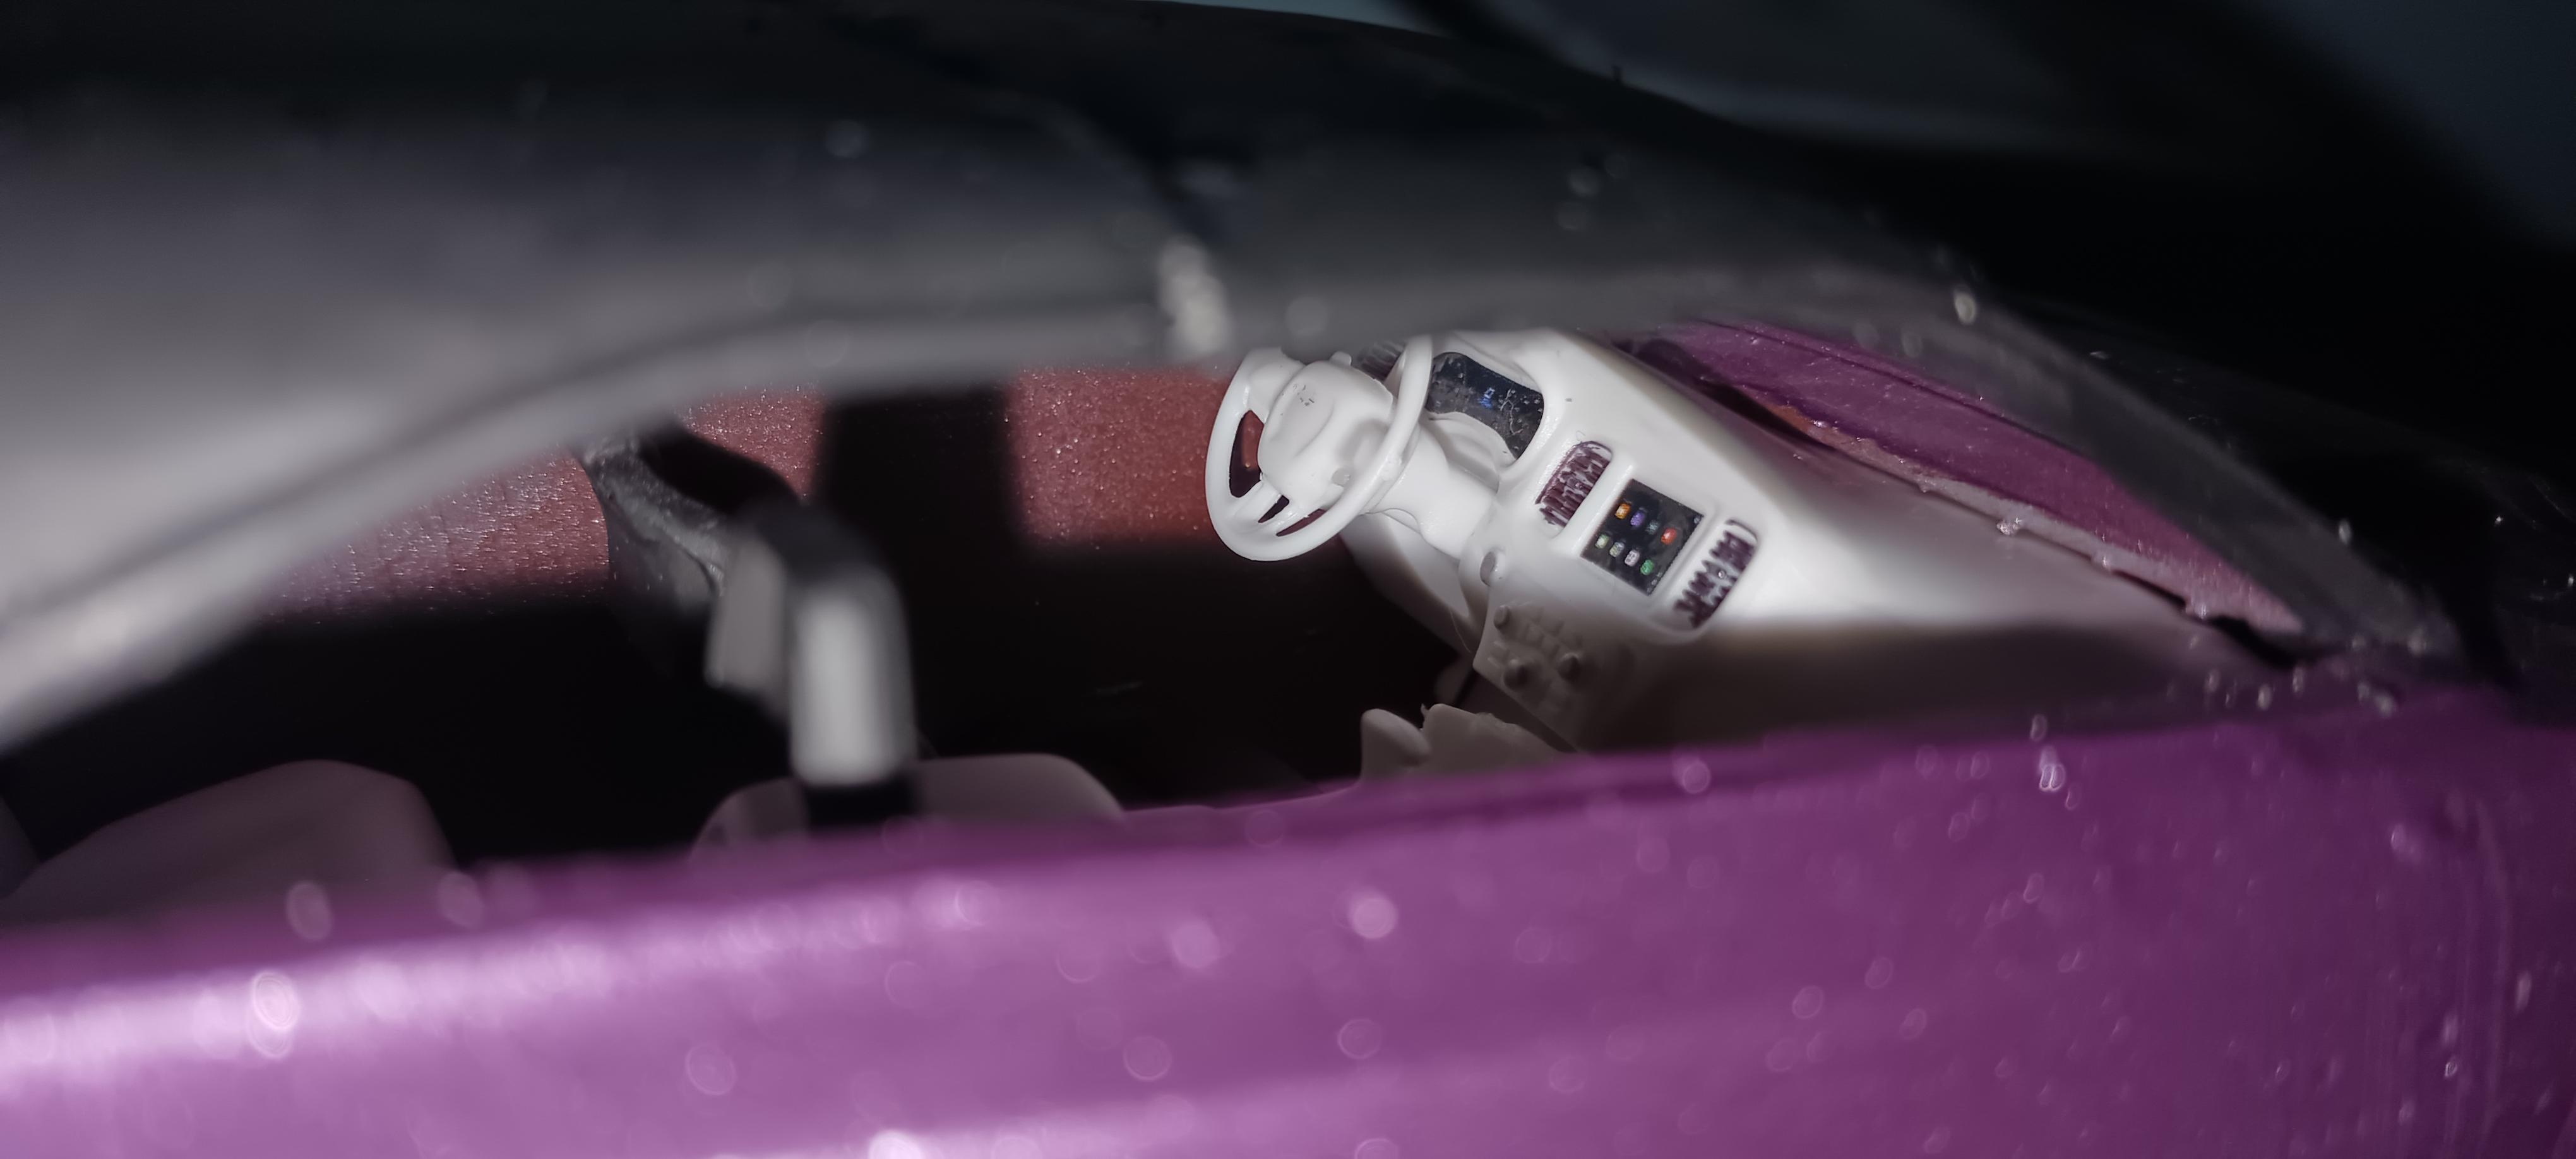
I made this using a failed 3d resin printed body which the windshield posts did not print and the roof was warped so I cut it away and replaced it with a Revell 2013 challenger roof I had in my parts boxes the tips of the side pipes also had failed to print so I had to replace with some from my parts boxes and some of the wheel wells I had to remake with putty the interior rims and tires and glass all came from my parts boxes
-
Hogan's heroes Jeep
michelle replied to Gustavo Reis's topic in Model Trucks: Pickups, Vans, SUVs, Light Commercial
Nice work -
Hogan's heroes Jeep
michelle replied to Gustavo Reis's topic in Model Trucks: Pickups, Vans, SUVs, Light Commercial
There was only one scene in one episode with jeeps in it from season 6 Called easy come,easy go were hogan and klink are sent to a U.S. air field in England to steal a p-51 and bring it back to Germans well the p51 hogan and klink steal has had it’s engine swapped with captured German Messerschmitt engine cause the Germans -
the close up shots the camera focuses on one area and the rest gets blurry and out of focus for some reason so it gives the photos a weird look and I guess the blue wall and black book shelf top I use to take the pics and videos on and in front of does make it look underwater
-
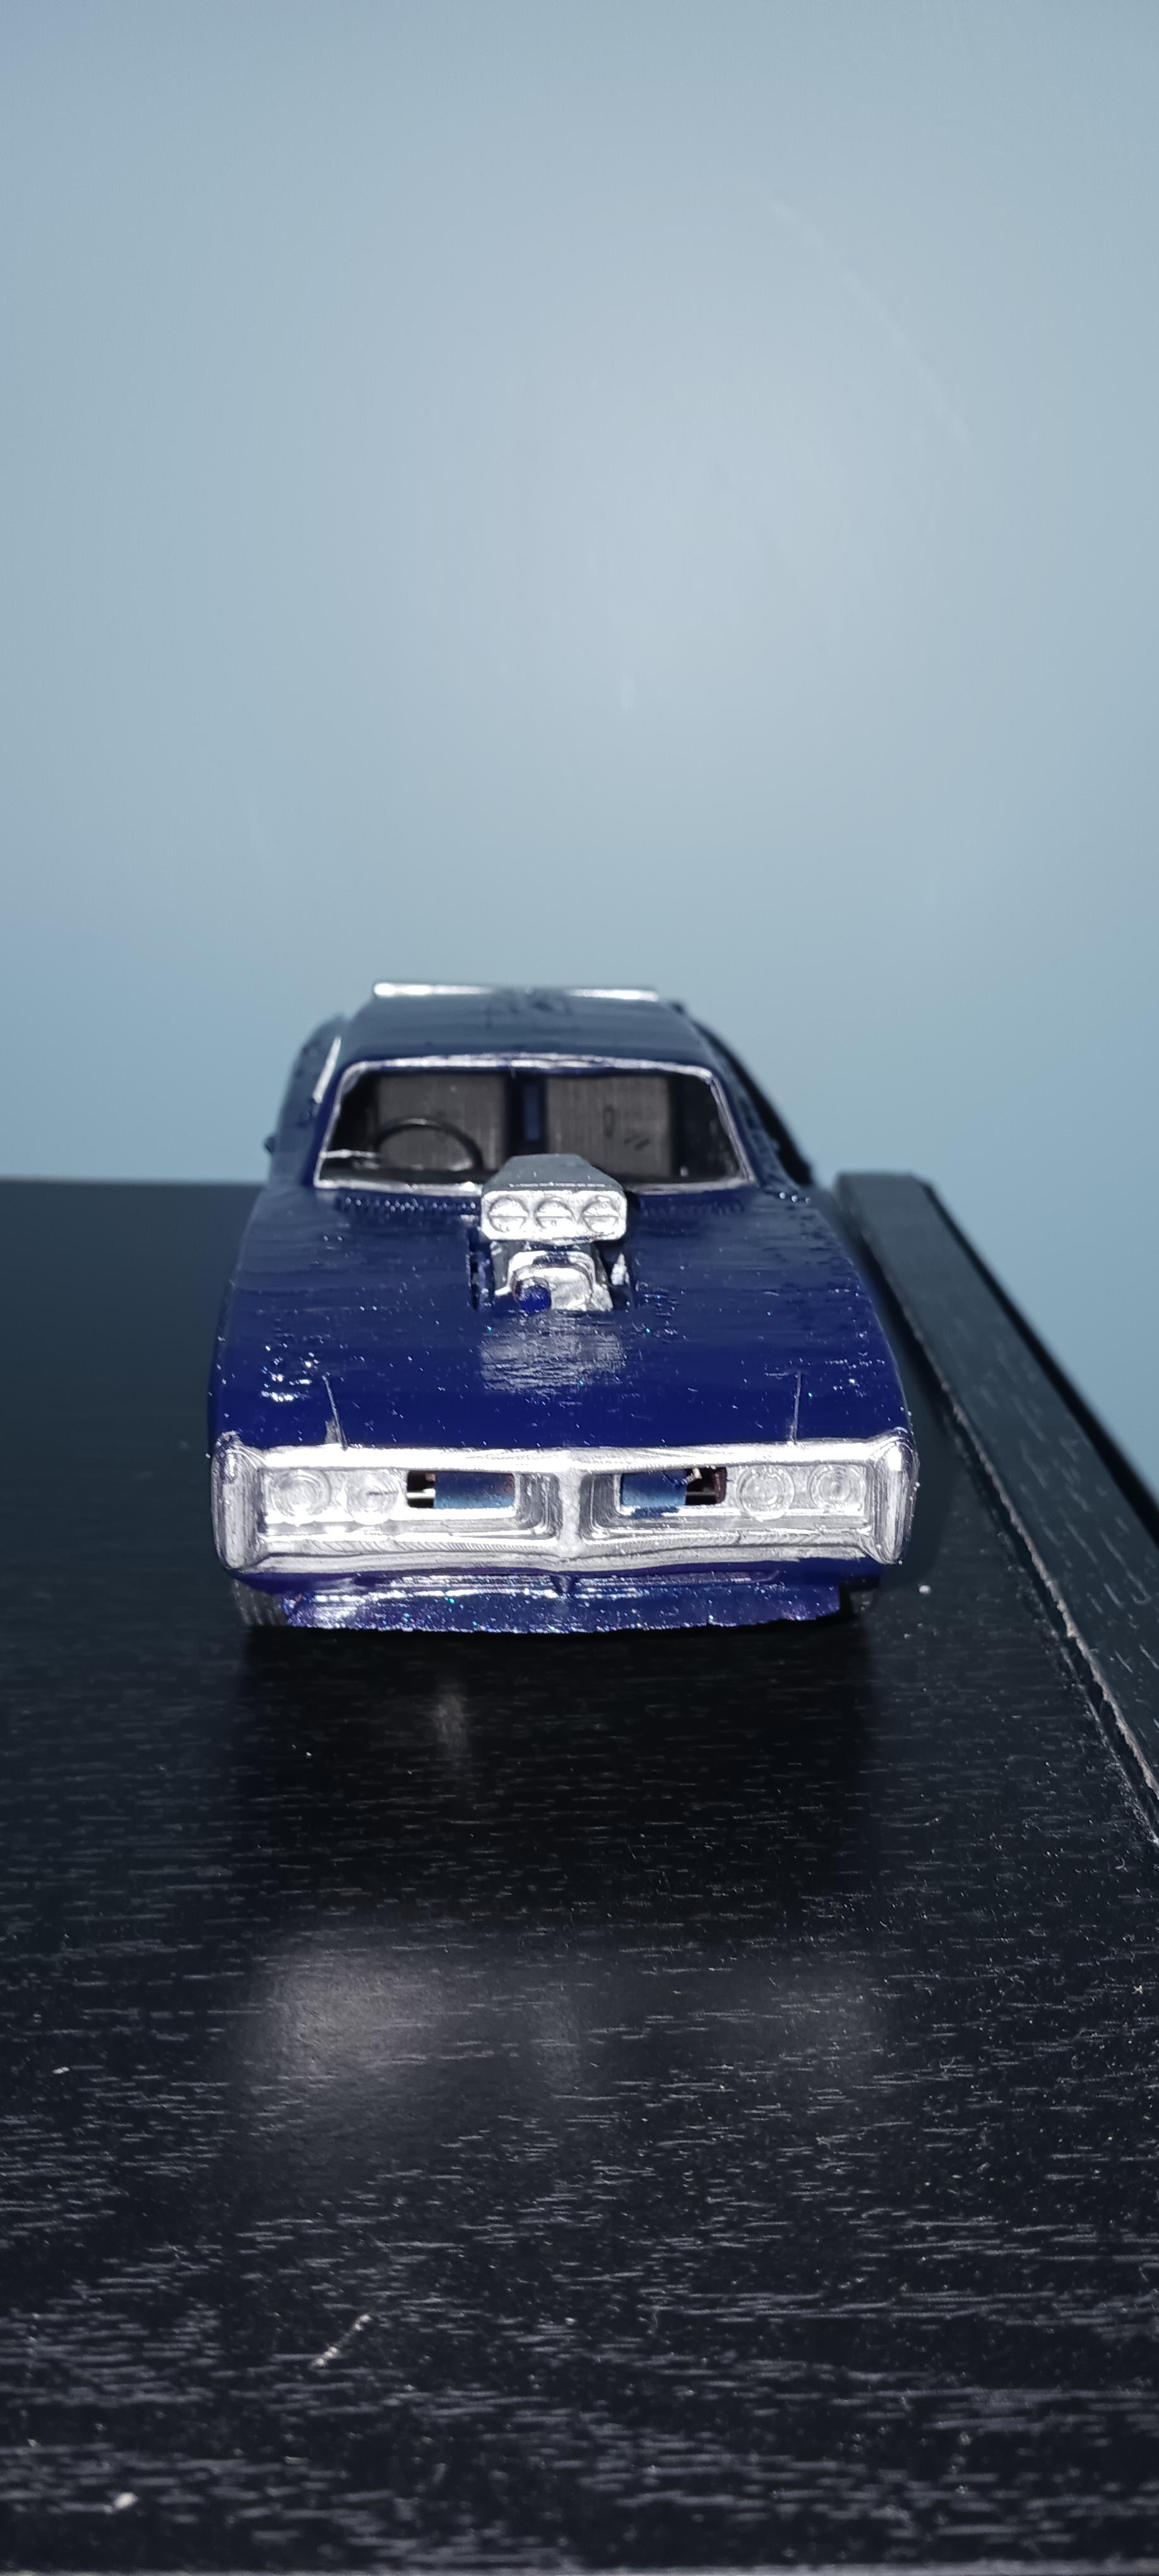
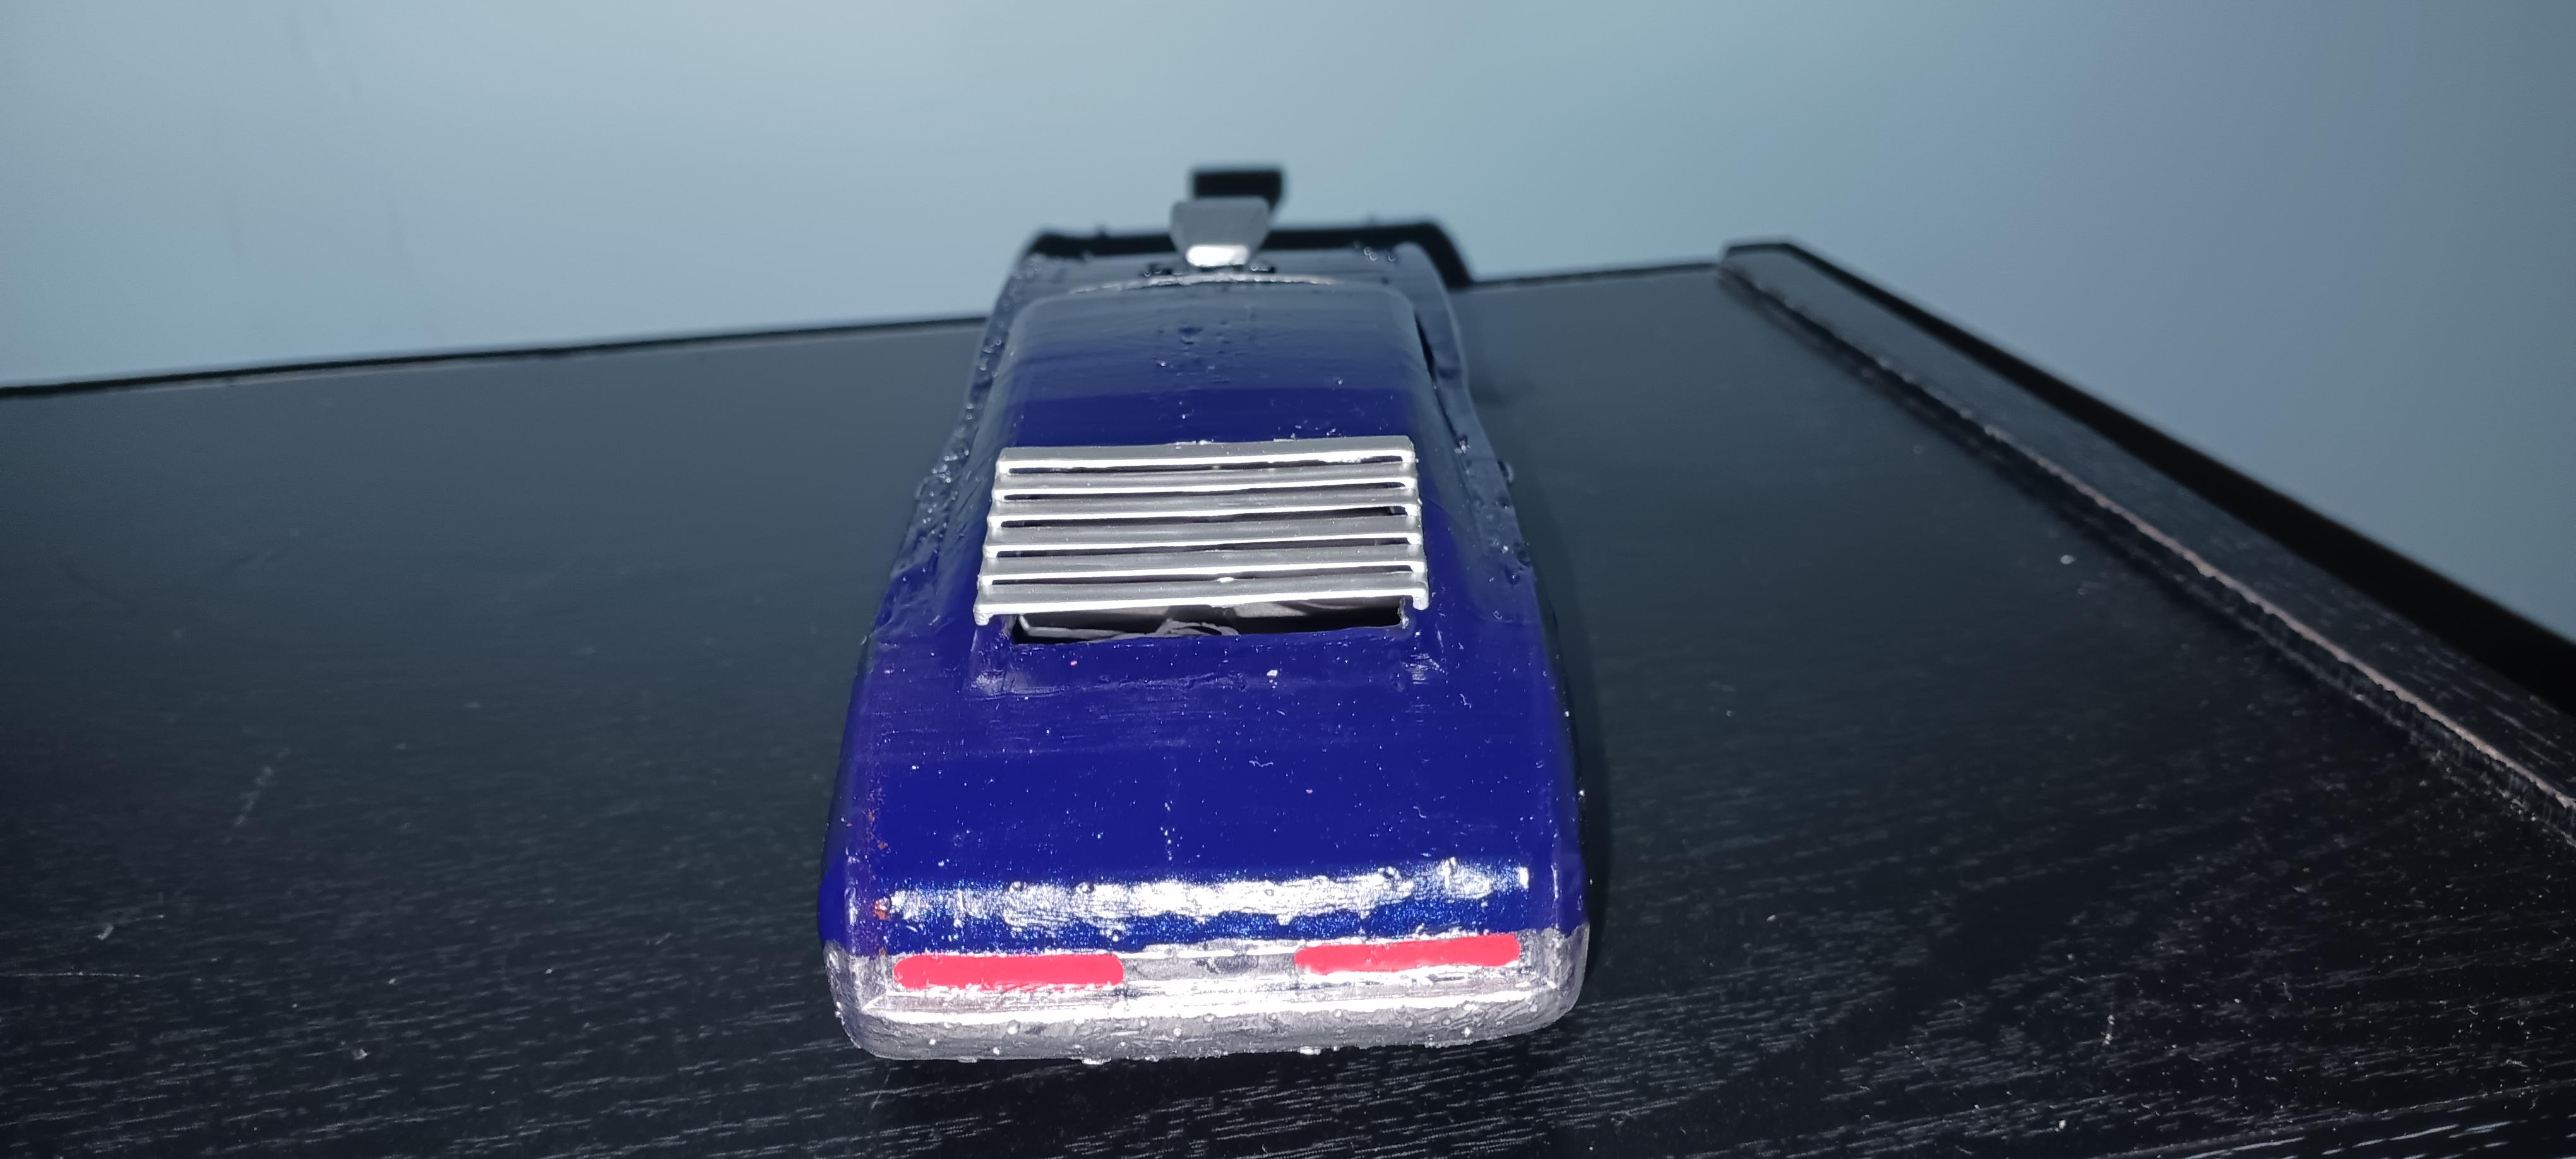
1/25 scale 3d resin printed gta 4 imponte dukes body i had to replace the rear window louvers and remove the trunk lid spoiler and had to replace parts of the side pipes which had failed also for some reason the dash printed on the right side instead of the left side which is how the model file is I painted the body Tamiya ps-16 metallic blue
-
- 1
-

-
Thank you
-
Thank you
-
Lindberg dodge charger super bee (2007?) 1/24
michelle replied to happy grumpy's topic in Model Cars
Very very nice work looks great -
Thank you the diorama I plan to make that this will be in is a before and after restoration this is the before version
-
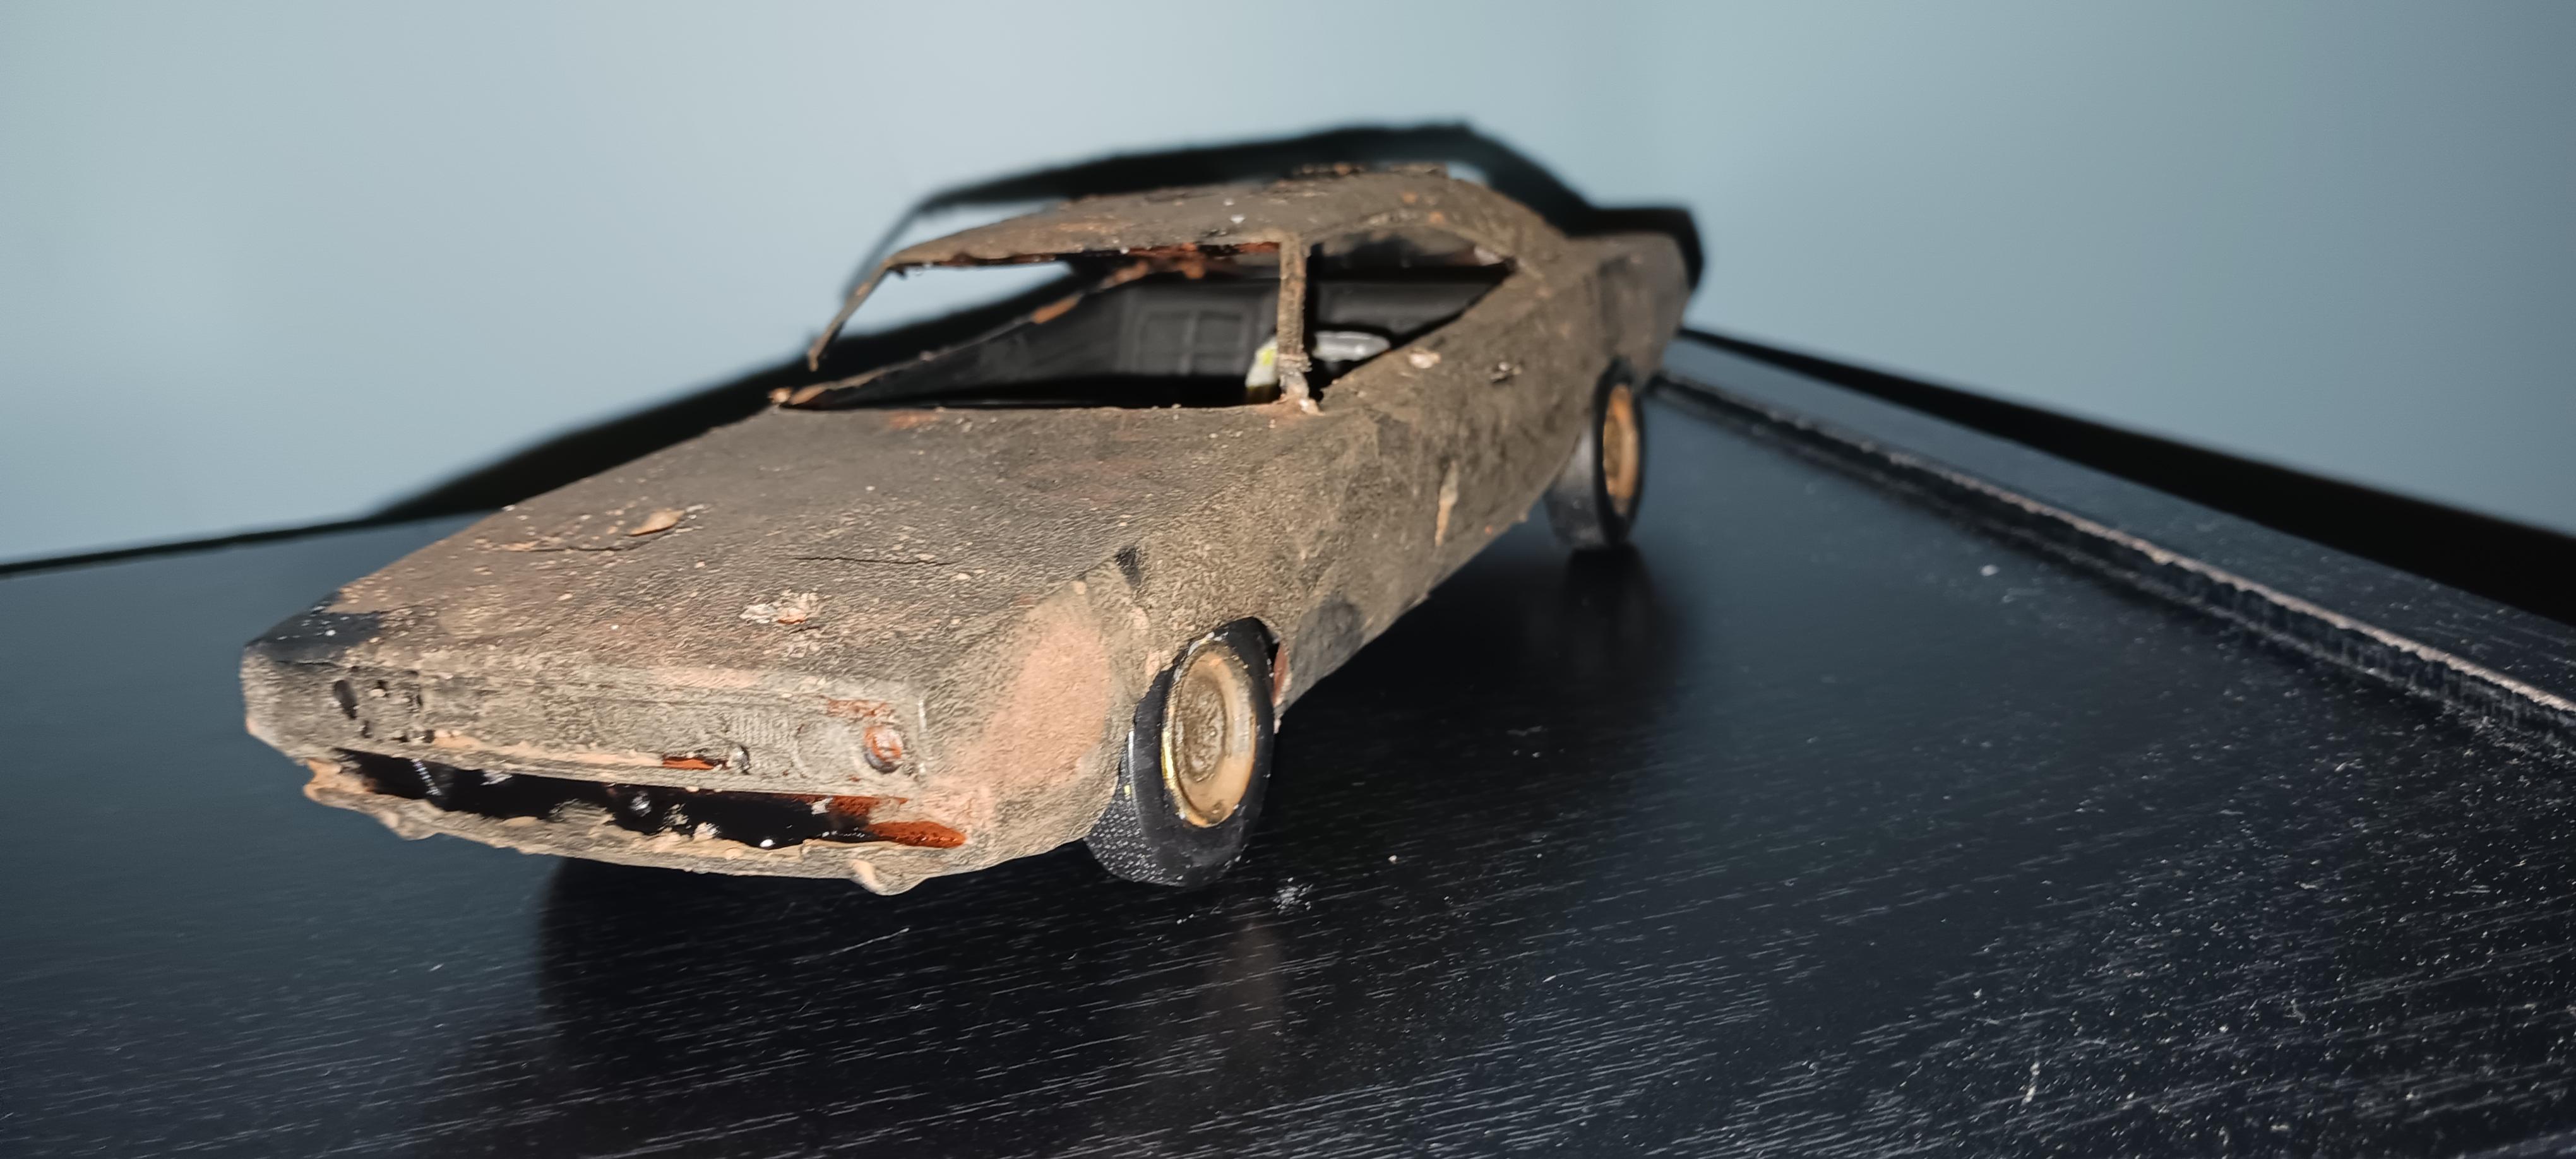
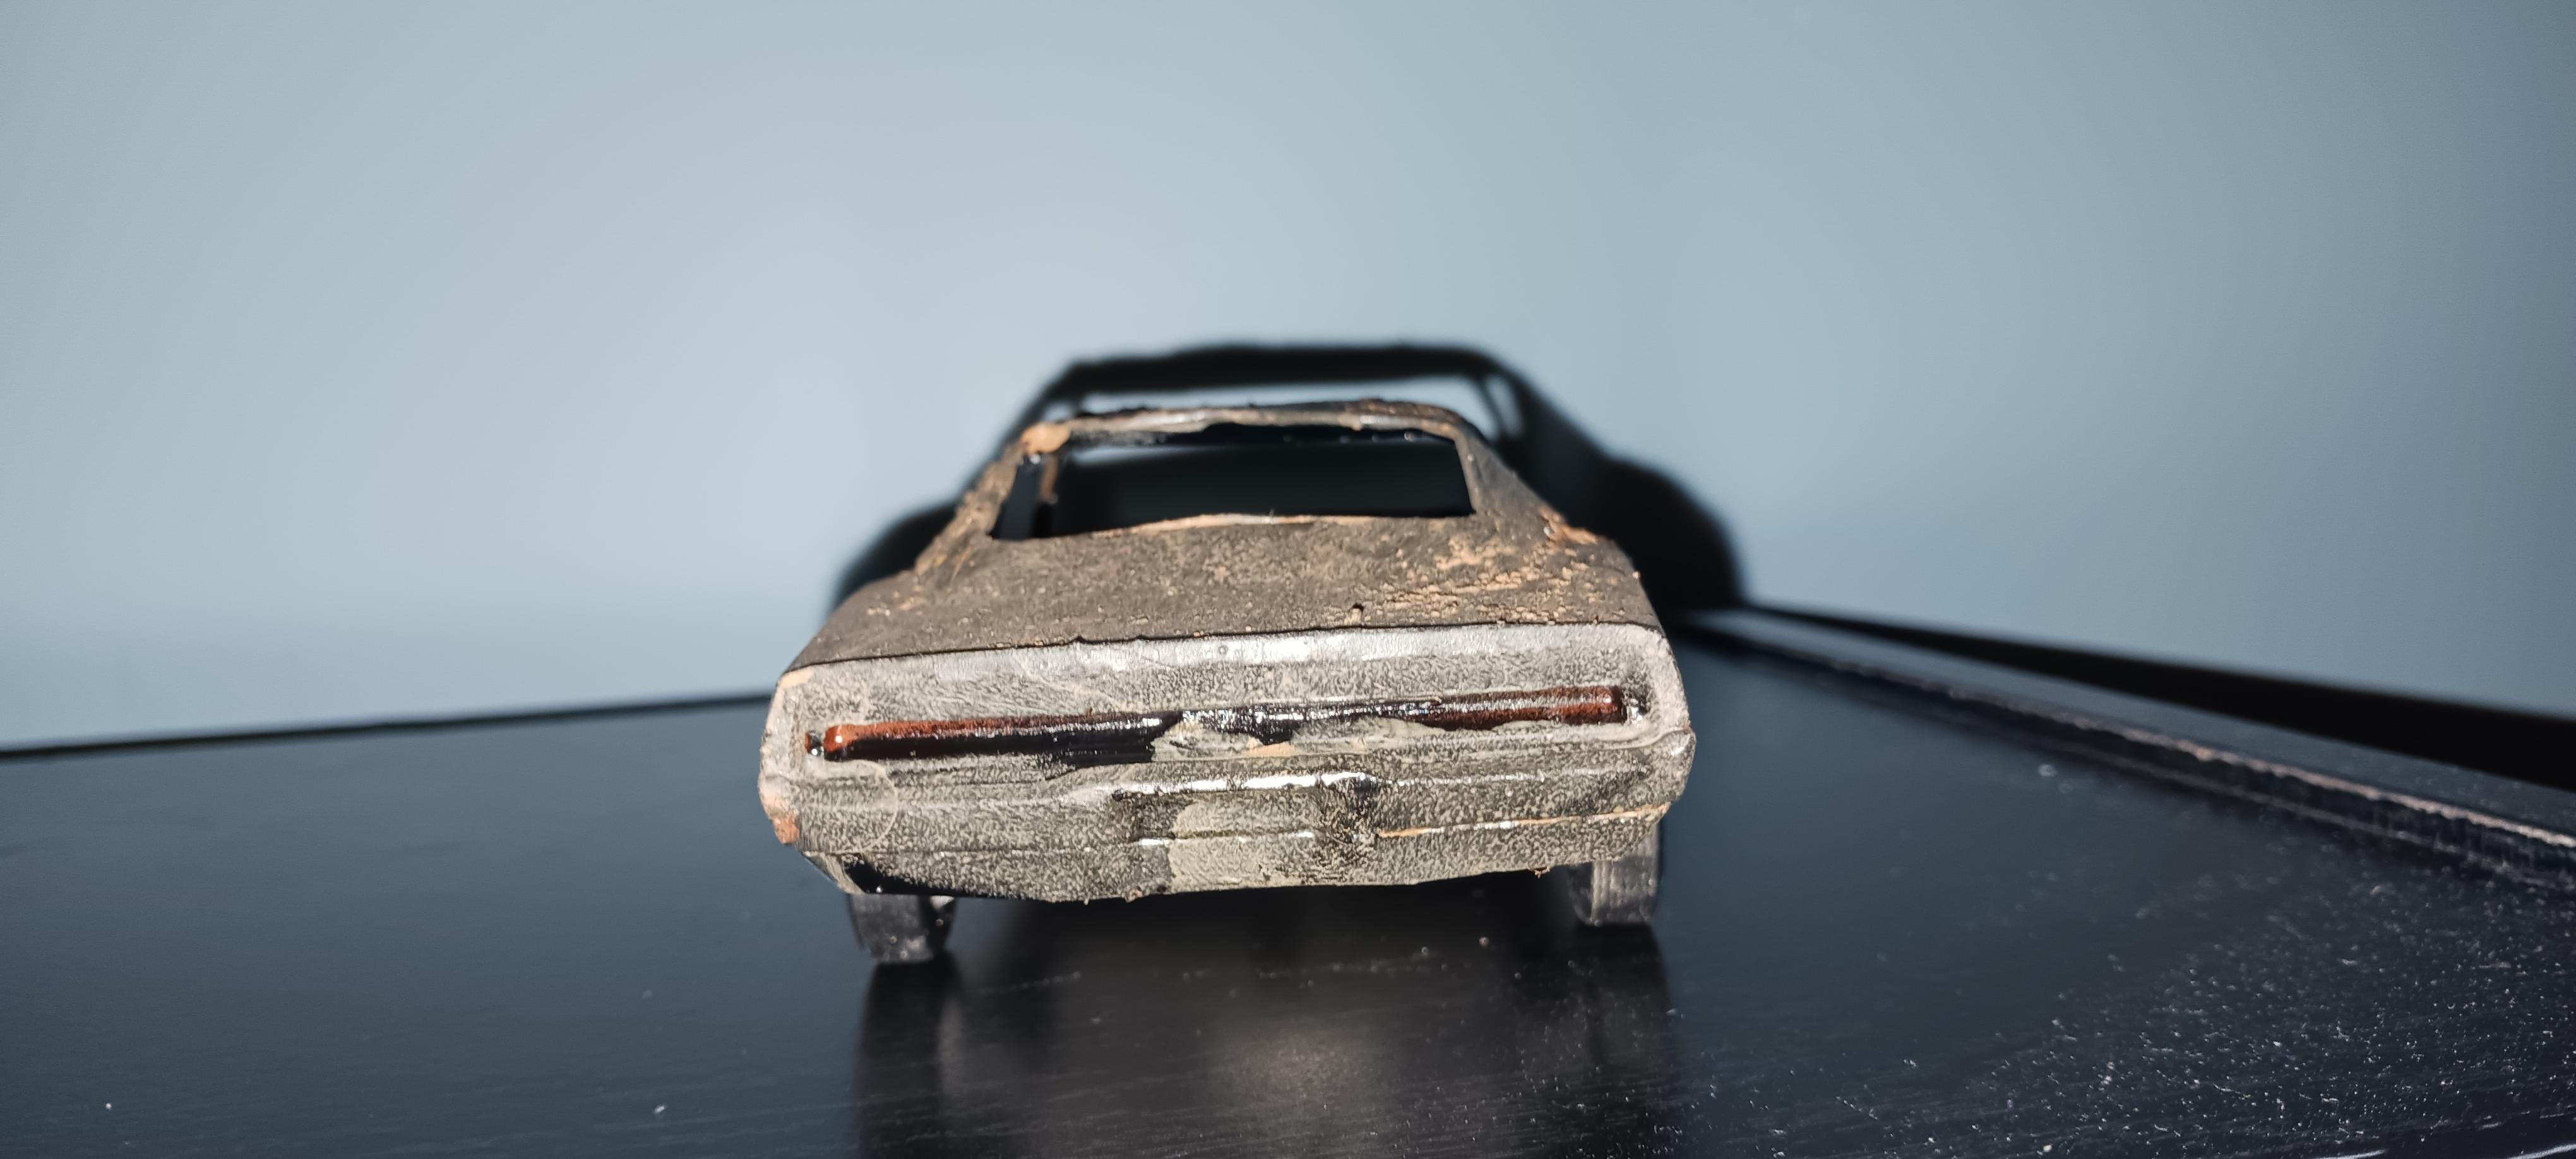
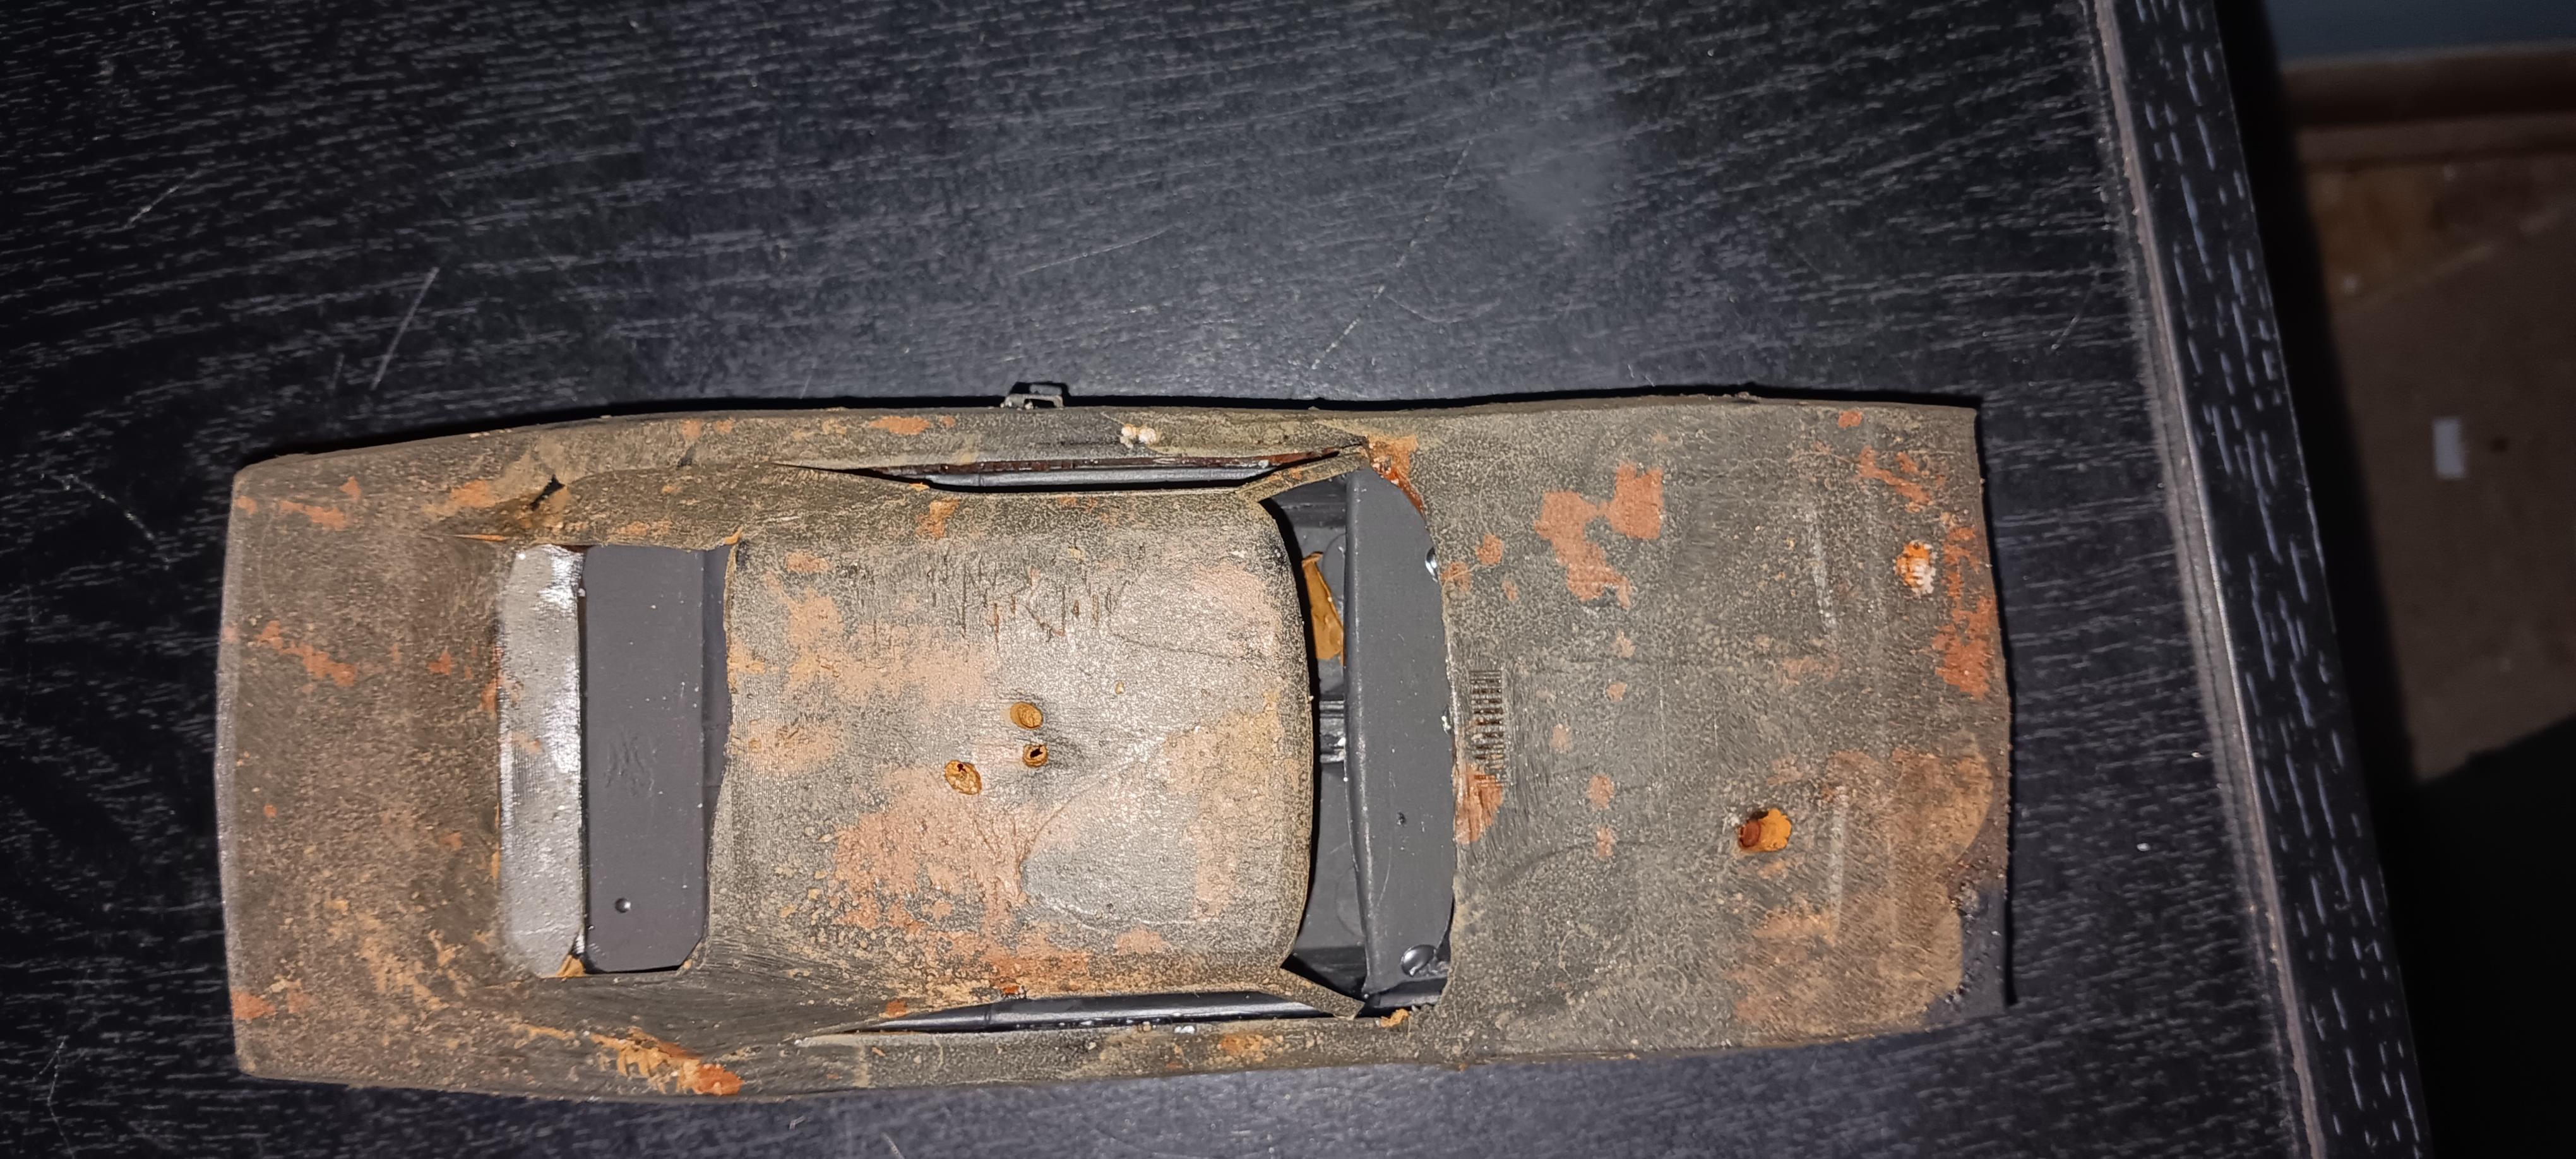
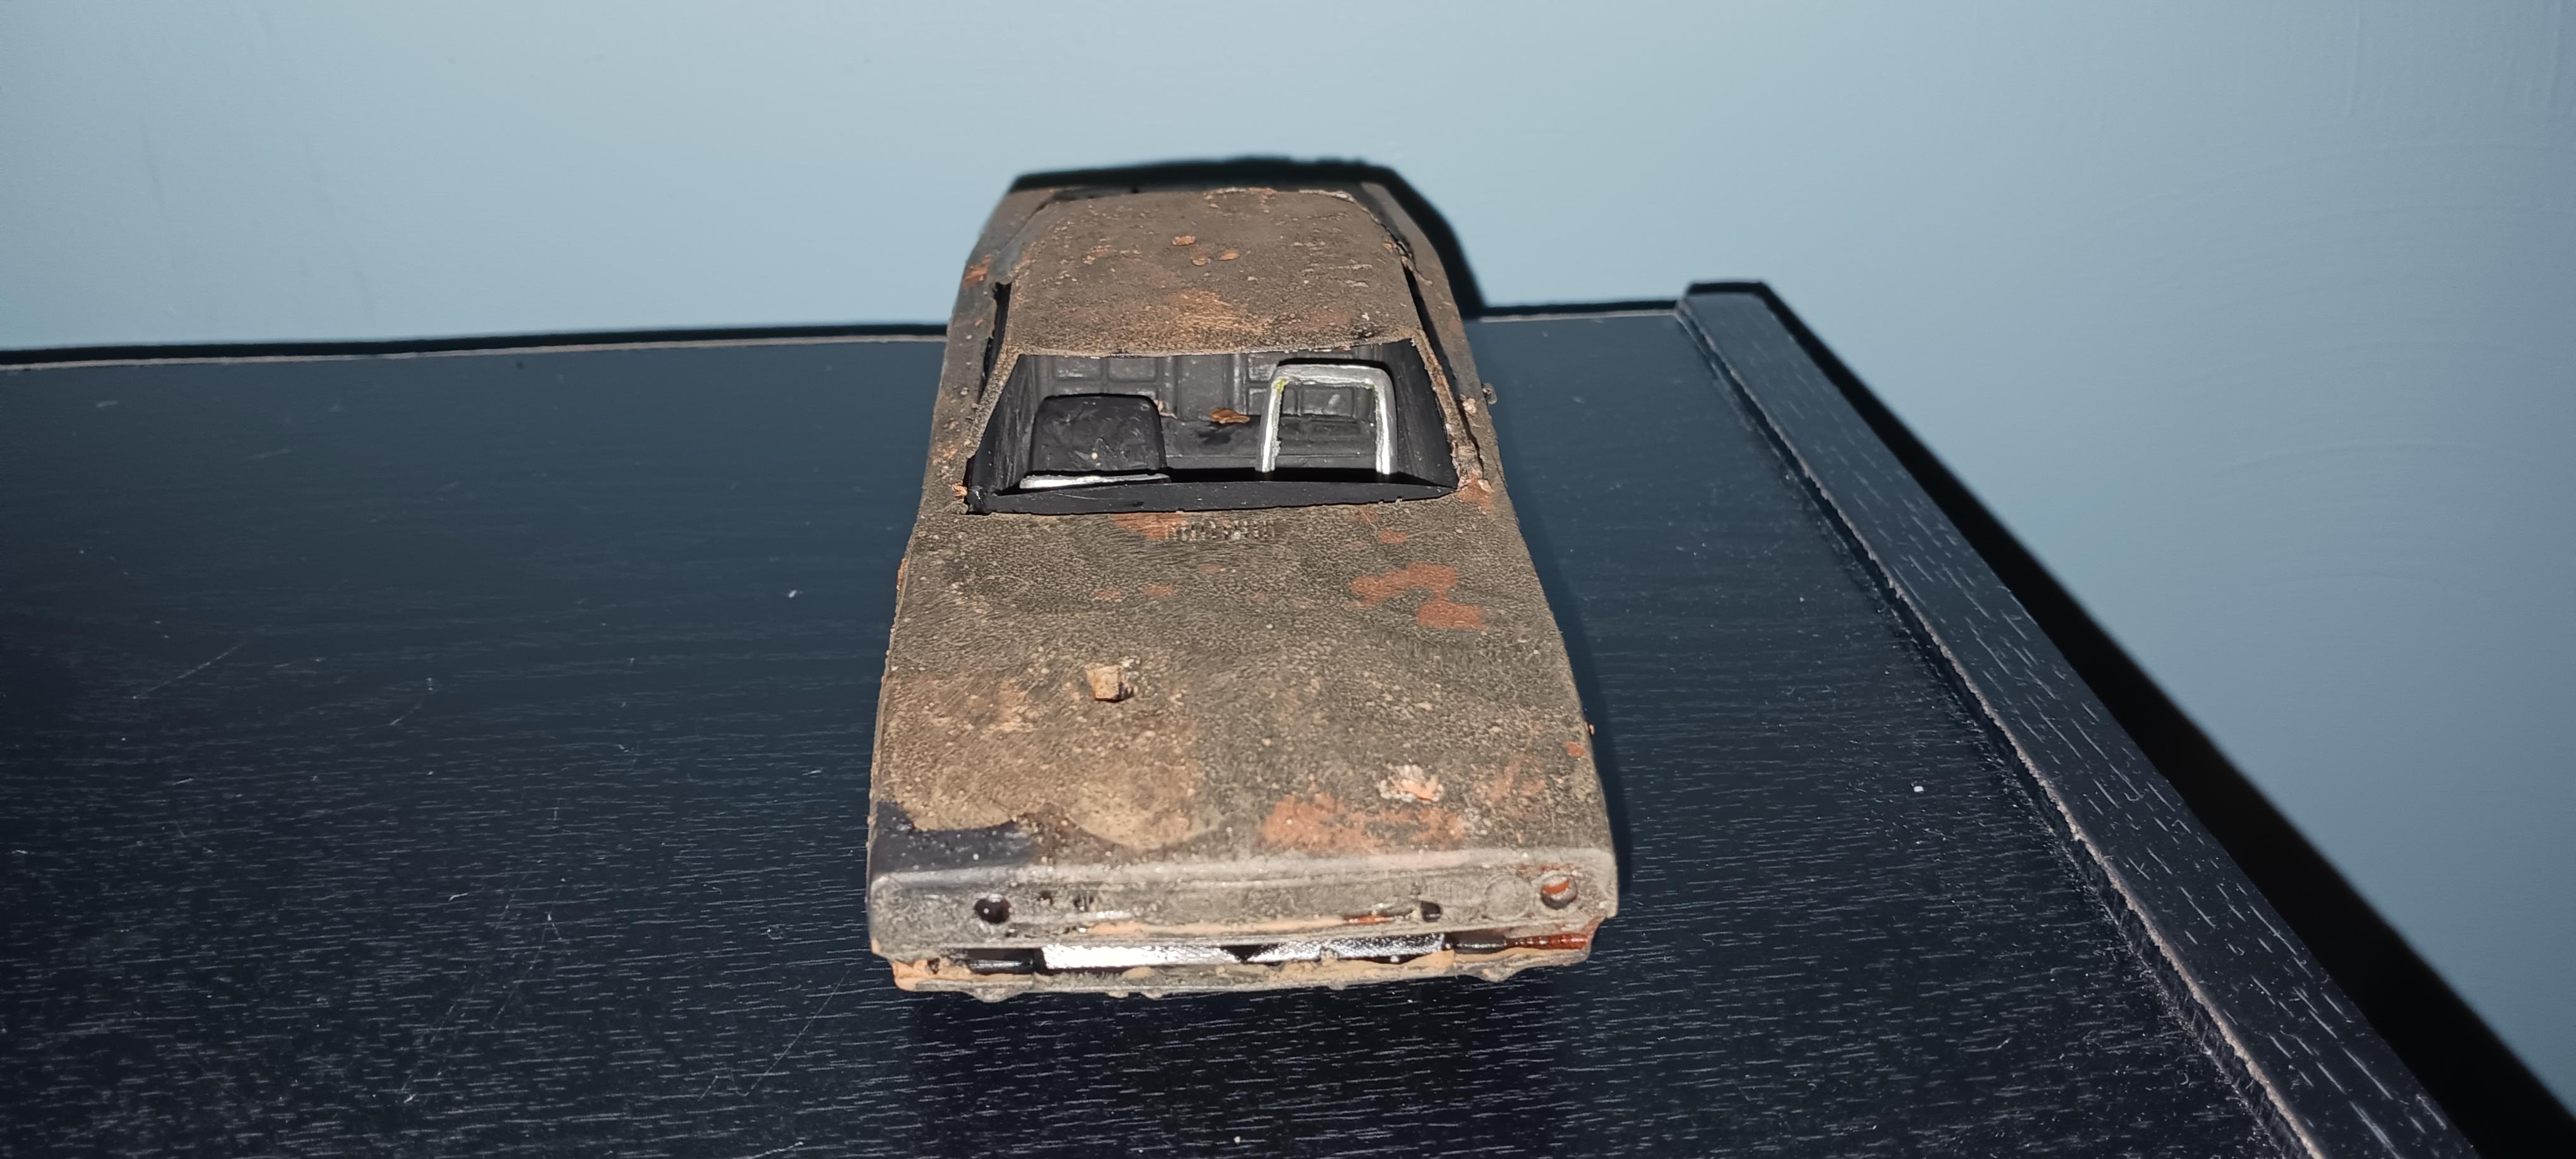
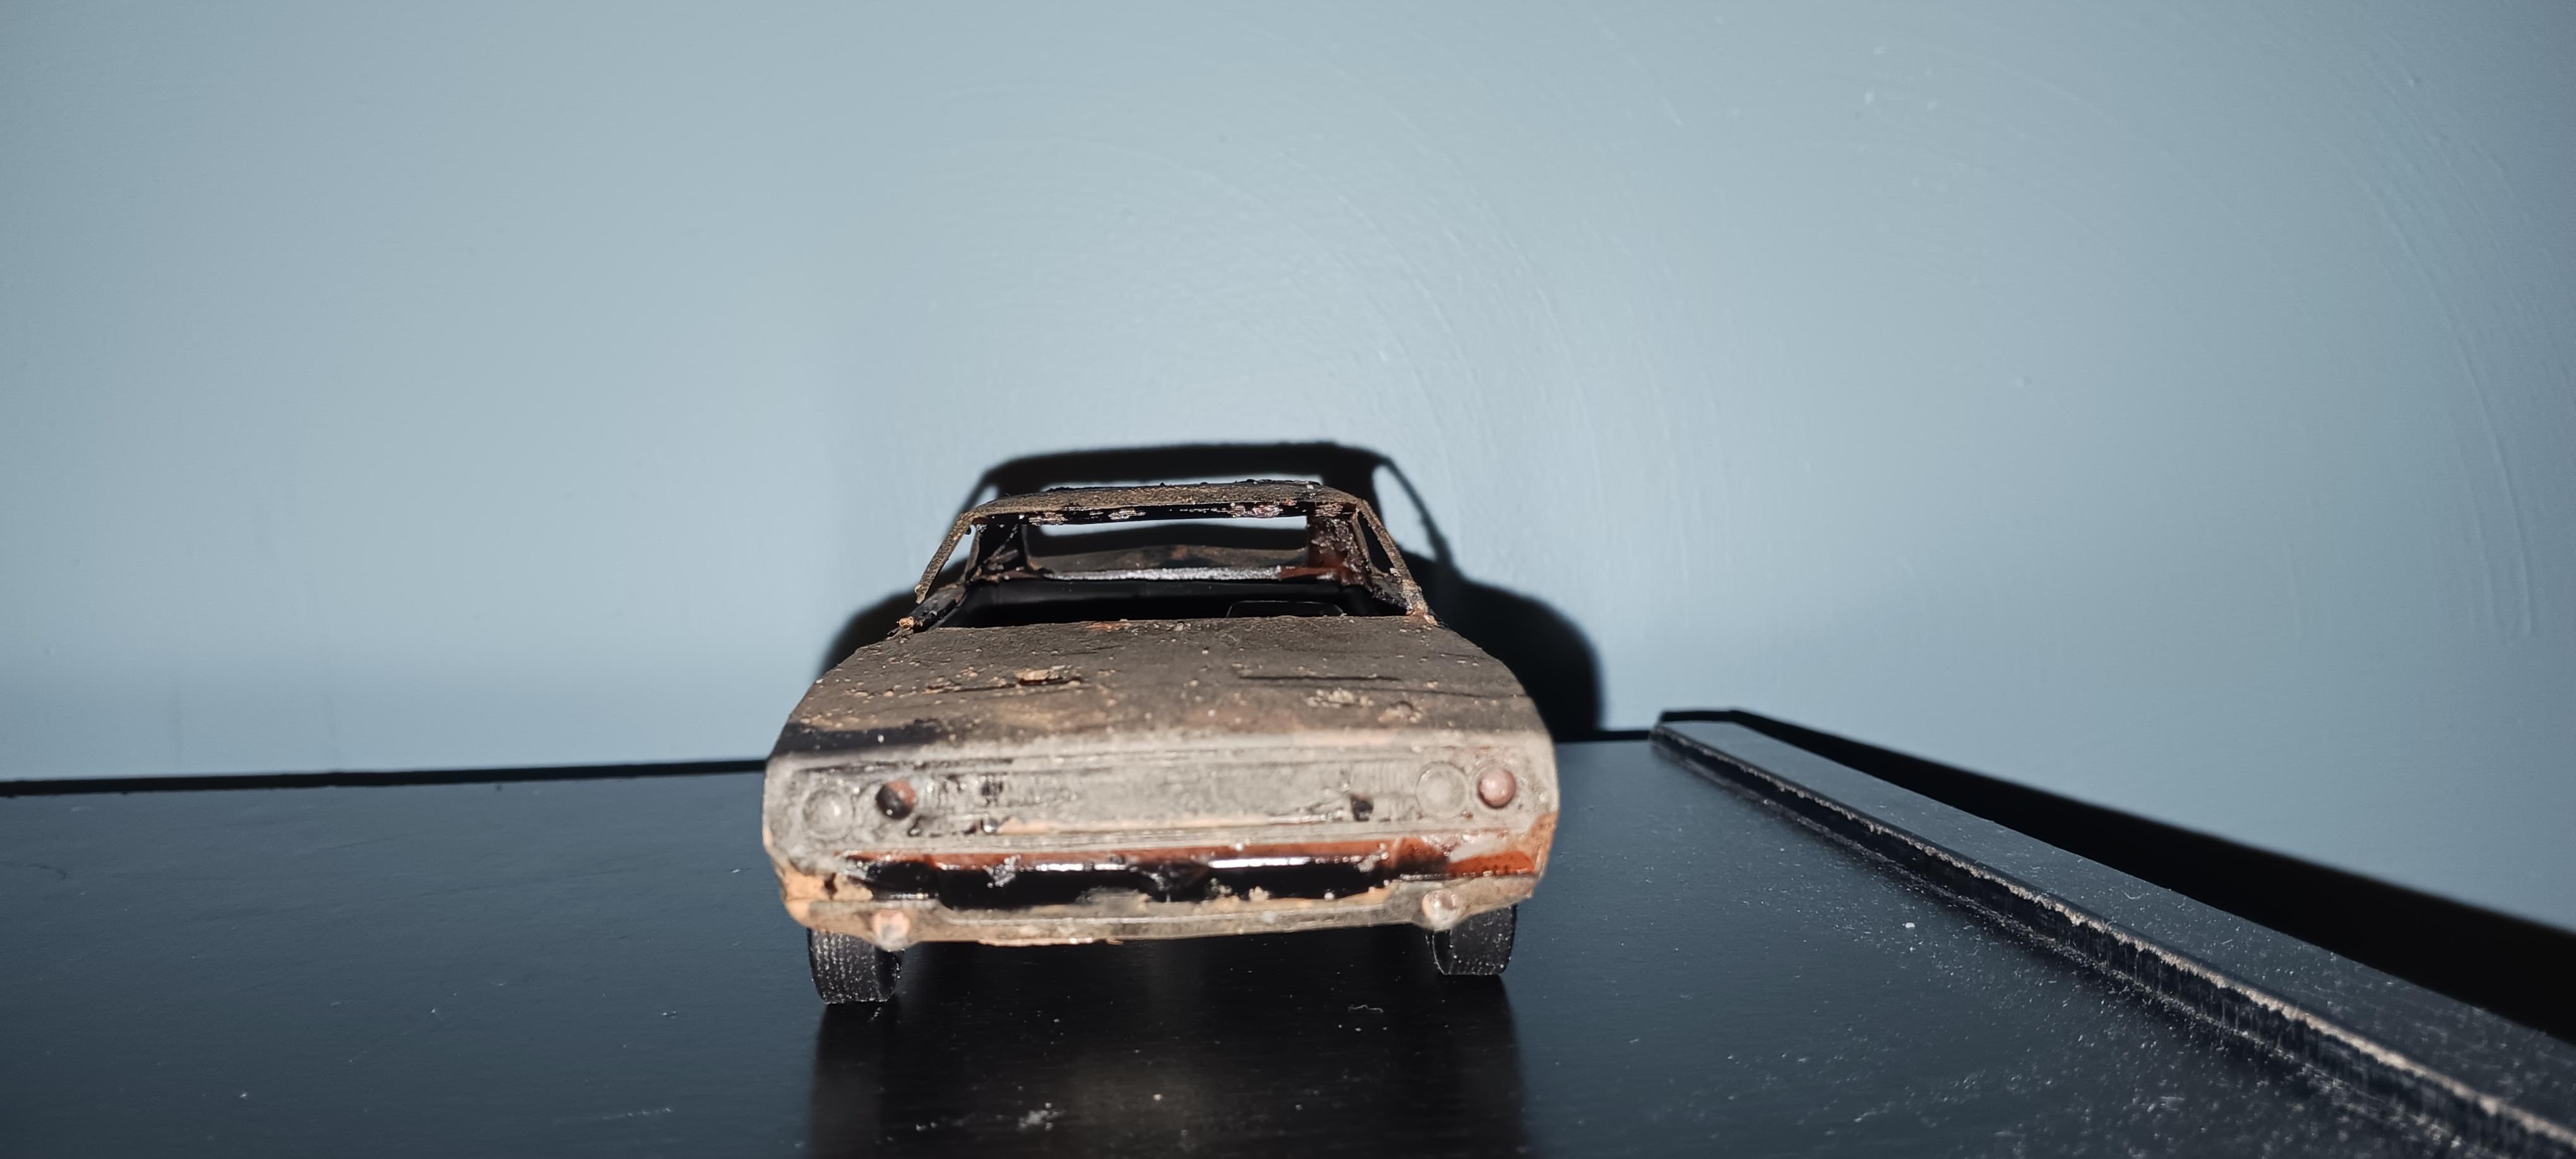
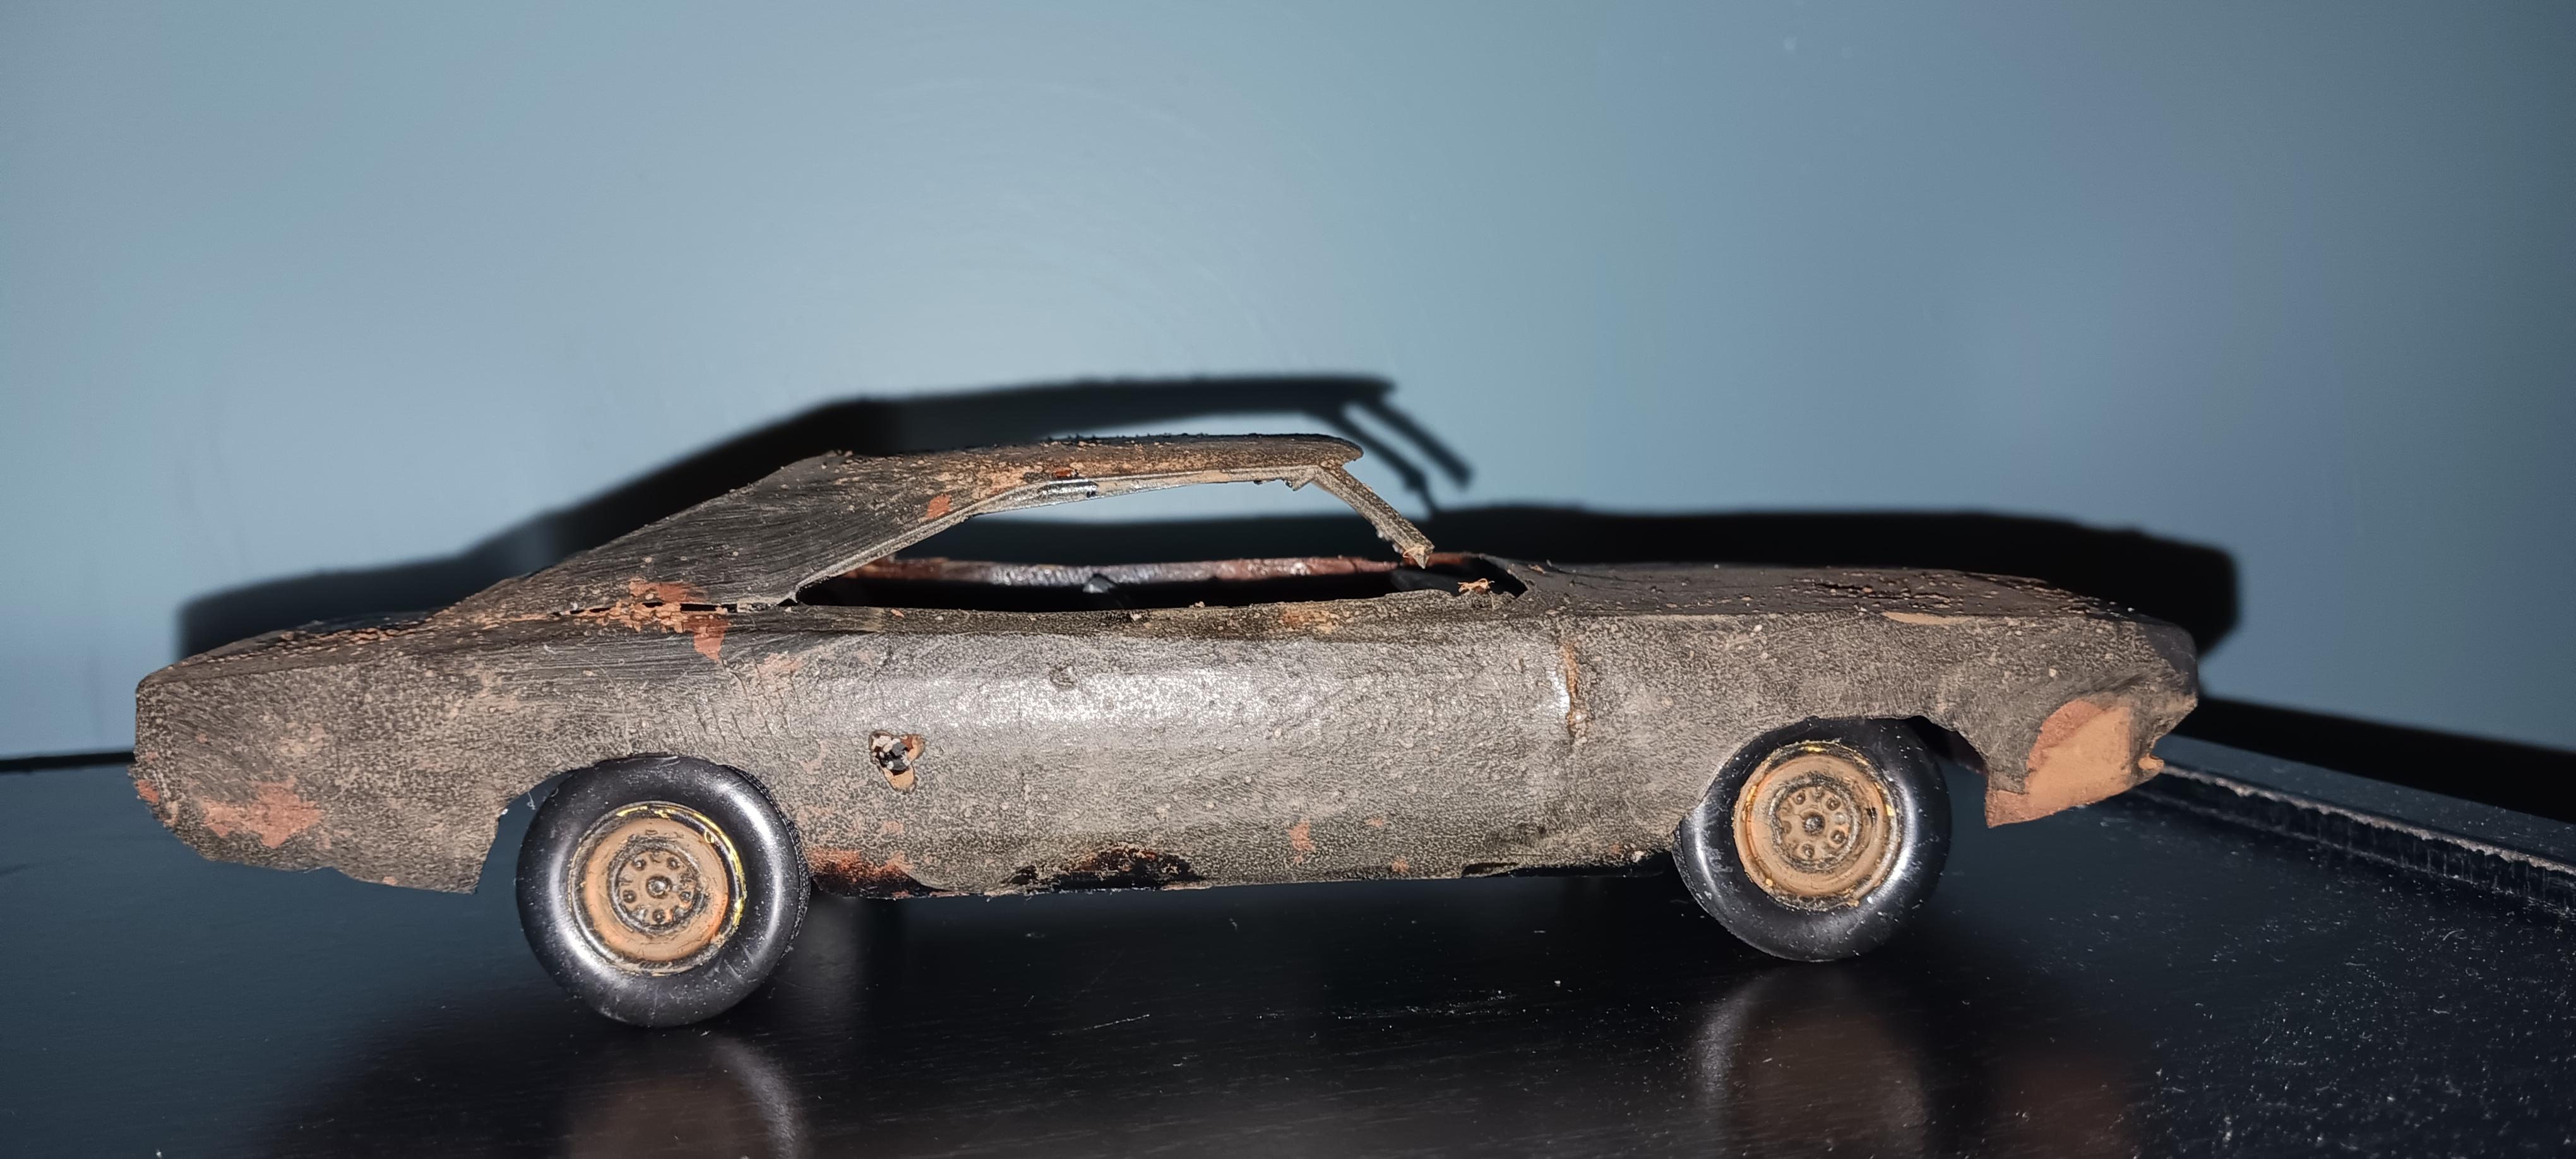
Thank you this is the first time I have ever made a fully rusted car model i combined two different rusting techniques I saw on instagram one was to add a bit of water and sprinkle salt over it before painting and the other was mixing drops of orange and brown paint together with a makeup sponge I used a flat red primer first then added the water and salt before using black primer then removed most of the salt then sprayed a matte clear coat over it then did the second rusting technique with the makeup sponge by dabbing the paint
-
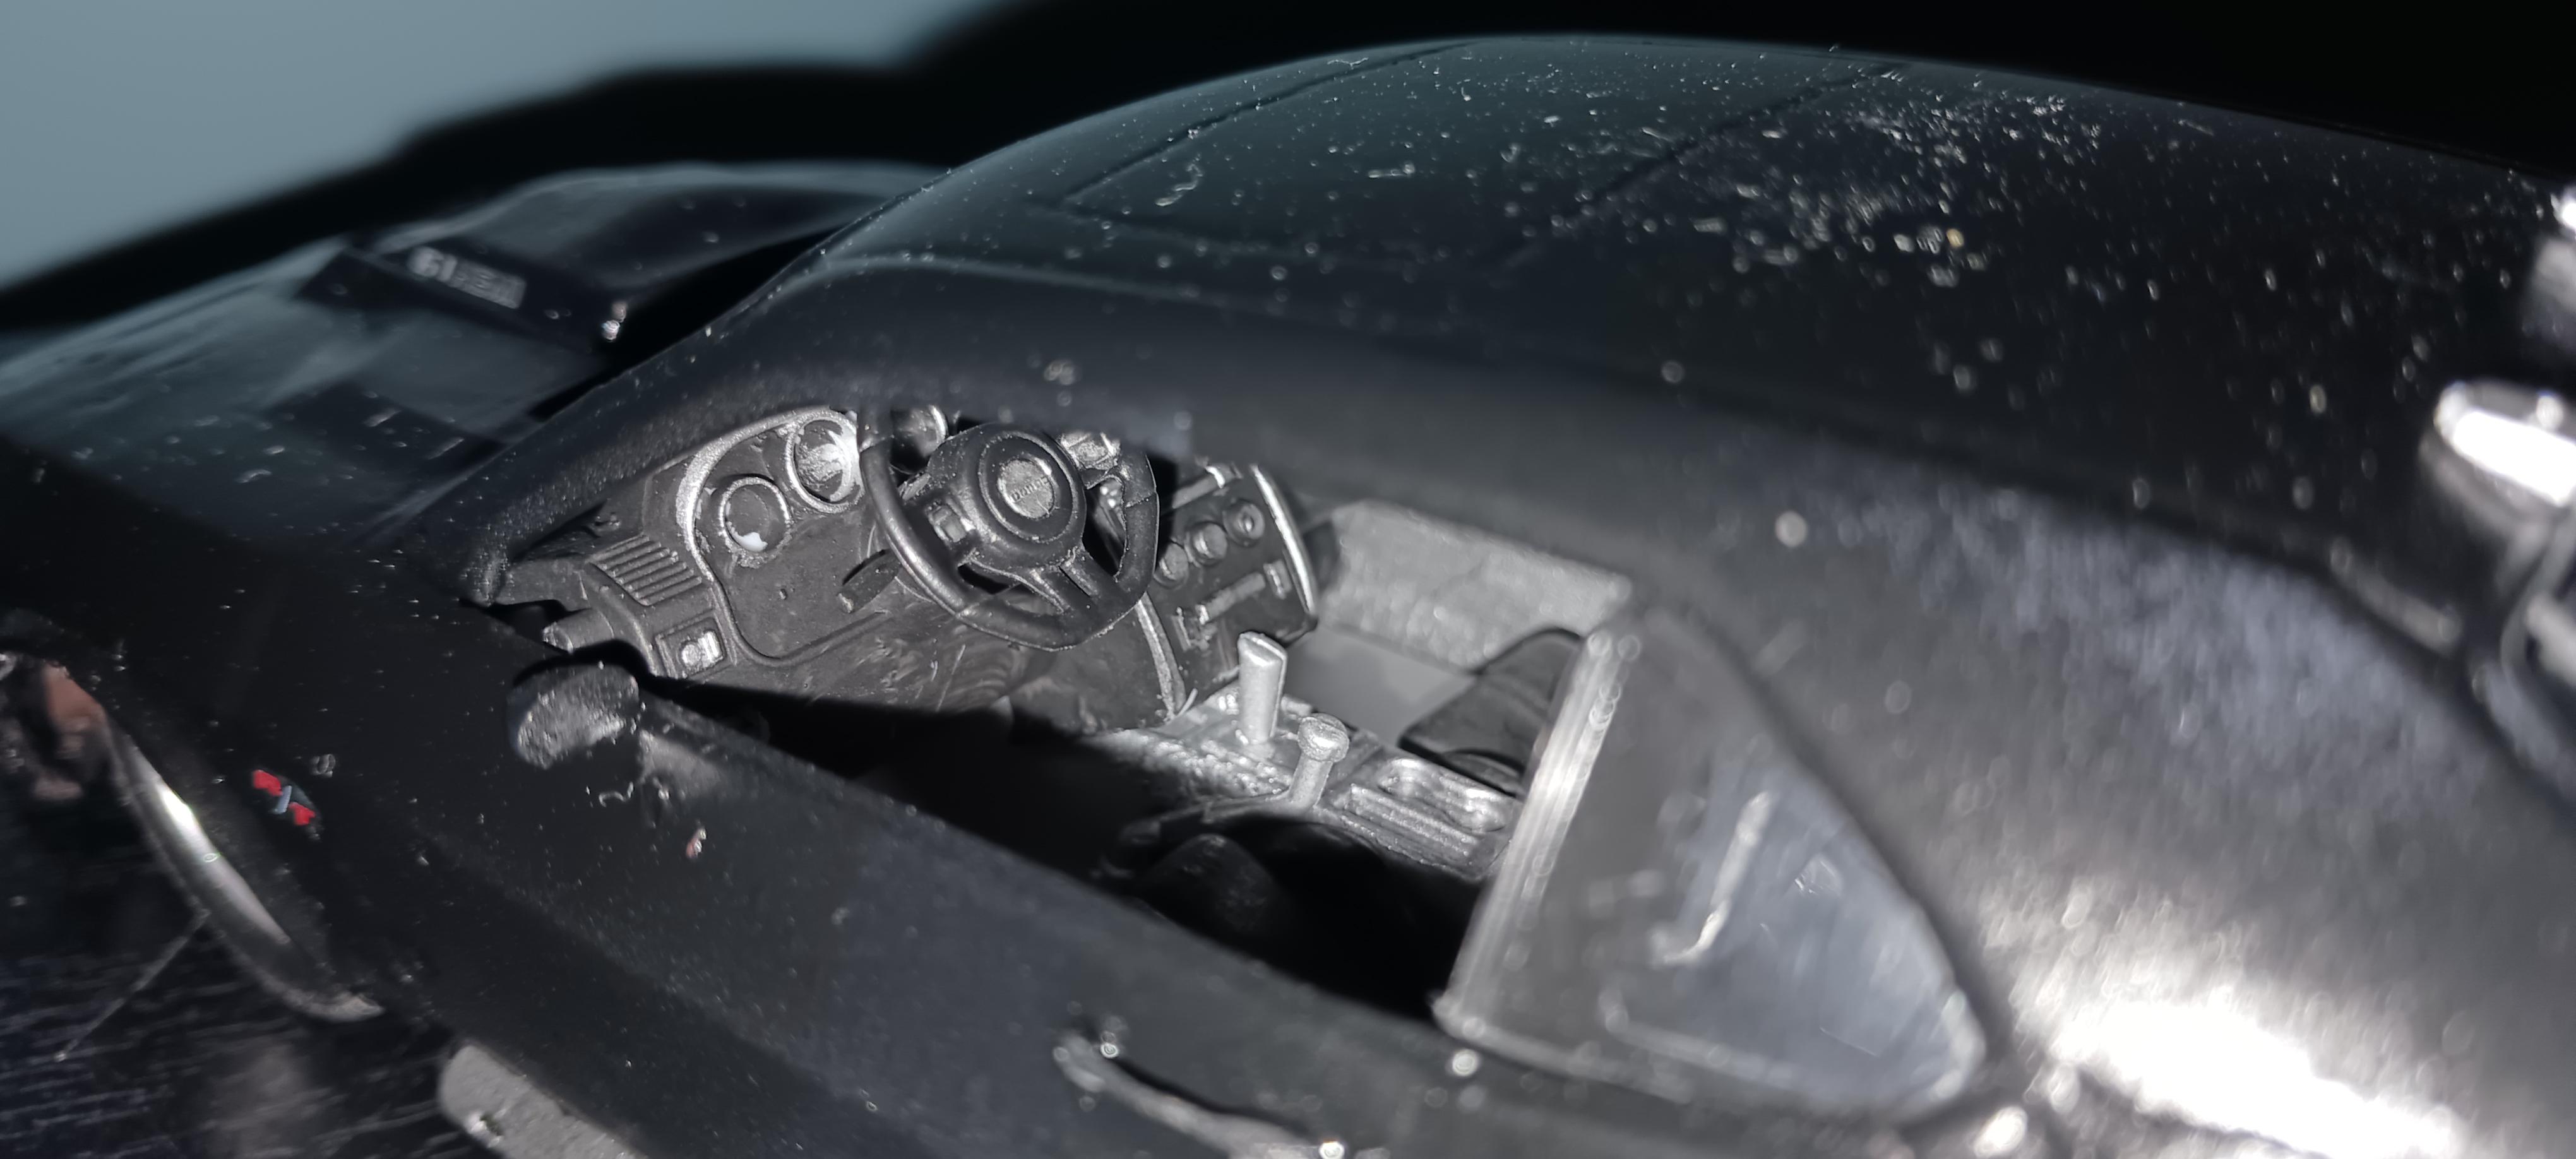
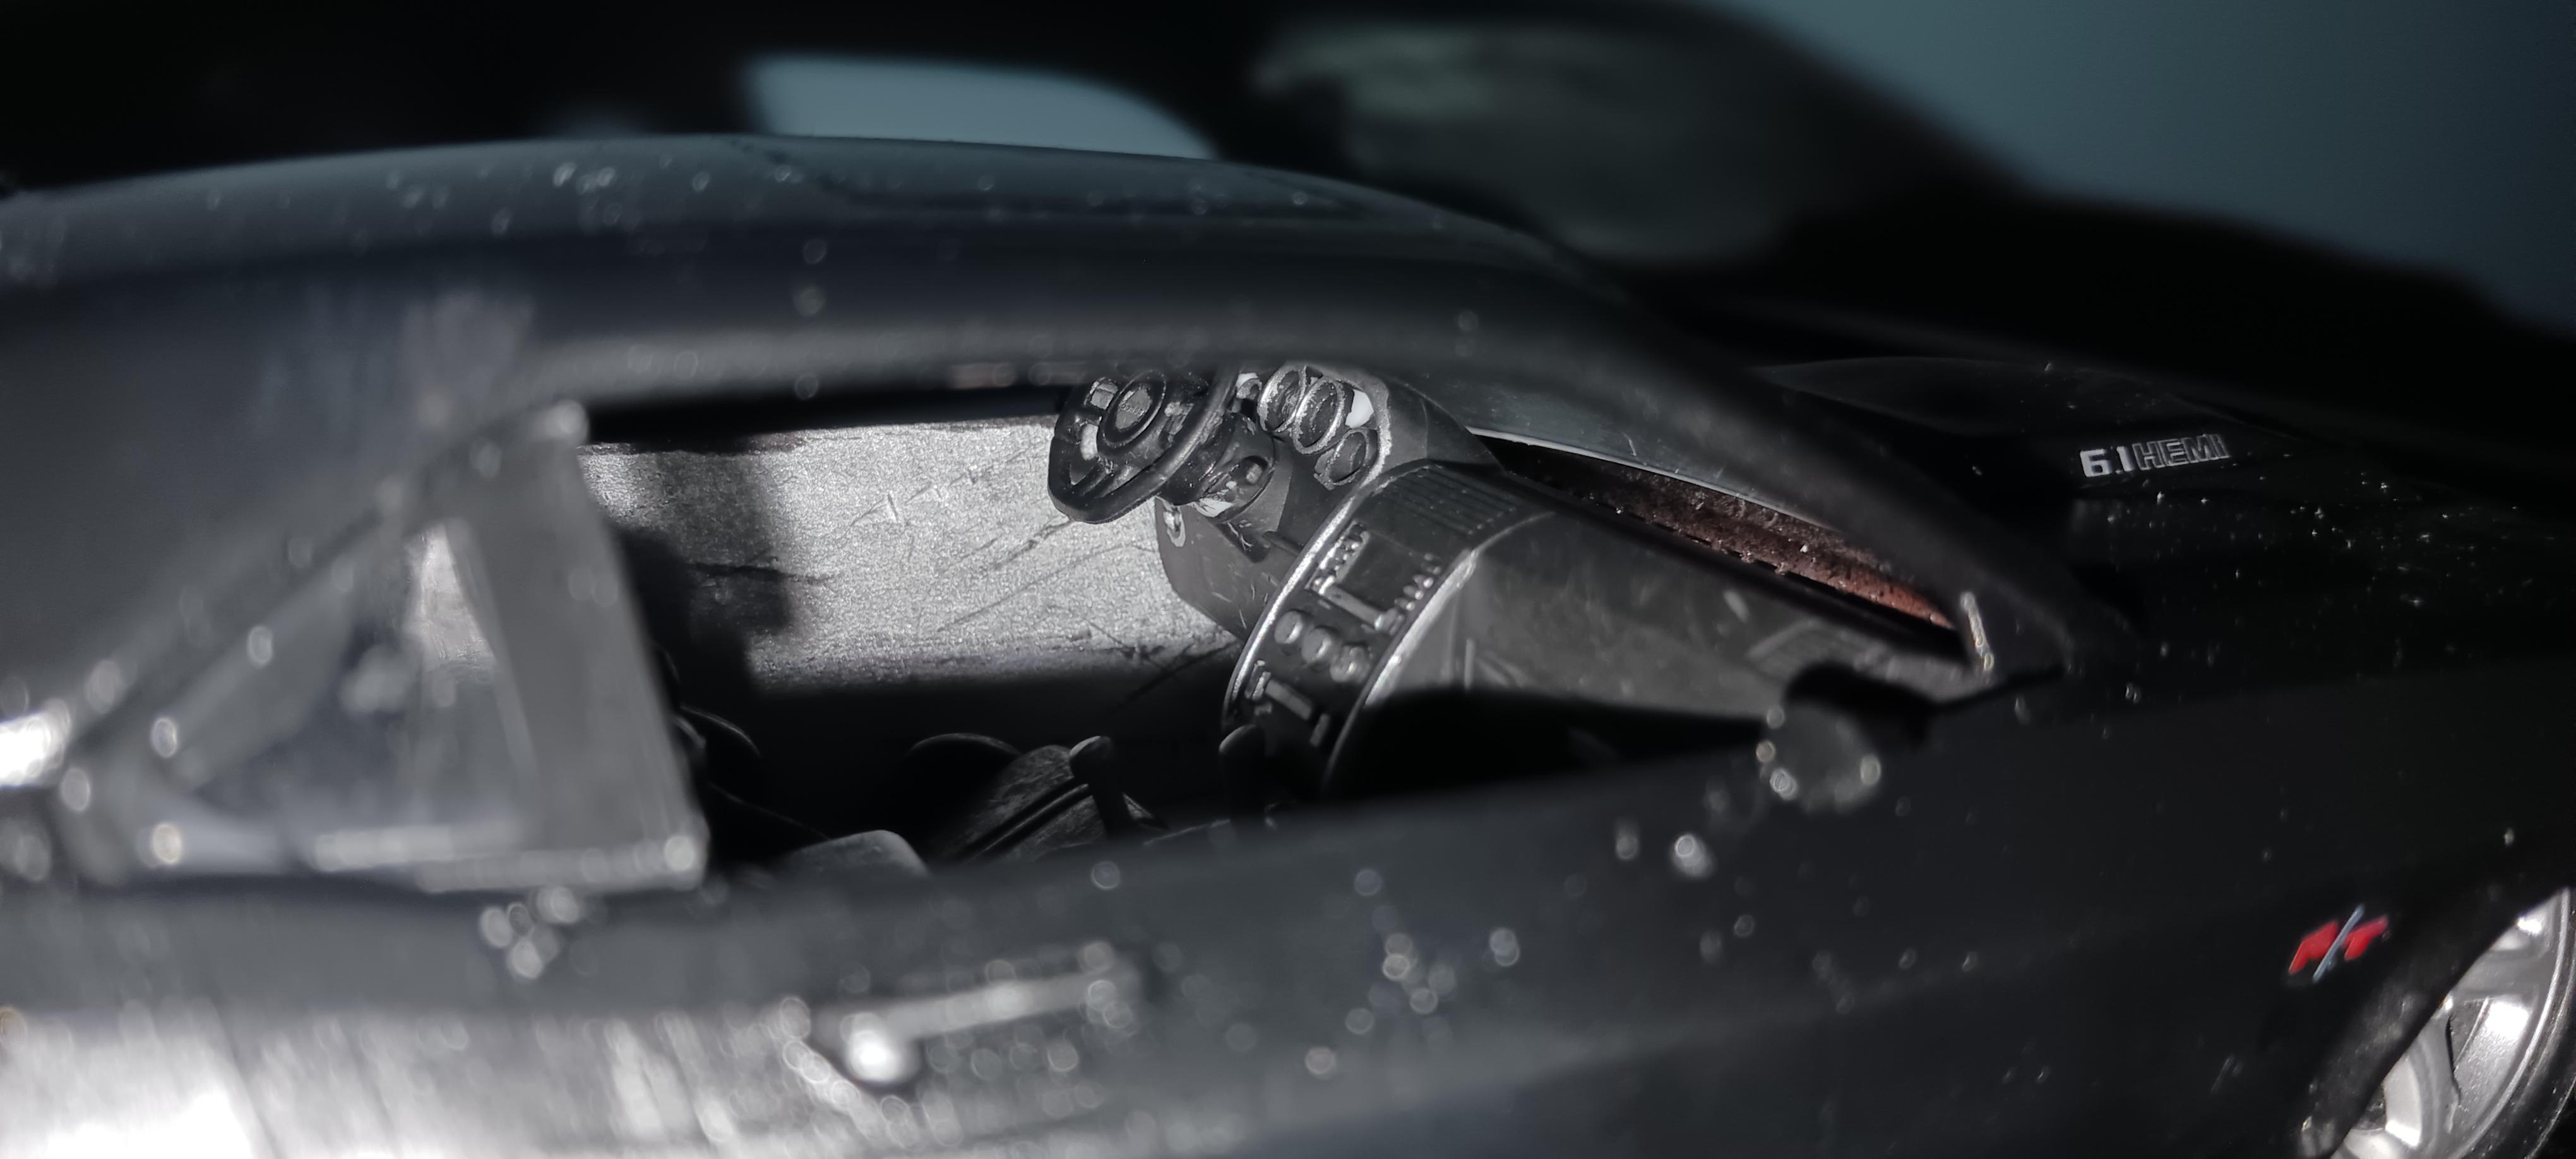
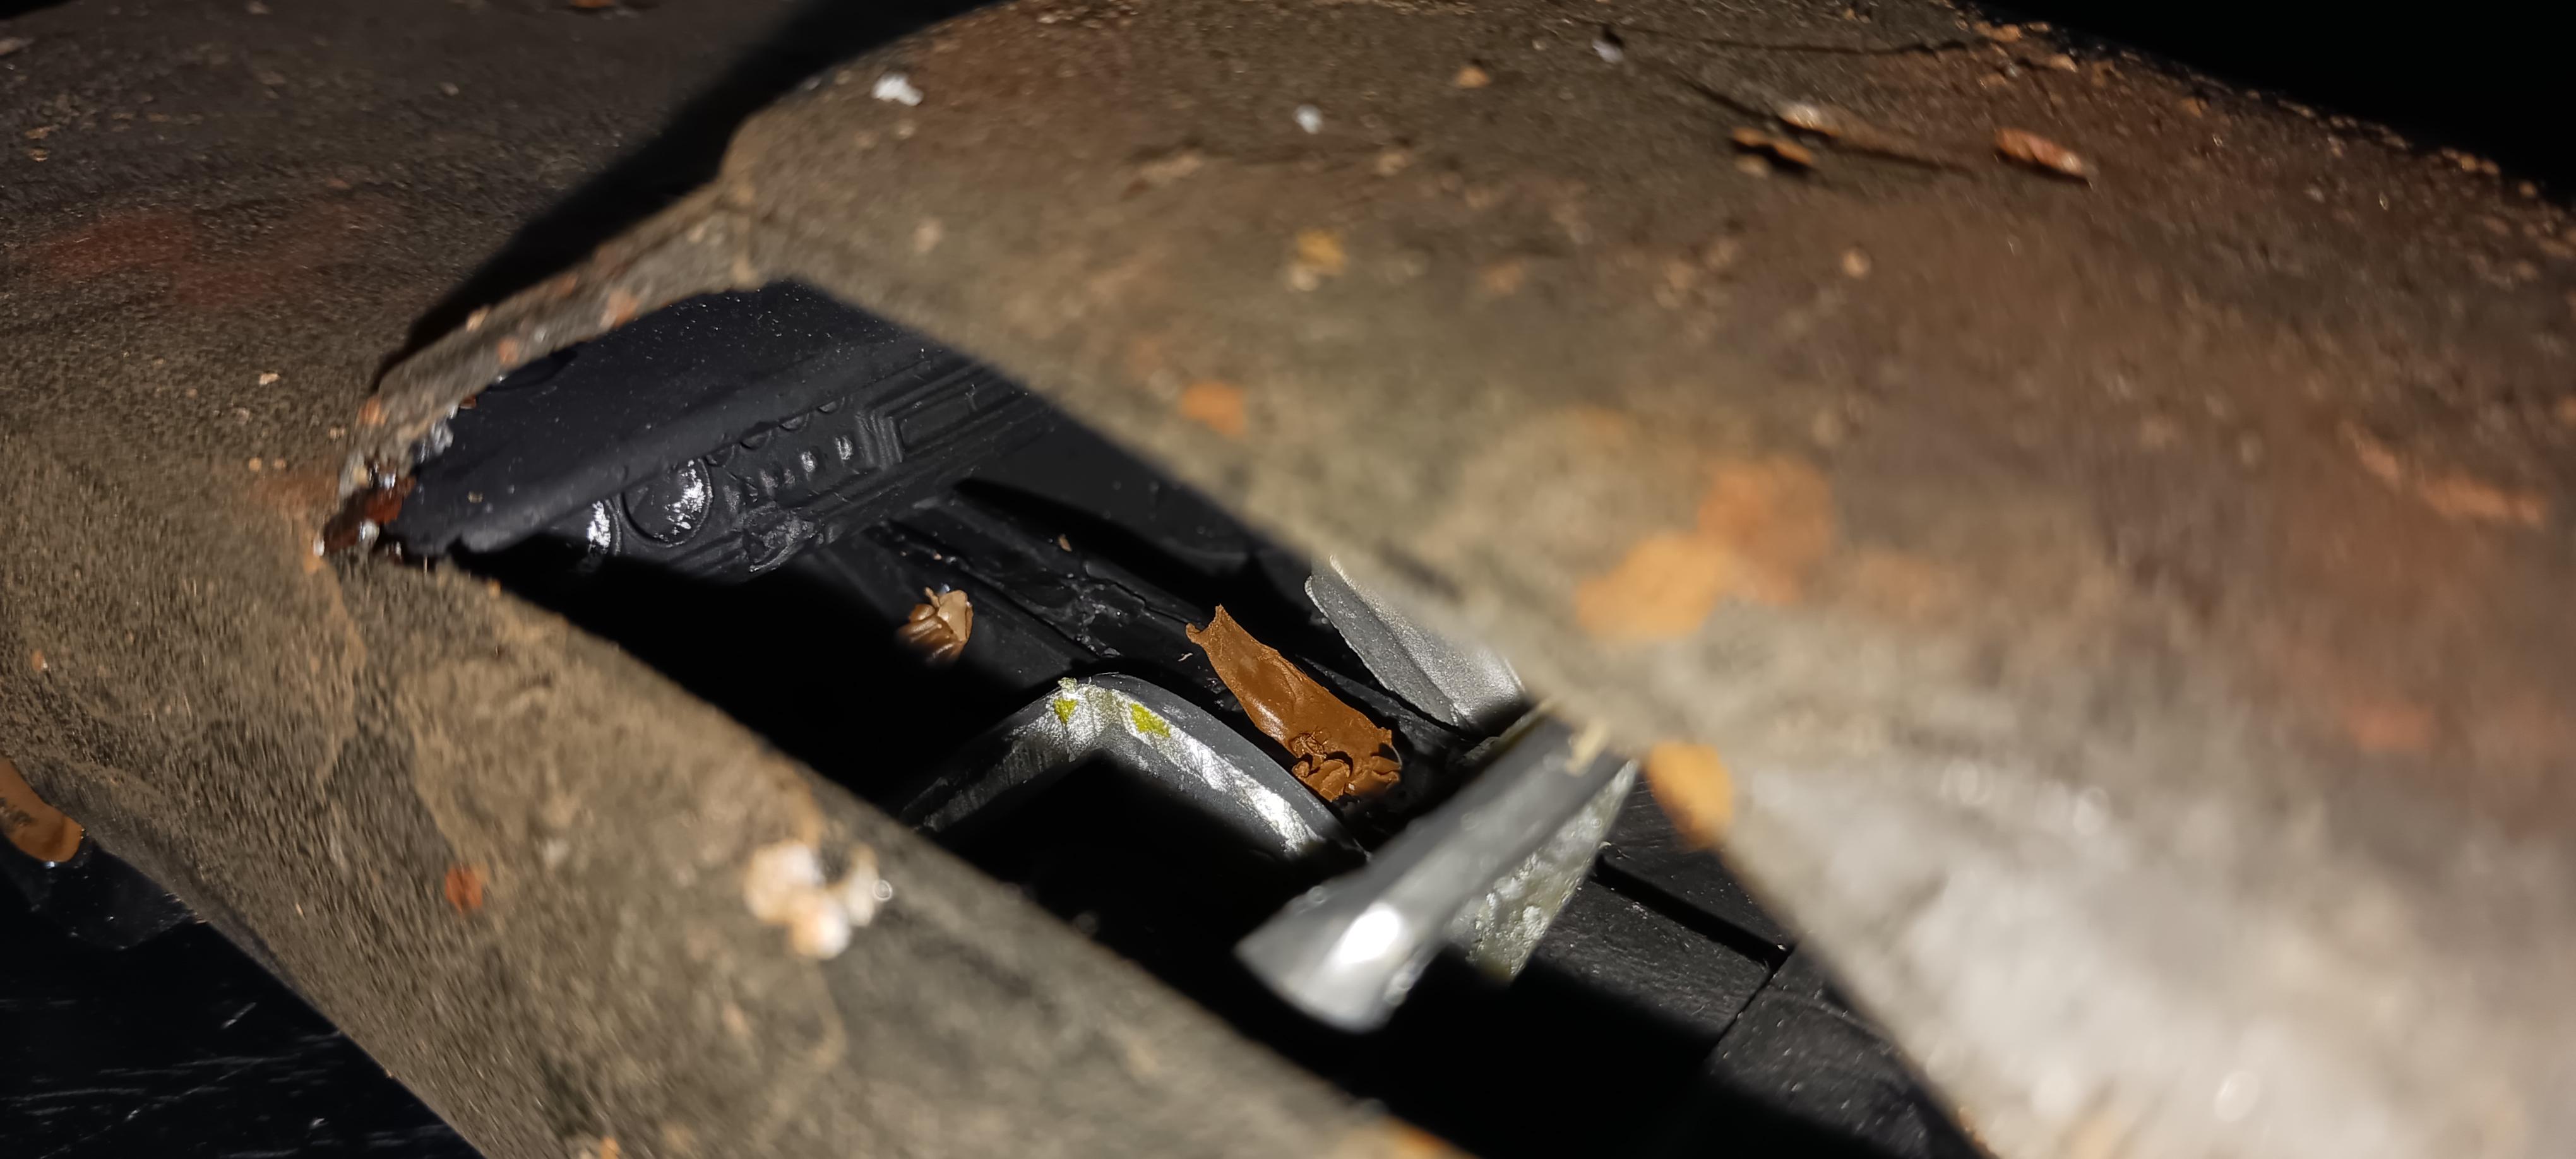
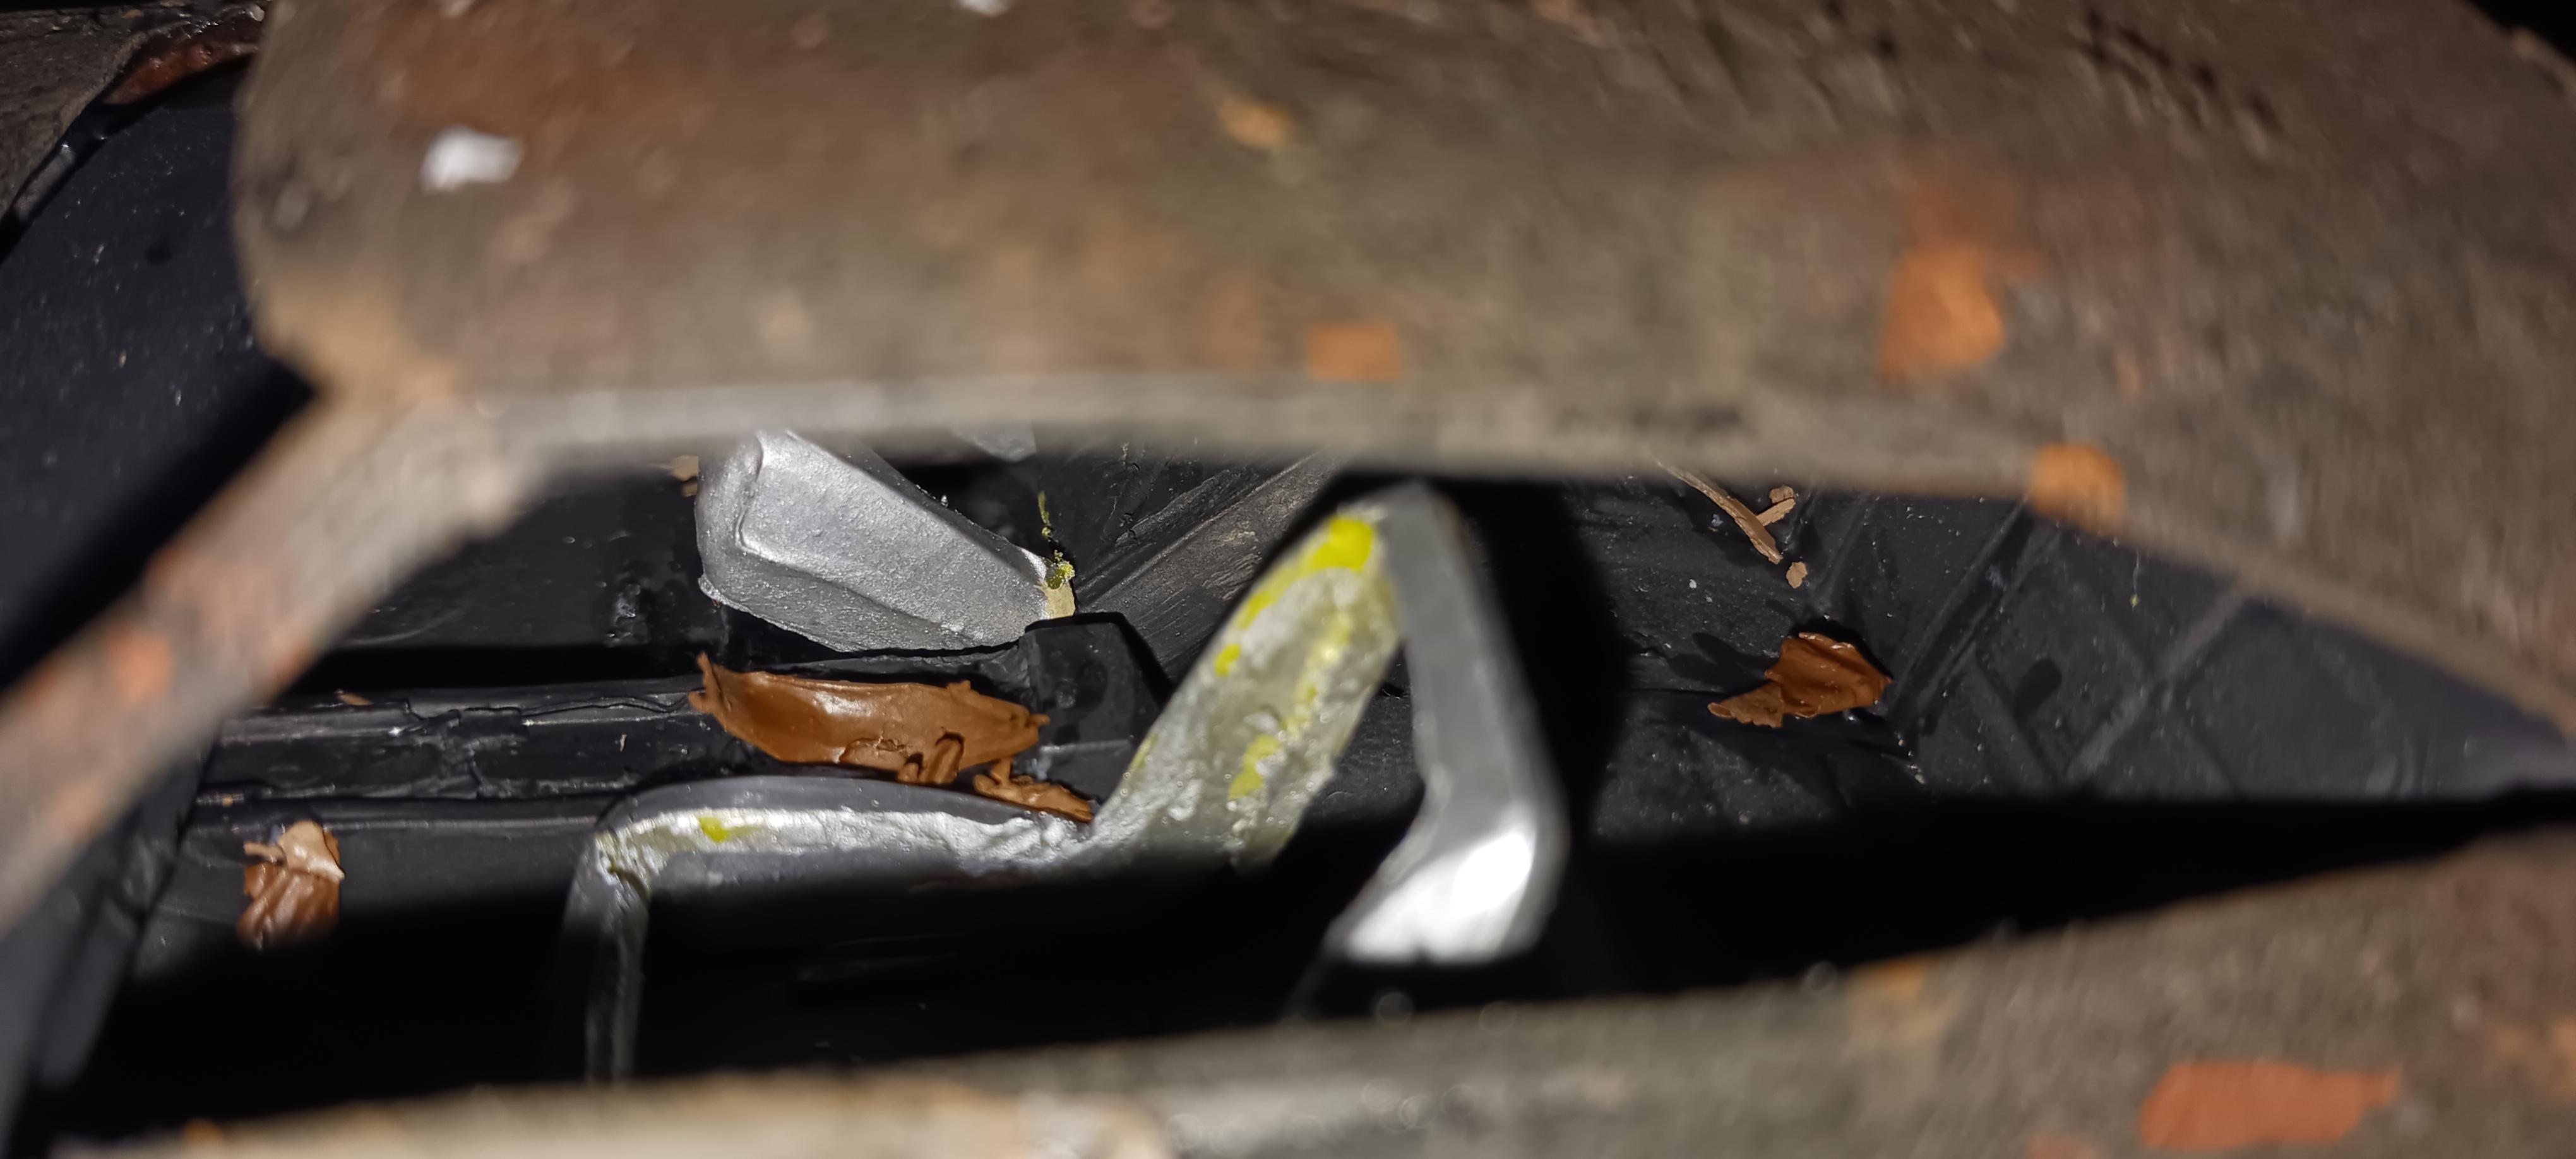
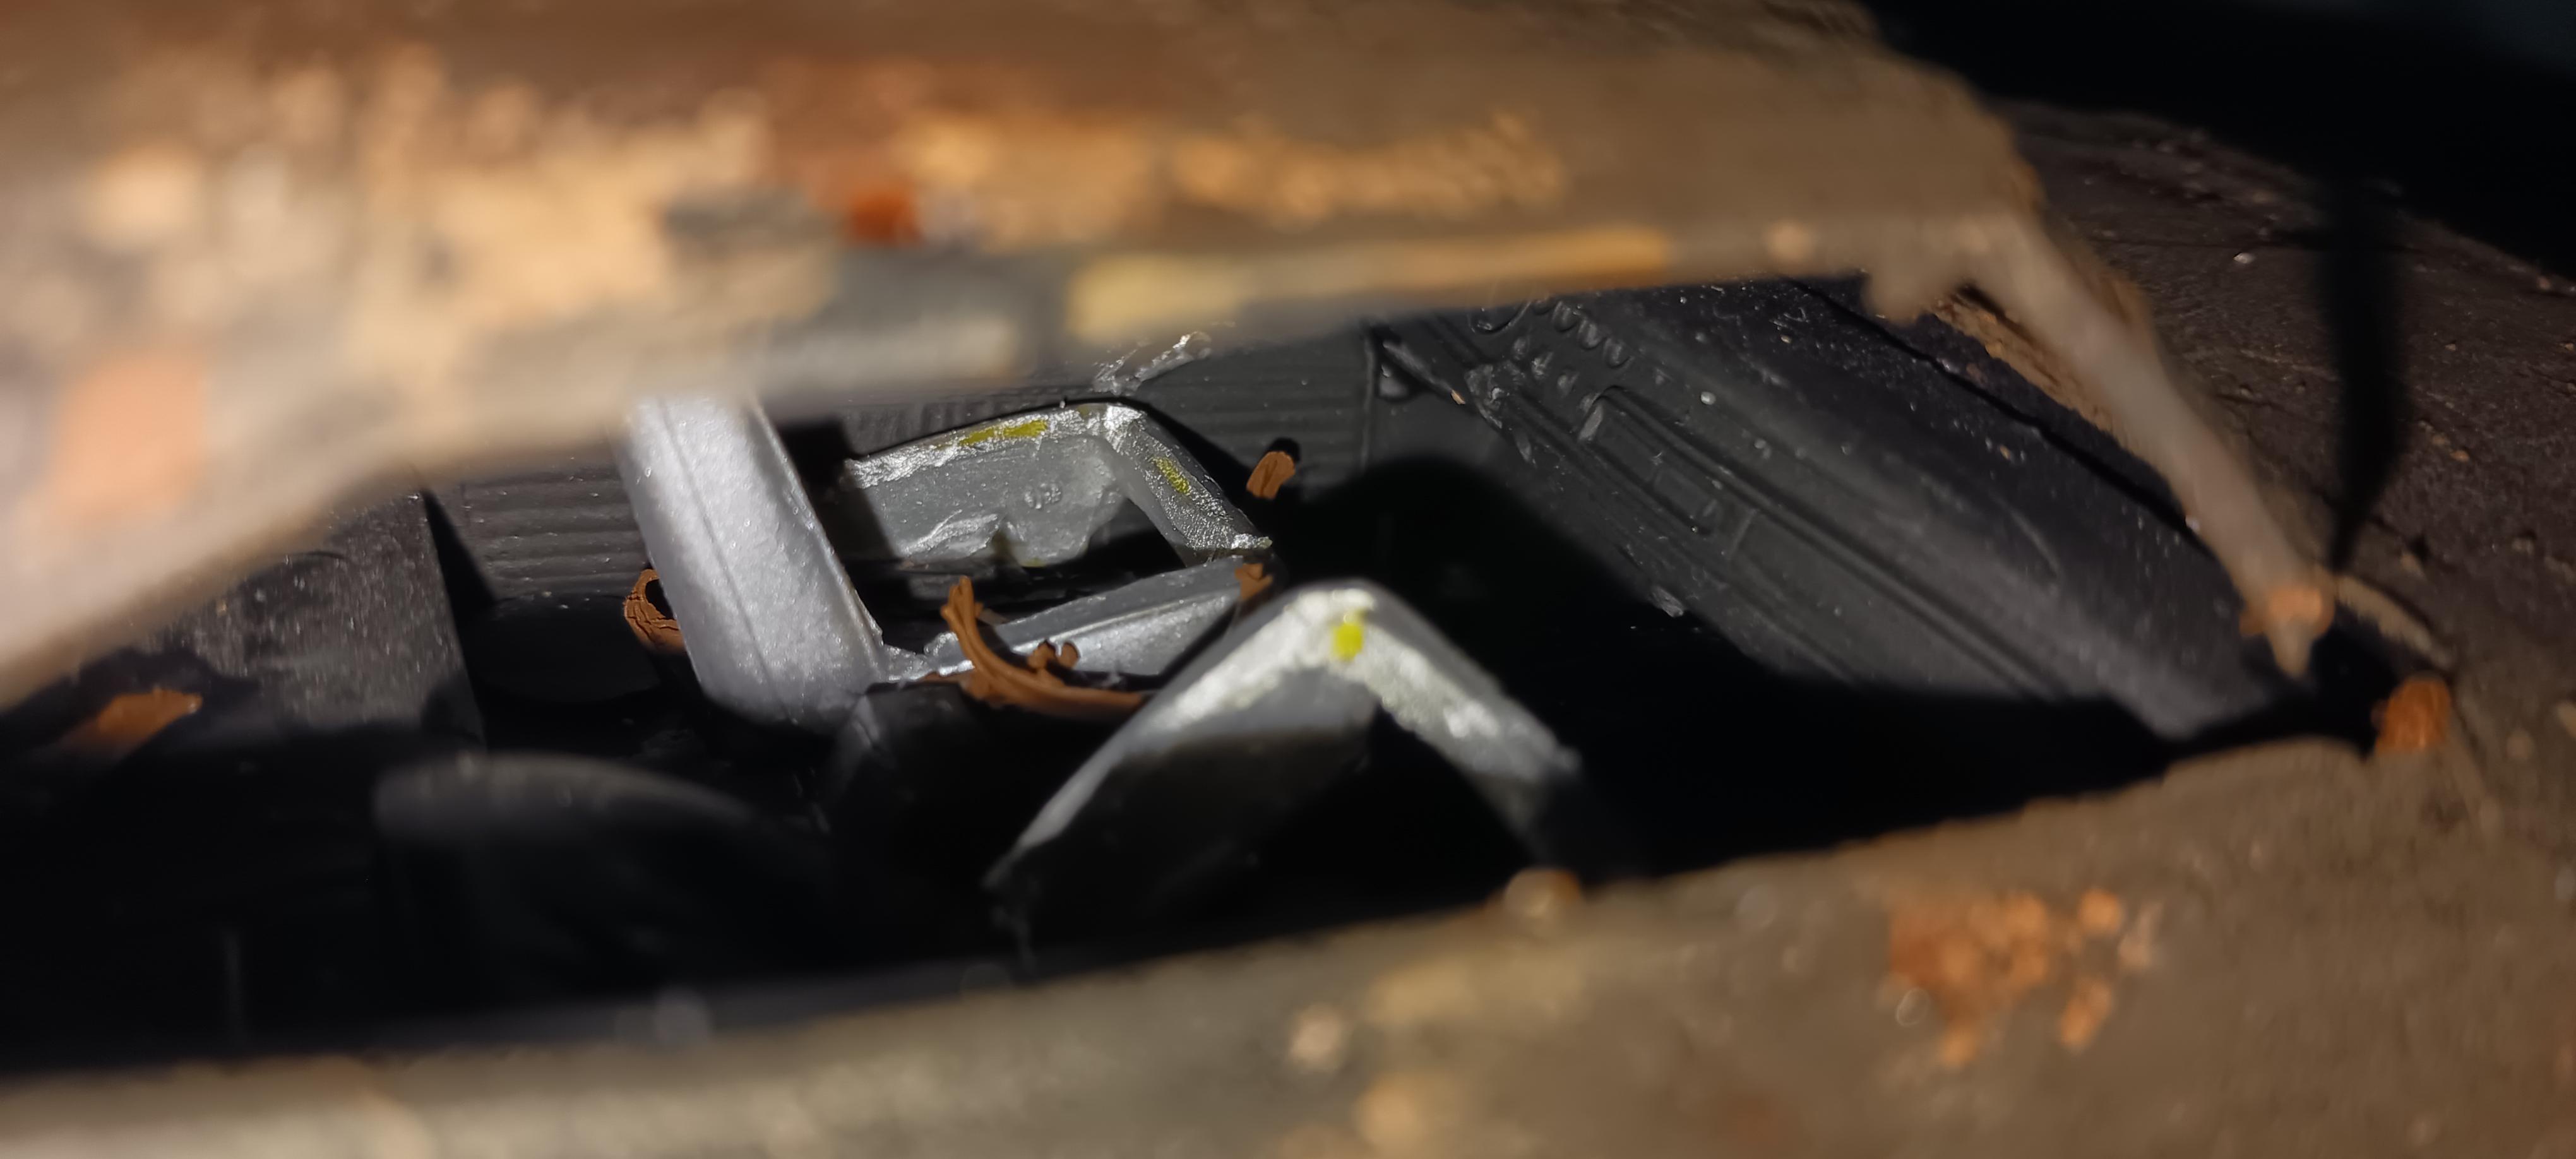
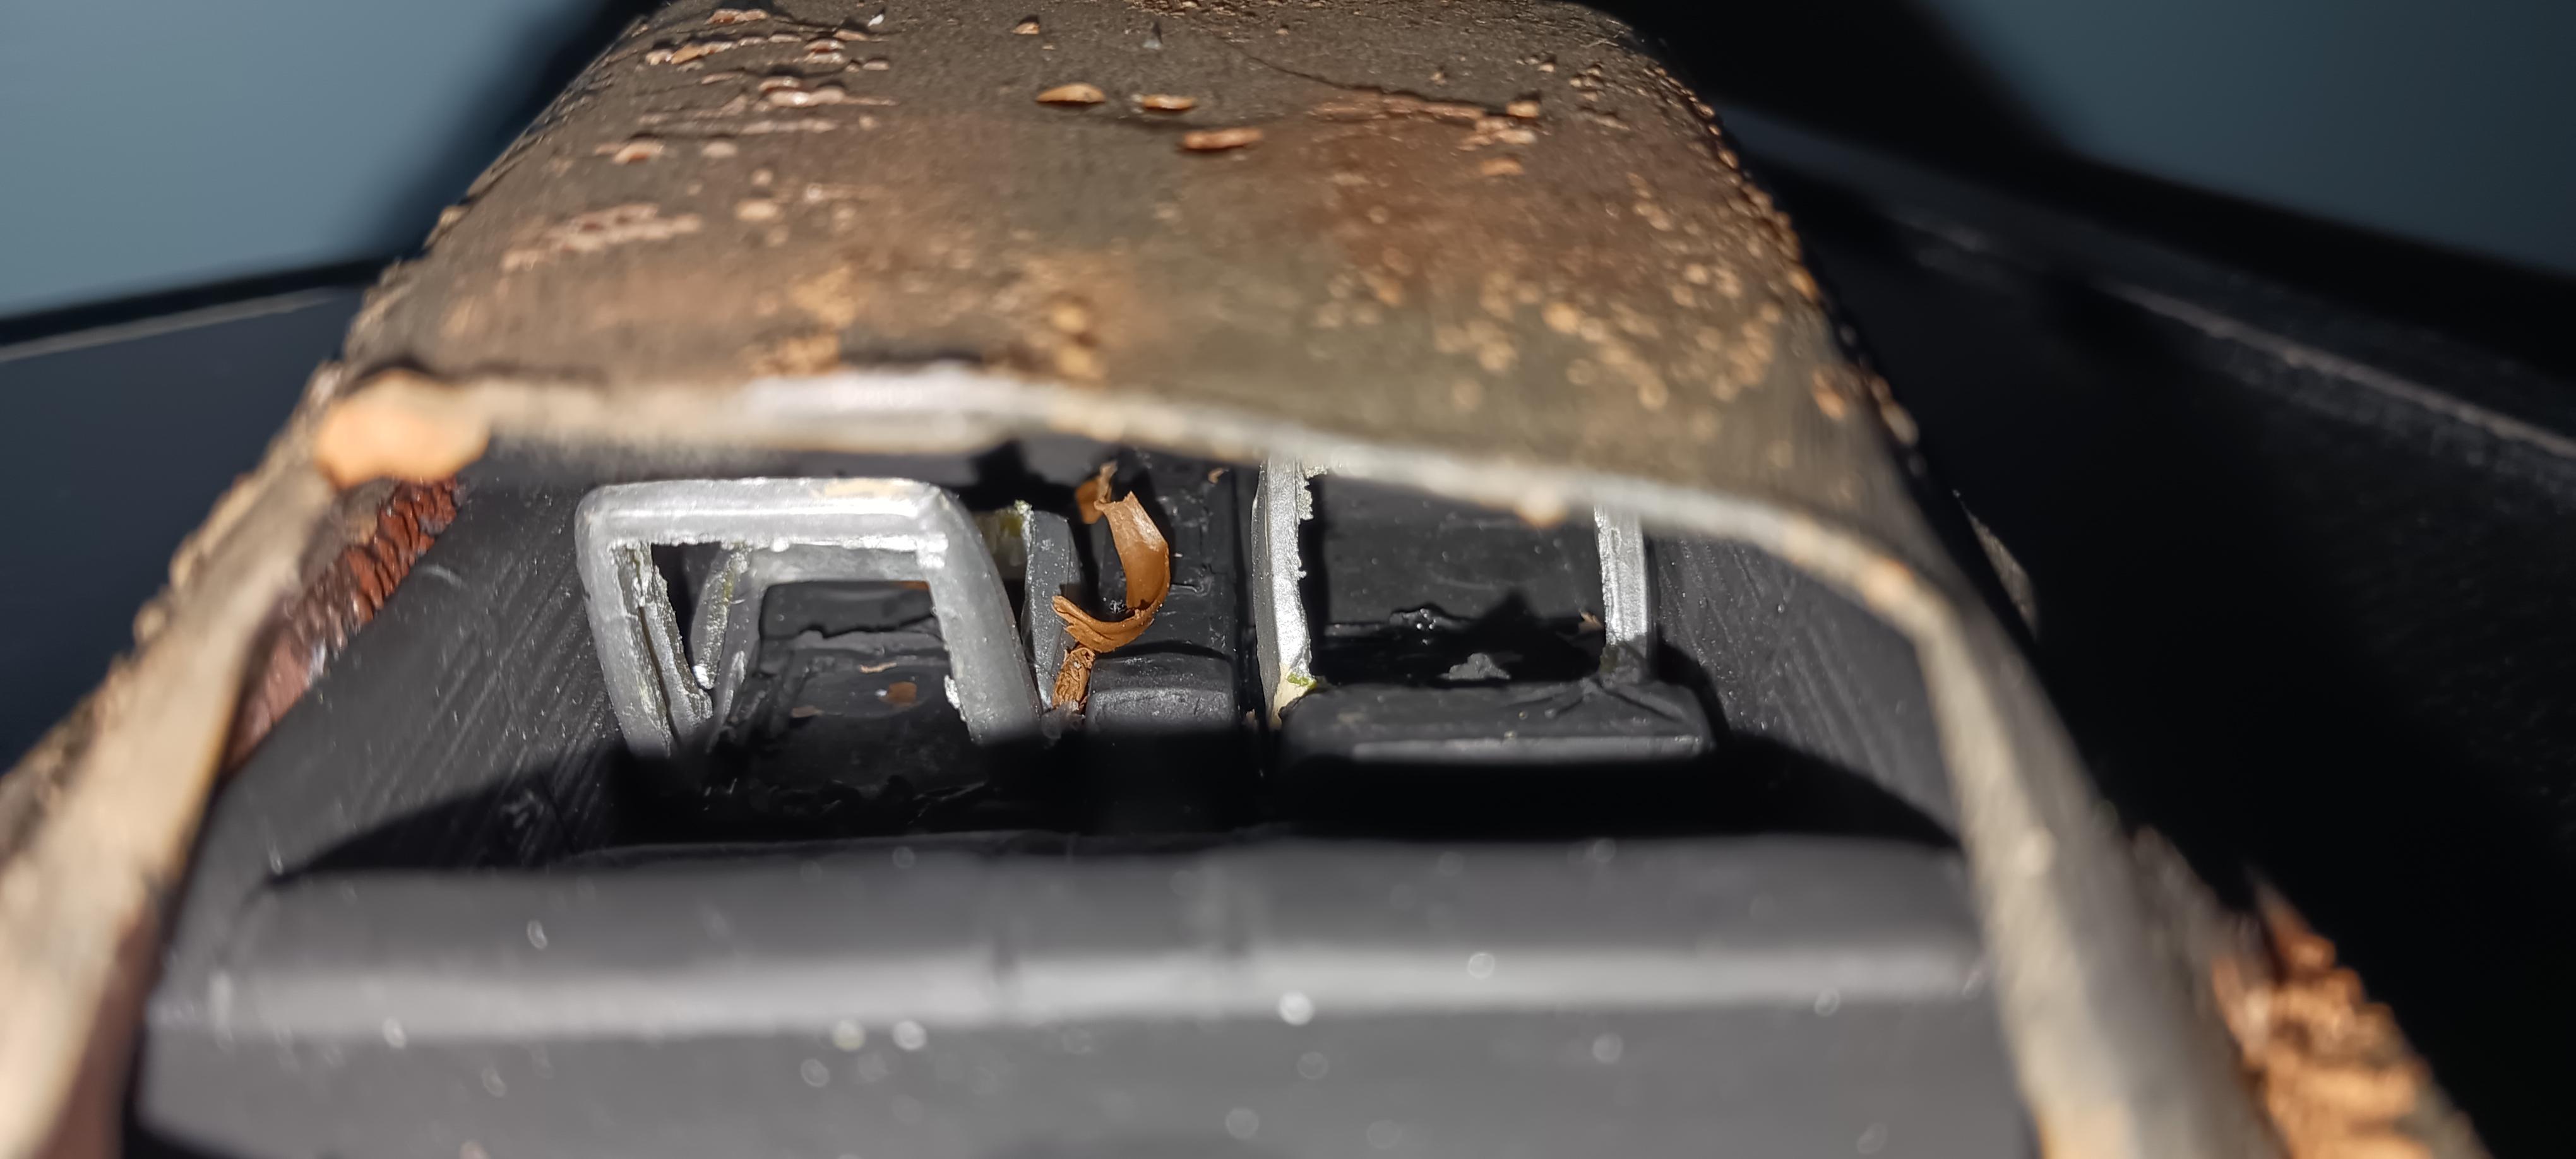
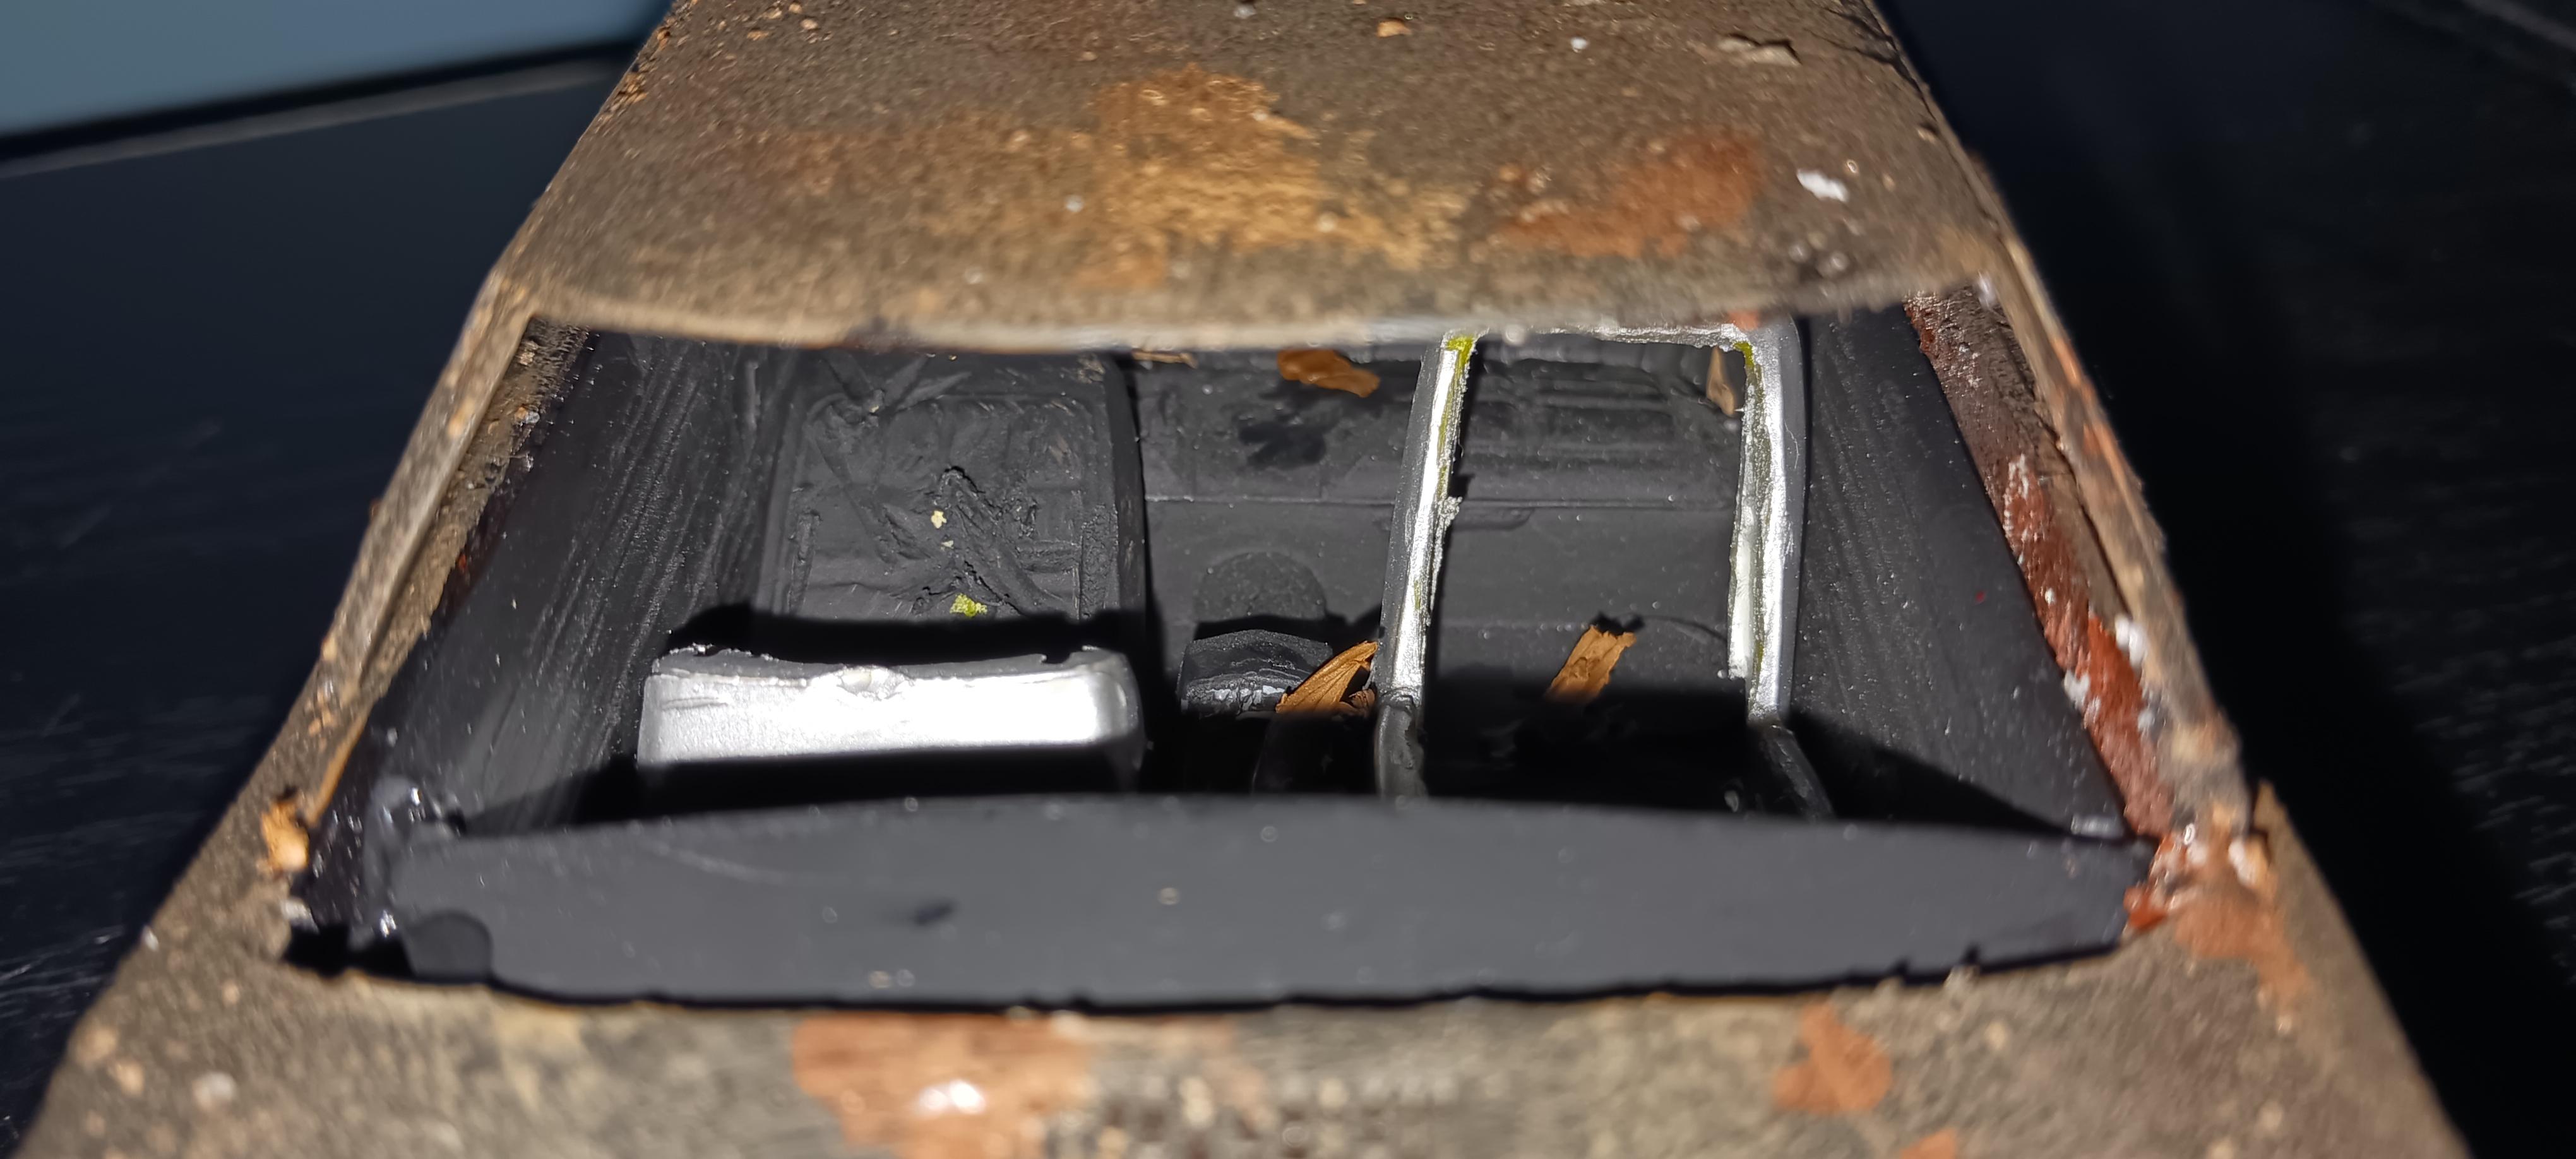
this is a 1/25 scale 3d resin printed 69 charger 500 body that failed in a few places so I decided add some holes and artificially rust it up and also removed all of the fabric from one of the front seats leaving the frame work and removed half the fabric from the other seat and glued it against the back sear I removed one door Handel and the front bumper and two head lights and added some debris around the interior this is going to be used in a diorama I will be making
-
very very awesome looking great work
-
very nice work i saw the post about the shaker hood and engine in the wanted section a while go