The Brush
-
Posts
265 -
Joined
-
Last visited
Content Type
Profiles
Forums
Events
Gallery
Everything posted by The Brush
-
Very nicely built, Used exhaust is a nice detail. Well done.
-
Thanks, I've not got round to selling it yet, maybe some time next year.
-
Monogram 1/32 Mack R600 & Tank Trailer
The Brush replied to Jim B's topic in Model Trucks: Big Rigs and Heavy Equipment
Hi, Jim, I missed this first time round, Looks very neatly done, The loco is impressive also. I had one converted it to a RS700 , I would like to get another when i see one for sale. -
1941 Autocar U-80-T tractor
The Brush replied to RoninUtah's topic in Model Trucks: Big Rigs and Heavy Equipment
Great job on the autocar, I'm liking the trailer as well. -
1/16 Peterbilt 359
The Brush replied to The Brush's topic in Model Trucks: Big Rigs and Heavy Equipment
Thanks Jim, I also had the monogram flat bed Fruehauf trailer. -
I built this about 2009. These are big models & now i have no where to display it i have sold it along with another thats unbuilt. i invested the money in moulding materials.

-
1/32 Mack F700
The Brush replied to The Brush's topic in WIP: Model Trucks: Big Rigs and Heavy Equipment
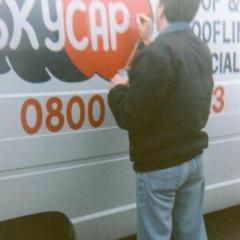
Hi, The vinyl cutter is for signmaking, computer controlled with sign making software. I have this left over from my working days. I was a traditional signwriter & later used computers in the sign trade. mainly up north before i moved down south. -
1/32 Mack F700
The Brush replied to The Brush's topic in WIP: Model Trucks: Big Rigs and Heavy Equipment
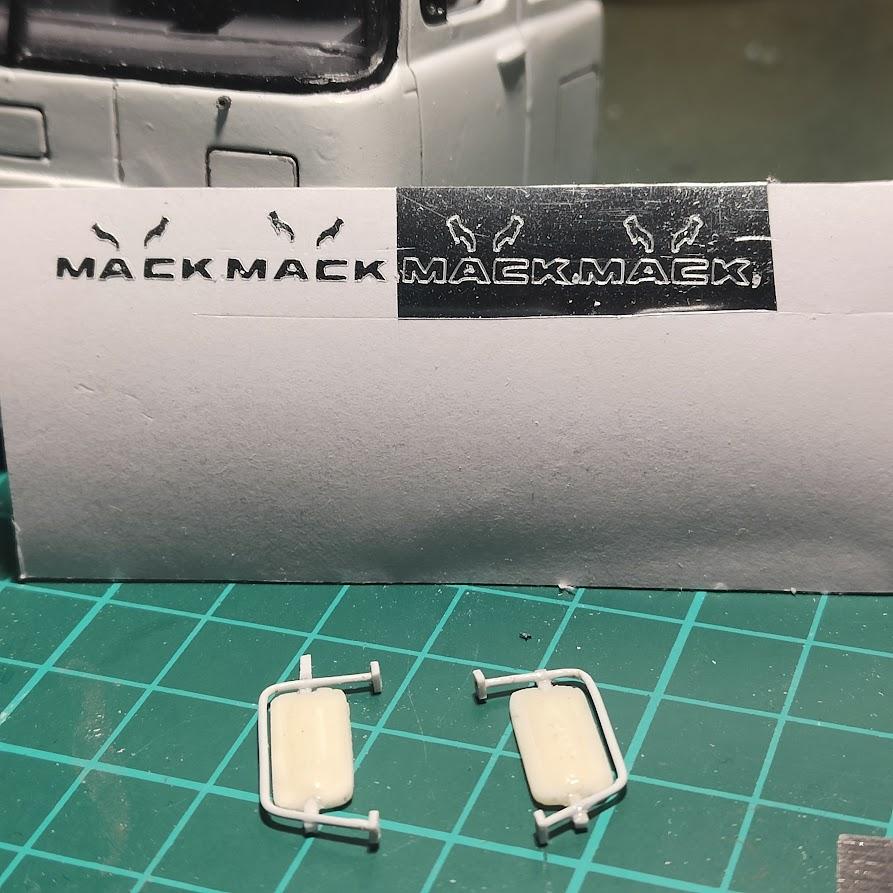
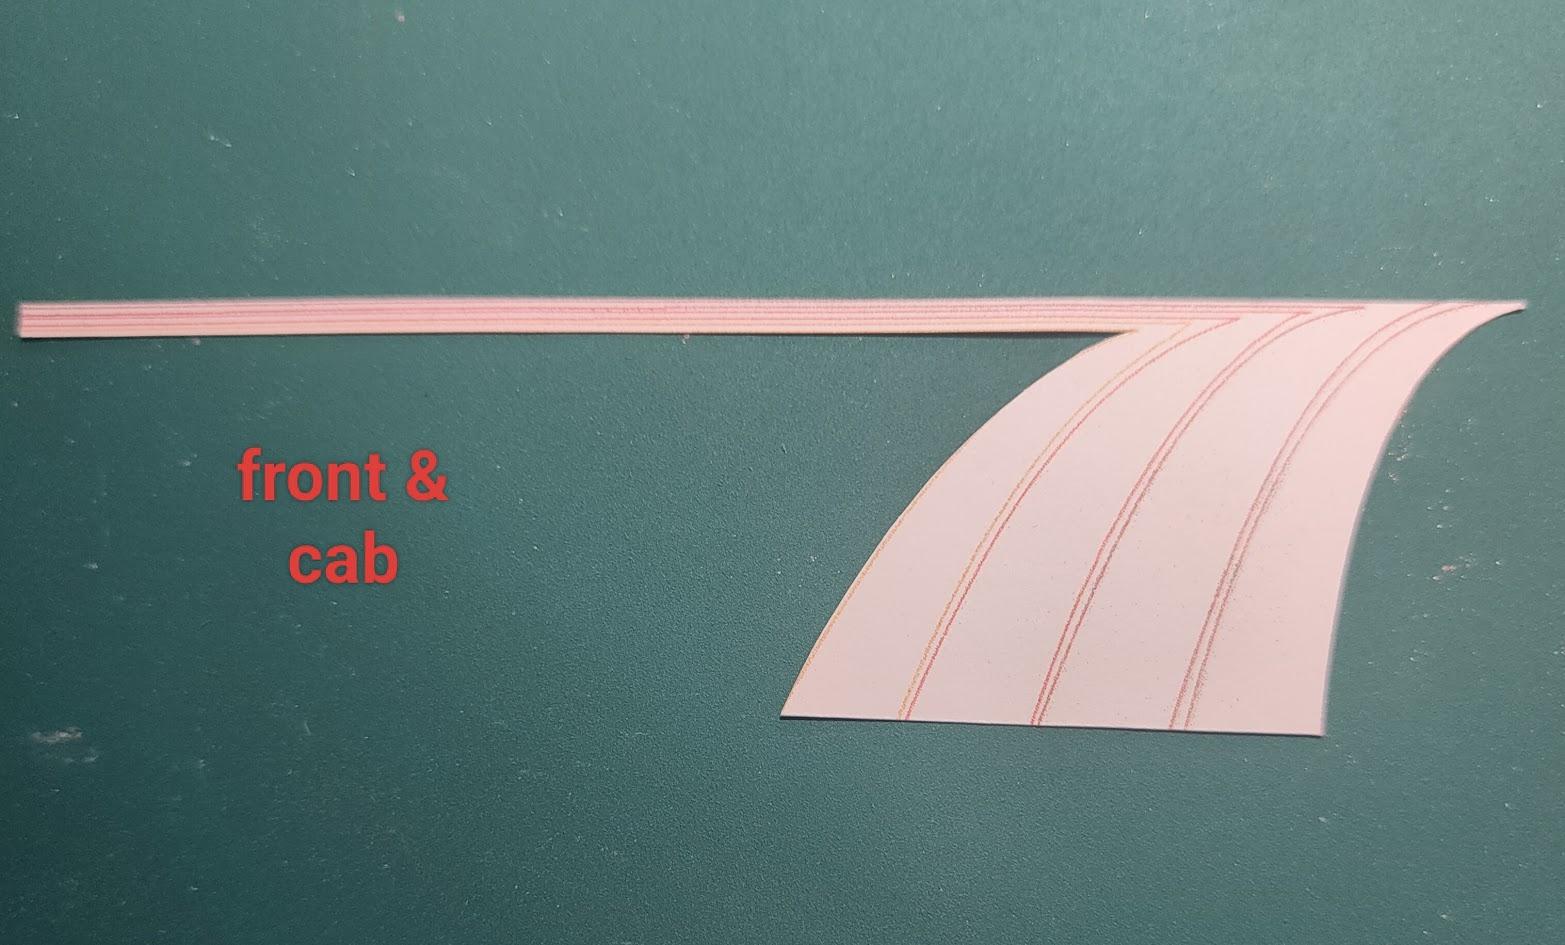
Hi, just printed stripes for the white f700 & cut out on self adhesive chrome vinyl badges on a vinyl cutter. these are 2mm high just about cuts. I might paint the stripes on yet see how the decals look first. Also made the mirrors up from wire & resin casting. Airhorns & marker lights next.
-
GMC Astro double bunk
The Brush replied to The Brush's topic in Model Trucks: Big Rigs and Heavy Equipment
Thanks Lee, It took me a while to get round to it also. -
Pete 359 tanker with trailer
The Brush replied to Jürgen M.'s topic in WIP: Model Trucks: Big Rigs and Heavy Equipment
What a transformation, Very nicely done. Your a master with that 3d printer. -
1980 Chevy Titan "SS"
The Brush replied to BigBad's topic in Model Trucks: Big Rigs and Heavy Equipment
Very nice detail,Paint work is spot on. Well done. -
1/32 Mack F700
The Brush replied to The Brush's topic in WIP: Model Trucks: Big Rigs and Heavy Equipment
Thanks Steve, Your comments are always welcome. -
GMC Astro double bunk
The Brush replied to The Brush's topic in Model Trucks: Big Rigs and Heavy Equipment
Thank you for the kind words much appreciated. -
1/32 Mack F700
The Brush replied to The Brush's topic in WIP: Model Trucks: Big Rigs and Heavy Equipment
Thanks,getting there slowly -
1/32 Mack F700
The Brush replied to The Brush's topic in WIP: Model Trucks: Big Rigs and Heavy Equipment
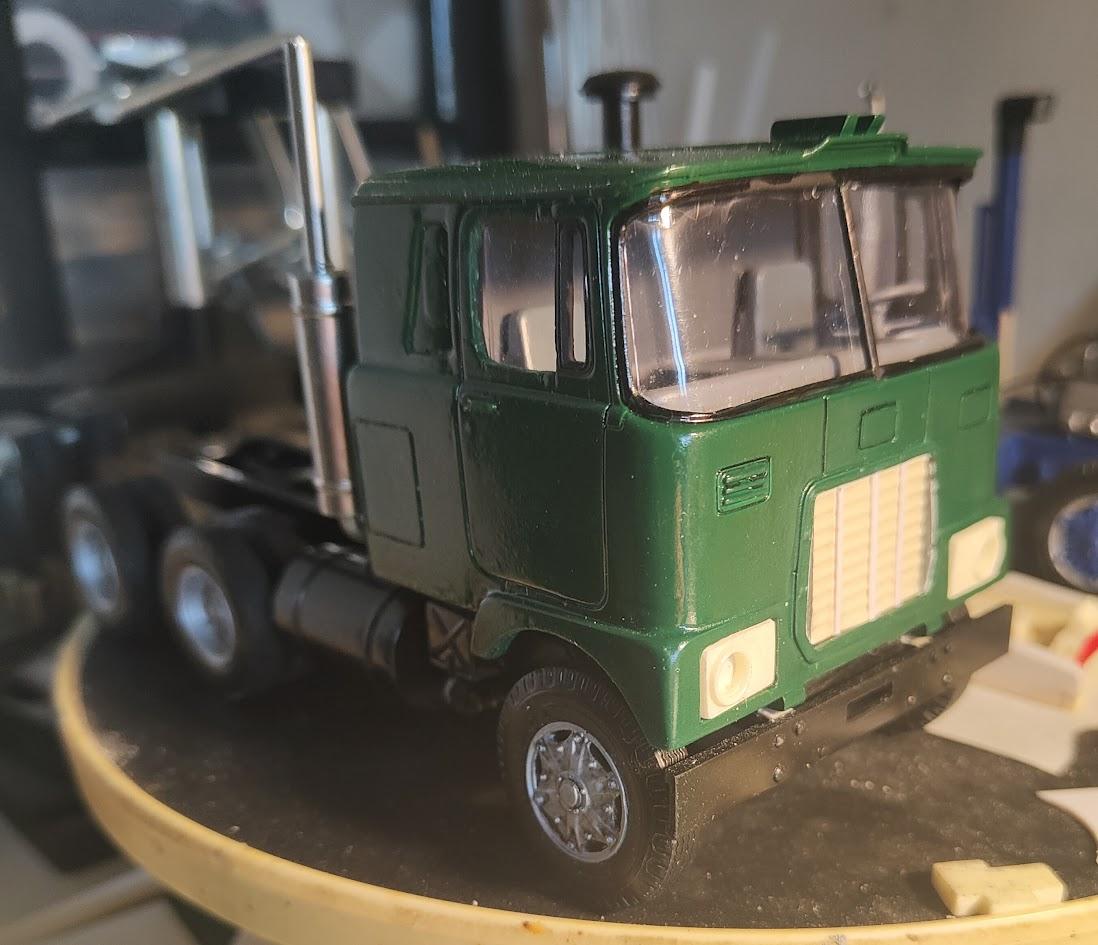
A quick update, The windscreens fitted & interiors, bit of clean up needed, I will need to make some adjustments on future builds fitting the interior was a bit tight. Now on with the cab lights, mirrors etc. & not forgetting the badges left these to last.
-
Your fleet looks great, The motor is impressive in this scale Well done.
-
Fantastic workmanship, it's a privilege to see it, Well done.
-
Brockway 260 Dump
The Brush replied to Warren D's topic in Model Trucks: Big Rigs and Heavy Equipment
Neat work, very nicely done. -
GMC Astro double bunk
The Brush replied to The Brush's topic in Model Trucks: Big Rigs and Heavy Equipment
Hi Jurgen. I`ll try to answer your question, First i did the design using a graphics software, printed it off on thin card to use as templates,Then cut these out of blue vinyl i had, starting with the roof stuck 1mm masking tape down butted up to this a large stripe then 1mm masking tape gap & so on . the 1mm lines on the front & sides i added last with 0.5 masking tape gap. Then remove larger tape to paint in lines. I used enamel paint. If you mix a colour make more than you need for touching in etc. Hope this helps , If you need any further info just ask. All the best Graham.
-
1/32 Mack F700
The Brush replied to The Brush's topic in WIP: Model Trucks: Big Rigs and Heavy Equipment
Hi, I have just finished the interiors & moulded the windscreen , full door panel in clear acetate with decals for lower panel, Looks lighter than it is, I formed the windscreen with a 2 part wooden male & female mould heated the acetate with a heat gun then pressed together to get the shape. Interiors from plastic card with steering wheels form wire & 2mm rod, also made a few decals with dials. They are not exact replicas but fill a gap. Probably not much of it will be seen. I will make a new interior in sections so i can cast it in resin. Thanks for looking.
-
1966 Peterbilt Unilite 352 COE
The Brush replied to RoninUtah's topic in Model Trucks: Big Rigs and Heavy Equipment
A job well done, Very nice old truck. Your detailing makes it stand out. -
GMC Astro double bunk
The Brush replied to The Brush's topic in Model Trucks: Big Rigs and Heavy Equipment
Thanks Brian, I masked it out in three stages, Cab roof, Then upper cab sides & finally the front & lower door. letting it dry between stages. -
GMC Astro double bunk
The Brush replied to The Brush's topic in Model Trucks: Big Rigs and Heavy Equipment
Thank you steve. -
GMC Astro double bunk
The Brush replied to The Brush's topic in Model Trucks: Big Rigs and Heavy Equipment
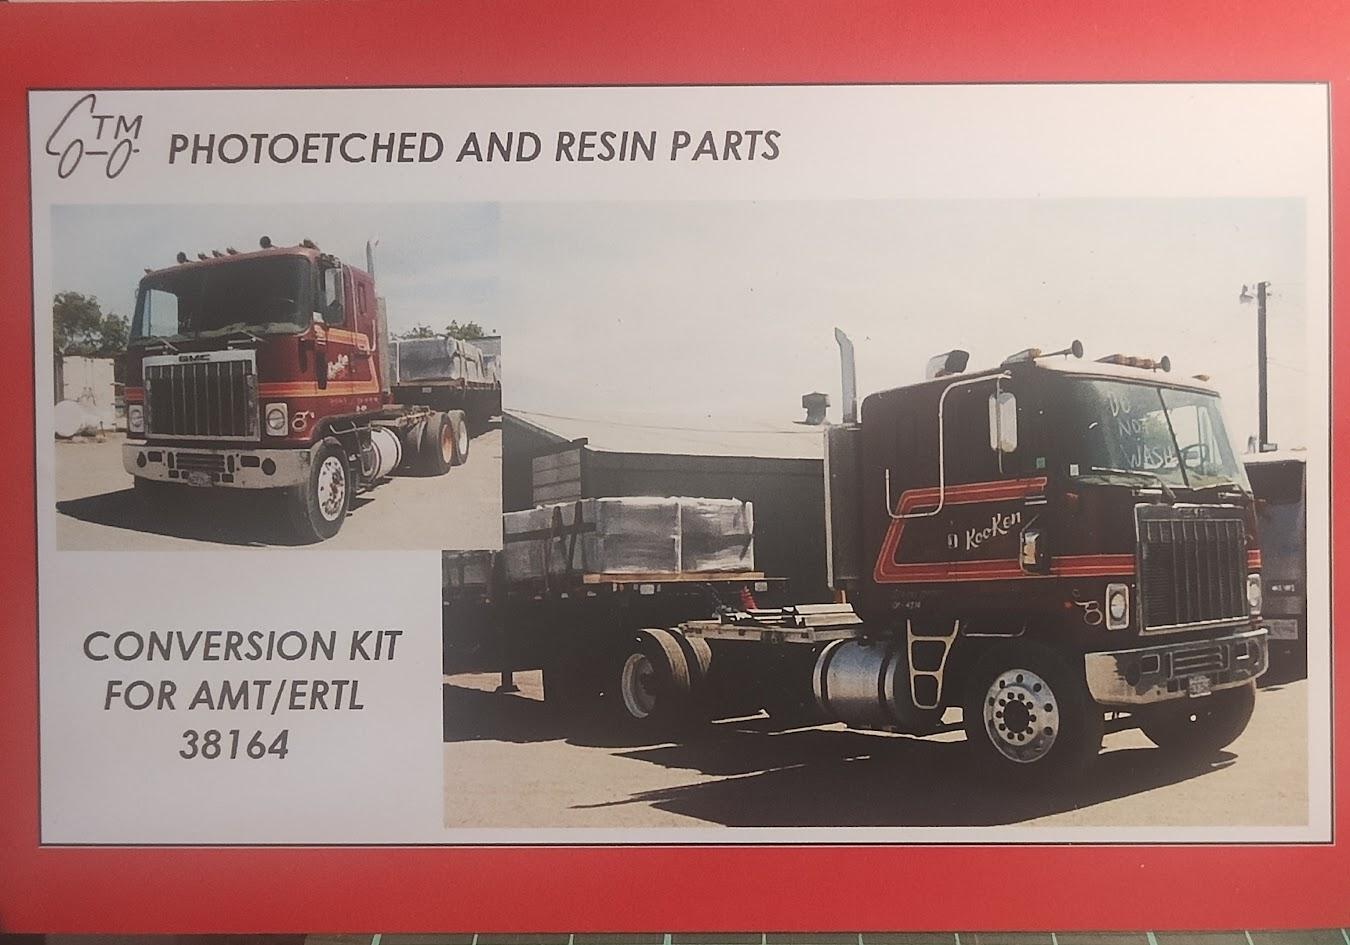
Thanks for comment, The kit is AMT Astro 95 with ATL decals, rear air suspension is from a GMC general ( not the type used on the real truck) P/E Parts fret from CTM
-
GMC Astro double bunk
The Brush replied to The Brush's topic in Model Trucks: Big Rigs and Heavy Equipment
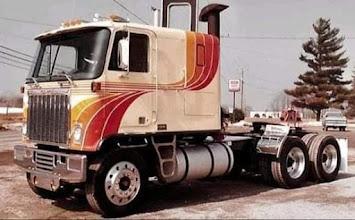
Thanks for the positive comments, Here`s a couple of pics of the original idea i used.