Biggu
-
Posts
1,769 -
Joined
-
Last visited
Content Type
Profiles
Forums
Events
Gallery
Everything posted by Biggu
-
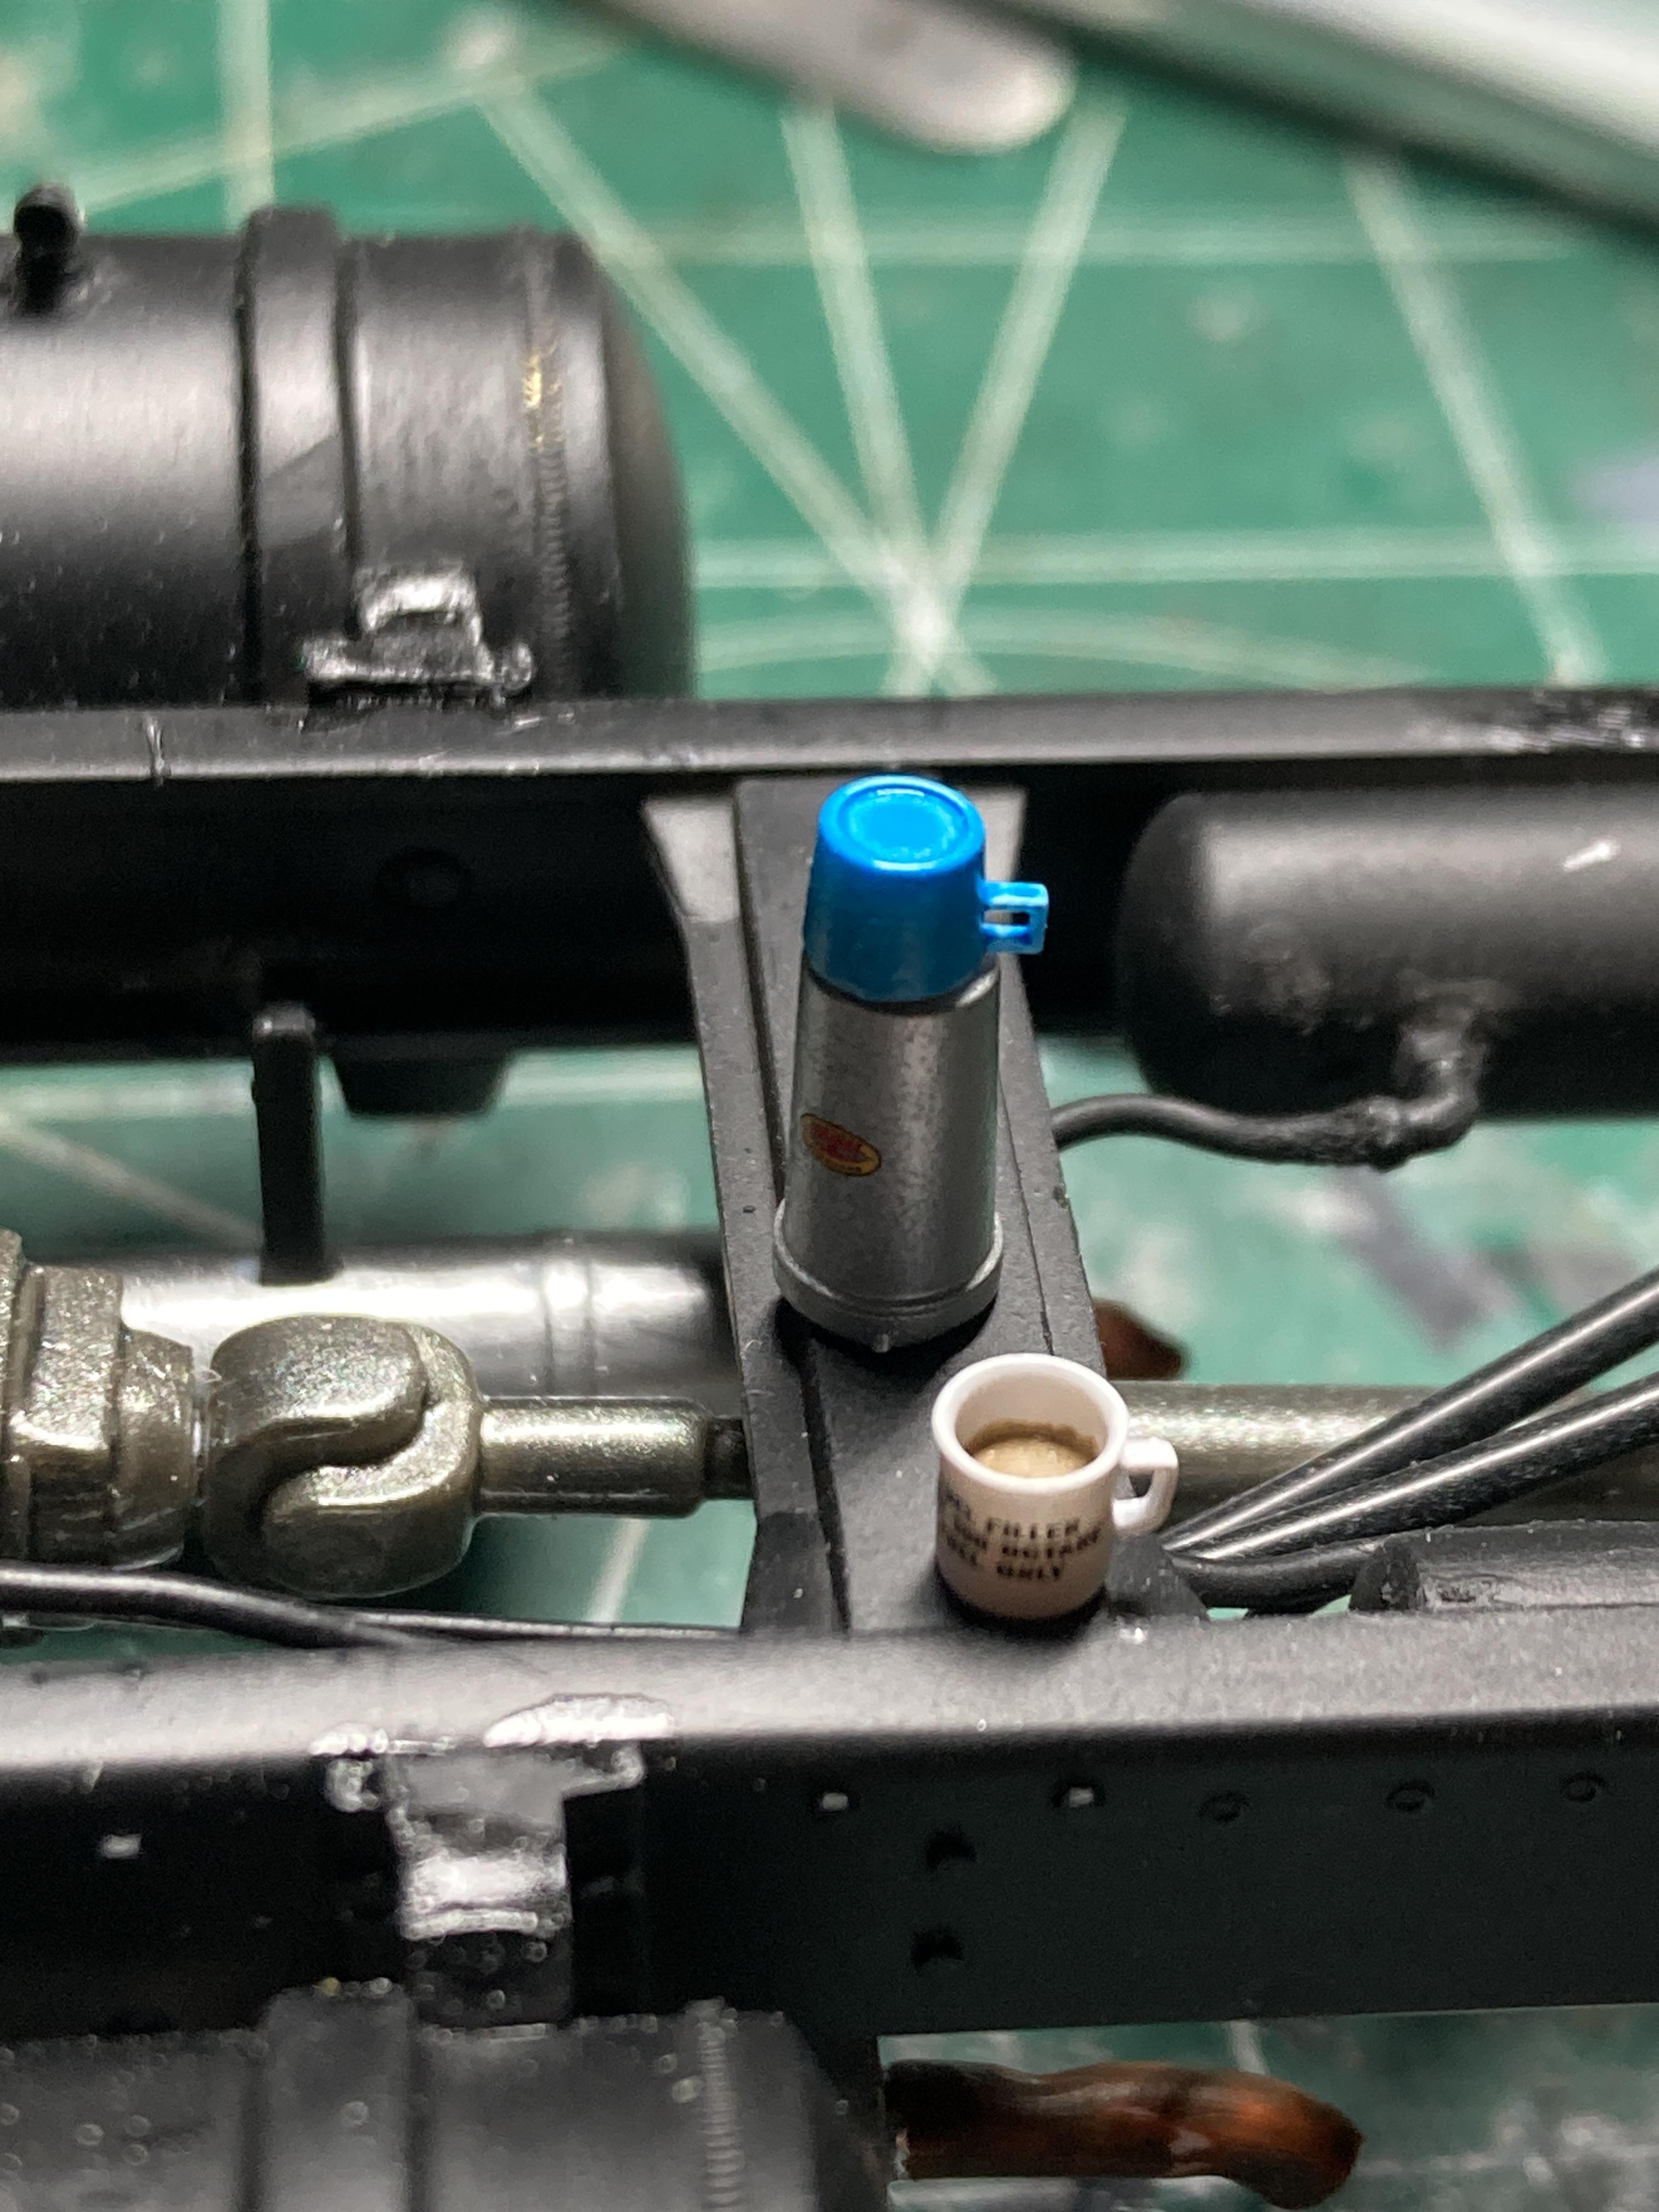
 Another magnificent build in the offing…. This is mechanical engineering stuff. And will become a viable working model. I am fully set in the front row with my new thermos and coffee mug and maybe a bag of popcorn.
 -
Look at this ! Bren, being the good guy he is brought the coffee over today ! Had to ‘take five’ for a cuppa.

-
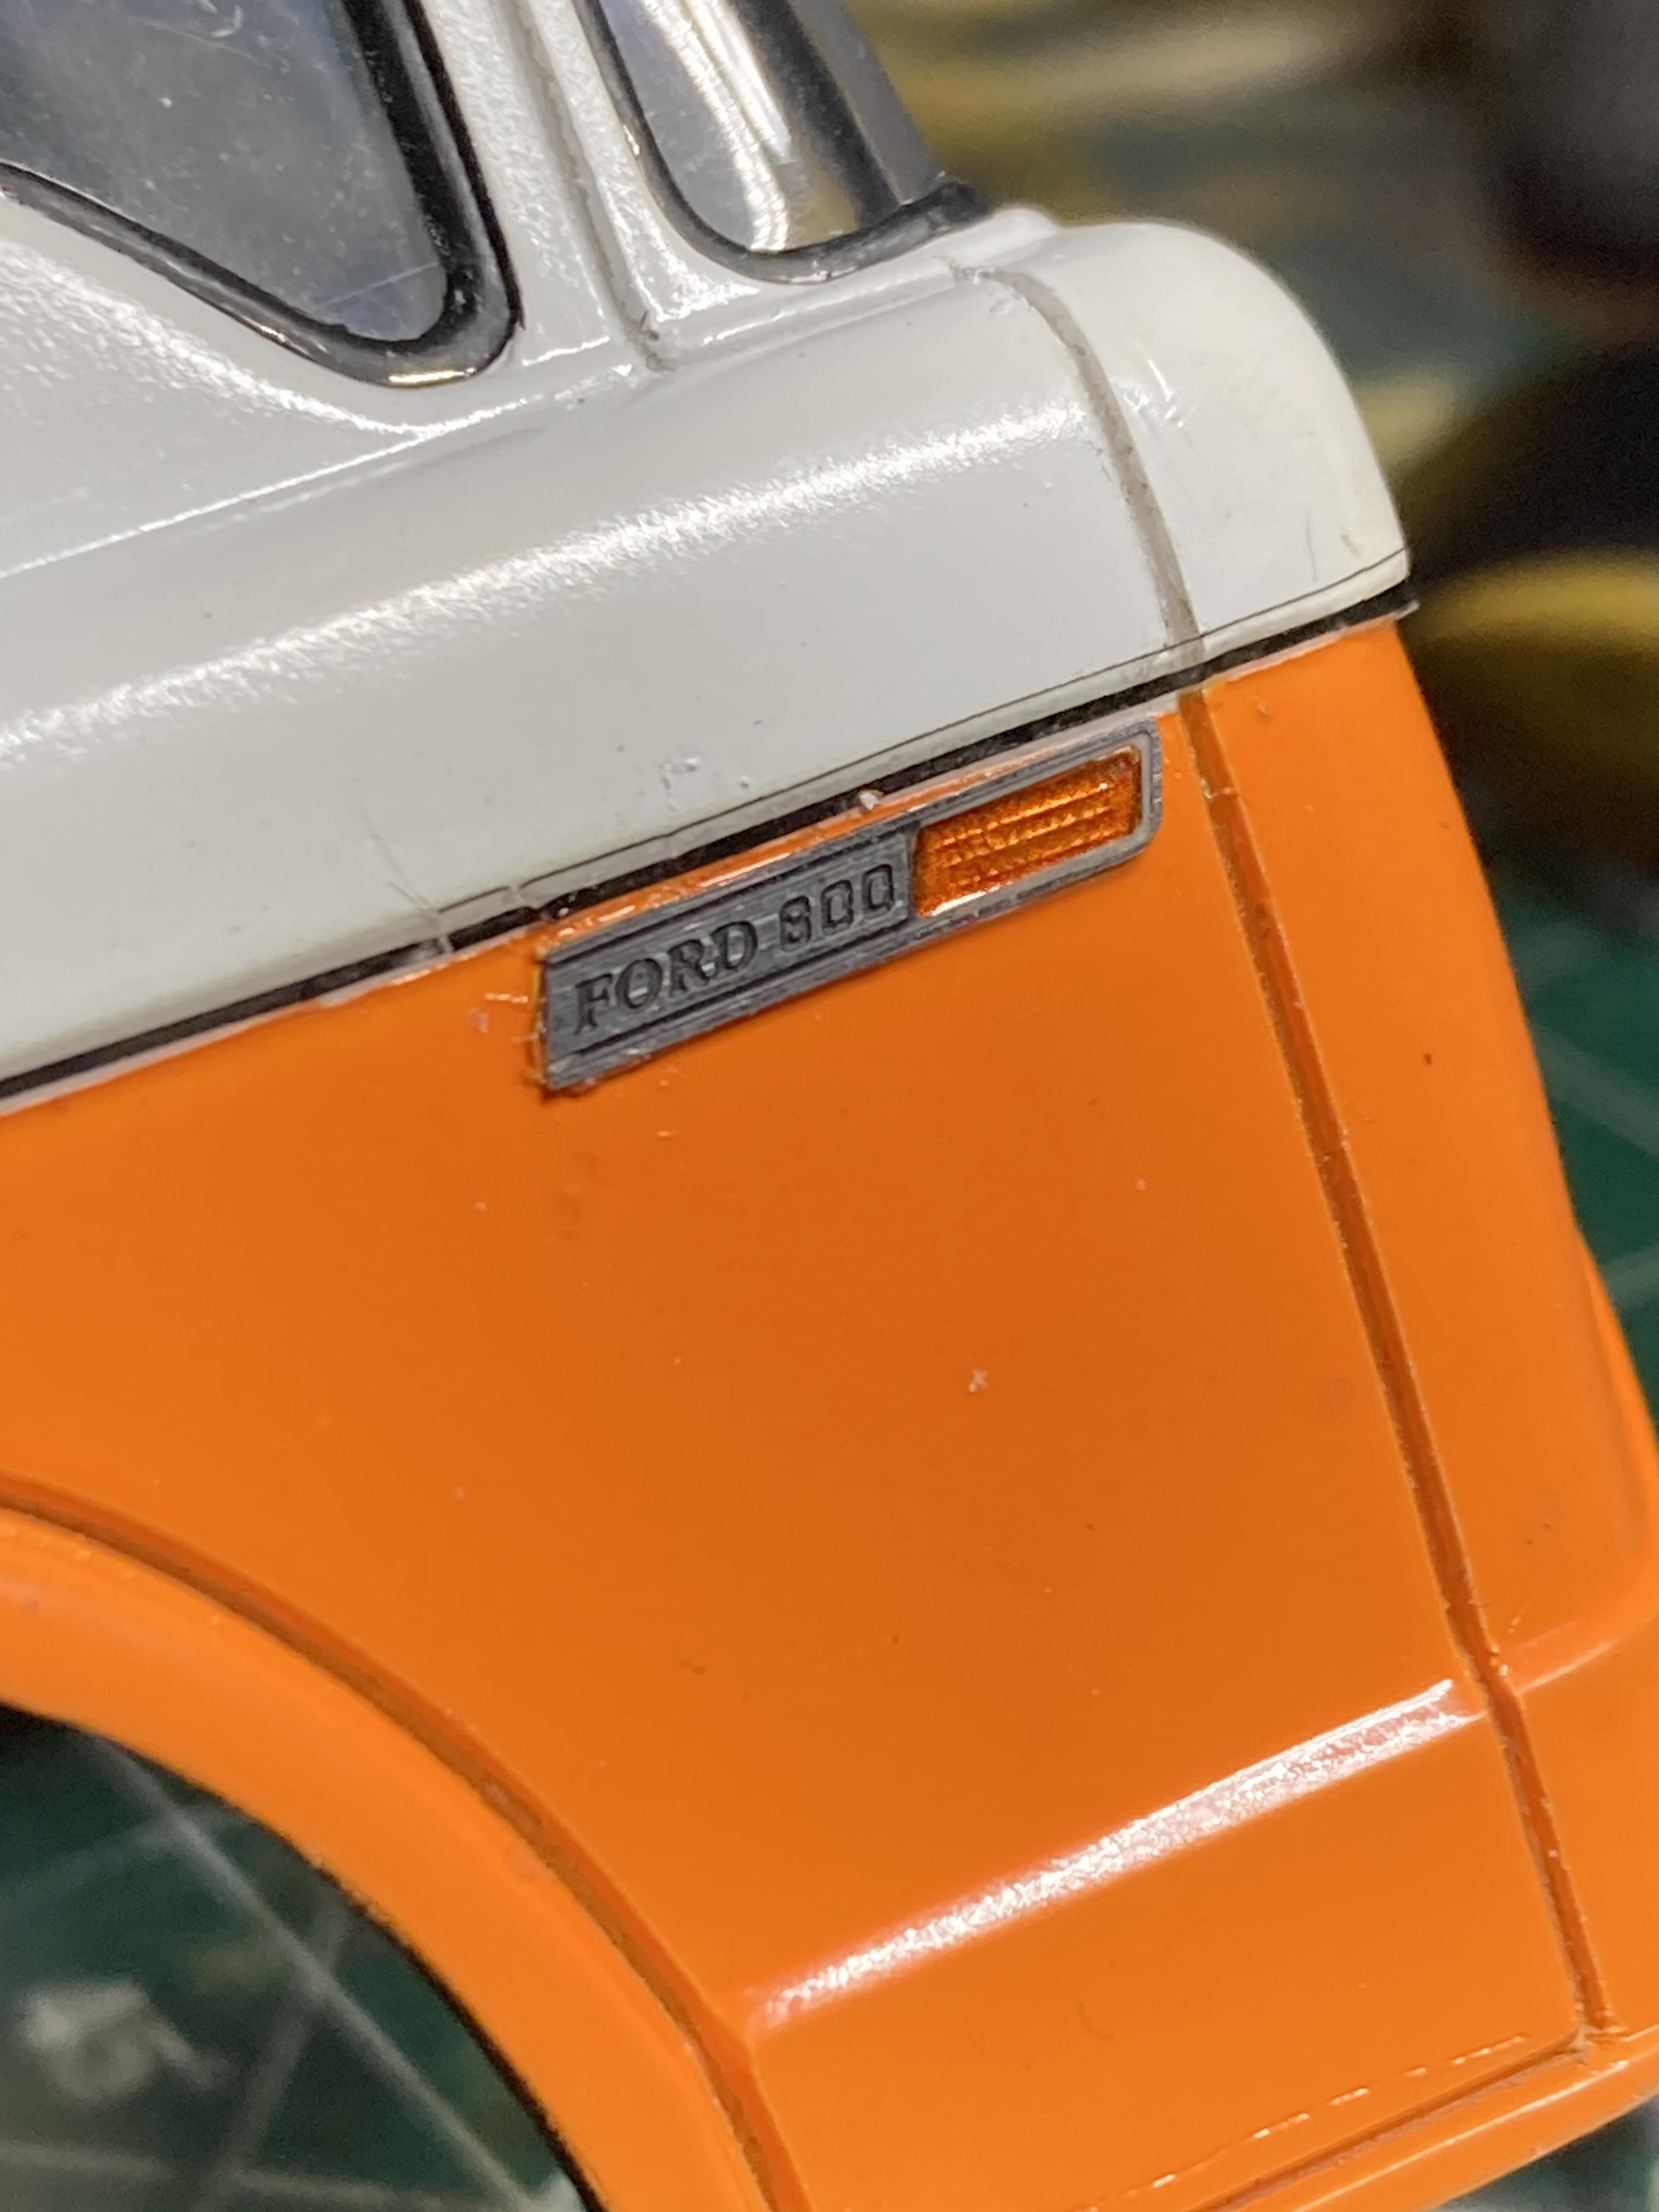
That looks super COOL ! I love how the mirrors turned out. Those look SO good. This is a beauty and probably the best one so far. And it was my pleasure to send you a few of those light sprues. That is nothing compared to what you have done for my current build. I have to ask what color and paint is the orange you used here. Combined with the black it is really eye catching…..
-
Western Star 4900 FA plow truck
Biggu replied to BK9300's topic in WIP: Model Trucks: Big Rigs and Heavy Equipment
Wow. Absolutely outstanding ! How many work lights do you have planned? Are you going to hang backup lights on the mirror brackets or on the steps or both? This is such an exciting build and one very close to my heart. This is absolutely spectacular. -
AMT Exterior Post Doubles Vans
Biggu replied to Bren's topic in WIP: Model Trucks: Big Rigs and Heavy Equipment
Holy, this is good, I could take a tutorial on your rusting techniques, as they are spot on.... and what a cool idea of the clamps on the edge of the bench to keep everything straight a true... I may have to 'borrow' that one....genius..... . Glad to see you are finding some spare time to get back to this one, Bren.... you have been too busy printing my oil distributor stuff..... this is coming together rather brilliantly.... -
Western Star 4900 FA plow truck
Biggu replied to BK9300's topic in WIP: Model Trucks: Big Rigs and Heavy Equipment
What a terrific update, Brian. Your attention to detail is fabulous. This is such an interesting build and you have missed nothing. I am looking forward to the next up date. -
Mack DM600/Leach Garbage Truck
Biggu replied to Scott Eriksen's topic in WIP: Model Trucks: Big Rigs and Heavy Equipment
Scott, the Mack looks great , I have heard that this kit is a bit of a challenge to build…. Is that true or is it just like any old school kit? Does it need an extra patience and a steady hand? -
JM ….. with your design skills, any added or needed details will be a walk in the park. All the parts will fit perfectly. Your designing is superb.
-
“old dog”. I love it. You know me well !! And you are right, always wanting to learn something new and this is the place to learn for sure. And the cool bit is , so many guys here willing to share tips and tricks.
-
Peterbilt 379 RV
Biggu replied to vincen47's topic in WIP: Model Trucks: Big Rigs and Heavy Equipment
This is off the clock ! ! ! Exactly as the real deal would be. Outstanding ! -
Thanks Brian. I hope all you guys can use that tip I only wish I knew where I got it and I could give the credit. It seems to work. Thanks for checking in, my friend
-
Thanks mate …. It is a bit of a challenge but I think I may be on to something
-
Absolutely. Go for that one. For the life of me I can’t remember where I saw to do that I think it will work fine. At least it will be on the exact spot where the tab has to fit. Rather than fumbling with a marker of some sort and missing the mark. We will see how this turns out …..
-
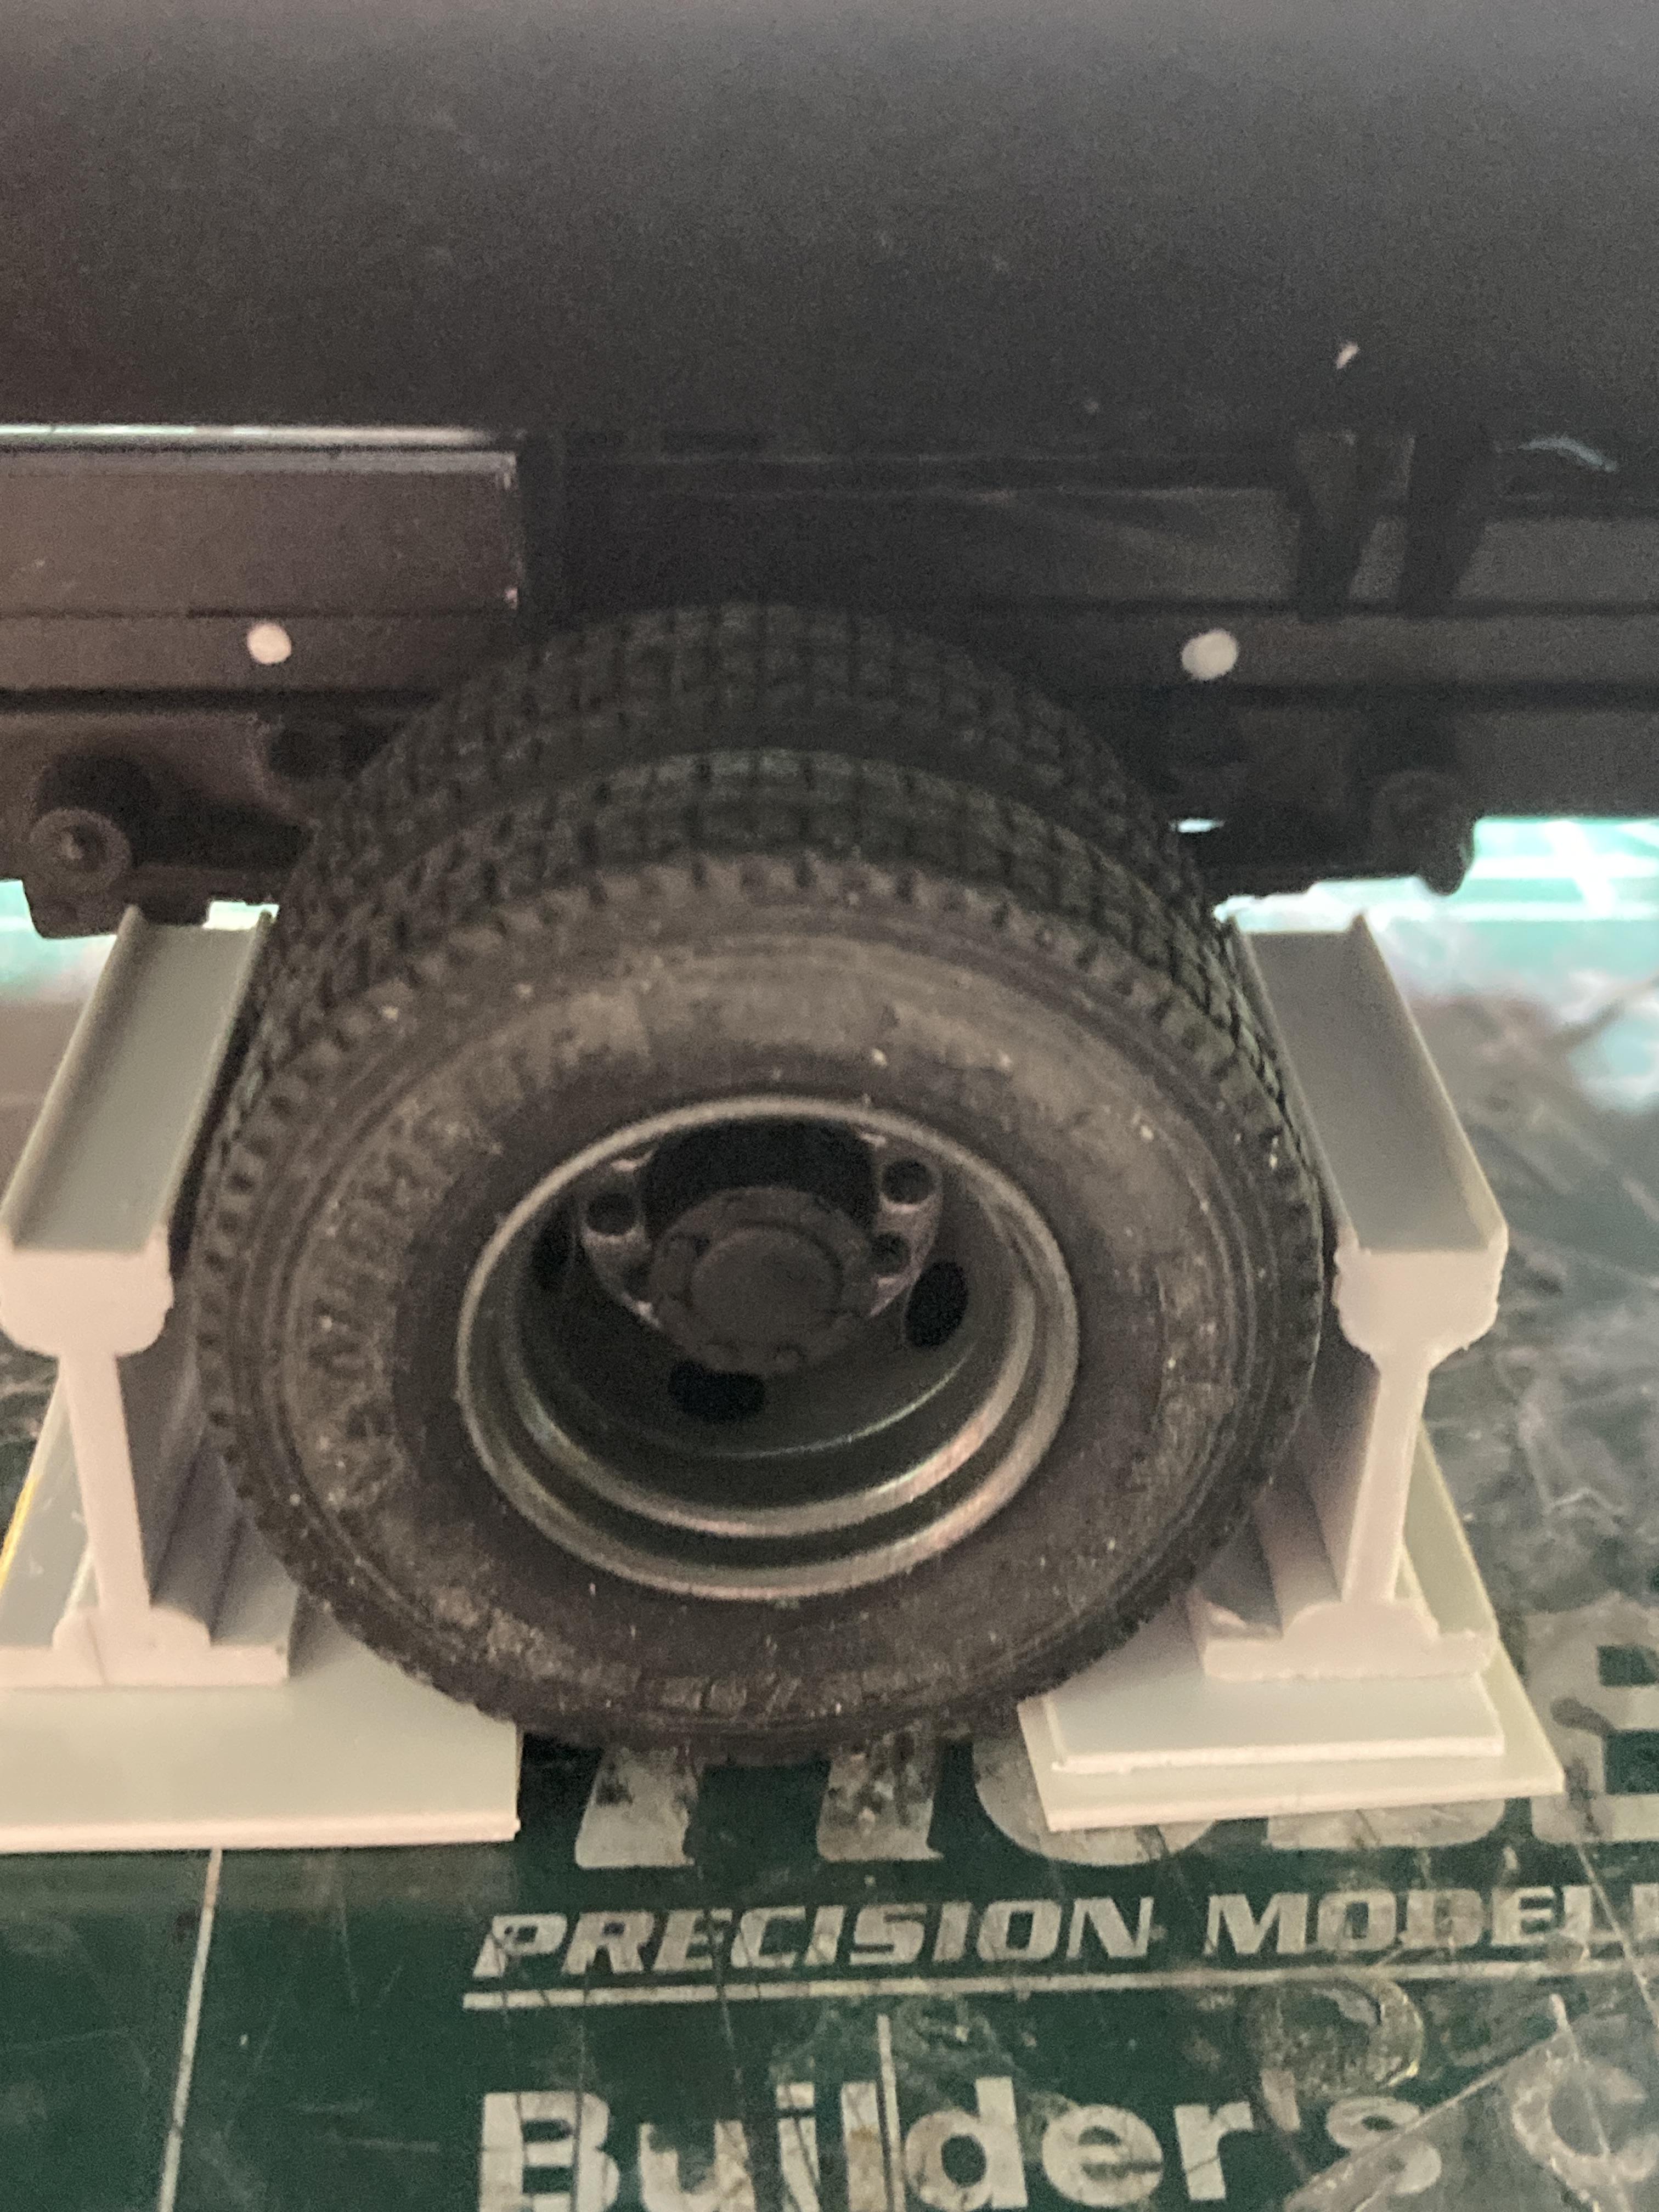
So now to figure a way to mark where to drill the mounting holes for the brackets on the tank frame. So I saw somewhere , not sure where, but the suggestion was to mark the spot to drill with a dab of paint. So , I set up the supports aligned the brackets and as the suggestion said, a dab of paint and the marks were made for drilling. Worked a charm ….. so far ….when the paint dries ,I will drill and hopefully be able to mount the fenders accurately. ………. Hopefully. 🤞
-
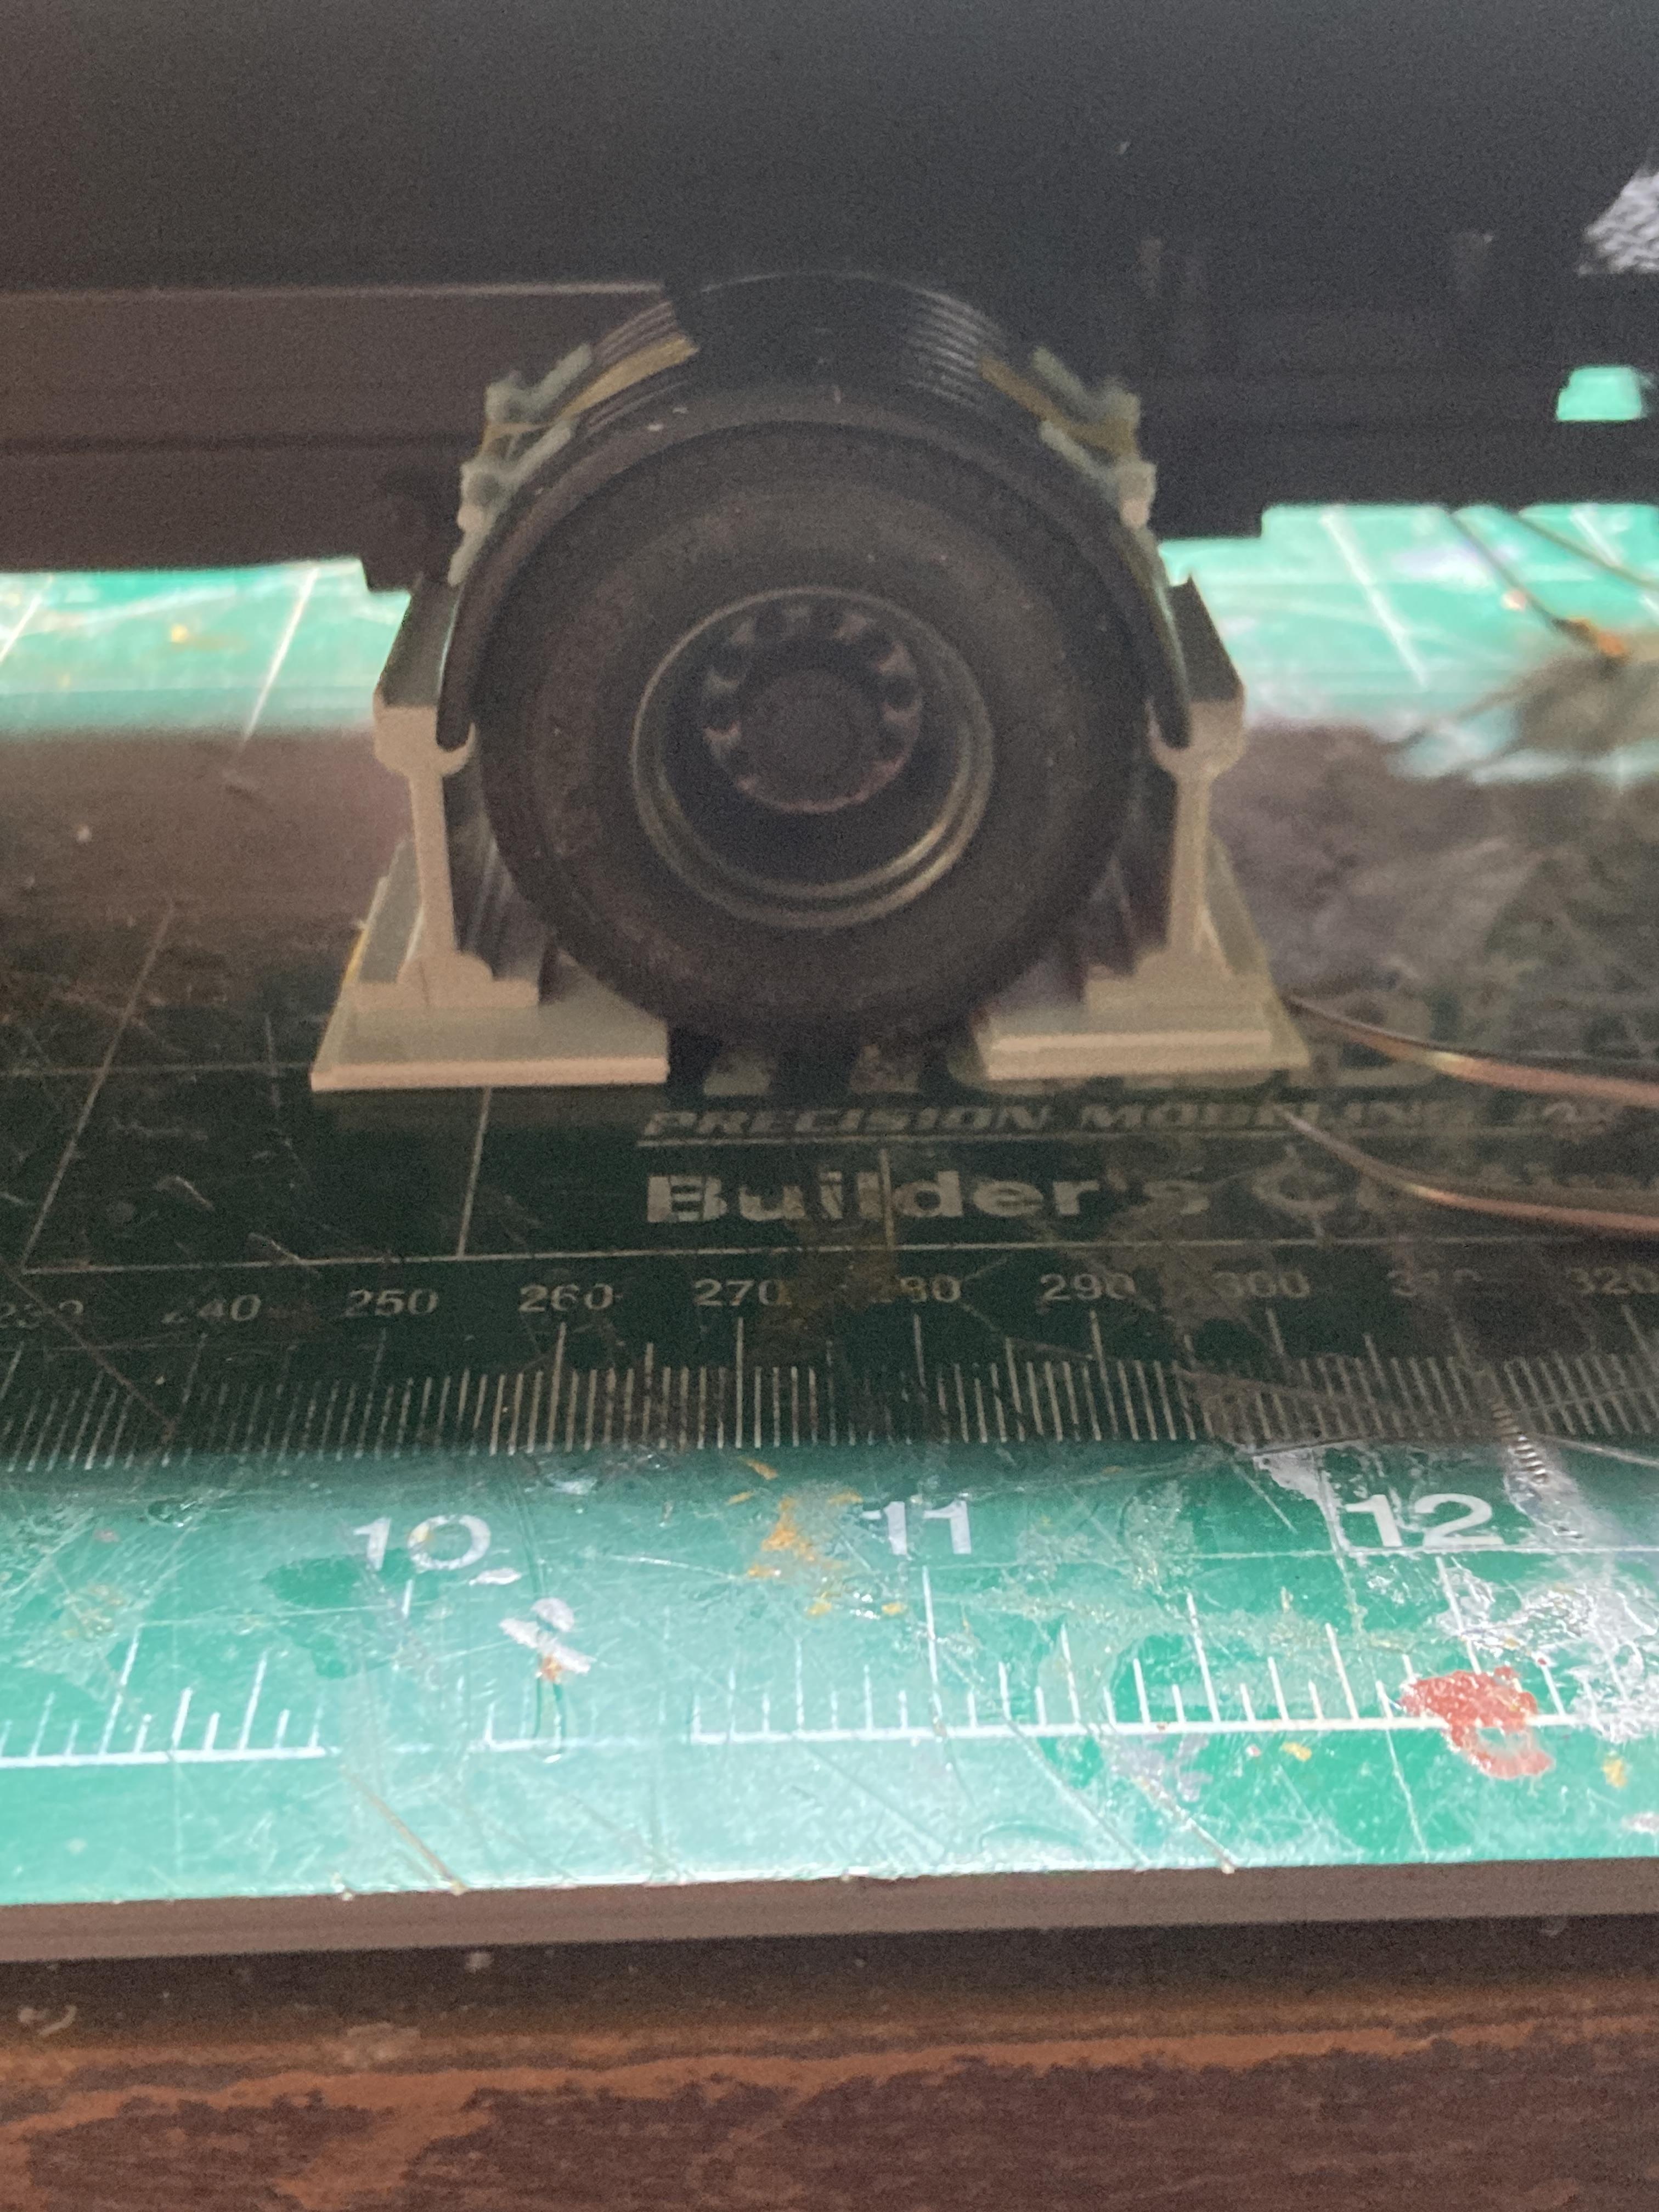
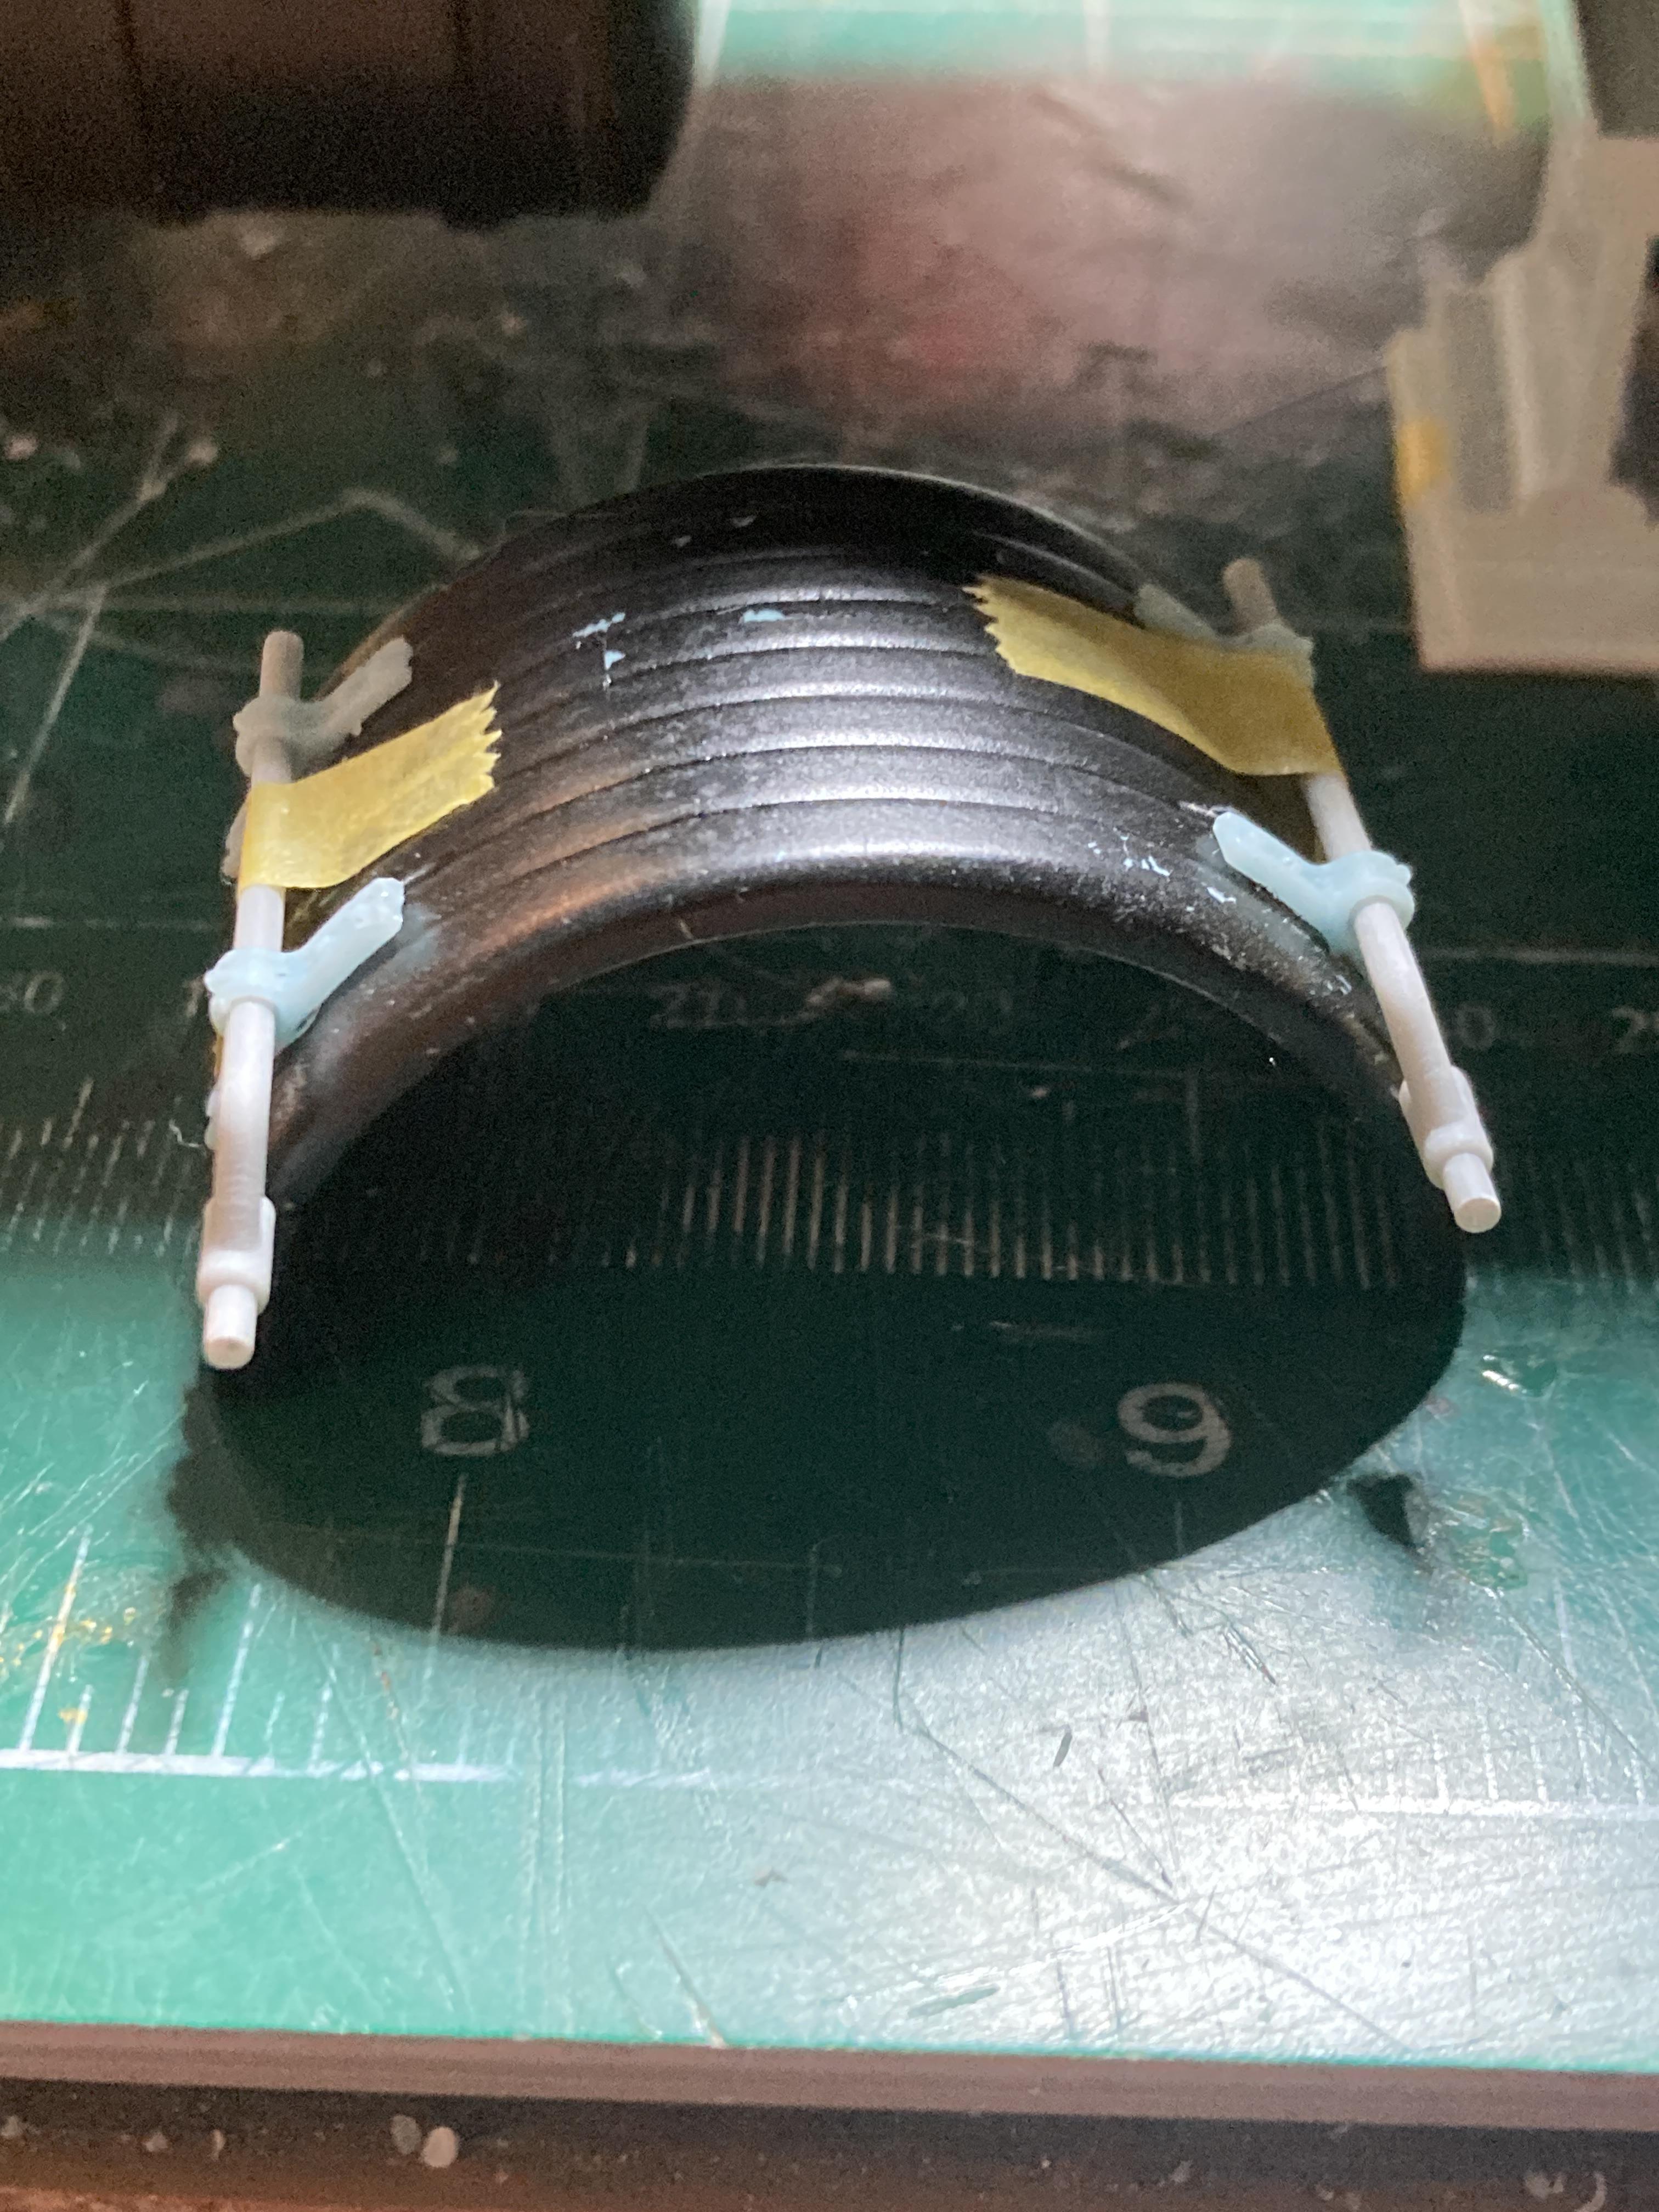
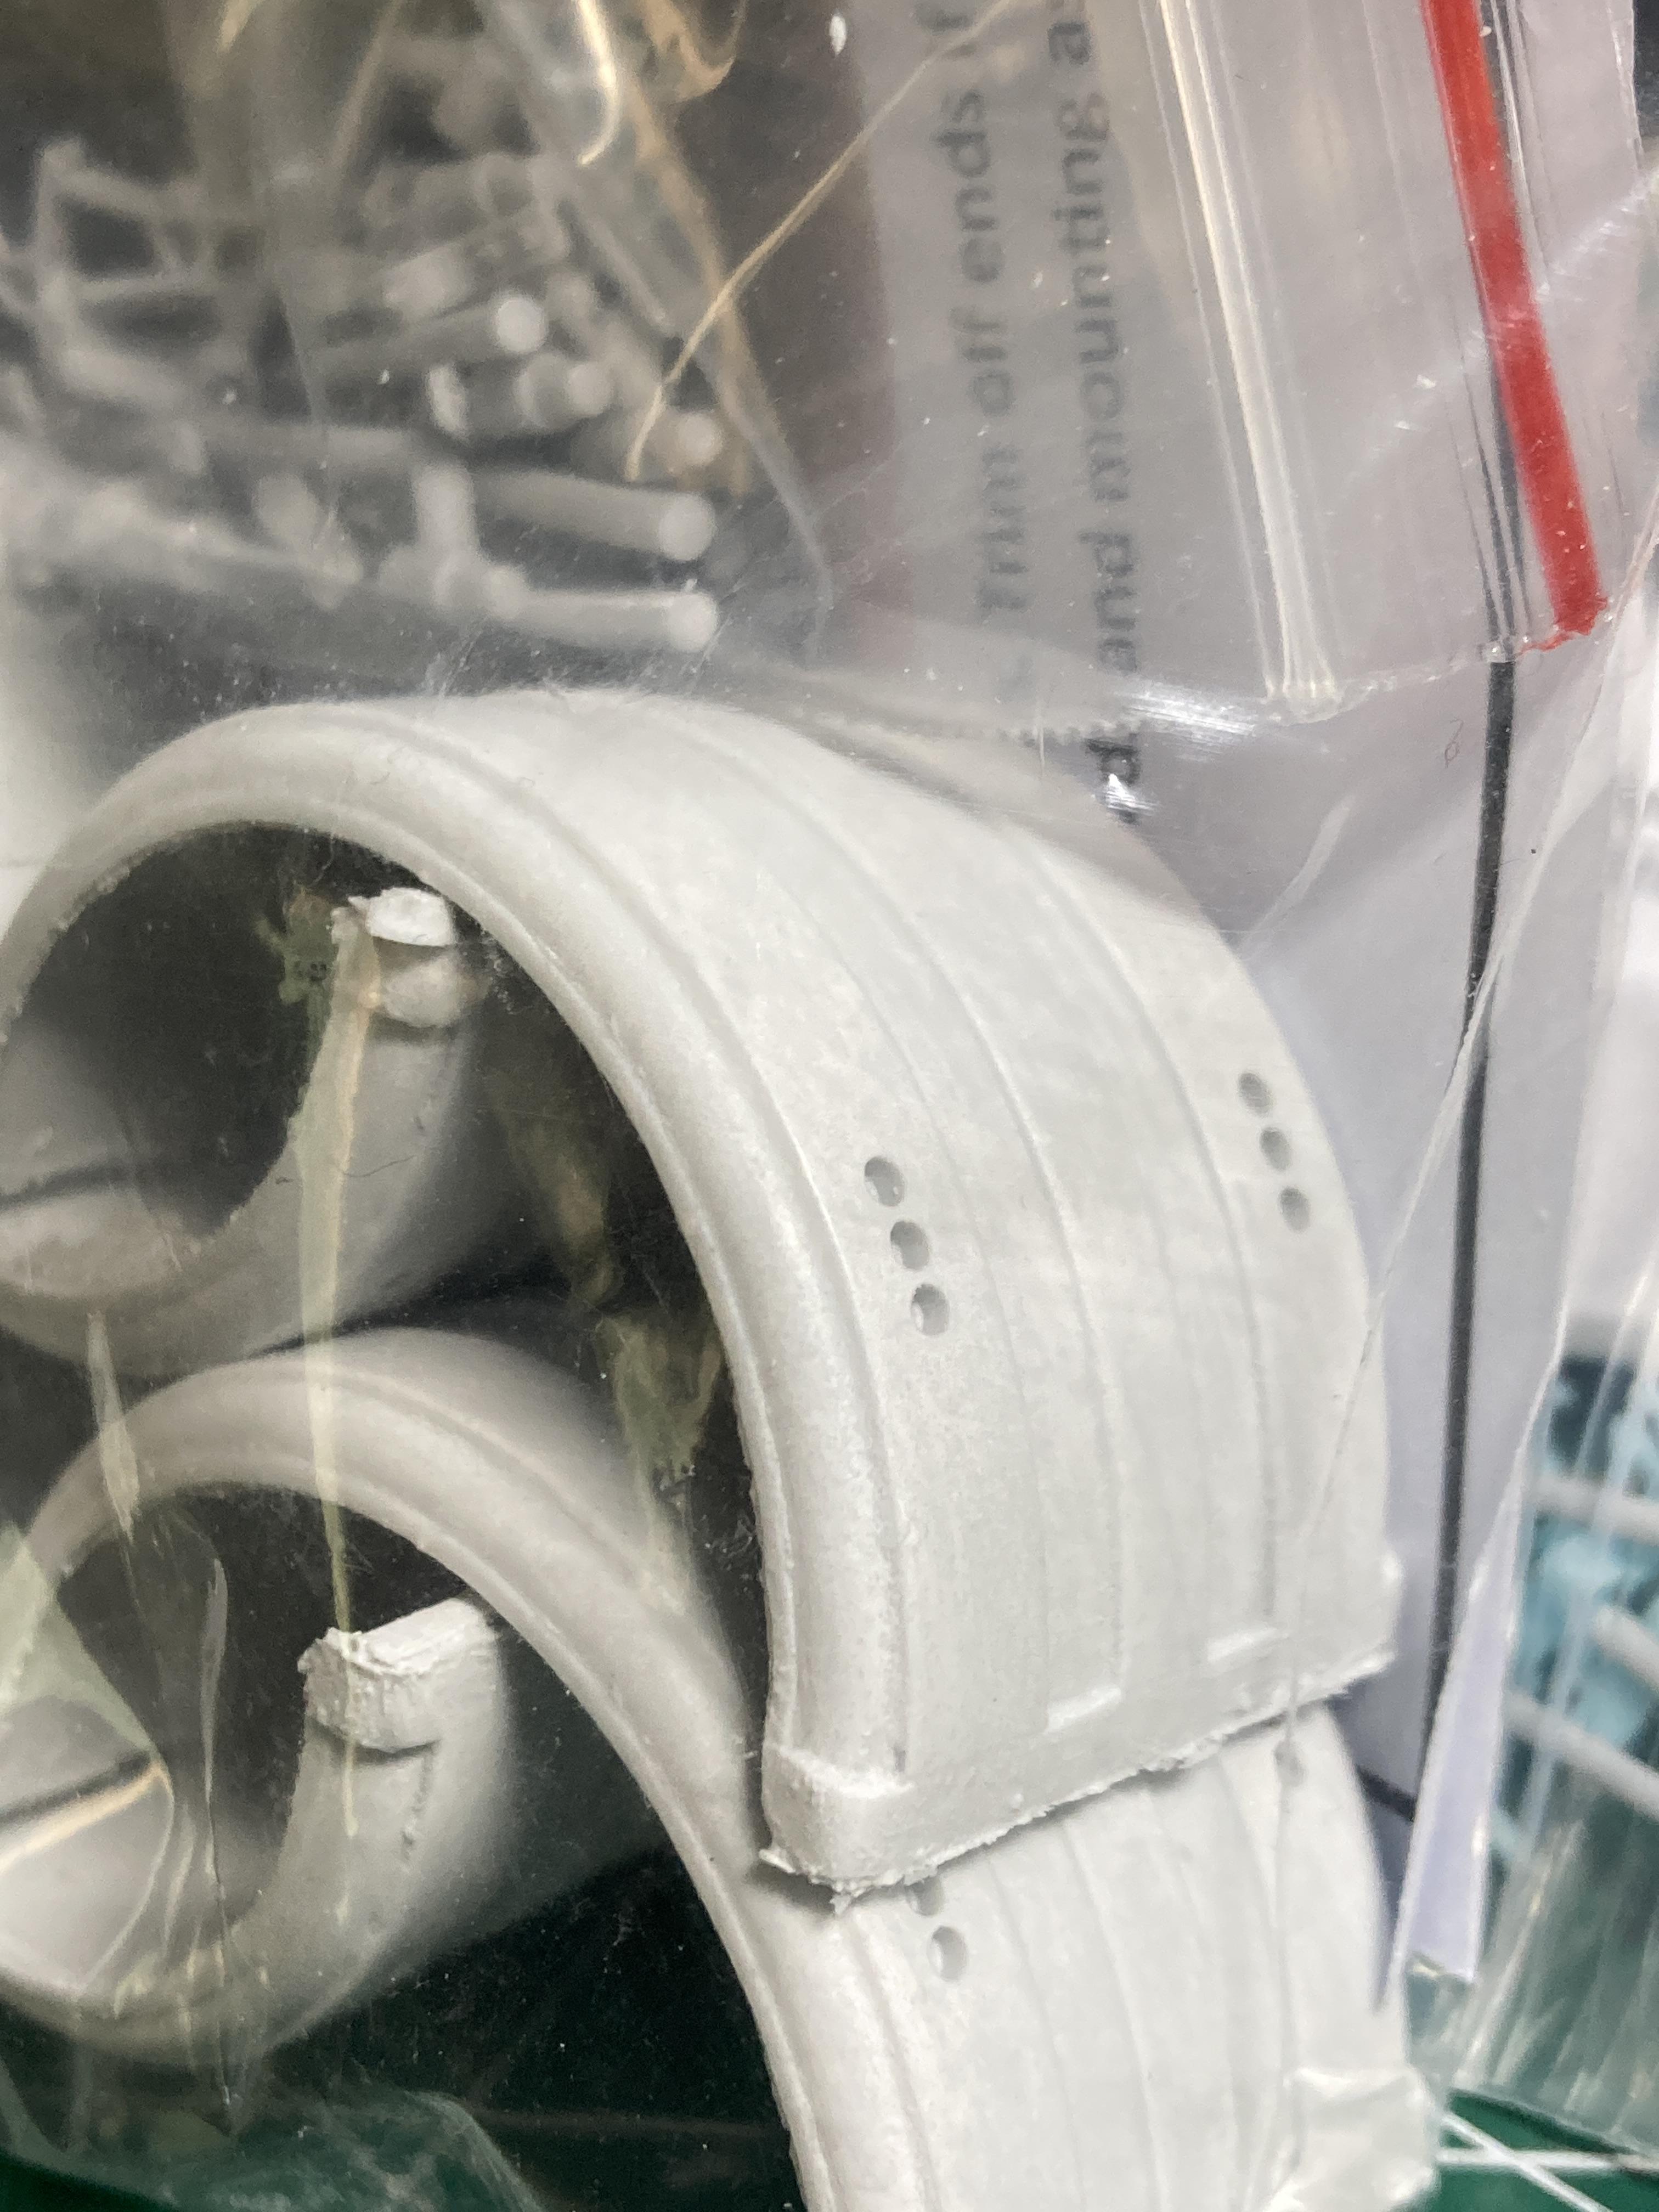
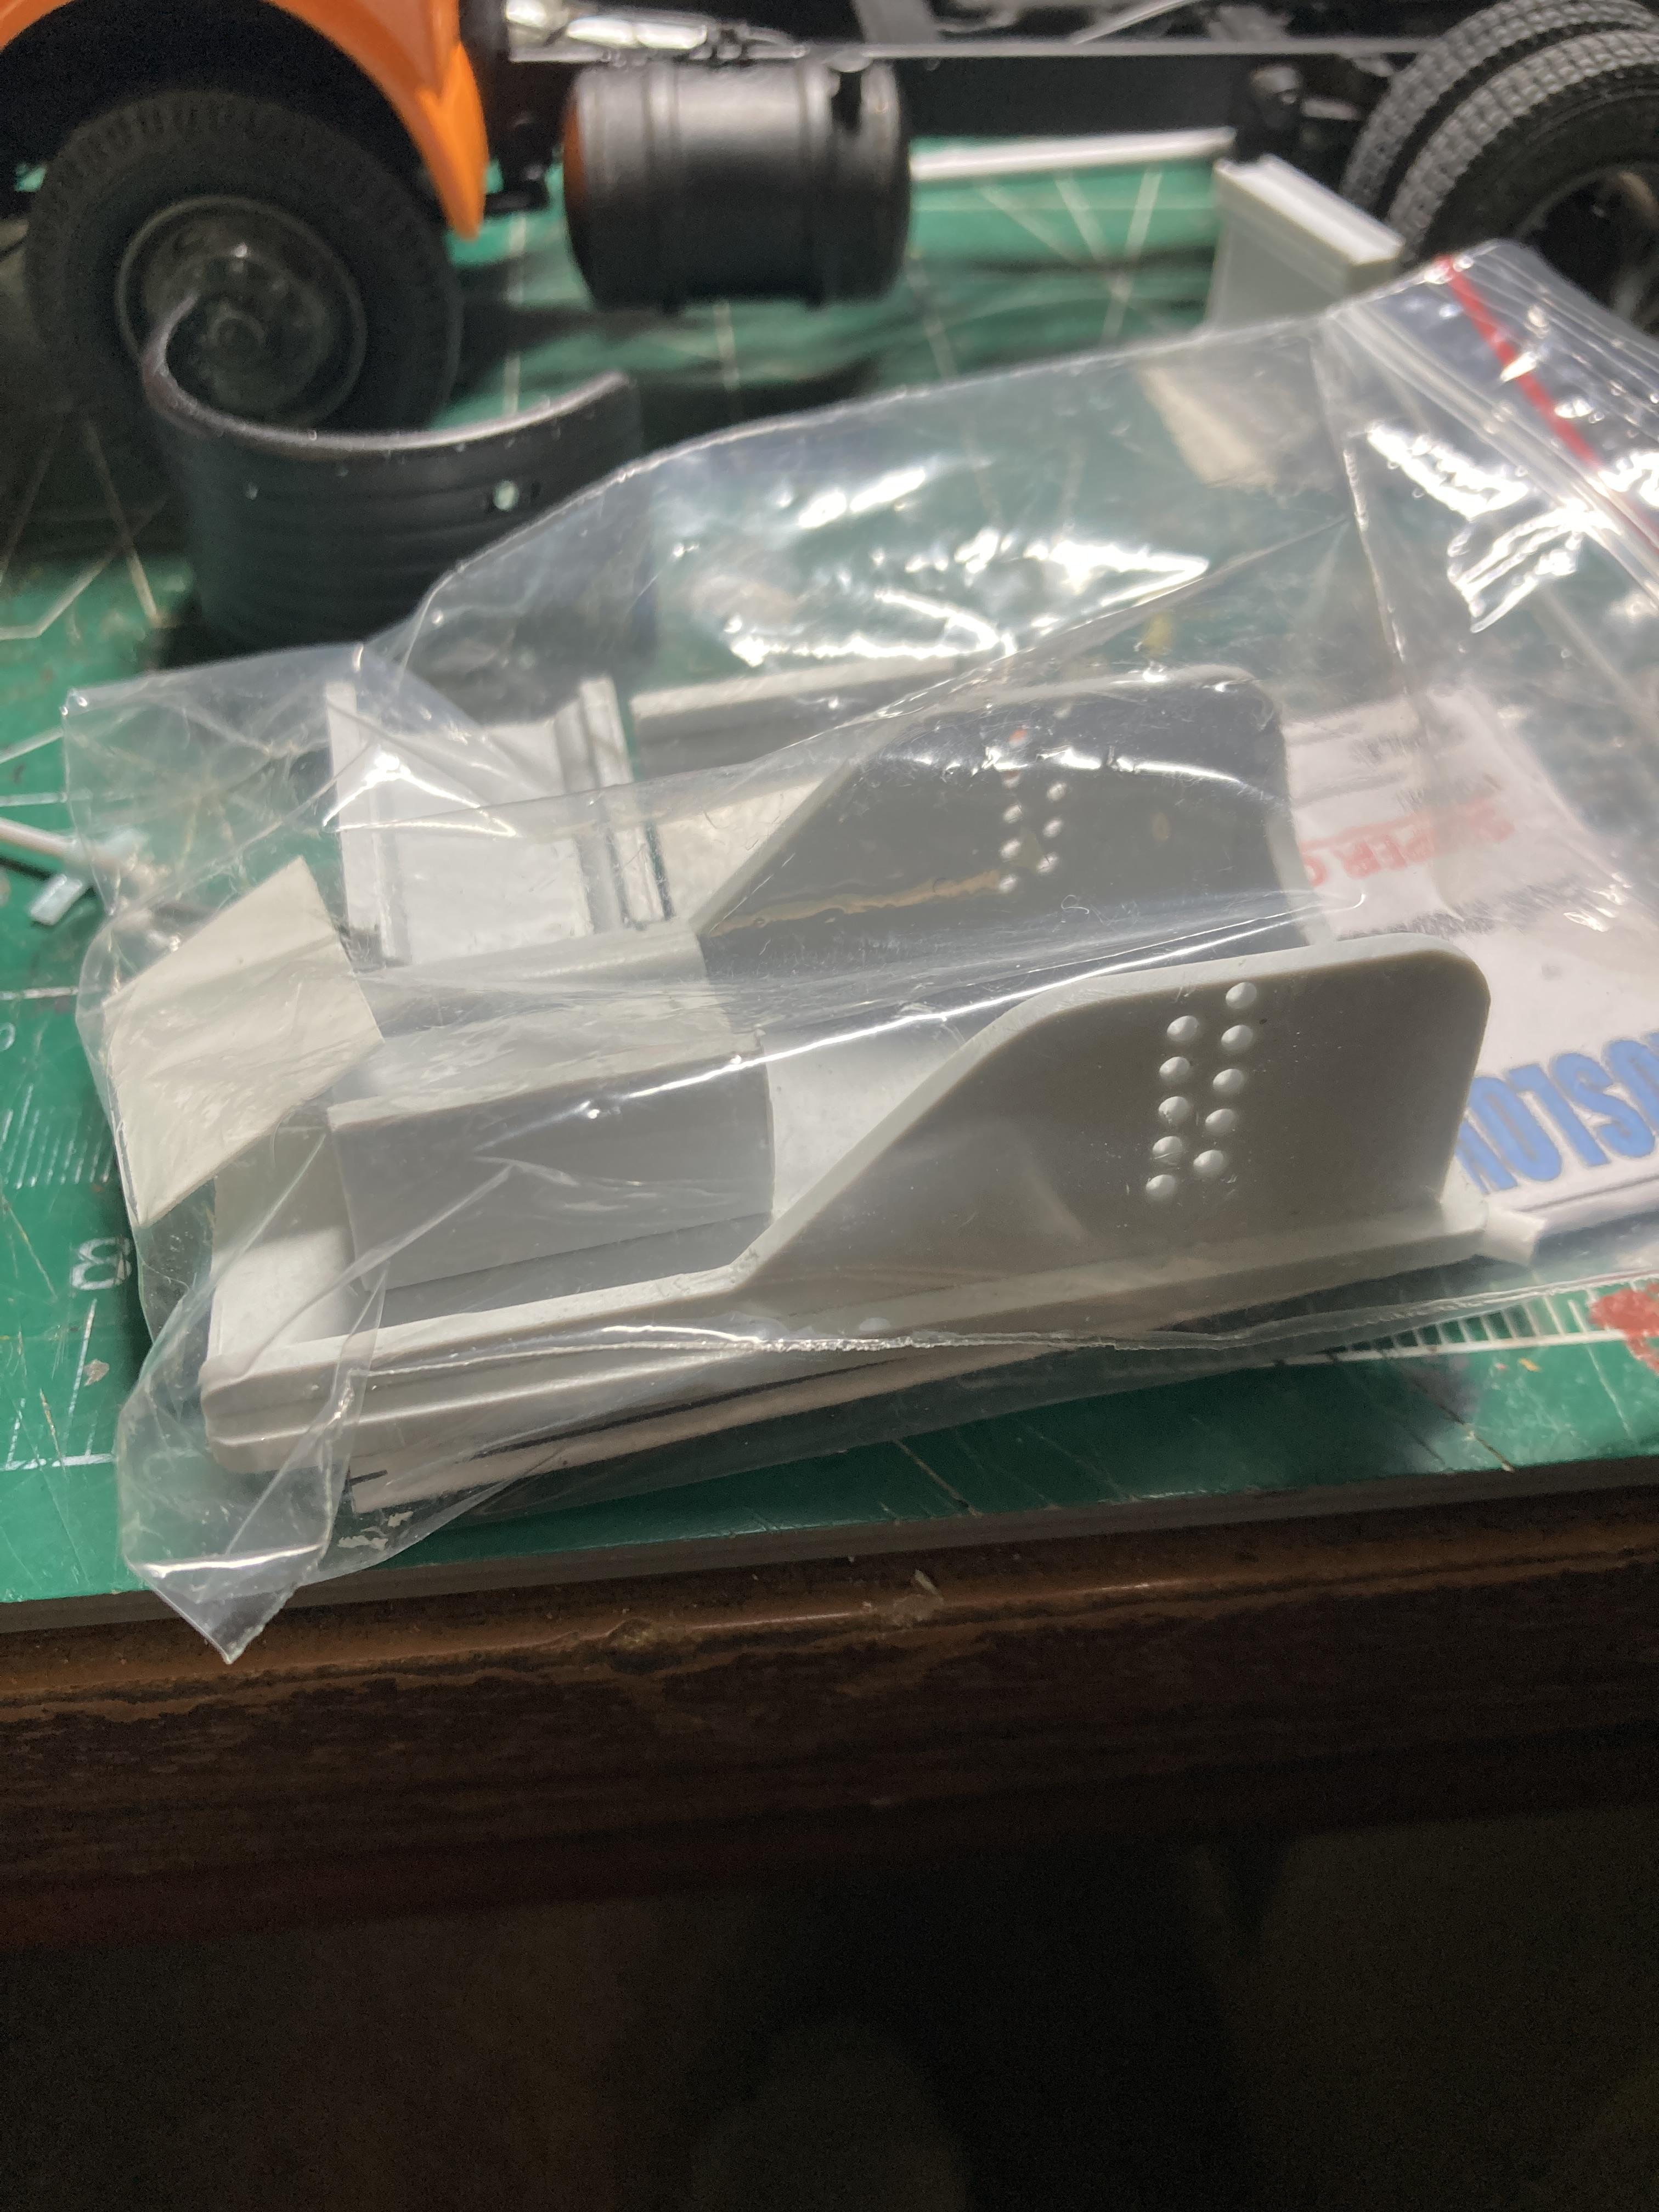
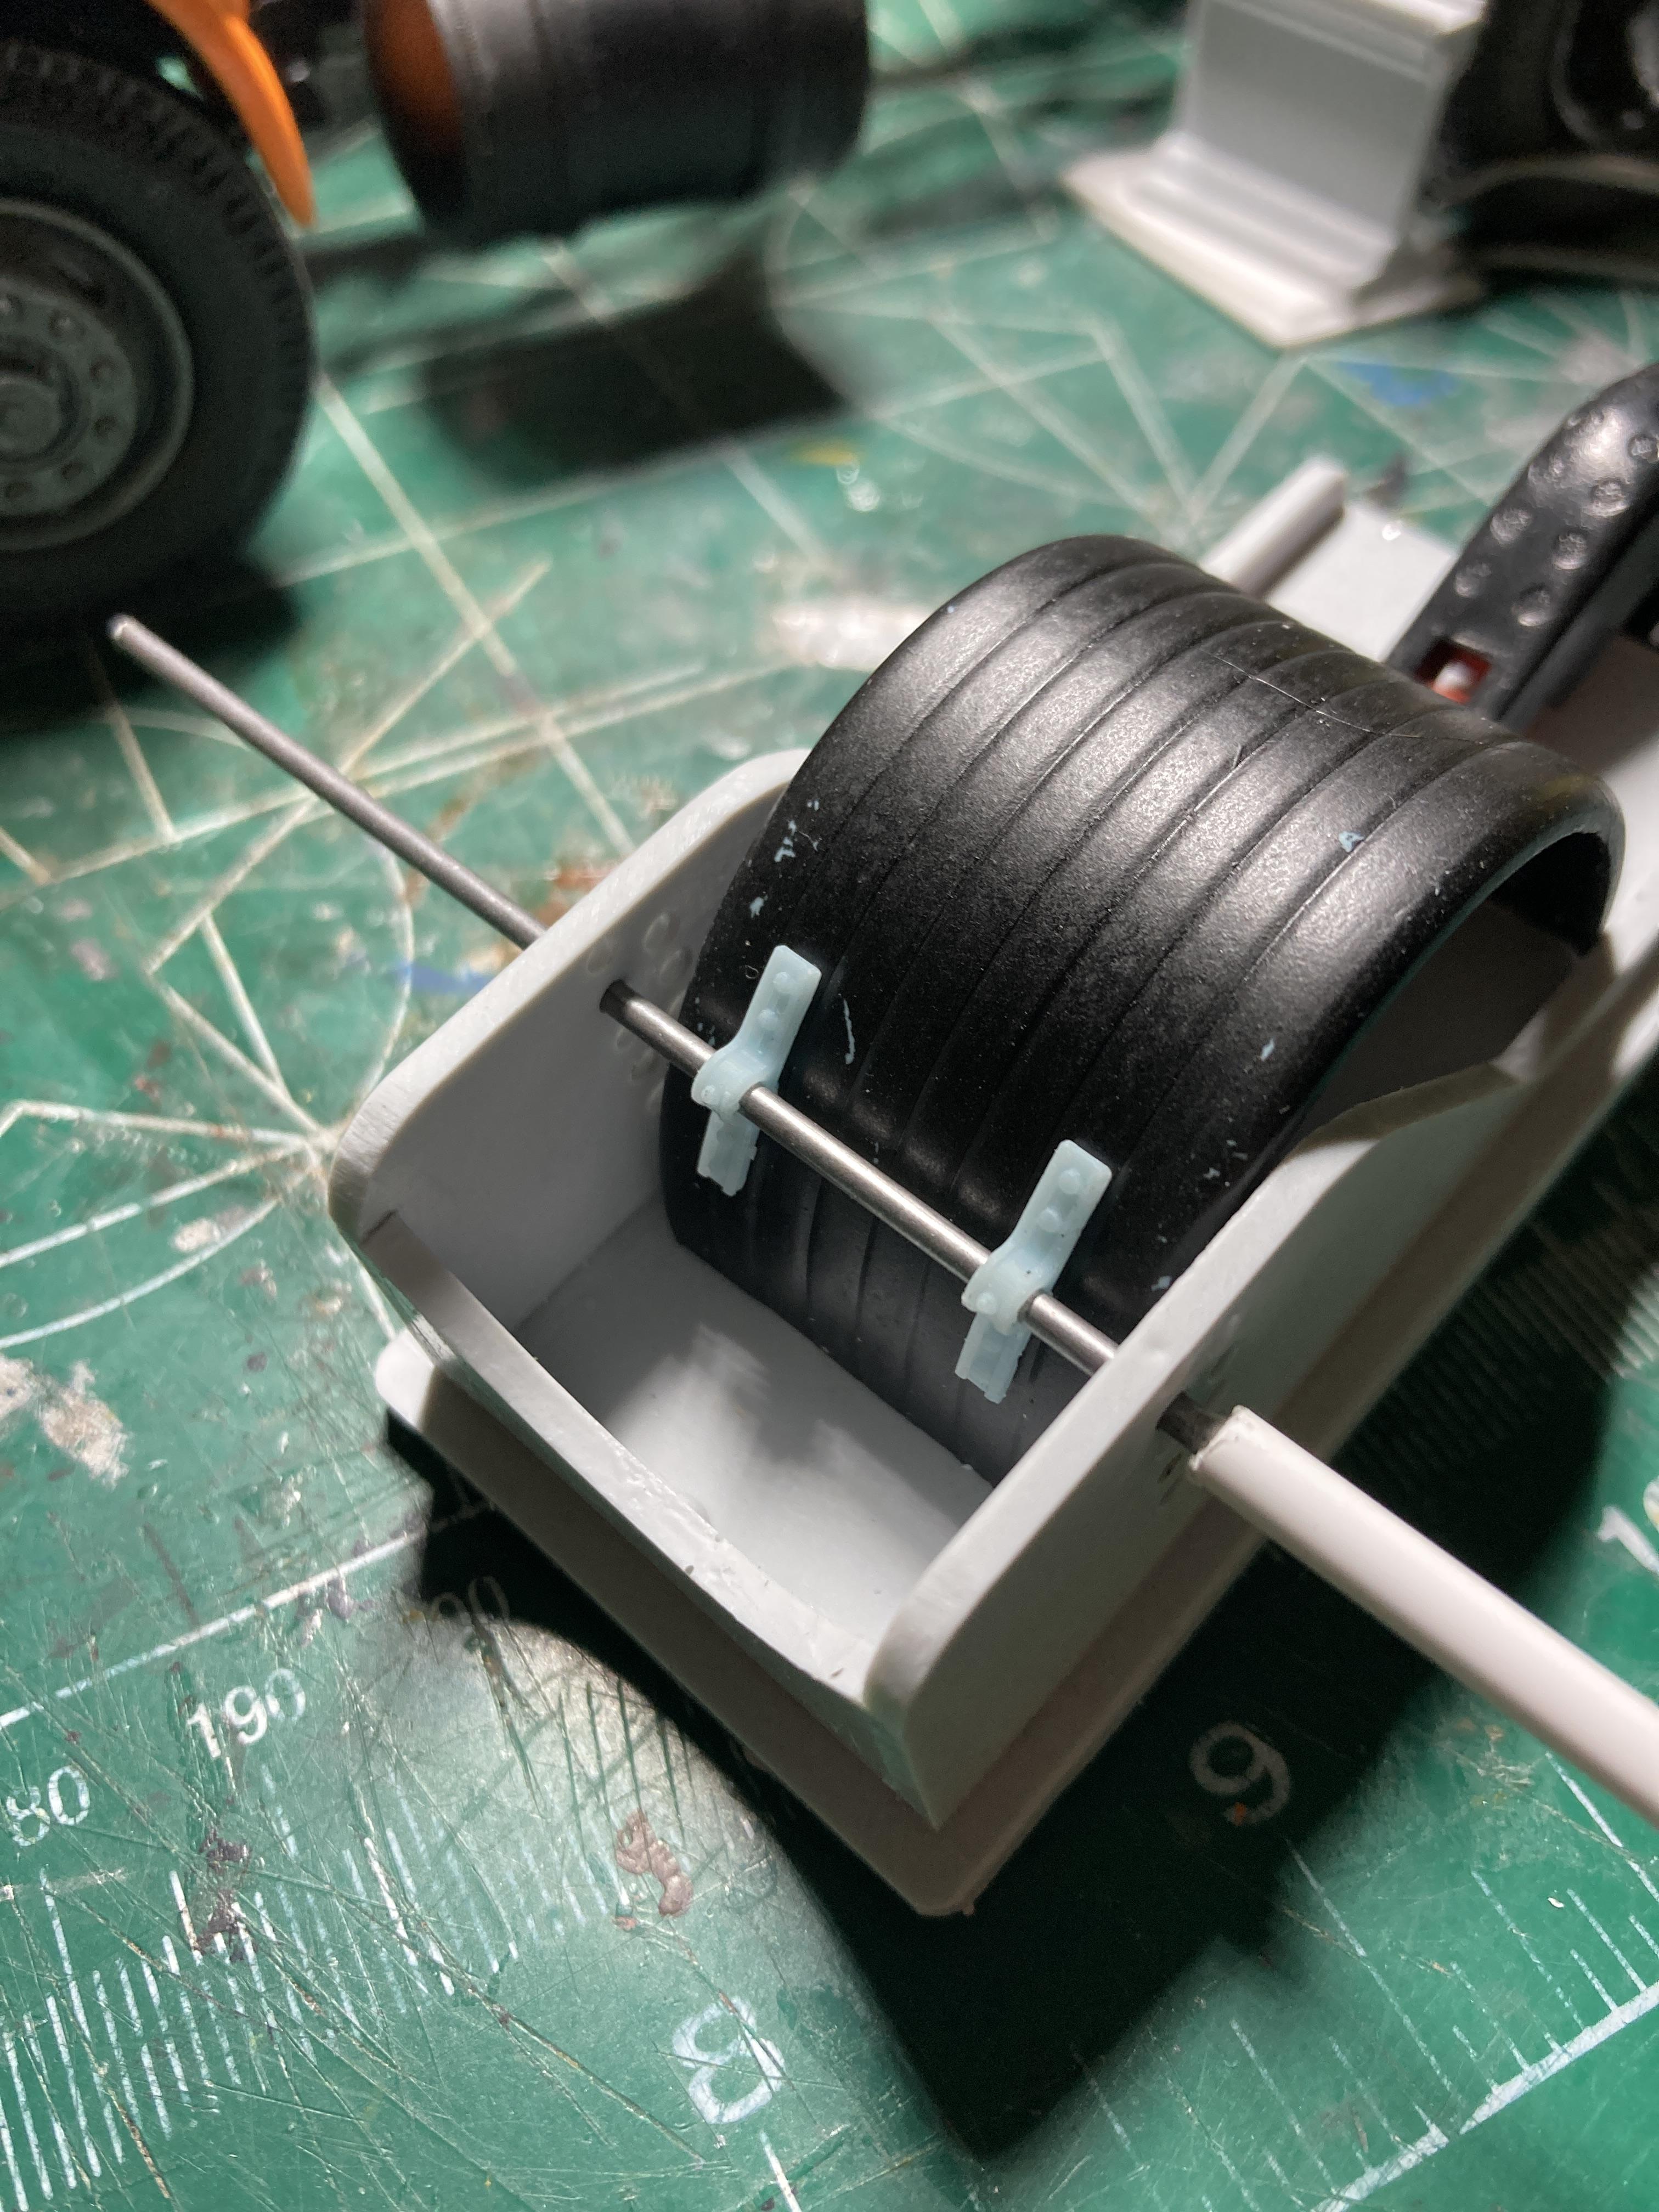
So next is the rear fender thing. Had a couple different ideas, round ones, flat ones, full length ones with tool boxes or full length ones with side shields. I made some round ones out of sheet but decided that I needed some ‘bracketry’. So looking at Gary’s Autocar build and his others I noticed he had great luck with the Auslowe Resin round fenders. So what the heck, step out of the comfort zone and give them a go. Placed an-order with Auslowe and reasonable prices, excellent service and a great product they arrived and here we go. I also bought the jig to help align the brackets. So I set the brackets and did a mock up.
-
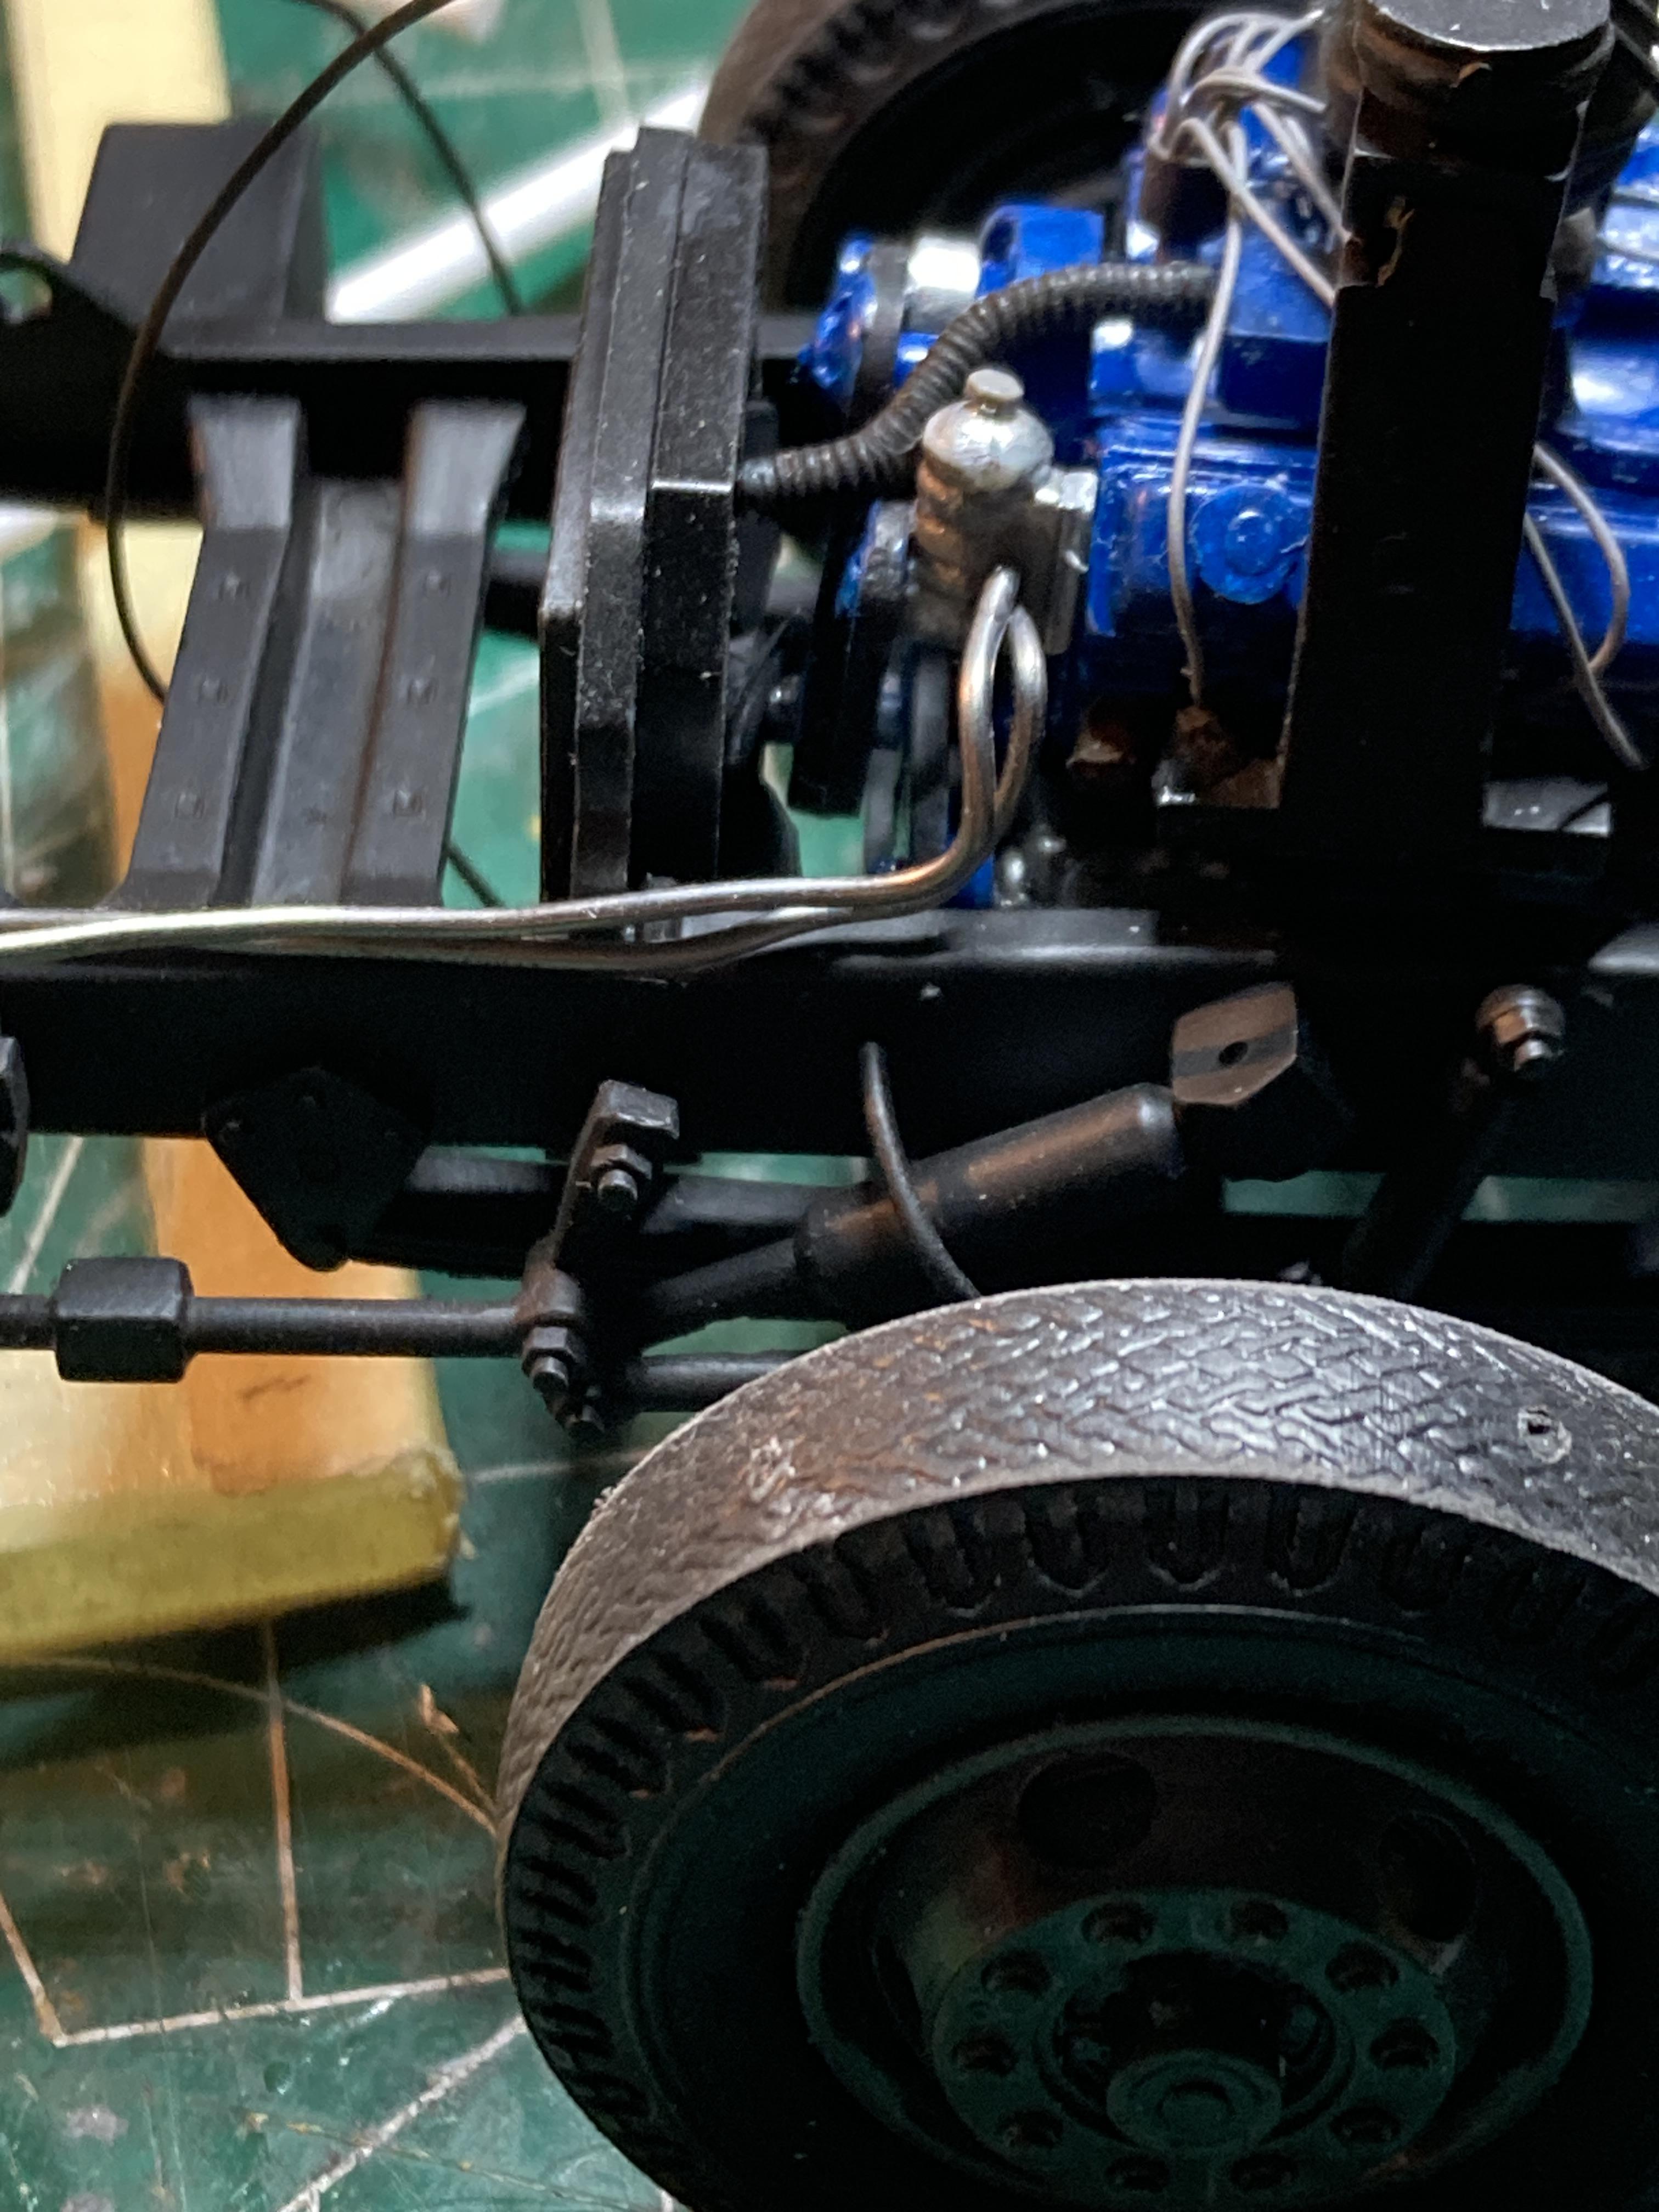
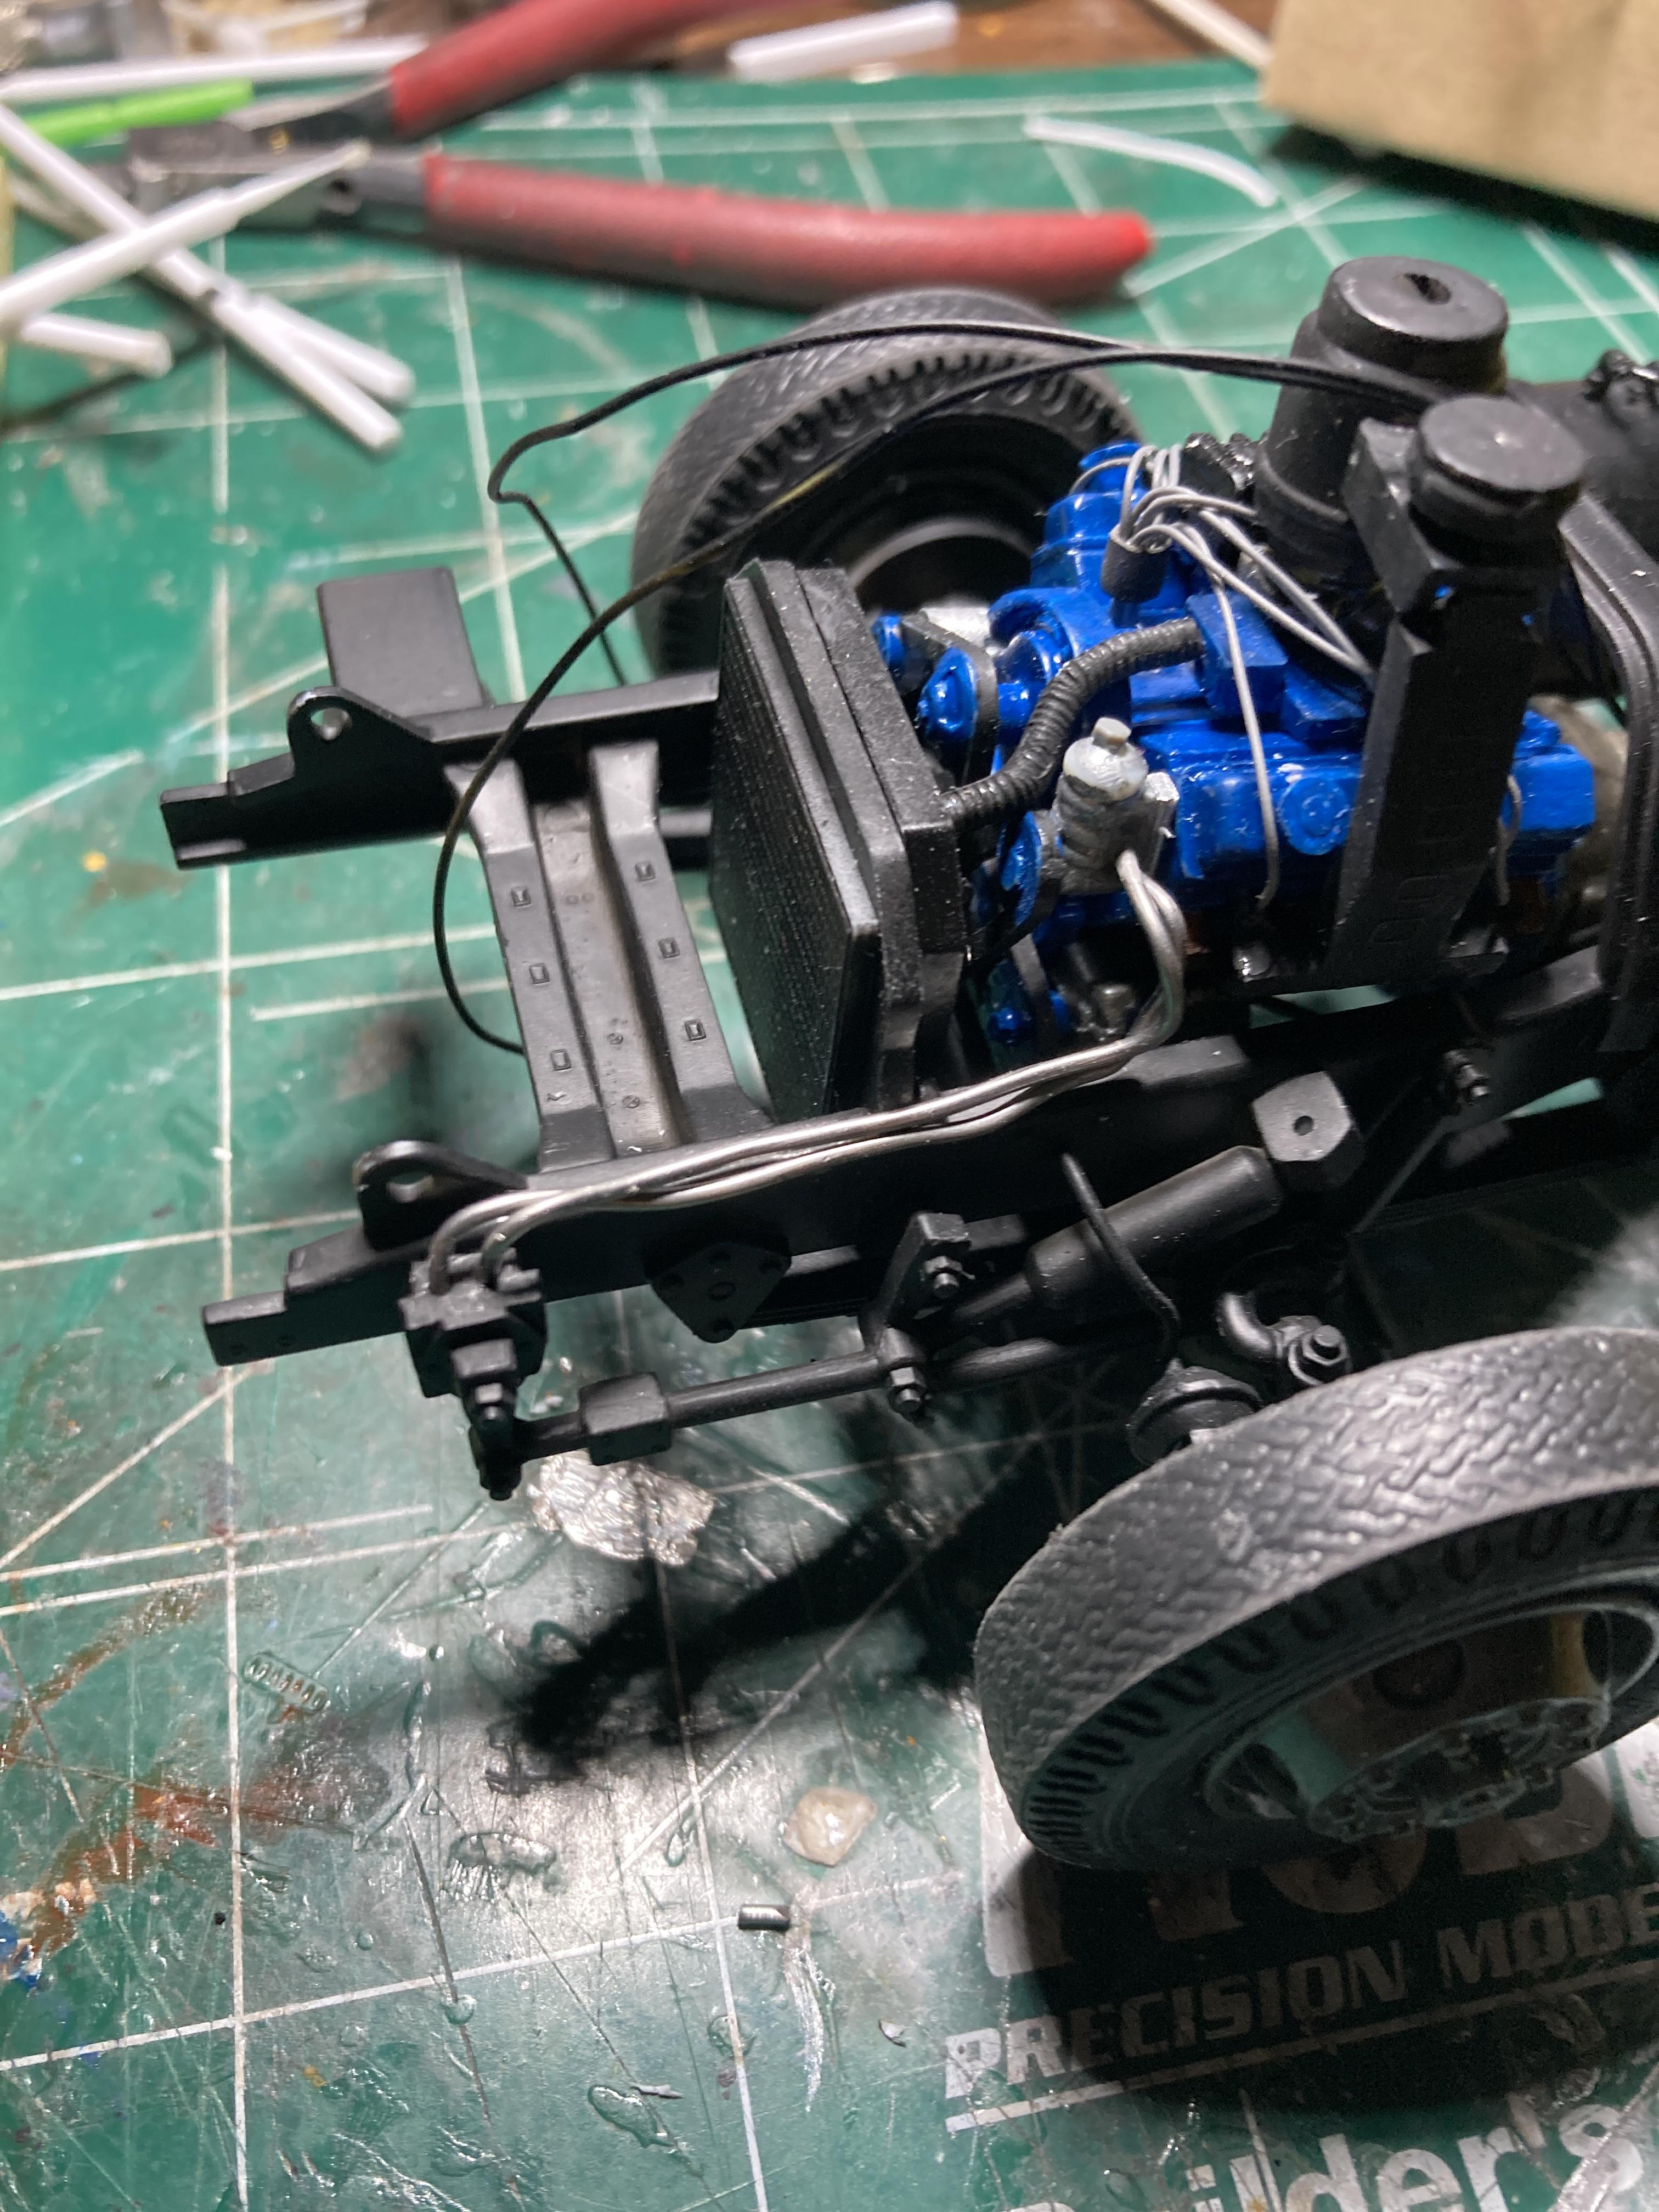
Added some metal p/s lines
-
A little pe work
-
That looks so cool and ‘beefy’. Looks like a powerhouse ready for work. I really like the colors. Probably the best one so far JM !! Love it!!
-
Saturday morning hijinks
Biggu replied to Bren's topic in WIP: Model Trucks: Big Rigs and Heavy Equipment
🤭🤣🤣THAT is just way too cool !!!! I’m well in for those. Cathy says a lunch bucket, hard hat and vest 😉🤭🤣 Super cool,Bren. Looks so real. , I just love that!! Thanks for the coffee !! -
Kenworth W-925 (mild custom)
Biggu replied to Gary Chastain's topic in WIP: Model Trucks: Big Rigs and Heavy Equipment
That Mica blue is sure a beautiful color, this is going to be as good as the AC ! You have a knack to put these custom trucks together with a great vision, and, that if in real life , any truck driver would be proud to drive or own. I’m really lookin forward to your updates. -
Mack DM600/Leach Garbage Truck
Biggu replied to Scott Eriksen's topic in WIP: Model Trucks: Big Rigs and Heavy Equipment
What a cool conversion. Something really different. I’m lovin this. -
KW C500 OIL FIELD
Biggu replied to Swamp Dog's topic in WIP: Model Trucks: Big Rigs and Heavy Equipment
Perfectly executed and the perfect amount of subtle weathering. Just awesome ! -
ALF Industrial Pumper
Biggu replied to Firebuilder's topic in WIP: Model Trucks: Big Rigs and Heavy Equipment
Wow.. that is just so cool. Love the wipers and mirrors and gauges , outstanding build -
Farm Floater Truck 1/24th scale
Biggu replied to Randy D's topic in WIP: Model Trucks: Big Rigs and Heavy Equipment
And I thought 3d printing was cool …….. this is out of this world !!!! Randy, your skill set is unbelievable. Its a really good thing you display these parts with tweezers as I am sure if posted alone, no one would be able to understand it is a miniature replica and not the real thing, absolutely stunning. -
Your use of colors is amazing and well executed. I love the way you carried throughout the build. It all ties together nicely and great choices ! This is a really cool build. I think the instrument panel looks perfect to me. I am really looking forward to your next update