Biggu
-
Posts
1,769 -
Joined
-
Last visited
Content Type
Profiles
Forums
Events
Gallery
Everything posted by Biggu
-

Convoy, take 7 (Bald Eagle)
Biggu replied to Jürgen M.'s topic in Model Trucks: Big Rigs and Heavy Equipment
Thanks for the history lesson JM. That stuff is so cool and really interesting. Love that stuff!! -
Cross Country Hauler 359
Biggu replied to Rbray47's topic in Model Trucks: Big Rigs and Heavy Equipment
What a beauty. Love the colors. Looks great! -
Convoy, take 7 (Bald Eagle)
Biggu replied to Jürgen M.'s topic in Model Trucks: Big Rigs and Heavy Equipment
Nice job JM and quite the journey to get here too , but through it all, you captured the look exactly! Good job mate. She will look good with the rest of the “Convoy”. Does this one complete the fleet? Good job bud. -
1965 Ford F100 Styleside Short Box
Biggu replied to Chuck Most's topic in Model Trucks: Pickups, Vans, SUVs, Light Commercial
You are THE master of these kits. Not one dud on any of them. This one is particularly sweet. Love it -
Nice collection Ron. Really well done. Captured the look perfectly. Love the photographic work too, makes them look real. Very cool !
-
Western Star 4900 FA plow truck
Biggu replied to BK9300's topic in WIP: Model Trucks: Big Rigs and Heavy Equipment
Breathtaking !! -
Convoy, take 7
Biggu replied to Jürgen M.'s topic in WIP: Model Trucks: Big Rigs and Heavy Equipment
Single stack and single air horn really changes it from the normal cab over... lots of changes to admire here and all very subtle.... another cool conversion.... -
Convoy, take 7
Biggu replied to Jürgen M.'s topic in WIP: Model Trucks: Big Rigs and Heavy Equipment
Thanks pal , I’d be interested in the clear film if you can find a link. The sun visor changes the look of the truck completely, in a very good way. There are some kits that scream for a sunvisor, like the AMT Mack and the AMT Western Star kits to name but a couple. -
Western Star 4900 FA plow truck
Biggu replied to BK9300's topic in WIP: Model Trucks: Big Rigs and Heavy Equipment
Your attention to detail is second to none, Brian. I love that you have a ‘checklist’. I think that is something I should have done with my tank truck. Easy to forget the little things. I may have to seriously consider that for my next conversion. I bet you can see the end of the tunnel on this build now as it is getting closer every day. Still a world class build. -
Convoy, take 7
Biggu replied to Jürgen M.'s topic in WIP: Model Trucks: Big Rigs and Heavy Equipment
Holy JM. That is coming together fast. I like the color combo, and that is a s/a with a sleeper. You did an excellent job on the windshield. What material did you use. I think I need to find some as yours seemed to conform beautifully to the curves. Good job my friend. -
Thanks Brian, that was the only thing I could come up with that didn’t require a complete rebuild. I was just lucky I had a piece of square tube. It is tucked under nicely. Thanks for checking in.
-
I guess so
-
Thanks Bud, took some unused brain power, but I think it was successful.
-
Convoy, take 7
Biggu replied to Jürgen M.'s topic in WIP: Model Trucks: Big Rigs and Heavy Equipment
Glad the cabs arrived finally, and the decals look great. And when coupled to the trailer will be really sweet. Good job pal !! -
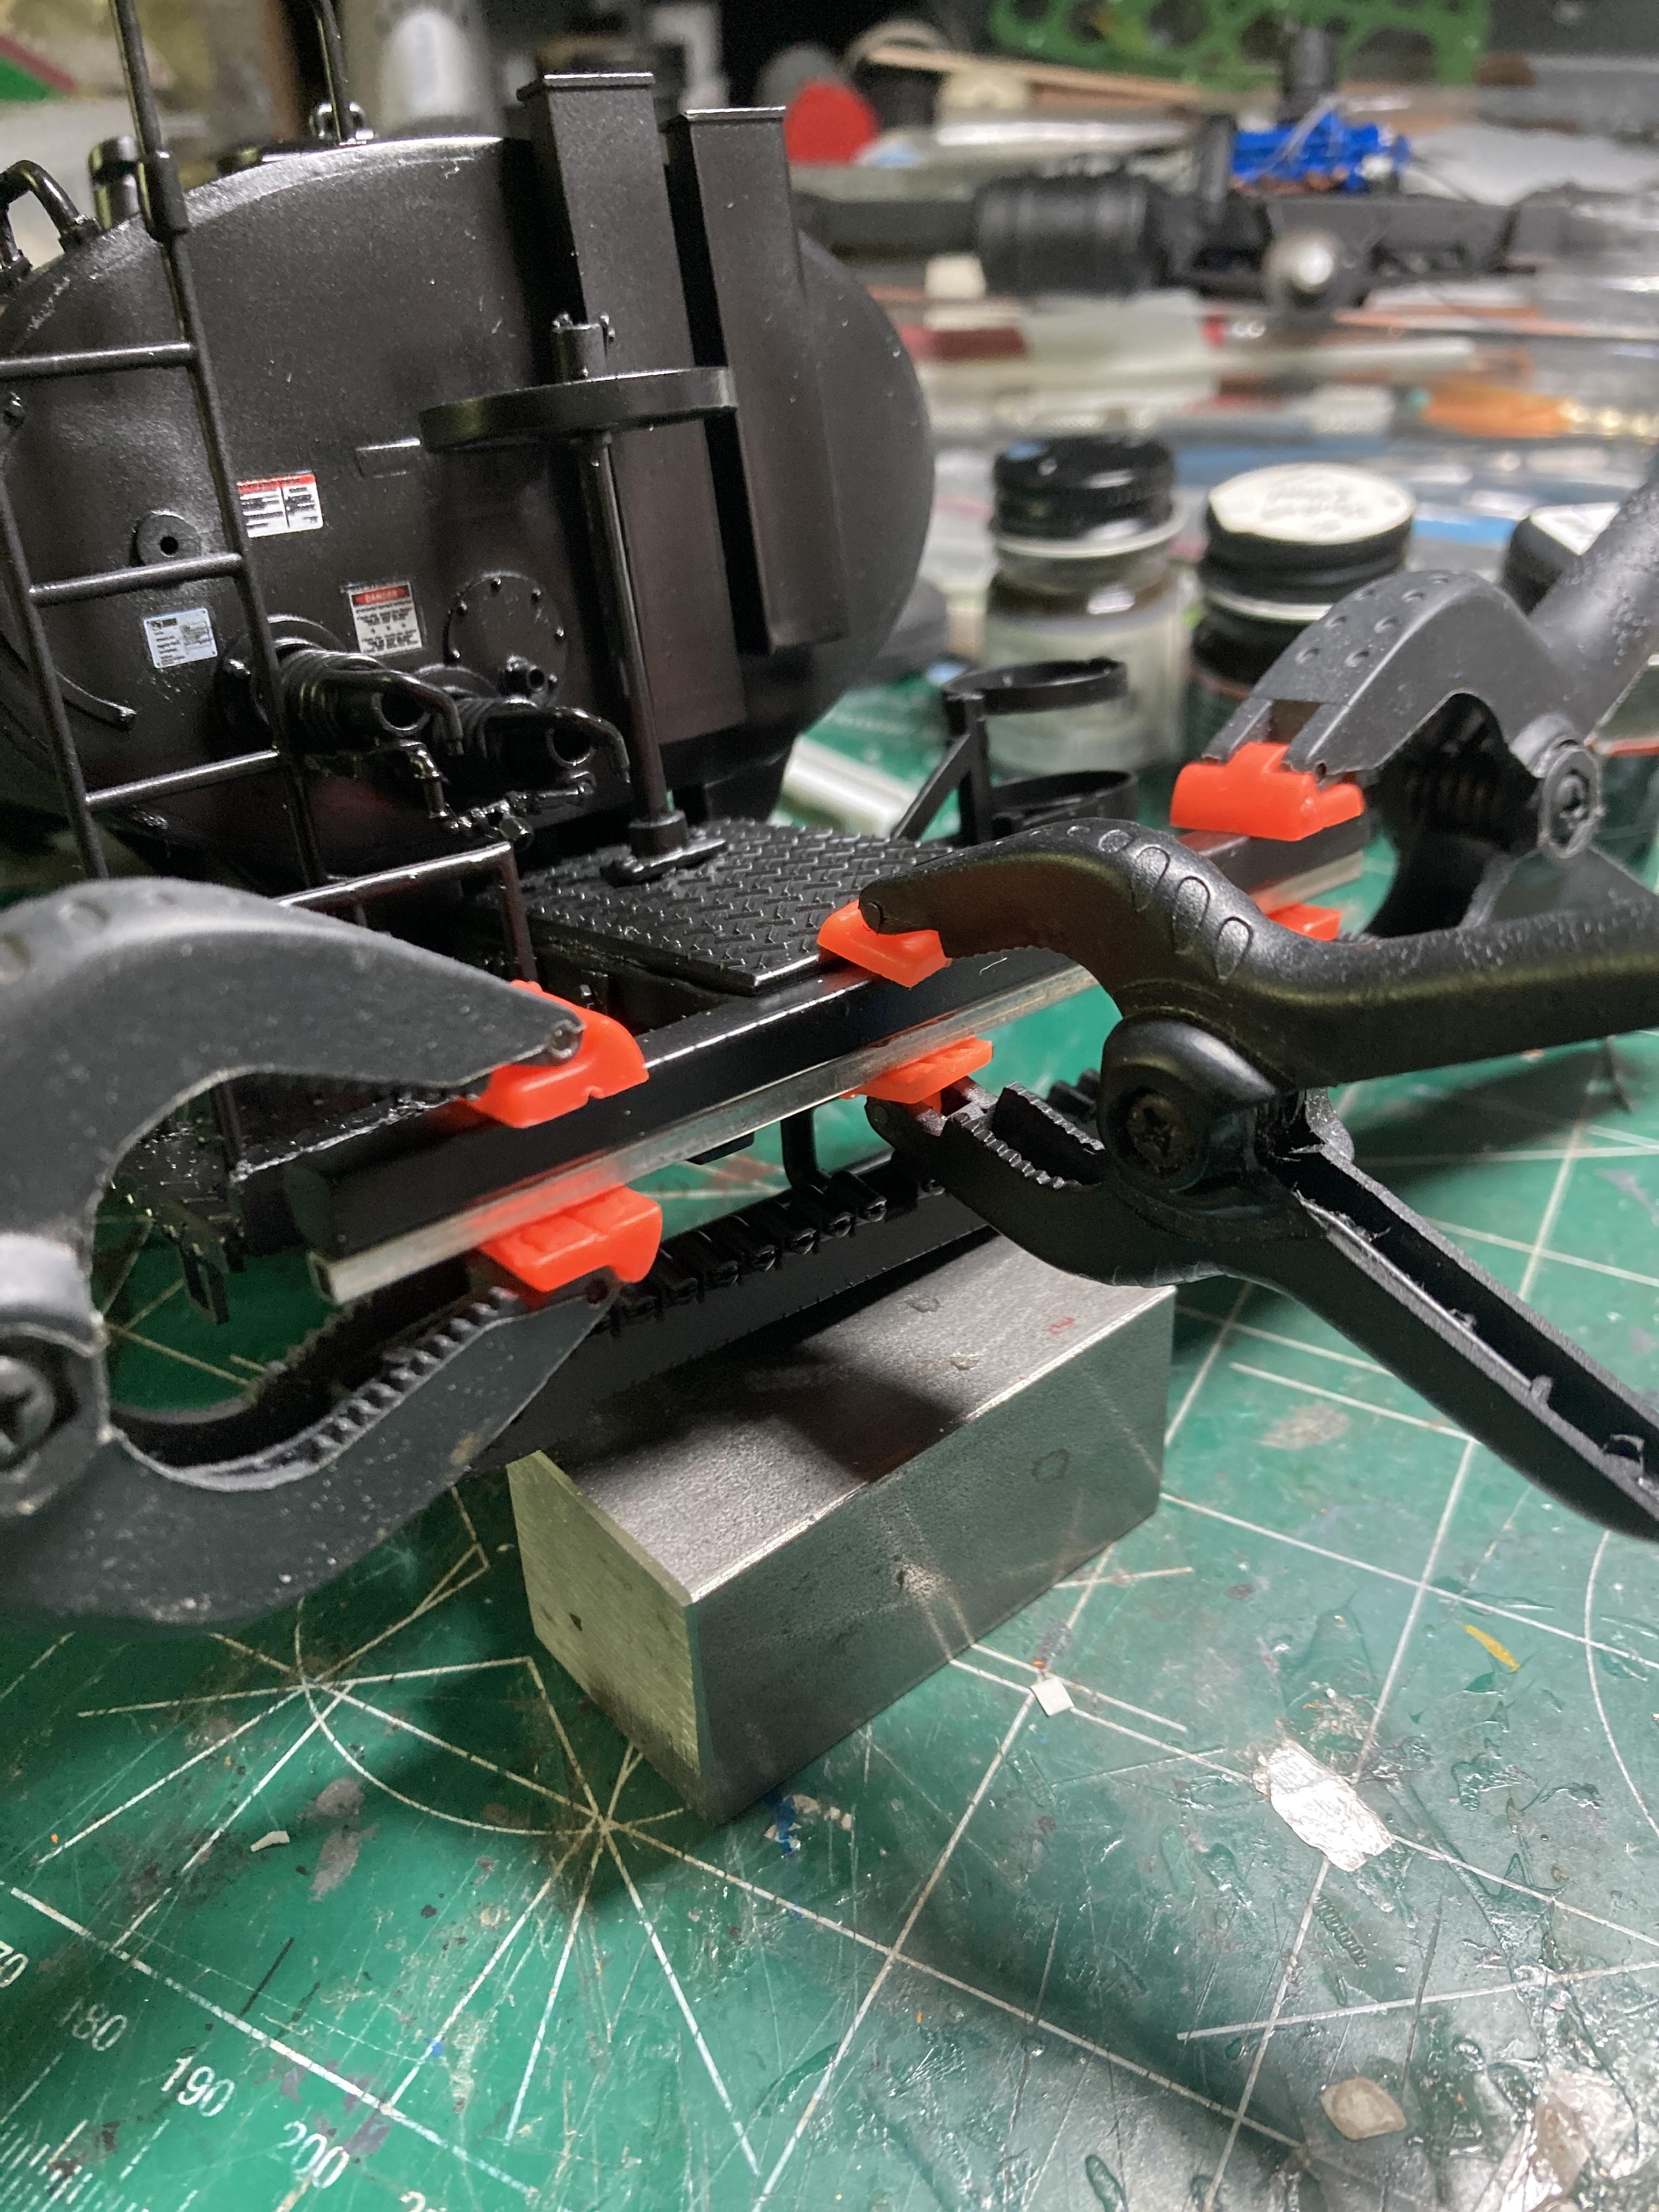
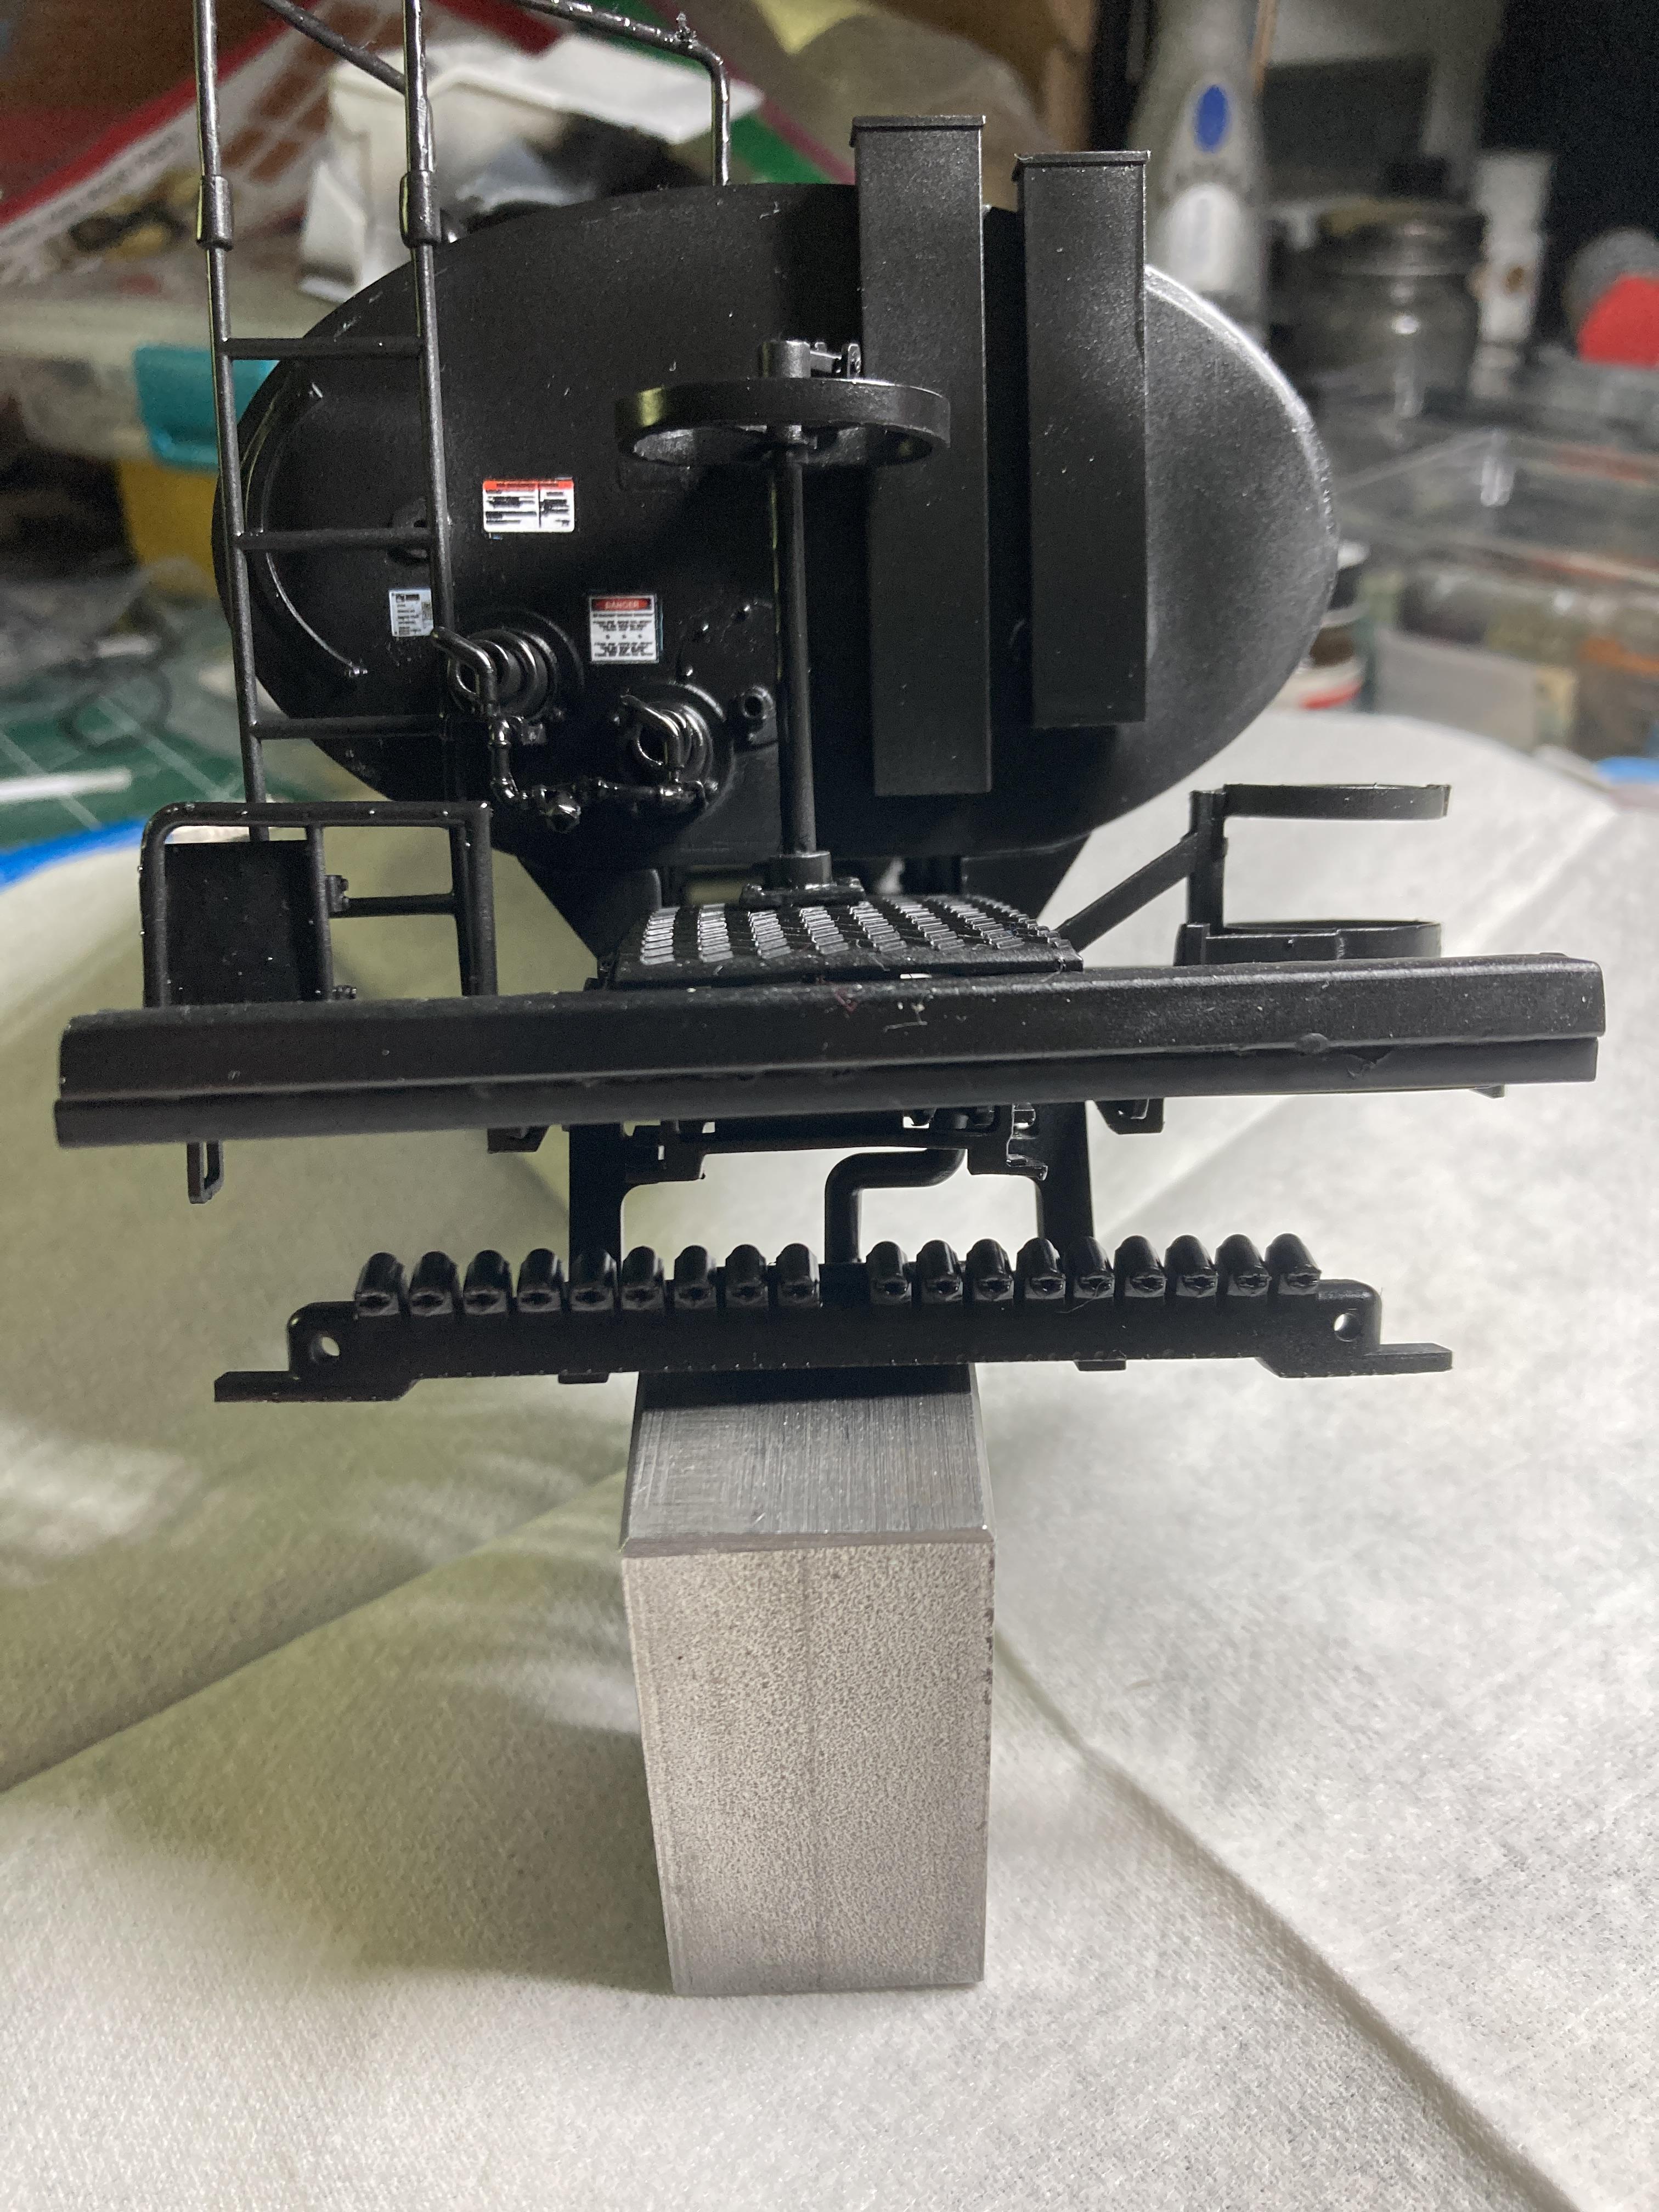
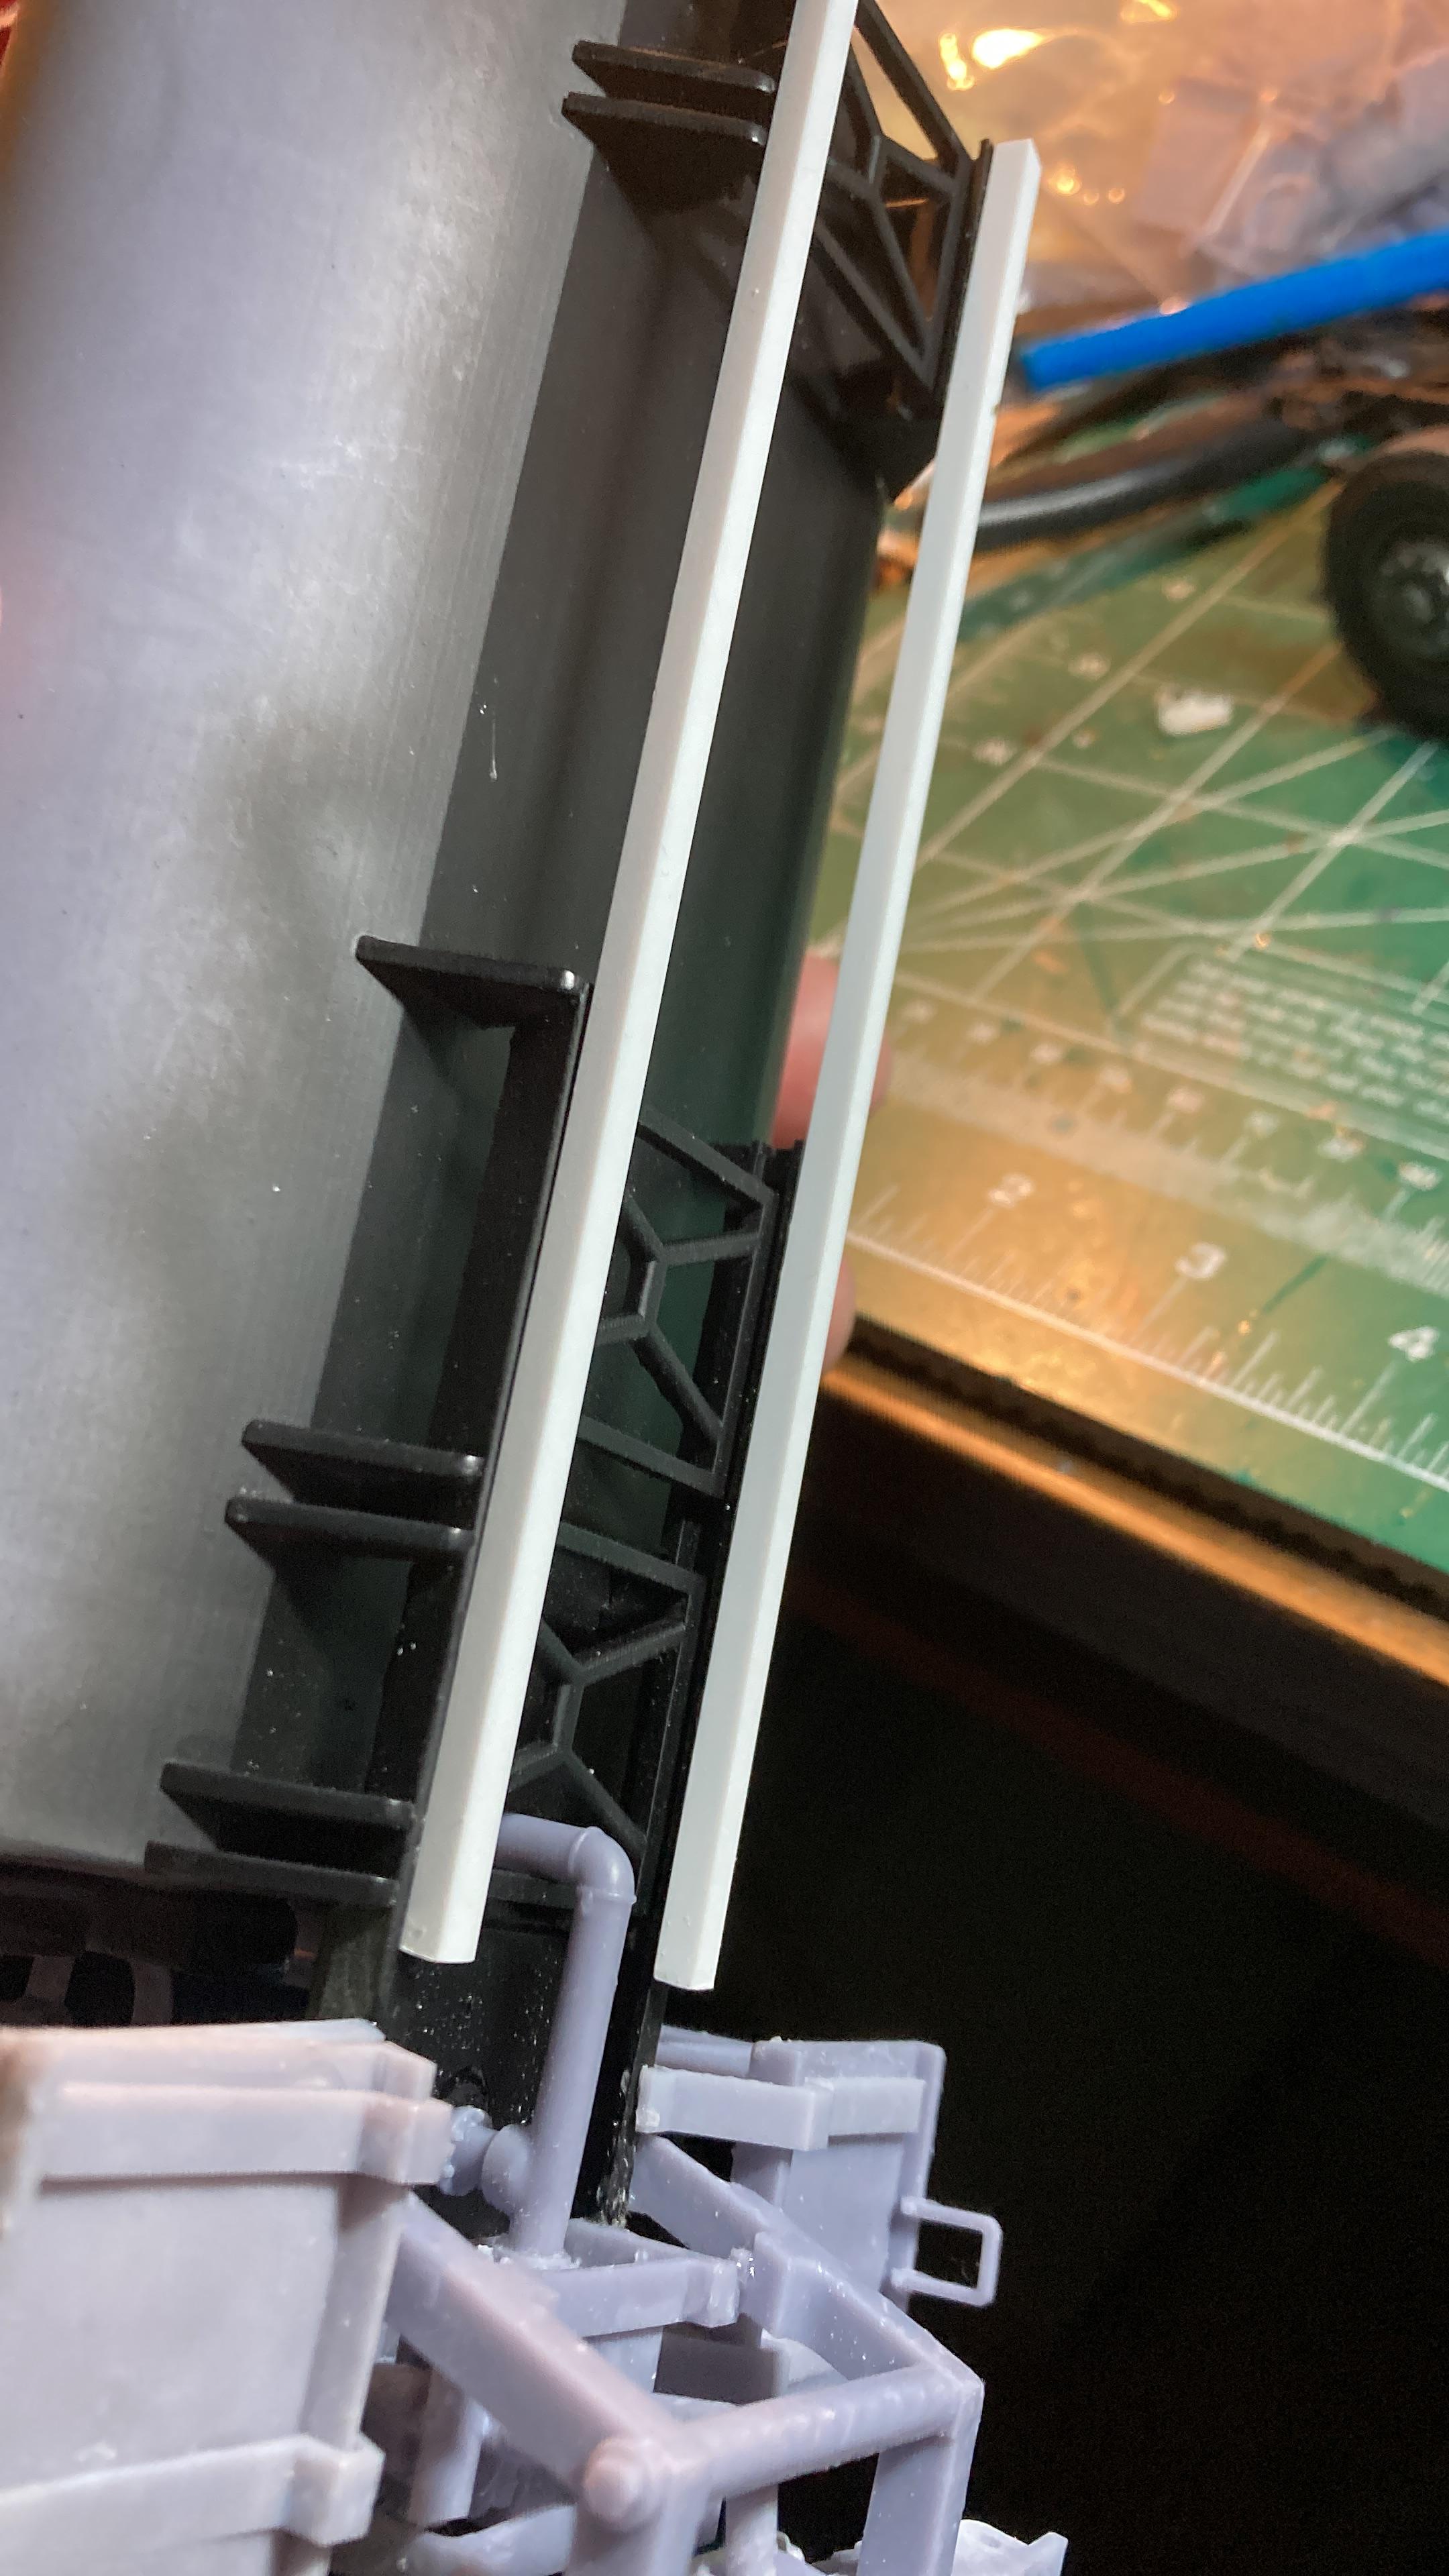
So as mentioned earlier, the ‘bumper’ for the tank had a noticeable ‘droop’ to one side. It is just part of what happens when printing. It is not an exact science yet but sure is close 😉, I initially thought I would leave it as it is part of the tank frame and it wouldn’t be an easy fix as well it may not look too bad. But upon reflection and looking at it over and over I decided it was just ‘bent’ enough to make the whole thing look off ‘kilter’. So, a couple sleepless nights got put to good use and I got to thinking how I could try and straighten the bumper a bit. As it was pretty much all assembled, taking it apart was not in the cards and trying to cut it off was out of the question as the resin is very brittle and must be handled with care. I decided I would take a small piece of square aluminum tubing , glue it to the bottom of the bumper , well clamped and that may take a little of the droop out of the bumper. And on e painted the aluminum tube would not be that noticeable. It’s not a 100% perfect adjustment but it looks better to my old eyes. I’m happy with the results.

-
Thanks mate , and it was a masking job I didn’t mess with, I just ran the tape around the cab, burnished it a bit and shot the paint. May be I should stop messing and fretting, seems I get better results. 🙄😉
-
ALF Industrial Pumper
Biggu replied to Firebuilder's topic in WIP: Model Trucks: Big Rigs and Heavy Equipment
Wow …… what a mountain of work you have put in to this beauty !!! I love the detailing and the paint job is really cool. Lovin this one for sure .. -
Thanks for the very kind words my friend ..
-
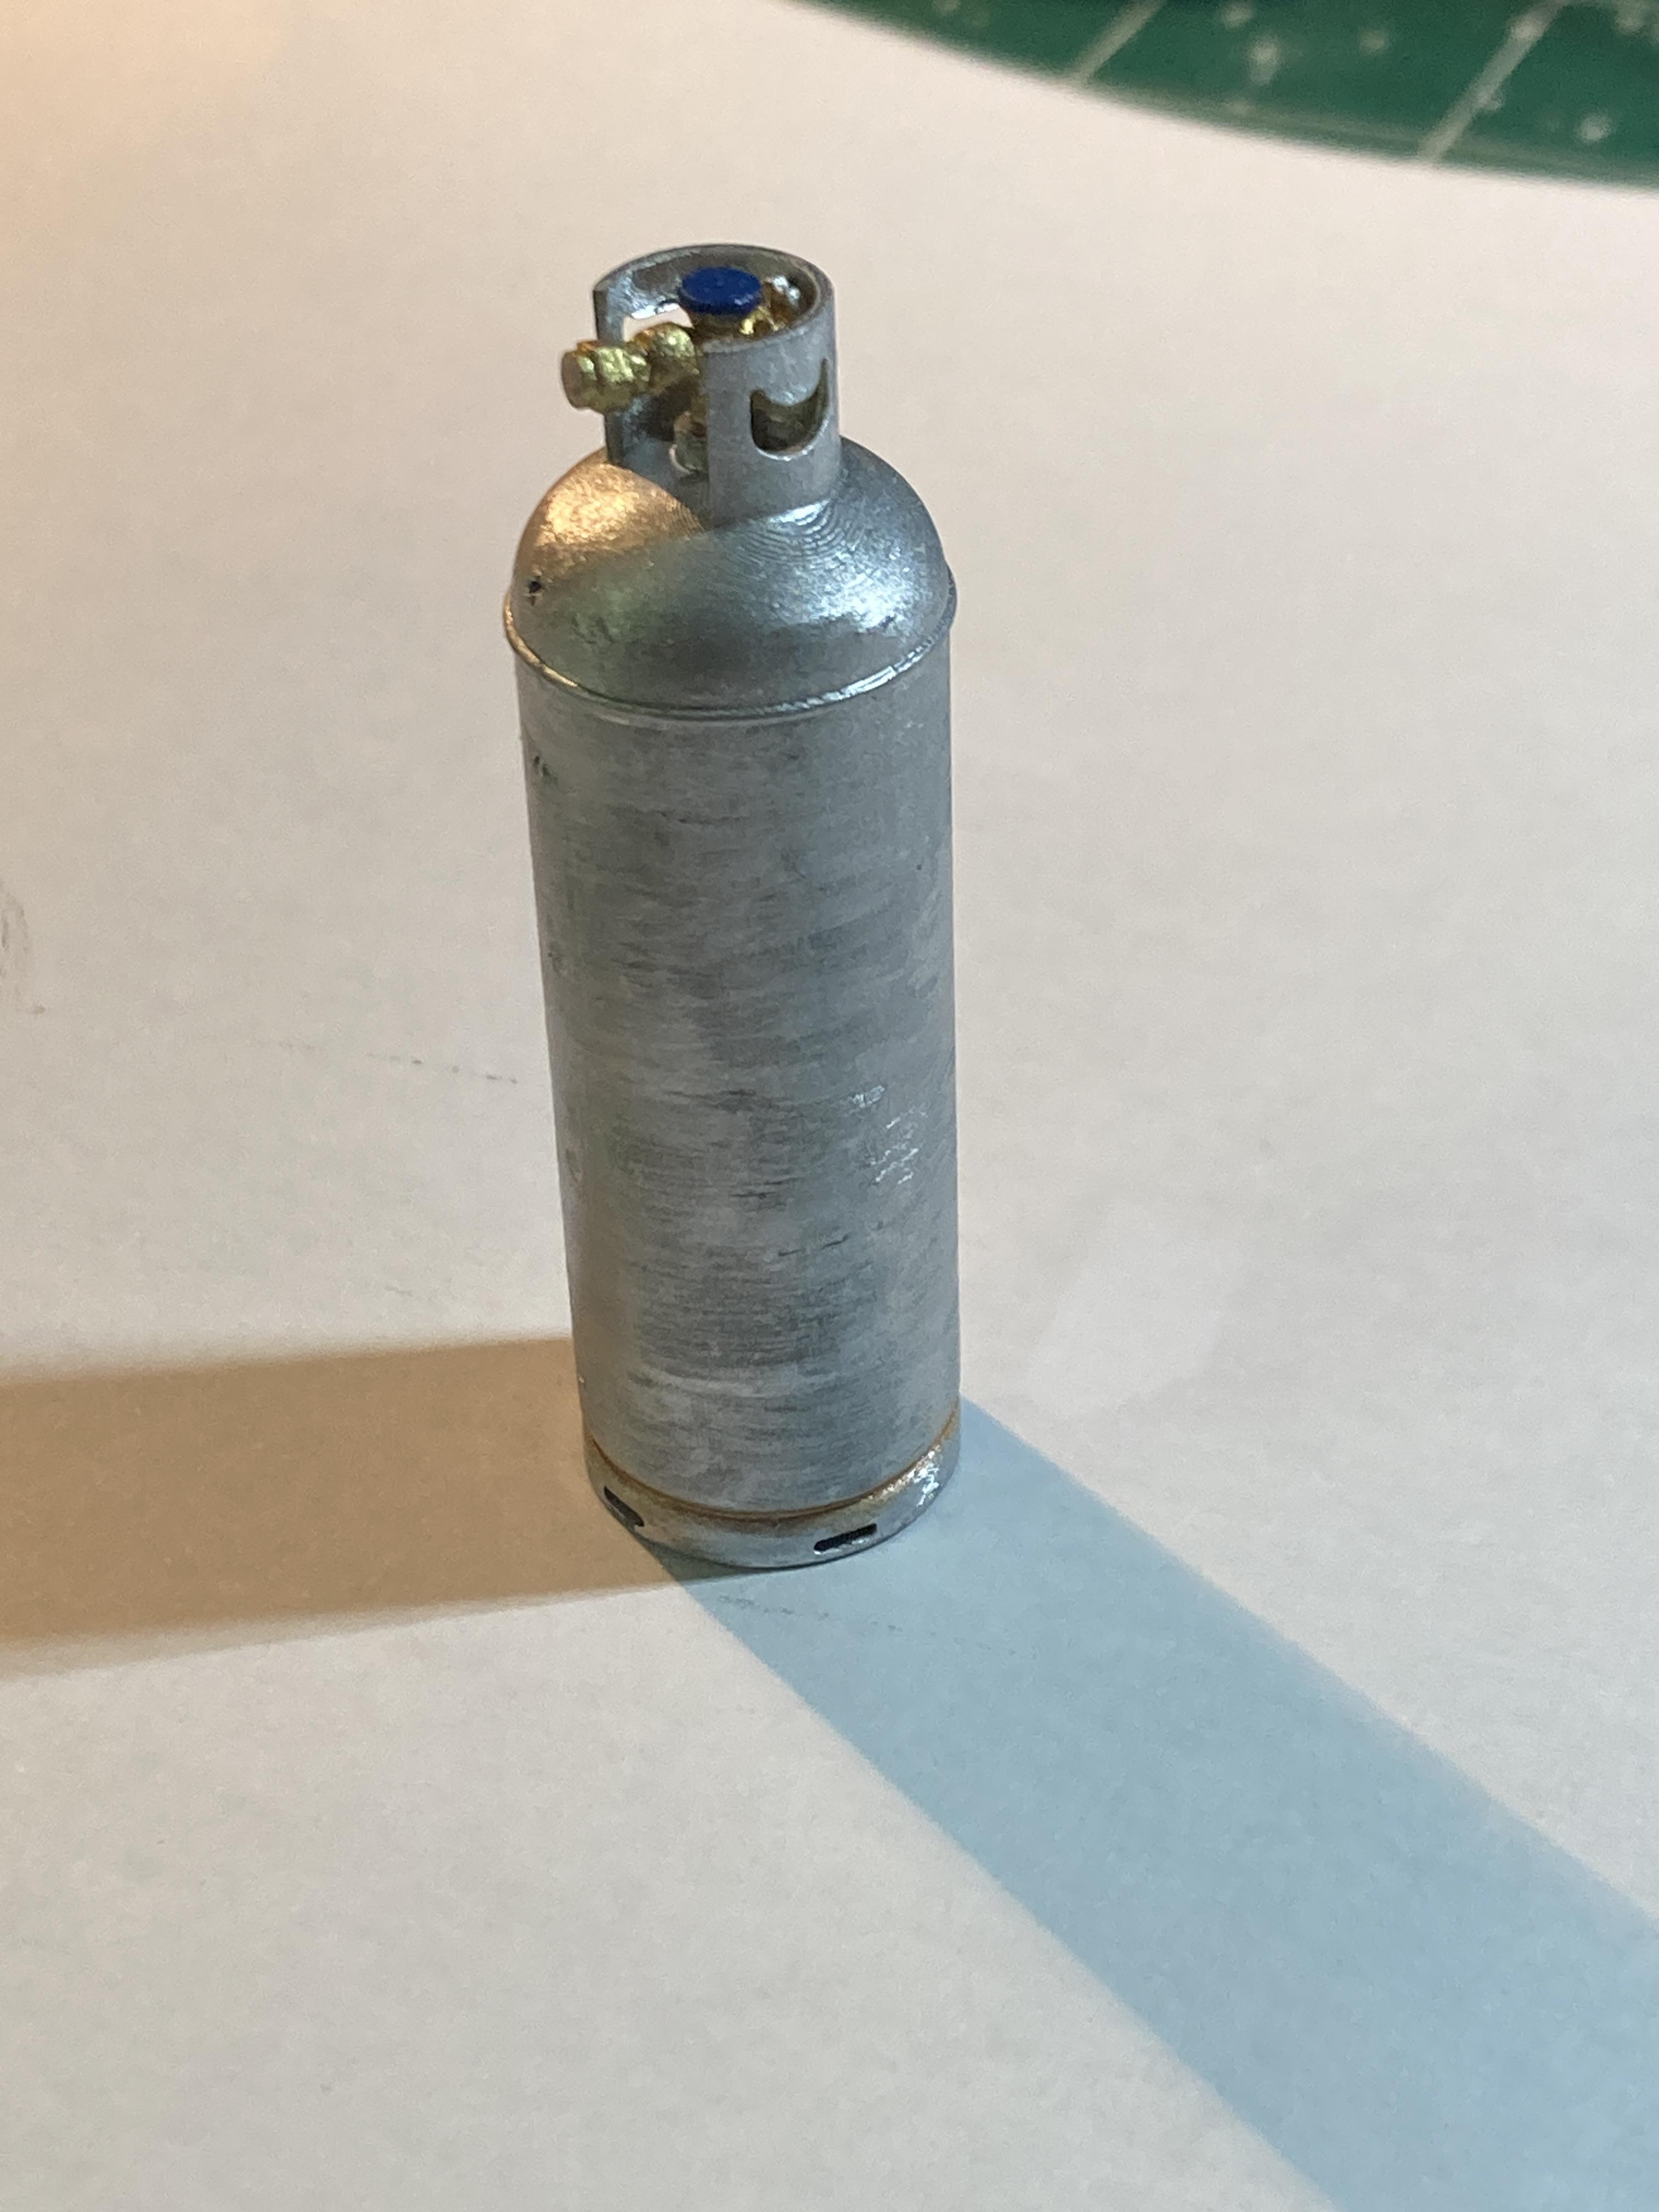
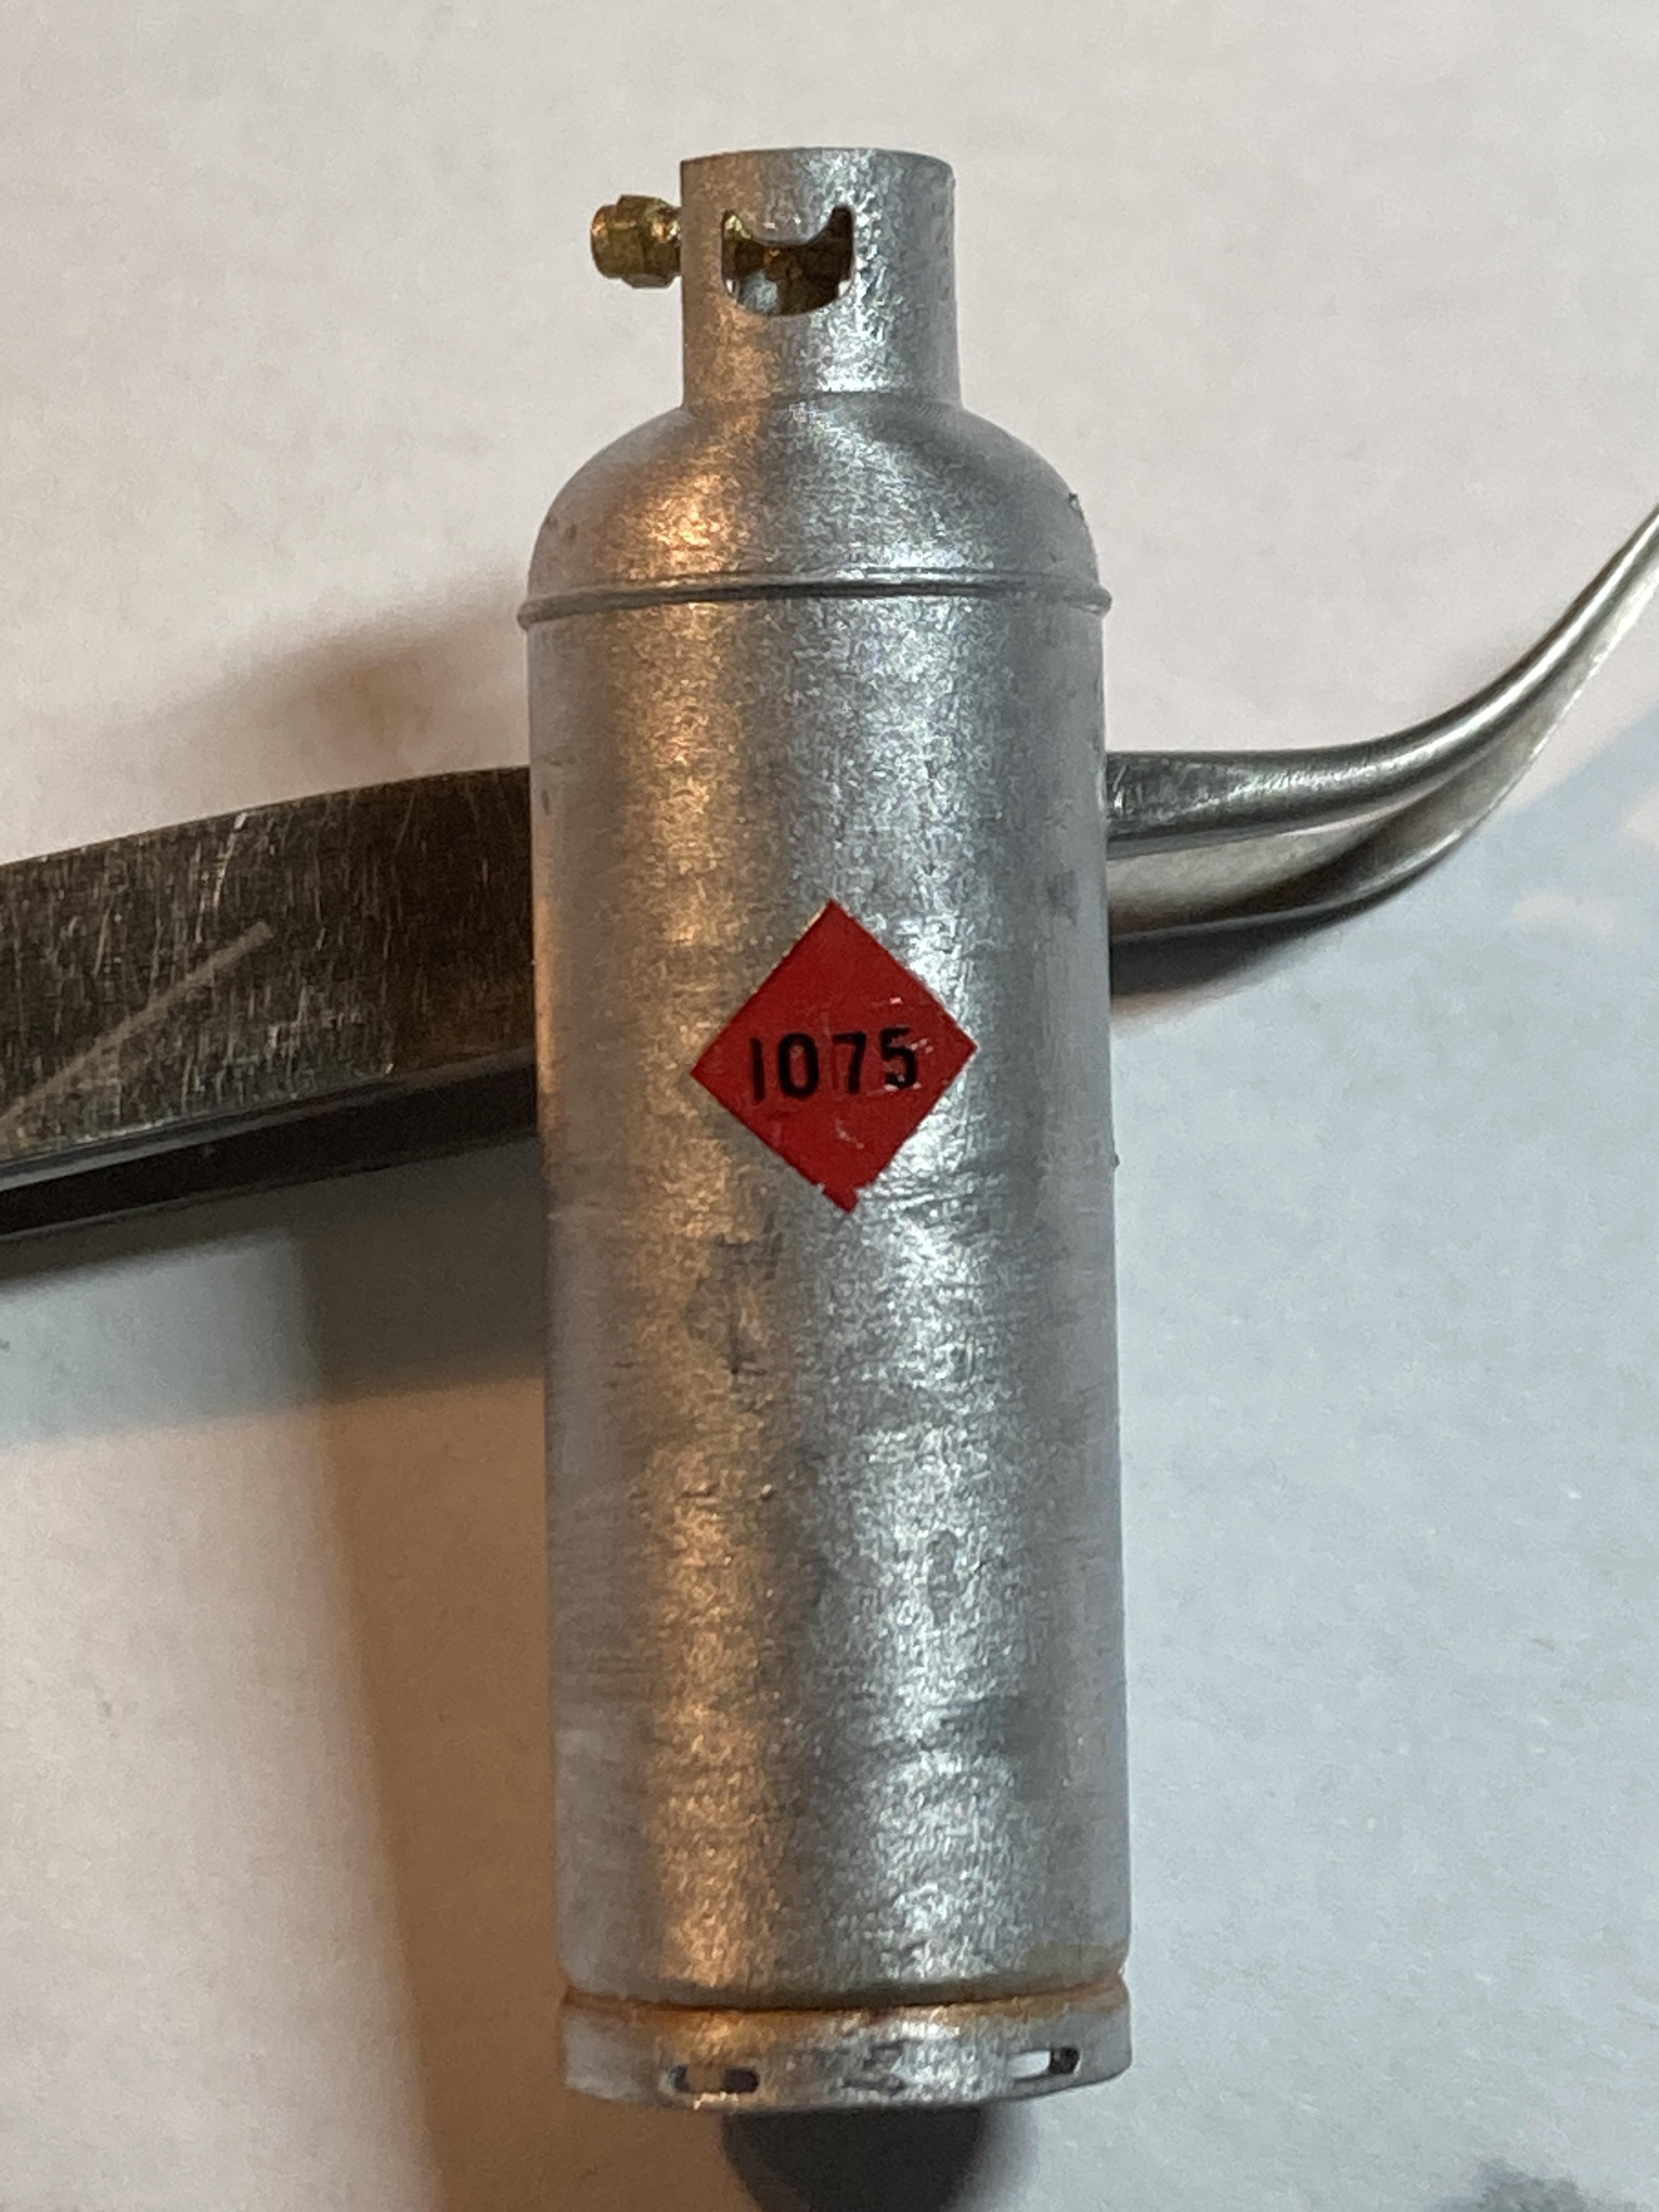
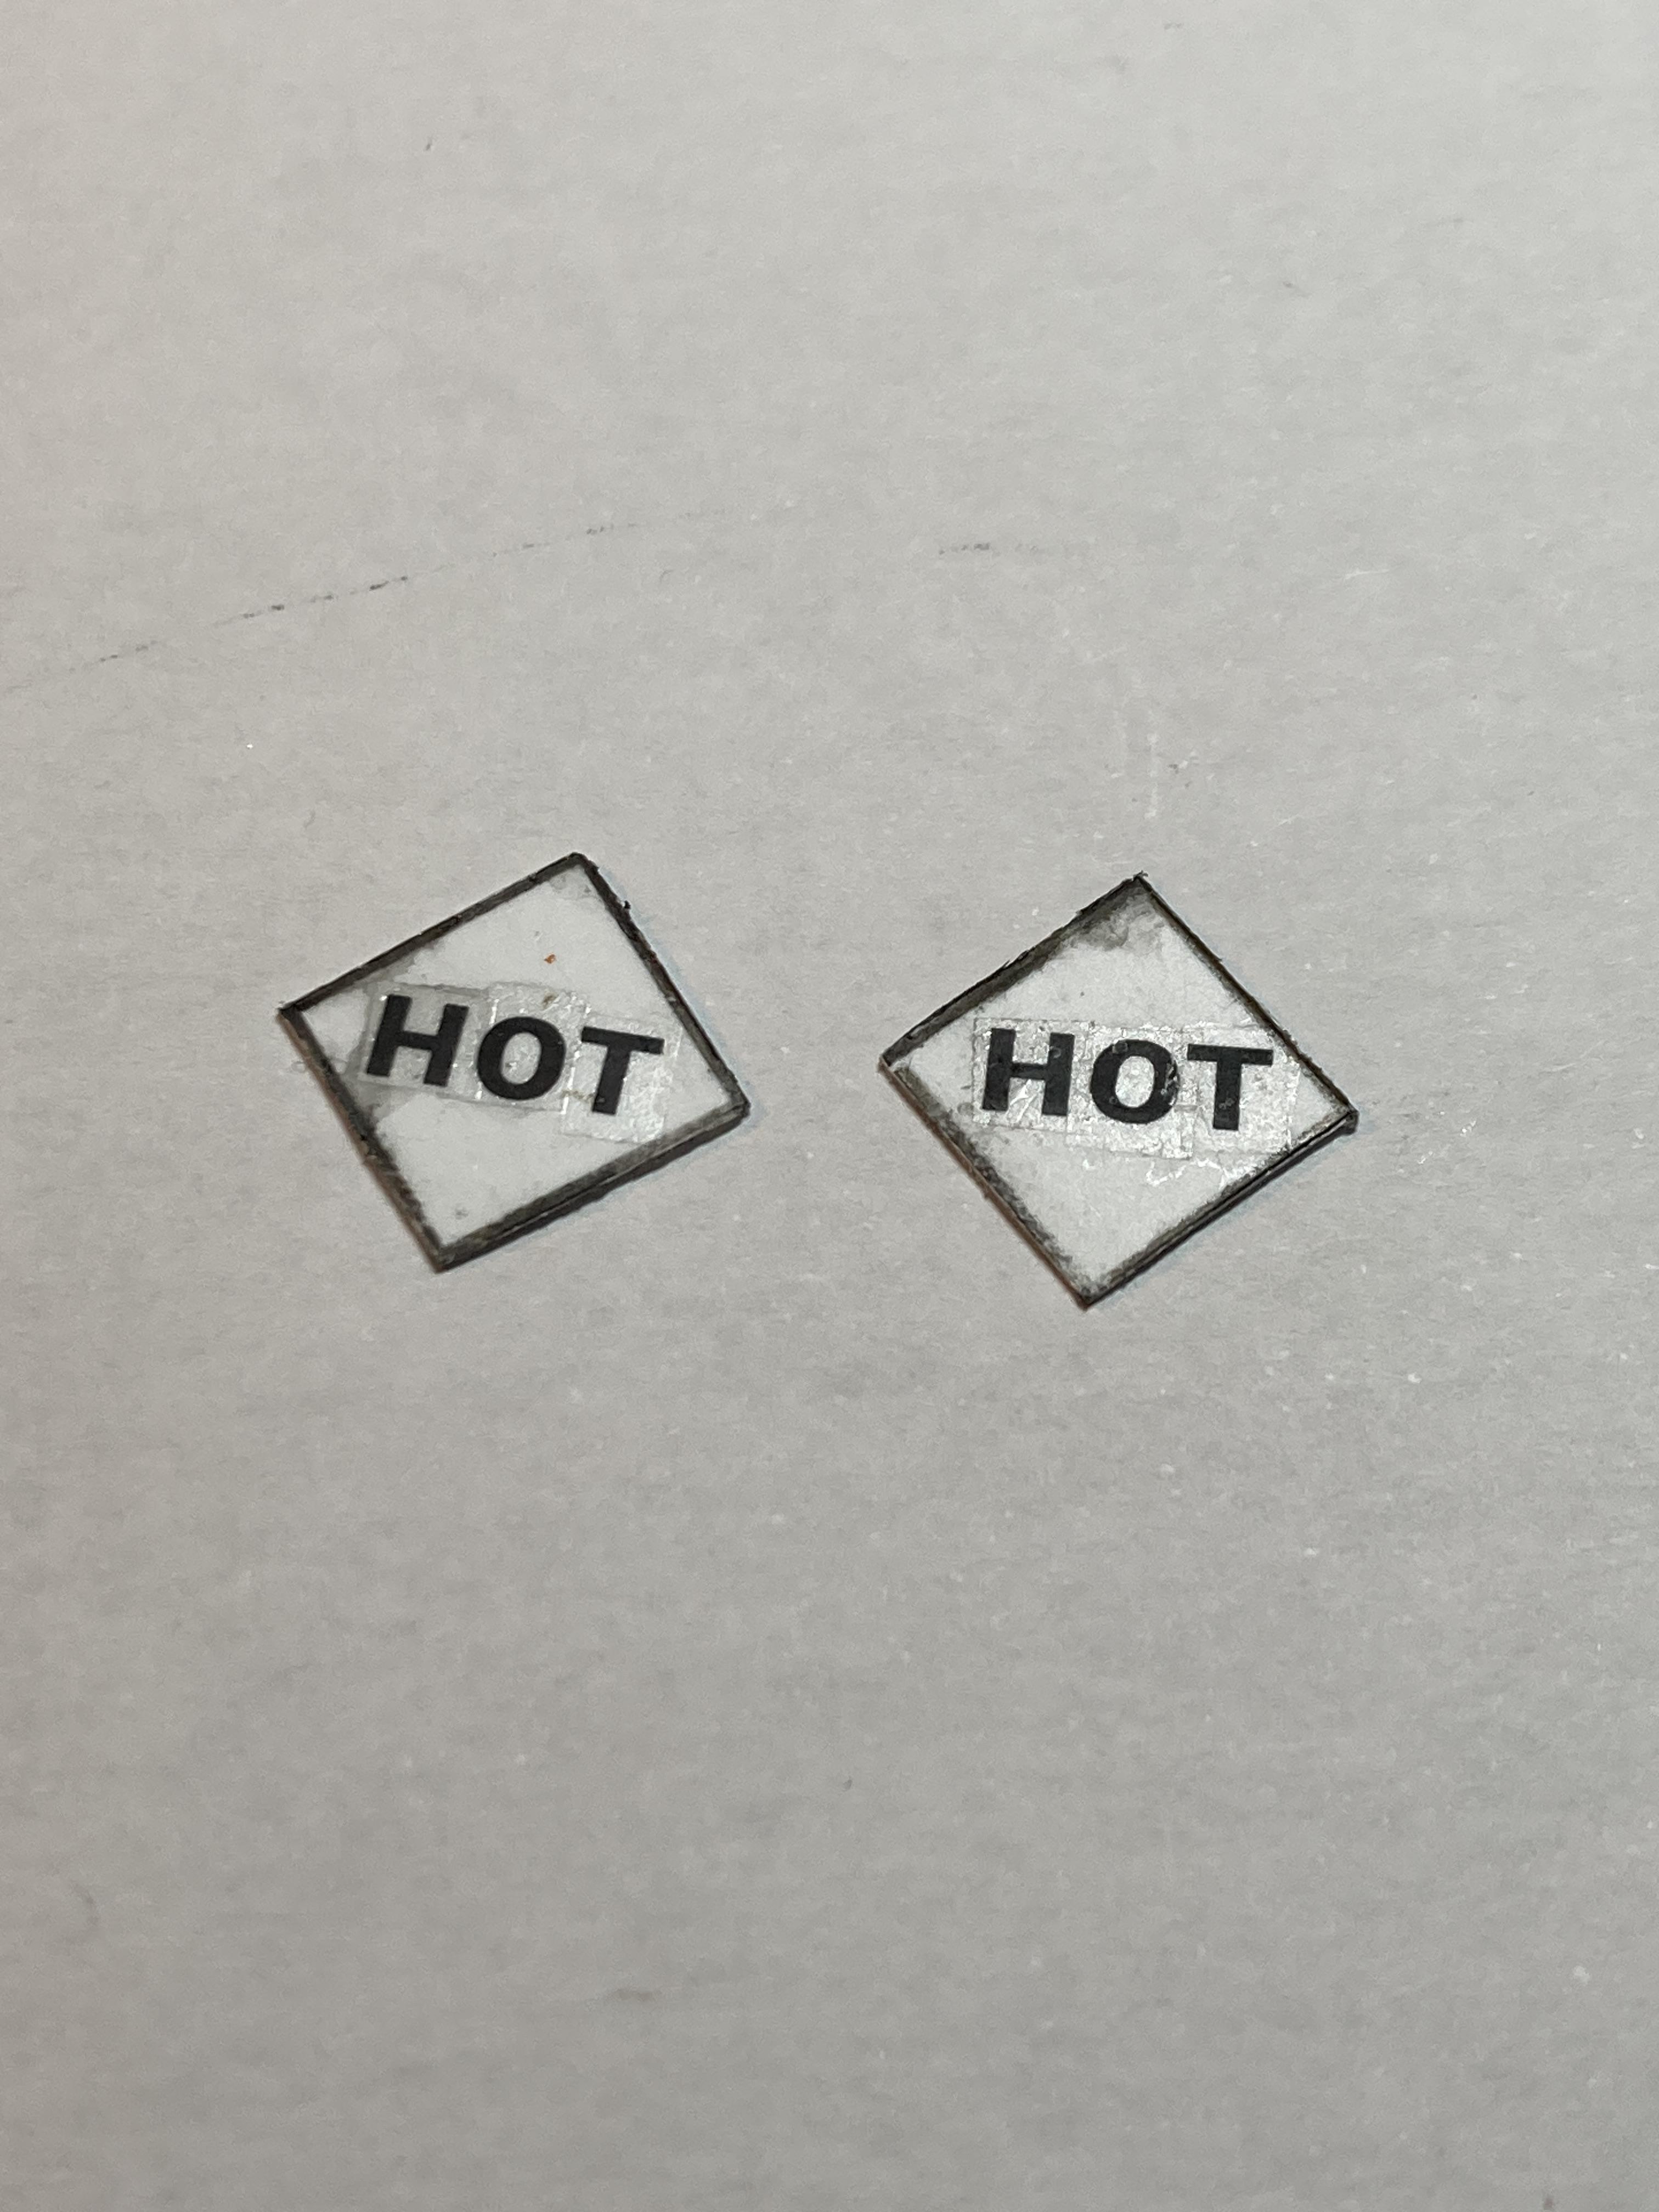
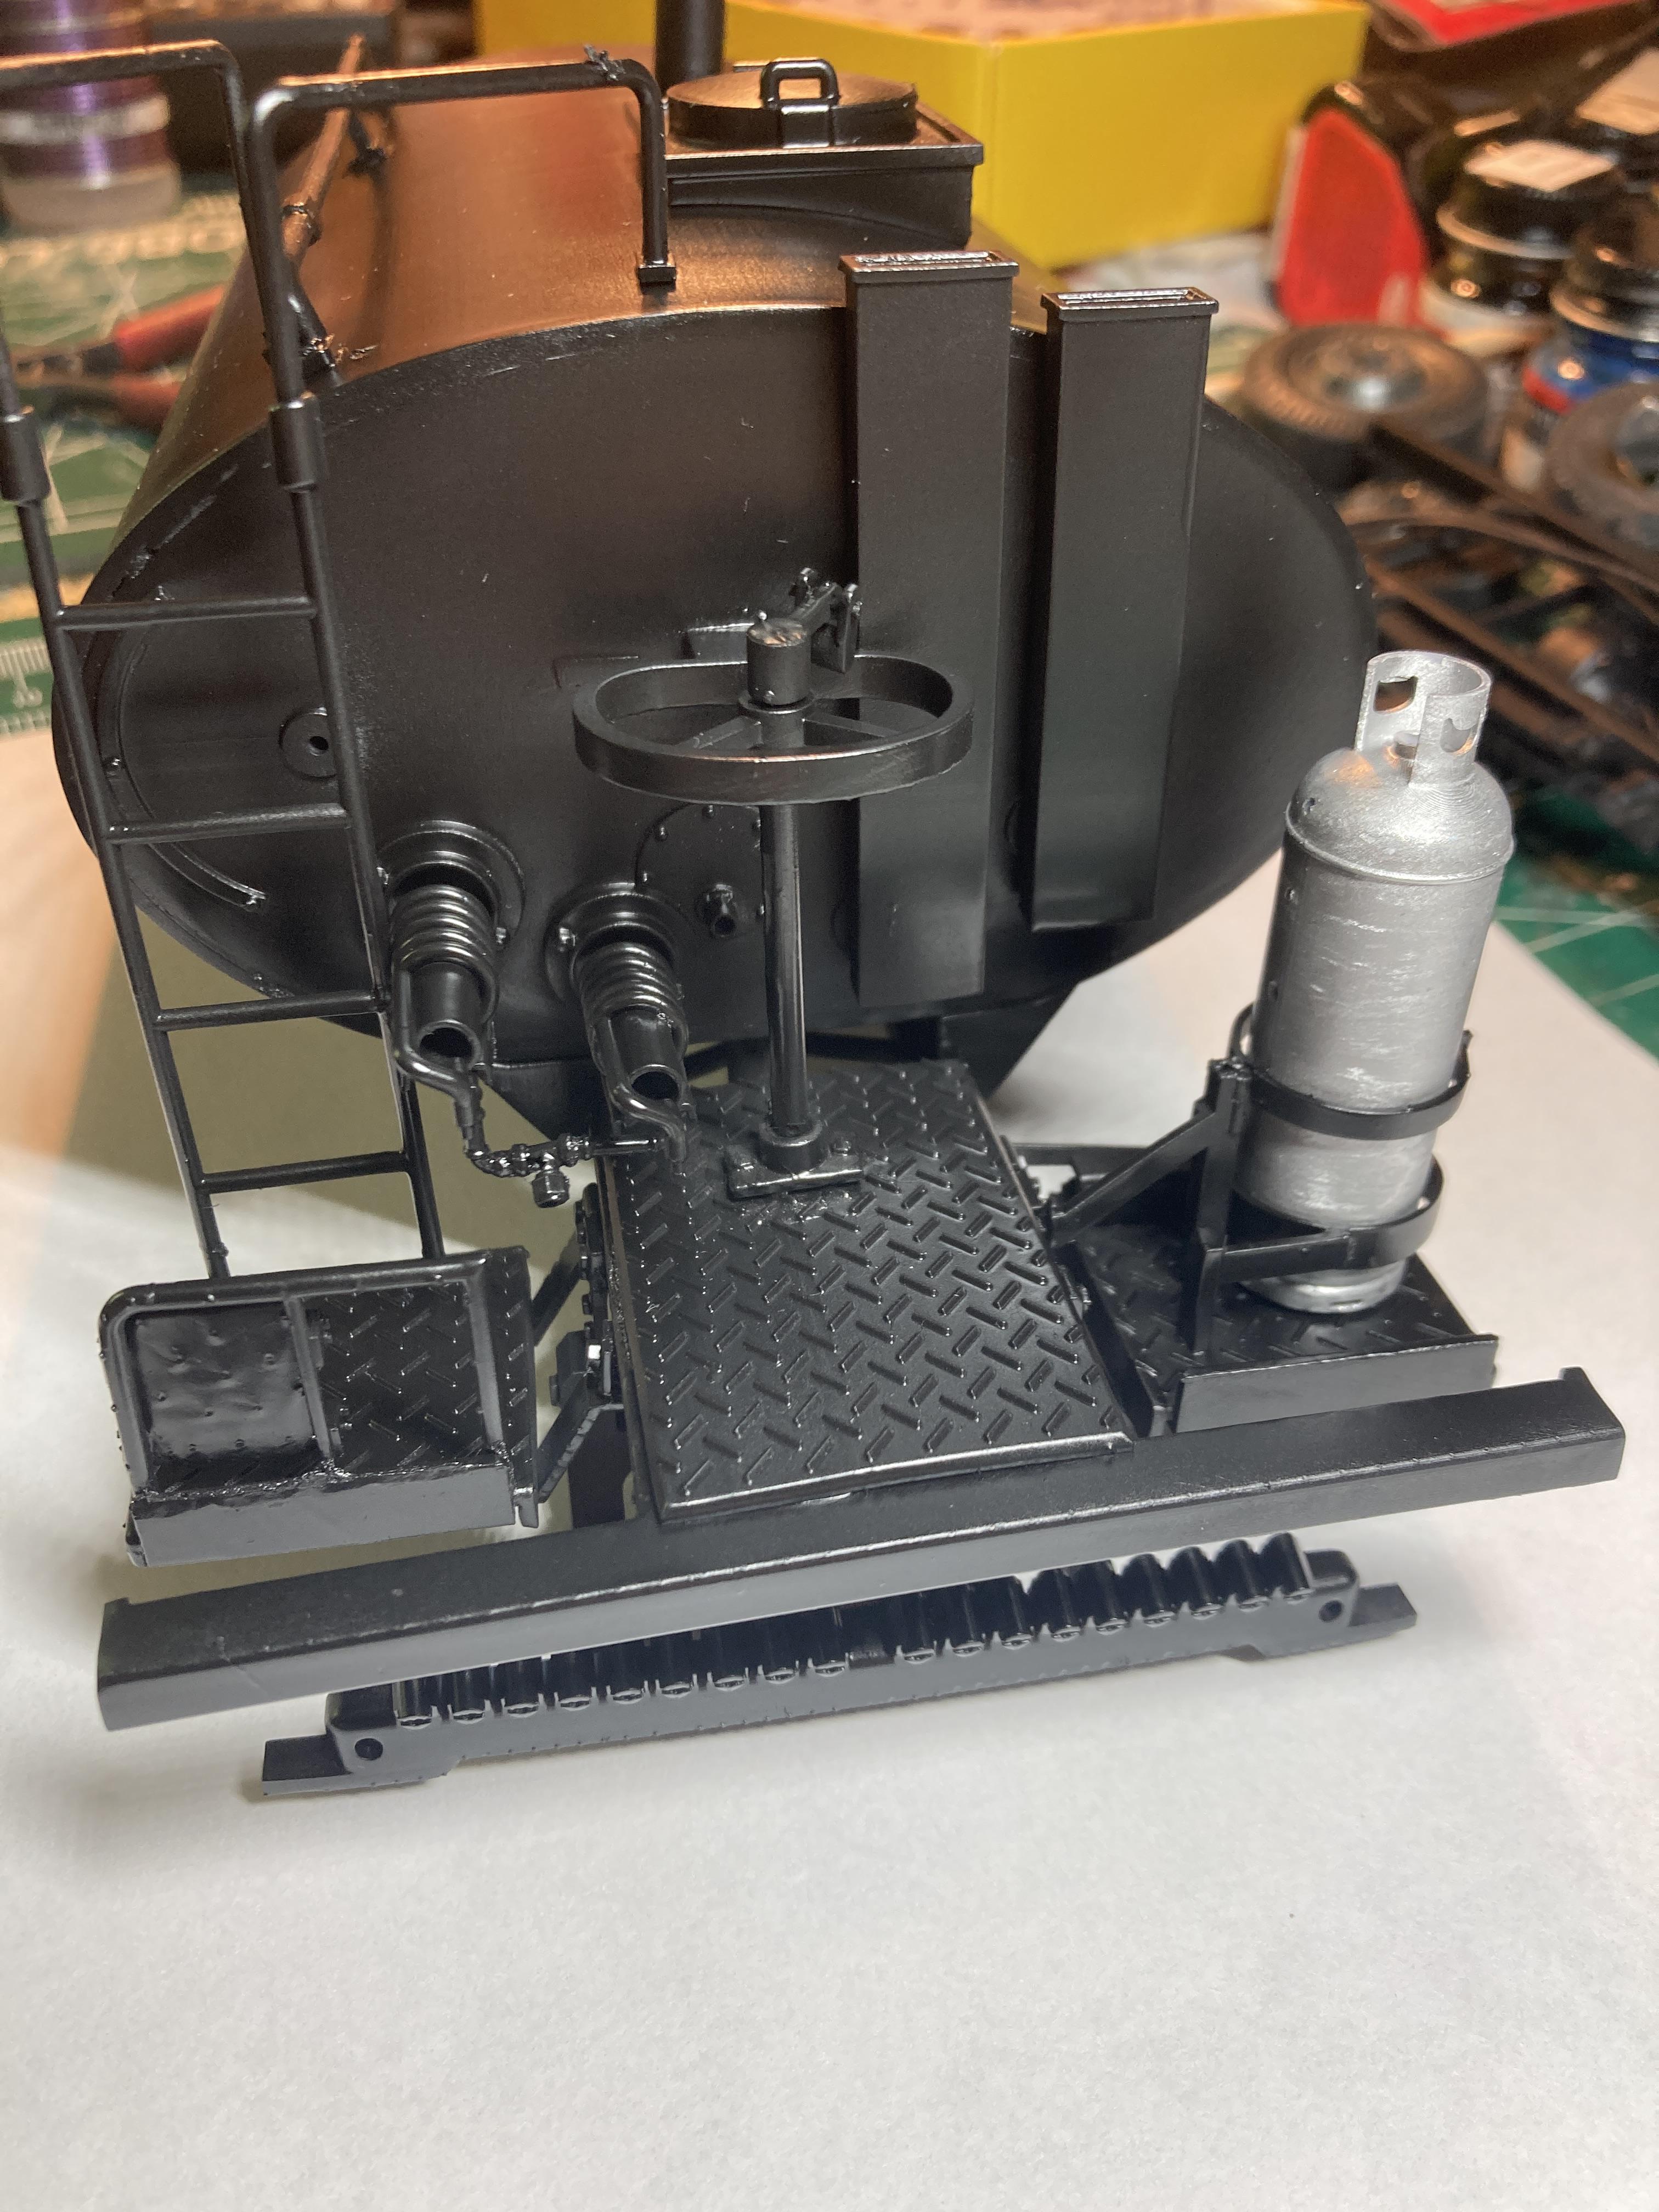
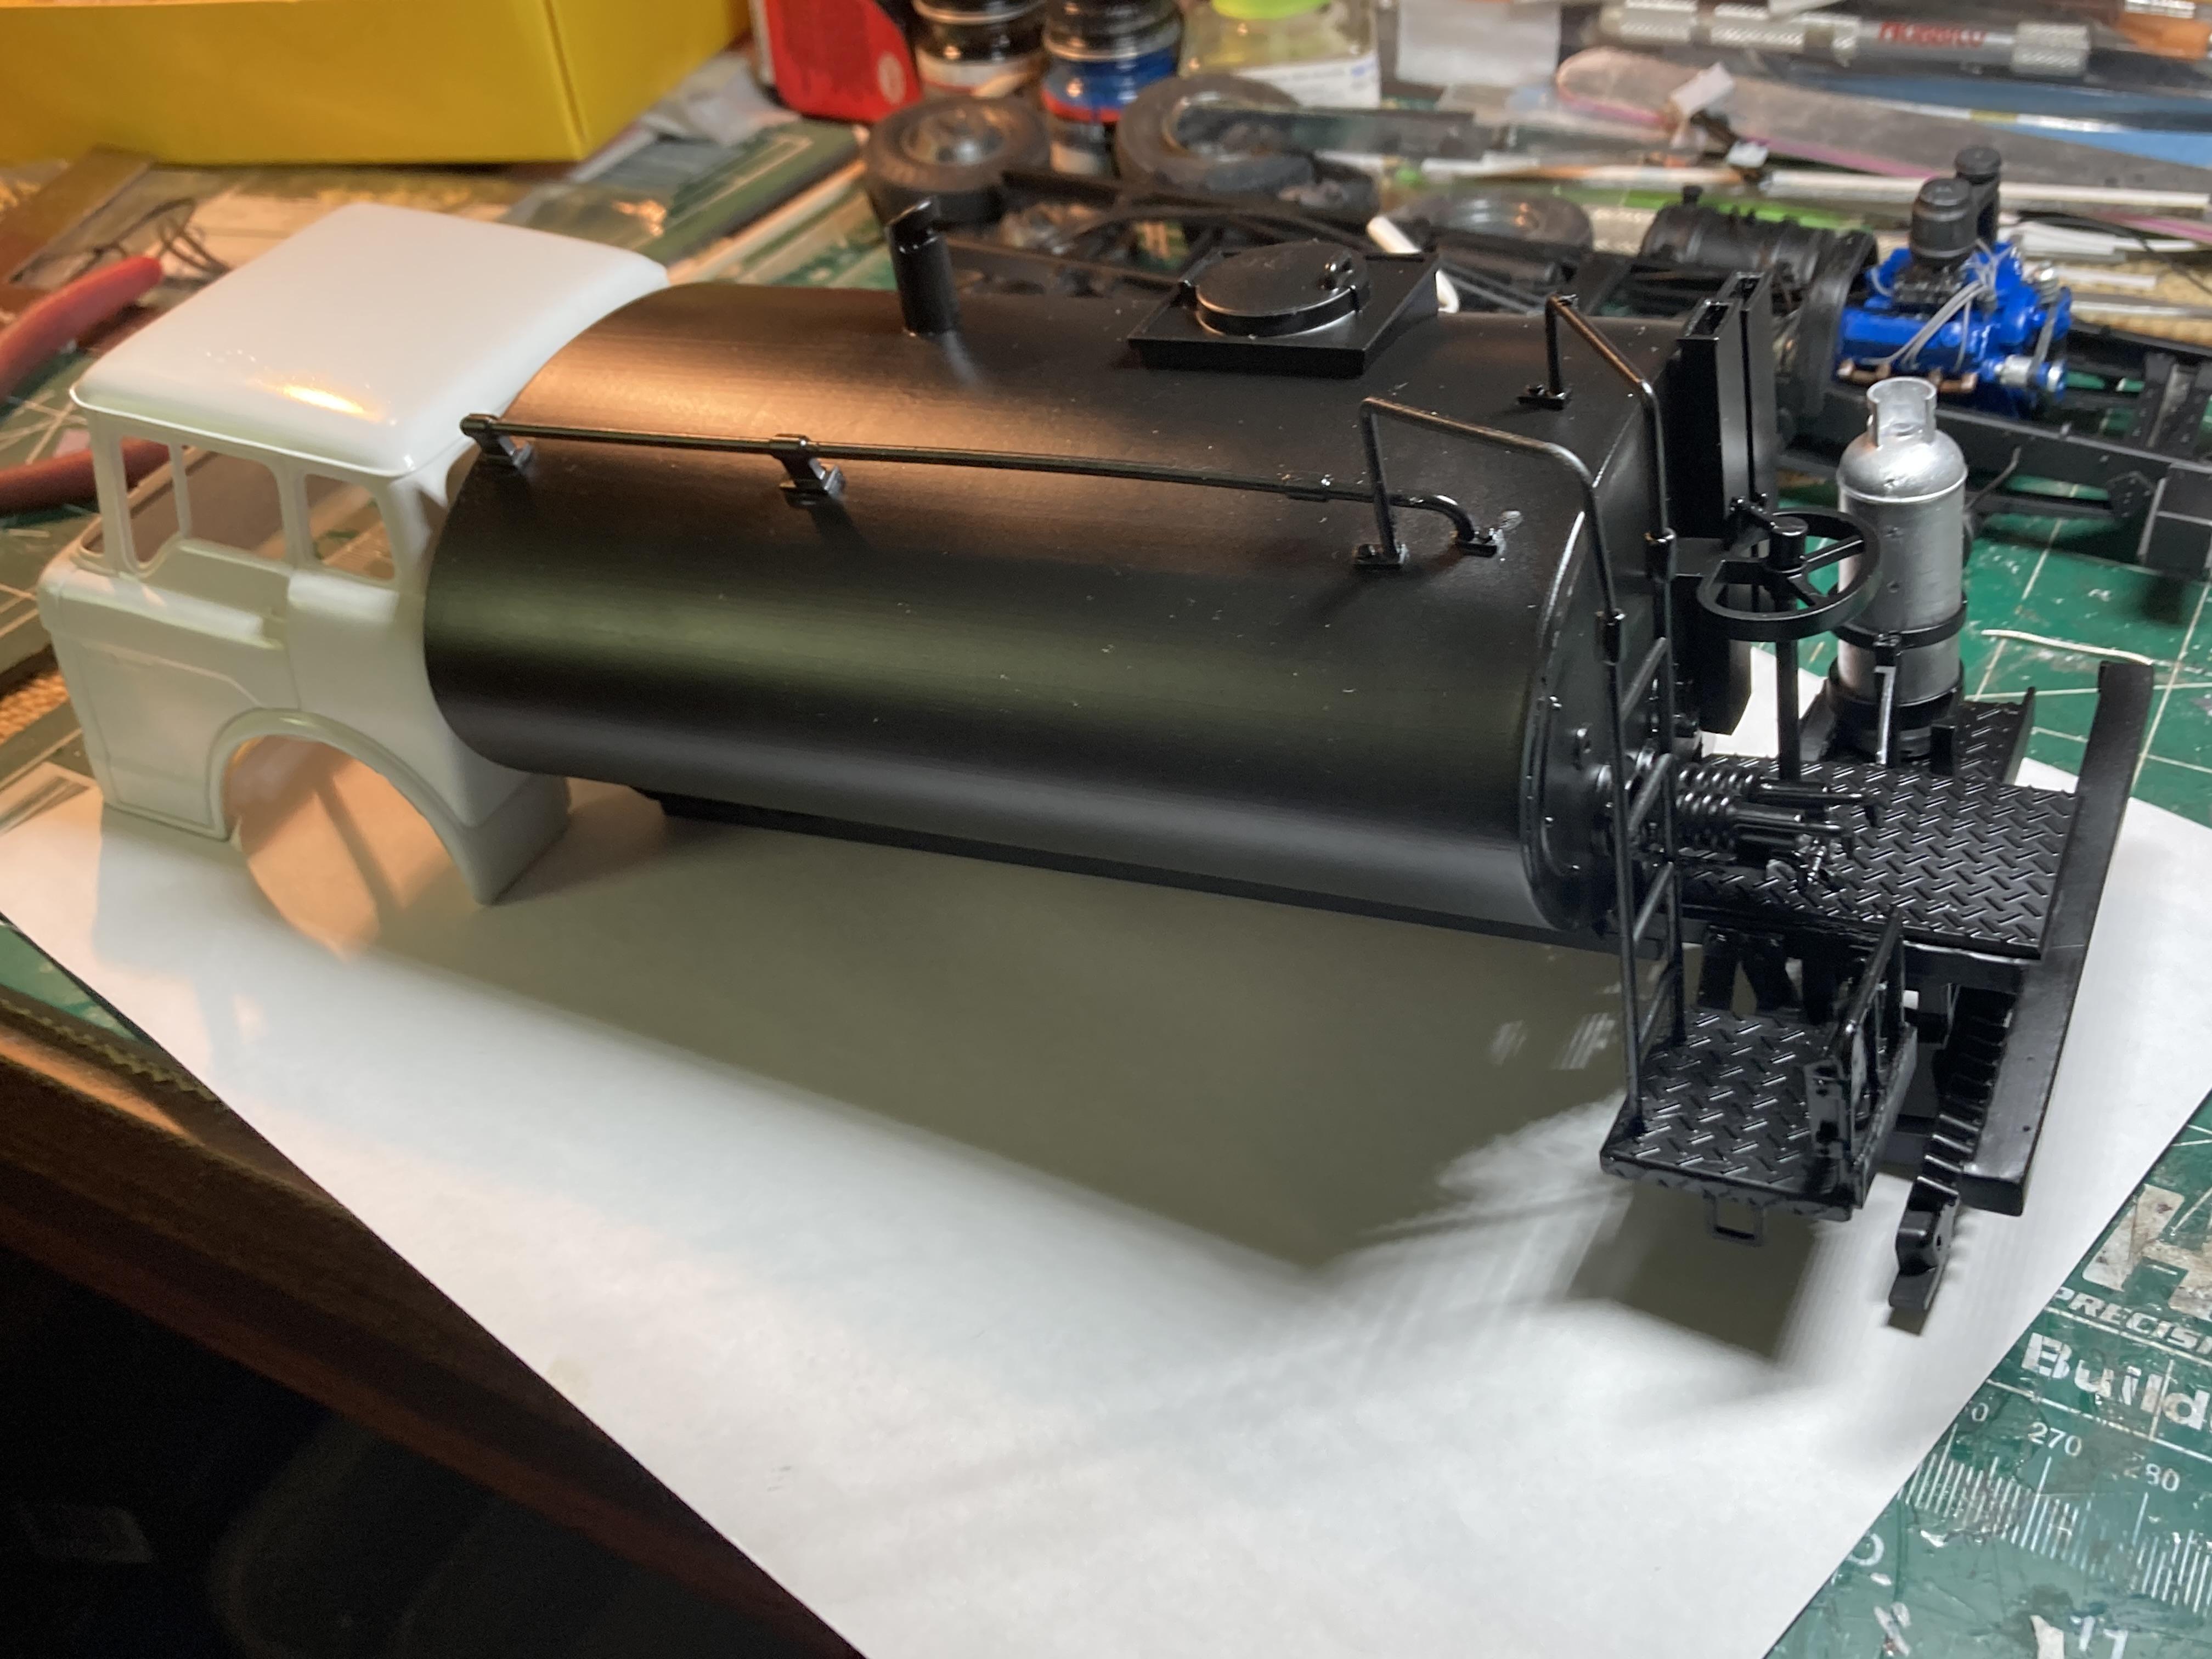
Got a little play time today, so did some fiddly stuff in the interior, not much to show just yet but well needed stuff. Then decided the propane tank needed a little detailing so added some oxidation kind of rust to the mounting ring, painted the valve, and cobbled together a placard. Then made a couple placards for the tank using very thin sheet plastic and decal letters, and then added a few decals to the tank itself. Managed to unmask the cab and it turned out pretty good with absolutely no cleanup or paint correction. And then a minor brain wave ……I have come up with an idea on how to mitigate the curve in the rear bumper, not sure it will be perfect but may help a bit… that will come in the next update. So for now, I think everyone who is interested is caught up. Thanks for checking in
-
Convoy, take 7
Biggu replied to Jürgen M.'s topic in WIP: Model Trucks: Big Rigs and Heavy Equipment
Glad you are back on this one buddy. You have enough for a small fleet now ! This will be sweet. -
Thanks boys !!
-
Thanks Brian. Yeah I must admit I was certainly moving it around to get paint into the tight places. Not my usual way of doing business but to paint all the bits then assemble might have been worse. As for the frame spacers, they also gave the whole structure a little more support and looks better over all. Thanks for checking in.
-
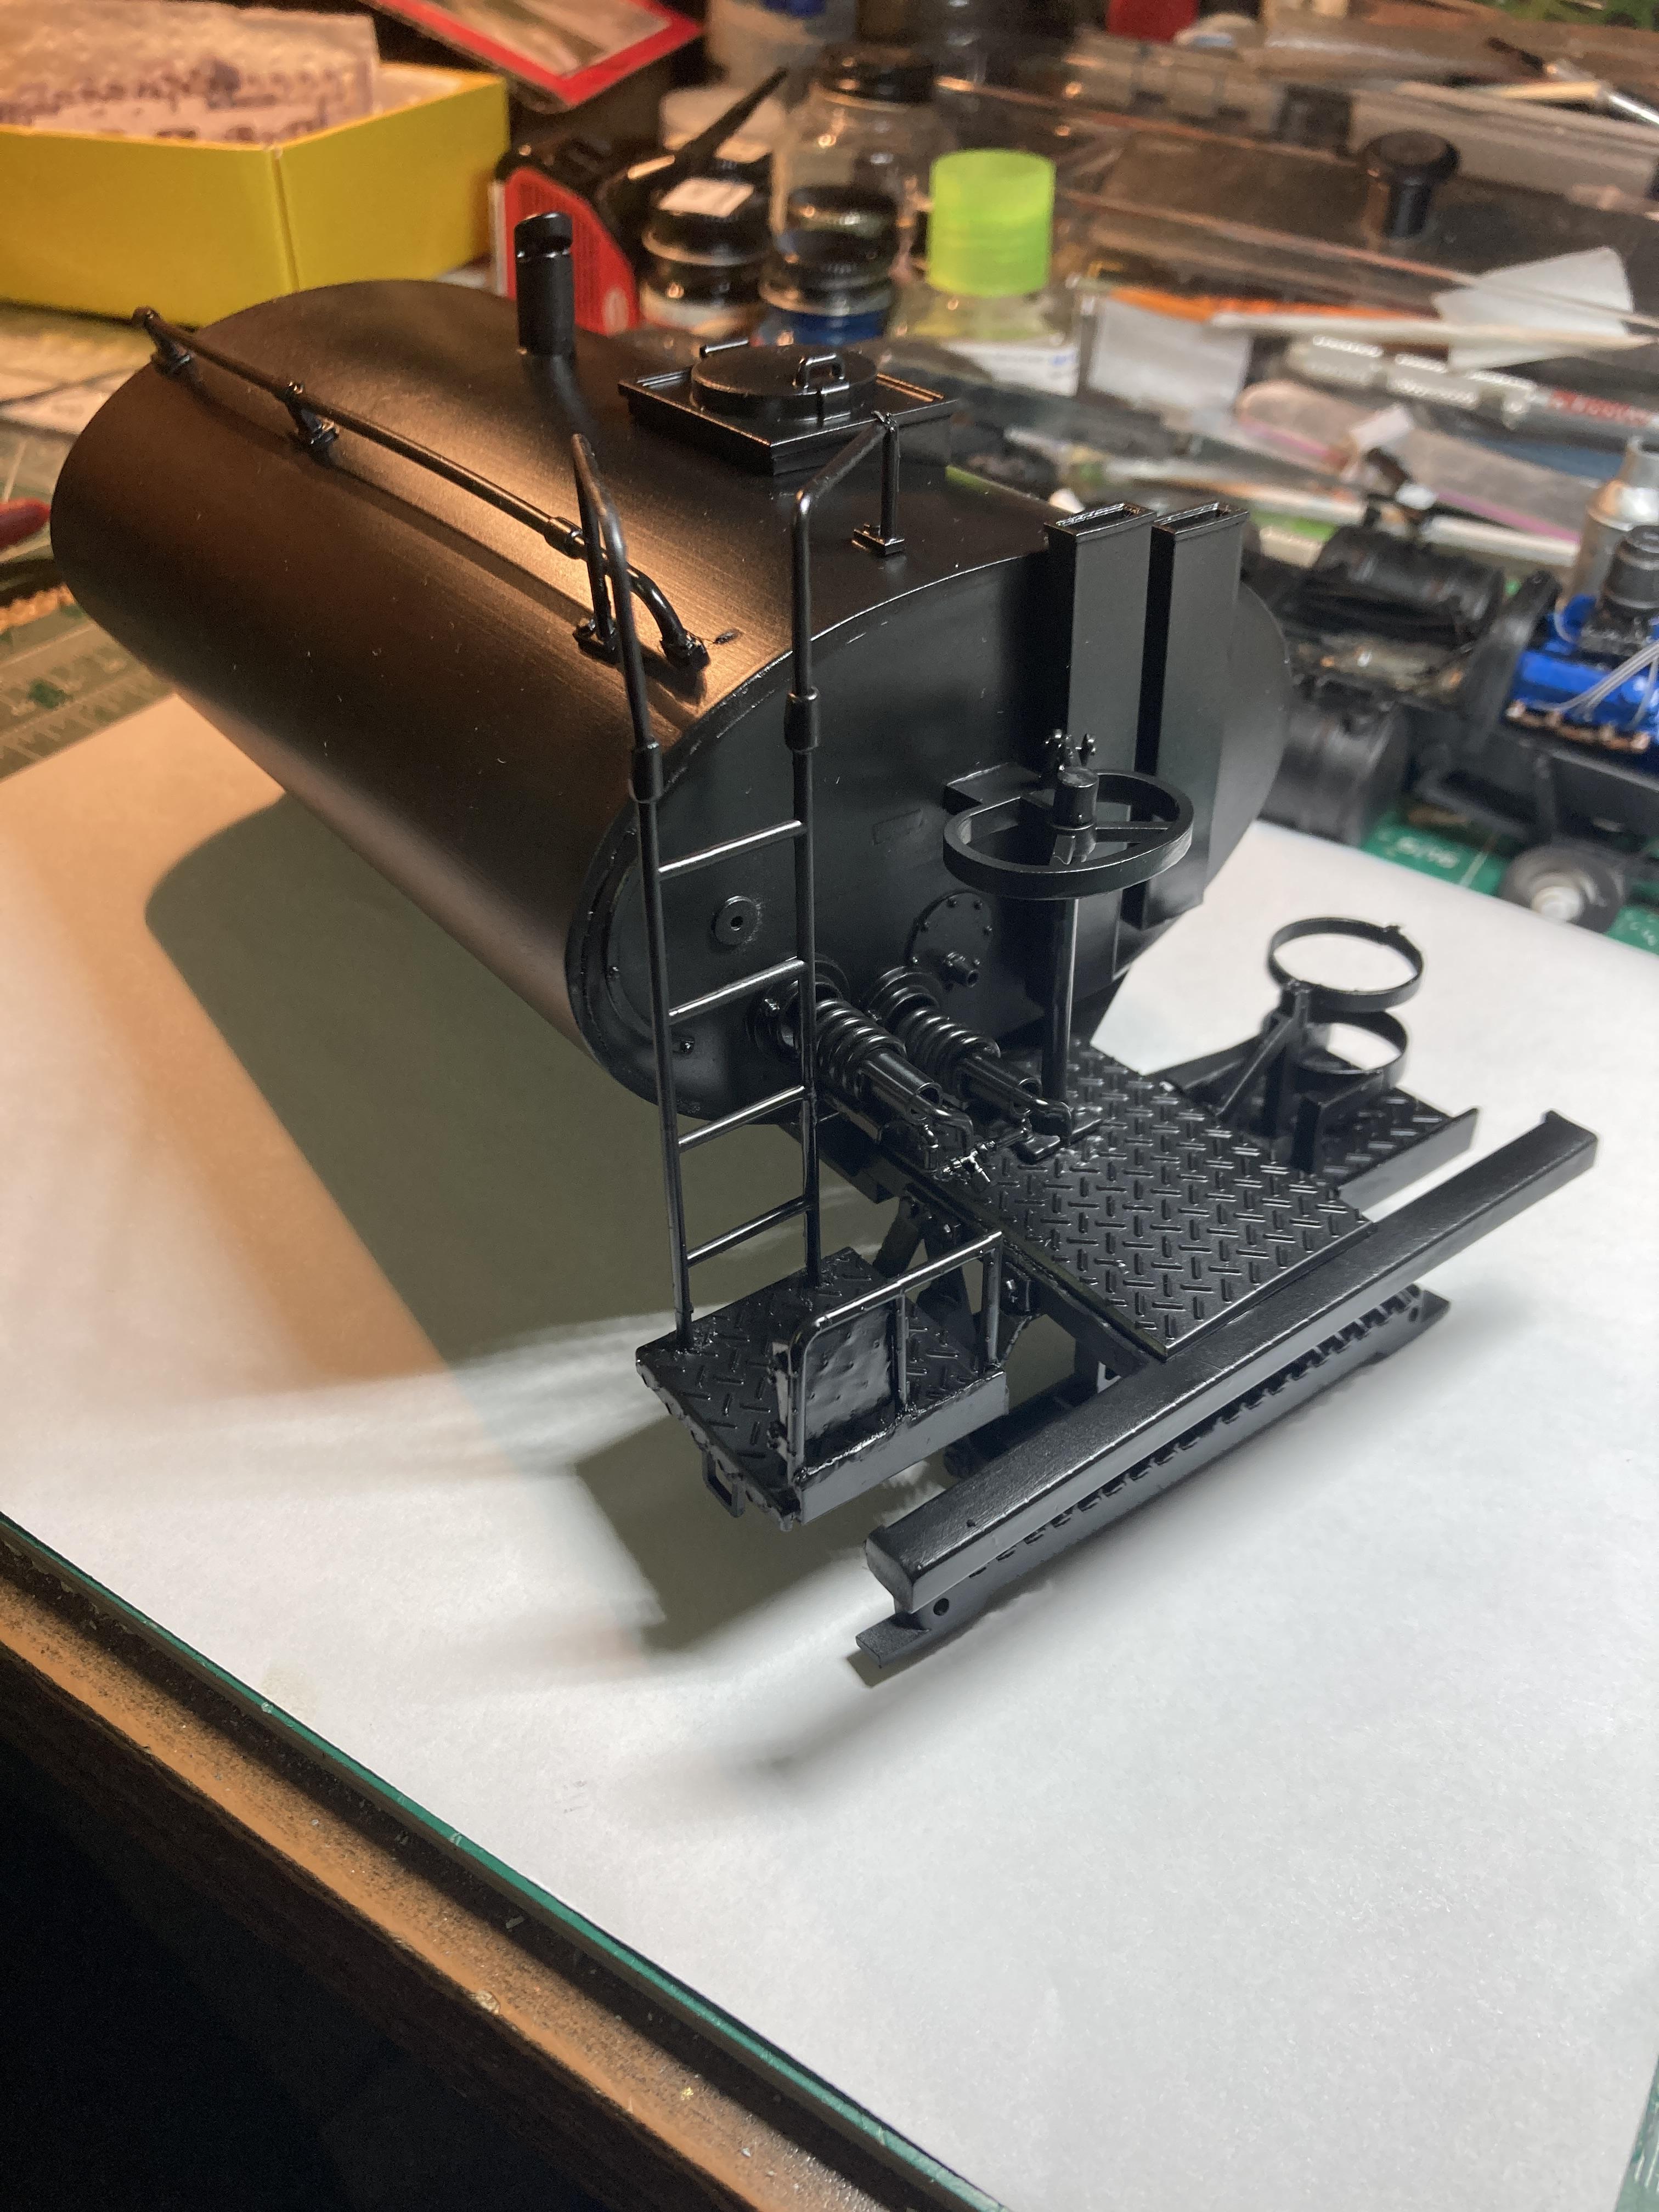
A little update to show this is still happening …… did a slight mock up to see how the tank looks and fits the truck frame. The tank sat on the truck frame perfectly and length was exactly where I wanted it but I was a little concerned about how low the spray bars were, so I decided to add a spacer of sorts to lift the whole thing up about 1/8 inch and it looks way better and sits nicely on the truck. I also hand painted the propane tank to make it look as though it has been out in the weather and used. In my experience with those tanks, they don’t stay pristine very long. Also splashed paint on the tank. I wanted to go period correct for the late ‘60’s to the early ‘70’s when the tanks were black. Hopefully I can ‘spill’ a little SS-1 on it in the correct places. It will be subtle though I think. Also got the cab painted the white base coat and yesterday shot some orange on it as well. Did a little fiddling with the interior yesterday and maybe a bit more today. That’s about it for now but there will be more to come…… oh and if you notice that the spray bar and bumper look crooked, that is because the bumper has a slight ‘wow’ in it as printed, and I did notice it but didn’t think it was too bad, and it can’t be fixed so I’m going with the driver backing into something and bent the bumper. So far I have not seen an accident form for that, so like my dear old dad used to say …..” Mr. Nobody must’ve done it “….
-
Western Star 4900 FA plow truck
Biggu replied to BK9300's topic in WIP: Model Trucks: Big Rigs and Heavy Equipment
Wow. That is nice. Almost like a show truck. Flagship of the fleet. Your paint is way better than anything I do. Are you using lacquer paint? Sure looks smooth to me. Lovin this. -
Mack DM600/Leach Garbage Truck
Biggu replied to Scott Eriksen's topic in WIP: Model Trucks: Big Rigs and Heavy Equipment
Front row for me too! Another conversion. Sweet. This will be a great build and really fun. I will be looking forward to the updates.