Dave Armstrong
-
Posts
185 -
Joined
-
Last visited
Content Type
Profiles
Forums
Events
Gallery
Everything posted by Dave Armstrong
-
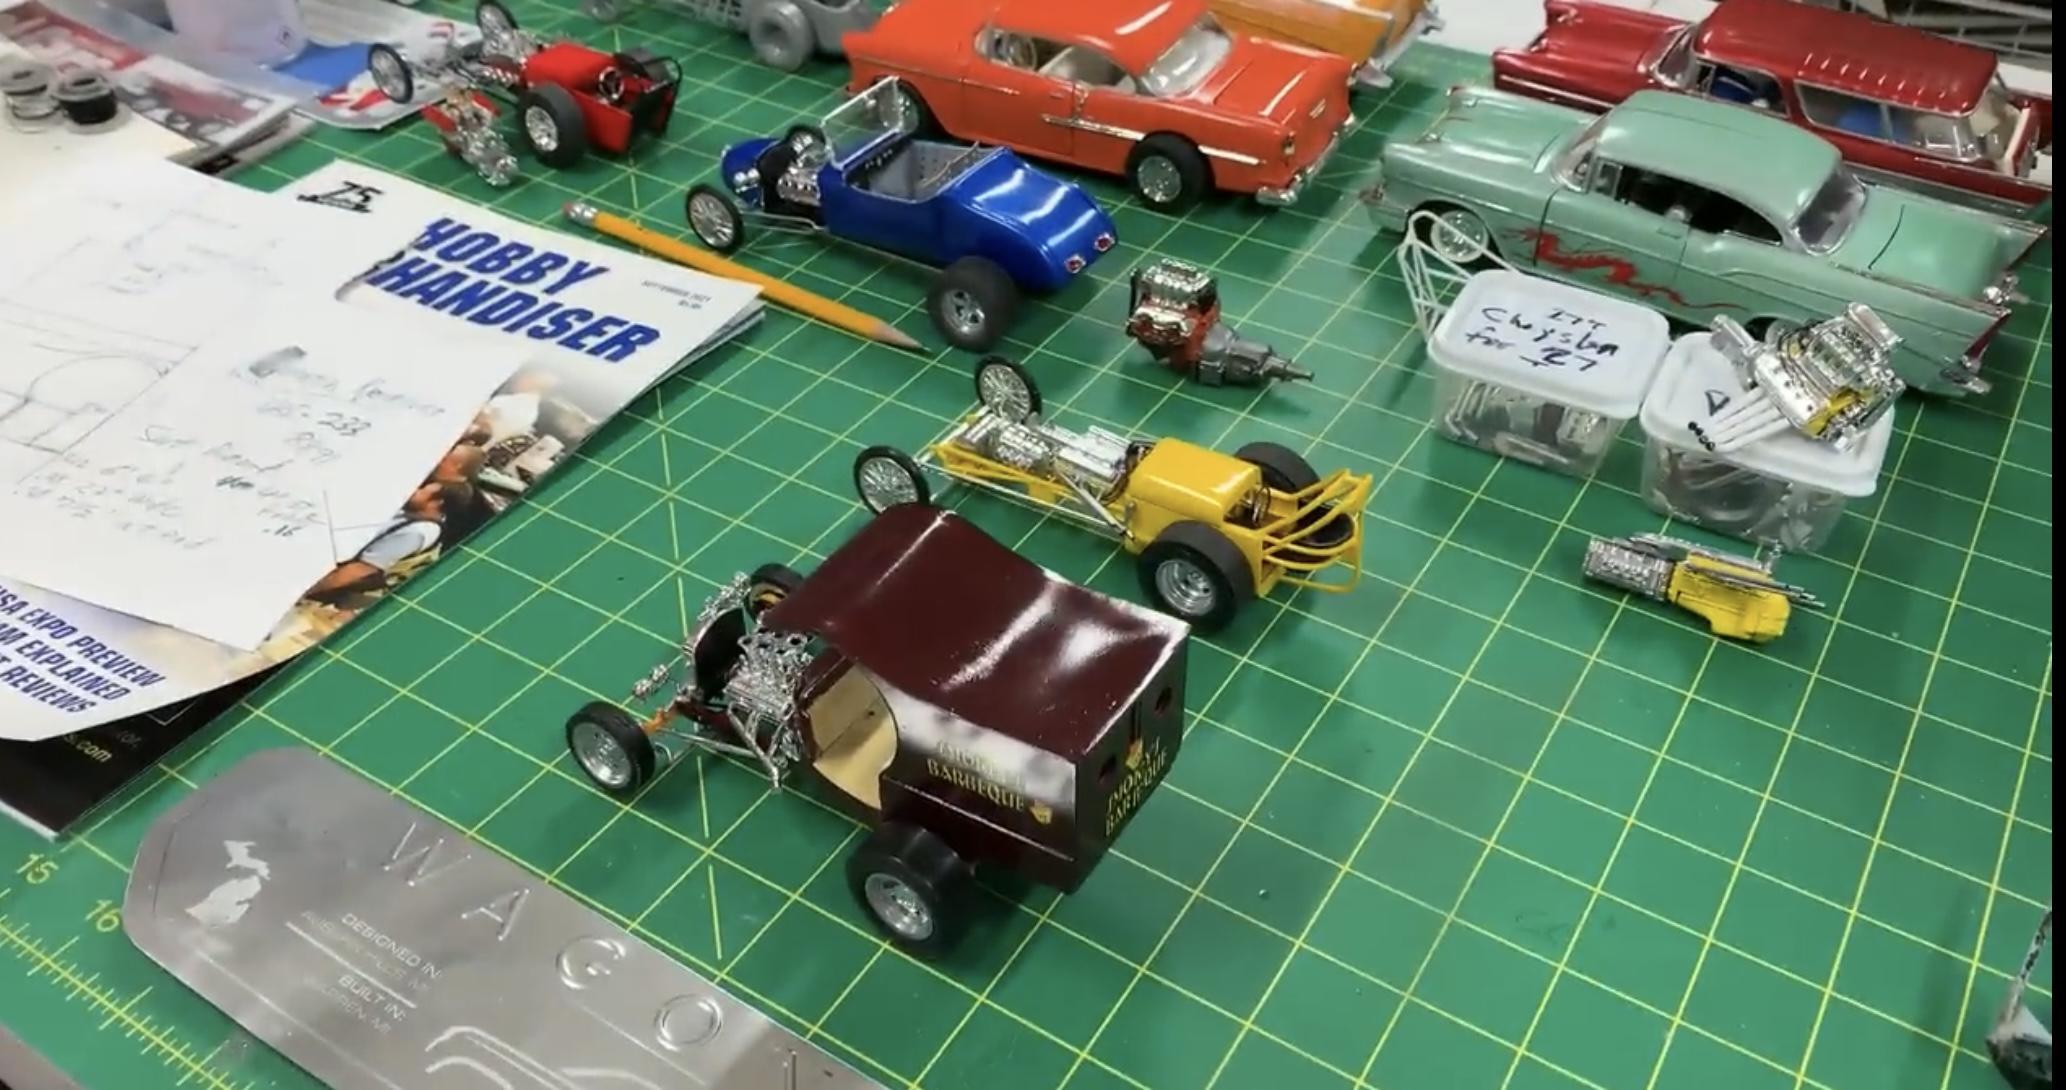
I've been building models for decades, I'm very experienced with decals; but this one is bugging me. I've been working with some Slixx decals, something I've done a zillion times before. I'm using decals that are specifically meant for this body, but it still seems like the decals are just slightly bigger than they should be- they over hang in places, which means I'll probably have to trim them; no big deal, something I've done before- except for the MAIN problem. If the decals stayed in place, the trimming would go fine; but the bugger is, the decals AND the model act like they're coated with Teflon, and repel each other! I use a gloss coat over the paint, as usual, to help prevent silvering- nothing different here. I try to apply the decals, and they just slide around, won't settle down. I wick away the water, blot, and as they dry a little, they just fall off the model! I have several different setting solutions, and they just MELT the decals, creating a mess! So, what's my choice- just use water and blot, they drop off, won't stick; use a setting solution, and create a sticky mess! And I use setting solutions sparingly. I've ruined two sets of the same decals for this build, and because of the mess, having to strip and repaint the body twice. I'm ready to throw this thing against the wall. For someone who has built a LOT of models, a LOT of decal work, this is just nuts. Any ideas?
-
Thanks, and you're welcome! These are about the 4th set of decals I've got from Chuck, he's a superb decal maker.
-
Thanks Andrew! As for the kit, the design is quite old, but it fits ok. The nose and the hole in the hood require some work for the engine to come through, and the decals to fit- you're going to be doing some cutting, putty, and sanding. If you use the kit slicks, they look WAY too puny, and nothing near as big as the 1:1.
-
Thanks Pete! I decided to come here first, because I hadn't posted here in a while.
-
Sorry Bill, I got them out of my parts boxes, so I don't remember where they originally came from. Glad you liked the build!
-
Great pics! I did mine more like the times they used the blower scoop. It's a great car!
-
I love altereds, have decals and stash to build what I want- I wanted to build this one, but there were no decals for it- until just a bit ago; Chuck Boerne came out with a set, made to fit the Atlantis Fiat. I don't build perfect replicas, and I don't wire and detail my builds- too much stash and not enough time! This is a "close enough for my shelf". Boxstock Atlantis except I changed out the rear slicks for something meatier, closer to the 1:1. There are different versions of the 1:1, so this more representative of the one with the blower scoop. Thanks for the decals Chuck! Edit- parachute was added after pics taken!
- 25 replies
-
- 11
-

-
Nice looking build! What was the paint brand and color?
-
 Sorry to interrupt, but are we EVER going to see that C-Cab that we were teased with?
-
Yep, that's it! Thanks, all of you!
-
Thanks! The paint is urethane metal flake, fuchsia.
-
There is a 1:1 fuel altered Little Hoss; this ain't it! I used the name and built a fantasy fuel altered out of a Bantam Blast body and chassis, parts box engine parts and headers. I don't detail and wire my builds. Paint is Roth Fuchsia metal flake- I hope it shows up in the pics!
- 21 replies
-
- 10
-
-
Thanks Bob! I've always loved YOUR work! I'm trying some more with that line of paints. With this one, I just misted the flake on; I just finished a fuel altered where I laid the metal flake full on, hope it will show in the pics- I'll post that probably today.
-
Thanks John, that's very kind of you, knowing your work!
-
Thanks! Definitely what I was going for!
-
Hi Pete! Thanks, glad you liked it! Got another couple of builds painted with metal flake, probably be posting soon. I'm having fun with the urethane!
-
Thanks everybody! Glad you liked it!
-
Mishmash T-Bucket Remember back in the days, in the '60s and '70s, reading all those cool CARtoons and Hot Rod Cartoons magazines? I loved it when those guys would go into the garage, with wrenches and a welding torch, and come out with some mashup of parts made into some cool rod of some kind! Parts from this, parts from that, and, voila! Some kinda neat ride! This was built with that spirit in mind; and also, over the decades, I've built many different but more or less traditional T-Buckets, even kitbash, but still in that vein. I wanted to build something with some more non- traditional things. This wasn't a kit I started out with, it's just parts. With the magazine guys in mind, I happened to be looking through my junkyard, and parts boxes. This is the result of a mixing of AMT and Revell/Monogram parts- some T-Bucket, some not even close. I wanted to build this just out of leftovers. 2 day build. AMT body, and surgically shortened chassis; Revell top, altered to sit lower. Engine and headers from the parts box (from an AMT '40 Willys). Wheels from the junkyard, probably a no longer existing old Tijuana Taxi build. Front and rear tires from the parts box, can't remember where each came from. Scoop painted to match the body. I don't wire my builds. Sometime back, I learned of a new line of paint and primer, from Roth's son. I was interested, found the site and looked it over, bought some. I may not have done a perfect job, but I like the product! Black primer, black base coat, fuchsia metal flake. I didn't lay the flake on heavy, just misted it on. This build results in two new "first times" for me- first time I've used urethane paint, and metal flake. I liked both! Hope you like it, comments welcome! First pic is a close up of the paint, so you get an idea of what it looks like, if it doesn't show up well enough in the other pics. My wife (who always wants to see what I've been working on) says it's the most beautiful paint I've used. I think I might agree.
-
I just love the 1:1 real car, waited AGES for someone to do a decal for it- a decal maker named Chuck Boerner popped it out, and I bought some lickety-split! Fantastic decals, great workmanship, lay down like a dream. First time, I think, that I didn't let the decals sit while I got around to using them. I took an AMT '66 Nova, smoothed out the body except for the gas cap, cut the hole in the hood. Parts box engine with resin manifold and metal tubes, painted. Parts box tires and wheels, scratch built roll bar. White primer, then a black base coat, then Tamiya Racing Green. Because of the black underneath, all the door lines and such come alive! I don't build perfect replicas, but I think this is pretty close. The wheels are very, very, slightly different. Maybe not perfect but I'm happy with it. Very happy with the paint and decals. It was stormy here the last two days (I take pics outside) so there are some funny reflections going on. Hope you like it, comments welcome!
- 23 replies
-
- 15
-
-
That's just beautiful- love it!
-
That's just a beautiful build!
- 45 replies
-
- 1
-

-
- shelby gt 350
- amt
- (and 1 more)
-
Problems or not, that is absolutely BEAUTIFUL! Extremely well done!
-
Northrop XP-56 Black Bullet ll in 1/72. Boxstock. It comes with some photo etch, but I ended up not using it; 1/72 scale parts are small enough as it is, the photo etch was so slight and tiny, that my aging not-so-nimble fingers just made a mess of it, I gave it up. As usual, I left off any wires, because here in the desert, they're just magic dust collectors...
-
Thanks!
-
That looks great- well done! BTW, where do you get decals from Chuck?