Katsusauce
-
Posts
331 -
Joined
-
Last visited
Content Type
Profiles
Forums
Events
Gallery
Everything posted by Katsusauce
-
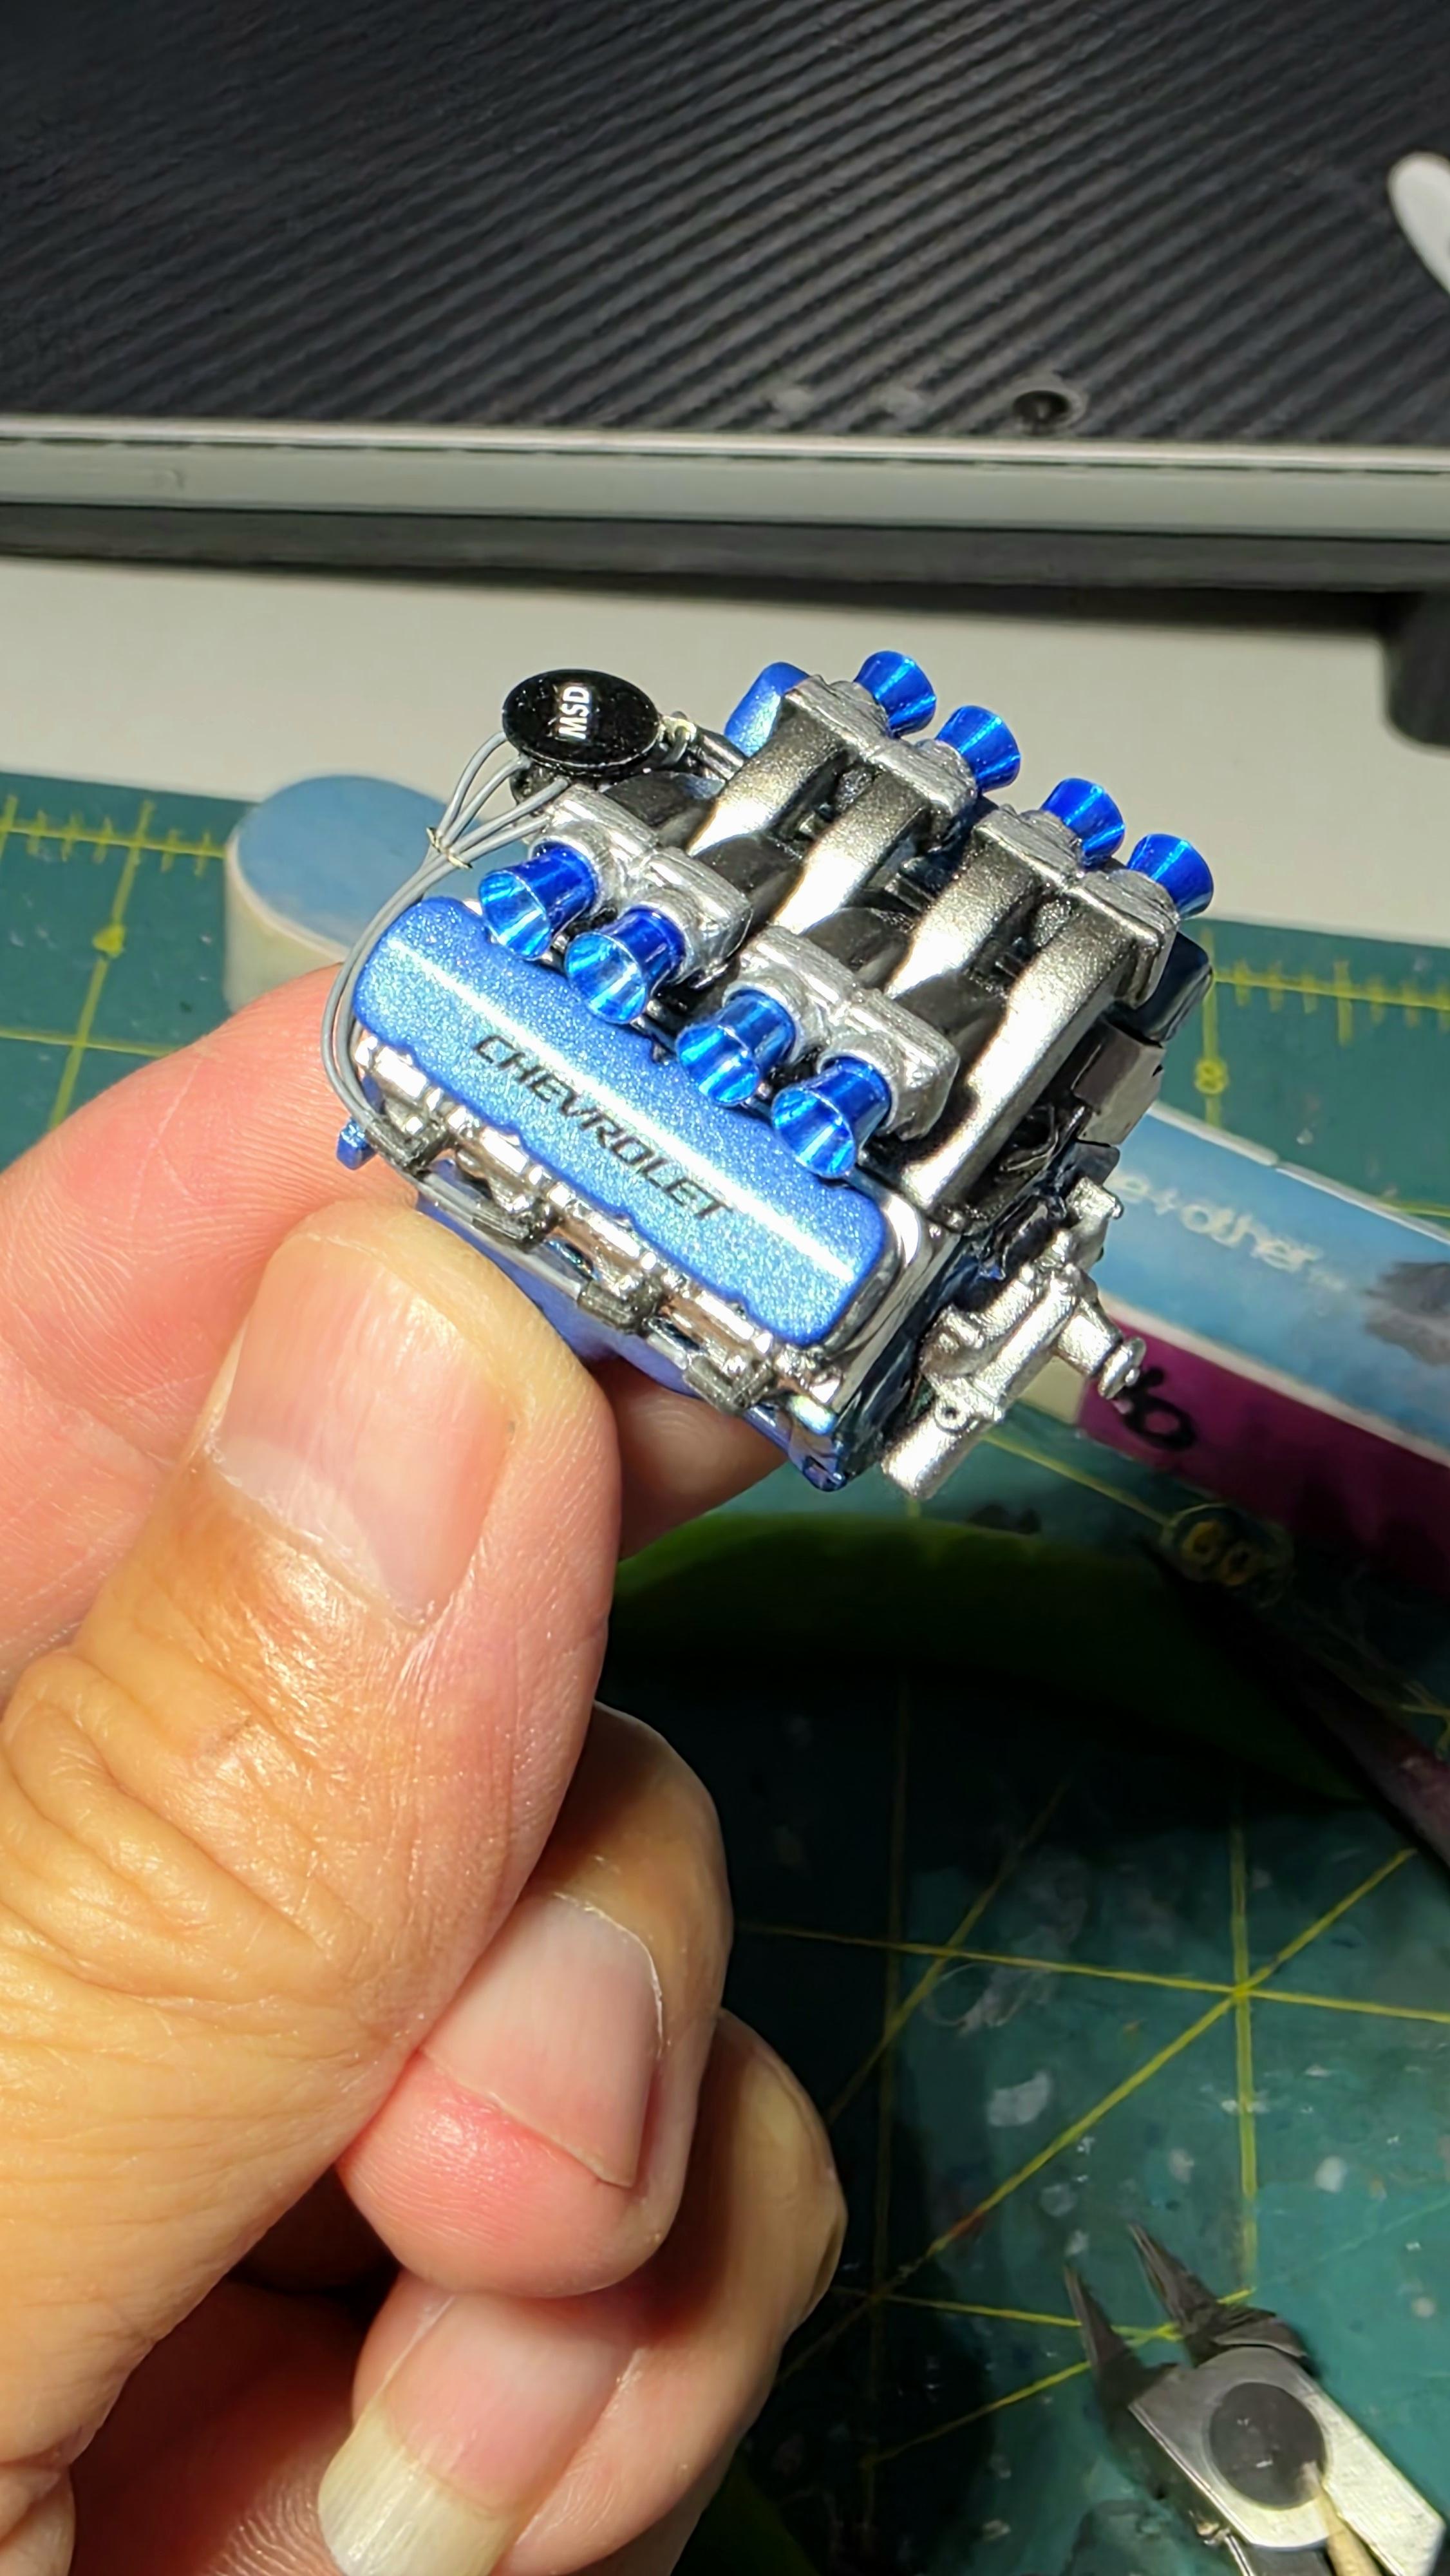
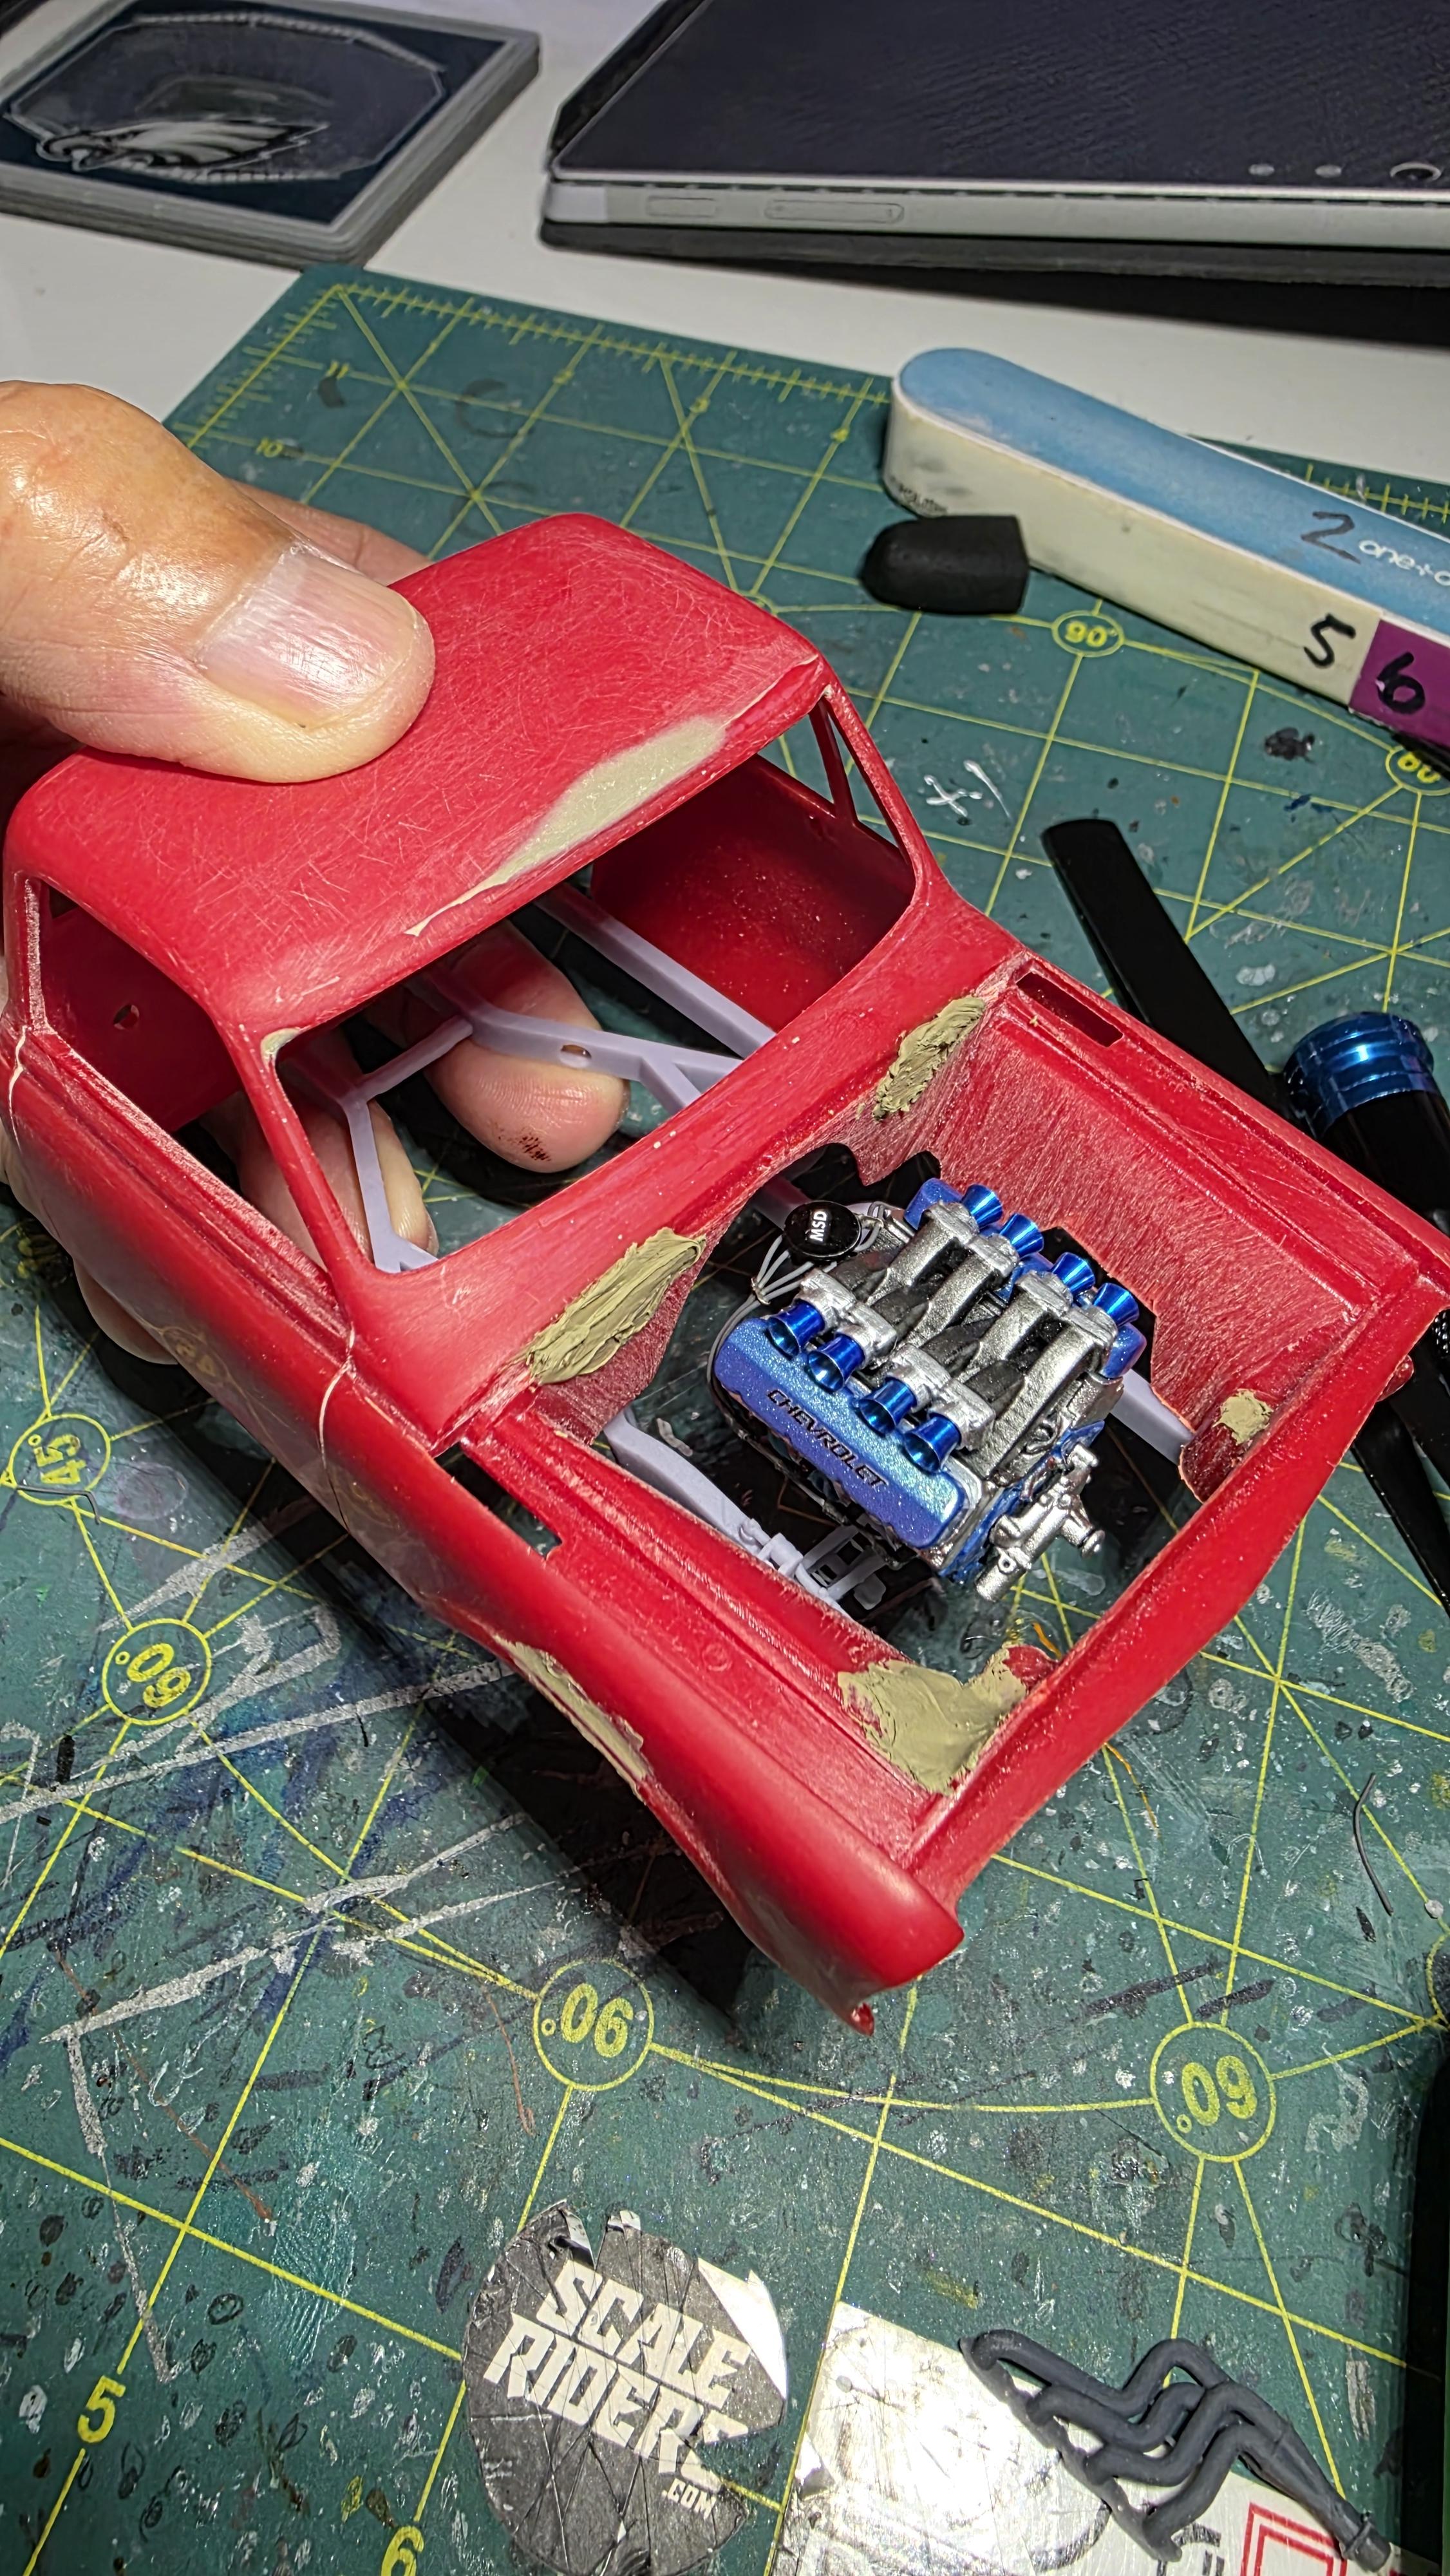
Post your truck mockups.
Katsusauce replied to Mike C.'s topic in WIP: Model Trucks: Pickups, Vans, SUVs, Light Commercial

-
-
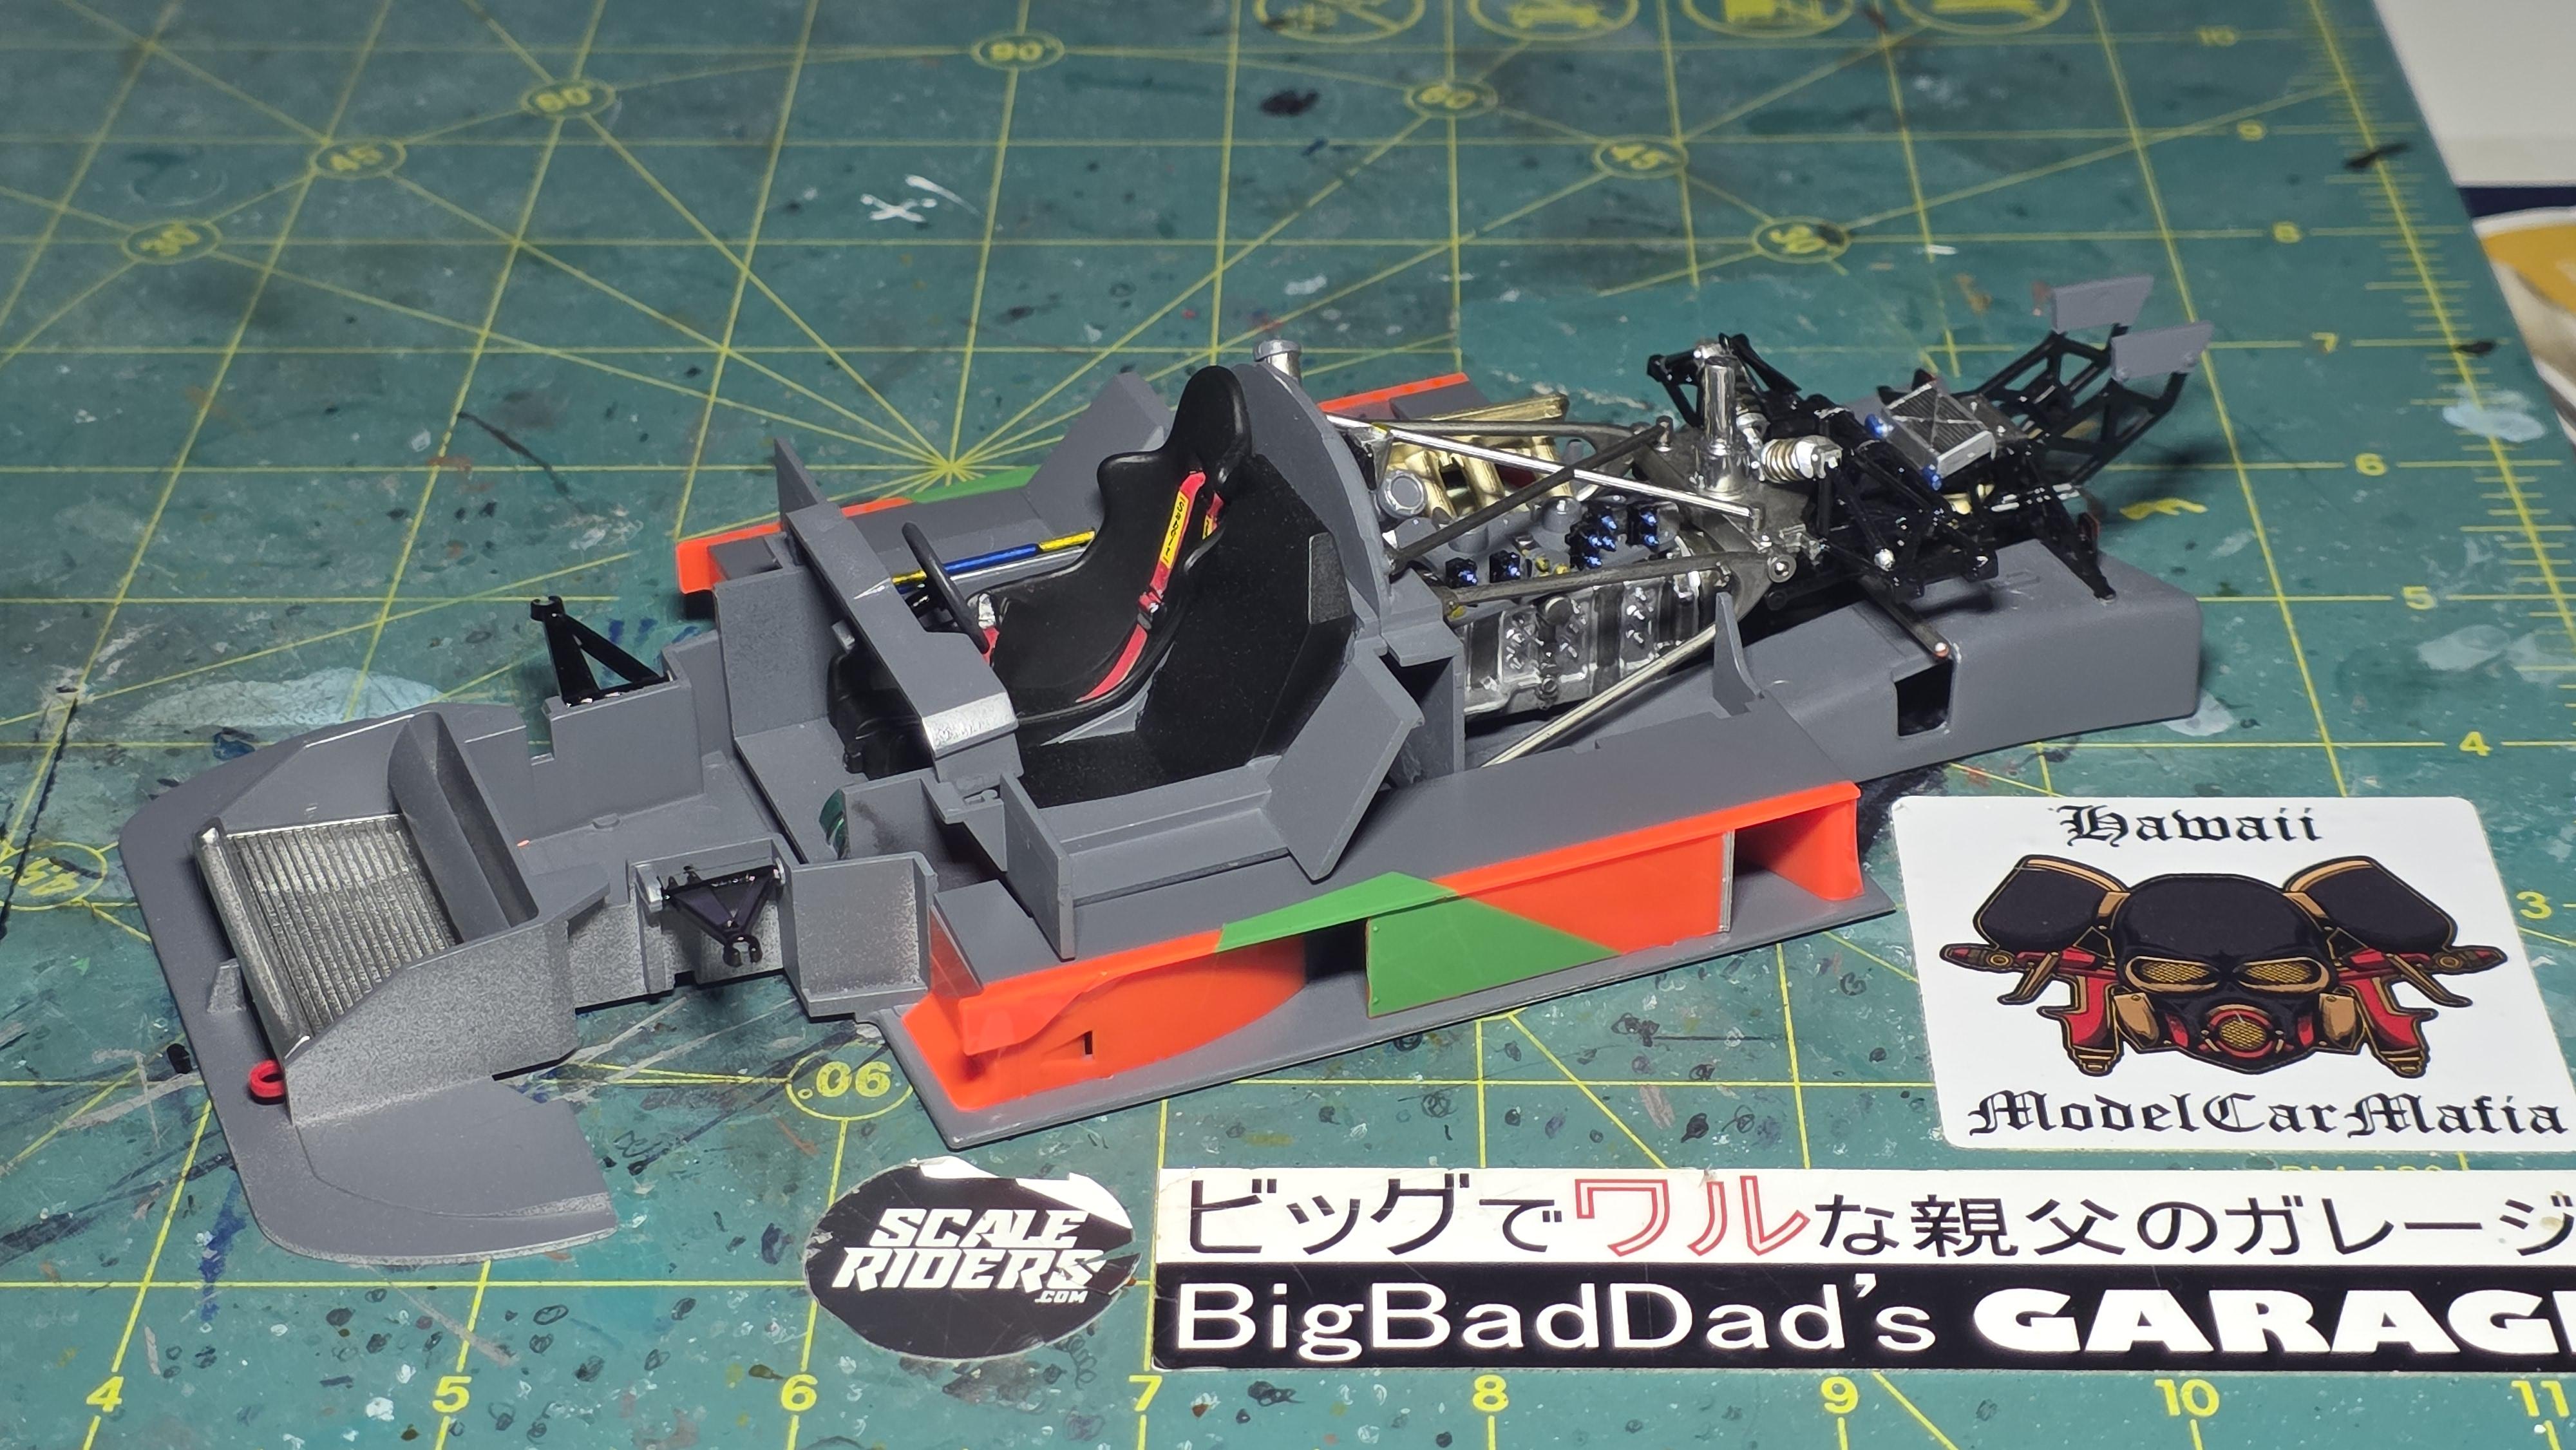
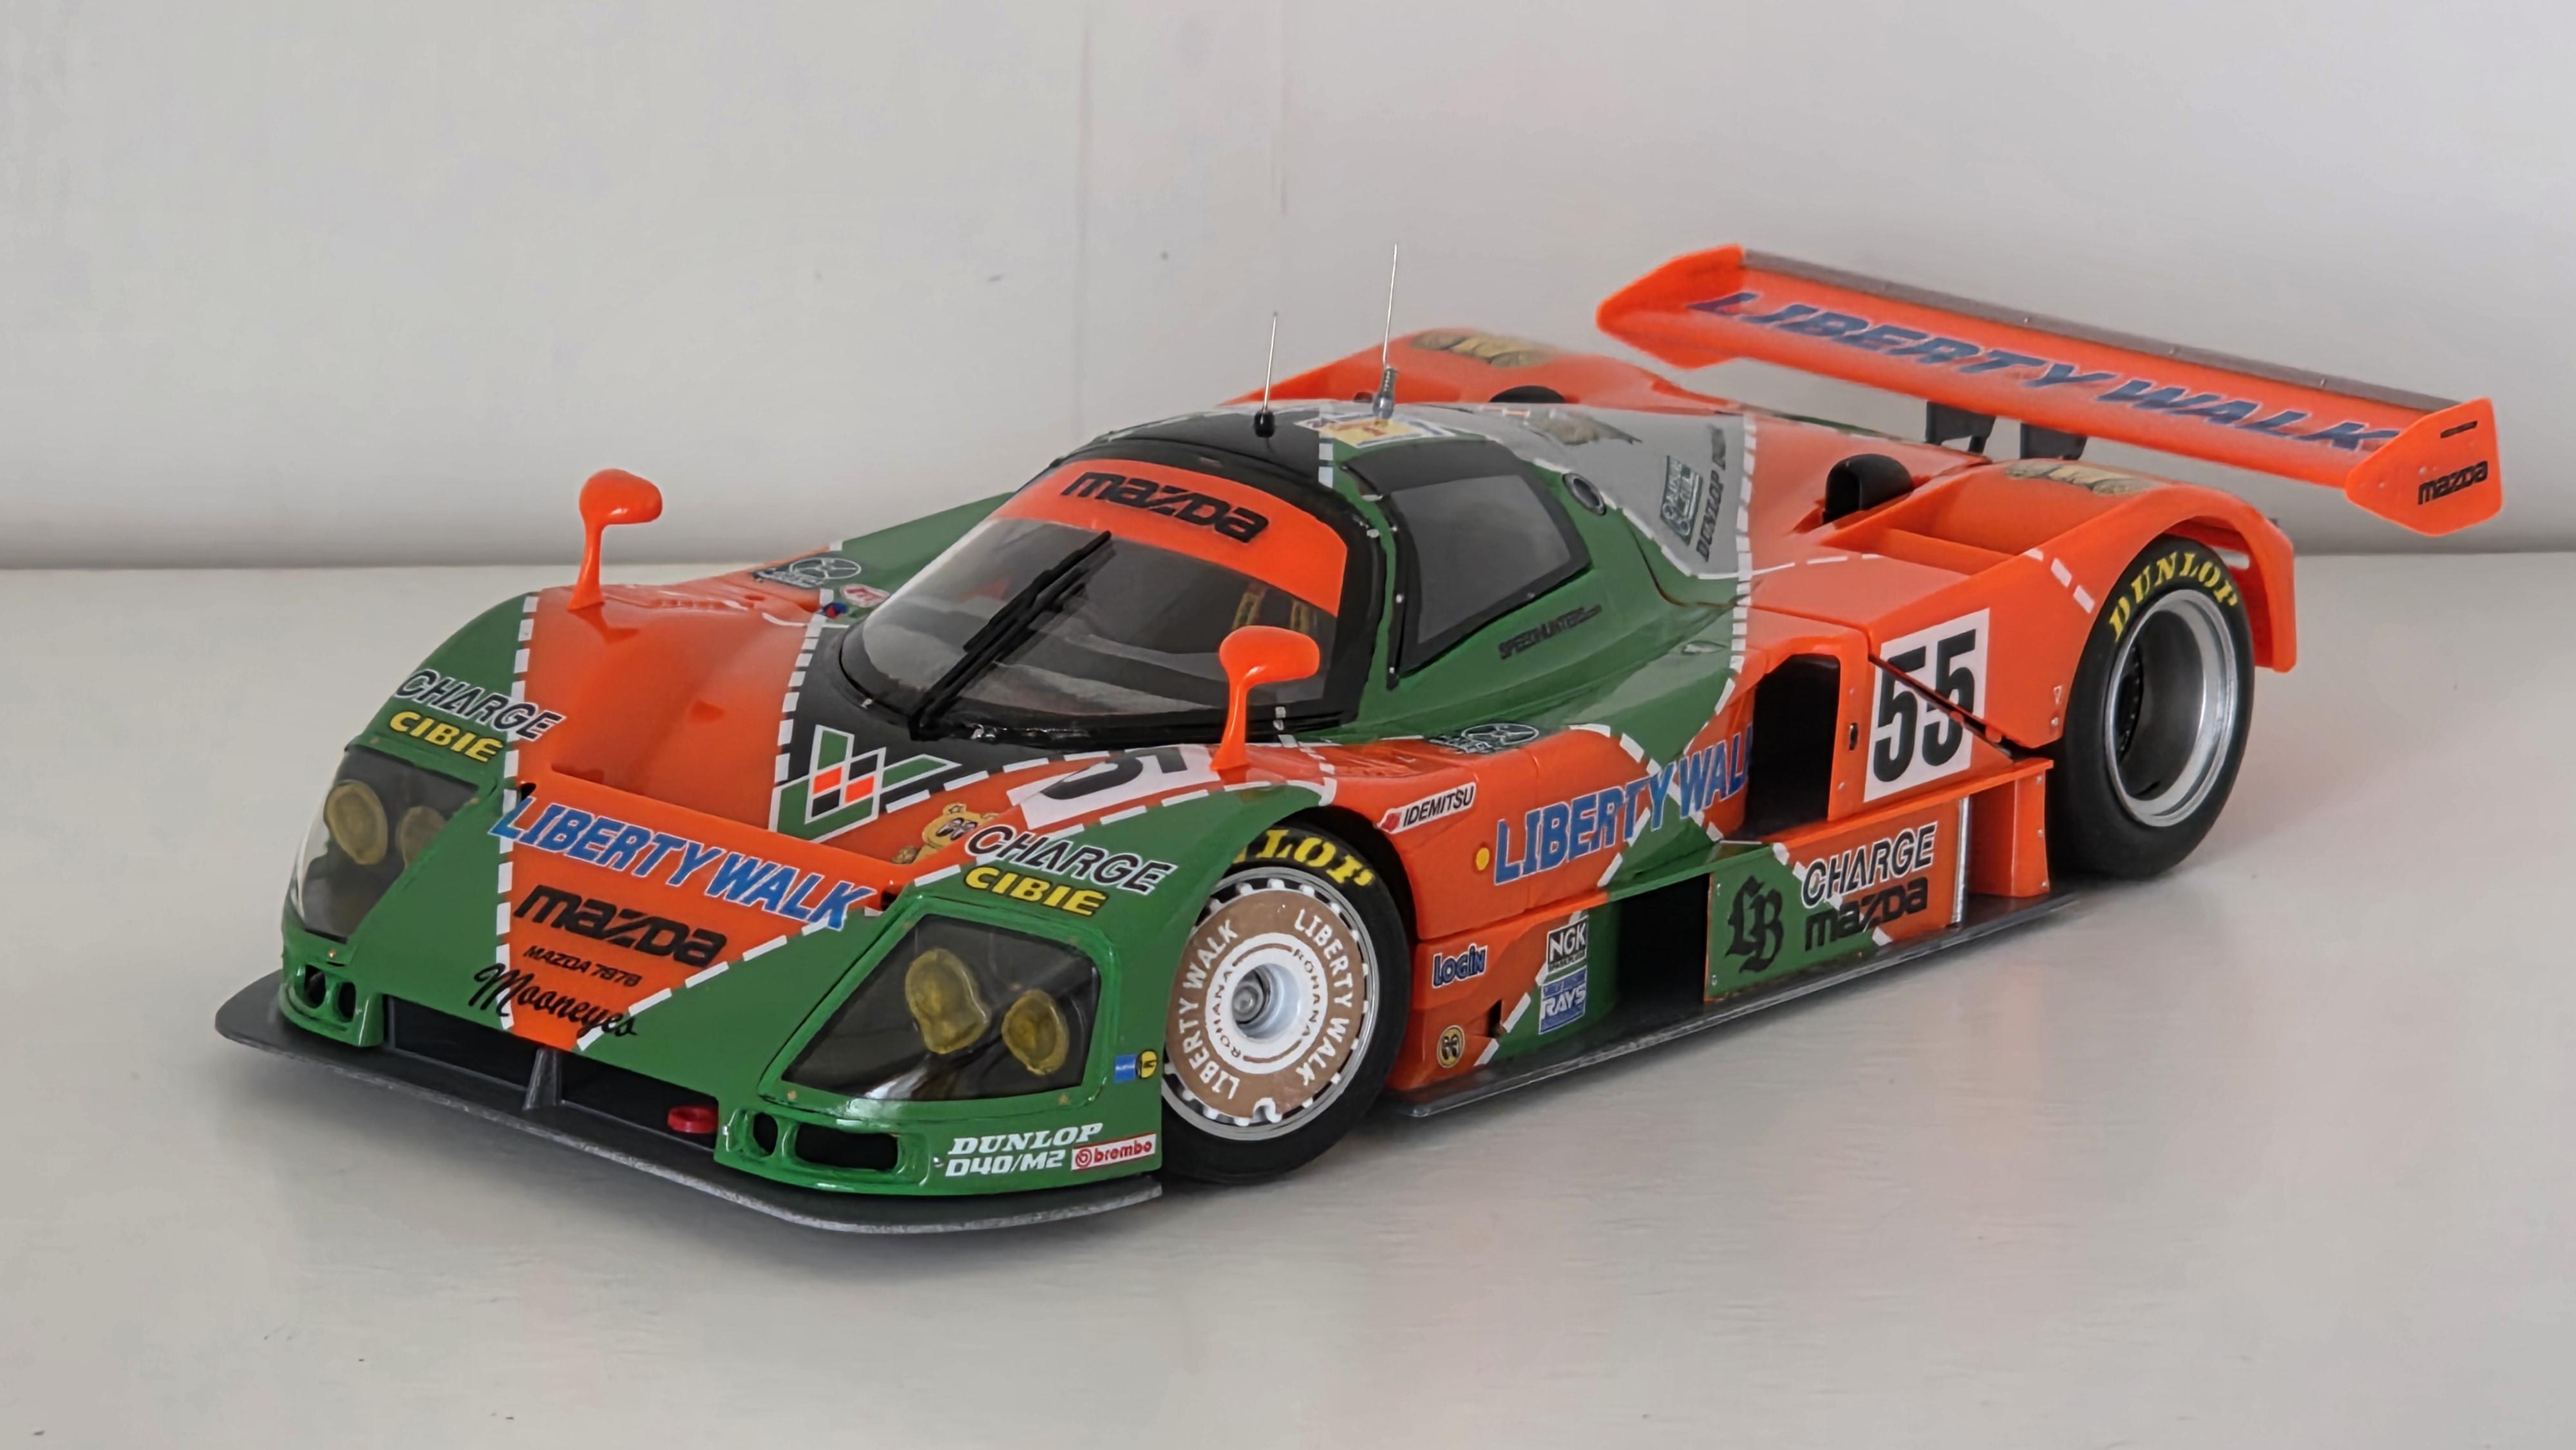
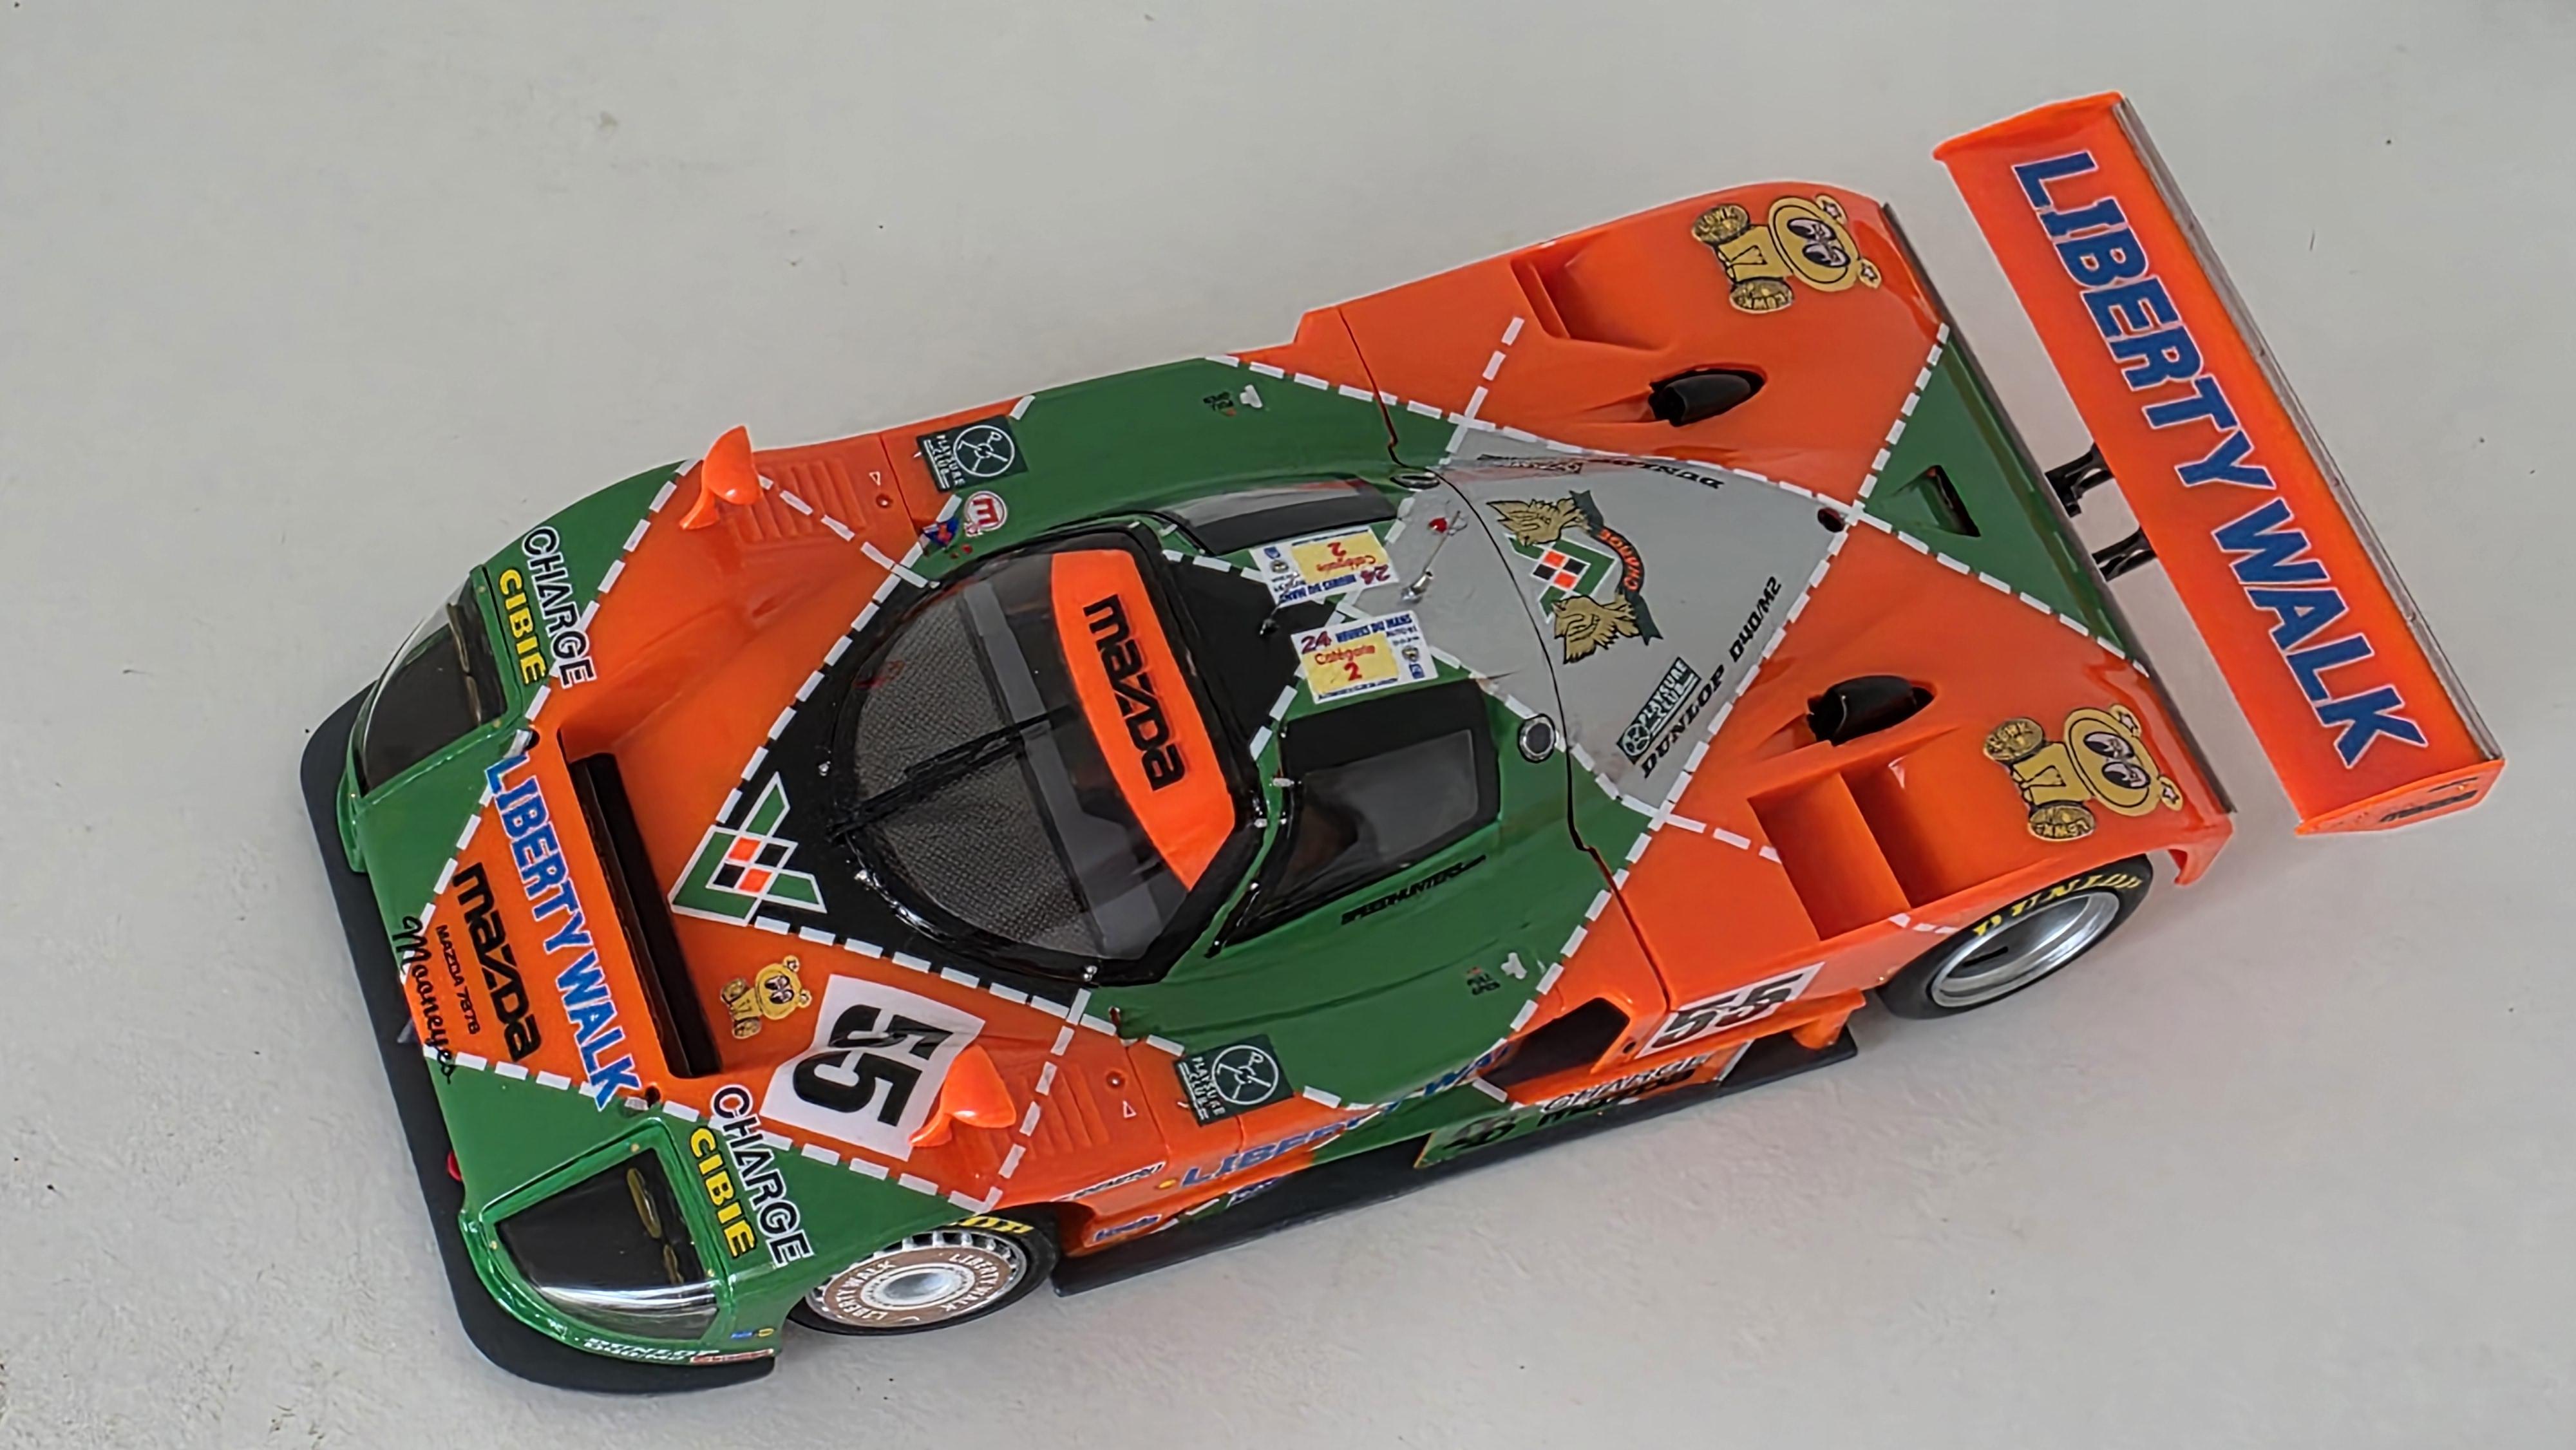
The first picture was tampered with because it was kind of dark (poor lighting) The others are just my poor photography skills. 😂
-
LibertyWalk did a tribute FD RX7 with the Renown Charge Mazda 787B livery (1991 Le Mans 24 Hours Winner). I decided to bring that tribute car to life using the 787B with a MOONEYES collaboration. Pretty much all box stock except for the custom printed decals by The Decal Lady.
-
I'm really diggin' the direction this build is going.
-
Thanks man 🙏🙏🙏
-
Thanks man 🙏🙏🙏
-
Paint Strippers - What to Use?
Katsusauce replied to pbj59's topic in Model Building Questions and Answers
Oh man, sorry to hear about your results....man that's terrible that it destroyed your kit. For me, I usually soak my parts/body for only a few minutes, and use a toothbrush to help it along. Since it's "non hazardous" I don't even use gloves while I strip. My 47 Aerosedan (Fleetmaster) took about 4 minutes from start/scrubbing to finish and wash with Dawn. I don't really let it soak. -
Love to see any progress on this build 👍
-
Paint Strippers - What to Use?
Katsusauce replied to pbj59's topic in Model Building Questions and Answers
I've used almost everything out there from brake fluid, purple power, oven cleaner, to the expensive AK paint stripper that works super good but is super expensive, and comes in a very small bottle (about 3 fl.oz. My go to right now is Stripwell. It works great, reusable, and fast! I've painted and repainted a car body 4 times in the same day trying to get the base, flake, and candy color correct. That's 4 times in one day guys! Yes, it's a little pricier, but you get a good amount of product, and its reusable. The liquid I'm using right now il black from all the uses, and is about 3 years old. It's still just as strong as day one. -
Thank you very much, yes I pushed my skill level to the limit with this build.
-
Thanks so much! I'm humbled by your kind words. 🙏
-
🙏🙏🙏
-
Mickey Thompson US Marines Funny Car
Katsusauce replied to Katsusauce's topic in WIP: Drag Racing Models
Thanks dude! I tried my best to push this build to the limits of my skills. -
Thanks so much. 🙏
-
Man, I'm glad you like it. I put a lot of extra effort into this 1:16 build. 🙏
-
Thank you! 🙏
-
Mickey Thompson US Marines Funny Car
Katsusauce replied to Katsusauce's topic in WIP: Drag Racing Models
So originally I was going to shoot it with 2k clear, and make it shine....but the more I looked at the car with only the raw paint, the look grew on me. And I knew I needed to shoot a clear over it to protect the paint and especially the decals, and that's why I decided to keep it the raw paint look with the 2k matte. -
Thank you! 🙏
-
- 22 replies
-
- 16
-

-
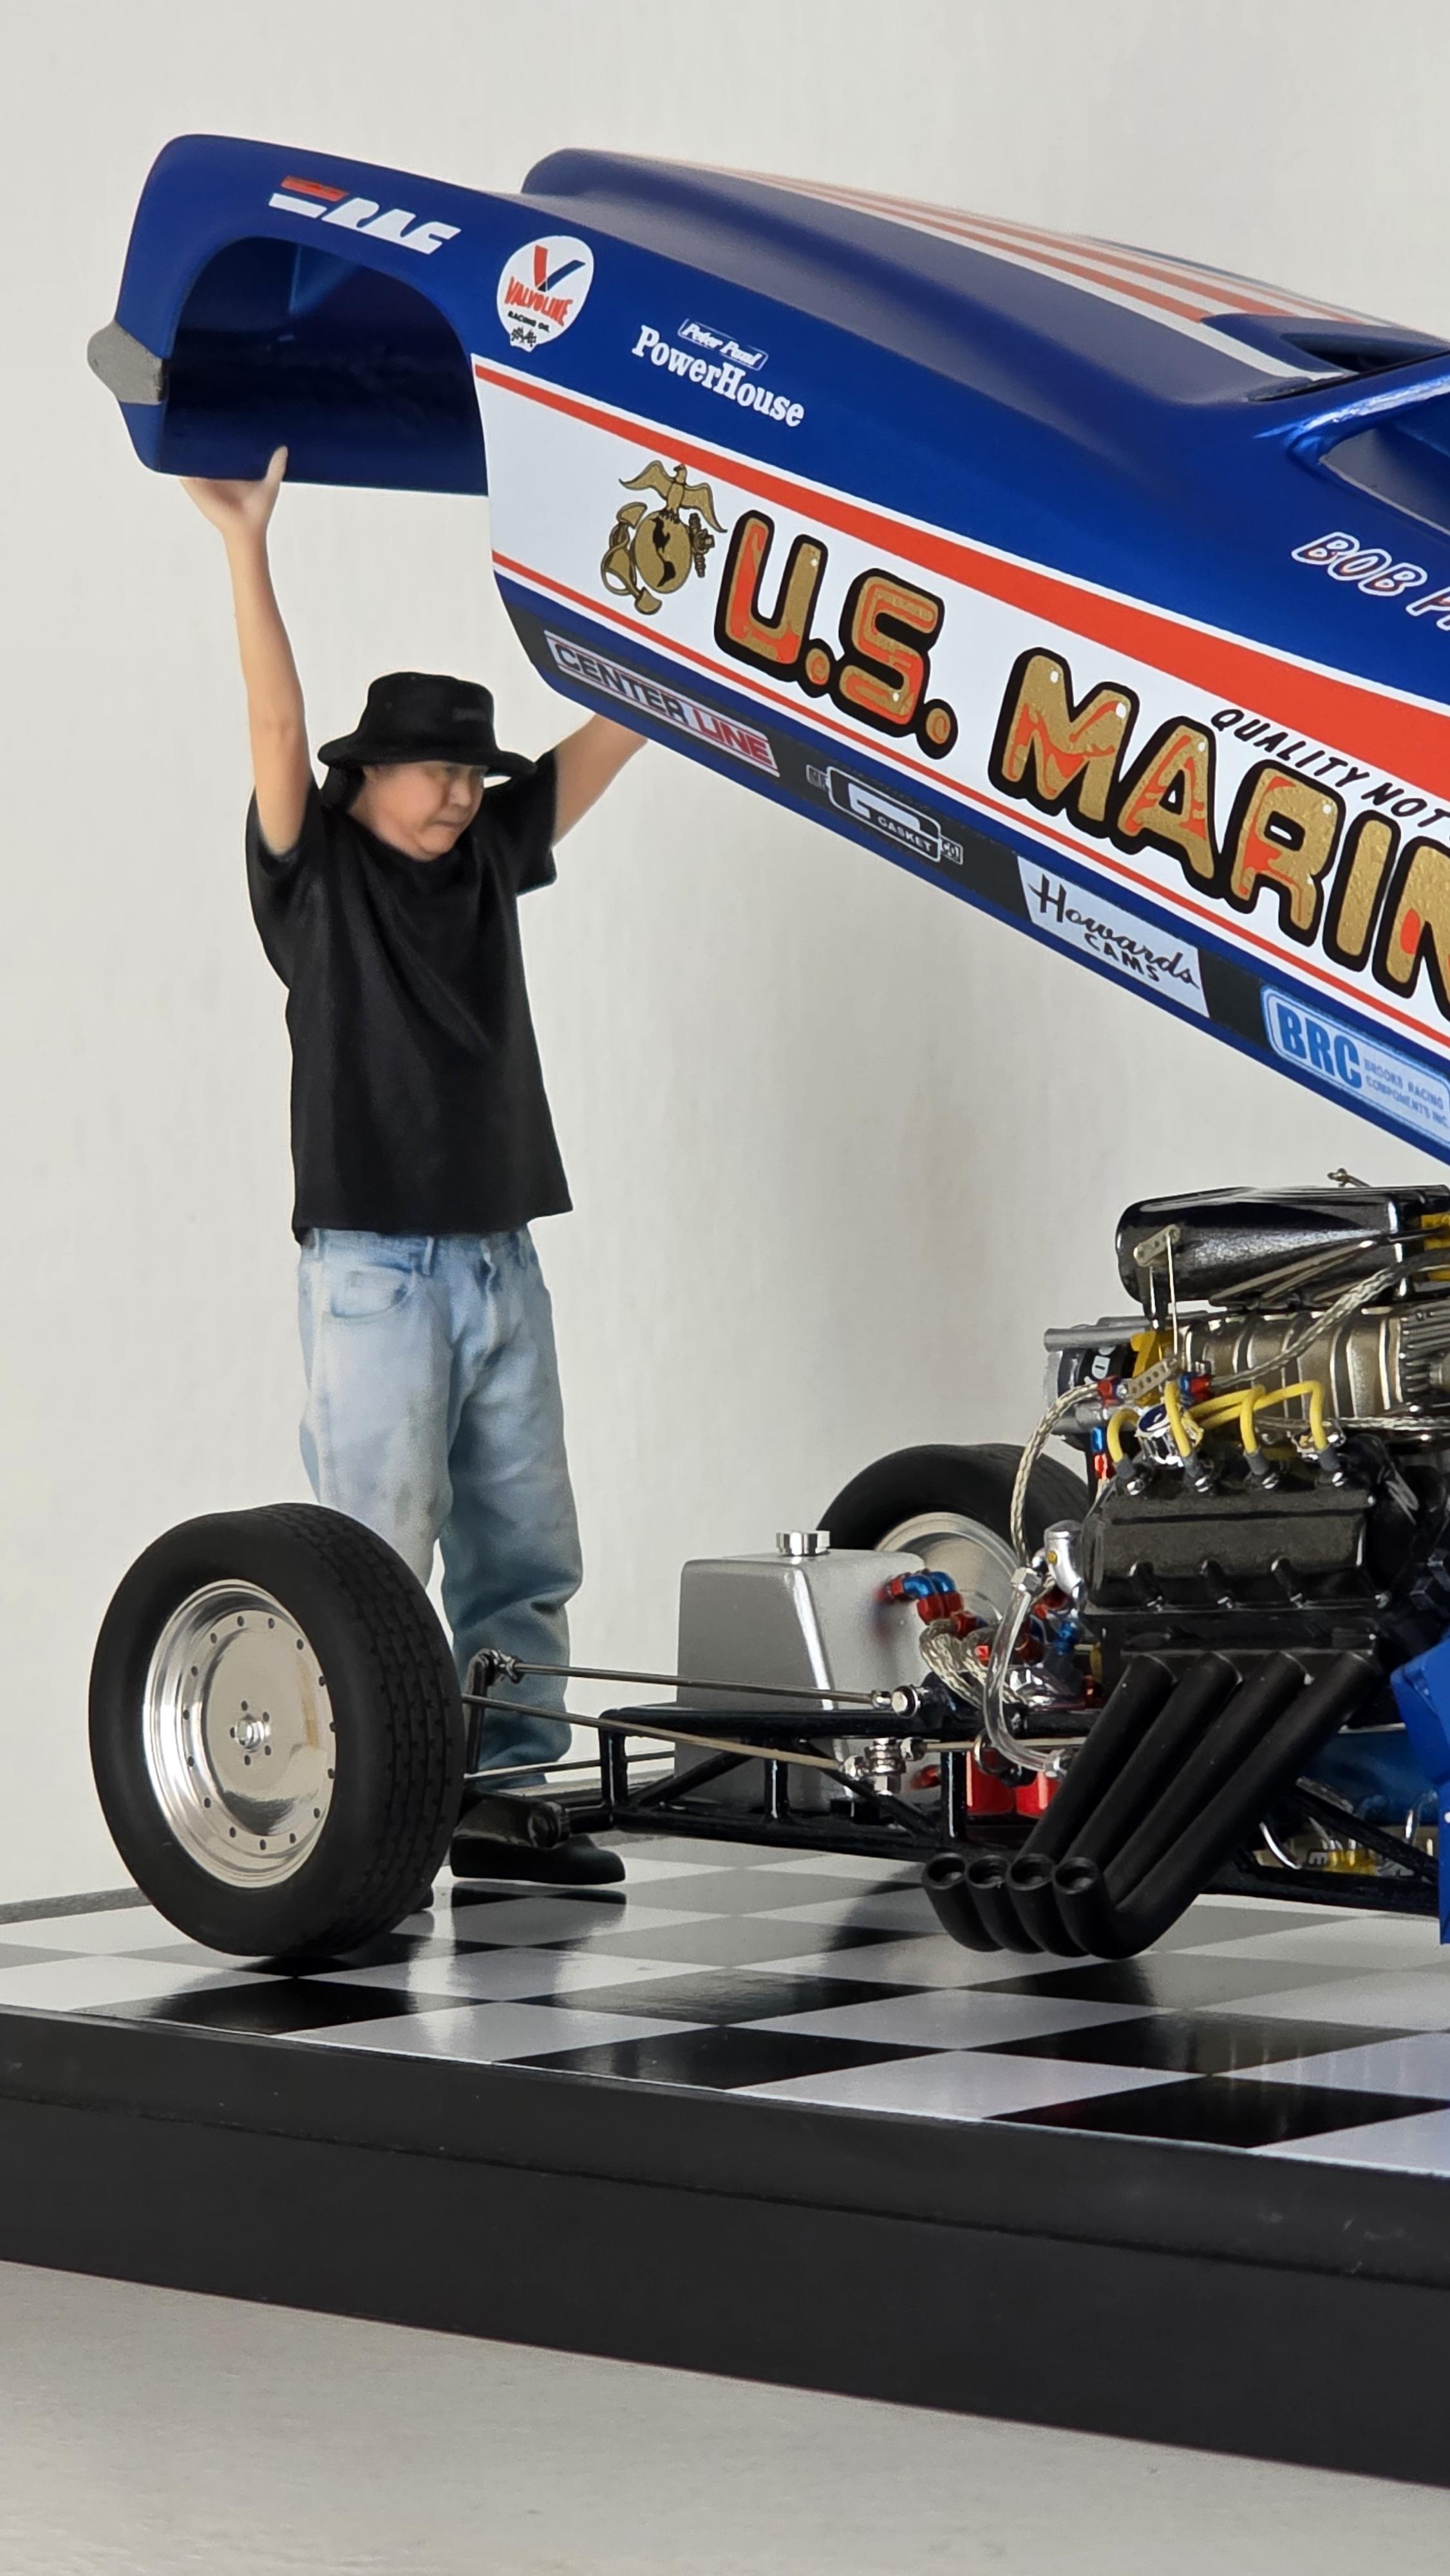
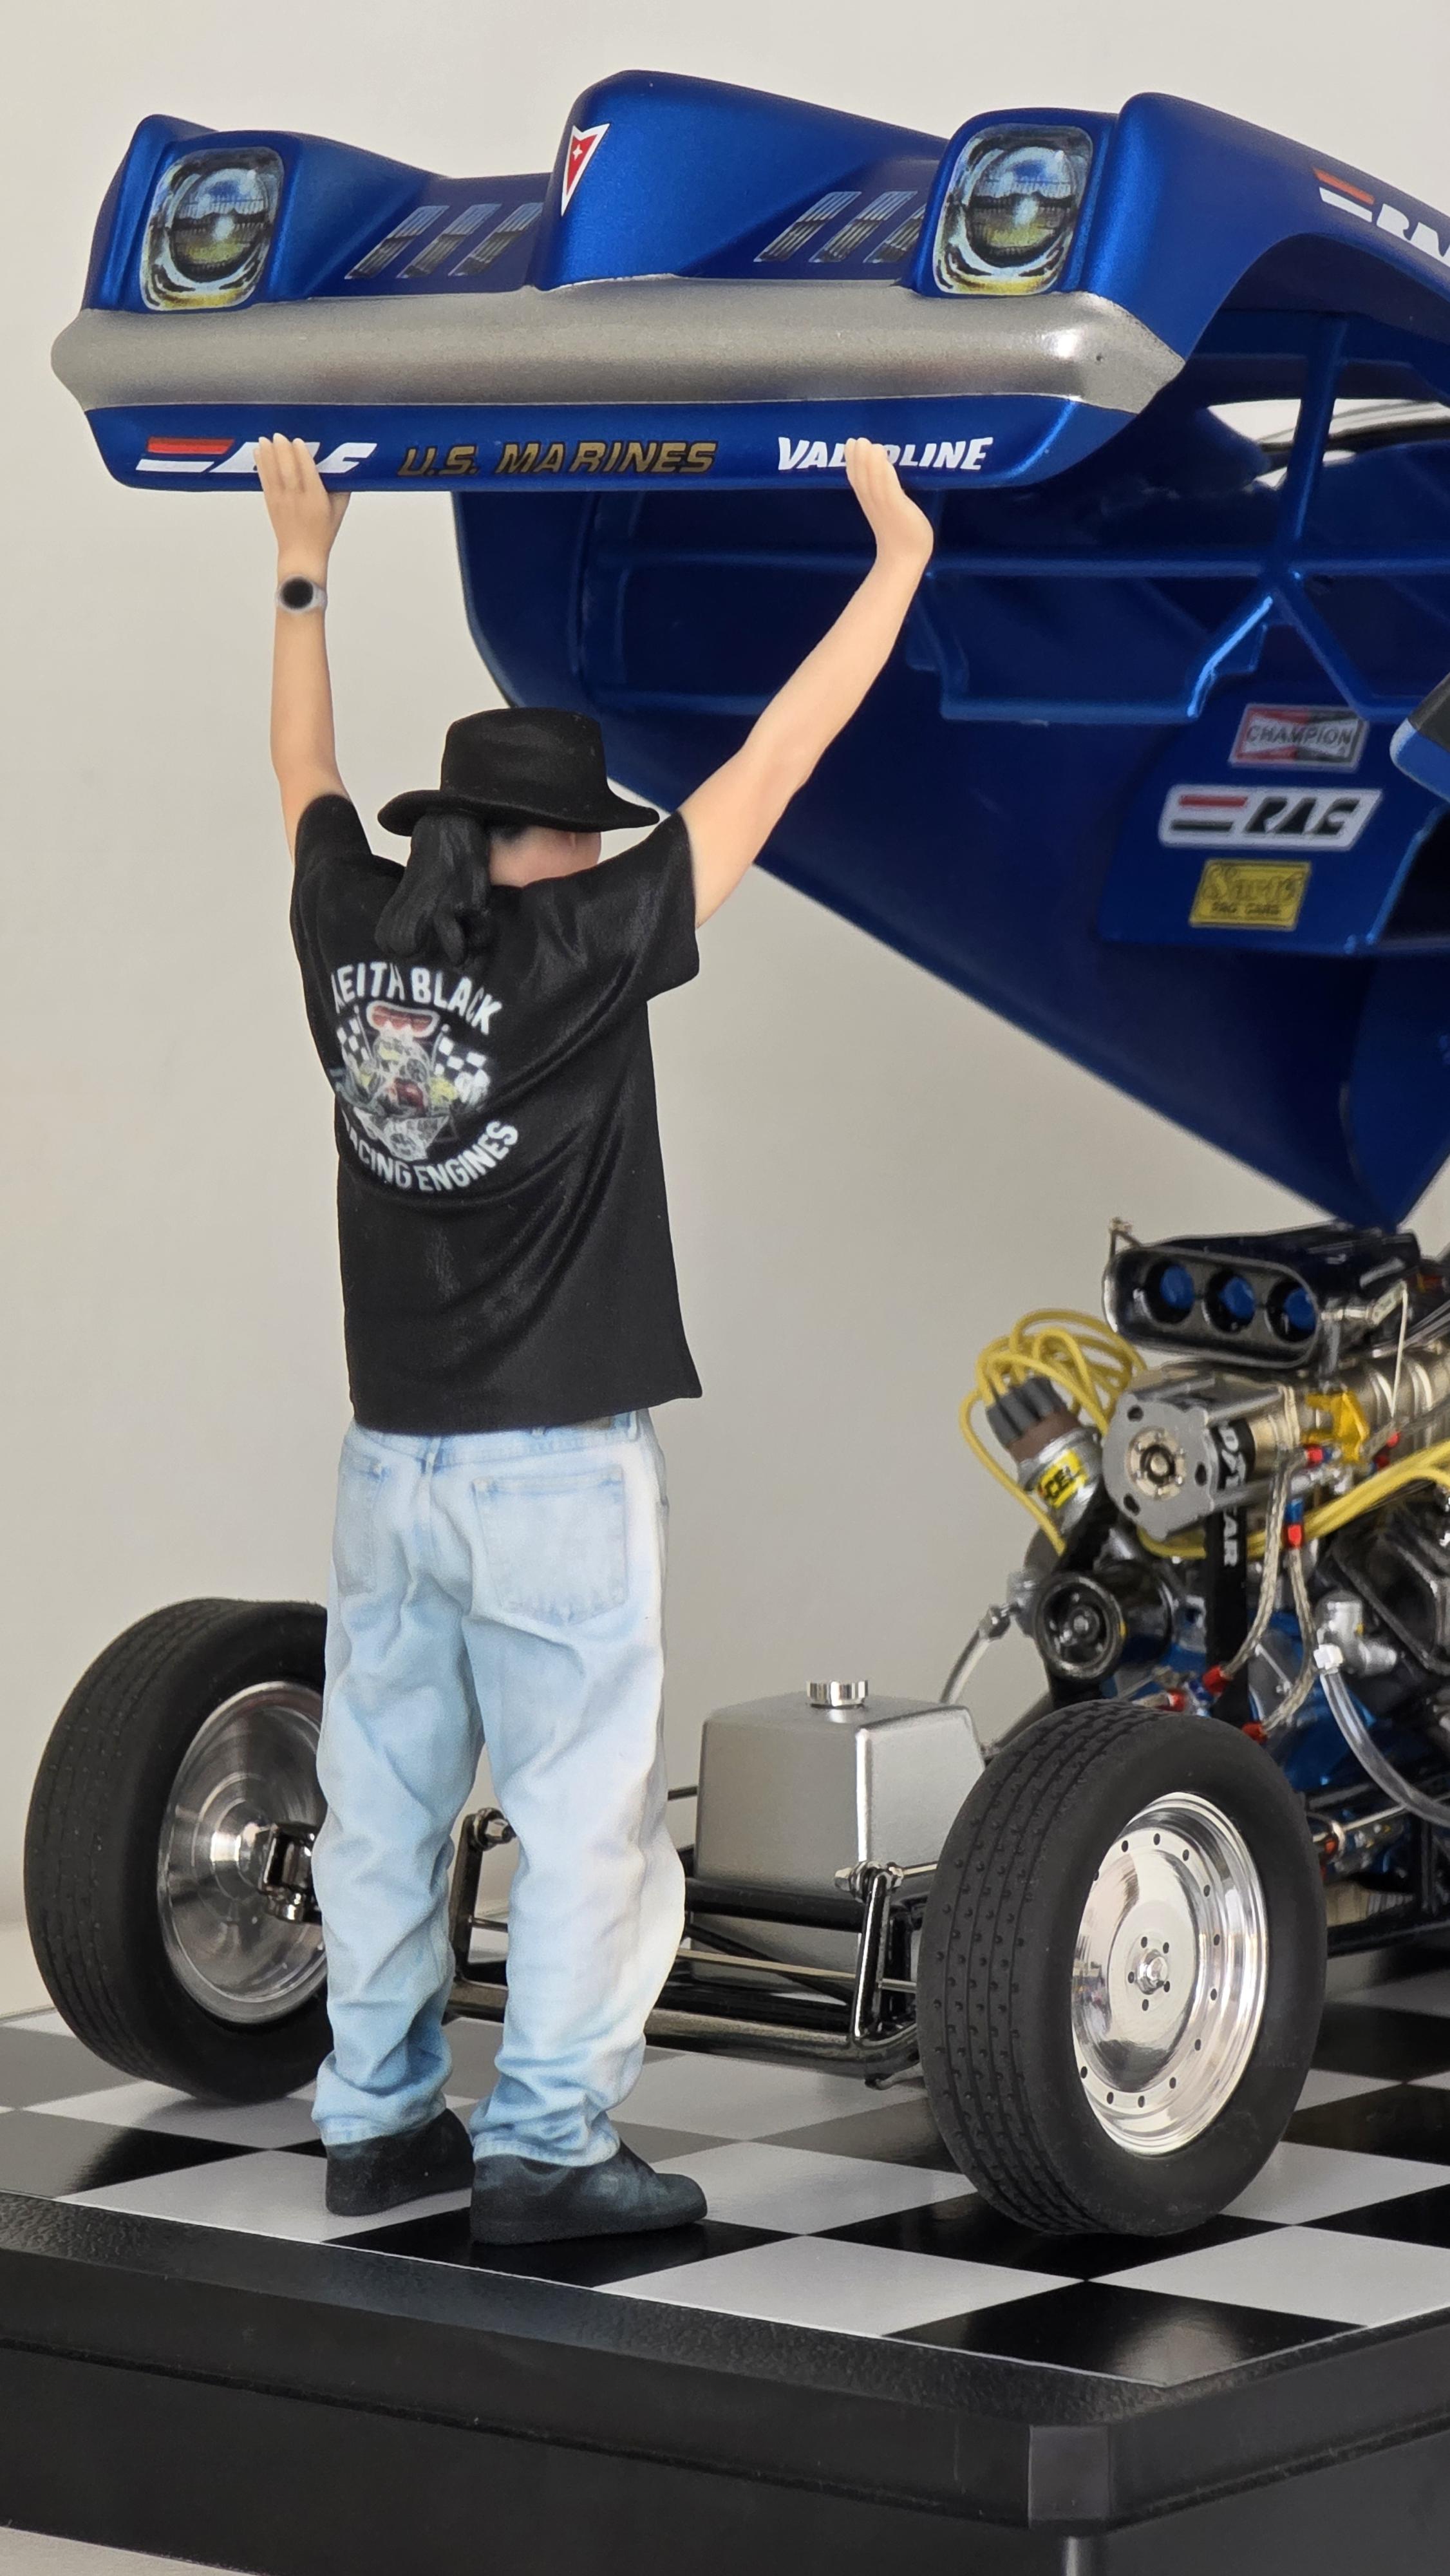
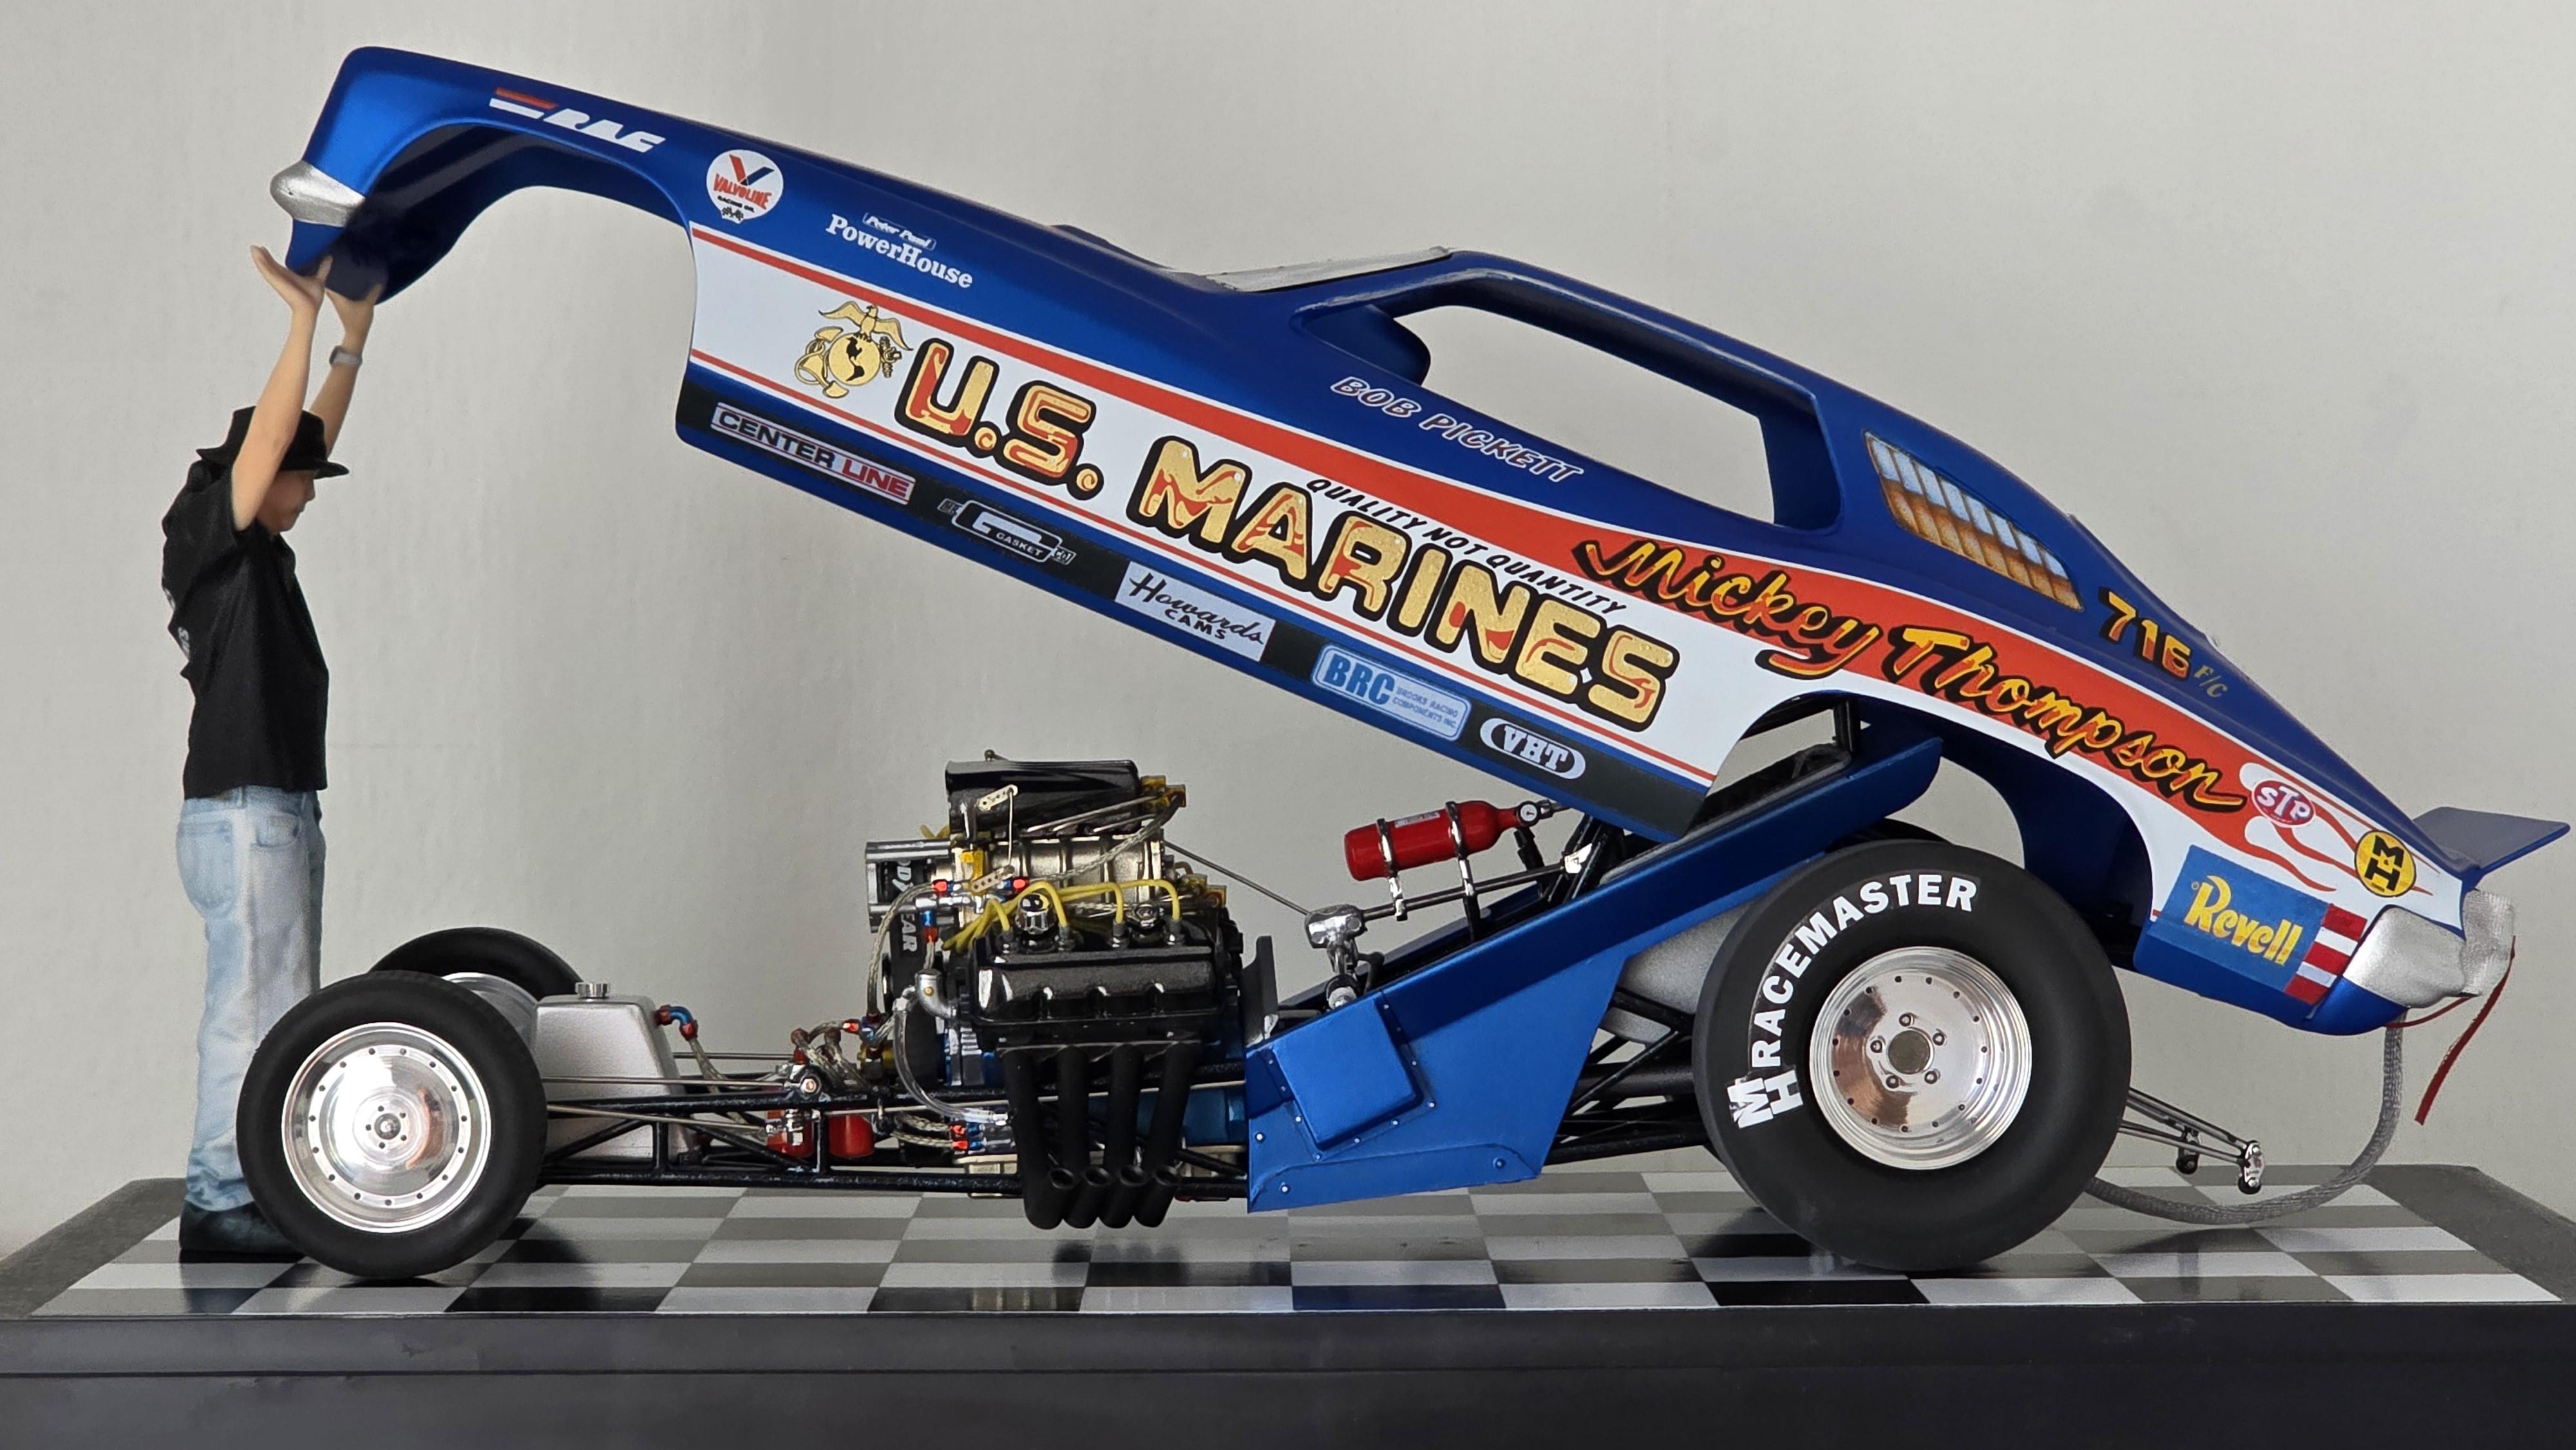
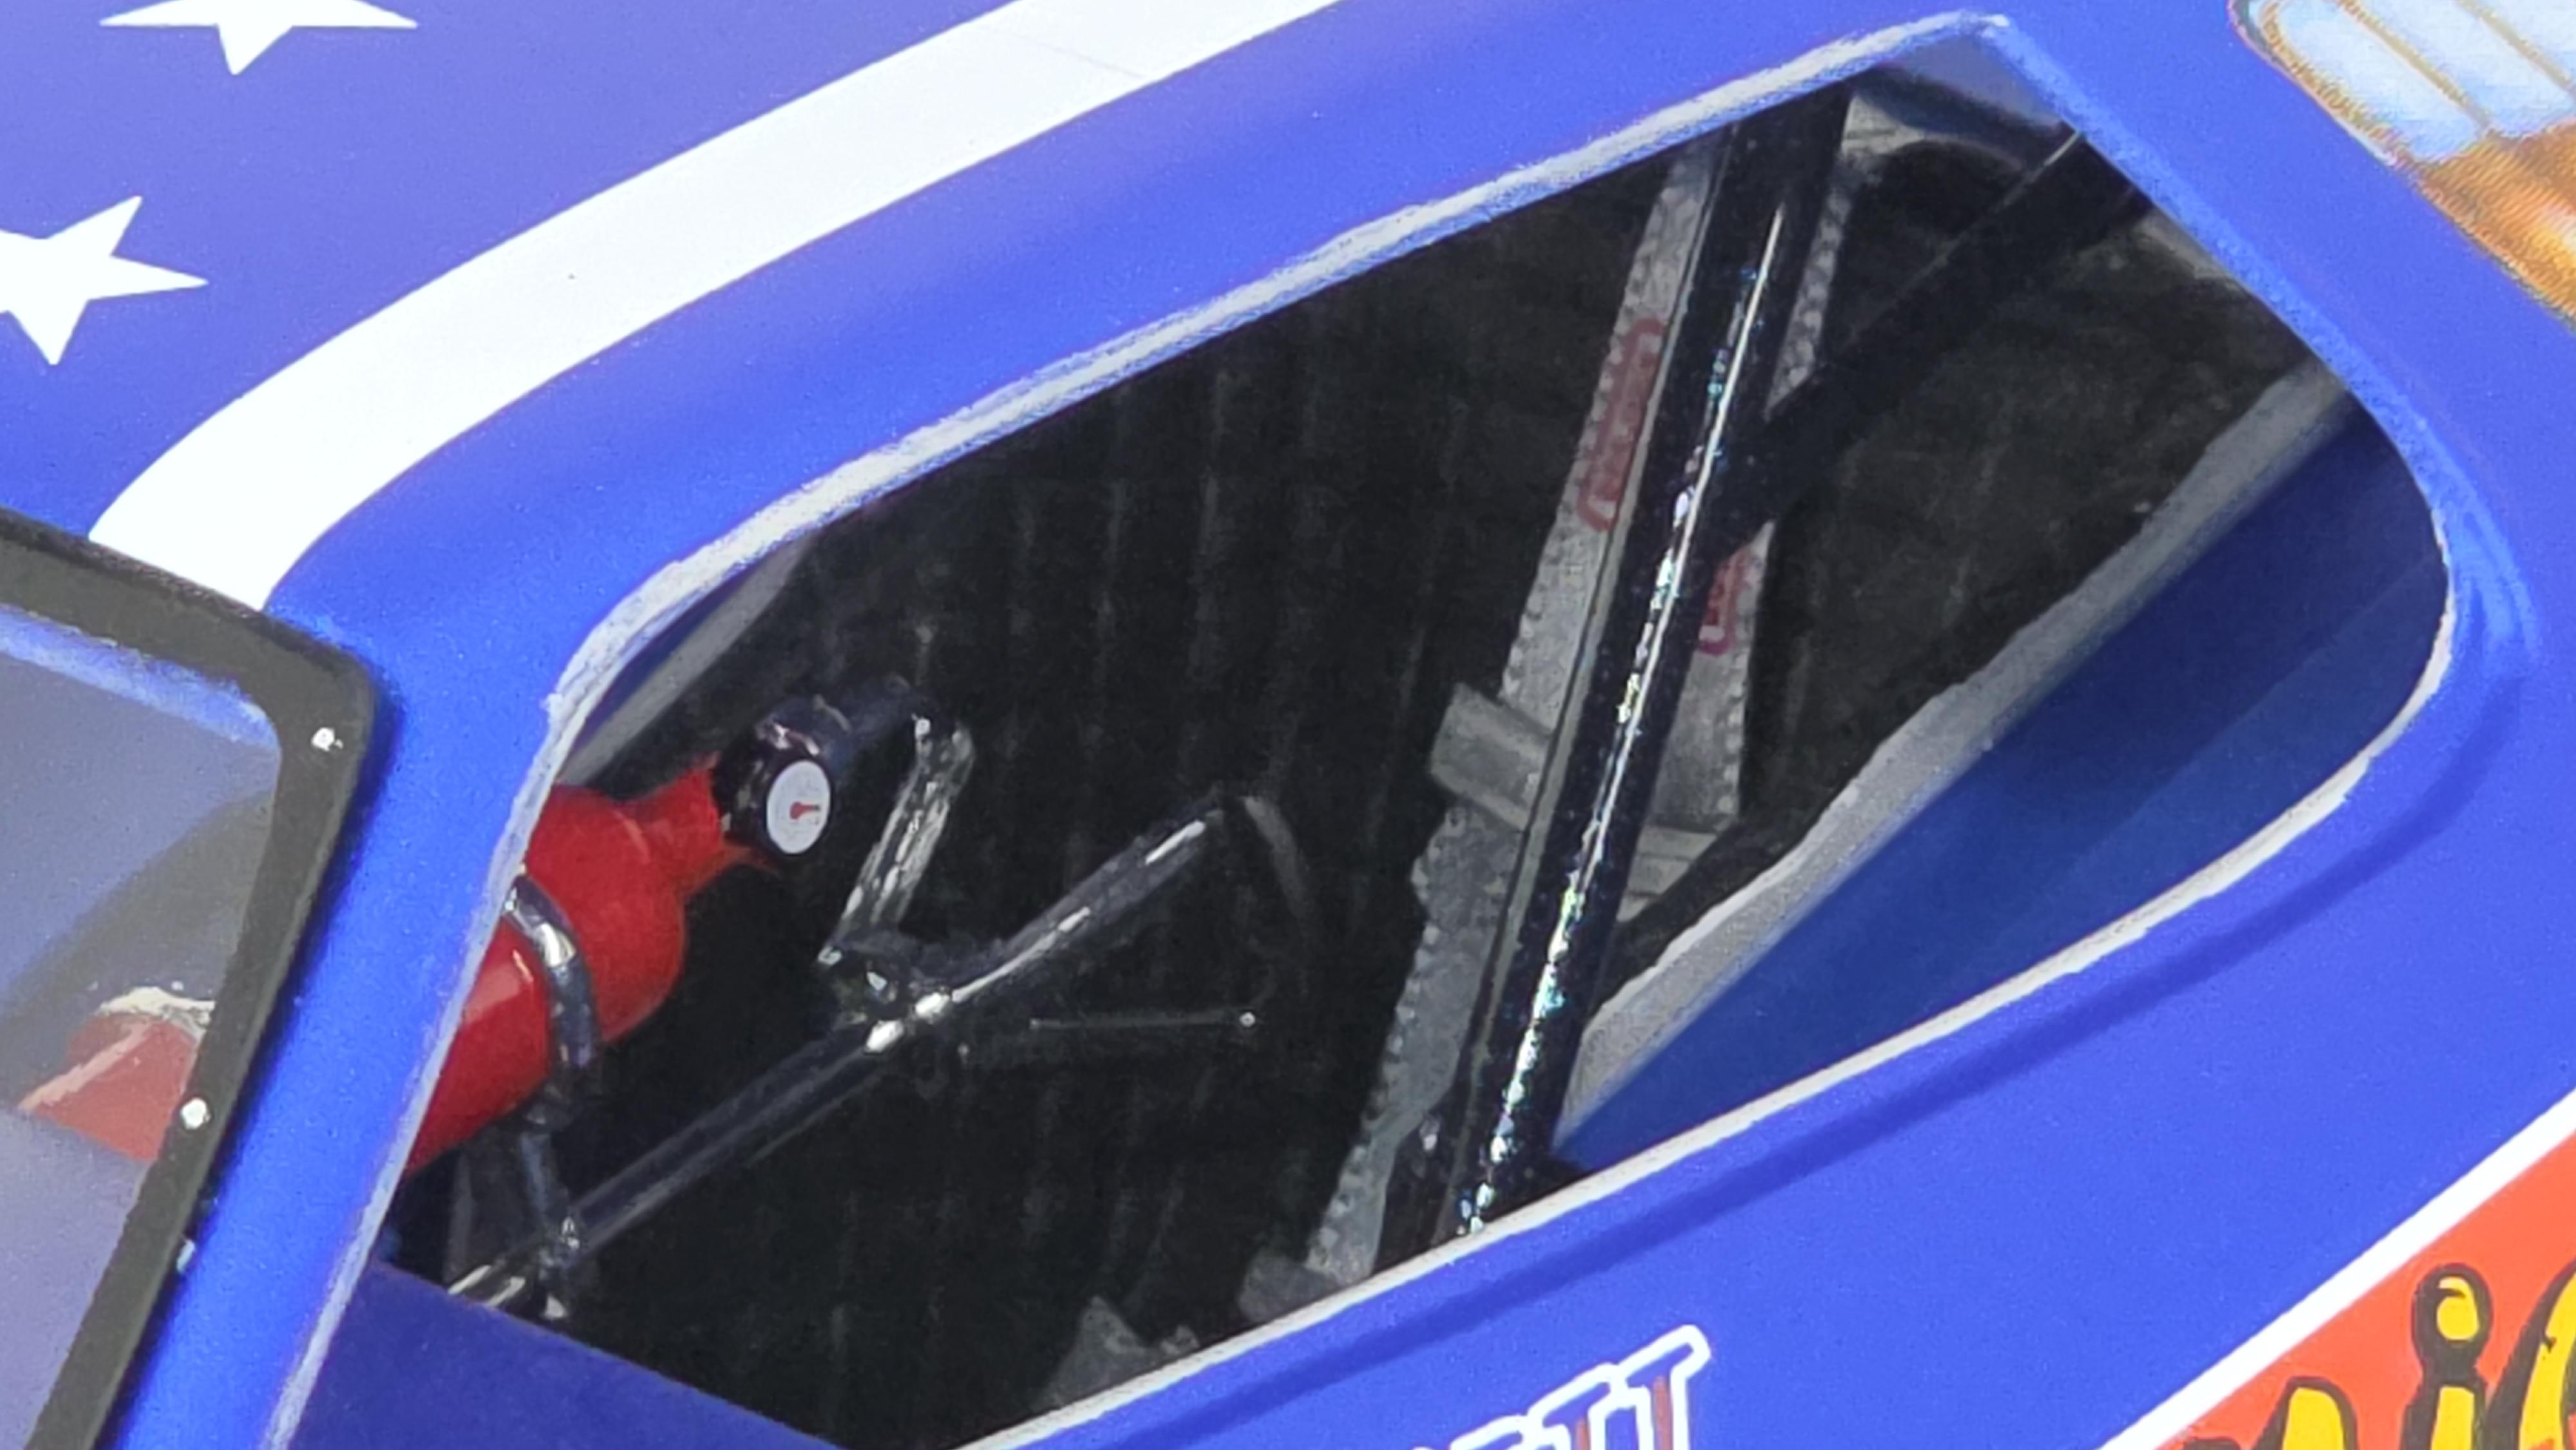
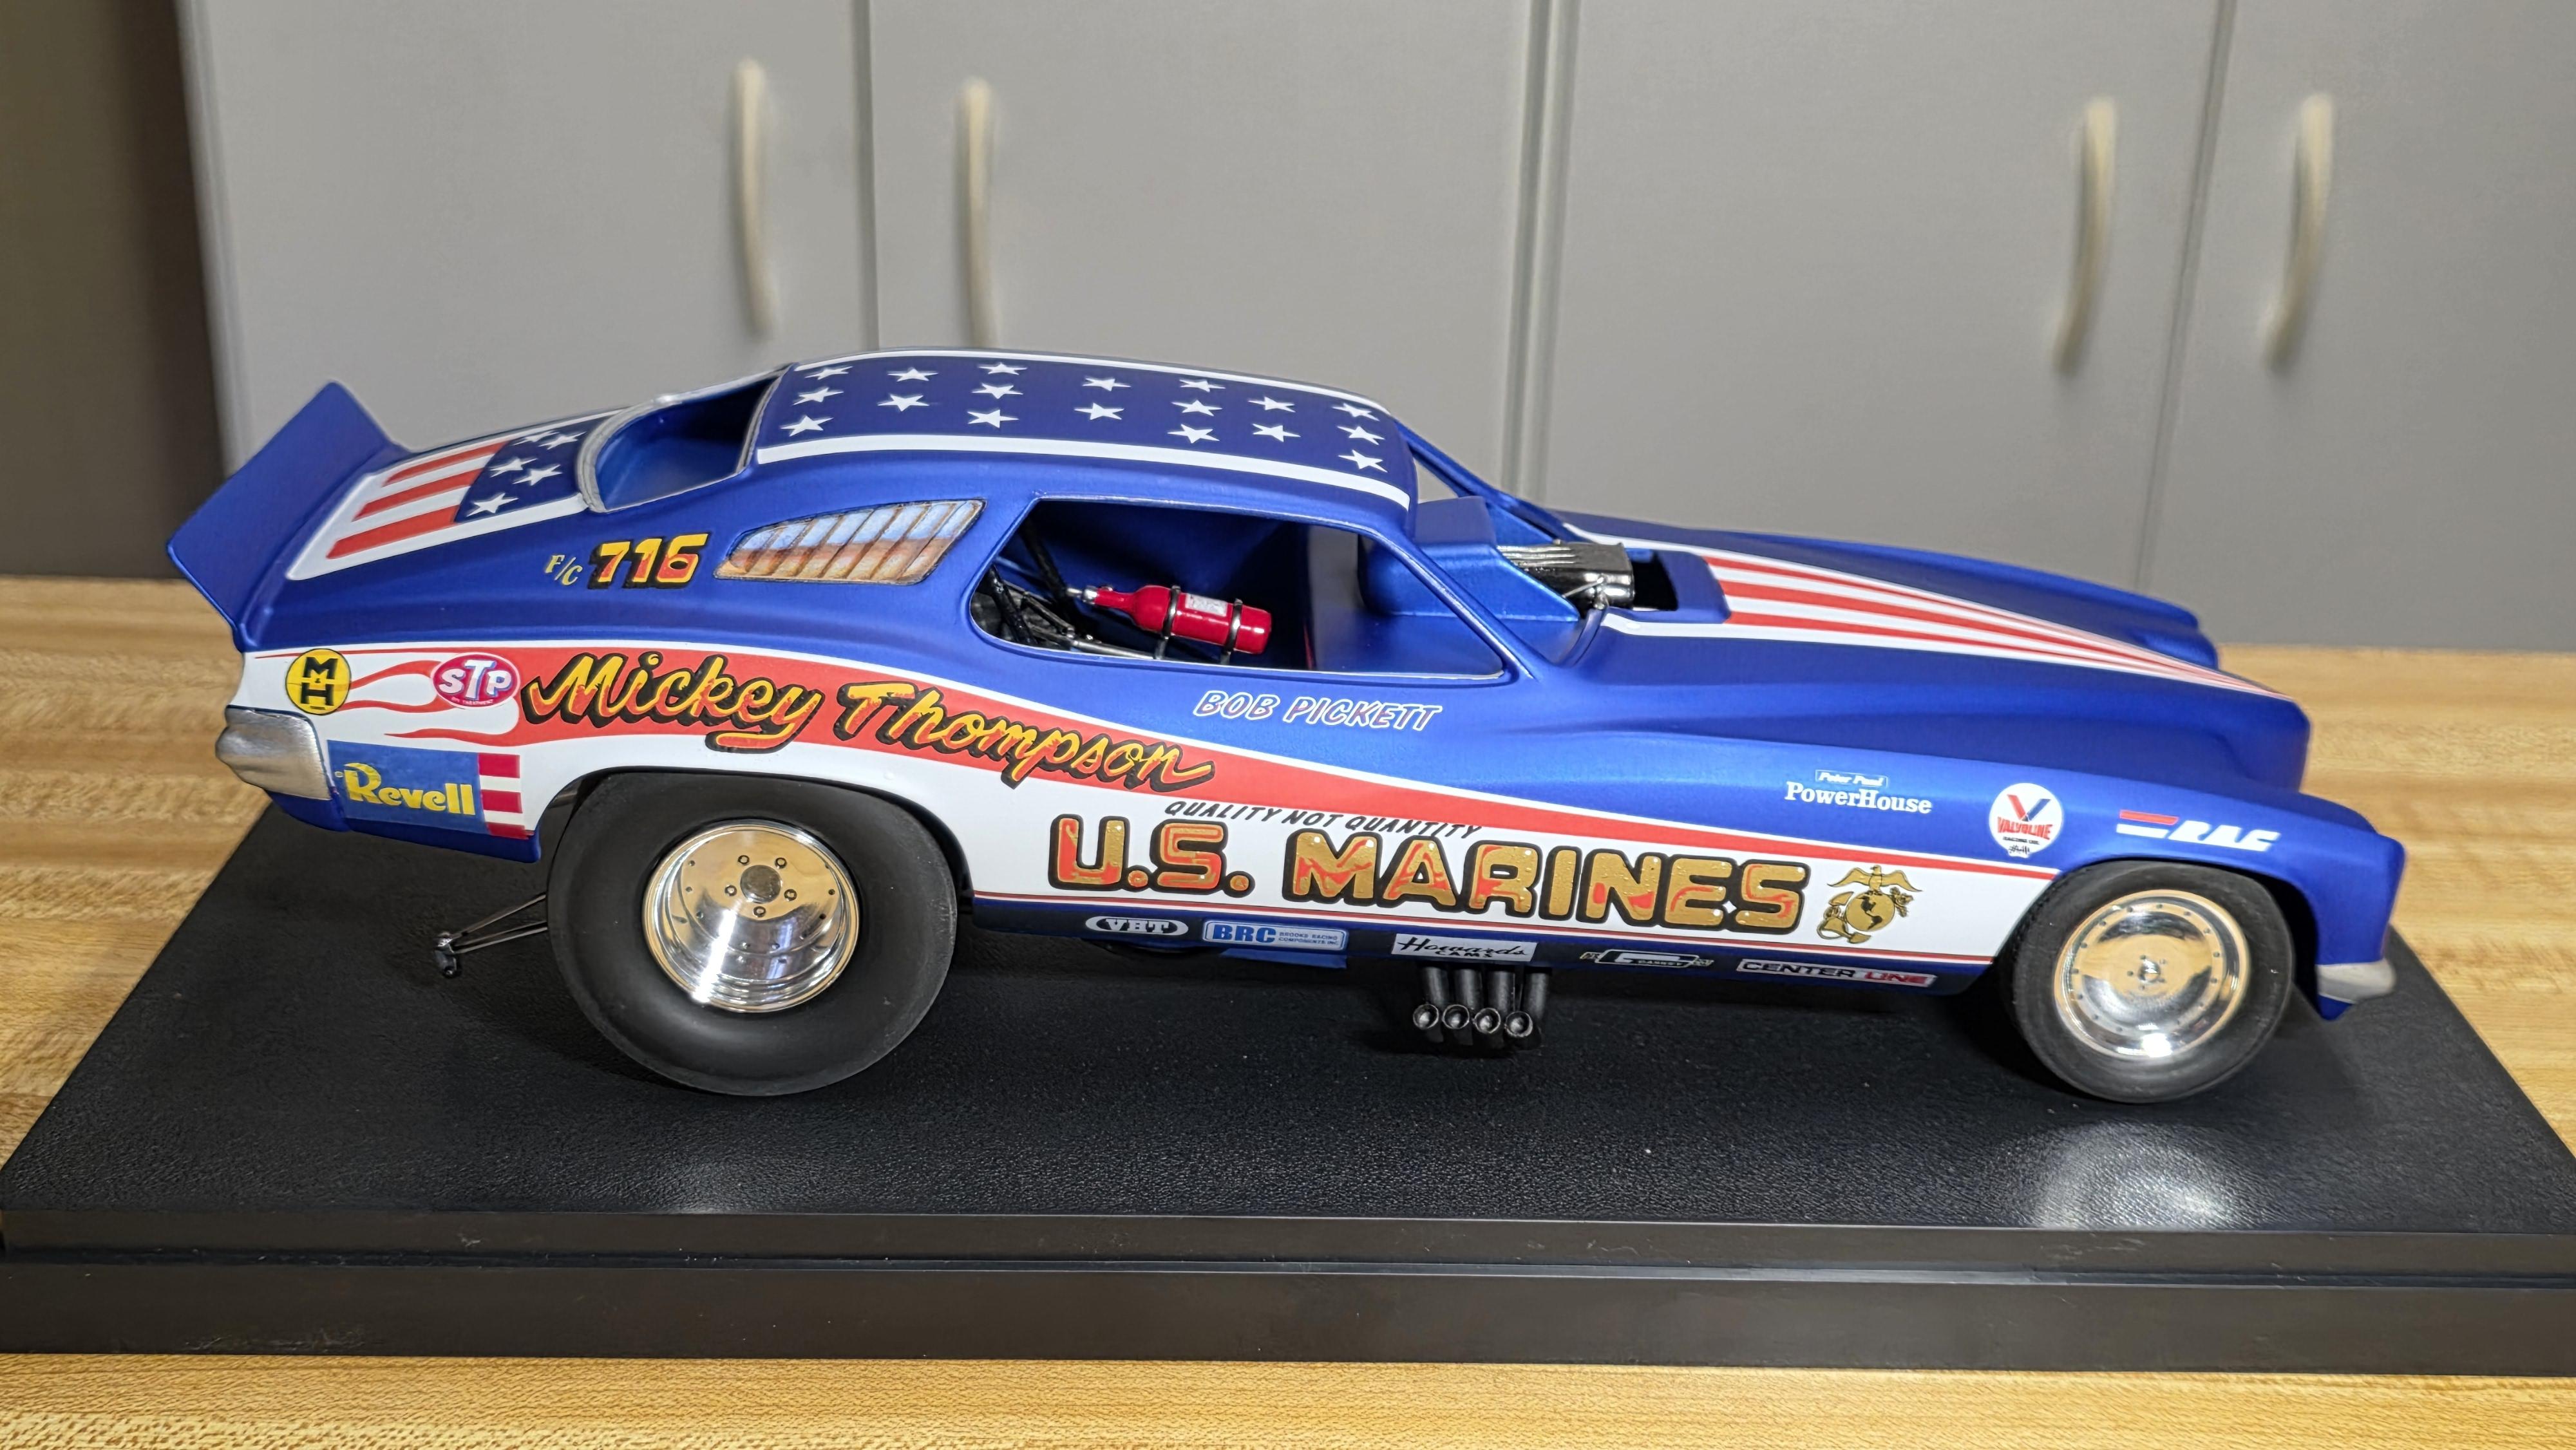
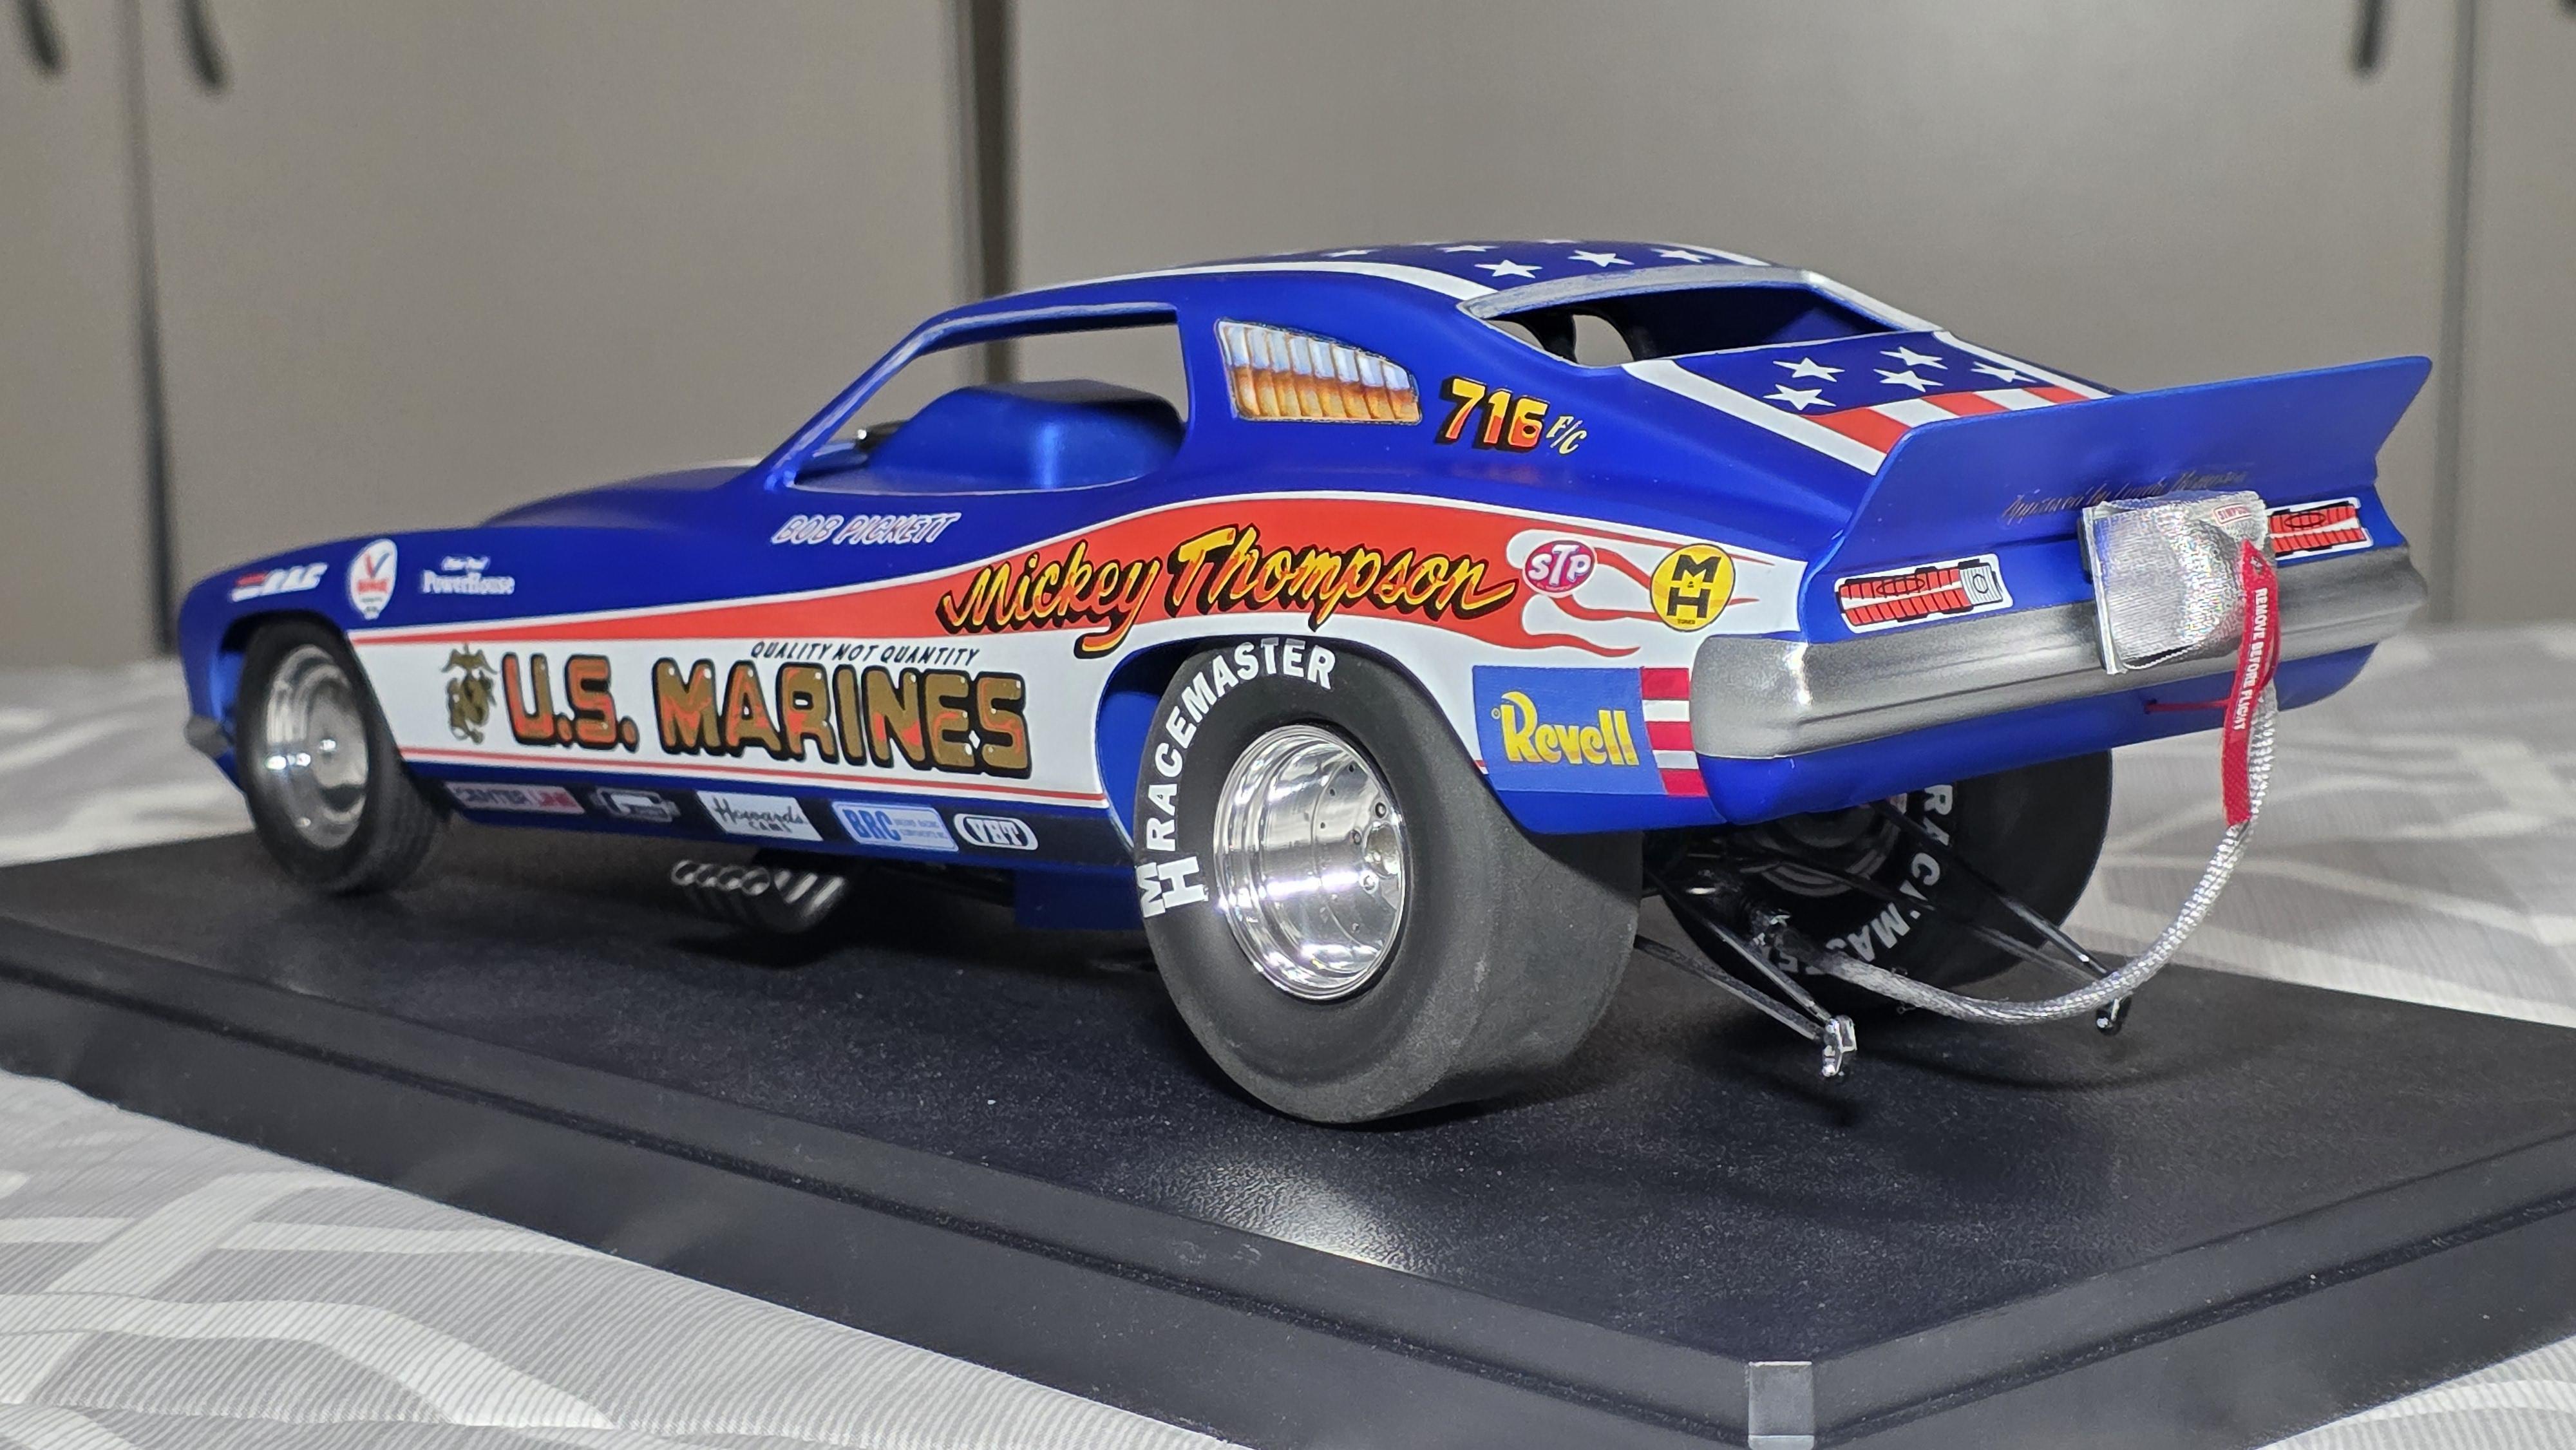
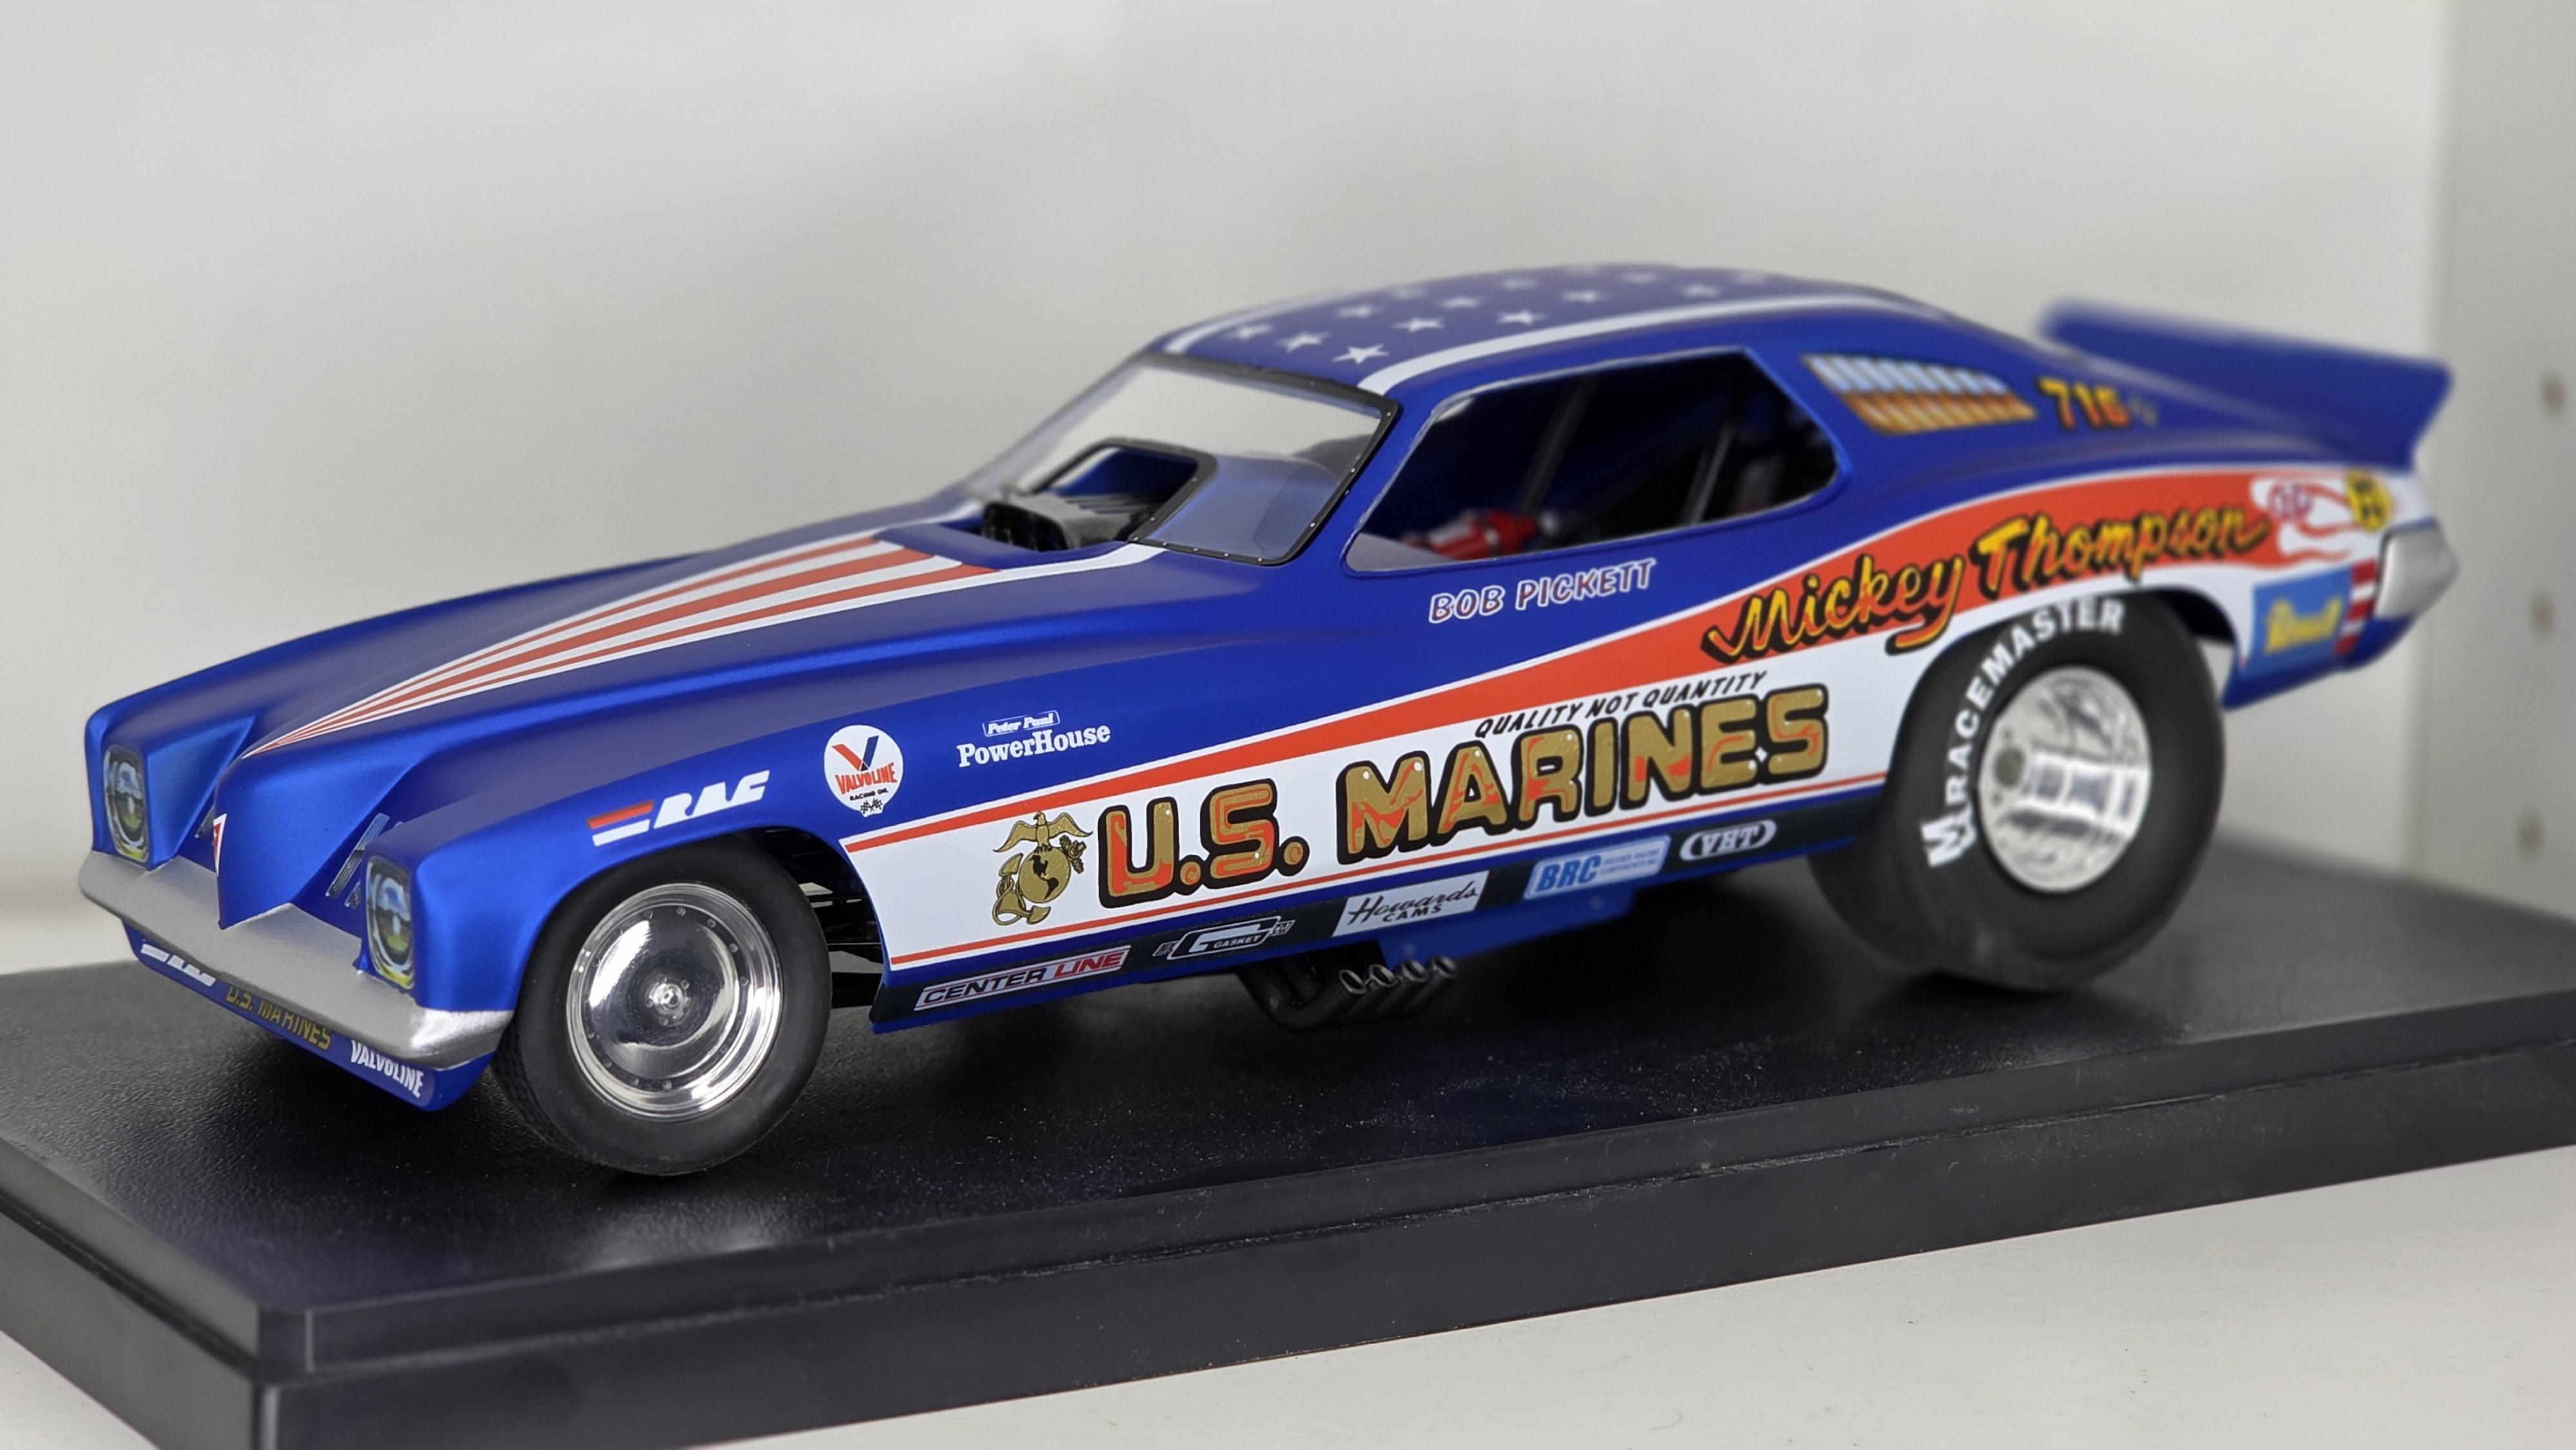
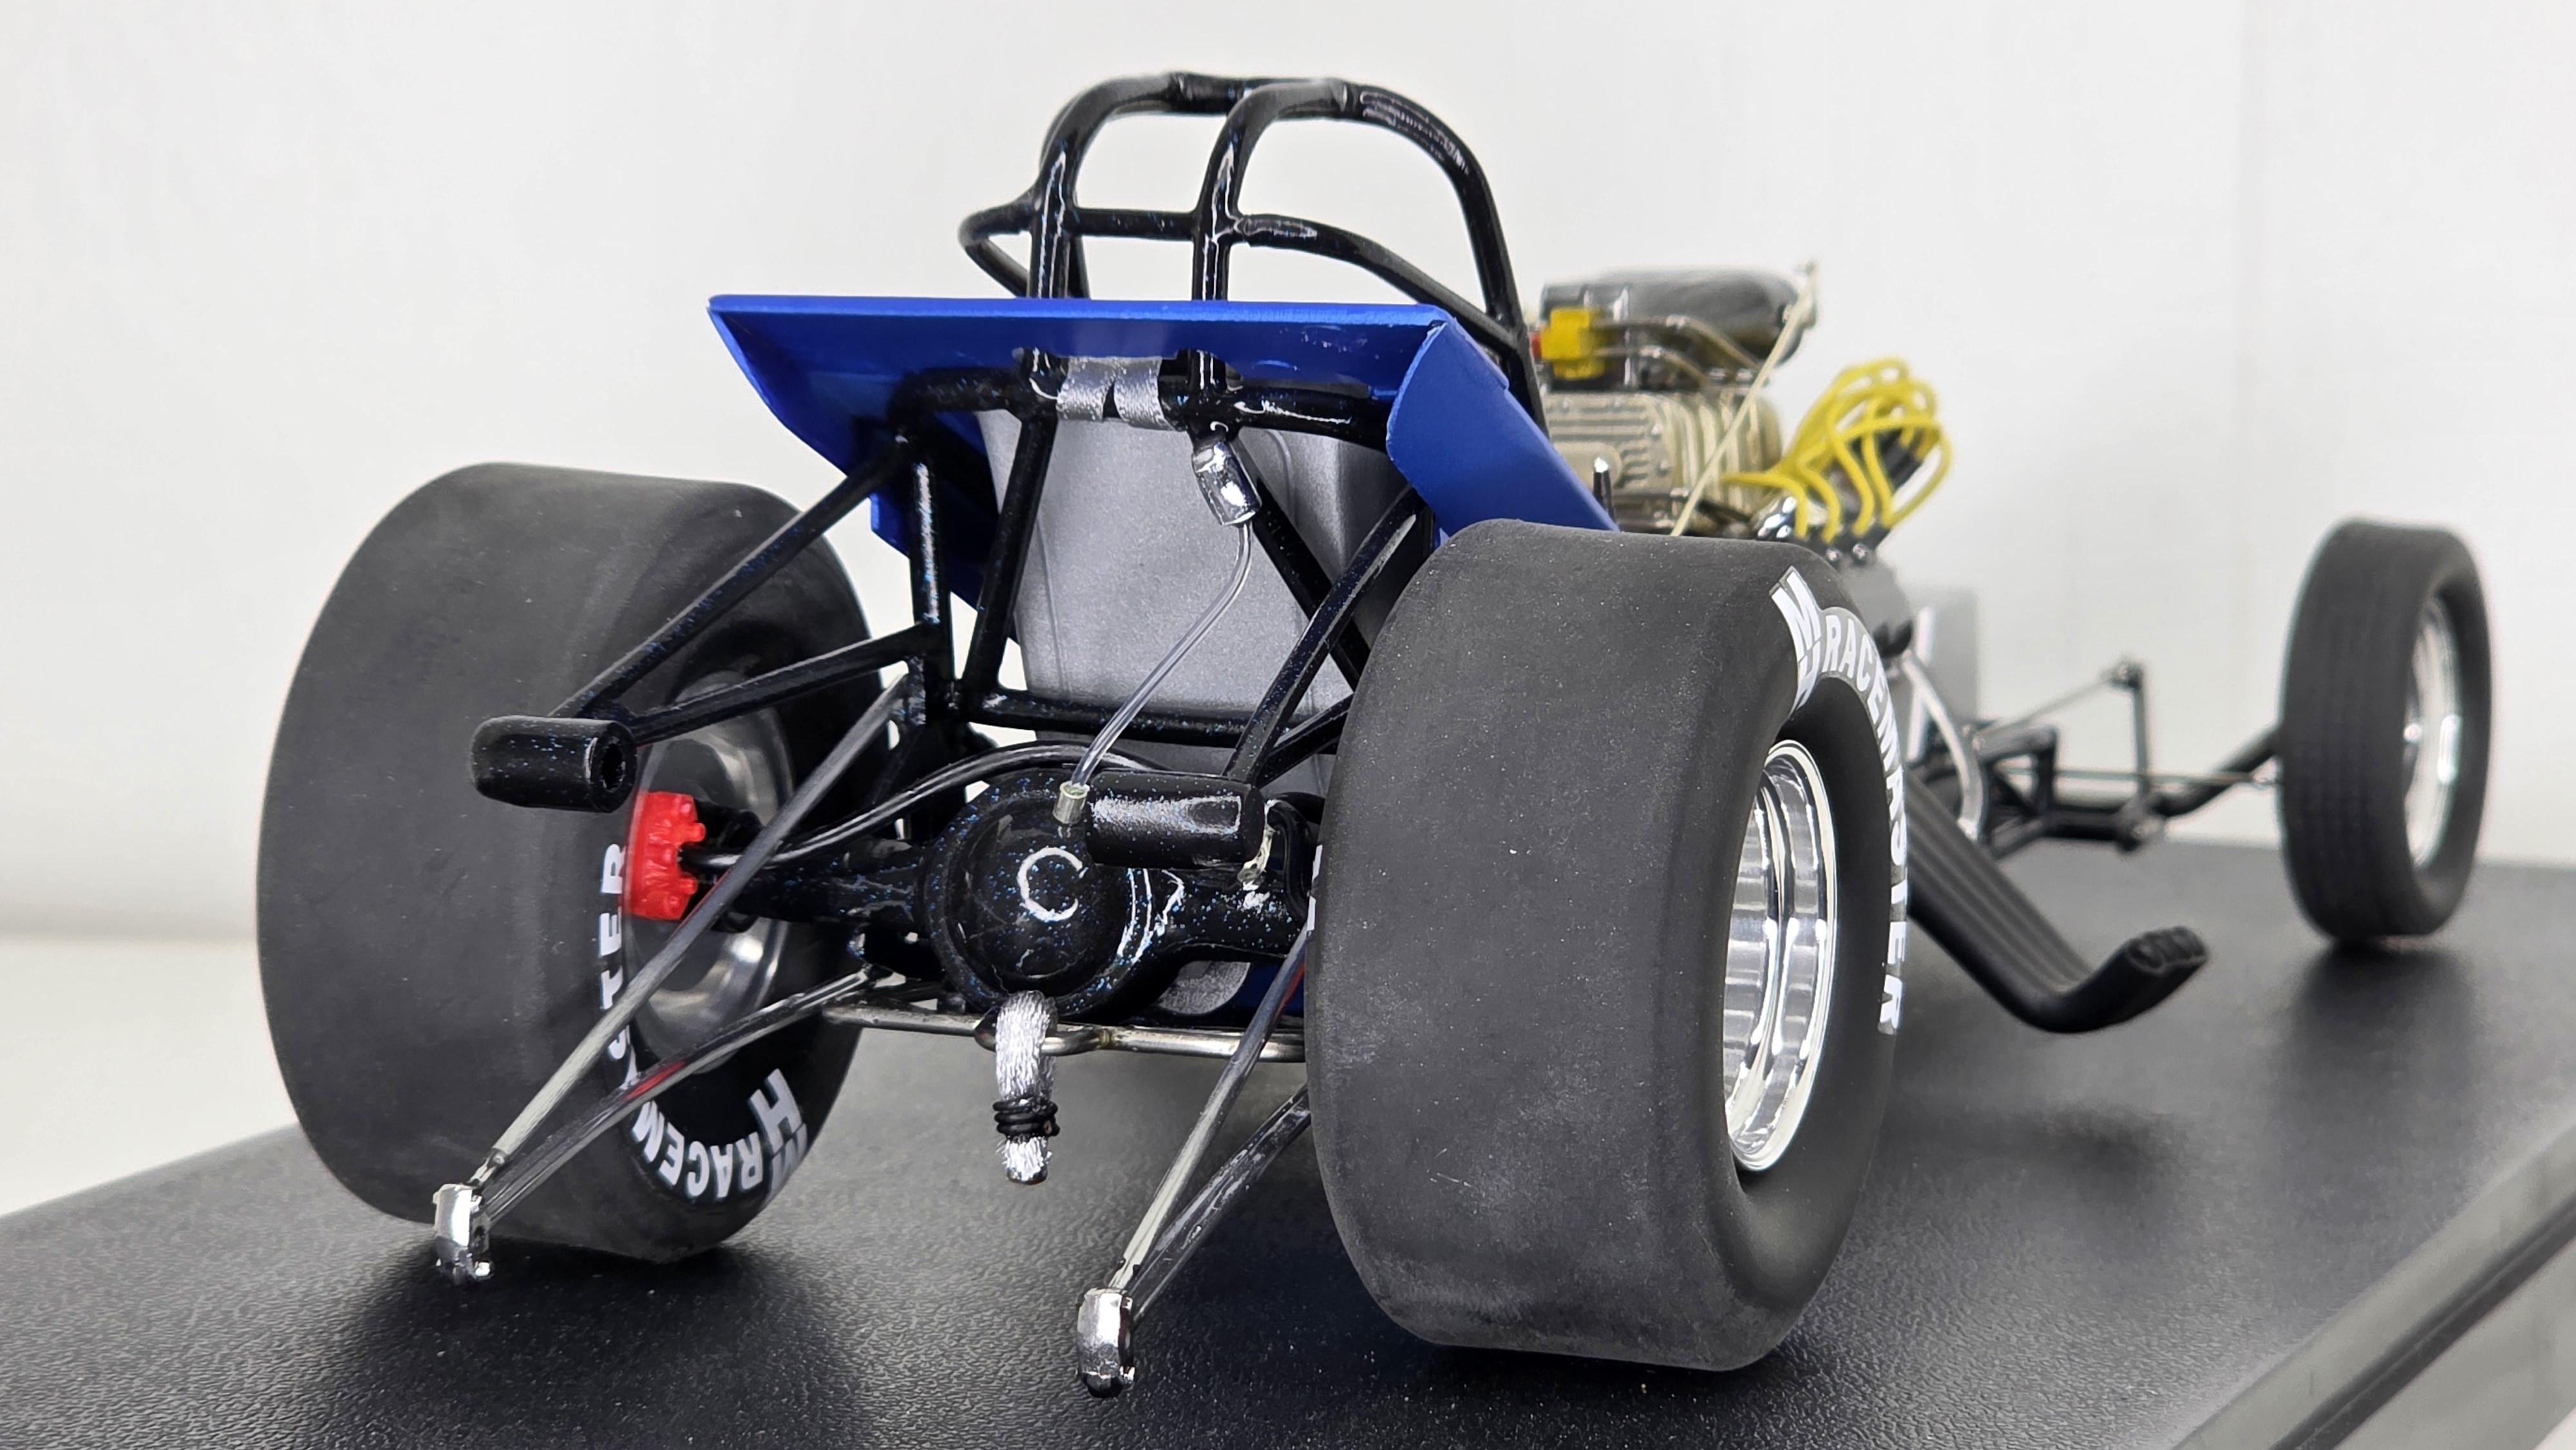
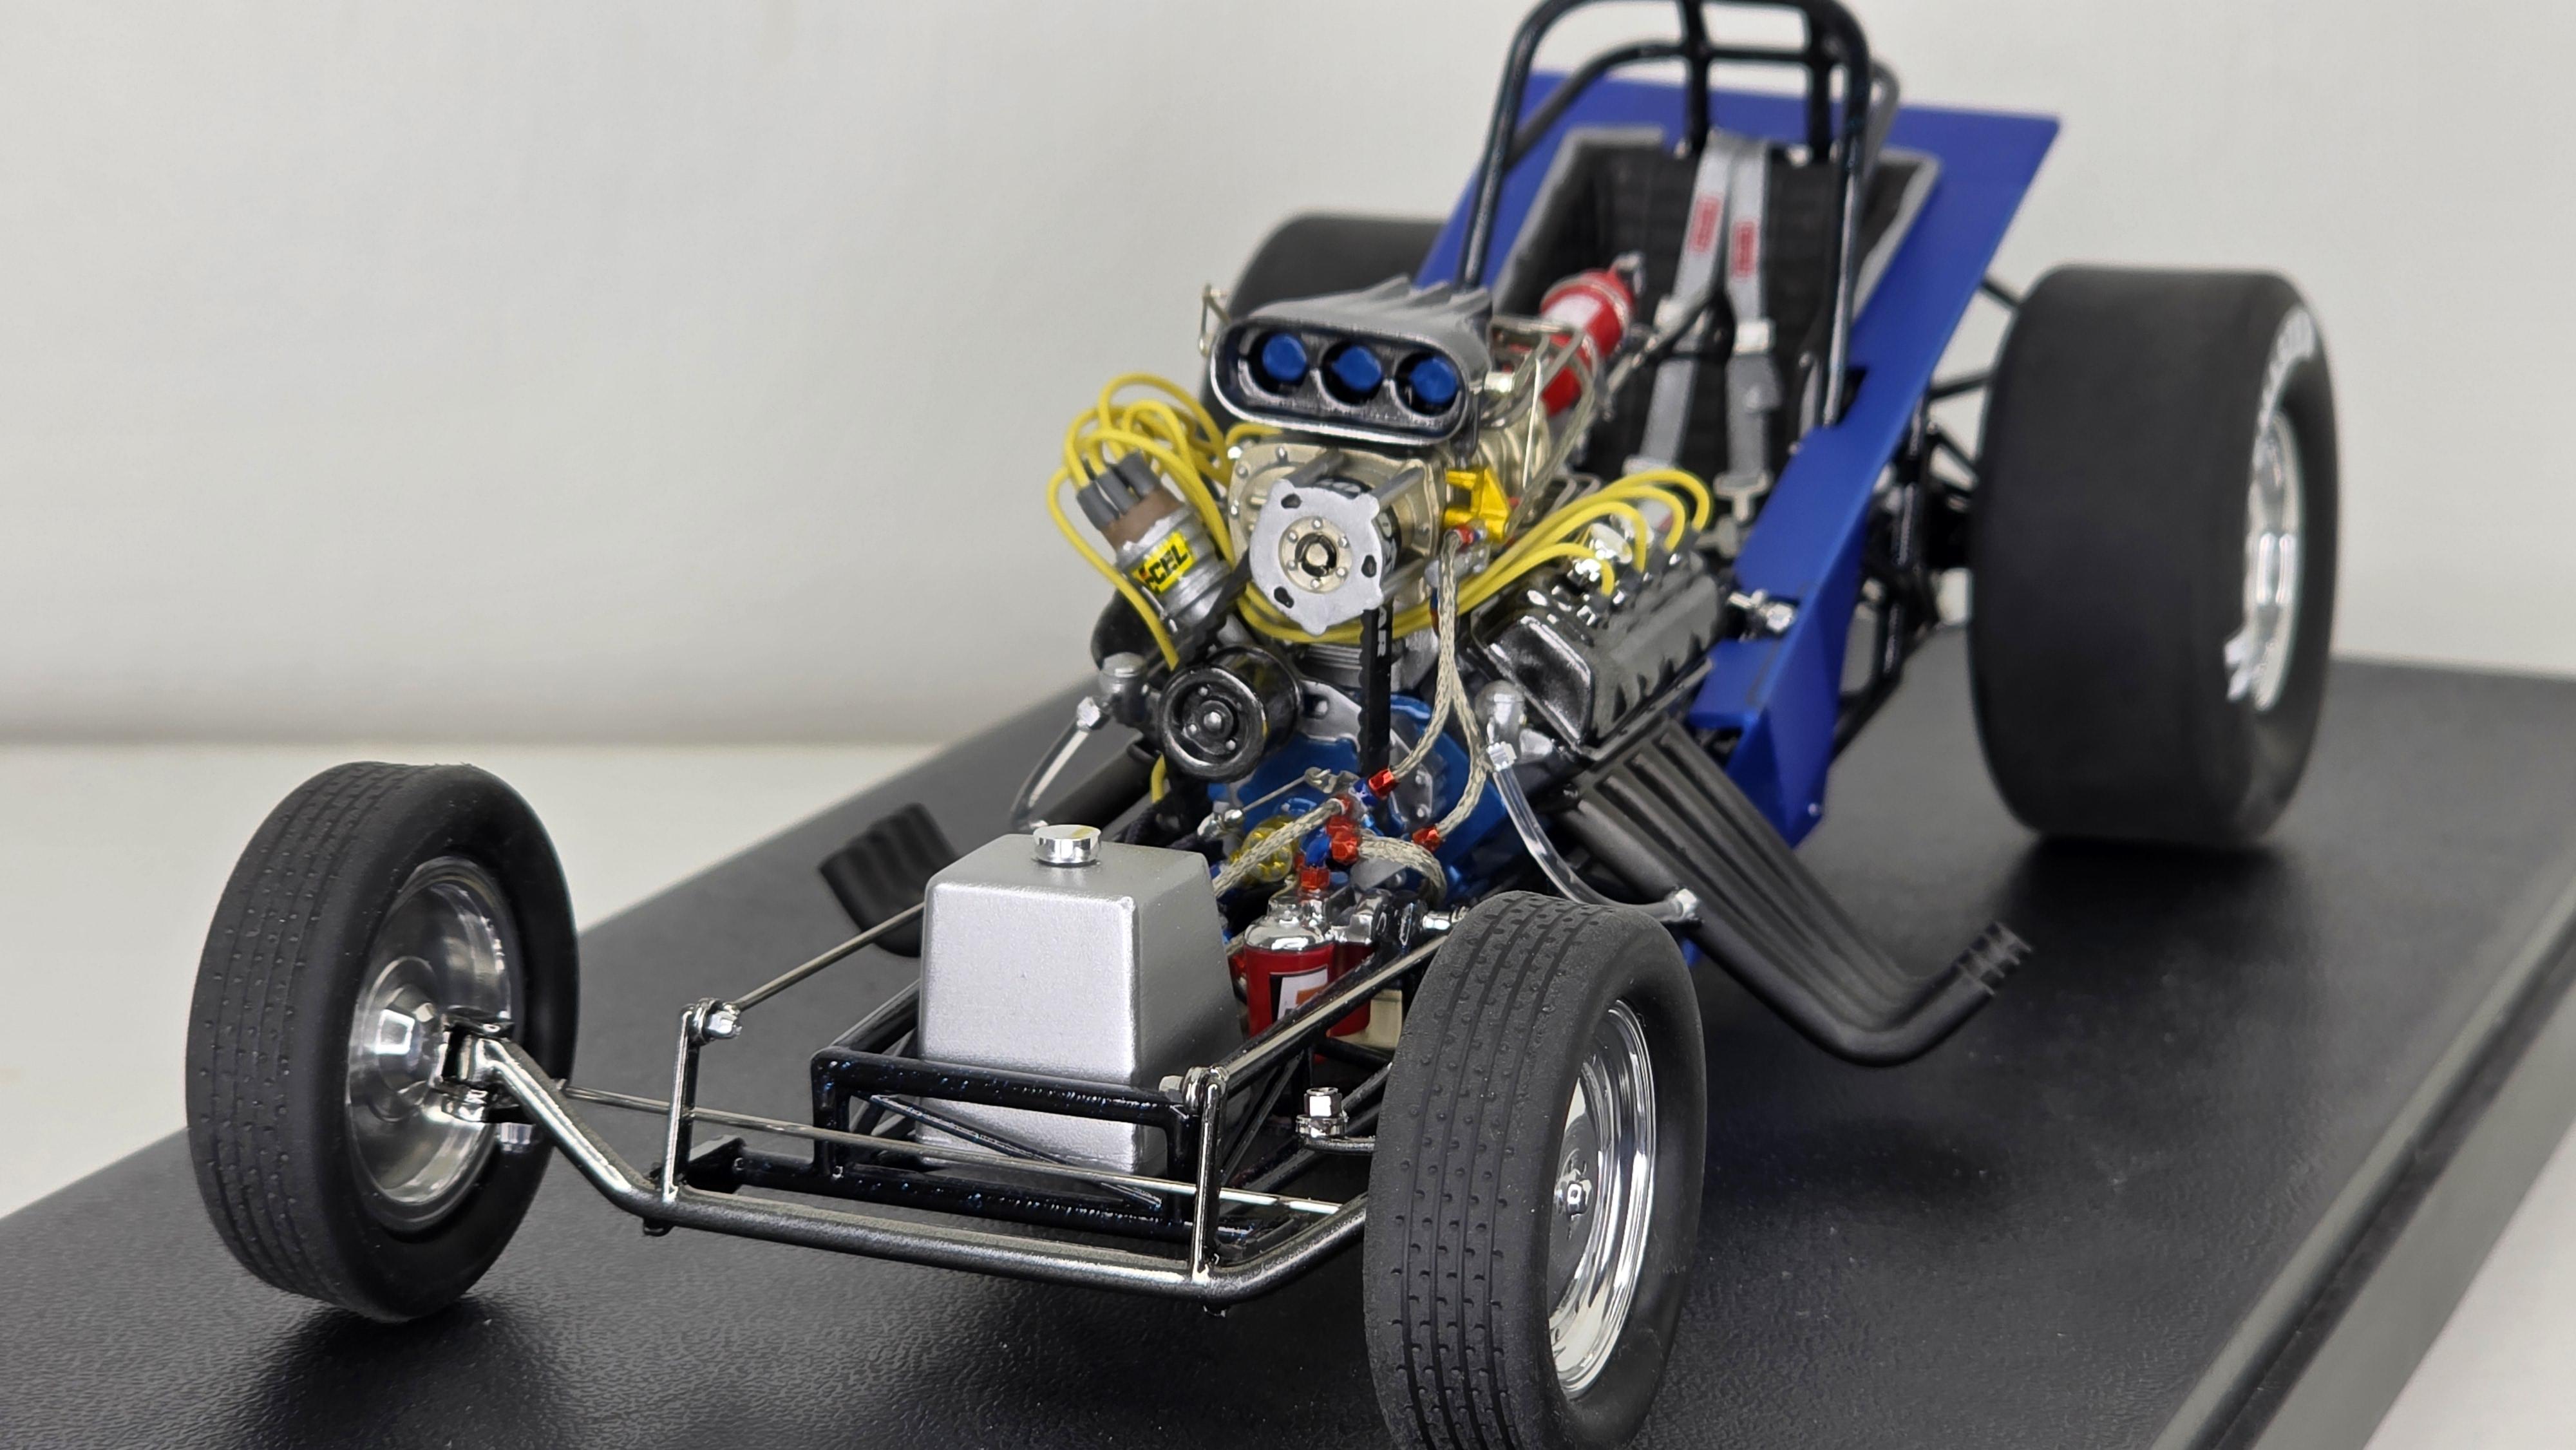
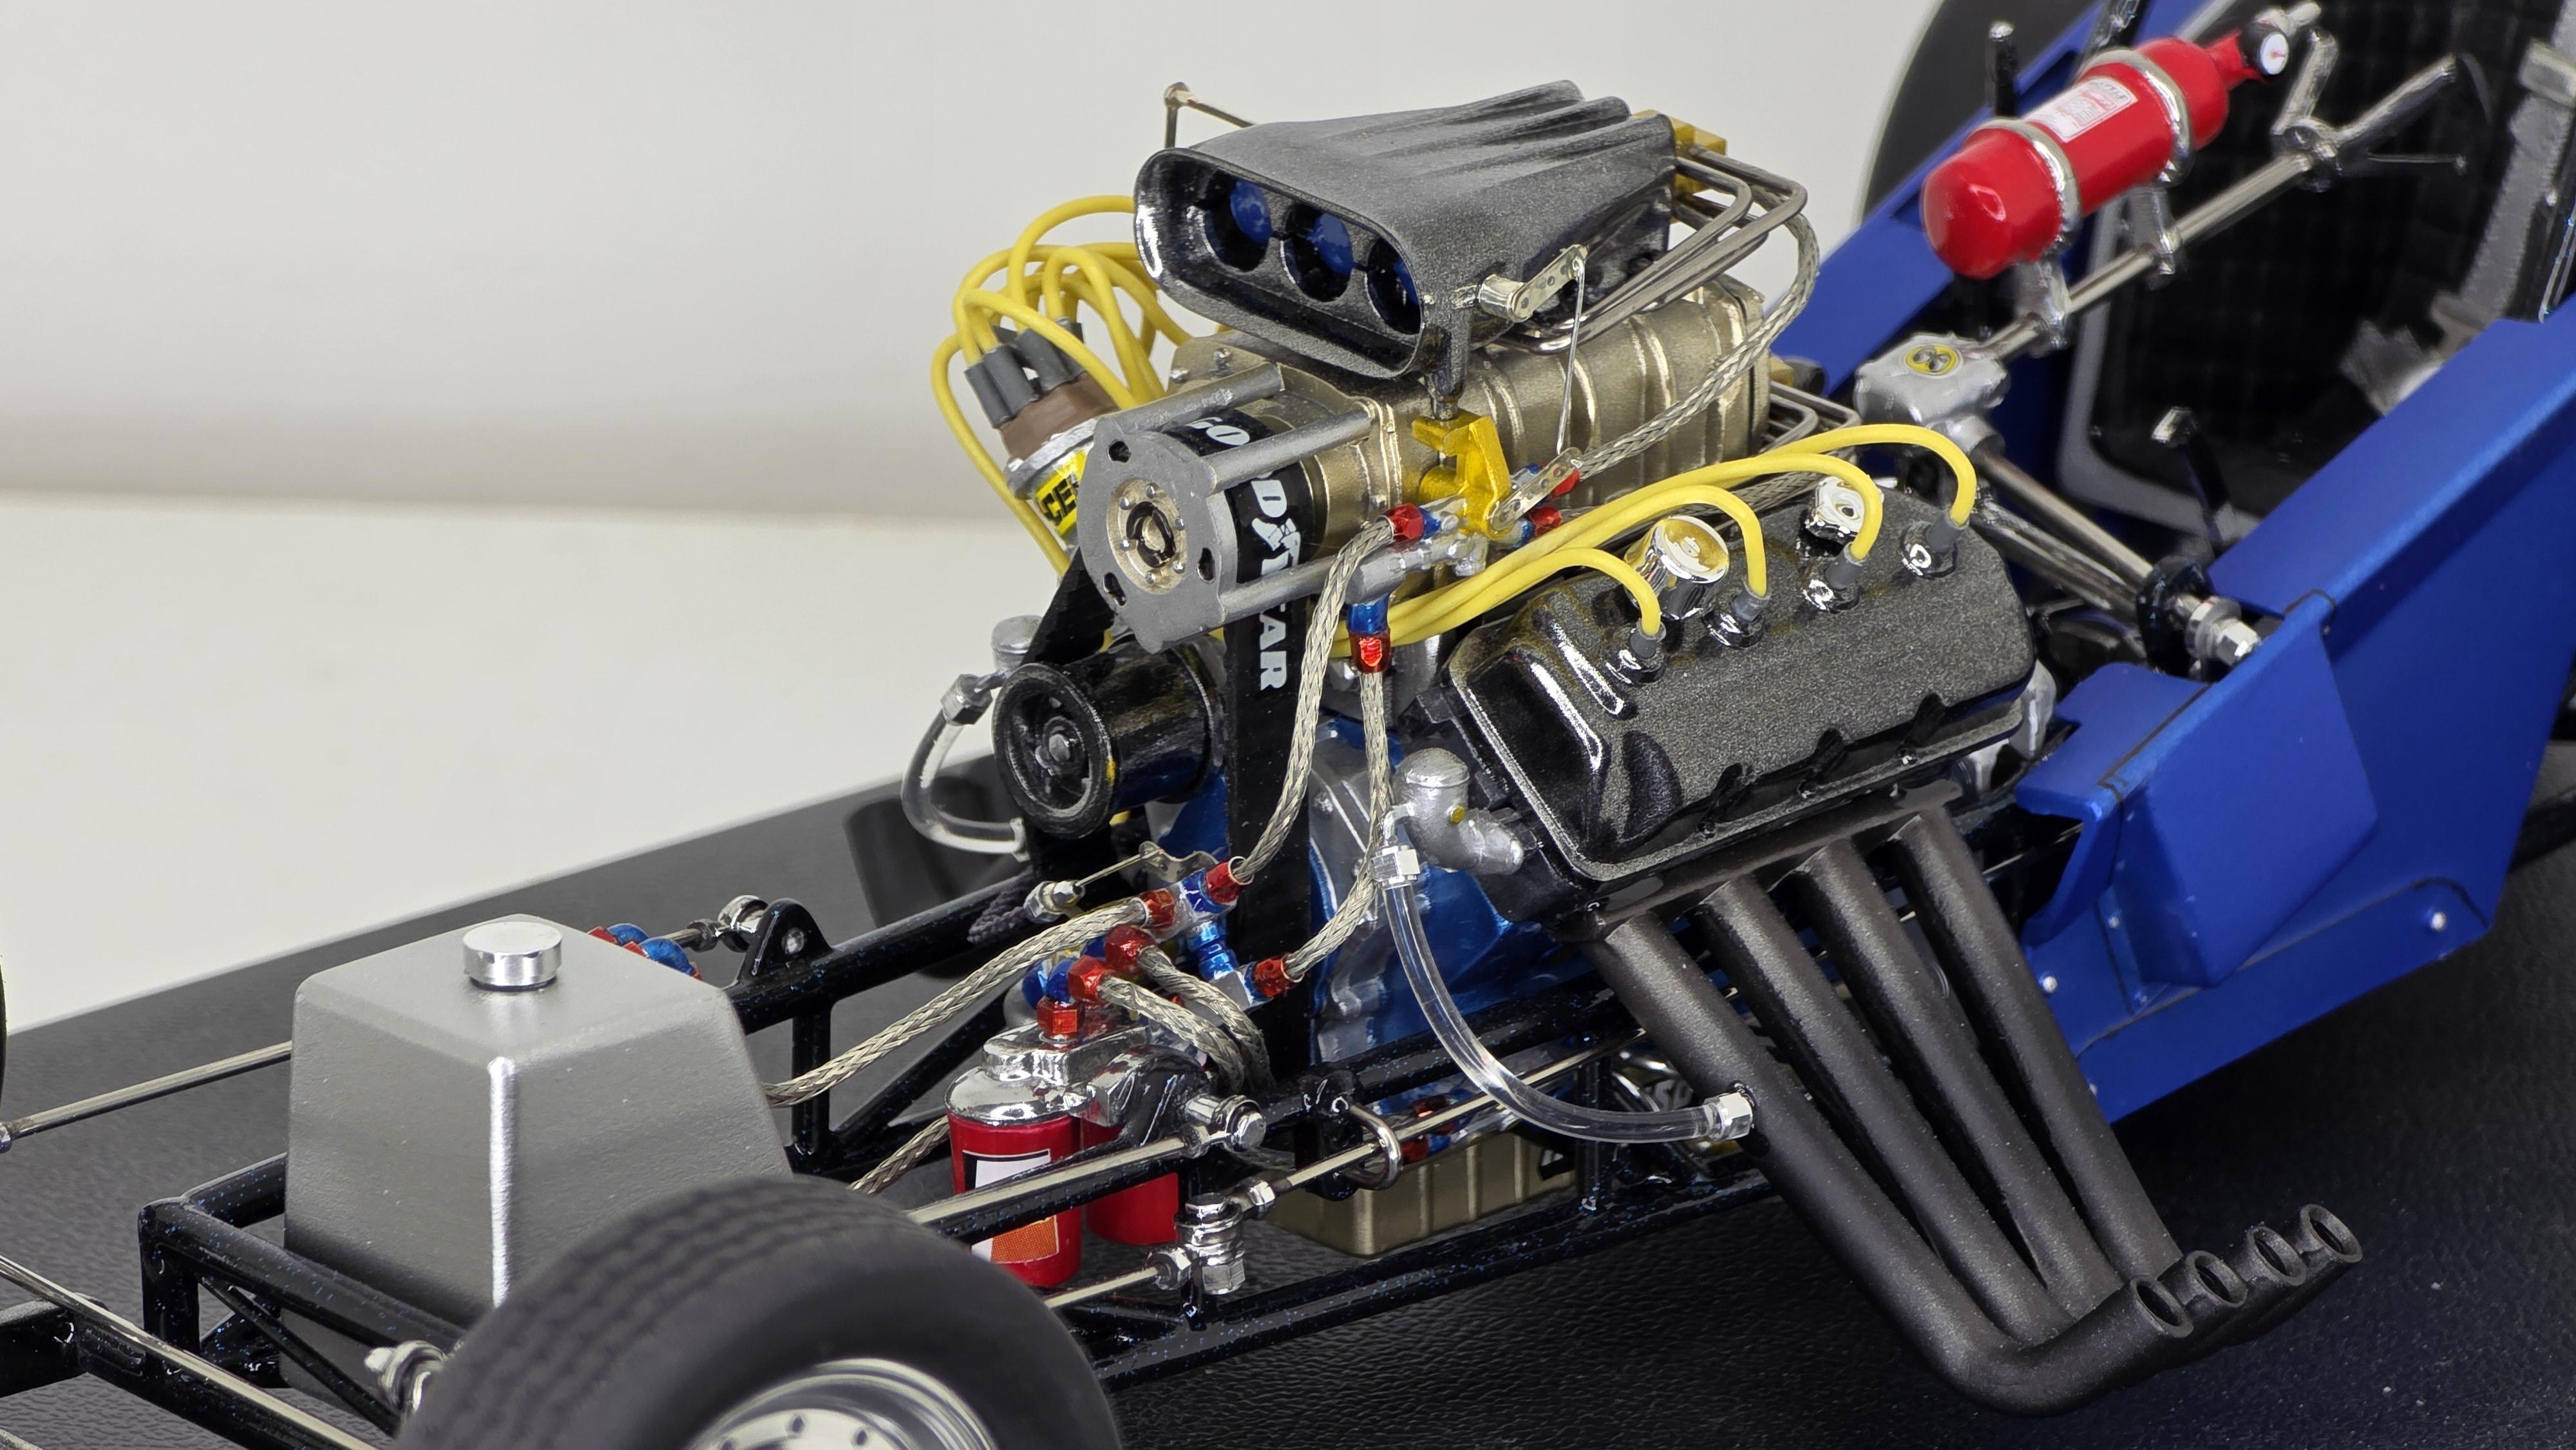
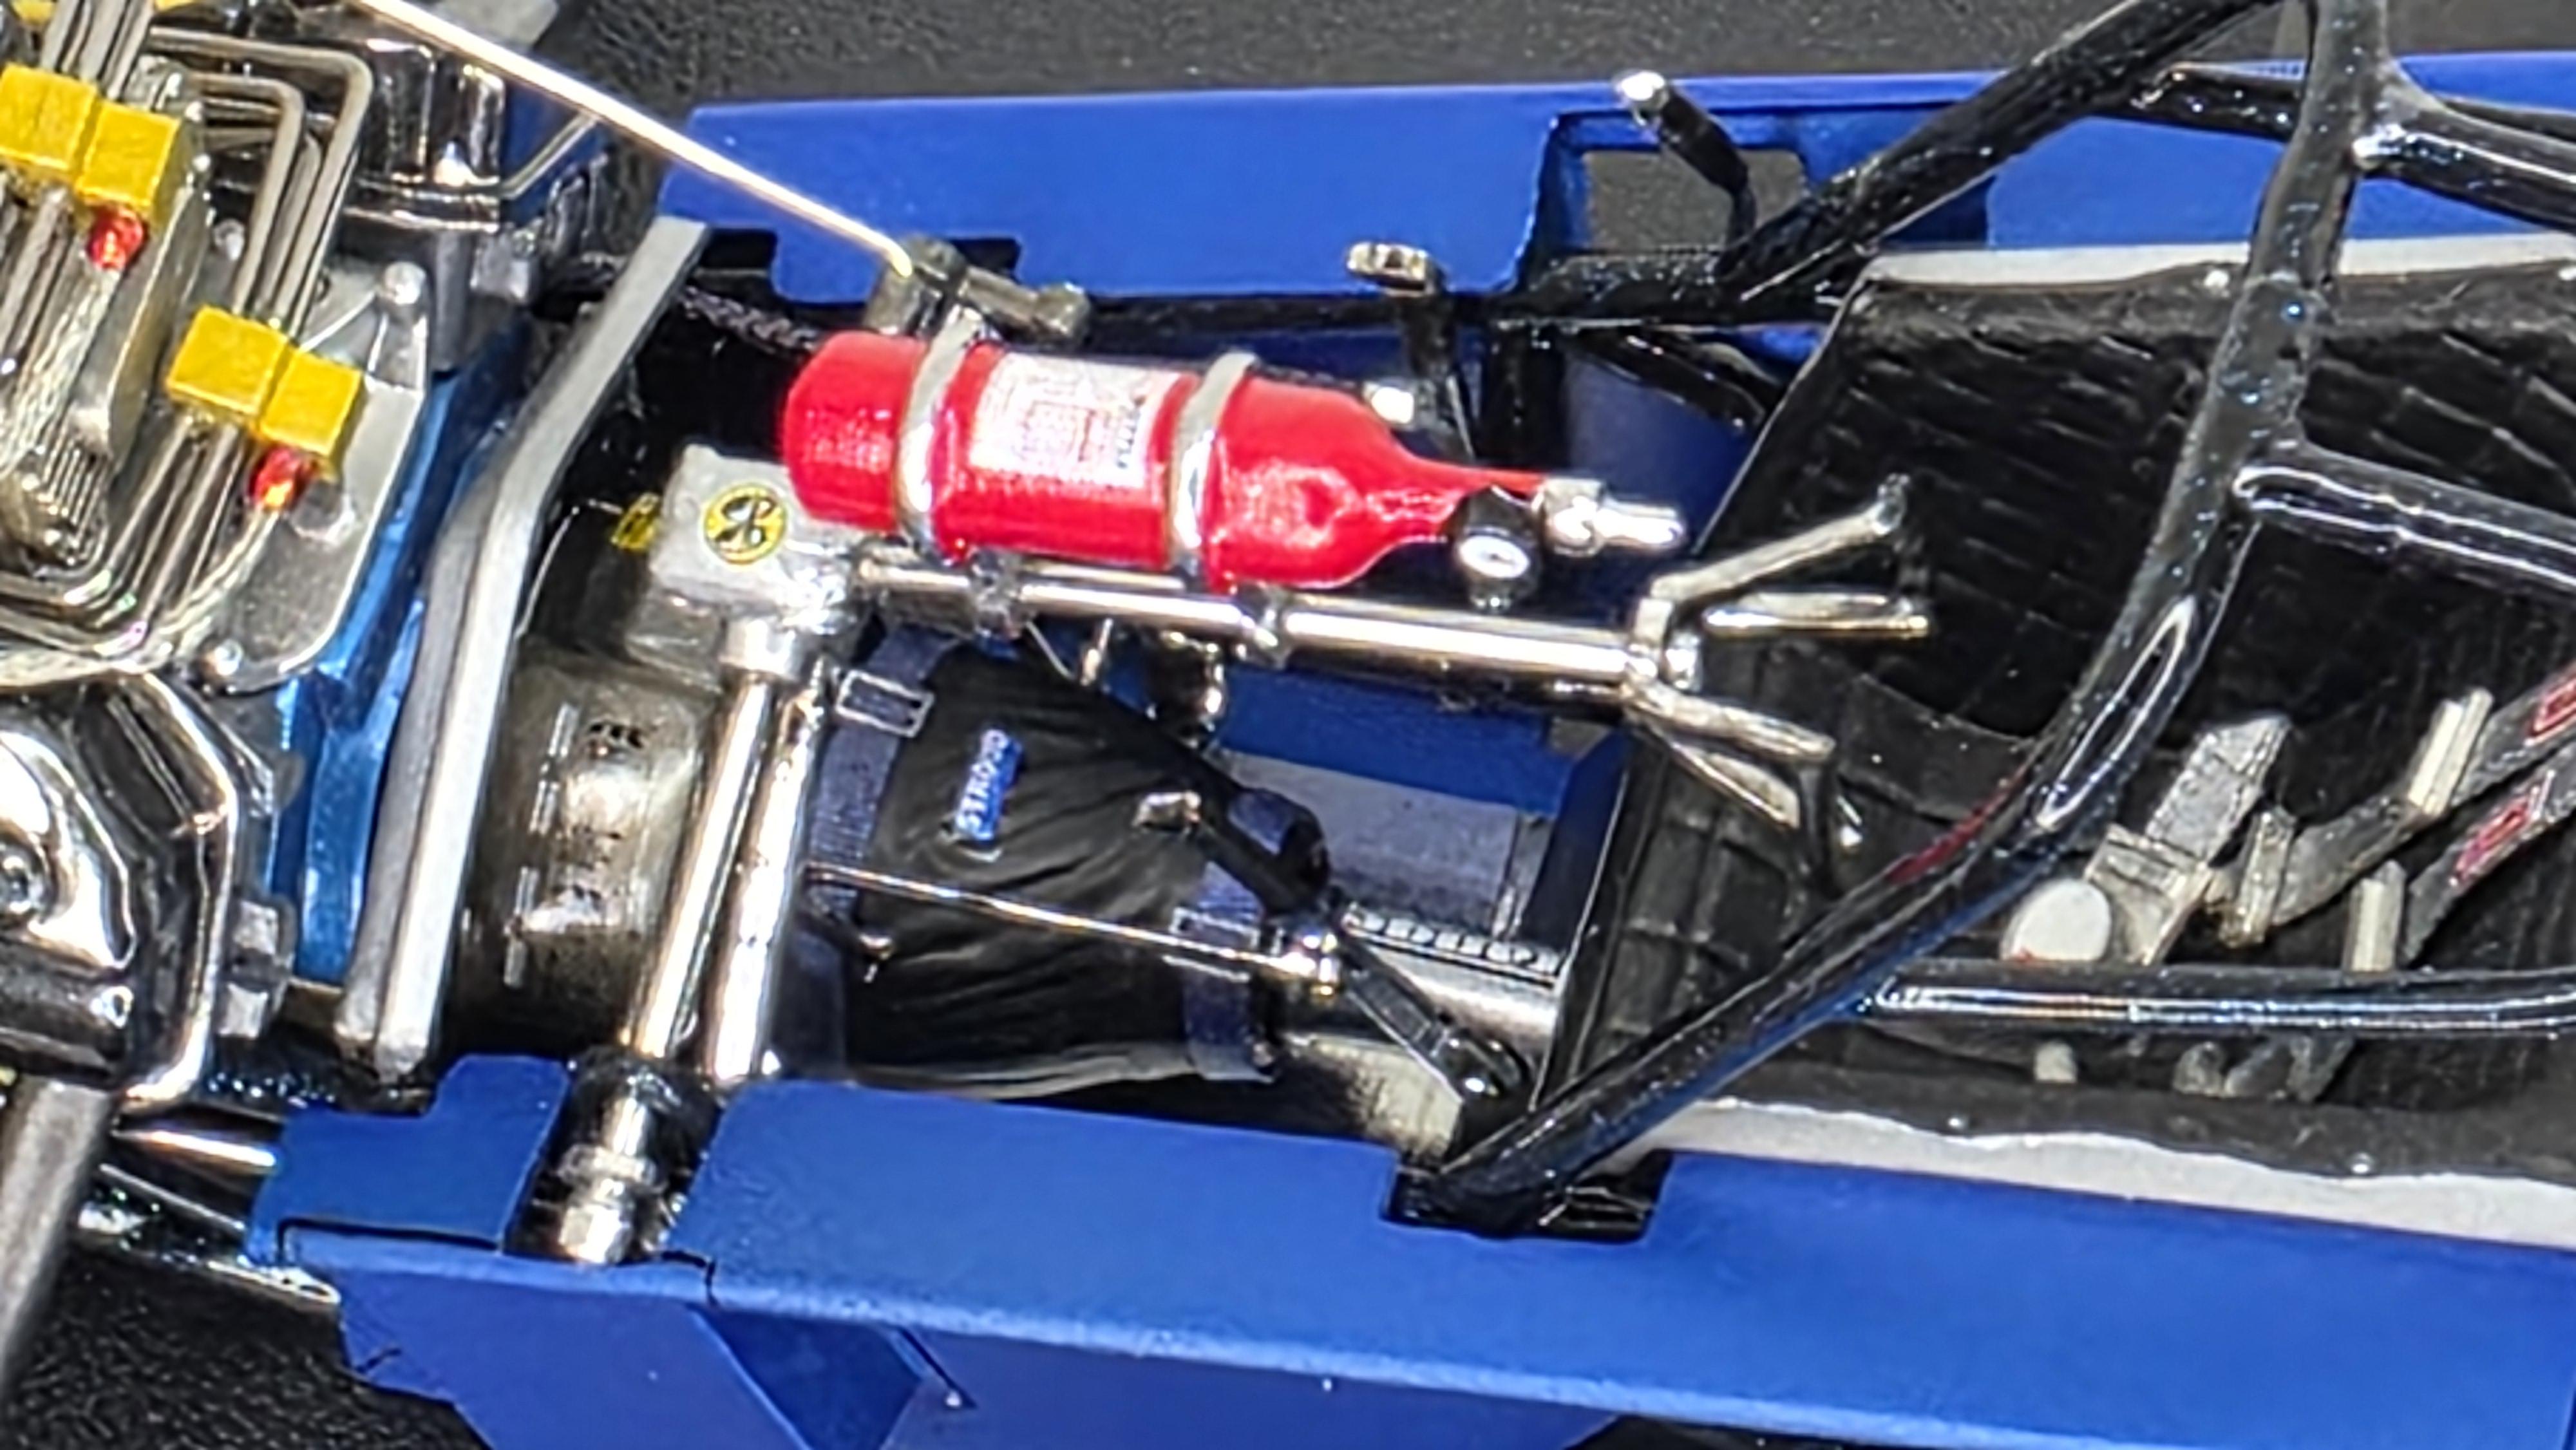
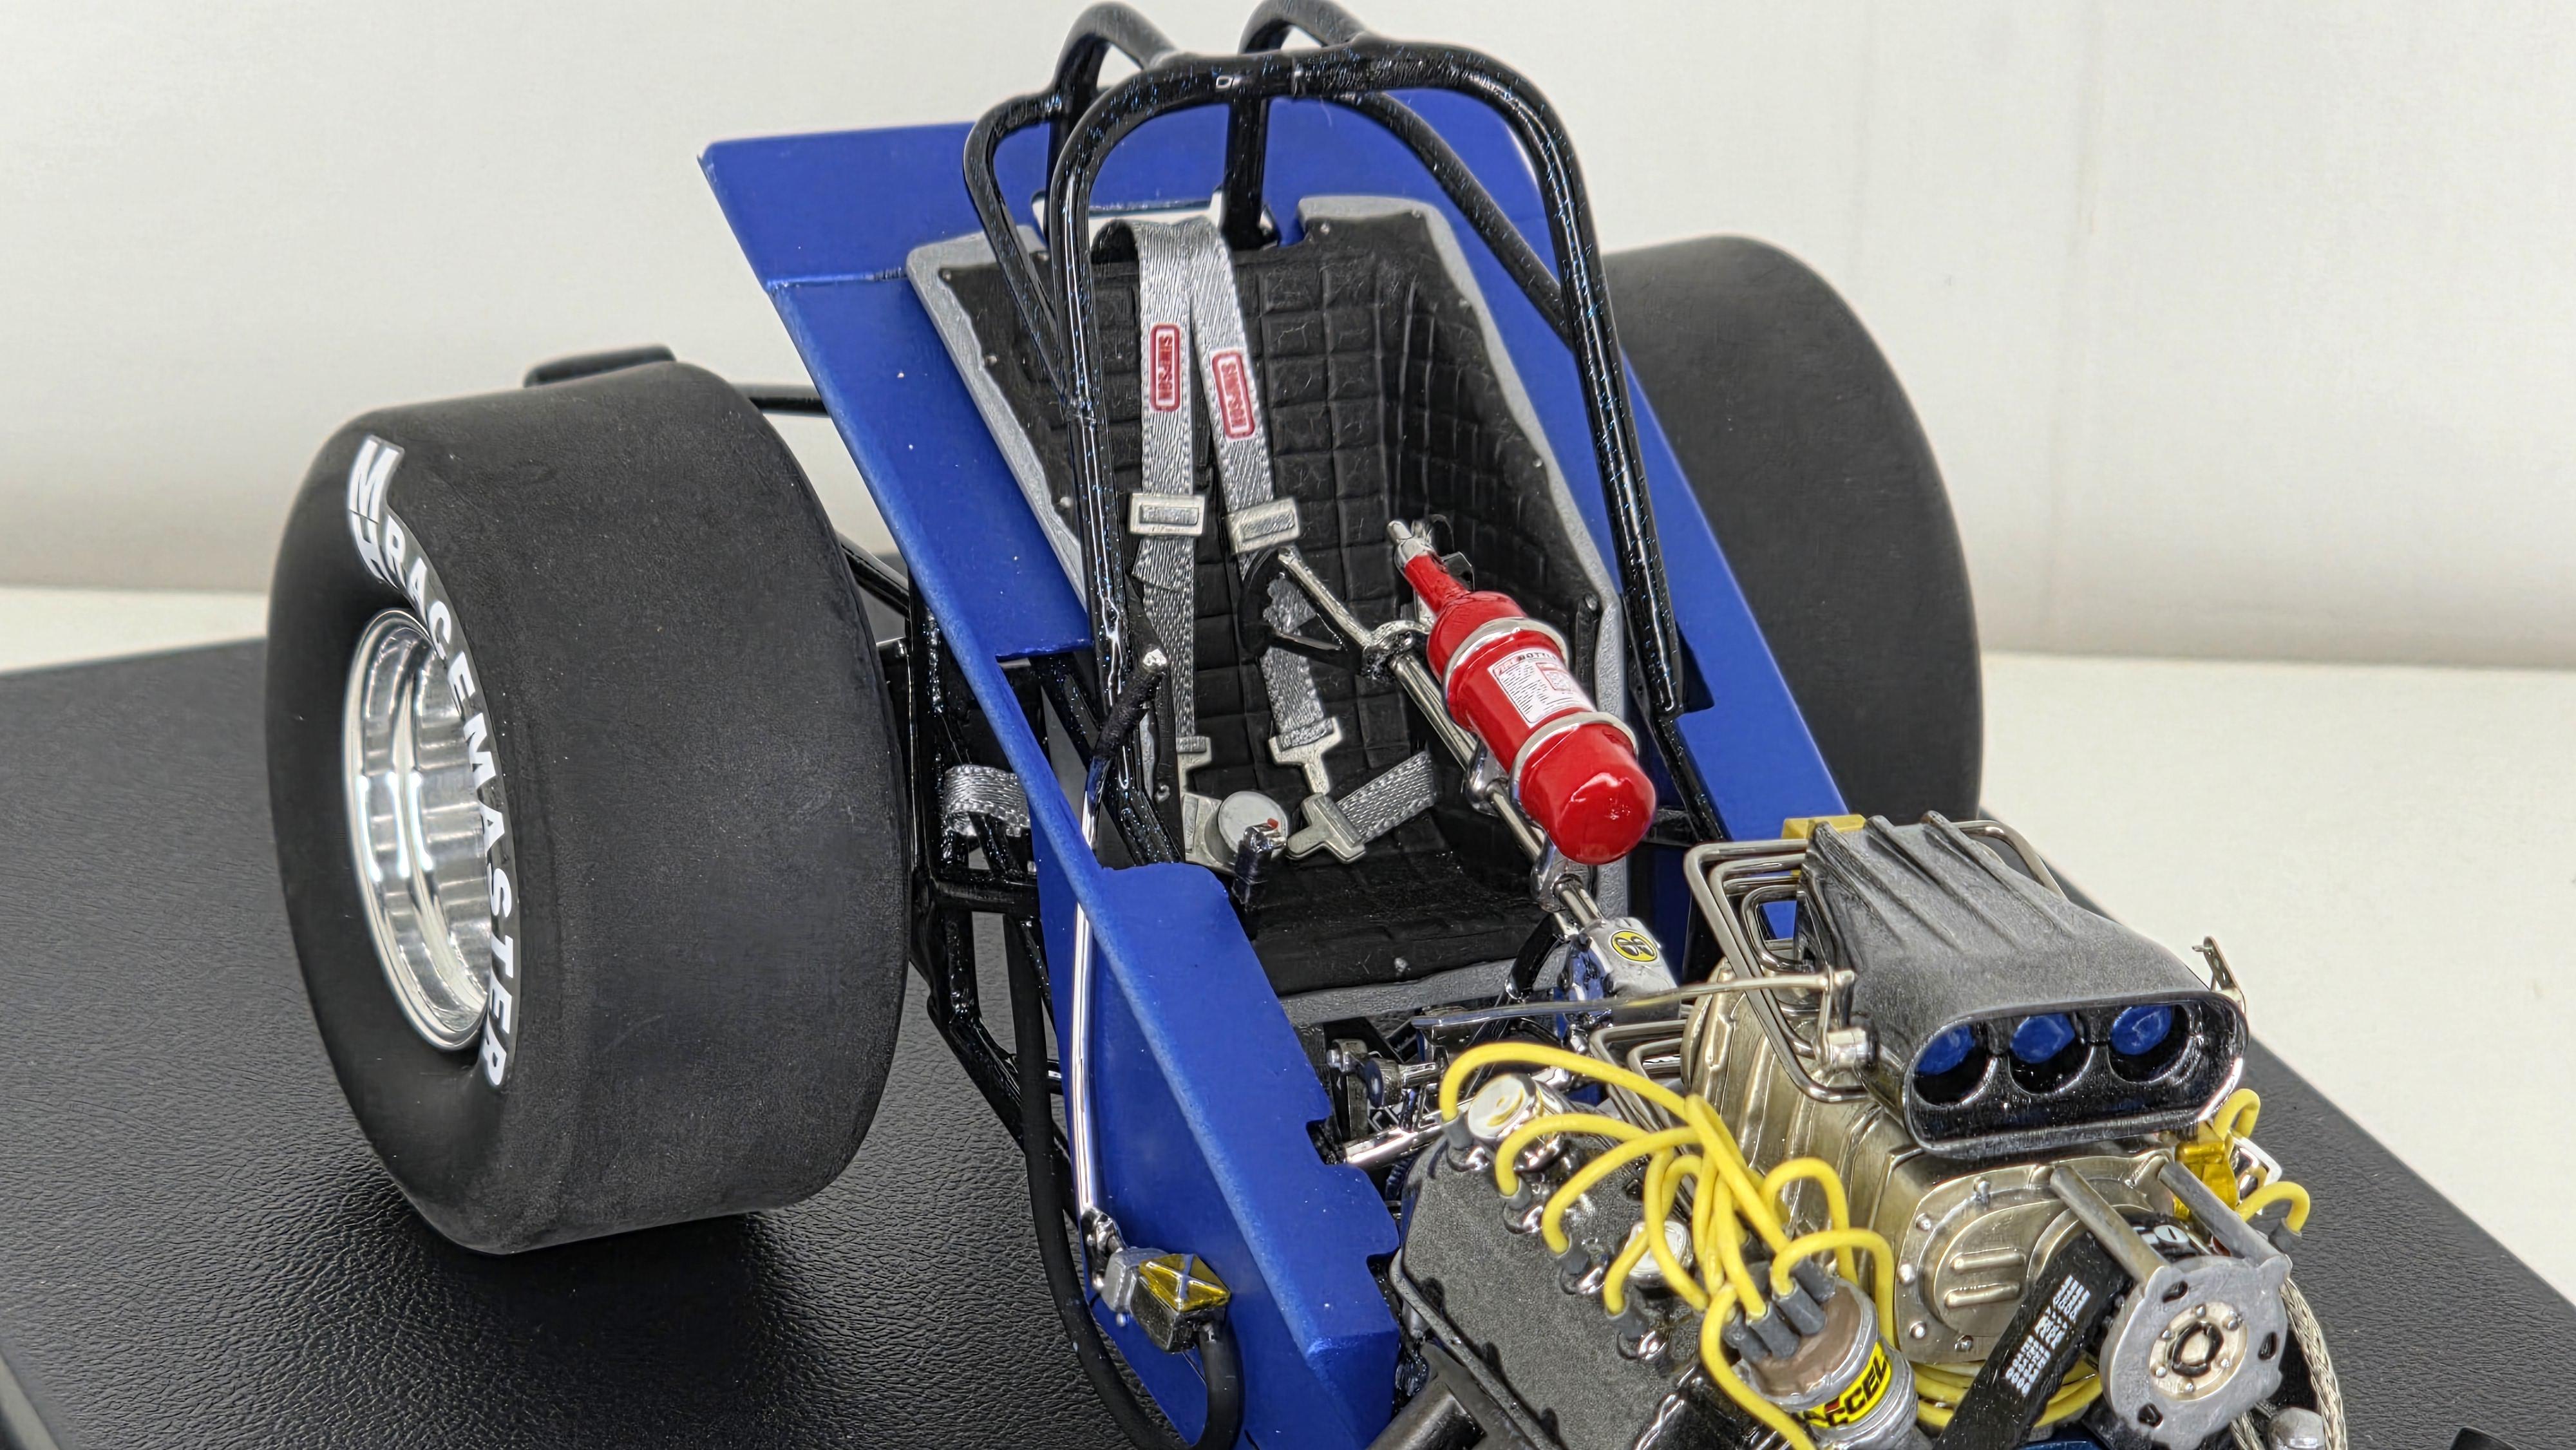
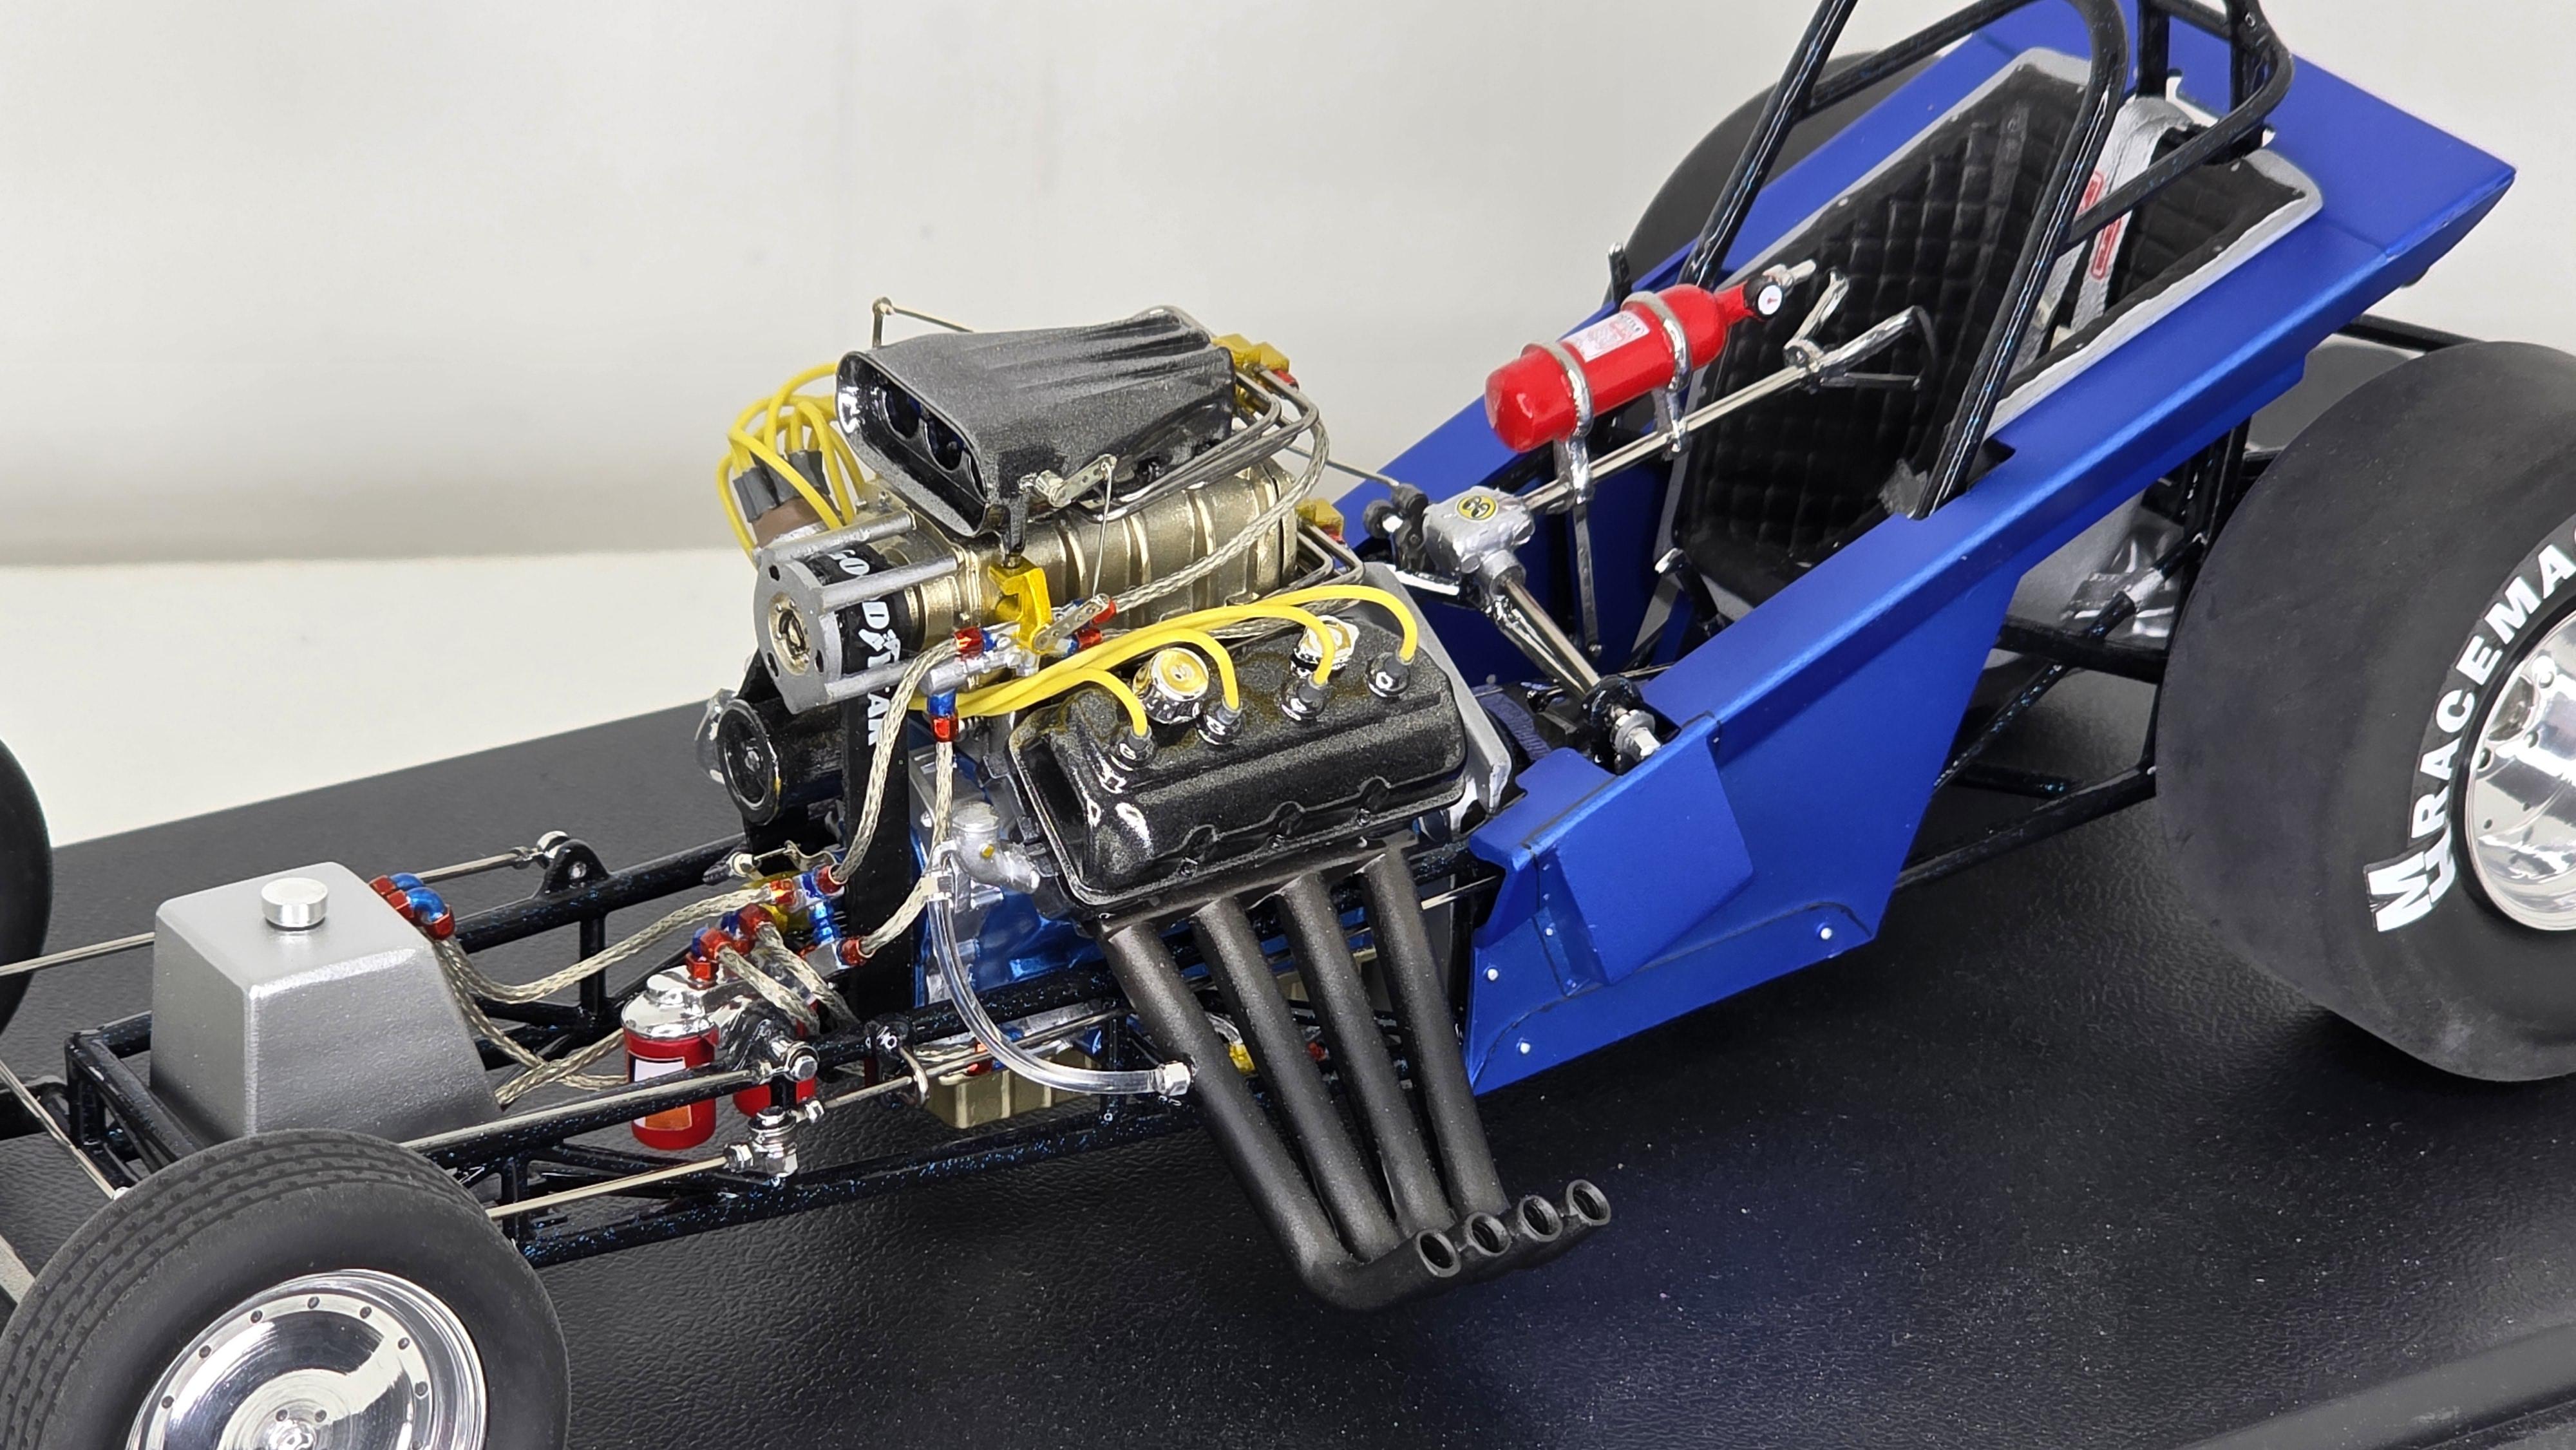
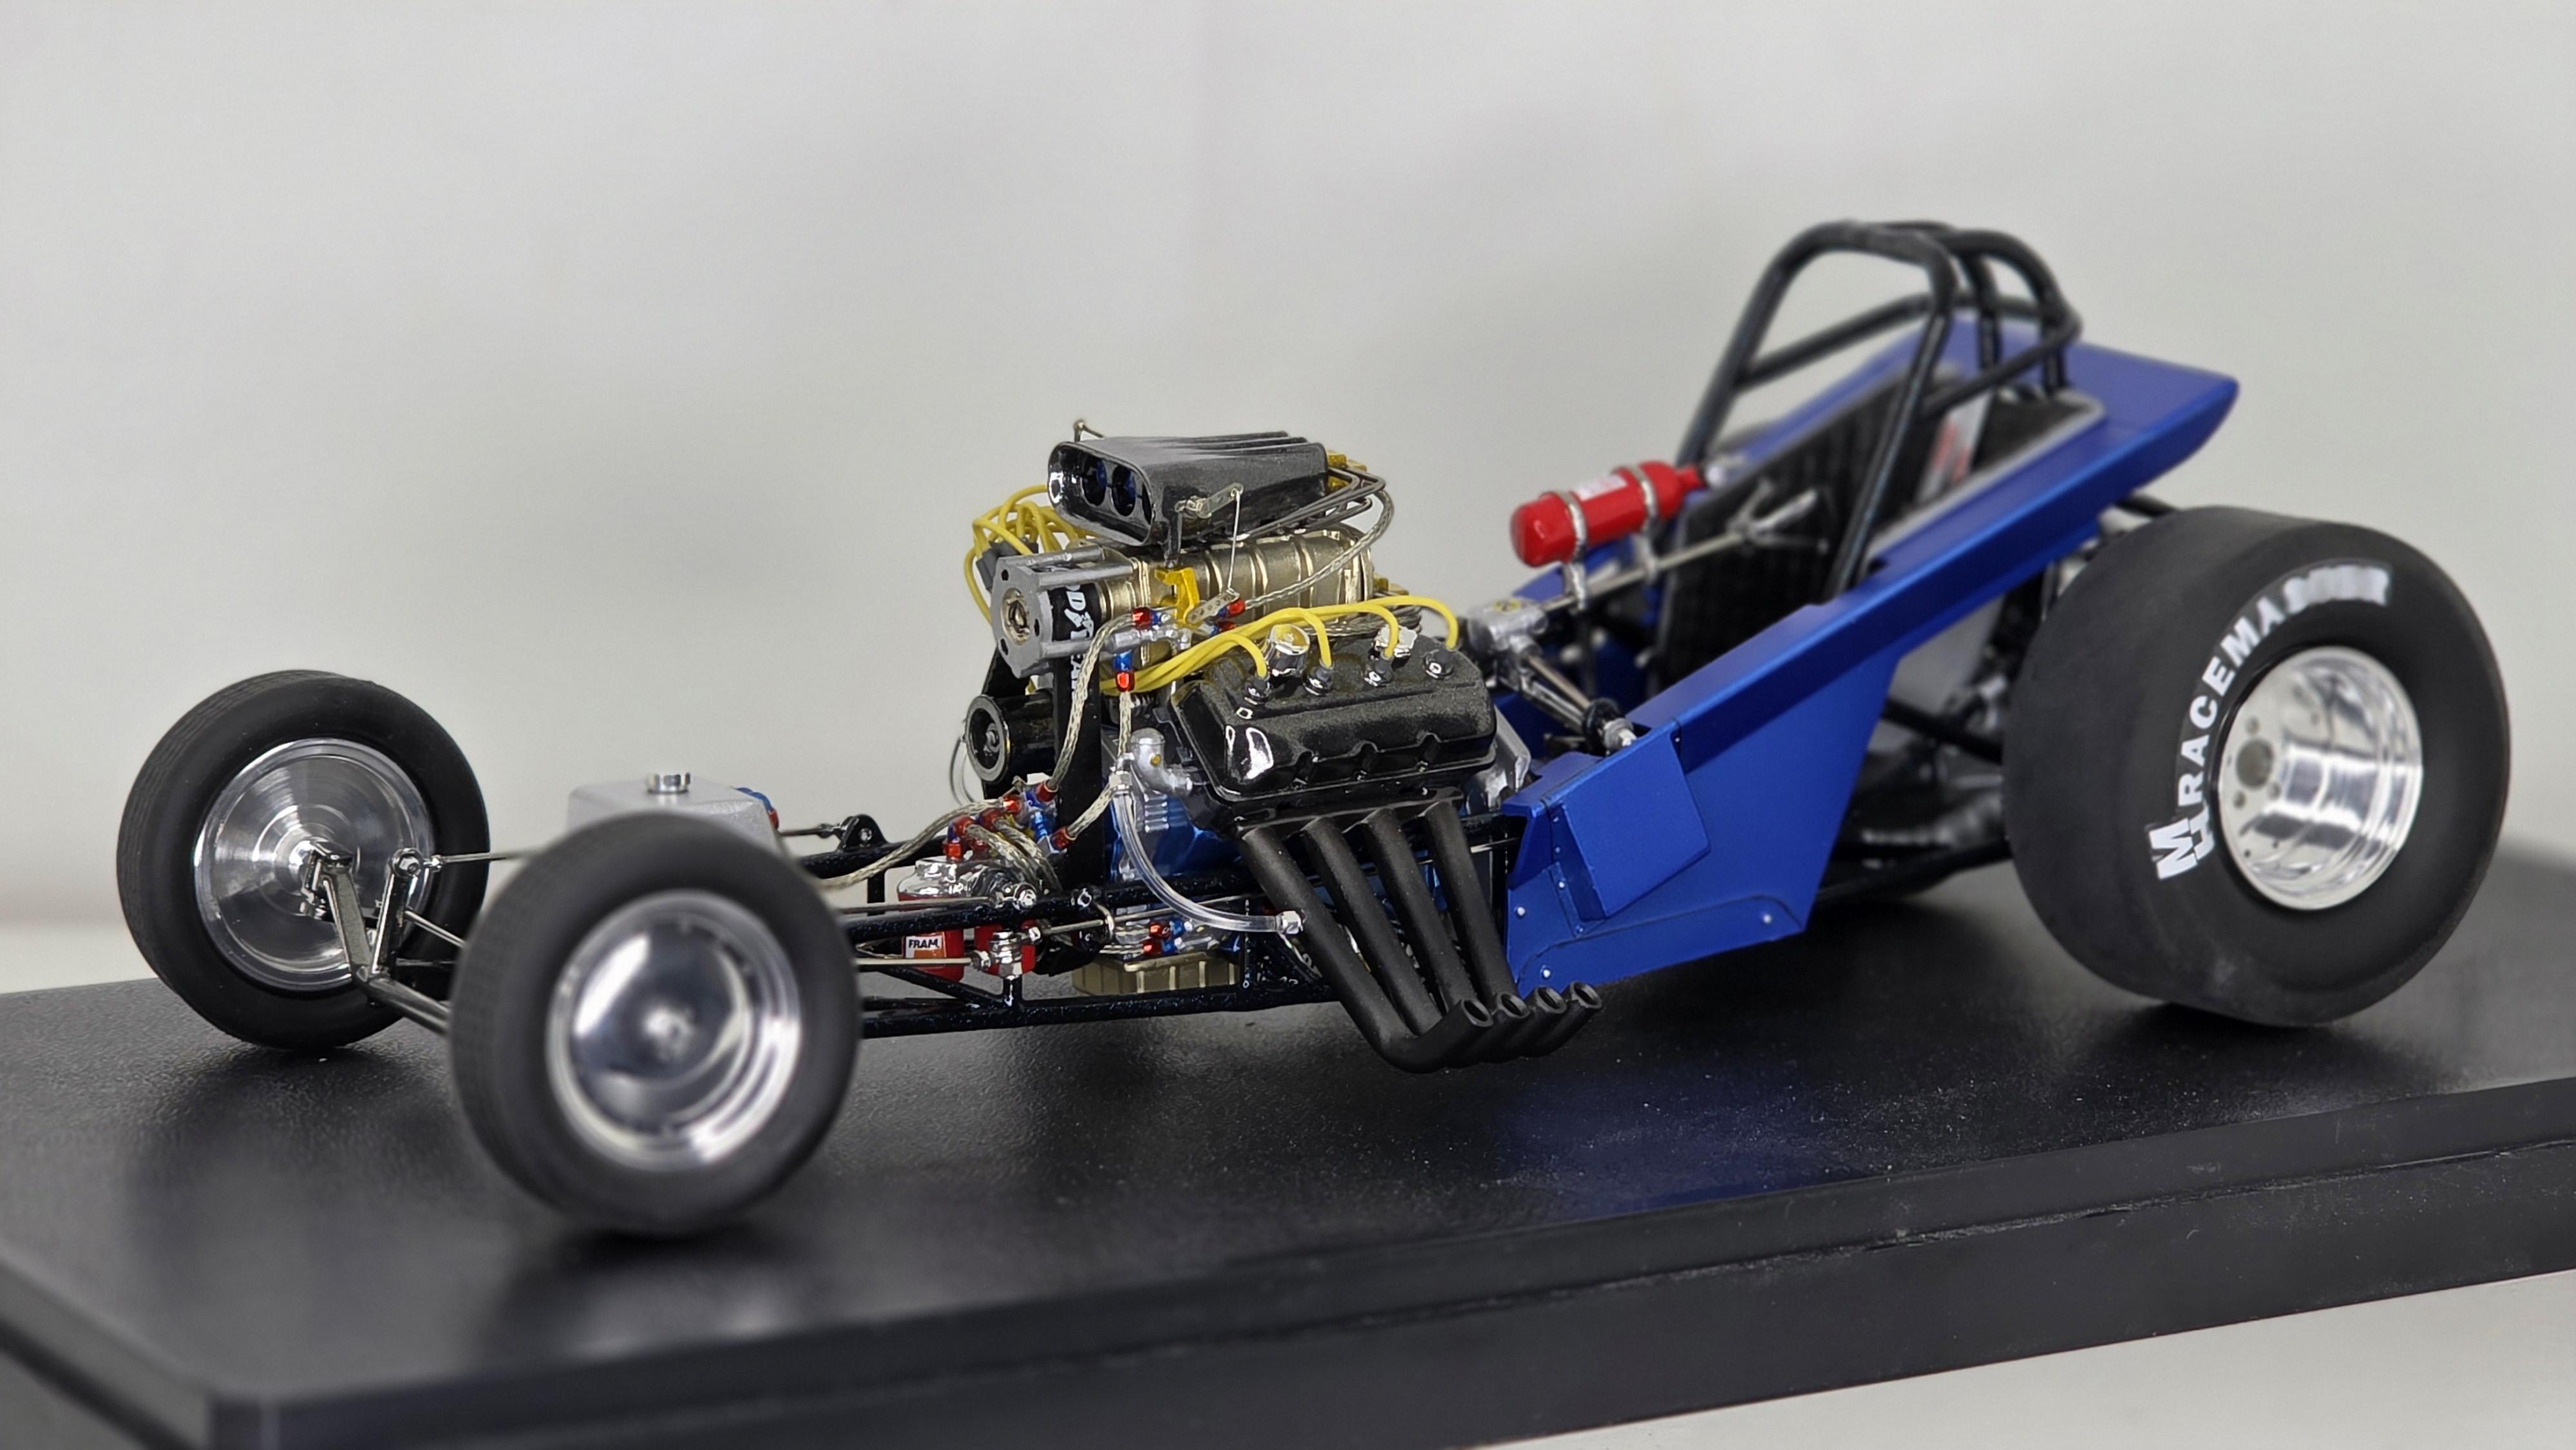
Here are the finished pictures of the build. Lots of Photo-Etched parts, as well as stainless steel and aluminum rods and wires were used. All of the plumbing, hoses and wires are aftermarket, I used none of the stuff that came with the kit. Wheels are spun aluminum from Dancing Bear Scaled Components. Decals are from Atlantis as well as from Chuck Boerner and Slixx. Lots of aftermarket work has been done to it. #ImagineBuildEnjoy
-
Mickey Thompson US Marines Funny Car
Katsusauce replied to Katsusauce's topic in WIP: Drag Racing Models
Body is done. I used decals from the Atlantis kit, as well as decals from Chuck Boerner, and Slixx. Paint is All Nipon Airways Light Pearl Blue with Acme Finish1 2k matte clear.
-
Mickey Thompson US Marines Funny Car
Katsusauce replied to Katsusauce's topic in WIP: Drag Racing Models
Thank you very much 🙏🙏🙏 -
Mickey Thompson US Marines Funny Car
Katsusauce replied to Katsusauce's topic in WIP: Drag Racing Models
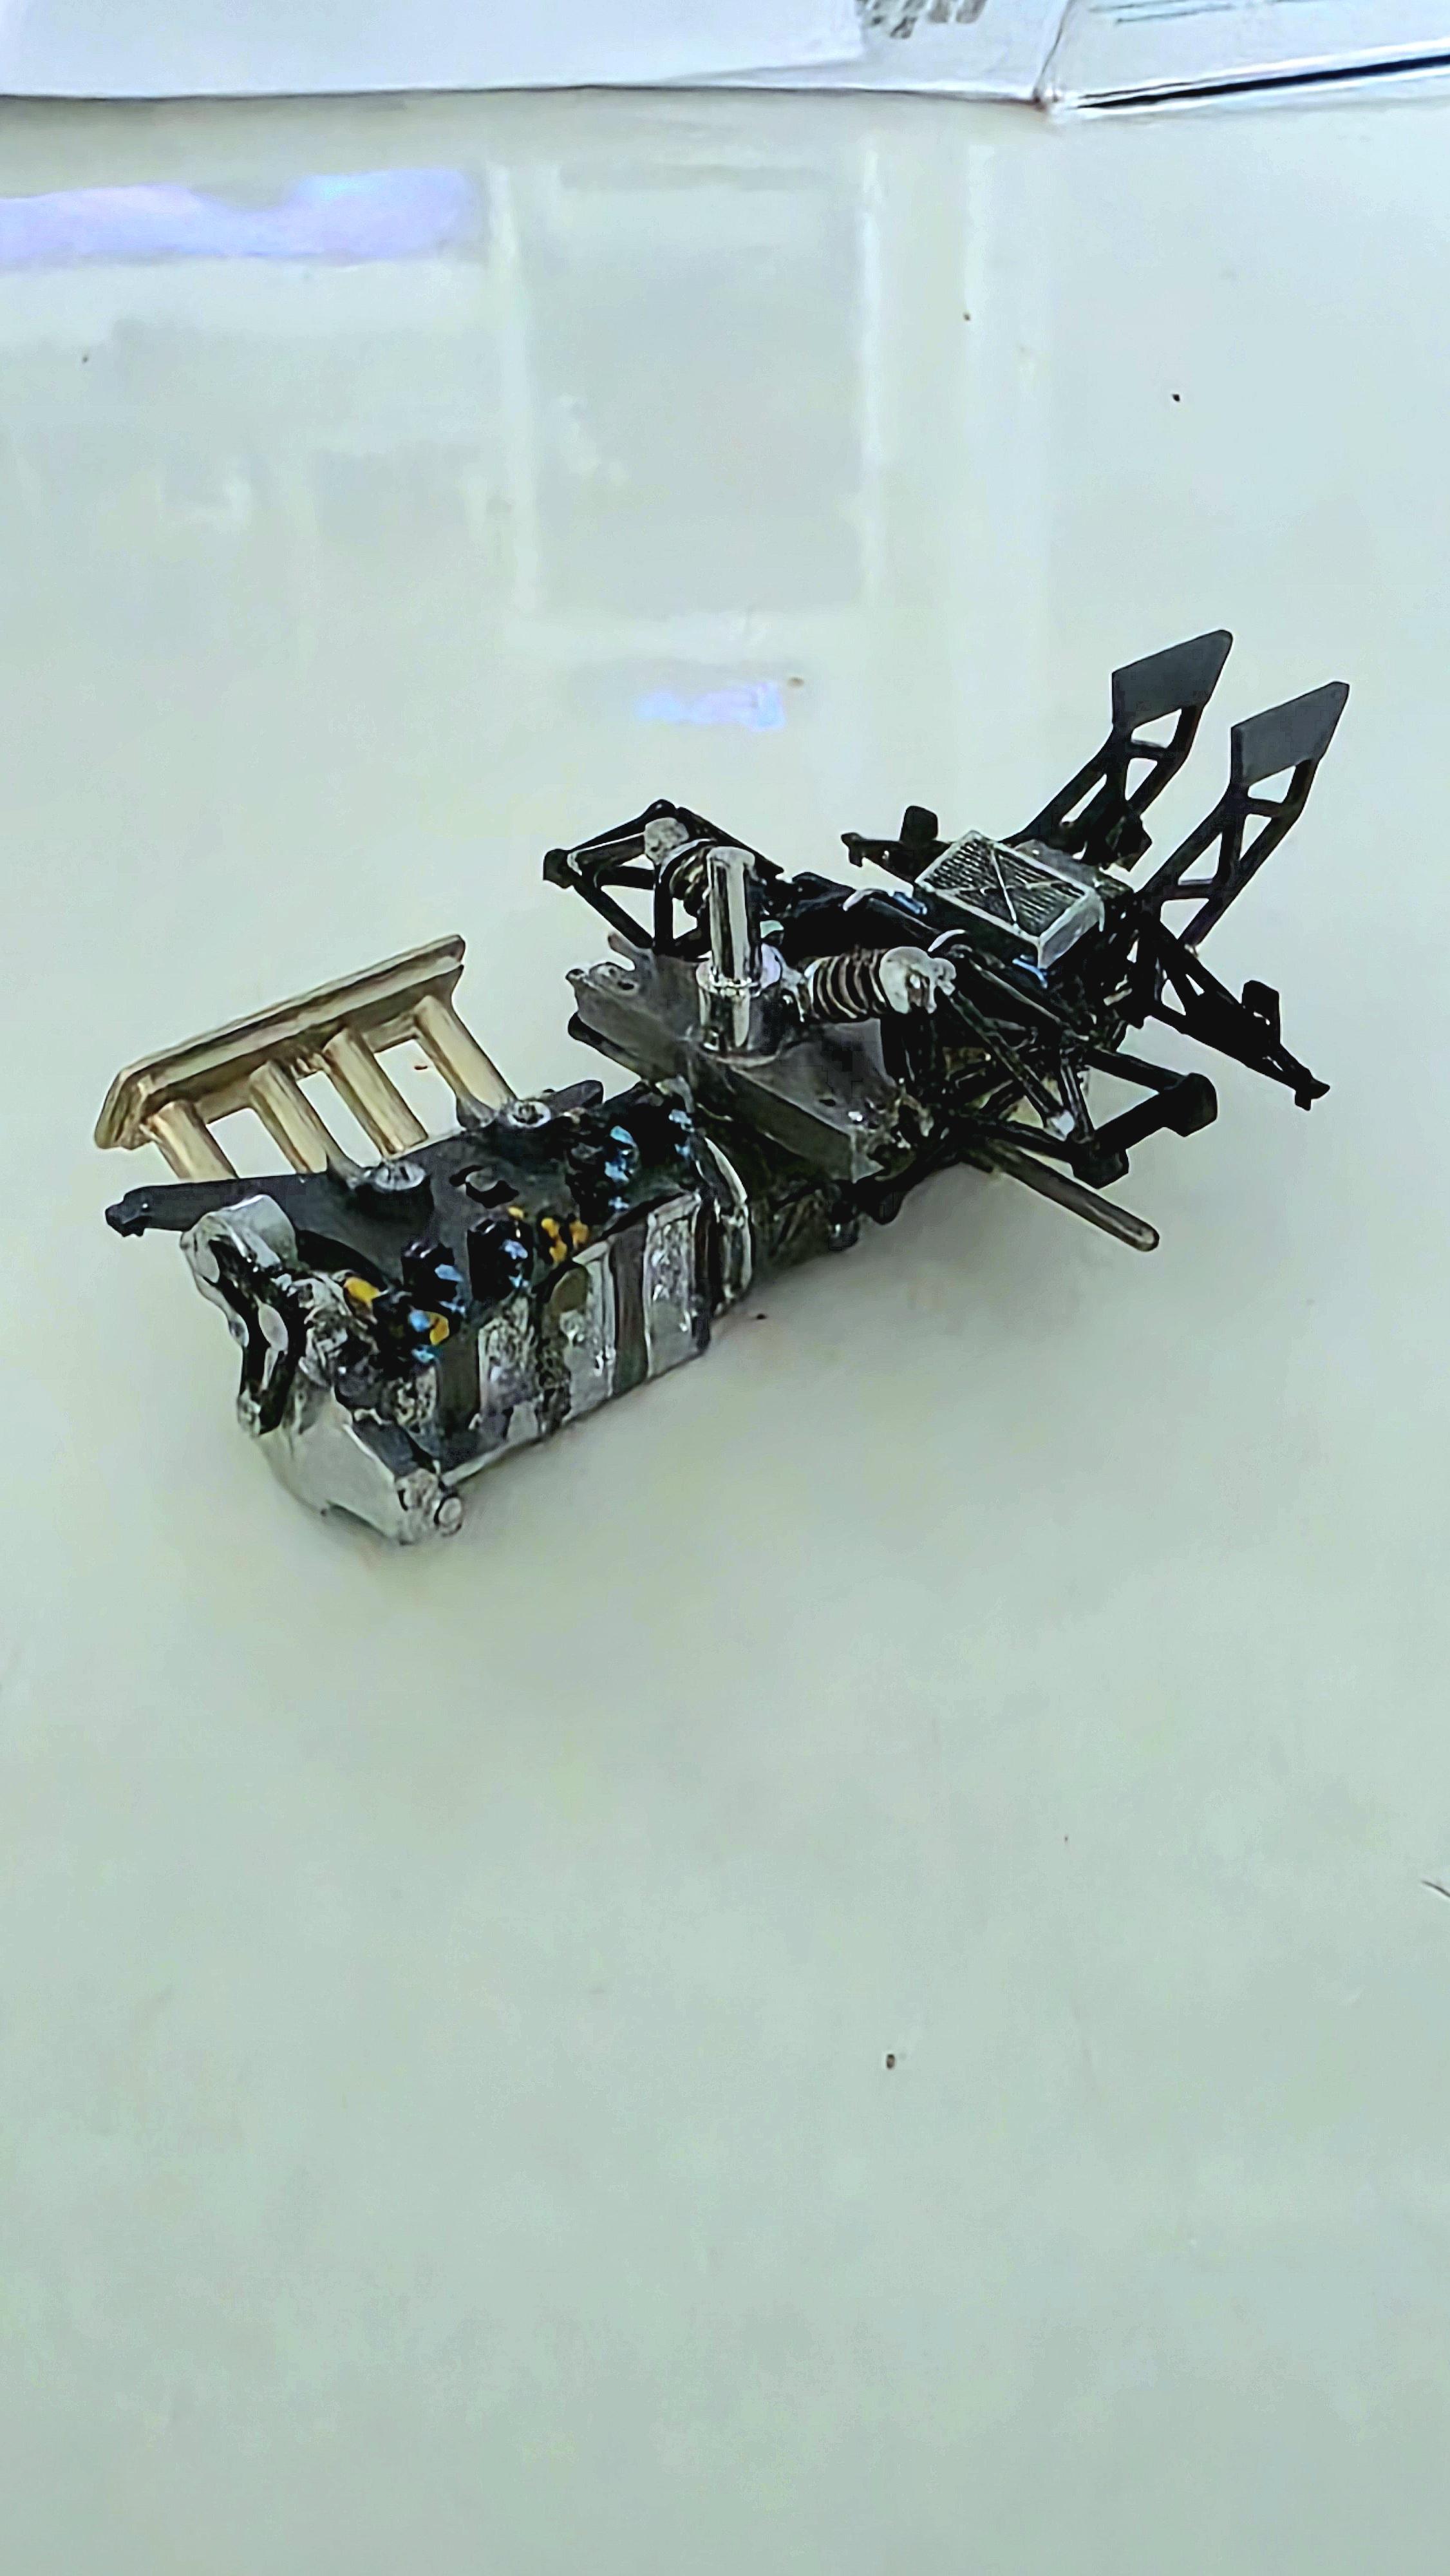
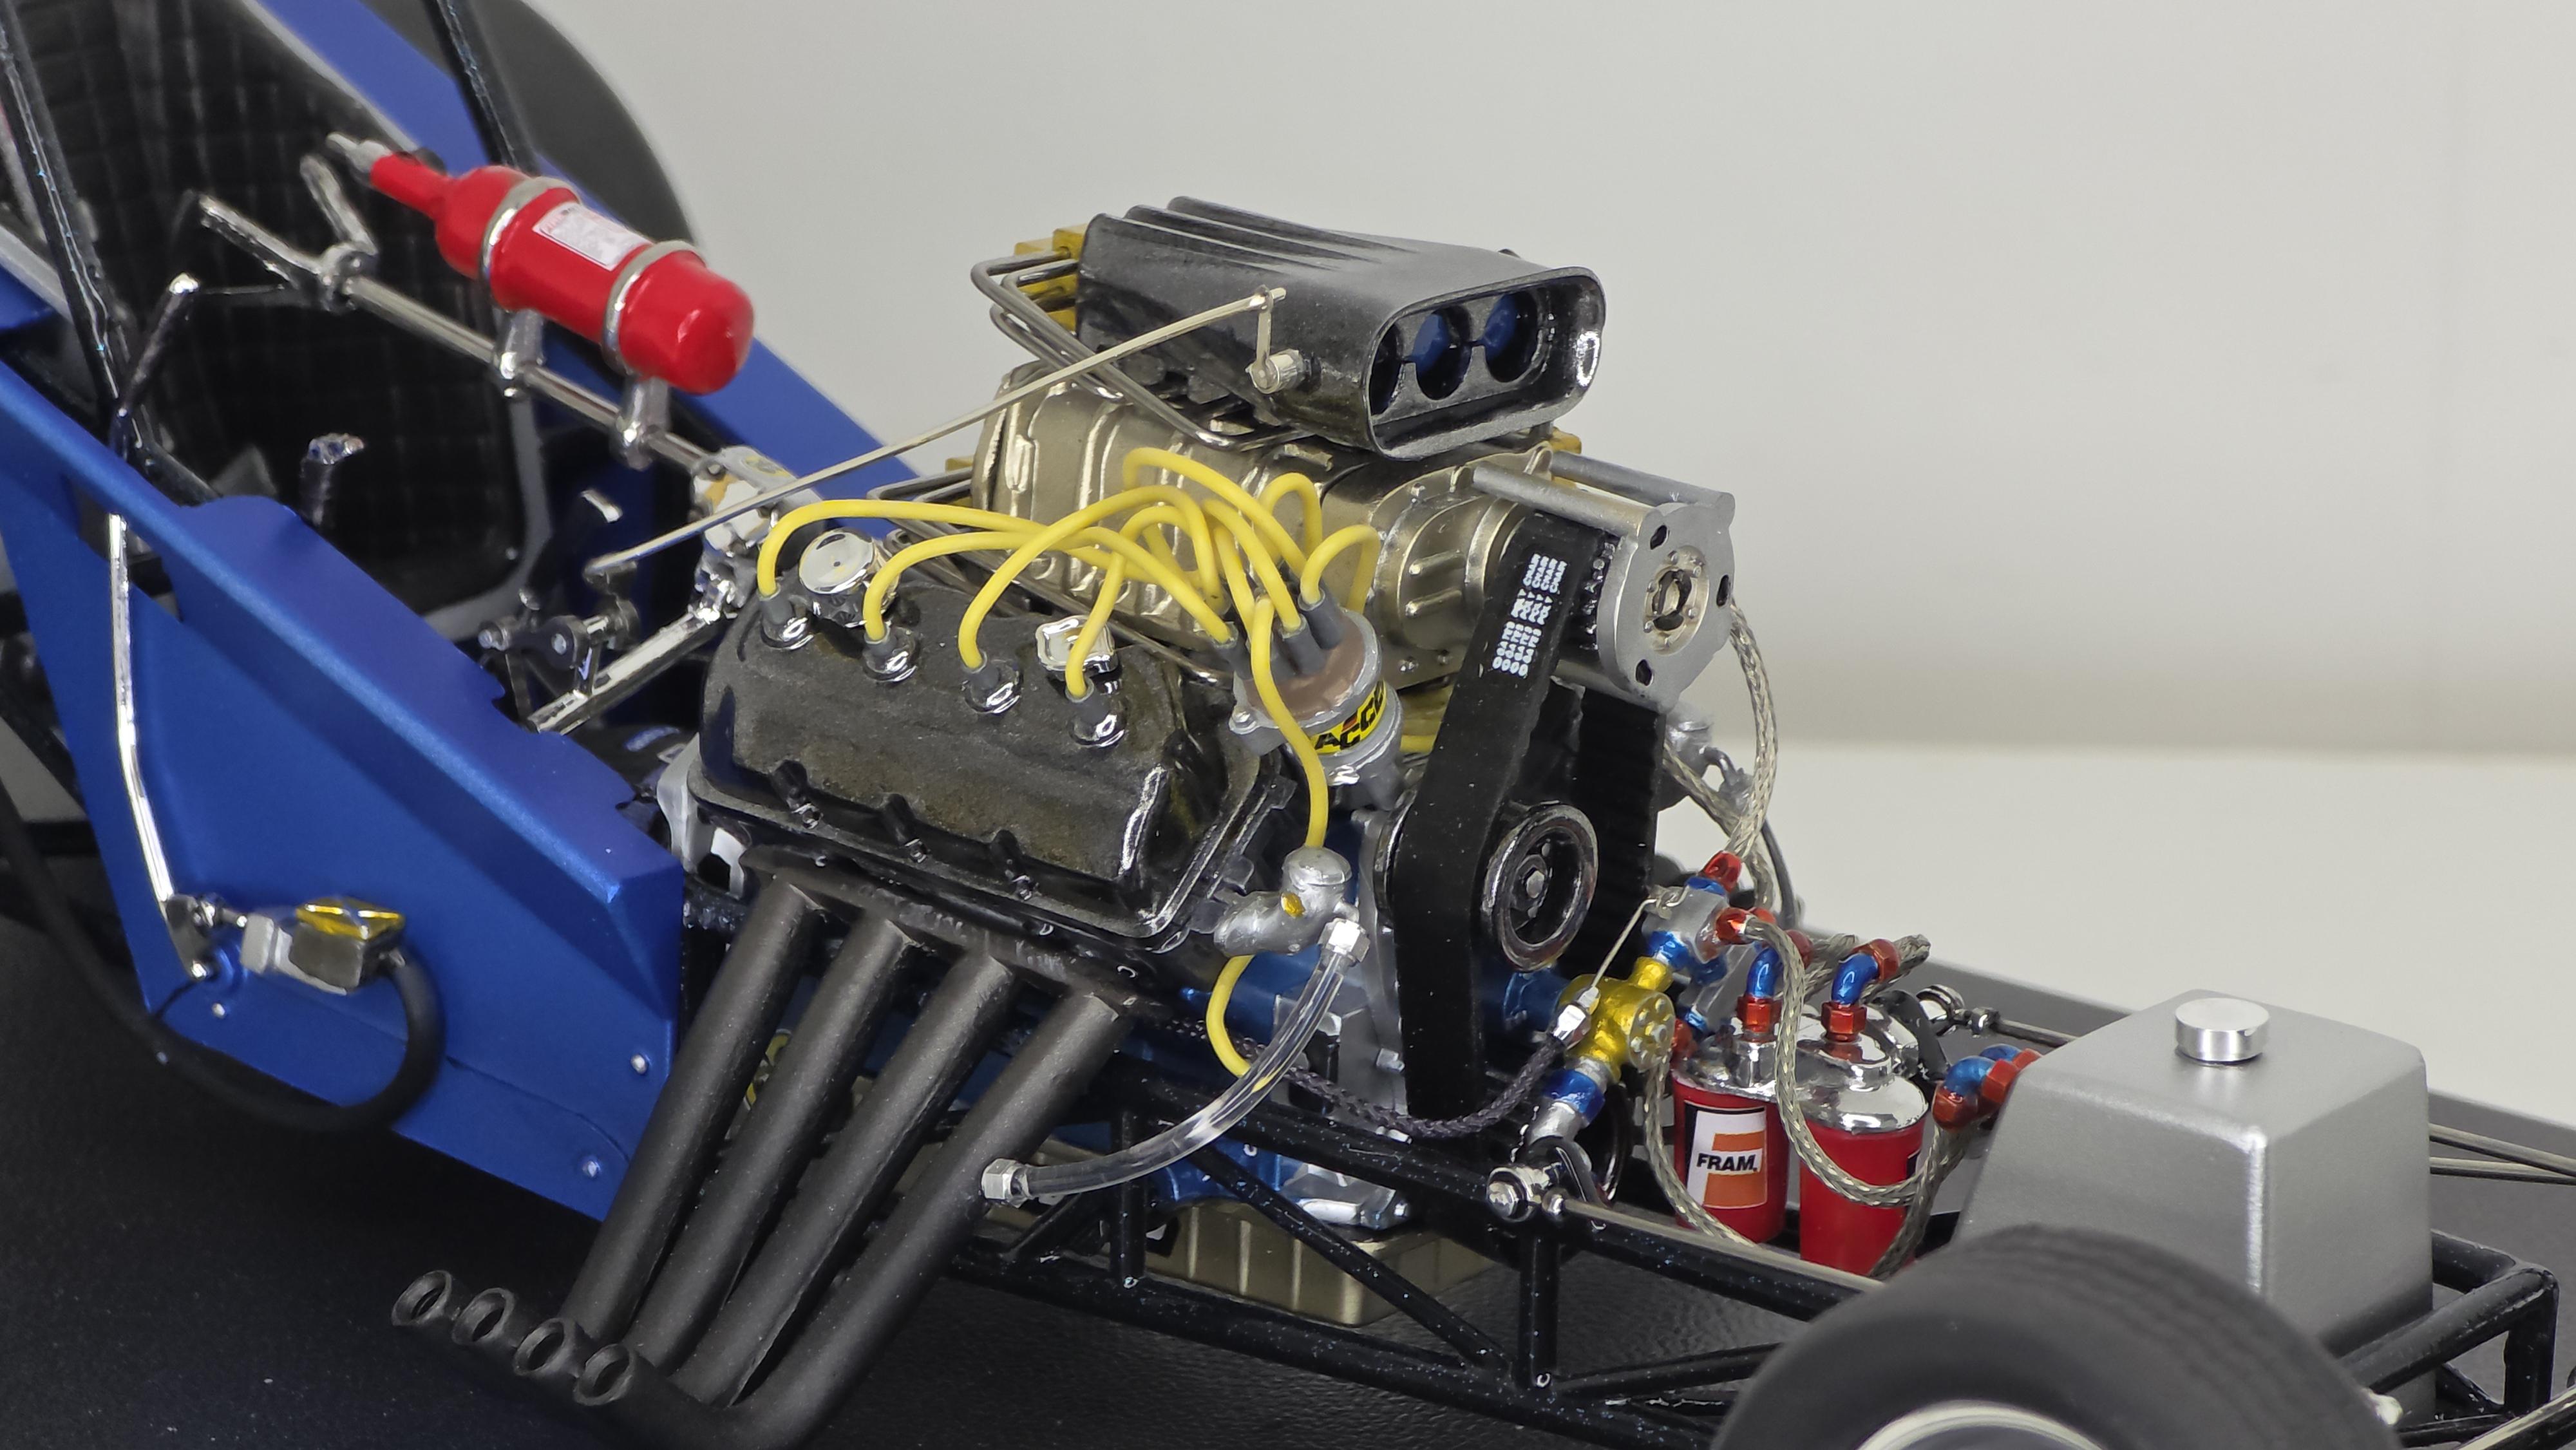
The braided lines are from Detai Master, same as the AN Fittings. The 90° AN Fittings are 3d printed parts.