dust collectors
-
Posts
264 -
Joined
-
Last visited
Content Type
Profiles
Forums
Events
Gallery
Everything posted by dust collectors
-

30 Model A Vicky Gasser.....
dust collectors replied to NitroMarty's topic in WIP: Drag Racing Models
That thing is looking mean. -
That little 4 door sitting on Saab 3 spokes is a nice looking build.
-
Dodge D-50
dust collectors replied to dust collectors's topic in Model Trucks: Pickups, Vans, SUVs, Light Commercial
Man, what did they go for new?! -
Dodge D-50
dust collectors replied to dust collectors's topic in Model Trucks: Pickups, Vans, SUVs, Light Commercial
Thanks guys, this was a fun build. -
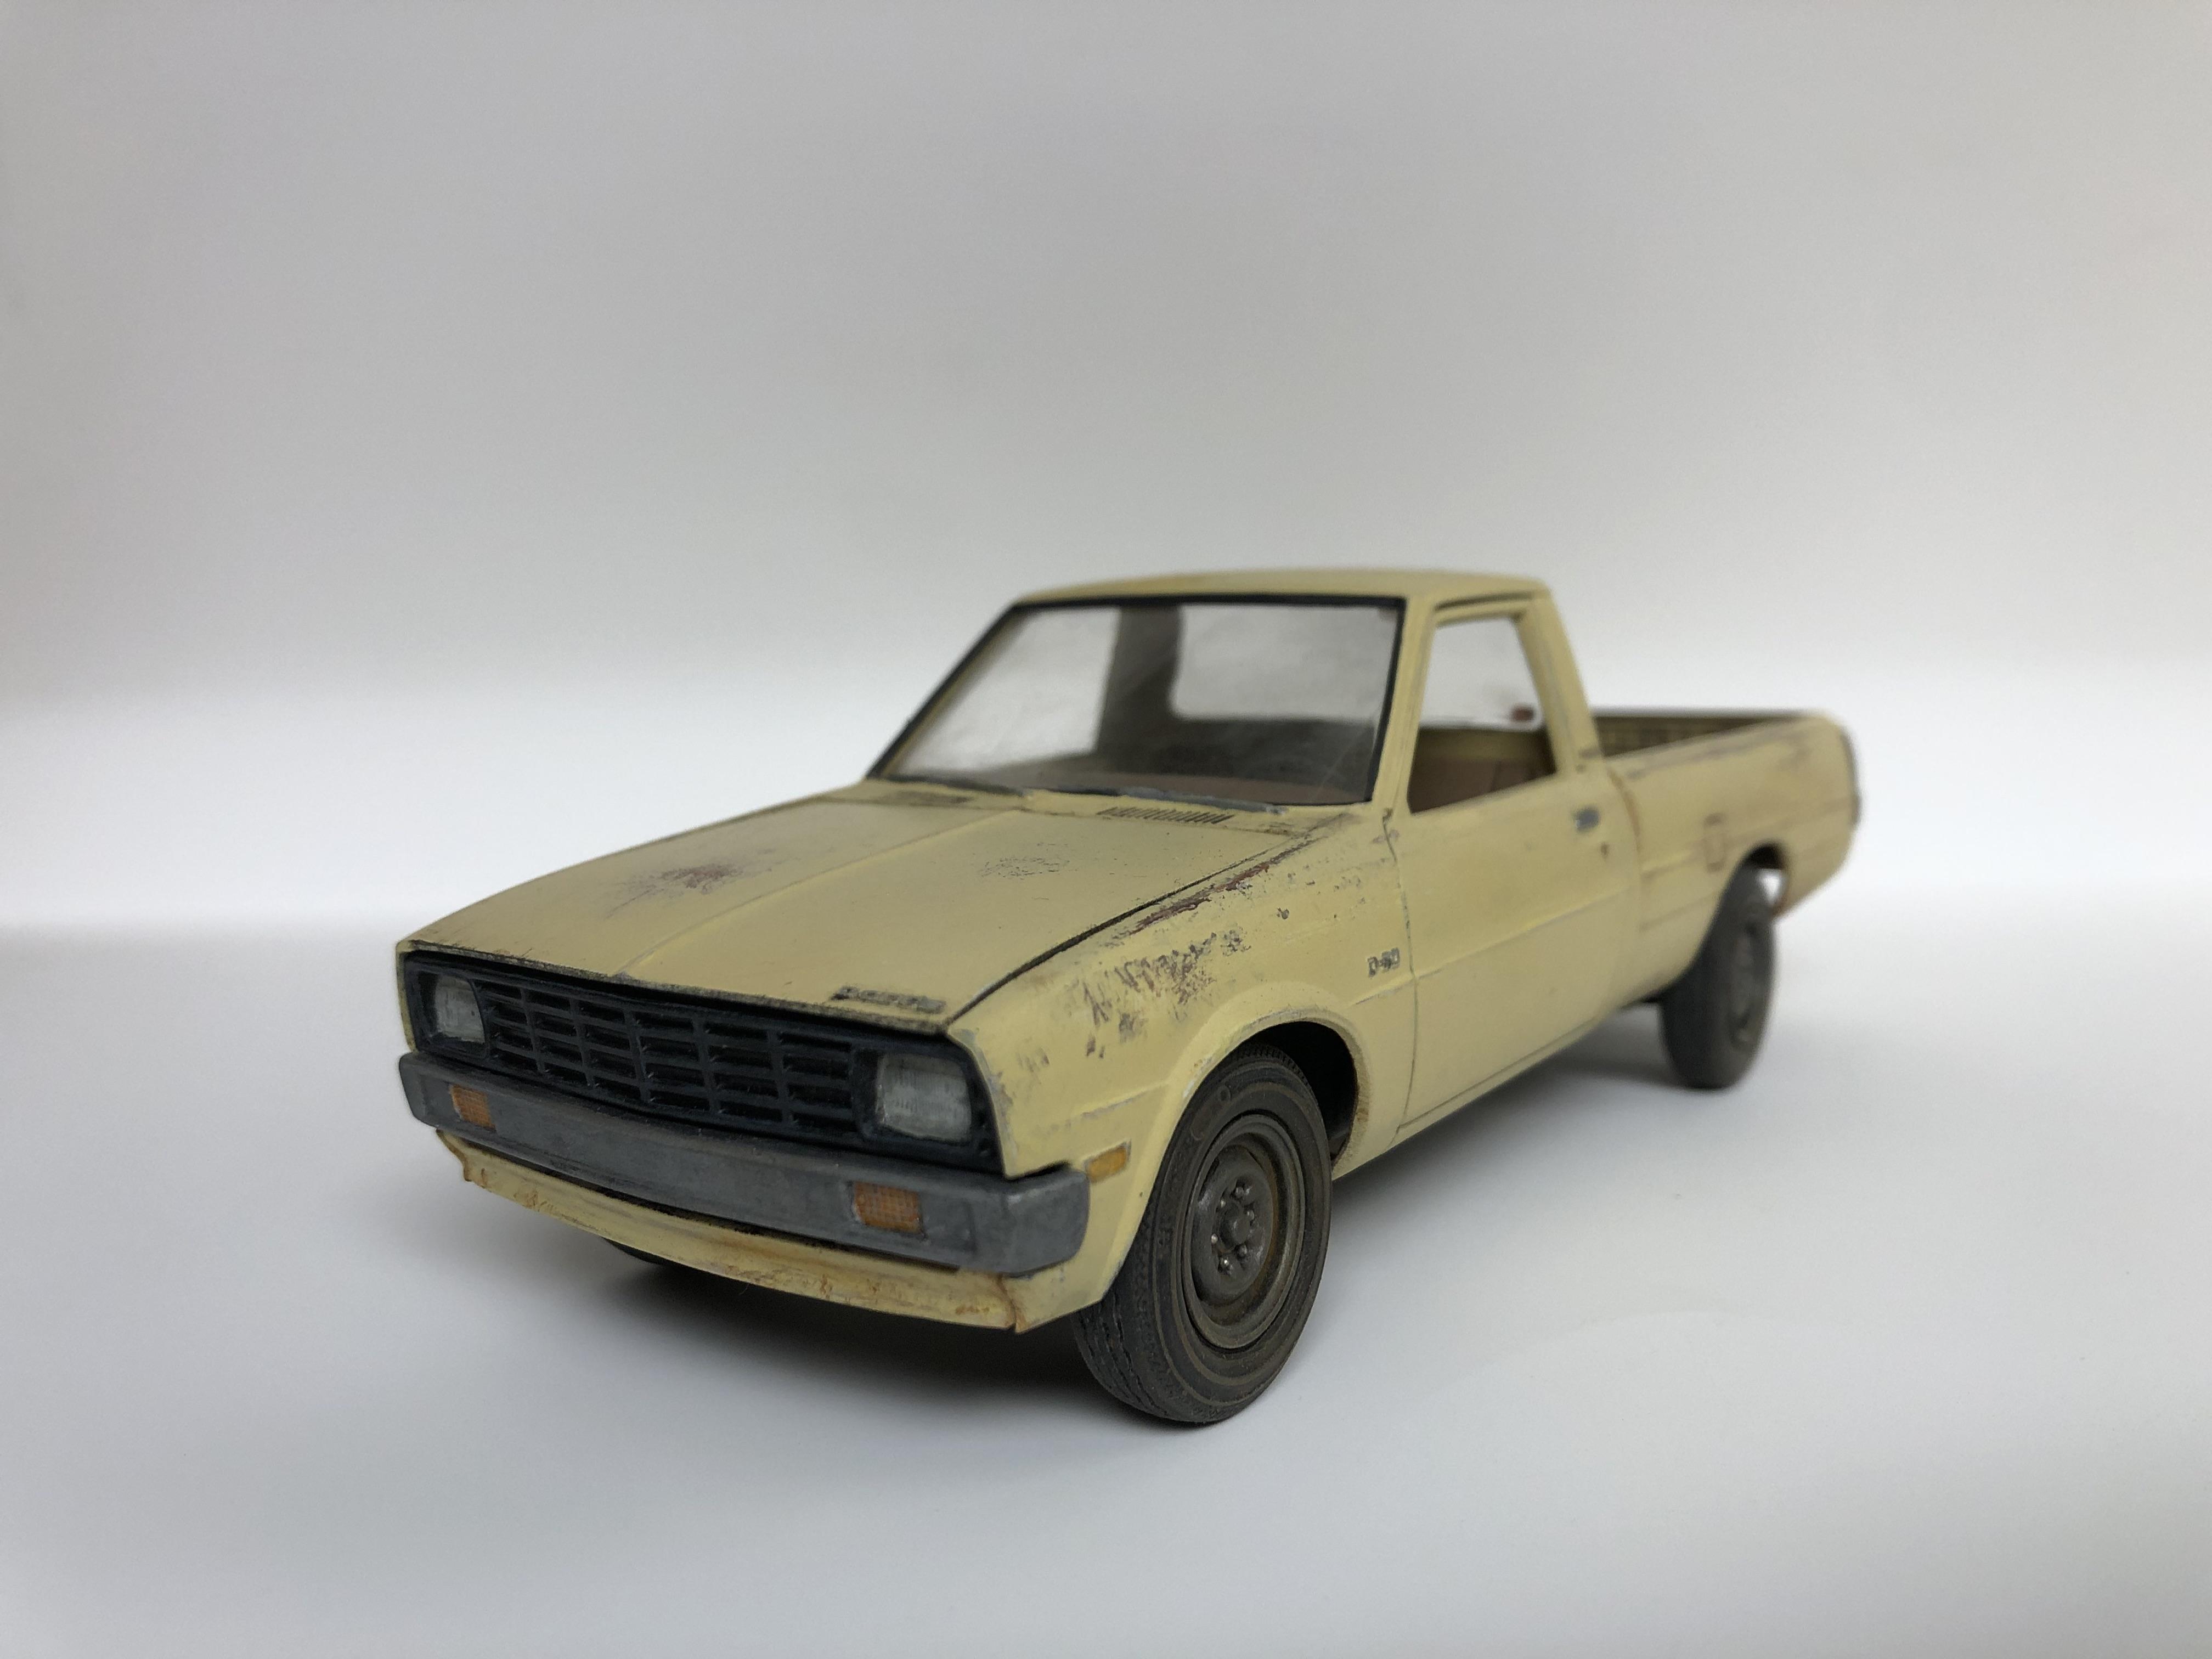
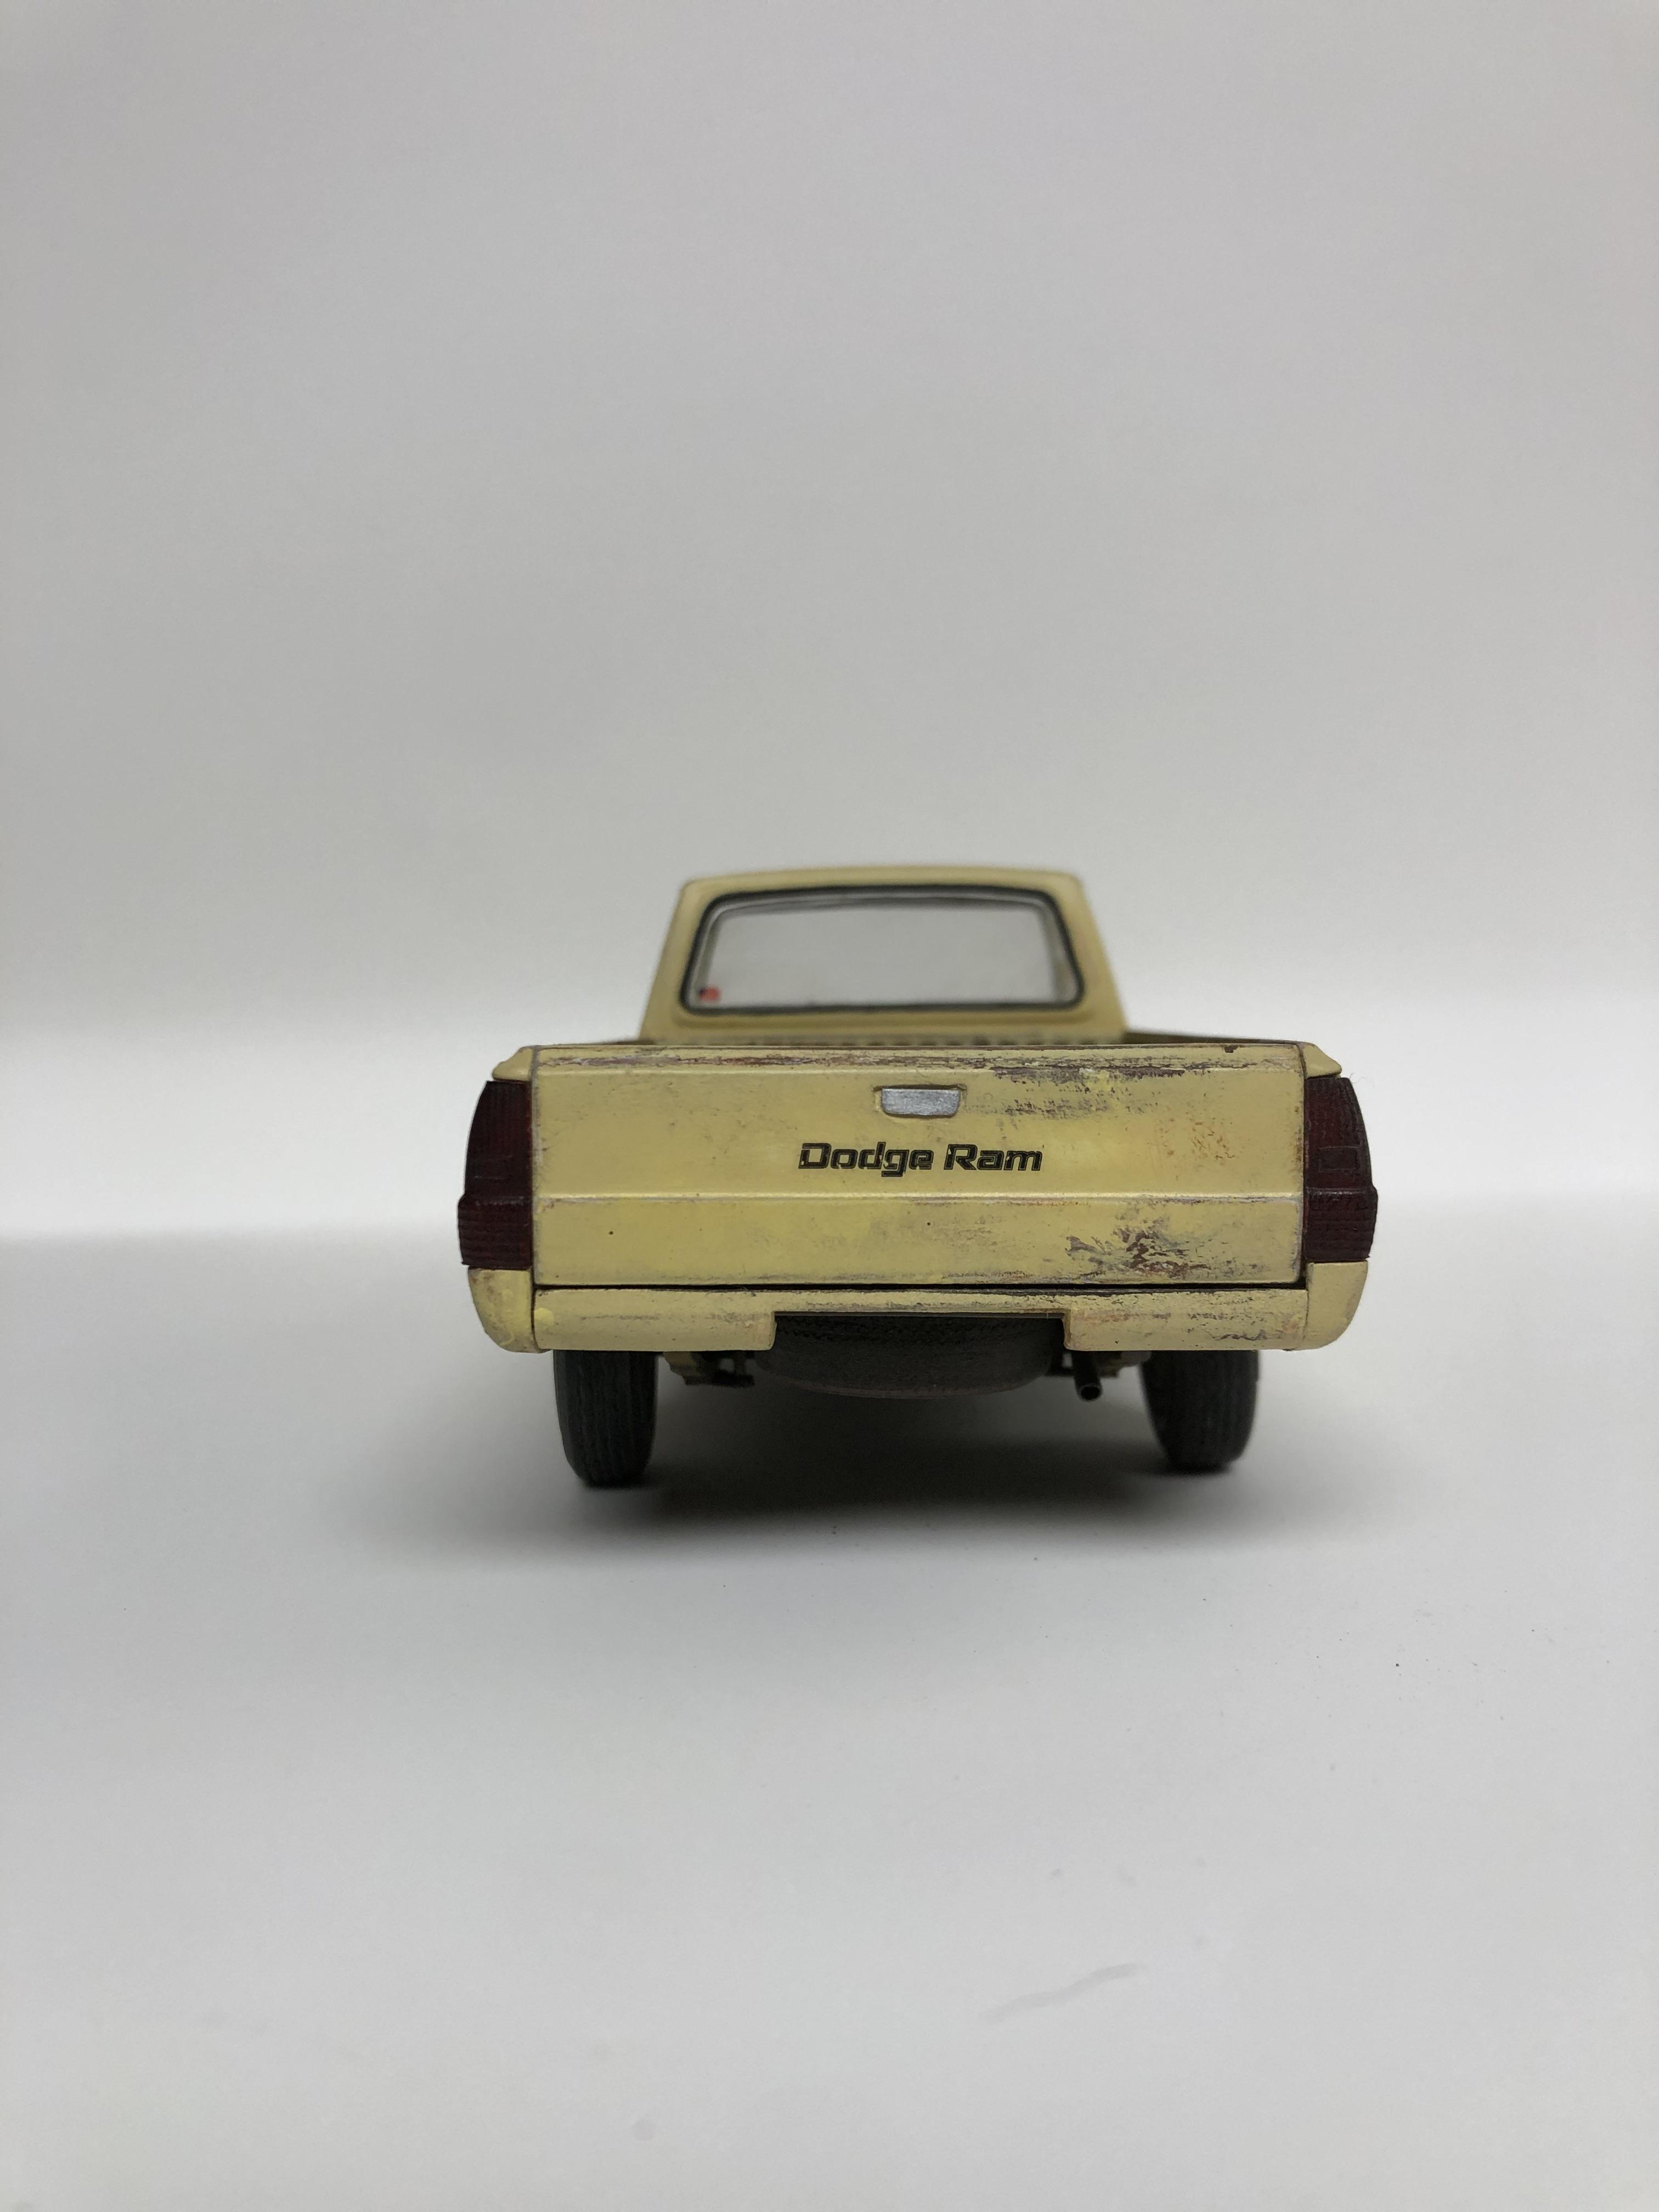
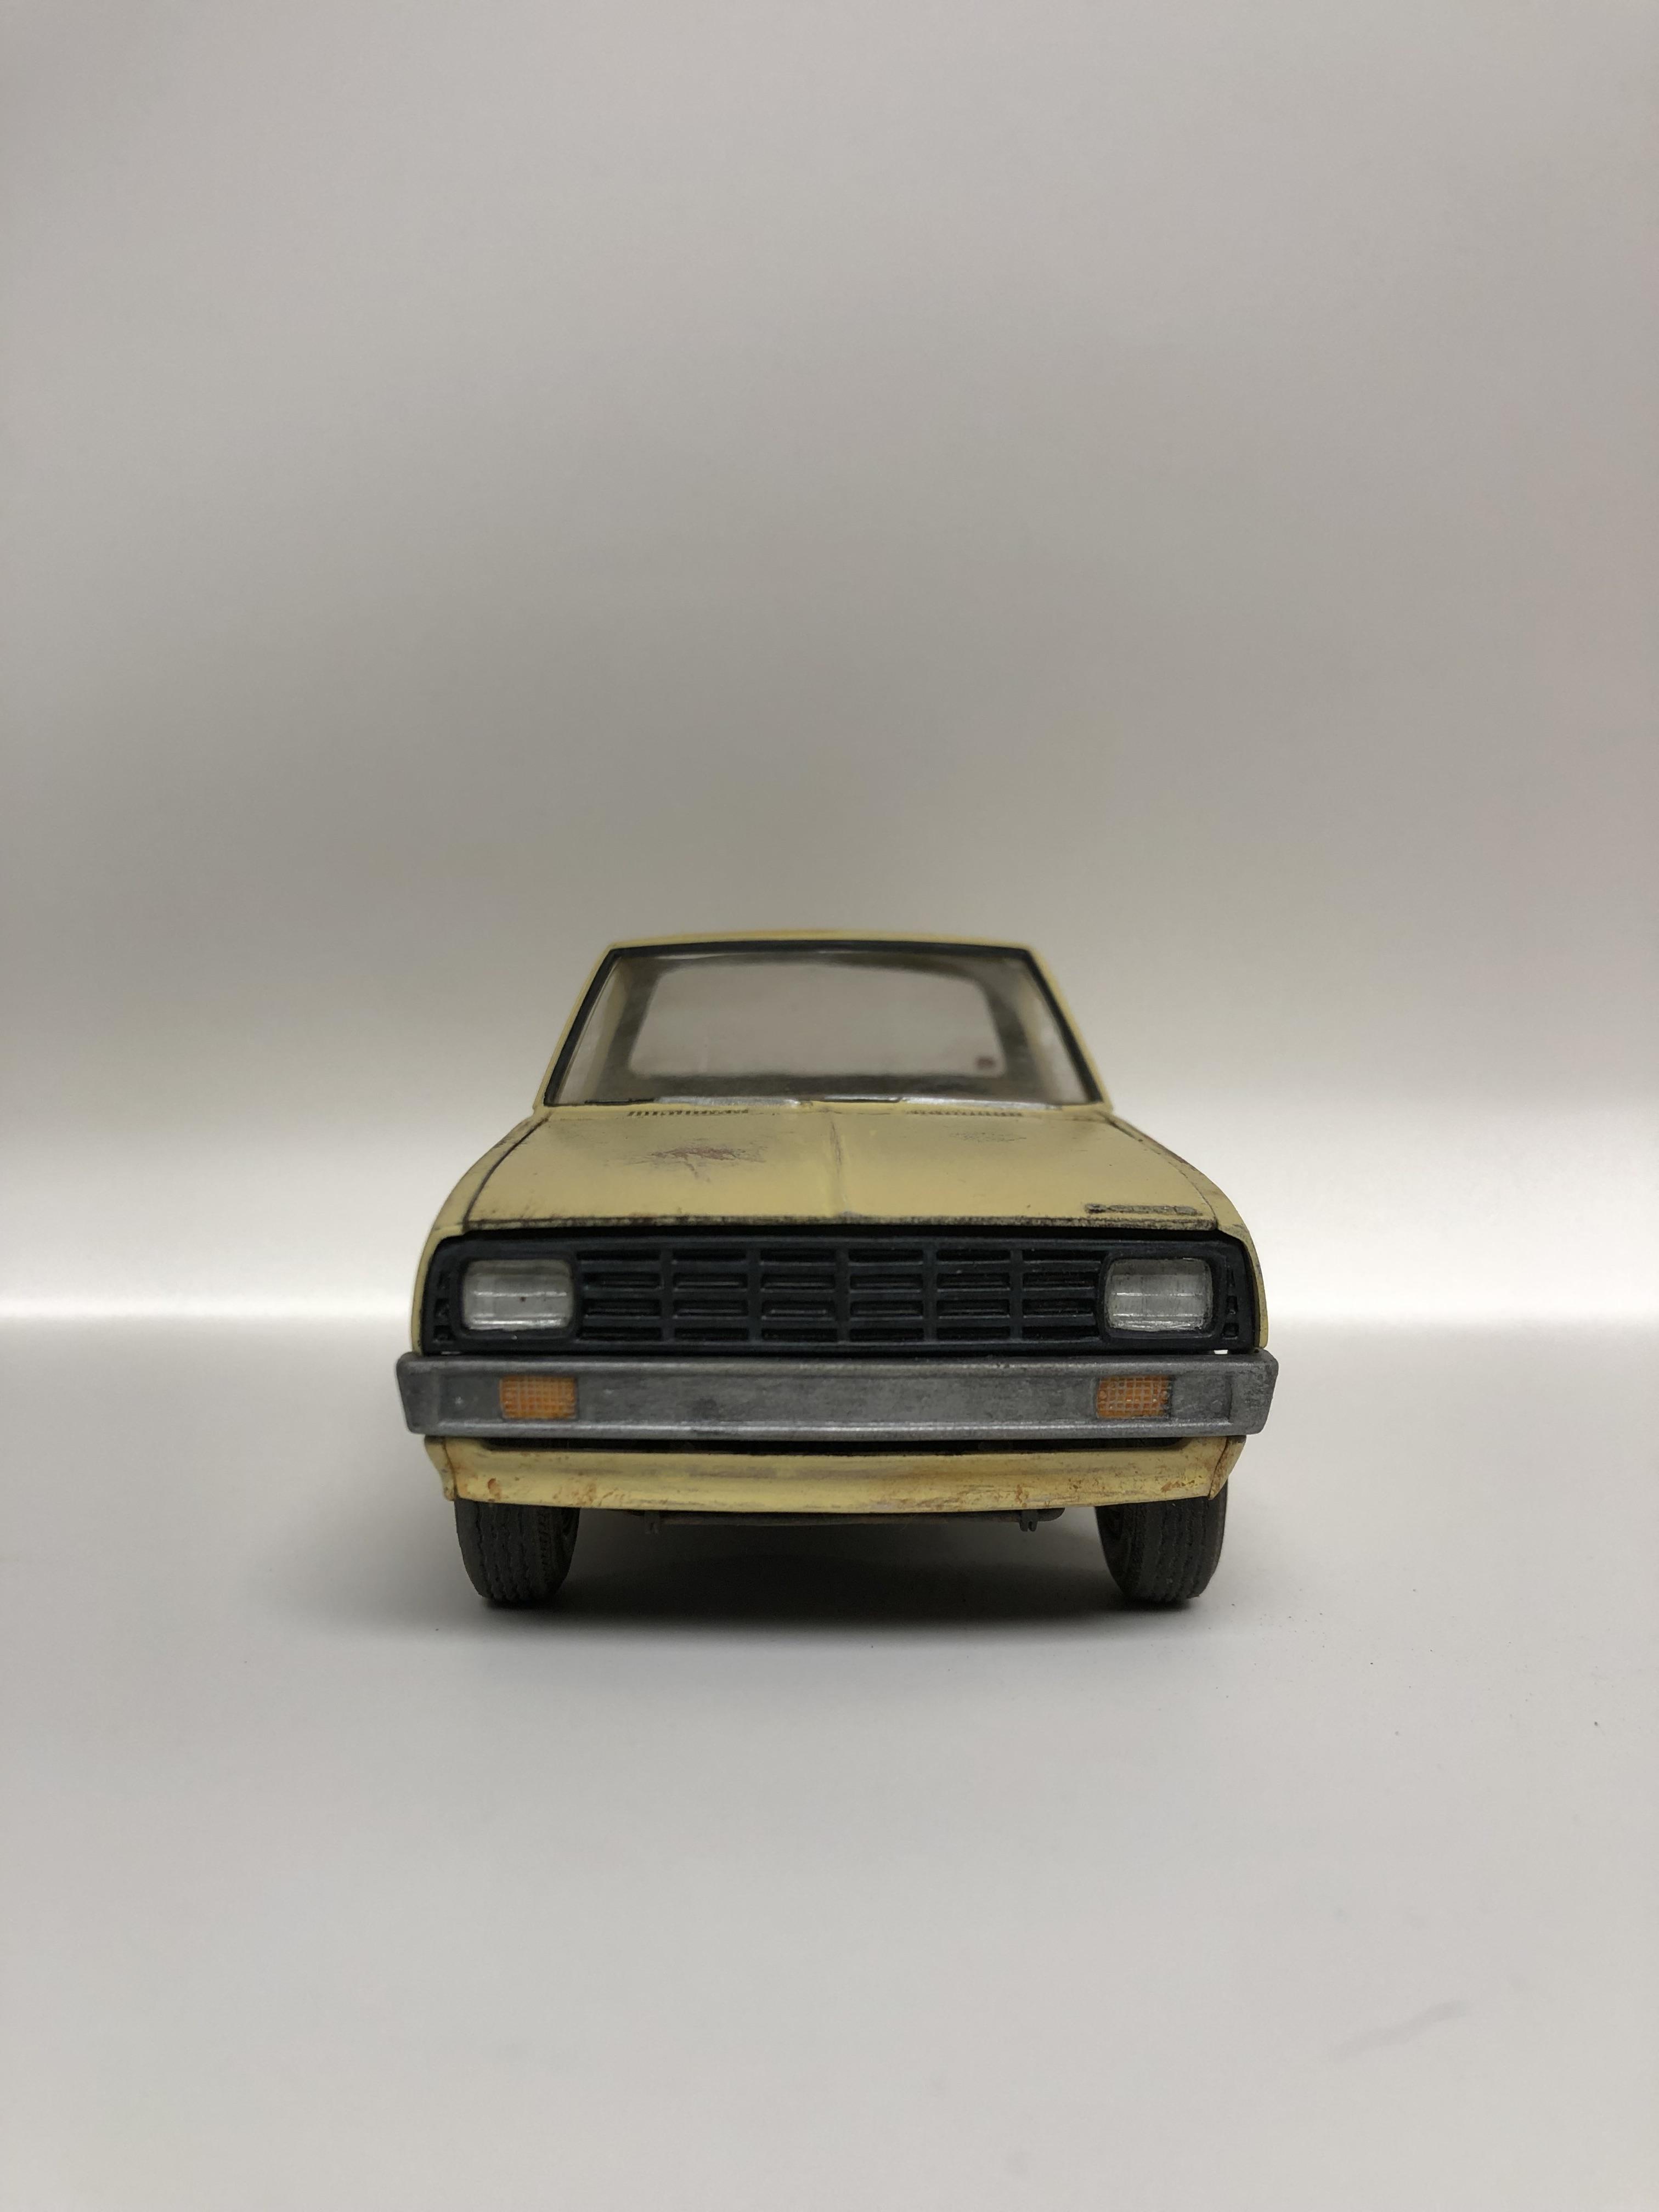
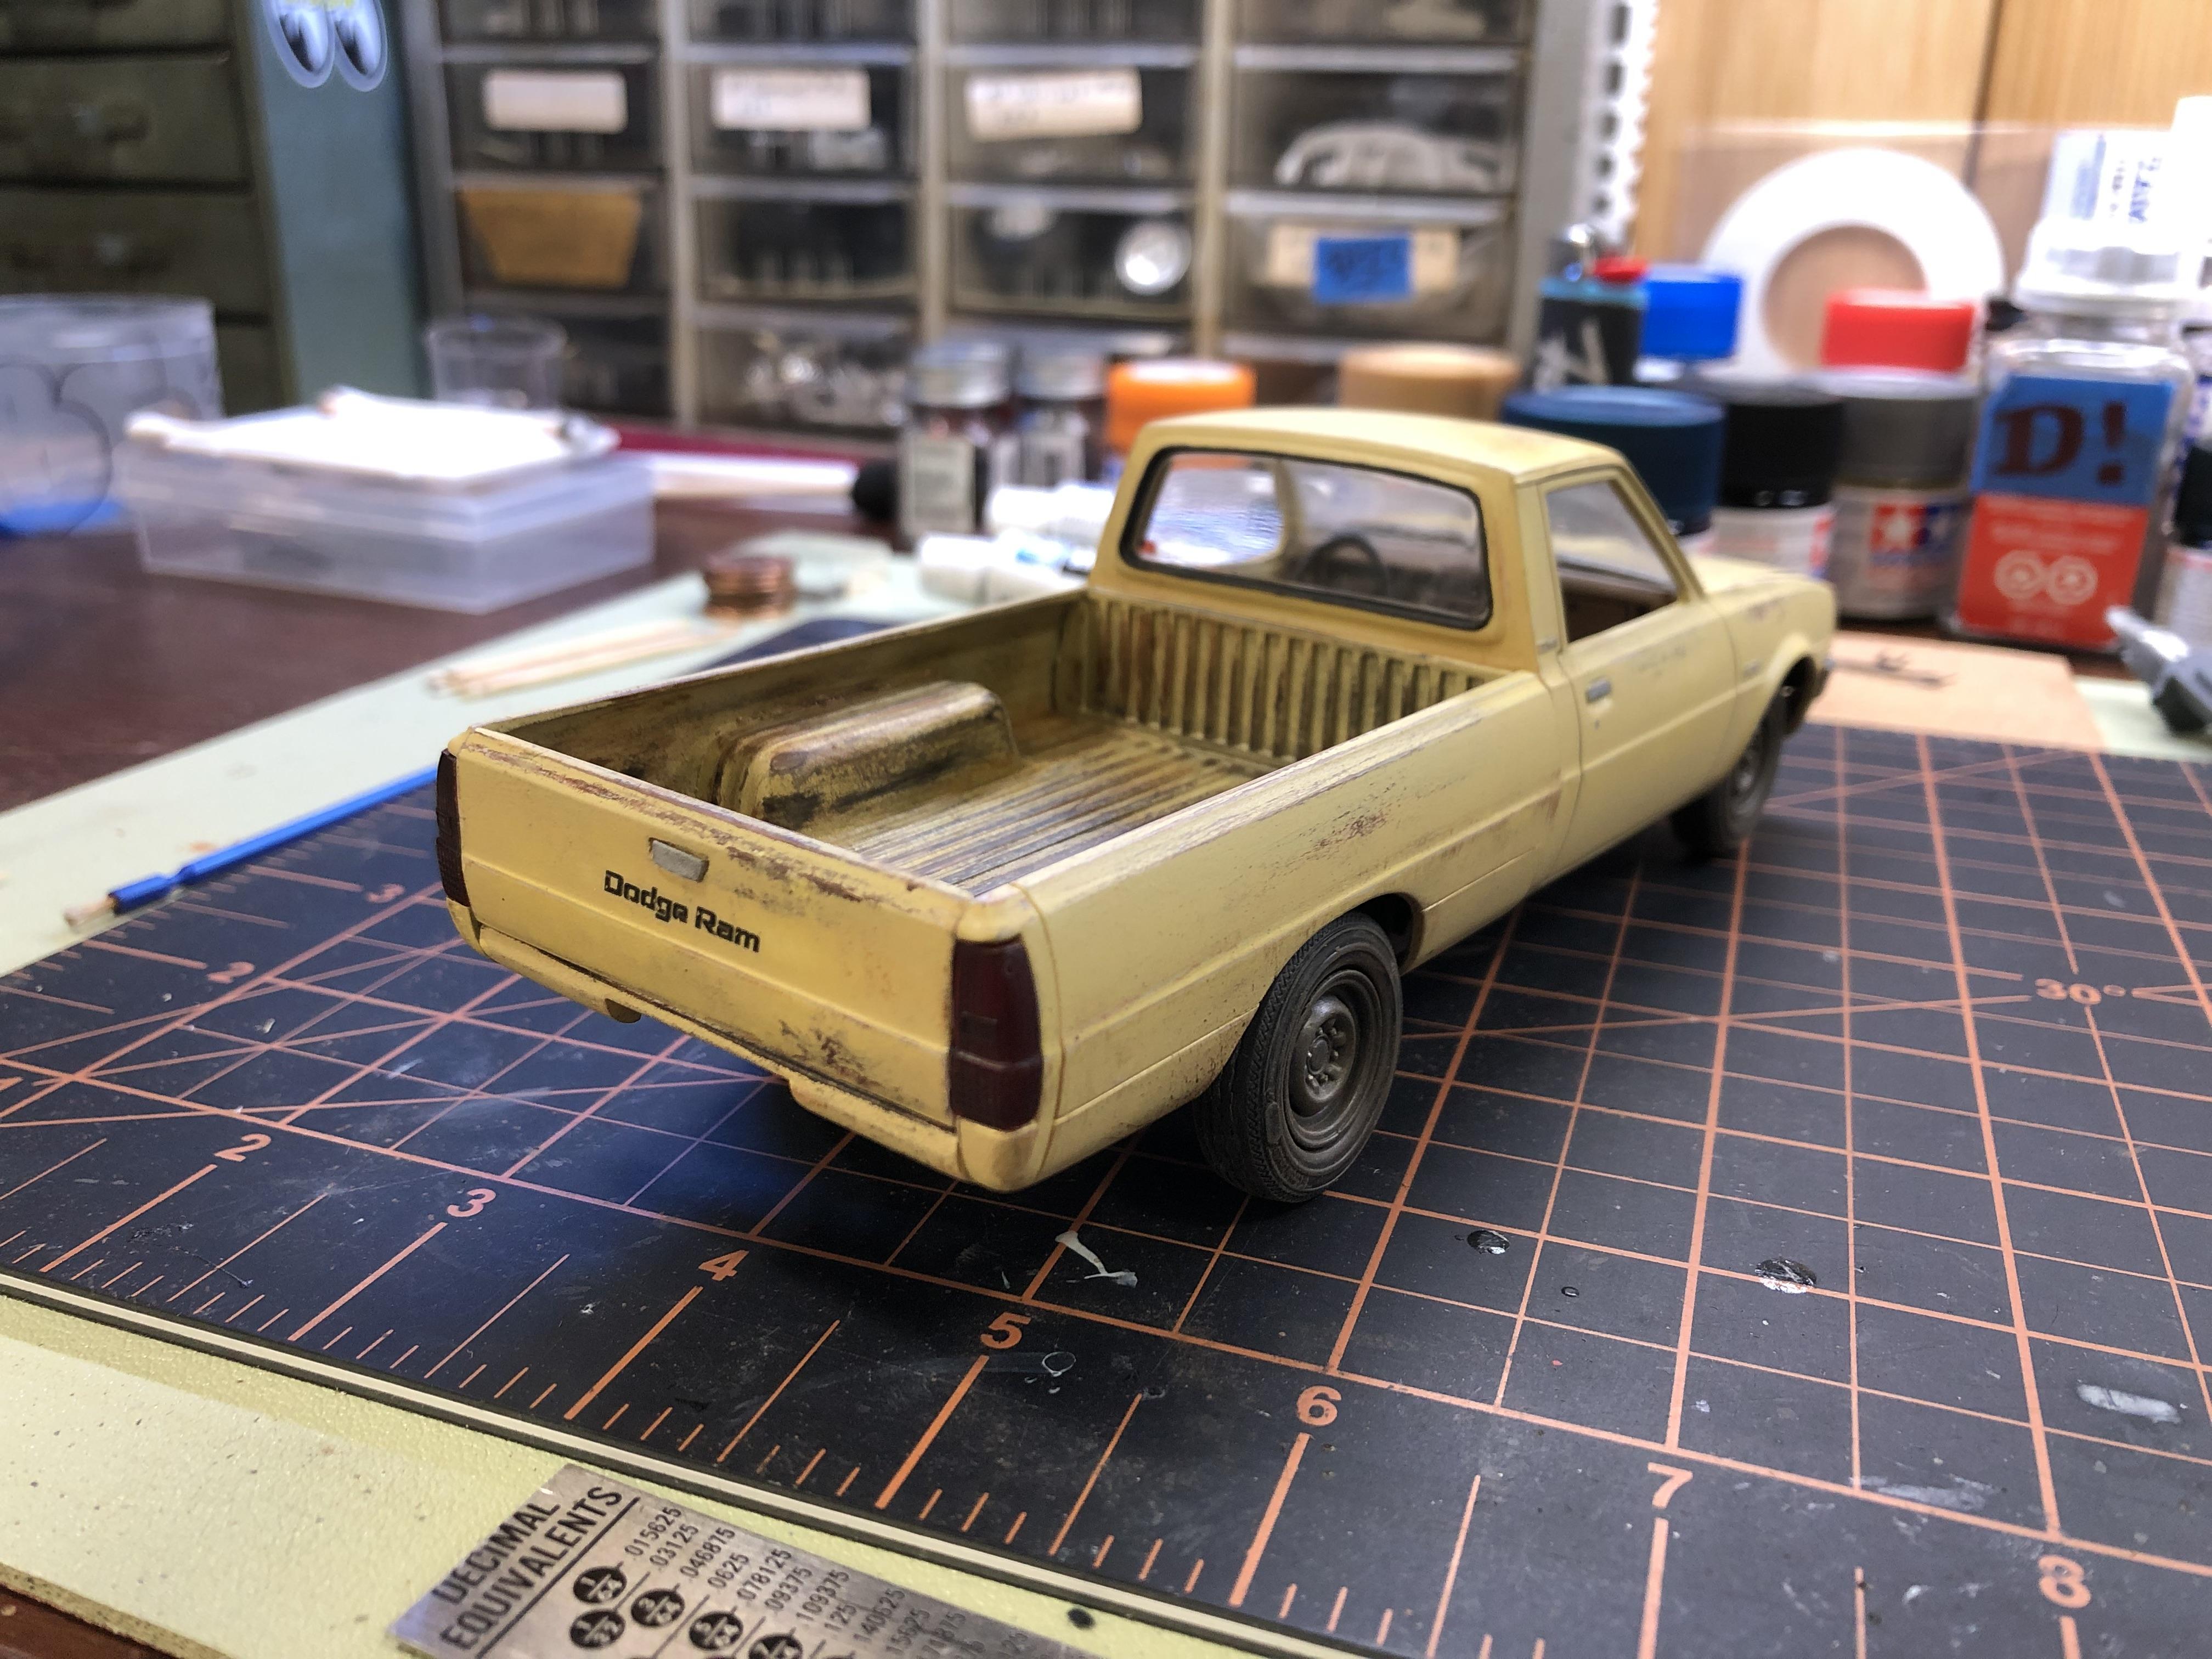
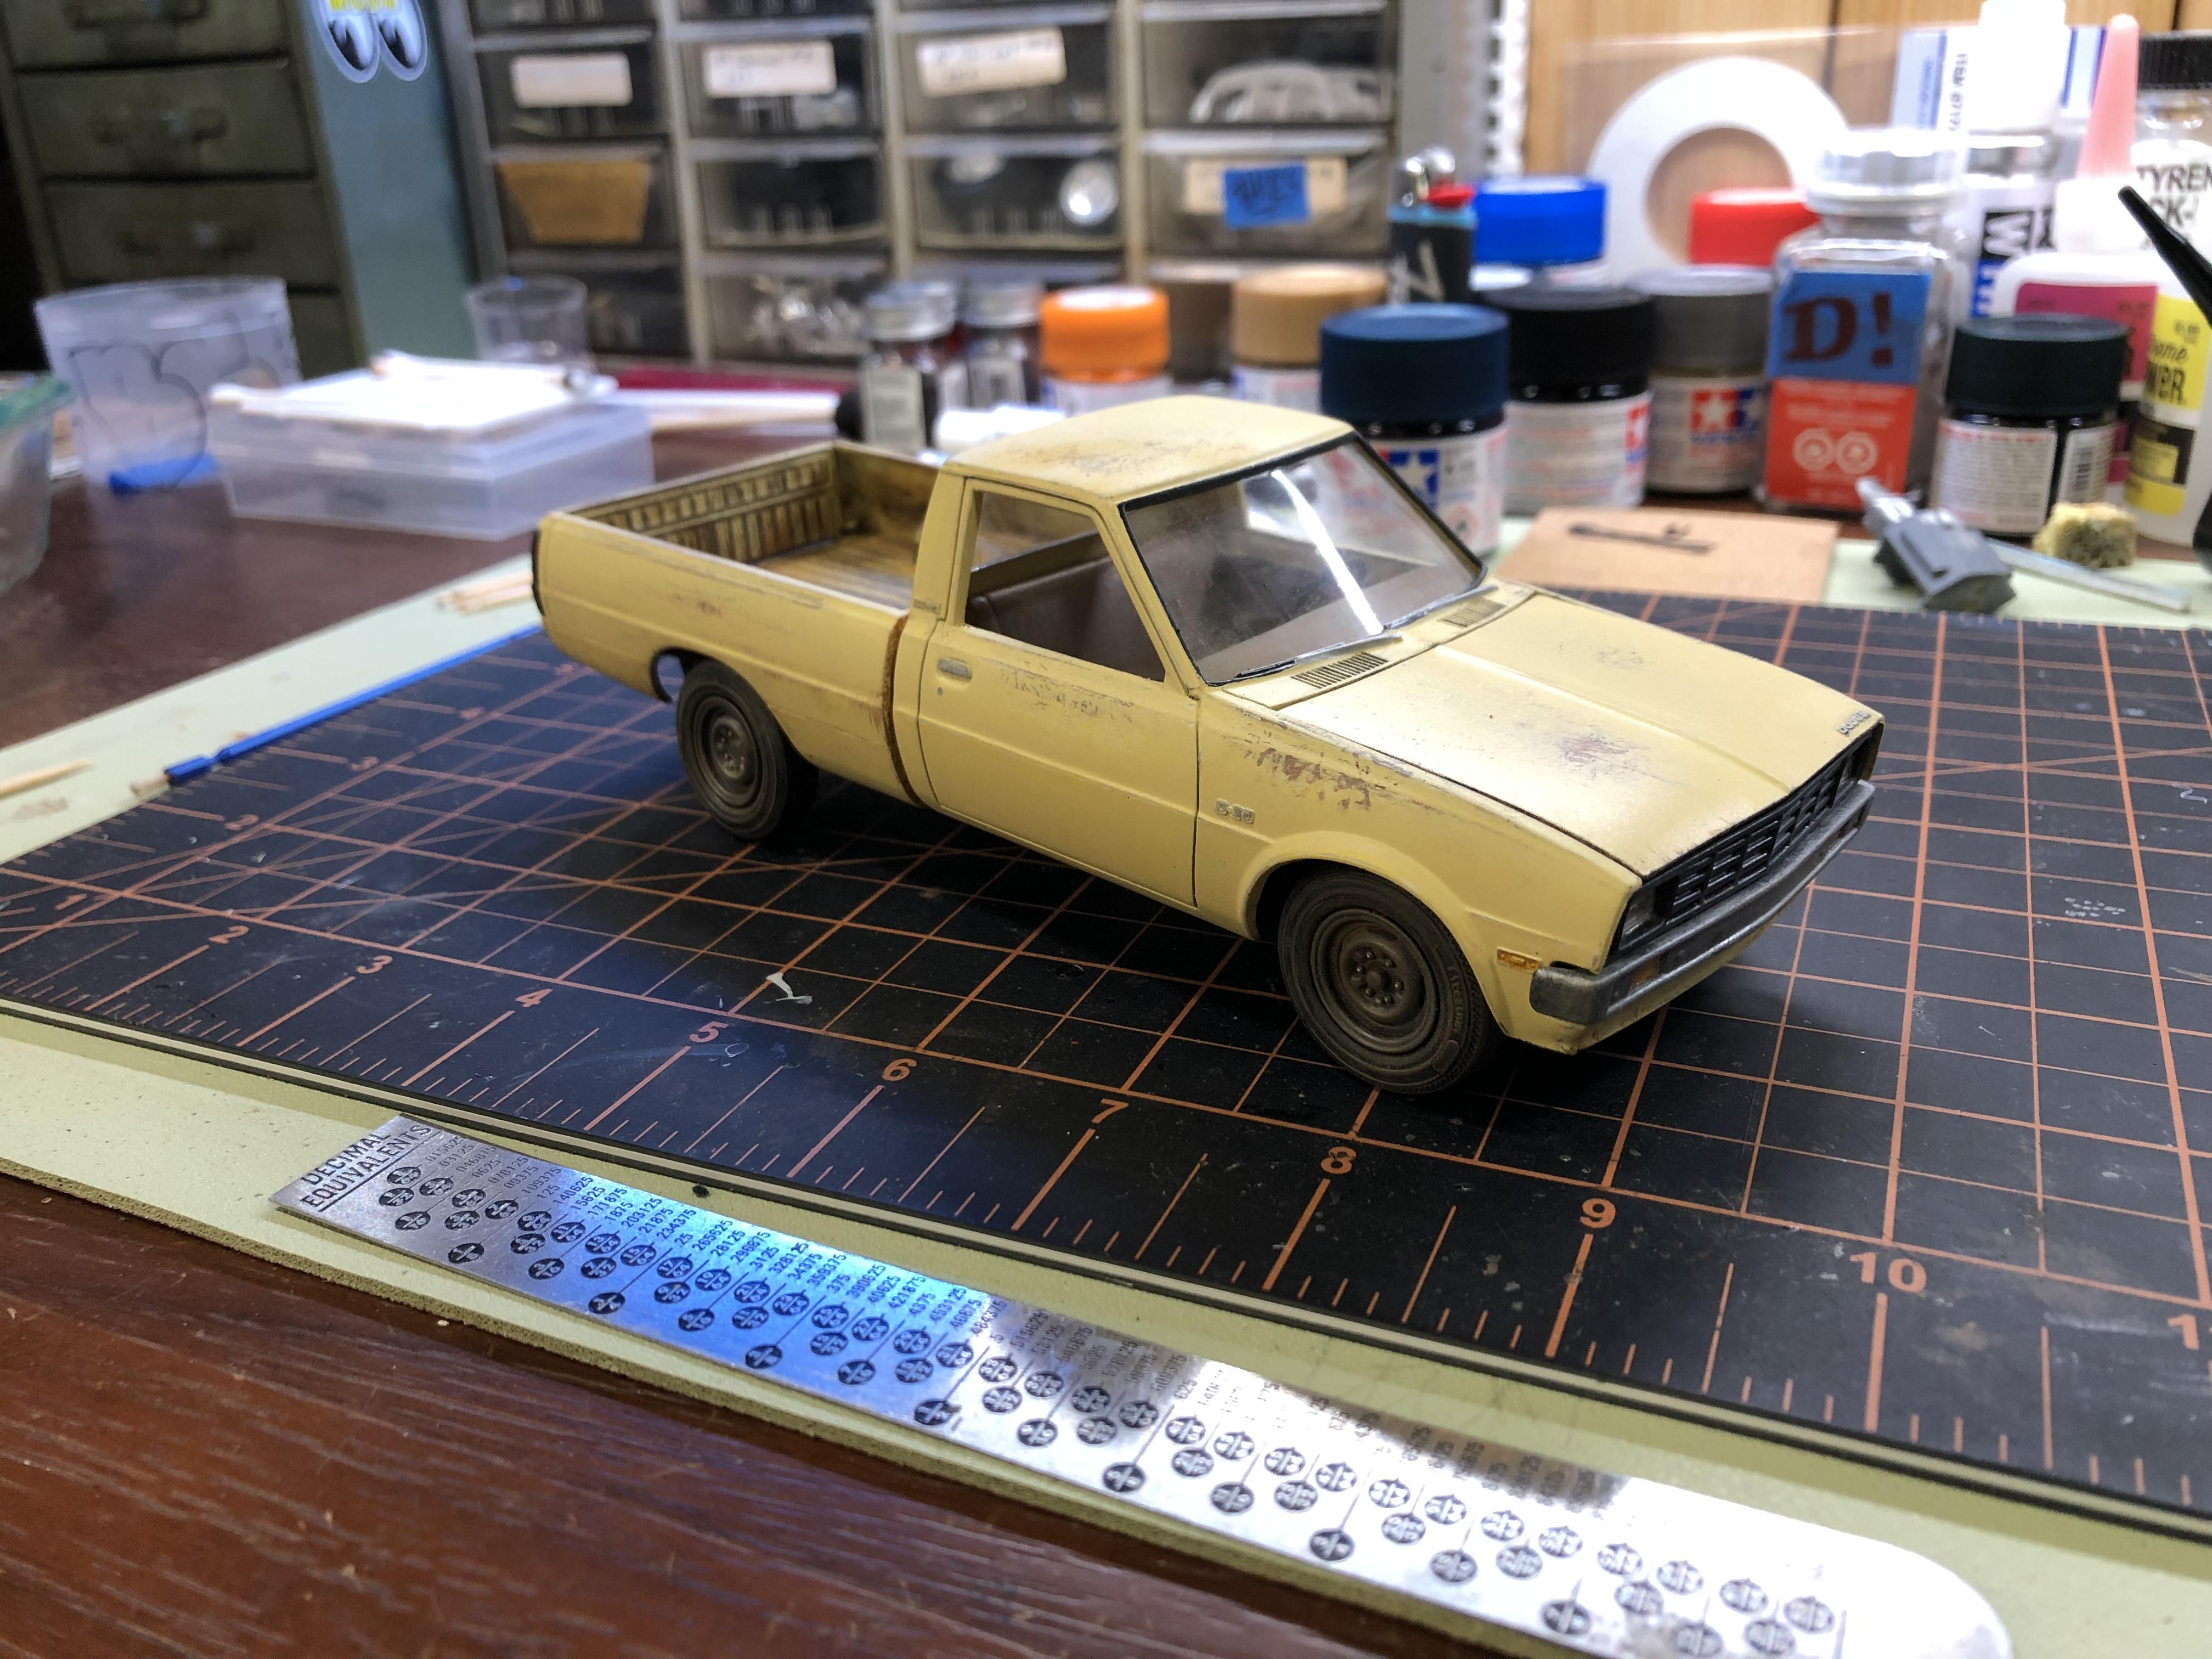
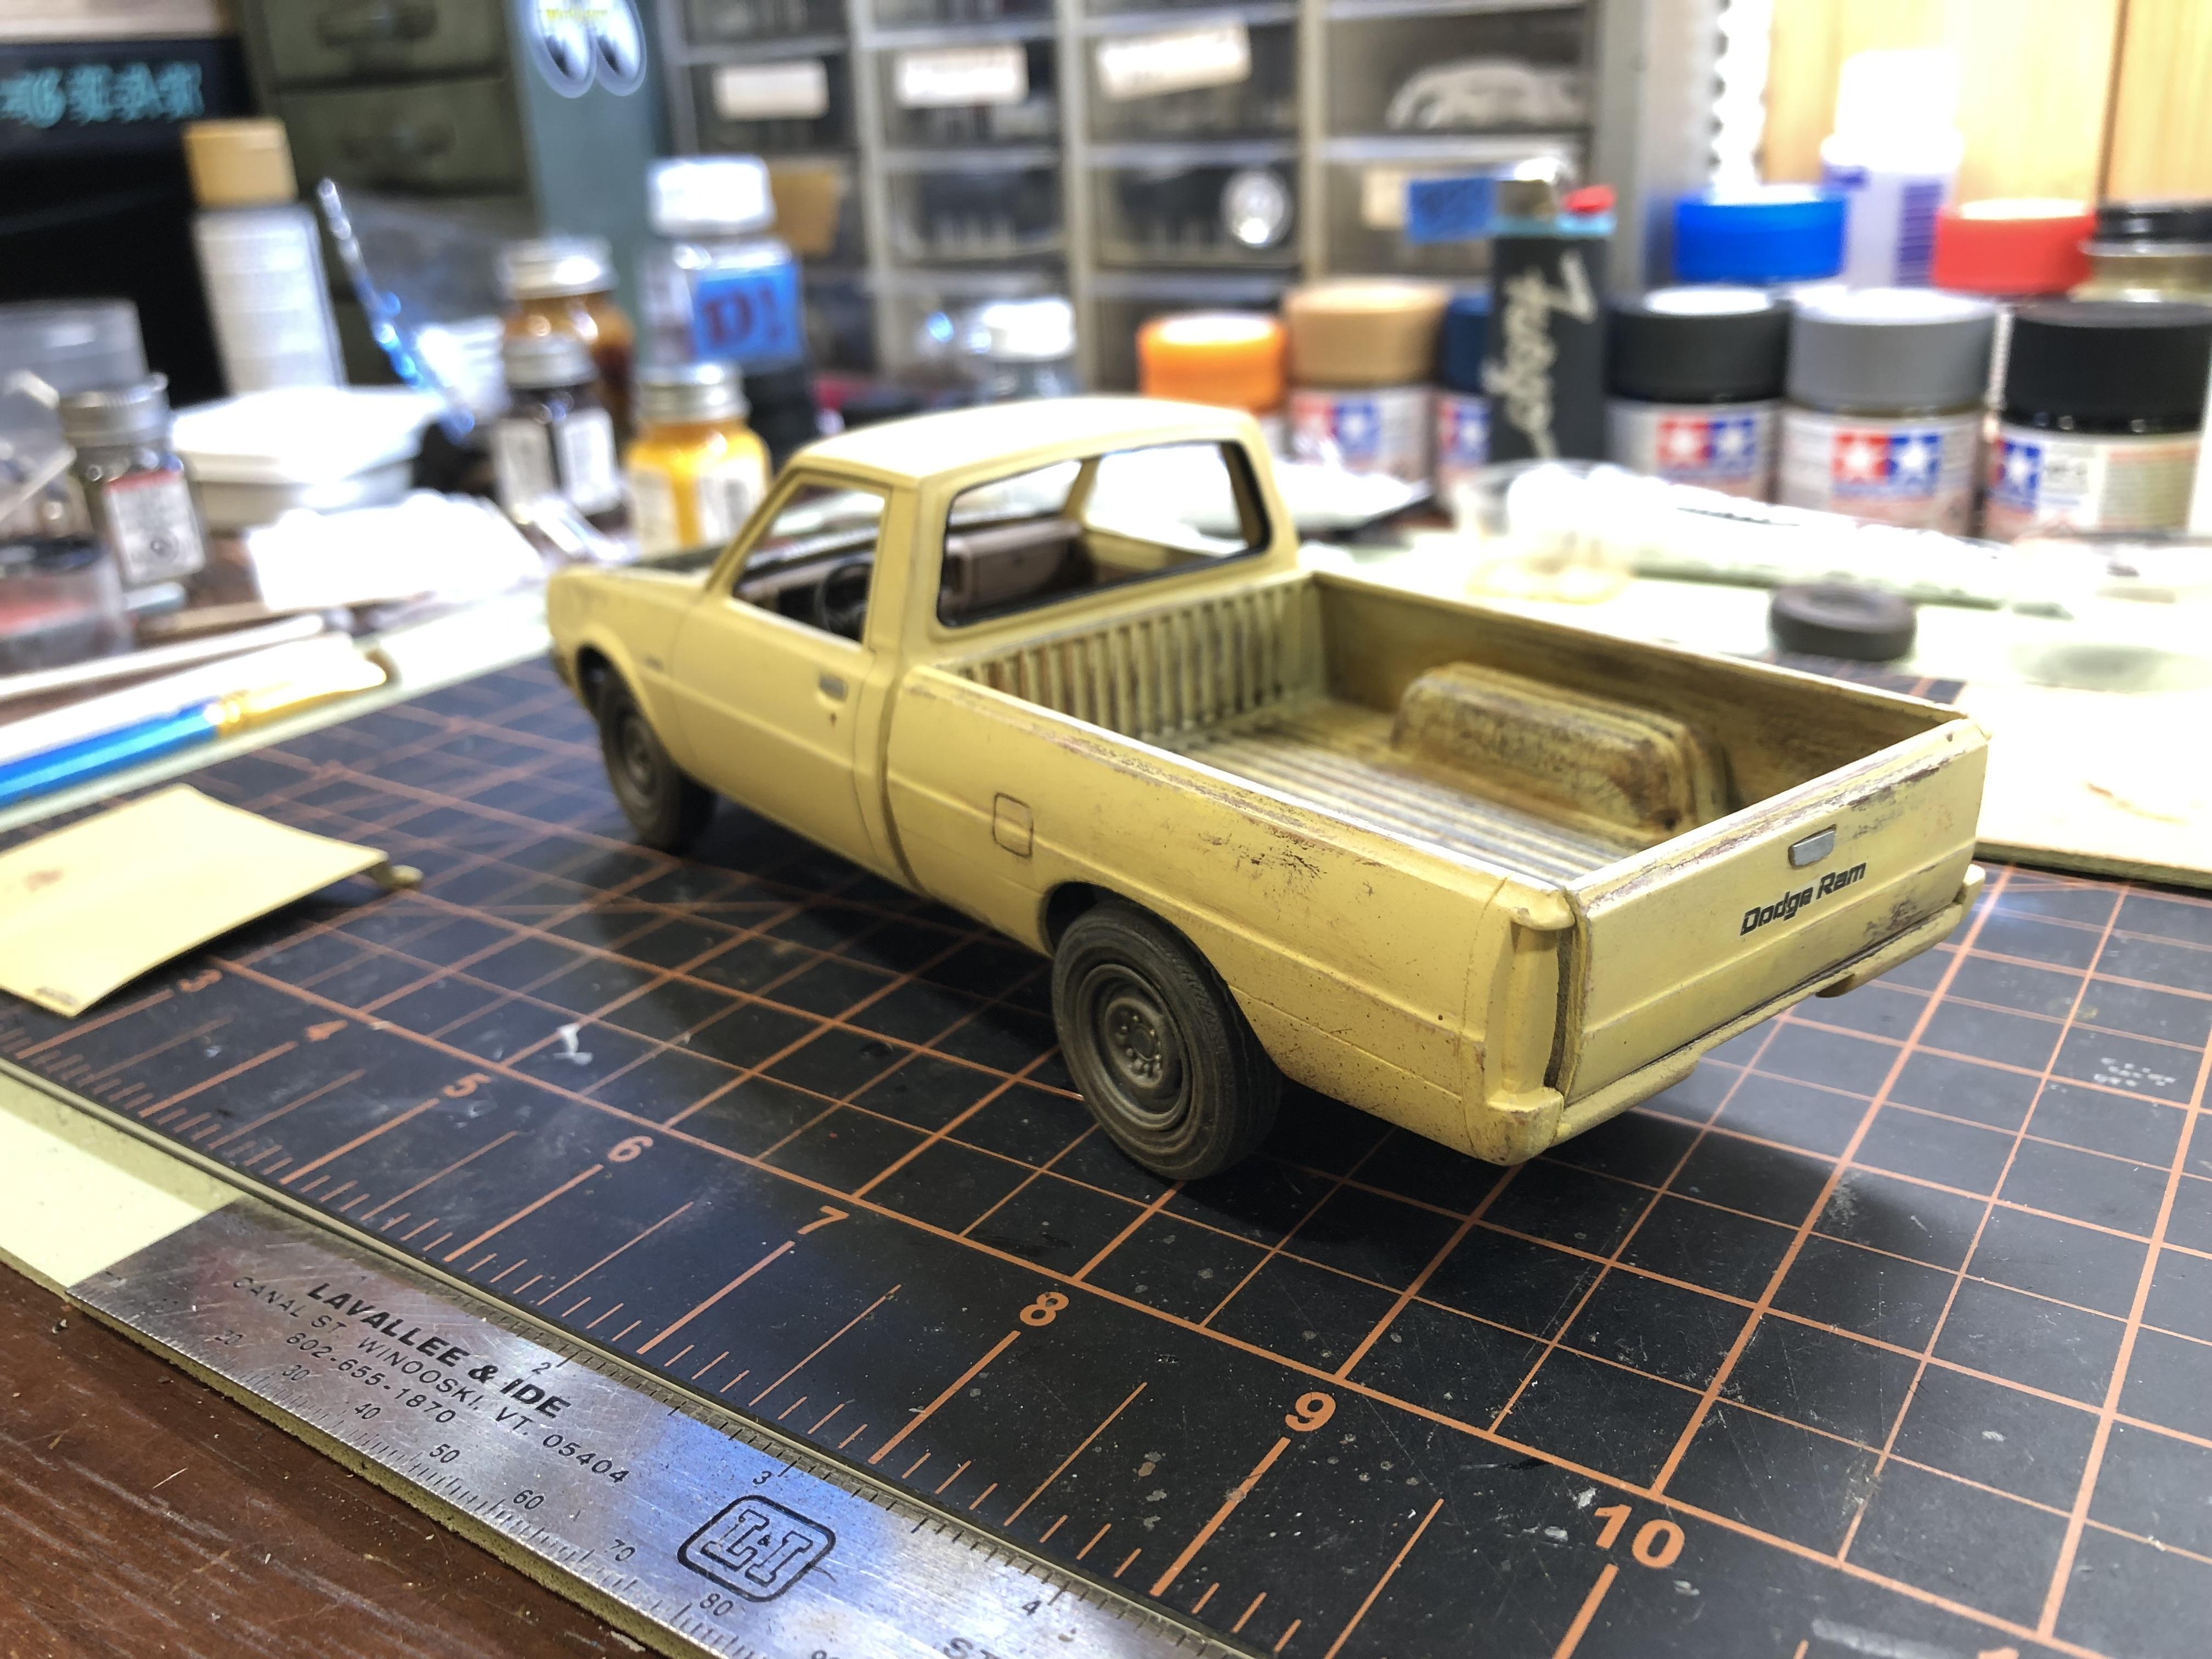
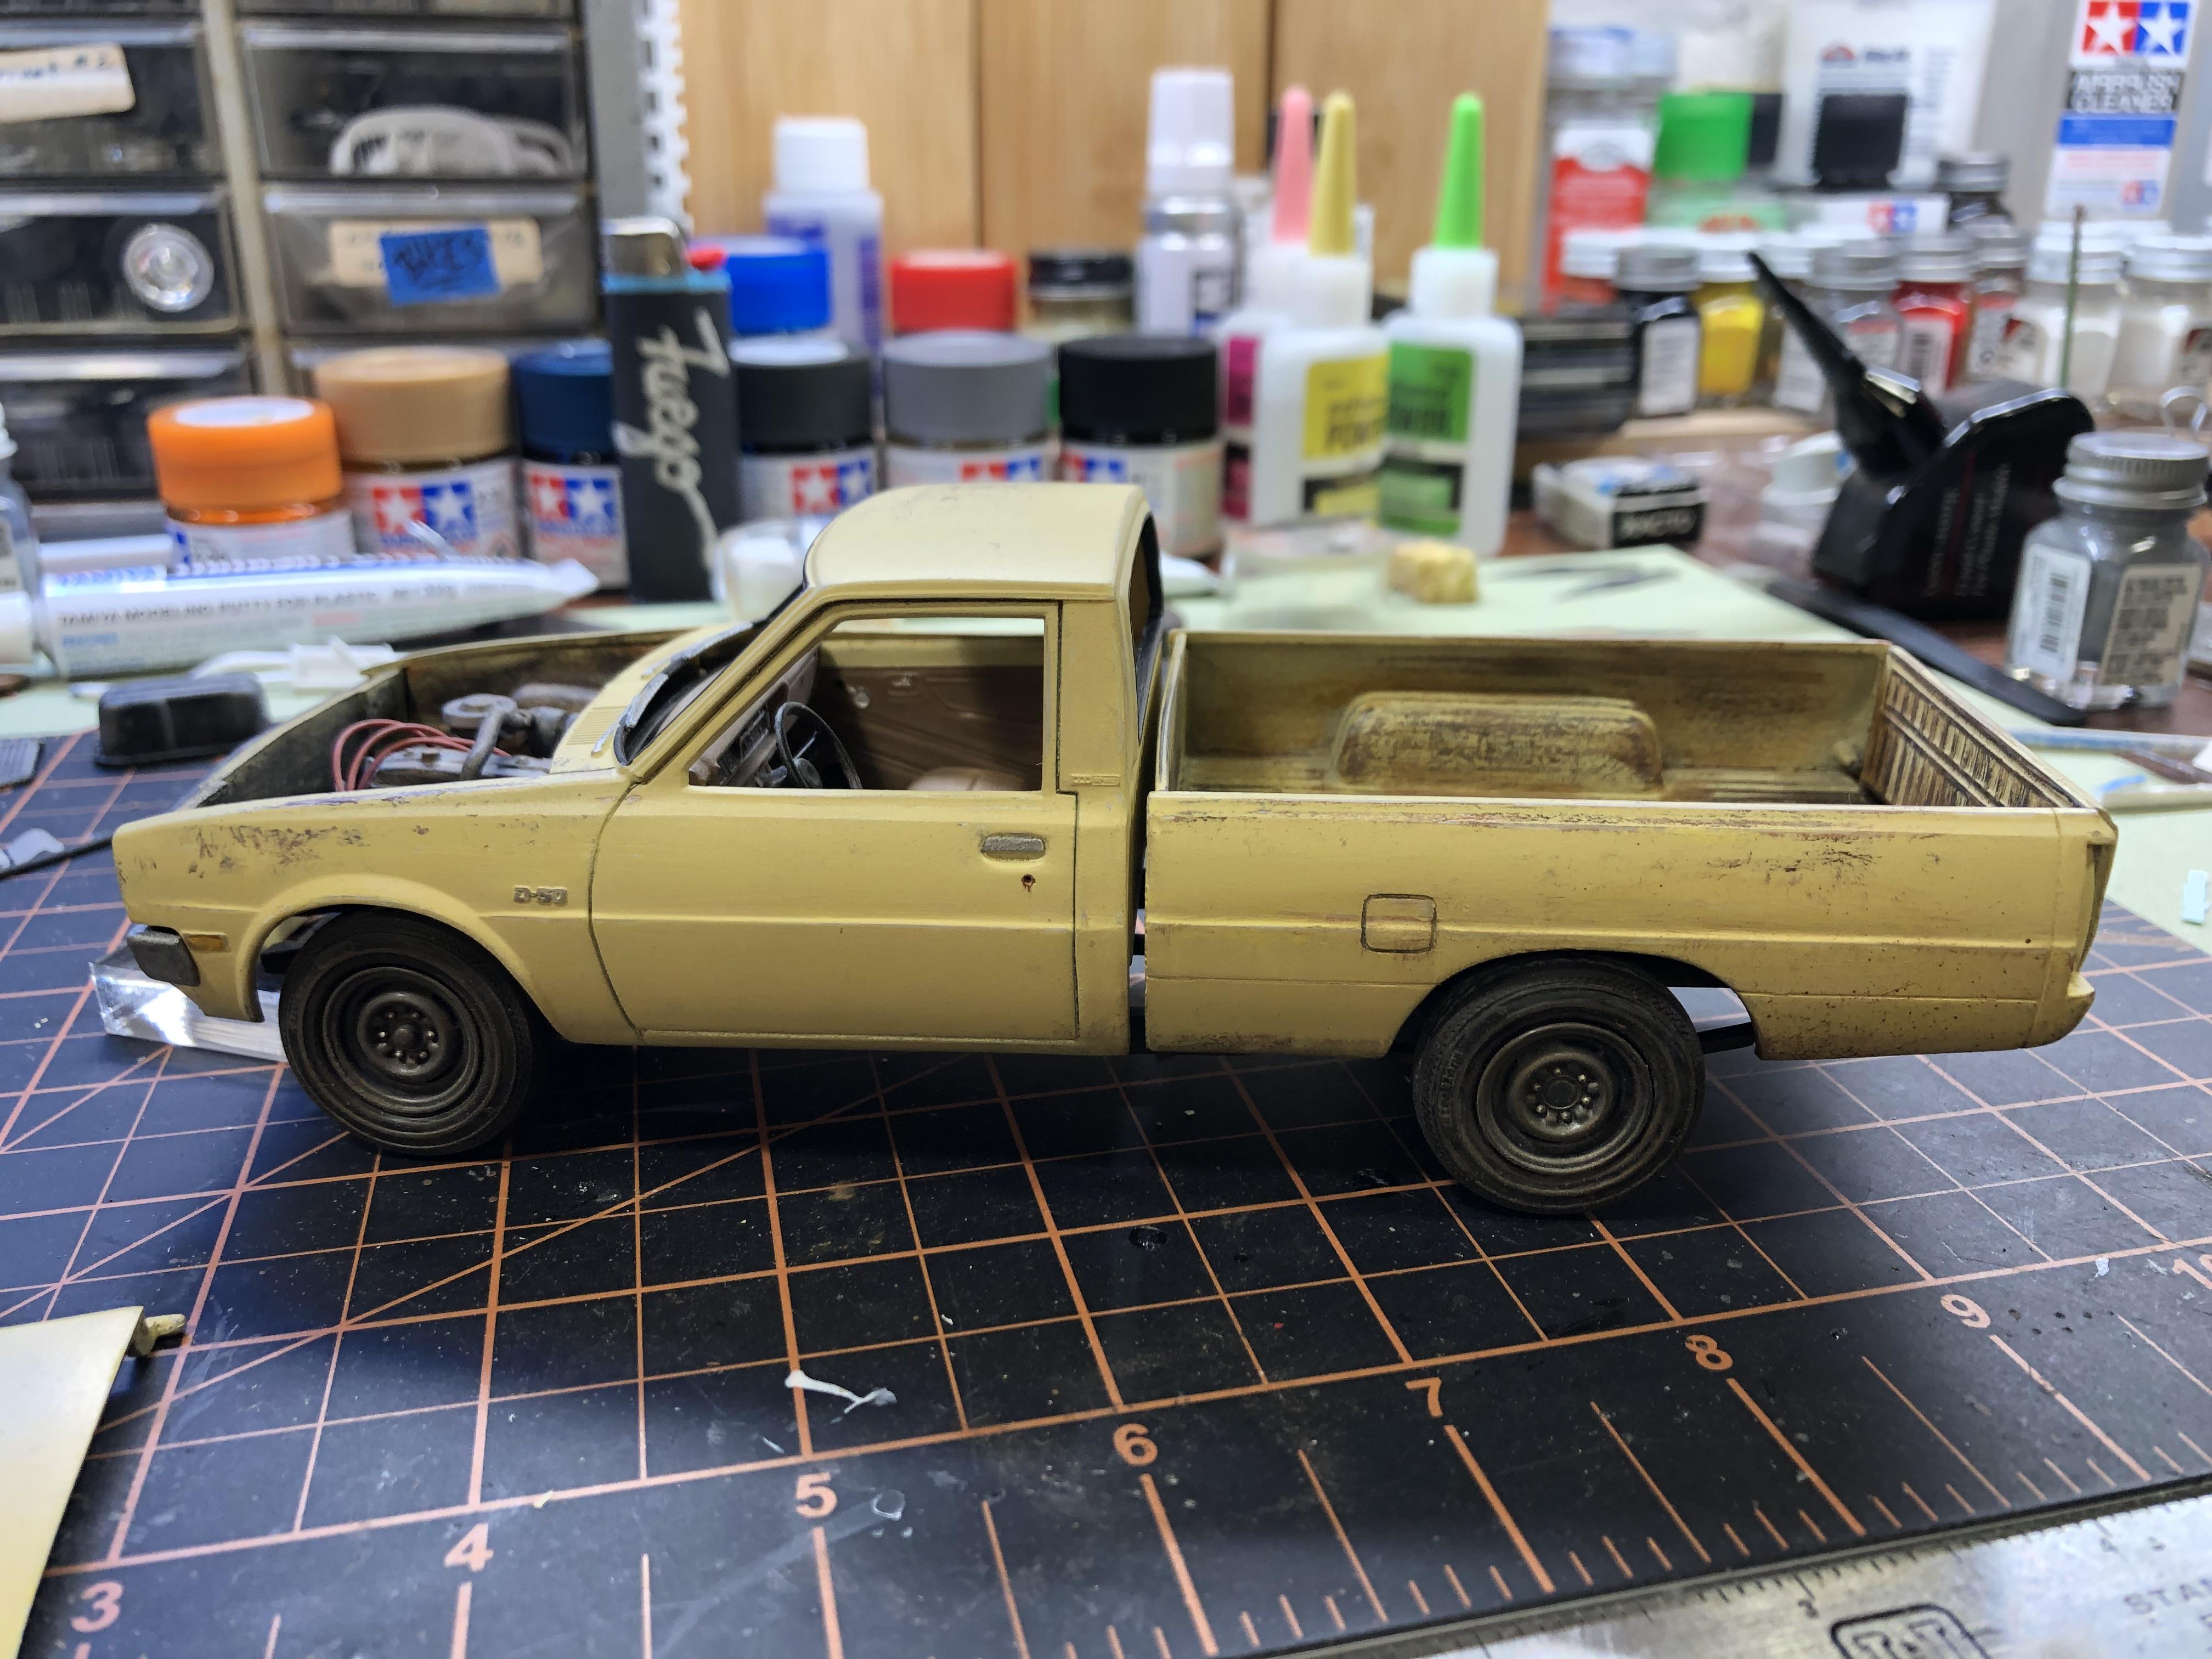
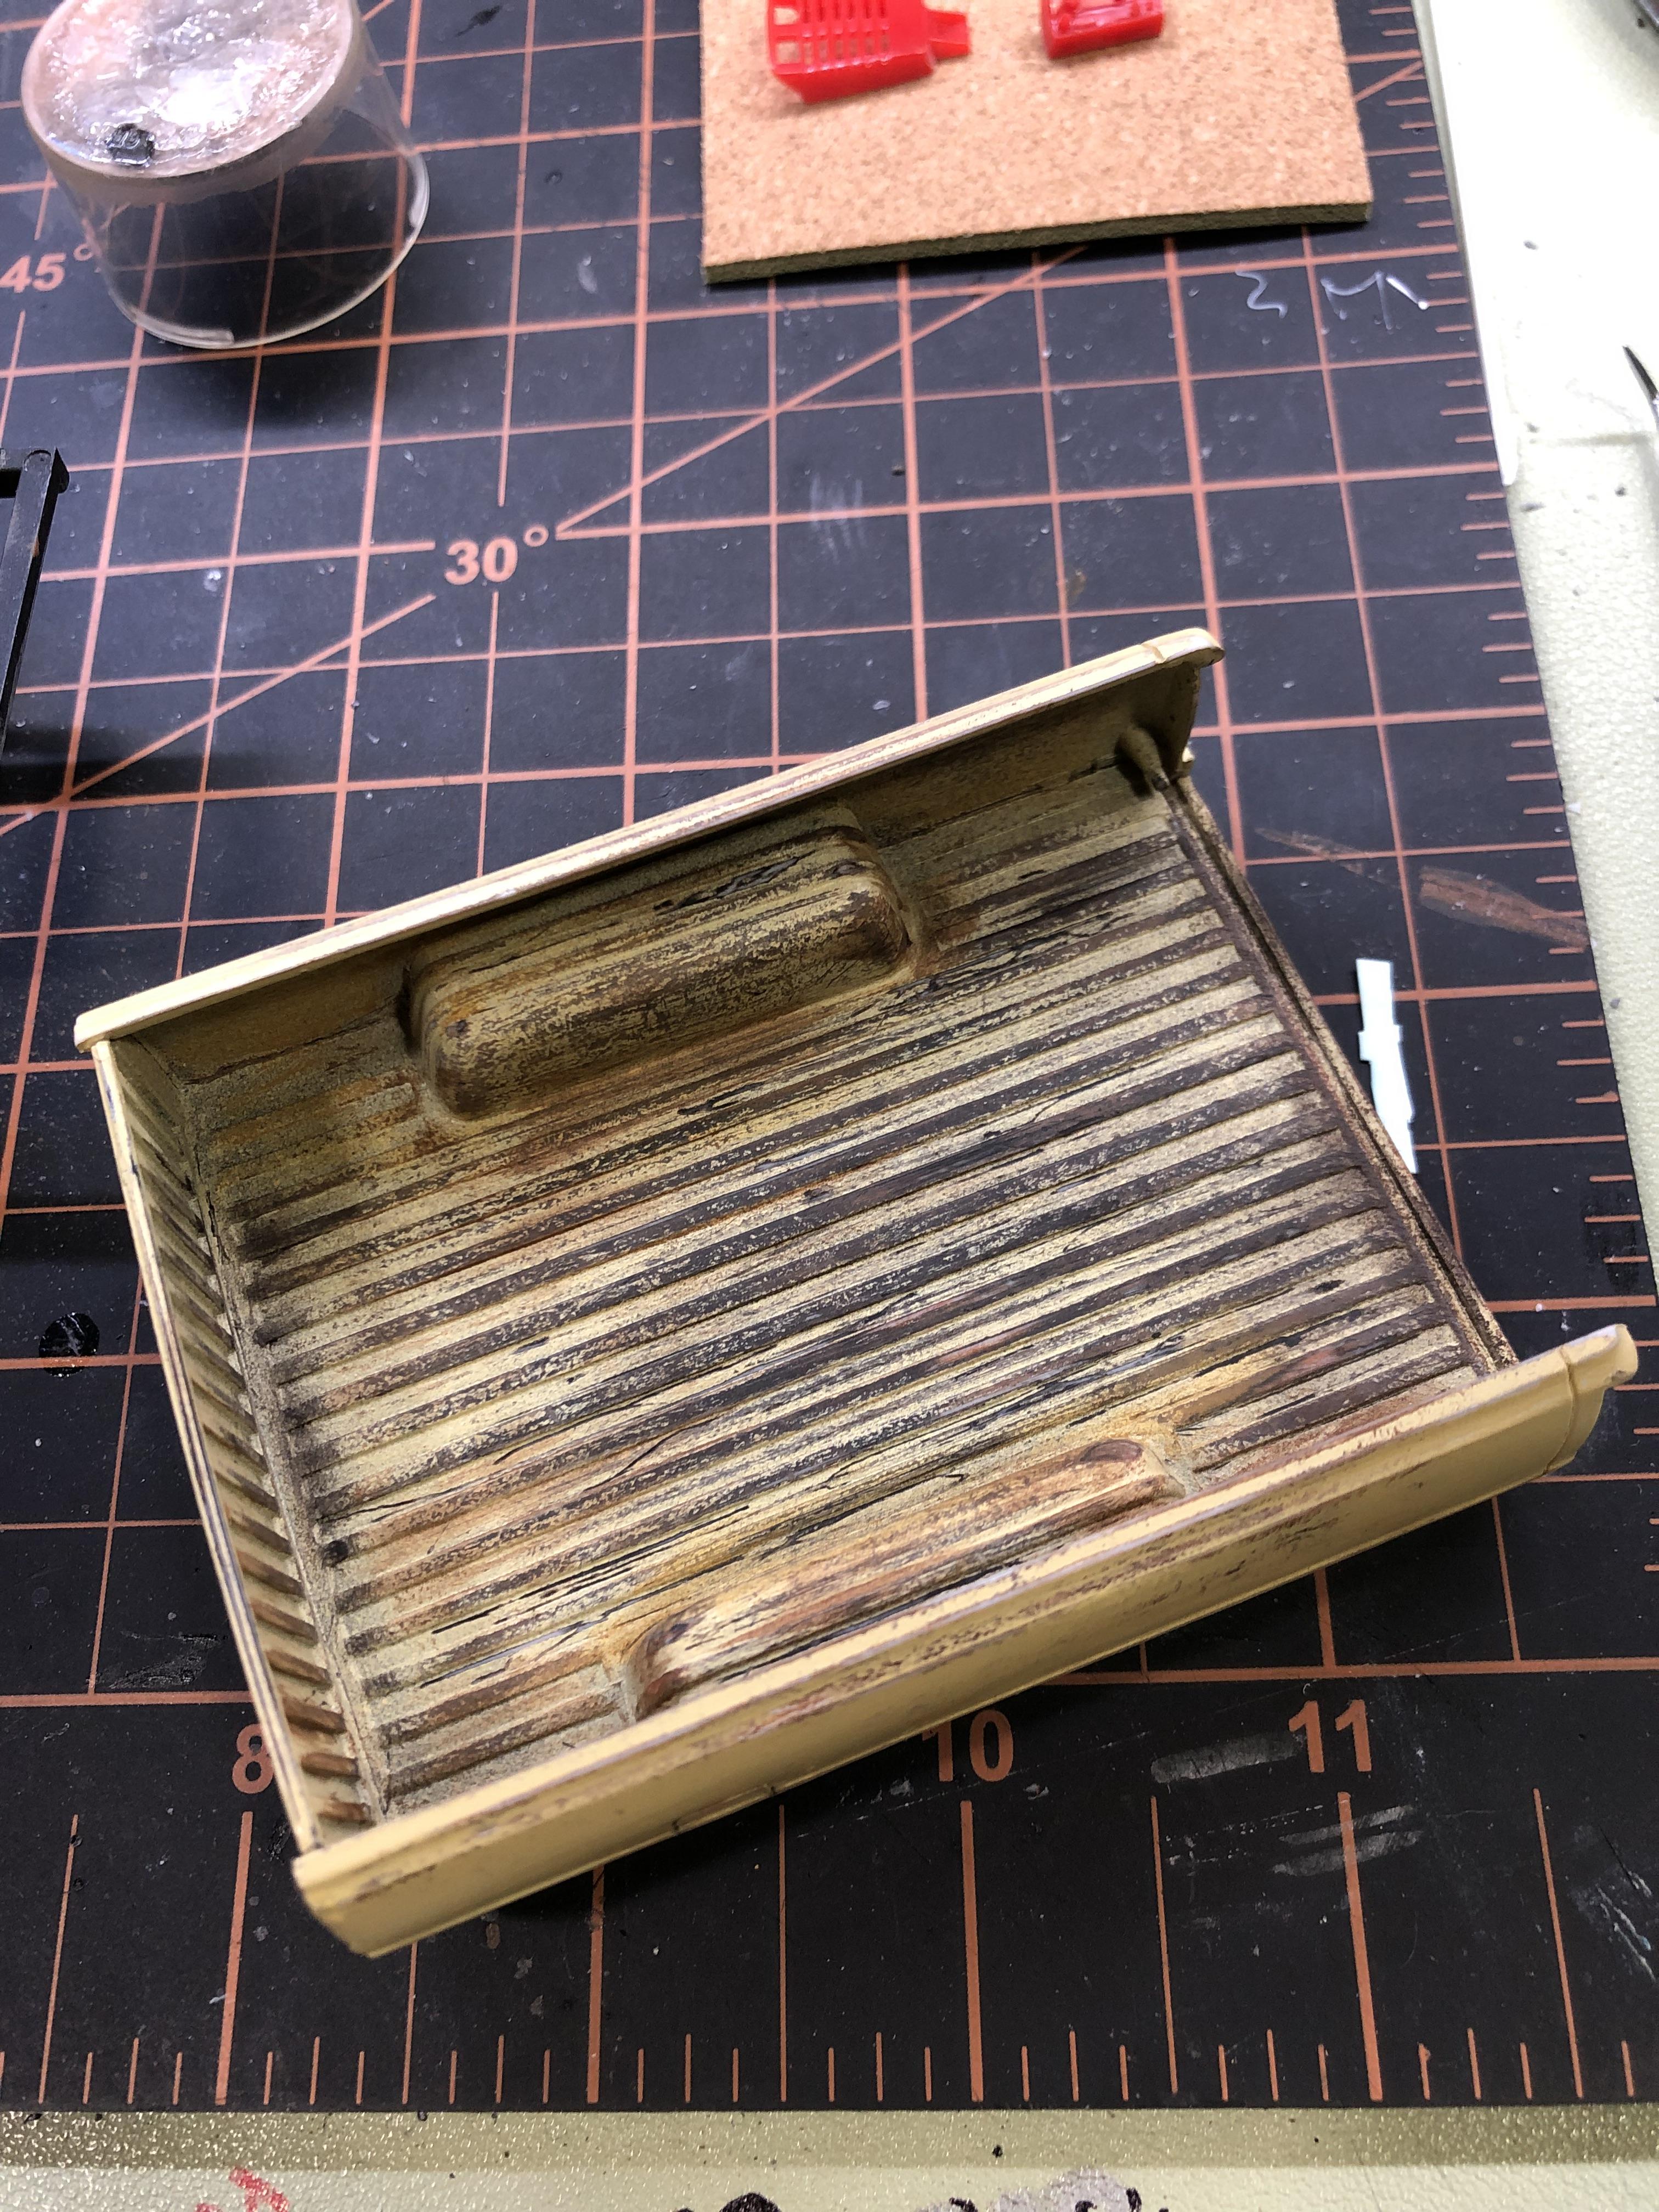
Built this little truck to pull myself out of a bit of a building slump. Pretty much box stock aside from a bit of weathering, lowered suspension, added wiring and wheel and tire swap. Thank you to the fellas that helped me source some 6 lug steelies, couldn't have made this build happen without your help. Thanks for looking.

-
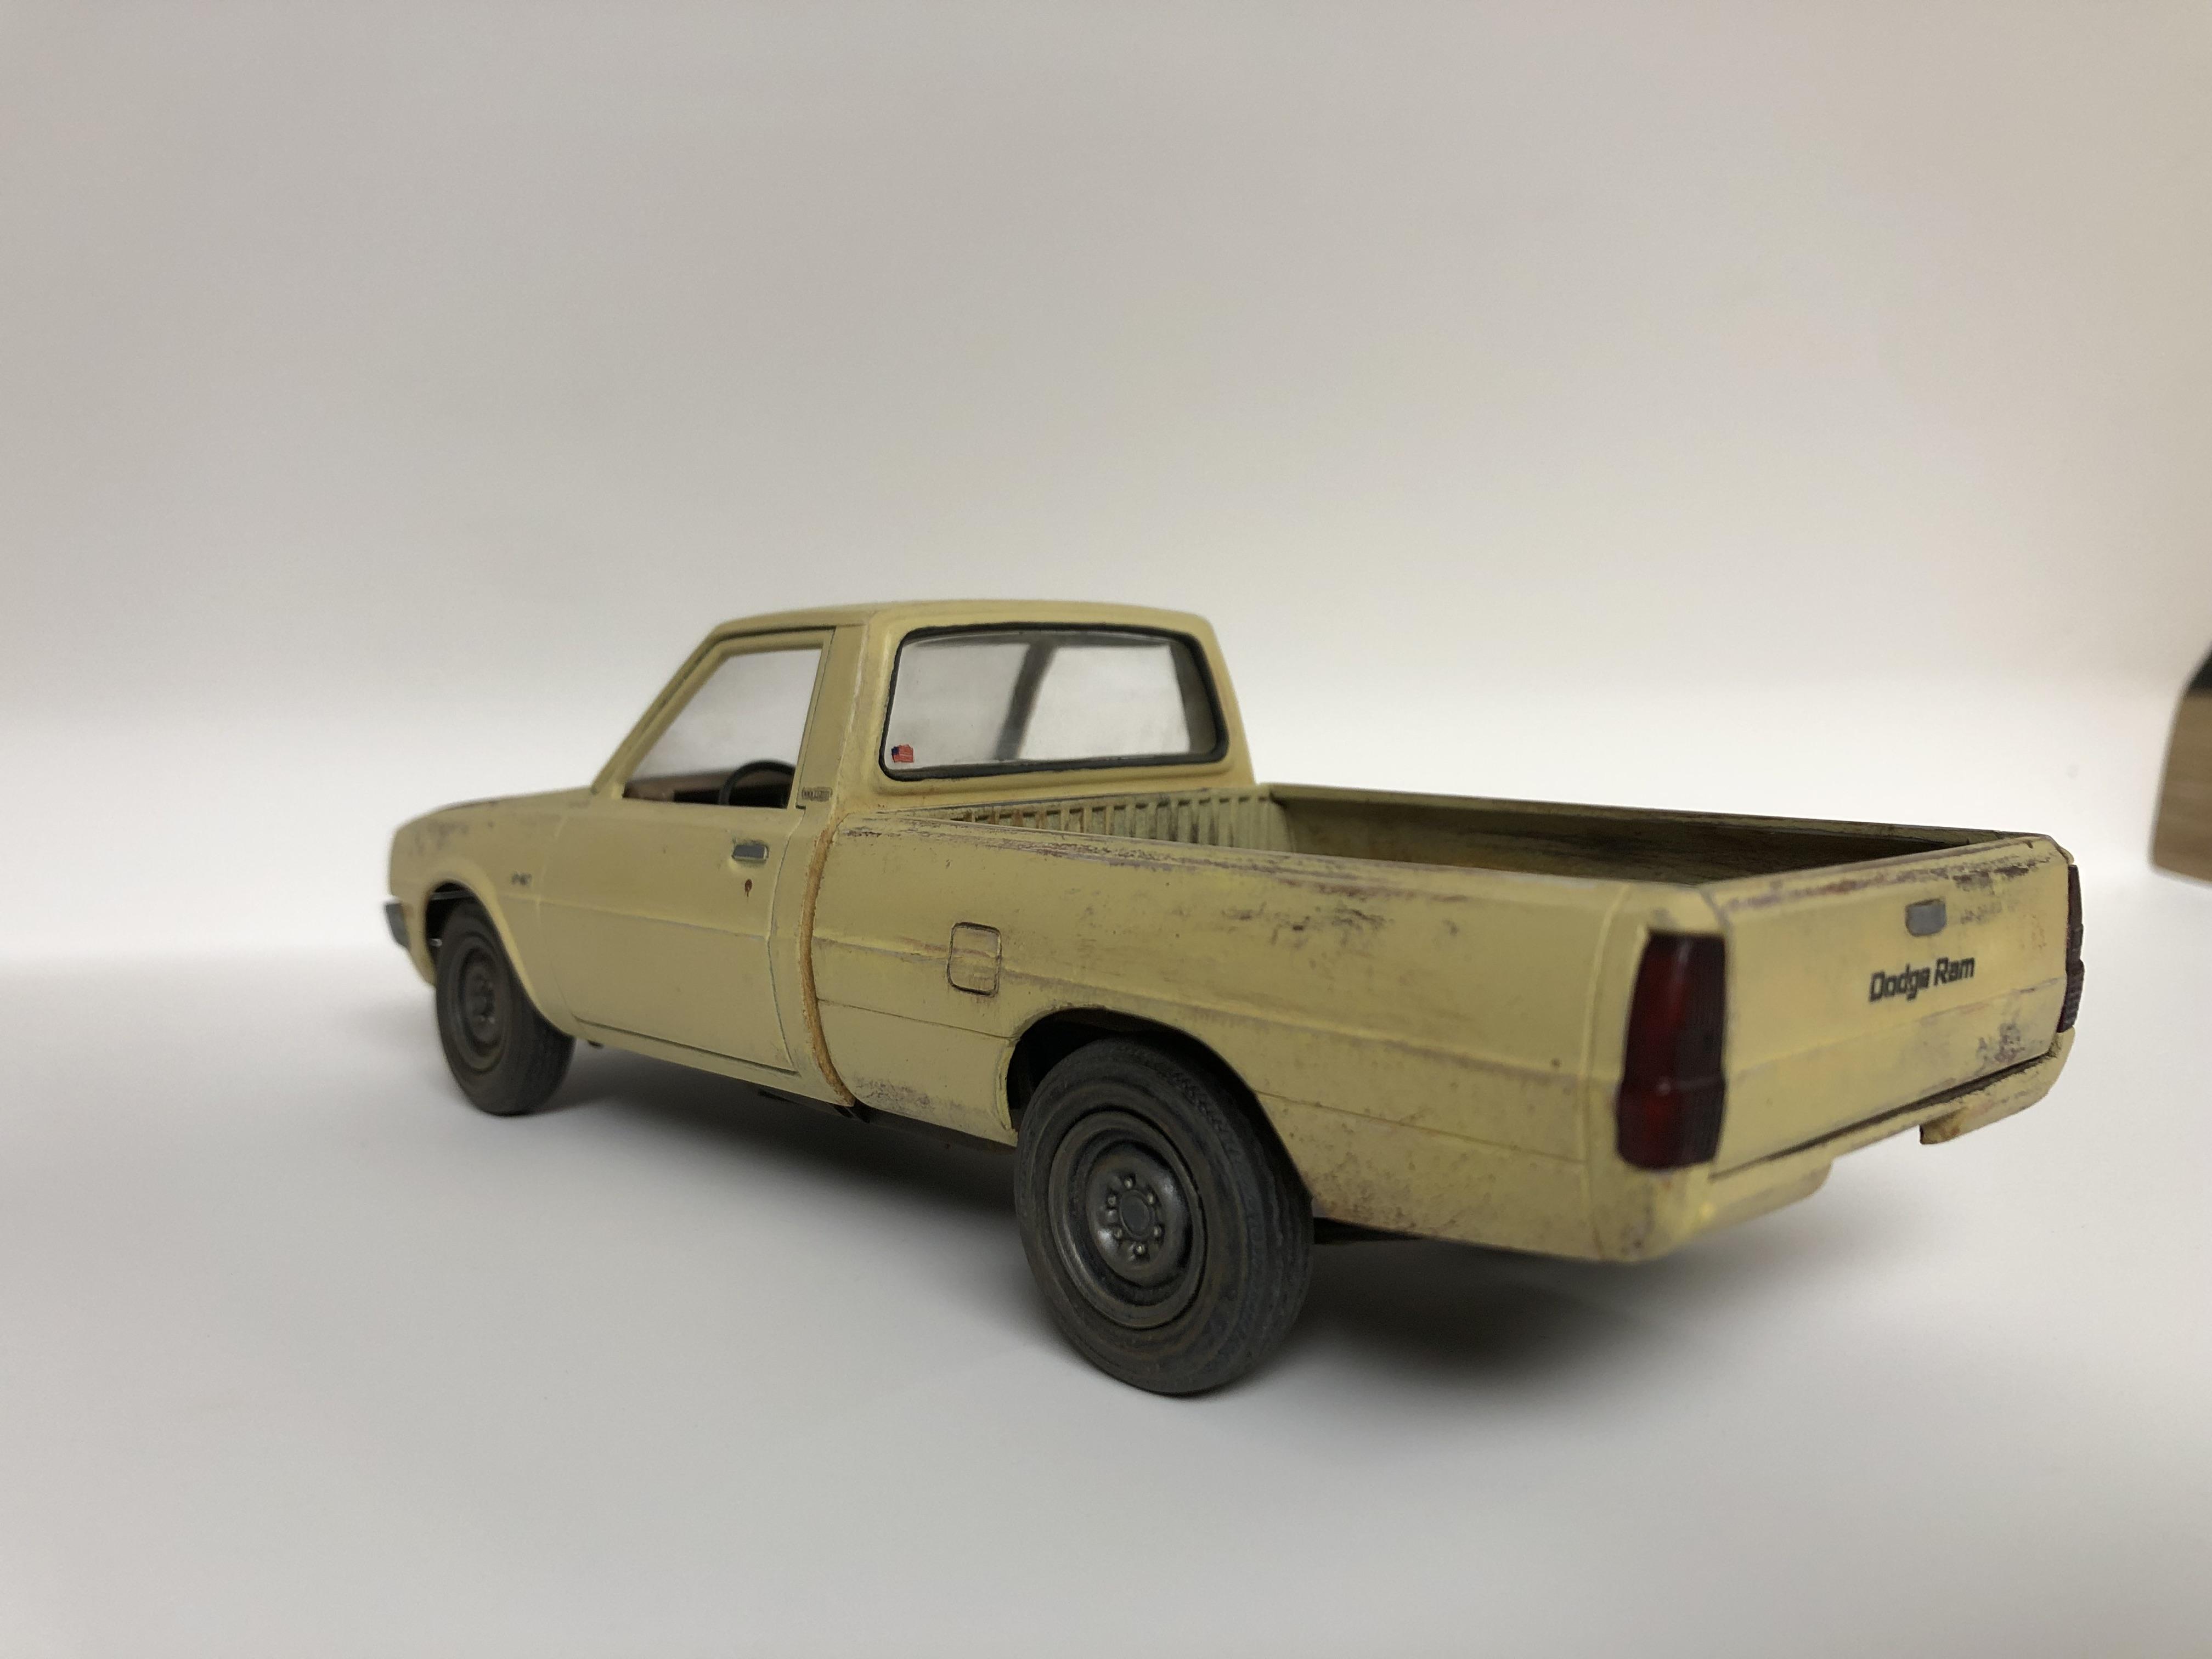
Did the last bit of weathering and final assembly. Decided to just smoke out the tail lights a bit to maybe look like some sort of aftermarket type deal to go with the turbo and lowered suspension.
-
Can't wait to see the bikes! Been on the hunt for a Harley kit for ages.
-
Really liking what you're doing here.
-
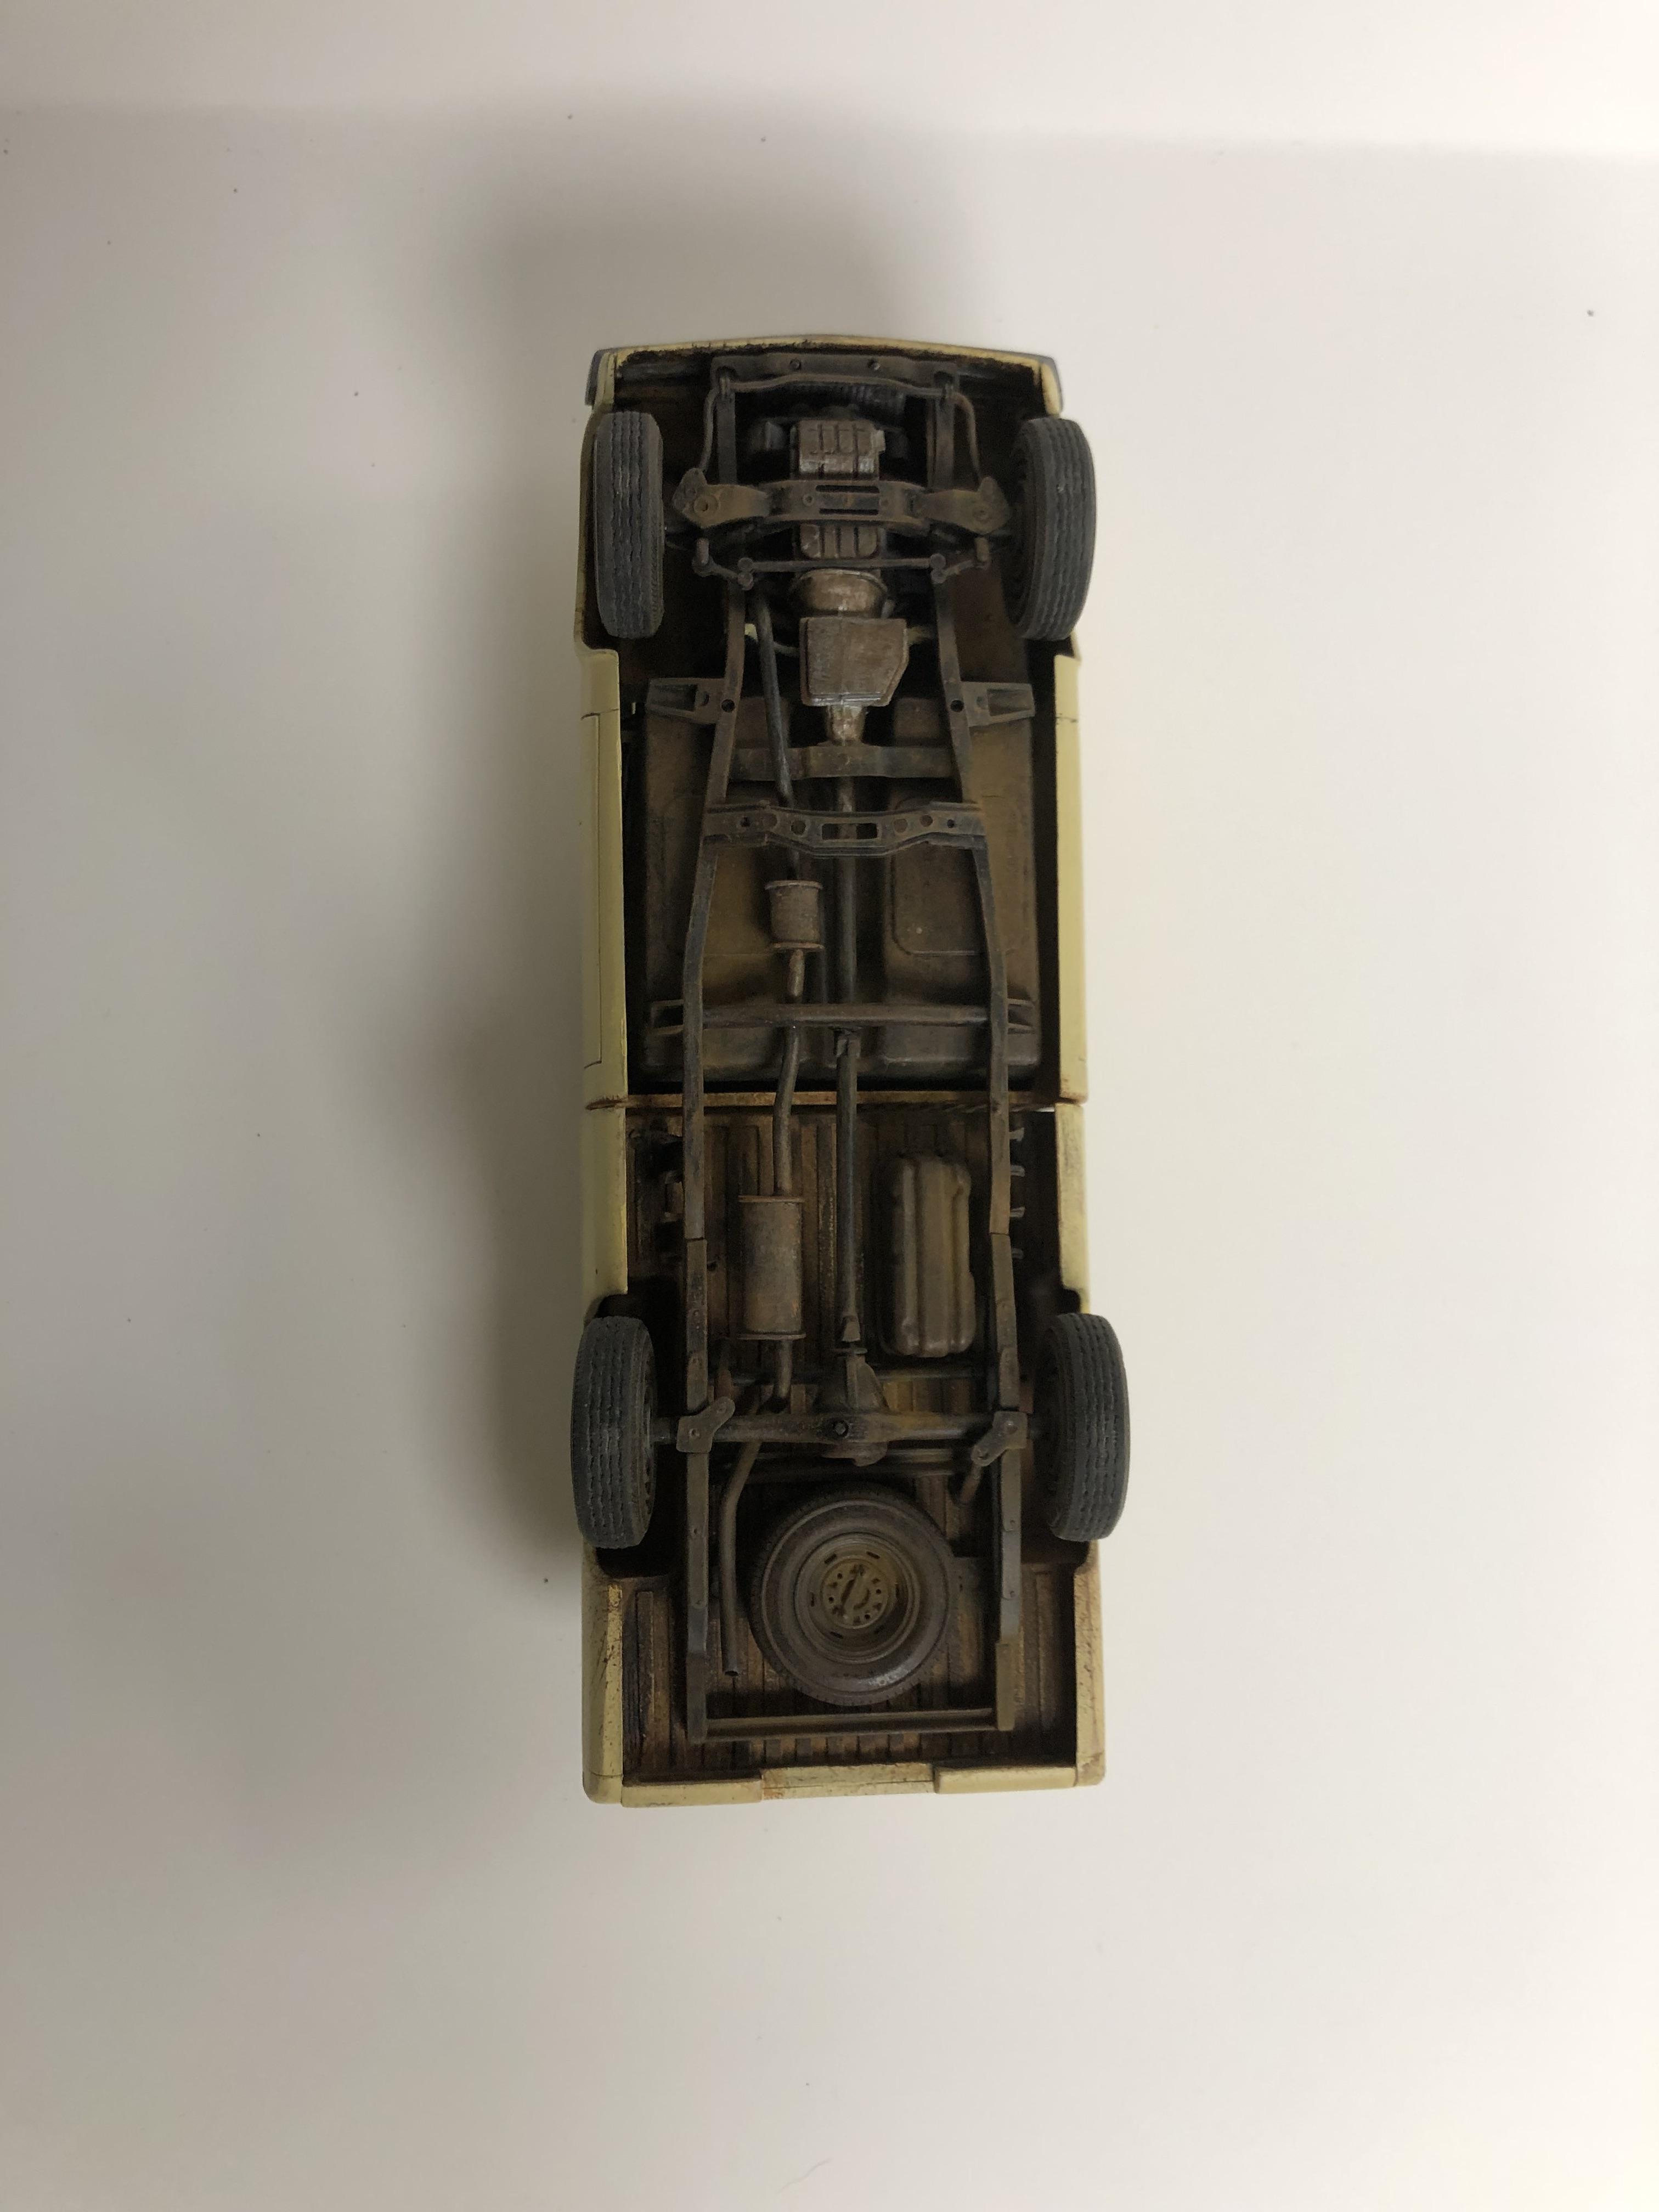
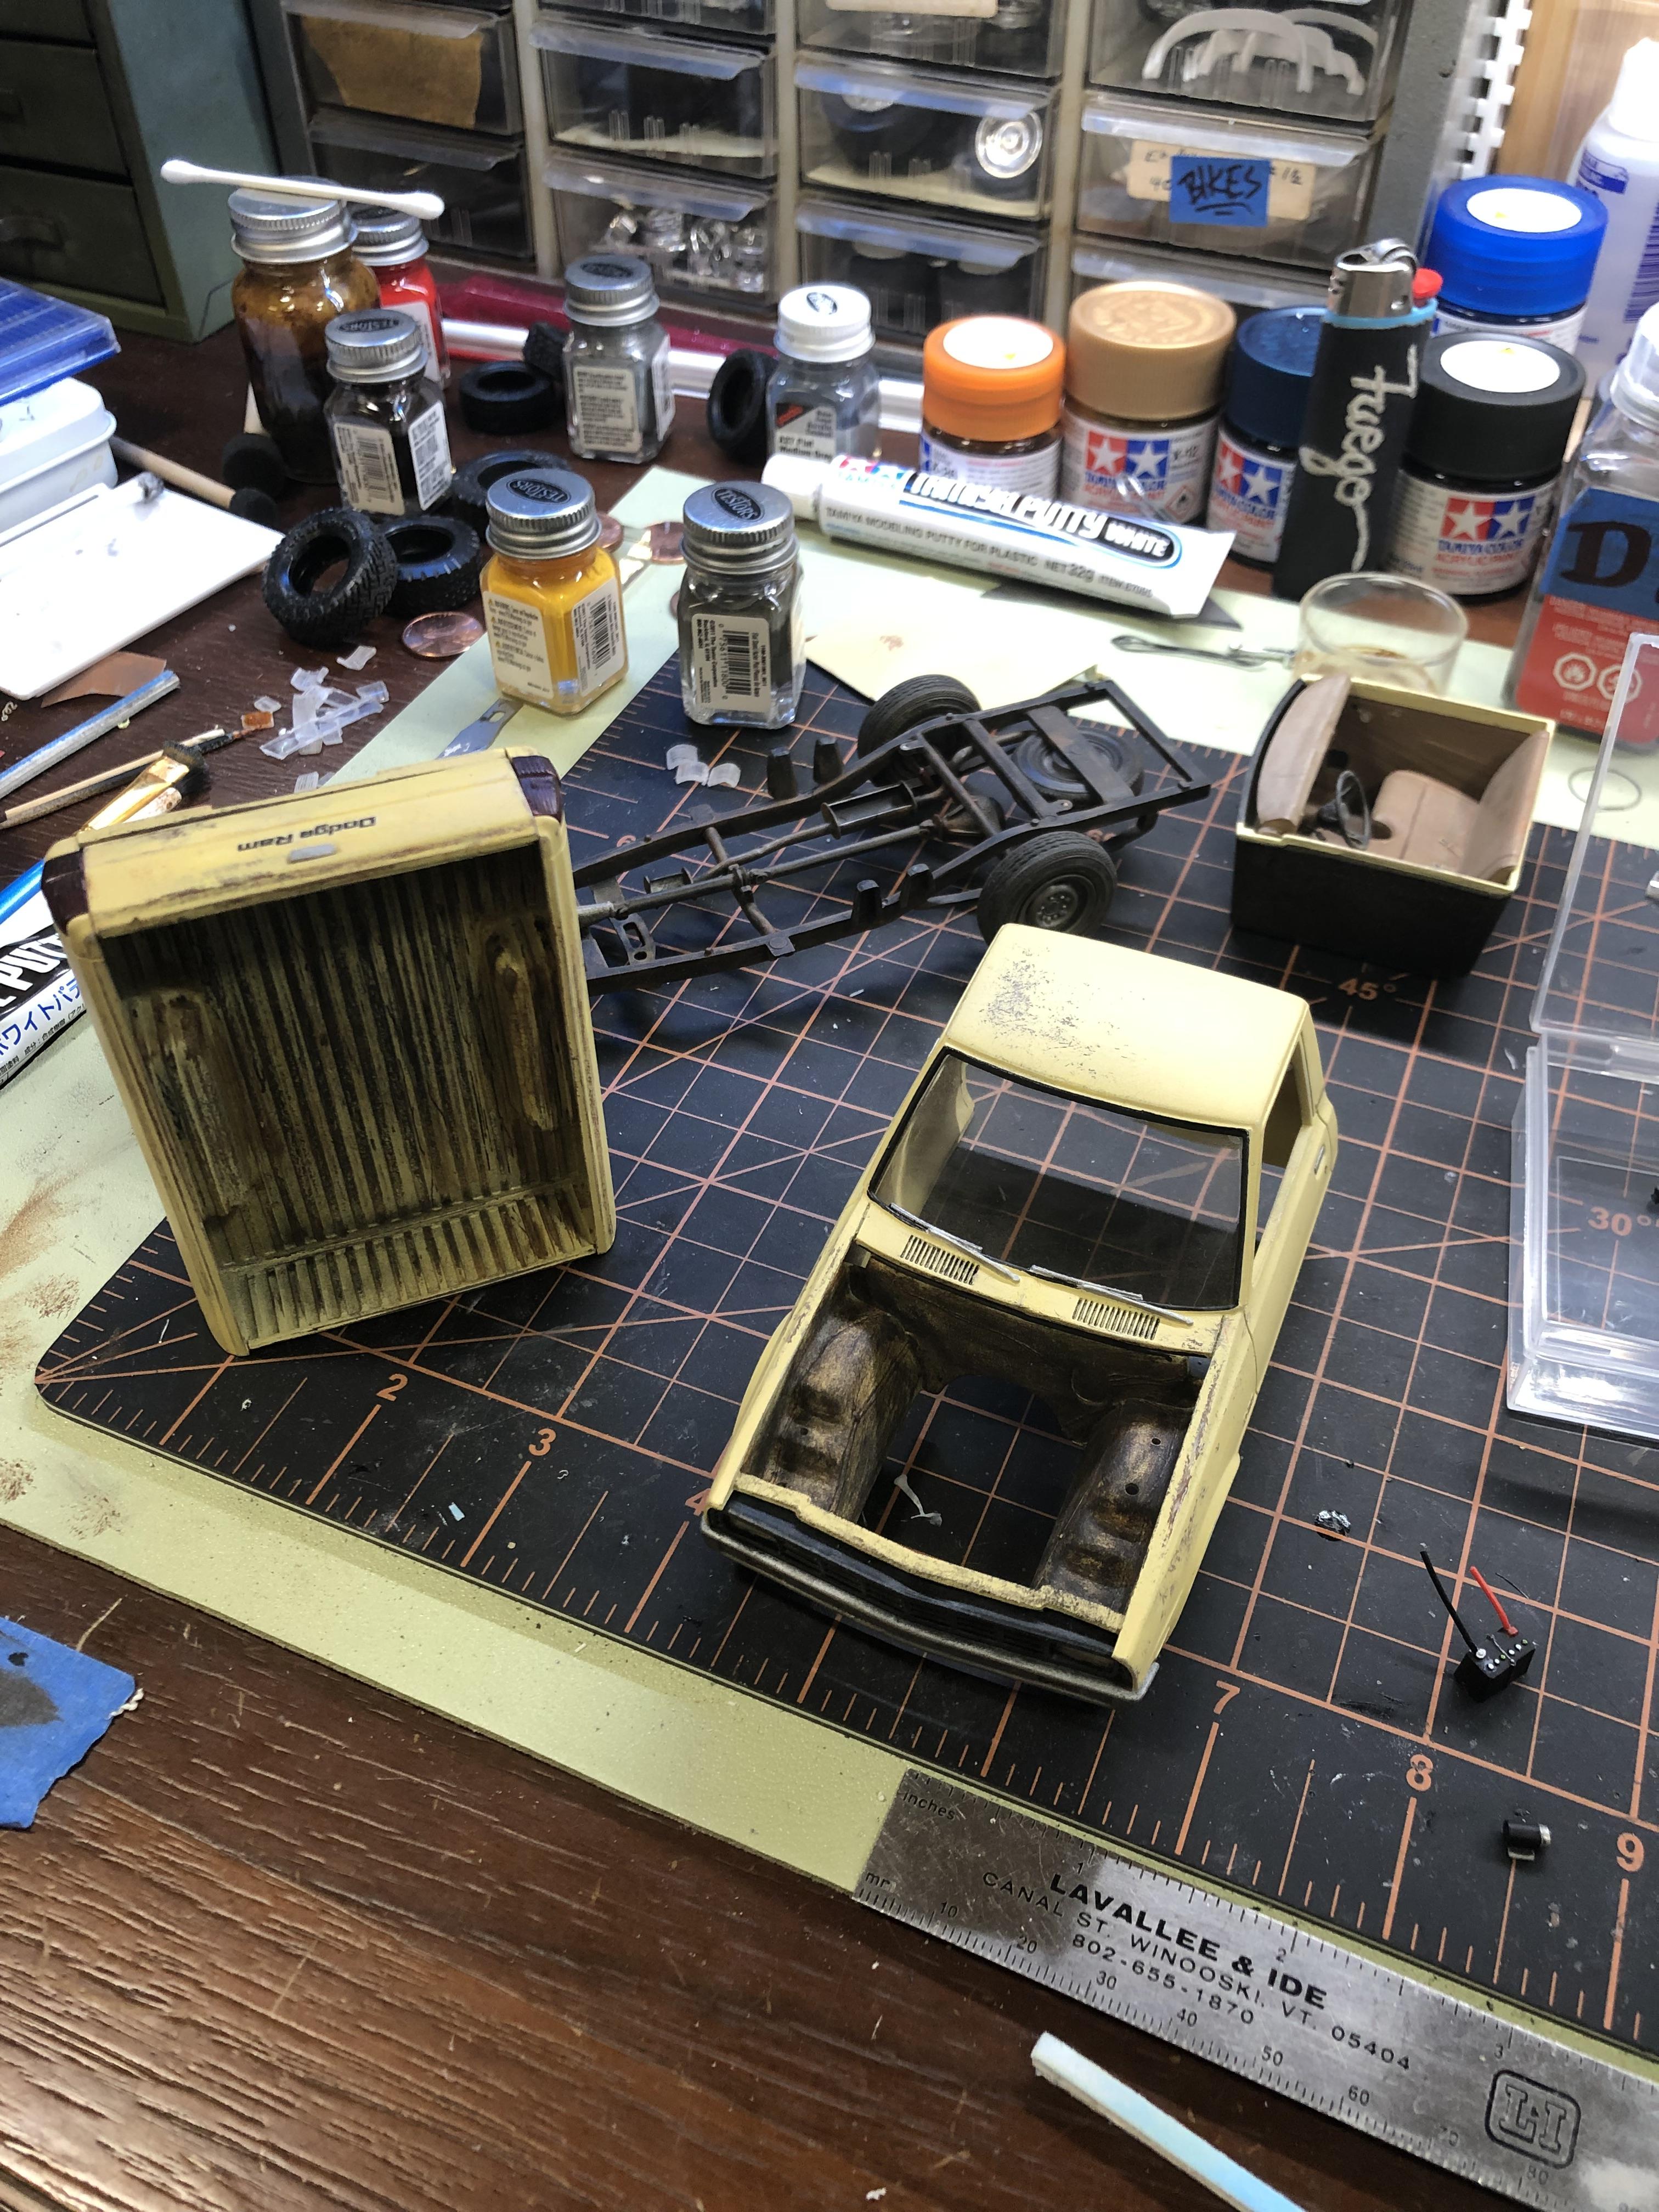
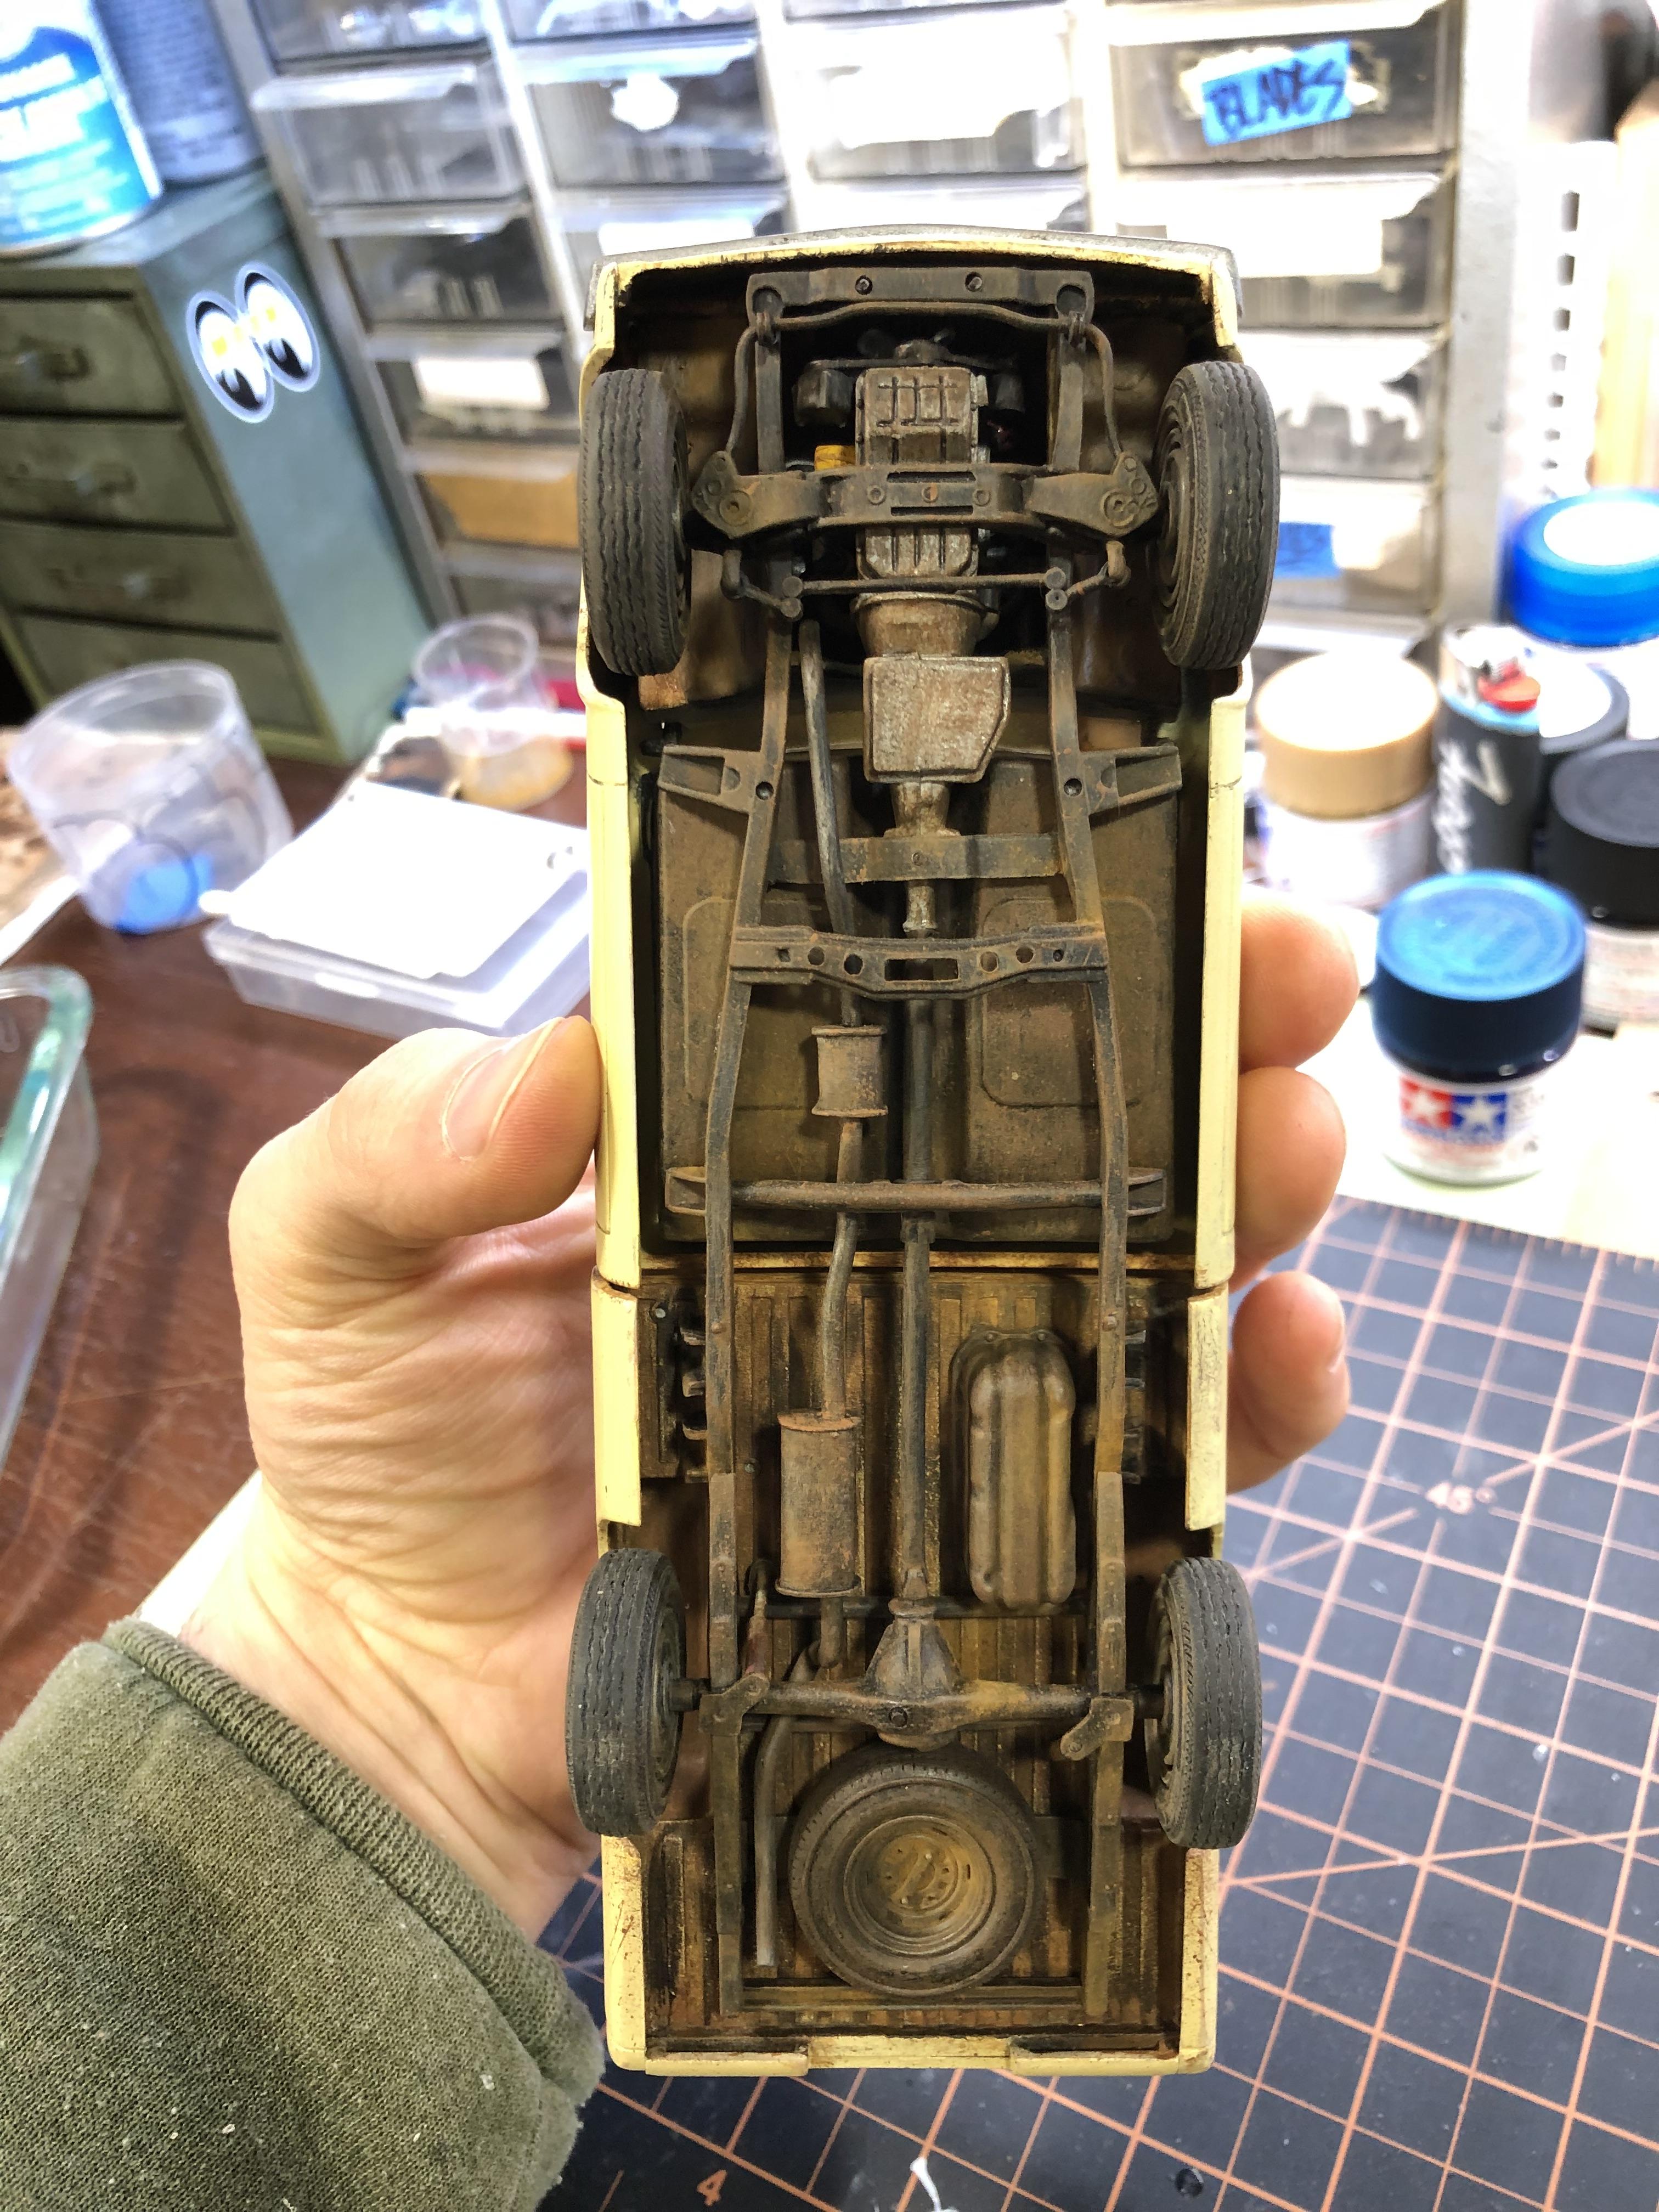
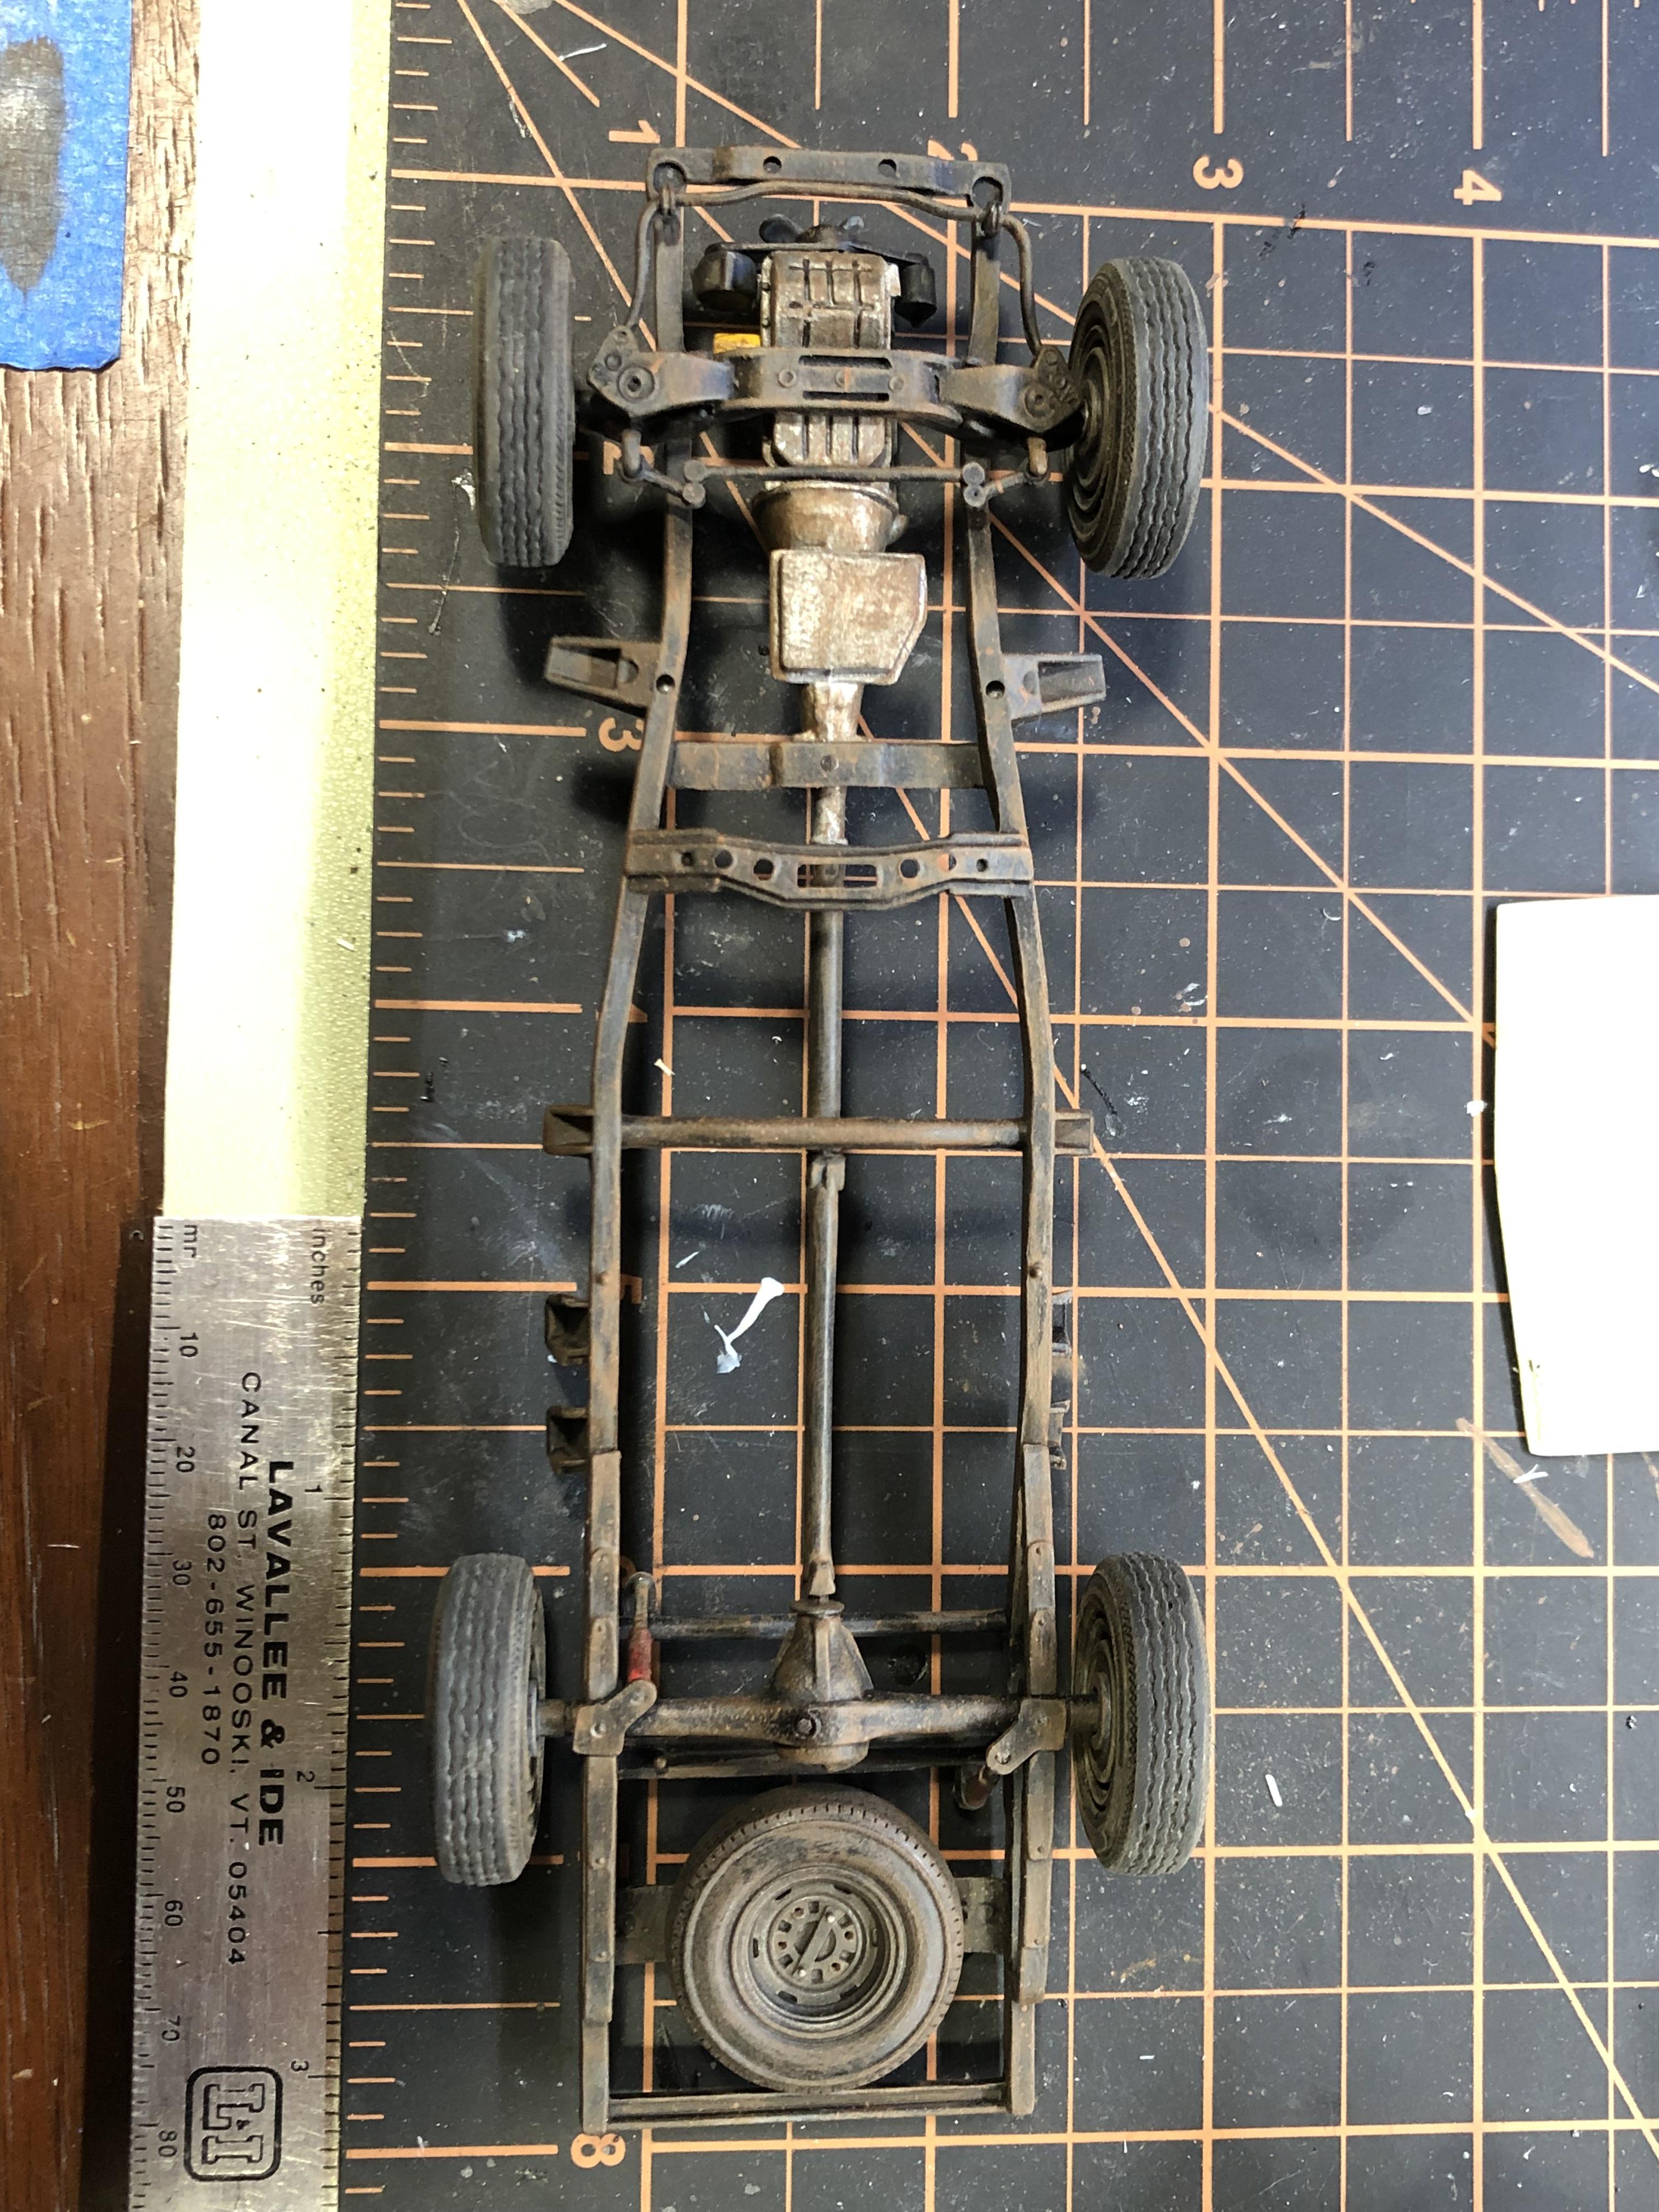
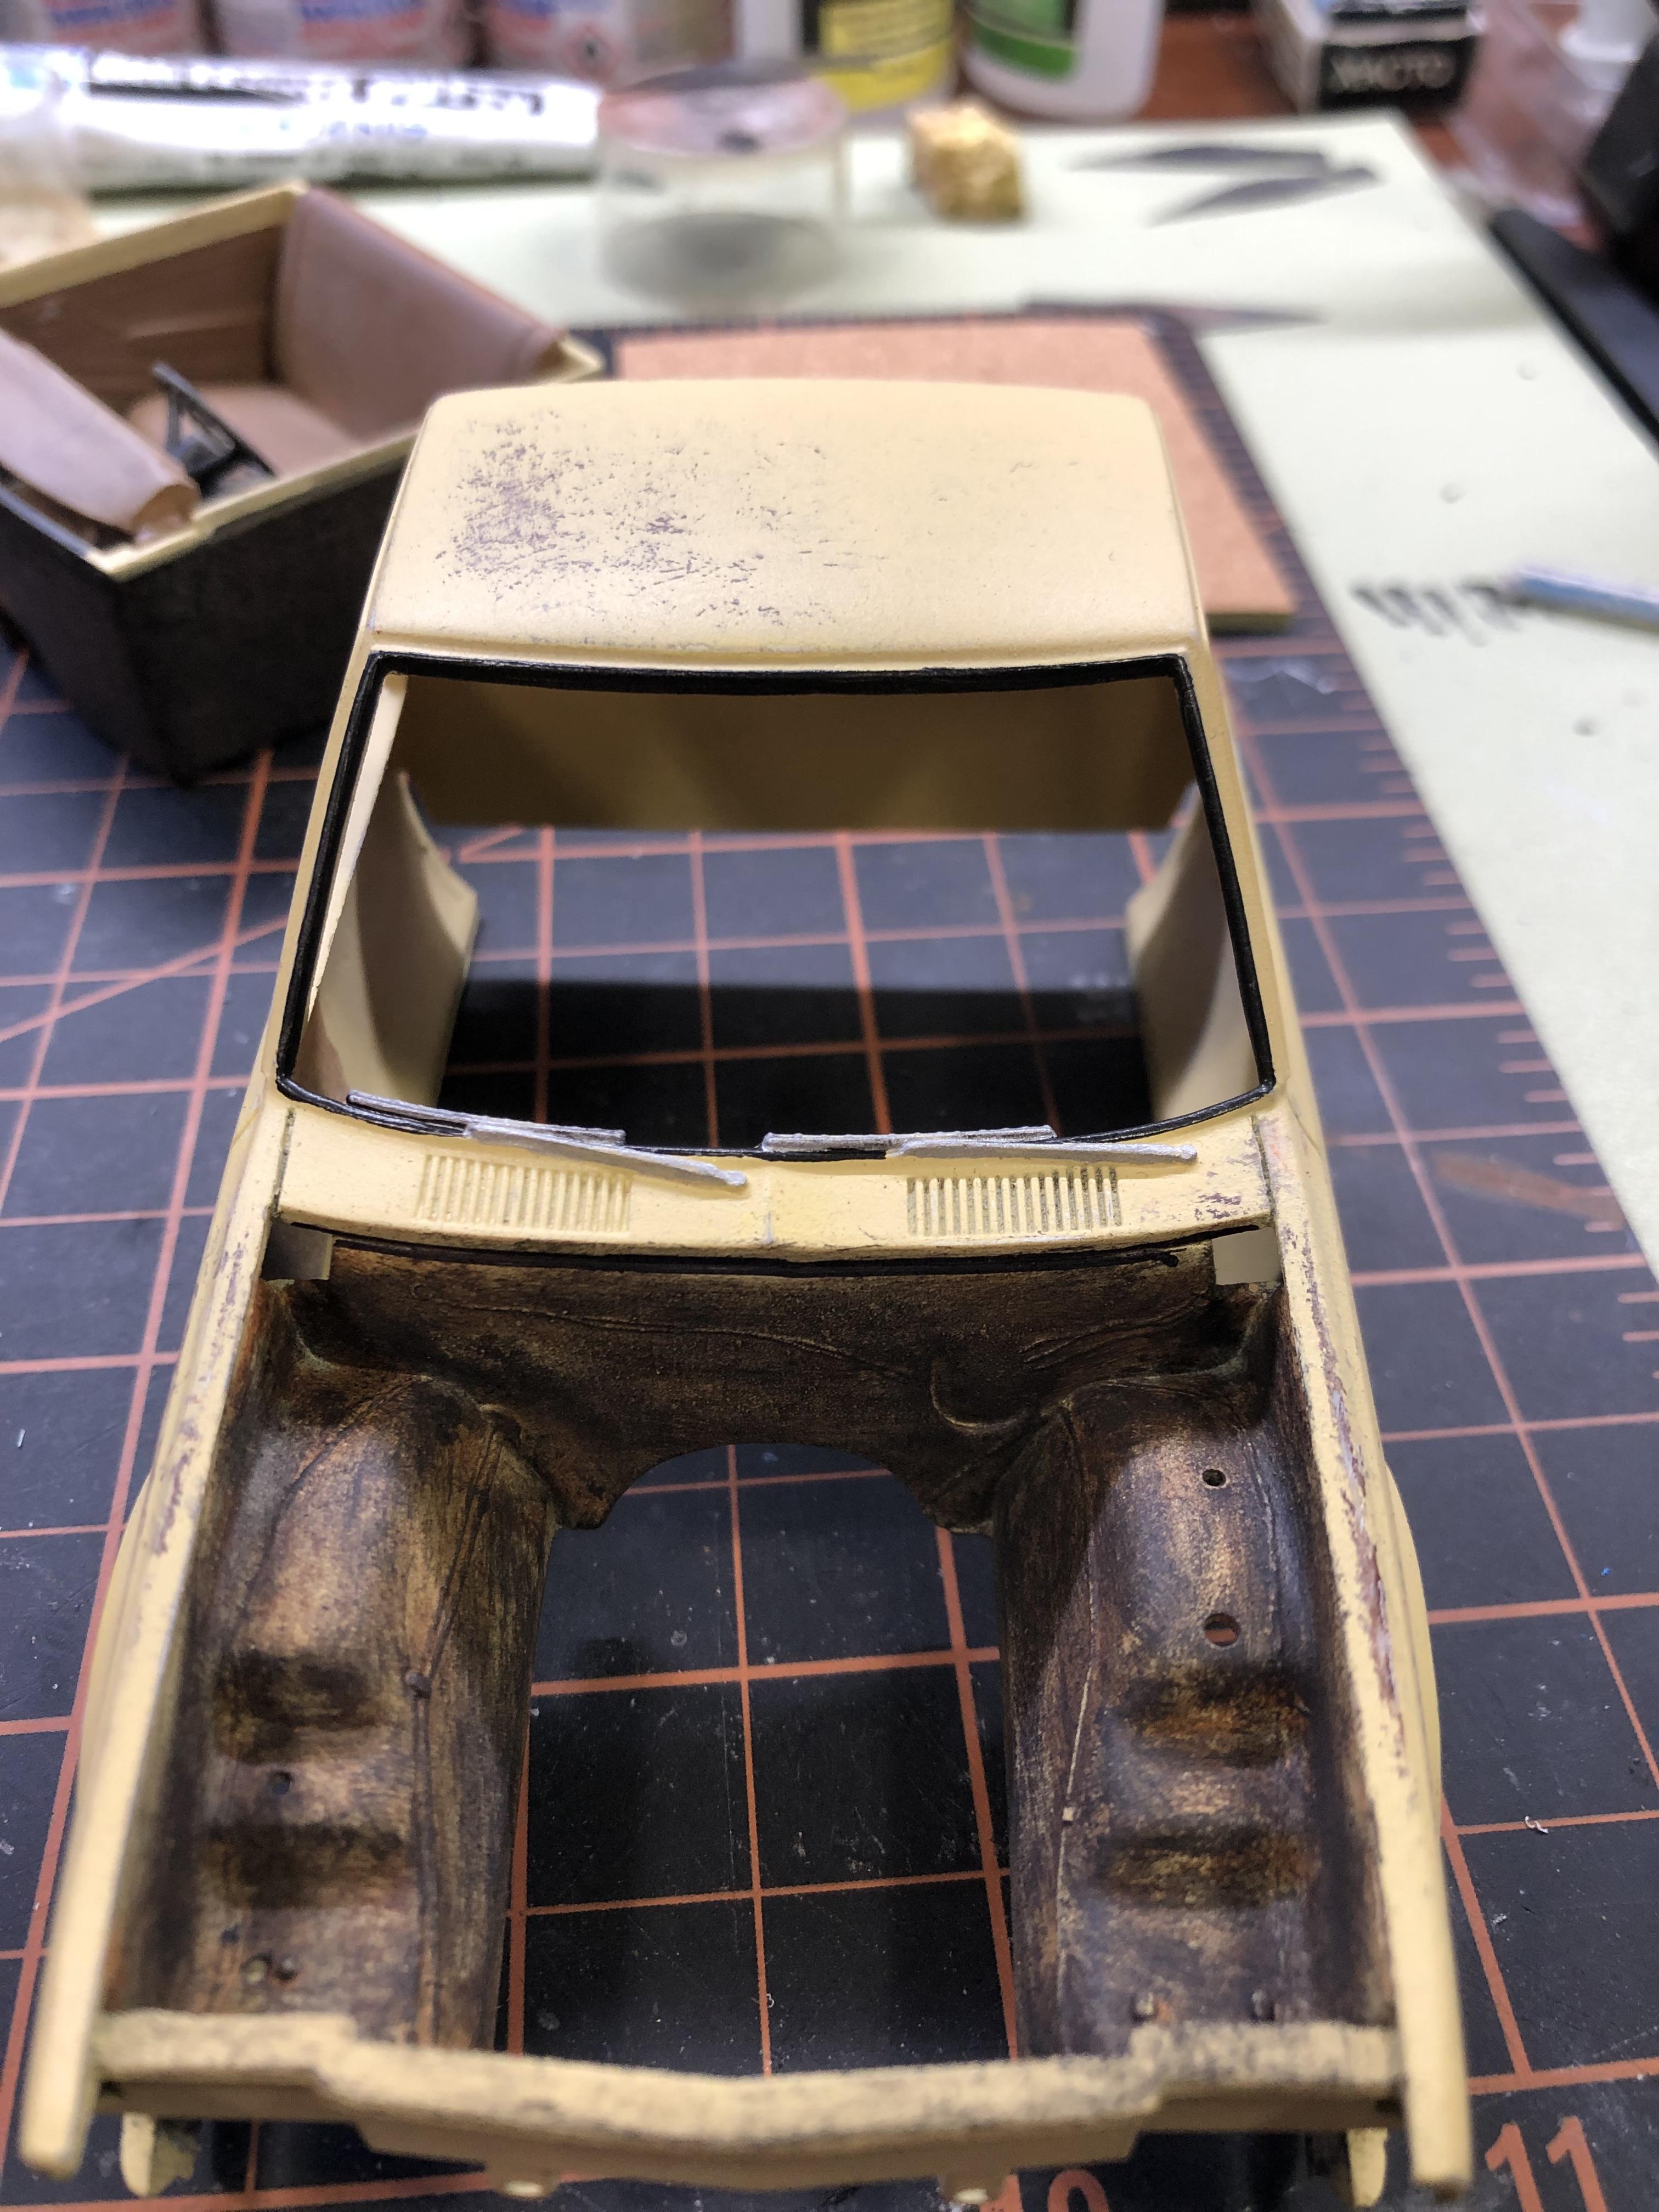
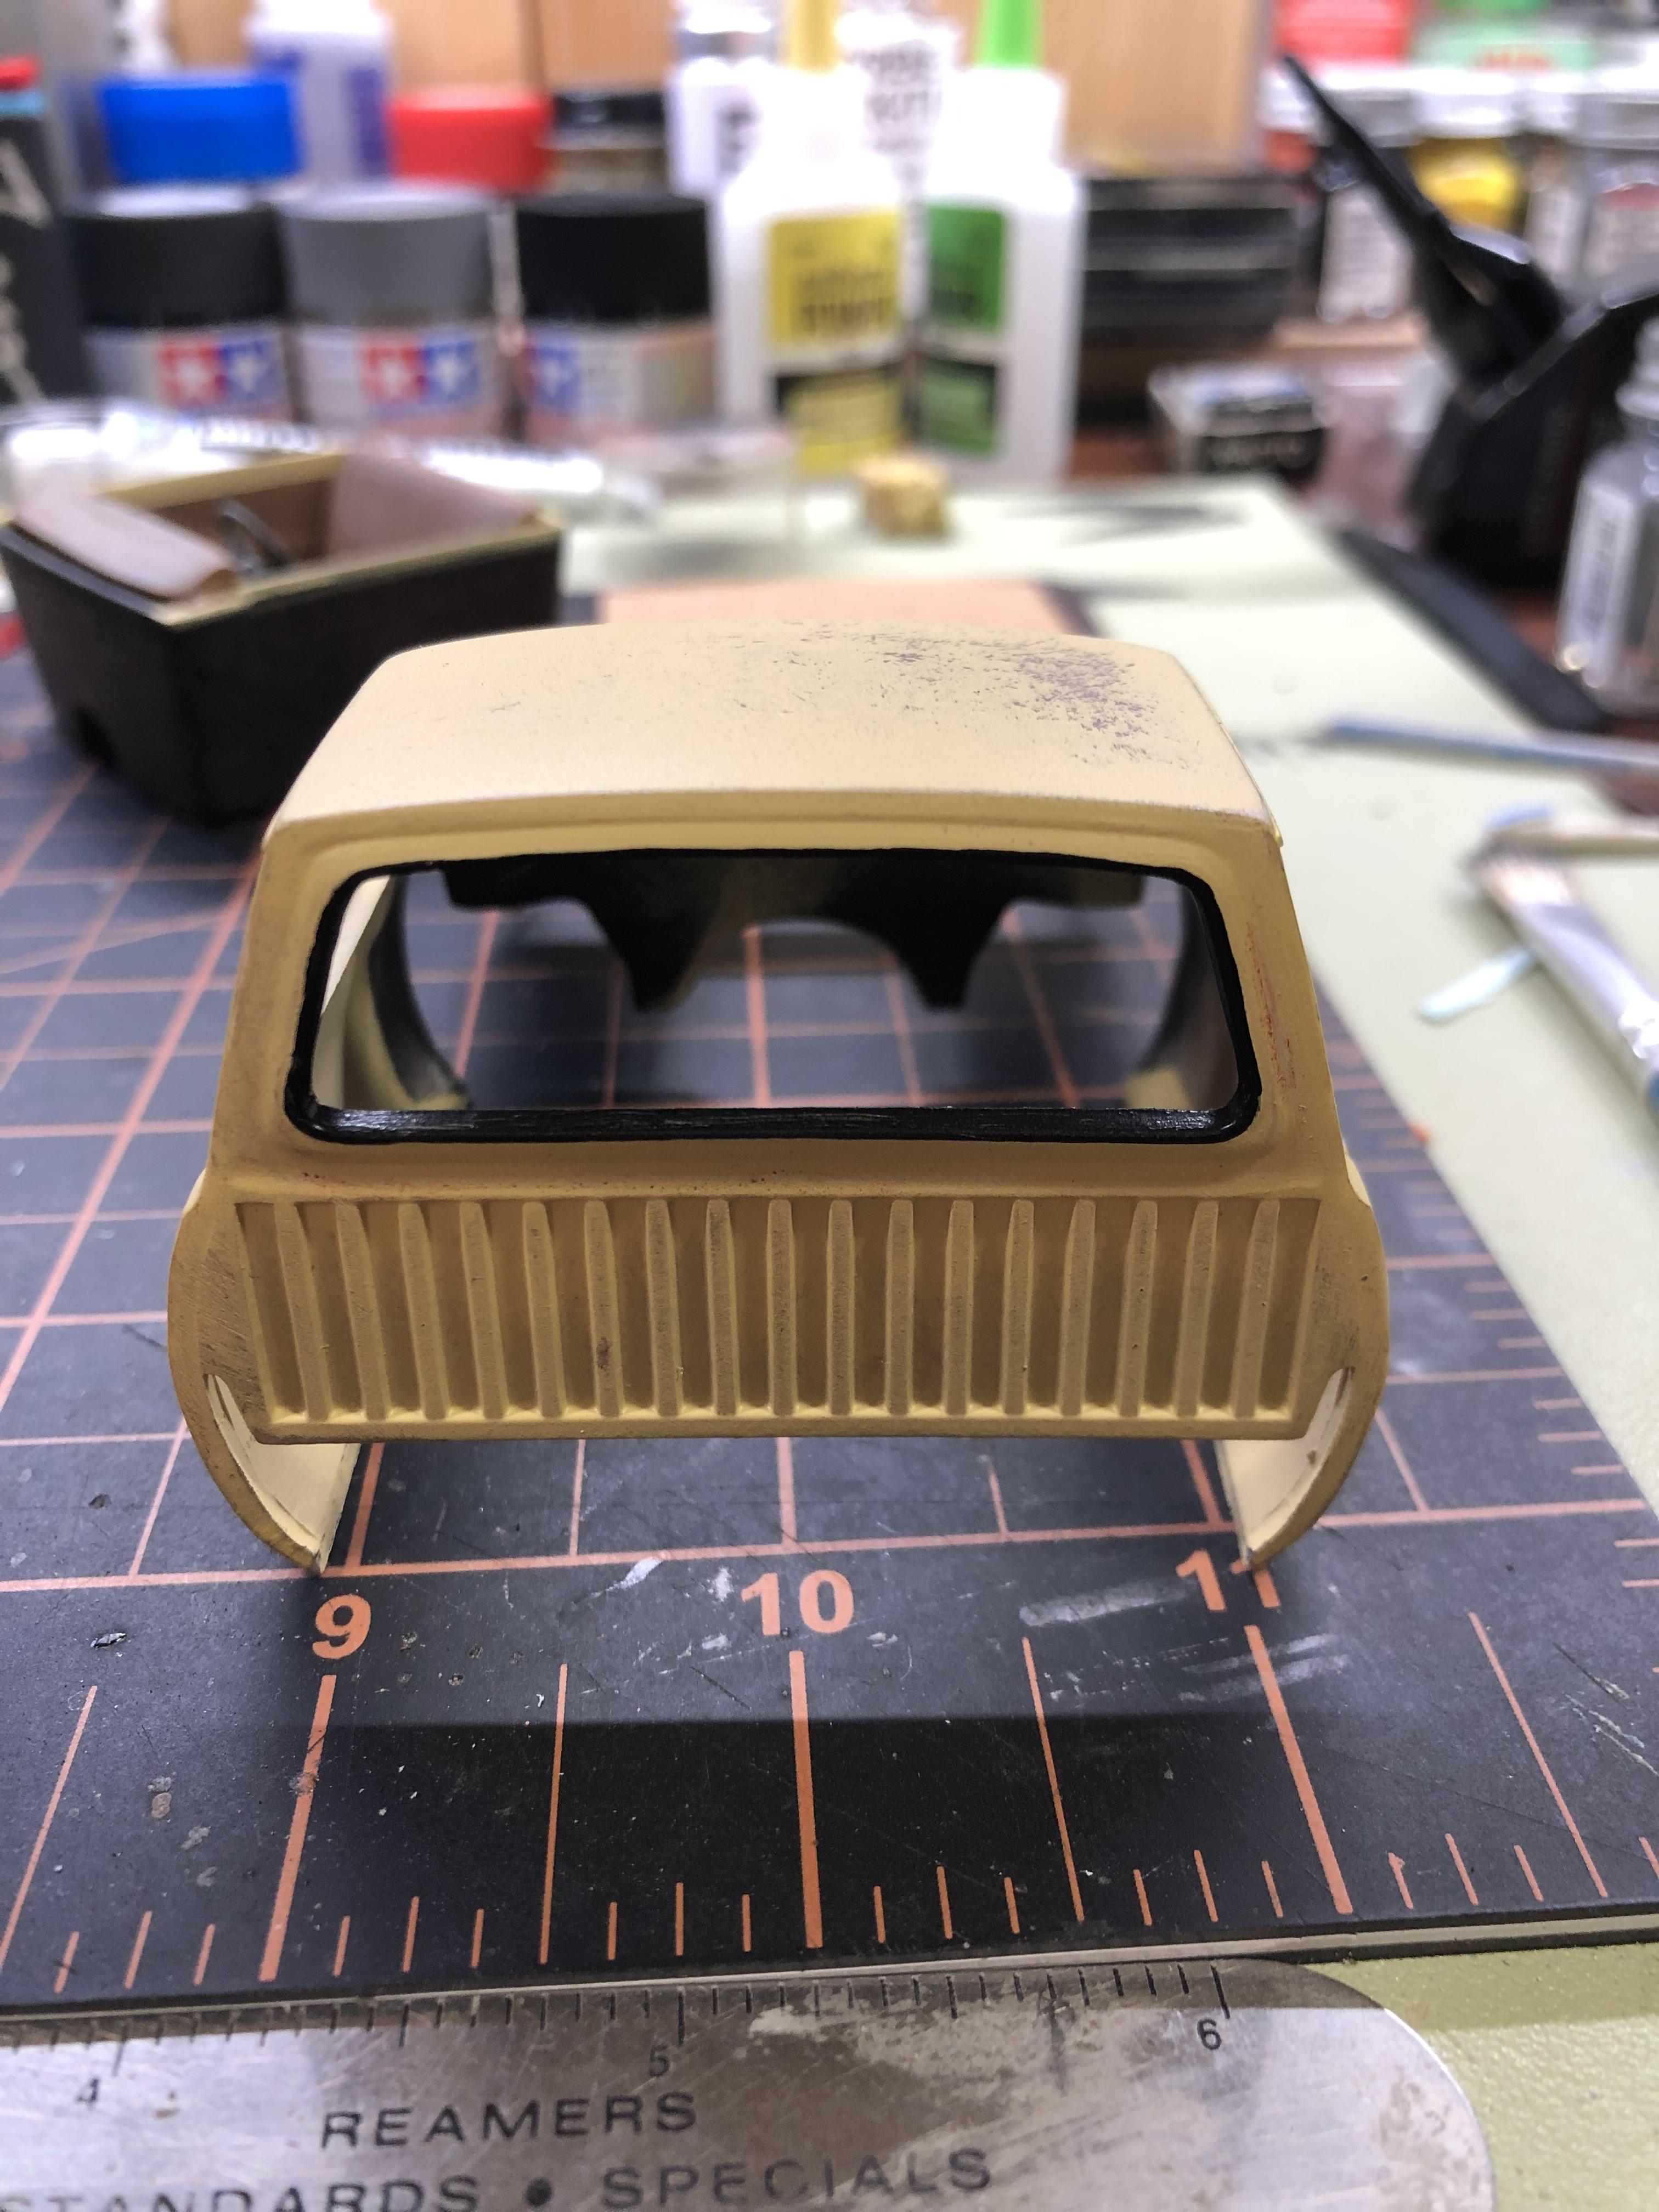
When weathering the chassis I totally forgot about the spare tire. So focused on that a little bit, the wheel had all the lug nuts molded in so I went ahead and drilled them and did some dry brushing. It's just about there but have a little more to do. I painted the window seals black and although the front calls for some chrome on the 1/1 I will not be adding it. The black it pretty shinny so will hit it with some flat clear. I may try to make one last attempt to sort out the tail lights. Not too worried about them since there are plenty of details that I've overlooked and this is supposed to be a "quick build" after all. It's just about ready for final assembly and the last bits of weathering. Thanks for looking.
-
More so interested in motorcycles to accompany some future builds.
-
Hi all, Looking for 1/25 motorcycles in any condition. Revell Honda, BSA, Harley or Triumph Revell Tom Daniels "Cherry Bomb" Revell Dirt Bikes AMT Dirt Bikes Honda Chopper from MPC Monte Carlo kit Also AMT Wheel Horse Tractor I have all sorts of things to trade Thank you -Jeff
-
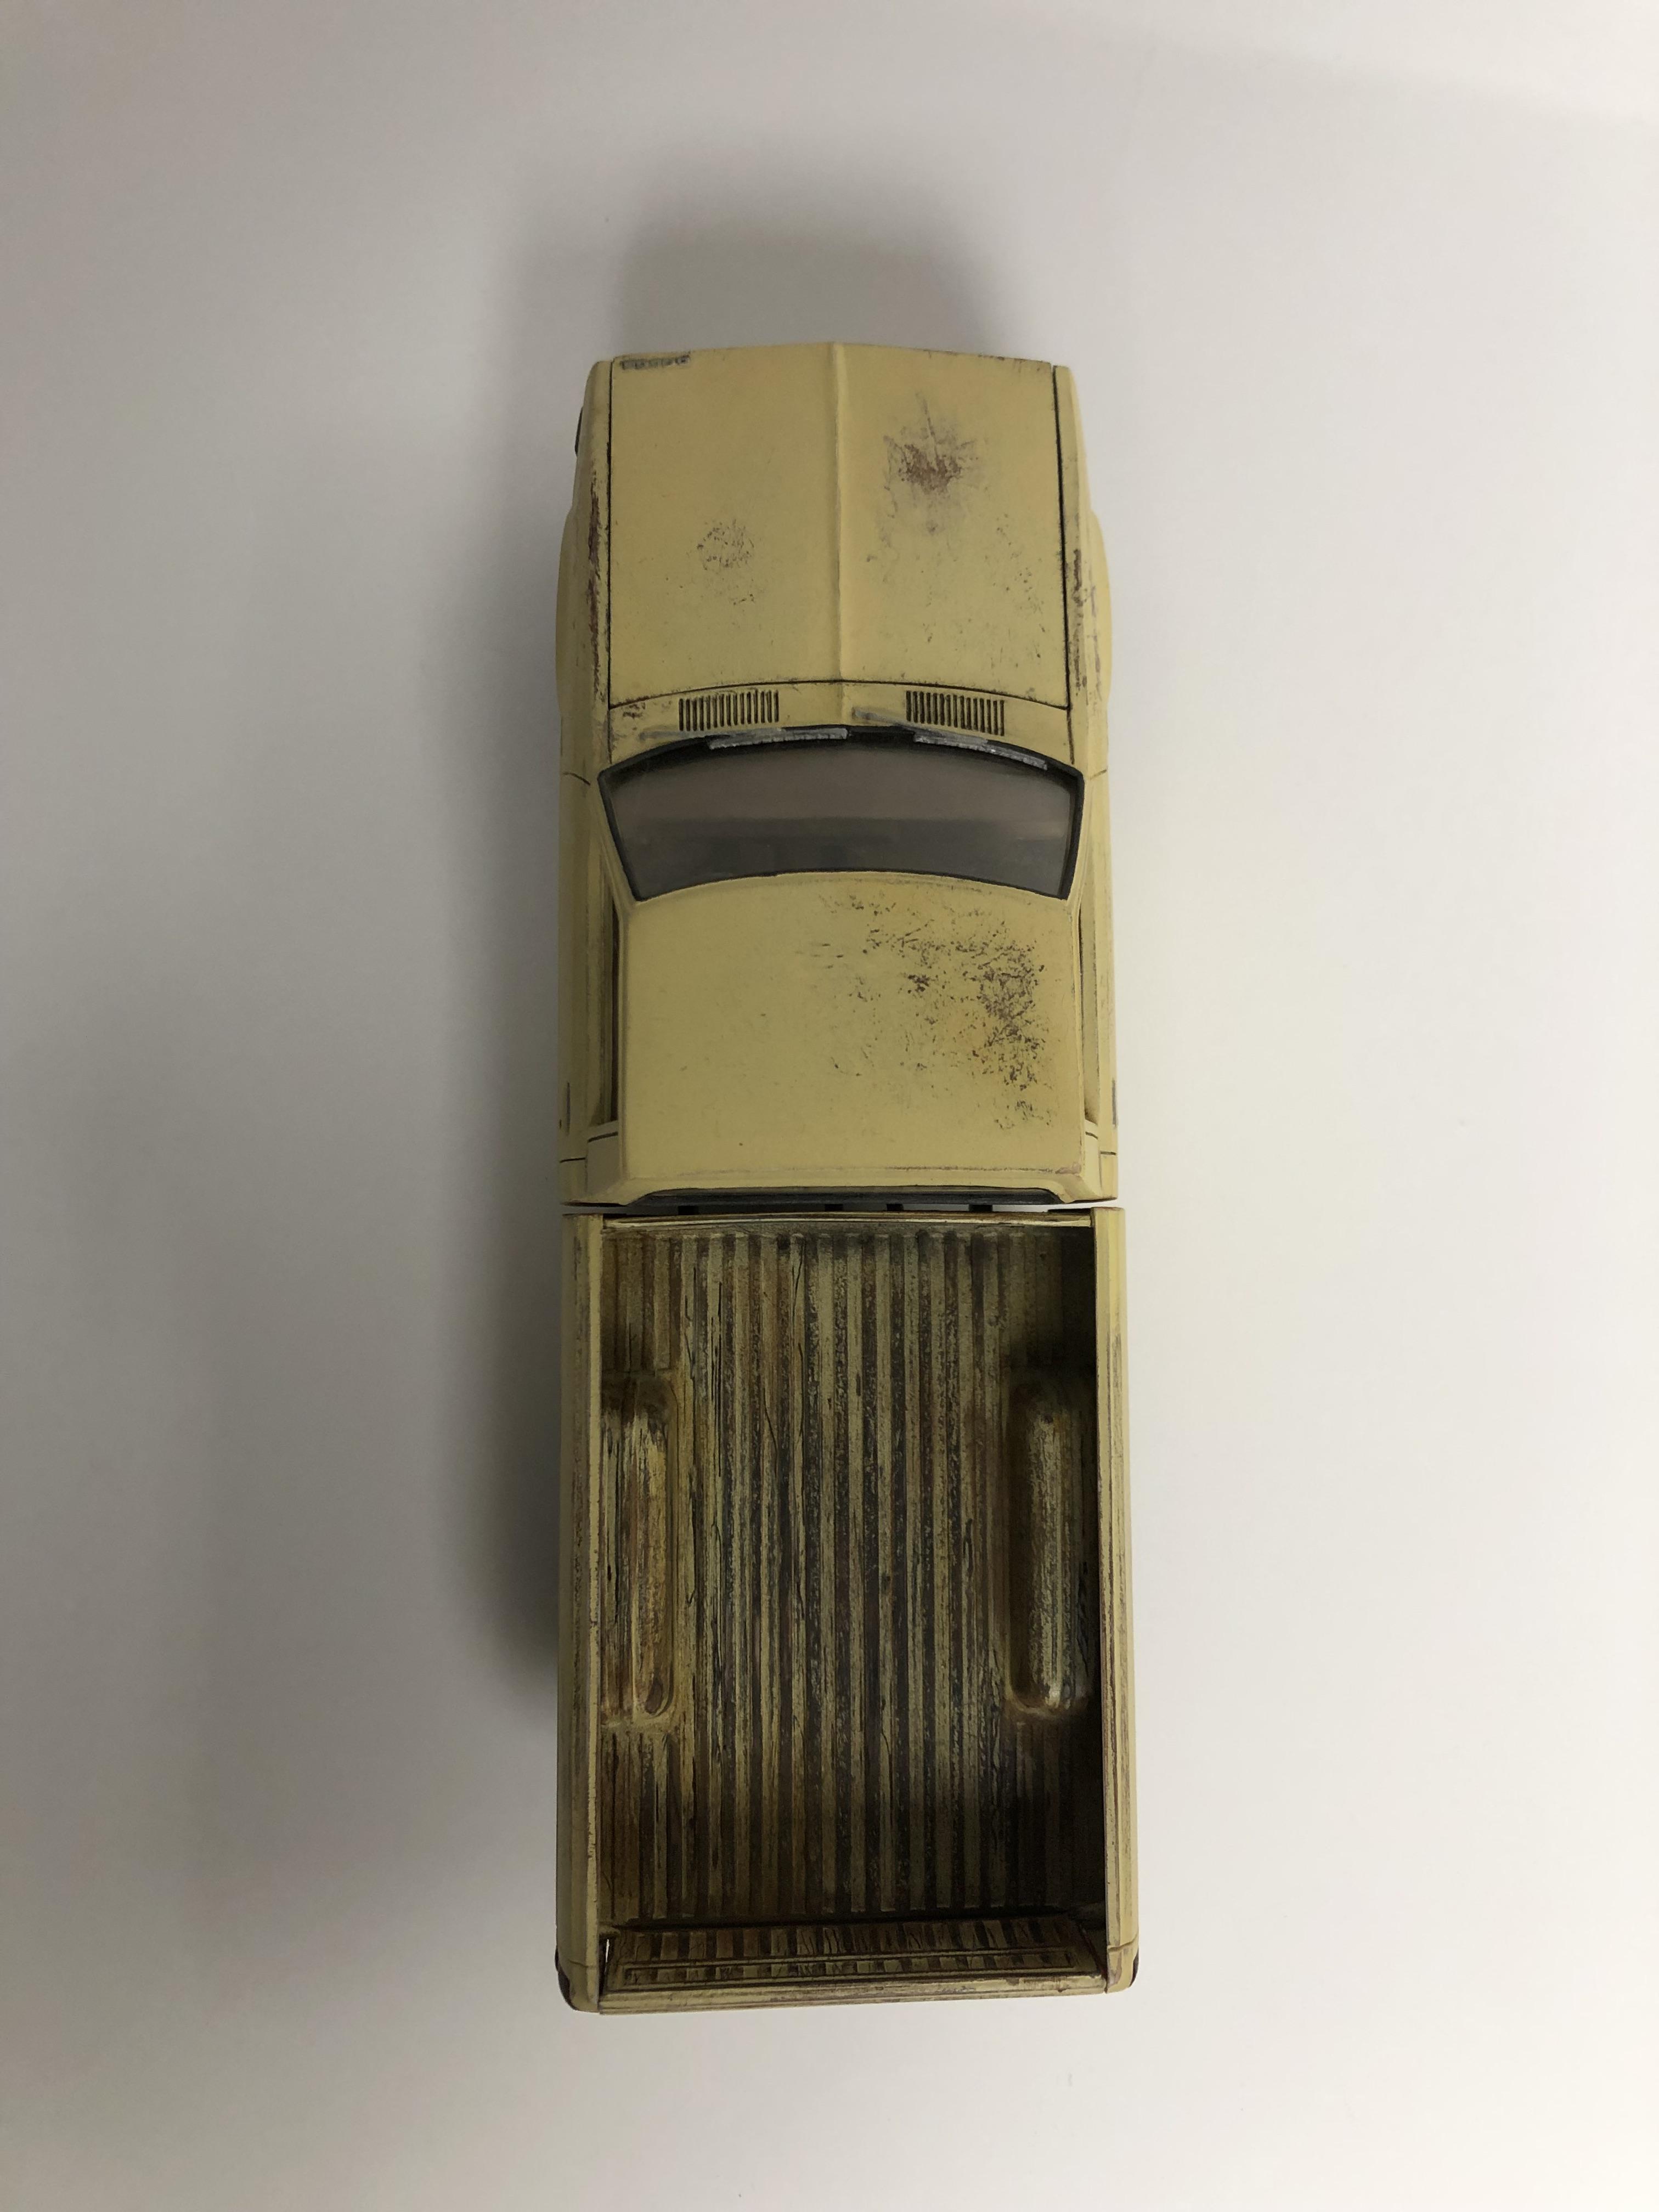
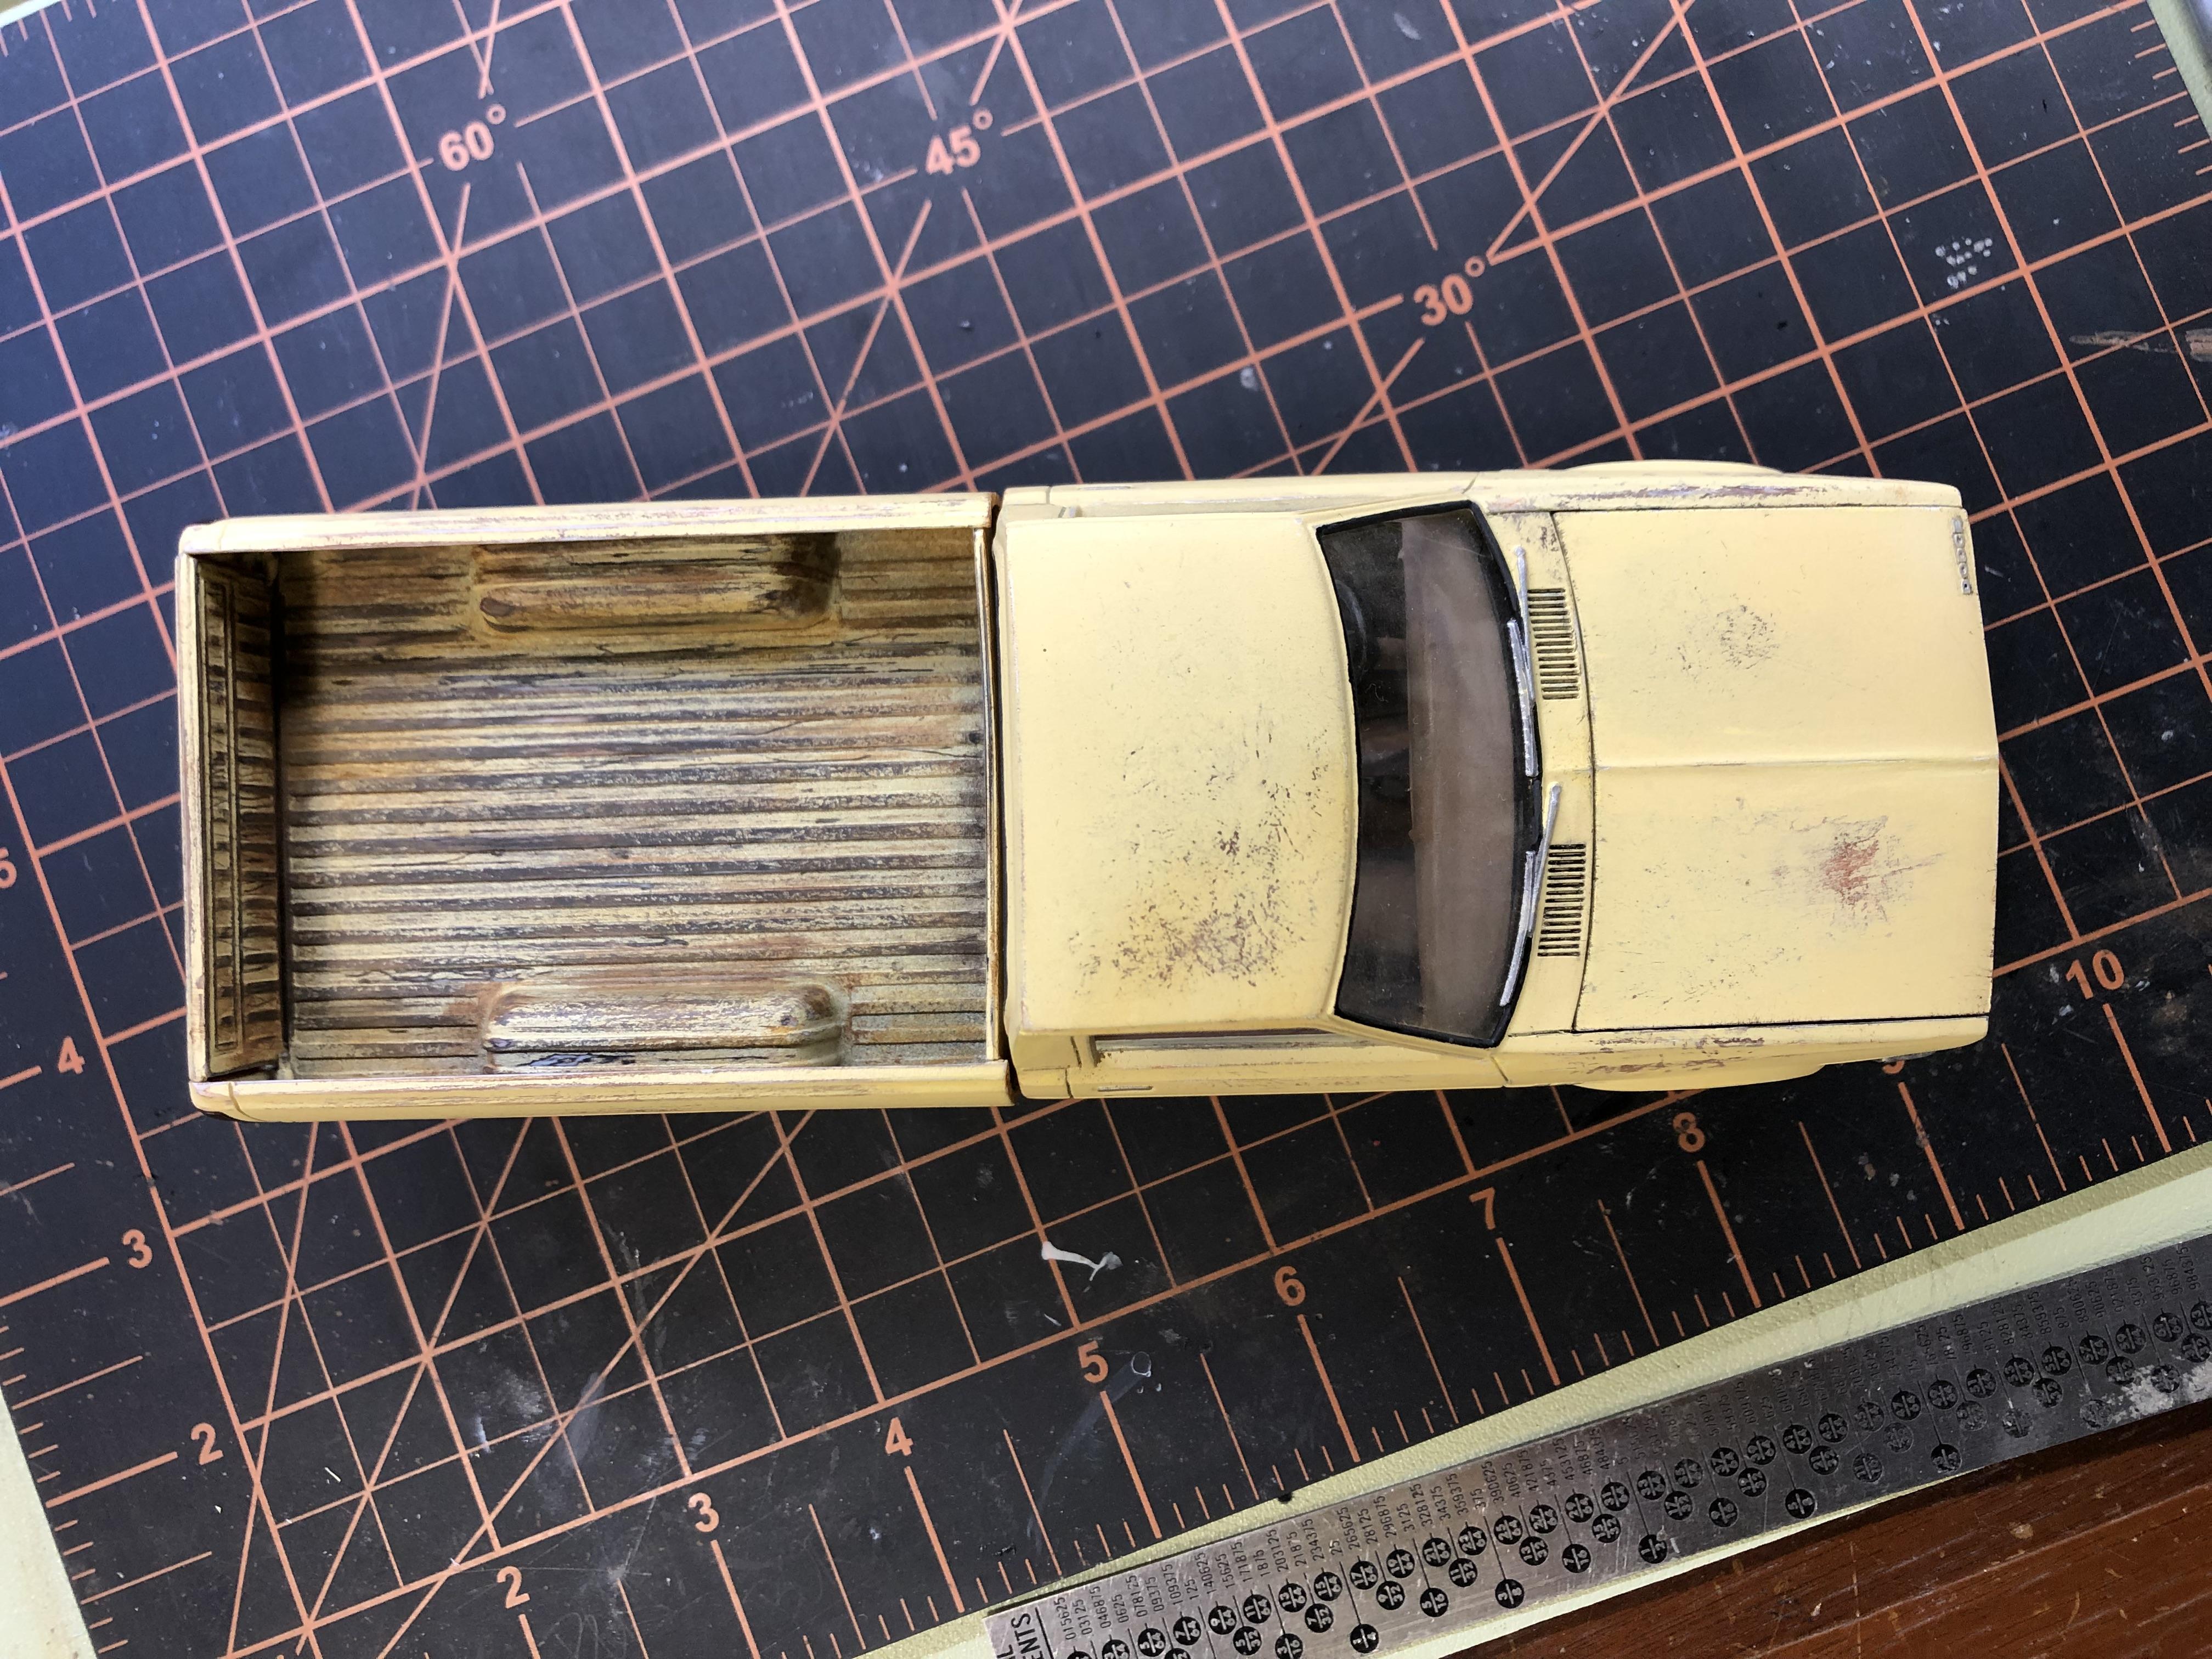
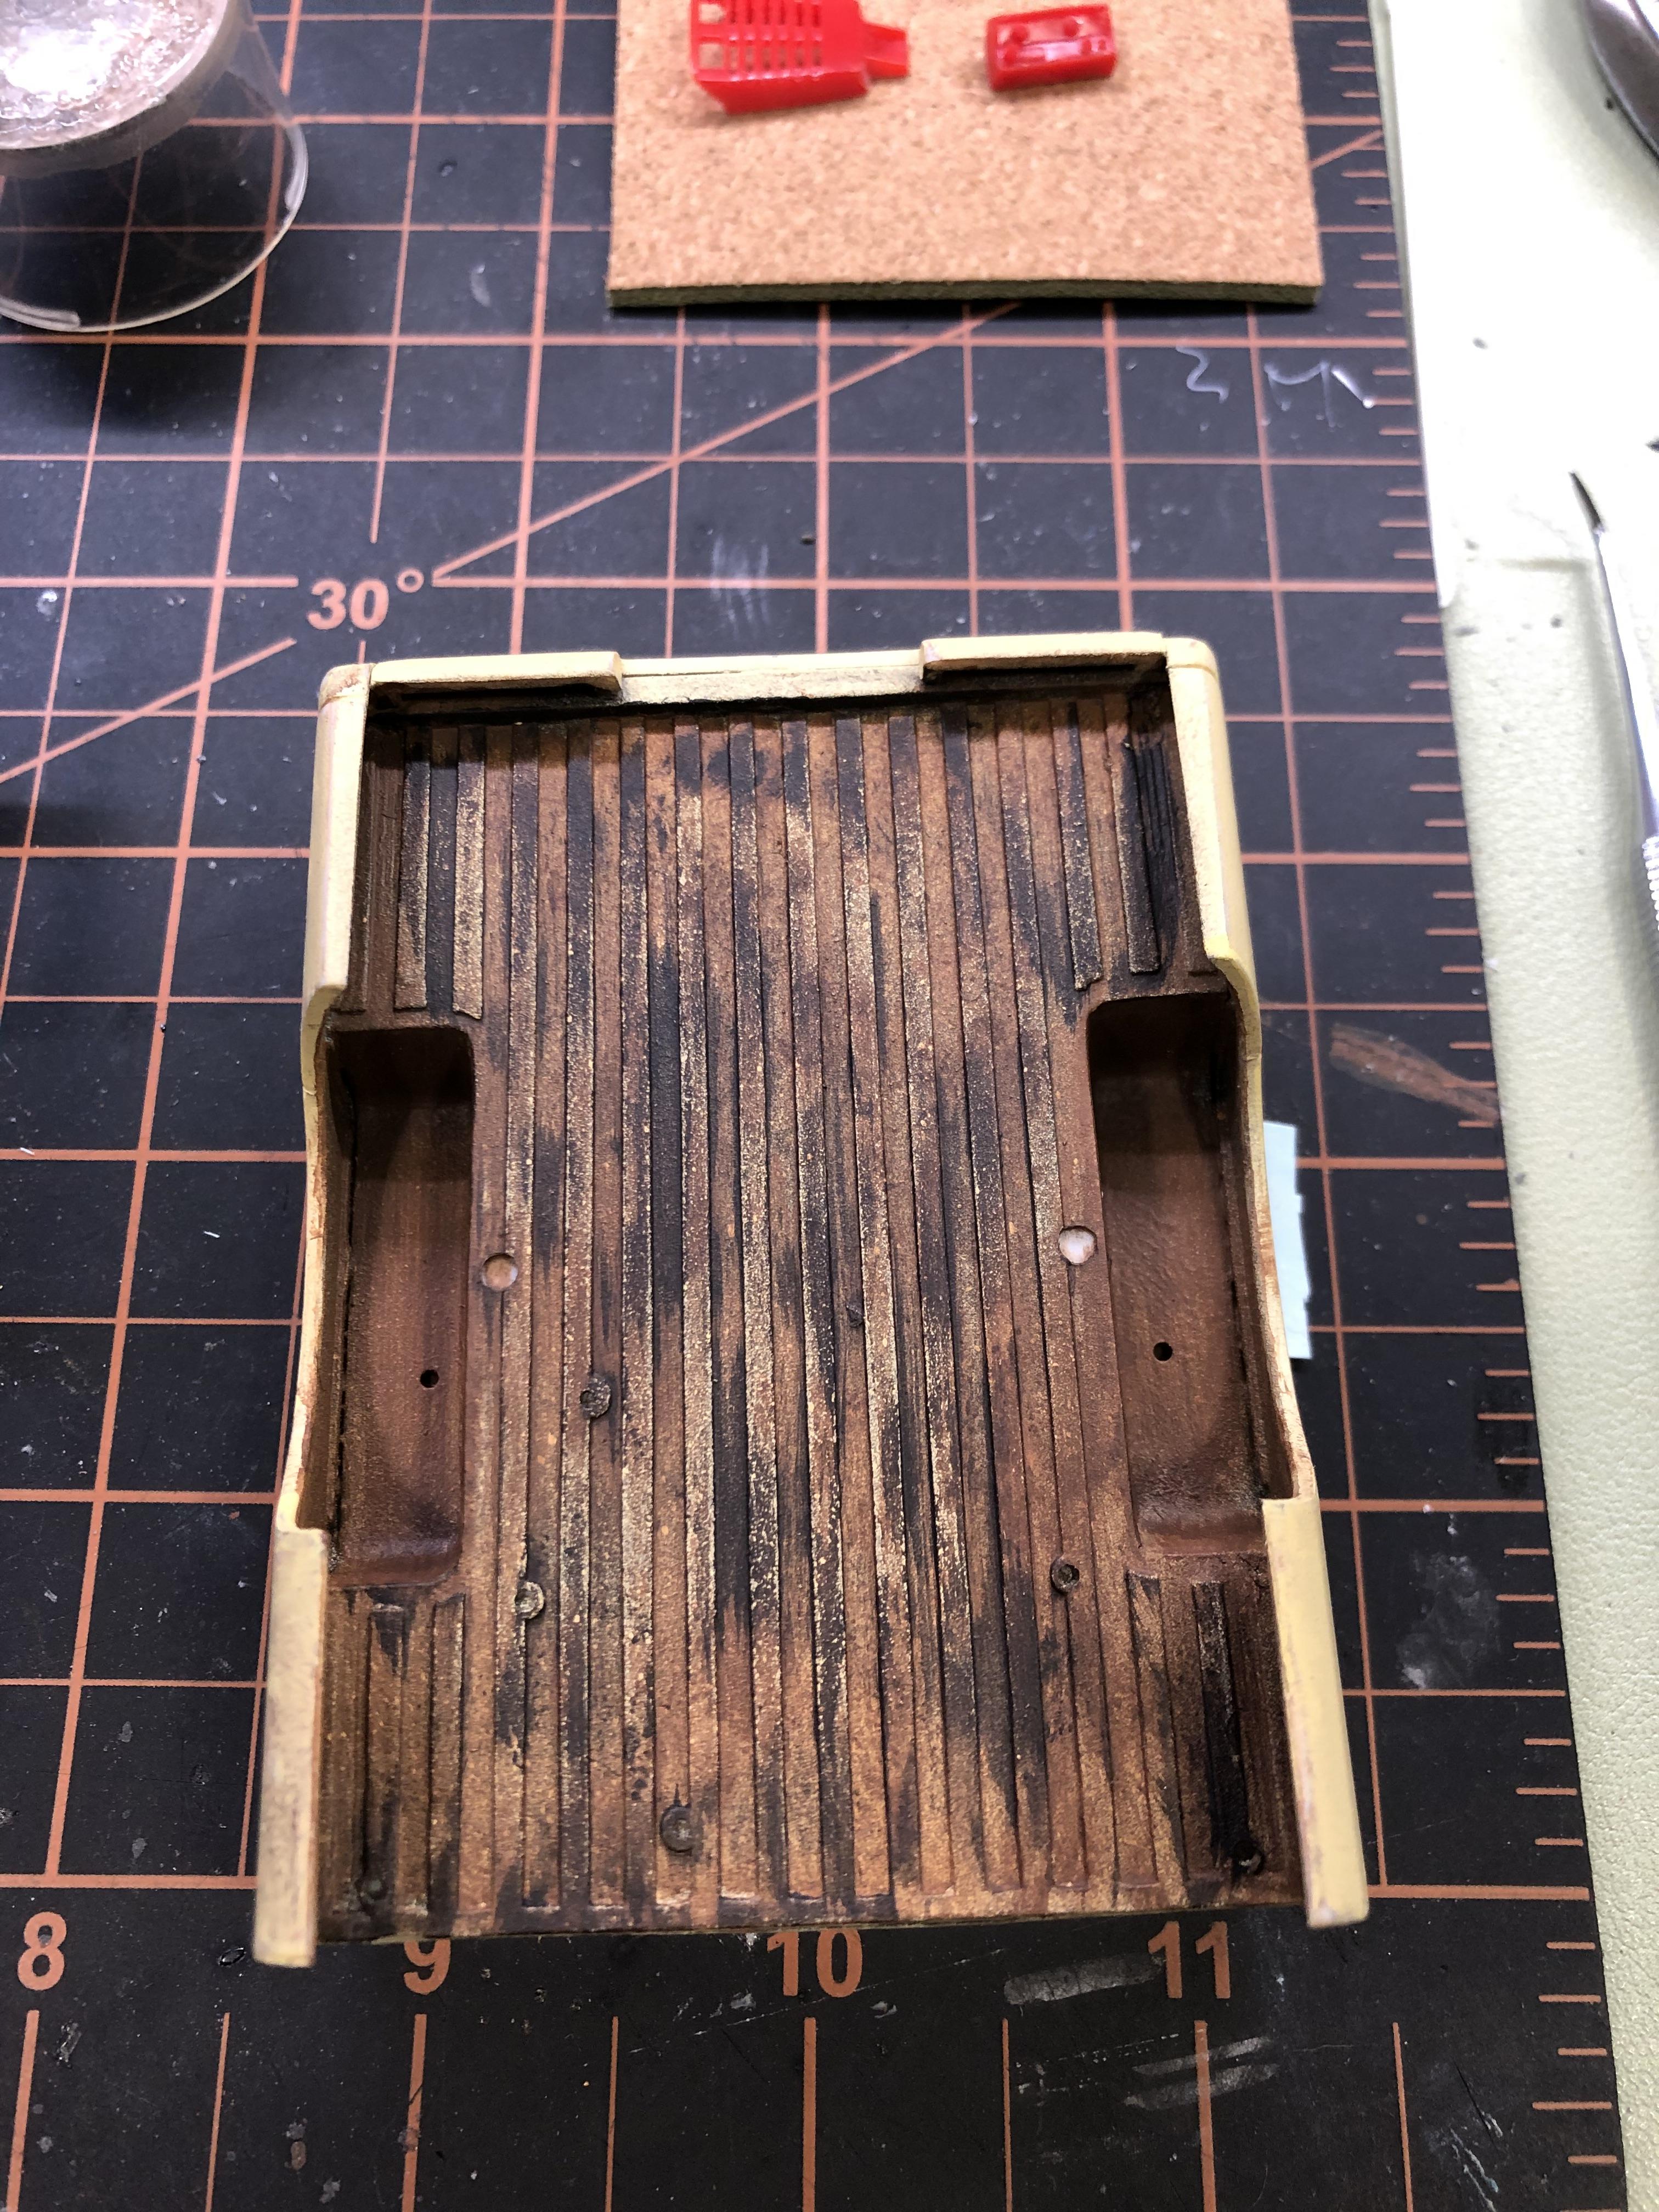
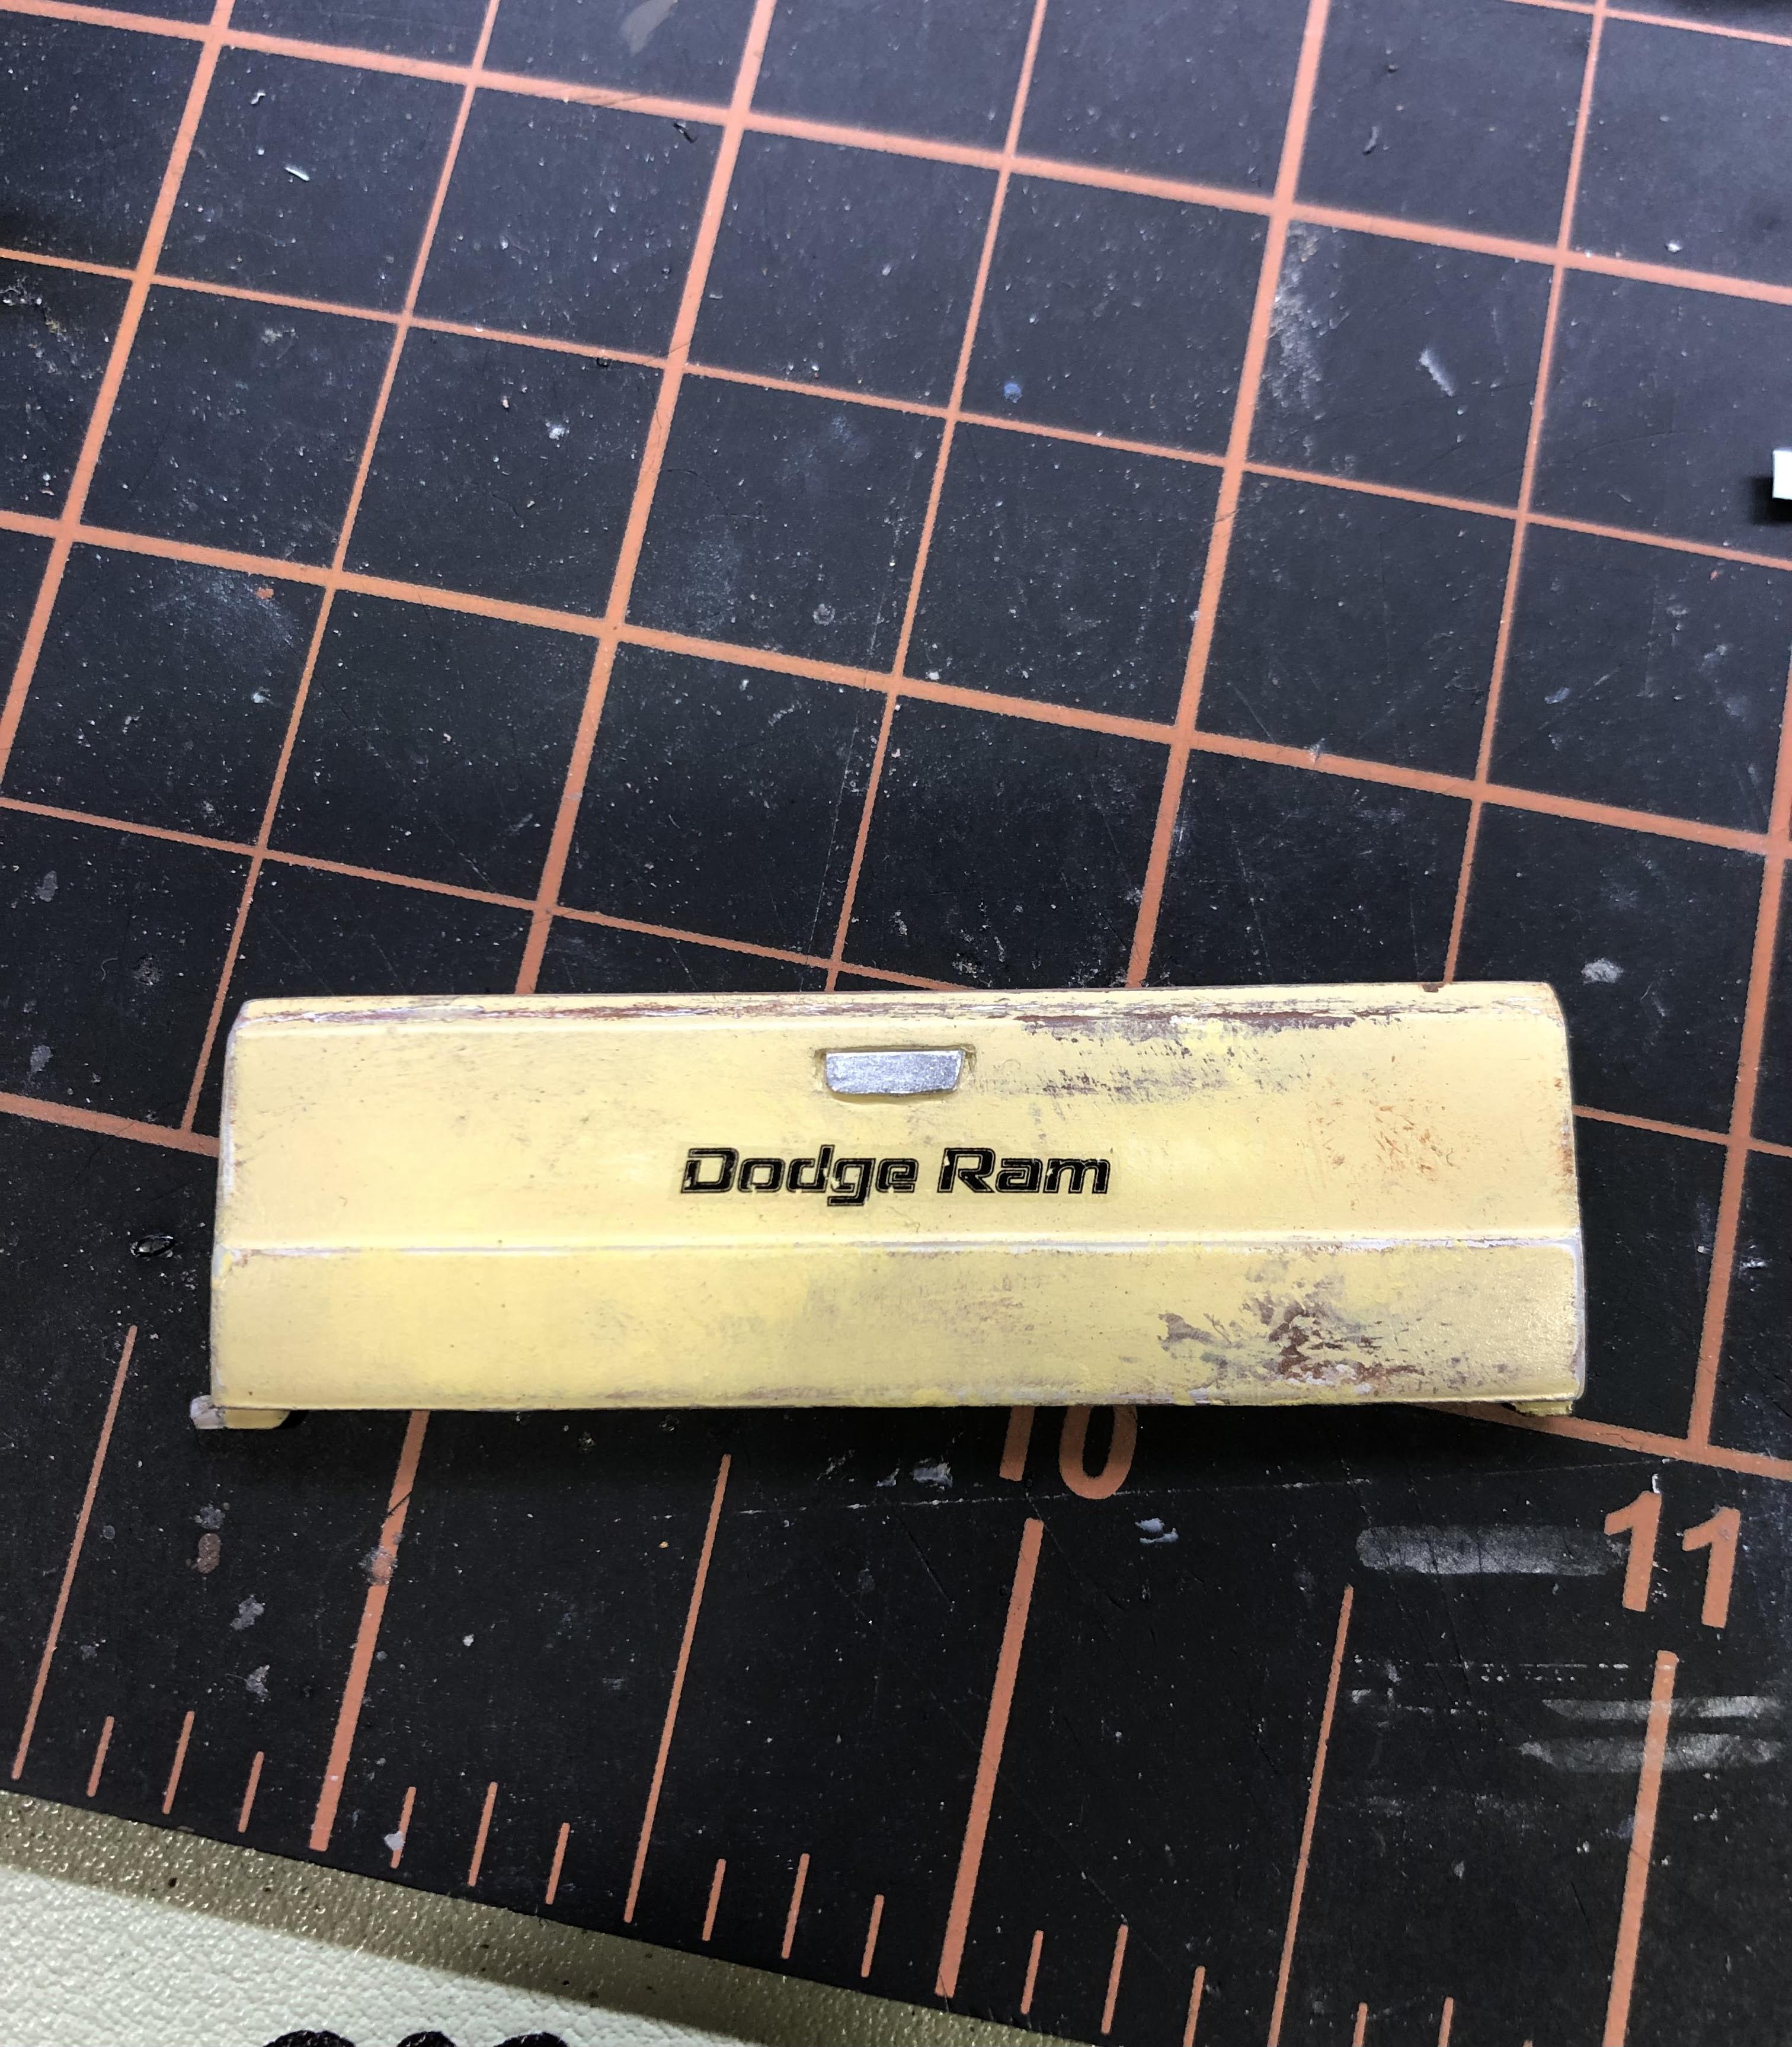
I was able to finally get back to it after work this evening although only for a short while. I got the interior finished aside from some further weathering. Also did a little more weathering on the bed and applied the decal and handle on the tailgate.(might have to reapply the handle a little crooked to look worn out a bit) Temped to add a dent or two back there but it might be a little late in the game for that, we'll see how the tail lights shake out. Thanks for looking.
-
Likewise man, thanks again!
-
Had a wonderful trading experience with NitroMarty. Definitely belongs on the Great Trader List.
-
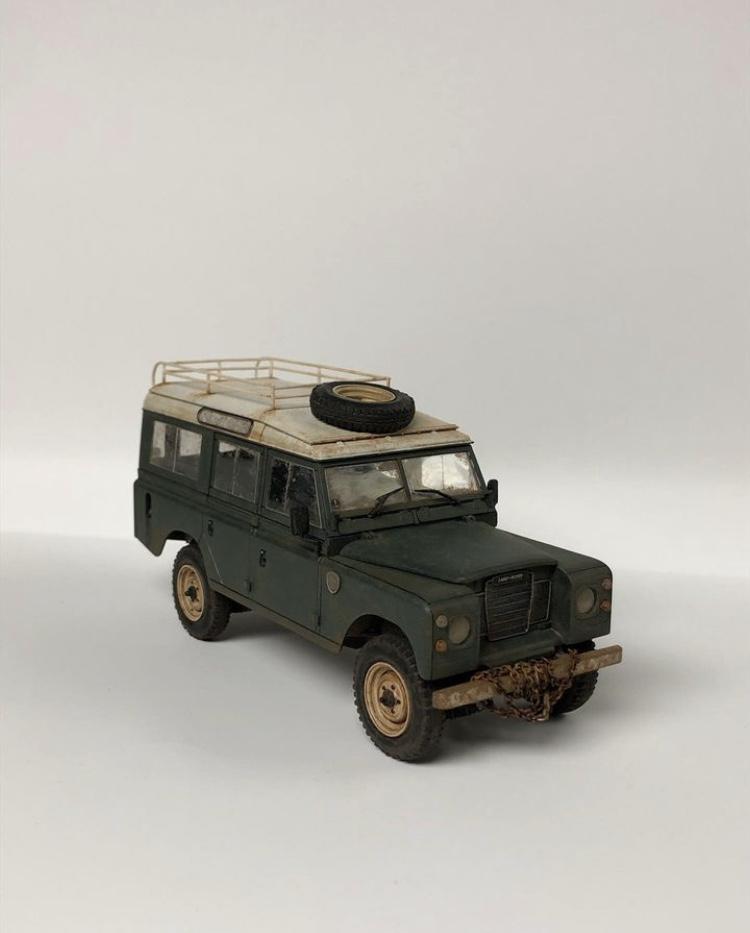
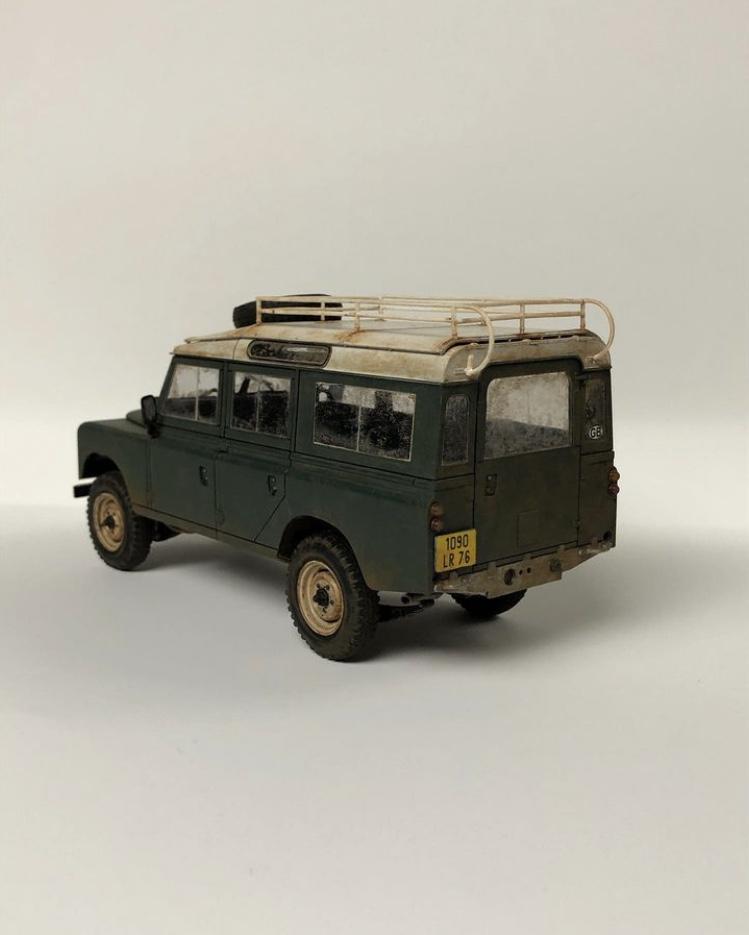
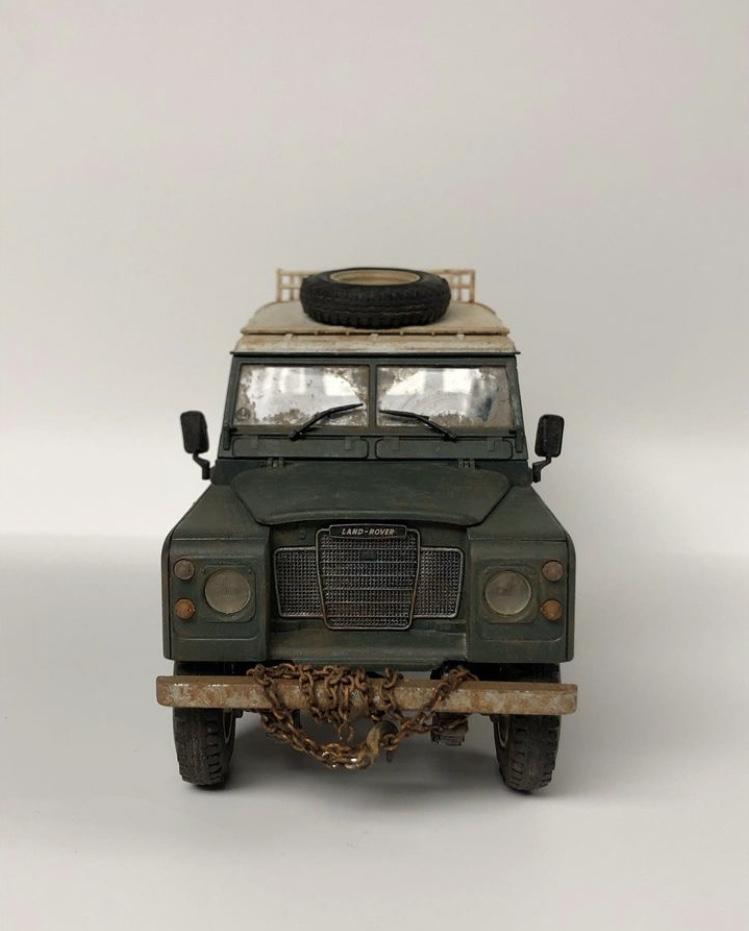
Land Rover
dust collectors replied to dust collectors's topic in Model Trucks: Pickups, Vans, SUVs, Light Commercial
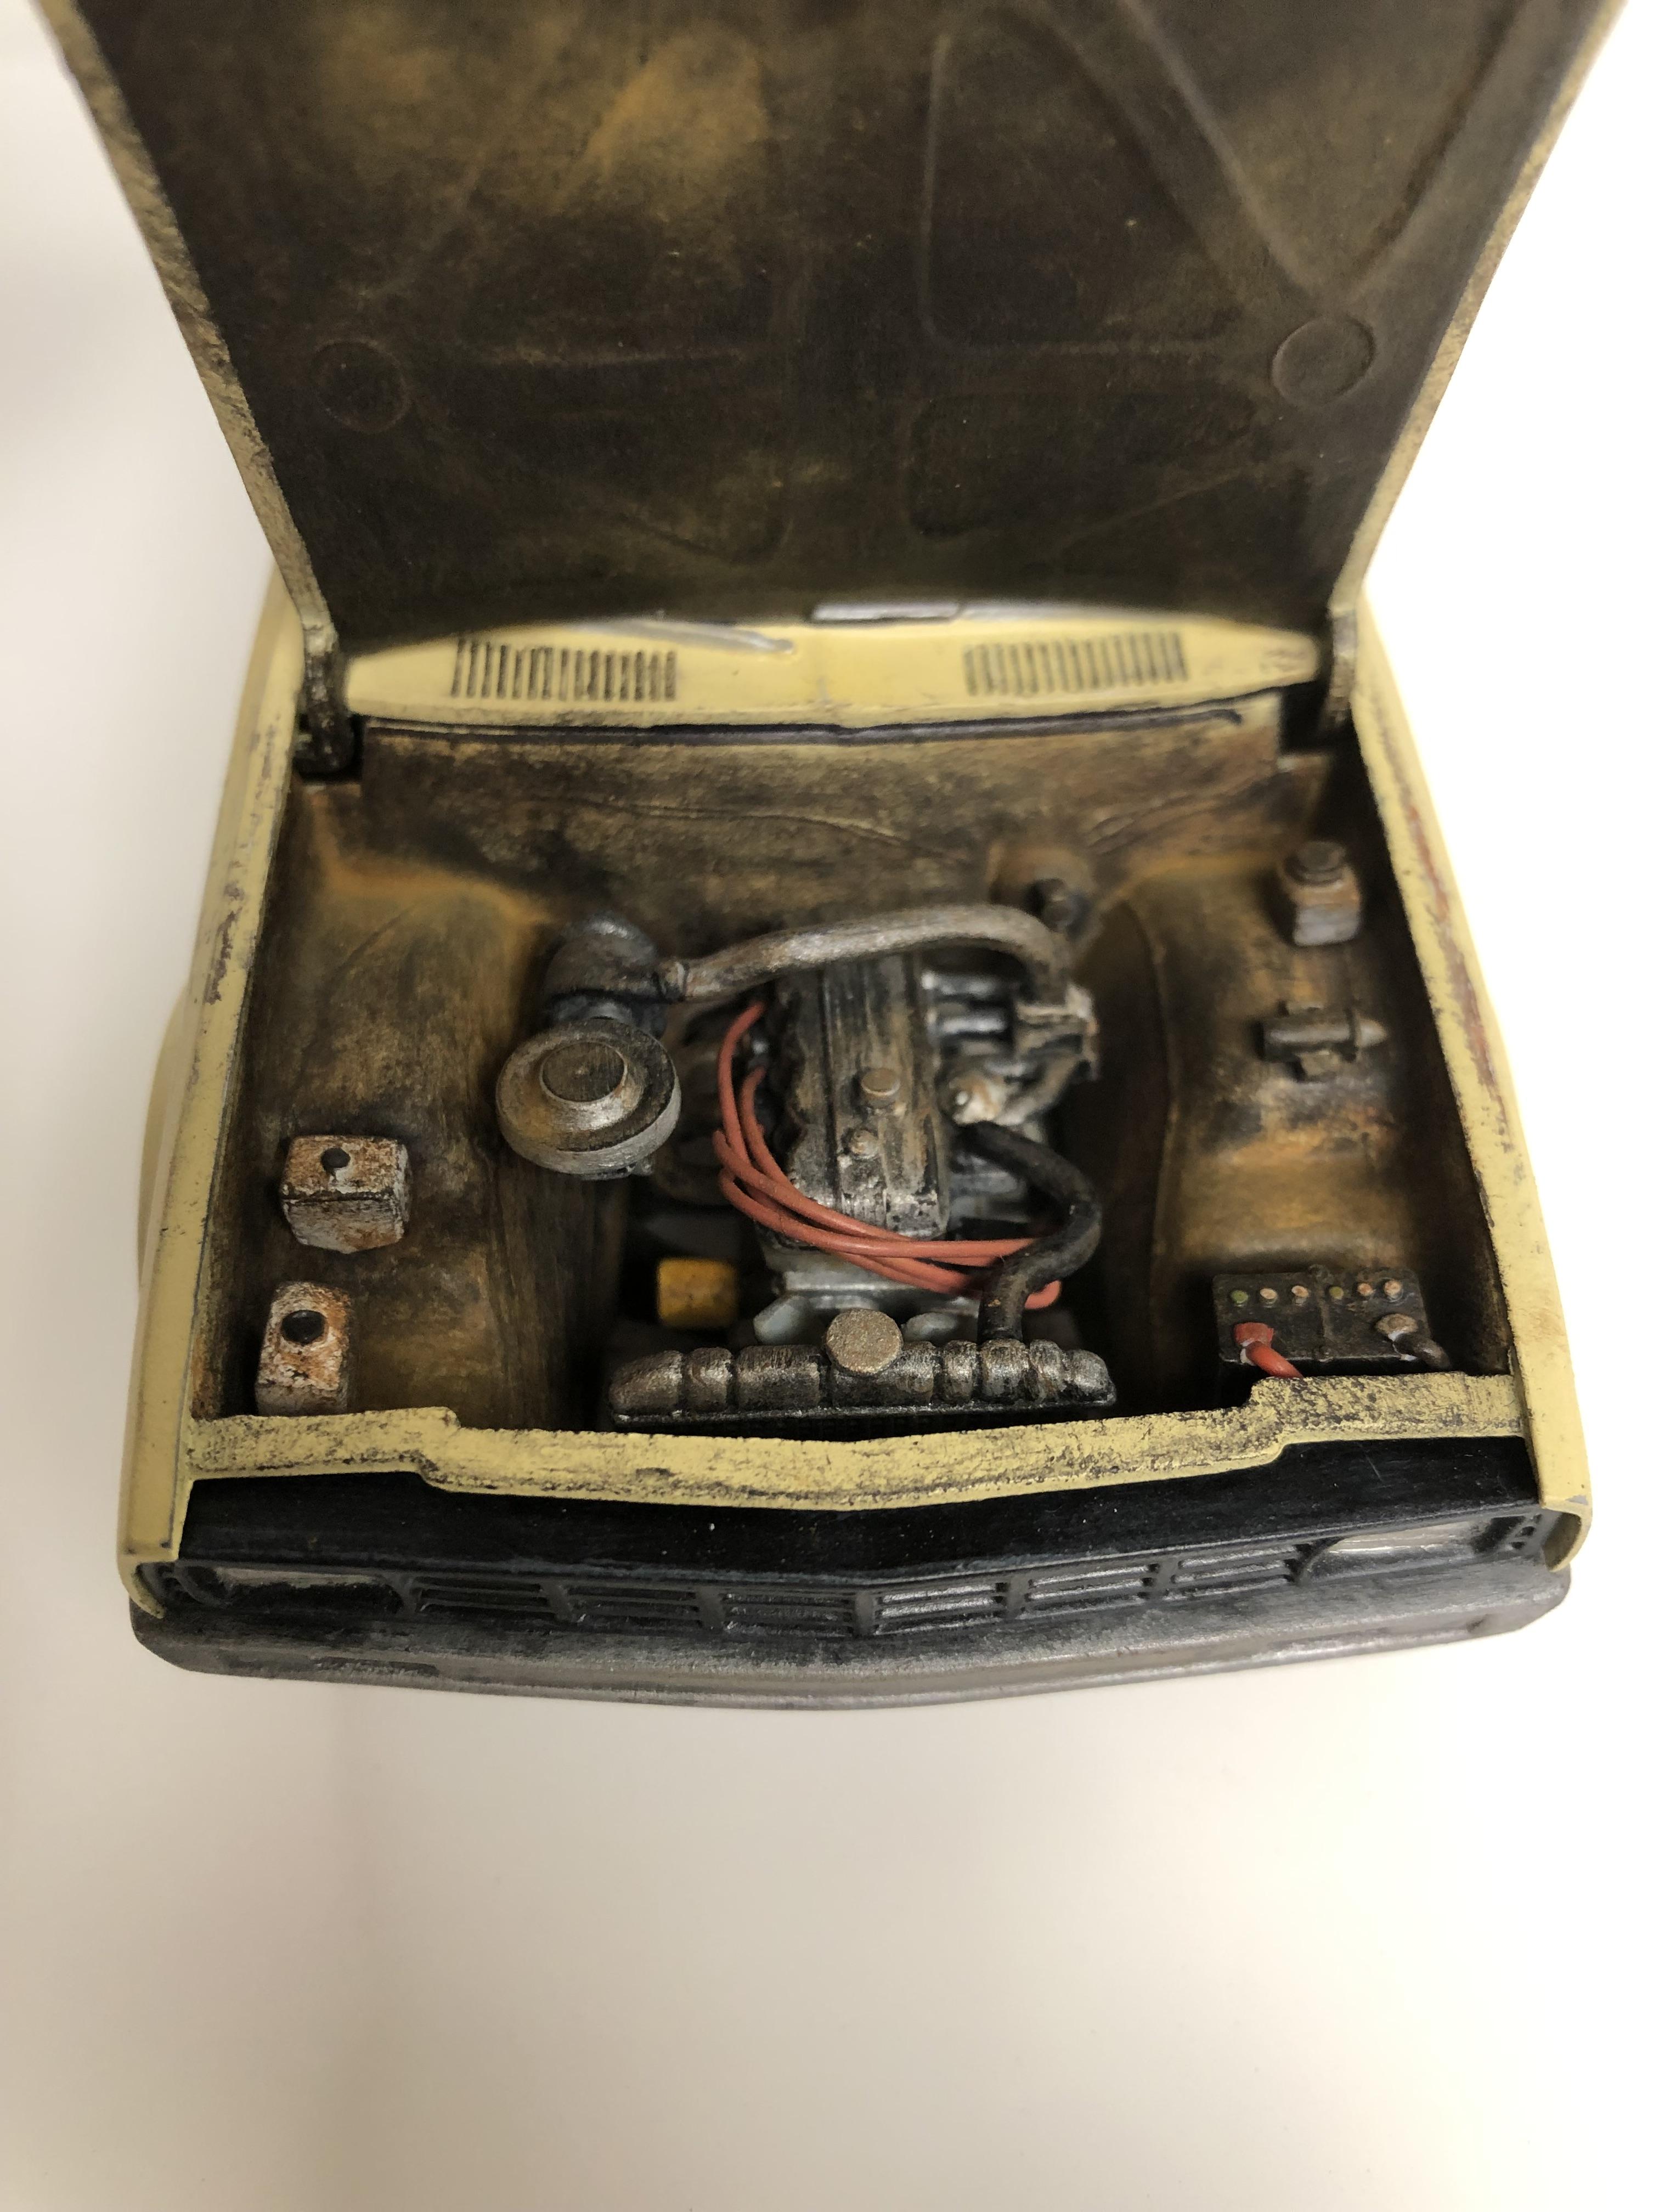
I did a ton of research before starting this build (that was a large part of the fun) I found images of the engine painted a variety of colors but went with a metallic steel color I happen to have. These are really cool vehicles. The next one I build is either going to be a short wheelbase or a truck. Youtube was a good reference source as there is no shortage of people restoring these things. Hoping you share your progress on here, I'd love to see your approach. -
Bullnose Kenworth Race Hauler
dust collectors replied to DRIPTROIT 71's topic in Model Trucks: Big Rigs and Heavy Equipment
This is an impressive couple of builds, fantastic work! Looking forward to following your current project more than ever. -
Dang, this makes me want to build another! Real nice work here and attention to detail. Also loving the wheel and tire selection.
-
Is There Room For Another 41 Plymouth or Two?
dust collectors replied to LennyB's topic in WIP: Model Cars
These are both interesting project, thanks for sharing! -
I really like this idea, looking forward to watching it come together. Also curious about the race truck and hauler in the background. Would love to see some photos of that too.
-
Land Rover
dust collectors replied to dust collectors's topic in Model Trucks: Pickups, Vans, SUVs, Light Commercial
Thanks guys, this was my first go at weathering and it was a lot of fun. The hardest part of this build was deciding how to build it since Land Rover have so many variations. -
Thank you this was really fun. I plan on building a couple more of different varieties.
-
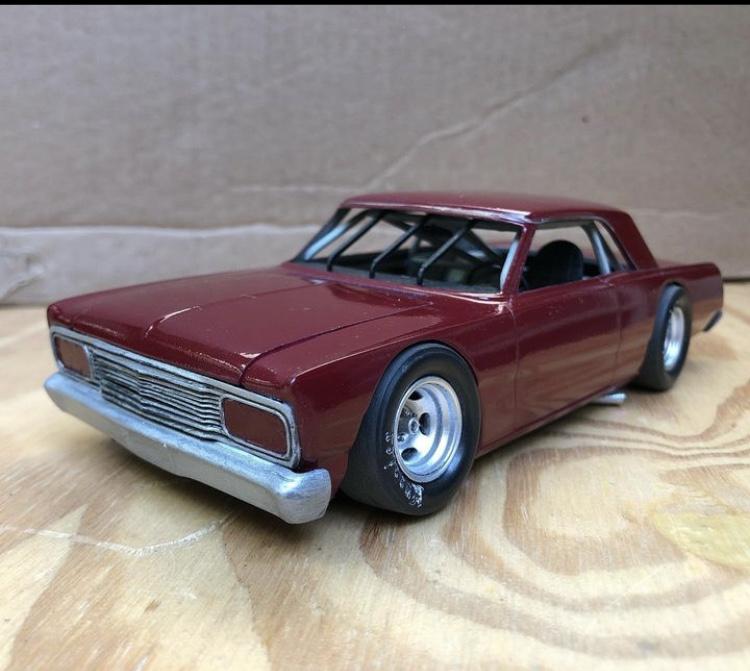
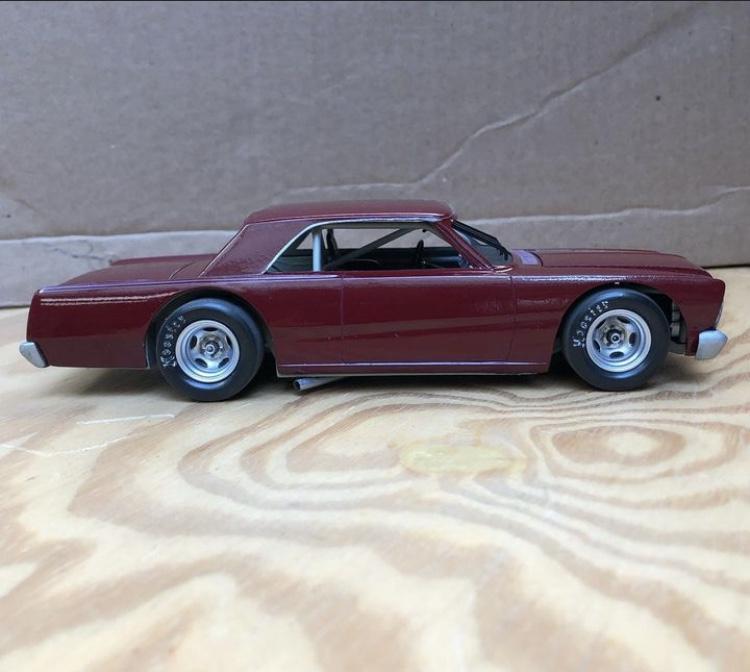
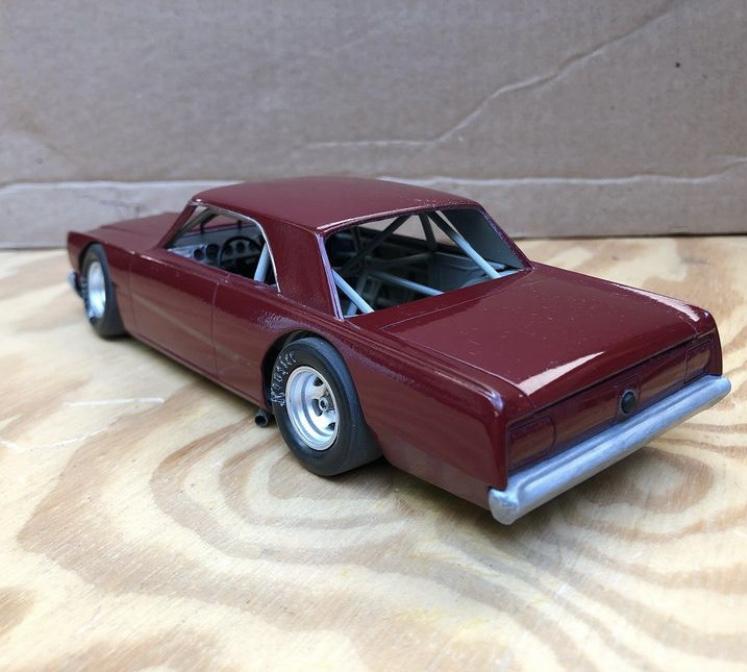
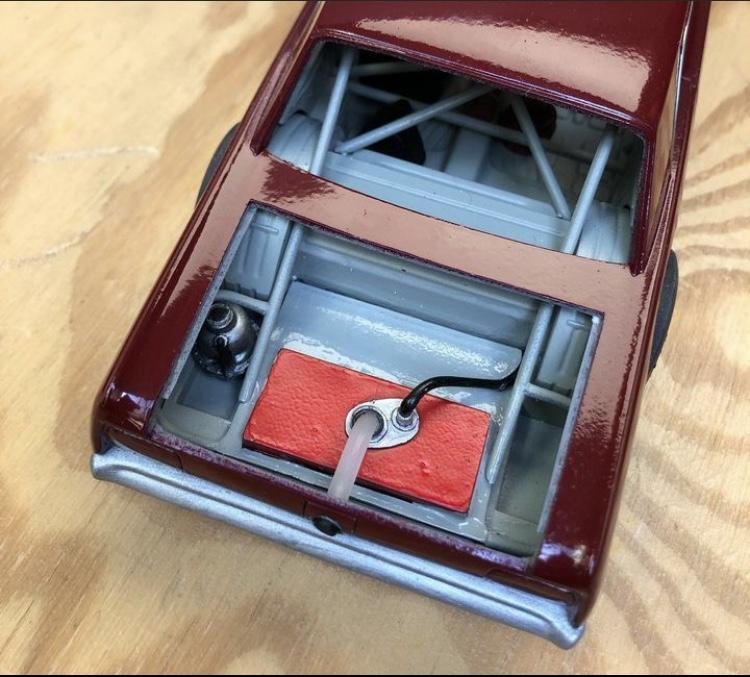
Haven't been able to work on any current projects this week so thought I'd share some builds finished before joining the Forums here. This was a fun one but a lot of mistakes were made, the main one being that it's a 1/24 NASCAR chassis under a 1/25 body.
-
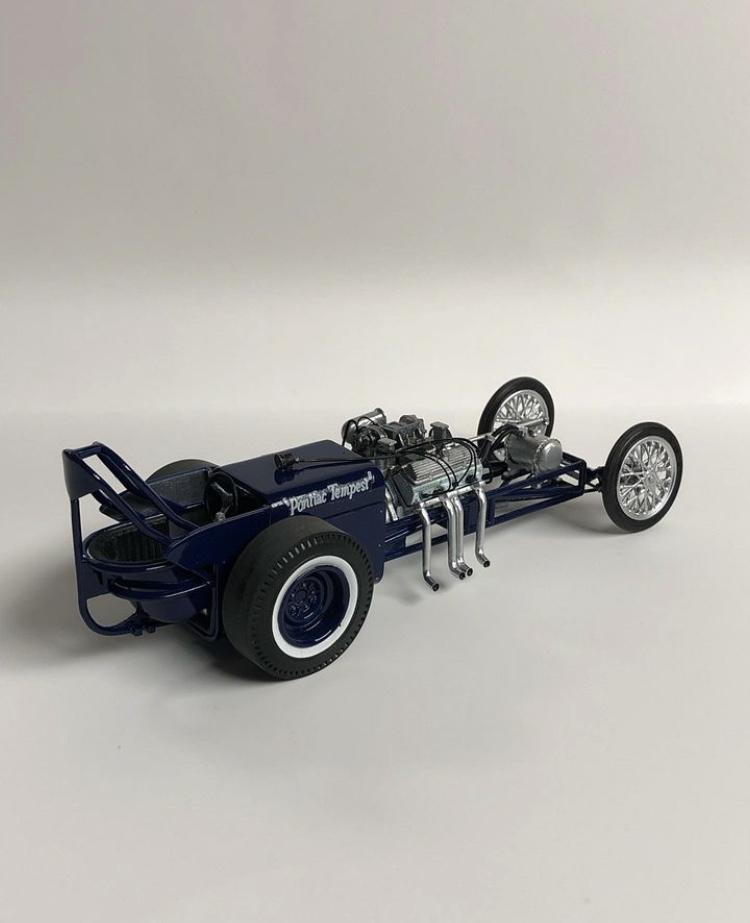
Having been sick this past week I thought it'd be a good time to share a few builds finished before joining the Forum. I built this one for one of my best buds to put in his newly finished home office. Thanks for looking.
-
Since I've been laid up for the past week sick with Covid I haven't been able to work on my current projects. Thought it'd be a good time to share some completed builds from before joining the Forum. This was a fun build!
-
Nice work!