T-Ray
-
Posts
101 -
Joined
-
Last visited
T-Ray's Achievements
MCM Friend (4/6)
-
 I was looking for ideas on how to do hinges like on pre-WWII cars (and Volkswagens) but all the guides show how to make hinges like on modern cars. Does anyone have any ideas on how to recreate that style of hinge in scale? Thanks
-
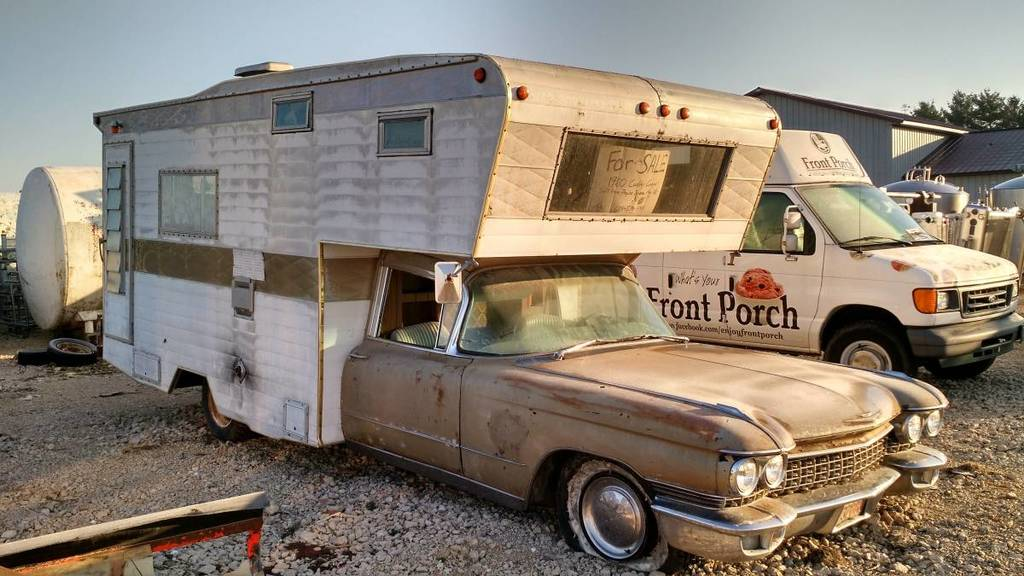
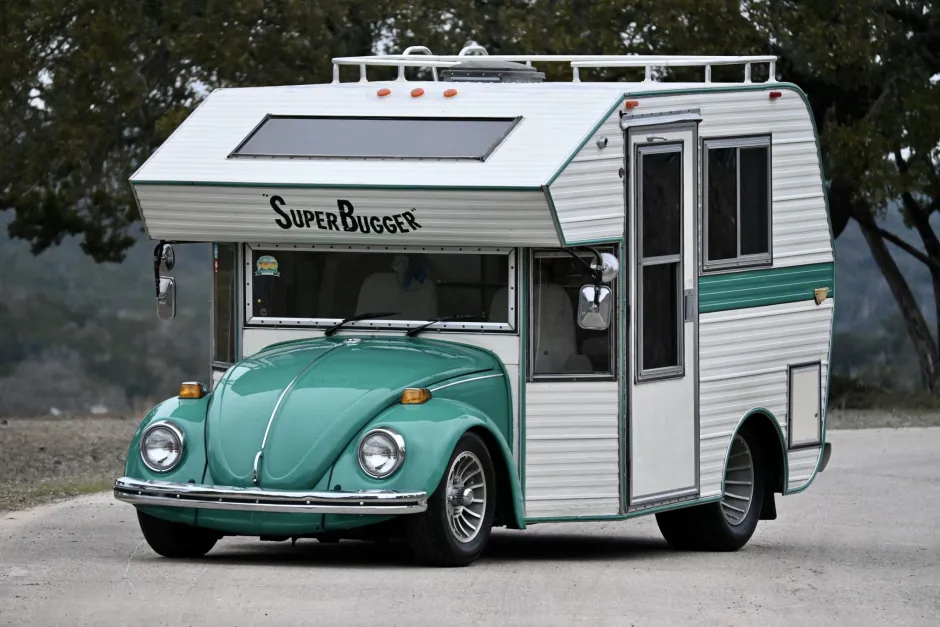
There's always the Caddy based ones. Or the cute if pathetic Super Bugger.
-
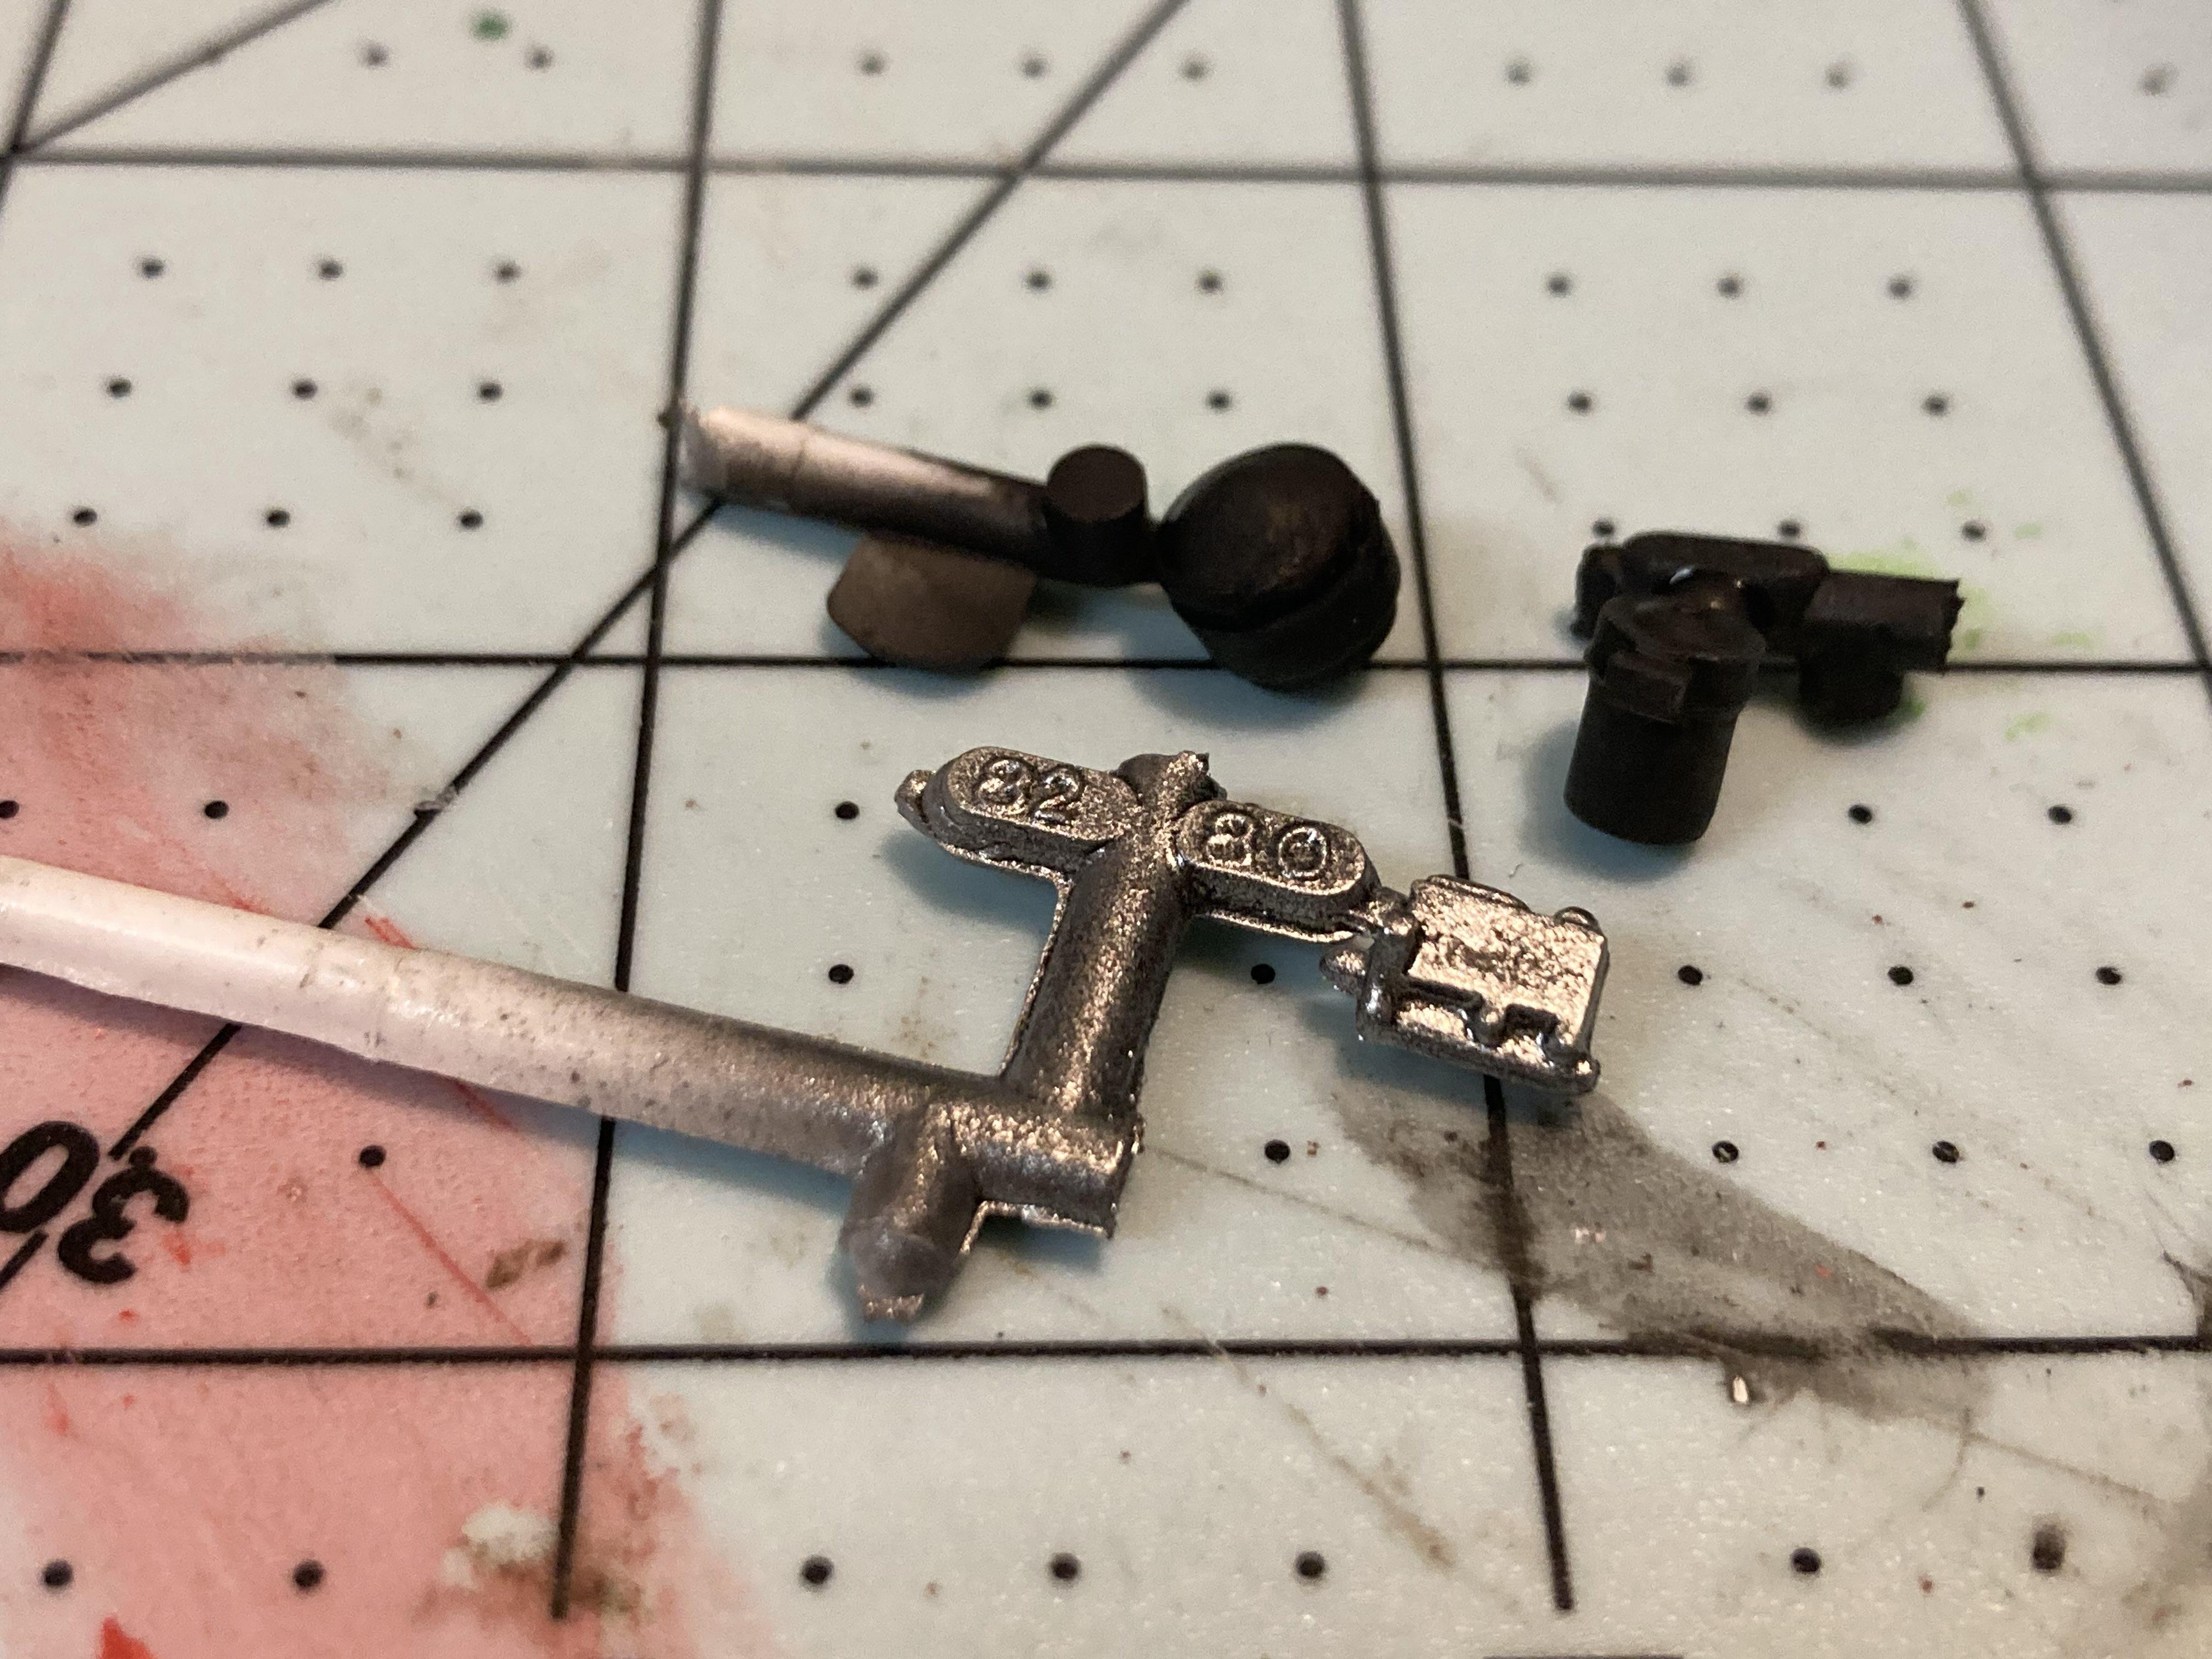
Another update: Gauges painted Interior tub assembled (I really hate the stock wheel in this kit) And the air and oil filter assembled. Yes, I know the air filter is not accurate for a car, I couldn't figure out a good way to replicate it. I also replaced the master cylinder for a part that I have no idea where it came from but it looked better than the comically undersized one that comes with the kit.
-
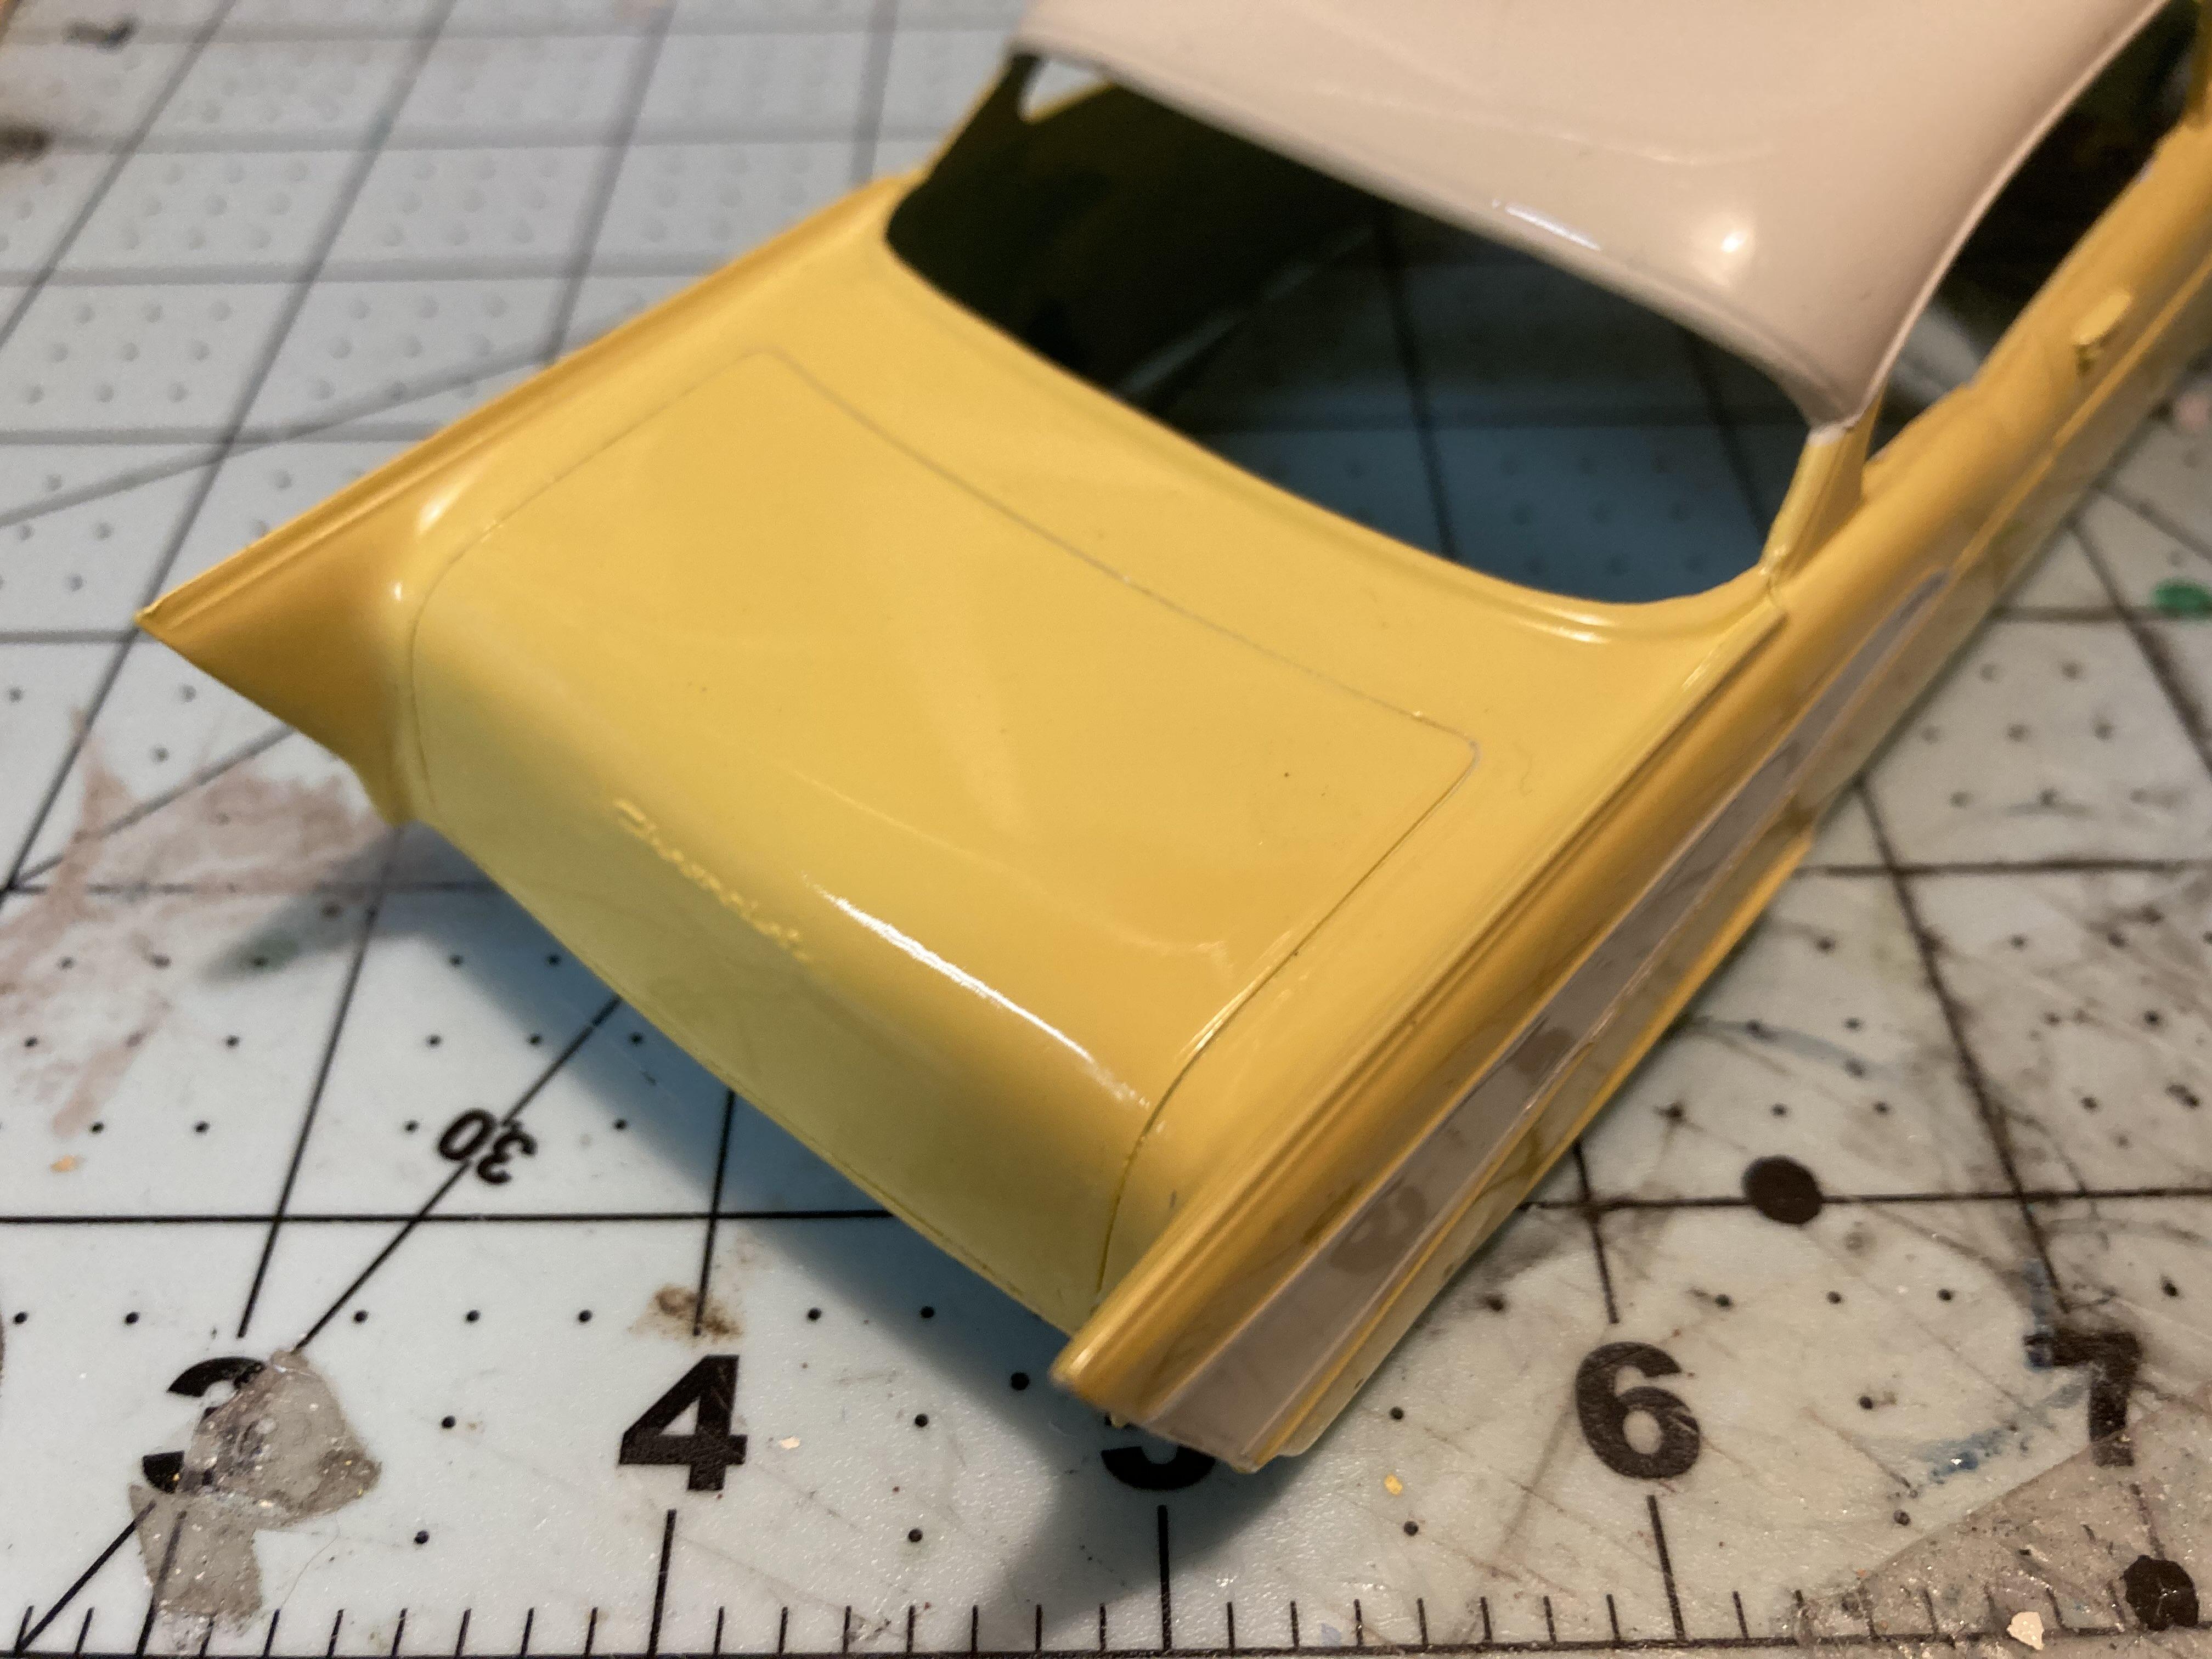
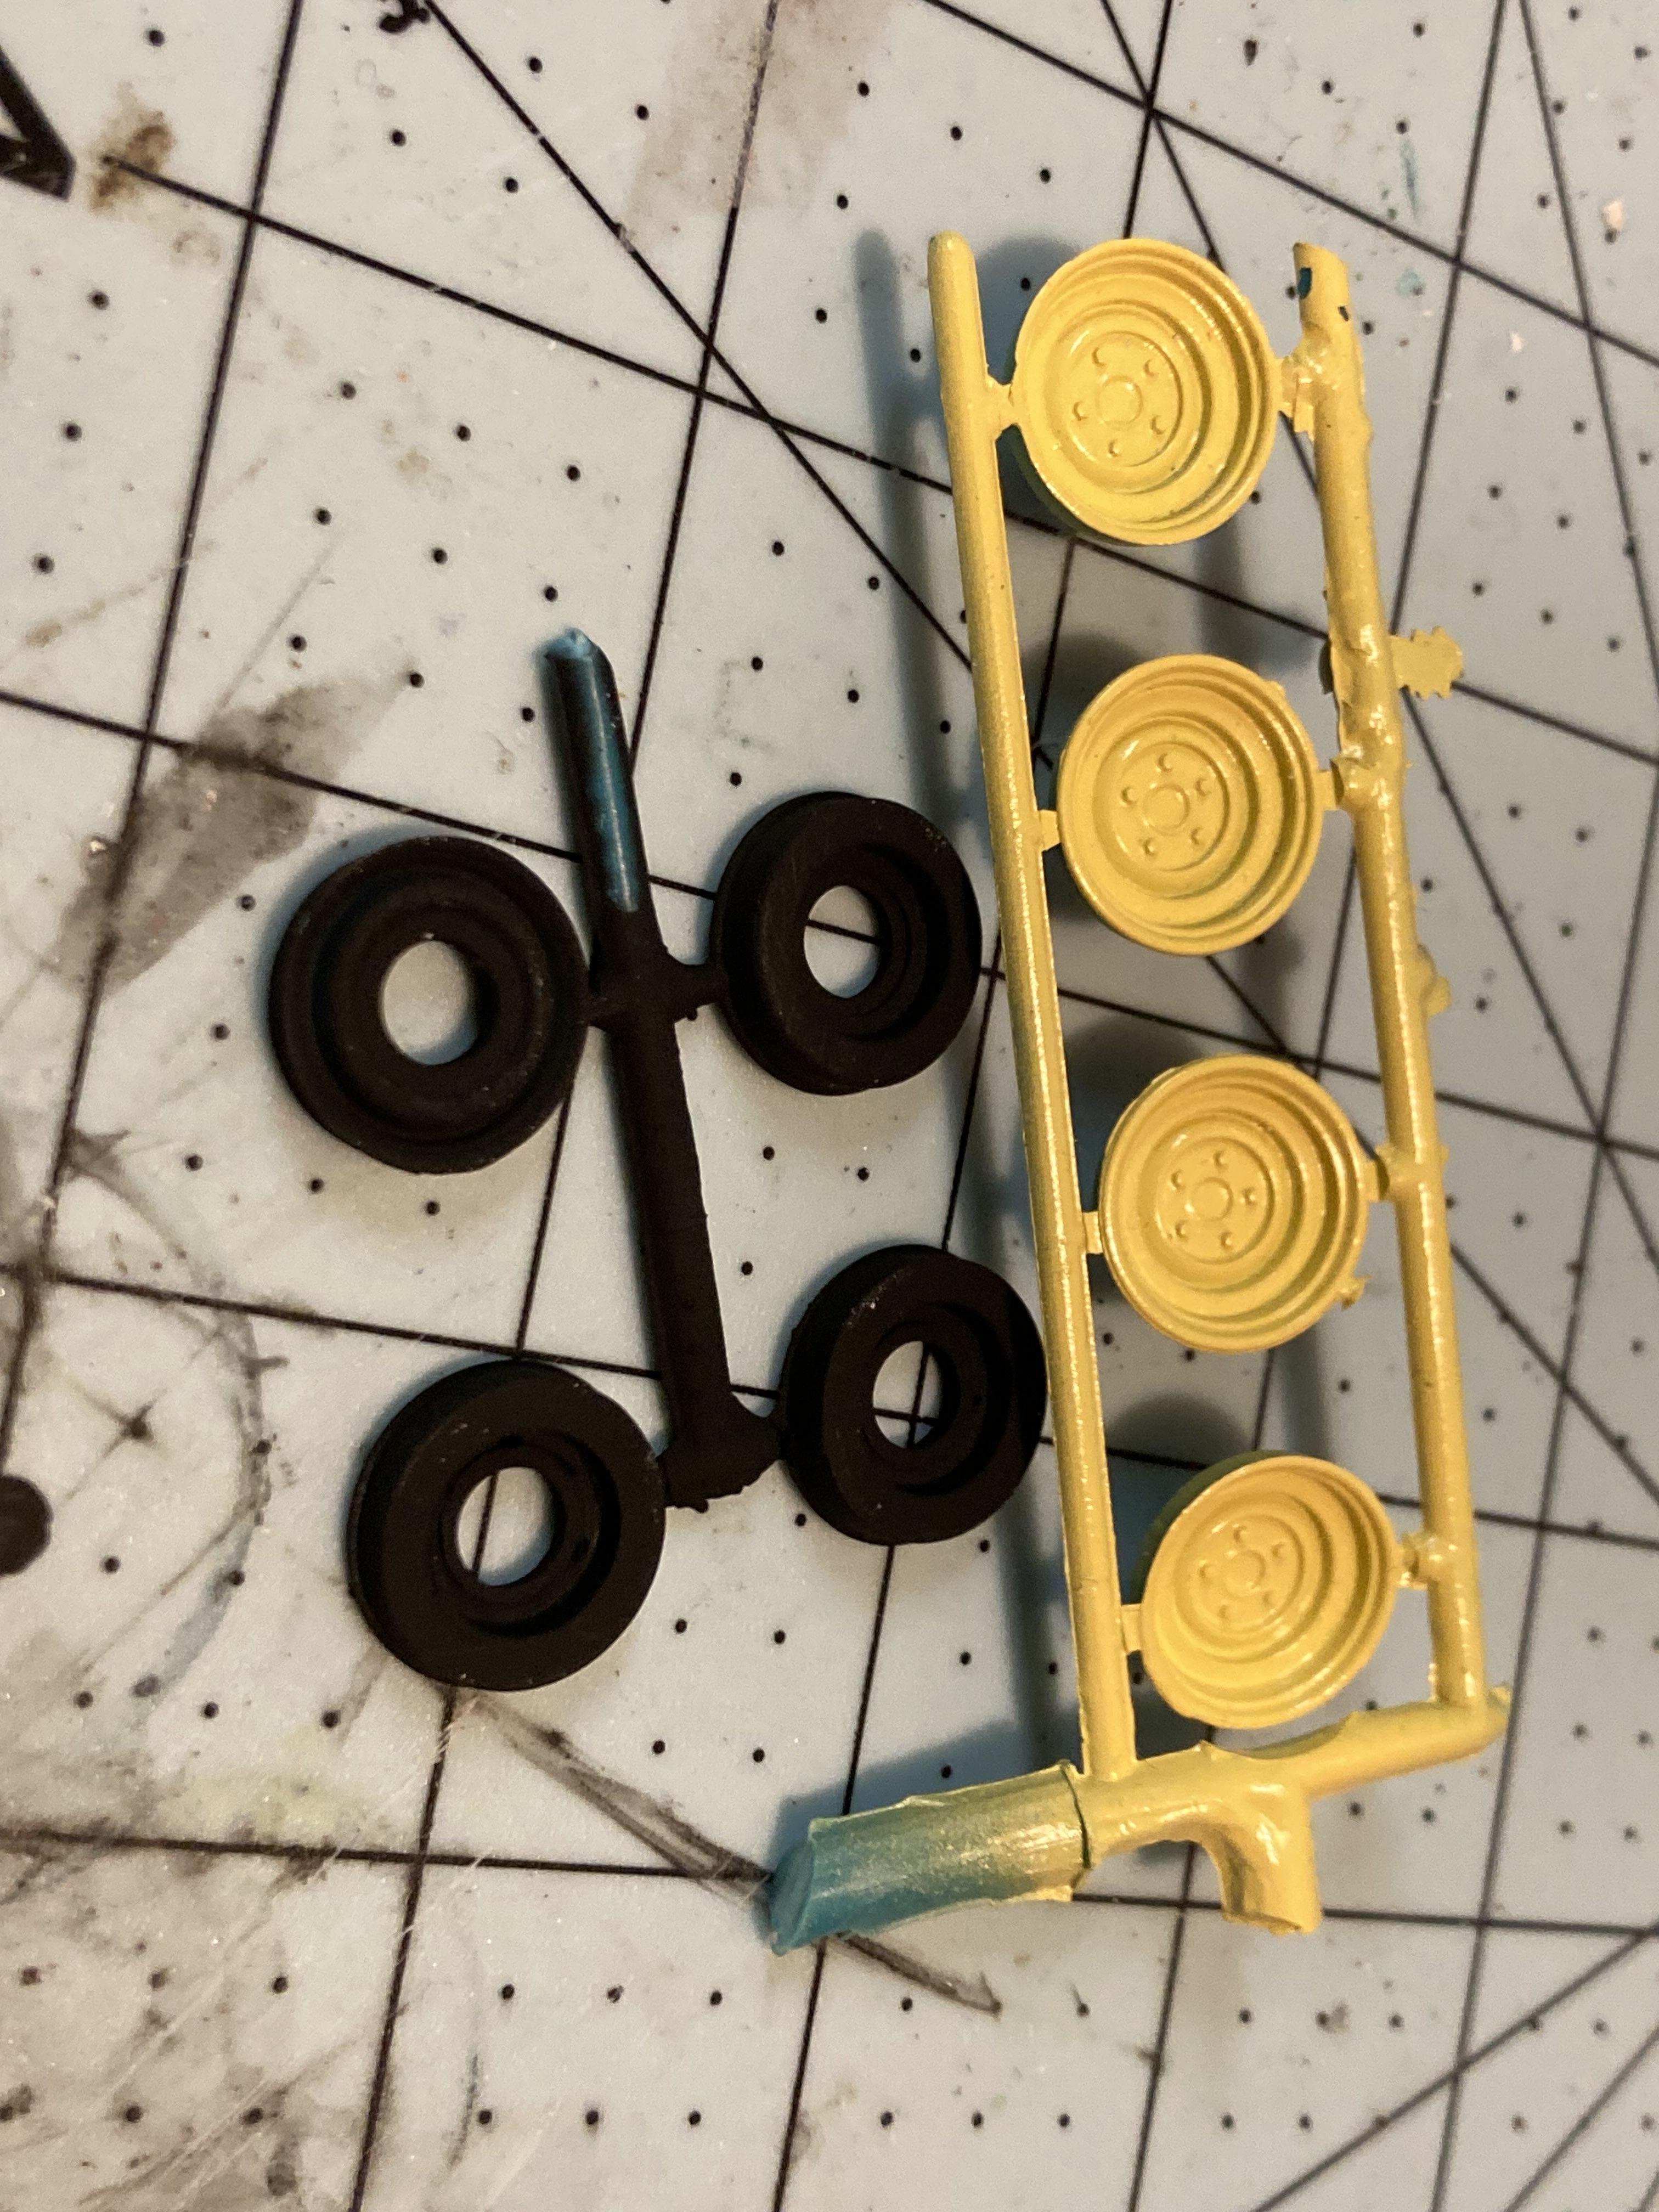
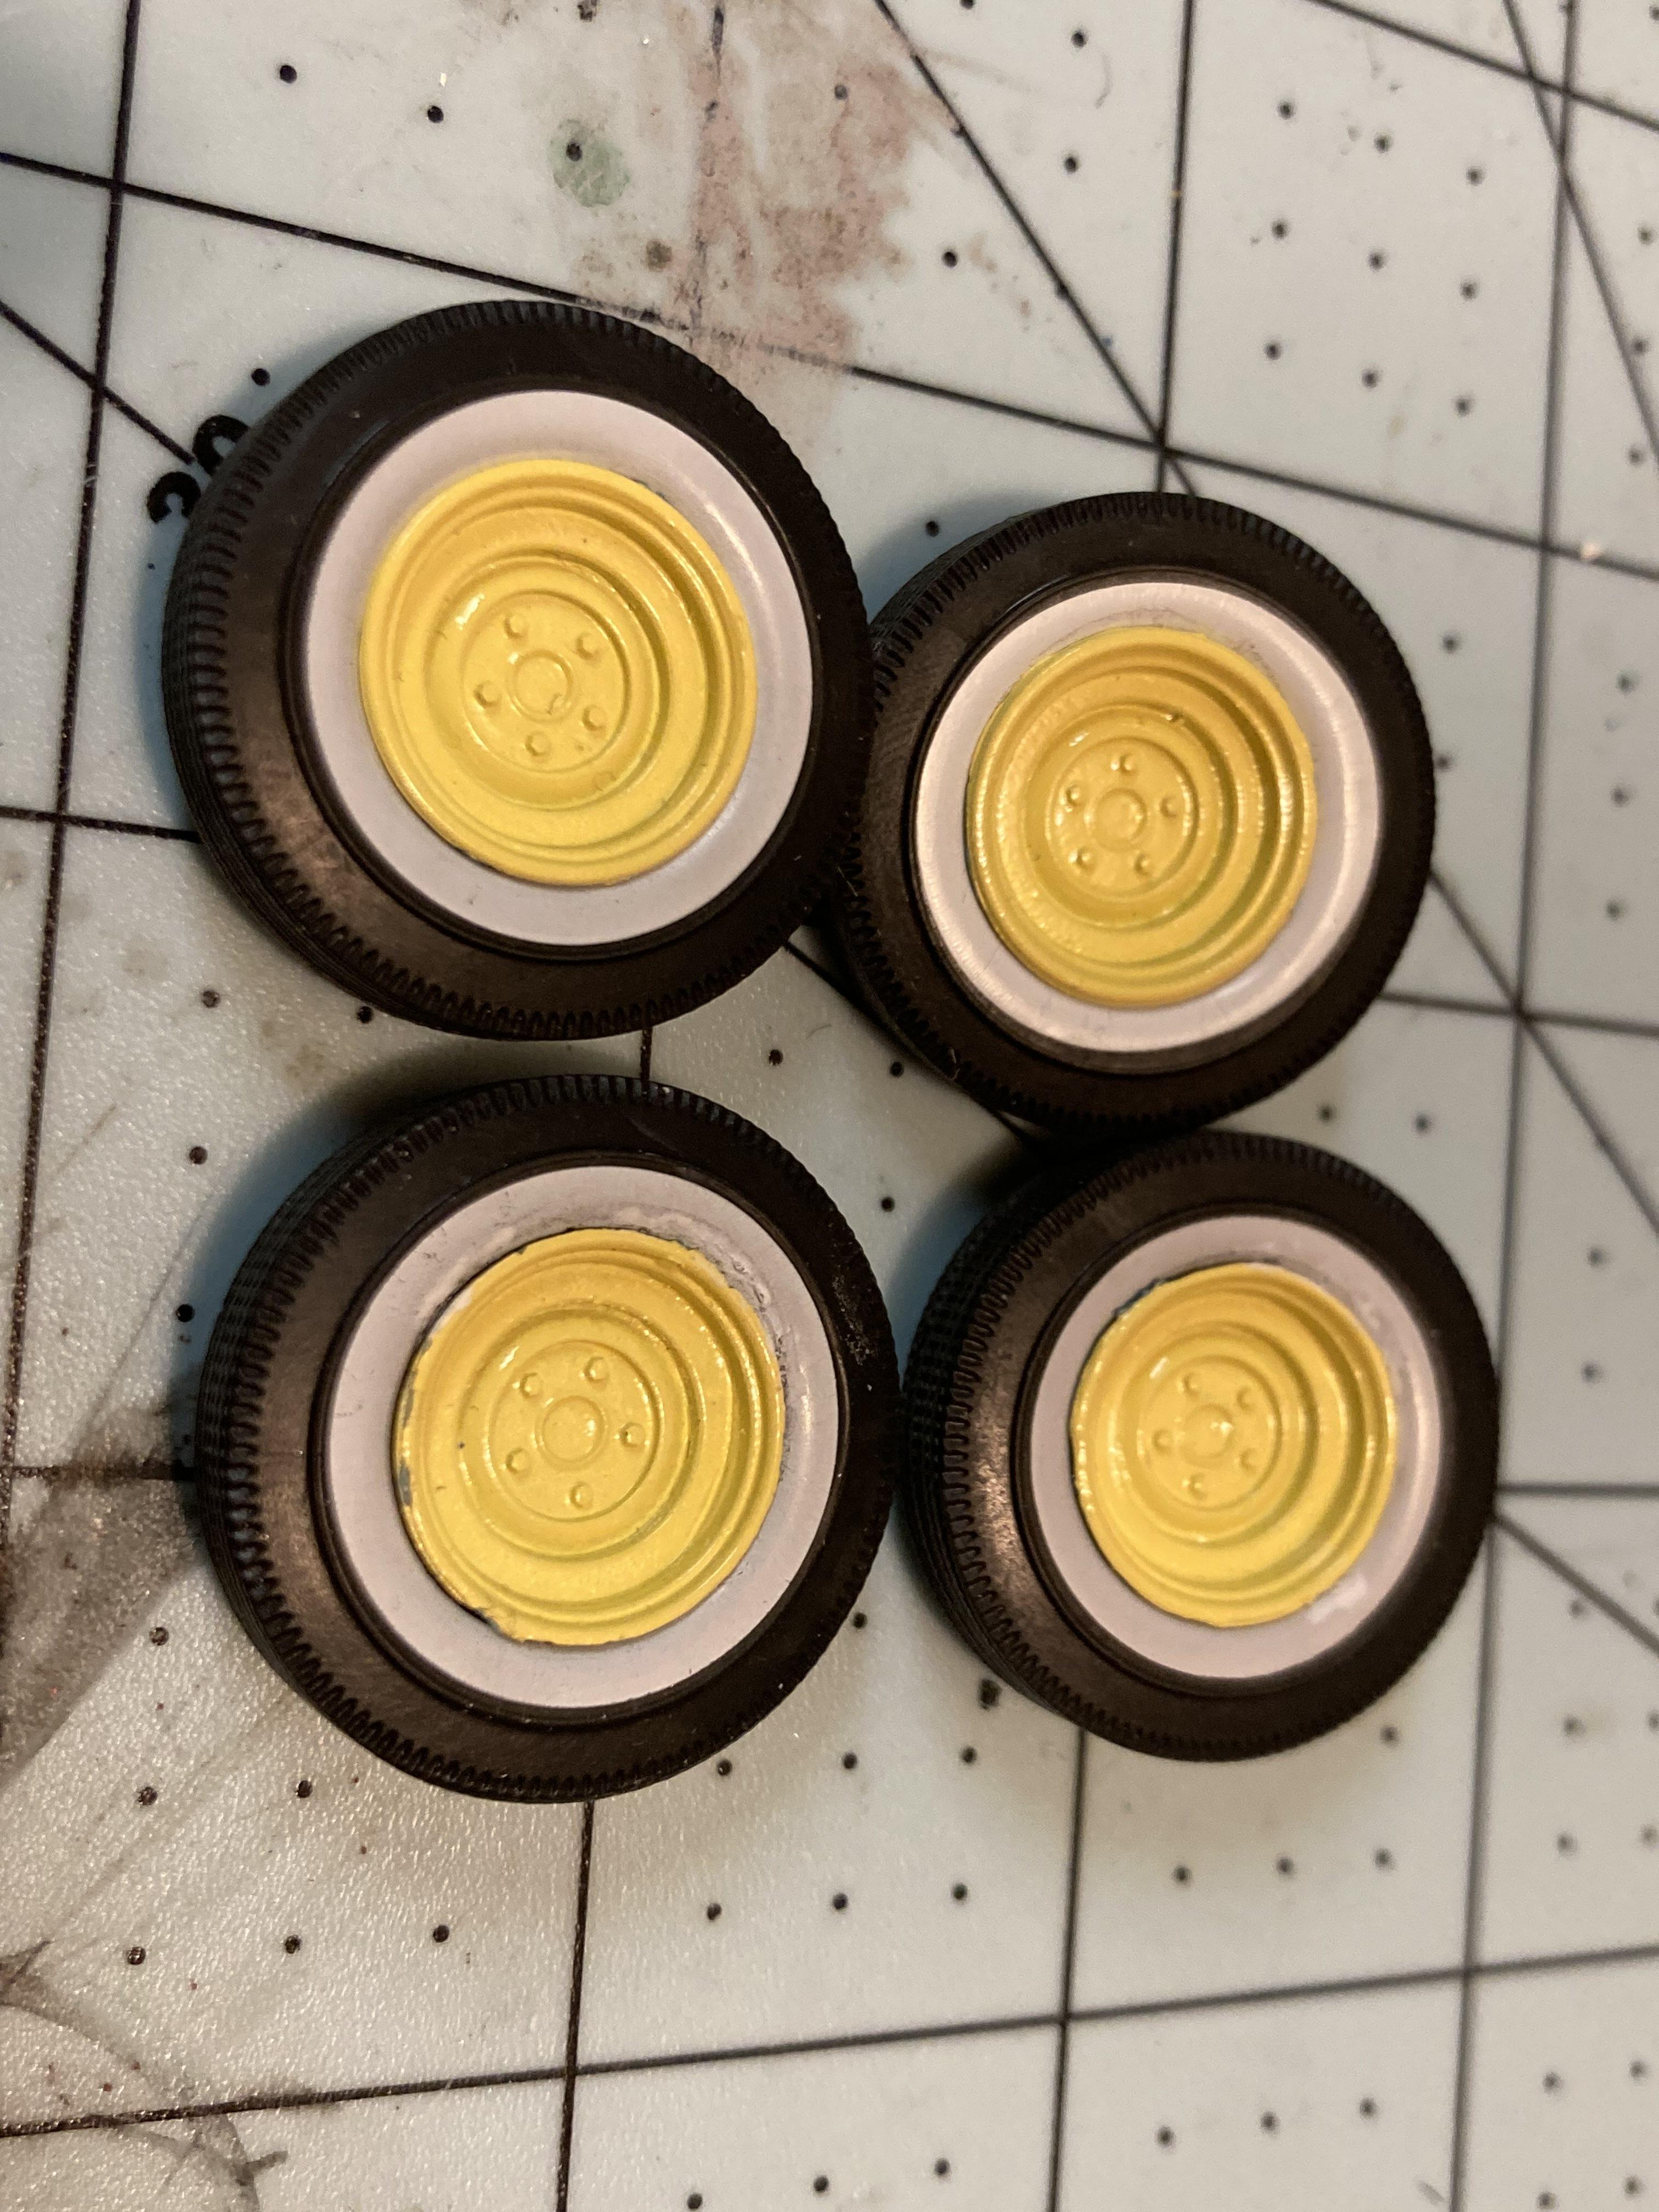
This project is not dead! The body was stripped, repainted, cleared and here it is getting ready to touch up some troubled spots in the clear. The engine has been partially assembled Rear has been installed in the chassis Wheels and backs painted Lastly, here are the wheels mounted in the tires from the AMT '50 Chevy truck
-
I hate to be a pain but I think Volkswagen's "Pearl White" name is really misleading. From what I can tell, Herbie is an off-white kinda like Wimbleton White, as opposed to white with pearl.
-
Ah, Vectors! I was thinking something like that. Thanks
-
If you don't mind that I ask, how did you do that window sticker? I figured that if I printed a graphic that small on waterslide paper, it would be unrecognizable. What did you do?
-
I didn't do much to this one, I seem to be focusing more on the stock car. All that I did was put some black paint on the mesh to make it stand out a little more.
-
A little more work... The seats are officially done! I put a coat of Tamiya's Semi-Gloss Clear on the flat paint to make it look more like vinyl upholstery. I also did the same to the interior tub but I foolishly masked the tub to paint the package shelf before I remembered to take any pictures. The dash is also pretty much done, just need to paint the gauges. I'm not entirely happy with how the silver was masked but I needed to use silly putty because I couldn't figure out any other way to do it. All things being said, it won't look too bad when installed. (Is it just me or does it seem odd that it appears that Chevy painted the dashboards in these cars with gloss paint?) I also painted the steering wheel to the best of my abilities. I really dislike the wheel that AMT includes in this thing, I think it looks more like a pool floatie than a Chevrolet steering wheel.
-
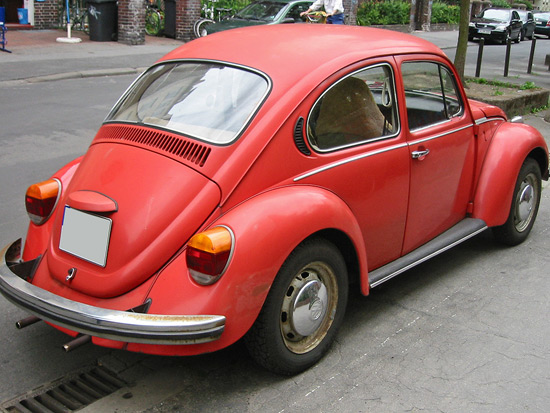
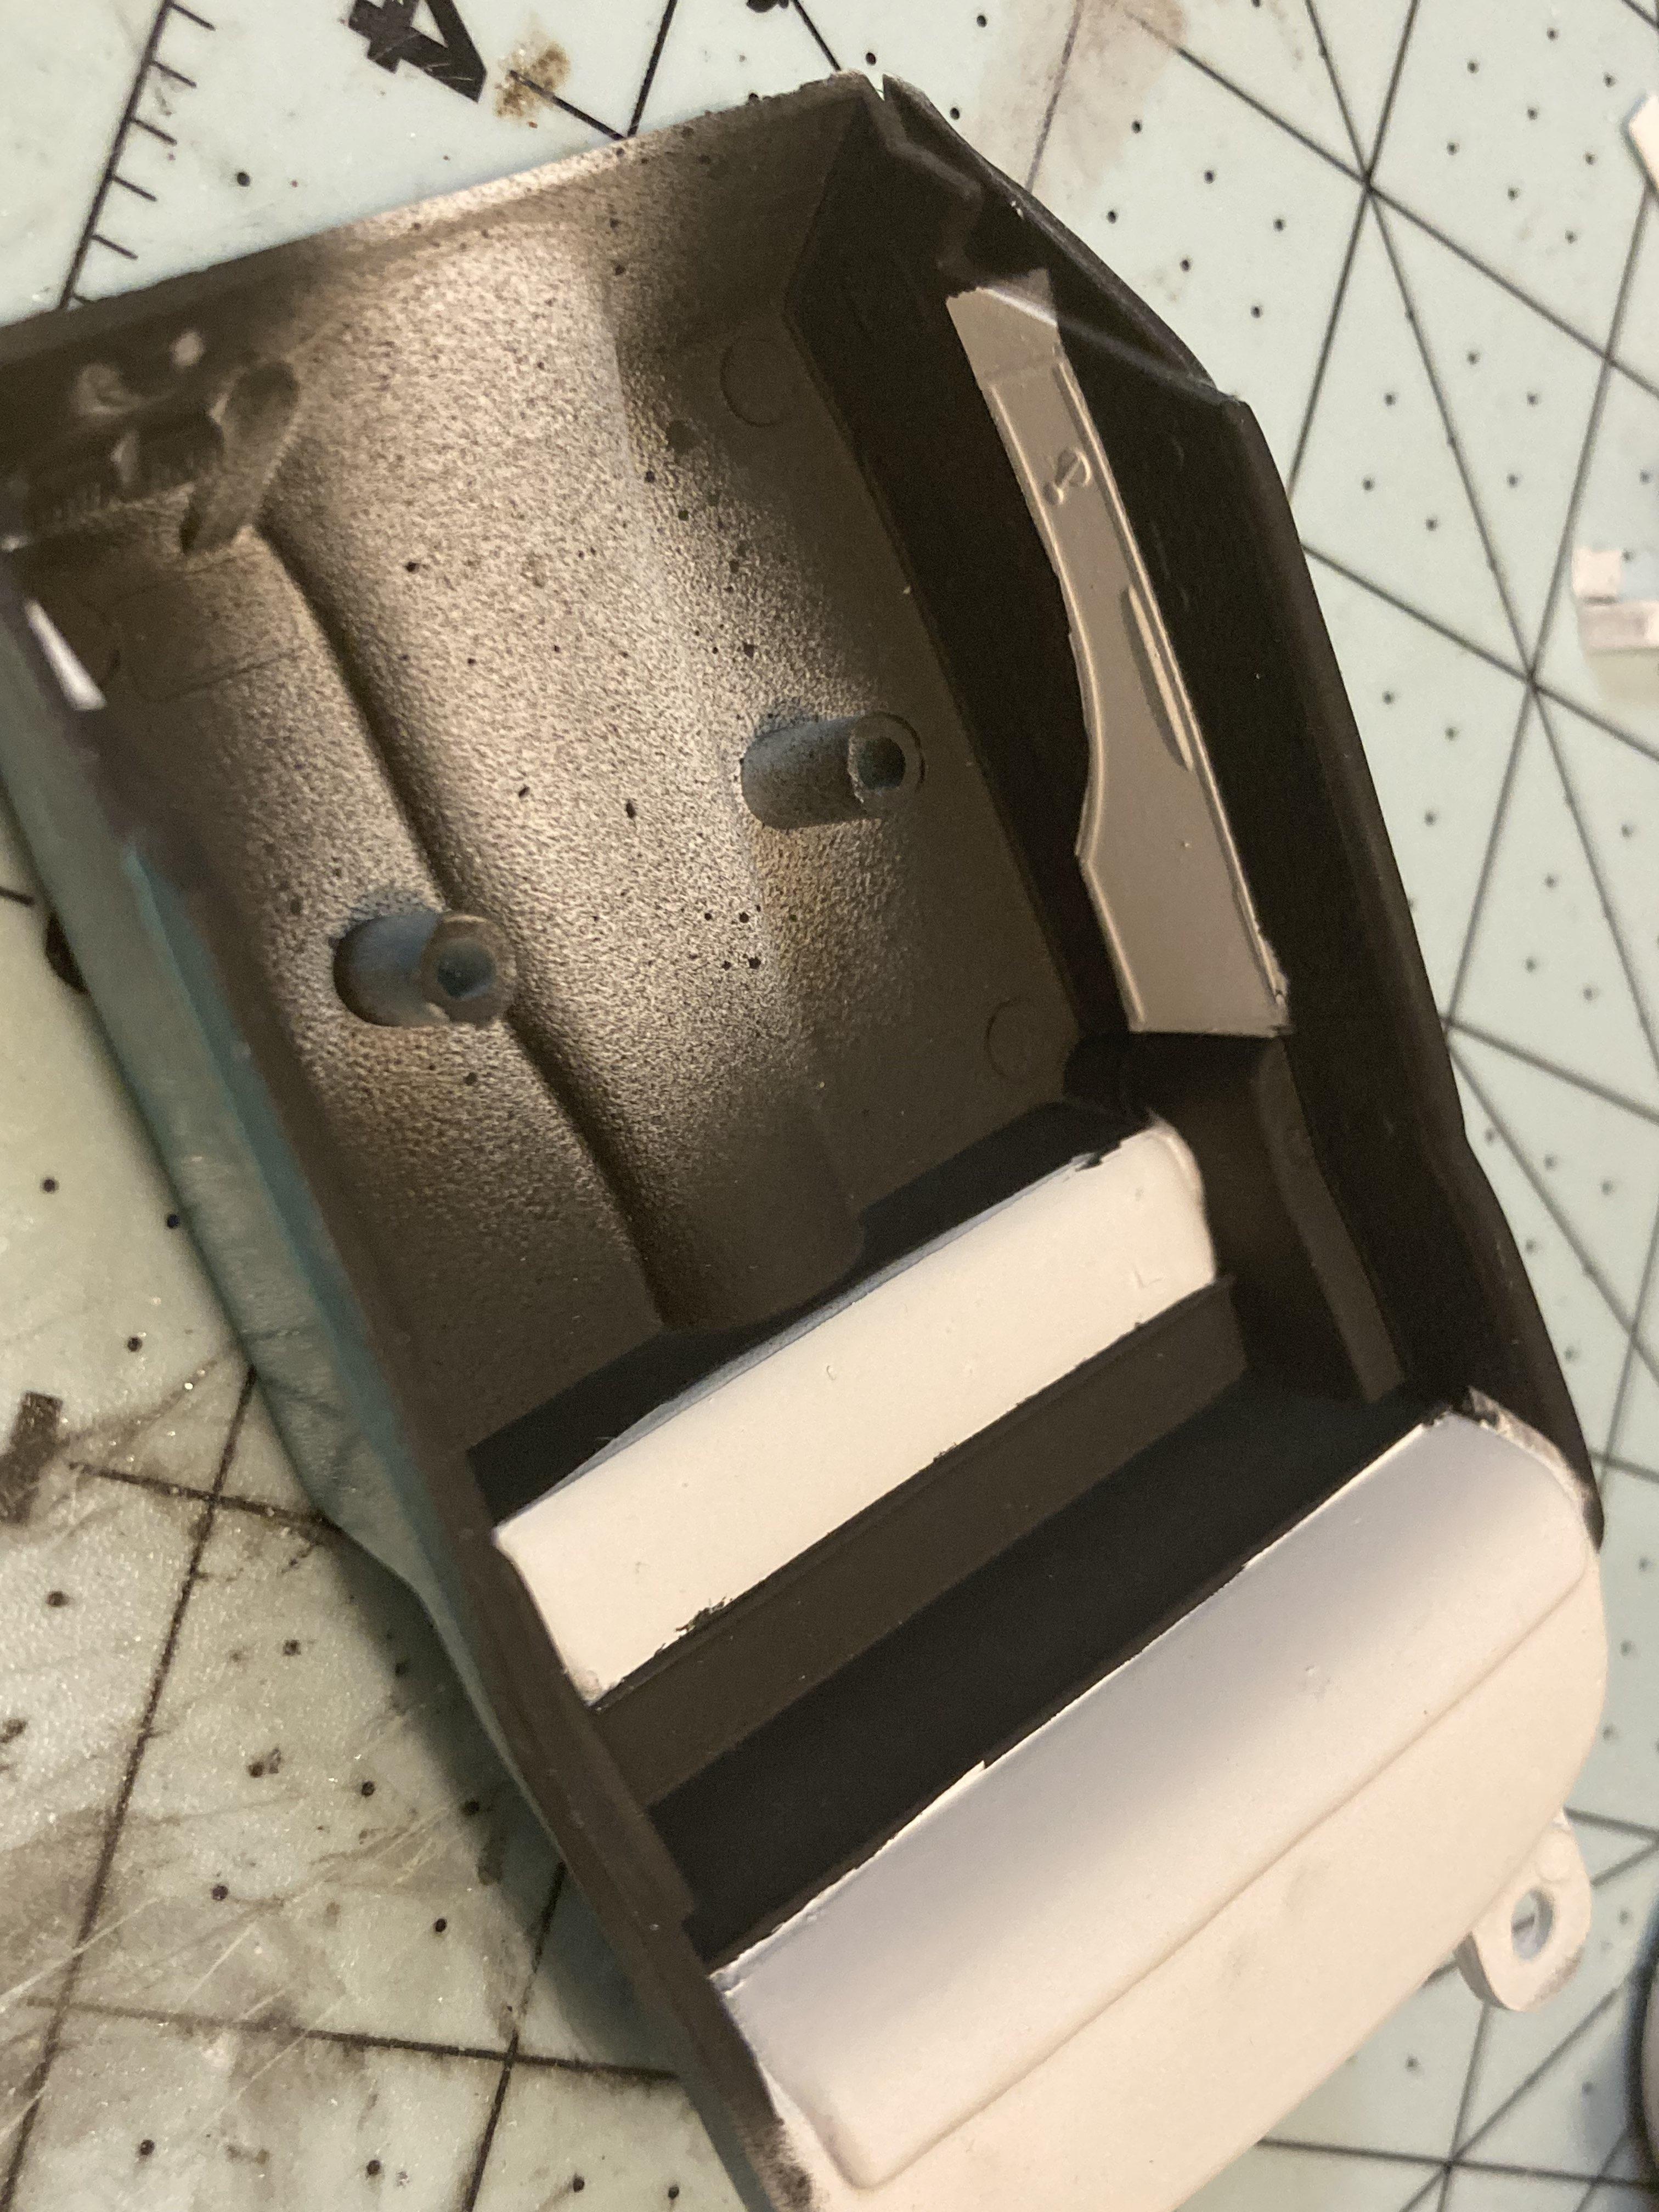
A minor thing, I do not believe that kit comes with "Elephant's Foot" taillights. Those came on the 73+ Super Beetles and Standard Beetles. They actually have a different fender to fit the lights. I think your kit came with the "Tombstone" lights Project looks cool! I just wanted to clarify that.
-
That's basically it!
-
Thanks!
-
I was busy for the past couple weekends but I managed to get some work done. I've painted the front seat and the interior tub. I will be honest, the interior is not accurate to a 210. It's still got the Bel Air side panels but I went through so much effort to sand down the gator skin on the seats that I could not bring myself to do the interior tub as well. So I painted the Bel Air ones in the same scheme as the 210 would have been. It's not accurate but I figure that you won't really see it or be looking for it anyway. Unrelated, a weird problem I had with the primer I was using (decanted Rustoleum 2X white primer) and it peeling off, I think that may have been what happened with the body. I had it happen on the interior tub but since it wasn't on anything you could really see and that only the white paint came off in a few small spots, leaving the white primer, I left it. Lastly, I put down a coat of silver for the dash and steering wheel. If you notice, I added a column shifter as well.
-
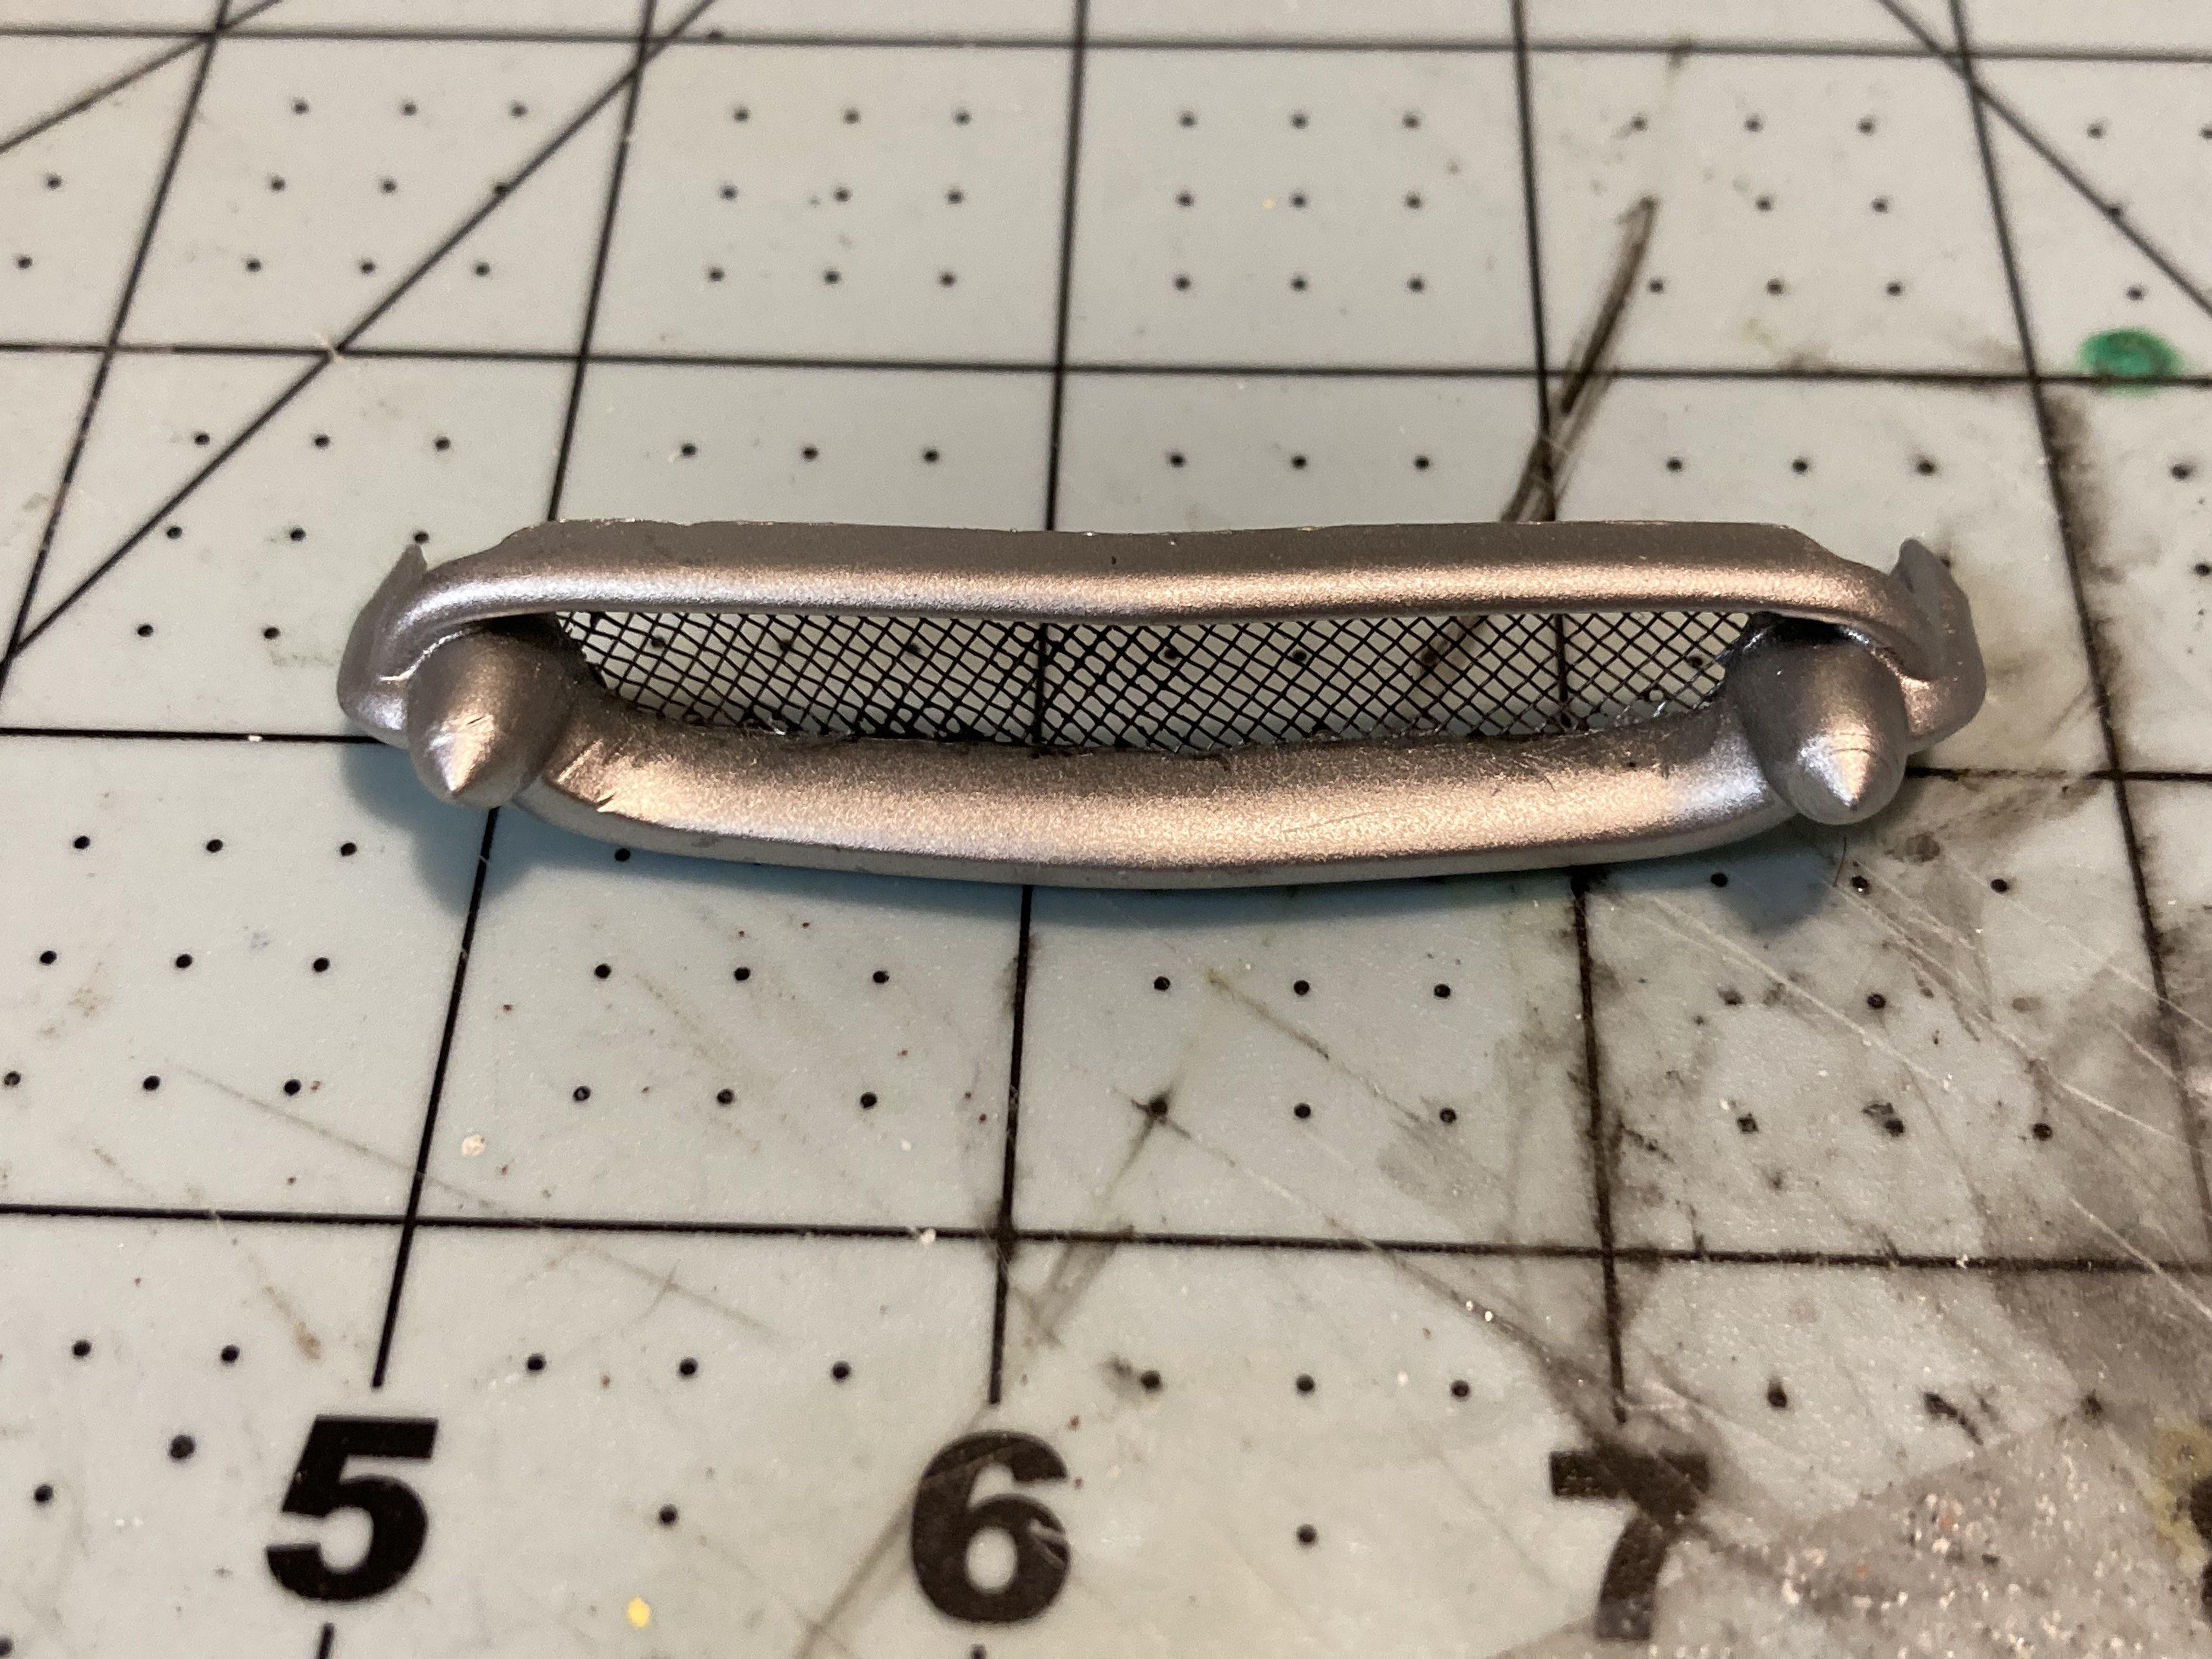
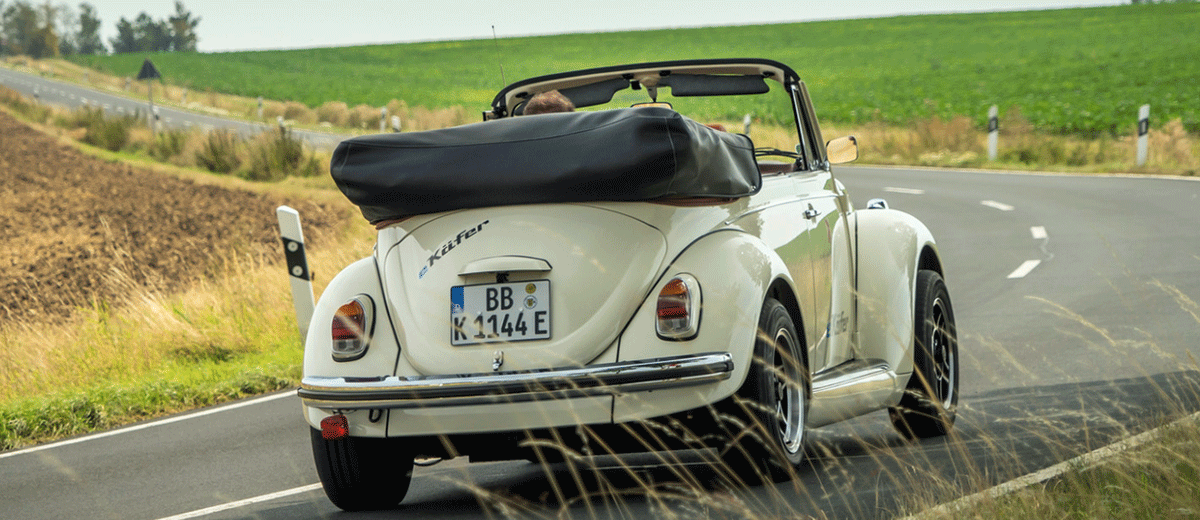
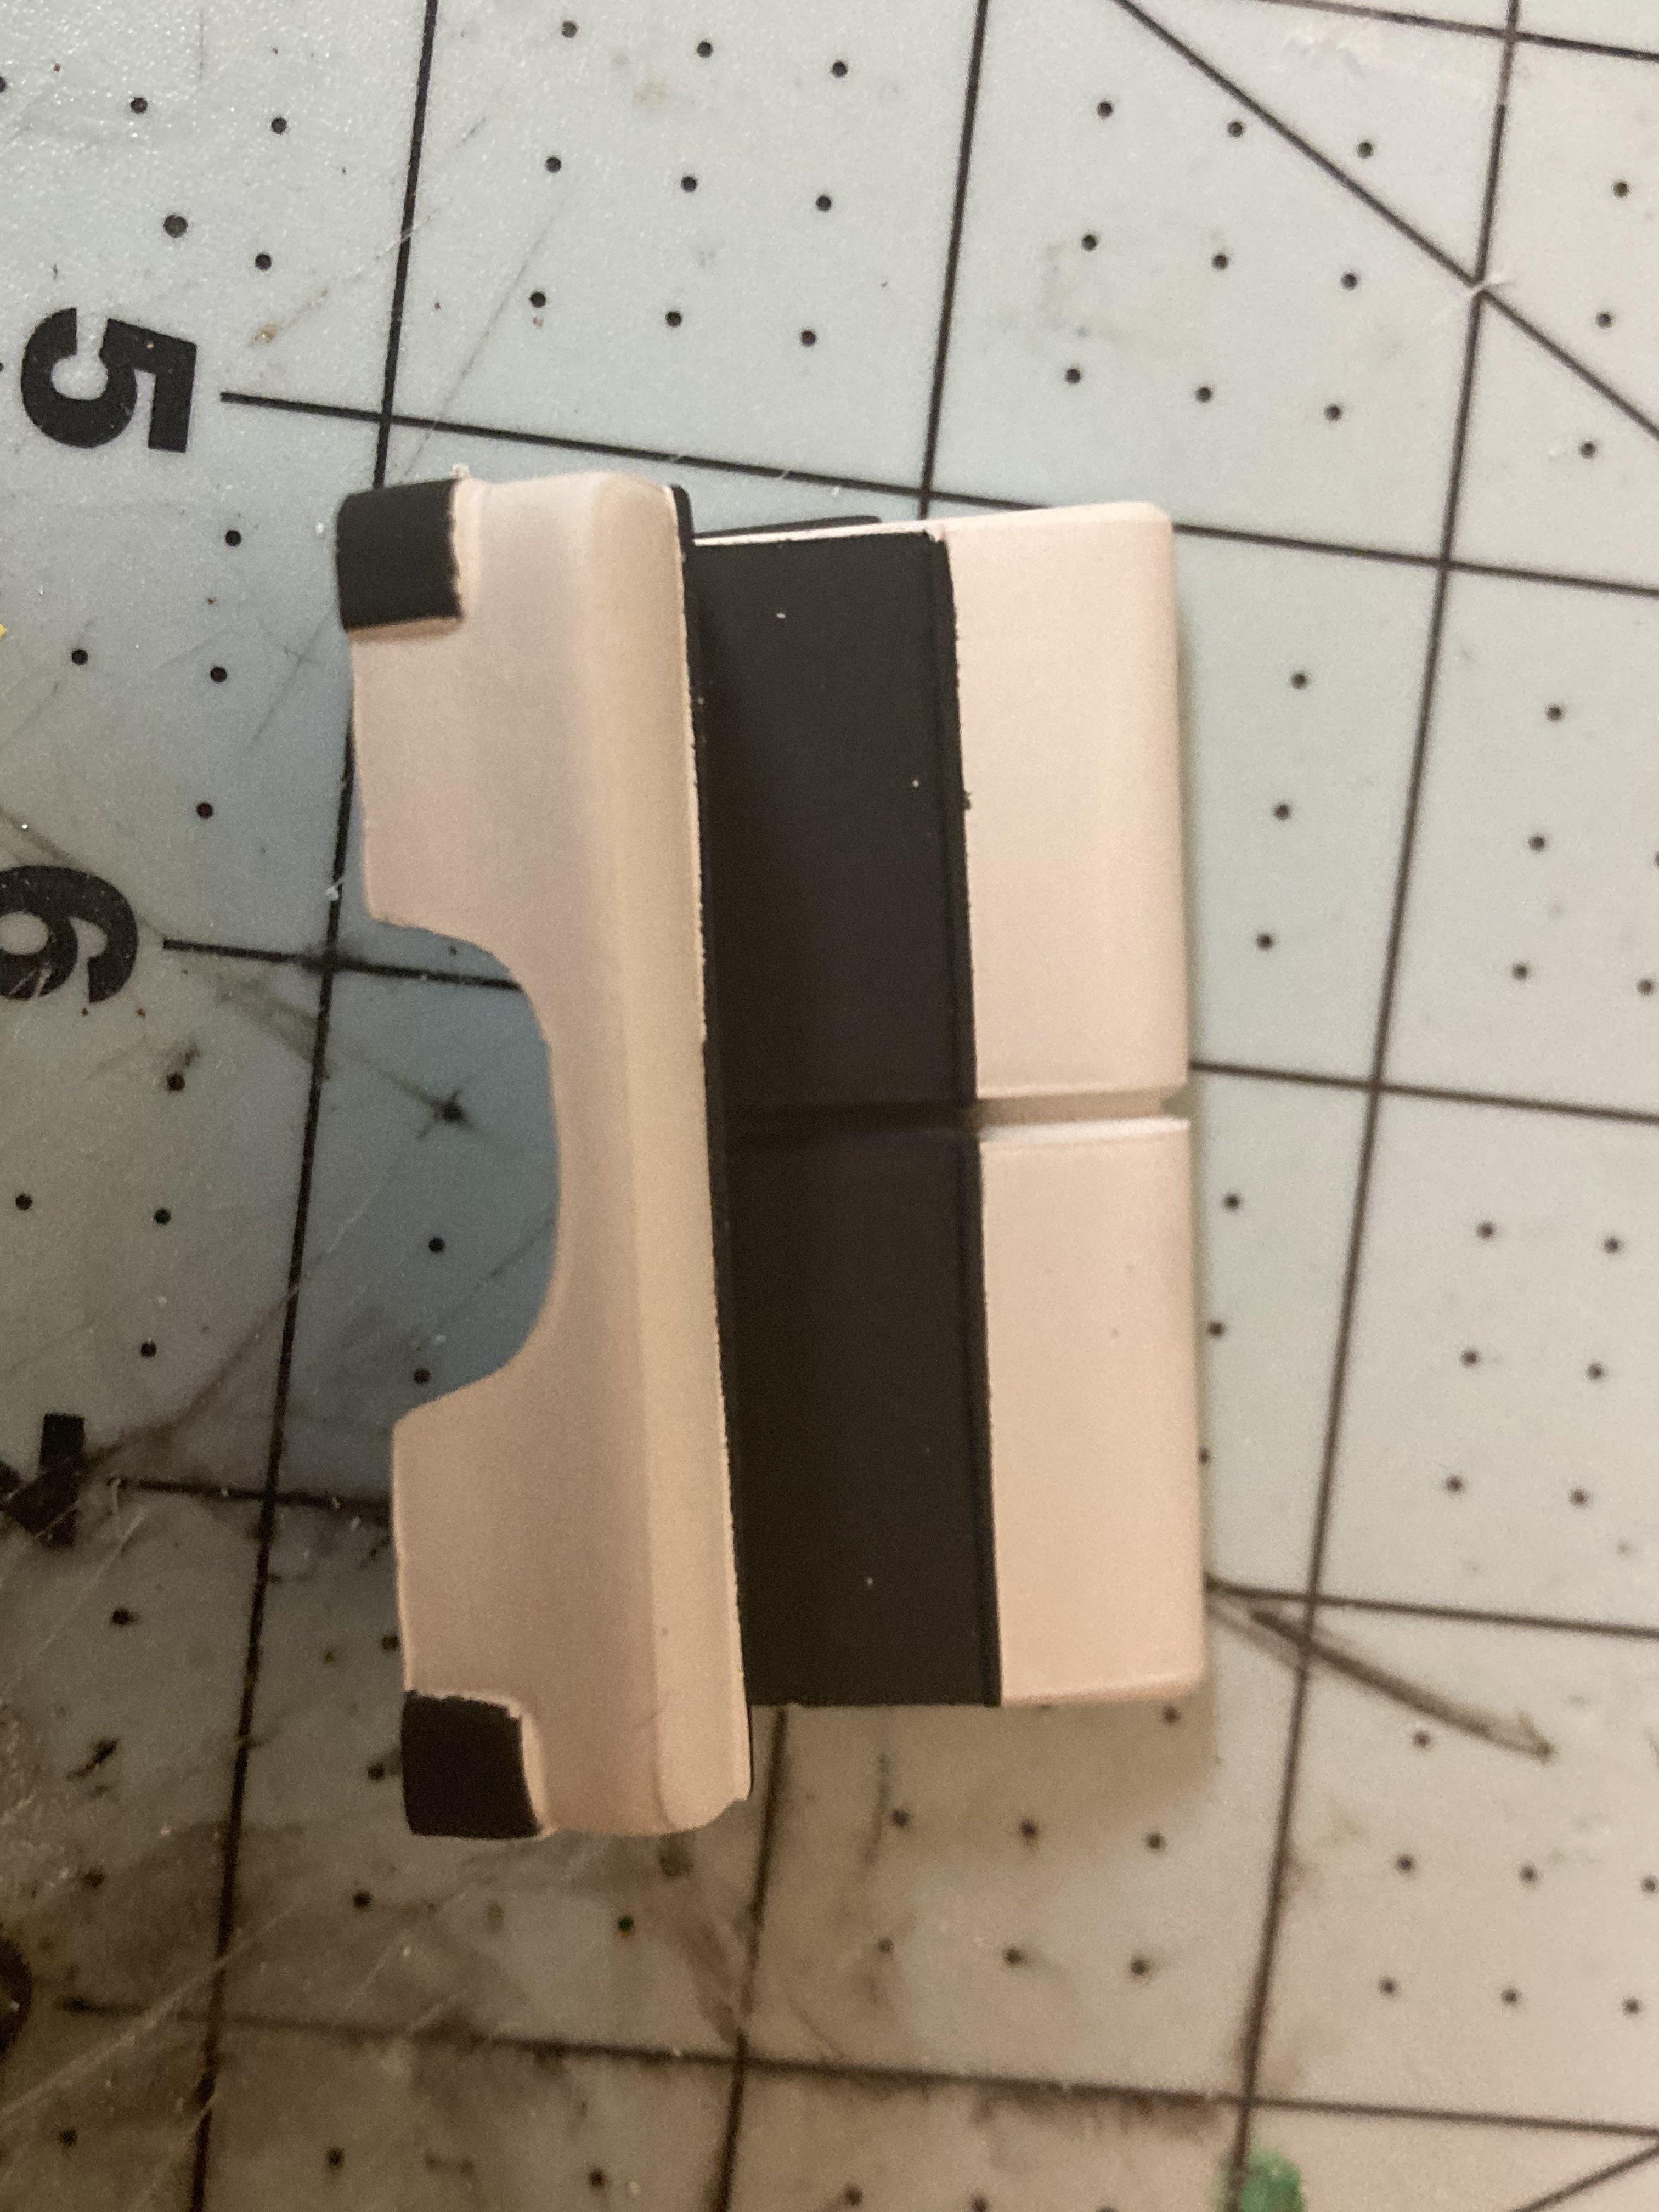
It's not much, but it's something A couple weeks ago, I stripped the instrument panel and bumper of its chrome. The idea was to cut up the bumper to make it lighter and make it look as if it was a fiberglass copy of a Chevy Bumper As you can see, I removed the bottom "lip" and cut out the middle. The mesh is from a dollar store splatter guard and will get painted black later, don't worry. I think it looks pretty good.
-
I believe that Pledge has been discontinued for at least a year now, I think Quick Shine is gonna be the closest thing you can get, or at least it's the most commonly available.