-
Posts
348 -
Joined
-
Last visited
Content Type
Profiles
Forums
Events
Gallery
Everything posted by Stanward VonDiederichs
-
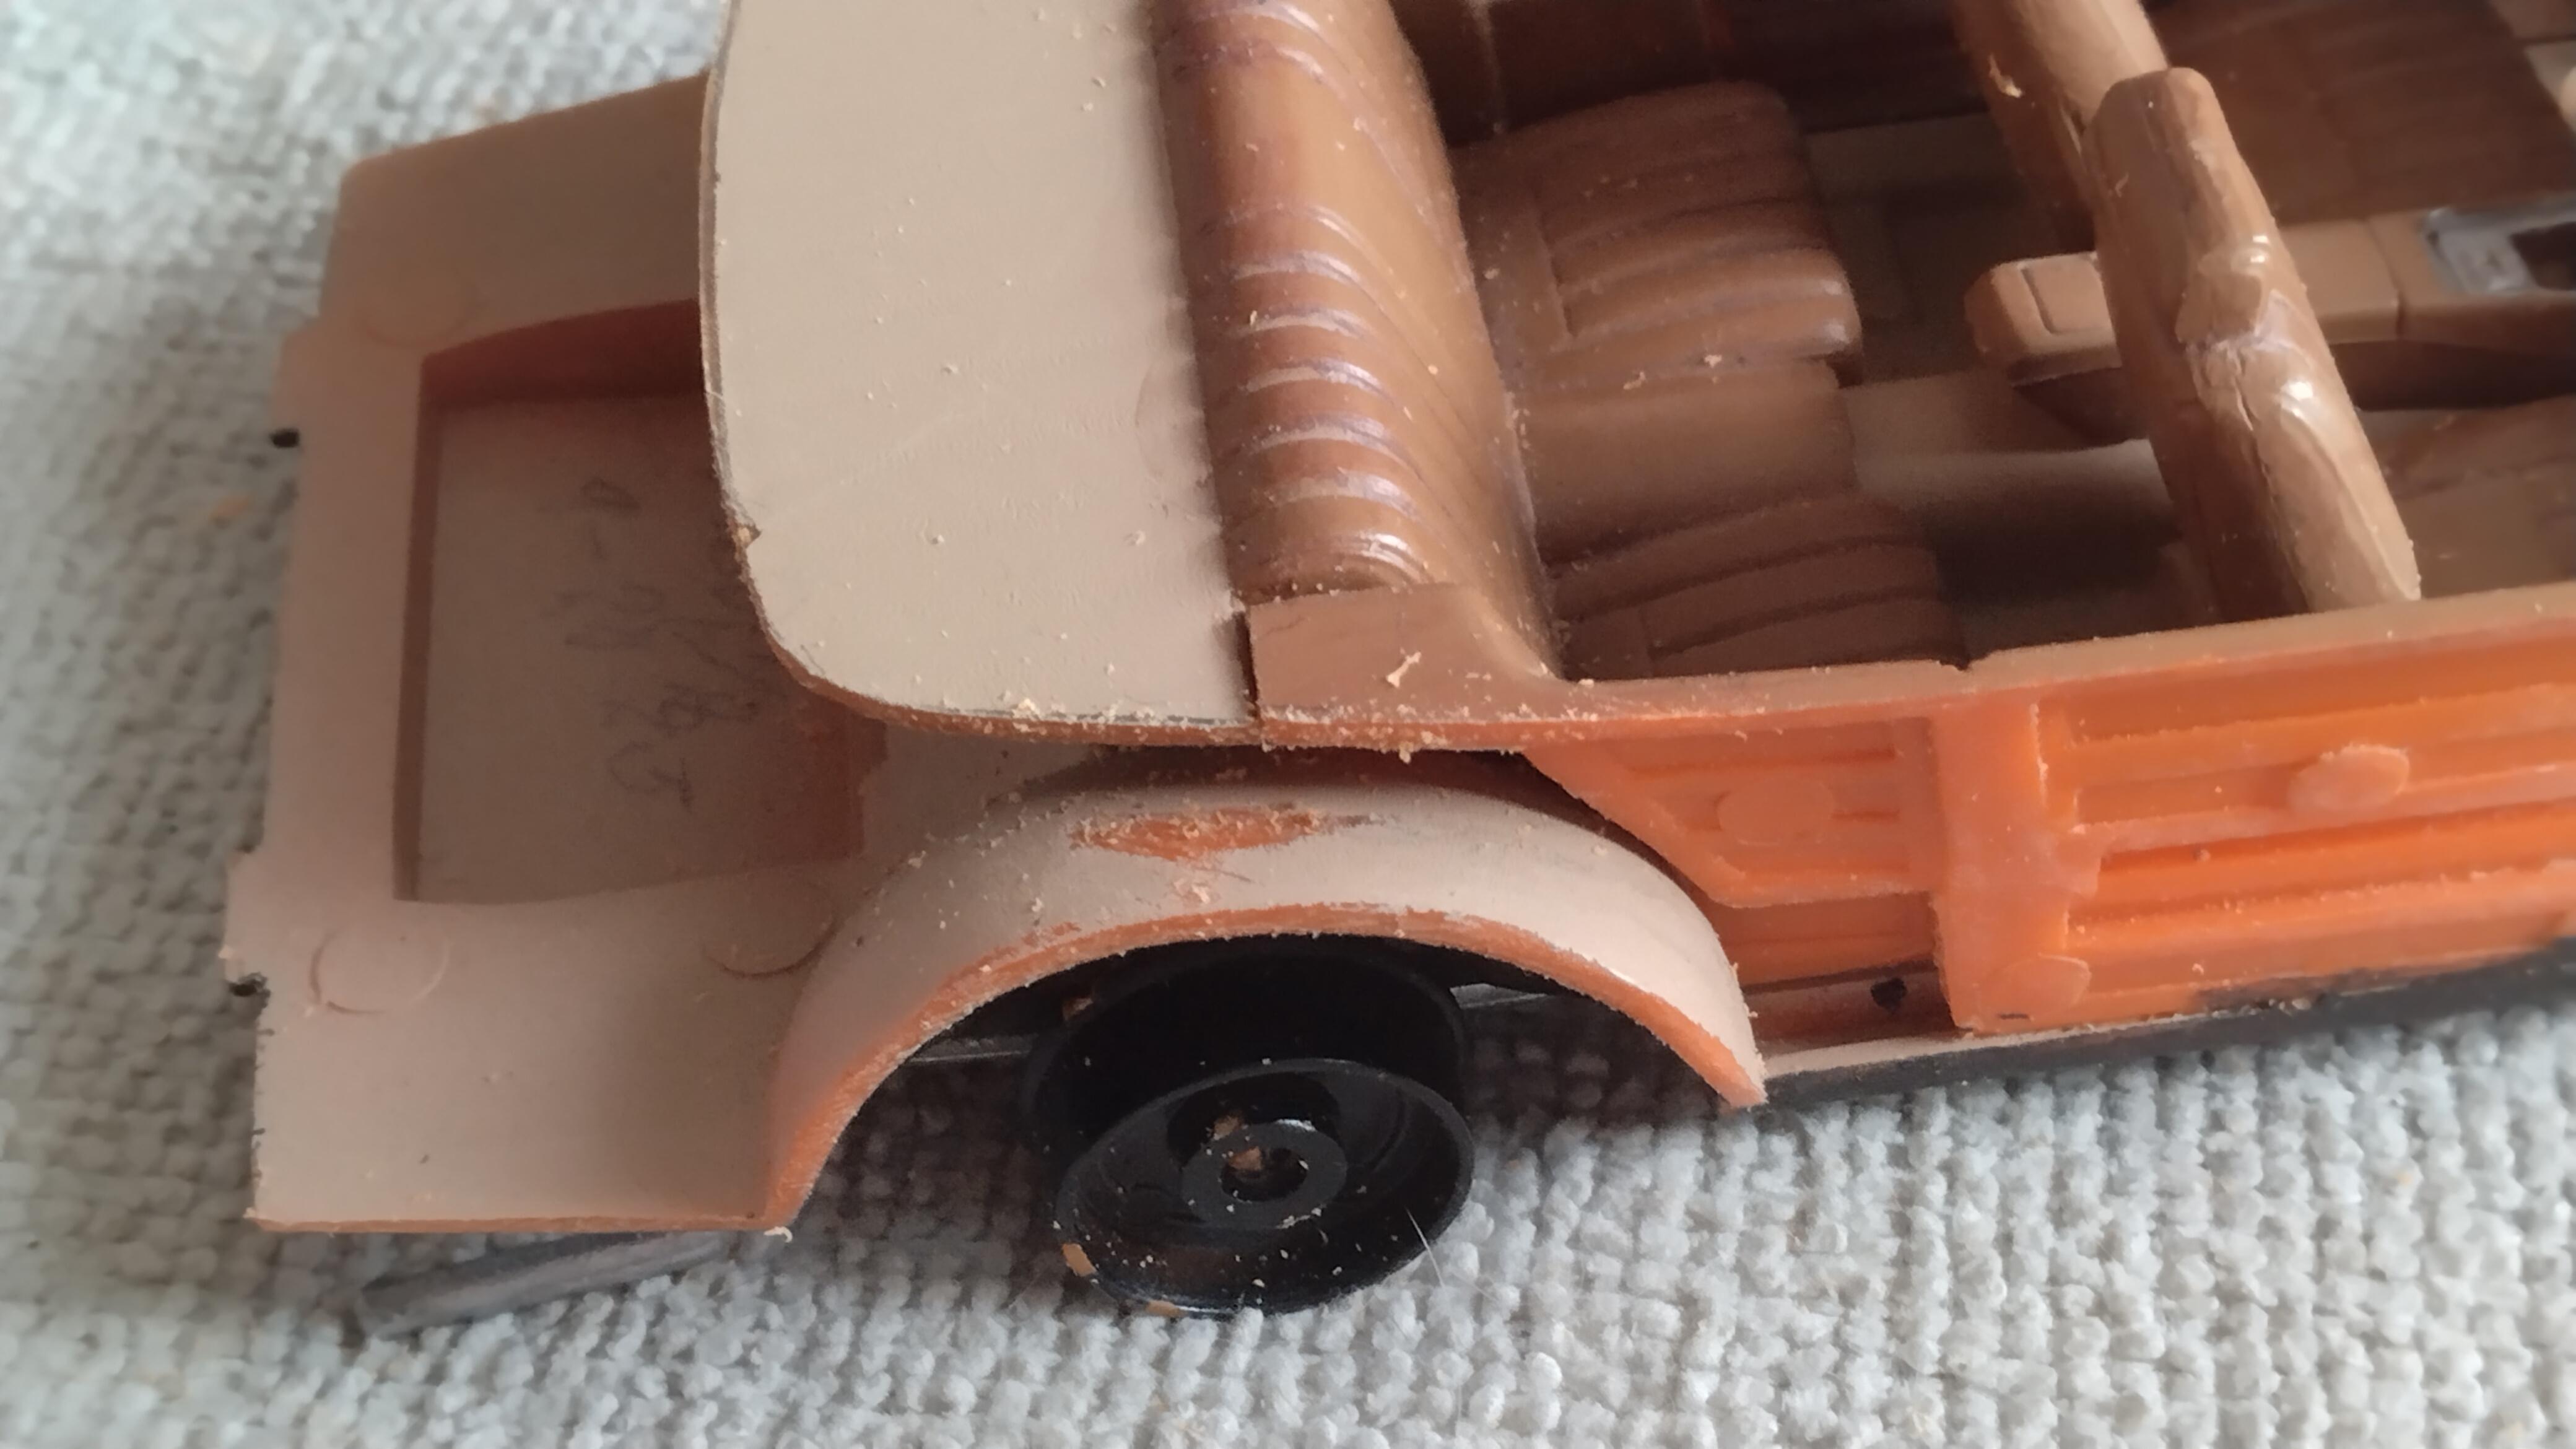
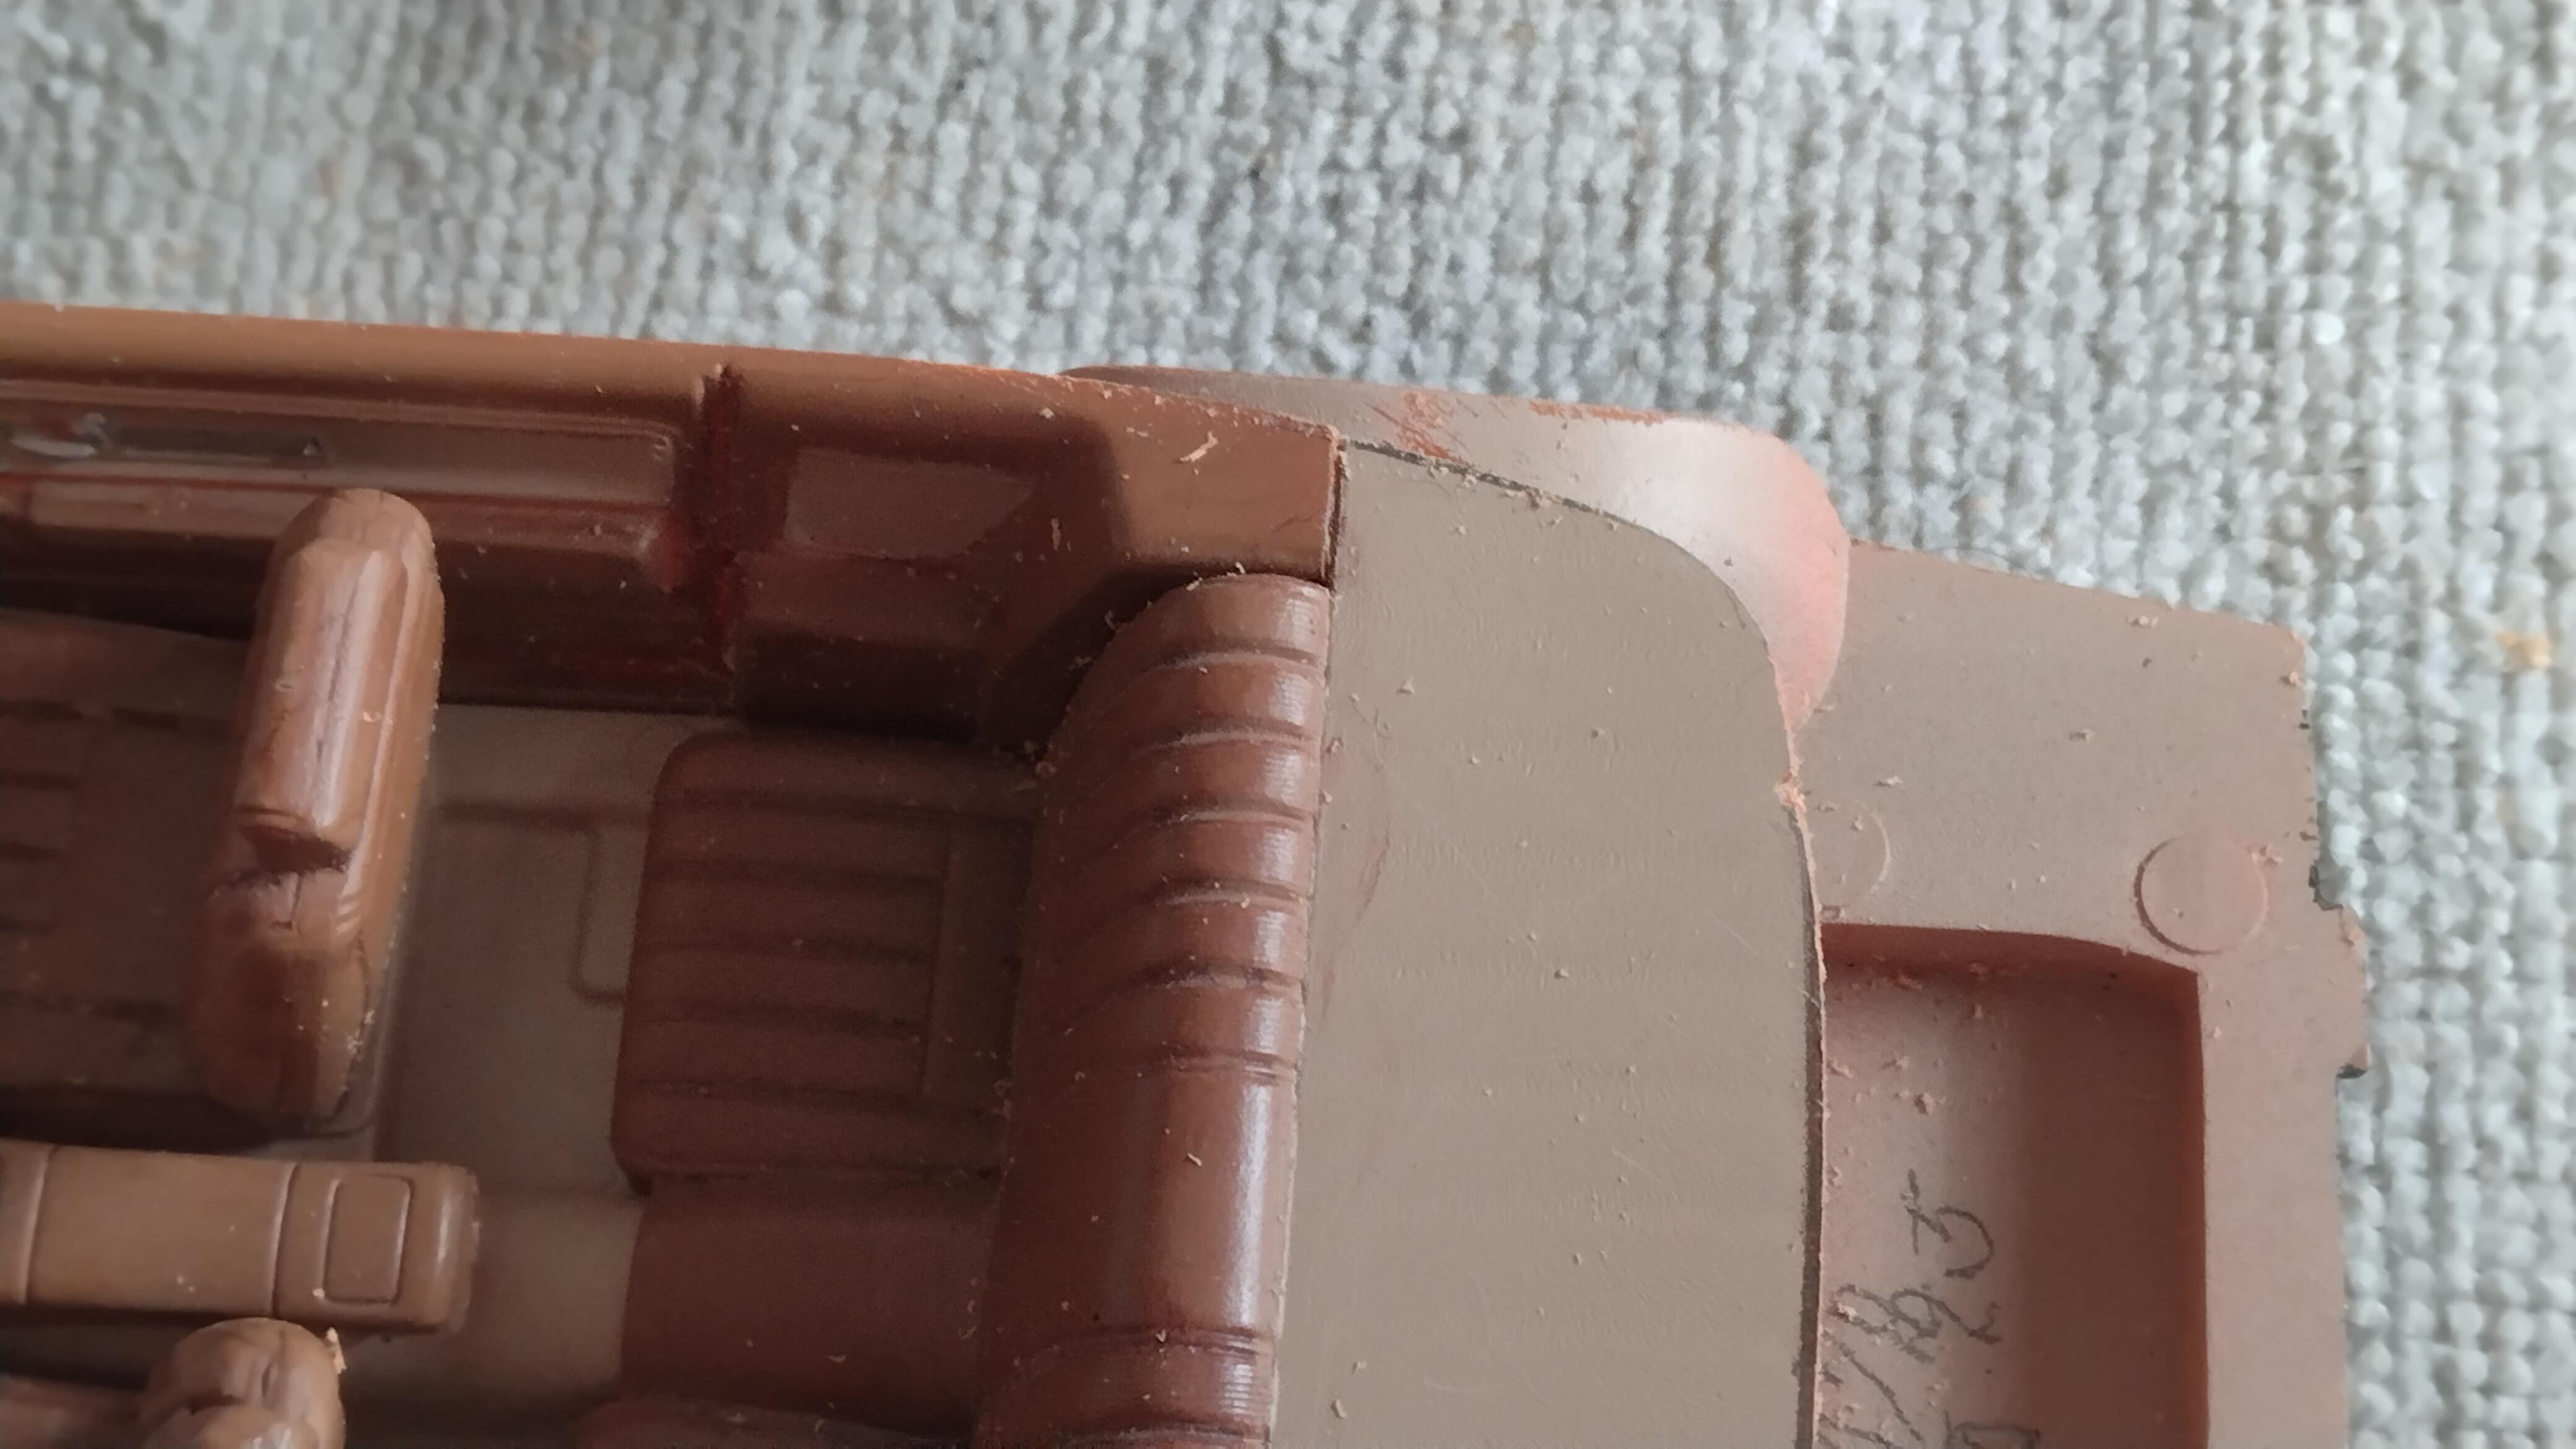
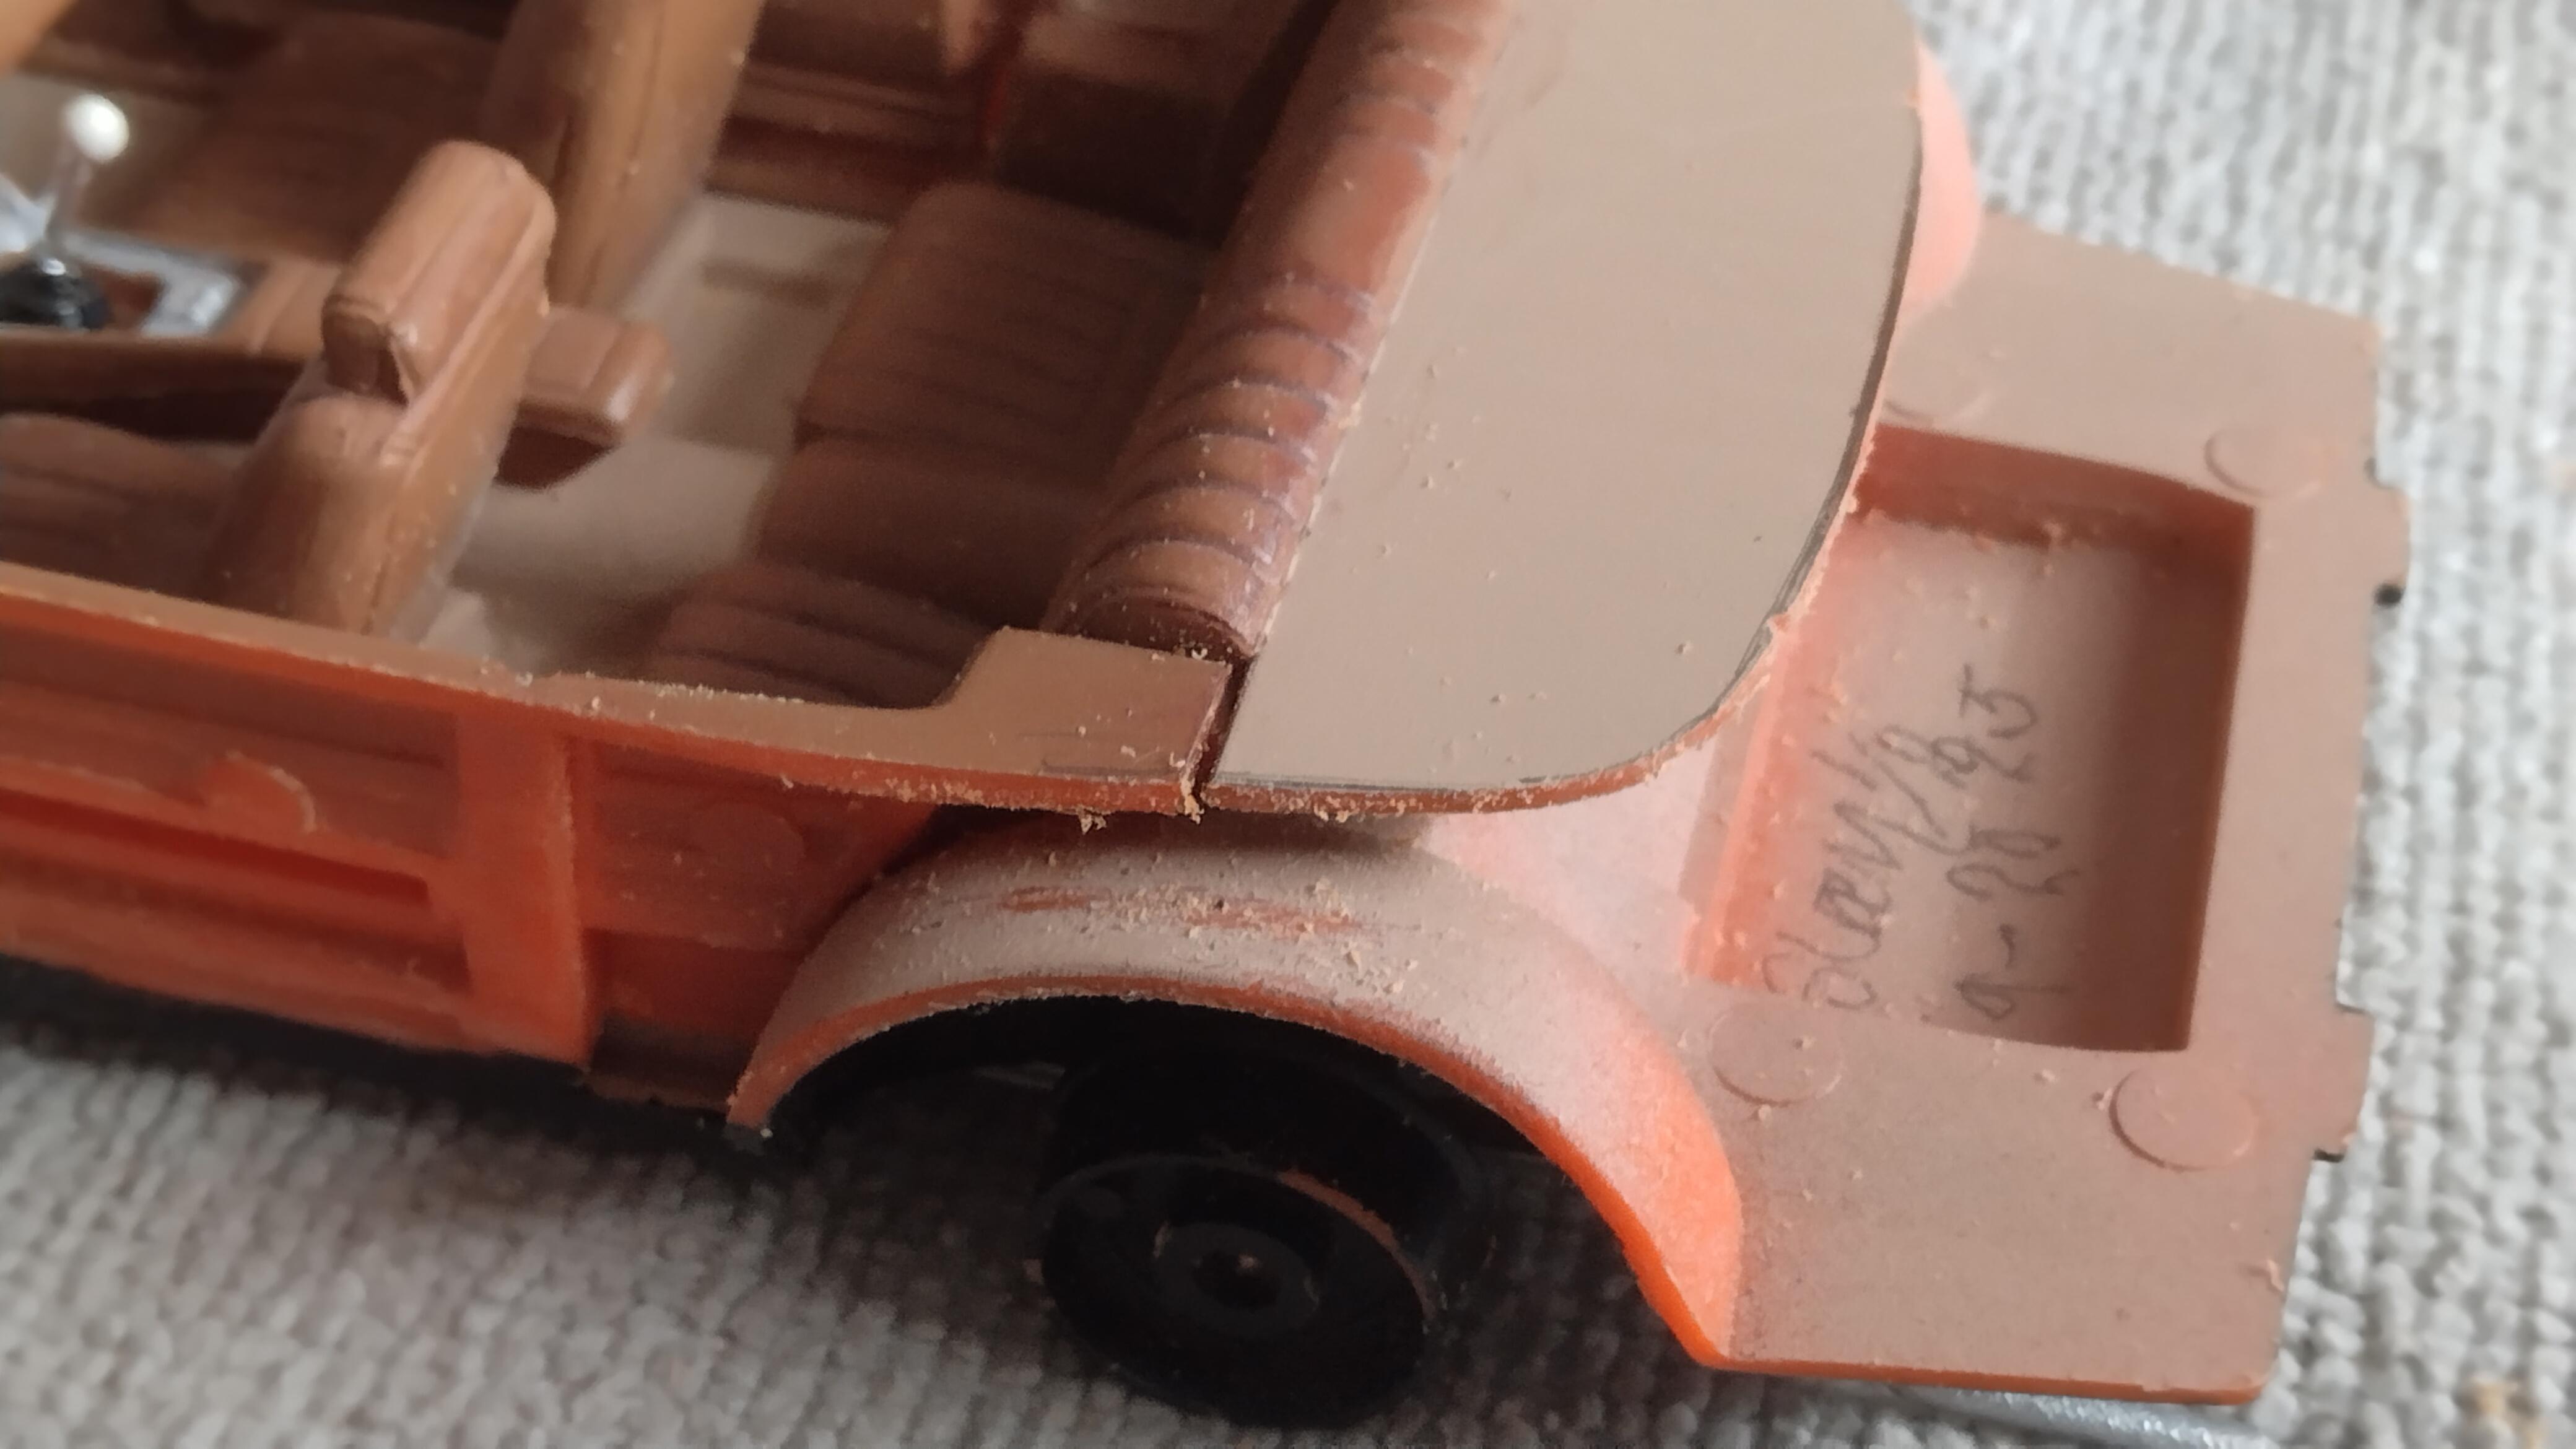
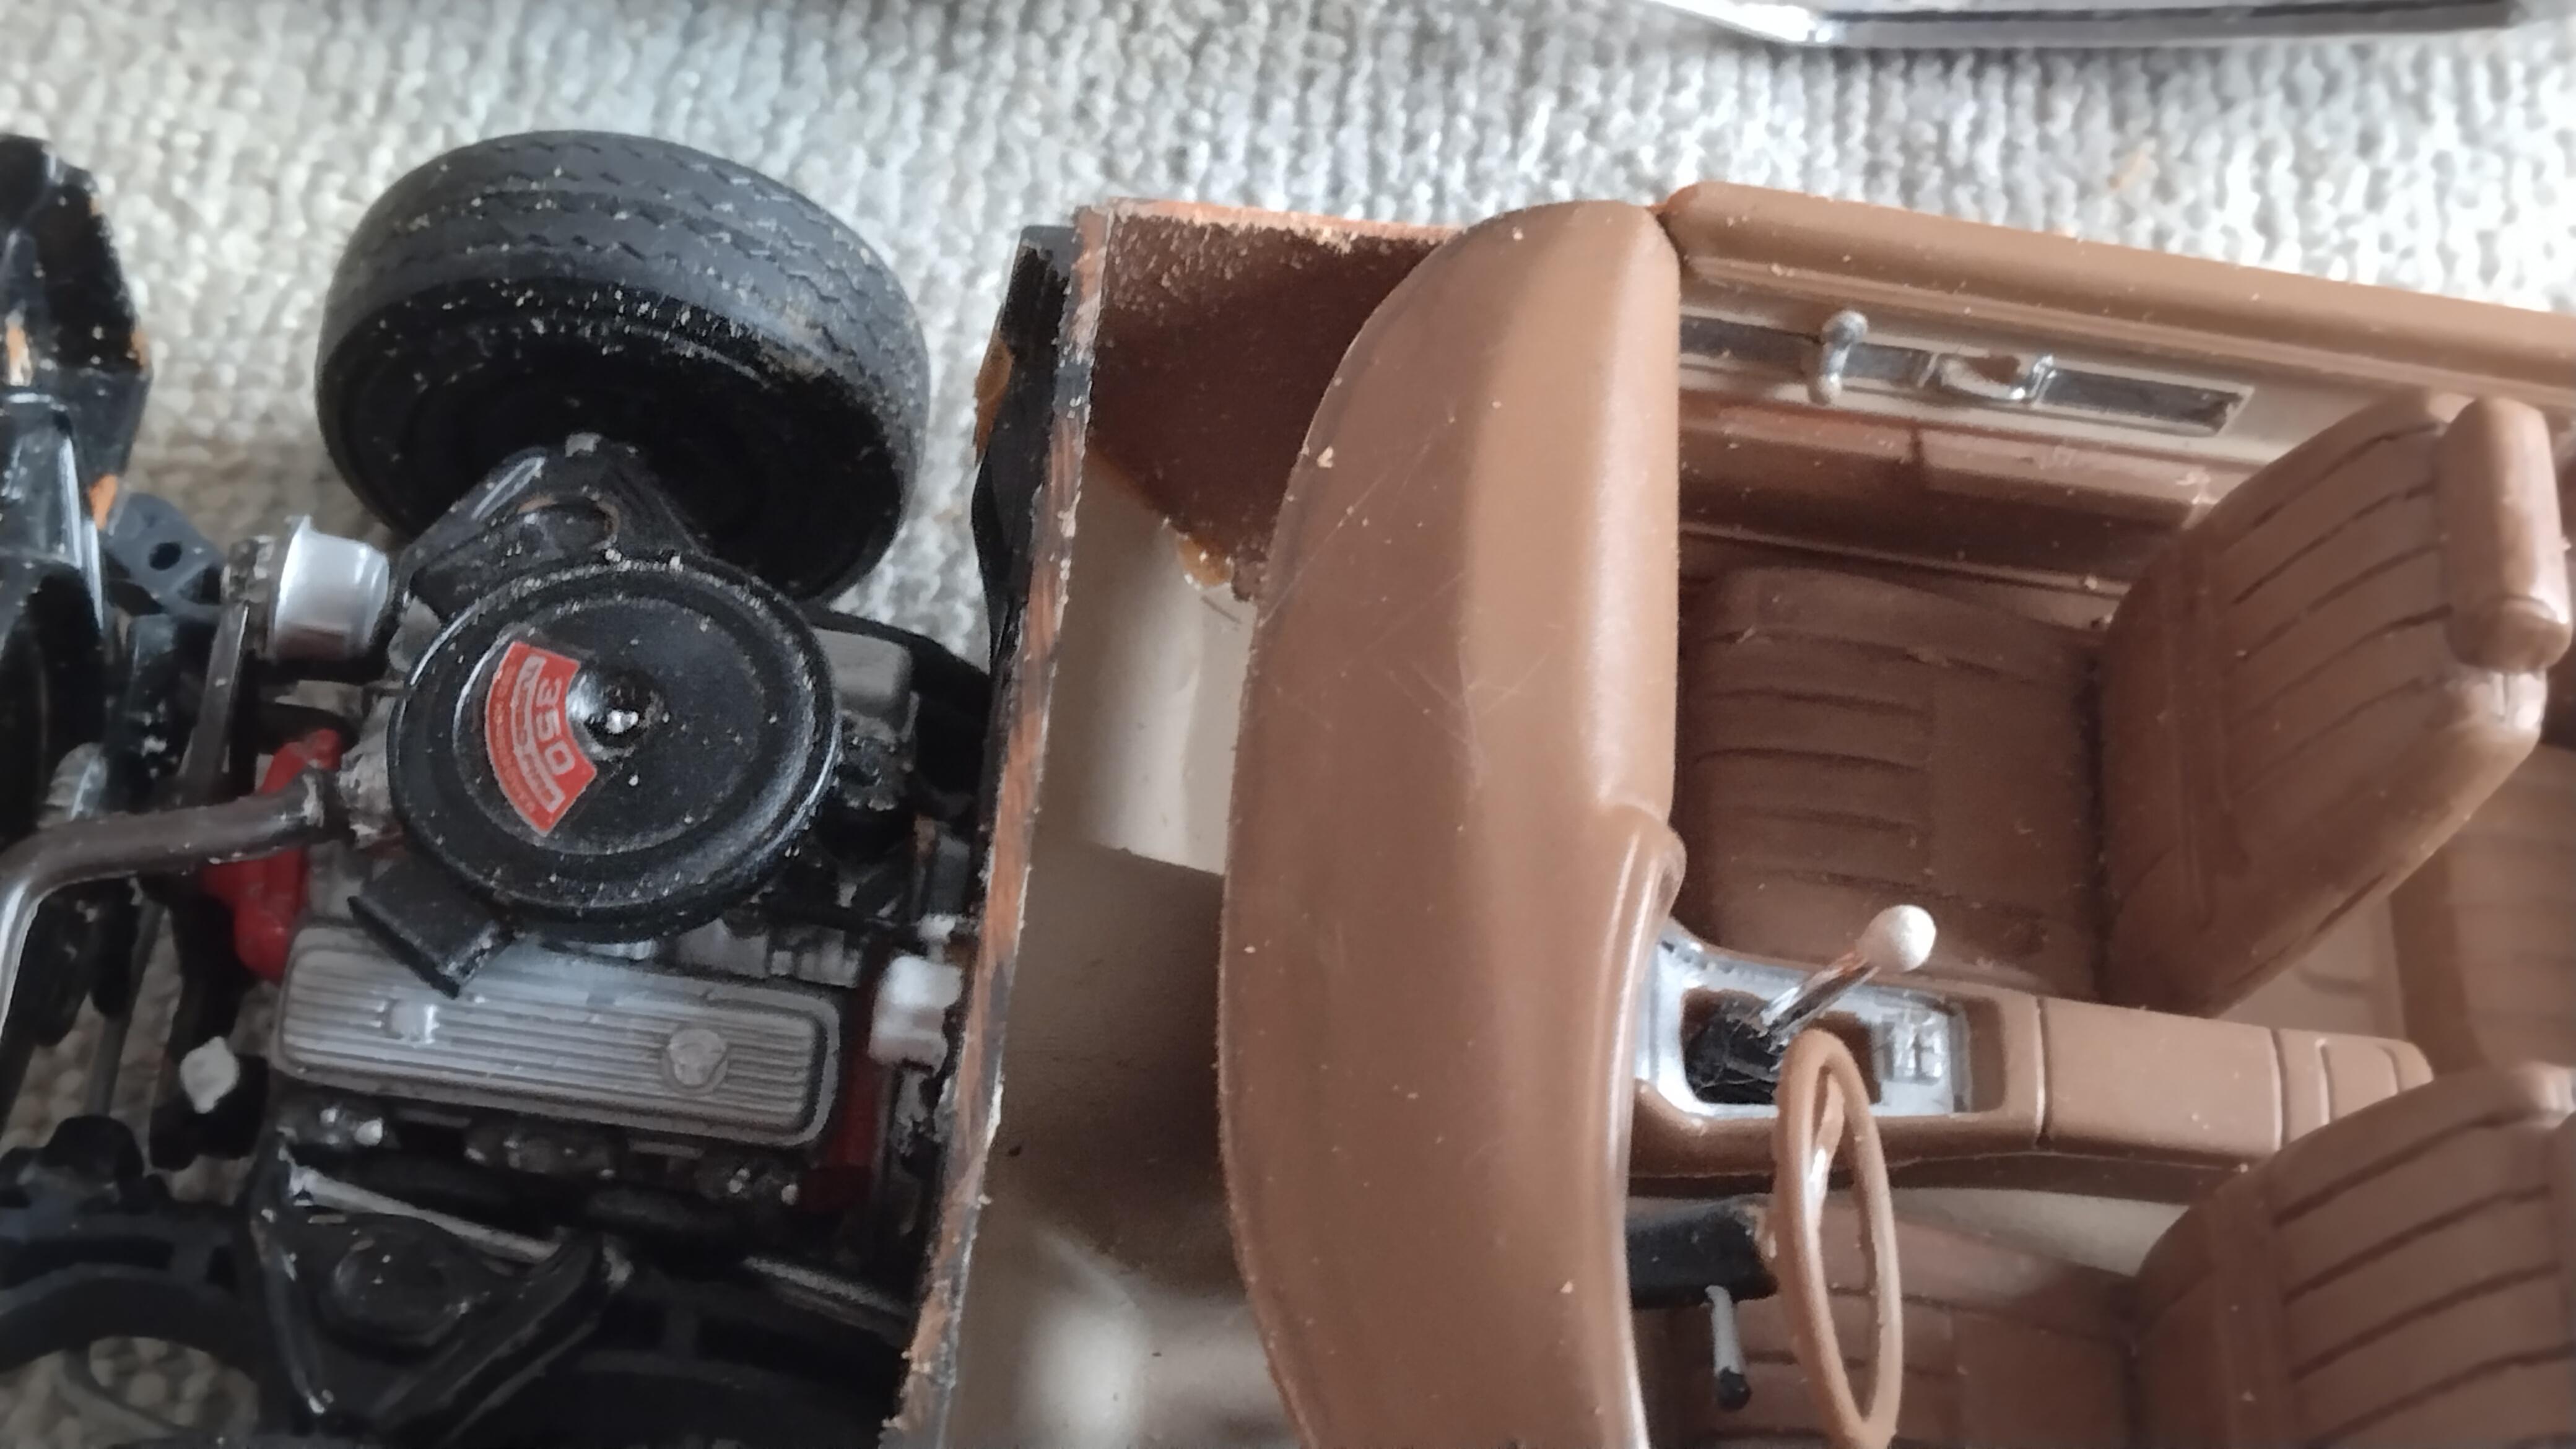
I'm also working on a 34 p/u stock looking the motor as Canadian heads and intake 2 carburetor manifold with real wood running boards and bed.
-
I like what you did with the 34 along with the backdrop to show the car I would like it sitting in front of my house. I knew someone with a 33 coupe.
-
-
I built this in 1980 a tribute to the Outlaw coupe I remember when I was young in magazines a 5-6 years old kid it was Cool for years I wondered whatever happened to it wasn't until later I heard the story what happened much later I ran across in search photos of the car and burning and on the roof. The tribute car was a college project I was to build a stash box or a jewelry box the professor said that there was no artistic value in what I wanted to do. It made the outside showcase in the front row featured piece.
© Builder and most photos by Stan1/2
-
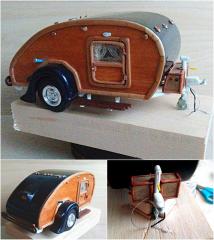
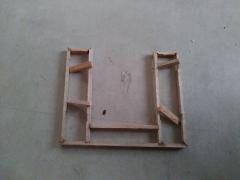
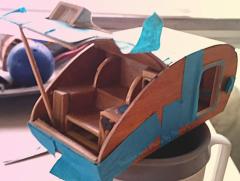
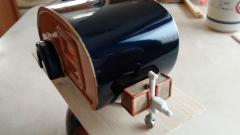
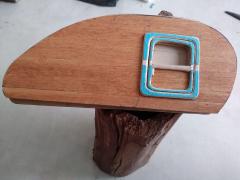
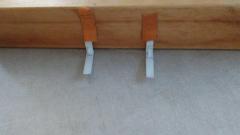
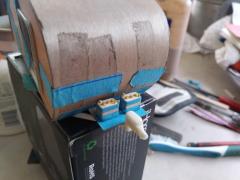
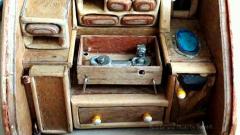
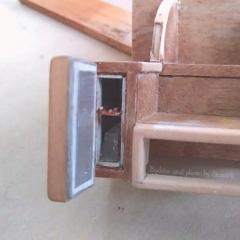
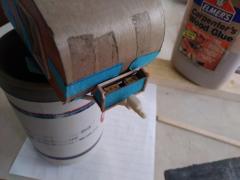
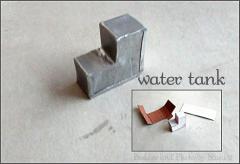
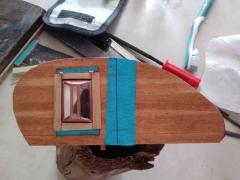
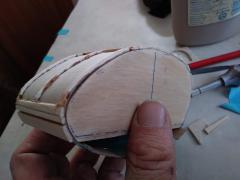
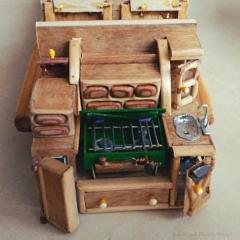
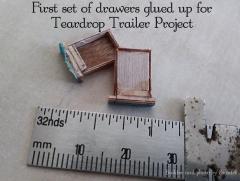
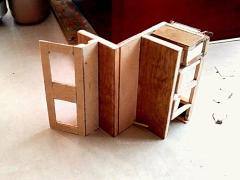
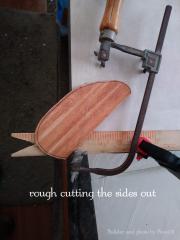
I hope everyone enjoys looking at how I made this teardrop trailer for me it was easy job but getting into it I found it very involved challenge. I've always wanted to do a 125th scale teardrop trailer at one of the houses this inspired me I lived in there was a teardrop trailer and it had history it belonged to the couple that owned the roller derby building and promoter for Pasadena and TV show. There was a portable roller Derby track underneath it rolled up. Are you old illustrations on building a teardrop trailer and had to then reduce them down 124th scale the one that gave me the most information was the one that shows the frame and then has off to the side illustrated drawings of what the kitchen side in the living side if you notice my trailer did I built followers that particular illustration.
-
From the album: Stanward Von Diederichs
© Builder and most photos by Stan1/2
-
From the album: Stanward Von Diederichs
© Builder and most photos by Stan1/2
-
From the album: Stanward Von Diederichs
© Builder and most photos by Stan1/2
-
From the album: Stanward Von Diederichs
© Builder and most photos by Stan1/2
-
From the album: Stanward Von Diederichs
© Builder and most photos by Stan1/2
-
From the album: Stanward Von Diederichs
© Builder and most photos by Stan1/2
-
From the album: Stanward Von Diederichs
© Builder and most photos by Stan1/2
-
From the album: Stanward Von Diederichs
© Builder and most photos by Stan1/2
-
From the album: Stanward Von Diederichs
© Builder and most photos by Stan1/2
-
From the album: Stanward Von Diederichs
© Builder and most photos by Stan1/2
-
From the album: Stanward Von Diederichs
© Builder and most photos by Stan1/2
-
From the album: Stanward Von Diederichs
© Builder and most photos by Stan1/2
-
From the album: Stanward Von Diederichs
© Builder and most photos by Stan1/2

