Radretireddad
-
Posts
521 -
Joined
-
Last visited
Content Type
Profiles
Forums
Events
Gallery
Everything posted by Radretireddad
-
Sometimes I trim off the sprue around the part while leaving the parts attached. That way I can hold on to them with an alligator clip for air or brush painting without damaging or leaving a bare spot on the part. I apply Vallejo liquid mask on attachment points before priming and painting. Afterwards I use a wooden toothpick to remove the liquid mask so I don’t risk damaging the surrounding surface with an X-acto knife blade.
-
No question about it. I’ve found airbrushing acrylics to be far more economical, forgiving and clean up is a snap. The only downside is that the available colors are somewhat limited but that just means getting good at custom blending different colors. Cheers right back.
-
That’s the beauty of the hobby. If you’re happy with the results, that’s all that matters. Not everyone may be able to afford the best equipment at the moment. Again. The great part about the hobby is we are free to blaze our own trail to the results we’re striving for. I have completely sworn off of enamels and lacquers in the interest of preserving domestic tranquility. Using any of the stinky old stuff would result in immediate banishment by Mrs. Radretireddad. Thankfully I have been able to refine and adjust my airbrushing technique to achieve excellent results and an enjoy all the other benefits they offer.
-
No problem. Keep going and I wish you many happy hours of hobby time. Check in with us frequently for any more assistance you might need.
-
Have patience dear brethren. According to what we heard at DAAM there’s more new stuff moving through the pipeline.
-
Airbrushes can yield amazing results and allow for custom color mixing but they are more time consuming and require patience and practice to get good results. If you carefully refine of all aspects of your technique and invest a little more in good quality equipment you’ll start to reap the rewards over time.
-
I prefer to do all the sanding up front during the prep work. The Tamiya white primer seems to always dry in a uniform very smooth finish. I have my ratios, air pressure, needle settings and application method dialed in to where the final finish is smooth enough to not require any final sanding. Hobby Lobby sells a package of final polishing and buffing pads that rage from 3200 up to 12000 grit and are perfect for removing small flaws. I use Meguiars Plastex to remove any fine scratches or hazing.
-
I have not had to adjust the thinning ratio with either type of paint. Your airbrush and compressor combination are what’s going to determine the correct ratio and you’ll need to experiment until you find it.
-
Wow, much better!
-
Sounds good. Trial and error is what does it for me. I also forgot to mention to meticulously clean your airbrush between uses. Good luck!
-
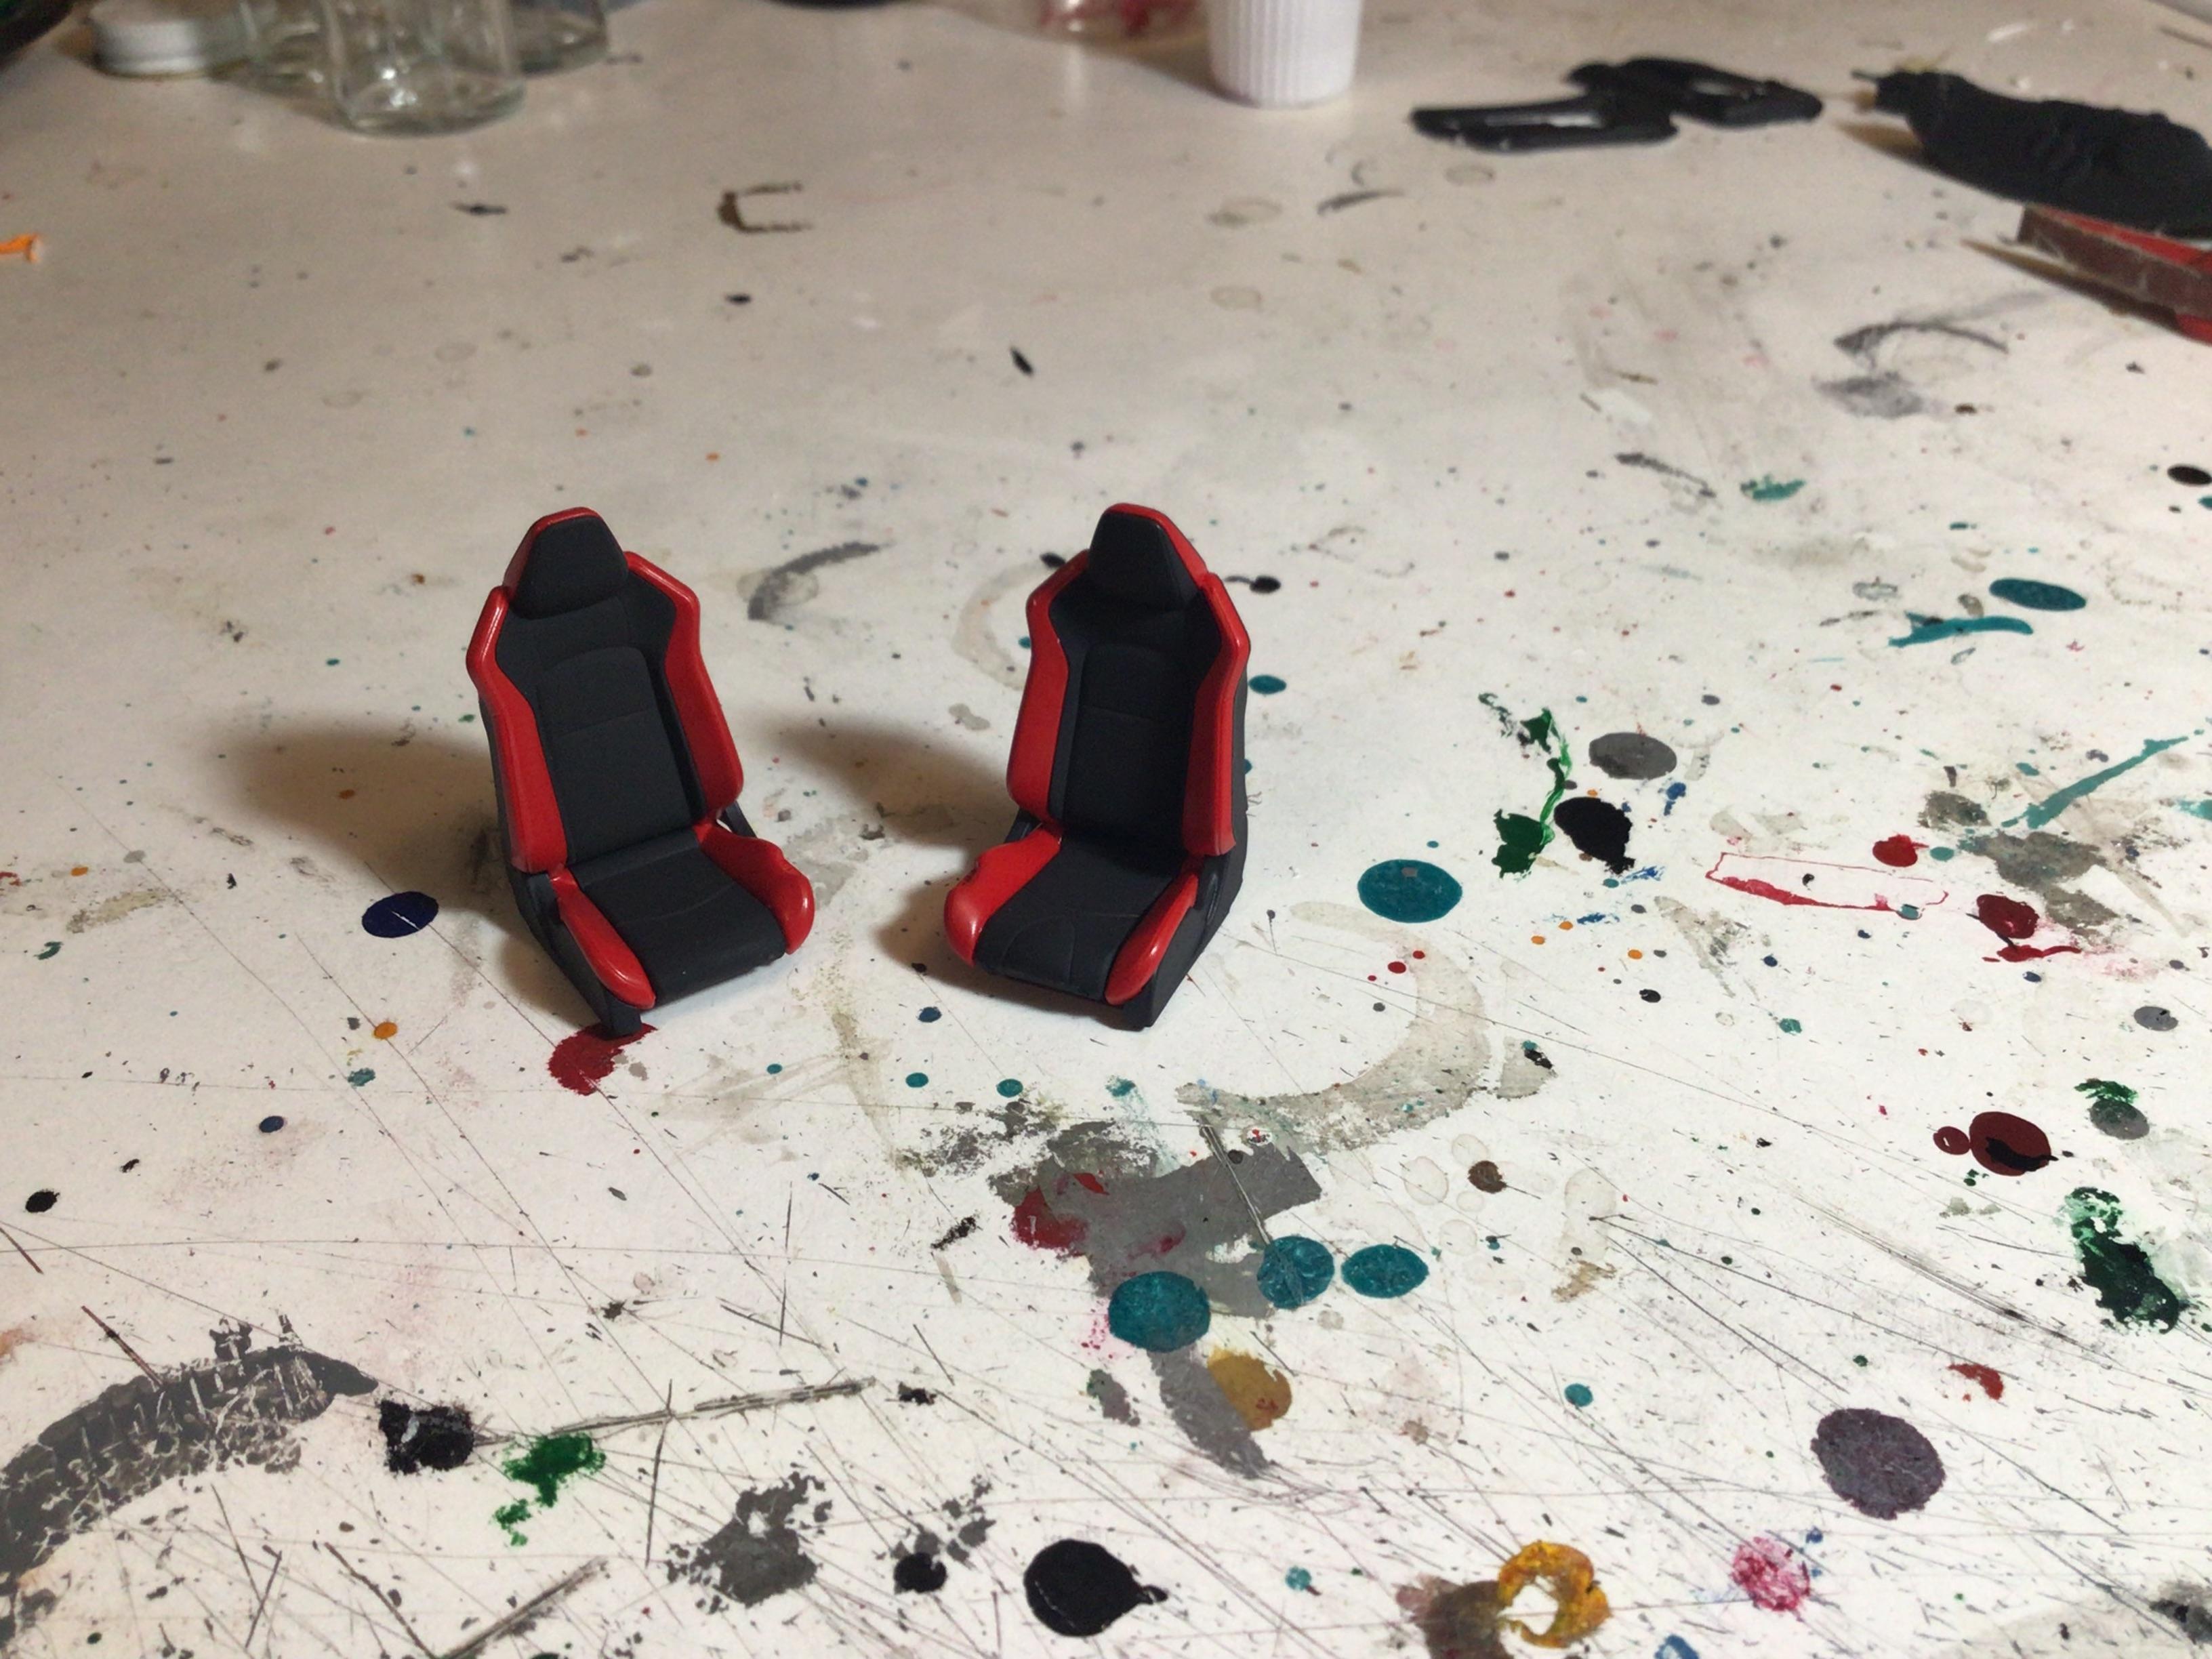
Here are a few things you should be doing consistently with all acrylic paints. Make sure the paint is thoroughly shaken or stirred. Especially metallics. Use a stirring stick to make sure there are no residual solids still sitting at the bottom of the bottle. Use Isopropyl Alchol or Tamiya thinner. Some guys recommend Mr Color leveling thinner but it’s expensive and hard to find. You’ll have to experiment with thinning ratios and needle settings until you find the one that works for your compressor and airbrush. For the thicker craft paints start out at about 40% paint and 60% thinner. Make sure to use a good primer. I use Tamiya exclusively. Make sure the part is thoroughly clean, dry and free of finger oils and foreign material before applying the primer. I gently scrub the part with a little dish soap and water and an old toothbrush. The final obstacle to getting good results may be your compressor and airbrush. I spent around $75 for a compressor with a tank and adjustable pressure. Spending the money for a good compressor that provides a consistent pressure made a world of difference in the results I was getting. If you can’t get the CraftSmart paint to work try some other brands. Tamiya is the gold standard but I’ve recently found that the Createx brand sold at Hobby Lobby is also very good. I just got through spraying some red Craftsmart outdoor acrylic paint on these seats and I’m very happy with the results. Good luck and let me know how it’s going.

-
That’s where I’d start. Use 91% isopropyl alcohol or Tamiya acrylic paint thinner. It isn’t a good idea to use tap water in your airbrush because the solids it contains can clog it up. Try adjusting your thinning ratio as well. What pressure are you using?
-
What brand?
-
Wow that DeAg E-type is stunning! I wish it came in a LHD version that I could build to match my 1:1.
-
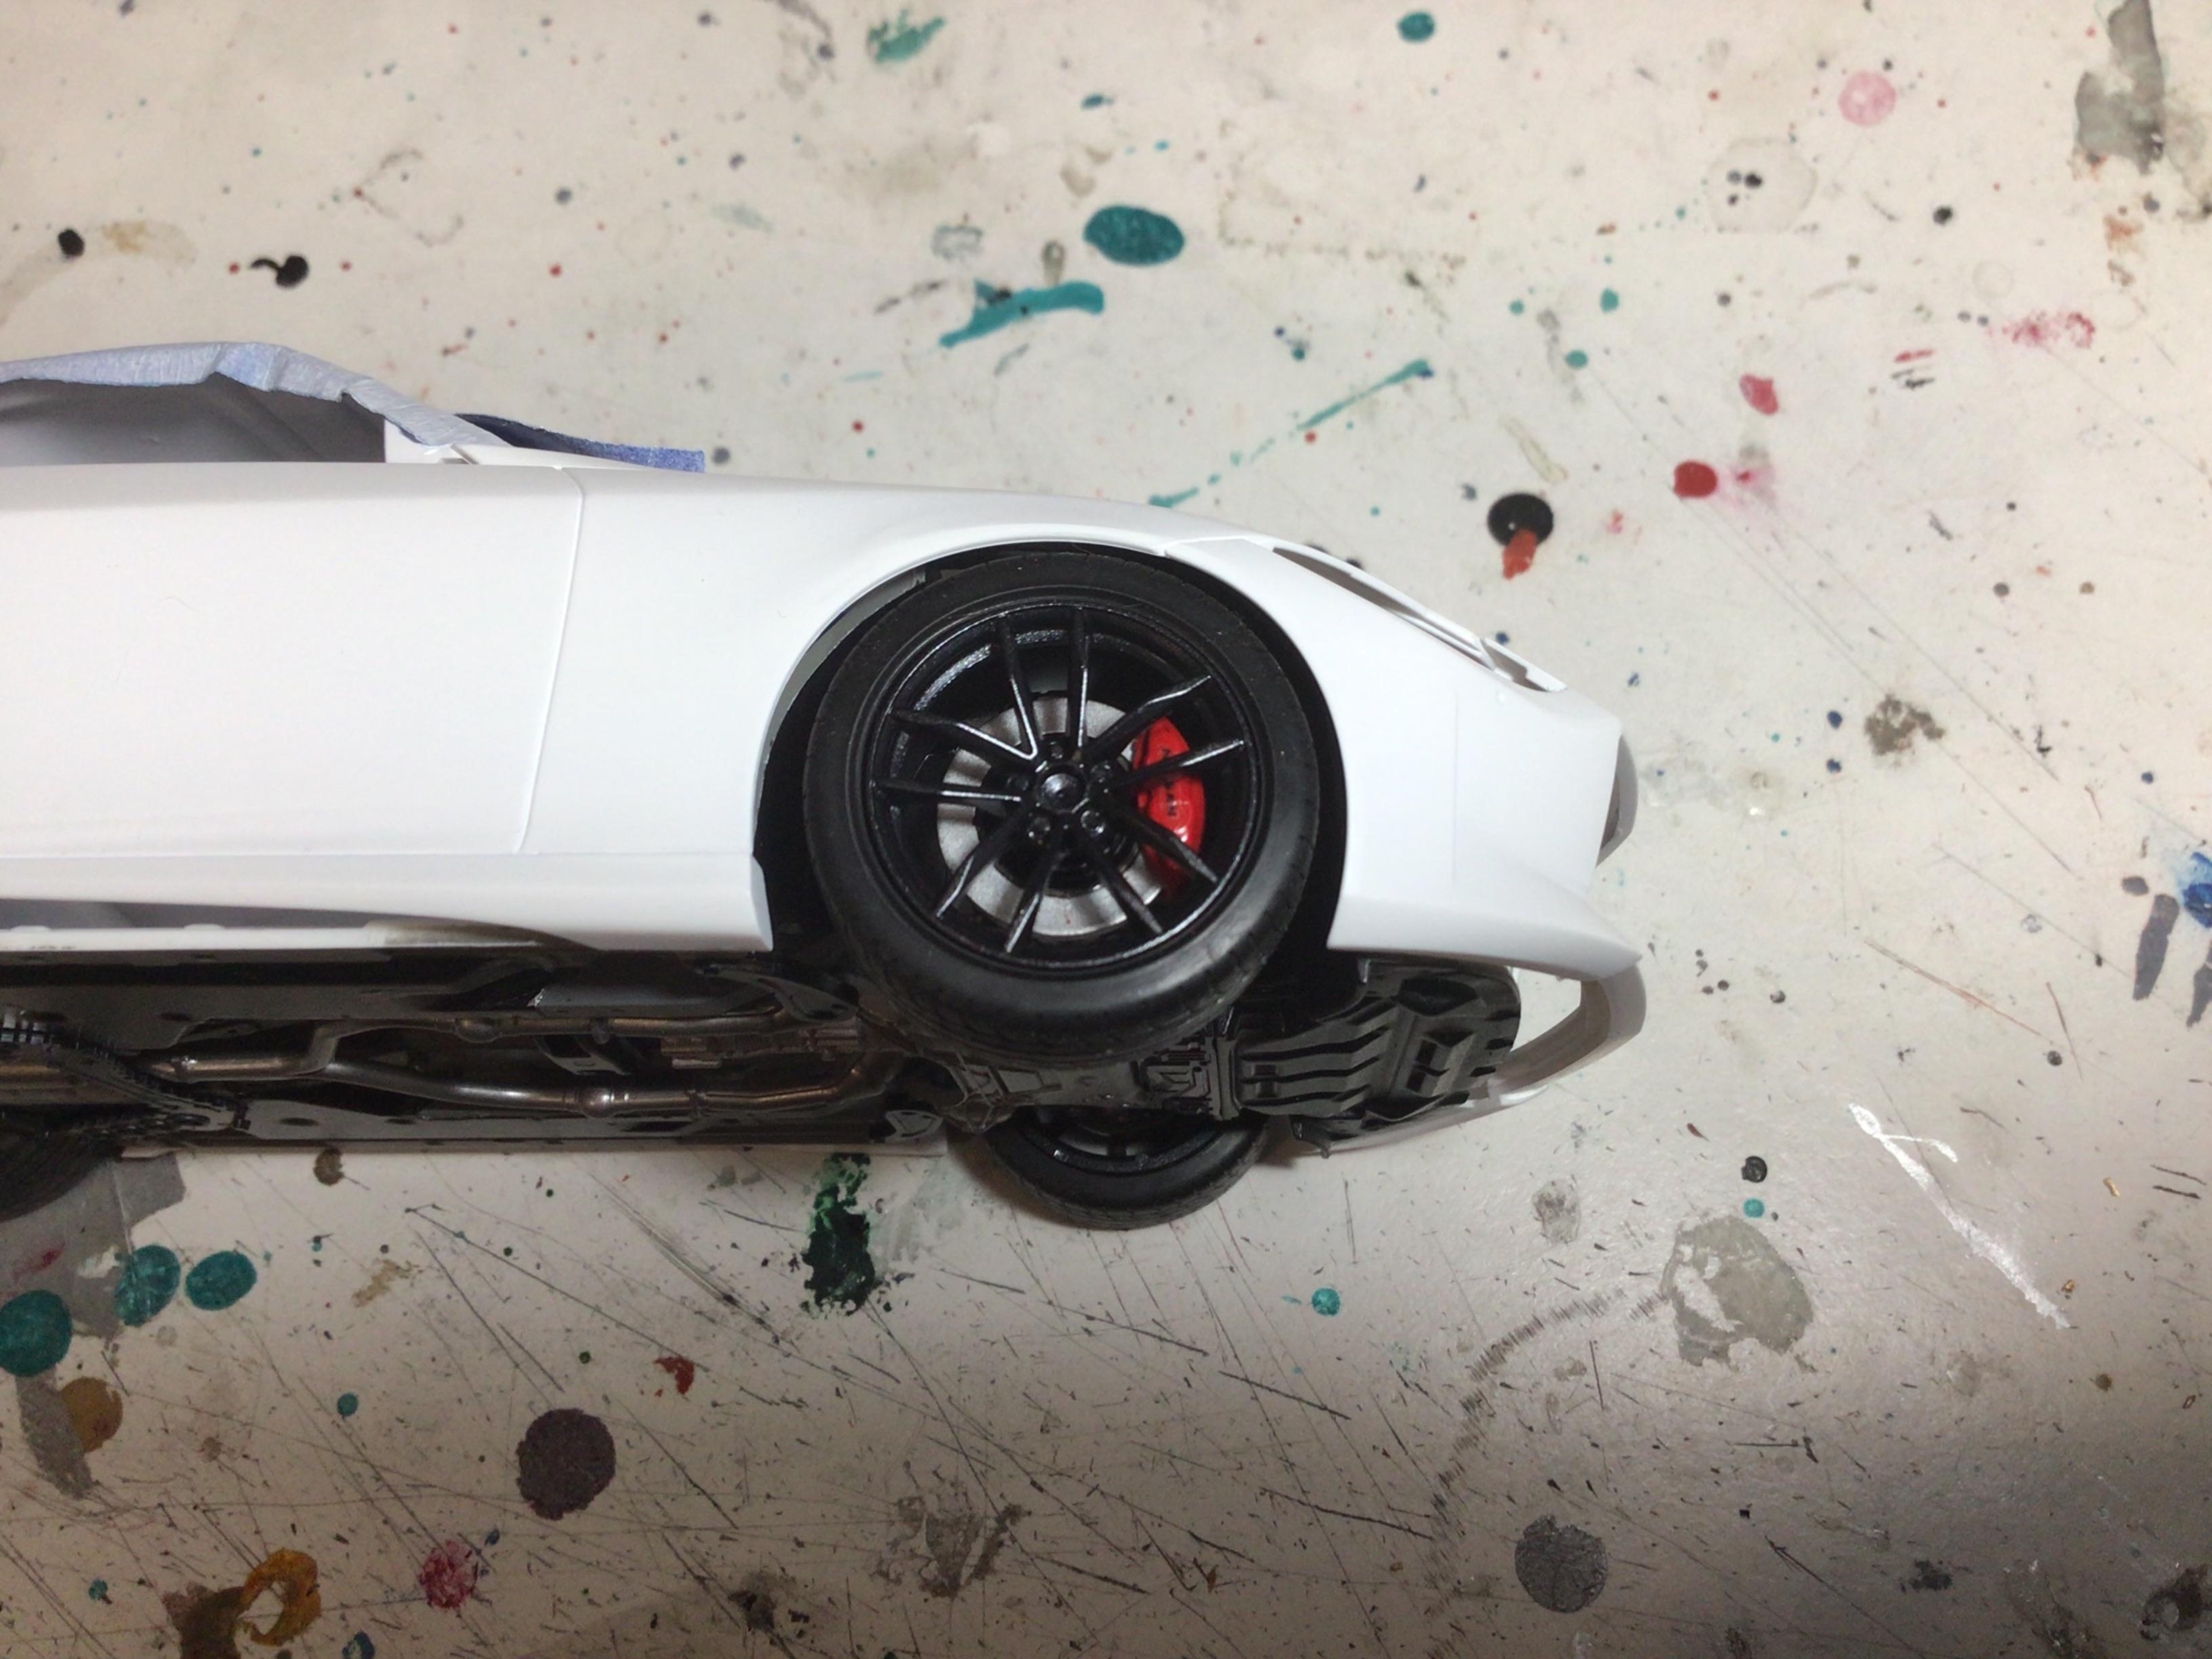
One of the first things I do when starting another build is check the OTB stance. I’ll assemble enough of the chassis and suspension and temporarily assemble all four wheels on it and then I’ll inspect it for a few minutes at eye level. If necessary I’ll do the extra work up front to adapt different wheels and tires and or correct anything that doesn’t look right to me. Once I’m happy with it I’ll leave it out on the bench for a few days while I do the same thing to another build. I’ve had half a dozen mock ups sitting on the bench at one time between builds. Just sitting and looking at a group of different kits mocked up and sitting out keeps me motivated.
-
Hmm, I wonder if a Molotow pen might work in it.
-
I think the newest Revell 1/25 kit is probably the next best thing to a nonexistent Tamiya level kit. Other than that the ancient Monogram now Revell 1/8 scale kit is your only other choice.
-
Thanks again to everyone for all your likes and kind comments. Since this is the alpha Z, be sure to stay tuned for the Omega!
-
Thanks Steve! All the window trim are separate chrome plated parts that fit incredibly. A little Tamiya panel line accent is all they need to really pop!
-
Thanks Anthony!
-
Thanks so much Michelle!
-
Thanks EMRE! It was my pleasure!
-
Thanks DJ! Go for it, this one’s worth every penny! You won’t be disappointed I promise.
-
Thanks so much Carl!
-
Thanks James!