GerN
-
Posts
494 -
Joined
-
Last visited
Content Type
Profiles
Forums
Events
Gallery
Everything posted by GerN
-
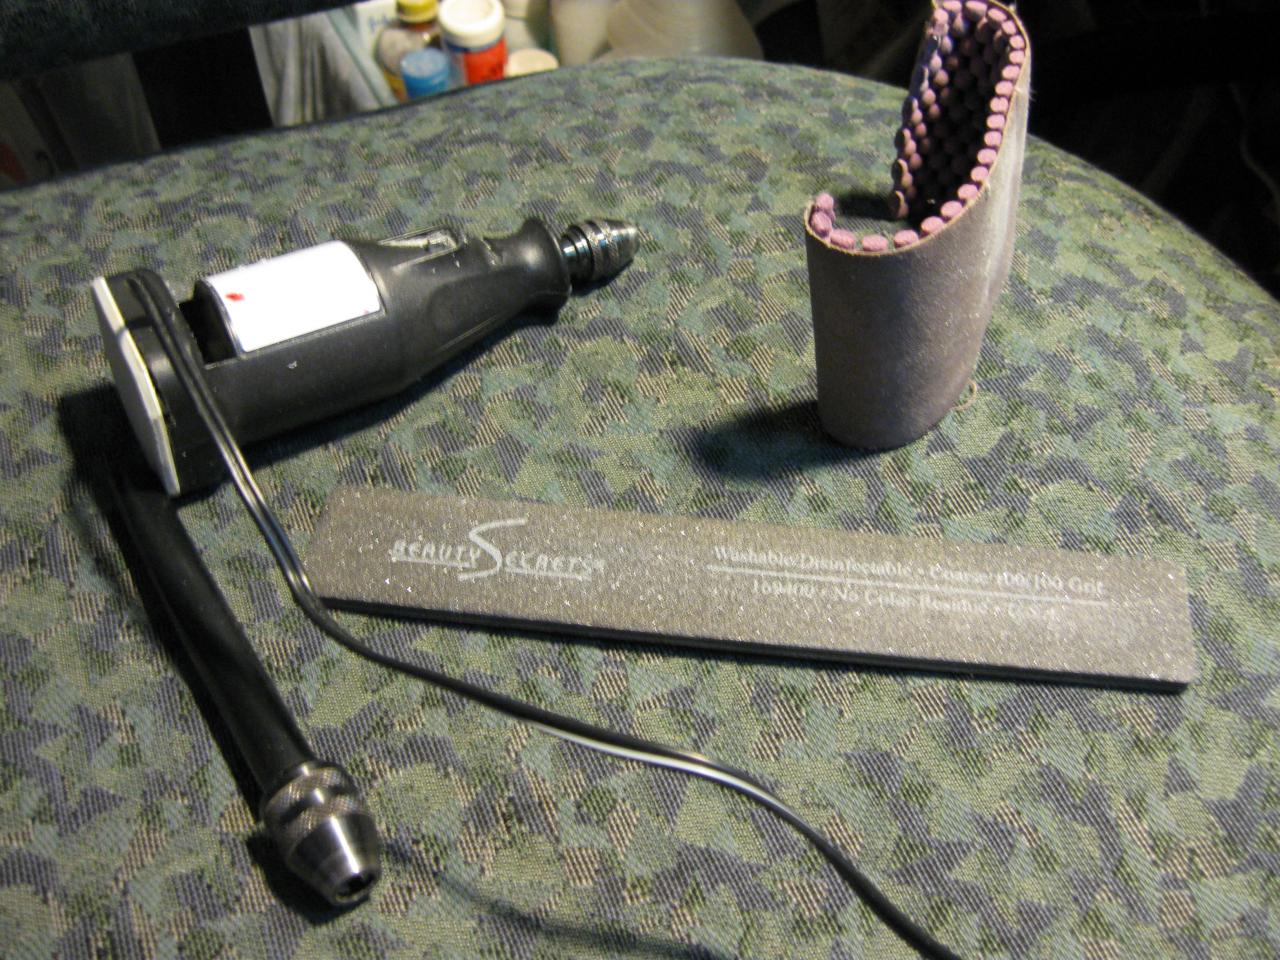
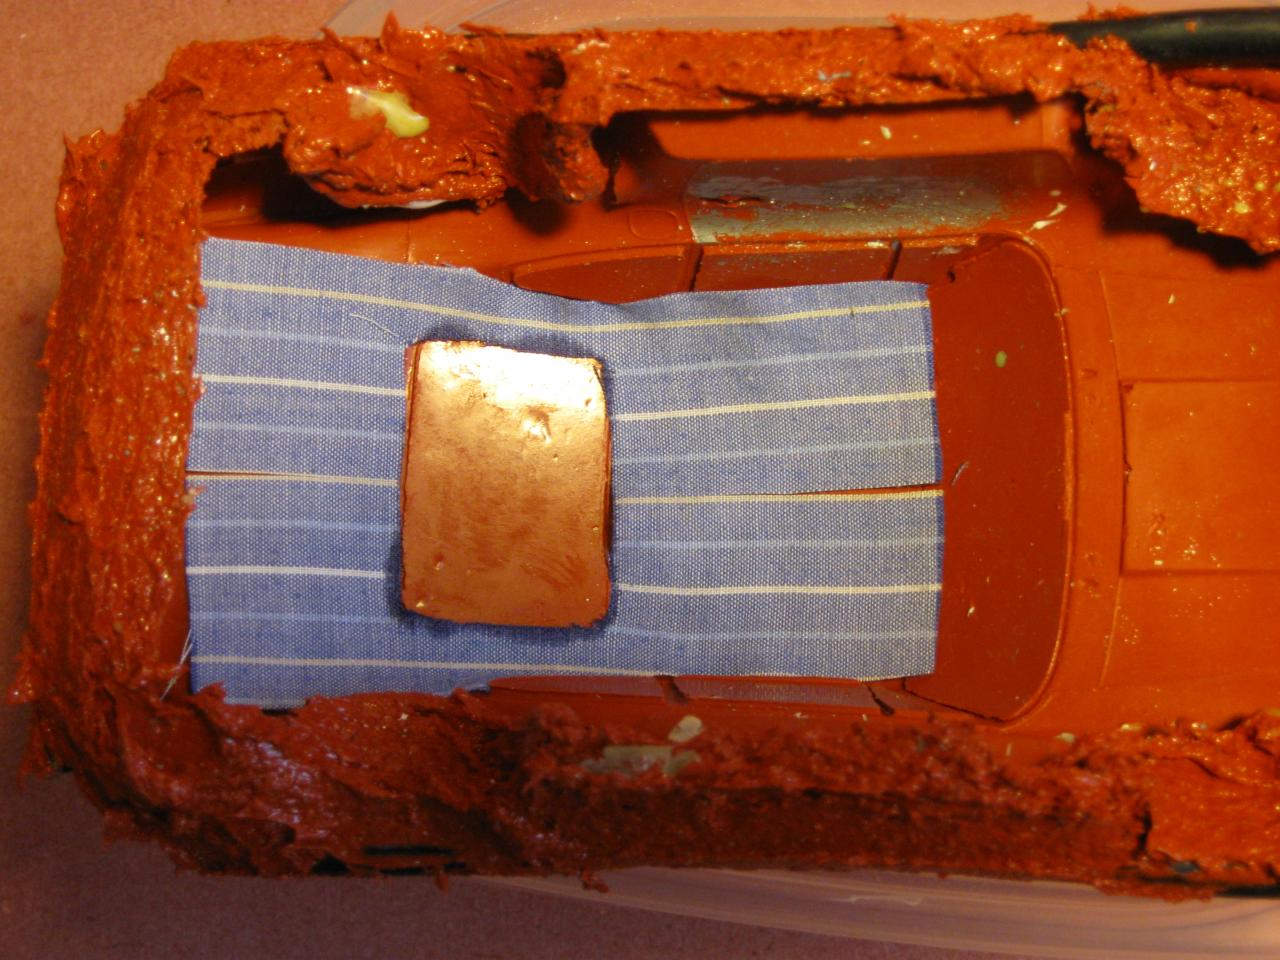
More pix! As you can see, decided not to go with supercharger, but 4 barrel instead. Scratched manifold, cast carb, painted engine. Moved starter mounting about 180 degrees around trans. Painted shortened chassis casting and started to modify to fit flat six. Started flares on passenger side. I think I'll stick with roughly this rear fender treatment; I think it suits the overall look and I'm happy with the rear 3/4 view. Here are a few of my favorite tools for customizing: a Dremel converted to use a multi-volt adapter - no more running out of charge, and better speed range; a Beauty Secrets nail file (absolutely wonderful, just hit it with my brass brush and its like new); an adapter chuck which didn't work properly with my Dremel, so I put it on an old Xacto handle covered with tubing; finally, foam-backed cloth sandpaper (really nice for curved areas).

-
Still moving forward! No small thing these days. Pix shows new front pan, newly cast engine and trans, and shortened chassis. Also more done on fender flares. Have decided I like the separation of rear fender from c pillar - closer to what I want. I think the blend of c into fender on the M II, echoing the source Pinto, was one of its worst features. And hopefully the flares also give mine a little more character without being too boy racer.
-
This isn't a radical custom, rather a mild restyling to make the Mustang II a two seater and a decent looking car. The Fed-bumps have to go. Copying a Howmet turbine rear to replace them. My uncertainty now is how to do where the C pillar meets the fender, and the blend of the fender into the trunk lid. Maybe a sort of 68 Stang thang with the fender tops horizontal aft of the peak of the wheel opening. More pix: Thanks for looking.
-
Modified Porsche engine for shorter stroke and set it and 427 Cobra tranny for molding. Fixed most of warp in body; put roof on; shortened my cast Fox chassis; started work on wheel openings. Large fingernail clipping is trim from front wheel opening. I like how this wheel looks with the Nitto Lambo tires, but no decision yet. Red blobs in background are engine and tranny in first coat of RTV. Sorry about that last pix - I didn't mean to include it.
-
OK, failed with Photobucket. Back to my trusty Canon A590. The chassis I copied from a Fox Mustang convert - another nearly free set of two pieces. Final pix shows translucency of casting. Thanks for looking.
-
Taking the big leap. Warning: I'm old and slow - really slow. I will try to stay focused on this build, but no promises about how fast it goes. Started with glue bomb (almost free, at least), but couldn't get all the paint off. Oh well, I'll be sanding most of it anyway. I plan to use a Porsche top to replace the warped Mustang roof. This is one of my castings that was not a complete success. Since this is my first try to attach photos, I'll pause here and try it. Photo 2 shows new attempt to cast just roof. Now to try from Photobucket. Parts so far. Plan to use Porsche flat six converted to water cooled with old fashioned supercharger.
-
After much soul-searching, here is my model car workbench:
-
 Your resin may have water in it. This happens after it has been open for some time. I'm a very sloppy caster (but I really enjoy it), but when my CR-300 (MicroMart) is fresh, bubbles aren't a problem. One small trick: squeeze as much air from the resin bottles before recapping. Oh, and swirl the bottle to mix, don't shake (007 lurking about somewhere). I'm just about to cast a copy of the chassis from the Fox convert for a Mustang II custom build. BTW, nice work.
 -
Scratch Building an Aussie Ford Falcon **New update,15/1/18**
GerN replied to ShawnS's topic in WIP: Model Cars
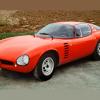
You should be nominated for the Gerald Wingrove award (if such exists). I have a suggestion for your second scratchbuilding project: the Alfa Canguro. Although this is a beautifully sculpted car, you would have the advantage of a similar body, the Toyota 2000GT. Dimensions: WB Track Length Width Height Alfa 86.6 51.2 153.5 63 41.7 inches 2000GT 87.8 51.2 164.4 63 45.7 I have been planning to do this for some time, but your skills far outshine mine, and I would love to see what you could build. (And Canguro is Italian for kangaroo.) If this is of interest, I will attempt to post some images. -
I've seen two Revelle Ferrari California kits with the same problem: warped windshield frame. I spoke with a Revelle Tek (his spelling) rep who tried to persuade me that if I glued the windshield into the frame, everything would be fine. I exchanged the kit (at Michael's) but the new kit was almost exactly the same: left upper frame corner at least 3 mm low, right frame slightly less. It appears to me that the body is being wrapped too tightly in its plastic bag. The rep said I could mail it to him, it would be evaluated and if they decided it was defective, they would mail me a new body. After speaking with this rep for 15-20 minutes, I felt the odds of my receiving a new body were not very high. BUYER BEWARE!
-
I've tried to limit myself to brush-painting acrylics, and all my comments refer to acrylic paints. Pactra had the best acrylic paint for covering large areas, but no more. Testors isn't bad. Tamiya and PolyScale dry too quickly to brush paint large areas unless you use a retardant, or thin with Future (about 60 Tamiya, 40 Future). You must use a good brush: very soft and at least 5/8 inch wide. For clear-coating with Future, you can even use a make-up brush. For me, this is the best way to paint a body black: Testors flat black, followed by Future. Another good clear coat for acrylics is Tamiya gloss clear. It will soften some acrylics and help reduce brush marks. You must keep brush strokes to a minimum, and use enough paint on your brush to allow the paint to self-level, but not so much that you get runs. Some of the non-modeling hobby paints are too coarse for a car body finish. Try to always test paint by brushing it on something like a car body. Acrylics can be sanded and rubbed to a great finish, but you must be quite careful; its easy to overdo it and have to do over. Especially if you are mixing acrylics, check for wet-sanding compatibility: you may need to only dry-sand.
-
Dremel model 750 uses NiCAD batteries. These are easy to replace with NiMH which will give much higher mAh. Use a slot screwdriver to open the case. Make sure to include two cell bridges (I used flattened solder).
-
Attached is a photo; not too good, I'm afraid: it doesn't really show the chrome very well. Clearcoating reduces the chrome-like appearance, but the Krylon finish takes routine handling without any top coat. I'm reluctant to get out the airbrush for anything less than the car body (and I'm awfully lazy about that, too), so doing chrome with a brush is very appealing. Thinning the Krylon with water destroys the chrome appearance, by the way. The tires in the photo are my resin casts, which also look much better in person. Yes, this is a pen. I also forgot to mention it works best over a smooth (matte is OK) coat of black paint. This seems to give more depth to the chrome look.
-
One of the most-used items on my workbench is a little box holding tiny paper towels. Just fold and cut two paper towels four times to make 32 tiny towels which are a very useful size. I have found Bounty plain white to be best for this.
-
To sand large parts quickly, I use C-220 drywall sanding sheet. It looks like window screen and lasts through quite a bit of use. The part should be sanded with a circular motion for a smooth finish (surprisingly smooth, unlike coarse sandpaper). I do some resin casting, and C-220 is a good way to remove excess resin. I clean it under the faucet, or with an old toothbrush. It can also be superglued to a backing to create files.
-
I have gotten good results brush-painting decanted paint from a Krylon silver leafing pen. It looks less artificial than kit chrome to me, and I can clean my brush with soap and water. It cannot be buffed or clear-coated, however. I have tried air-brushing Alclad, and I like the appearance of the Krylon better. It is expensive ($7 per pen from craft stores), but it does stay usable in a small bottle, and goes a long way for me (I'm just painting wheels and smaller parts).
-
I use AquaMend from Home Depot. It becomes very easy to smooth with enough water in it (I keep dipping my fingers in water while kneading the two parts - this is about right). This then saves sanding.