GerN
-
Posts
494 -
Joined
-
Last visited
Content Type
Profiles
Forums
Events
Gallery
Everything posted by GerN
-
Great design work (and comments). Have you tried less extreme wheels and tires? I'm curious to see how that would look.
-
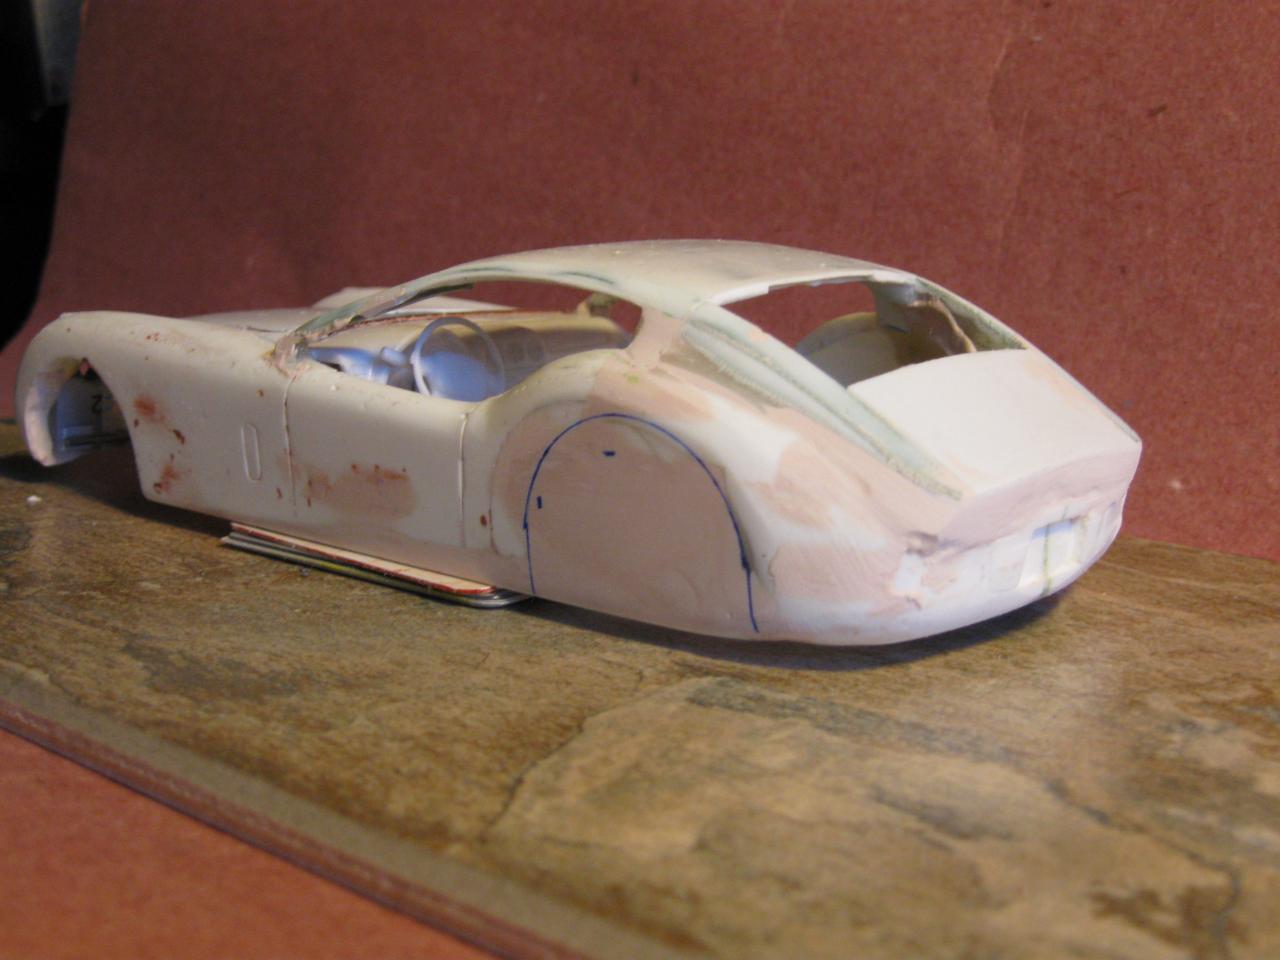
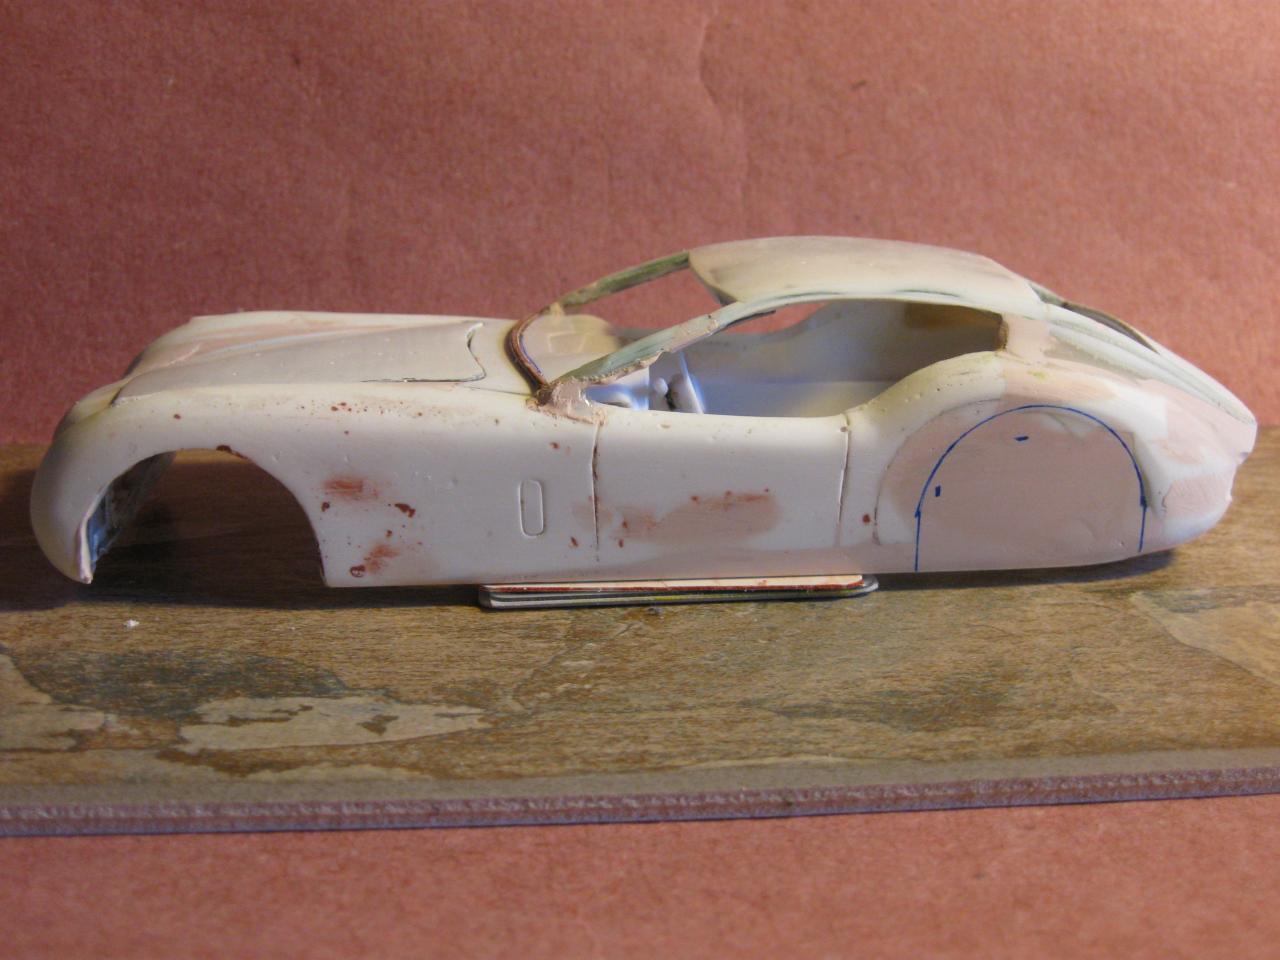
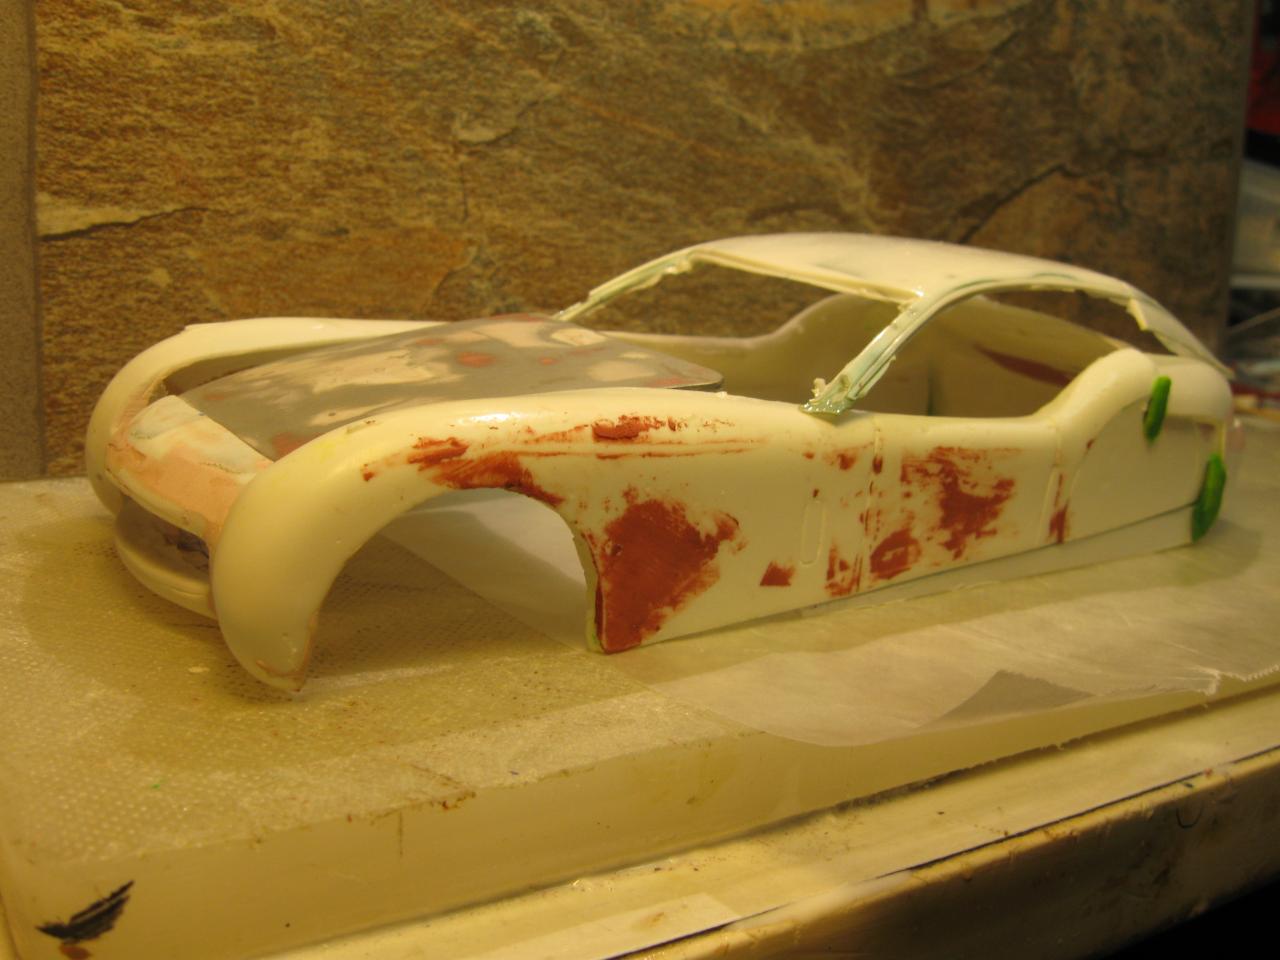
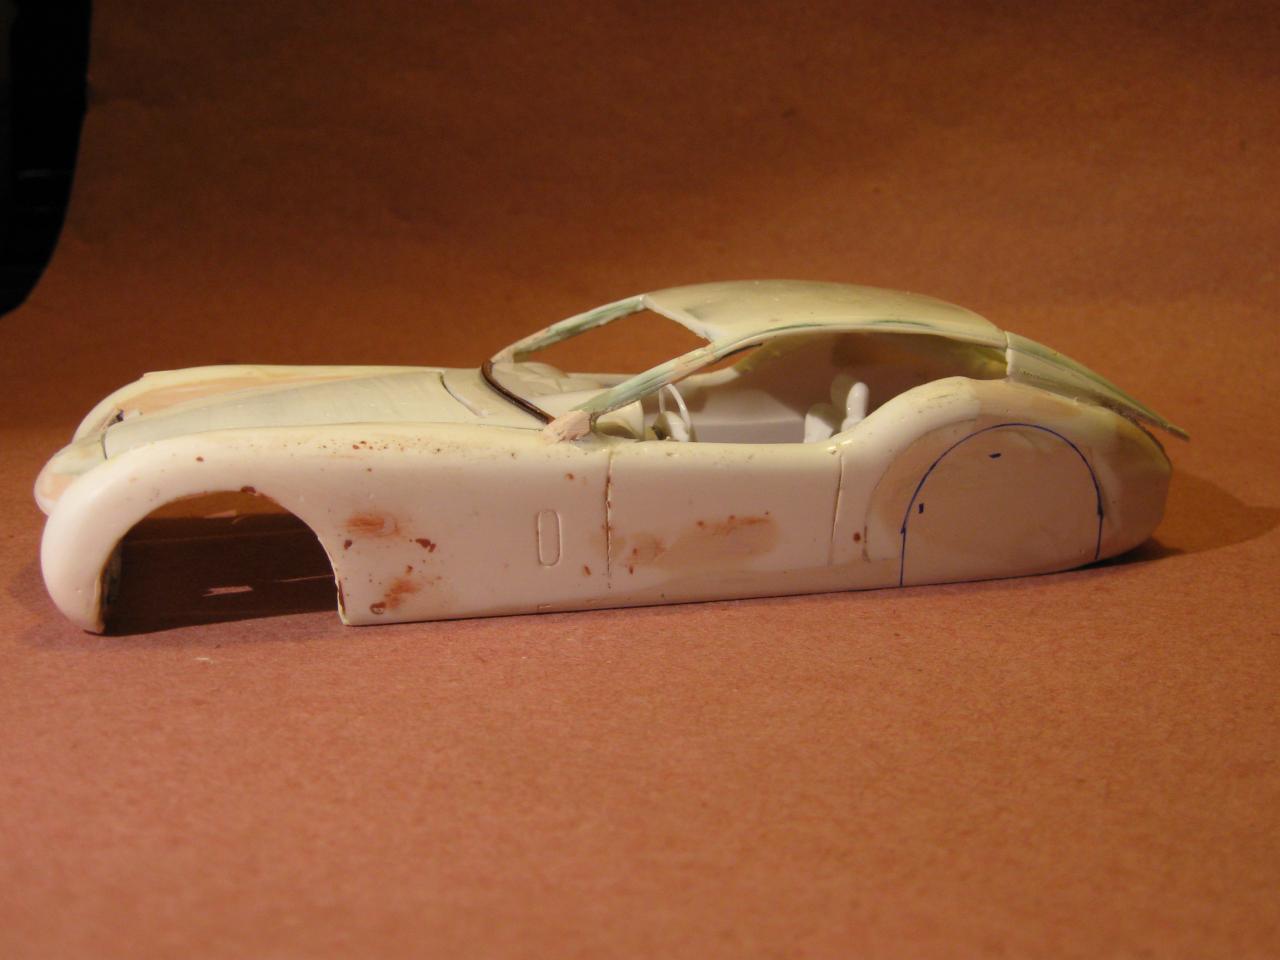
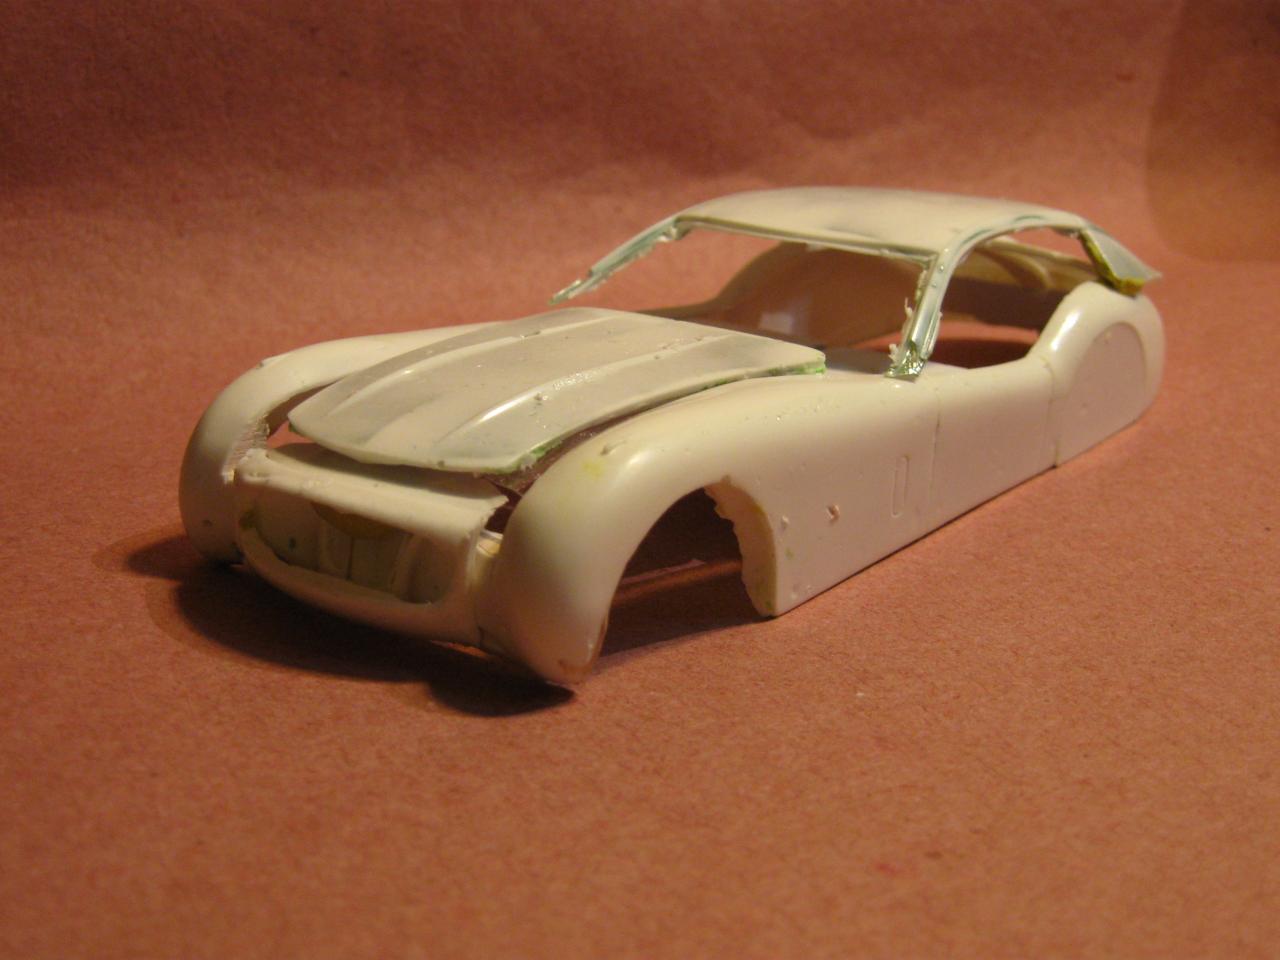
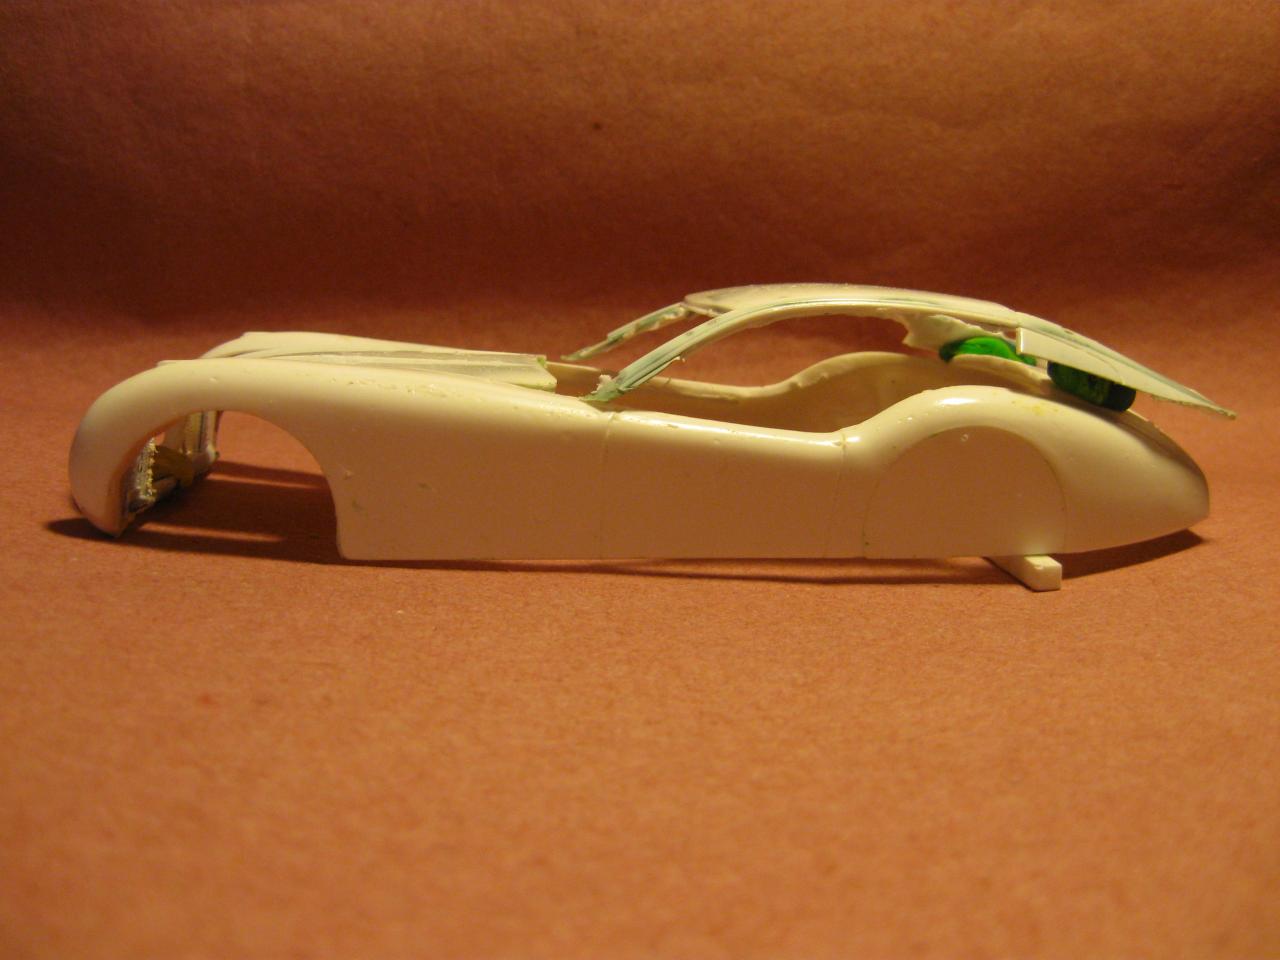
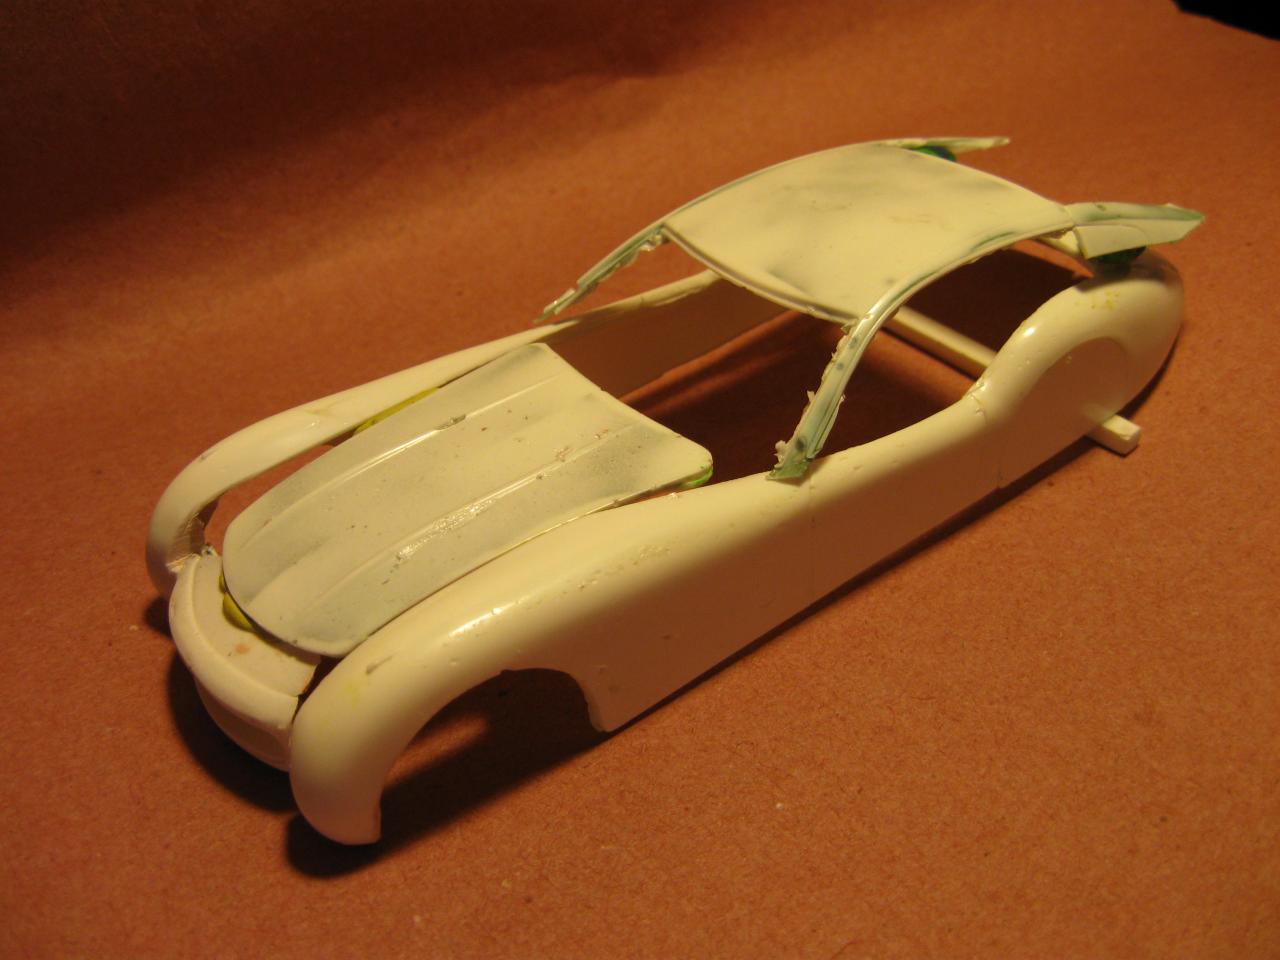
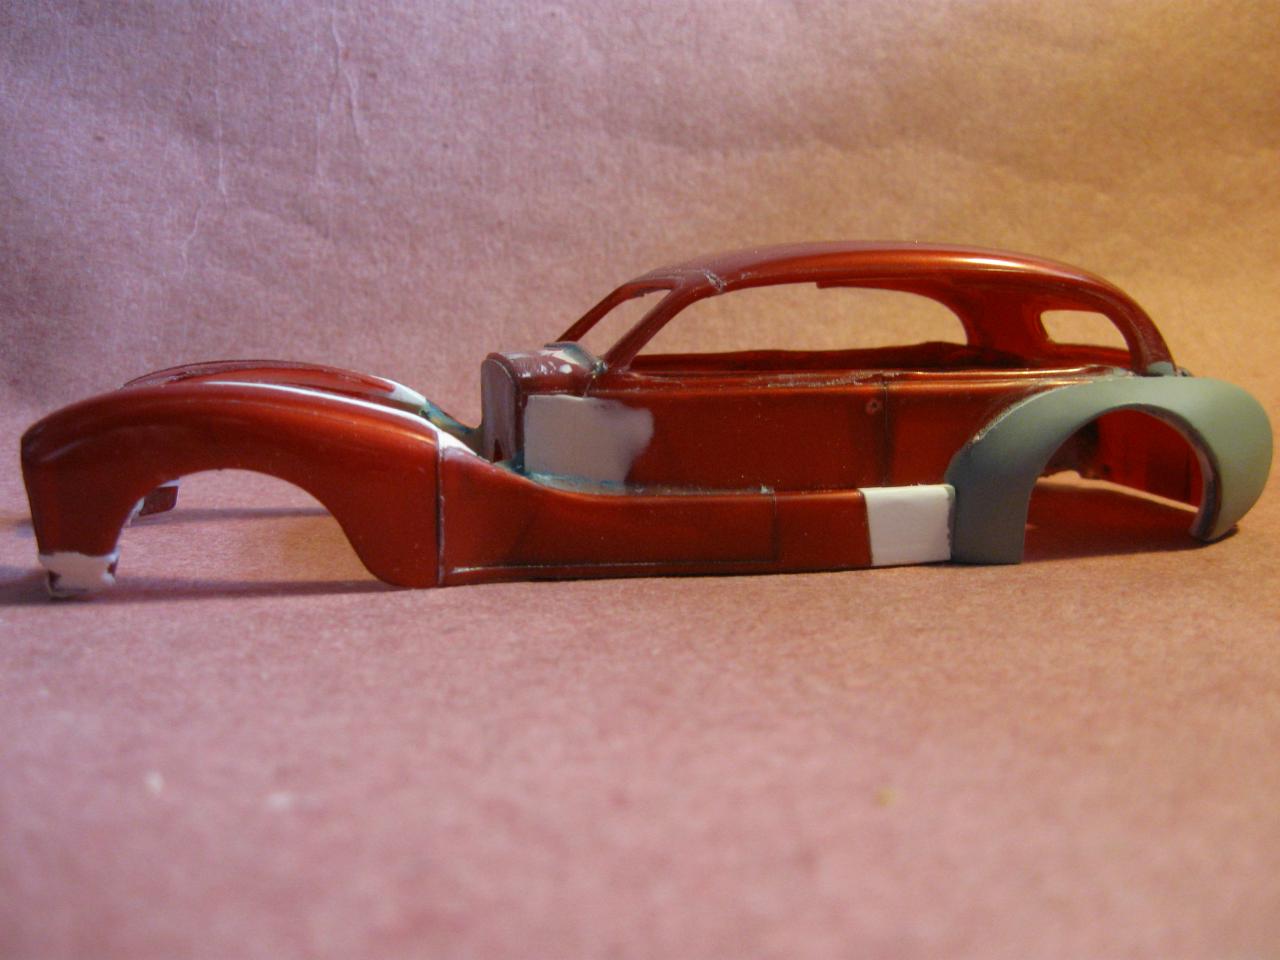
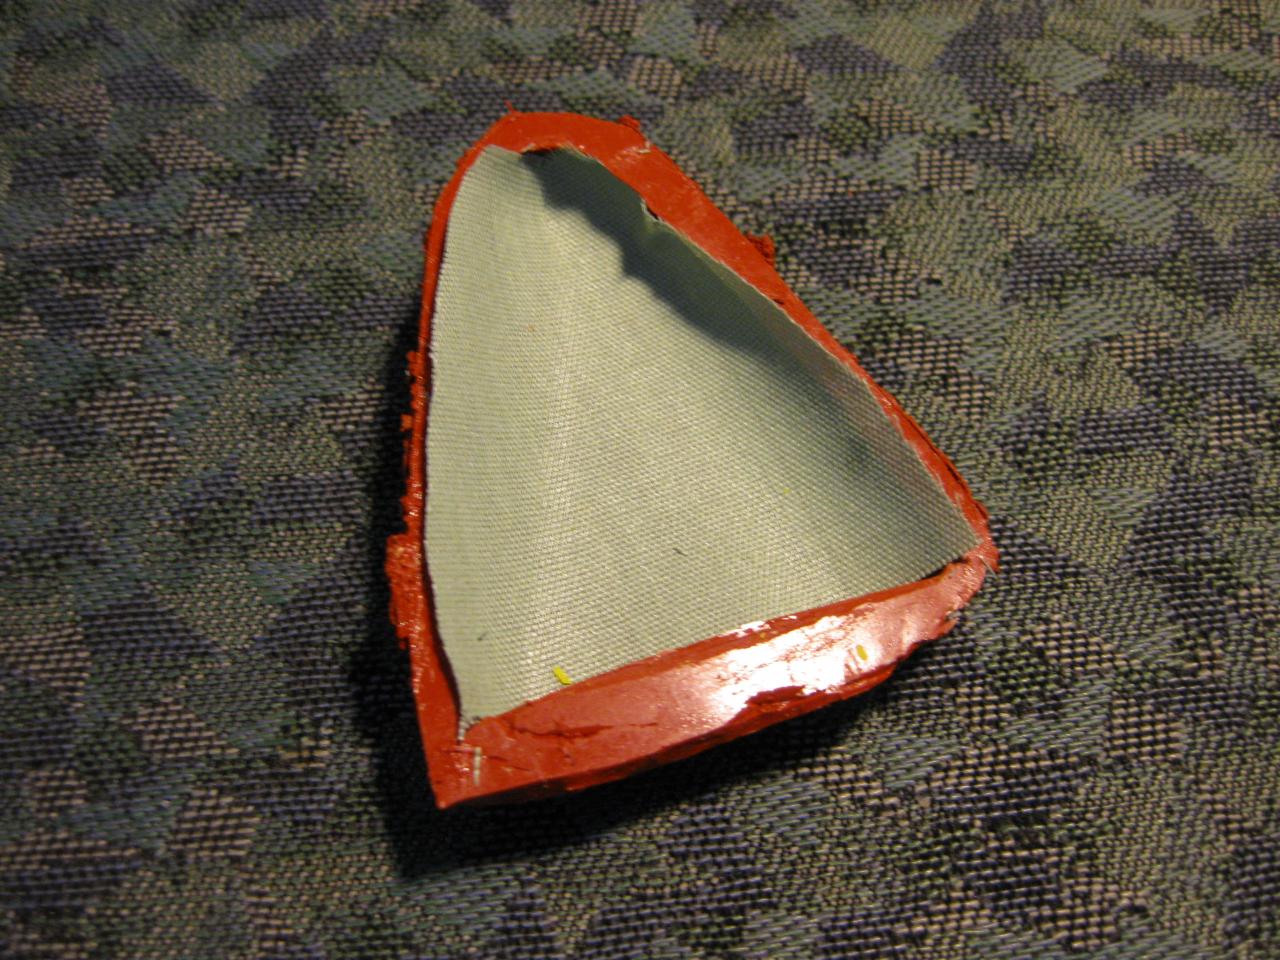
Decided on a rear treatment. I'm afraid I'll have to redo the a pillars - hope I don't ruin things. Rear window now has double curvature - could be a problem. My use of fabric to make a thin but strong casting for the roof may also backfire; you may be able to see the edges of the sanded fabric. Hopefully, painting and sanding will solve. Was pondering transition from c pillar to fender - I like this treatment: a little visual separation lightens the heavy rear end.

-
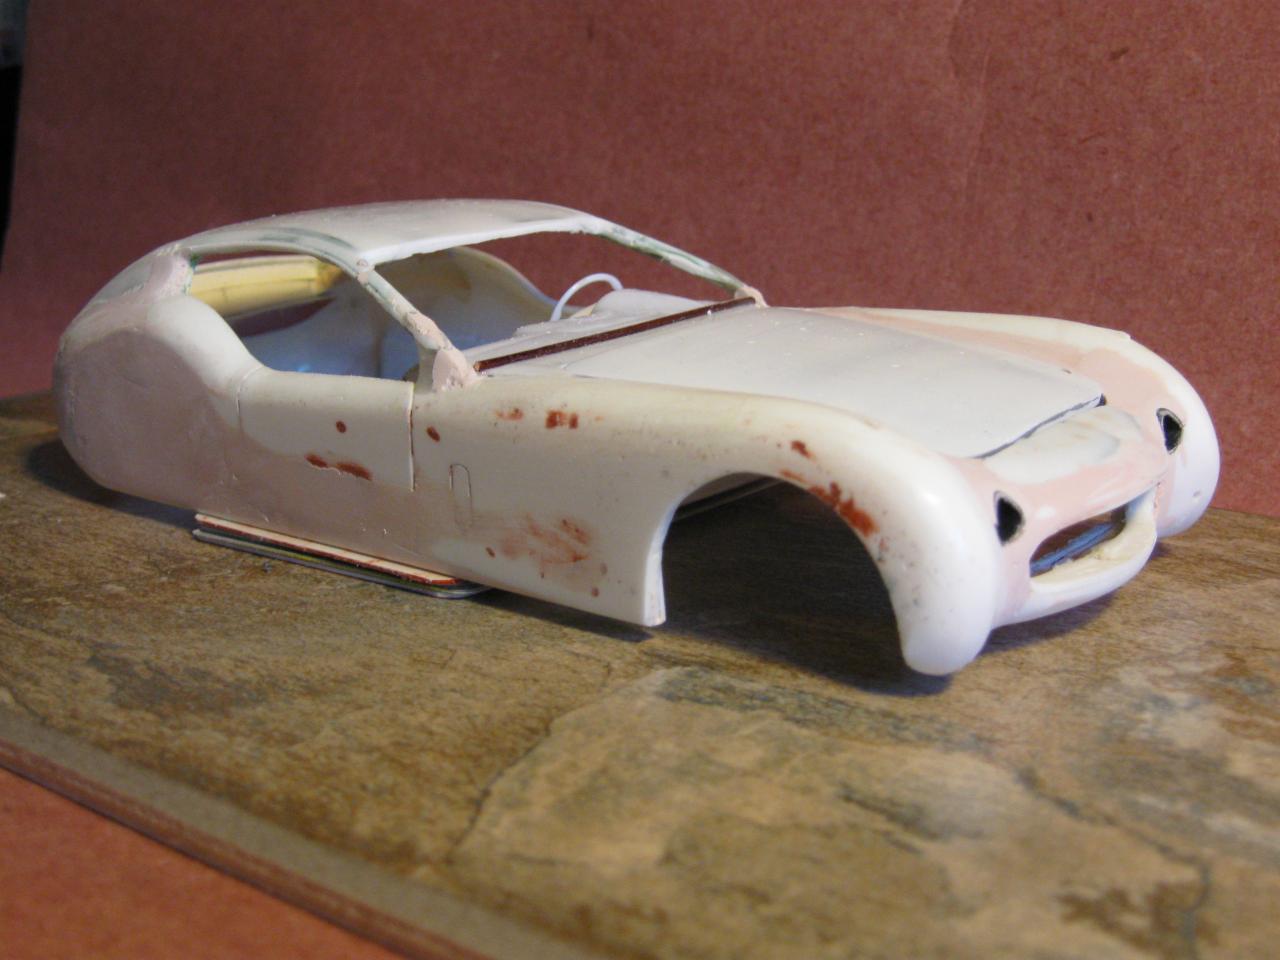
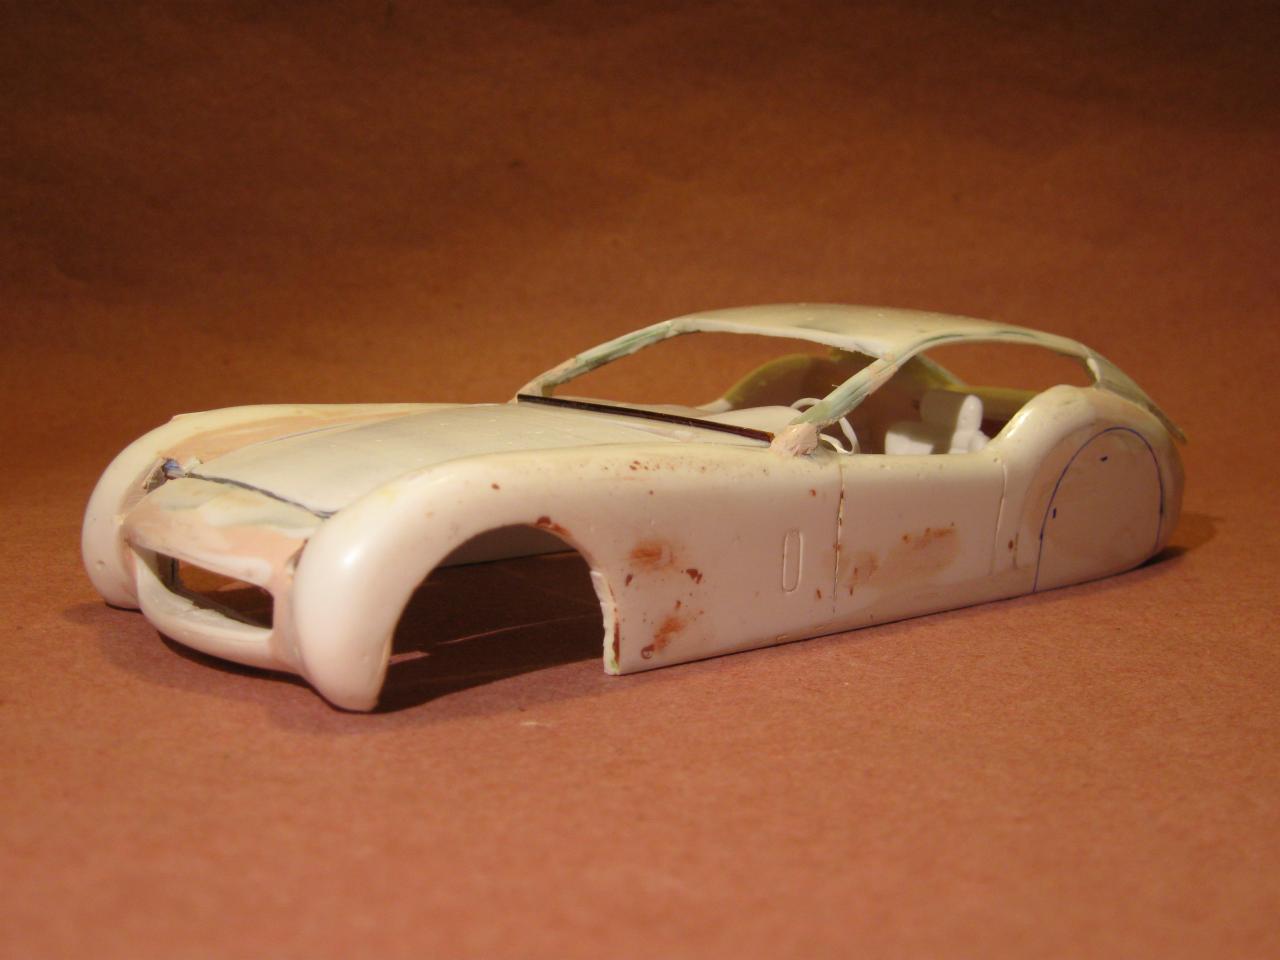
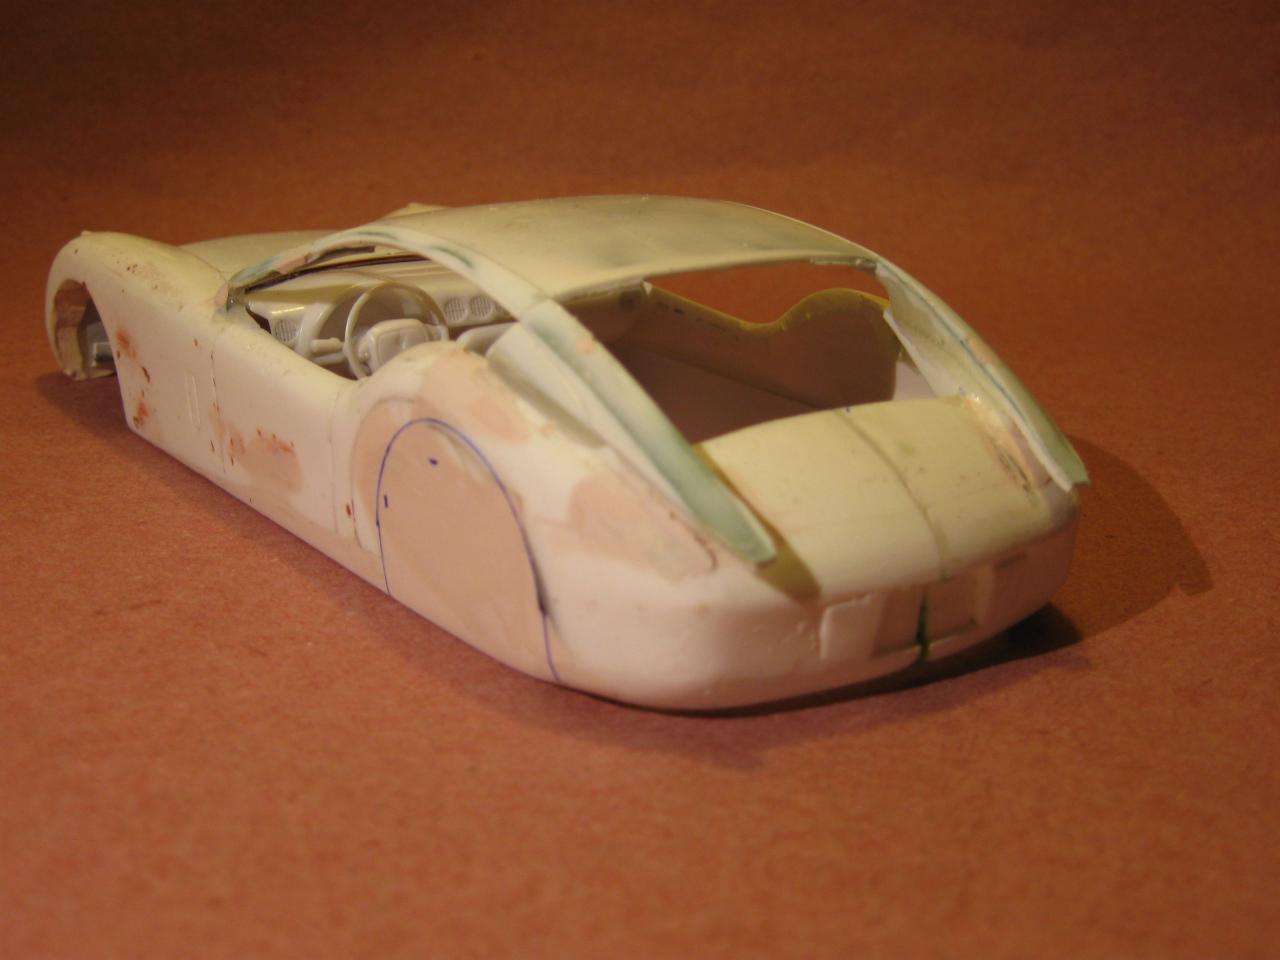
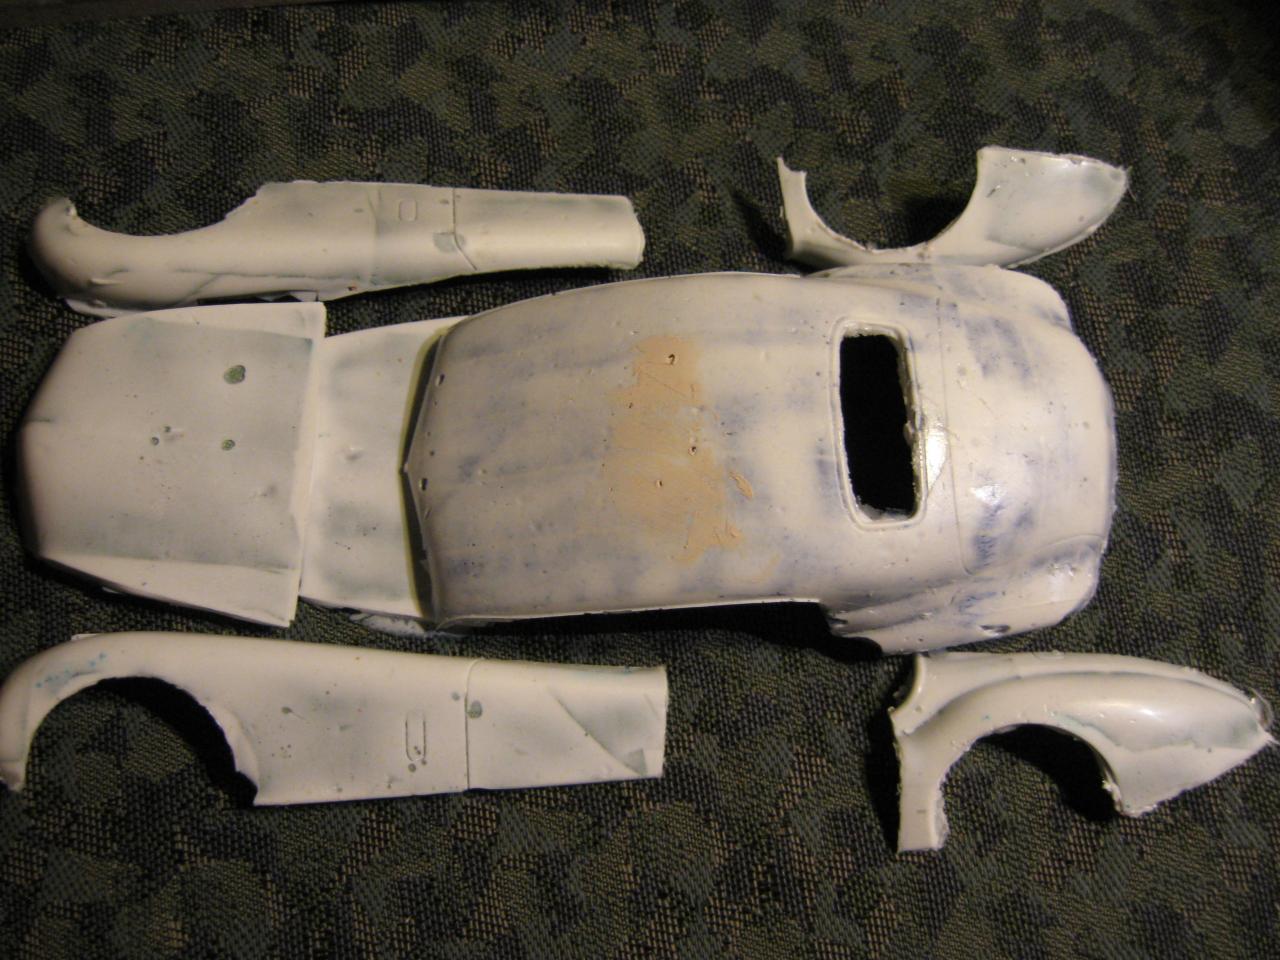
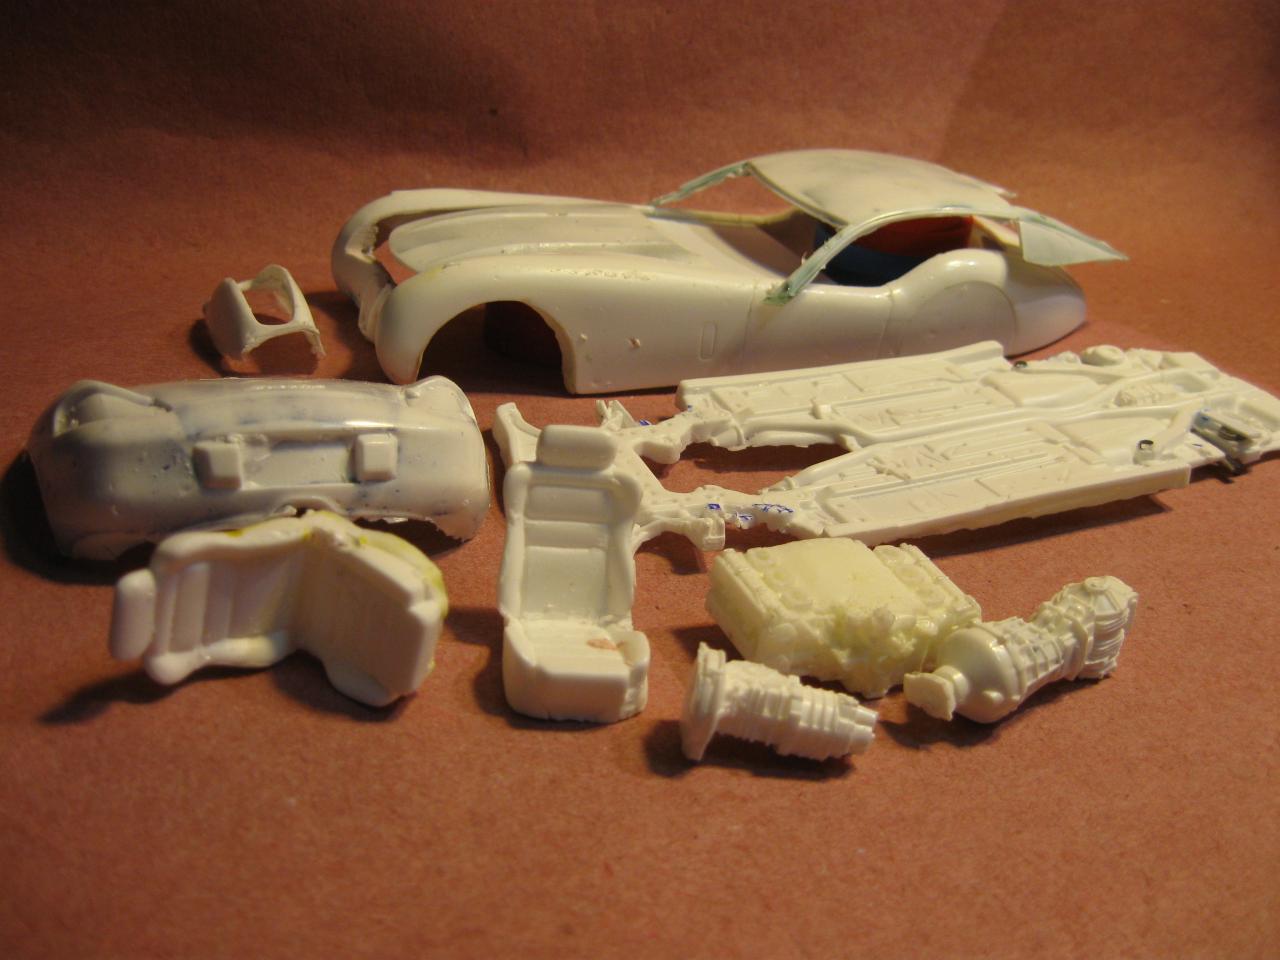
Thanks! Here are more photos. I've raised the rear, roughed in the front, attached the top and added a 90's Firebird dash and steering wheel. Still need to decide about the rear. I'm leaning toward flowing up to the roof tips with a duck tail rear, and filling in with a small trunk lid between the C (?) pillars. I will probably keep the rear wheel skirts, even though I worry that will make my rear look too big. My plan at this point is to modify a 90's Firebird chassis (from a junker, of course). Small projection headlights somewhere in the gaps. No idea yet on taillights. May use a very simple mesh grille. BTW, putting the body together from a bunch of resin castings was a BEAR, so don't be too critical of the resultant body not being perfectly square. Do feel free to comment/criticize styling/etc.
-
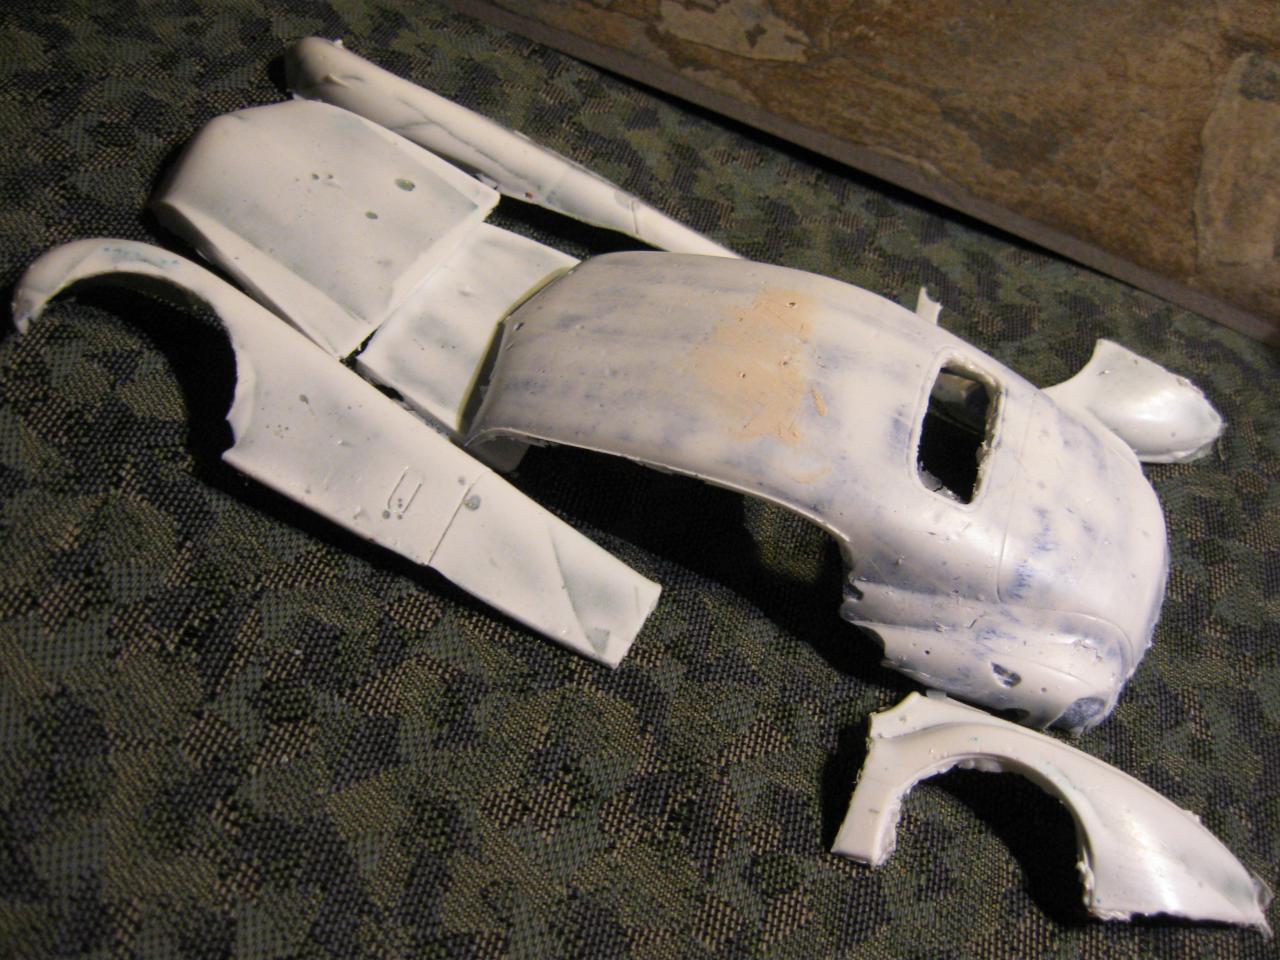
New build, mostly my own resin castings. I'm showing a lot of the false starts, so please be patient. First approach: Jag fenders, 49 Ford hood, 46 Chevy top. After some work, decided to mold entire Jag body - will make slice and dice easier. Thought I'd use my resin copy of a Camaro chassis. Started modifying it. Hmm . . . Nose too heavy, so went with modified 300 SL nose and hood. New starting parts (and water-cooled flat six): Getting there . . .
-
Very nice work. Special kudos for scribing in the panel lines to keep with the phantom concept (instead of custom).
-
Very creative - and fun. Have you any experience with GIMP? Its free, and a lot like Photoshop.
-
Straight pins make very strong, thin supports, as long as you need something straight and an inch and a half or less. BTW, have you seen the Offy photos I sent you? If not, you might check your forum messages. I'm enjoying this build.
-
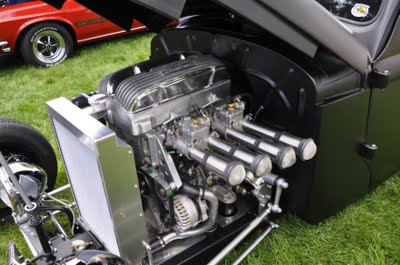
Here's a photo of the main pieces of a Mazda rotary, showing the intake and exhaust ports.
-
You've inspired me to tear apart my gluebomb, extract the Offy and slice it up. Here's a photo that might help you.
-
ScaleKraft Broadspeed Mini Conversion, Finished Apr 22, 2014
GerN replied to jbwelda's topic in WIP: Model Cars
Maximum Minis, by Jeroen Booij has photos of quite a number of similar modified Minis, and an abbreviated history of most. -
Very original, and well-executed. I think woofers do need some way to prevent the out of phase sound waves from front and back from partially cancelling each other. I'm really enjoying this build.
-
Lakes-style Chopped Deuce 5-window - Completed
GerN replied to Bernard Kron's topic in WIP: Model Cars
I appreciate your design thoughts as you build - good reading (and learning). -
Stunningly realistic!
-
Love the creativity.
-
It feels so right.
-
What a great idea! Especially because I never seem to get past the primer stage. Almost all the creative work is done by then (I've never done other than a single color), and a new slice-and-dice custom becomes irresistible.
-
Outstanding. It looks ugly but right - very impressive.
-
Good start! Keep it going . . .
-
Really great photos - thanks!
-
I'd pick 3 - distinctive, and their delicacy goes with the car.
-
So realistic! Especially the woodgrain which appears subtly aged. Love to see larger photos of this model.
-
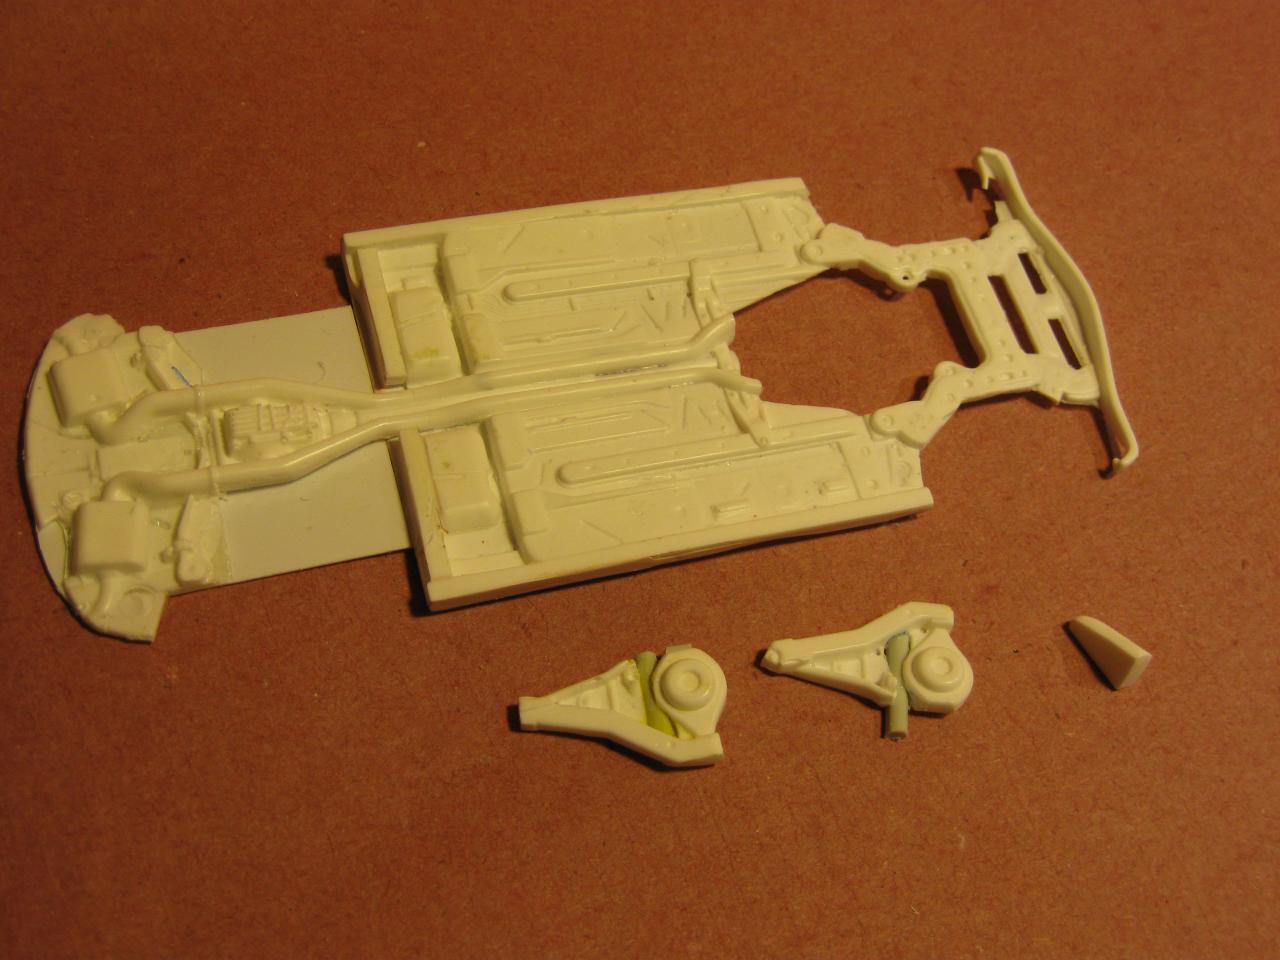
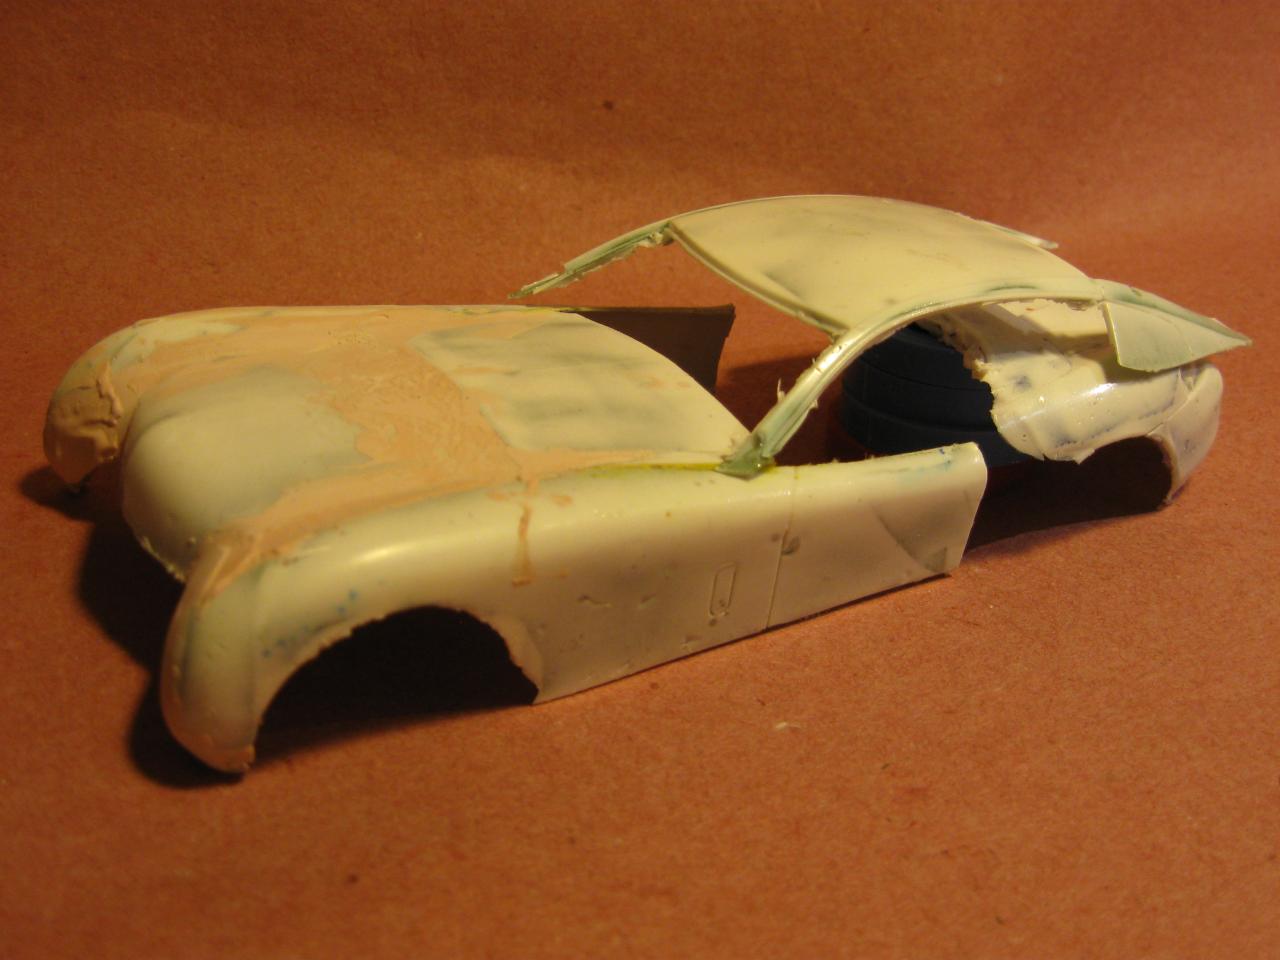
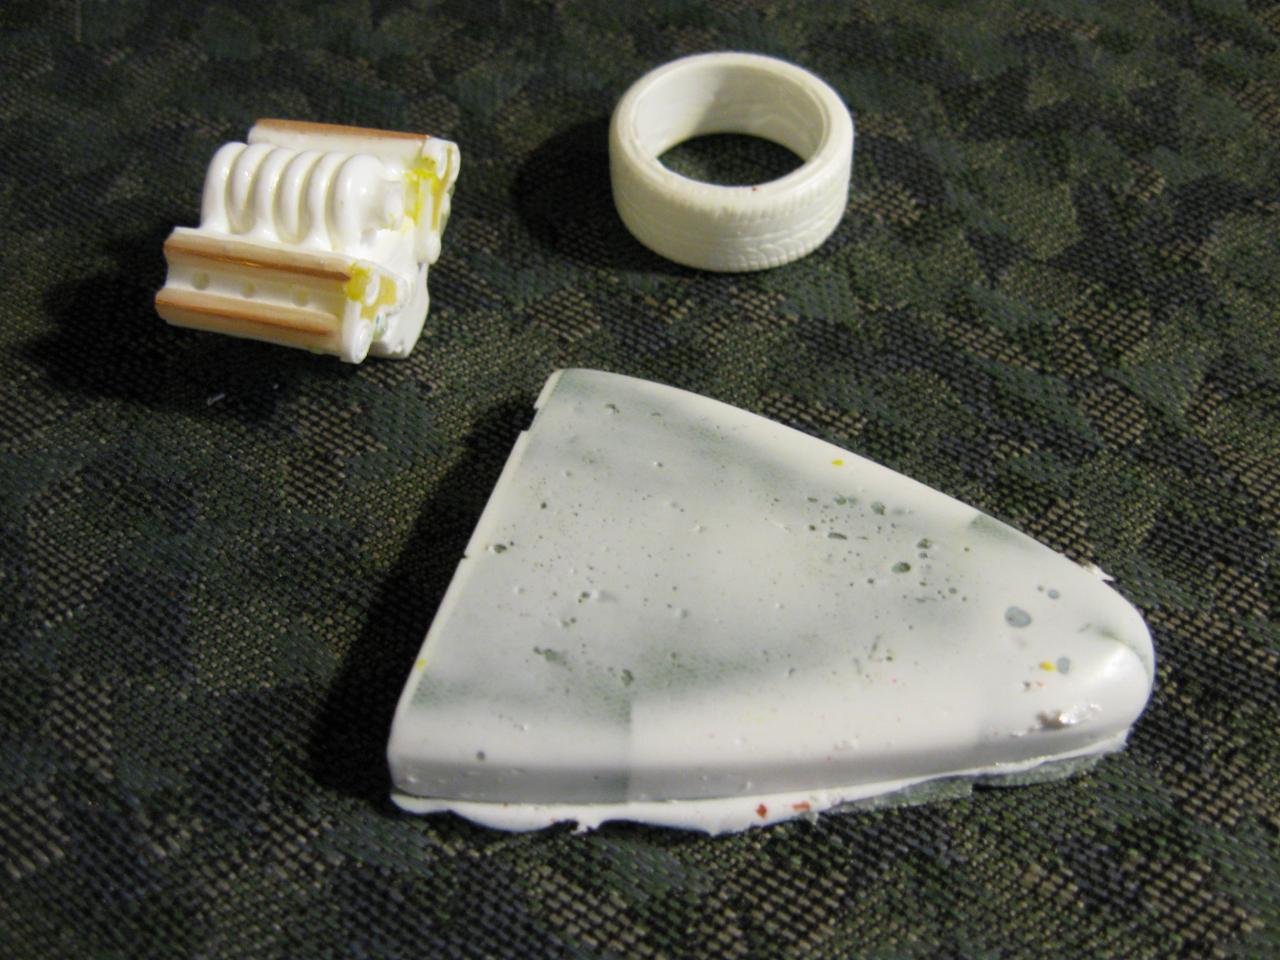
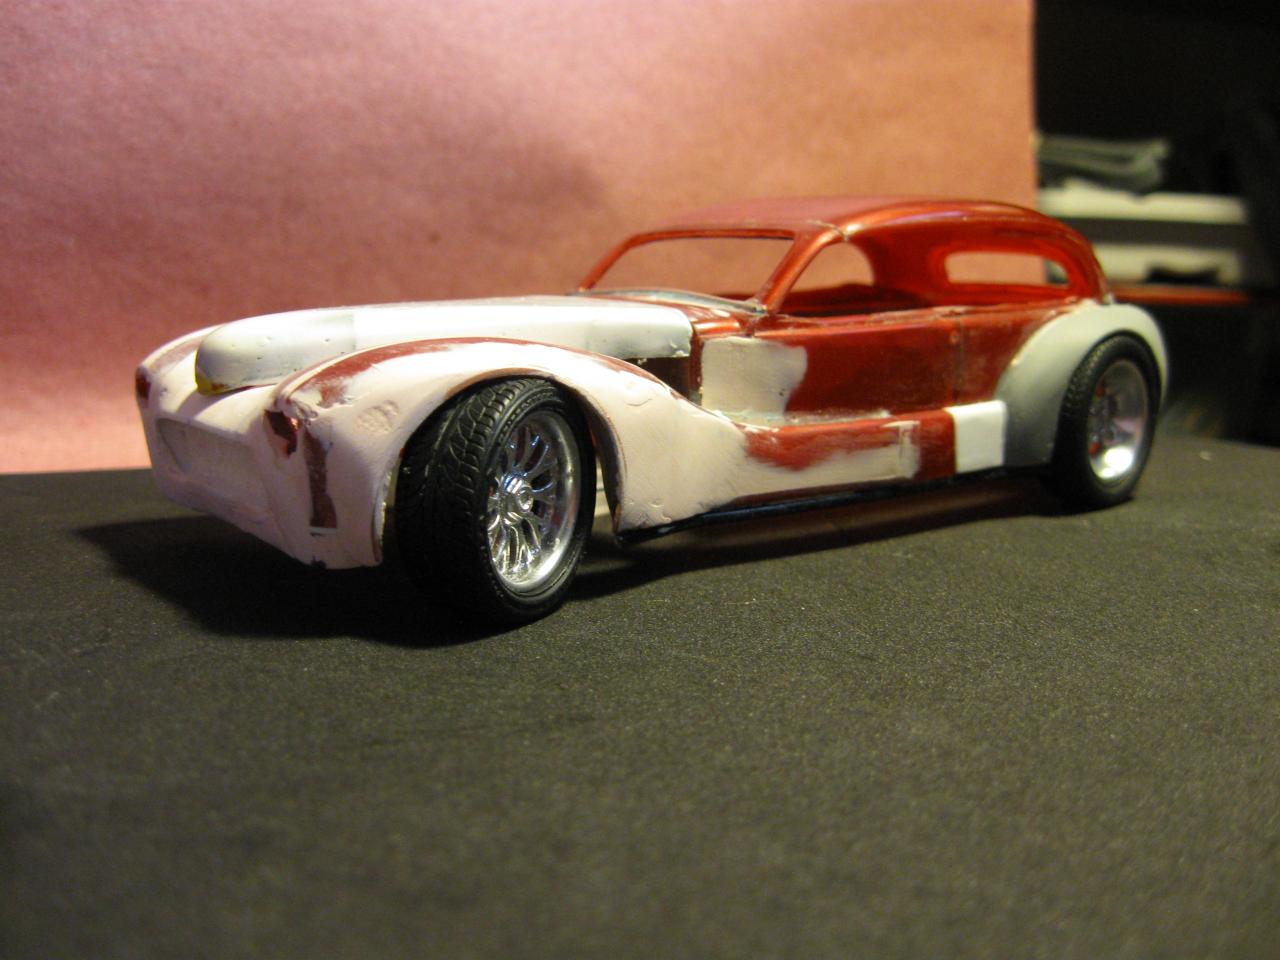
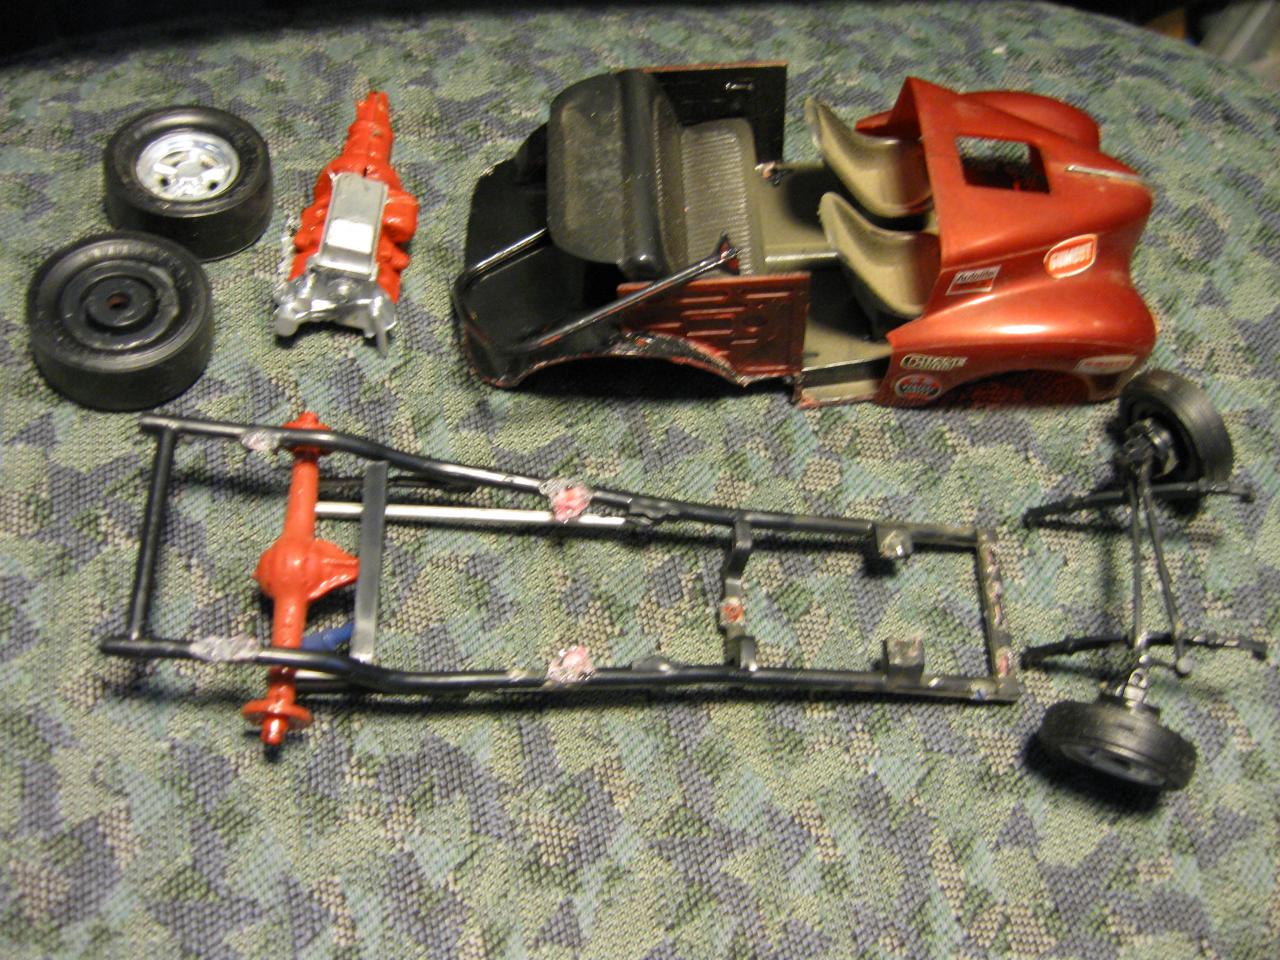
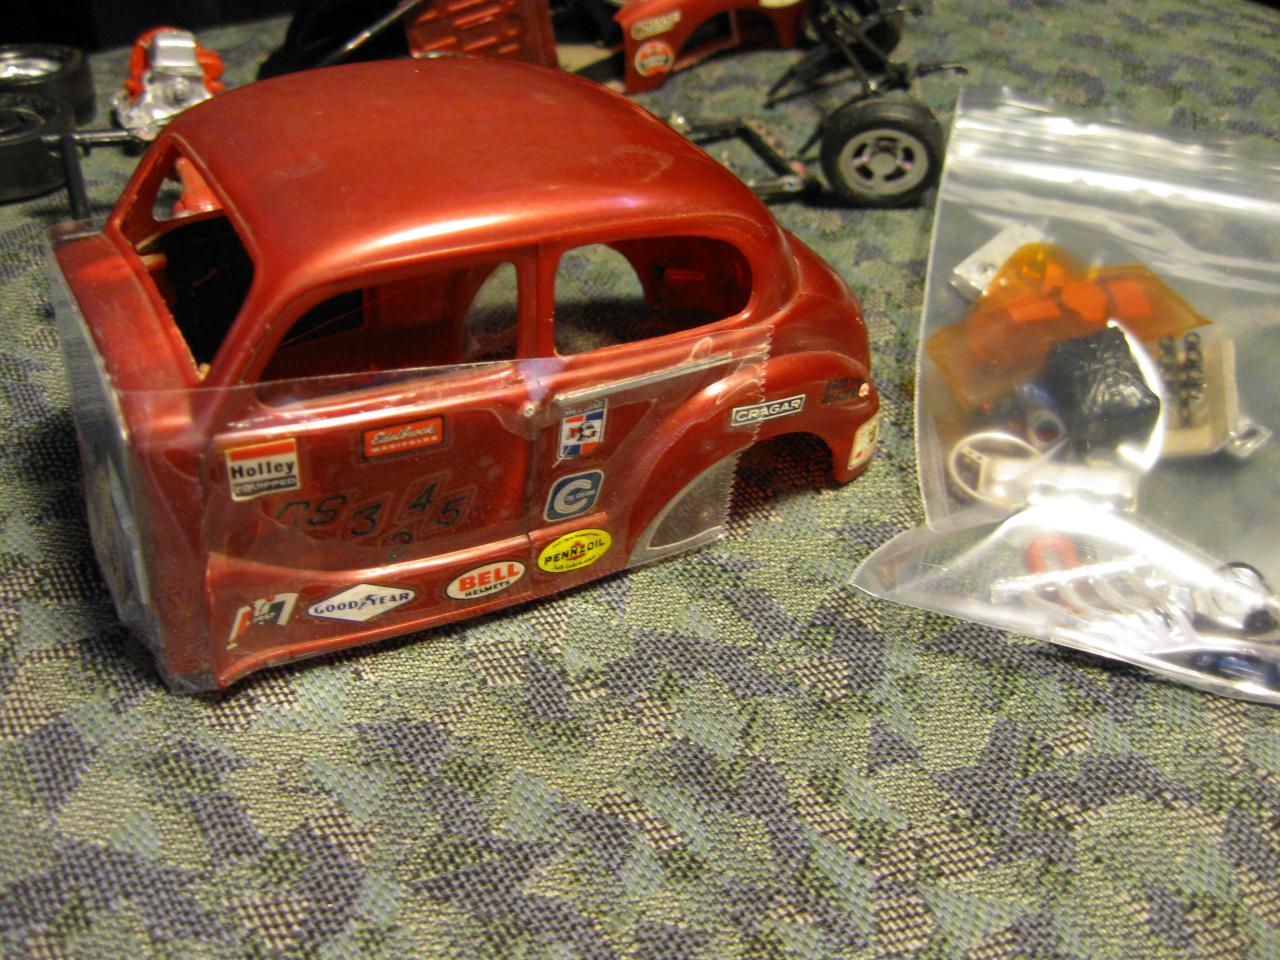
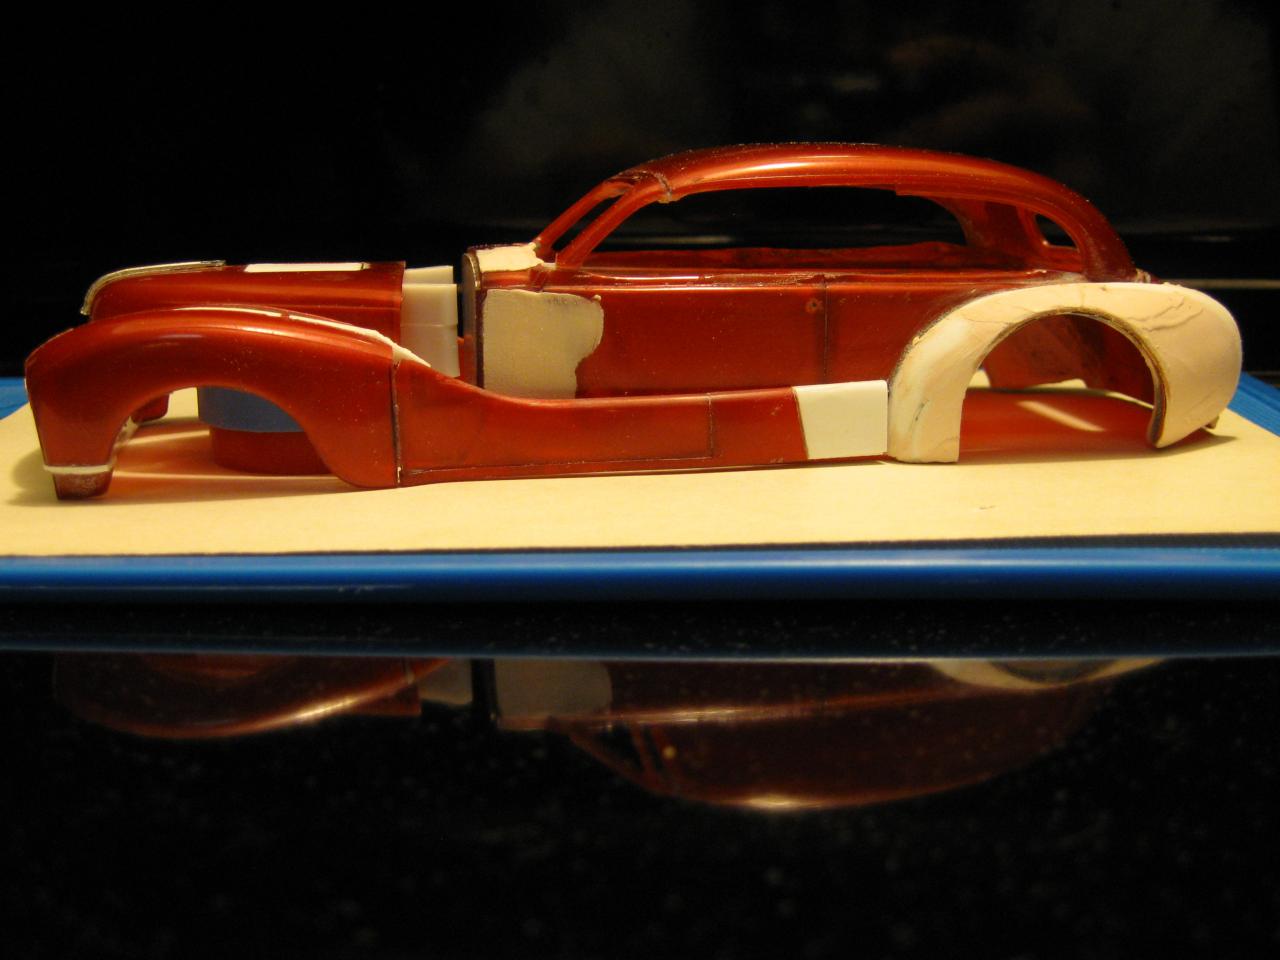
Thanks for the comments! More pix: Starts with closeup of inside of patch using clay, CA, baking soda. Profile and 1953 Corvette chassis with considerable mods. The C channel allowed me to use wire to put it together after cutting it all apart. Next is some fabric inside the mold I made from the master for the extended hood (cast the original twice and joined them). The cast hood, a modified tire and my start on the engine from the AMT Jag XJ220 (I think its a 120 degree V6). Added front wheel work and propped it up on some tires and a couple of my custom wheels. Hard to see, but I also added 2mm to the bottom of the body using 12 gauge aluminum beading wire. As well as a little thicker, I wanted to roll the bottom edge a bit. I think I need to reduce the fin on the rear fenders - too much for the rear of the car. Considering leaving the area under the rear of the sides of the hood open, maybe with mesh. When I get the body ready for final primer, I'll try to do some more work on the custom Mustang II. Thanks for looking.
-
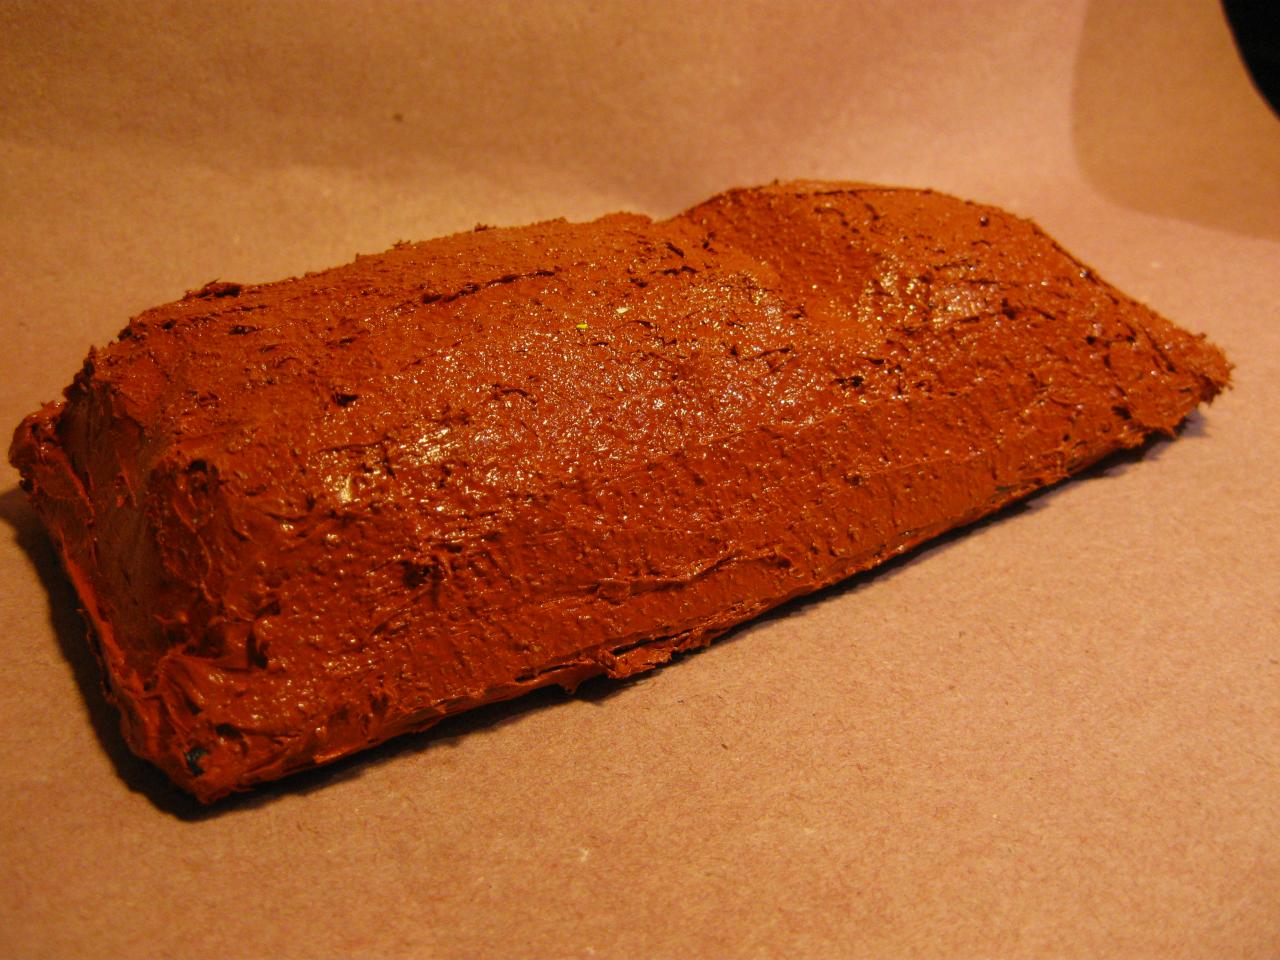
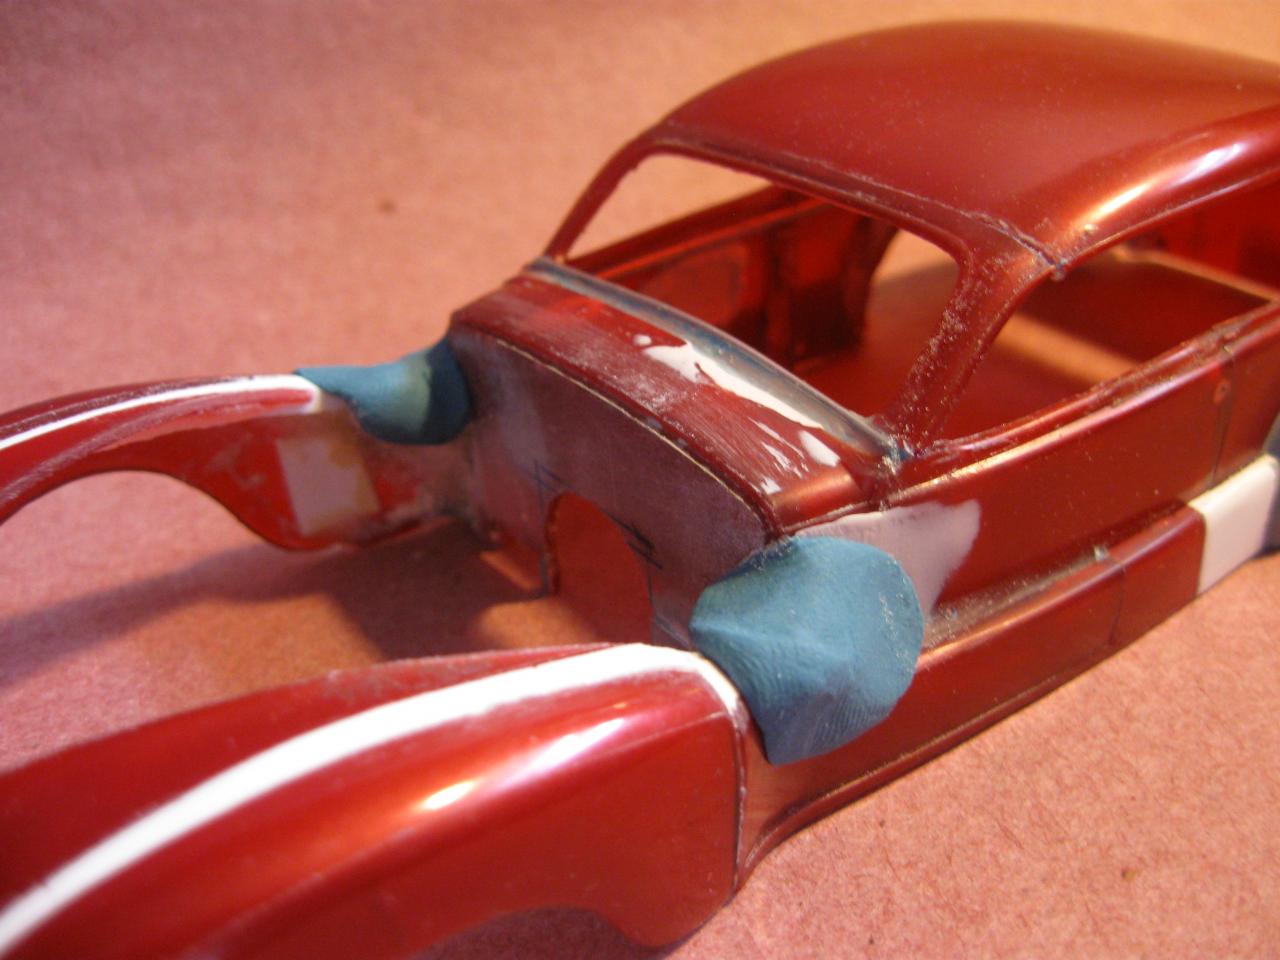
I've been a bad builder. I let myself get diverted by a new build. Anyway, here it is. Of course, it started as a quick slice&dice of a gluebomb. The blobs are clay; this is a quick way to build up an empty or weak area: fill behind clay with superglue and baking soda.
-
How Important is Design?
GerN replied to Dr. Cranky's topic in General Automotive Talk (Trucks and Cars)
For me, good automotive design should be functional, unified and balanced. If it can't be driven, it isn't a car, its automotive art. I enjoy even caricatures, but I probably wouldn't build one; I like trying to design a car I could enjoy owning and driving. Just my preference, not an ideology. For an example of extreme yet functional design, check out Colani. BTW, good topic. P.S. I tend to like two box car designs with a Golden Ratio of about 40% length of box one (front end to base of windshield) and 60% box two (rest of car). -
Great work! Looks very realistic and I love the subject choice.