dino246gt
-
Posts
2,288 -
Joined
-
Last visited


.thumb.jpg.e12e5df0ccf757b78eedbb1abdd7fb95.jpg)


dino246gt's Achievements
MCM Ohana (6/6)
-
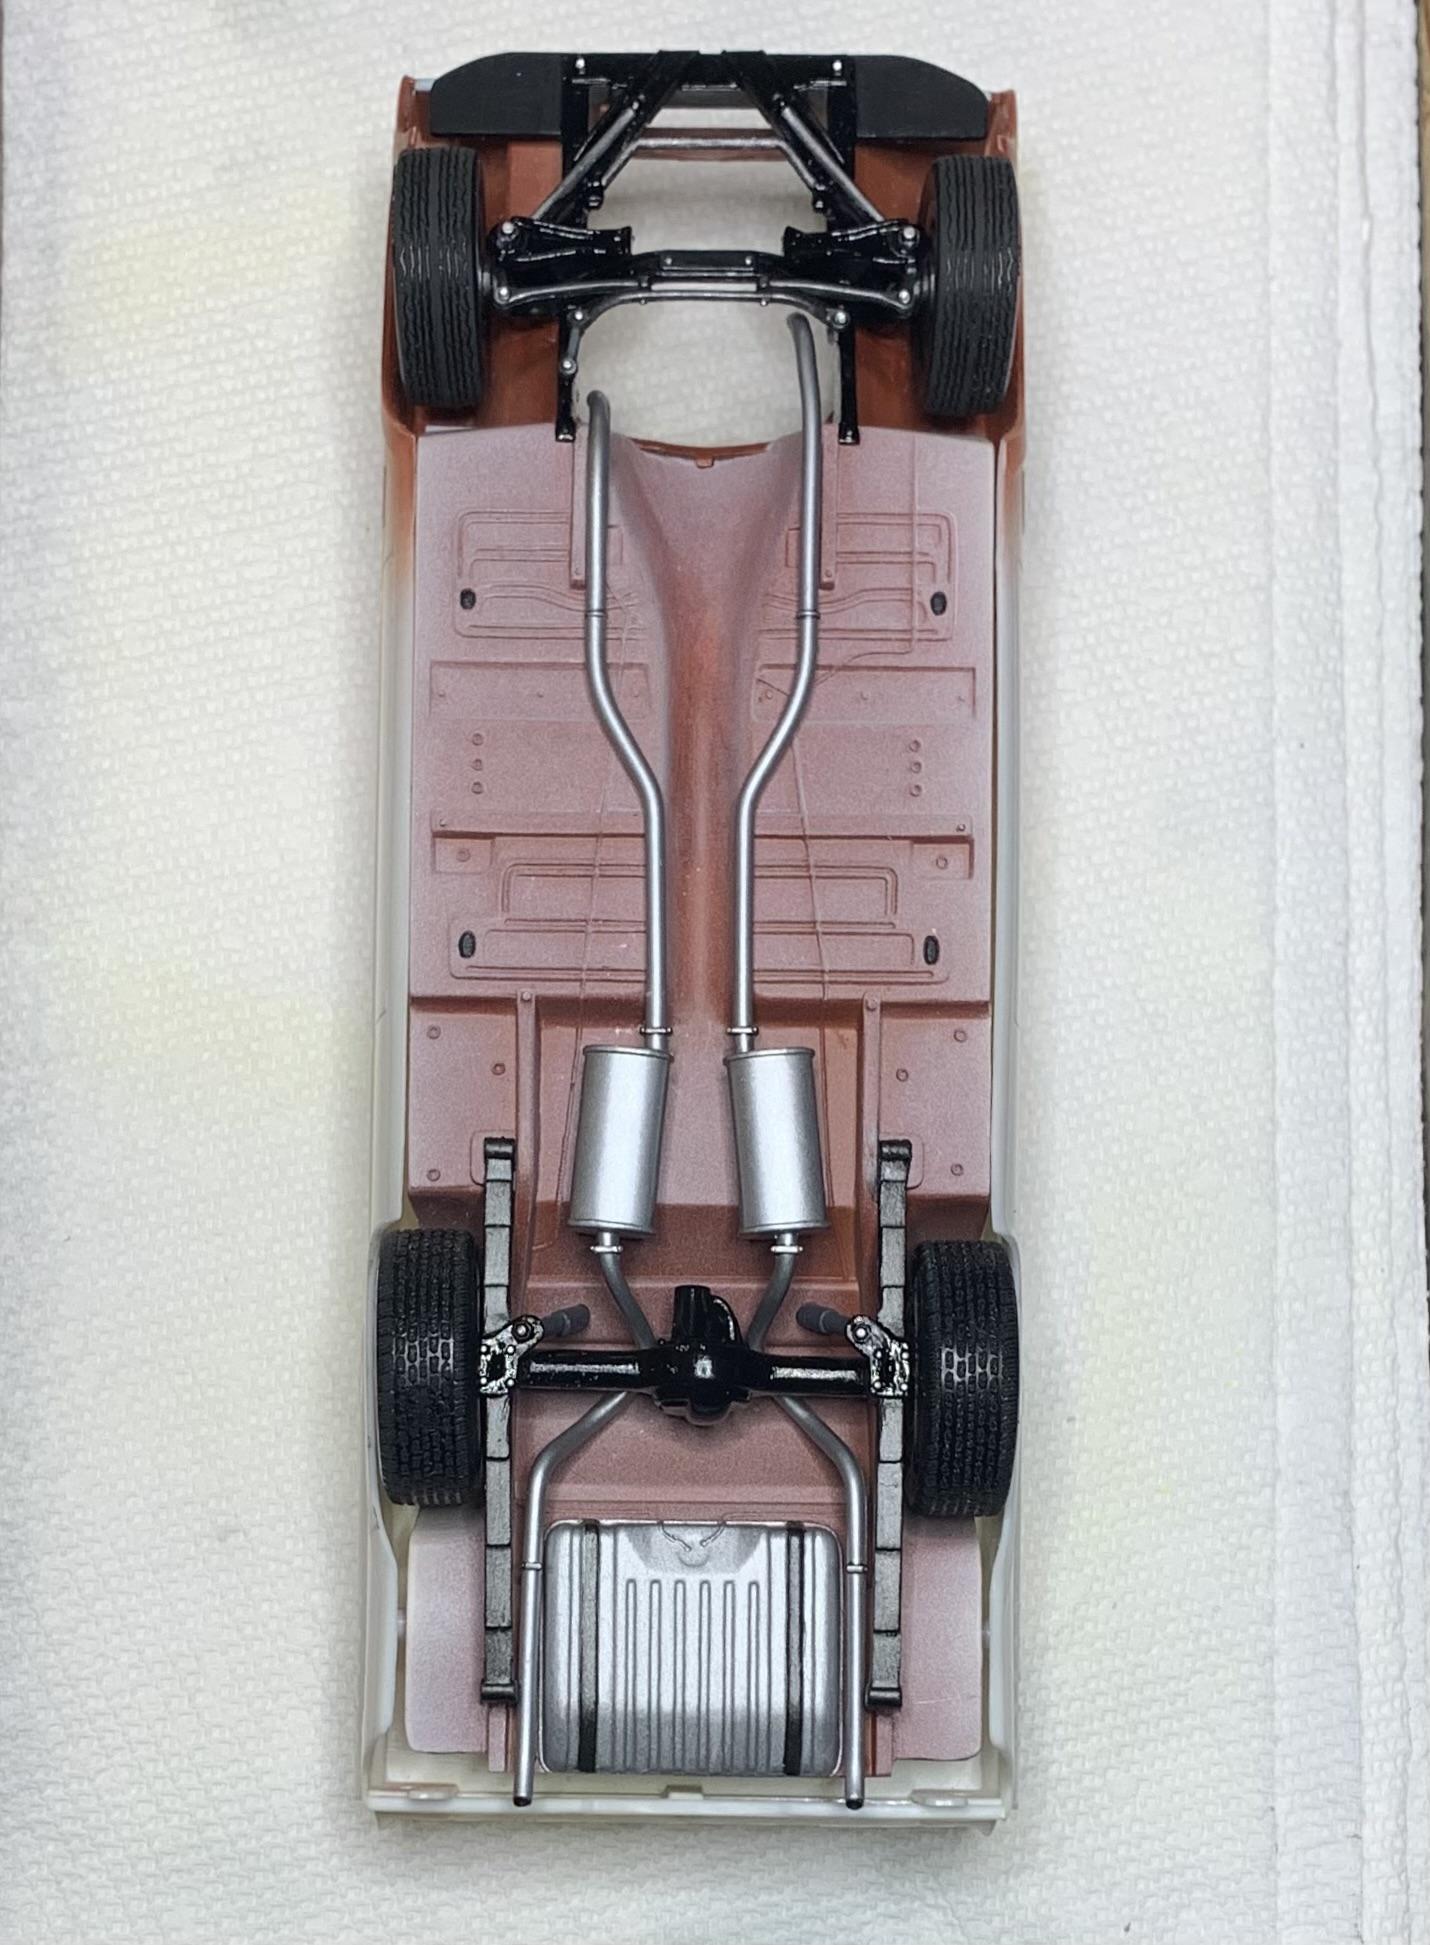
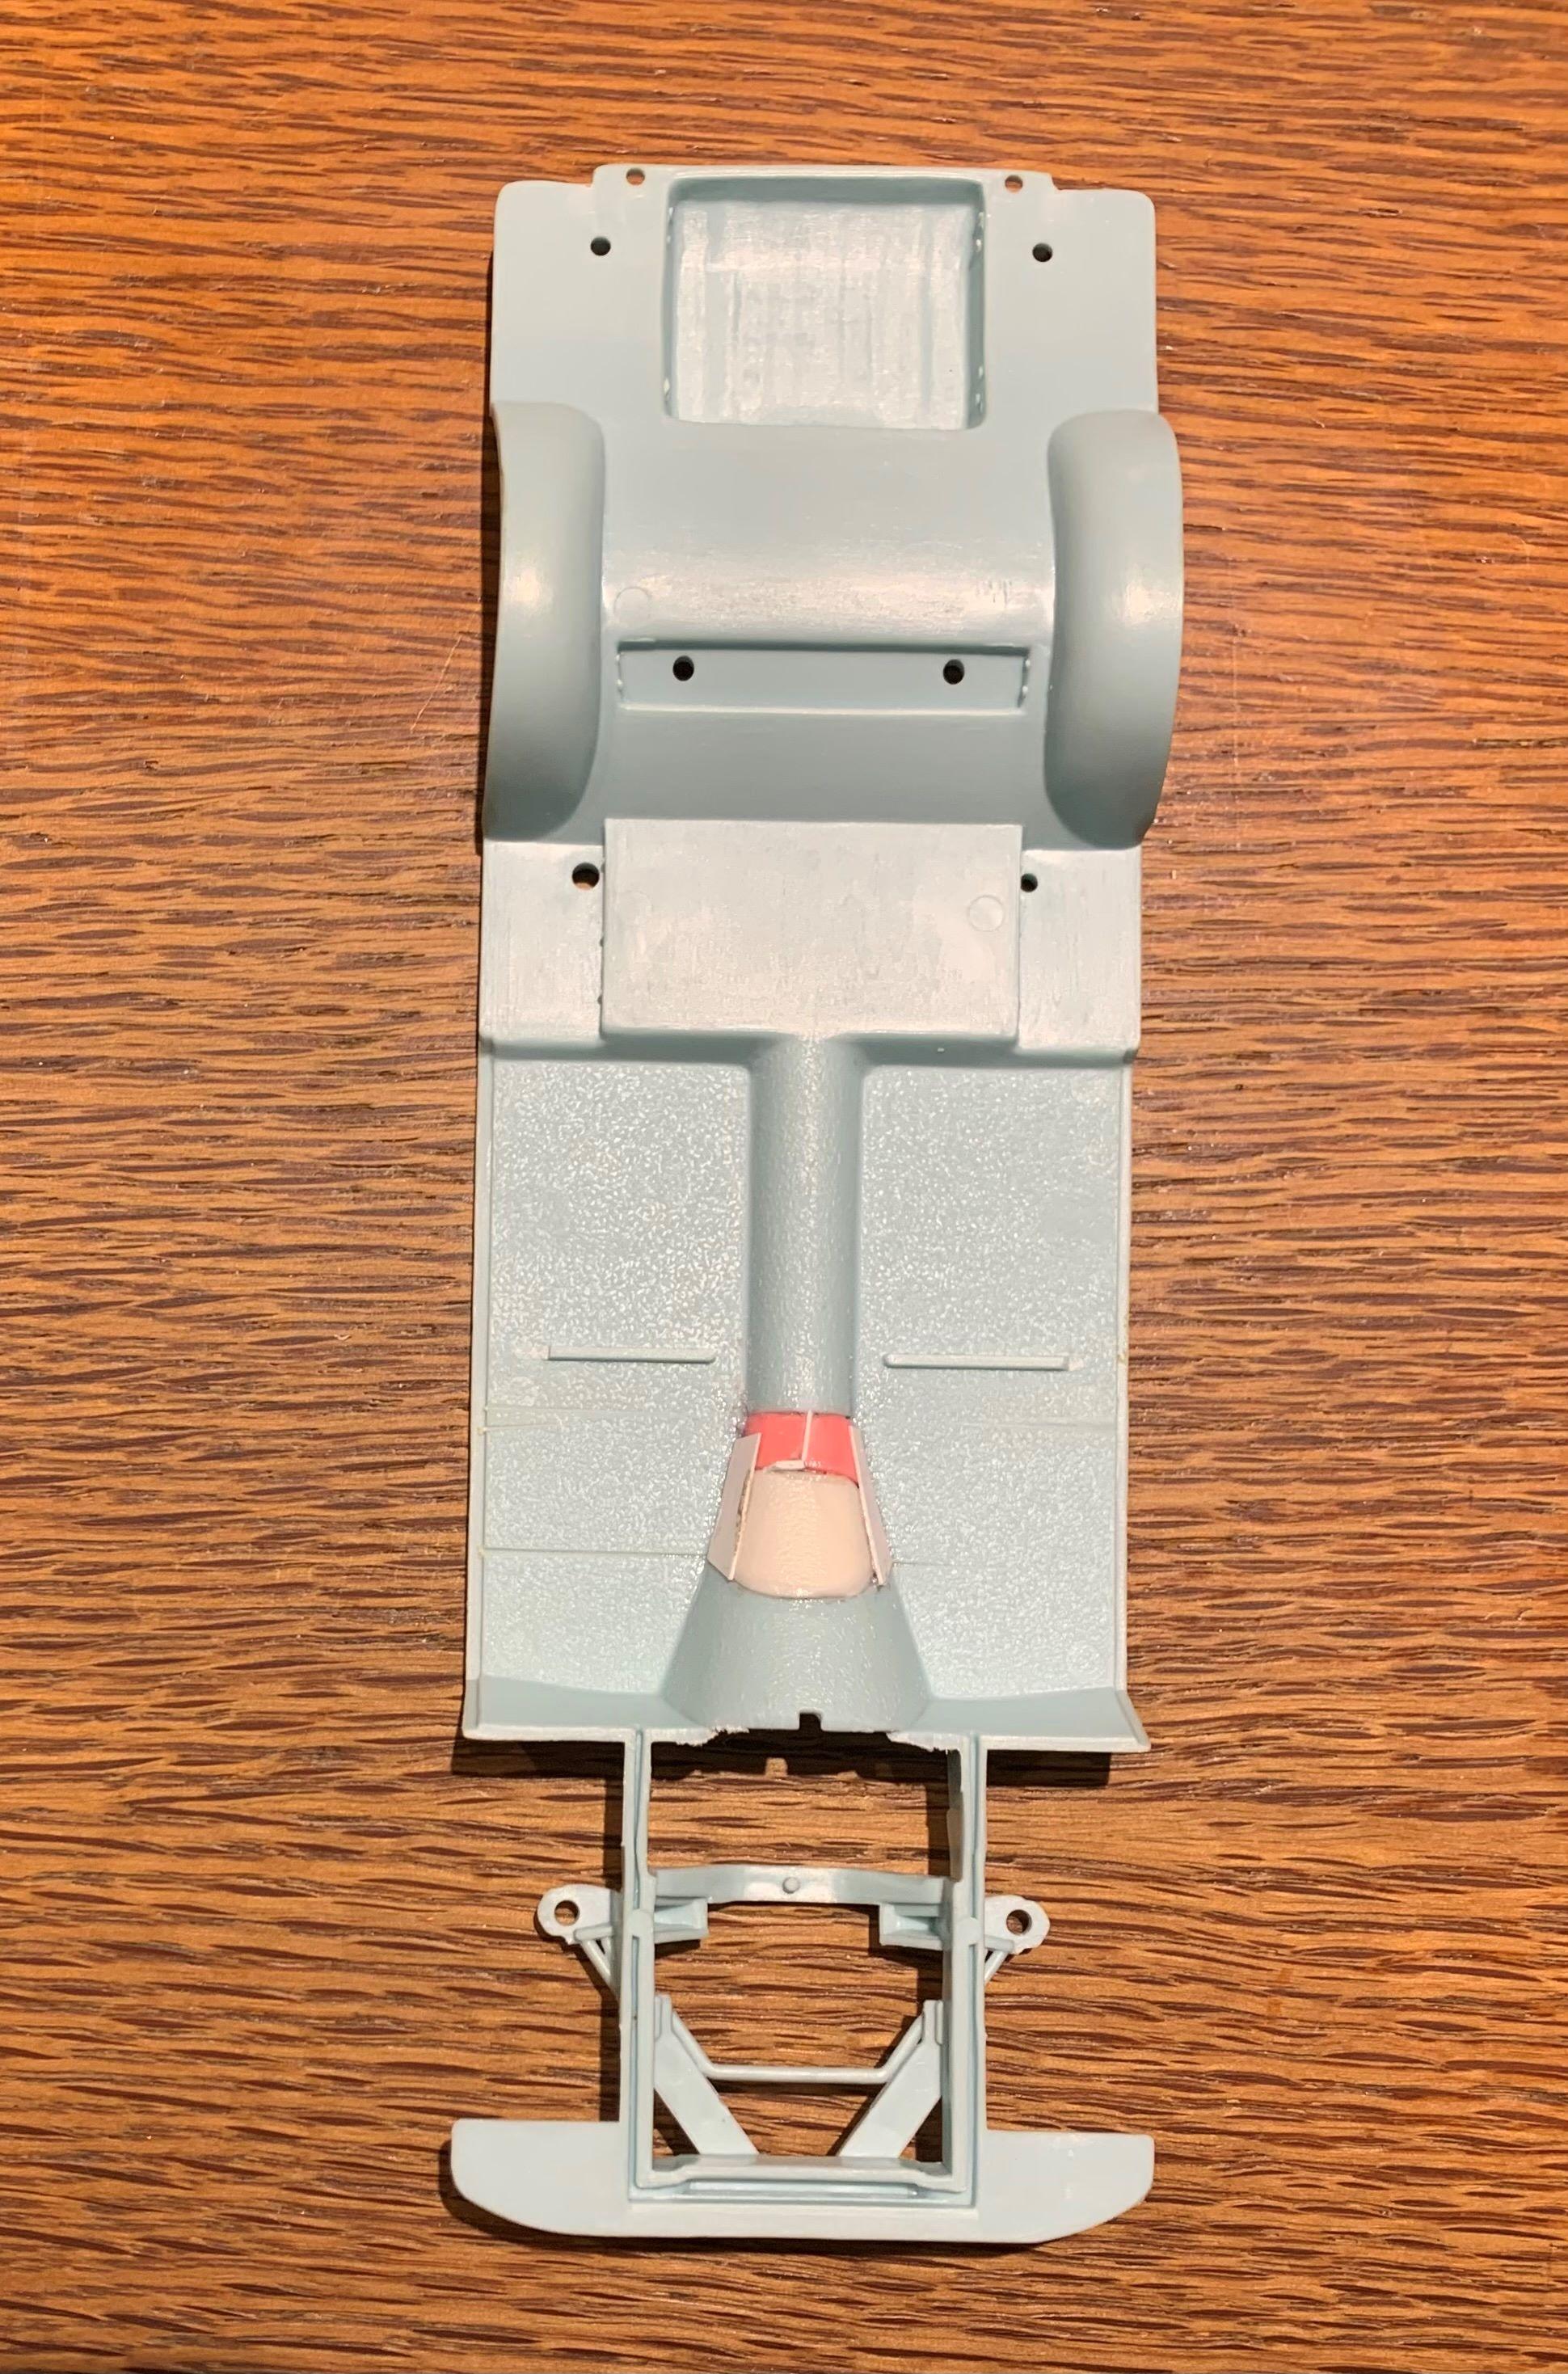
Here's how that chassis looks just slightly detailed. Still simple but at least everything is separate. I think I'll have to sand those rear shock mount plates smooth and fill the large sink holes, then replace all the bolts.

-
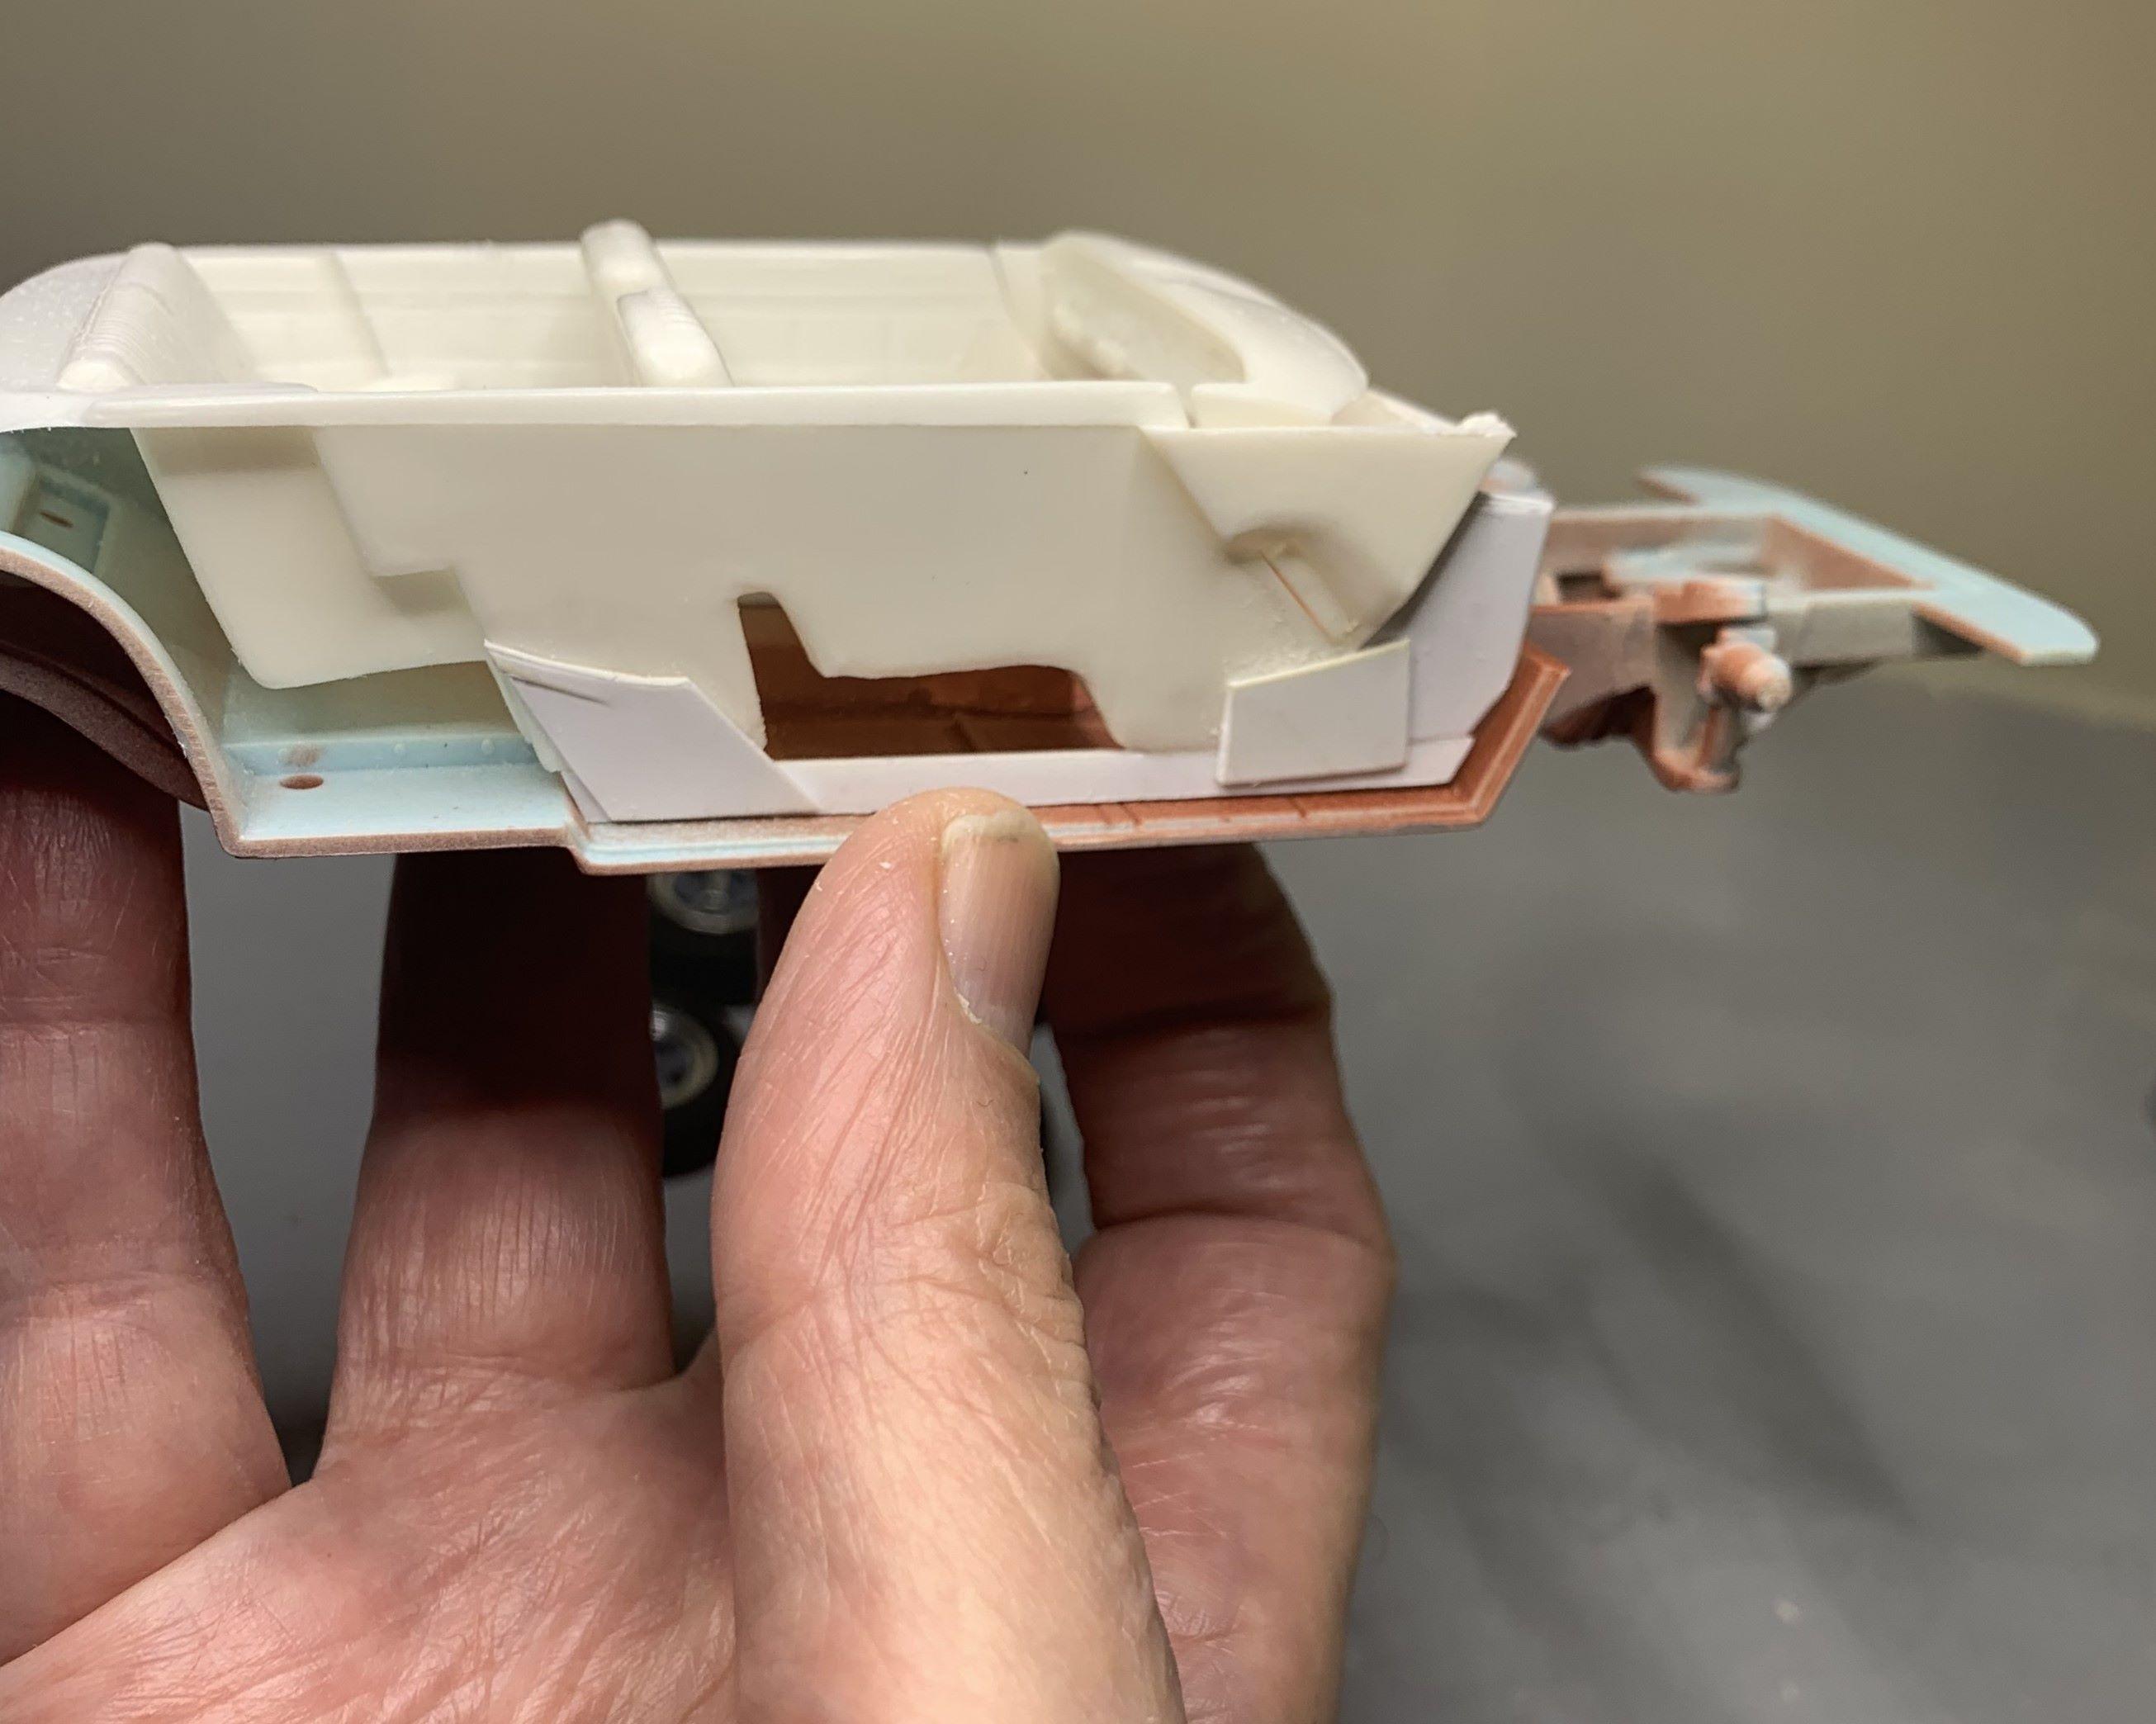
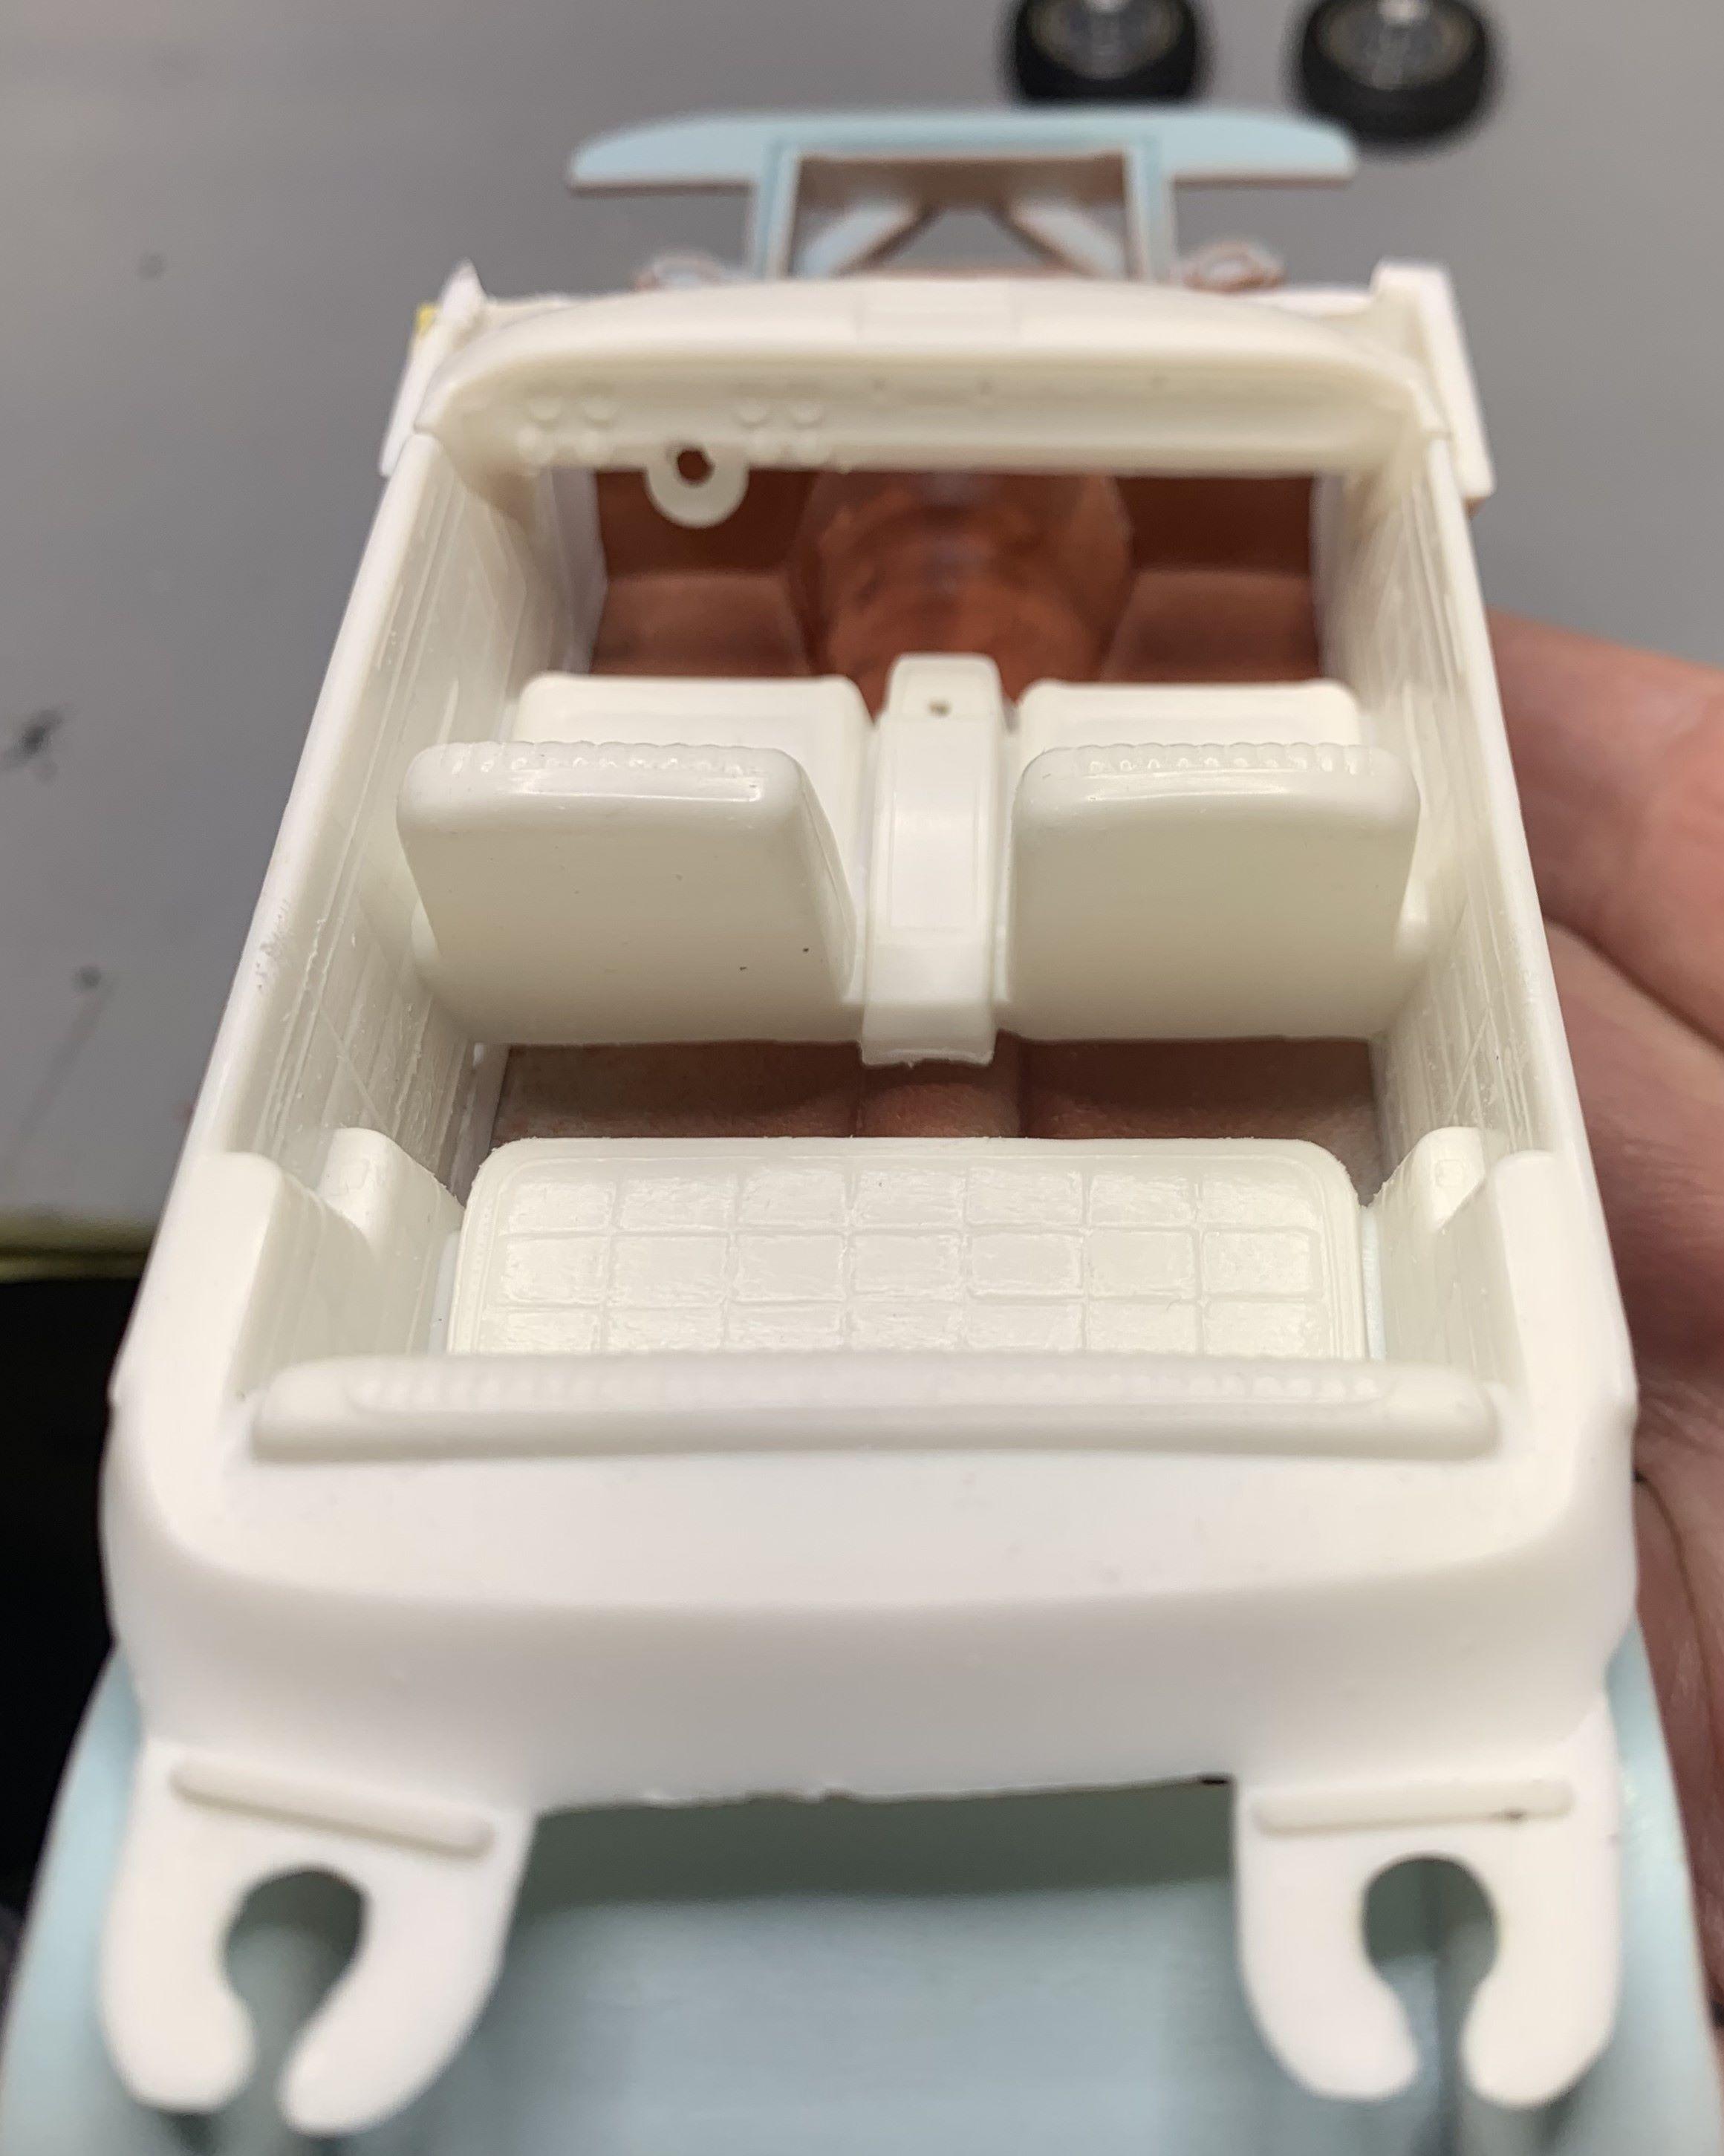
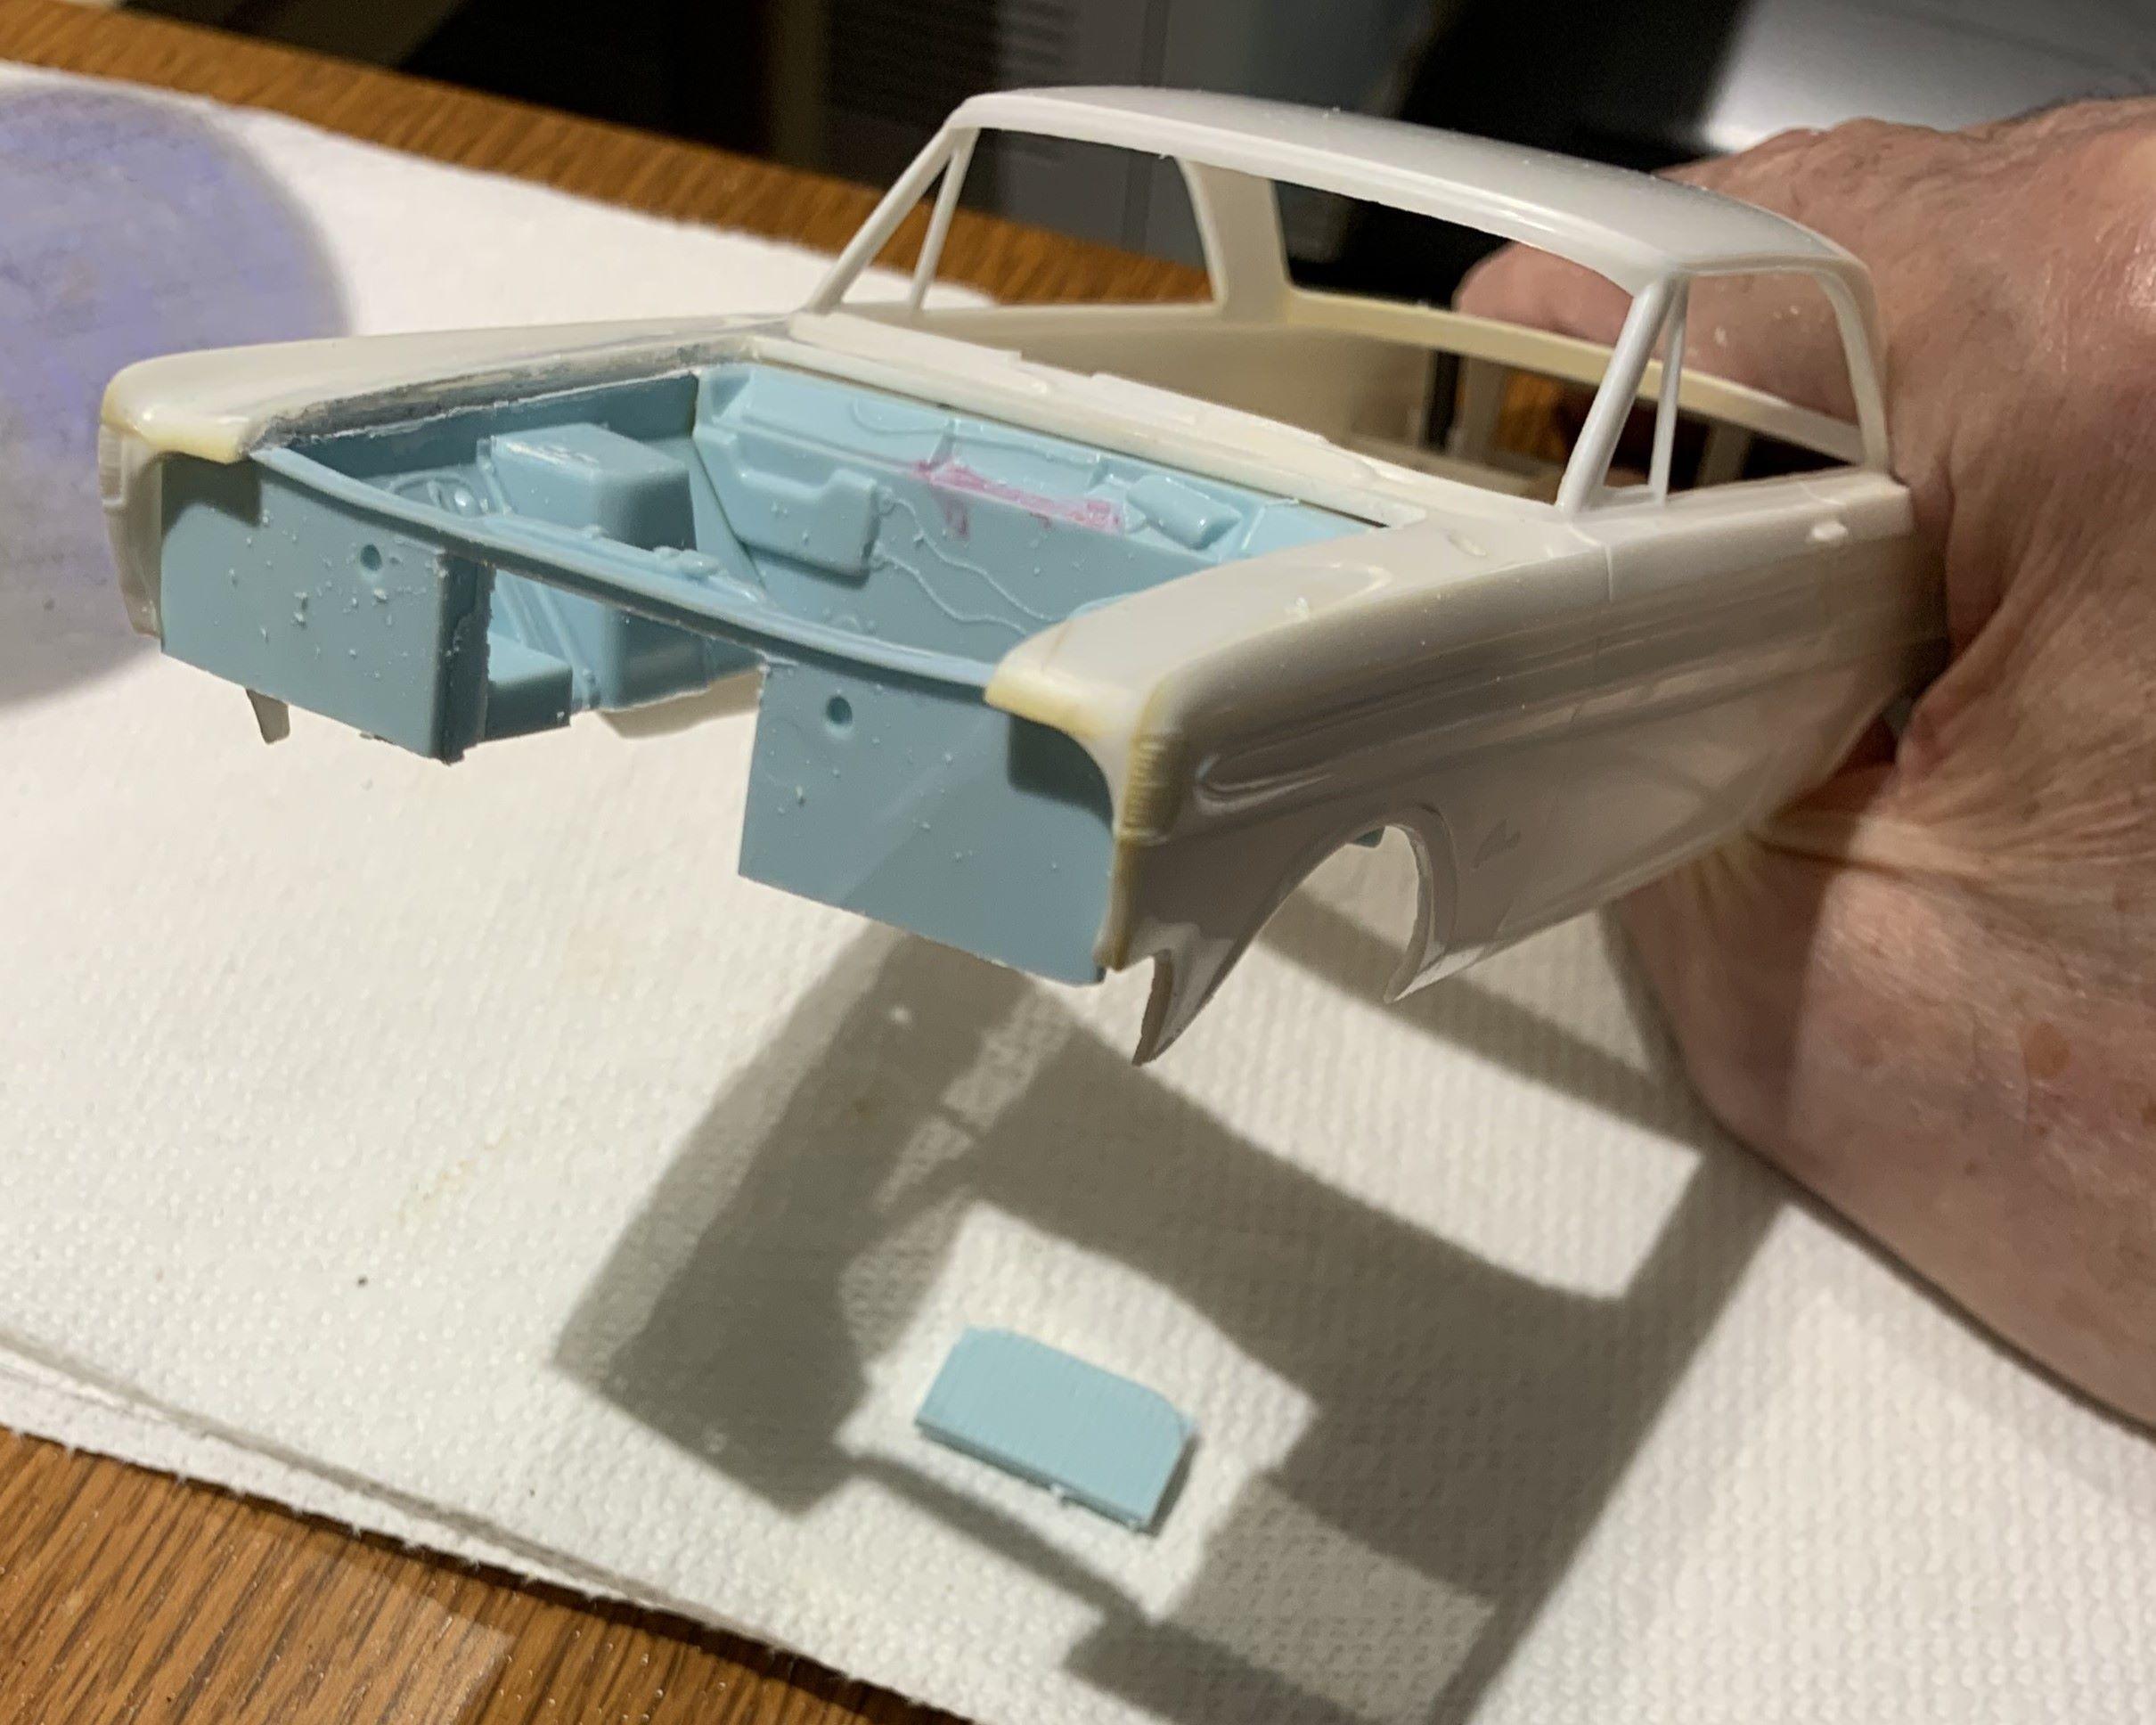
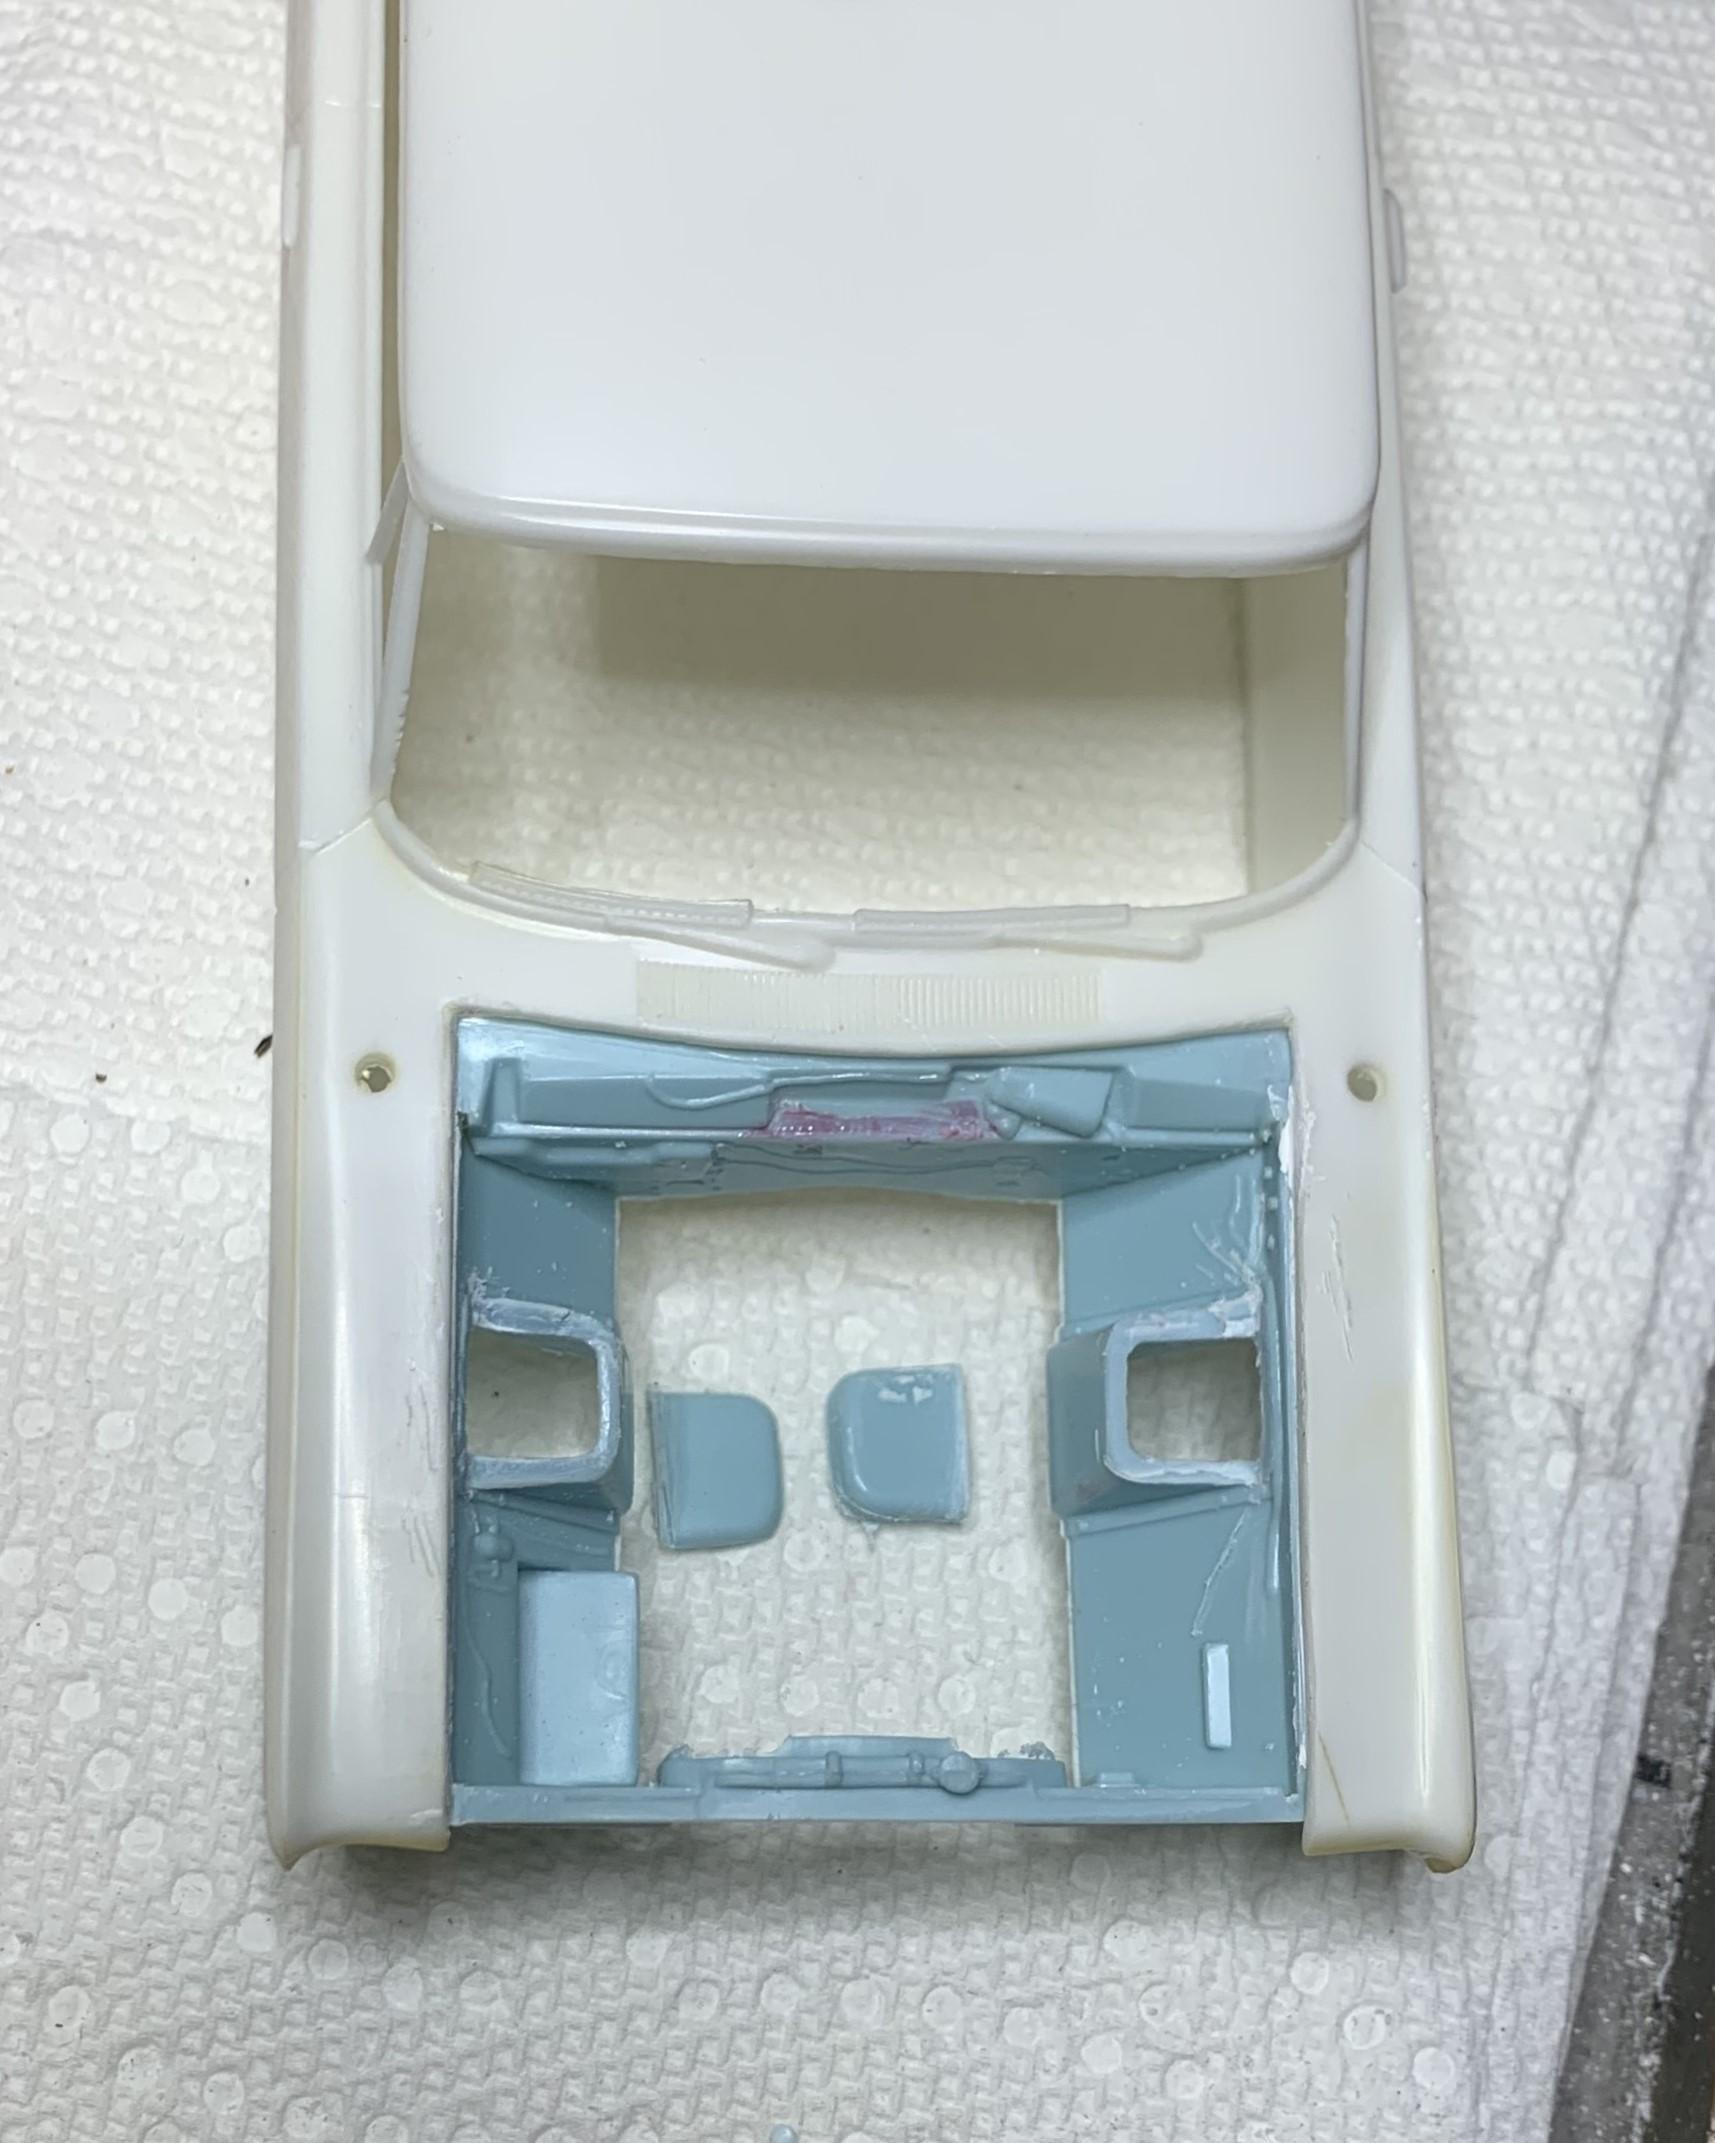
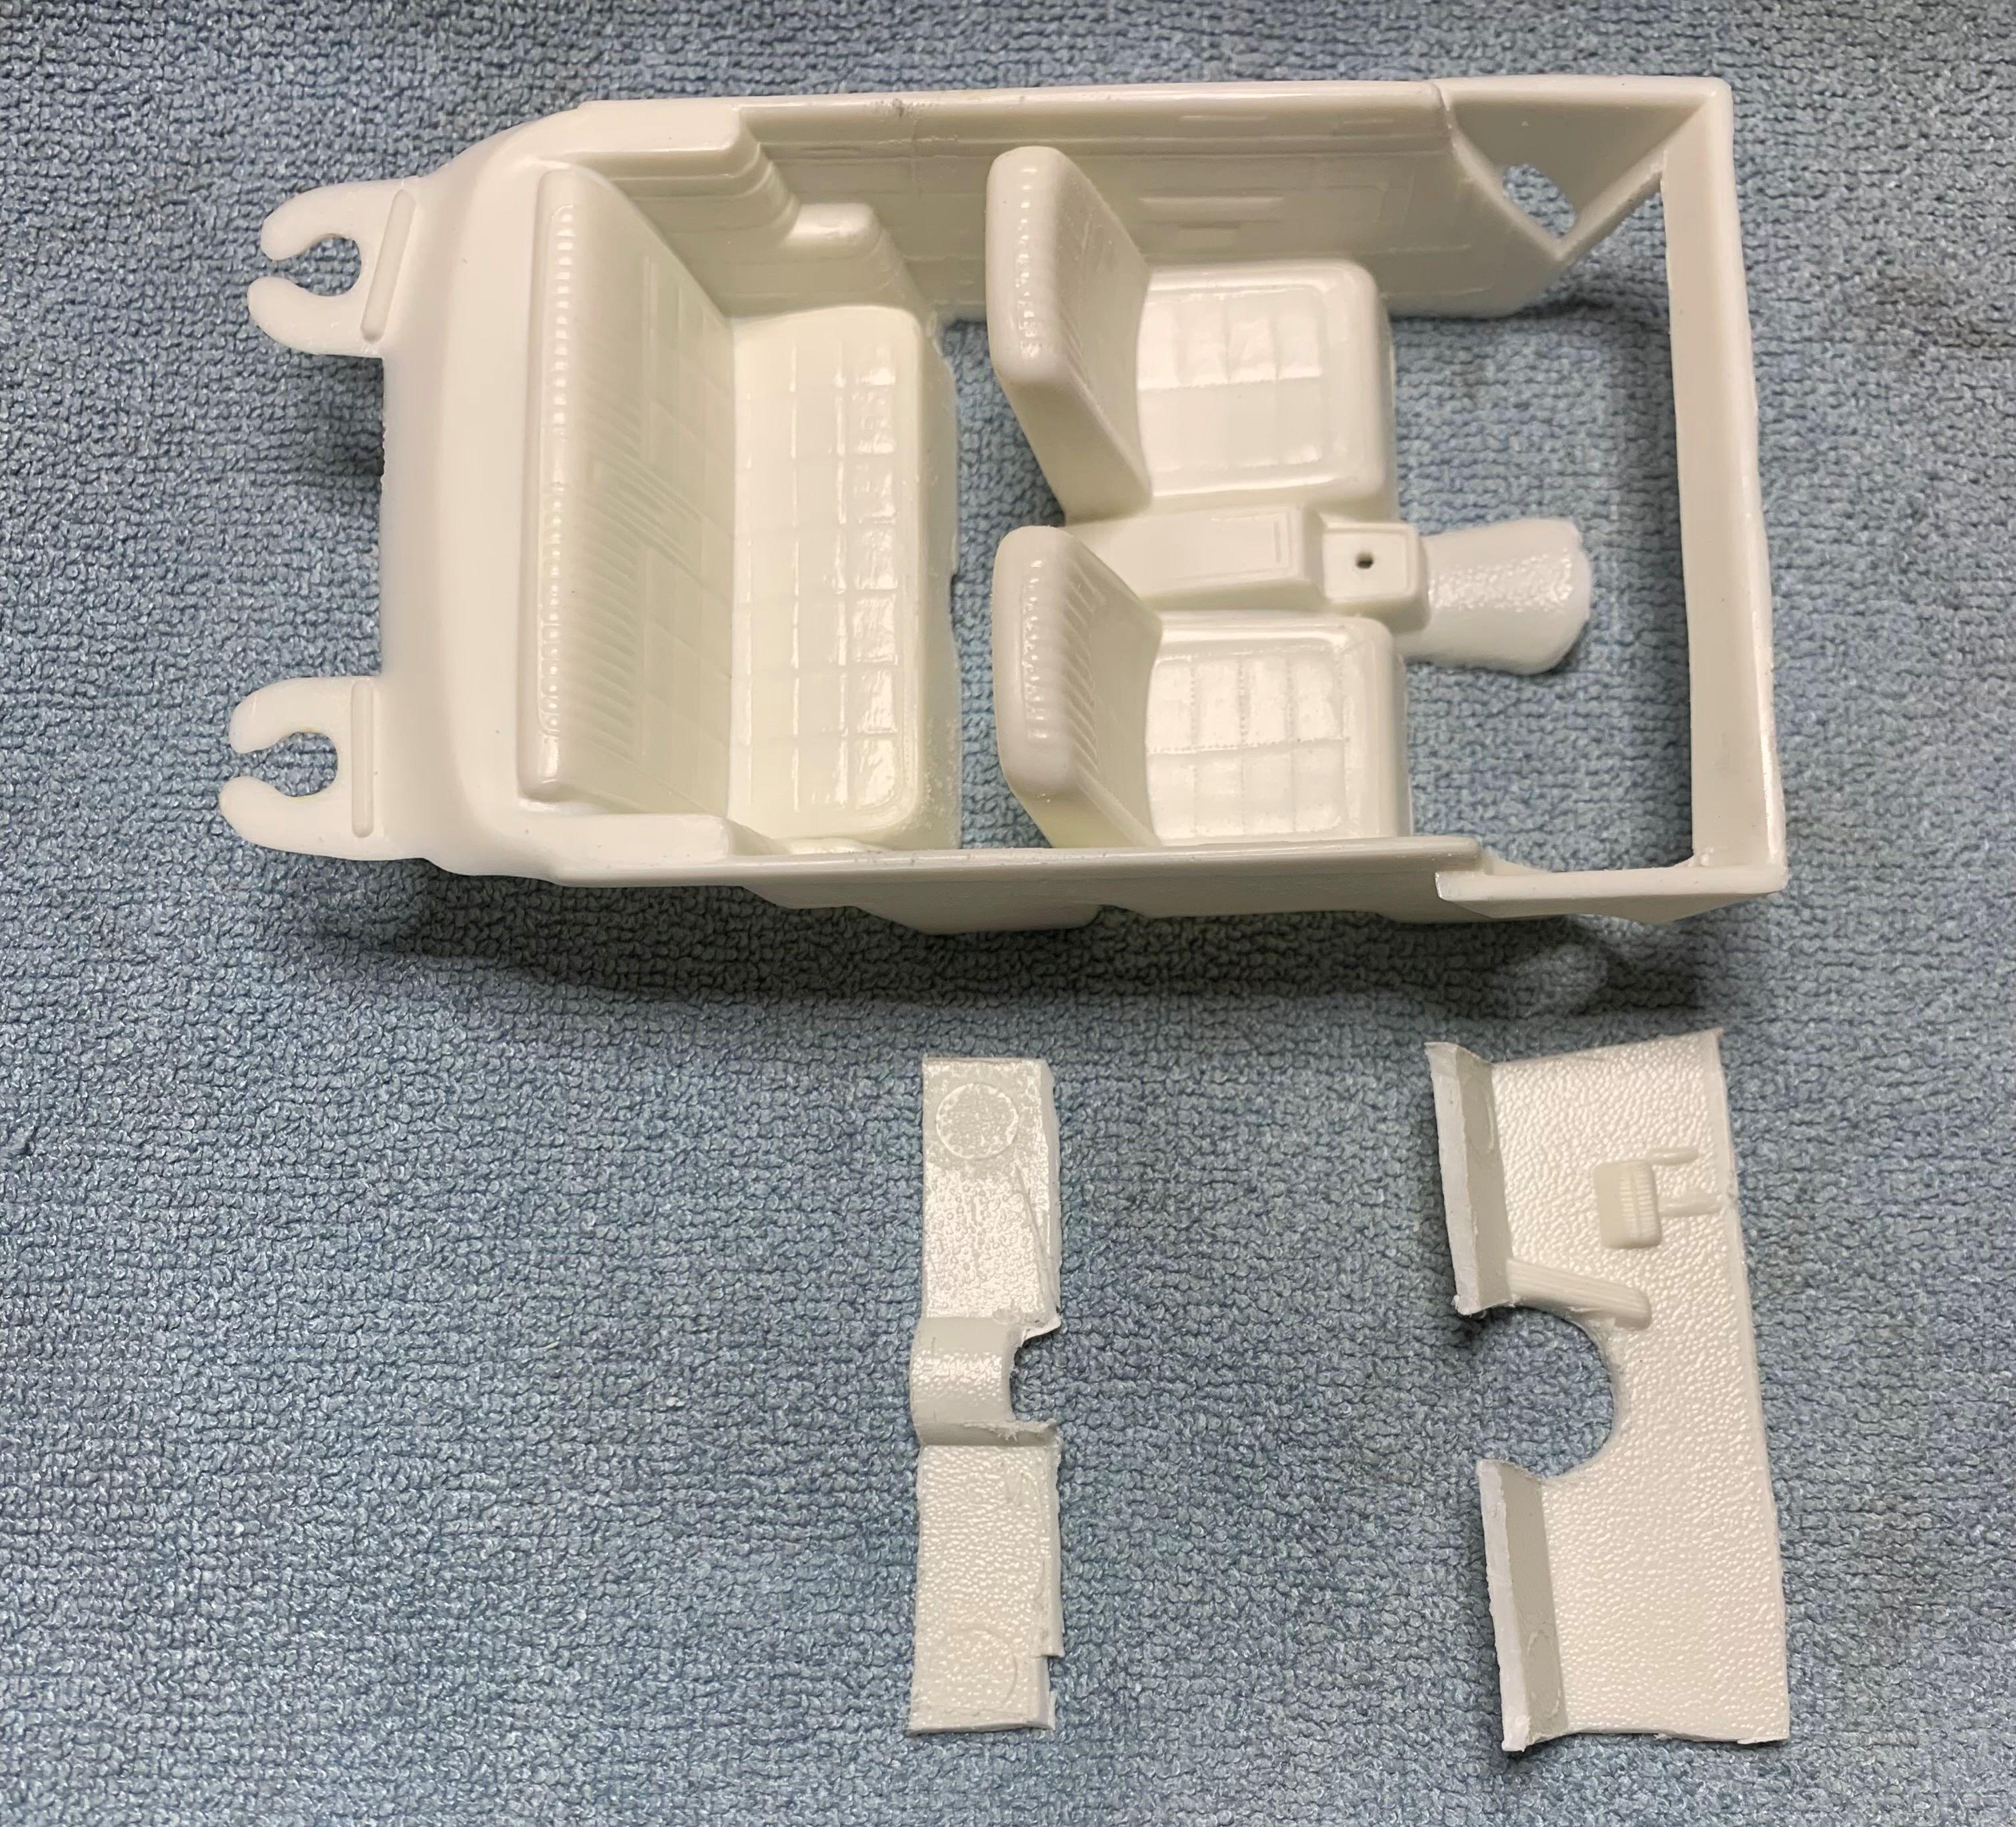
Here's how I added front seat leg room and more depth to the whole interior tub. Floor (top of '67 Comet chassis pan) is just red oxide primer right now, kinda looks like carpet! Trying to keep this build "simple", so I HOPE that I don't cut the front seats and console out............. but I probably will! LOL
-
I was thinking that I should've used the Revell '64 Fairlaine, too late now, but I'm happy to hear that maybe I made the right choice! Of course the guy I got it from actually made that choice for me.
-
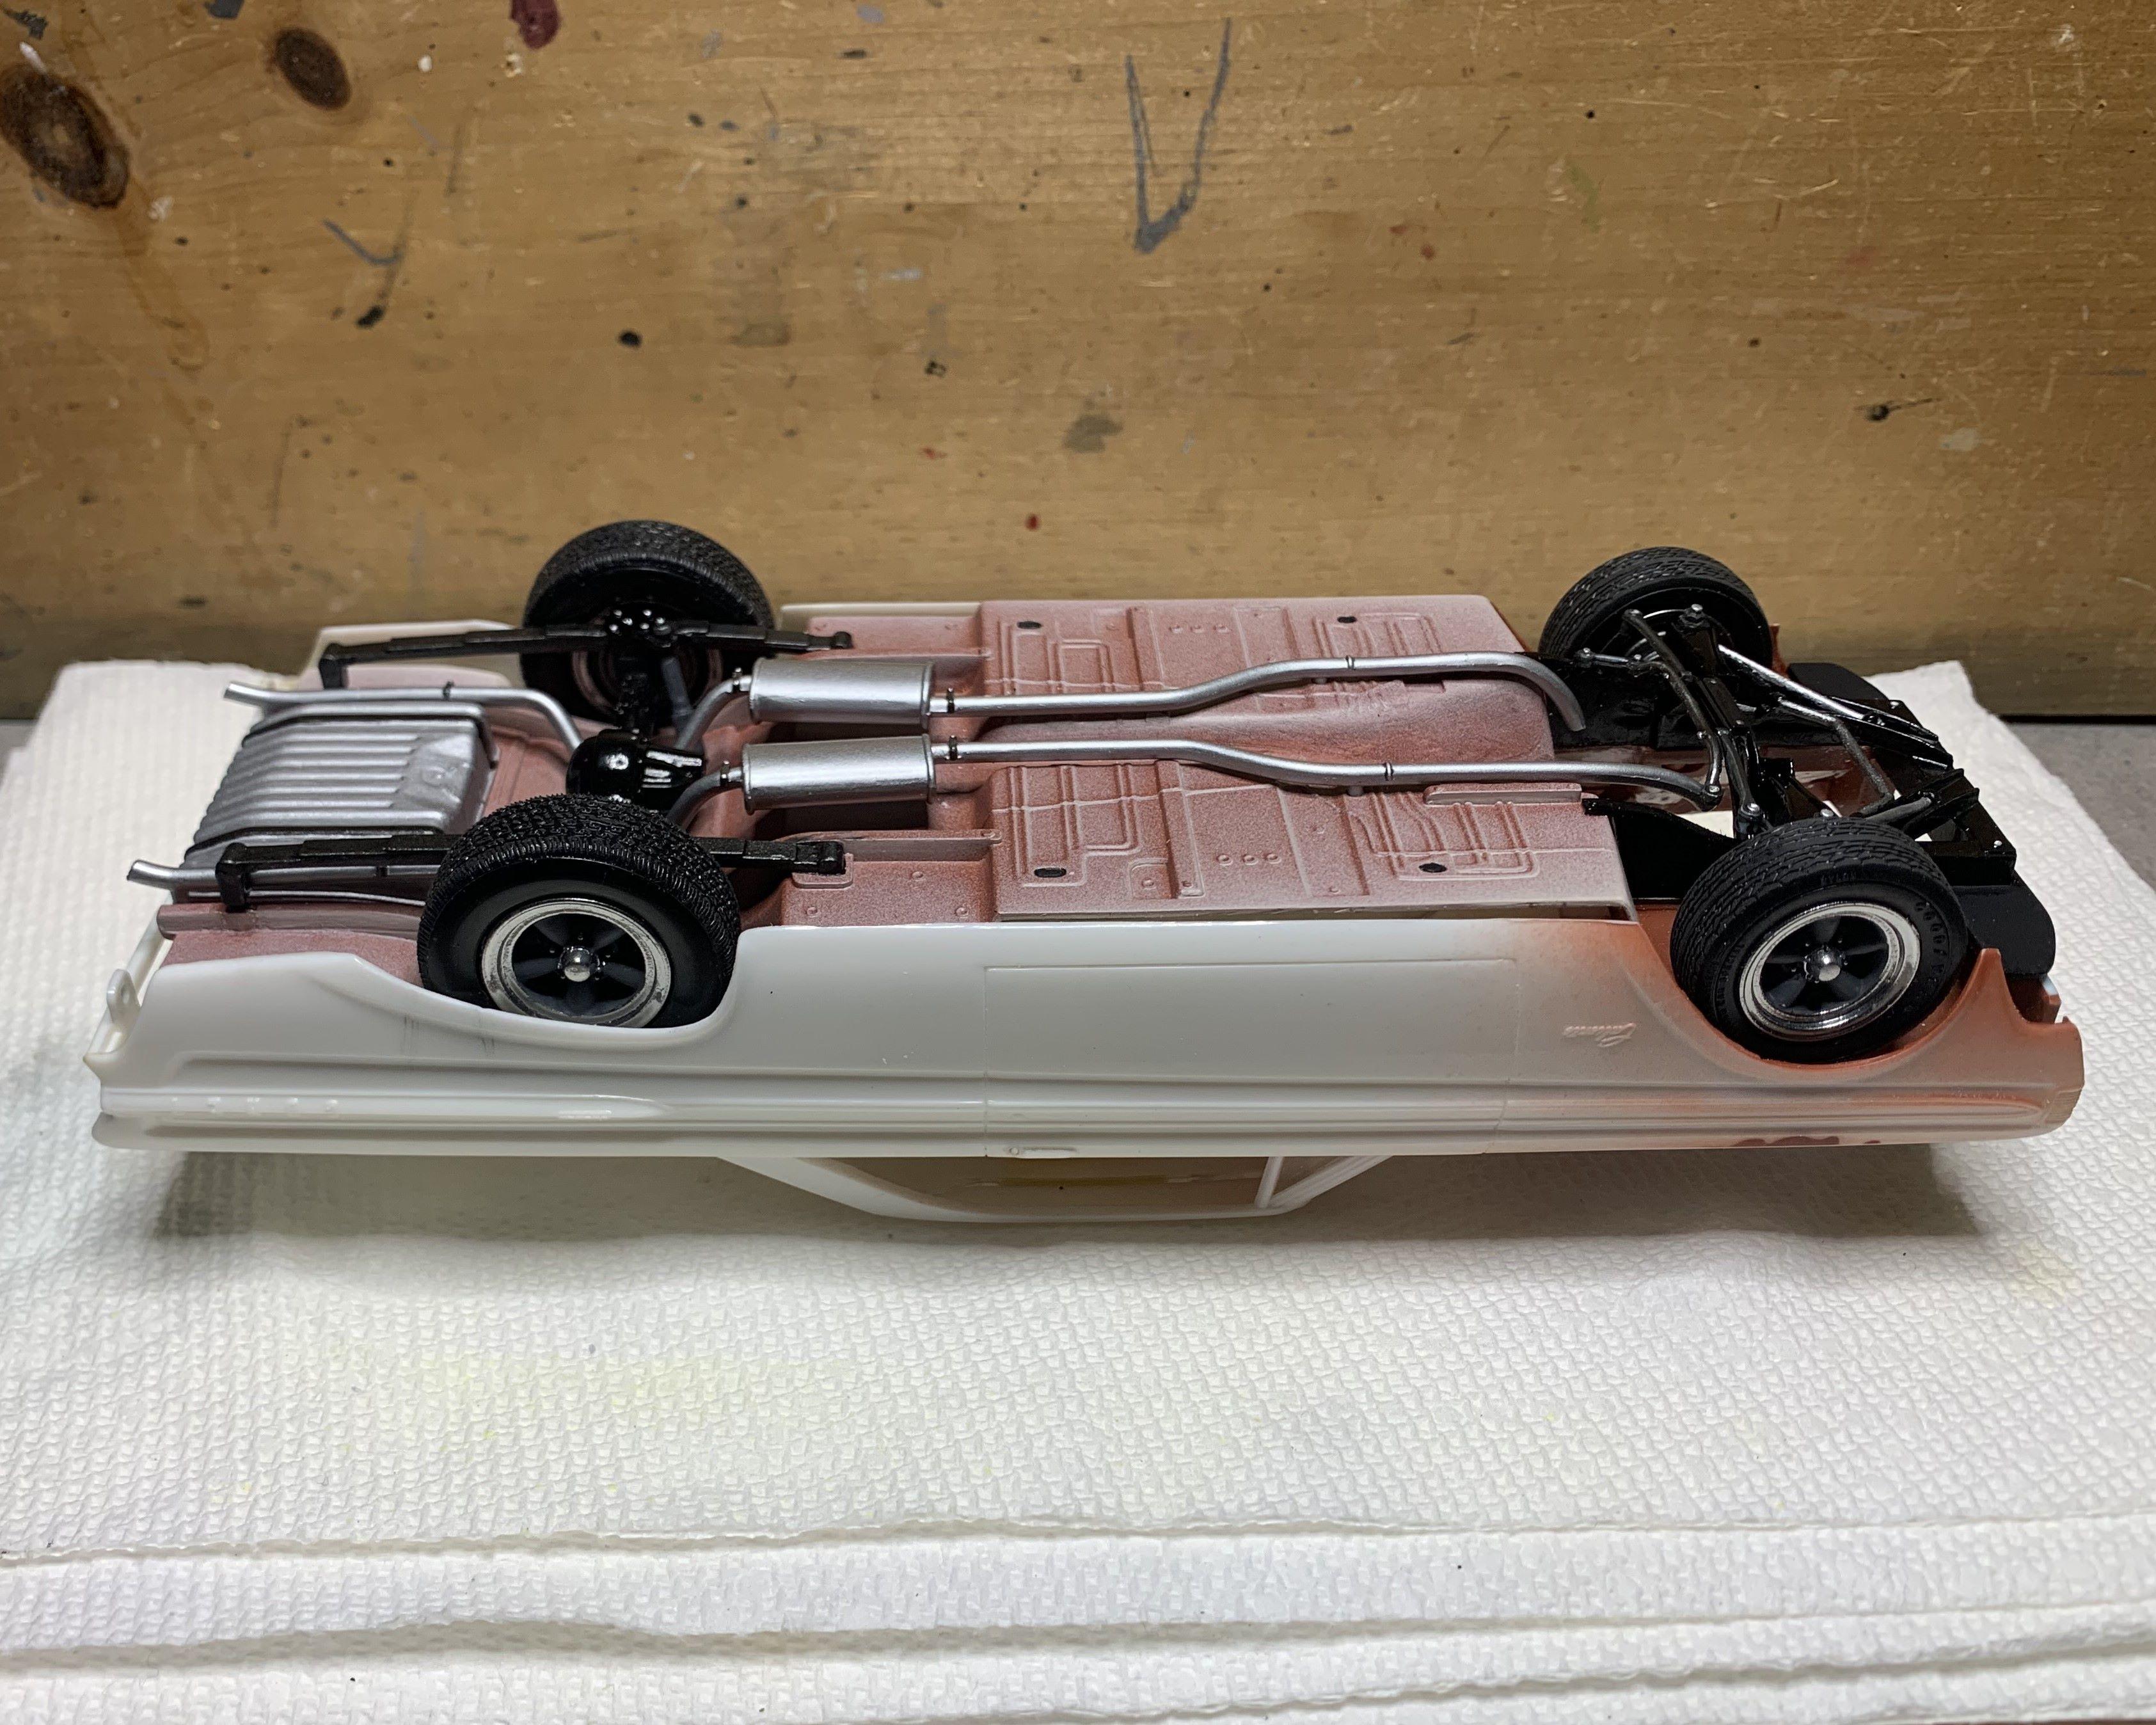
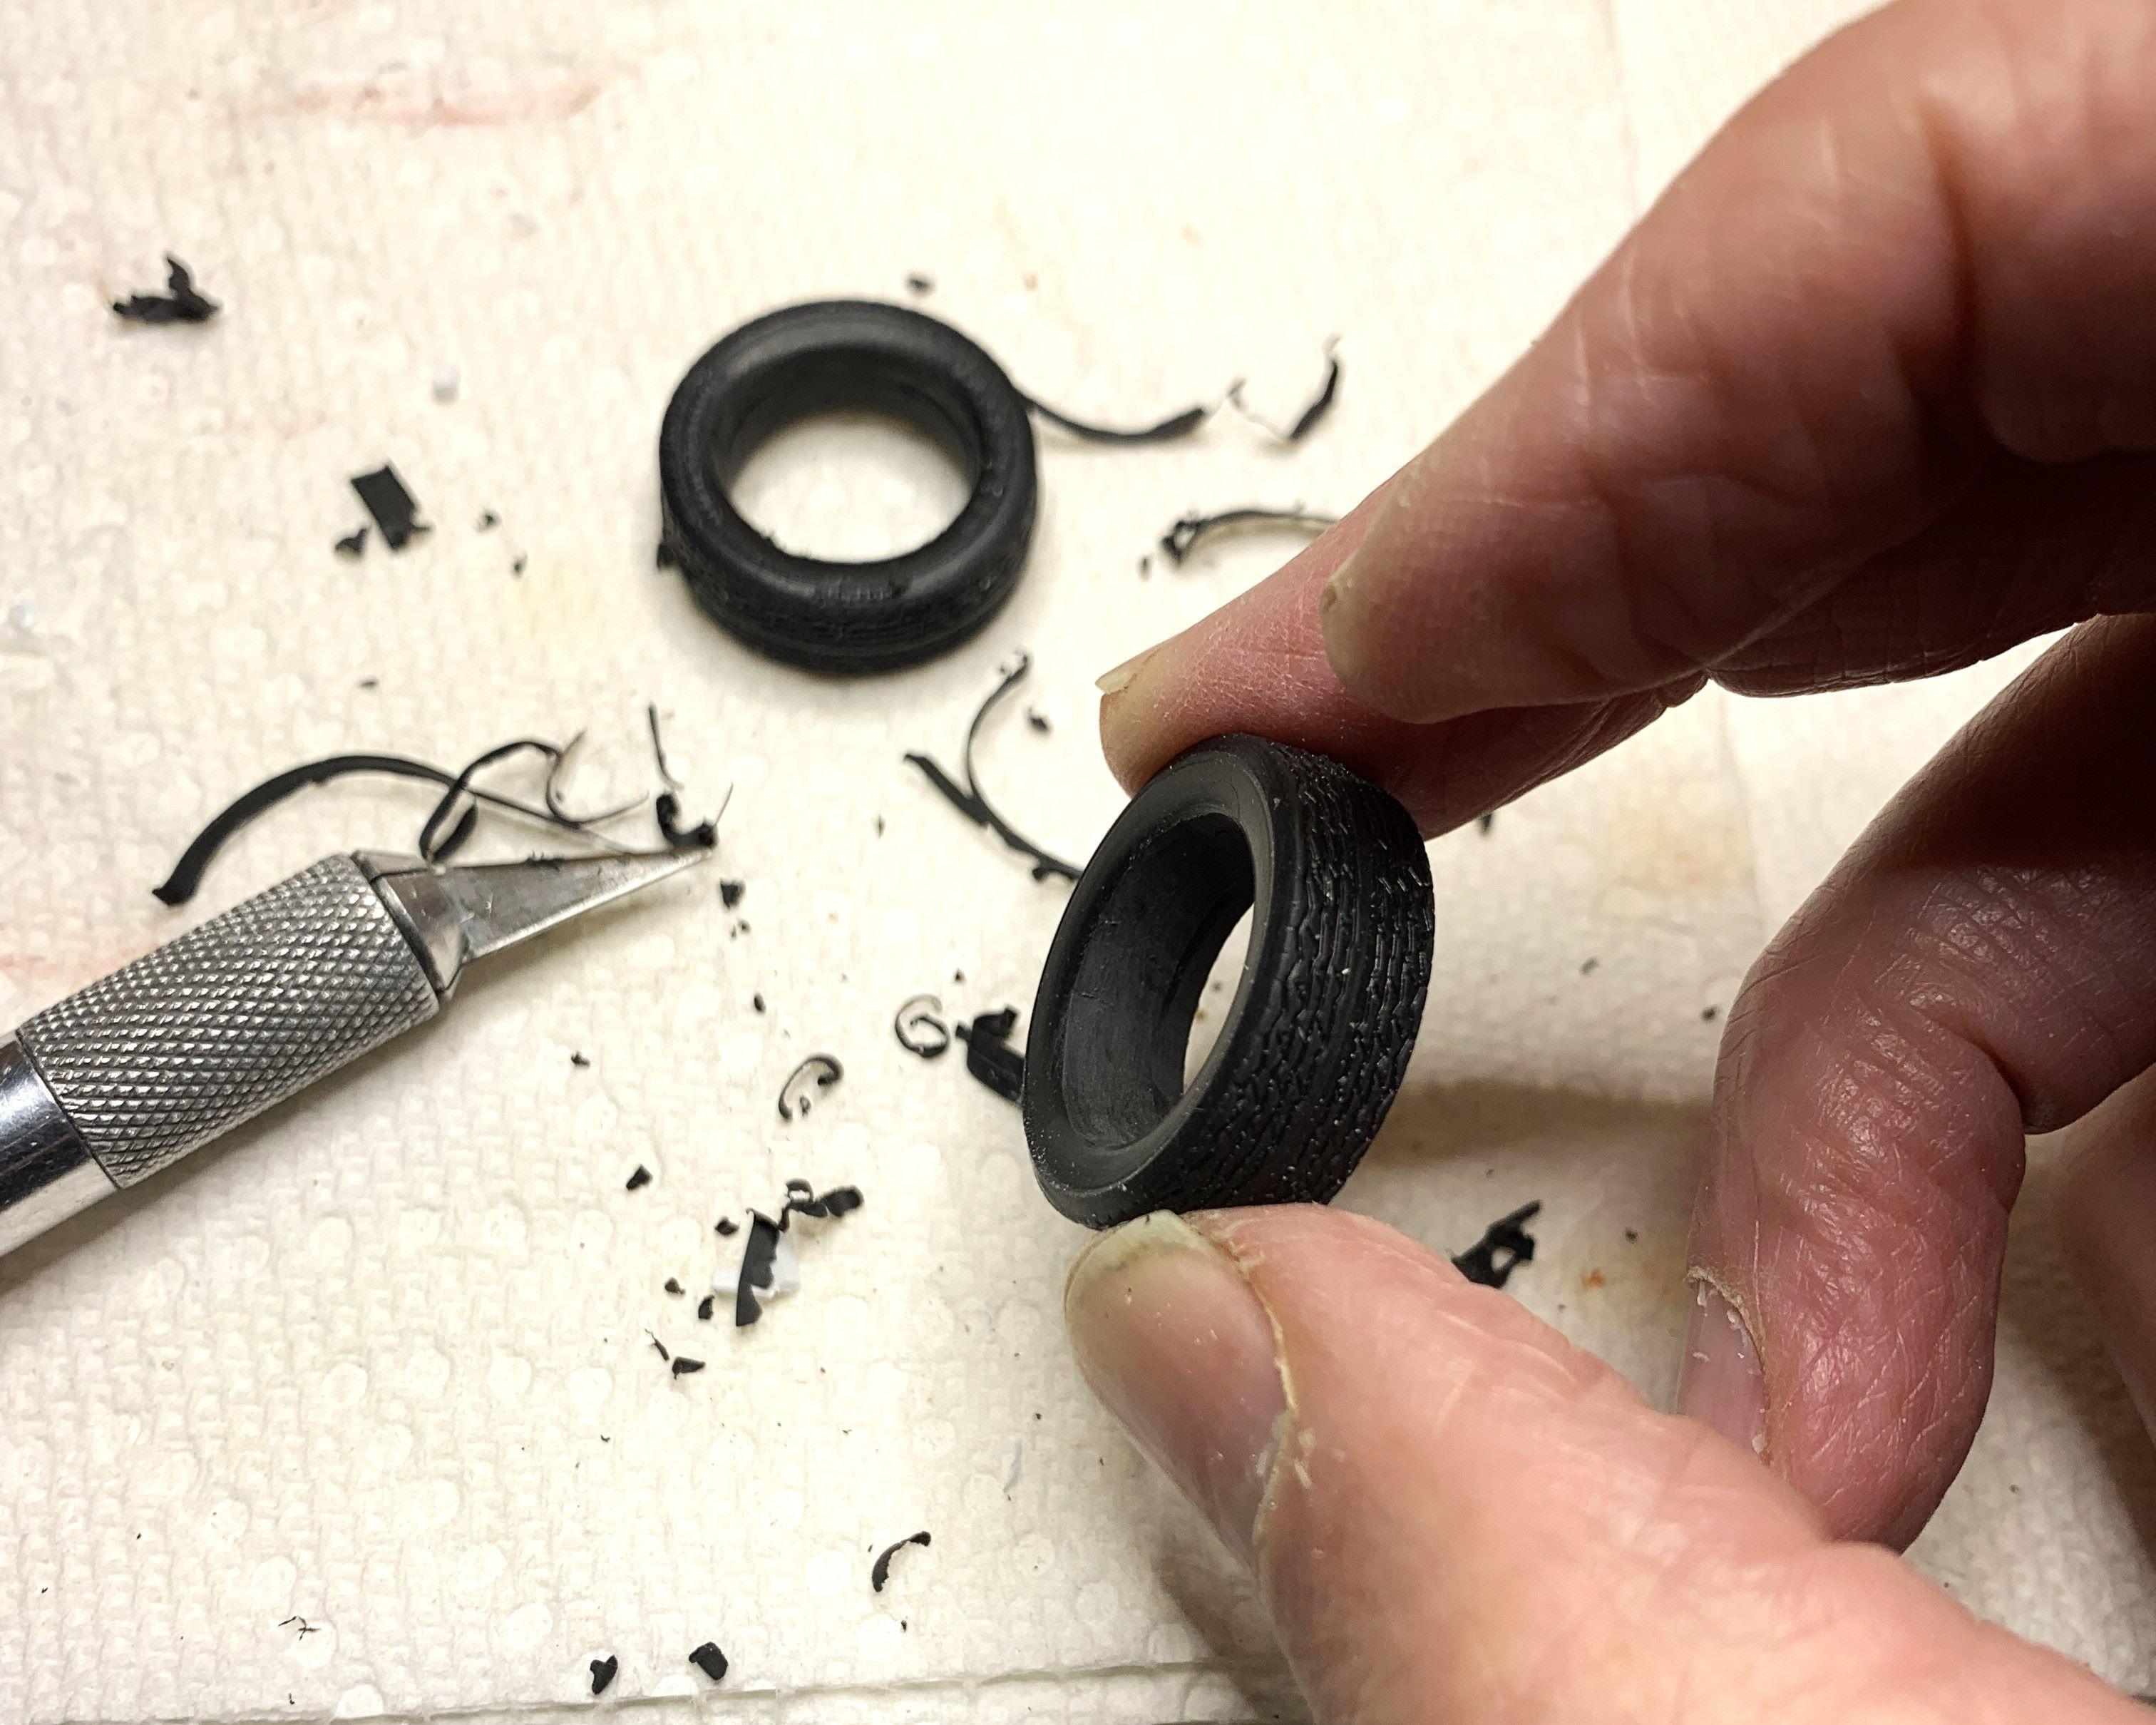
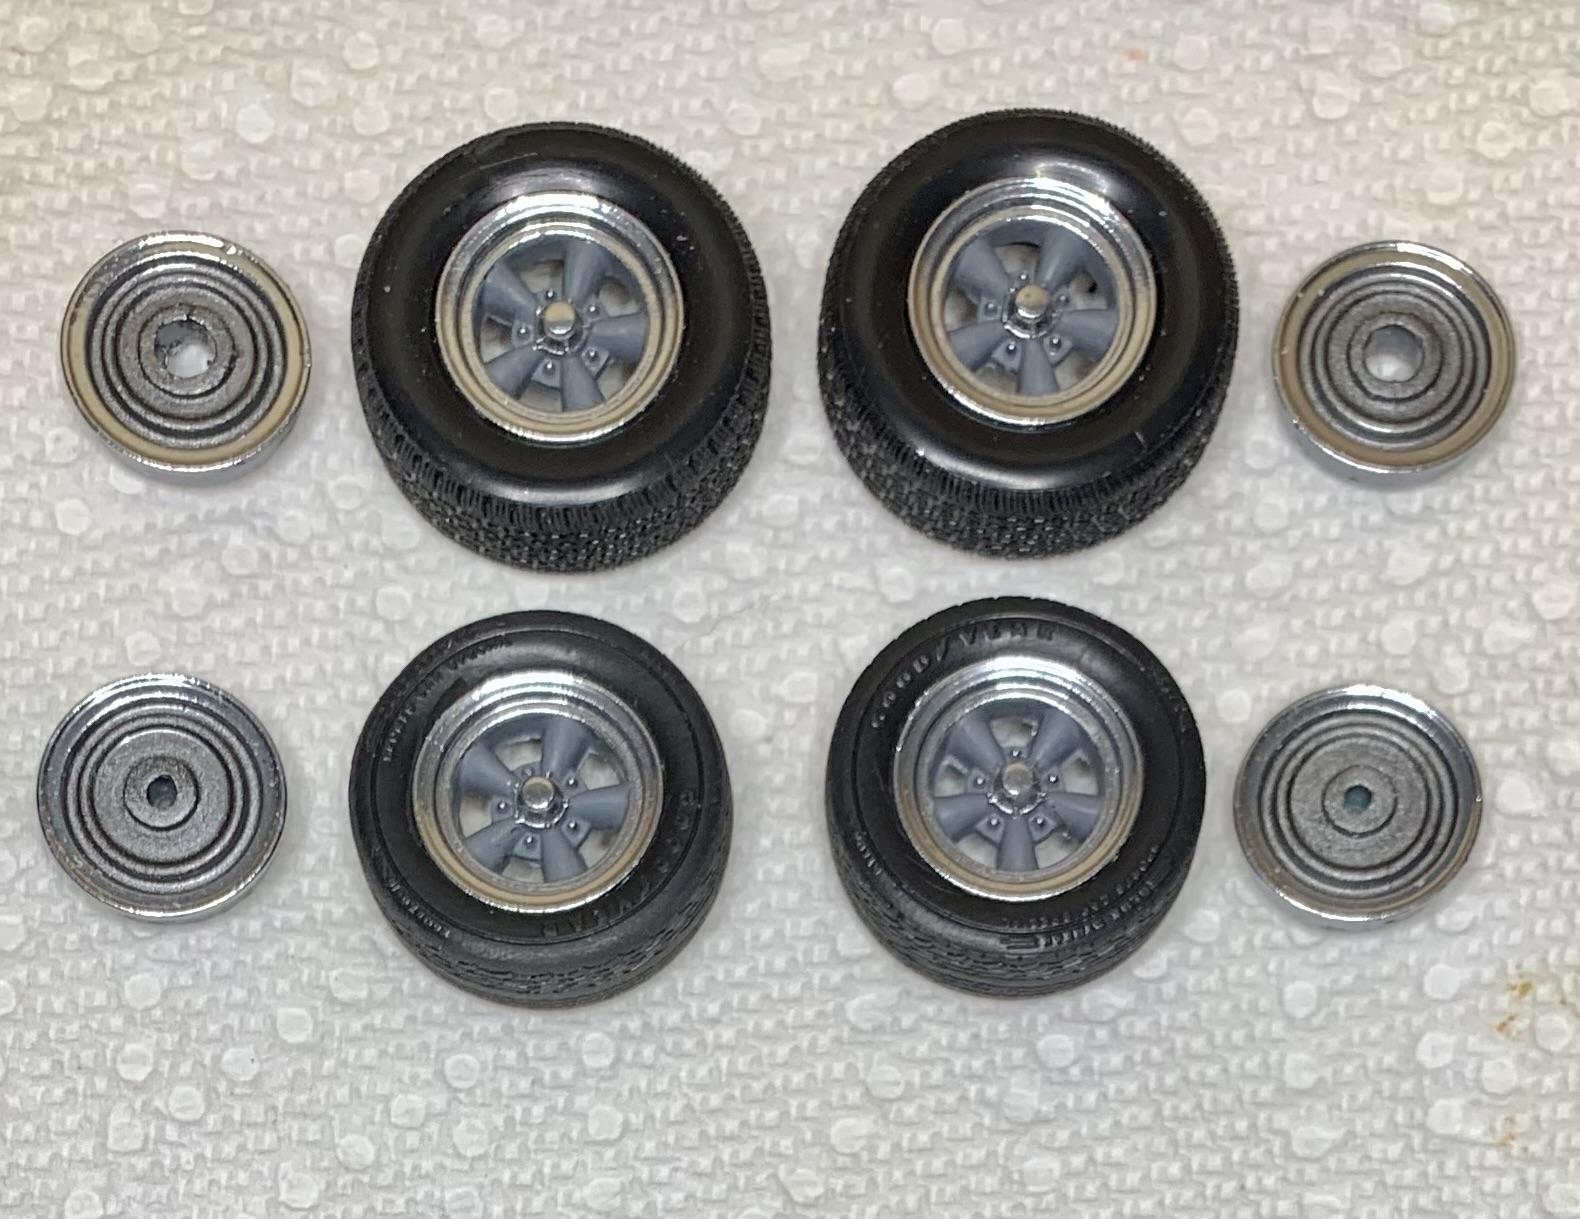
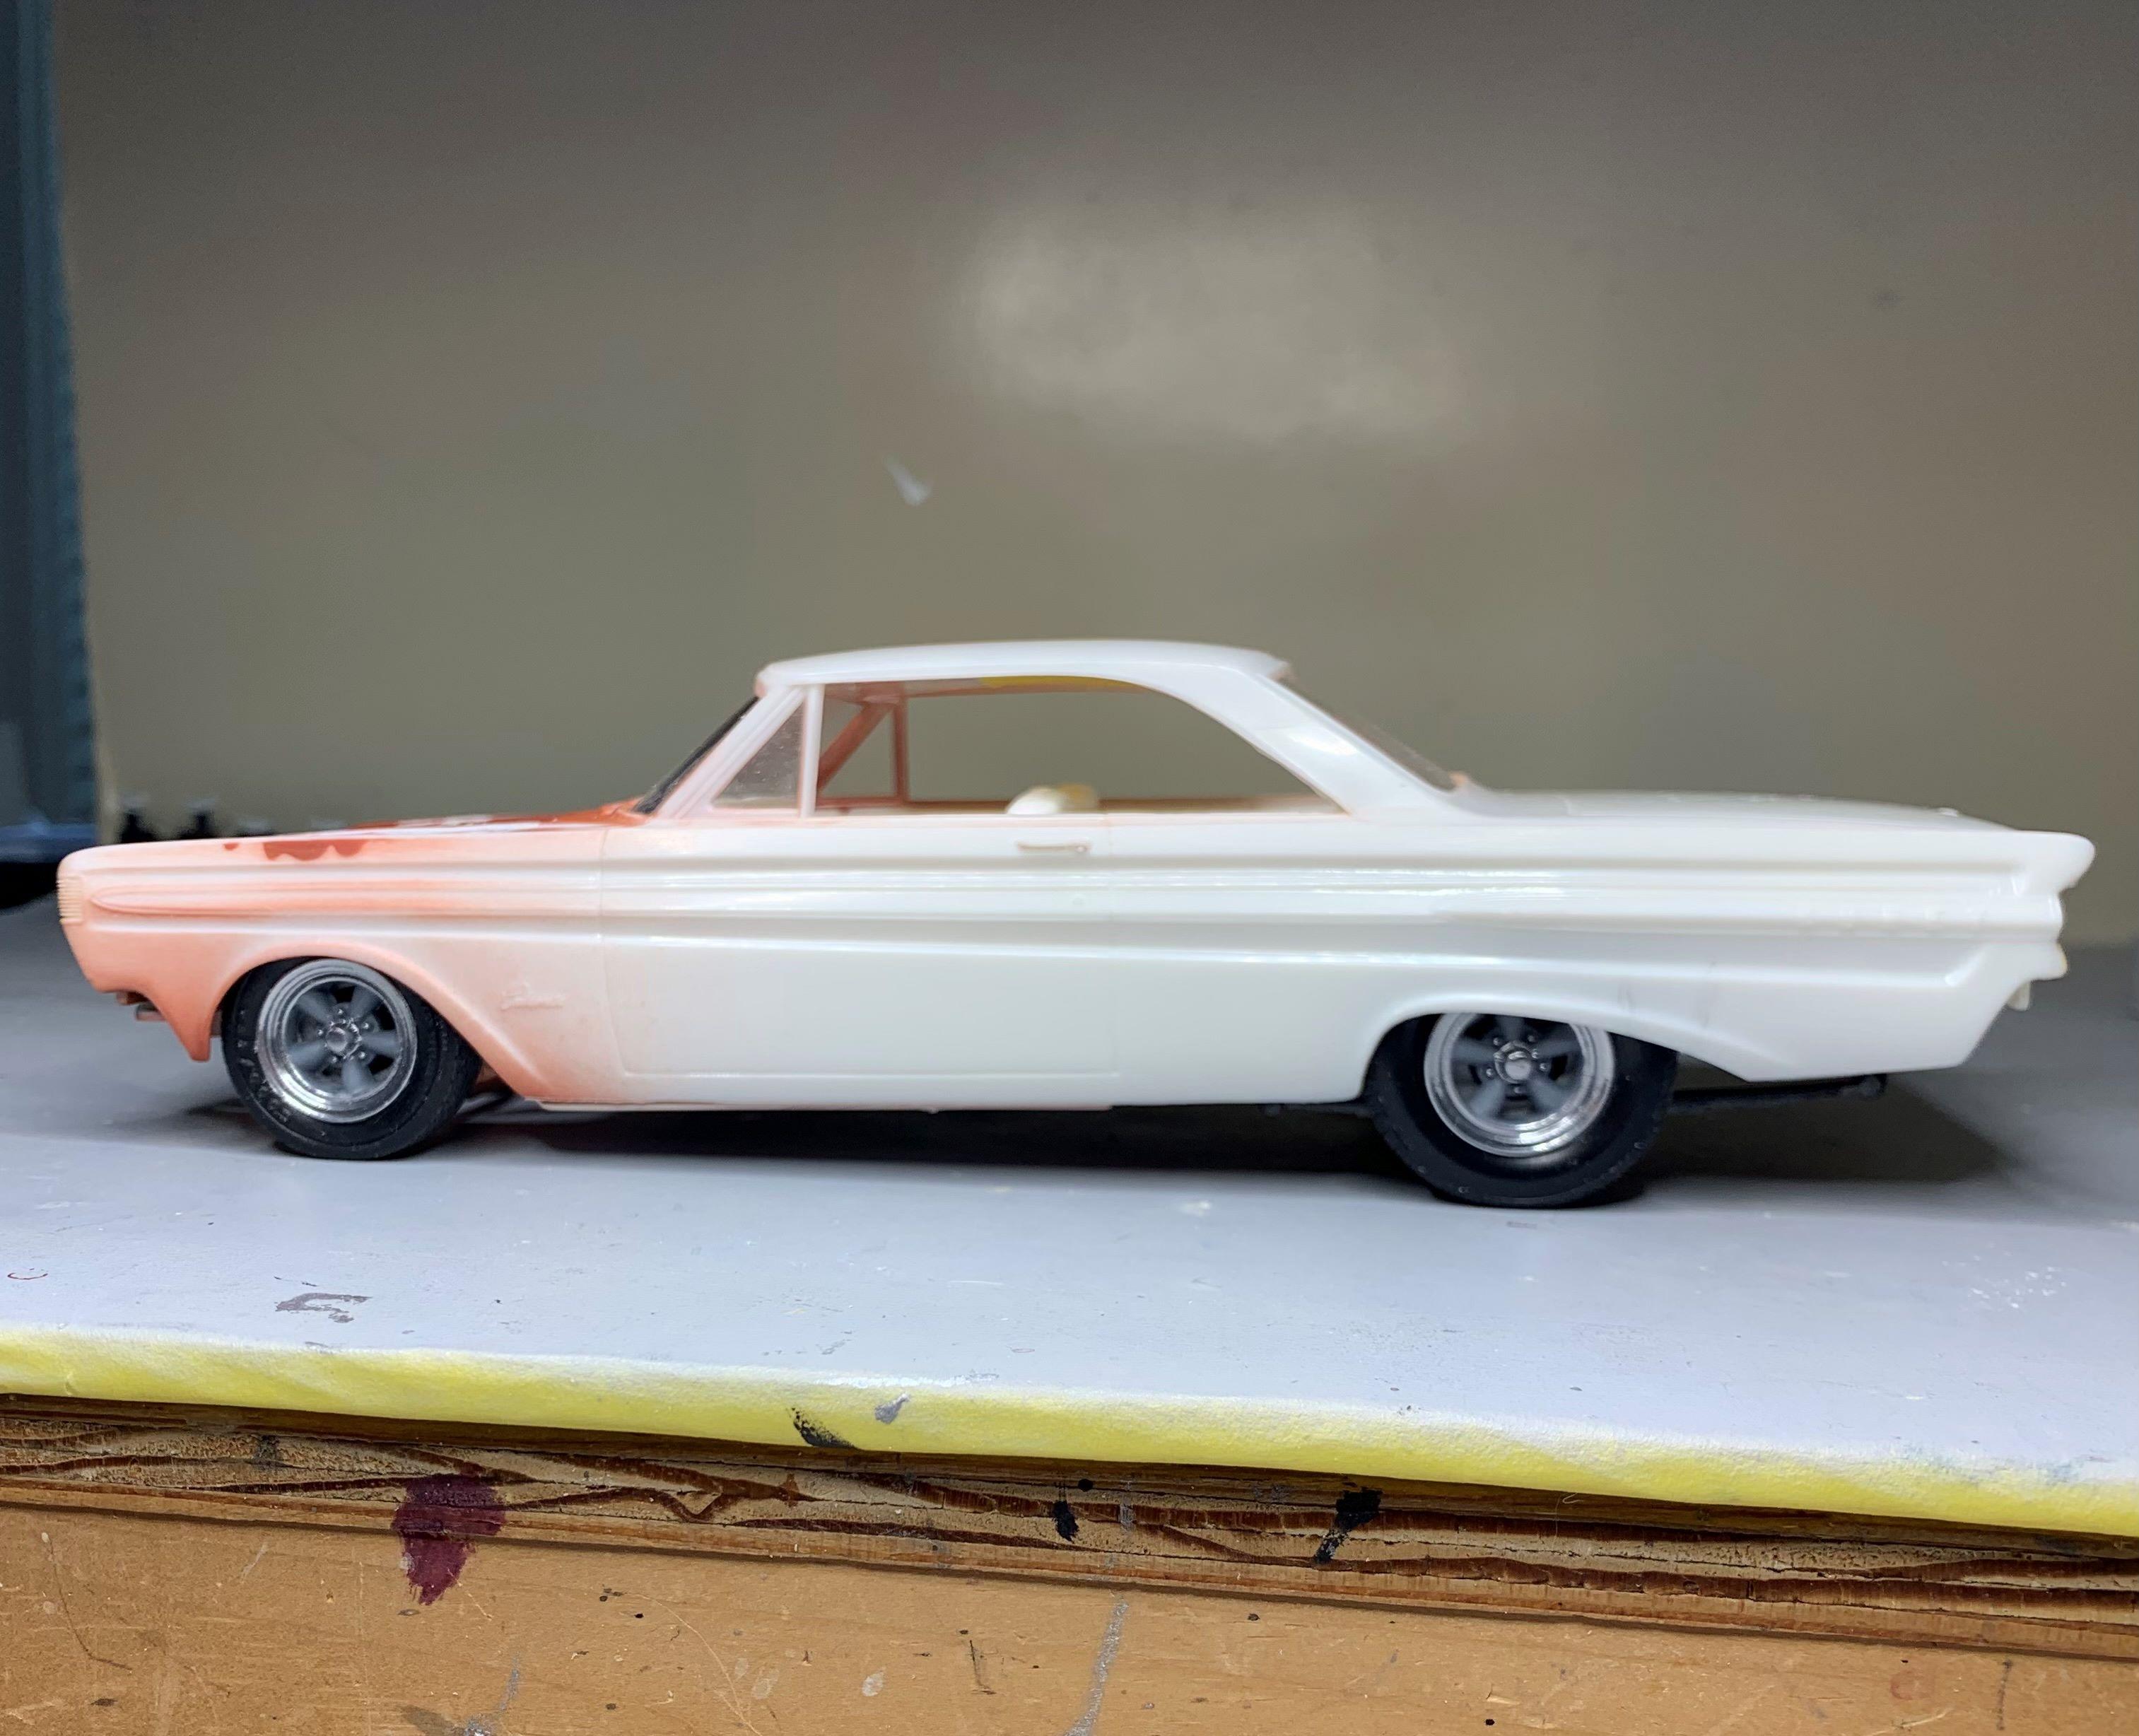
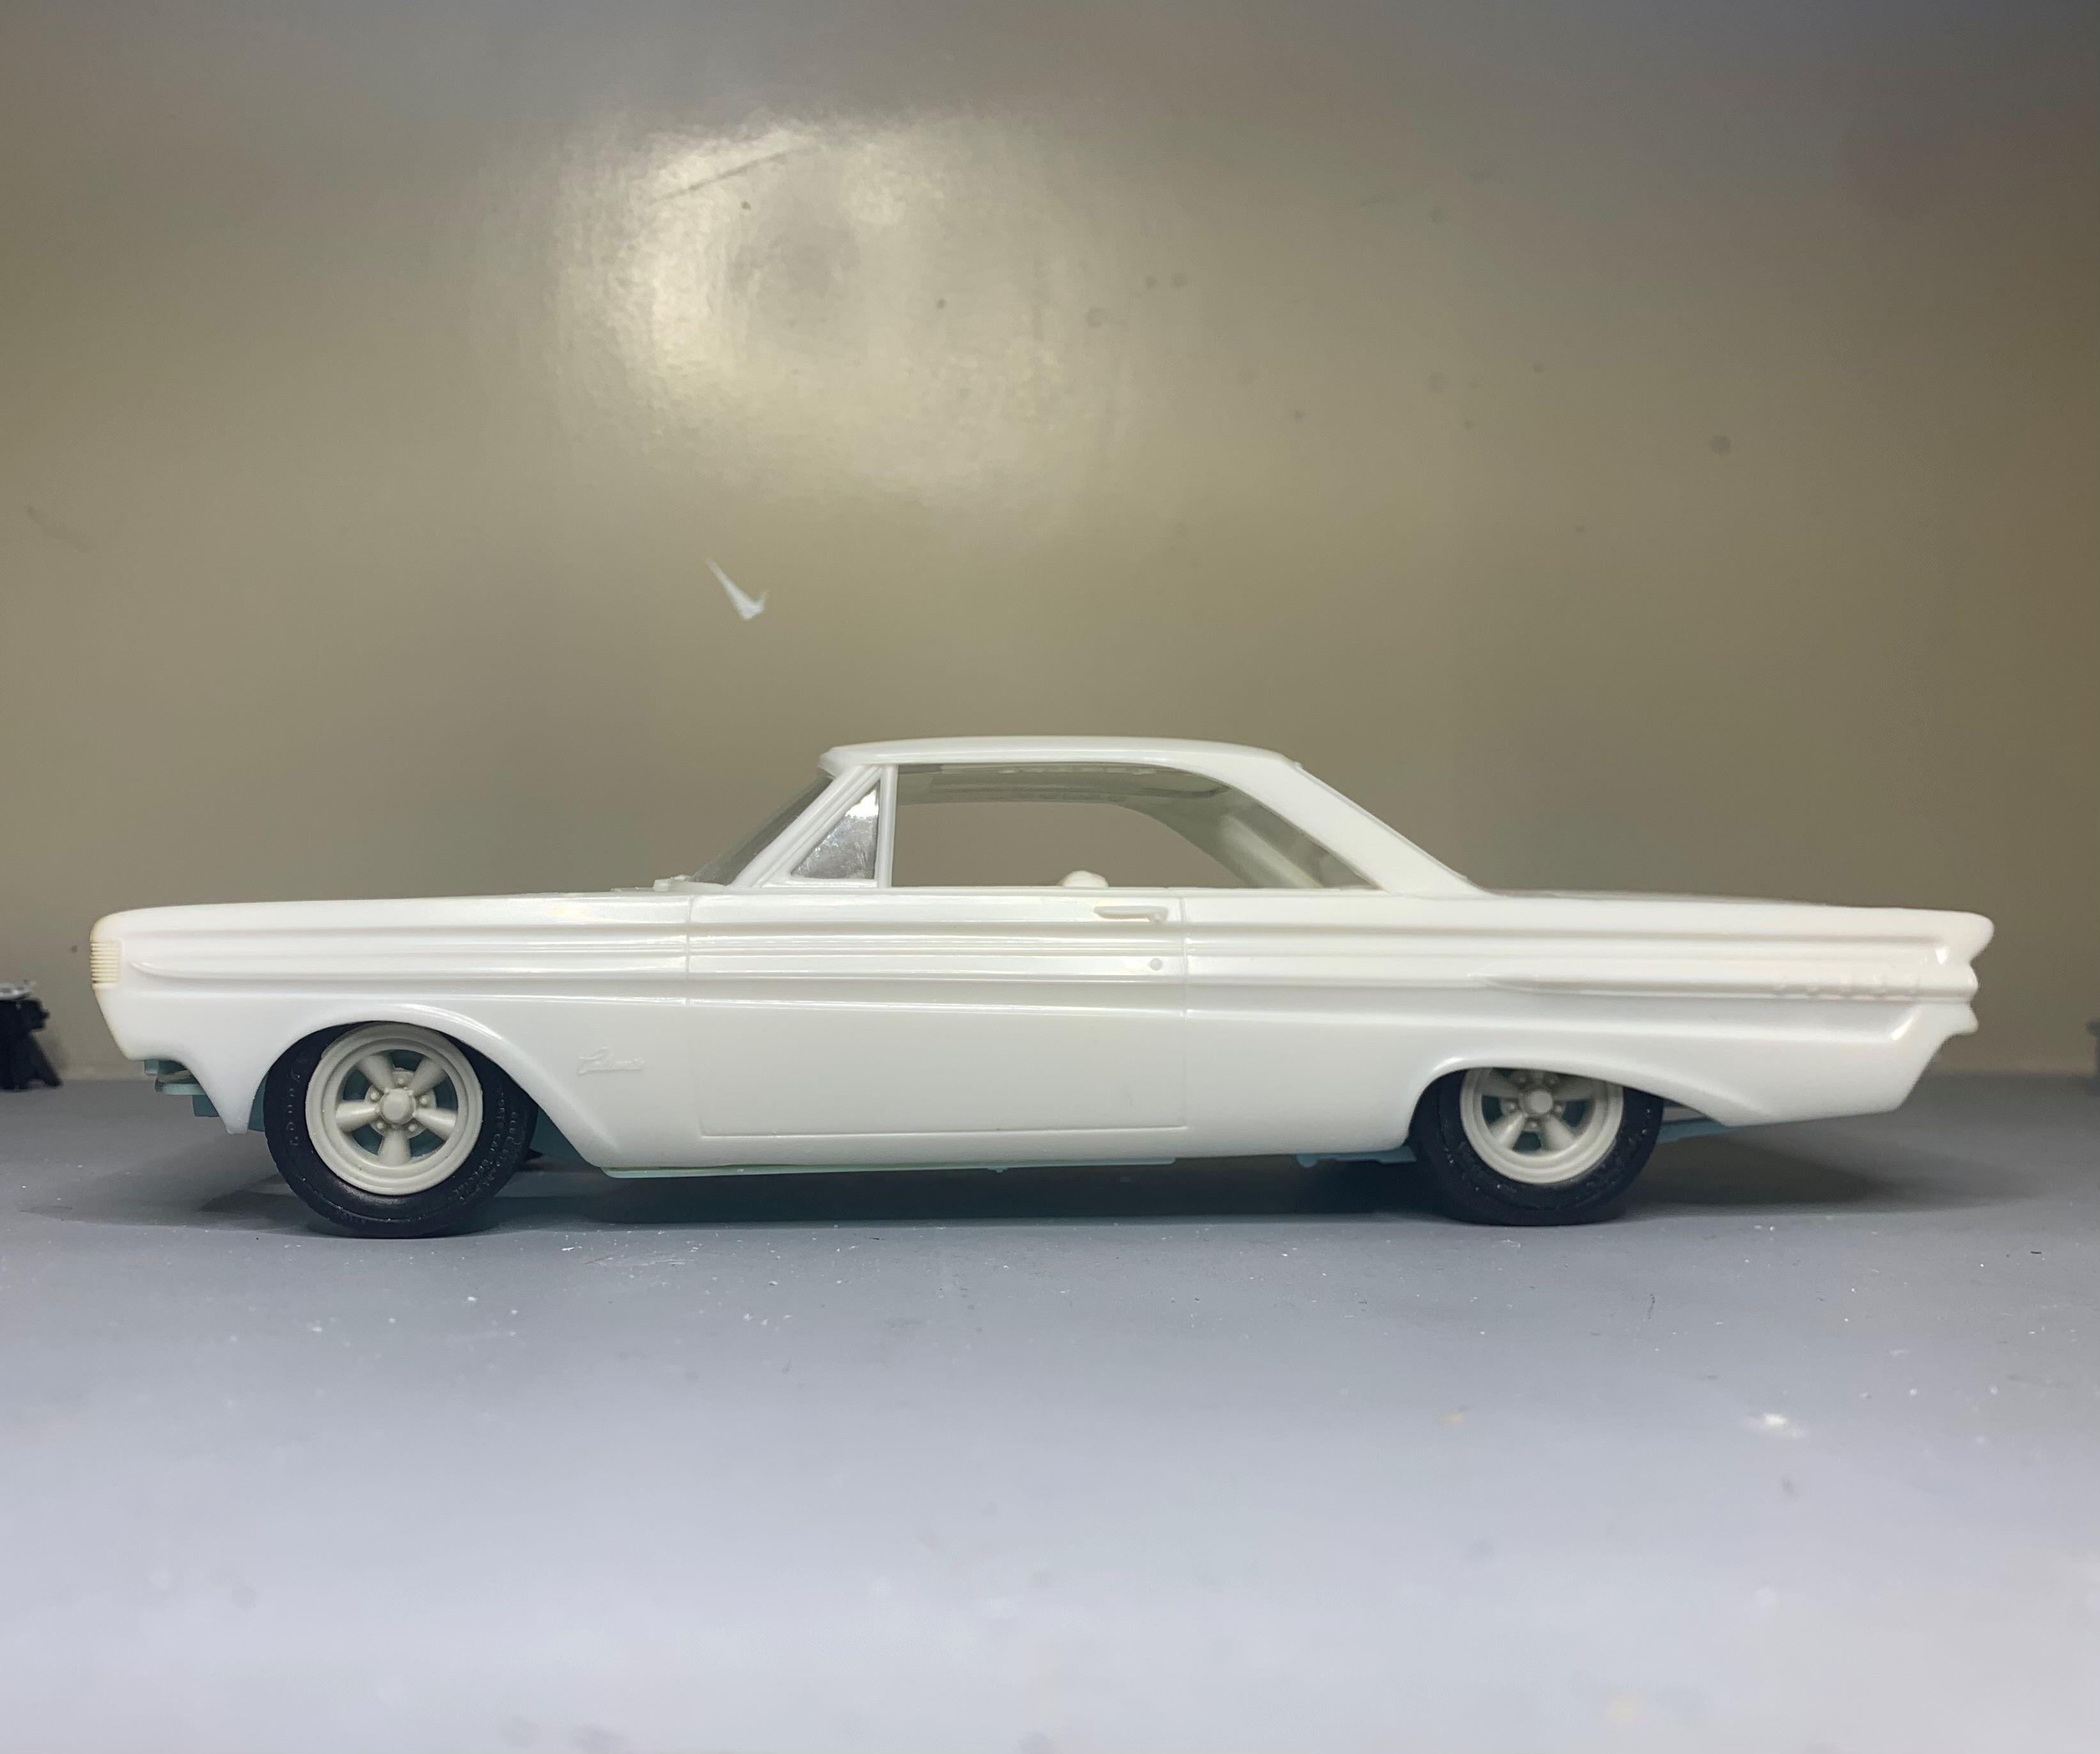
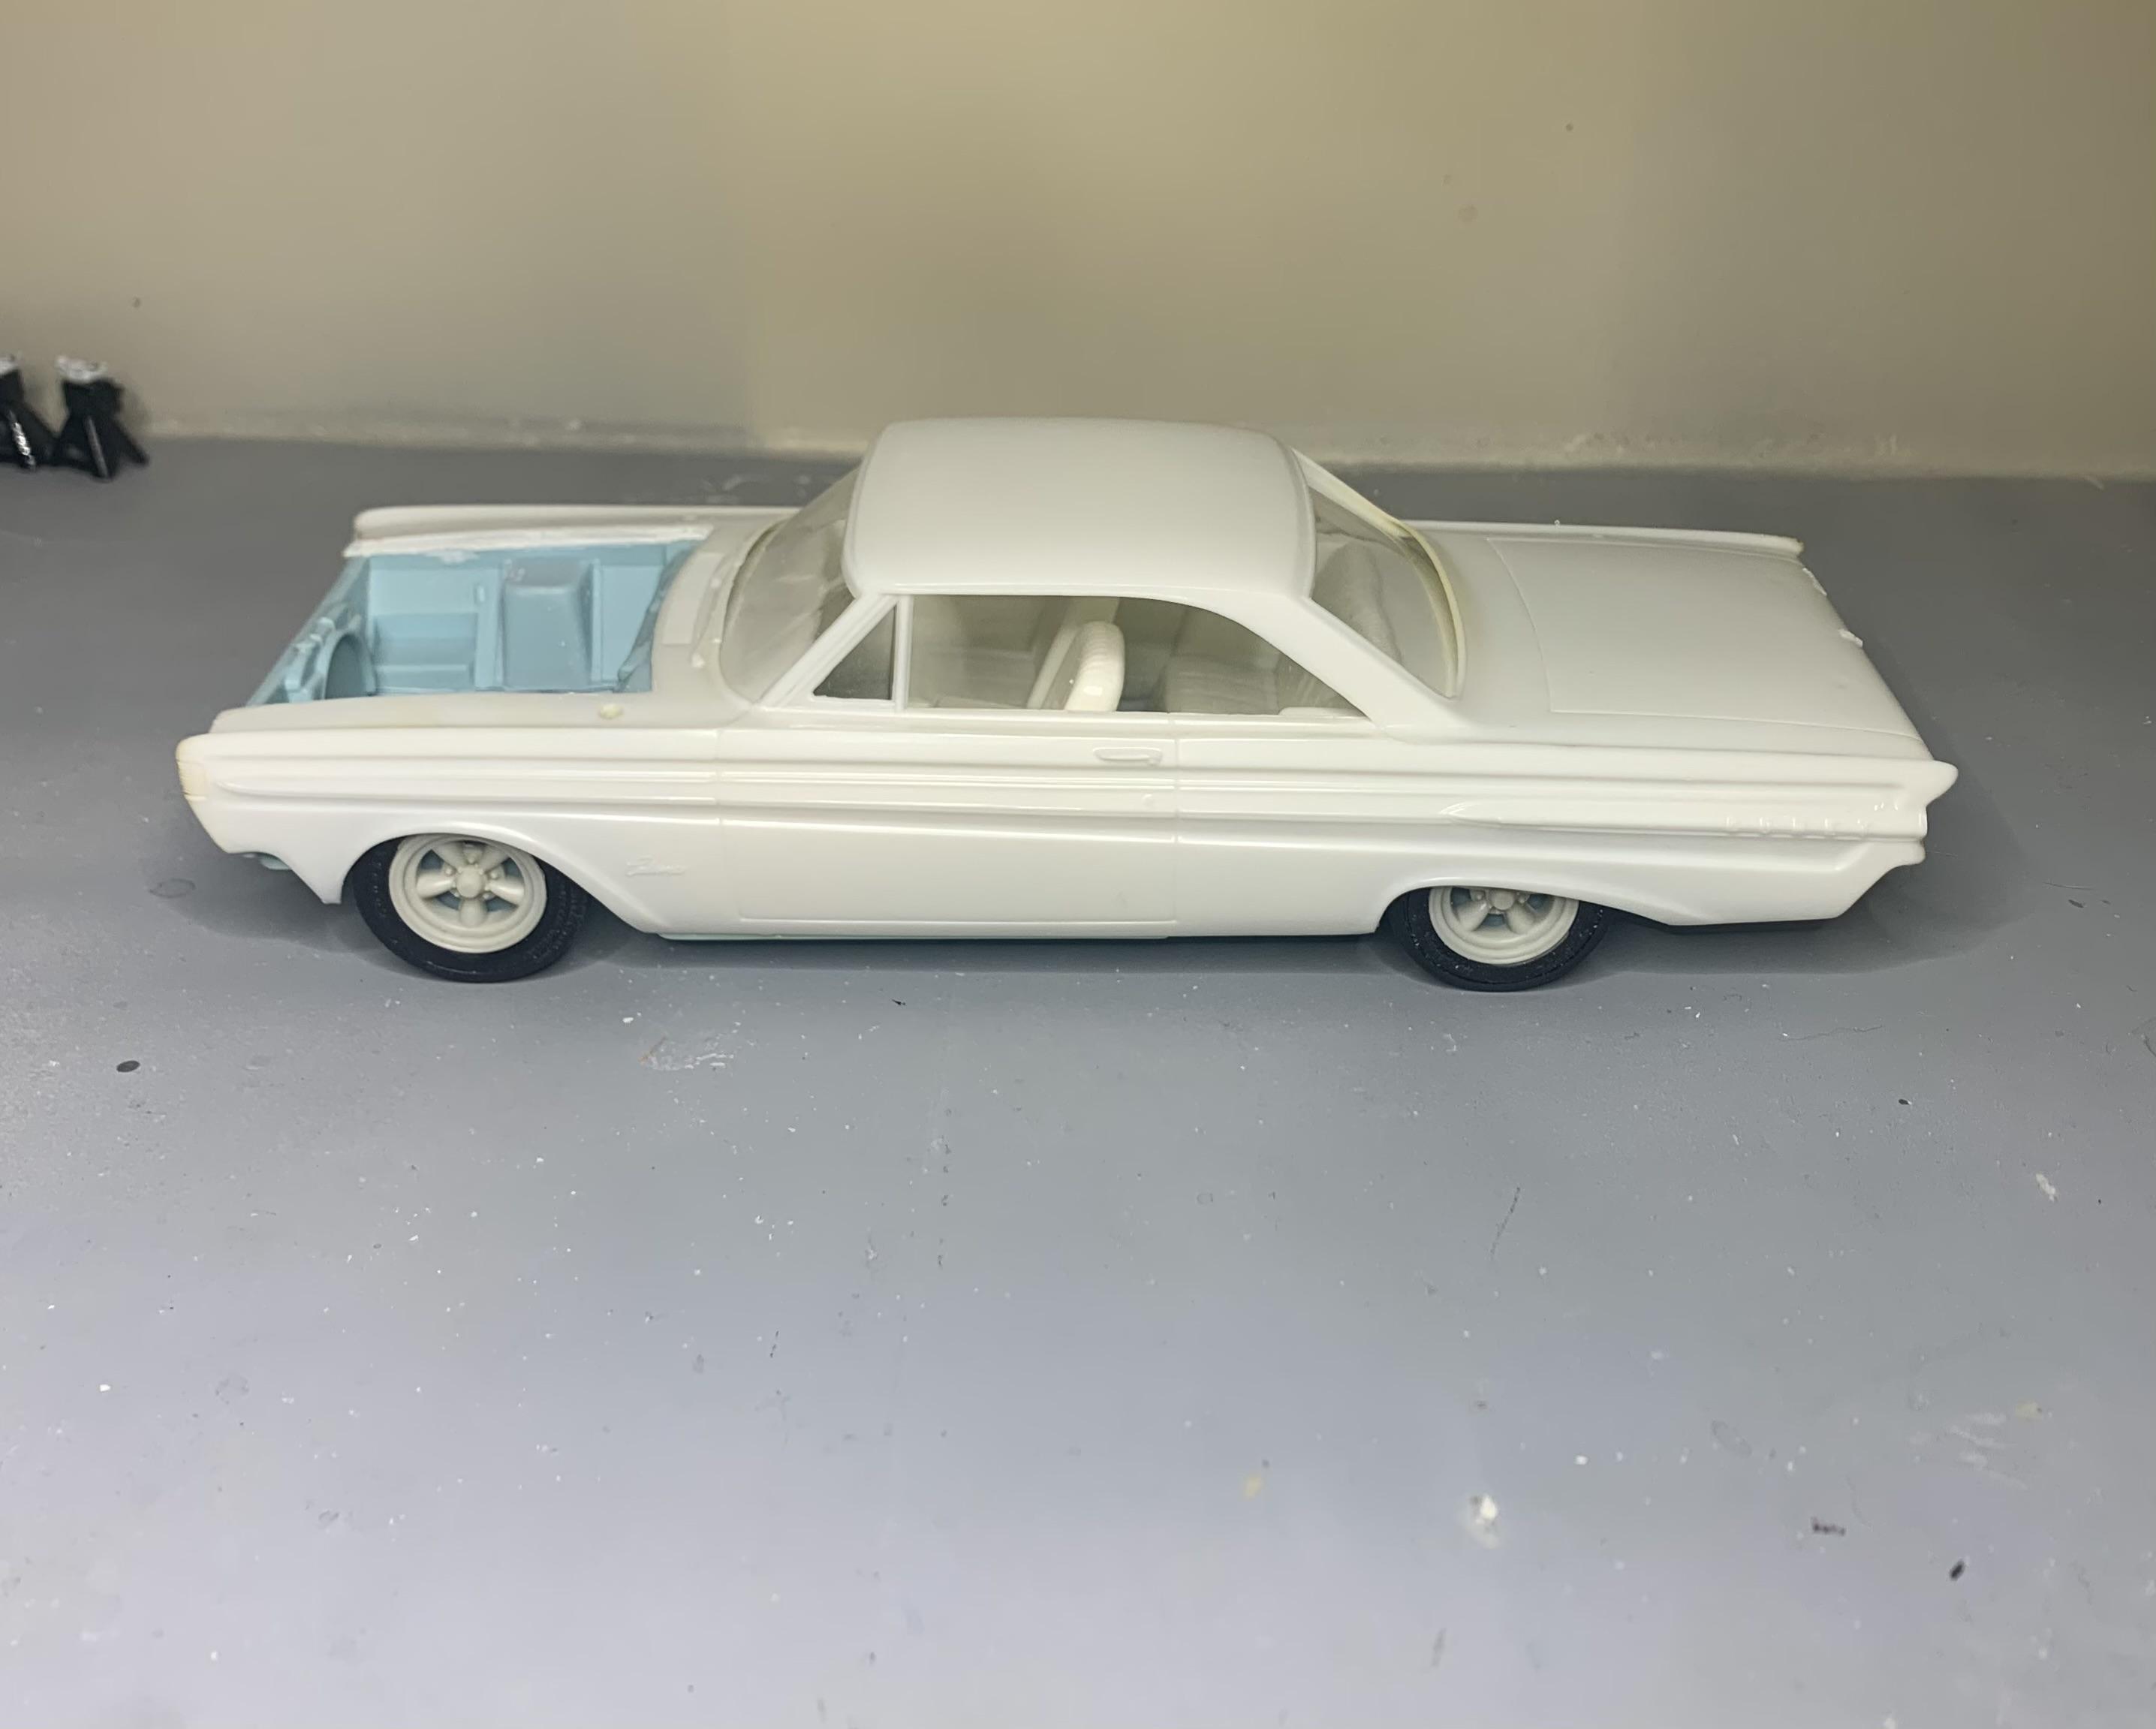
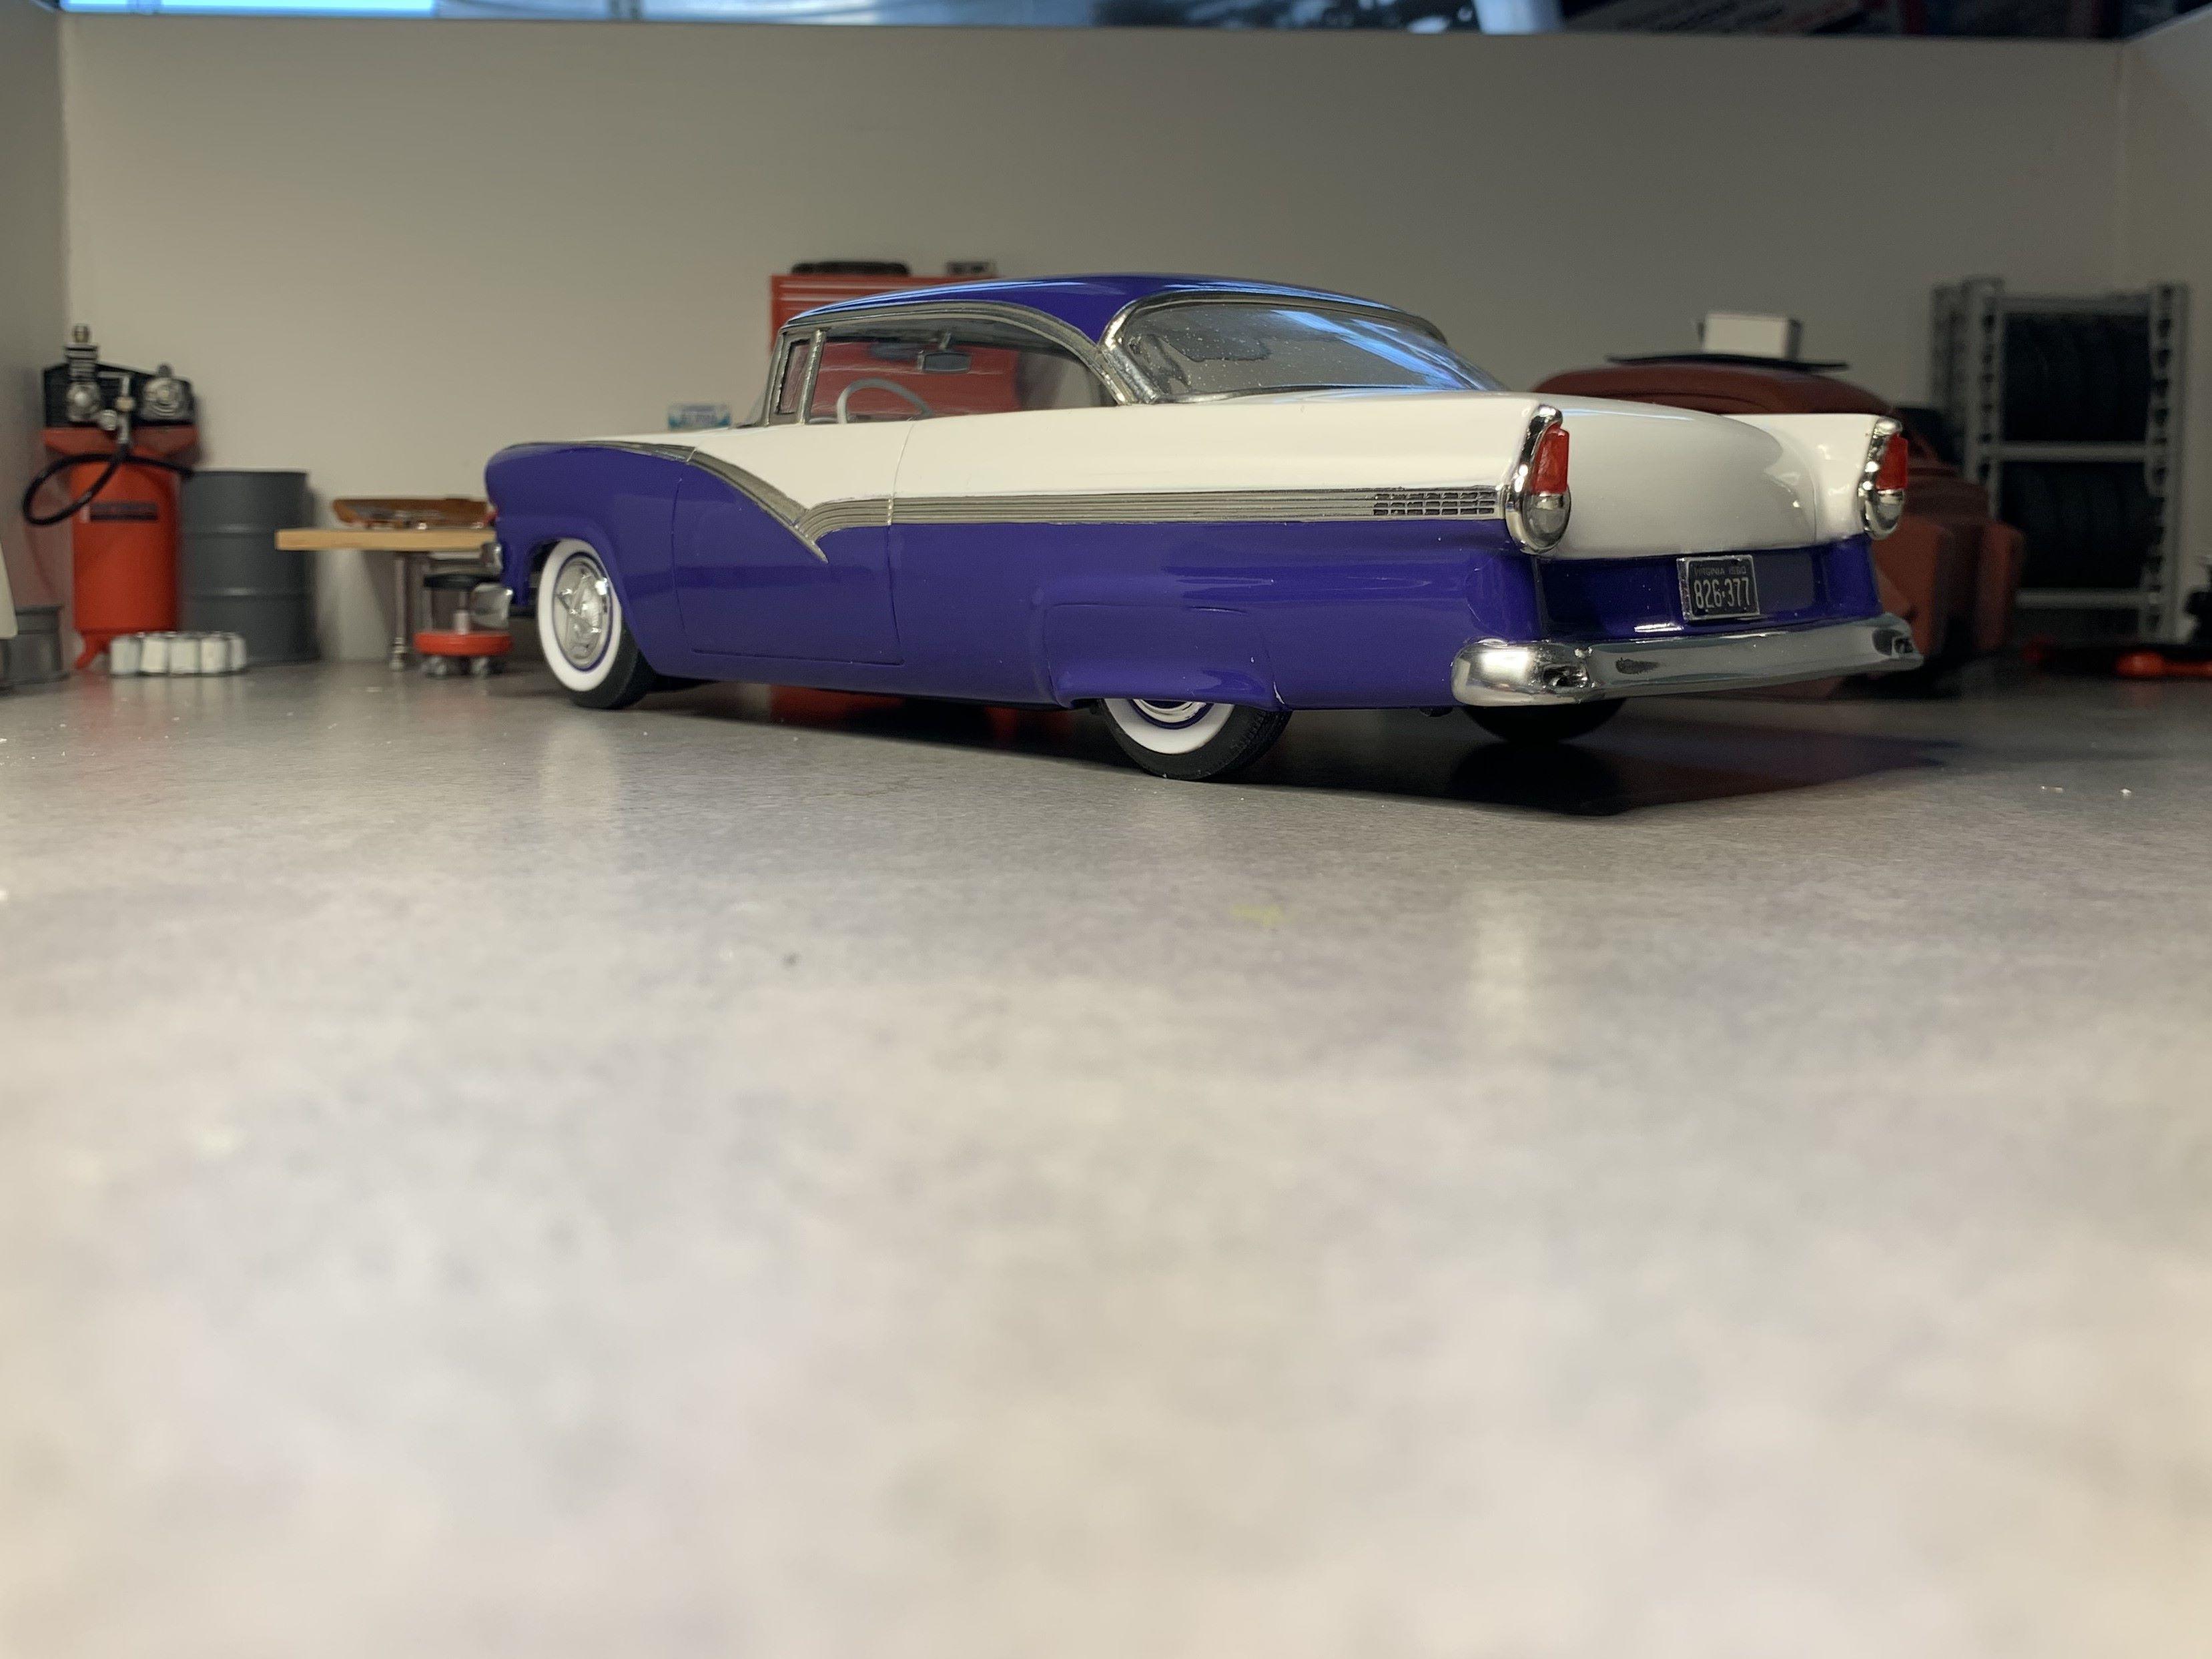
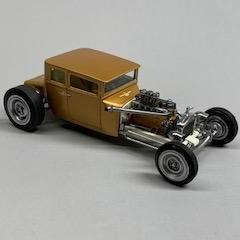
Wheels are the unpainted mags from AMT's '62 Chevy kit. Rear tires are from Revell's '40 Ford coupe street rod kit. Front tires are from Revell's '66 GTO or most newer Revell muscle car kits. I had to hog out all tires, inside and out, to fit the rims. As an experiment, I sprayed the rims, after primer, with Revell Chrome, which I've done many times, BUT then I sprayed Spazstix clear for chrome and it worked great! Spokes are brush painted Tamiya neutral grey acrylic. So here's the stance with the suspension mods and these wheels and tires, cheers!
- 17 replies
-
- 11
-

-
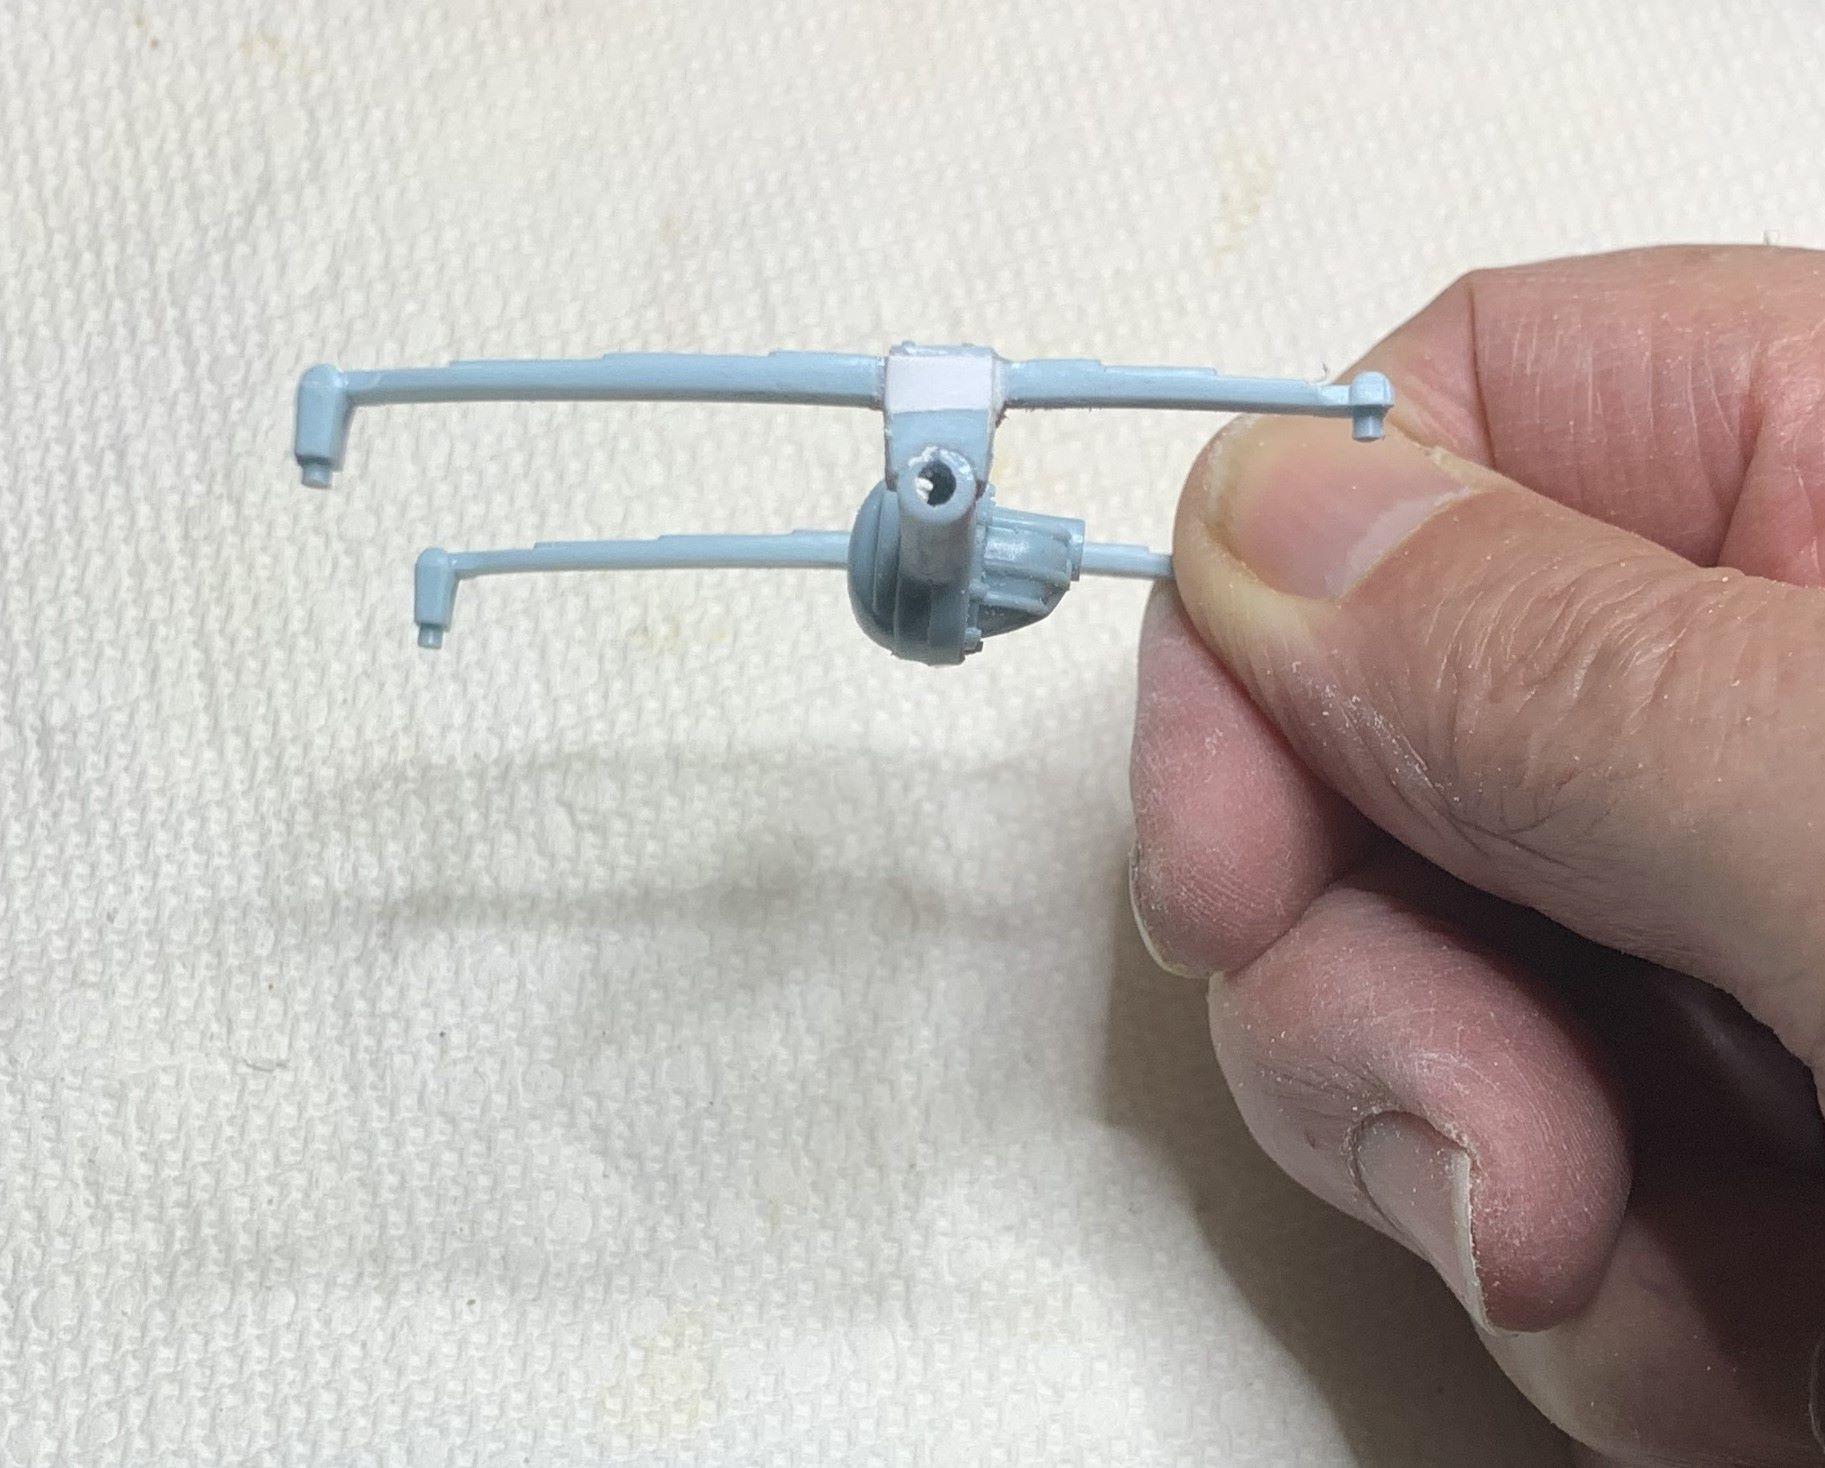
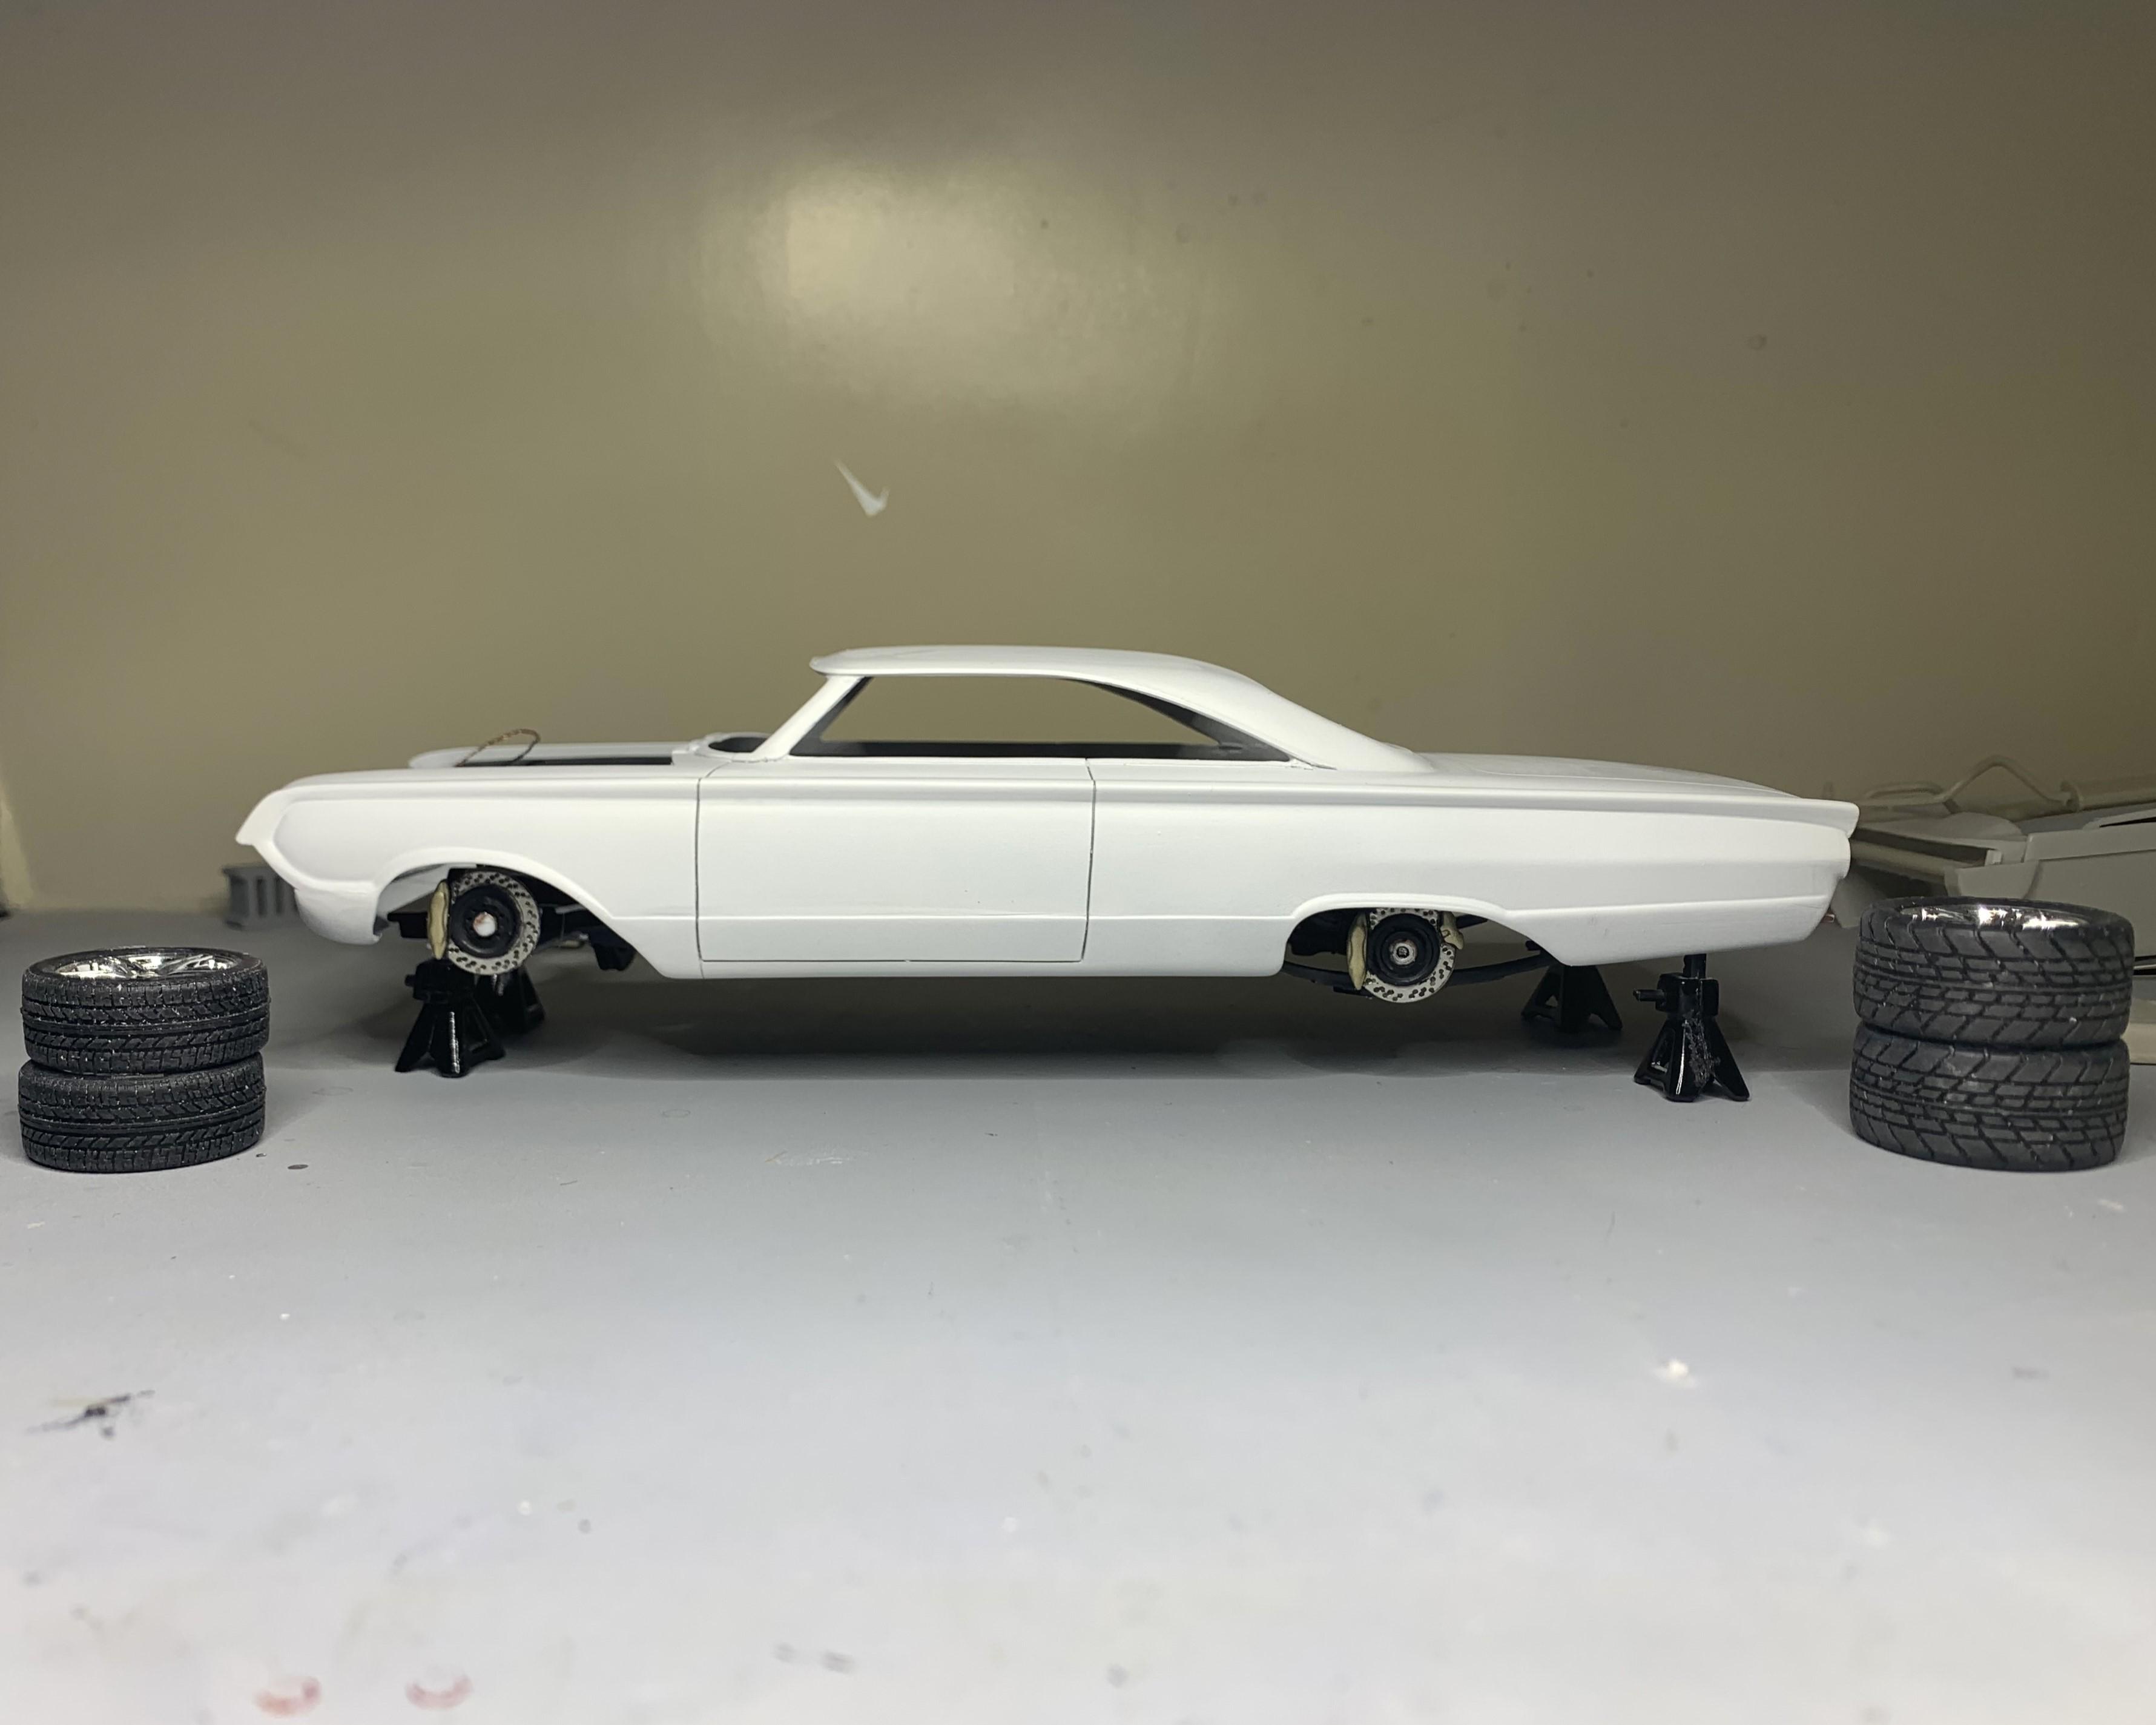
For the front, I just flipped the spindles upside down. They are different from top to bottom so the lower holes needed to be elongated and slanted to maintain level mounting pegs for the wheels. I also modified the lower front spring mounts to fit the chassis, not the inner fenders as AMT intended.
-
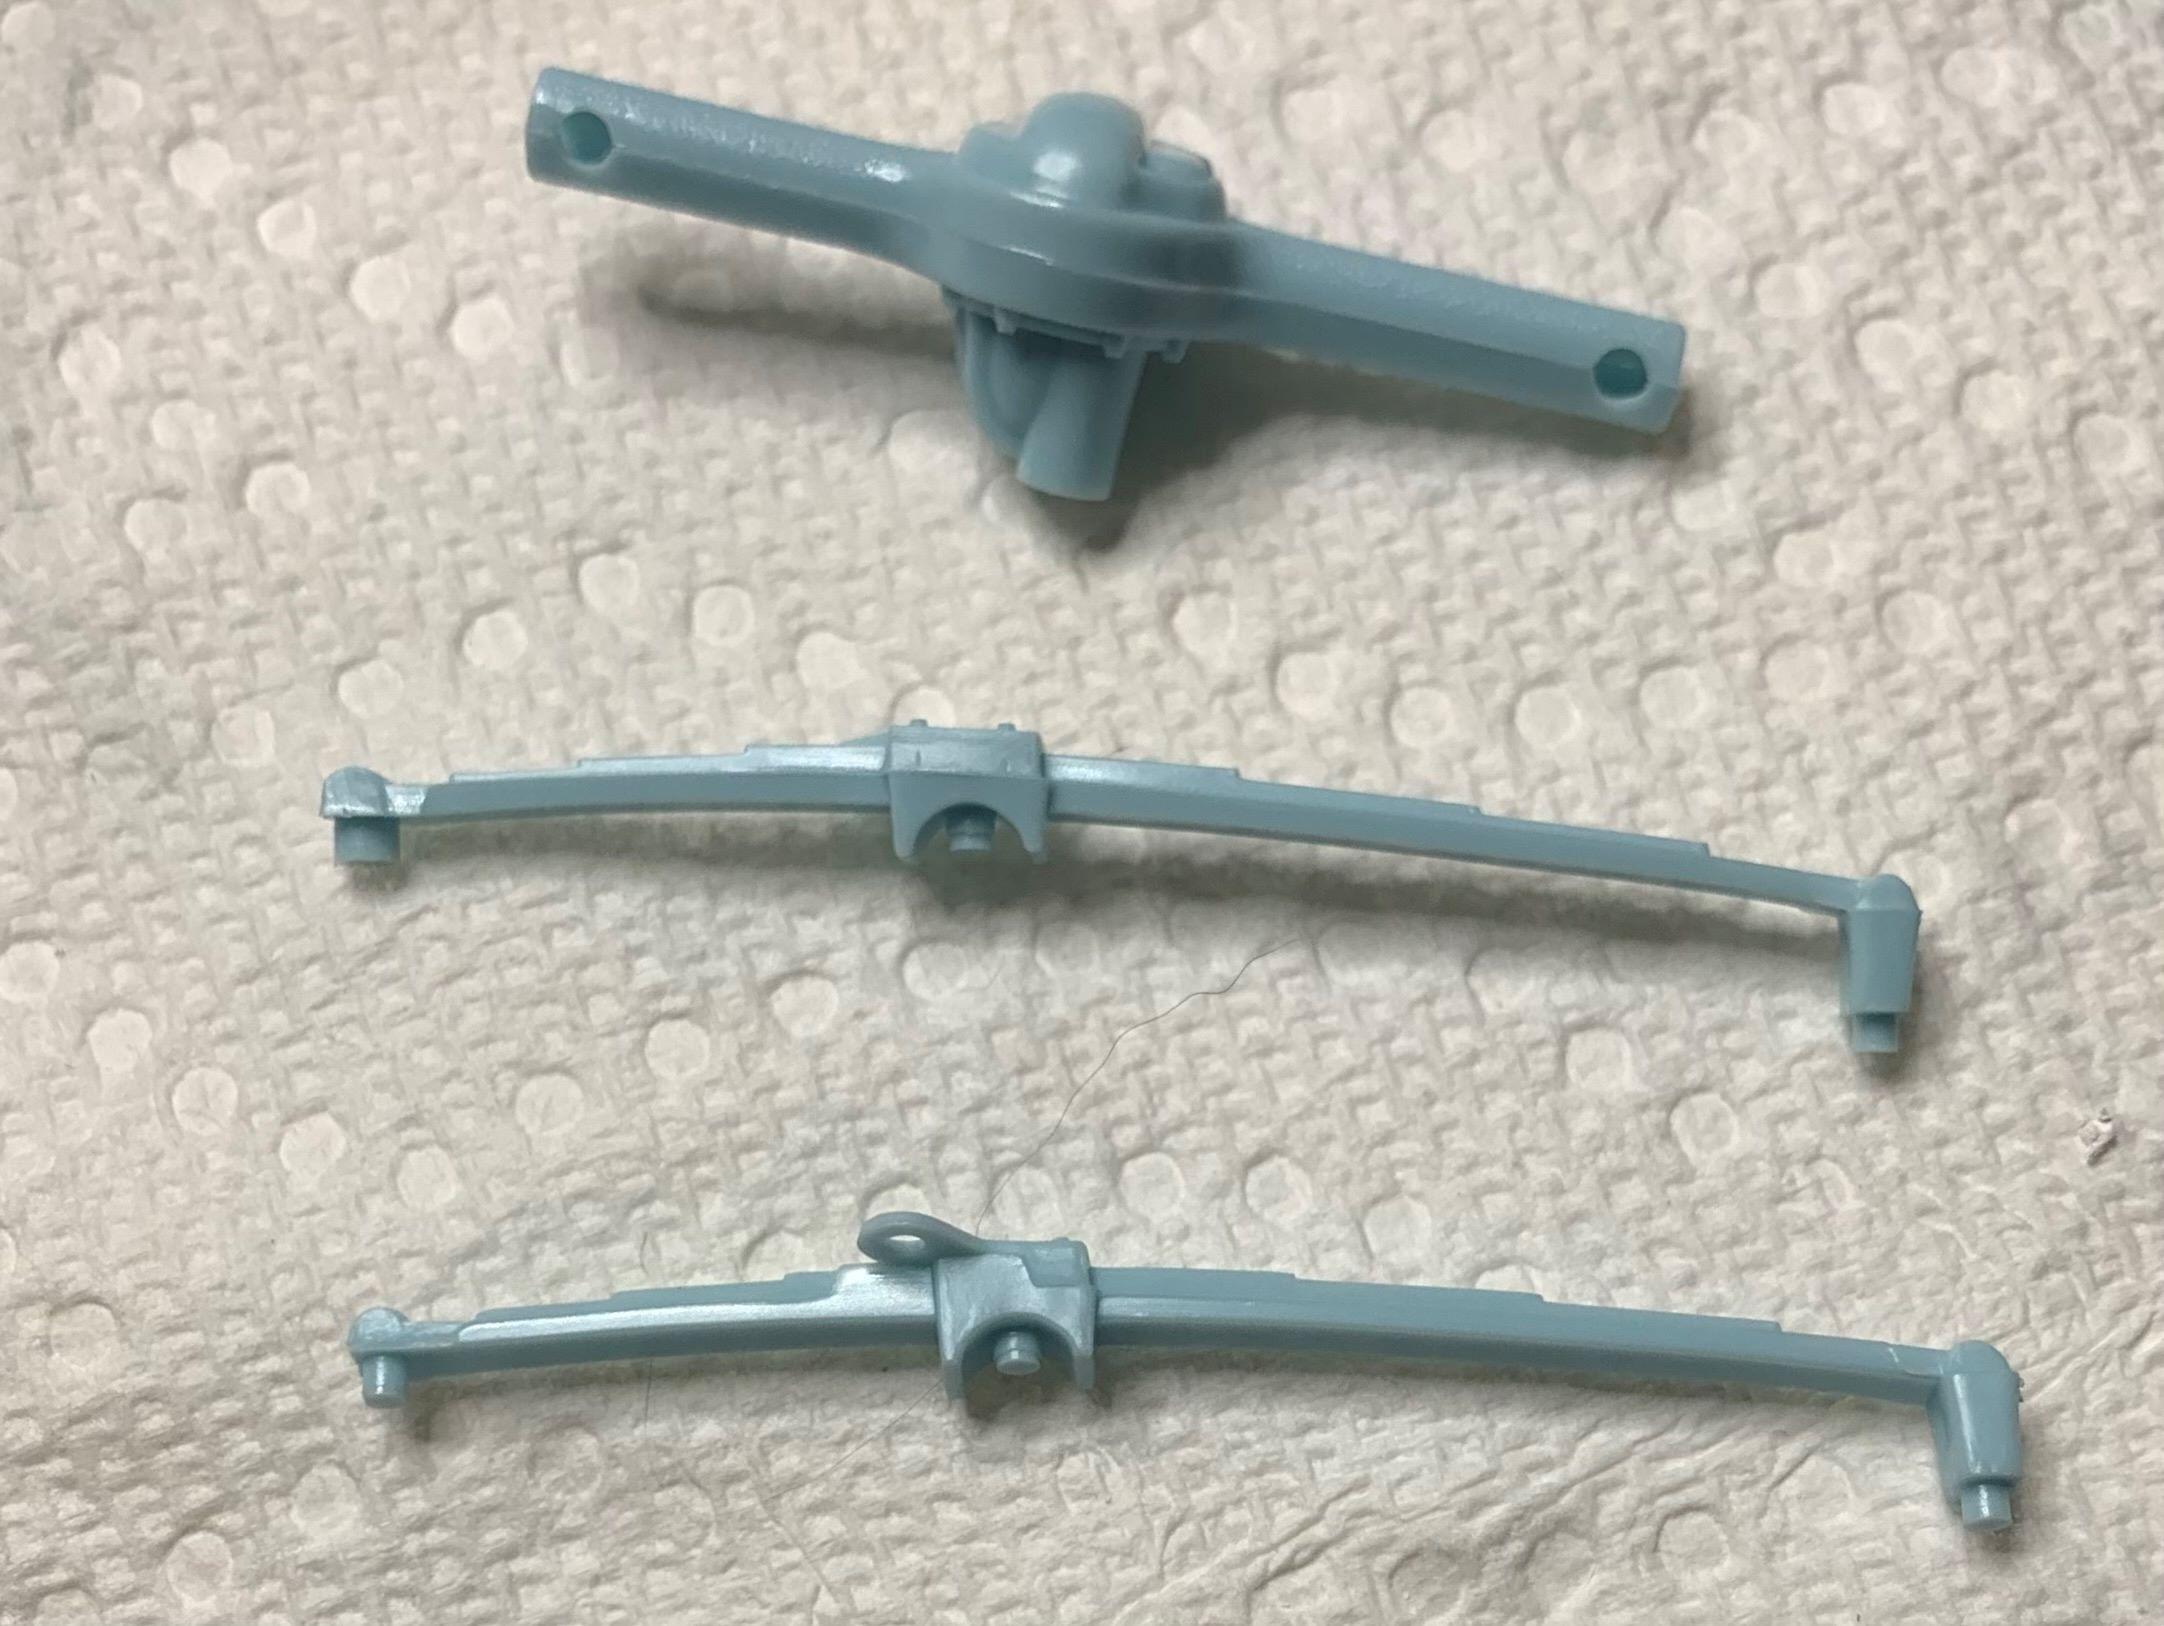
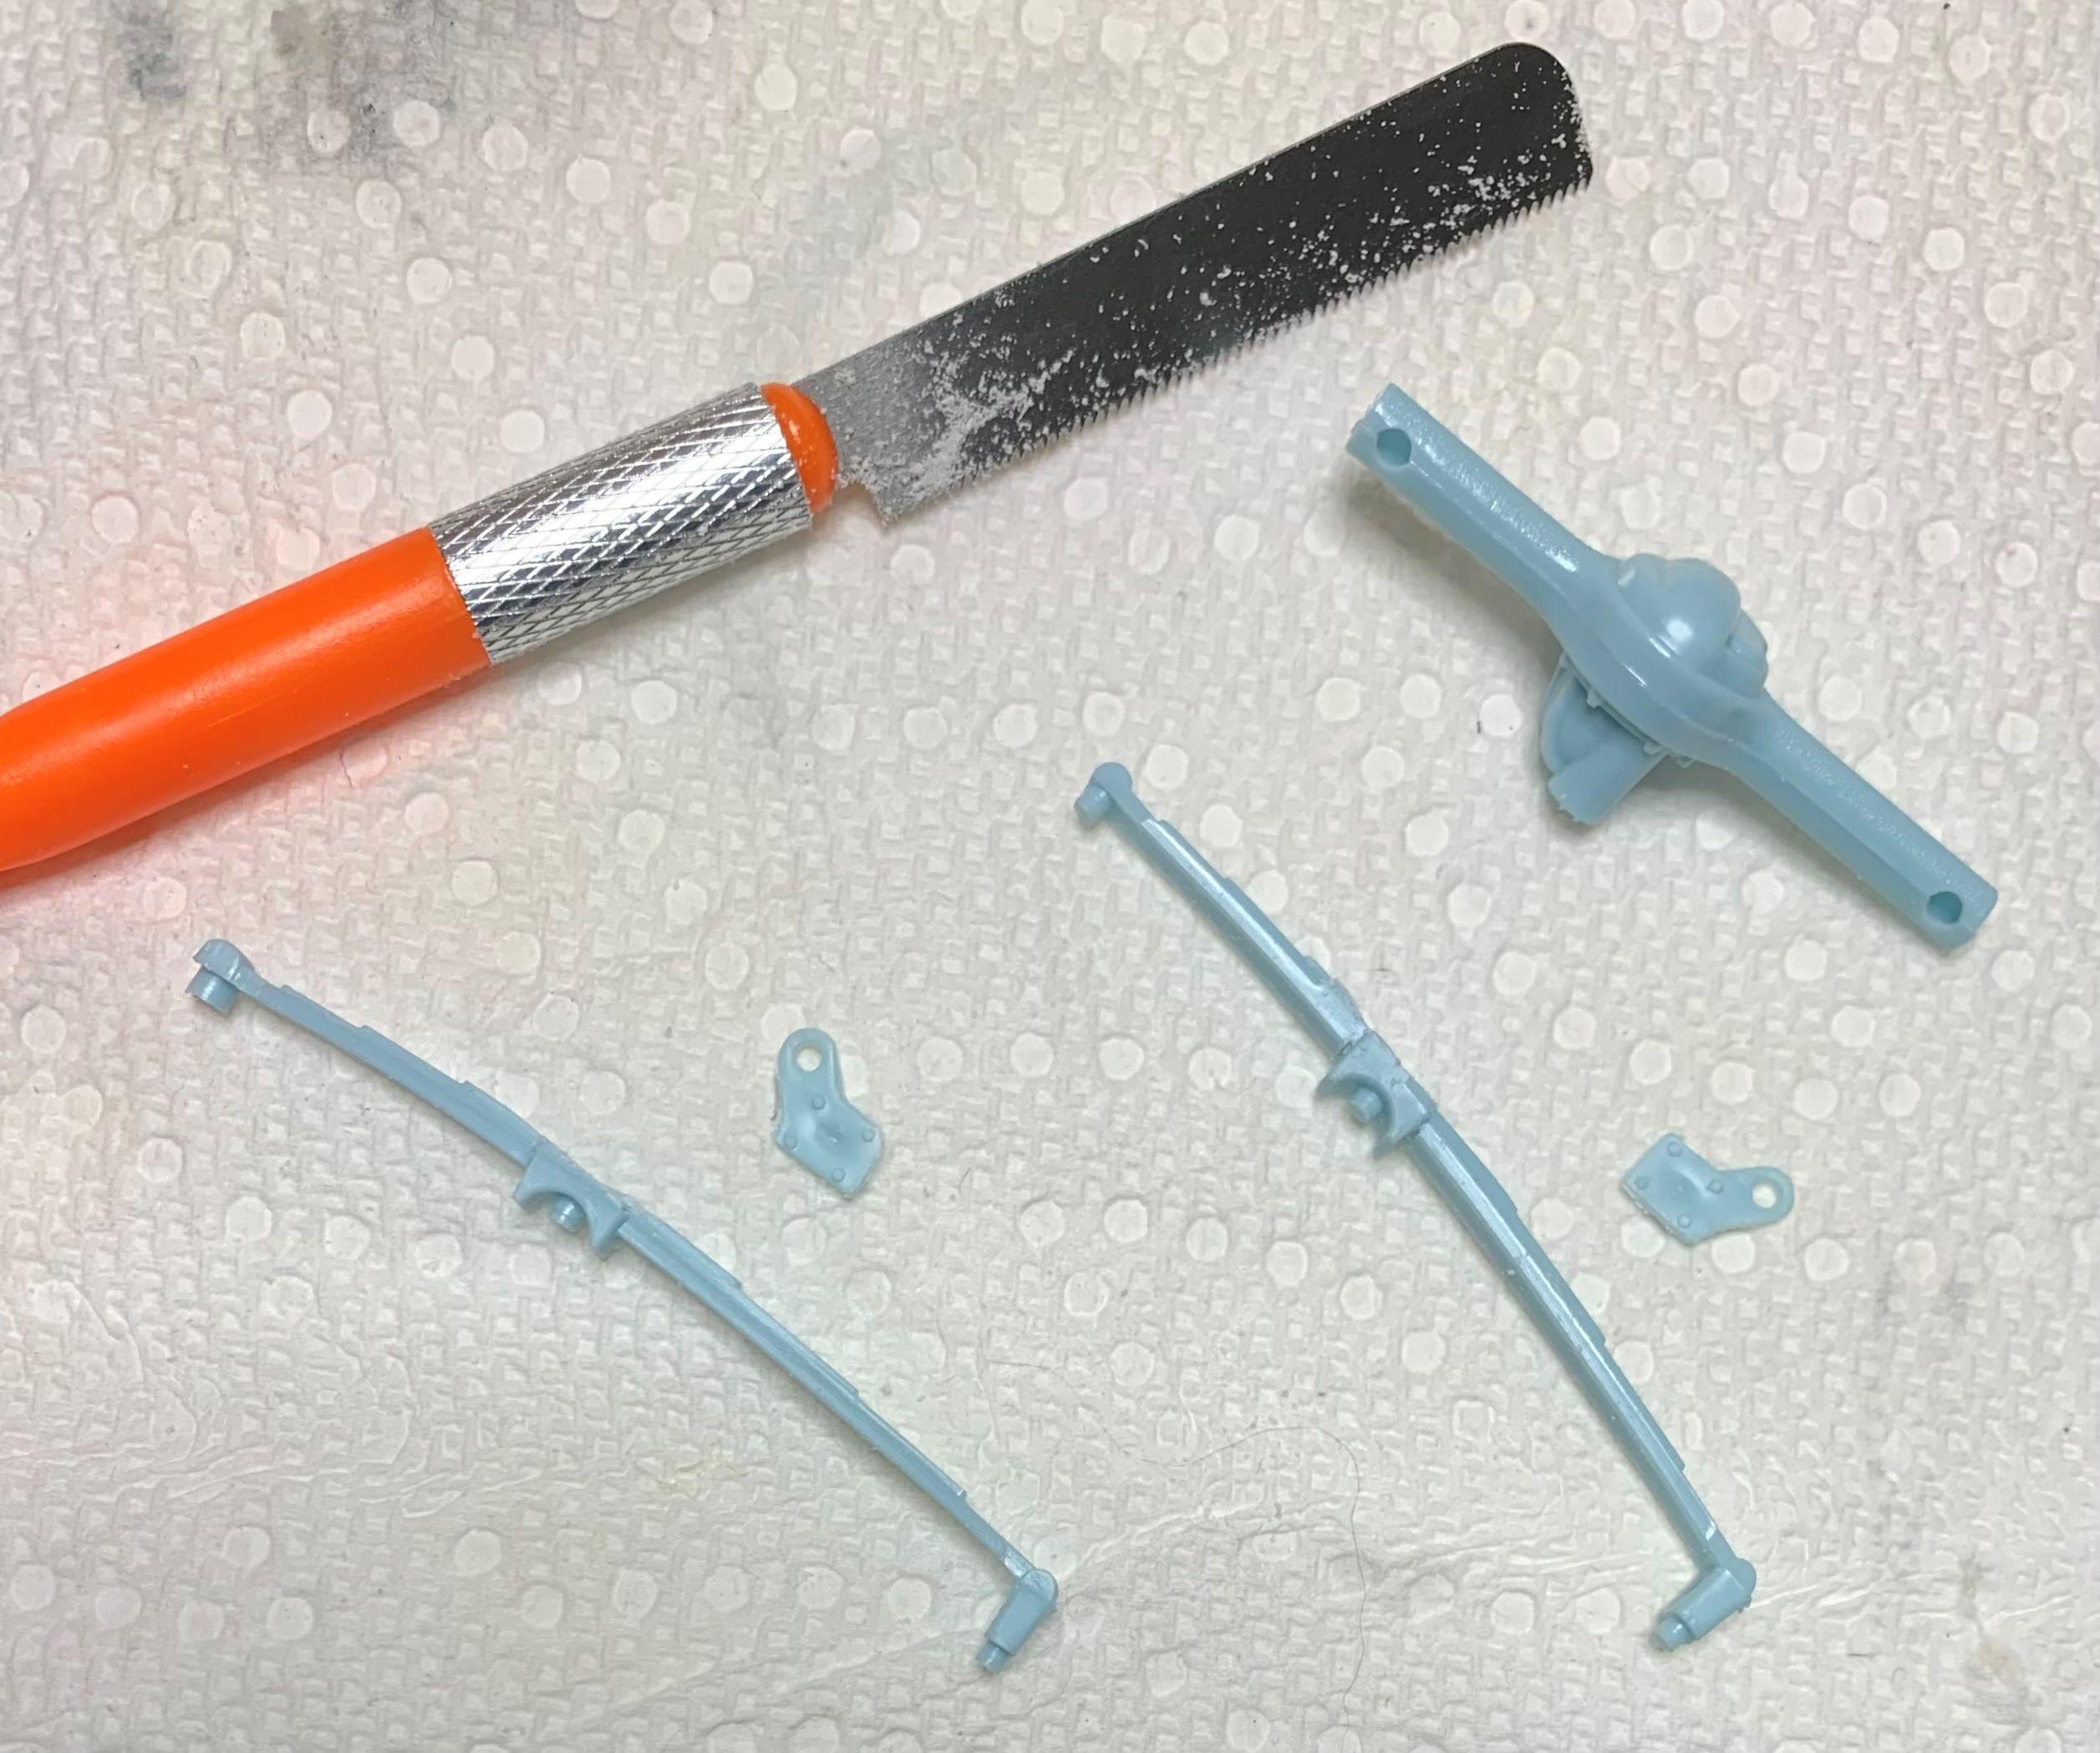
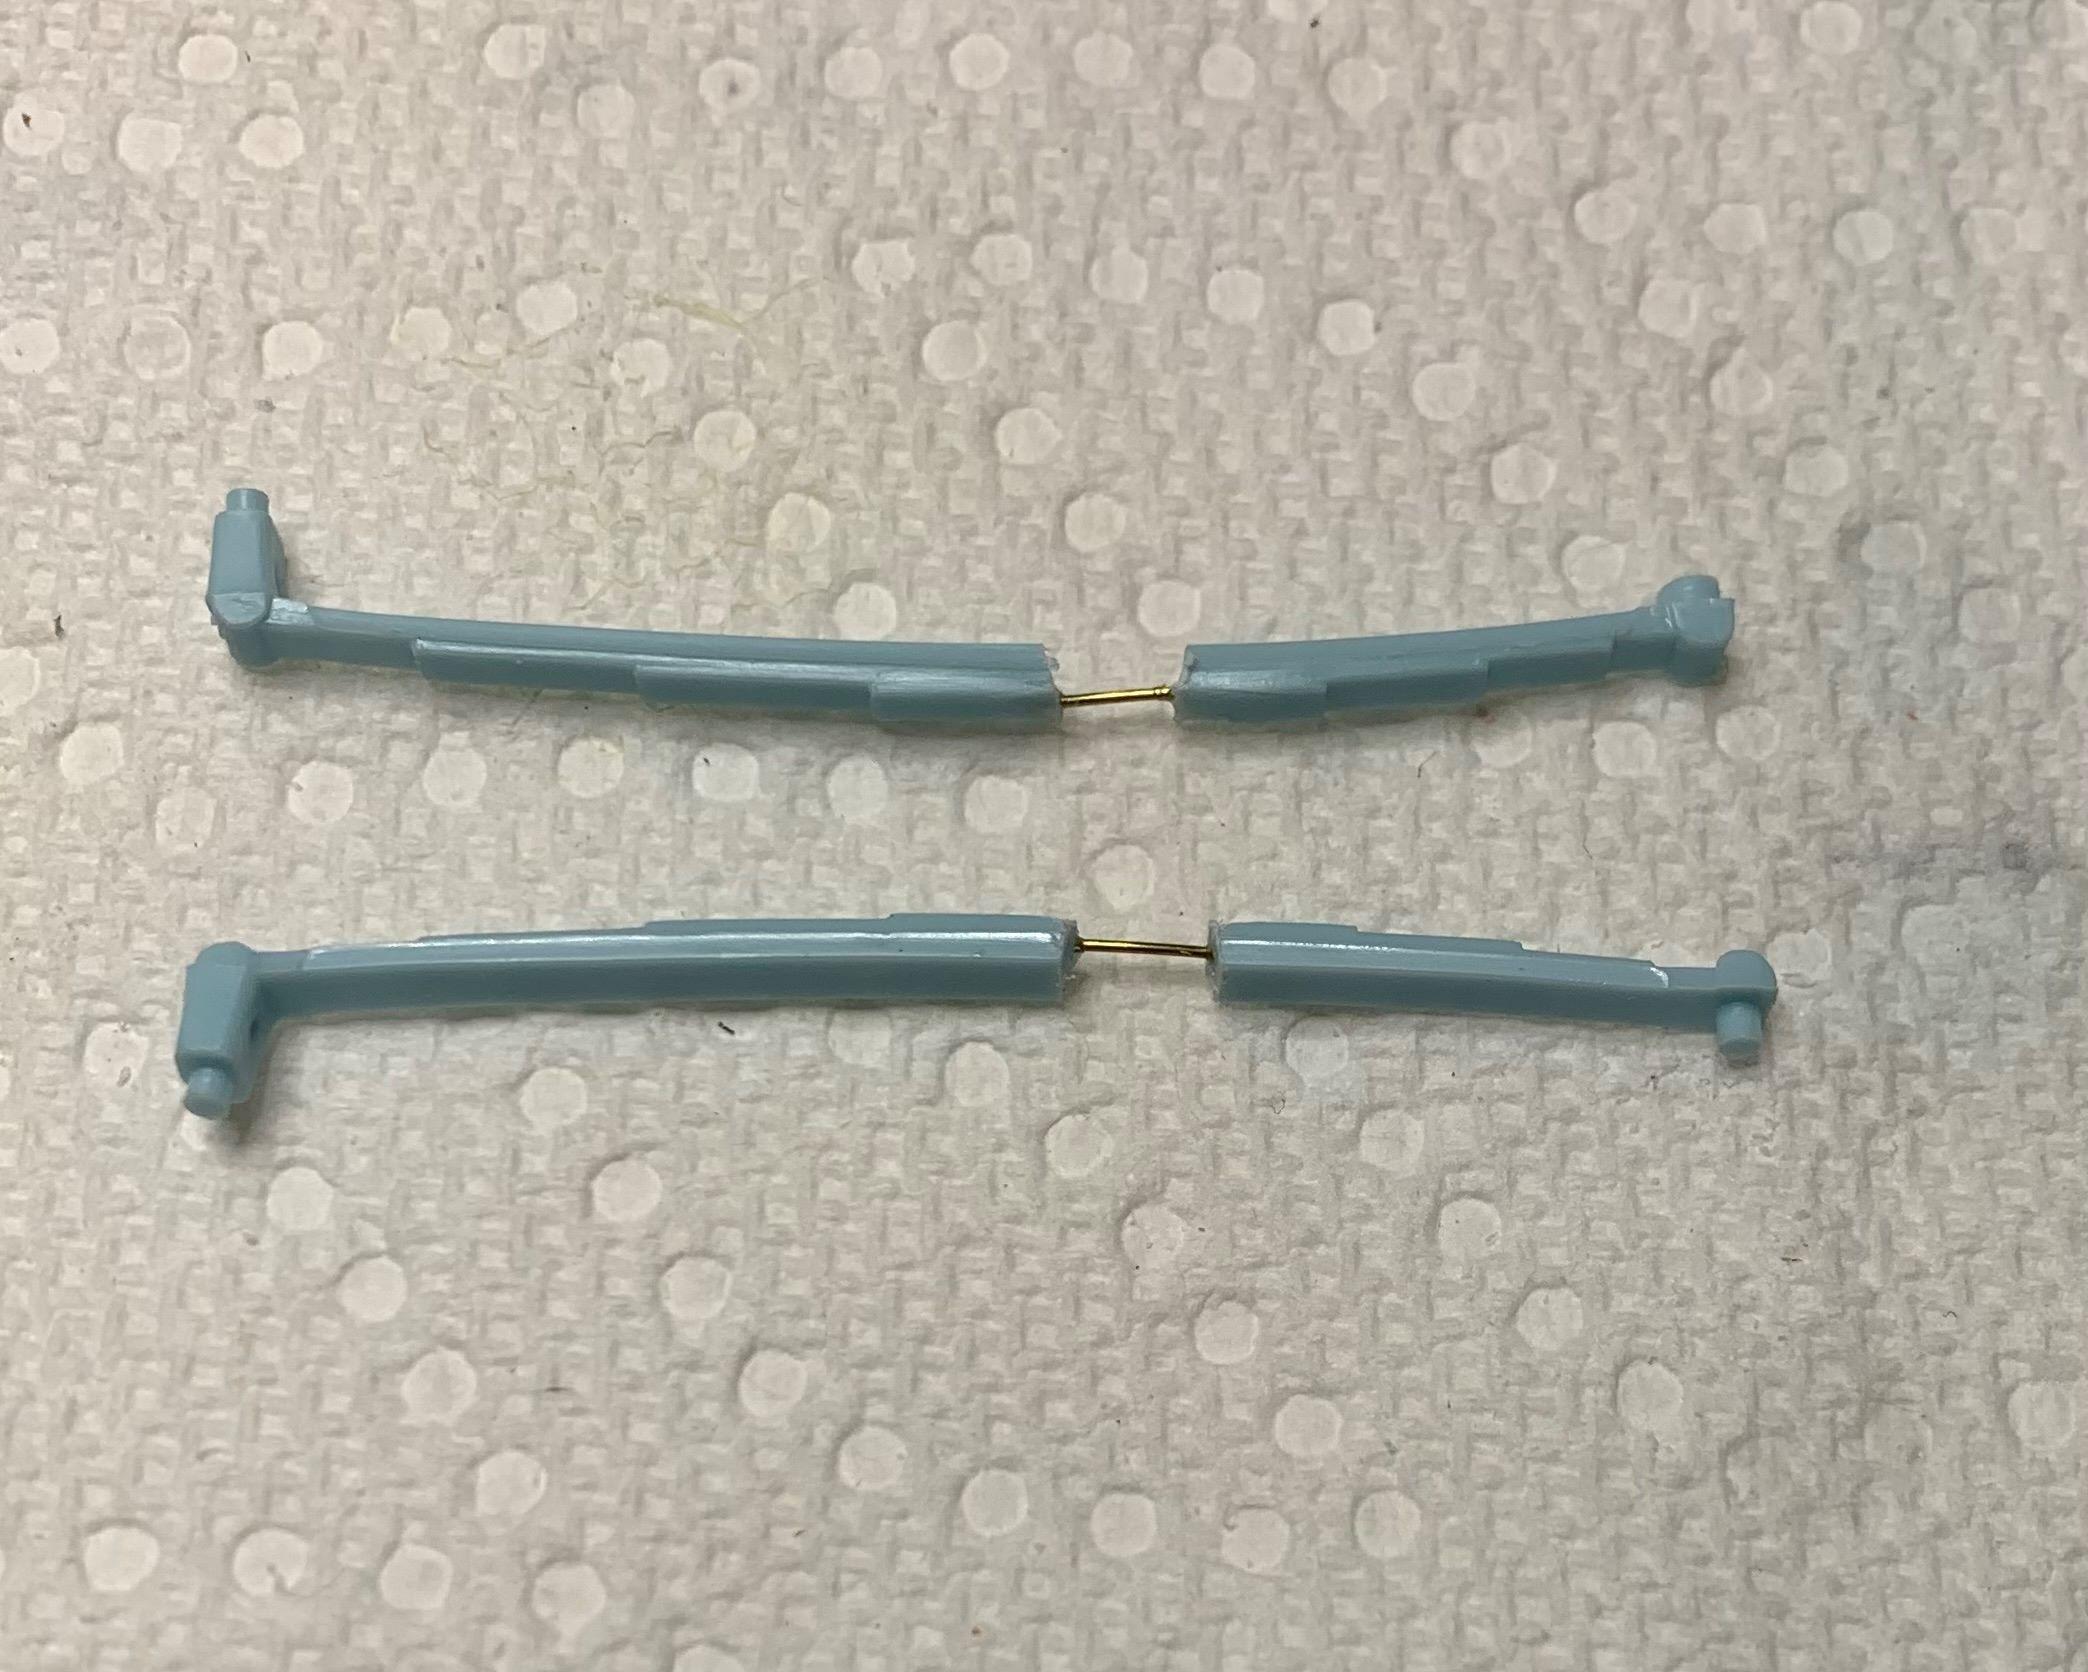
Once I decided on wheels and tires, I narrowed the kit rear axle and wheel backs and made sure that they fit inside the body, no mini-tubs. Then I cut the shock mounting plates from the springs, they are very thin! Then I glued the springs to the axle with them fitting into the kit's chassis mounting holes. THEN, I cut the front and rear off, leaving just the middles of the springs attached to the axle. I drilled tiny holed is the cut ends and glued wire to ONE piece of each, positioned that, added more glue and fit the other half into kit's holes so the leaf springs are still kit length. Now I figured that .030X100 would give me the drop that I want, so I added 2 strips to each spring.
-
I should say that I've already got my first Mobius pro-touring '64 Comet and will get at least one more, so I figured that the old AMT one is worthless! So I did what any creative modeller would do..................I started cutting it up! I never had plans to build it, so it may never be finished, I just love doing heavy mods! LOL
-
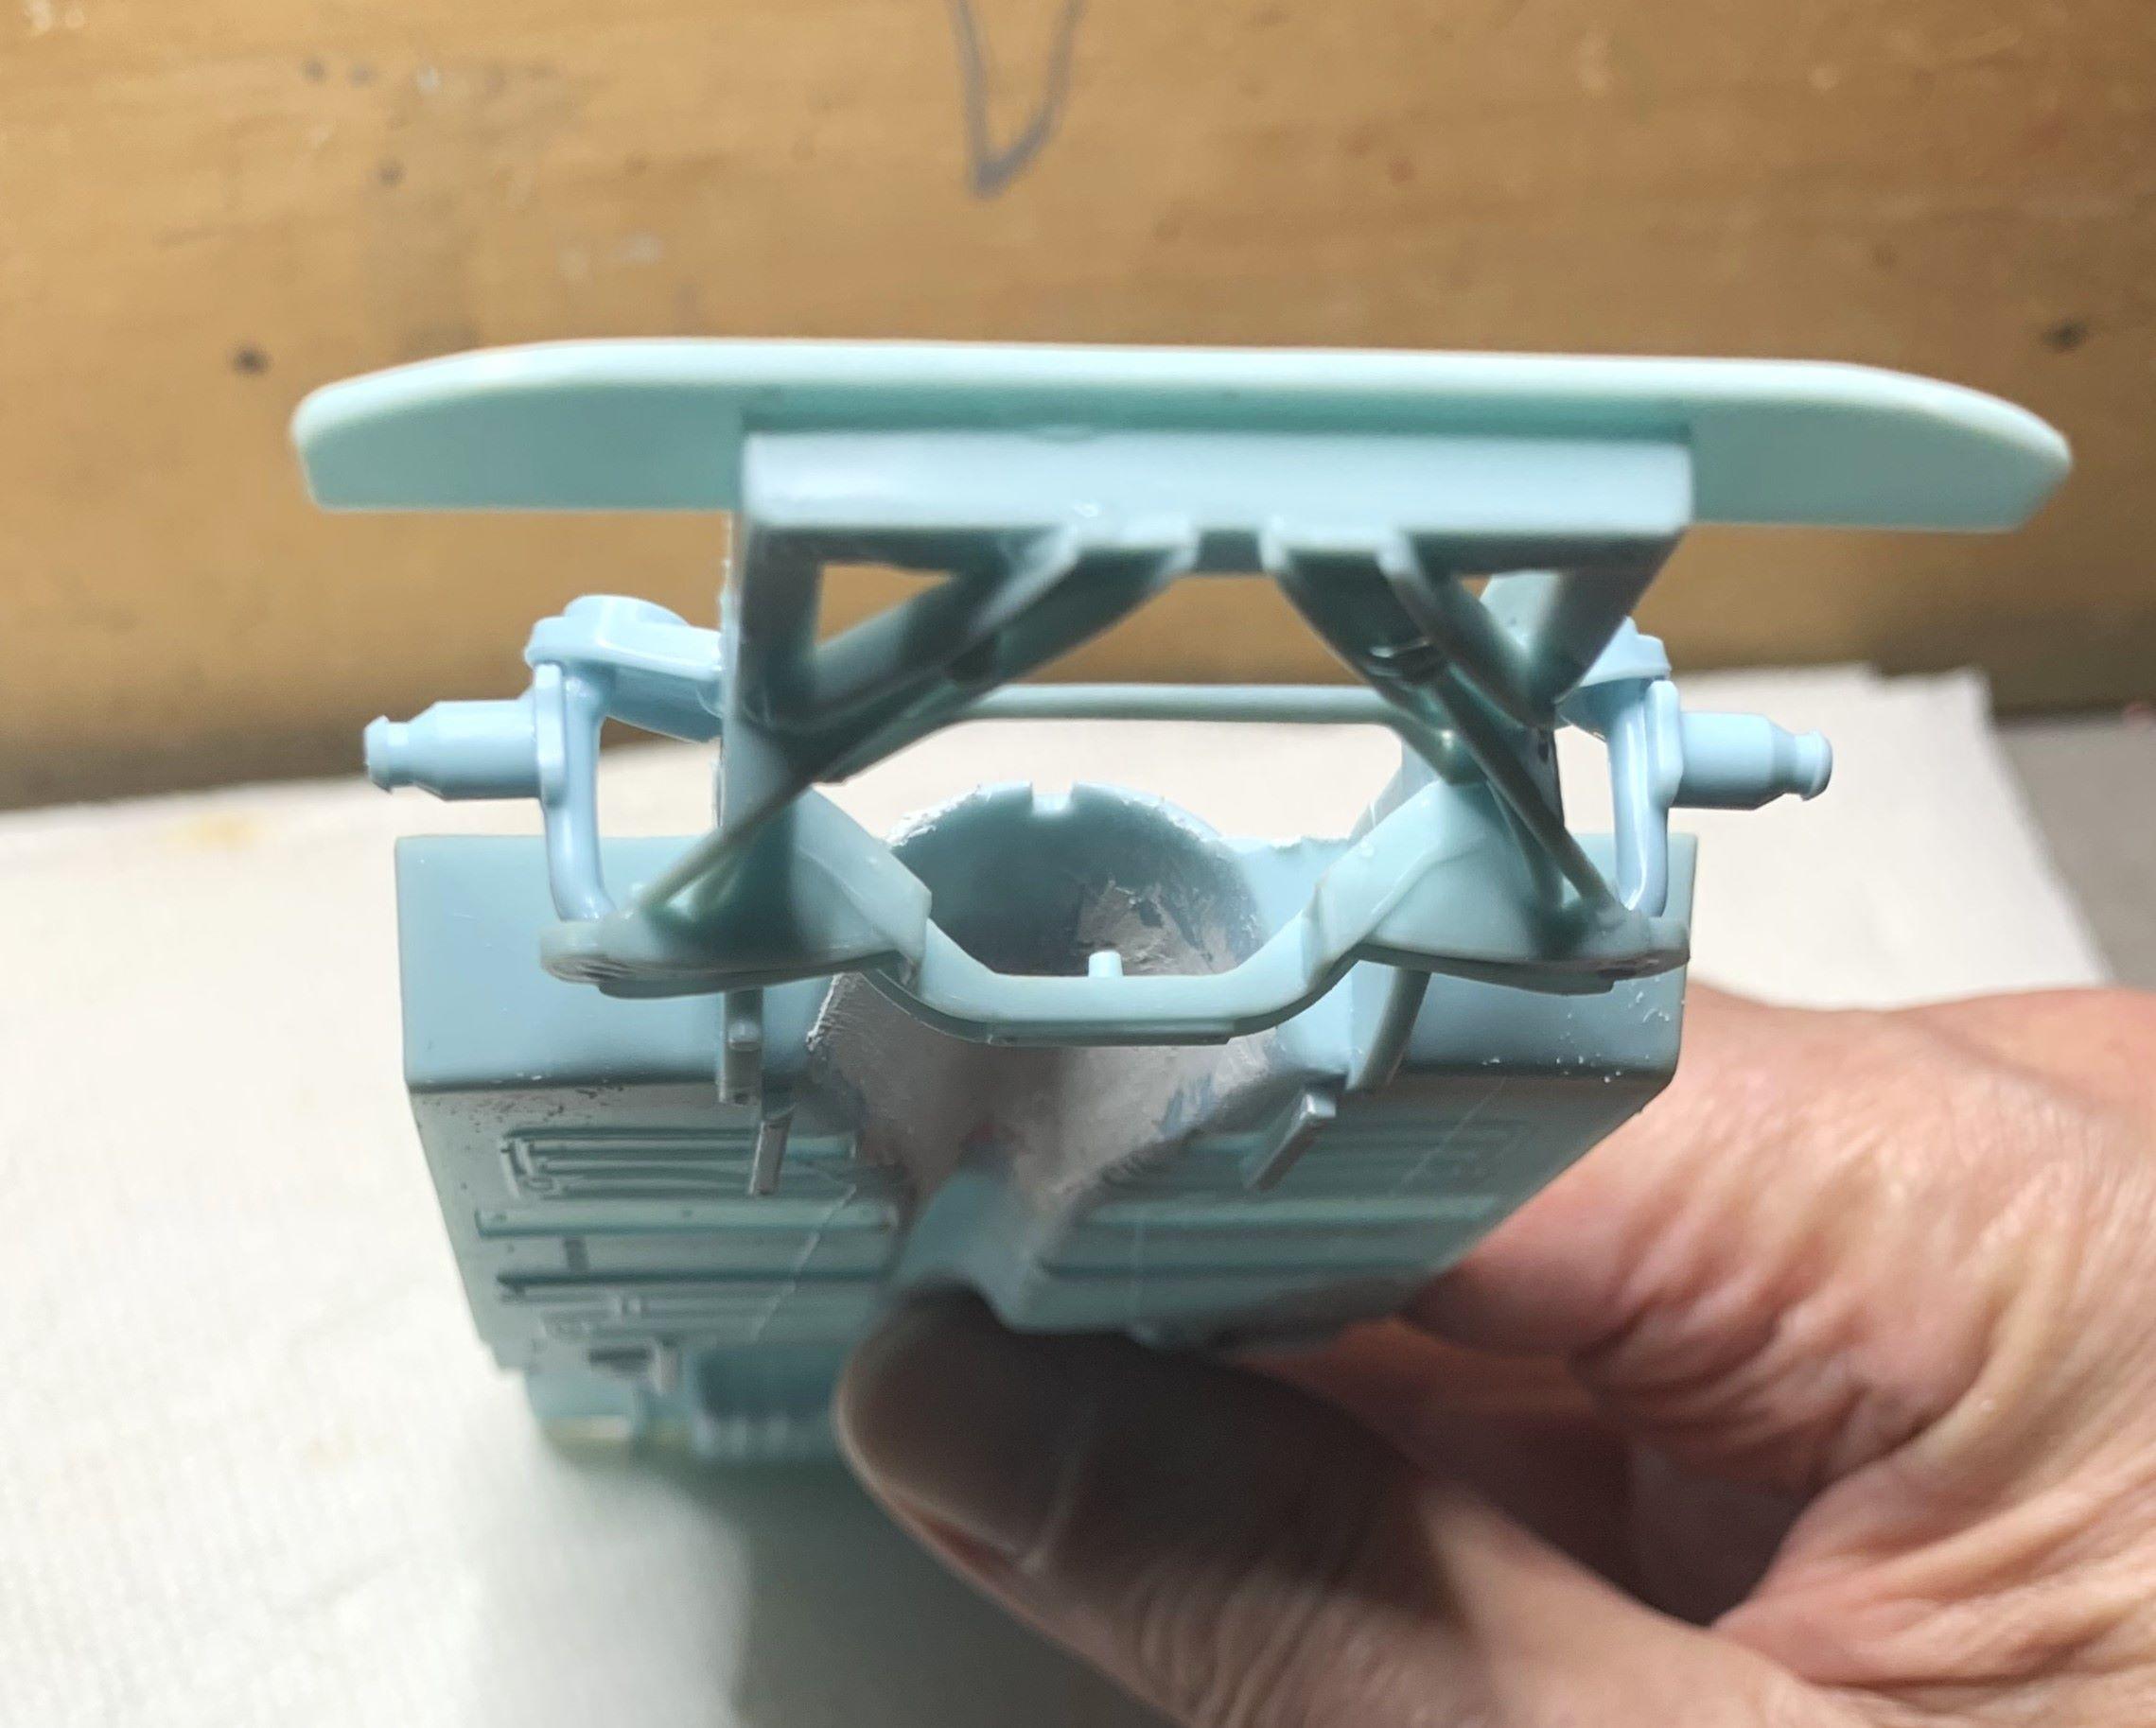
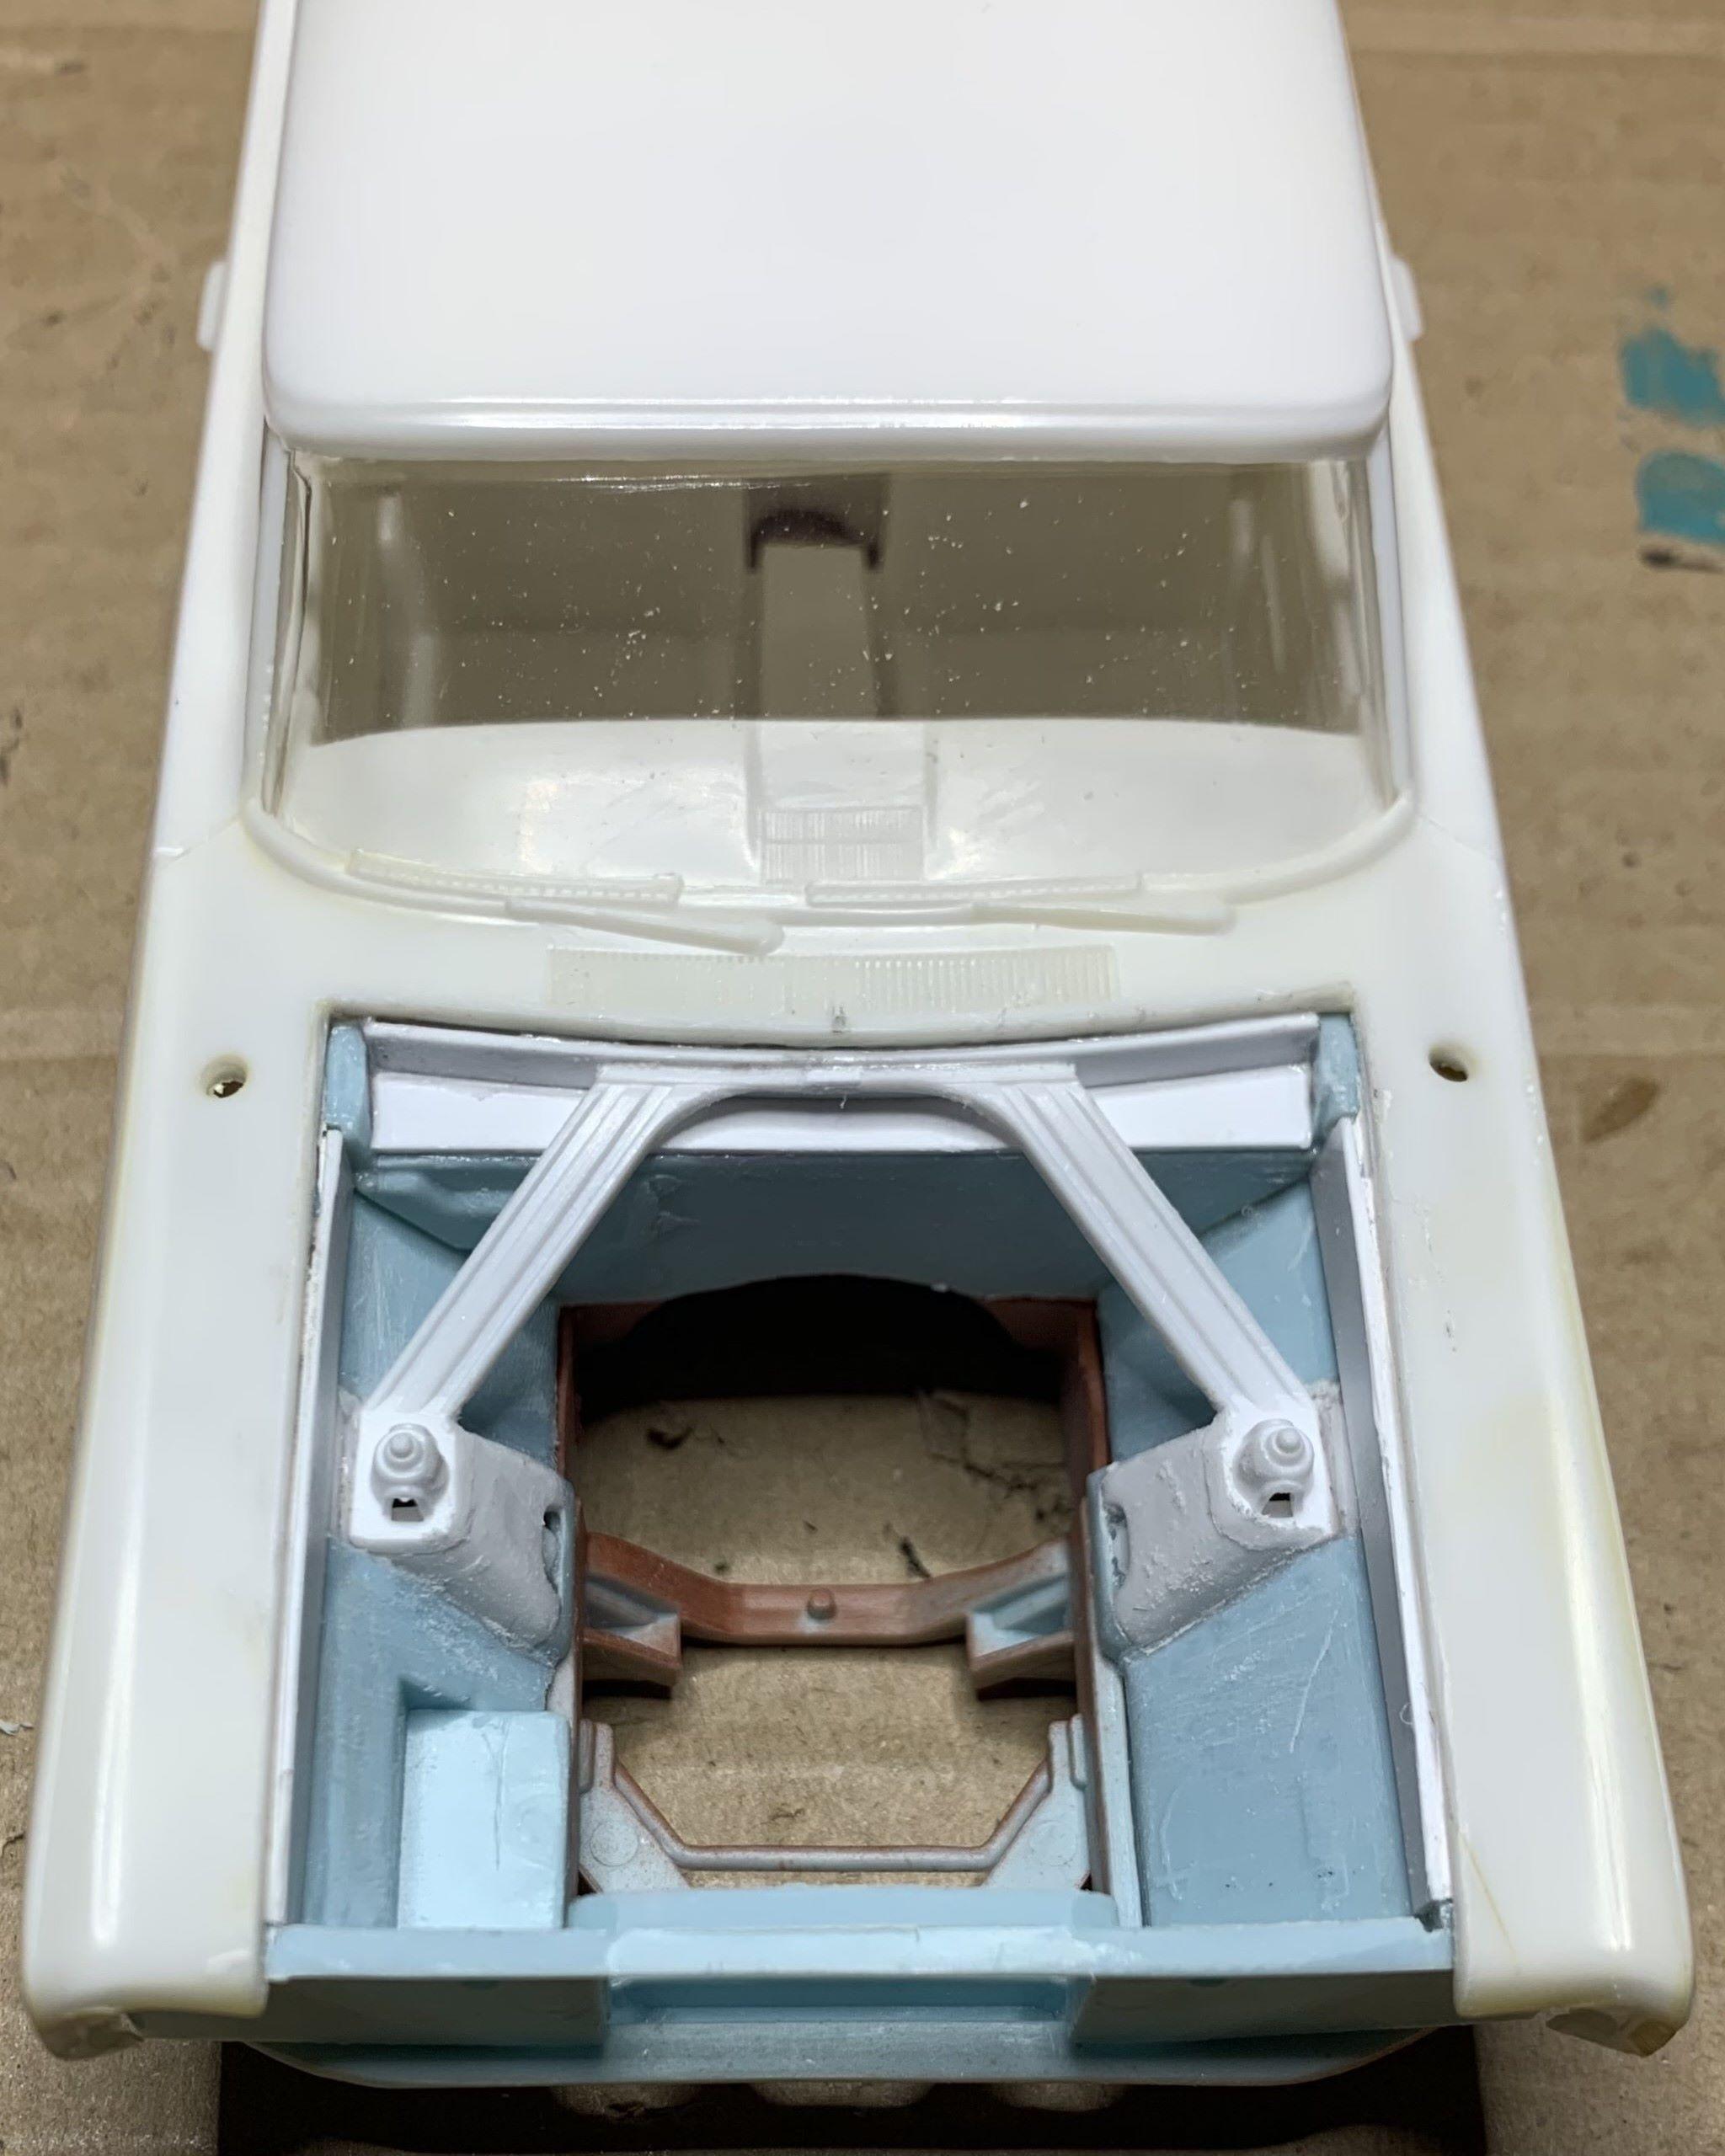
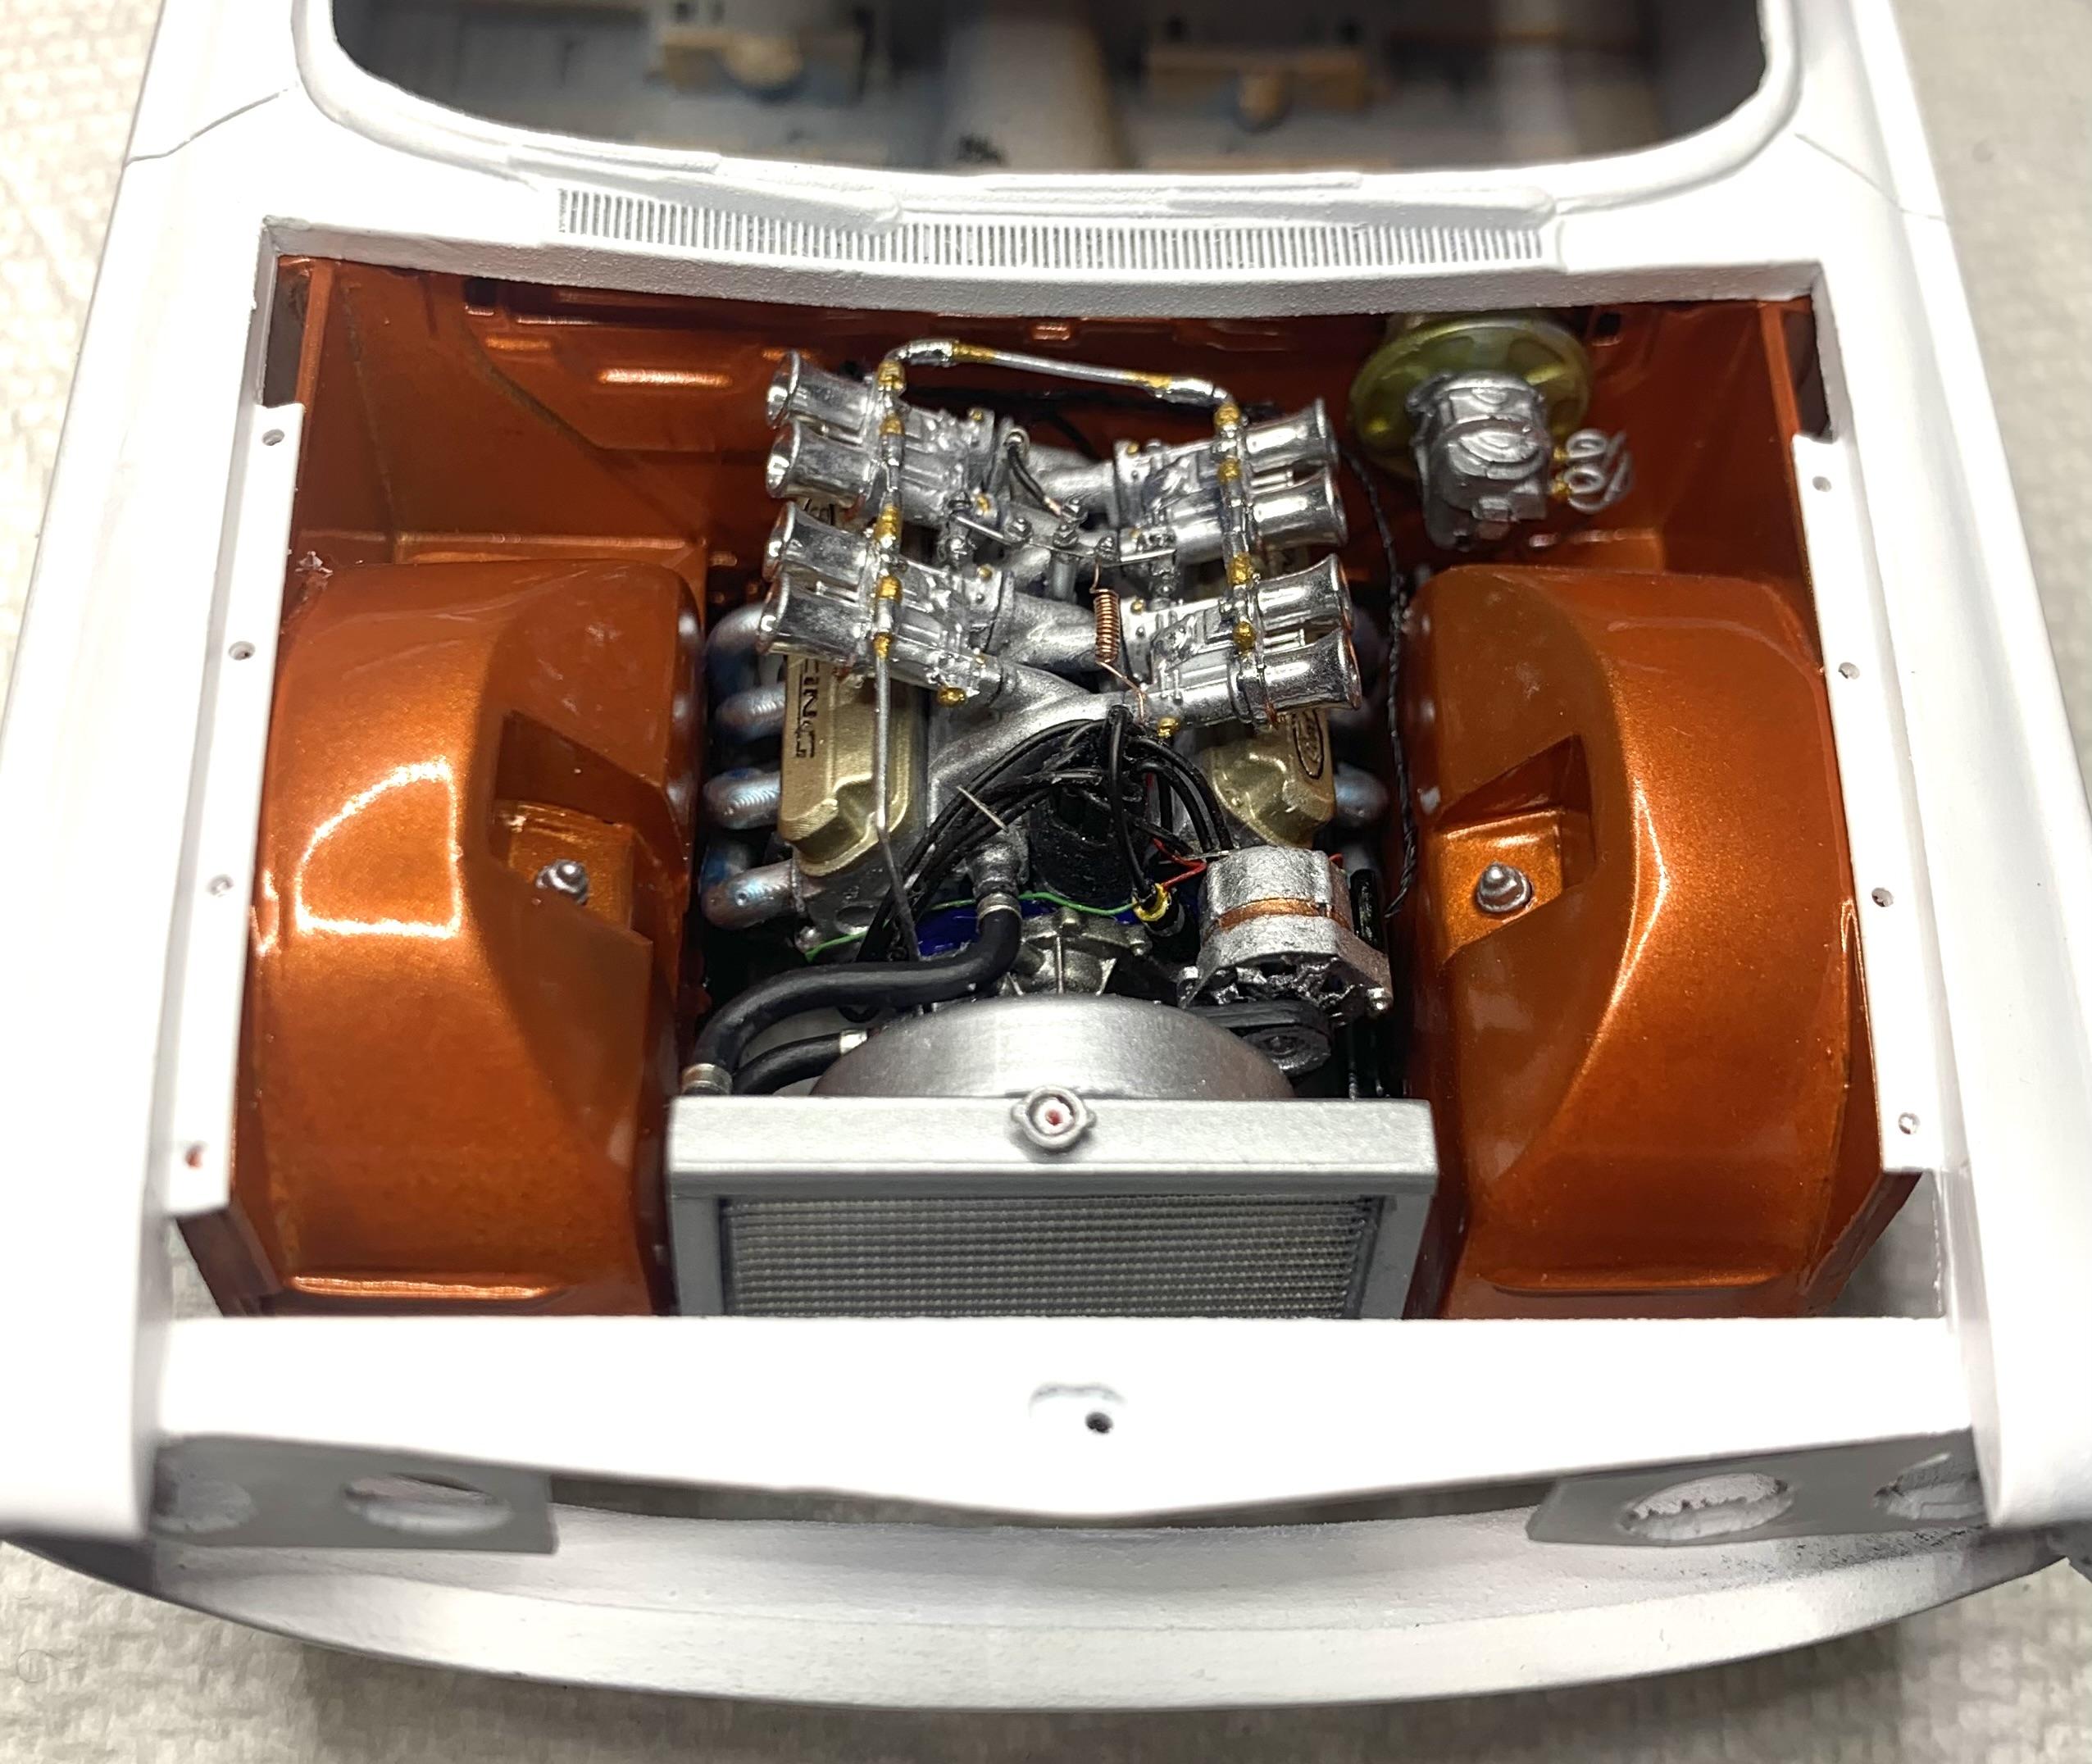
So...those suspension towers that plague the early Falcon/Comets from the AMT '67 kit were just NOT making me happy! But to cut the tops off, I had to cut out the rad, just to access them! I had to cut the shock tower tops from the Trumpeter '64 Falcon and modify everything to make them work! I am liking it much more so far, BUT, there goes my "simple build" idea, LOL
-
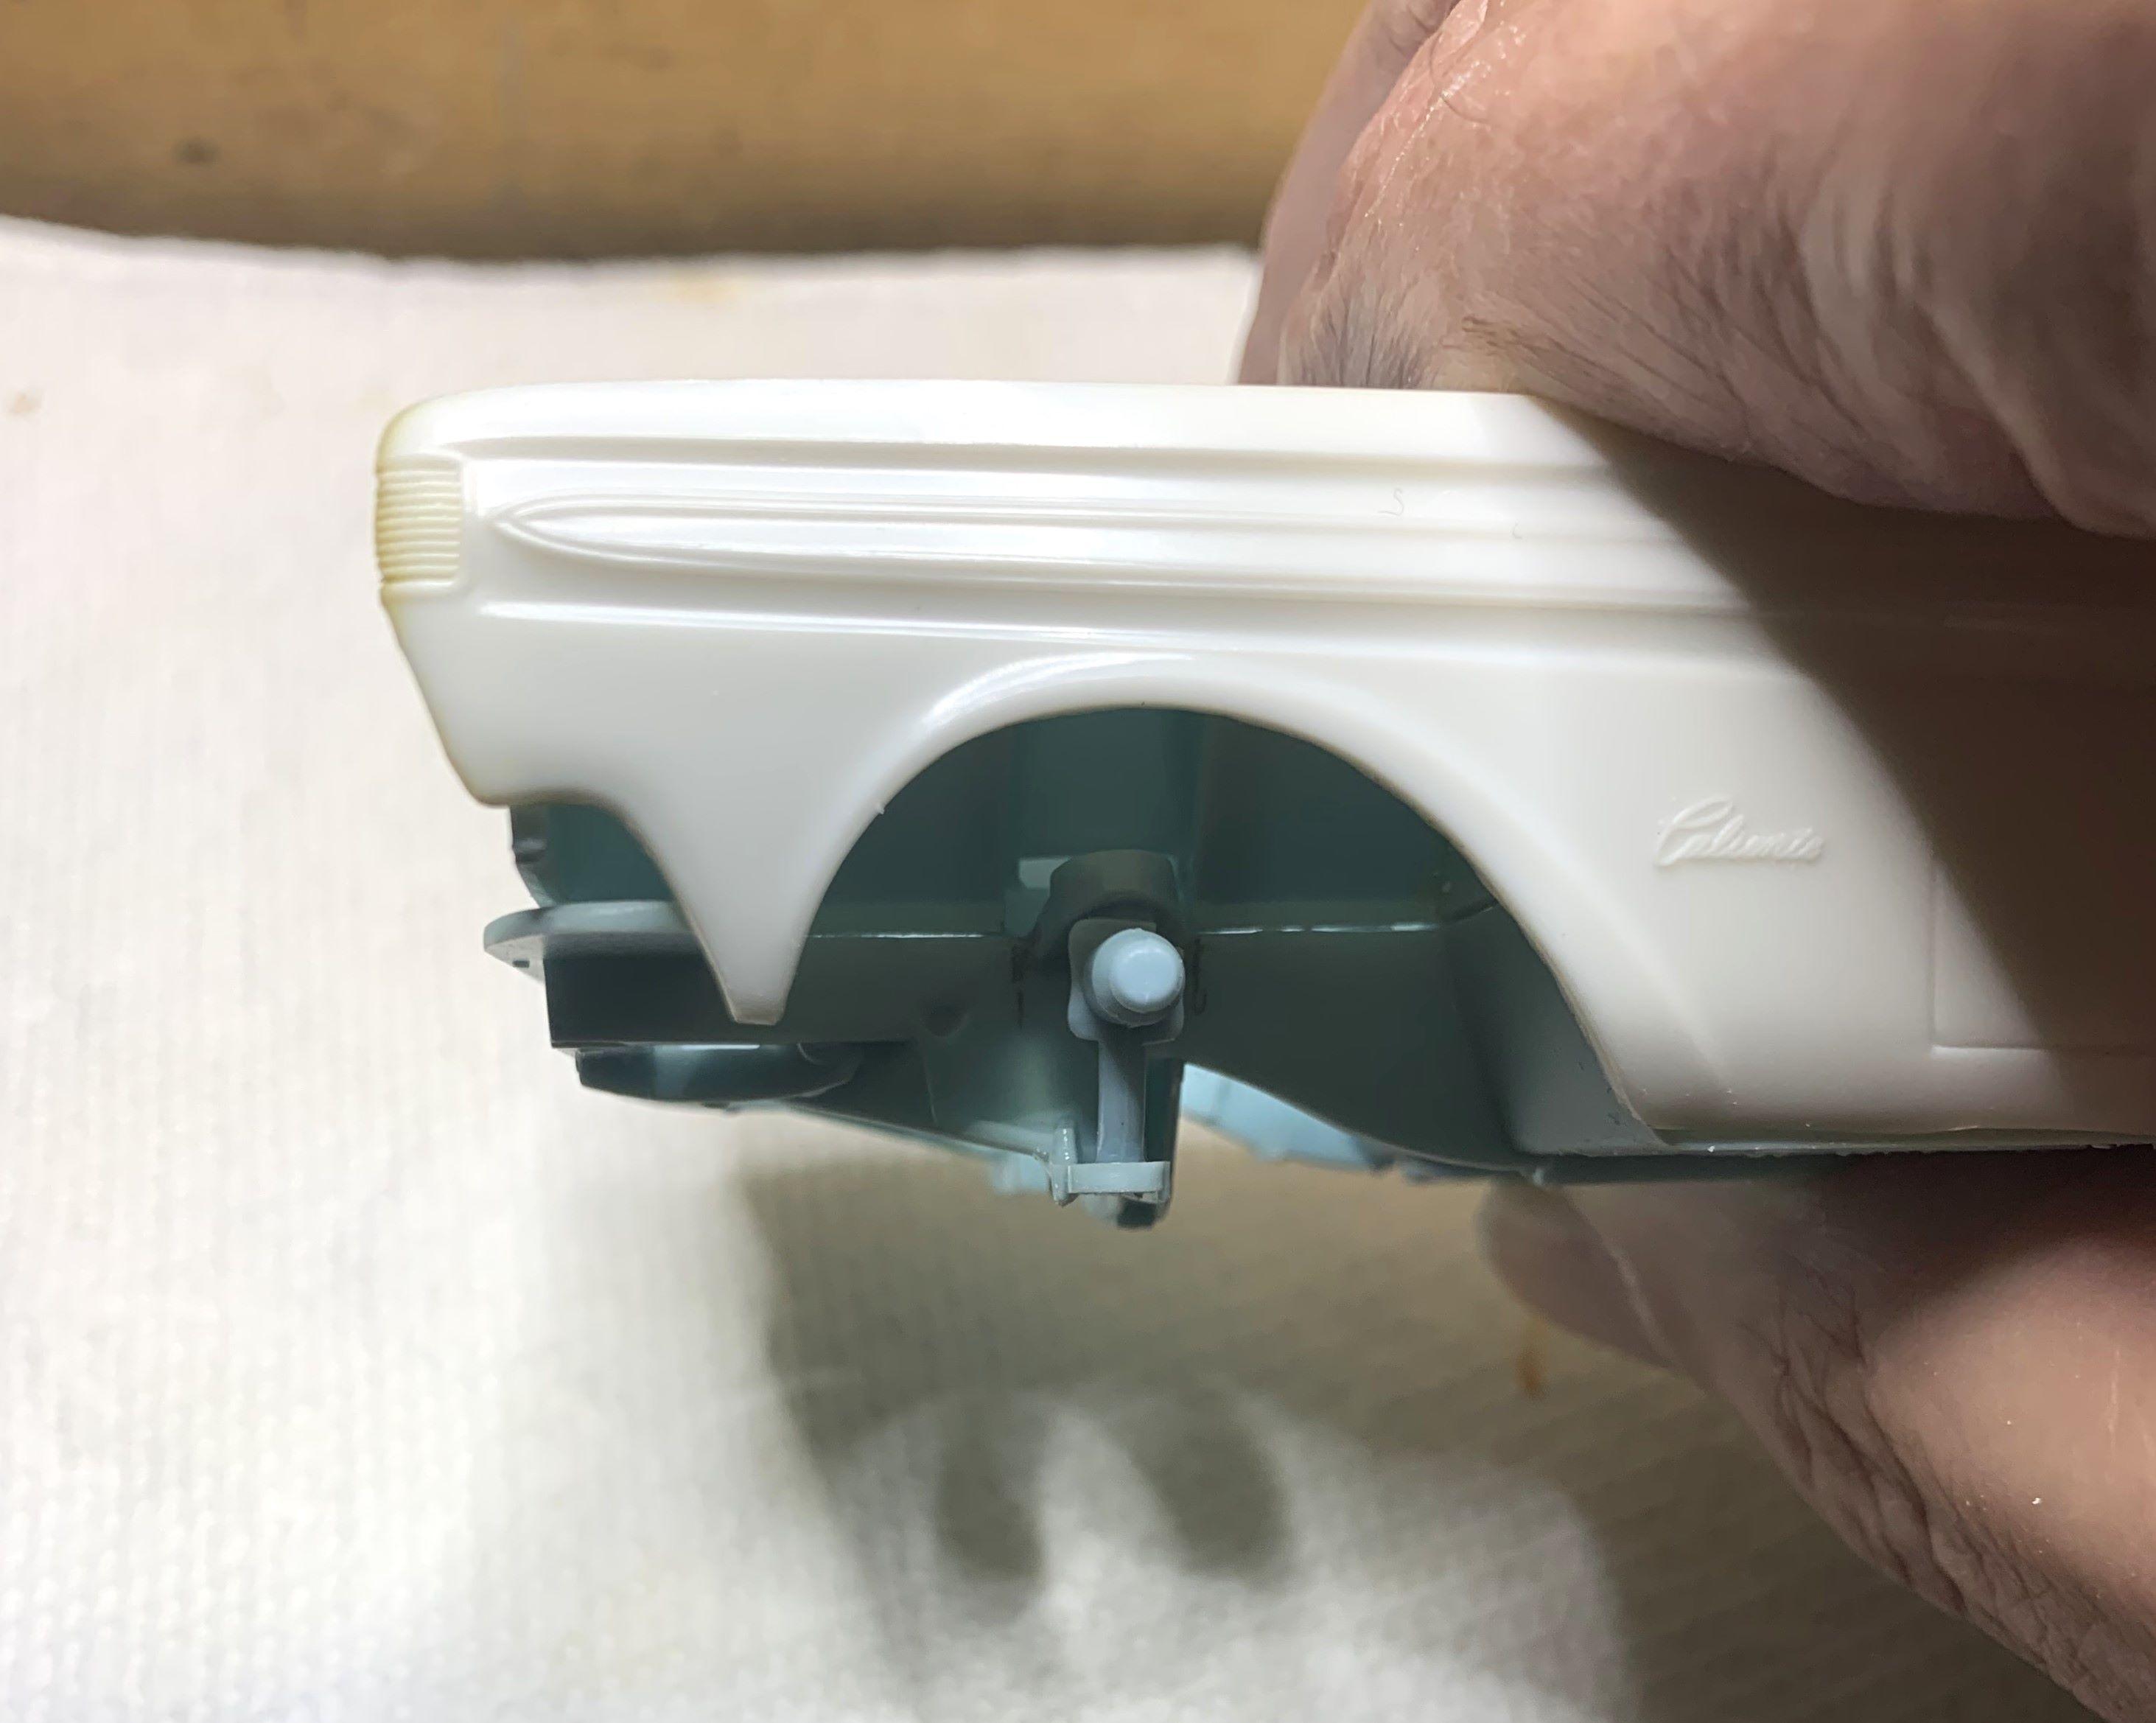
In one of the collections I acquired over the years, I found the Model King release of the old AMT Craftsman Serires '64 Comet. Inside the box, the hood was cut out and 5 pieces of light blue styrene were included, from some other kit. I recognized that light blue and checked my stash, AMT's '67 Comet. So I fitted the inner fenders, rad wall, firewall and chassis from the '67 to the '64. There was a LOT of fussing, but I like fussing over fit issues! The floor was cut open for some reason, I filled that back in. Wanting to keep this build somewhat simple, I cut the floor out and added much needed front seat leg room!
-
I love this kind of project! Keep going, keep posting, keep sending pics!
-

Who doesn't love a mock-up? Let's see yours!
dino246gt replied to Belairconvertable's topic in WIP: Model Cars
I started making the craftsman series AMT '64 Comet into a full detail, using AMT's 67 Comet, mostly. I figure with Mobius' all new kits, these AMTs are worthless! Here's where I'm at so far, probably going to put a 289 in it. Cheers
-
Yeah, I wasn't going to do them in black, but I did, how do they look now?
-
Wow, innovative, cool and lit up! Wow!
-
Who doesn't love a mock-up? Let's see yours!
dino246gt replied to Belairconvertable's topic in WIP: Model Cars
I started this one last year, had medical issues in January 2025 and thought I'd never build again. Well, THIS one hasn't been touched since! BUT, I have been building models again, must finish this one too, someday. Got a 351 Windsor and Tremac 6 speed manual already fitted.
-
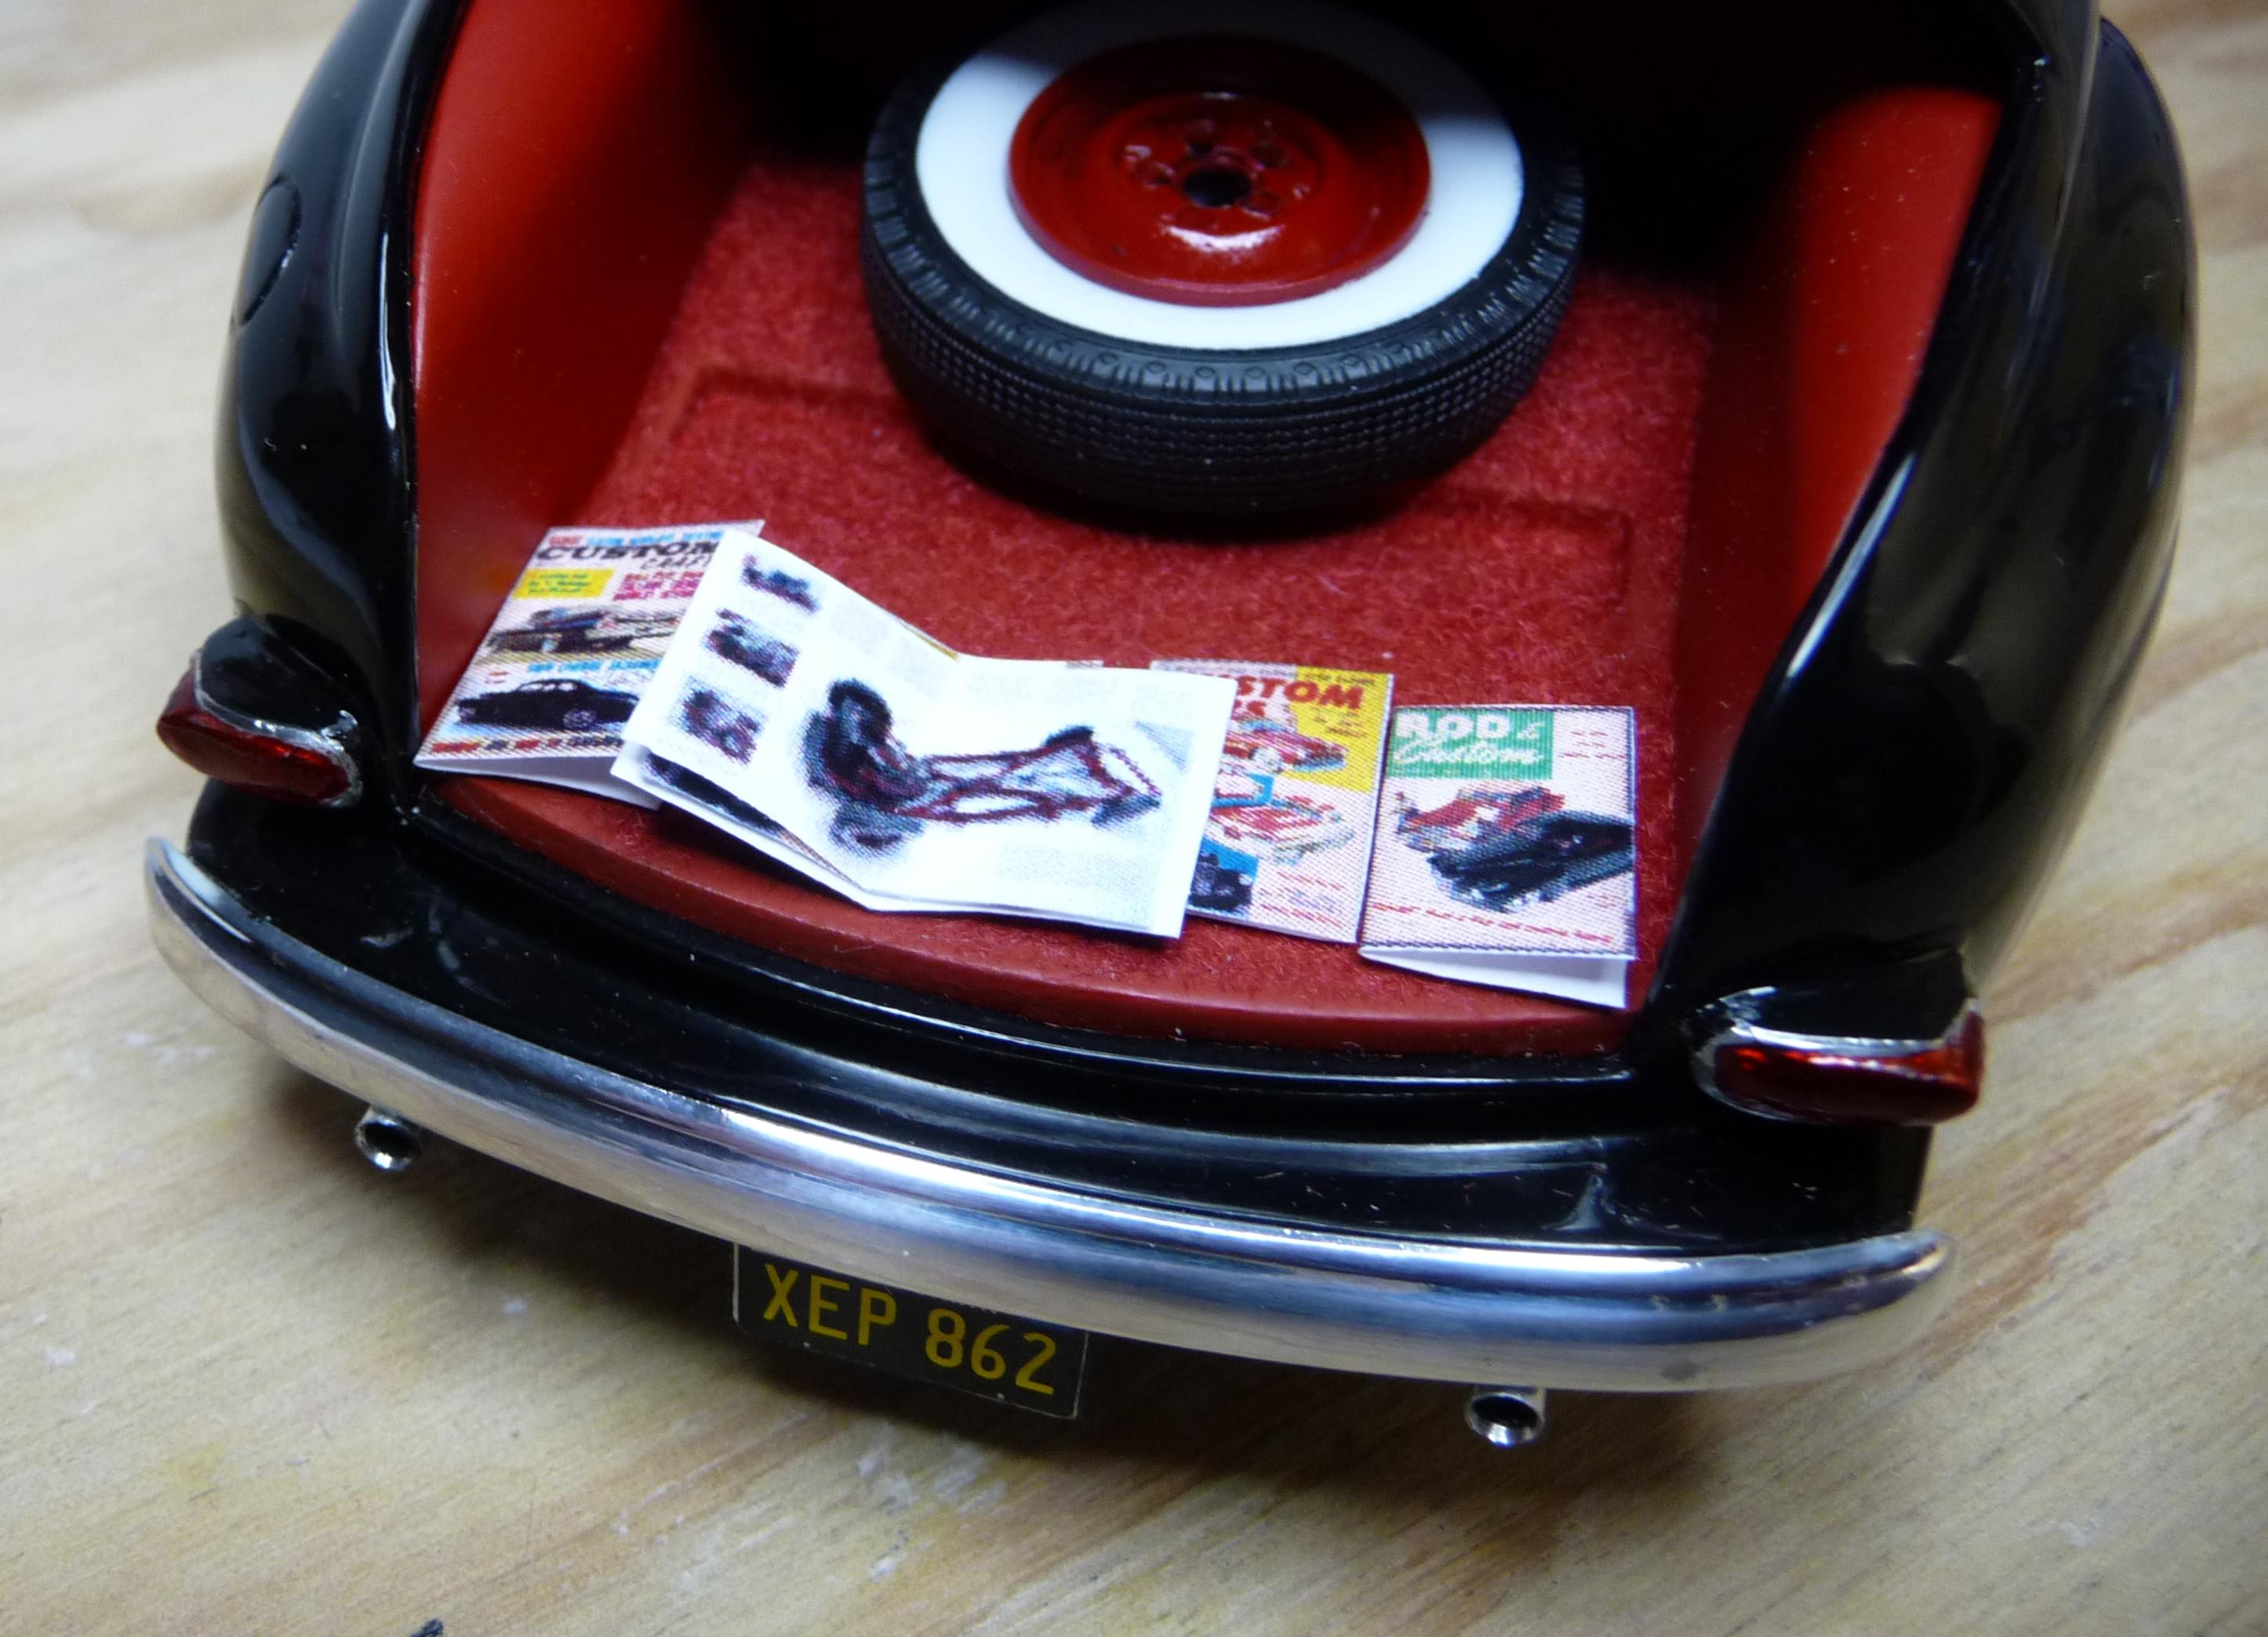
Here's those "Little Books" of which you speak, although these are even little-er! I made them to include the '41 coupe I built many years ago.