dino246gt
-
Posts
2,278 -
Joined
-
Last visited
Content Type
Profiles
Forums
Events
Gallery
Everything posted by dino246gt
-

Who doesn't love a mock-up? Let's see yours!
dino246gt replied to Belairconvertable's topic in WIP: Model Cars
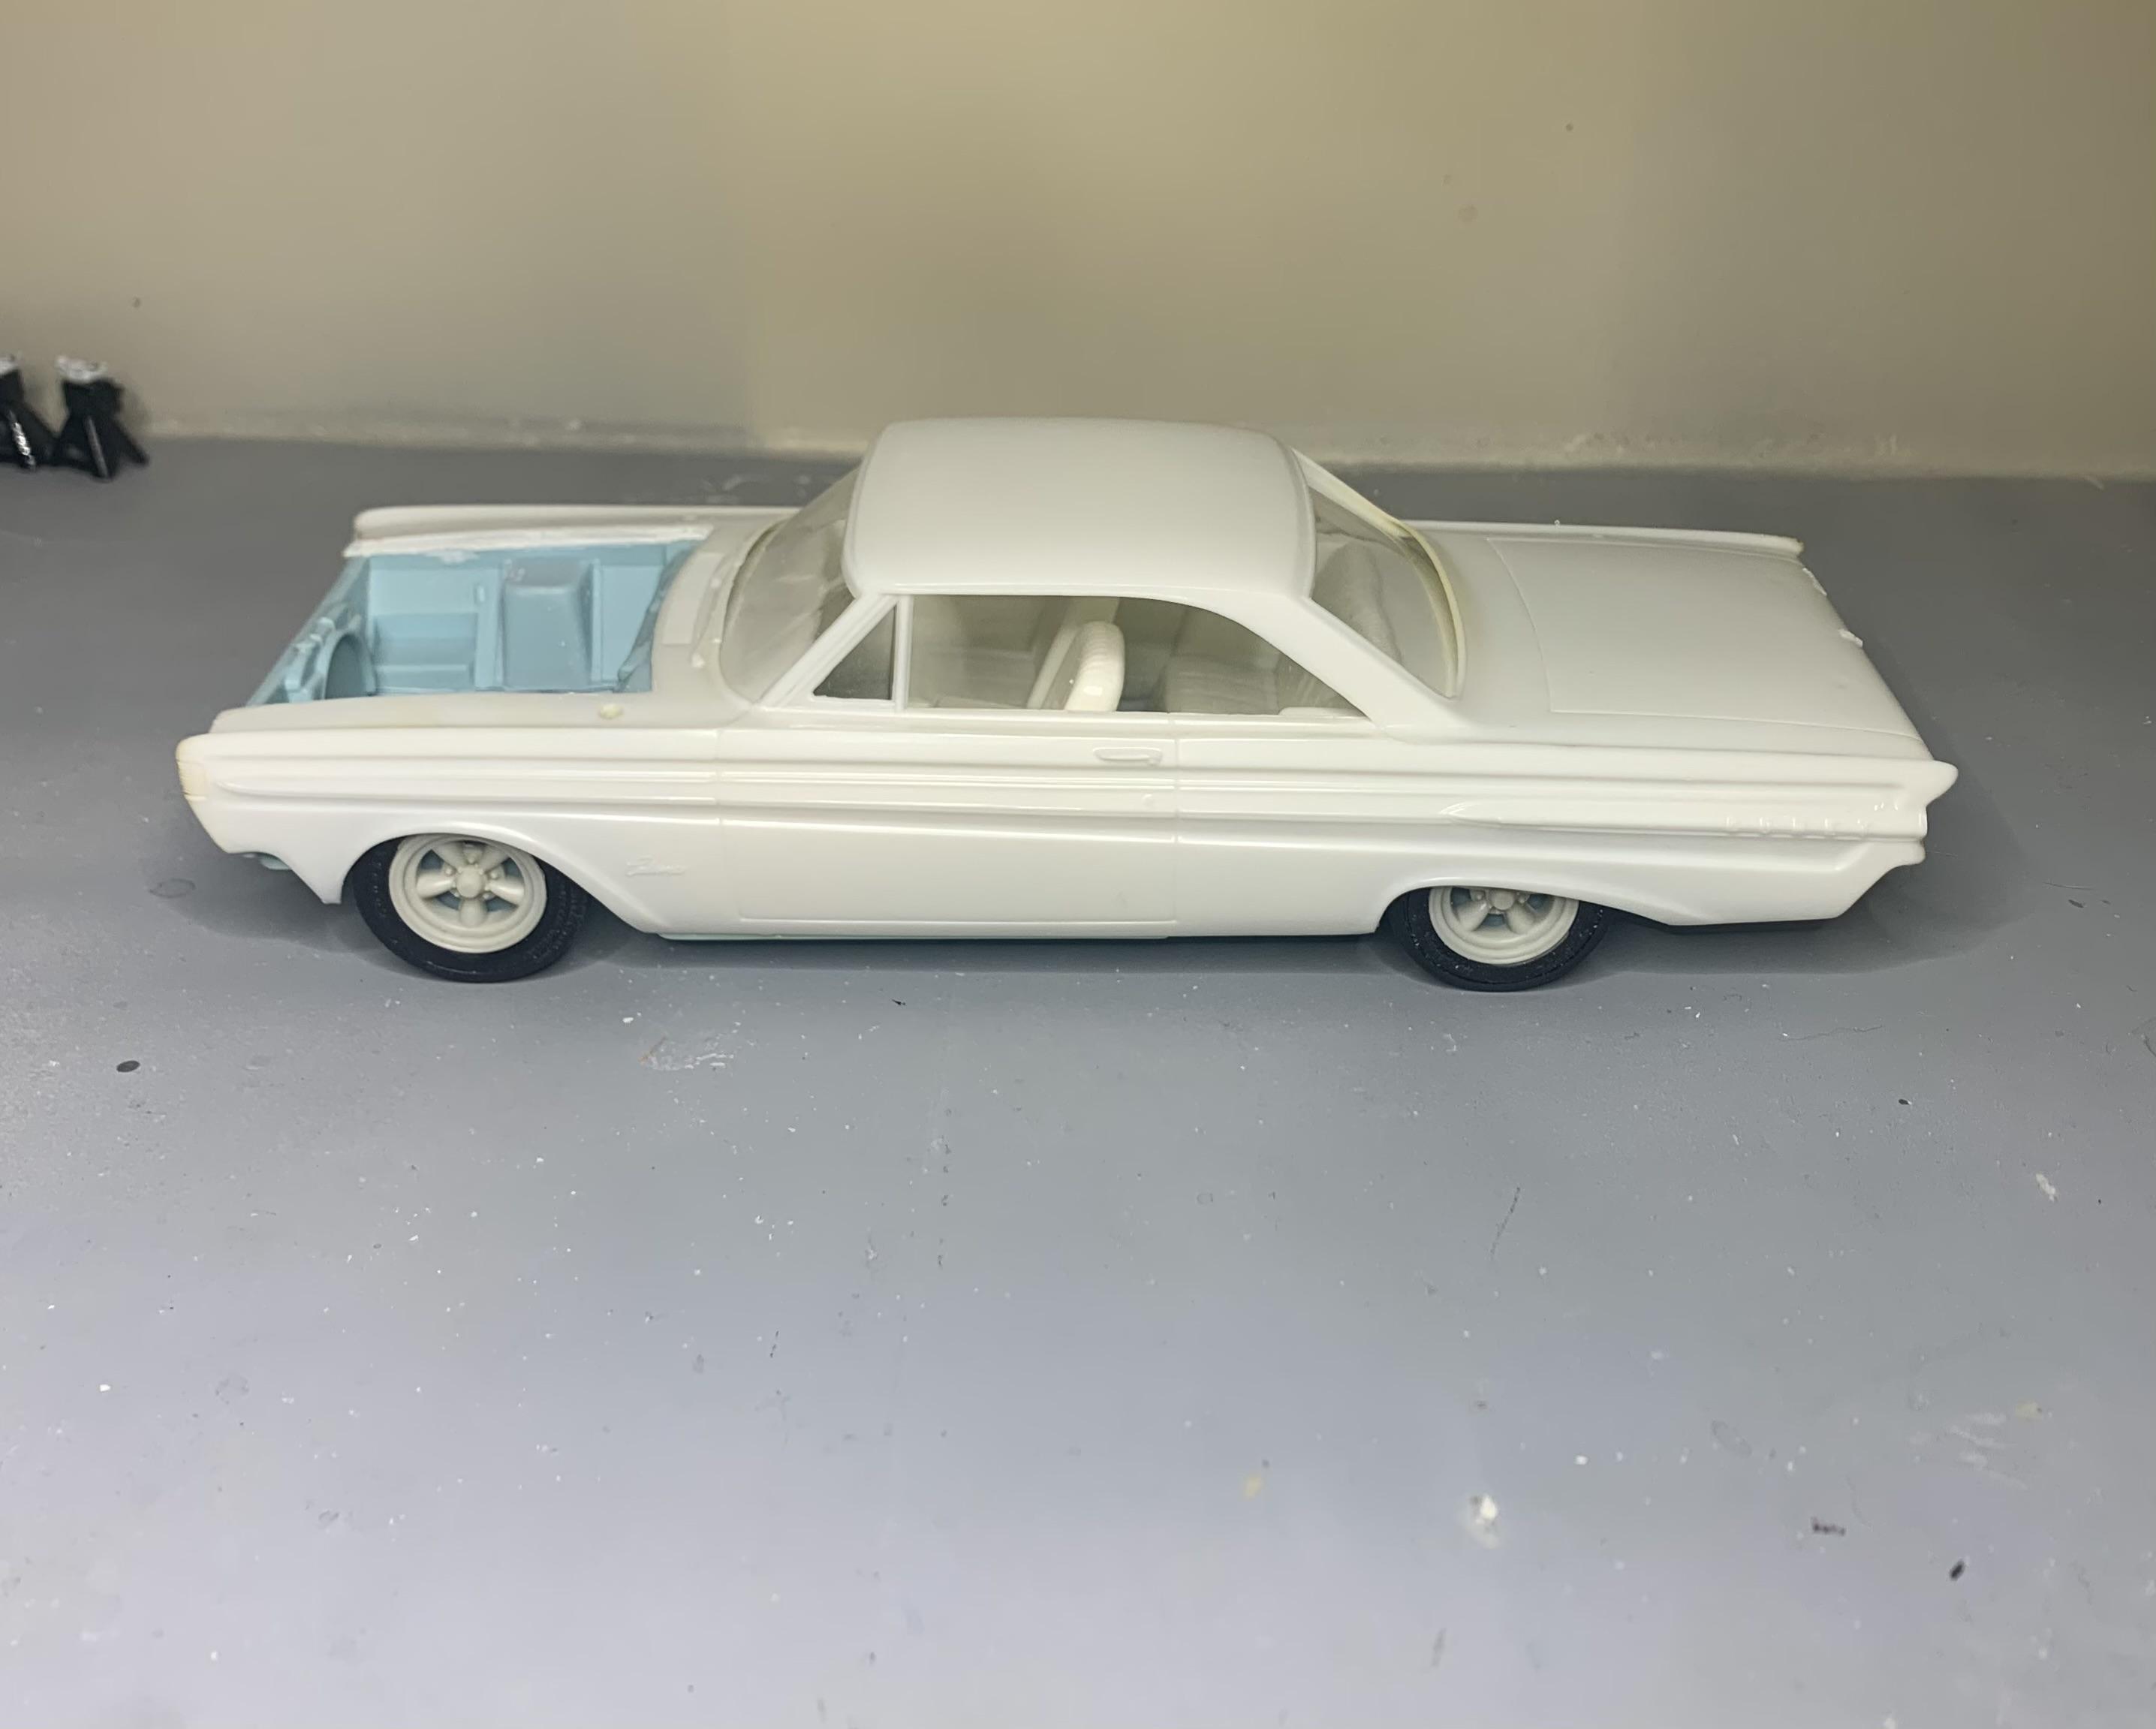
I started making the craftsman series AMT '64 Comet into a full detail, using AMT's 67 Comet, mostly. I figure with Mobius' all new kits, these AMTs are worthless! Here's where I'm at so far, probably going to put a 289 in it. Cheers
-
Yeah, I wasn't going to do them in black, but I did, how do they look now?
-
Wow, innovative, cool and lit up! Wow!
-
Who doesn't love a mock-up? Let's see yours!
dino246gt replied to Belairconvertable's topic in WIP: Model Cars
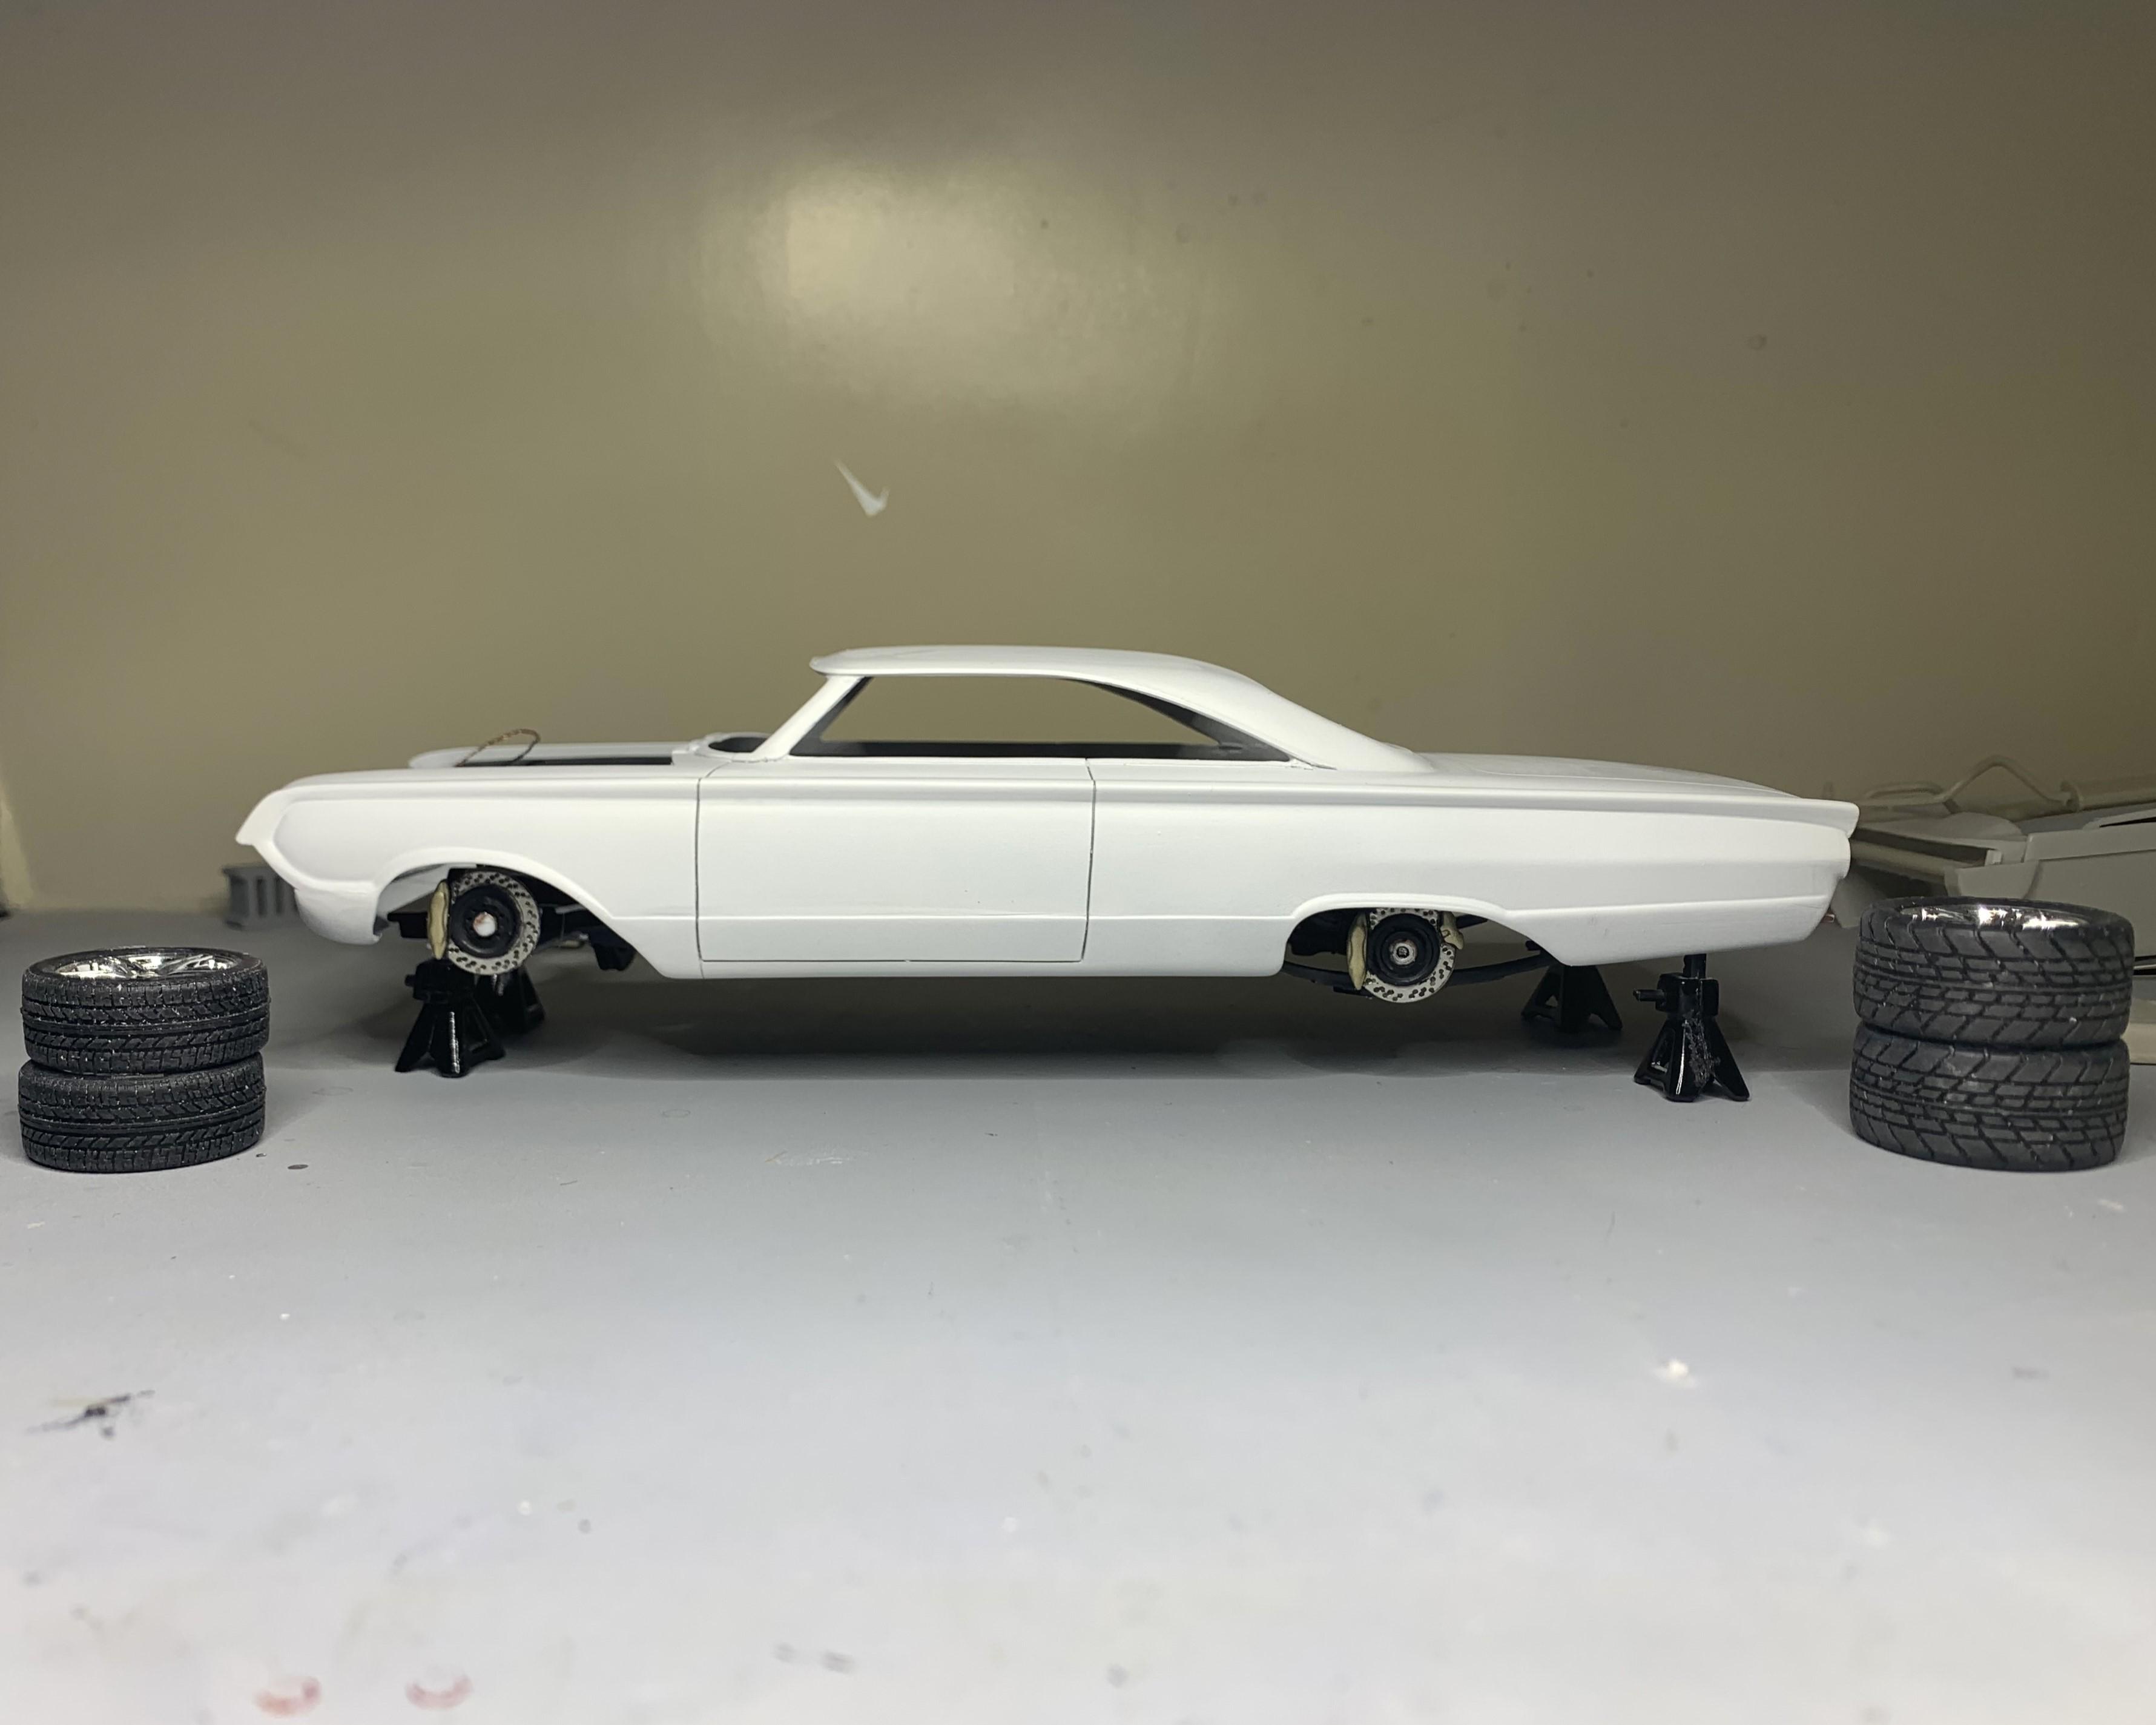
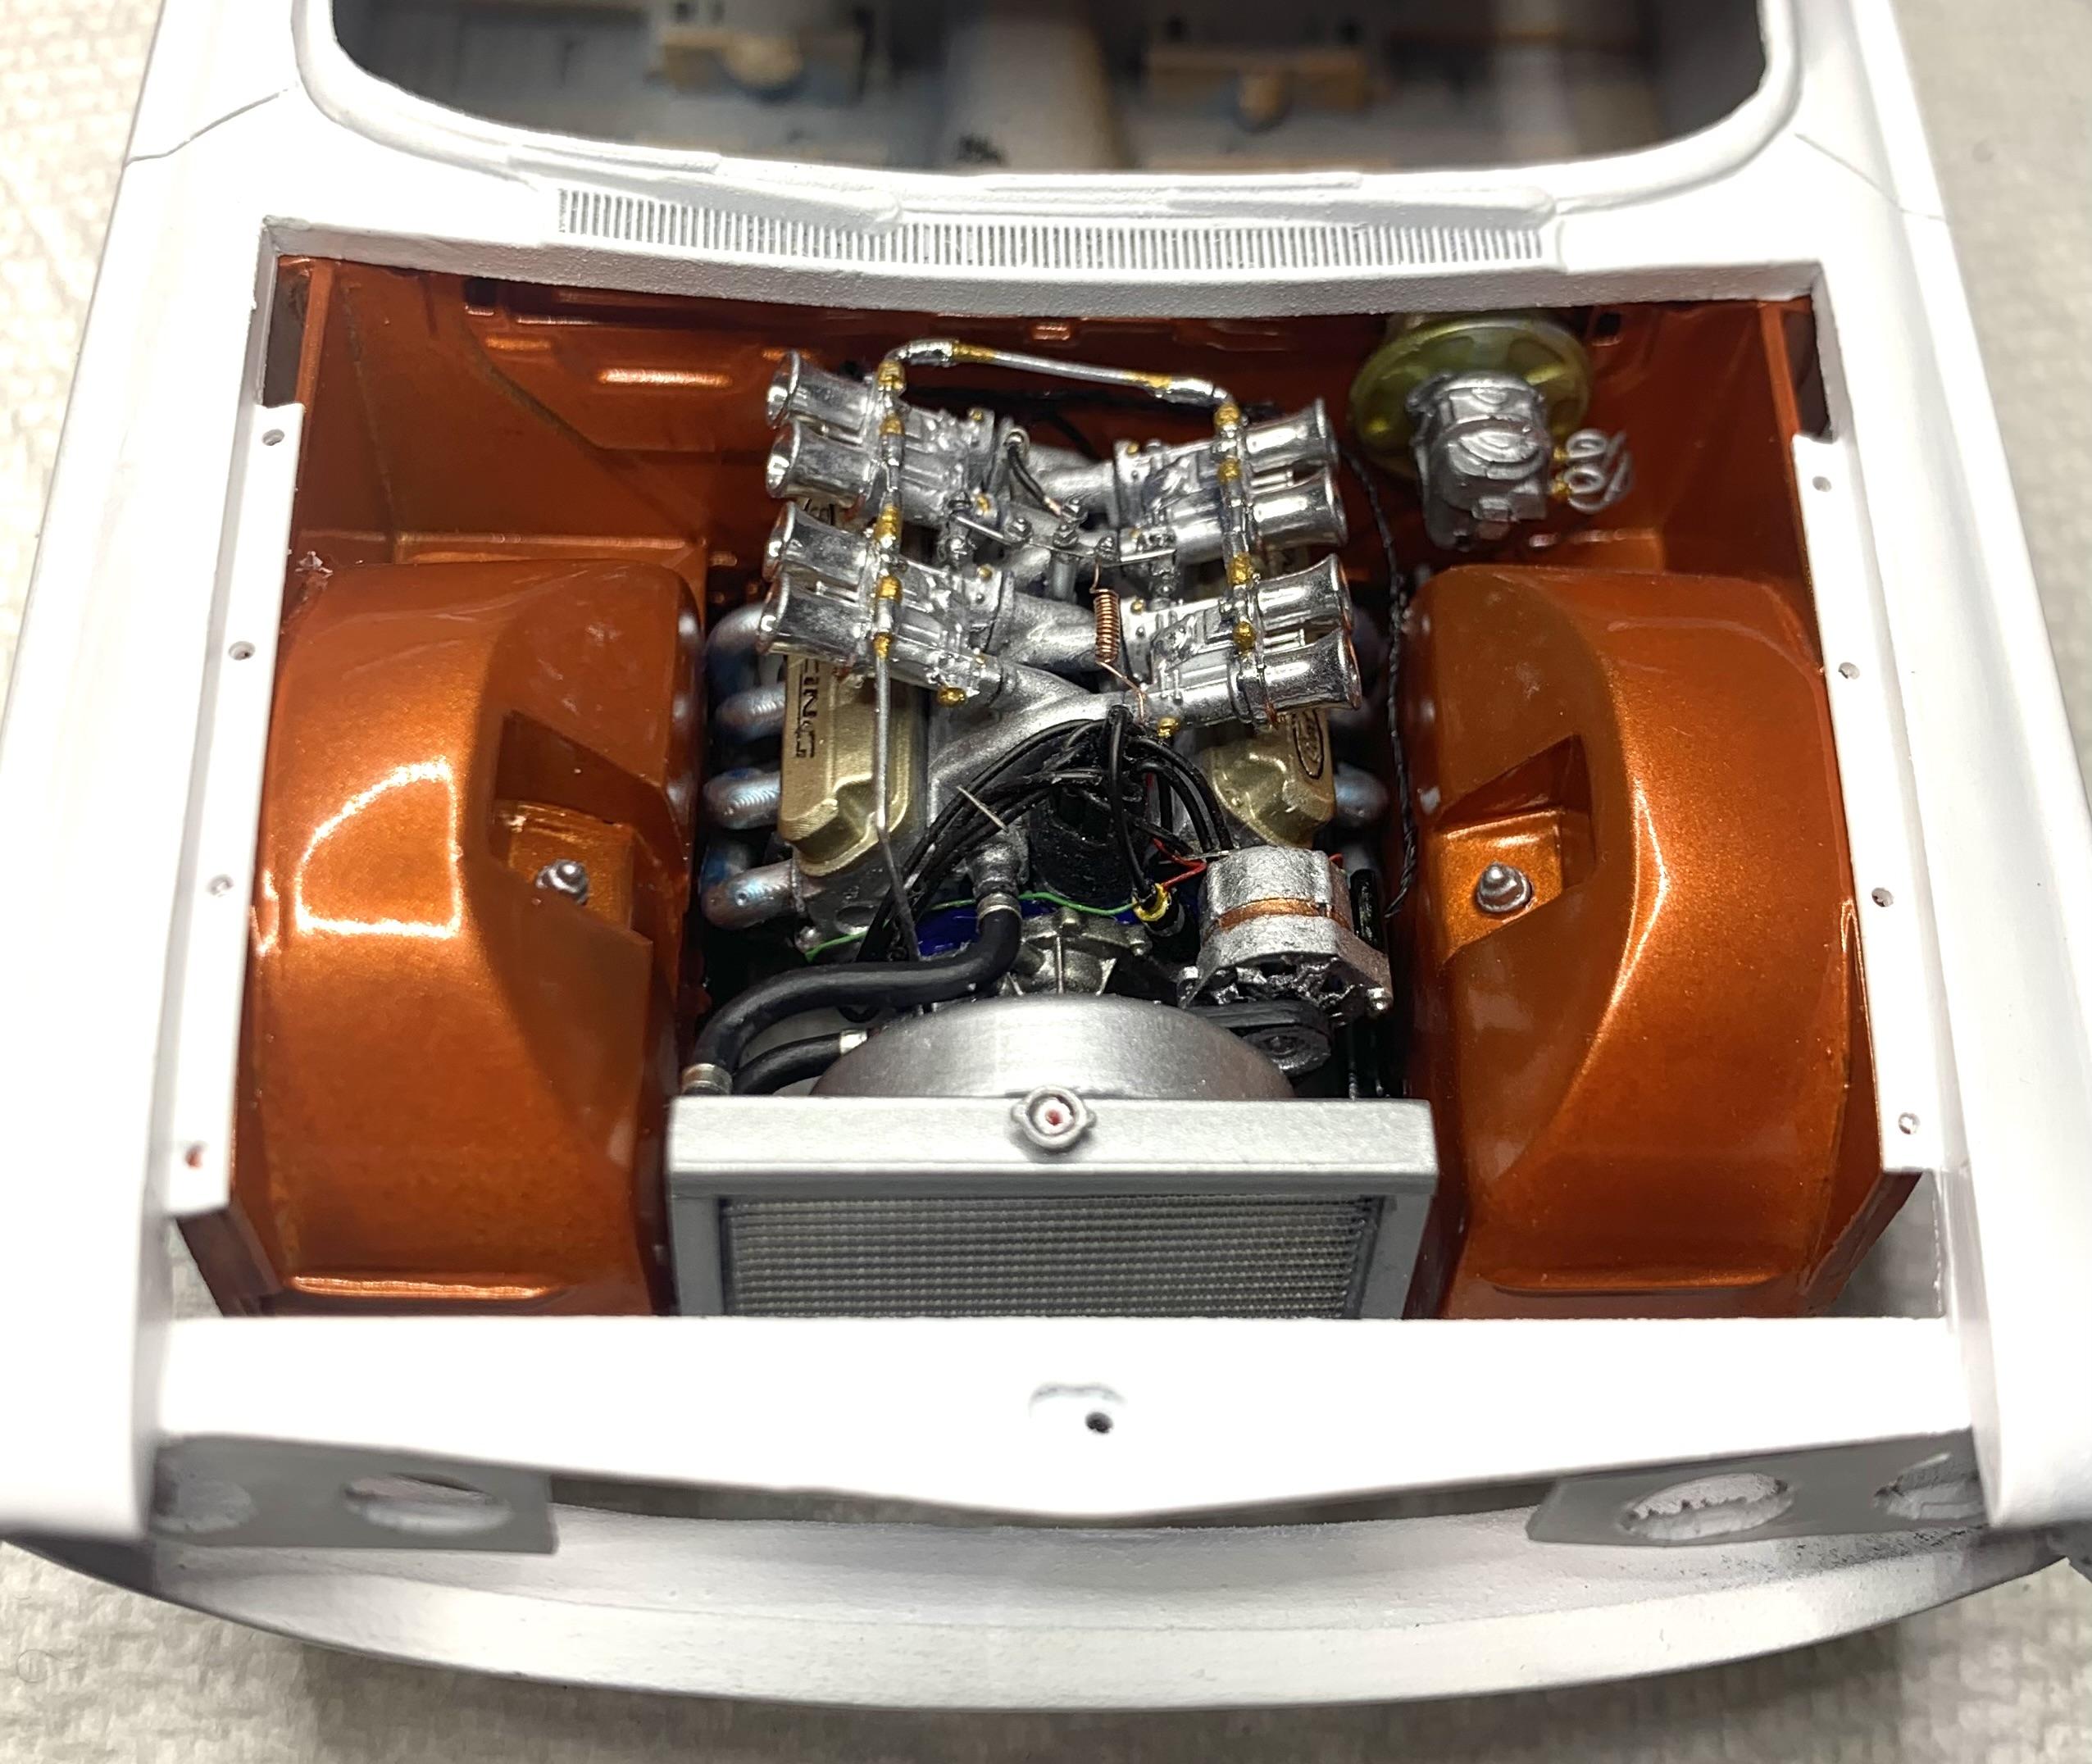
I started this one last year, had medical issues in January 2025 and thought I'd never build again. Well, THIS one hasn't been touched since! BUT, I have been building models again, must finish this one too, someday. Got a 351 Windsor and Tremac 6 speed manual already fitted.
-
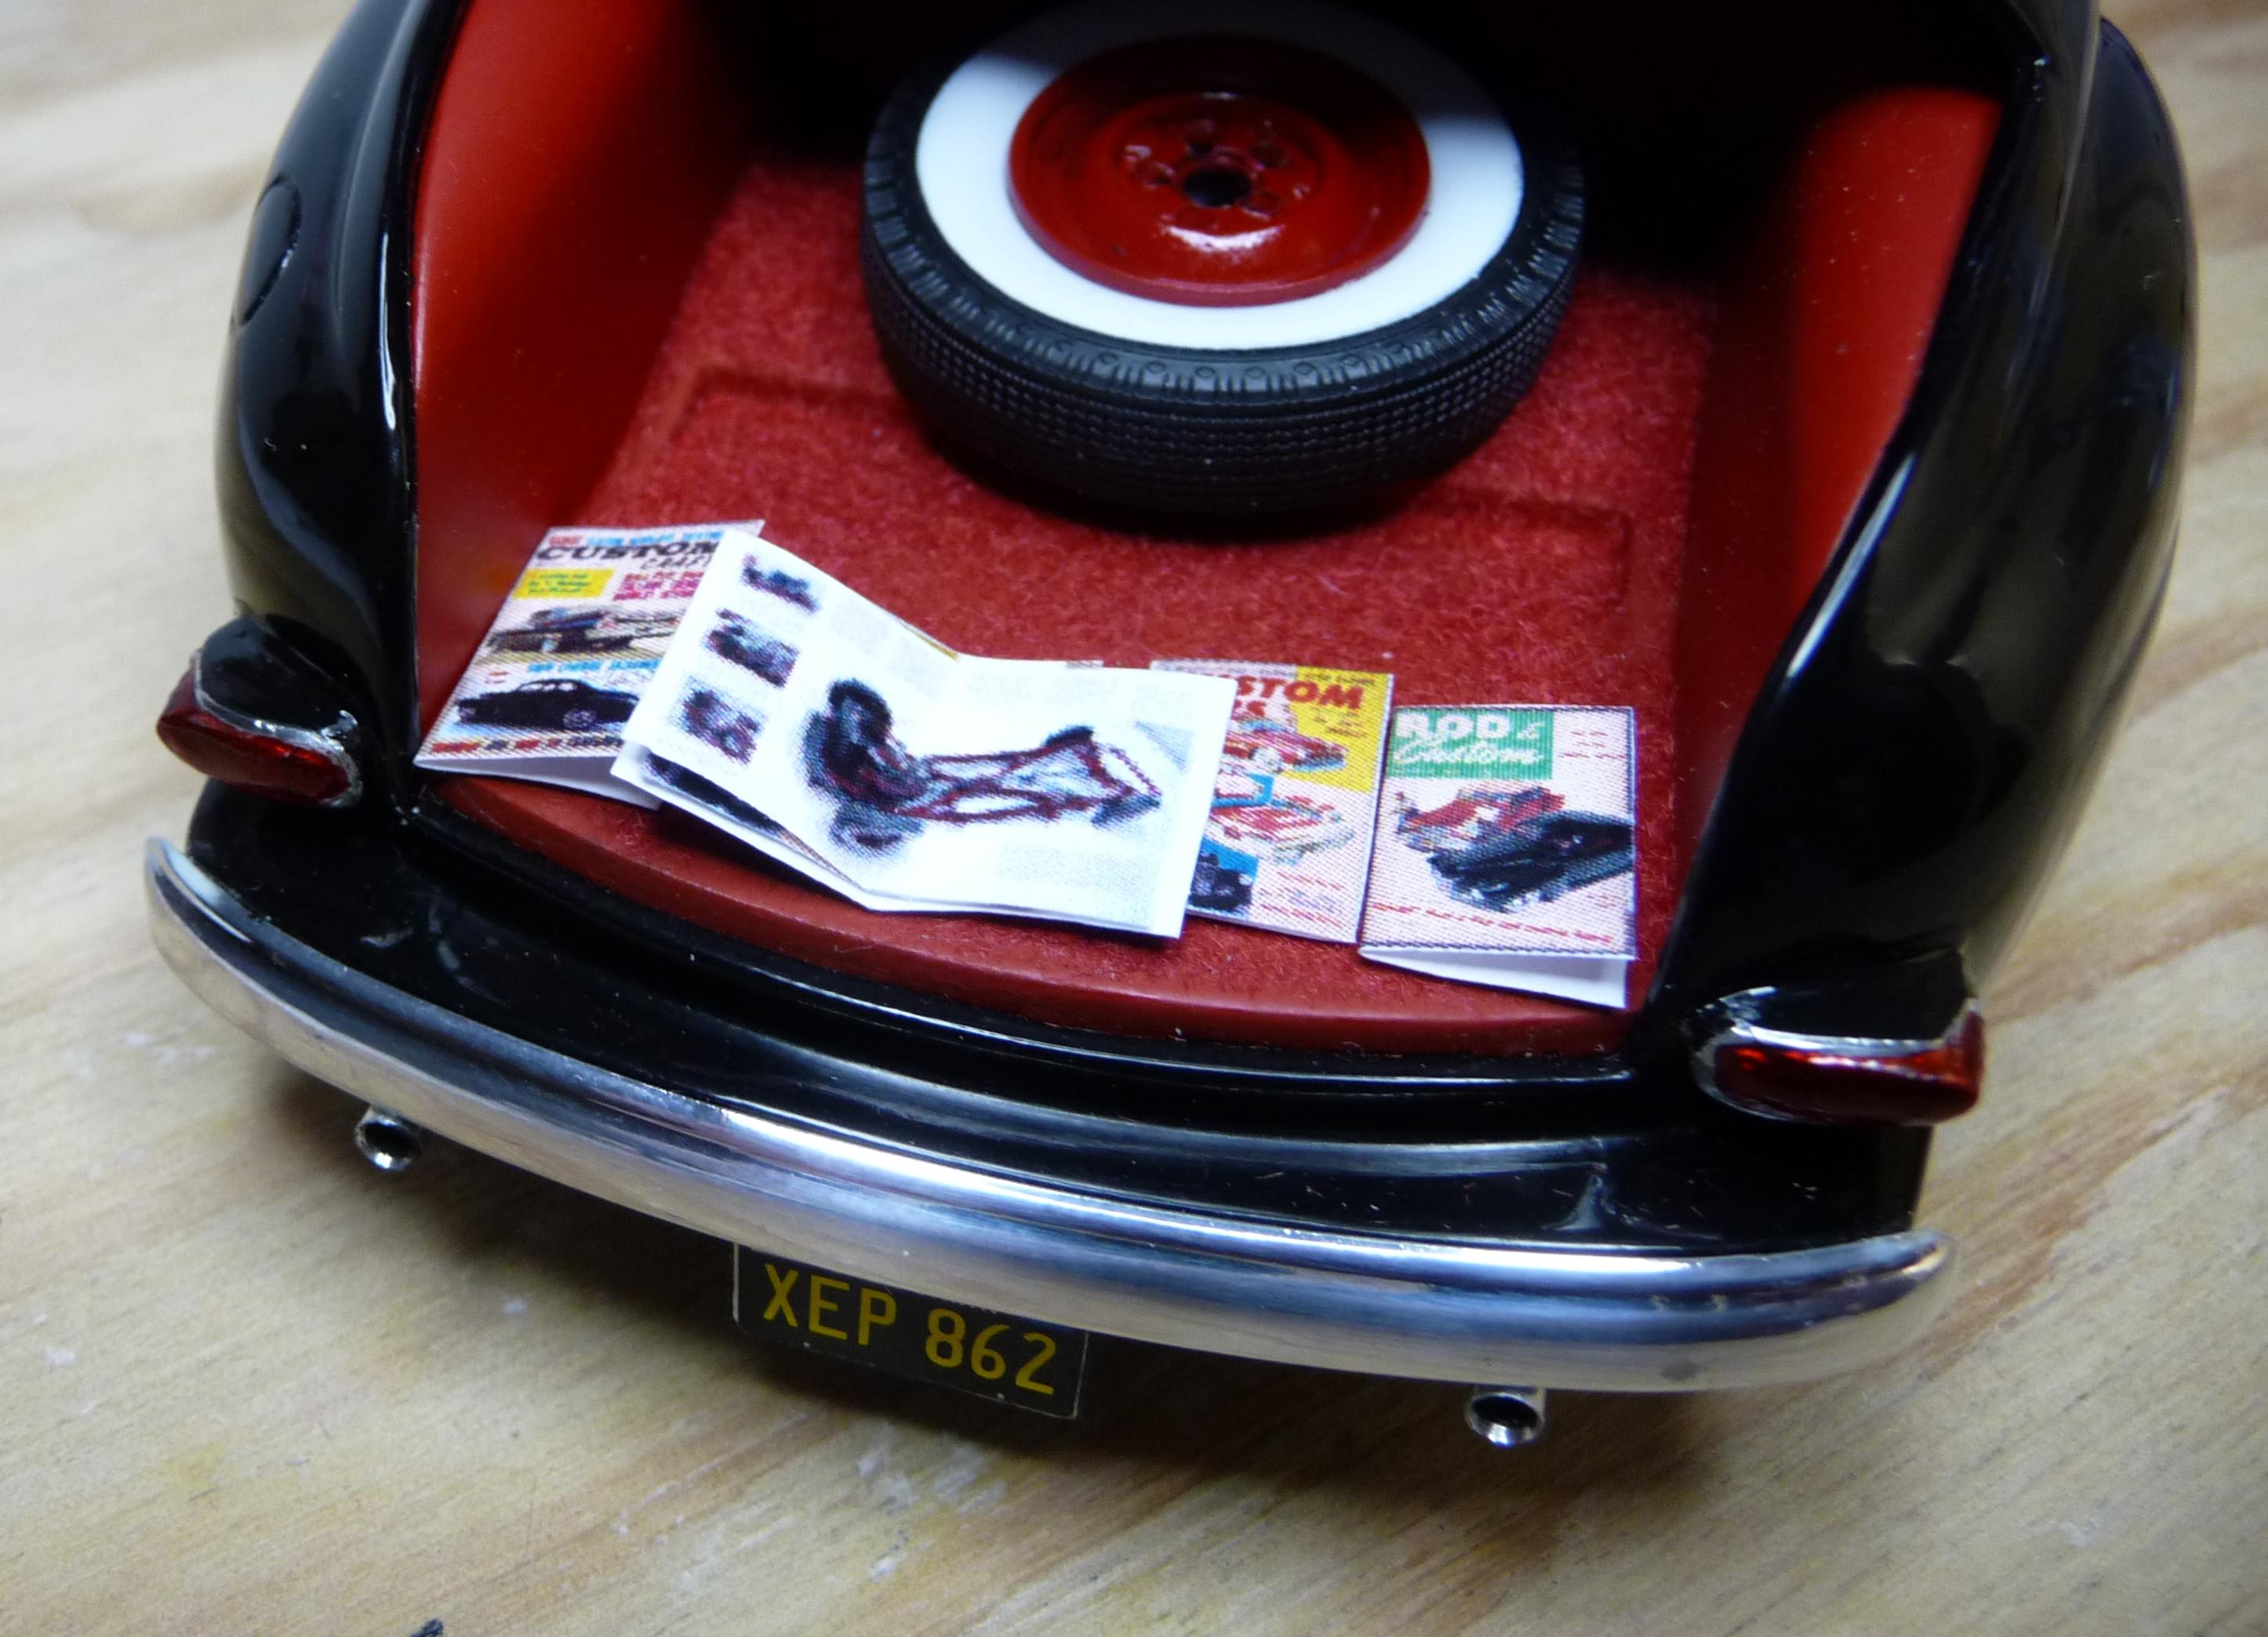
Here's those "Little Books" of which you speak, although these are even little-er! I made them to include the '41 coupe I built many years ago.
-
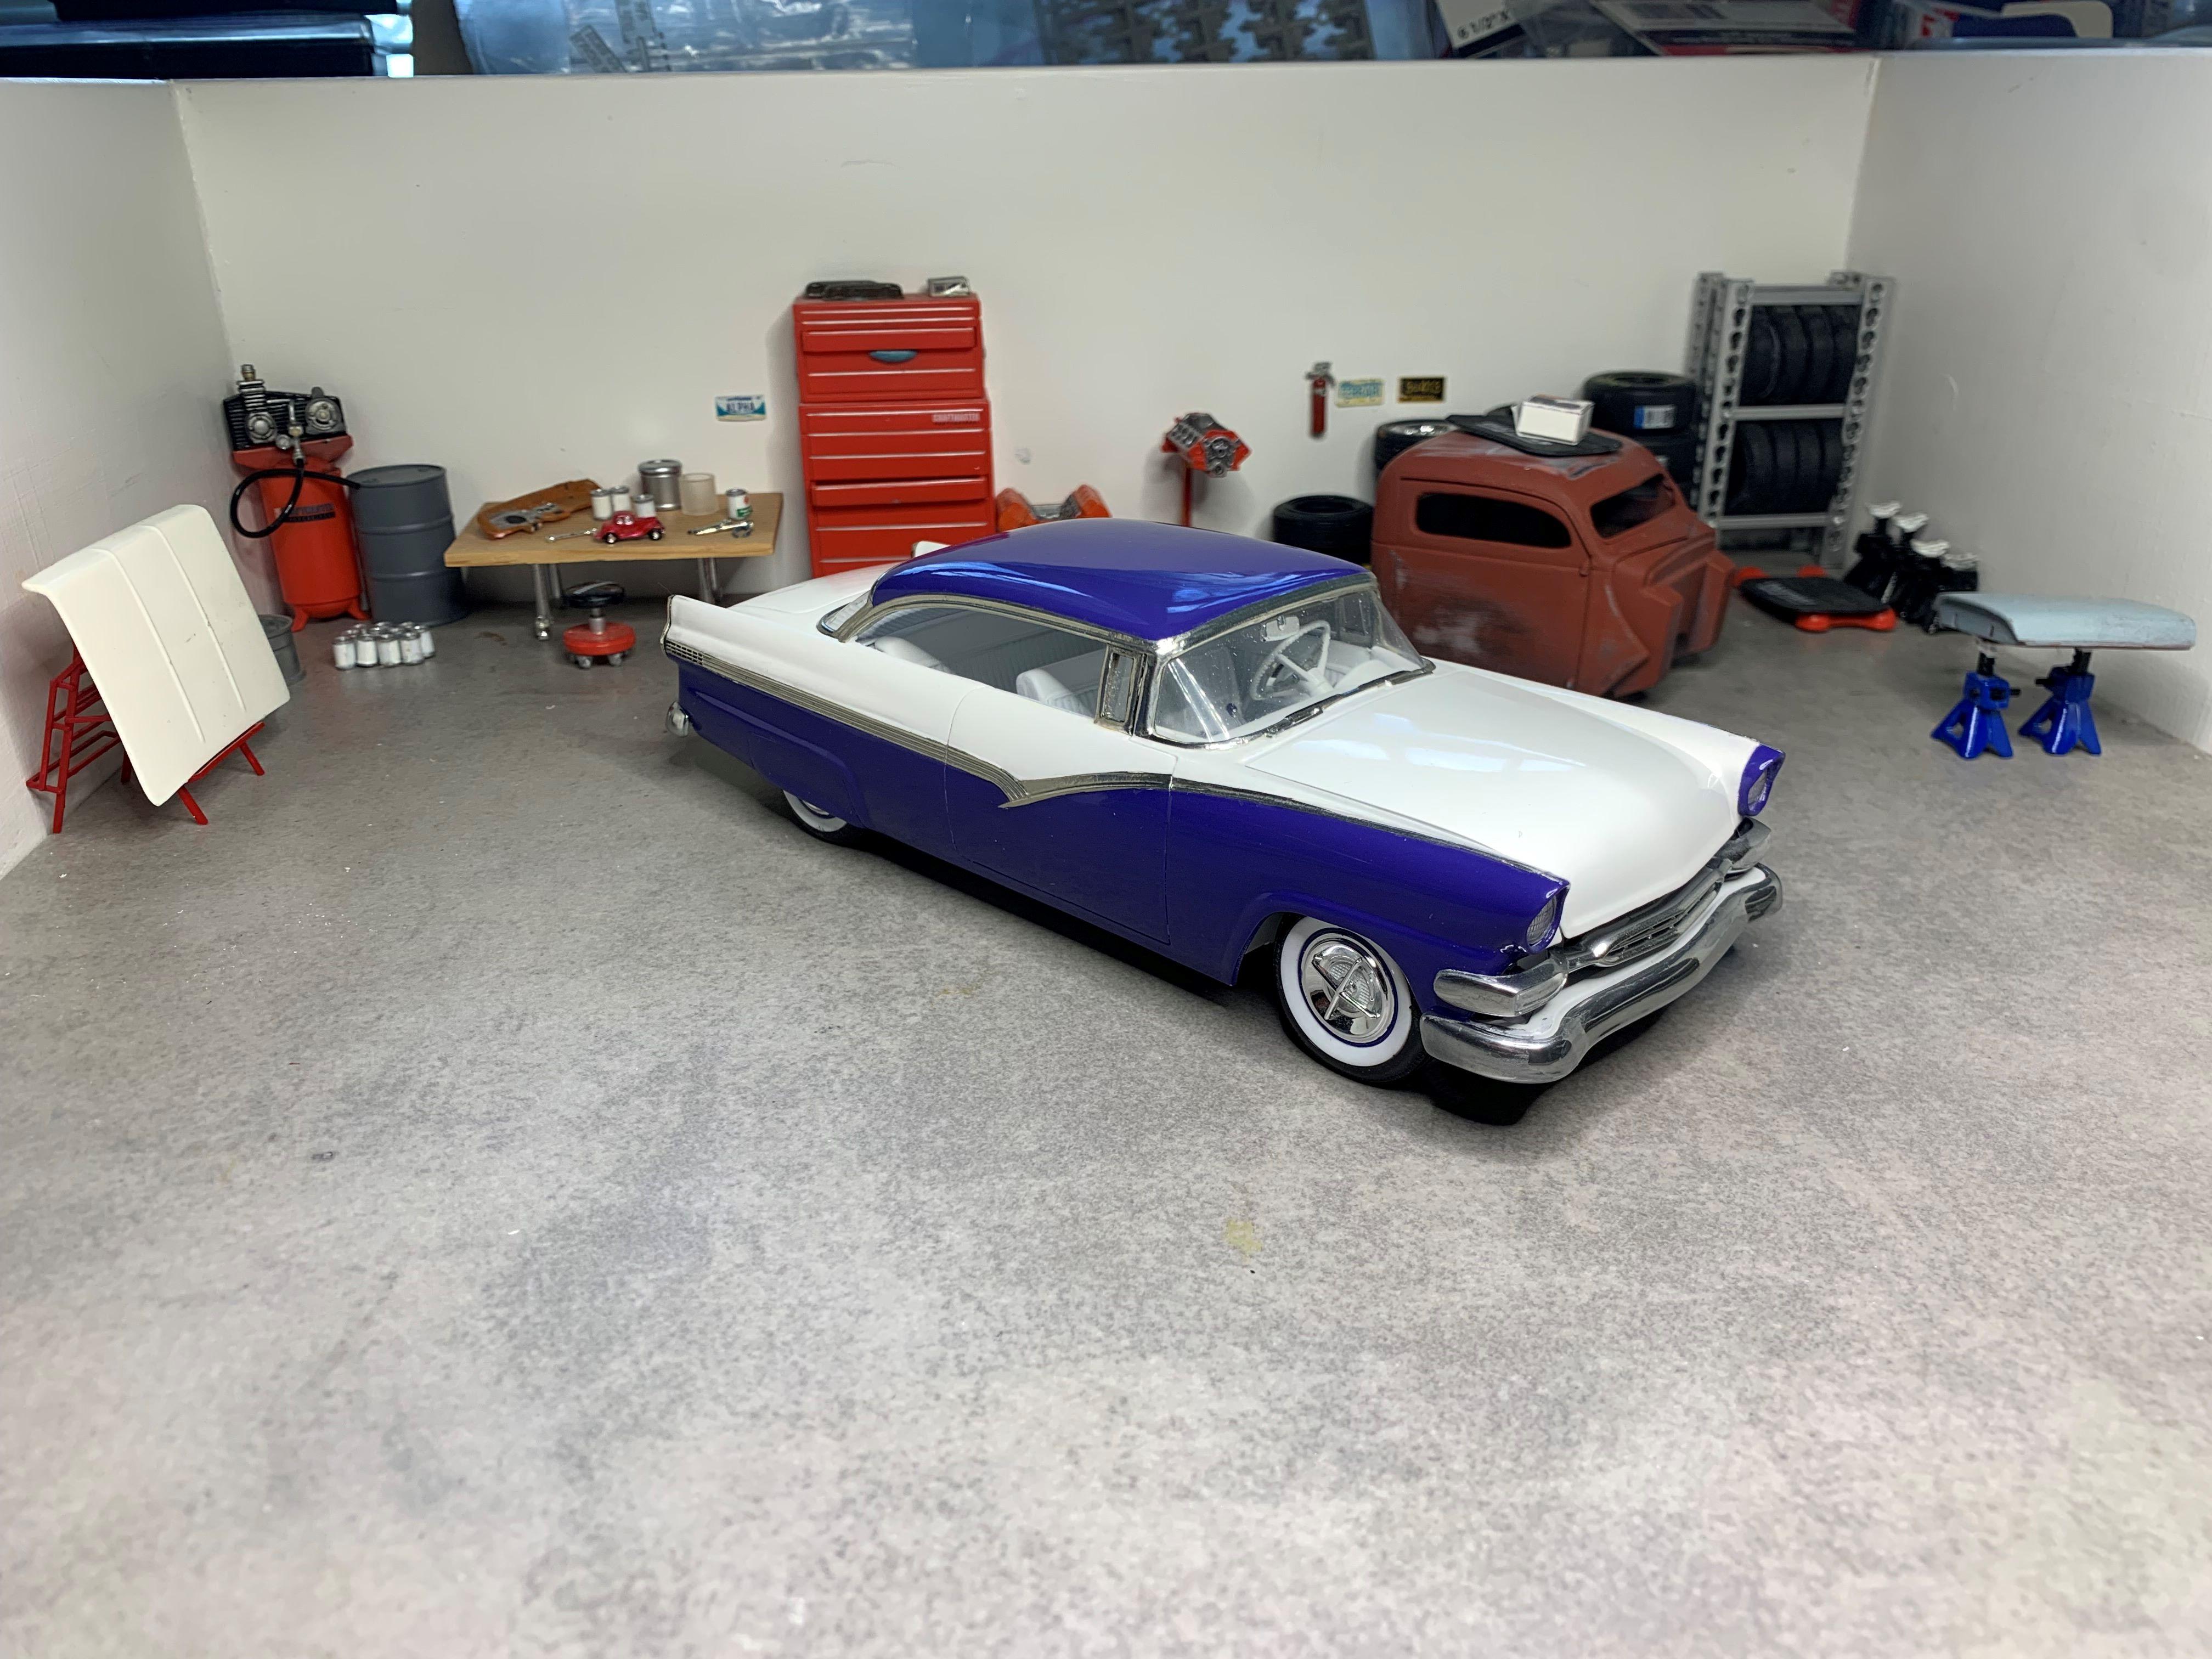
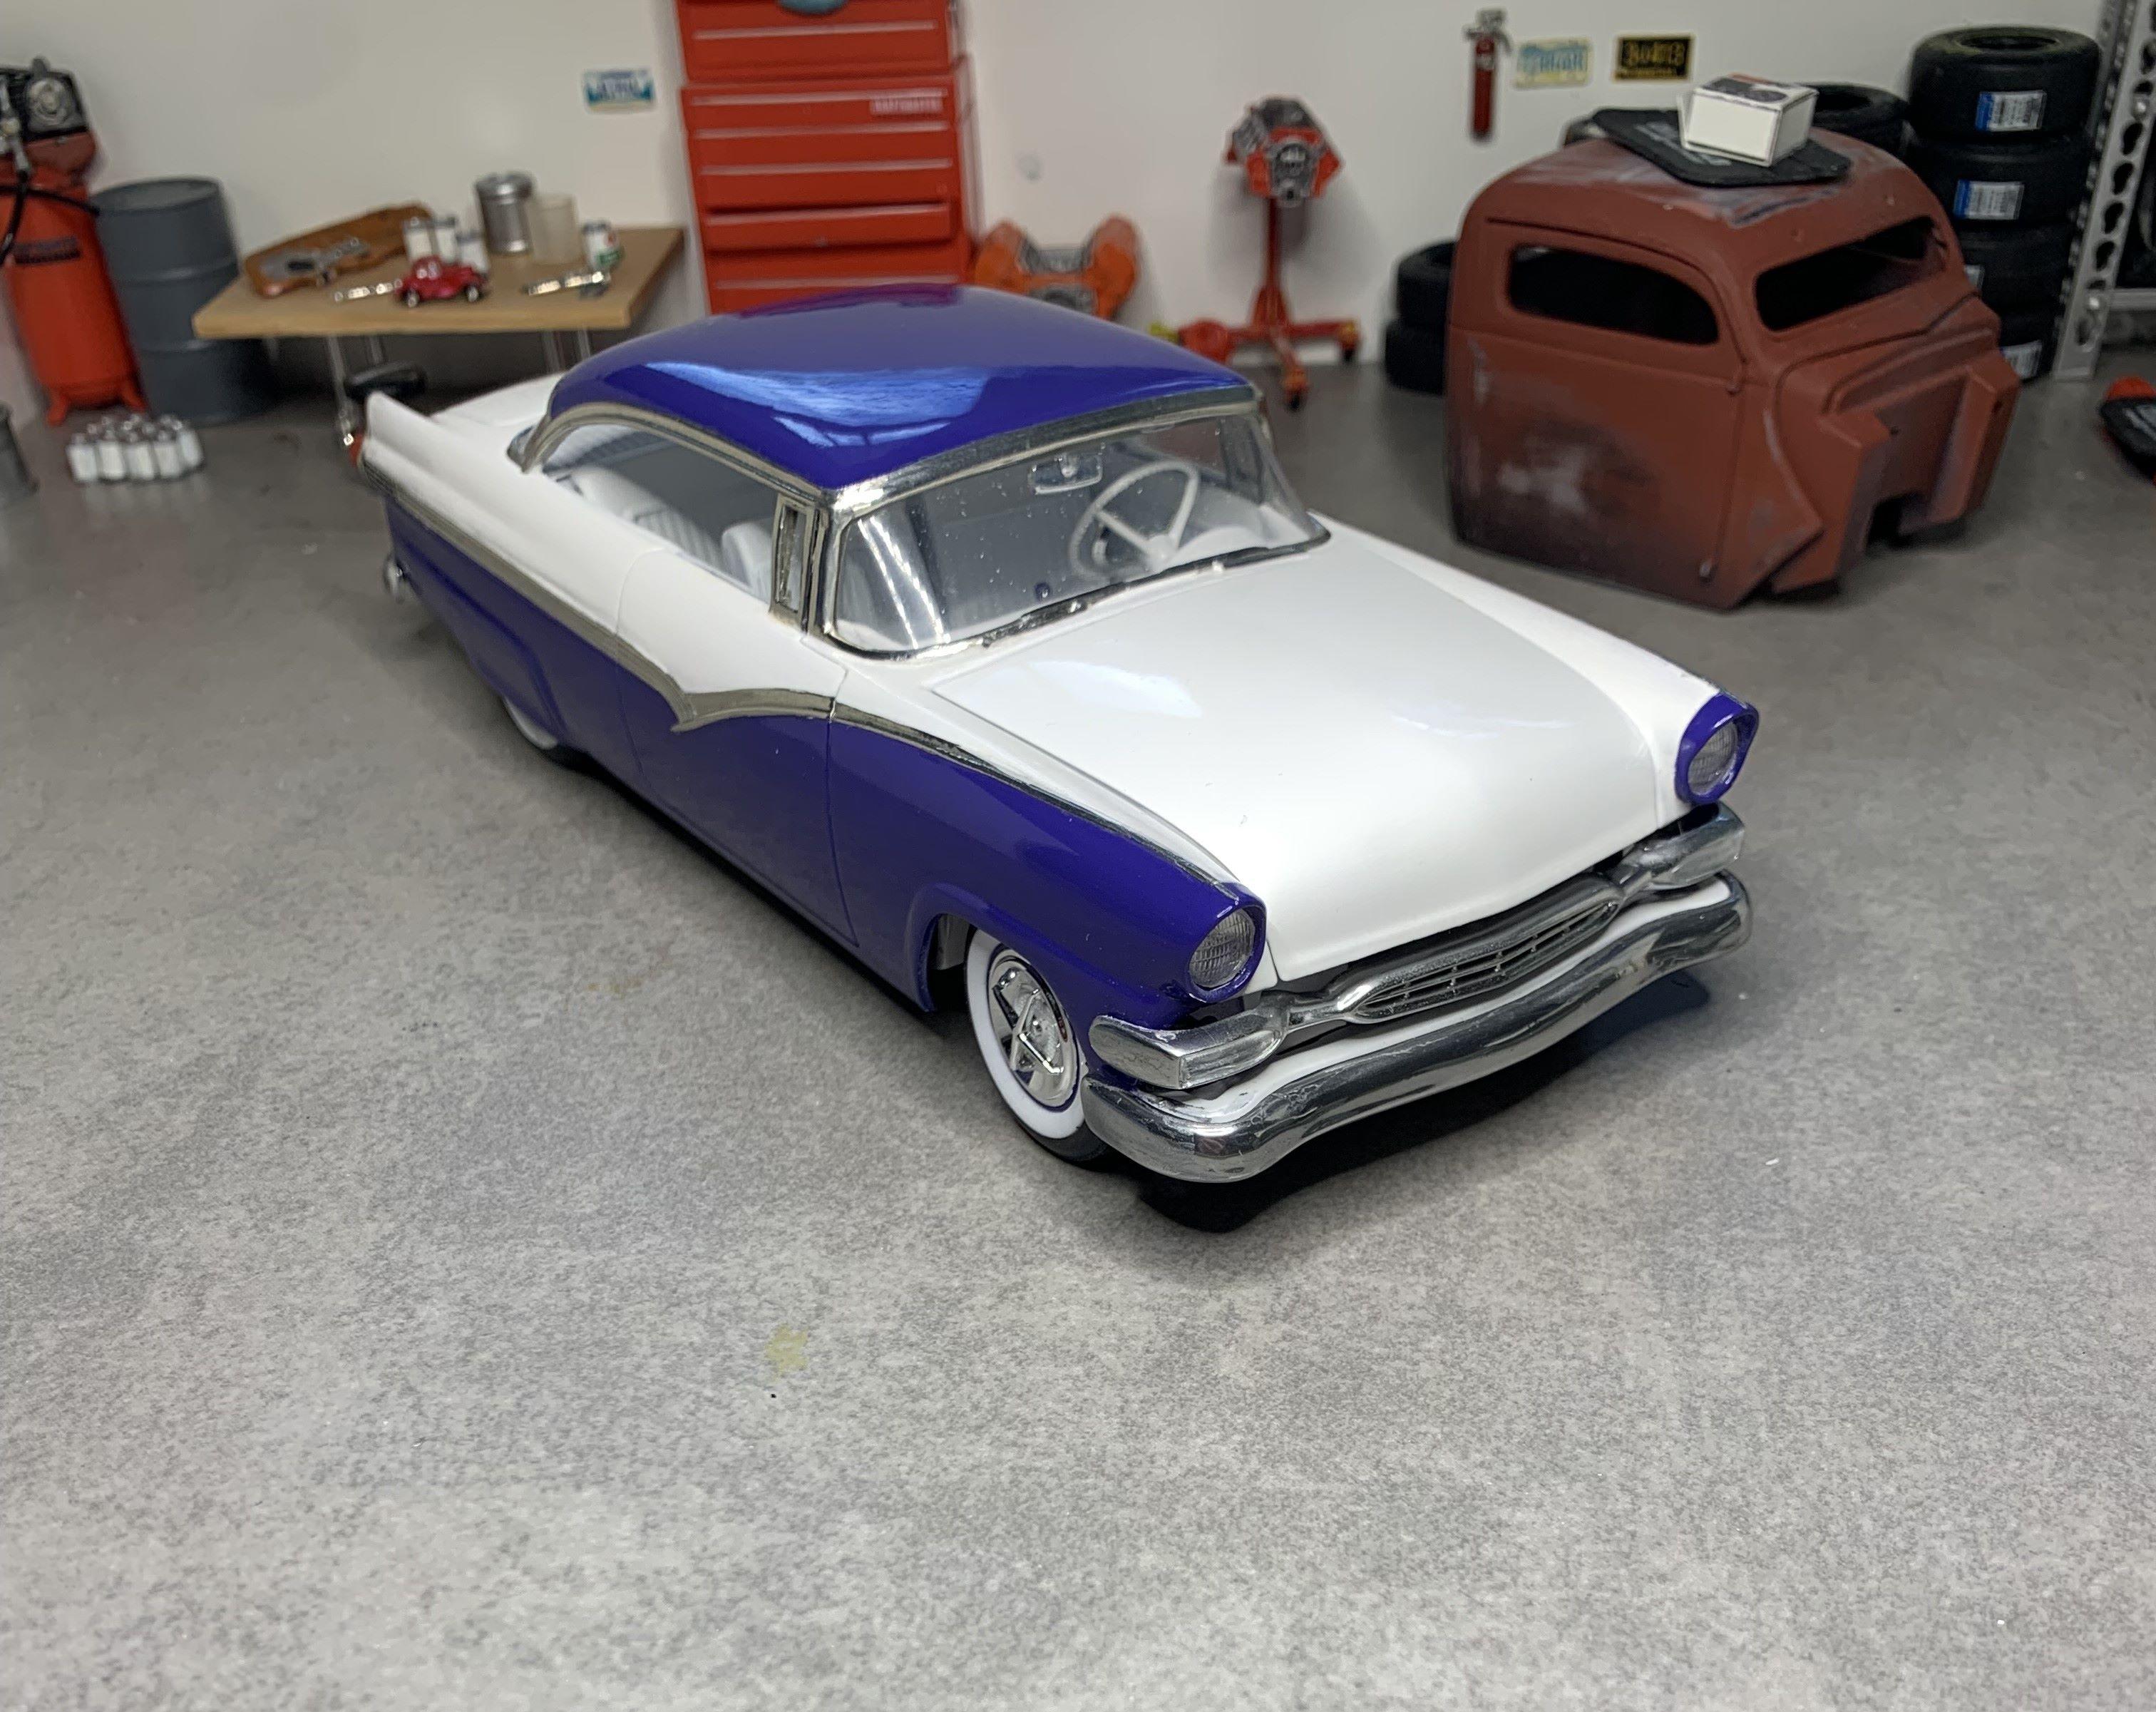
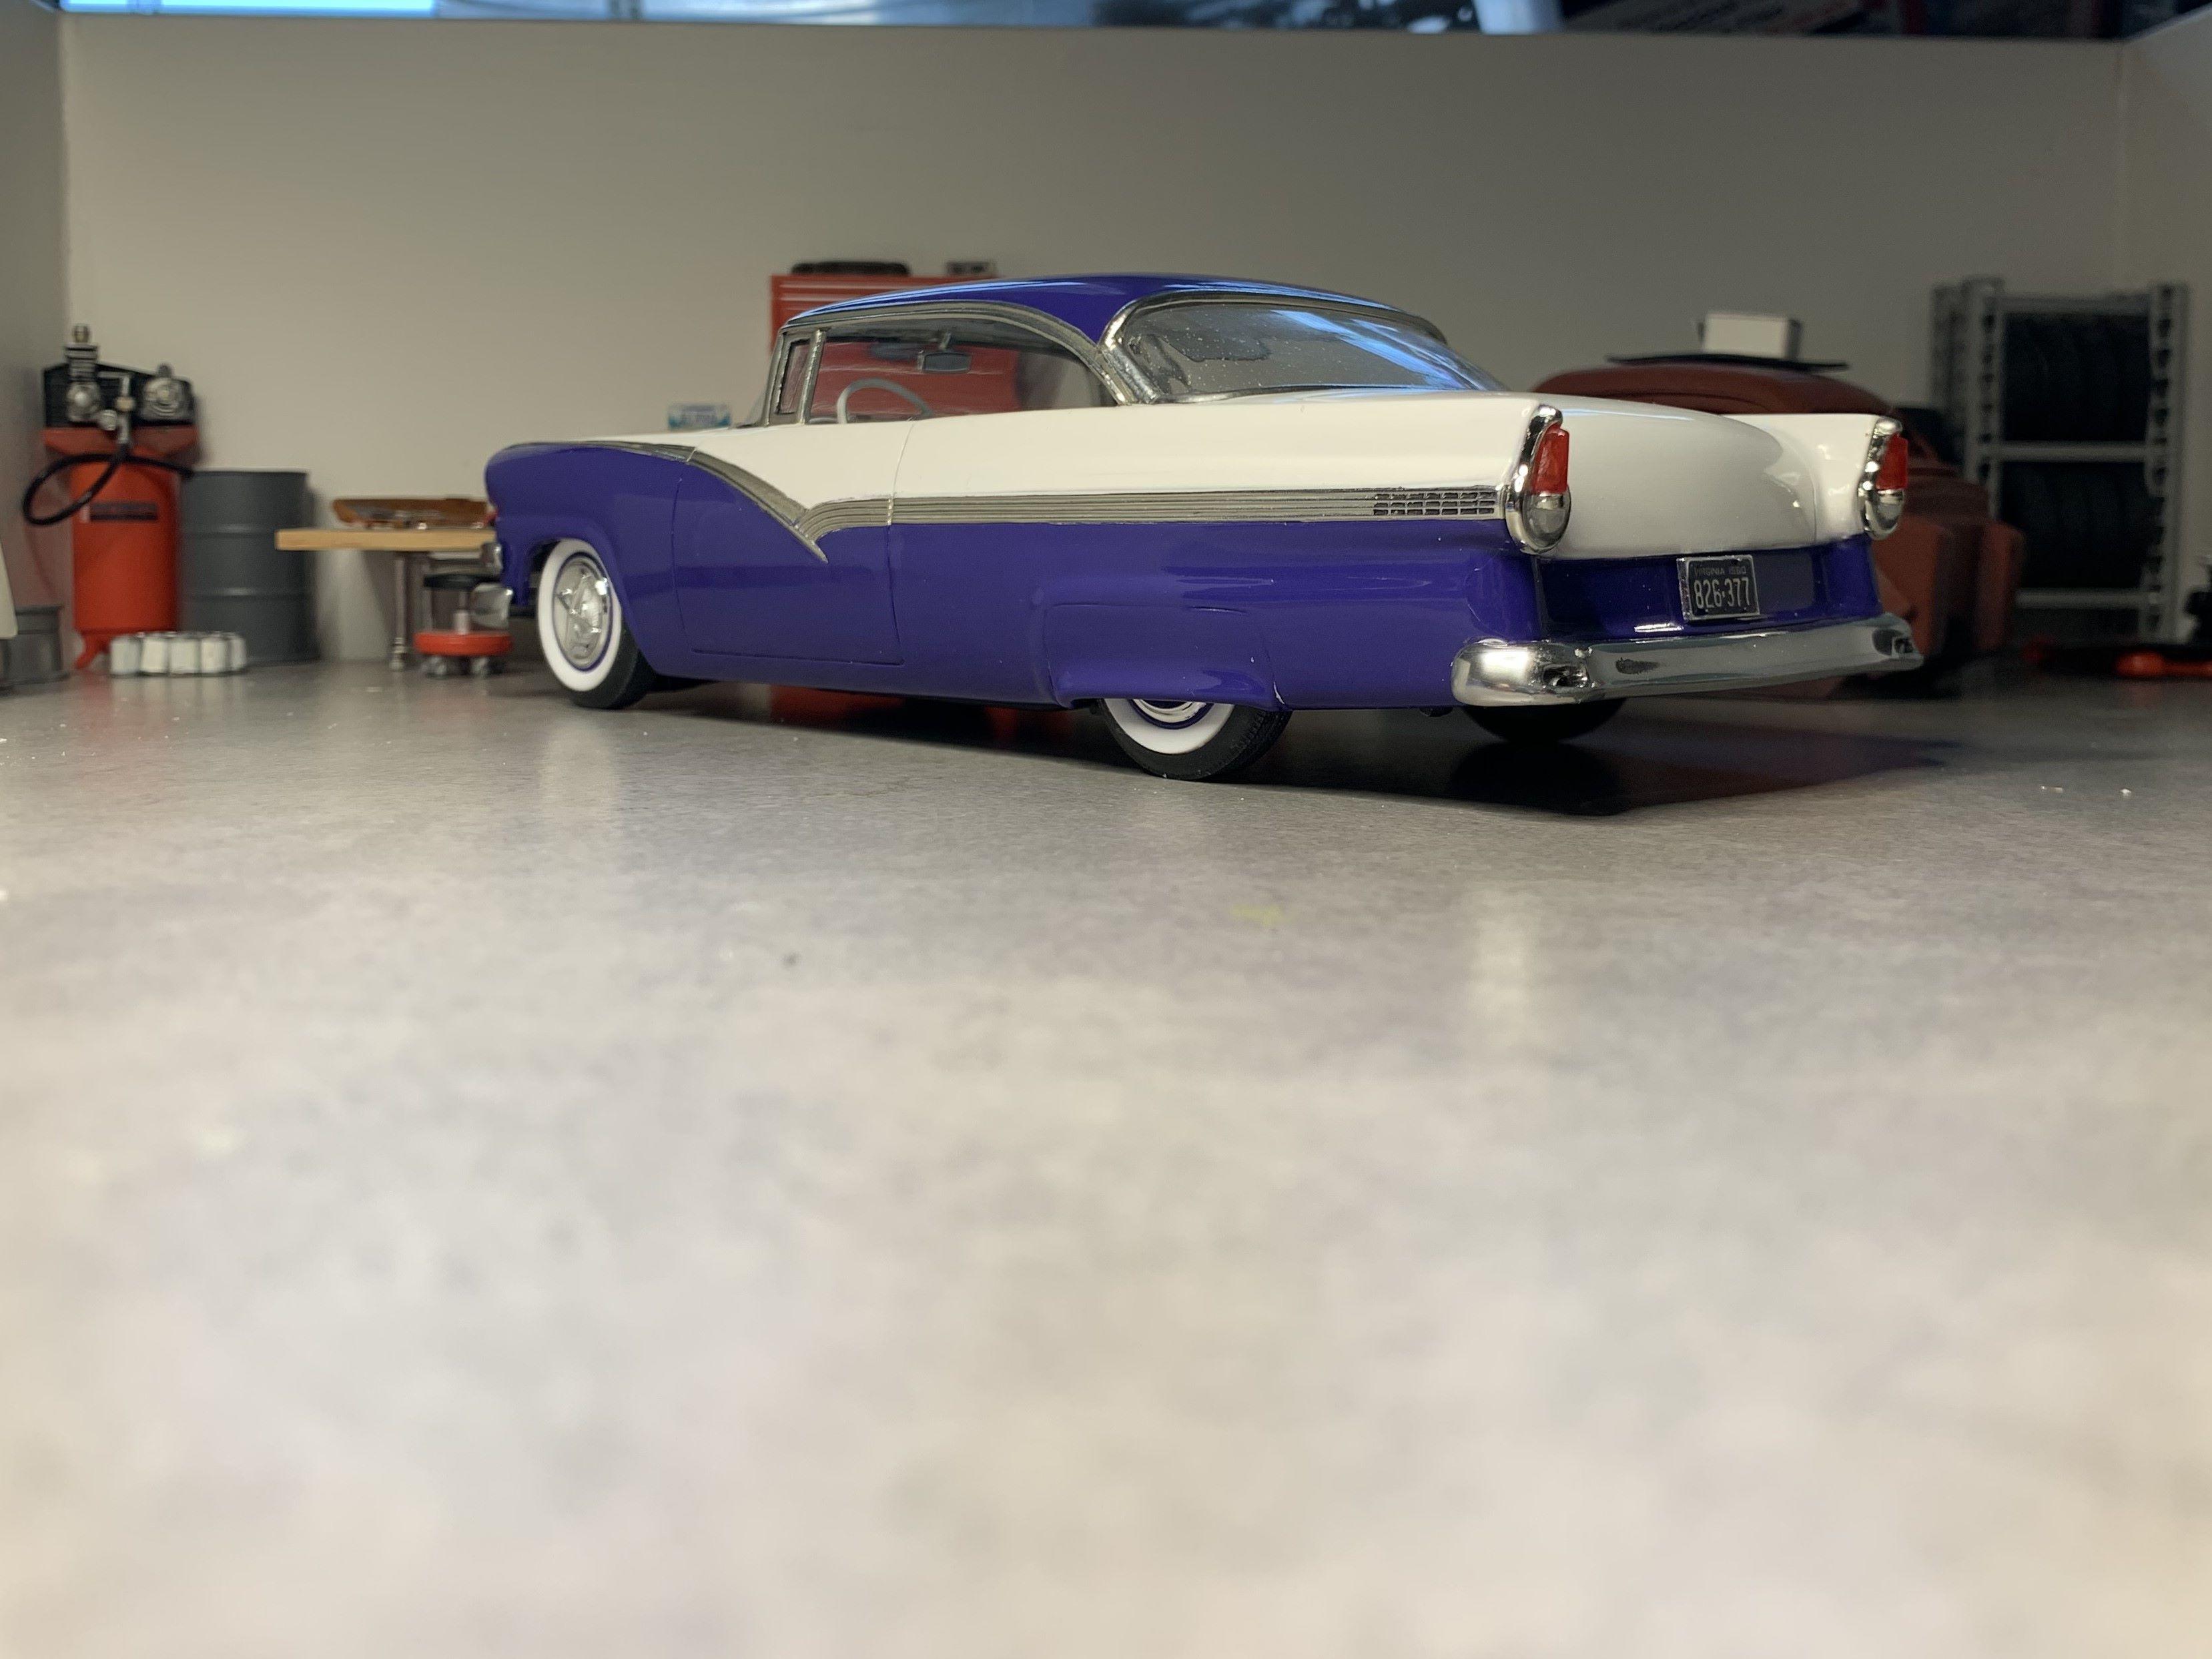
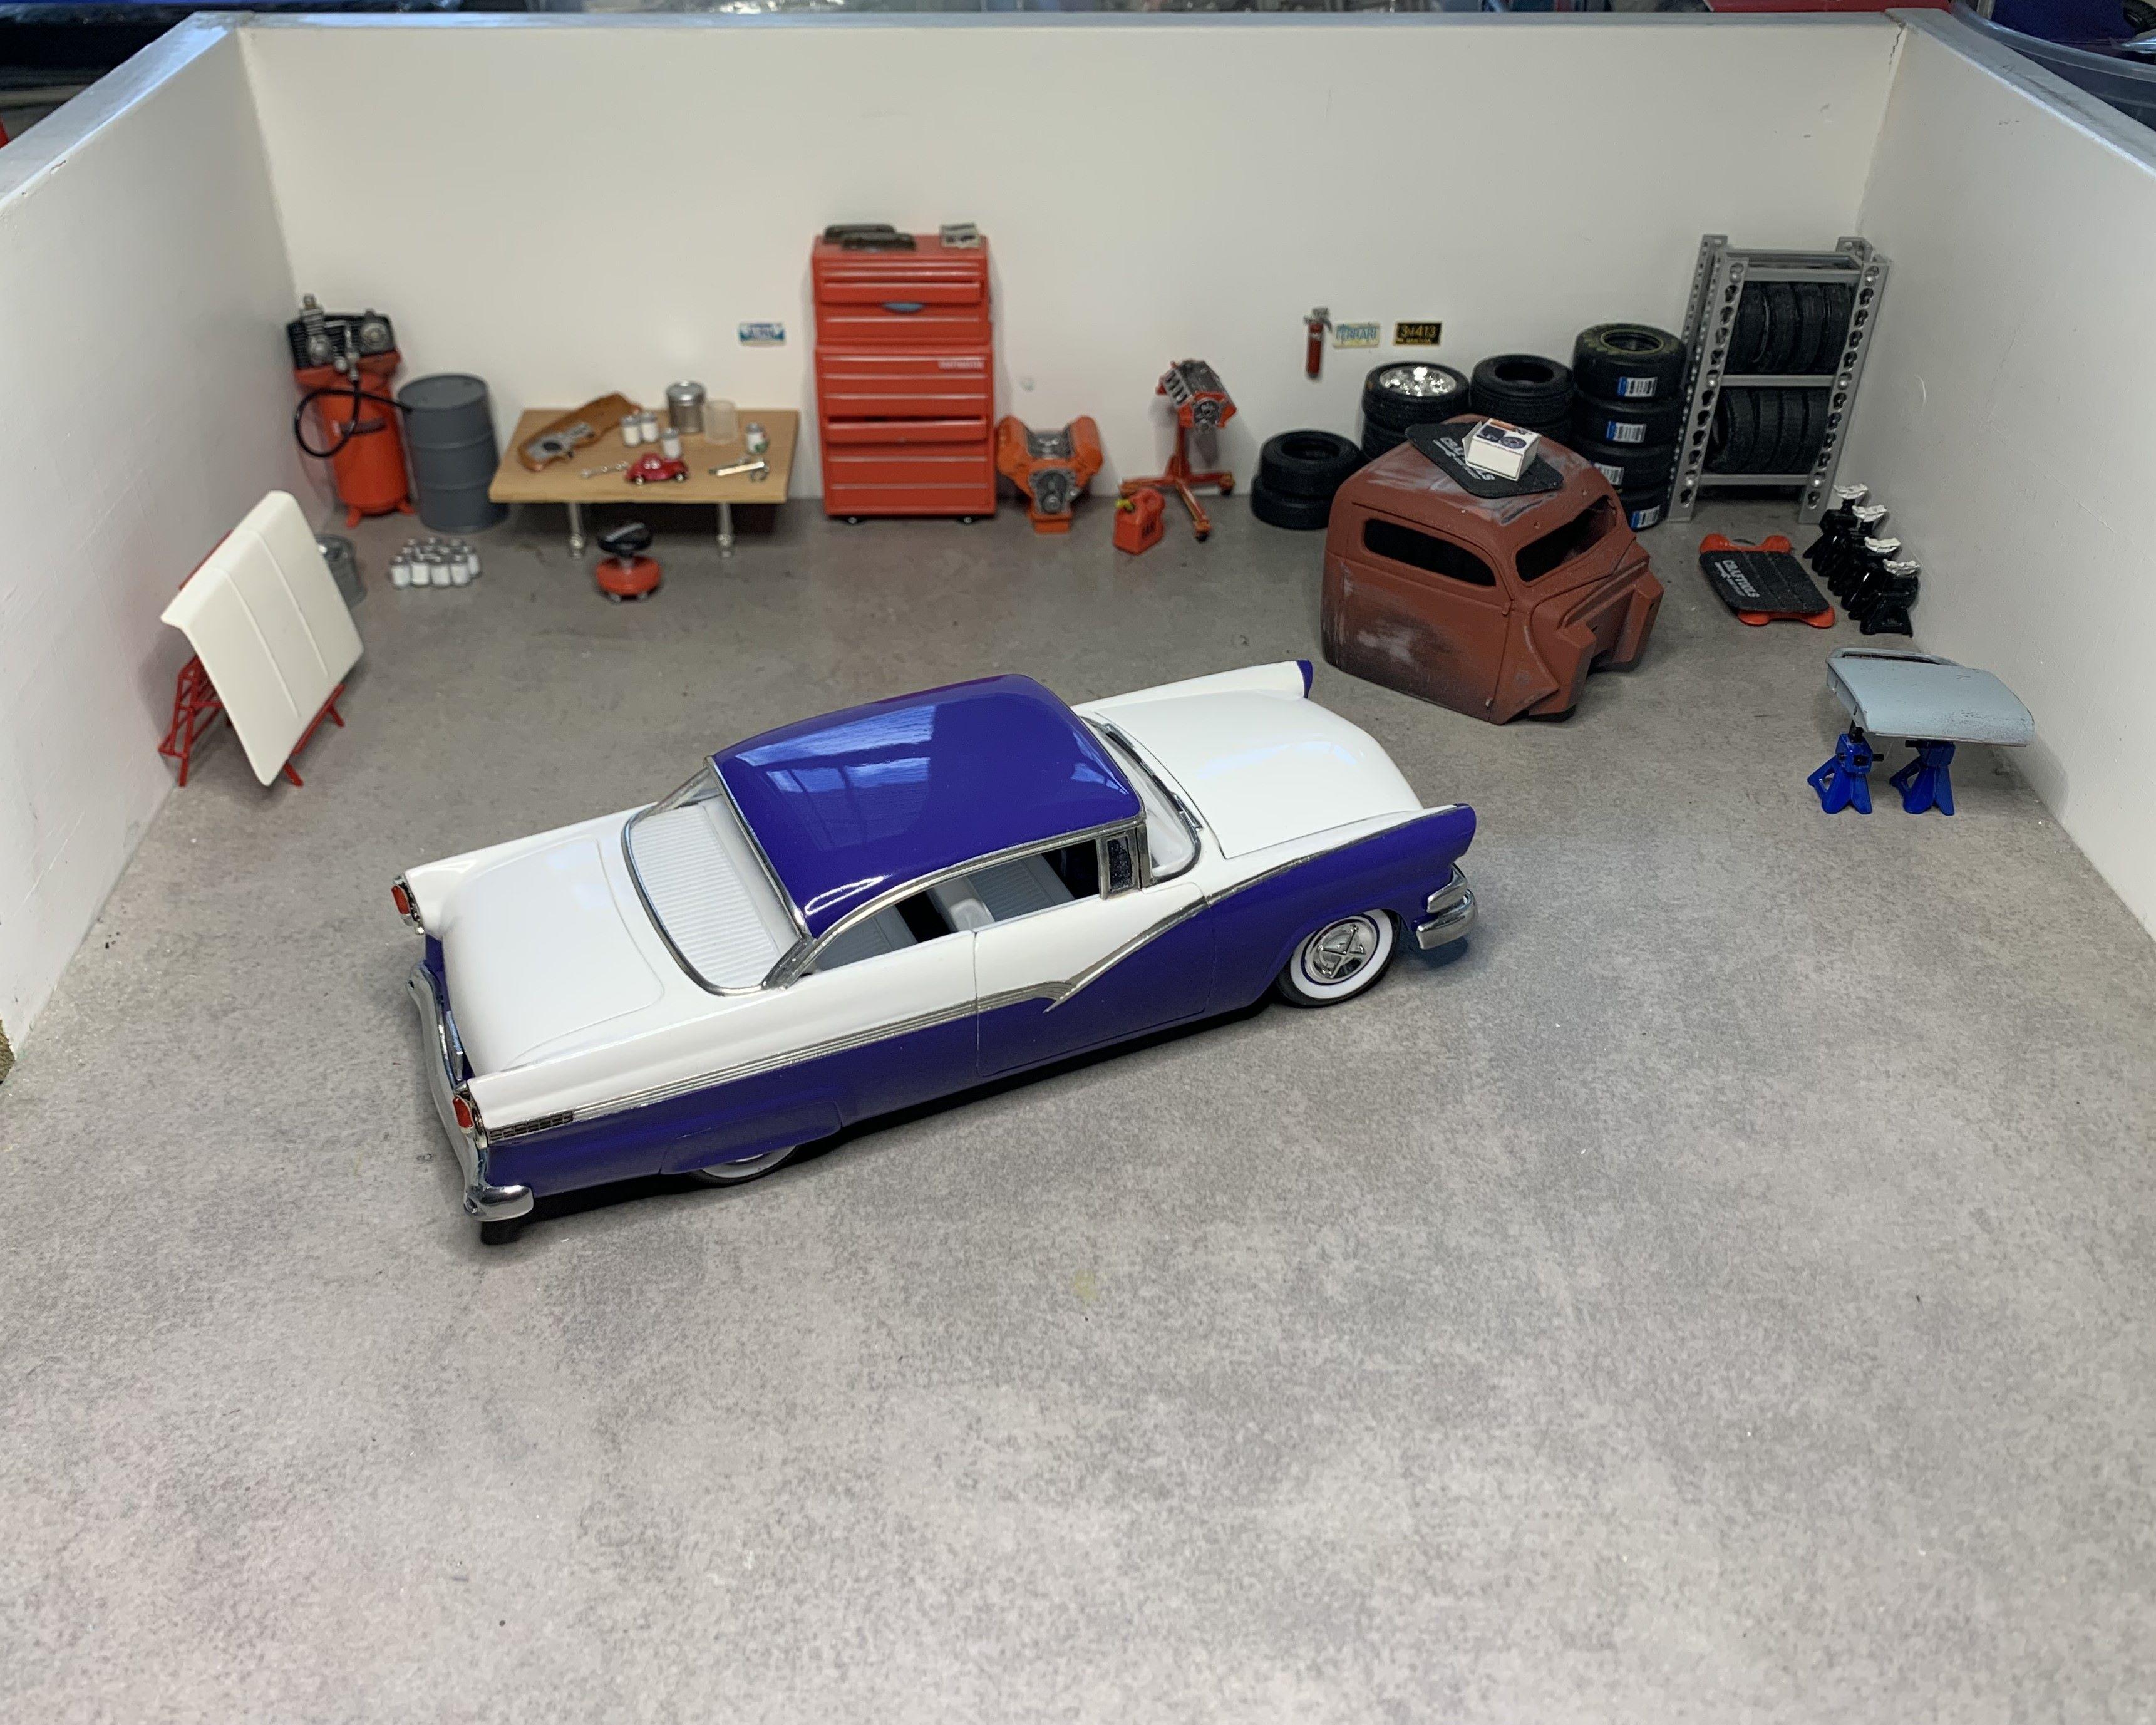
This was a re-builder, made as if it was mildly customized around 1960. I had a lot of fun with it, all rolled and pleated interior, vintage kit motor "dressed" up.
- 25 replies
-
- 16
-

-
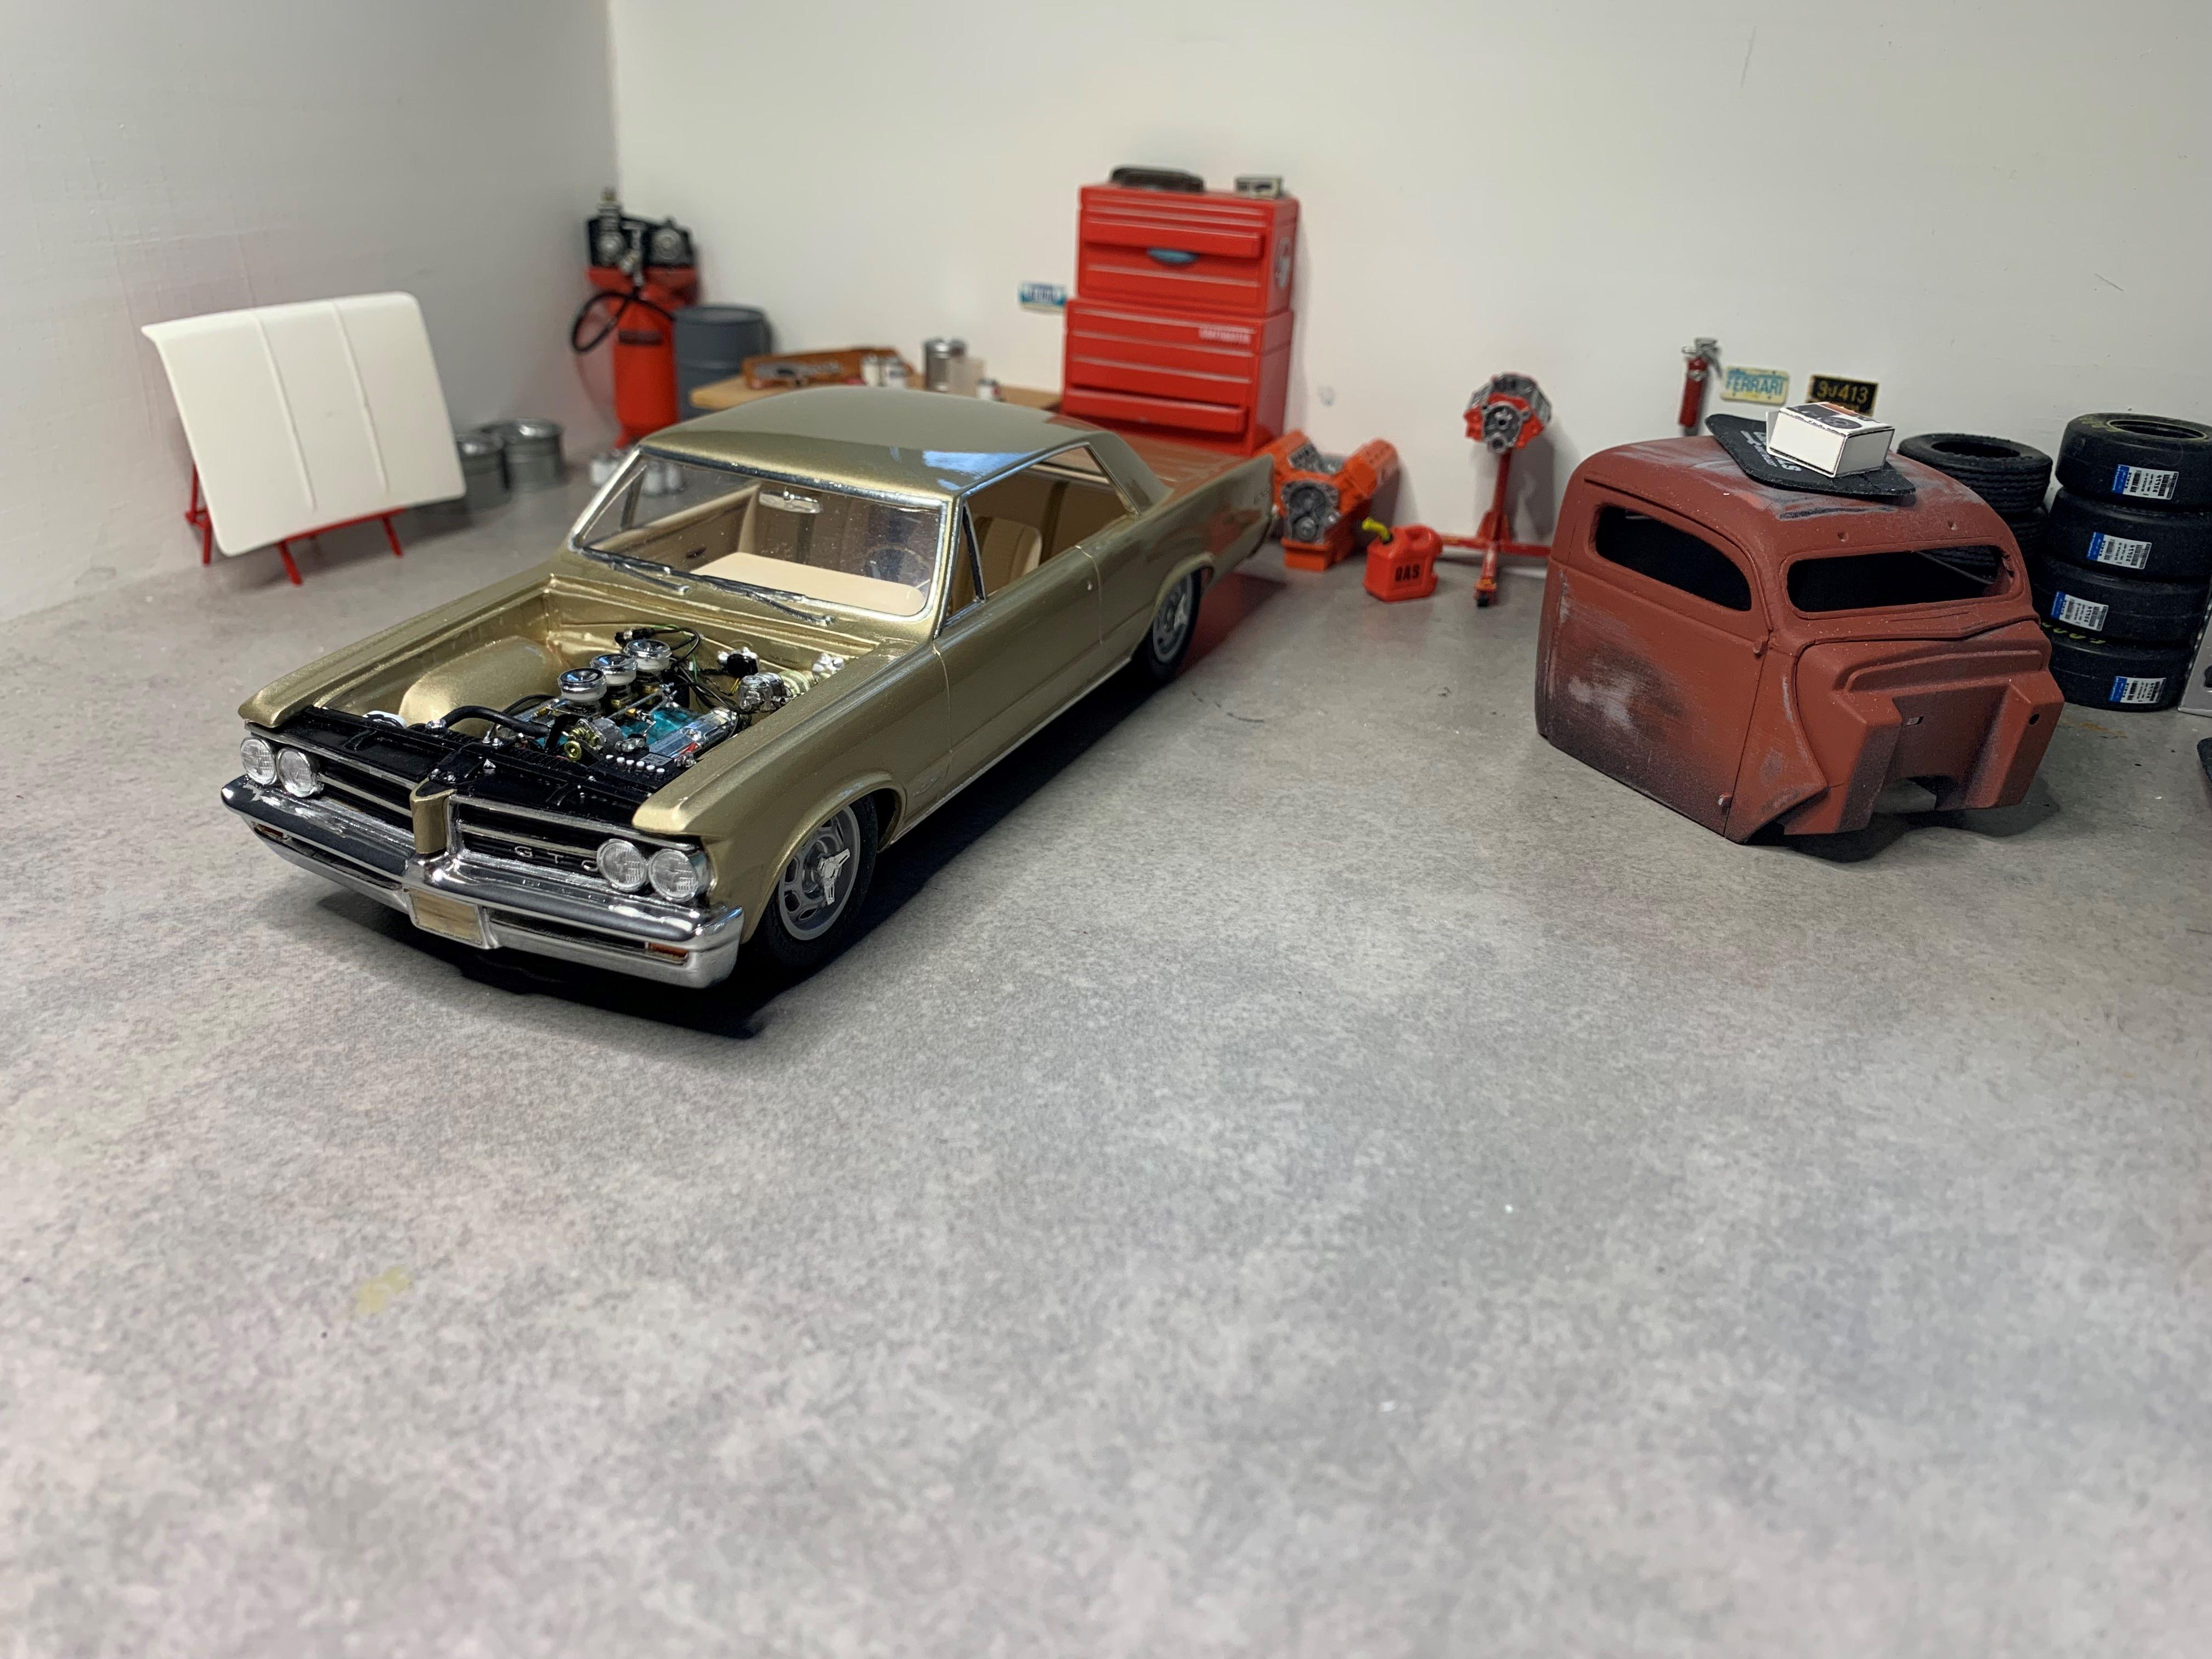
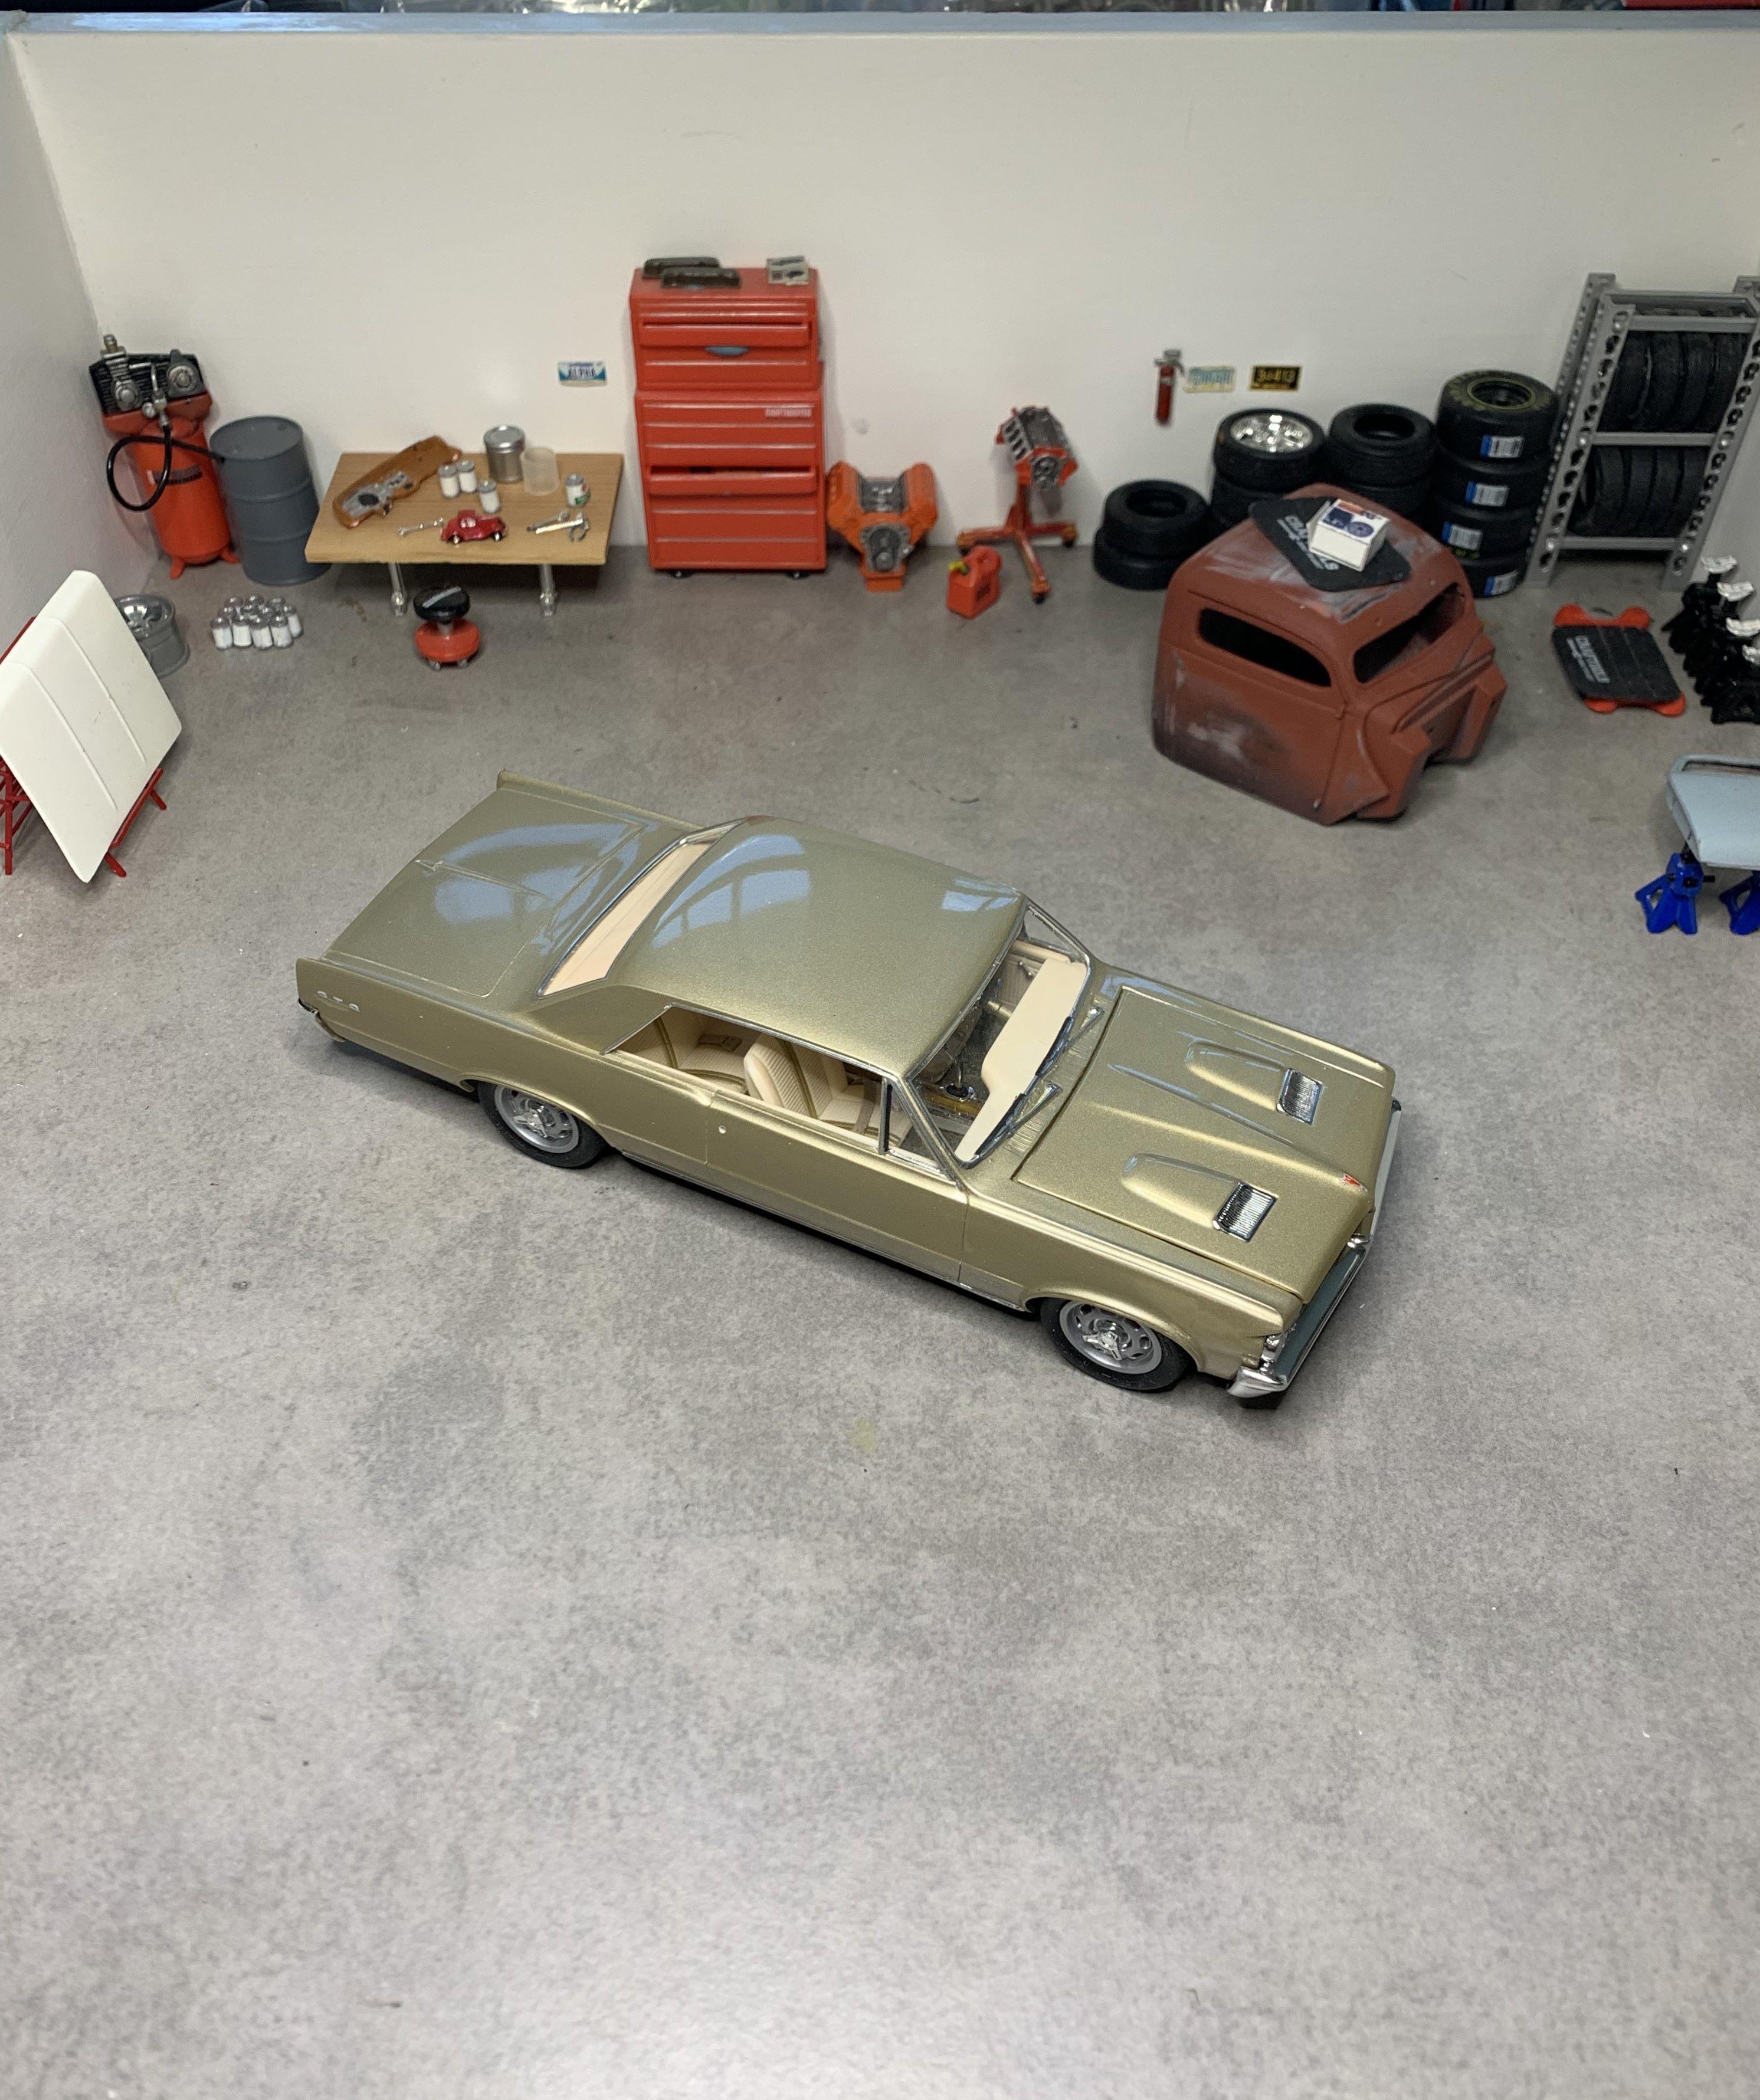
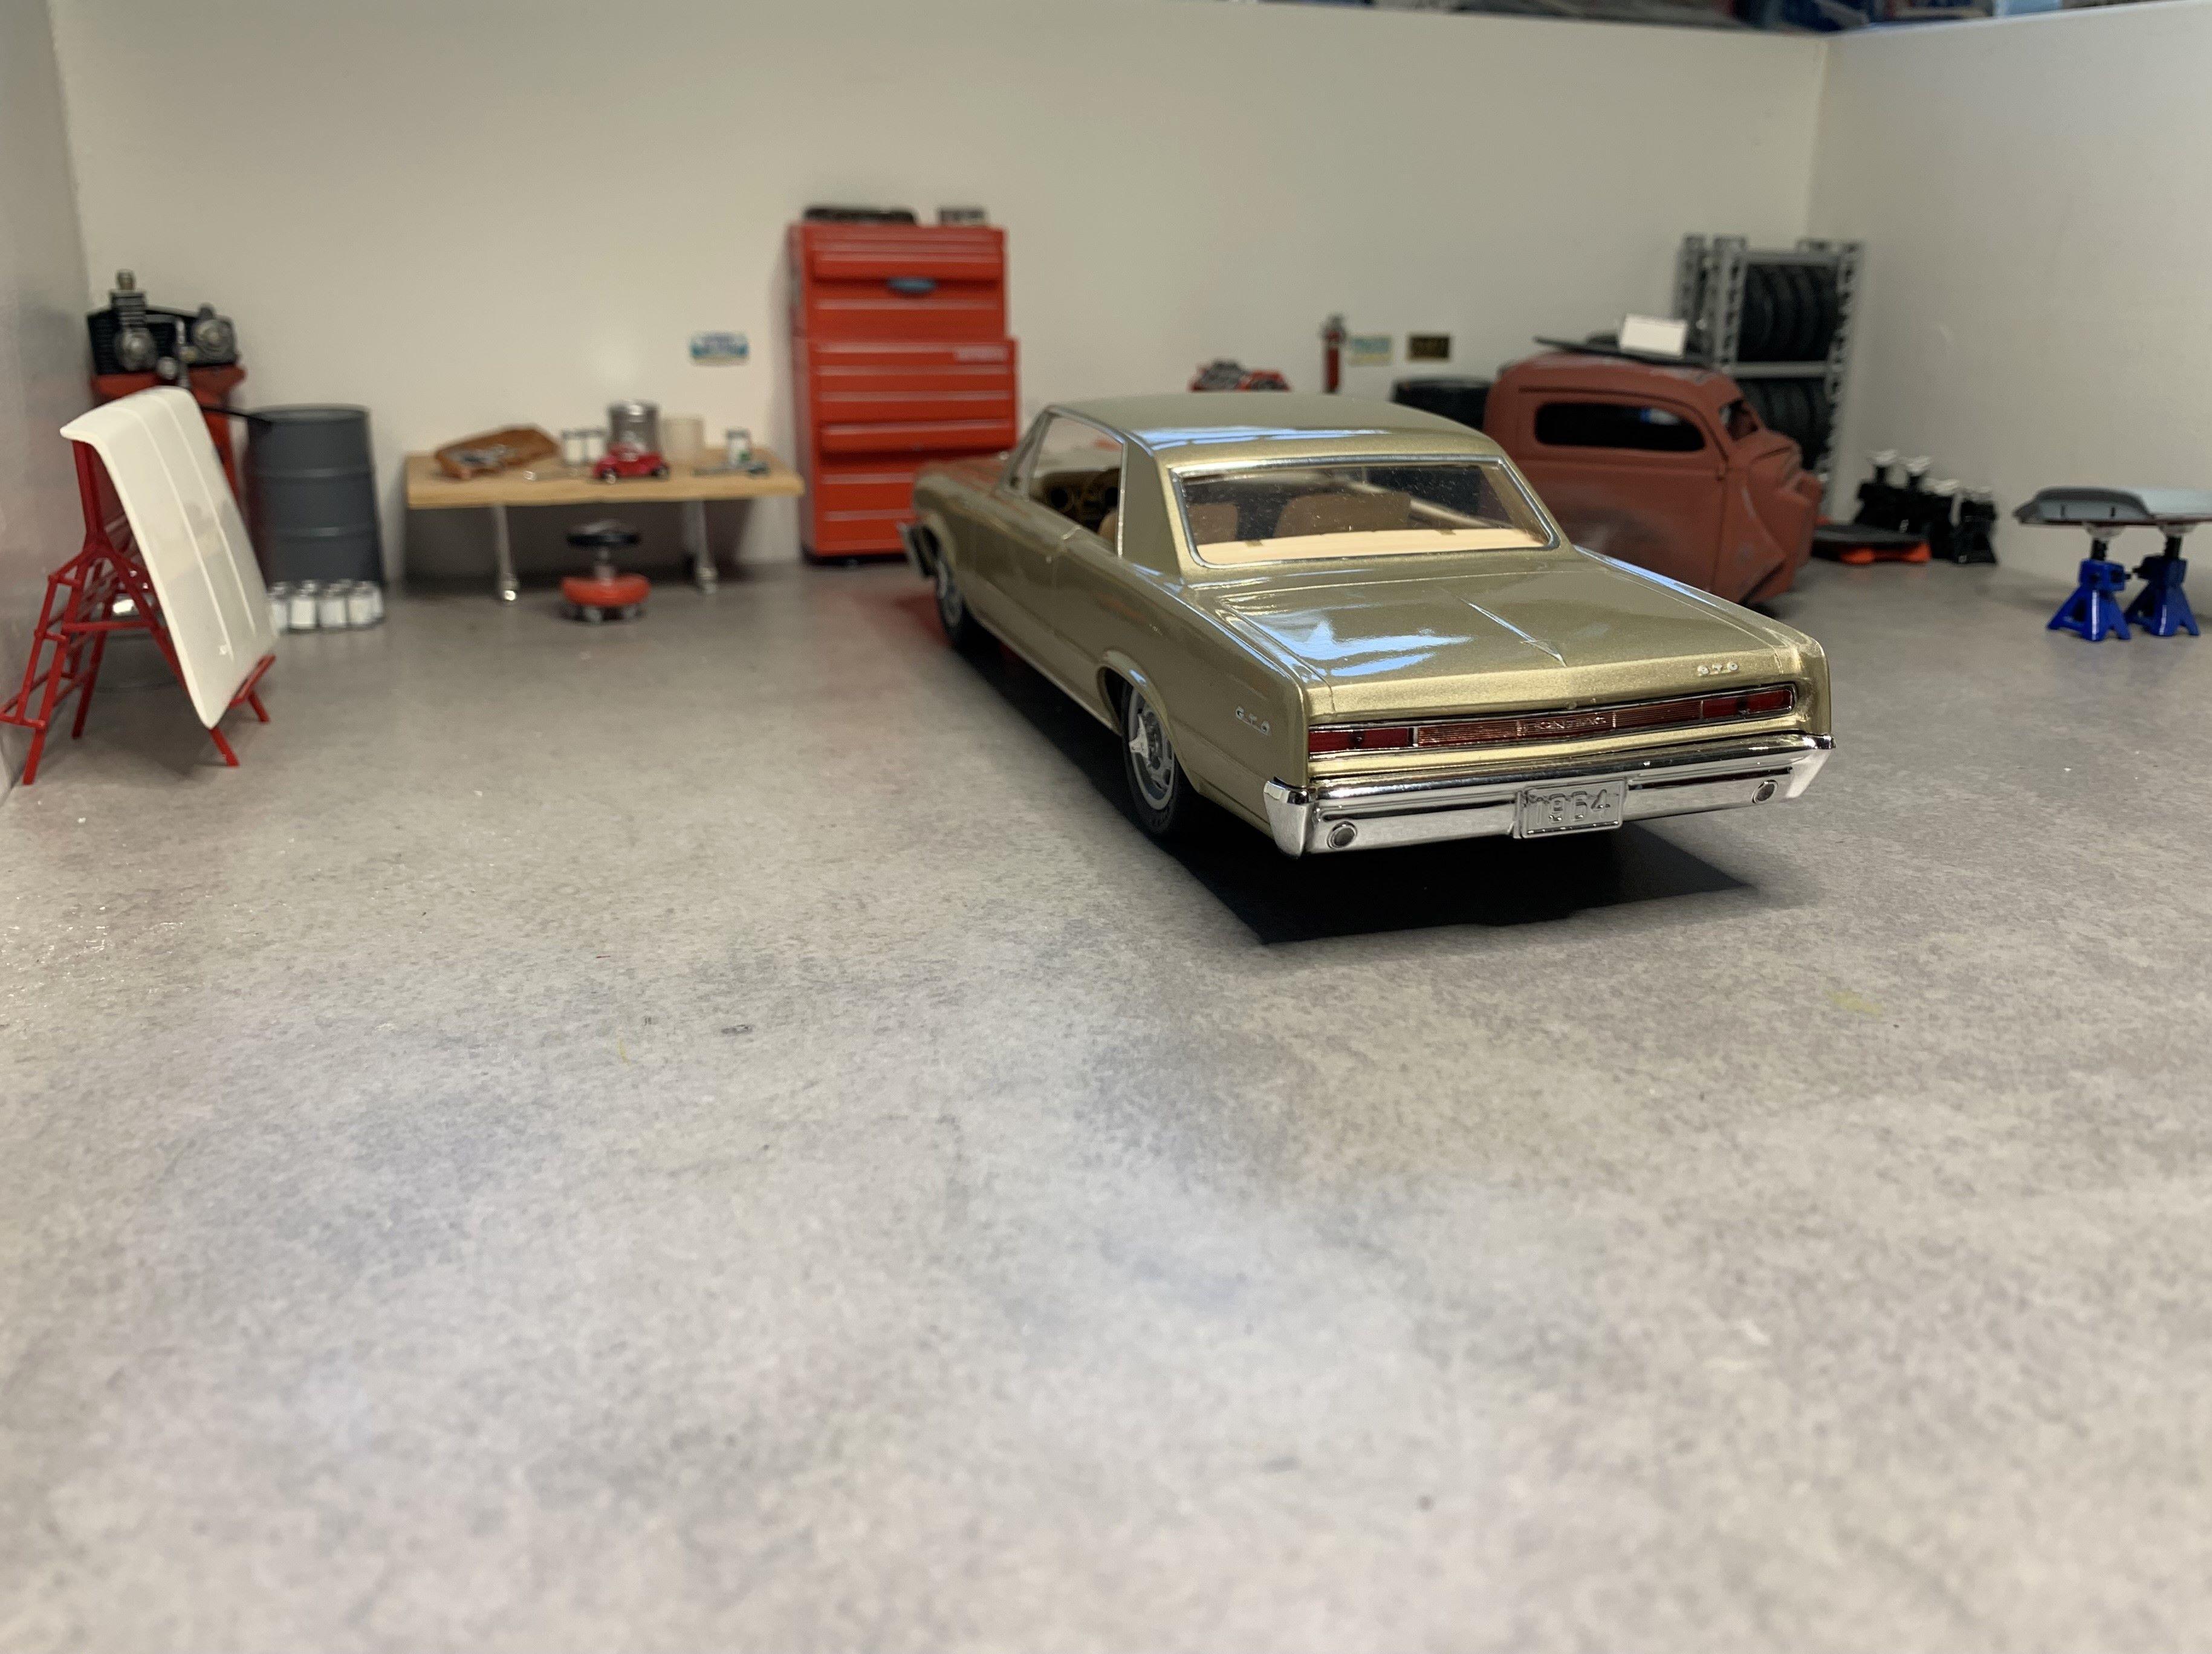
Original AMT '64 GTO meets newer Revell '66 GTO and more!
dino246gt replied to dino246gt's topic in WIP: Model Cars
A few shots in the shop before finishing:
-
Original AMT '64 GTO meets newer Revell '66 GTO and more!
dino246gt replied to dino246gt's topic in WIP: Model Cars
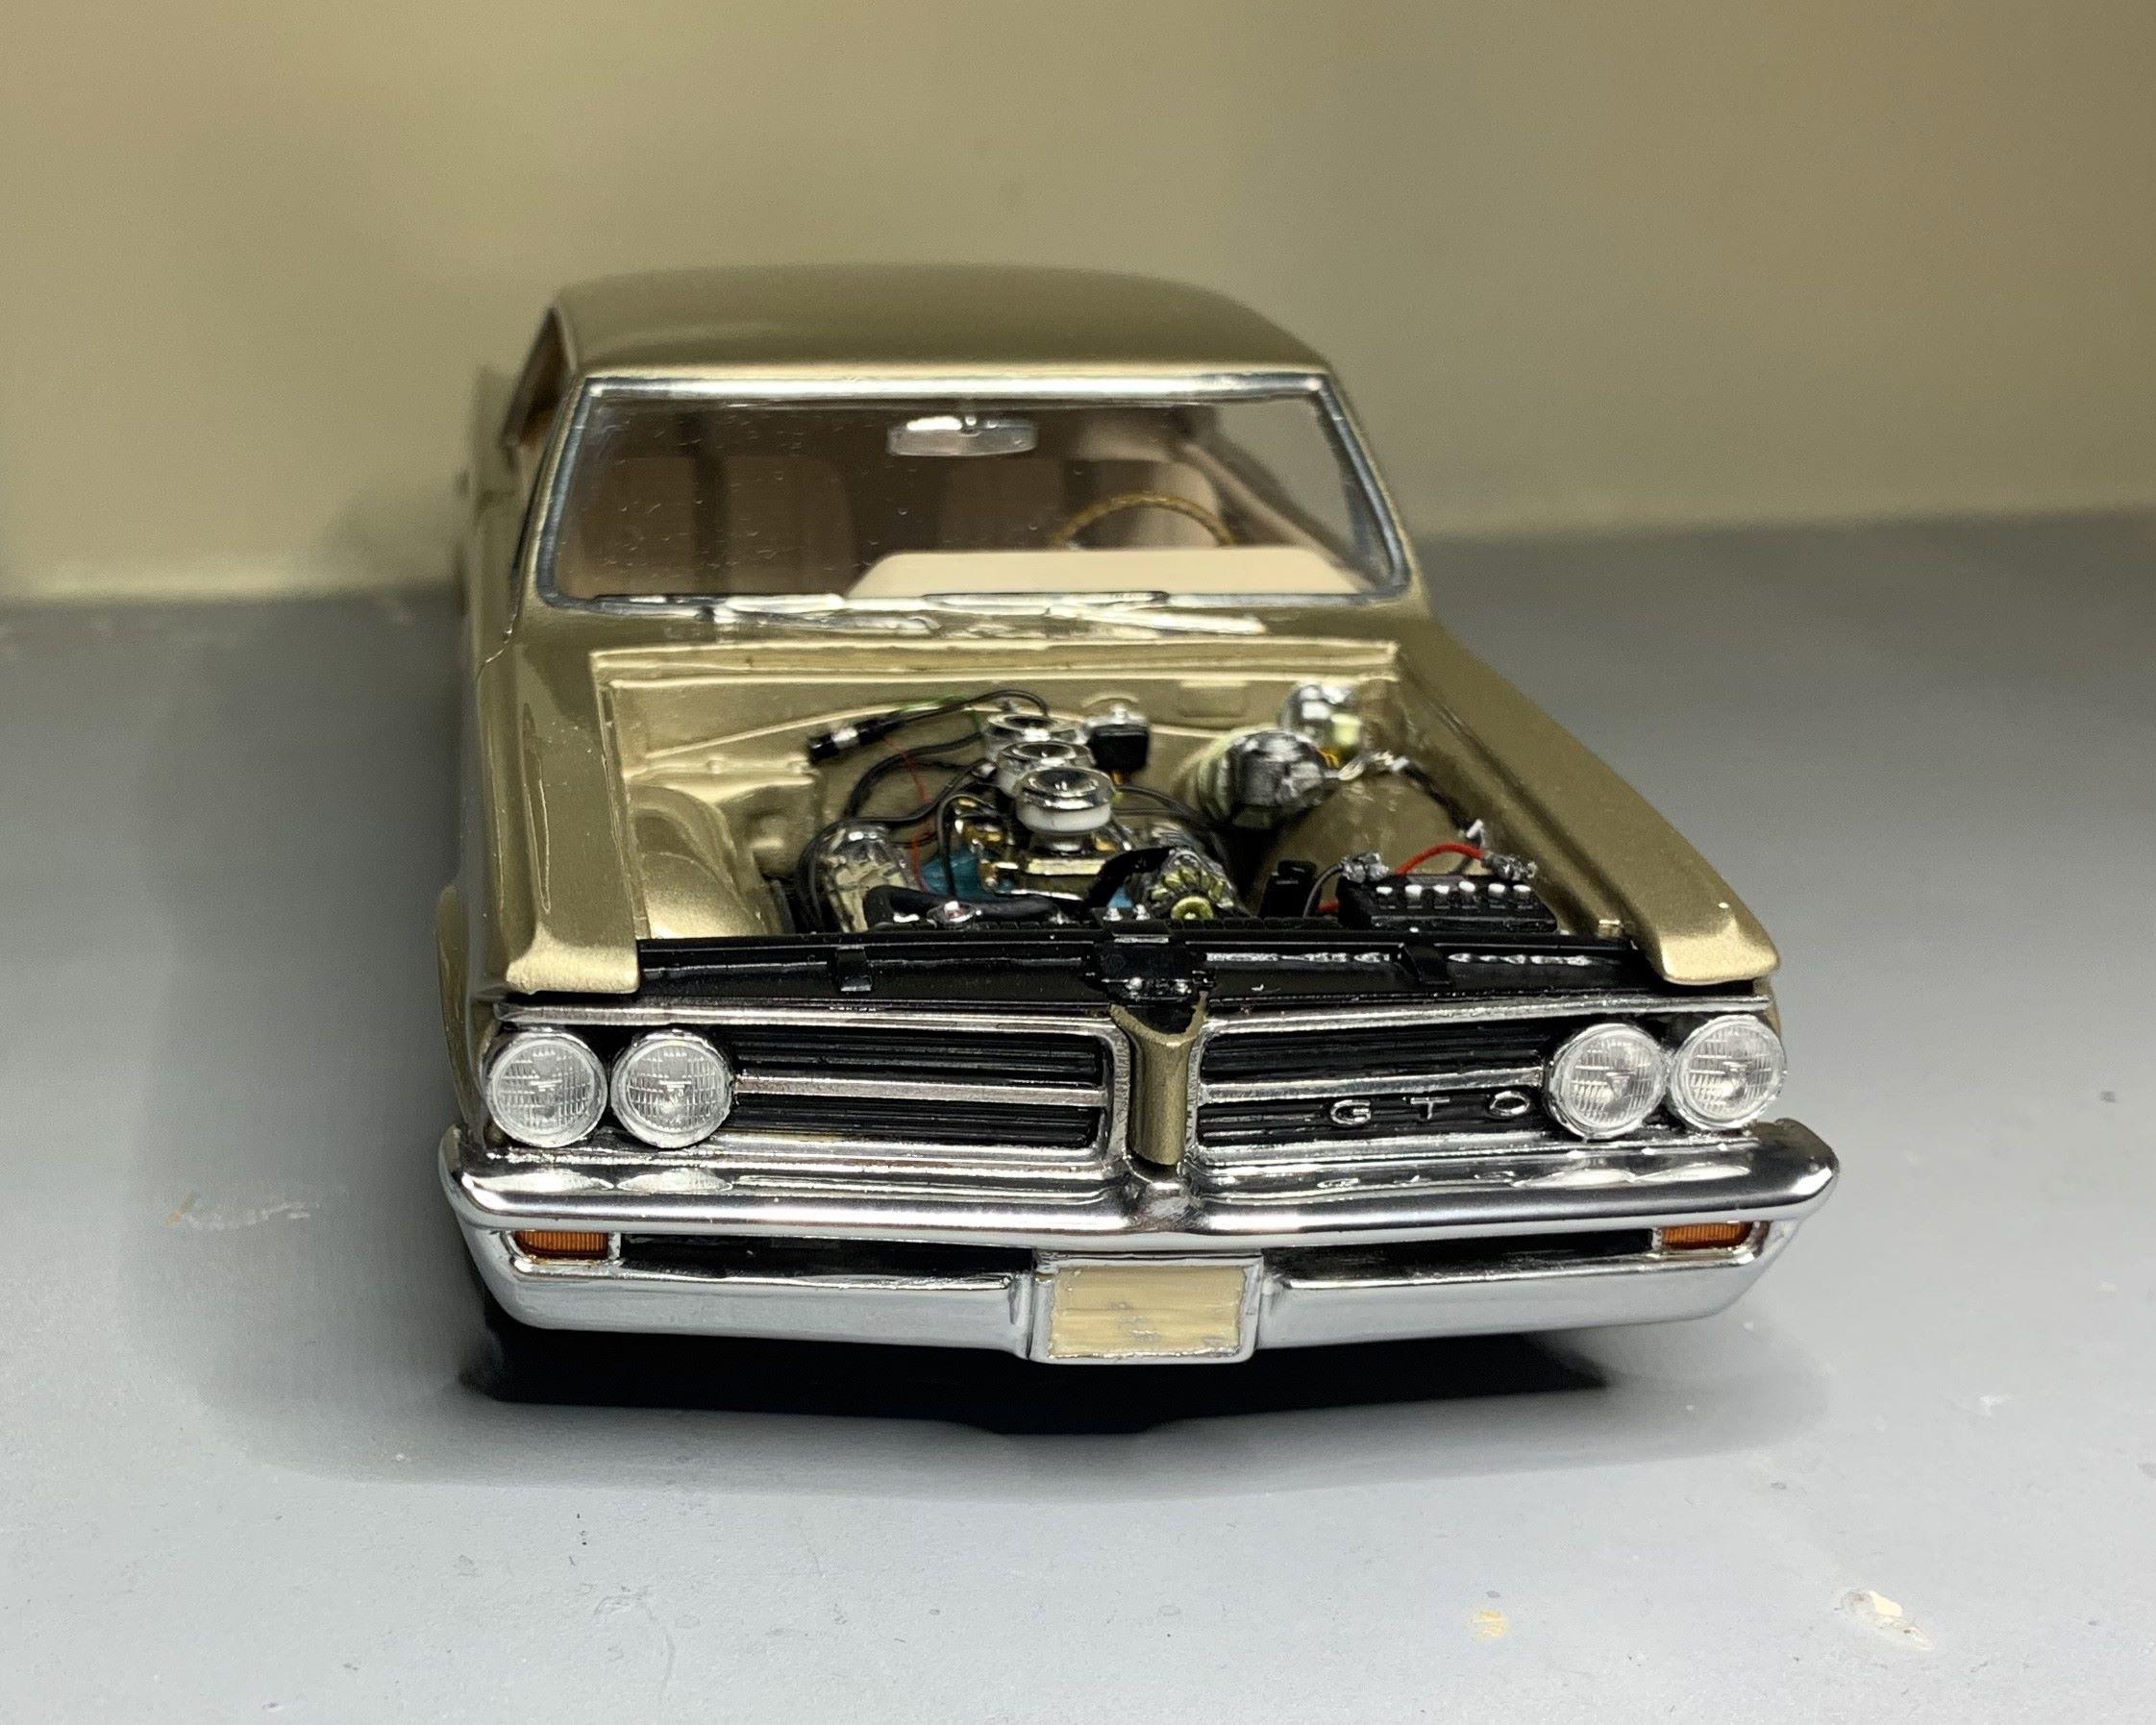
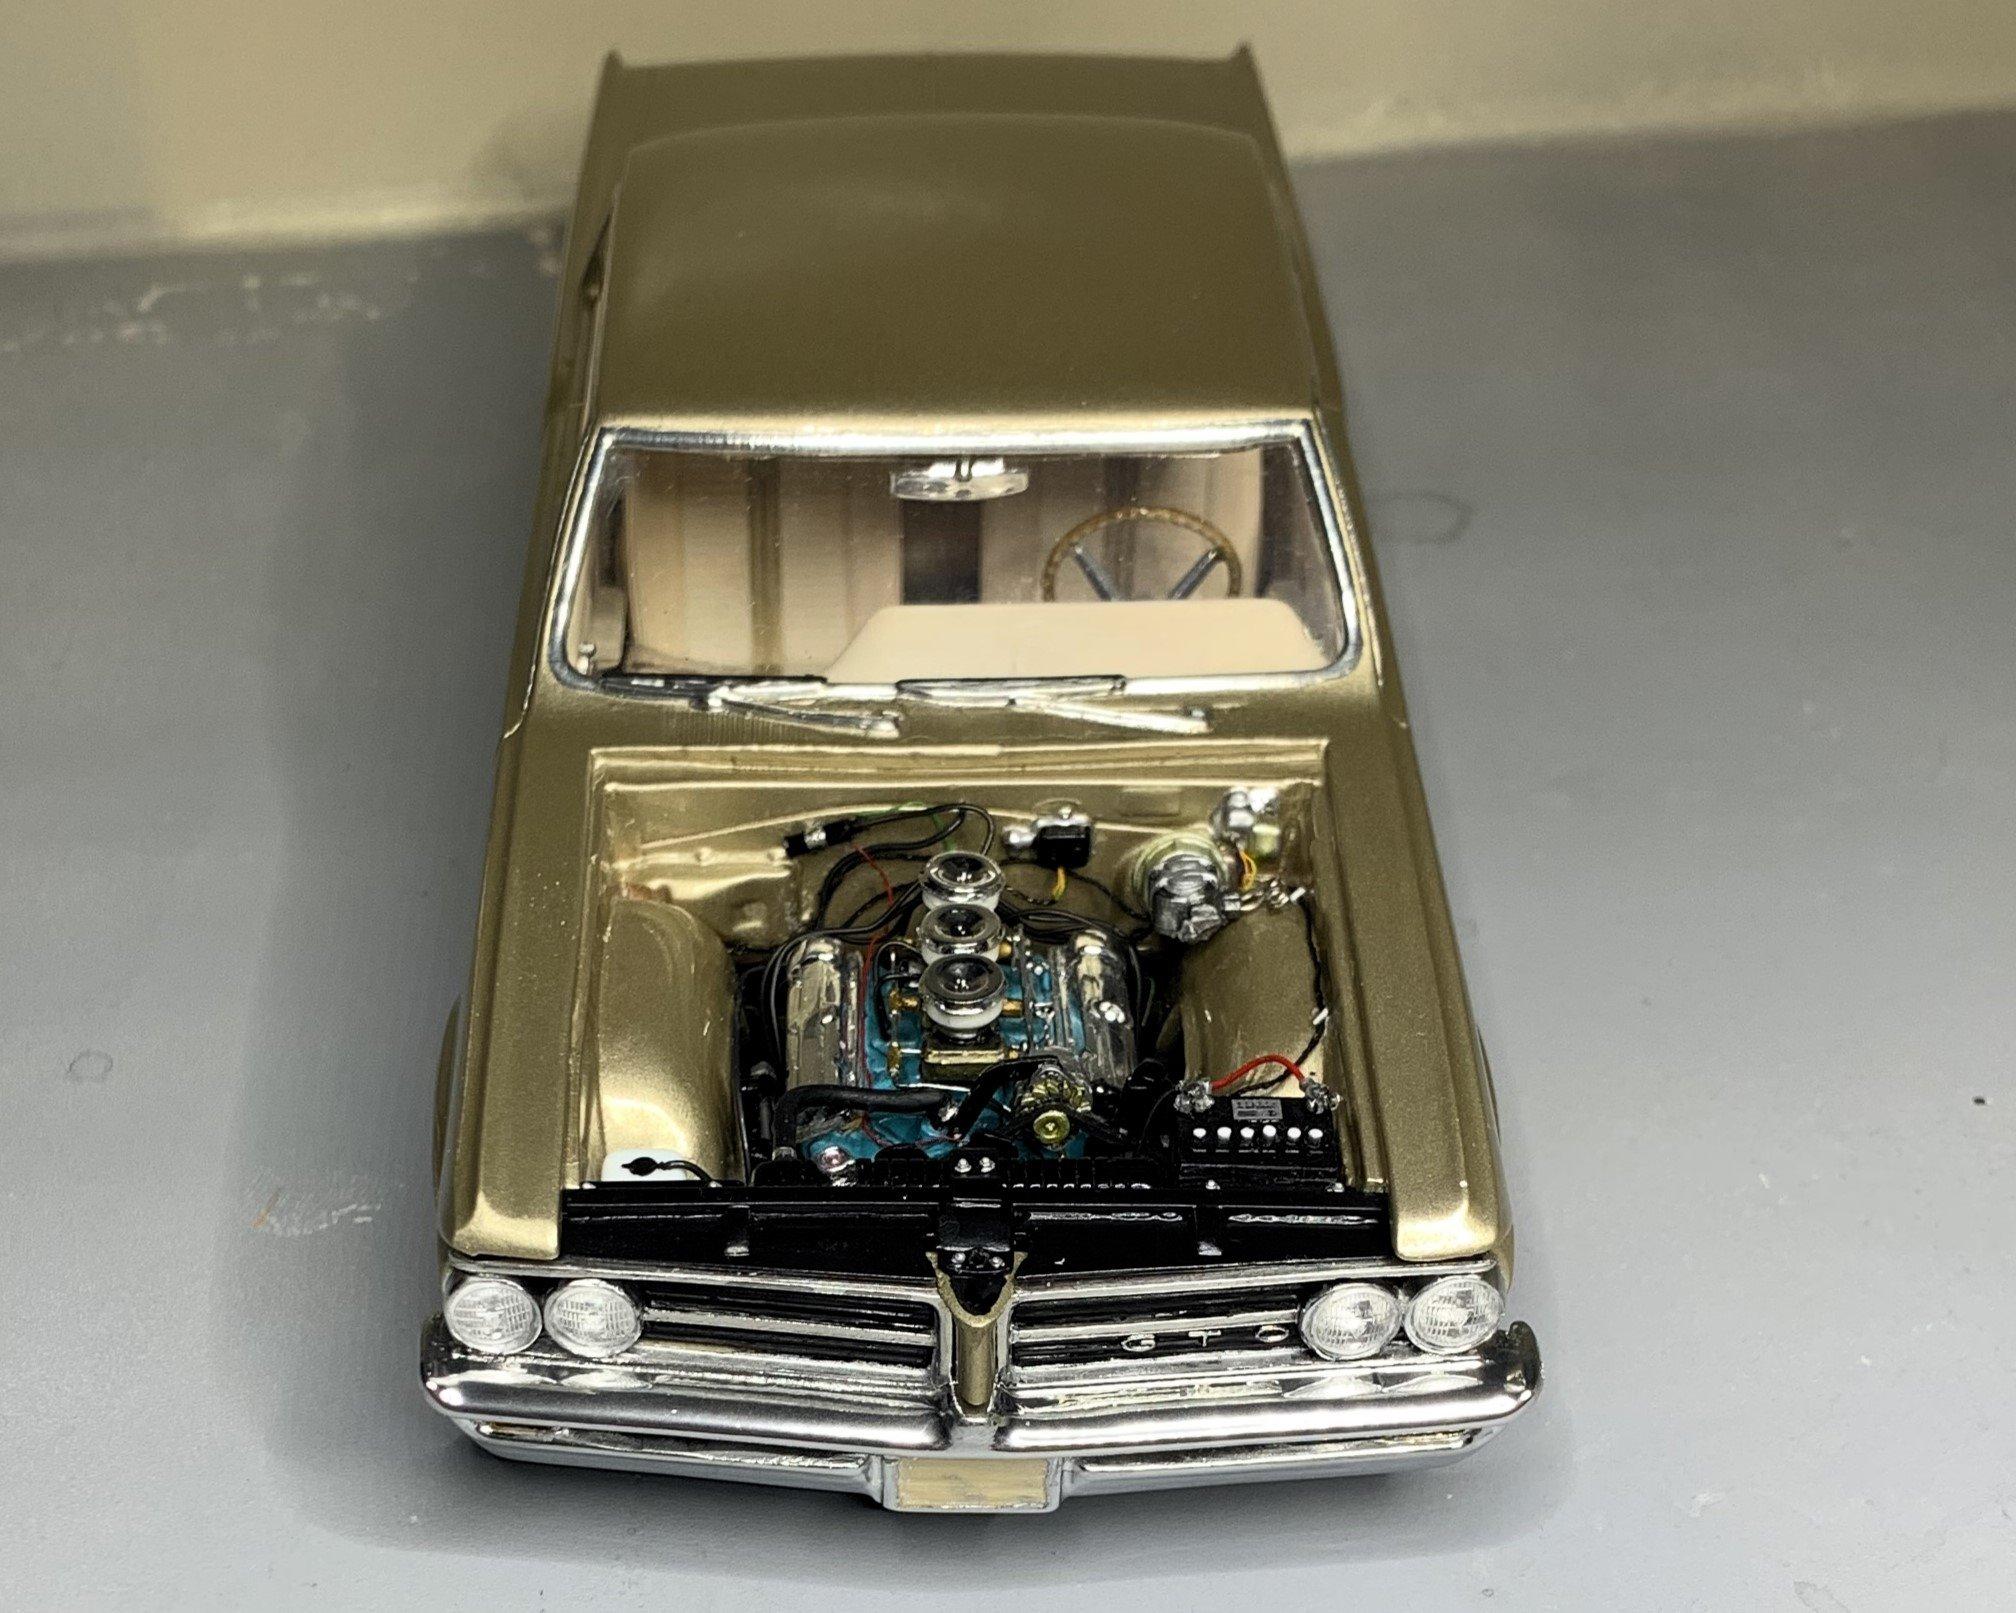
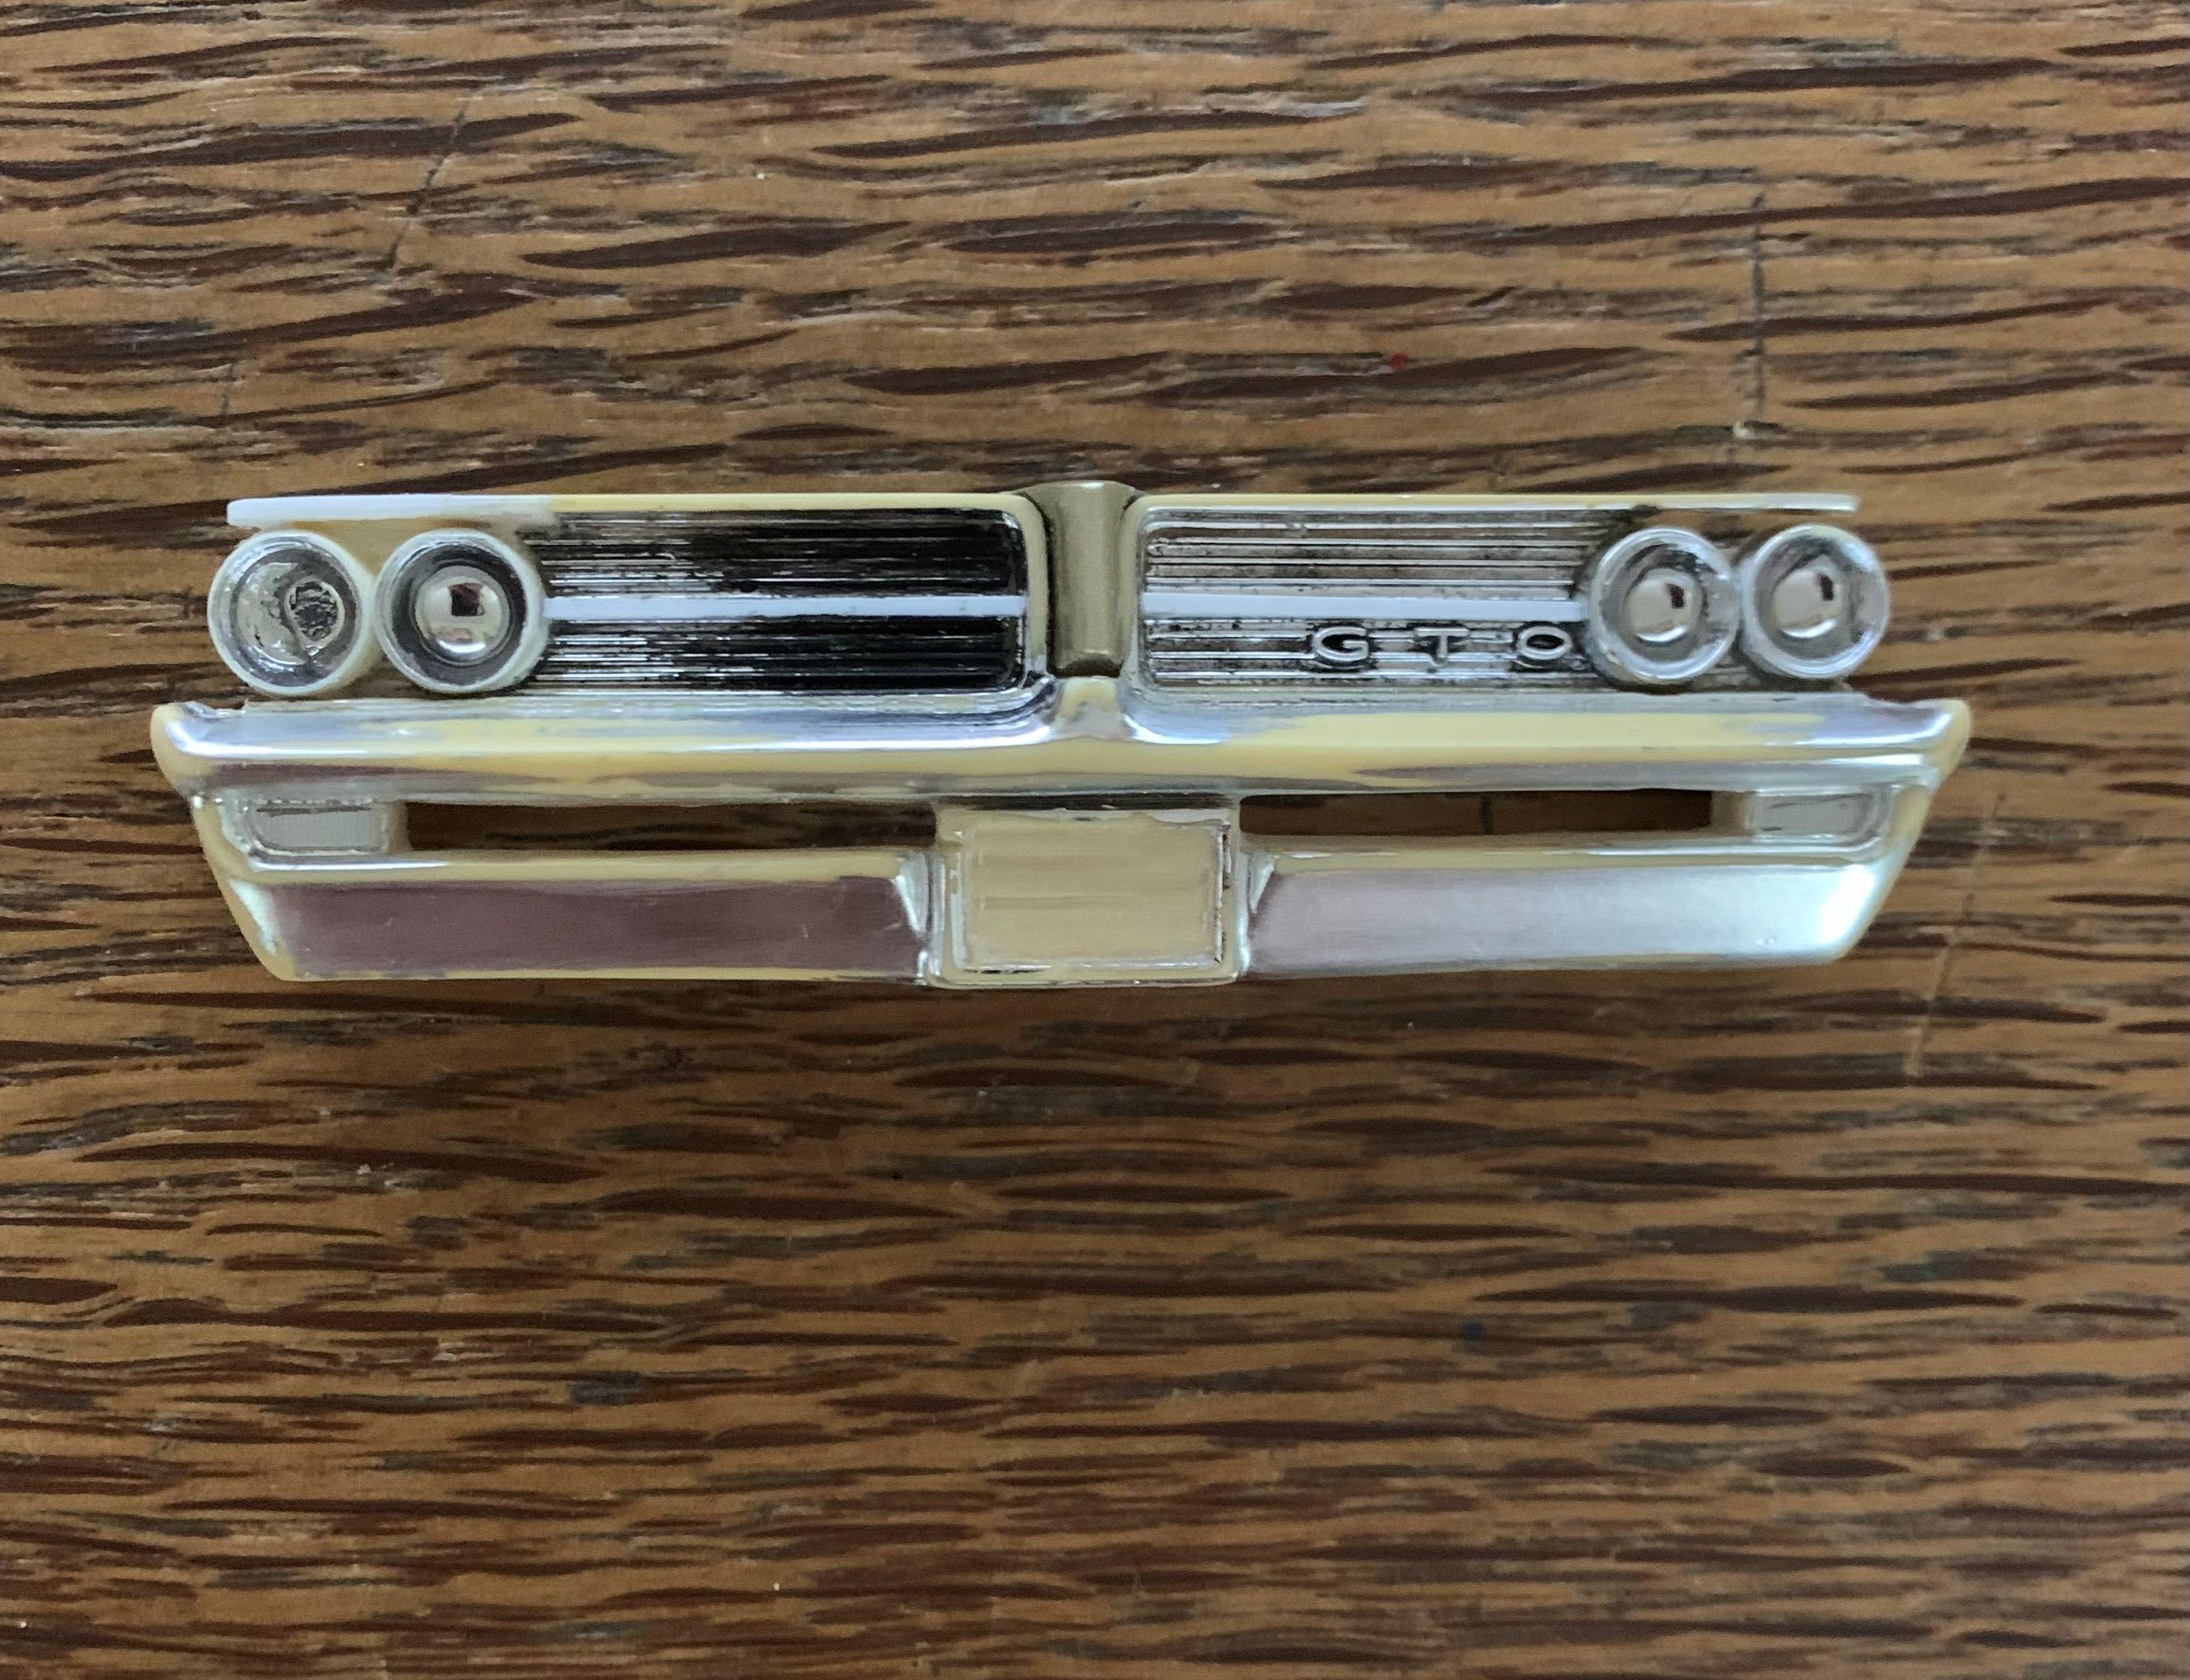
After some foil, and flat black, I used FusionFirm to chrome the bumper and headlight buckets. Parts box lenses, likely from the Revell '66 GTO kit. Still need exhaust pipe ends, door handles, a mirror or two and detail the emblems, then it's ready to be licensed. Cheers.
-
Original AMT '64 GTO meets newer Revell '66 GTO and more!
dino246gt replied to dino246gt's topic in WIP: Model Cars
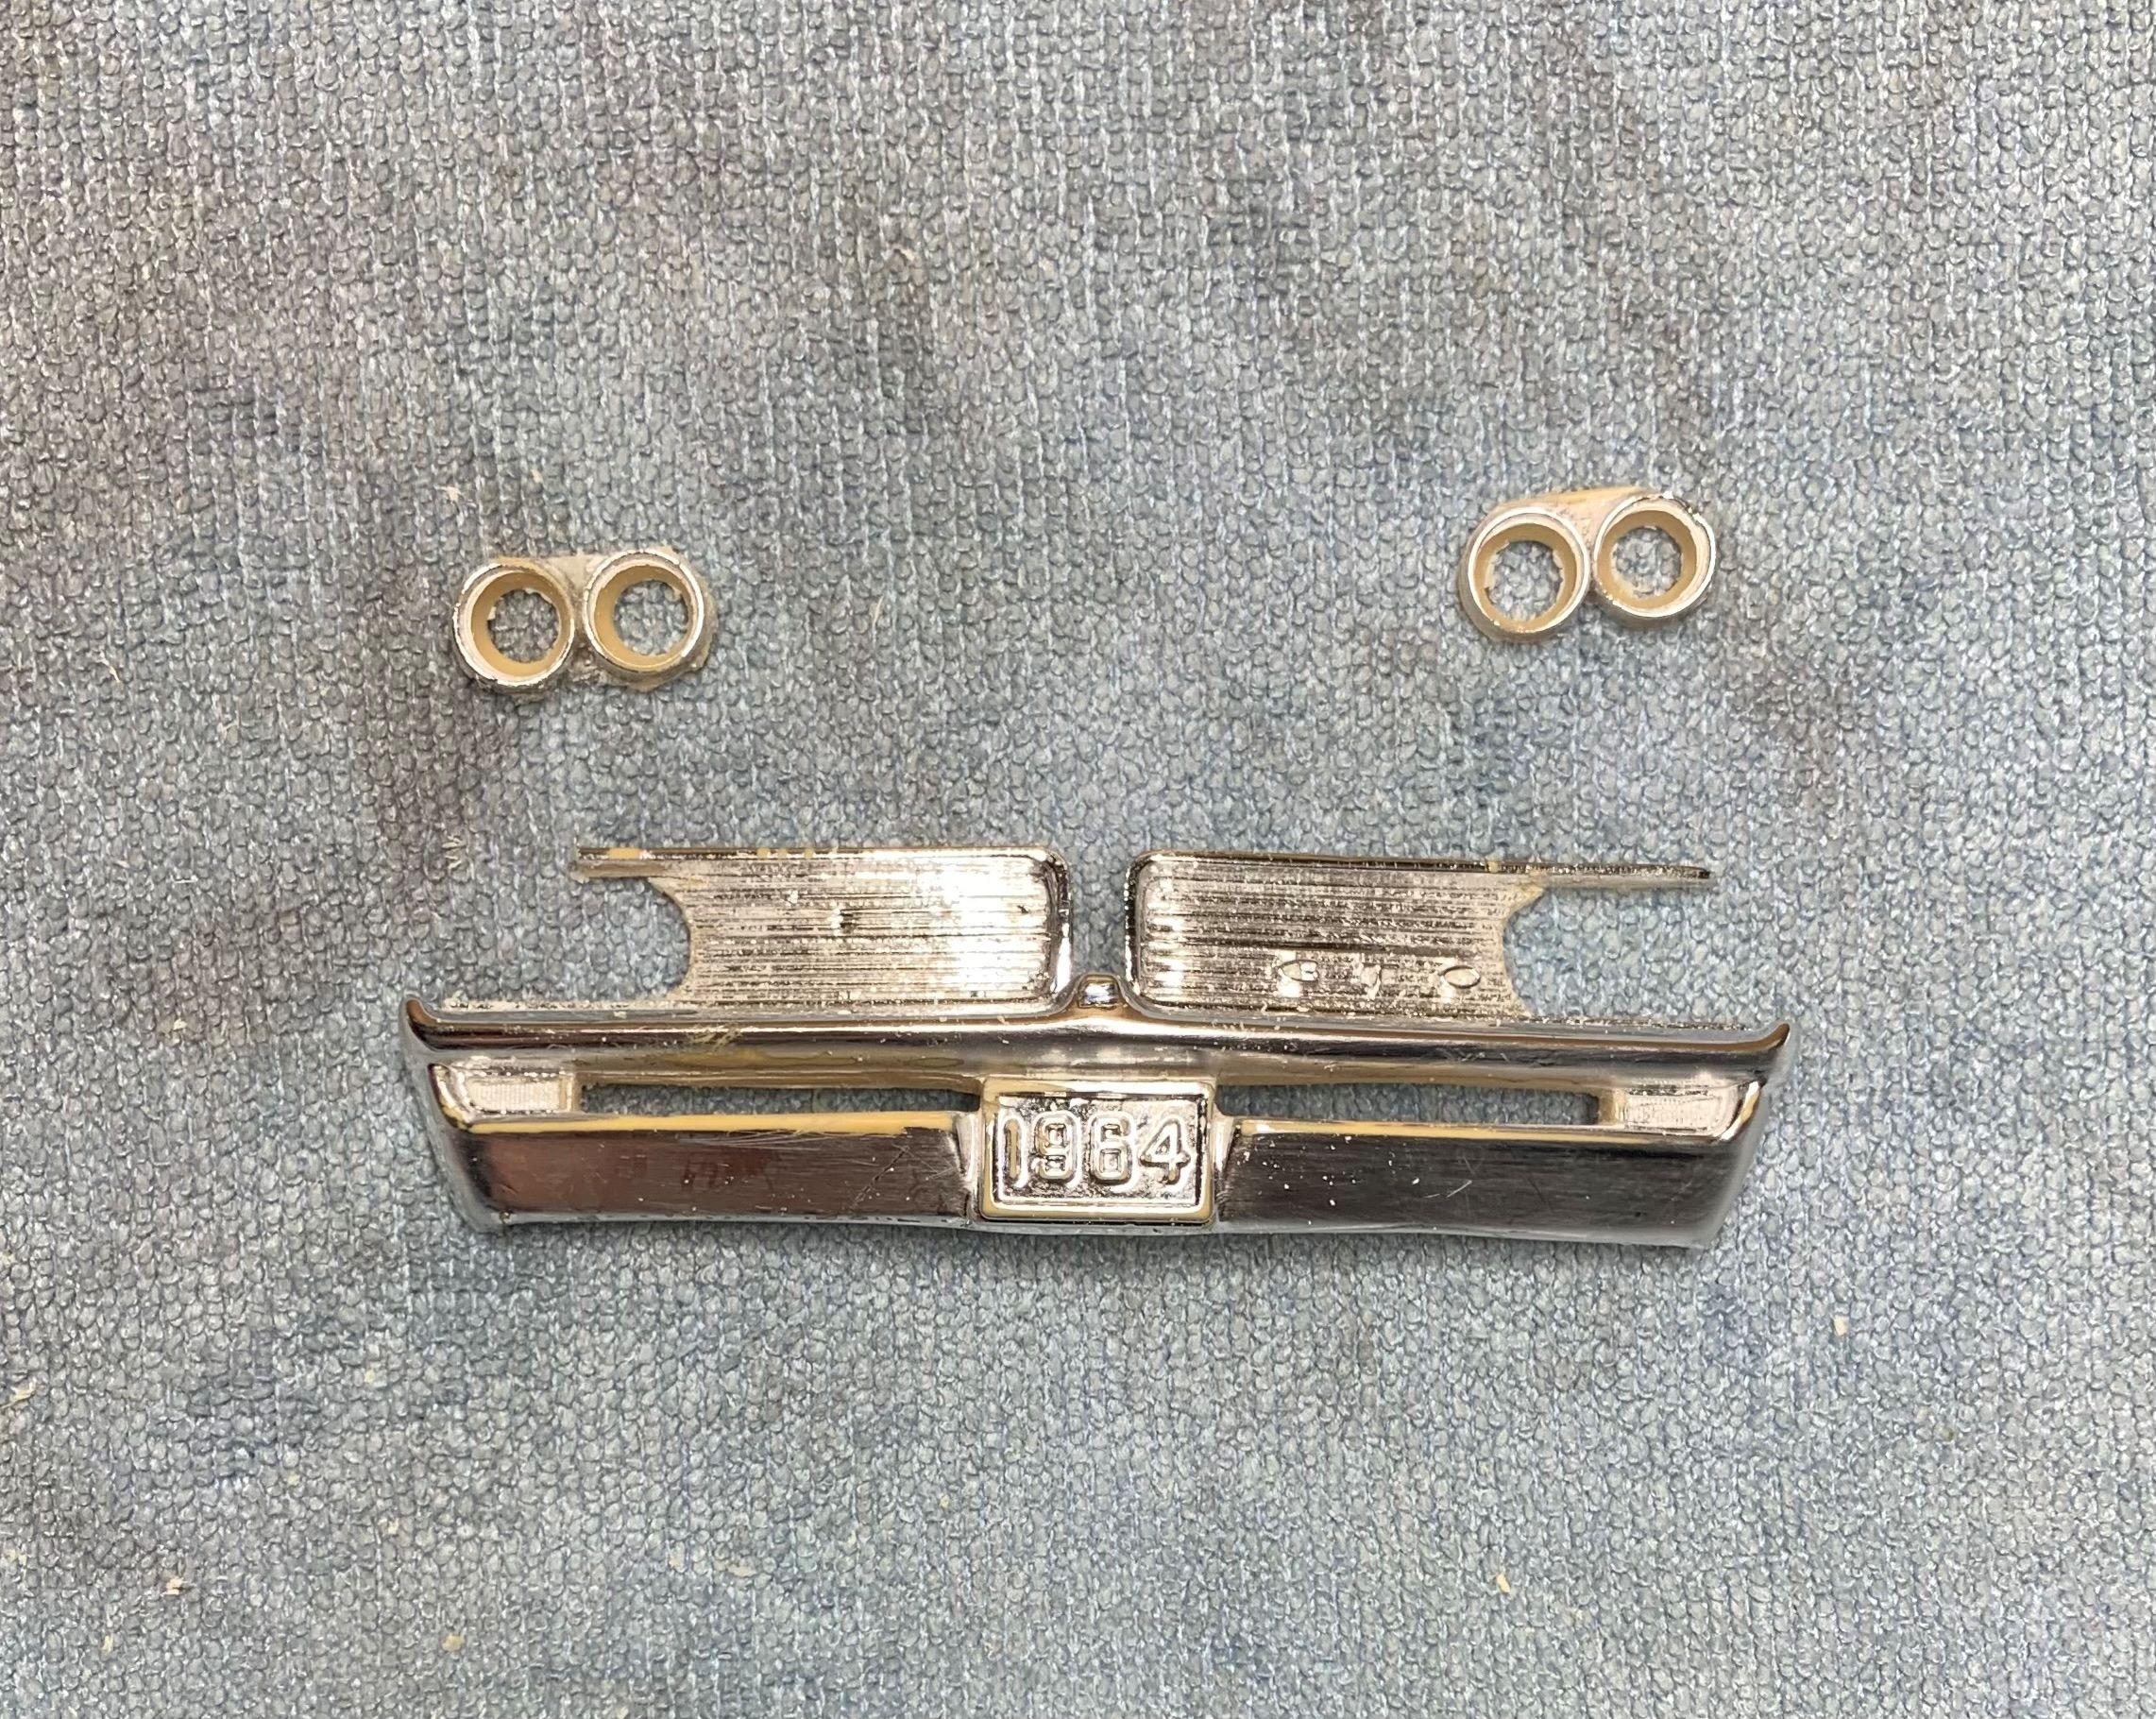
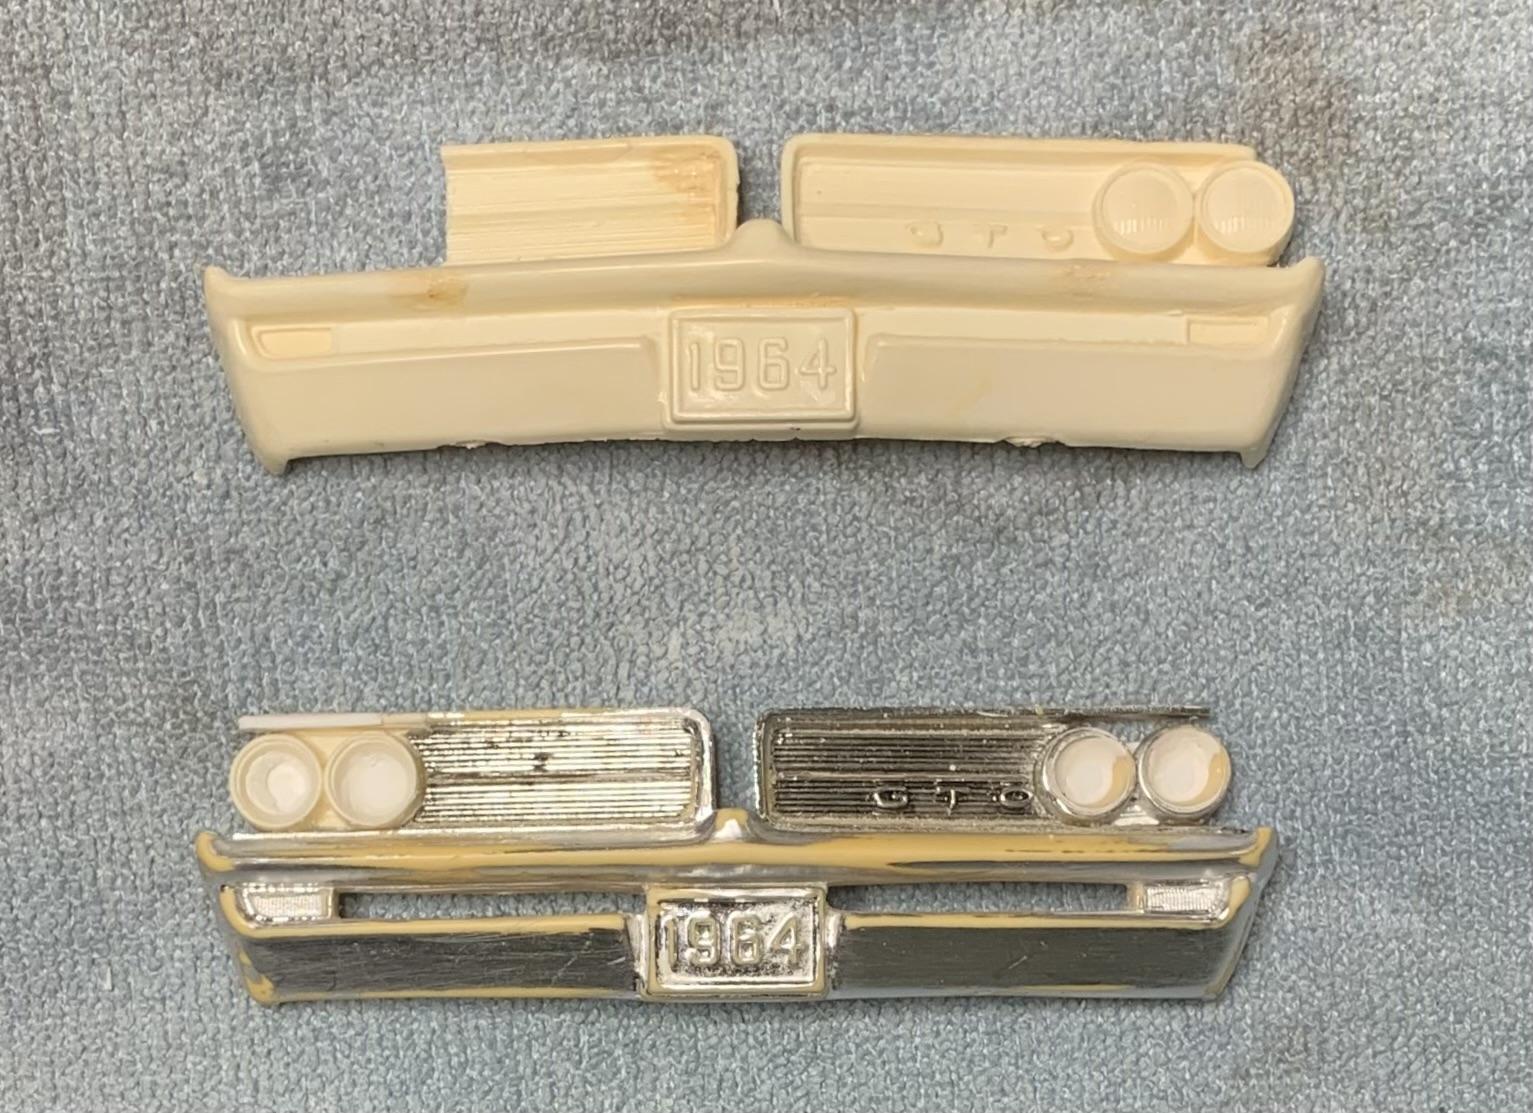
I had a Modelhaus front but it was slightly too wide. Most likely due to me changing the rad cradle etc. Plus a bit of the top was broken and missing. I opened up between the parking lights and of course drilled out the chrome headlights. After using some bits of a scrap grille and some styrene, I got to this point.
-
1969 Camaro - Stone Stock Base Model
dino246gt replied to TheBEAUMONTGURU's topic in WIP: Model Cars
No vinyl top on the base model please! LOL I'm sure it'll be fantastic as are all of your builds Dave, always highly detailed and accurate! Cheers! -
This is pretty amazing!
-
I'm loving this build! Everything gets figured out as you go along. That's how I do it, even IF I plan ahead, LOL Can't wait to see more progress on this one! Cheers.
-
Original AMT '64 GTO meets newer Revell '66 GTO and more!
dino246gt replied to dino246gt's topic in WIP: Model Cars
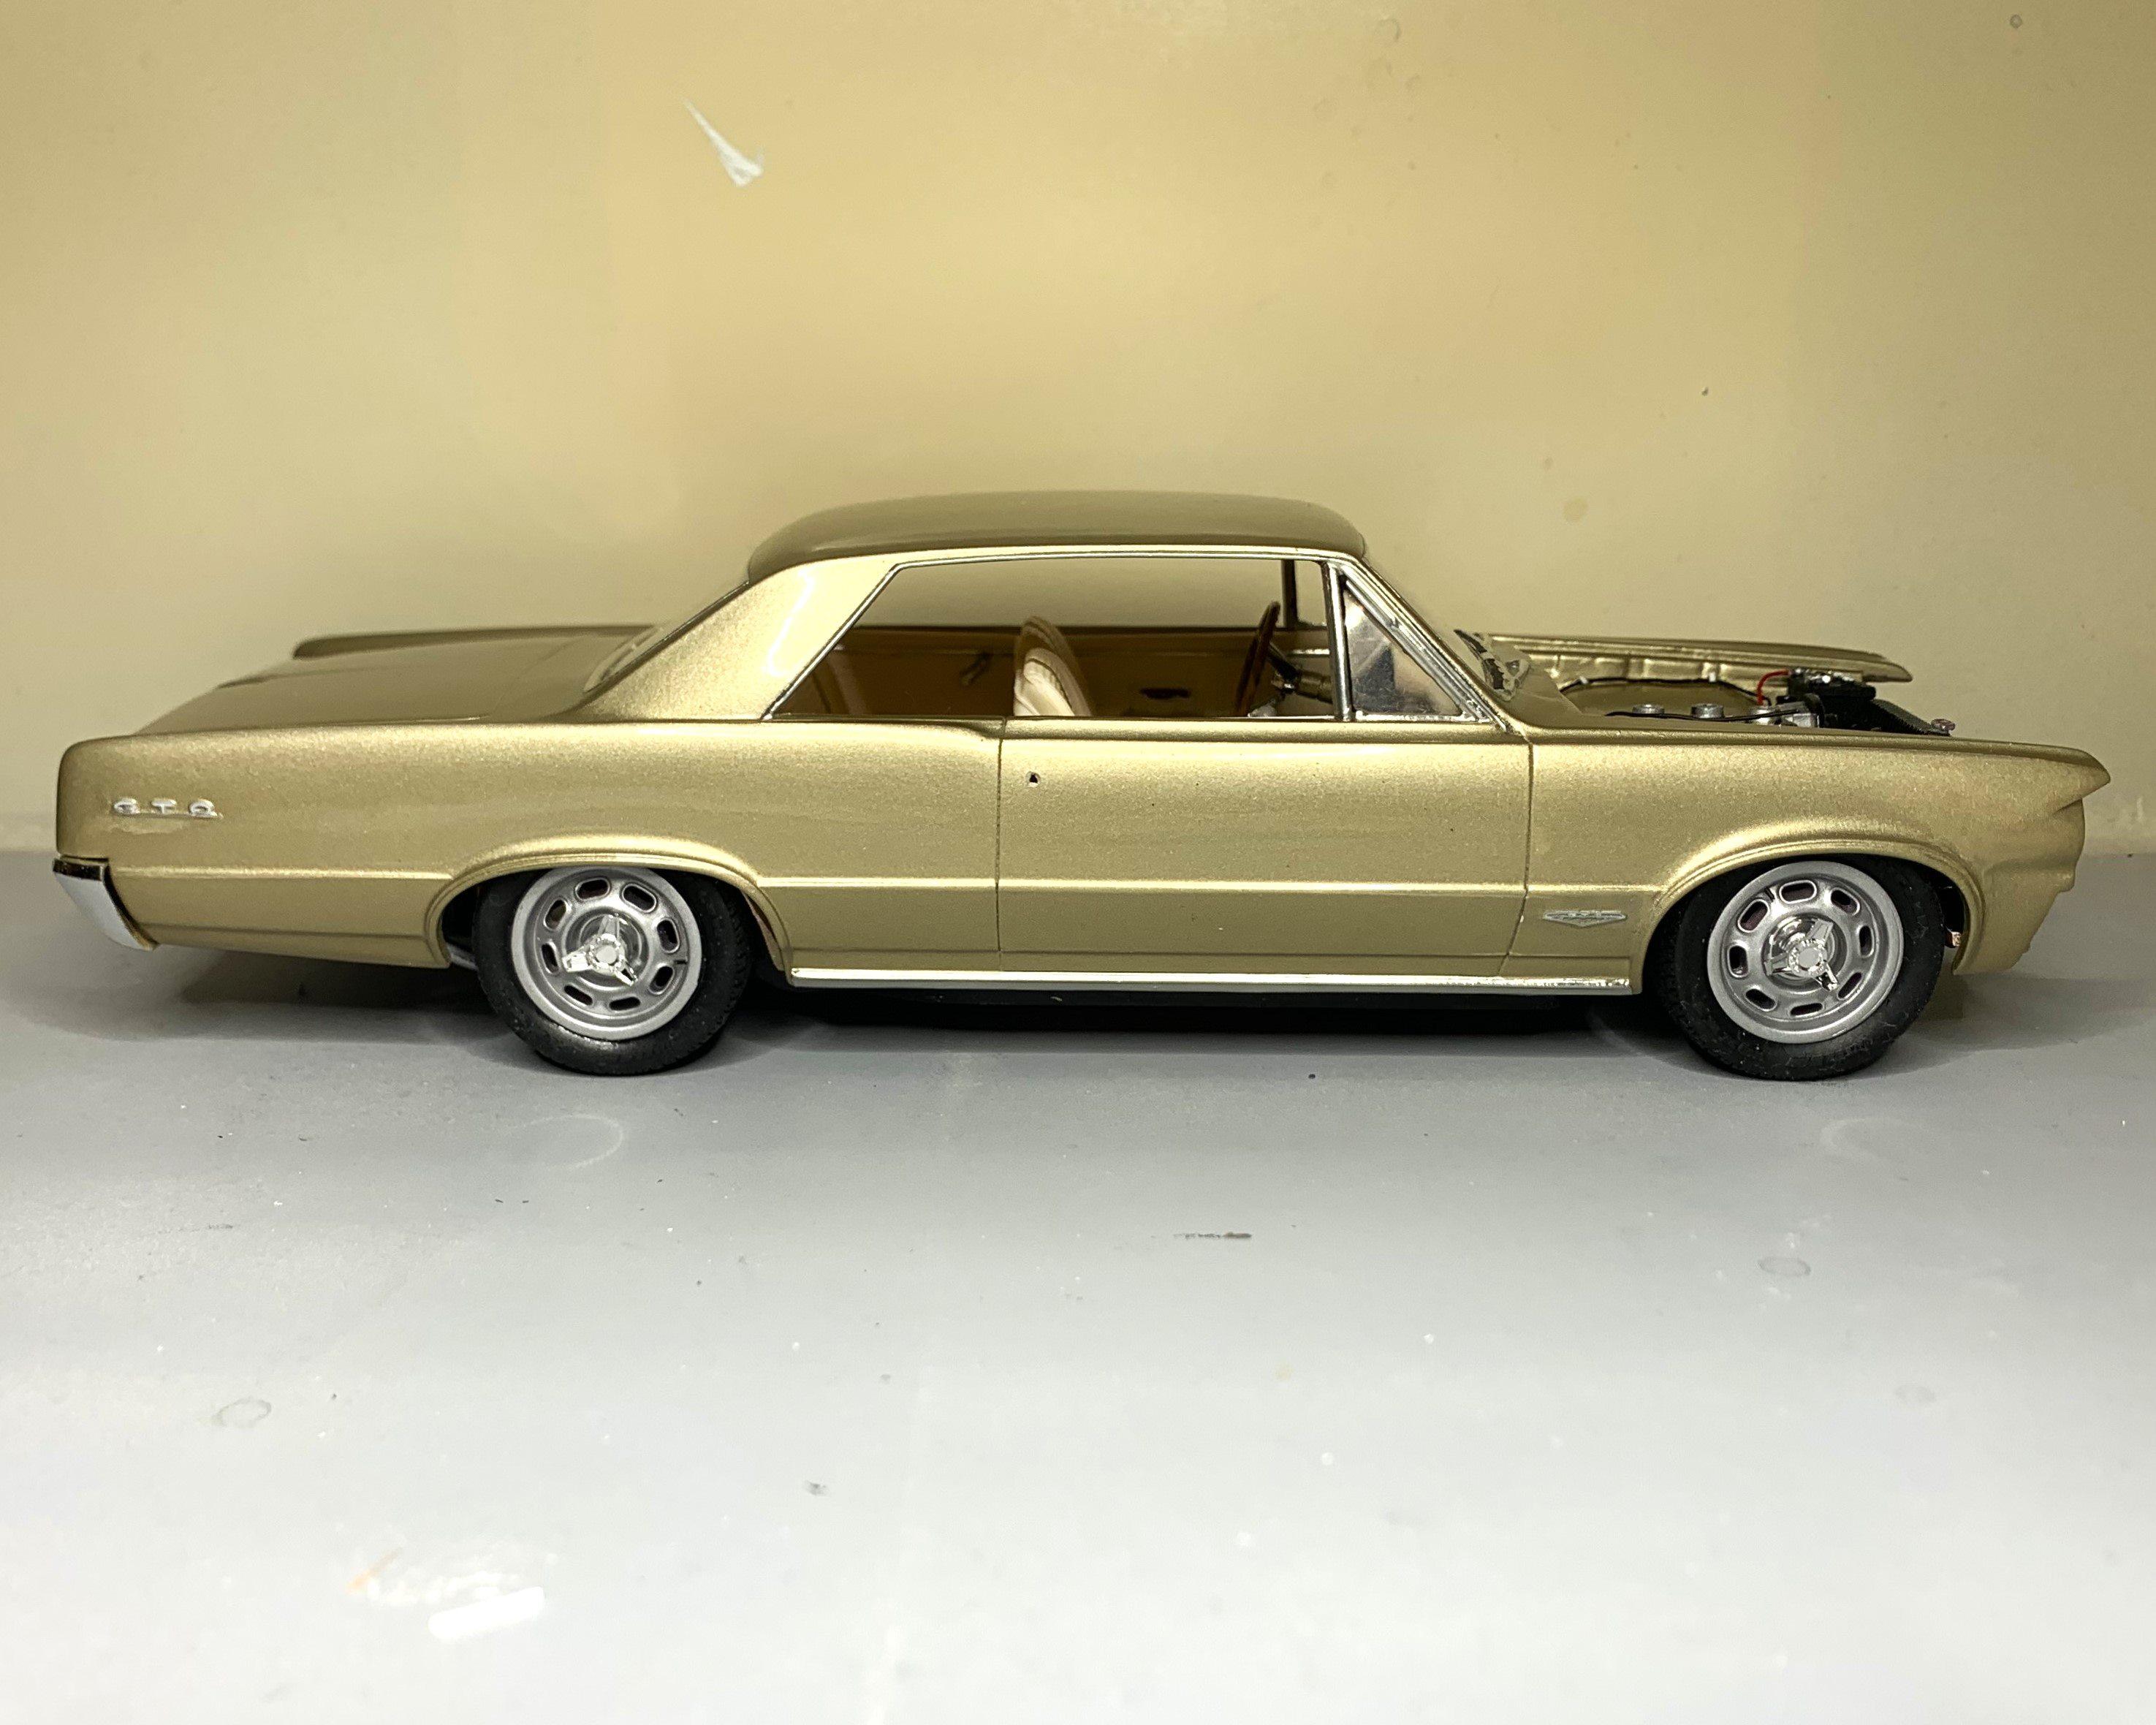
Here's the stance, it's all glued there now, so this IS the stance!
-
Original AMT '64 GTO meets newer Revell '66 GTO and more!
dino246gt replied to dino246gt's topic in WIP: Model Cars
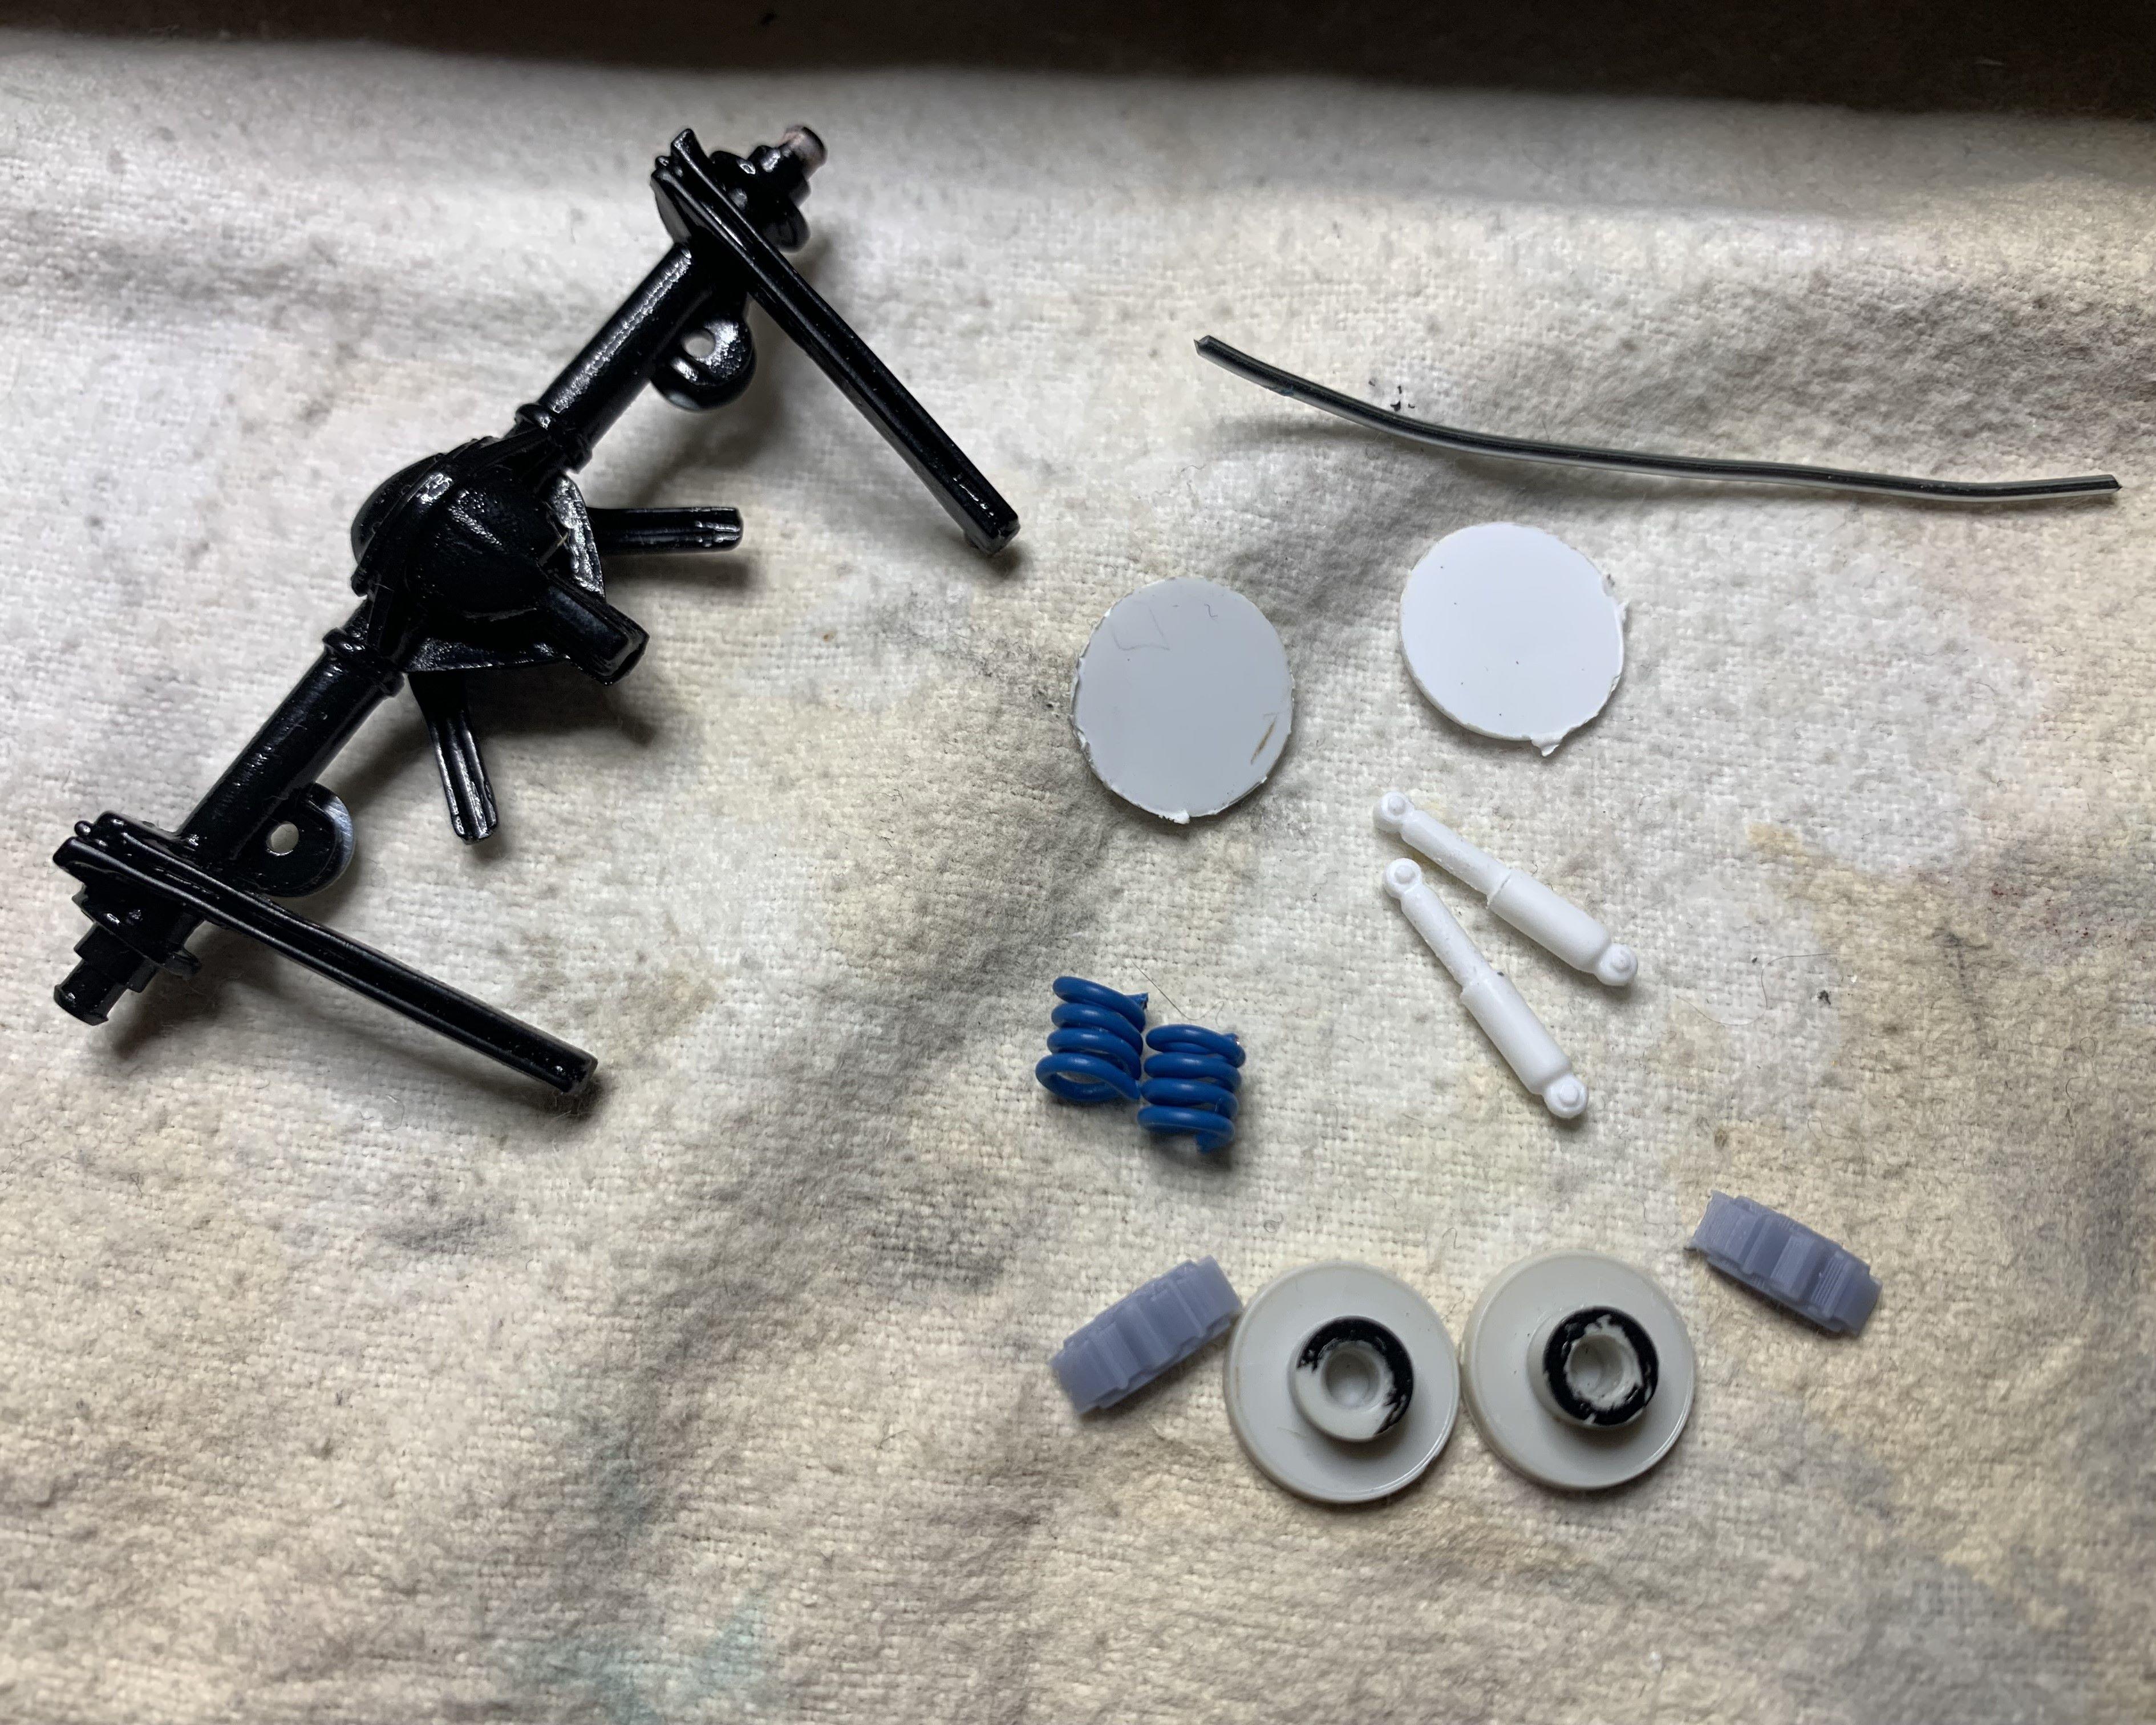
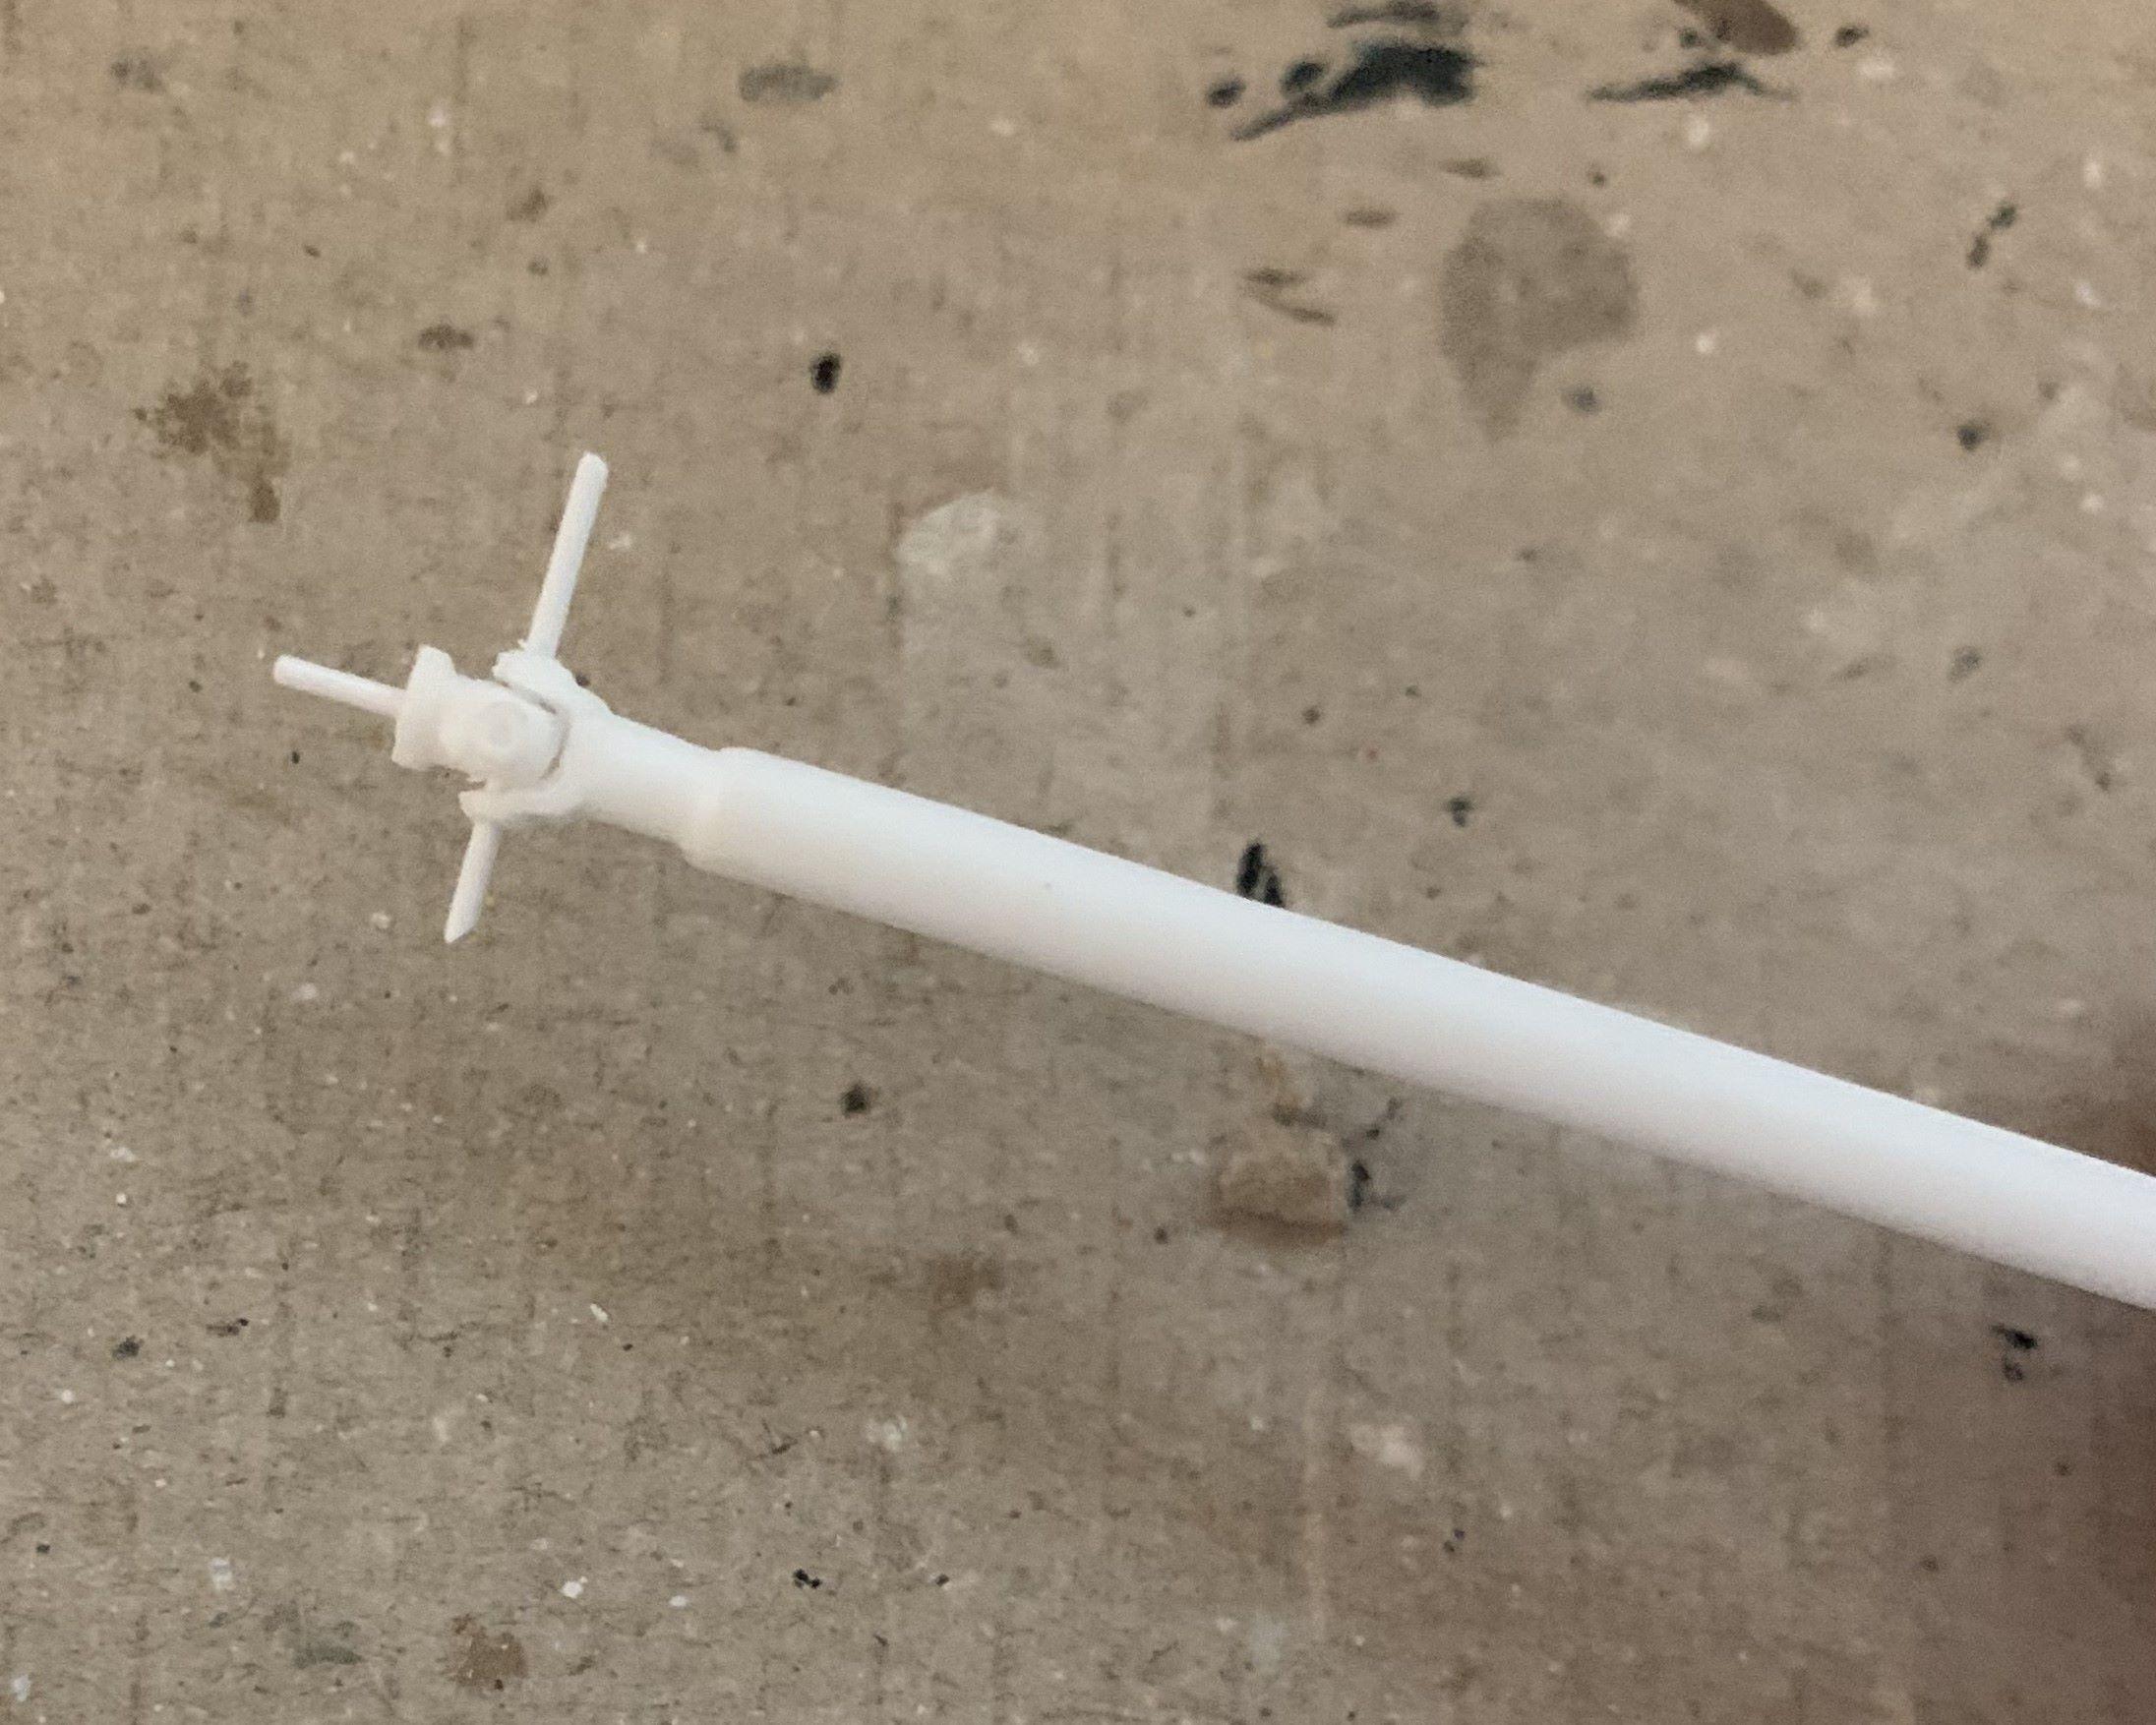
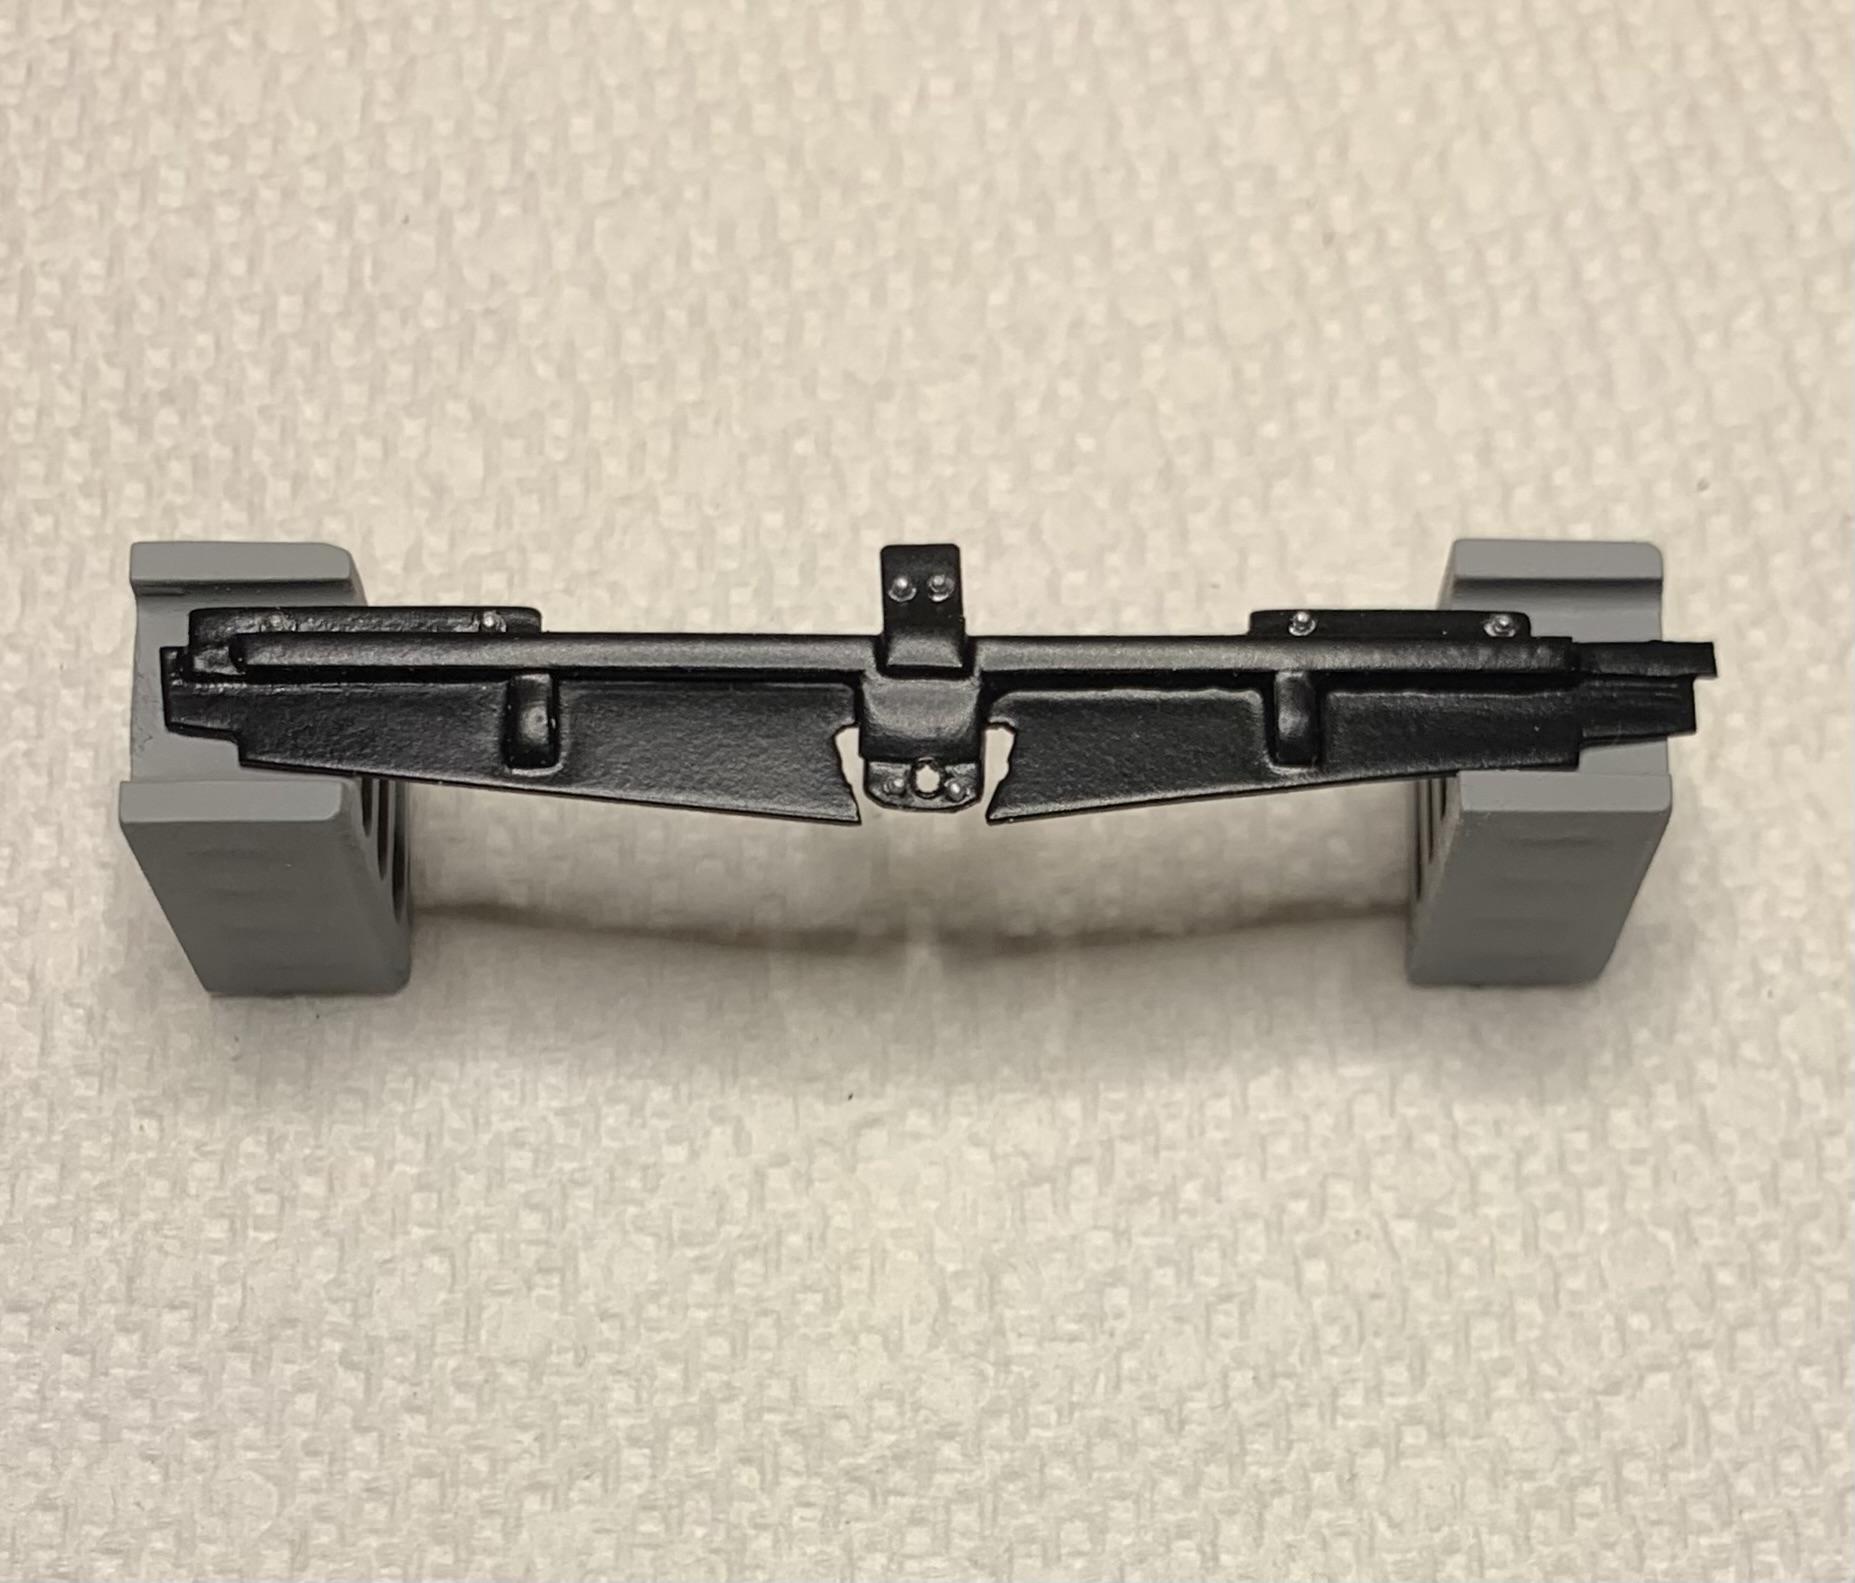
Since I was using the Revell rear end which had the diff and axle tubes all in one piece and I was lowering the stance, the pumpkin tilted up. I needed to make the driveshaft angle a bit more at the ends so I had to make these mods: Easy enough, just time consuming.
-
Original AMT '64 GTO meets newer Revell '66 GTO and more!
dino246gt replied to dino246gt's topic in WIP: Model Cars
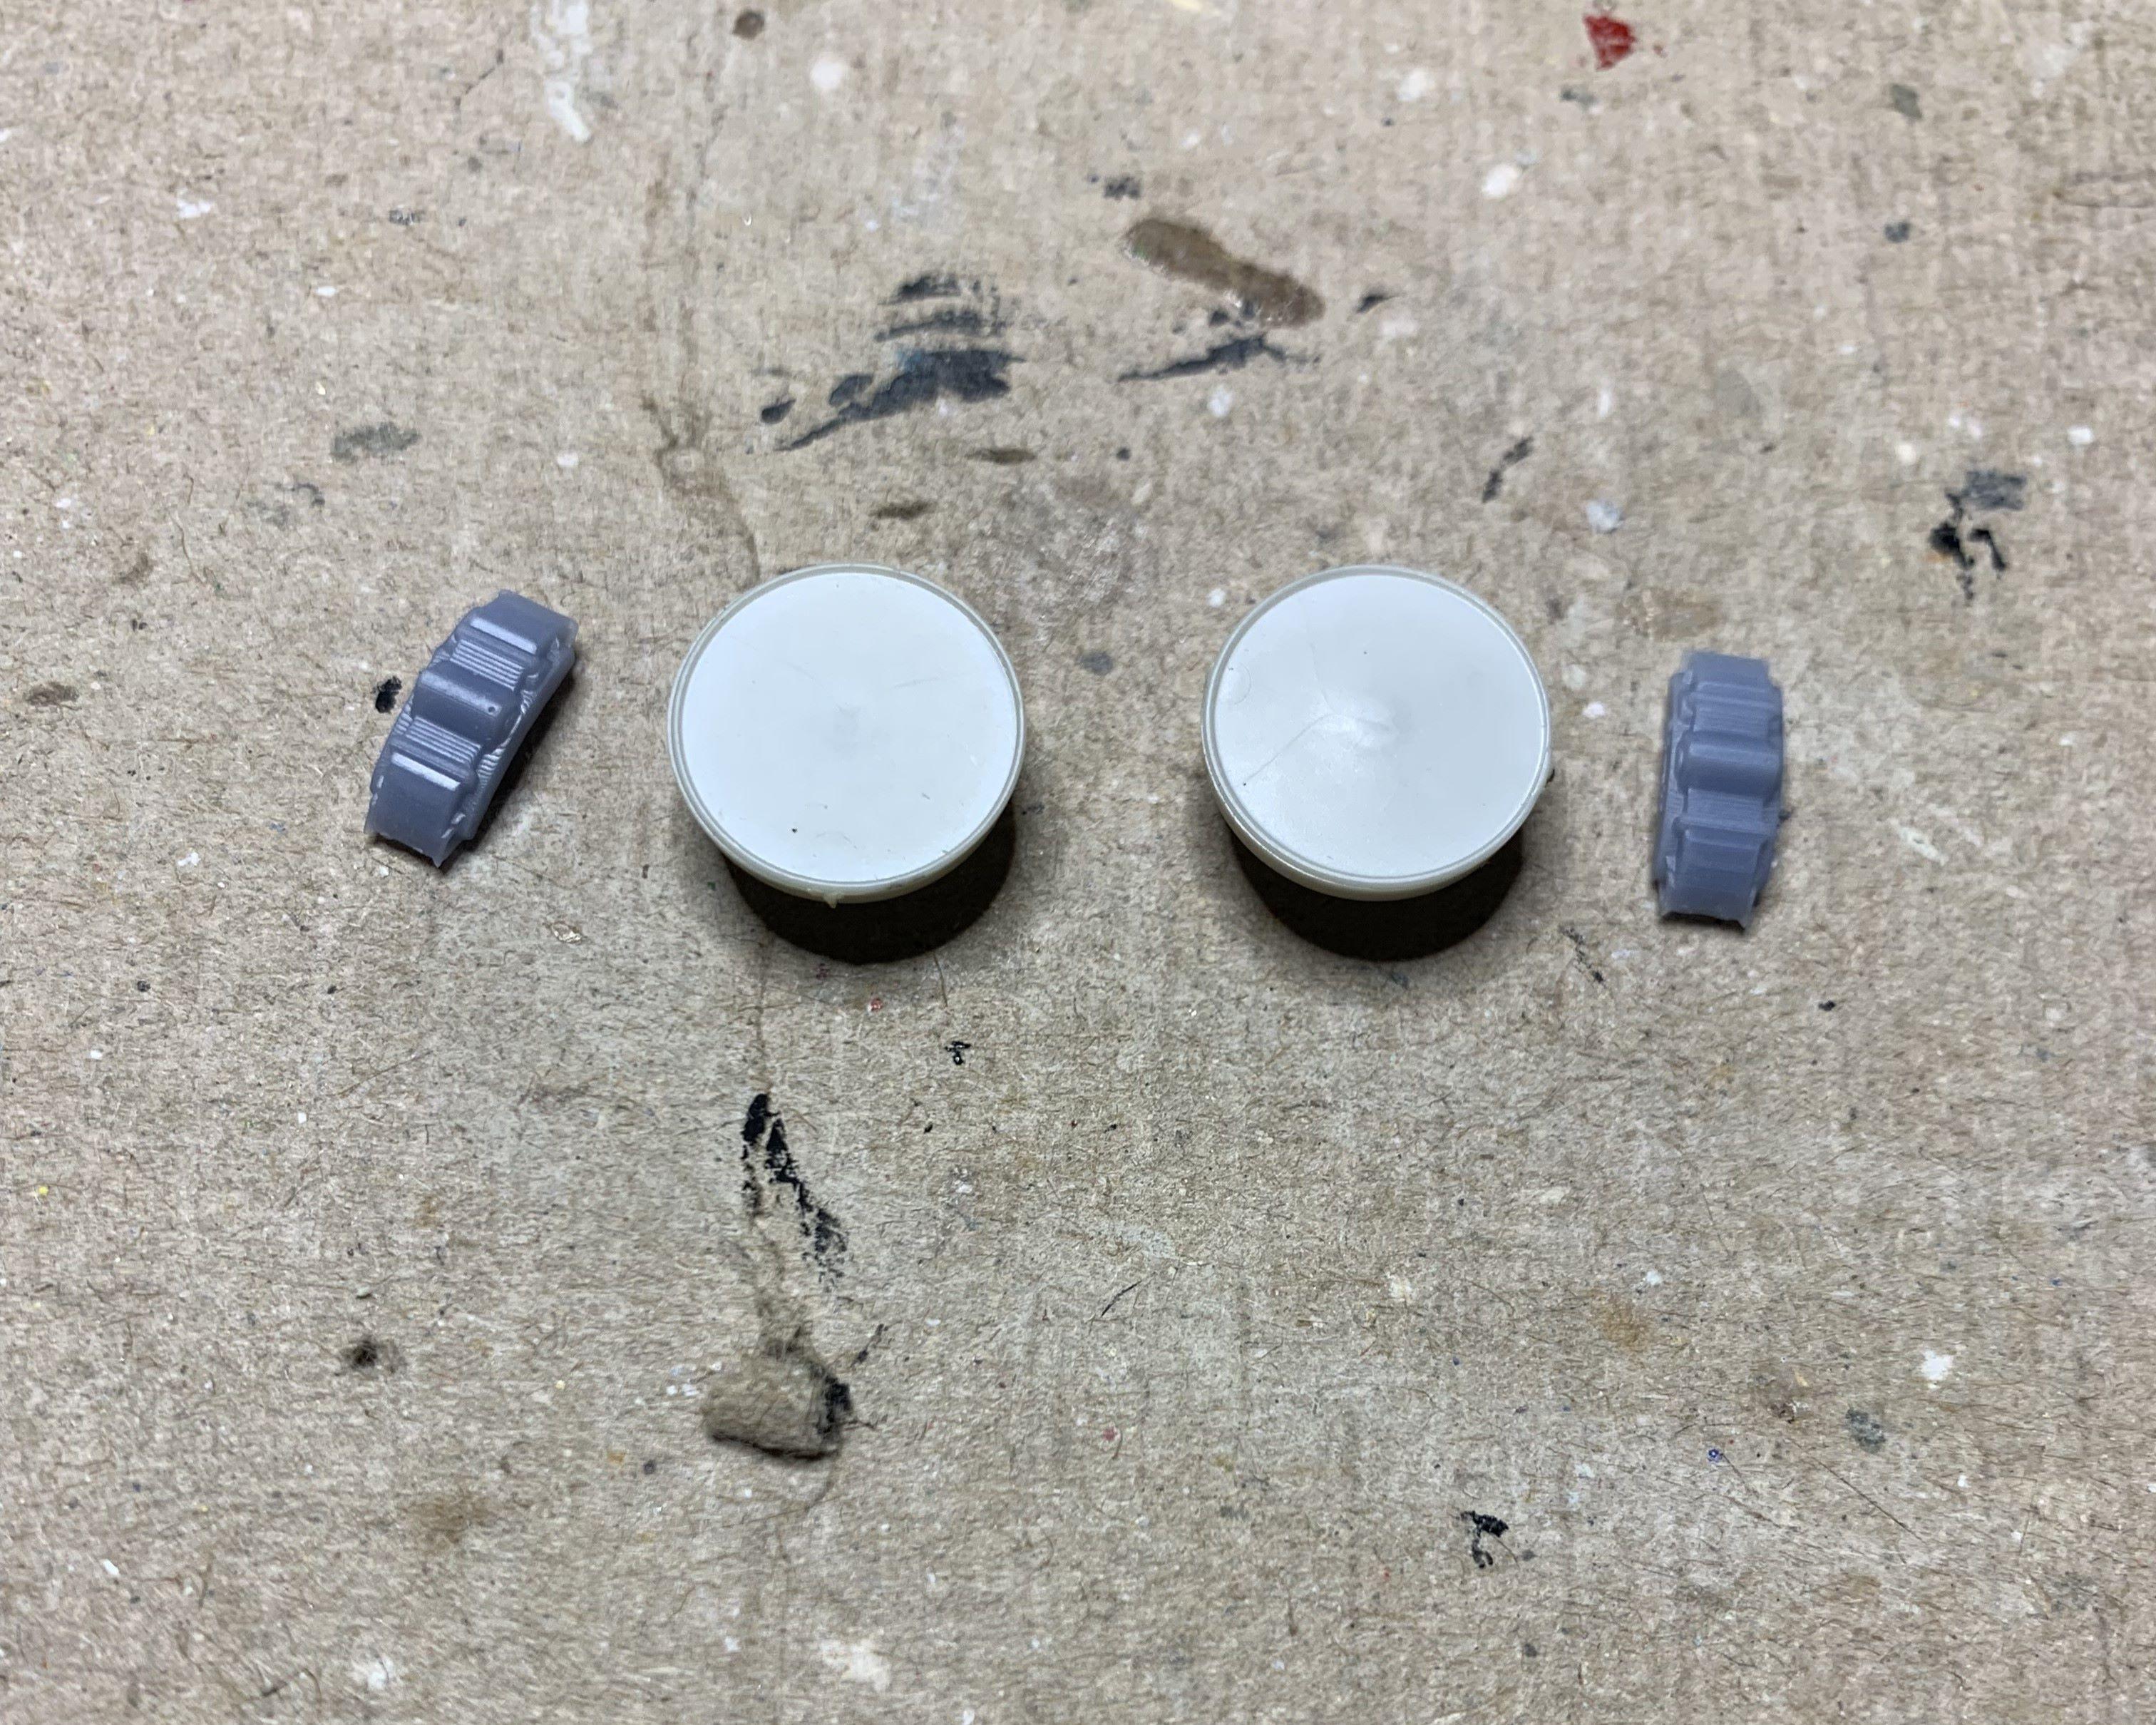
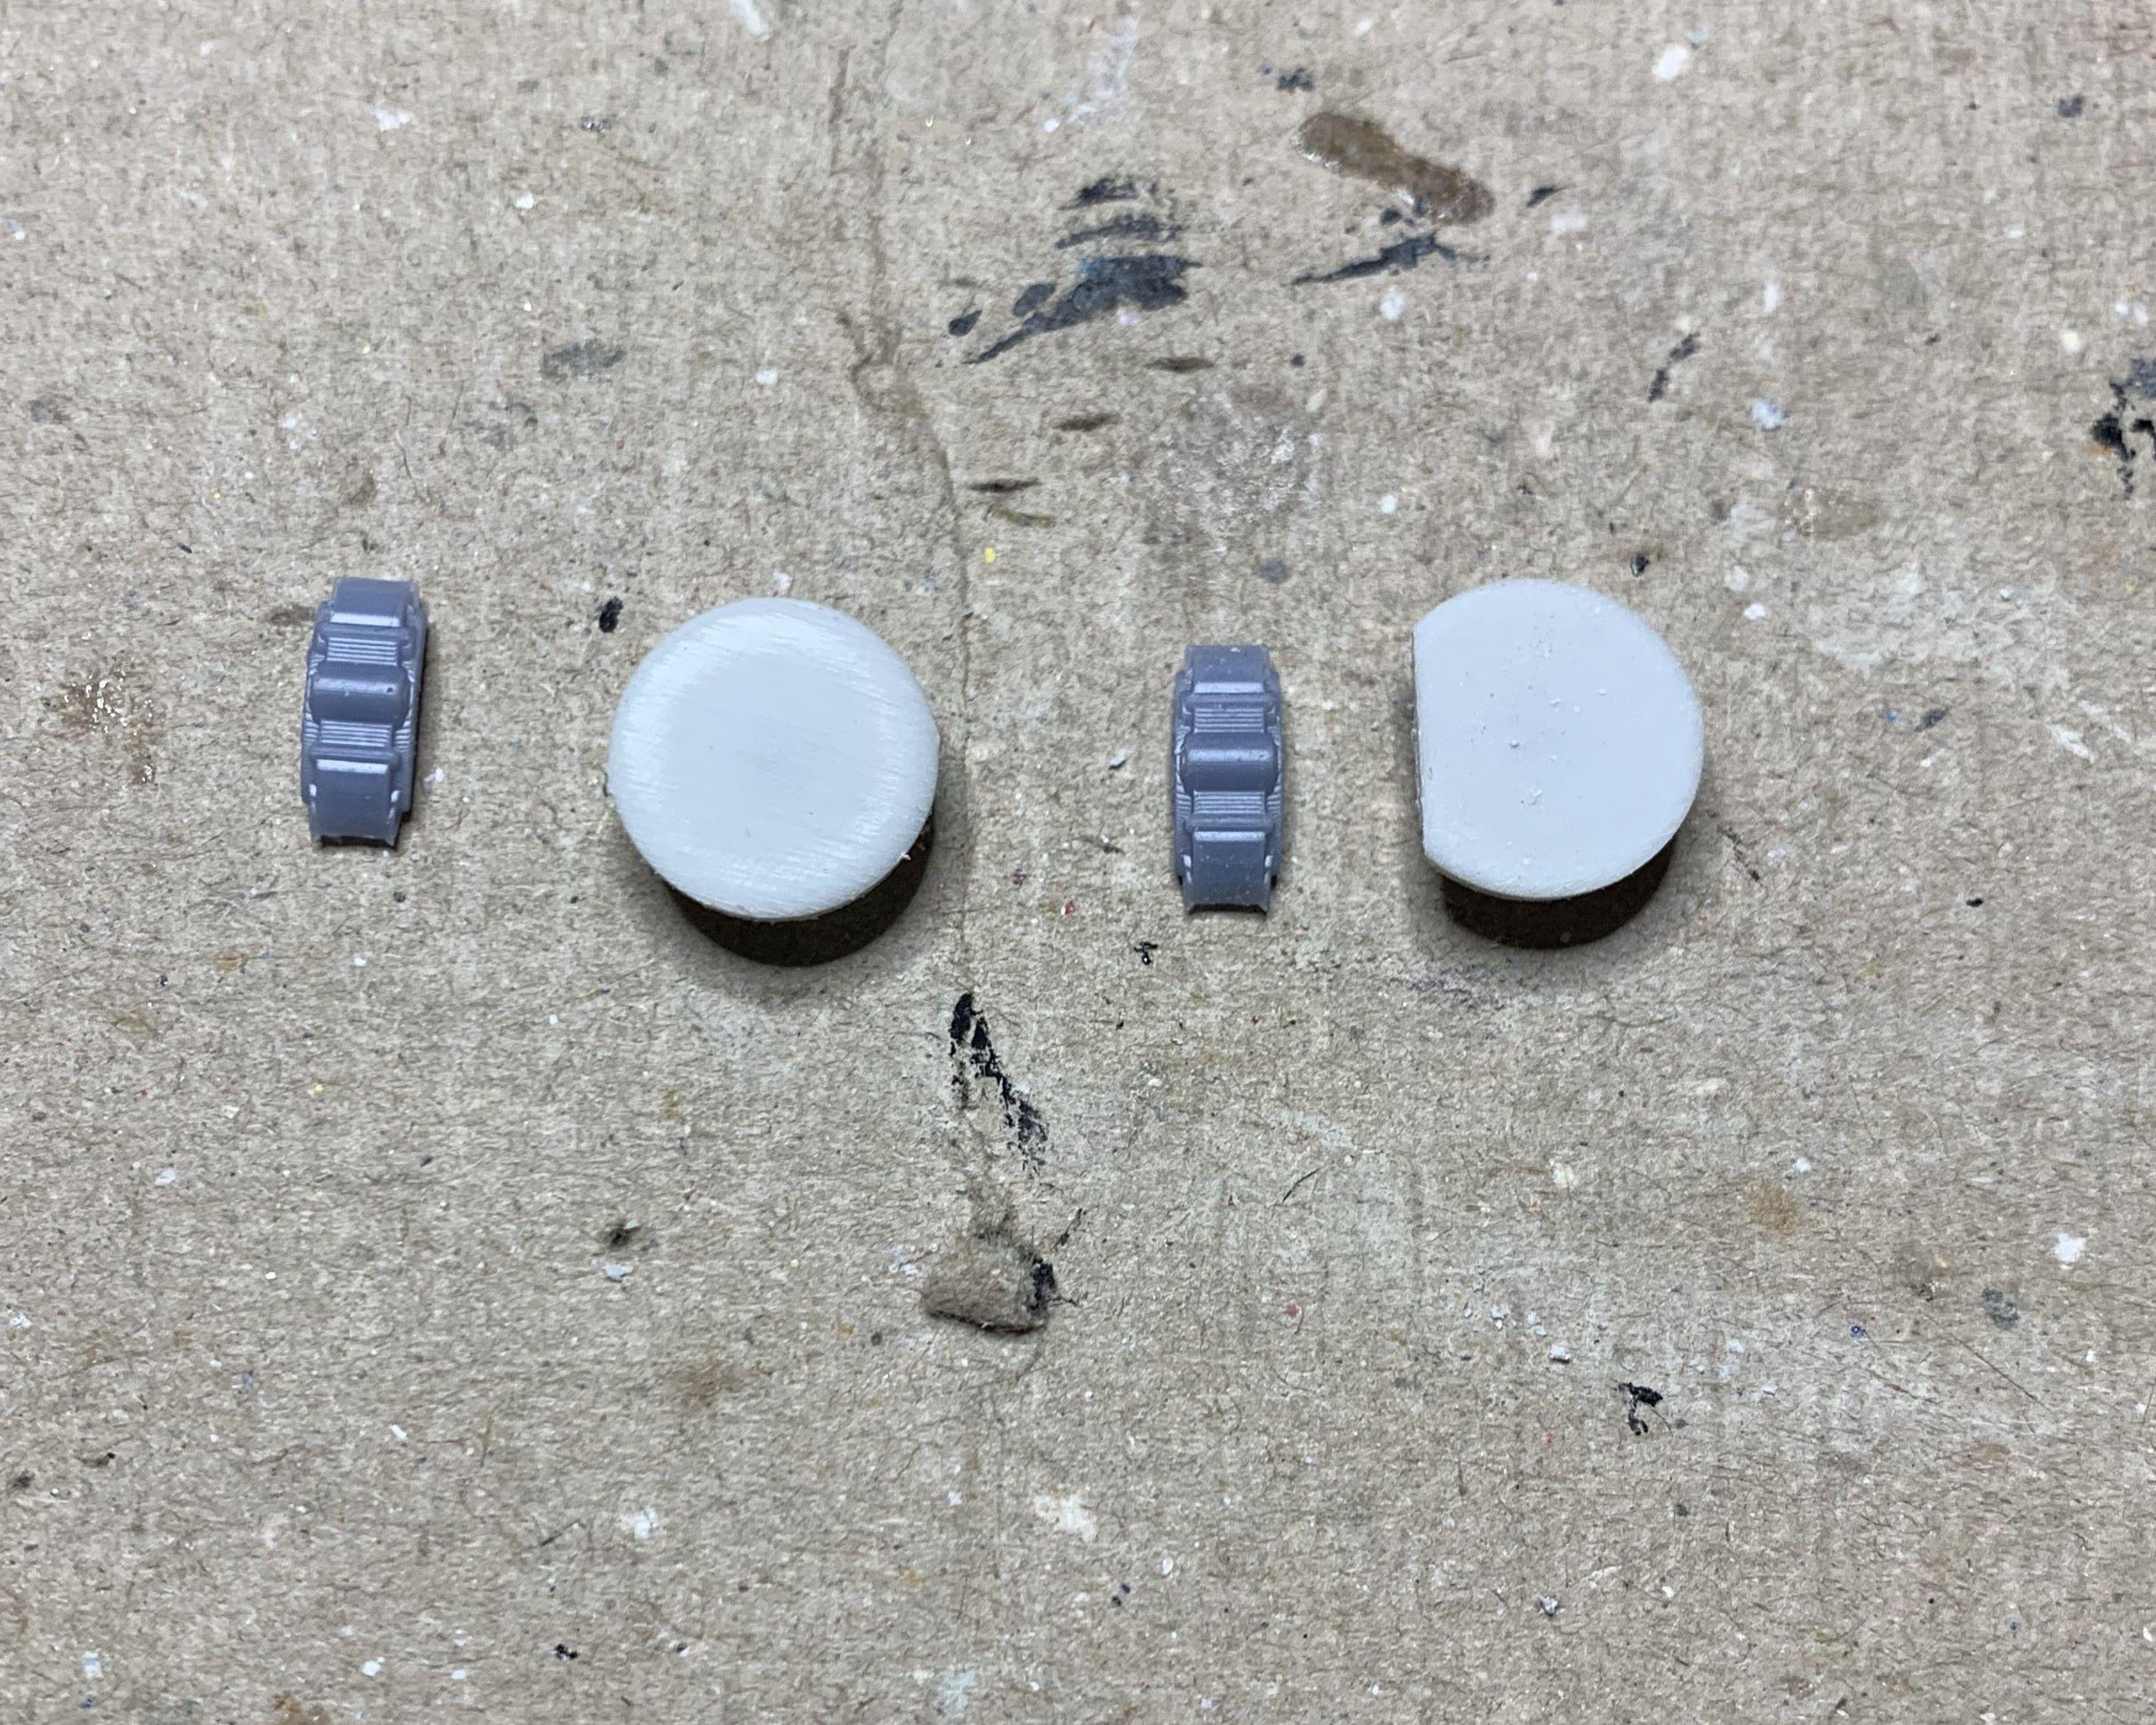
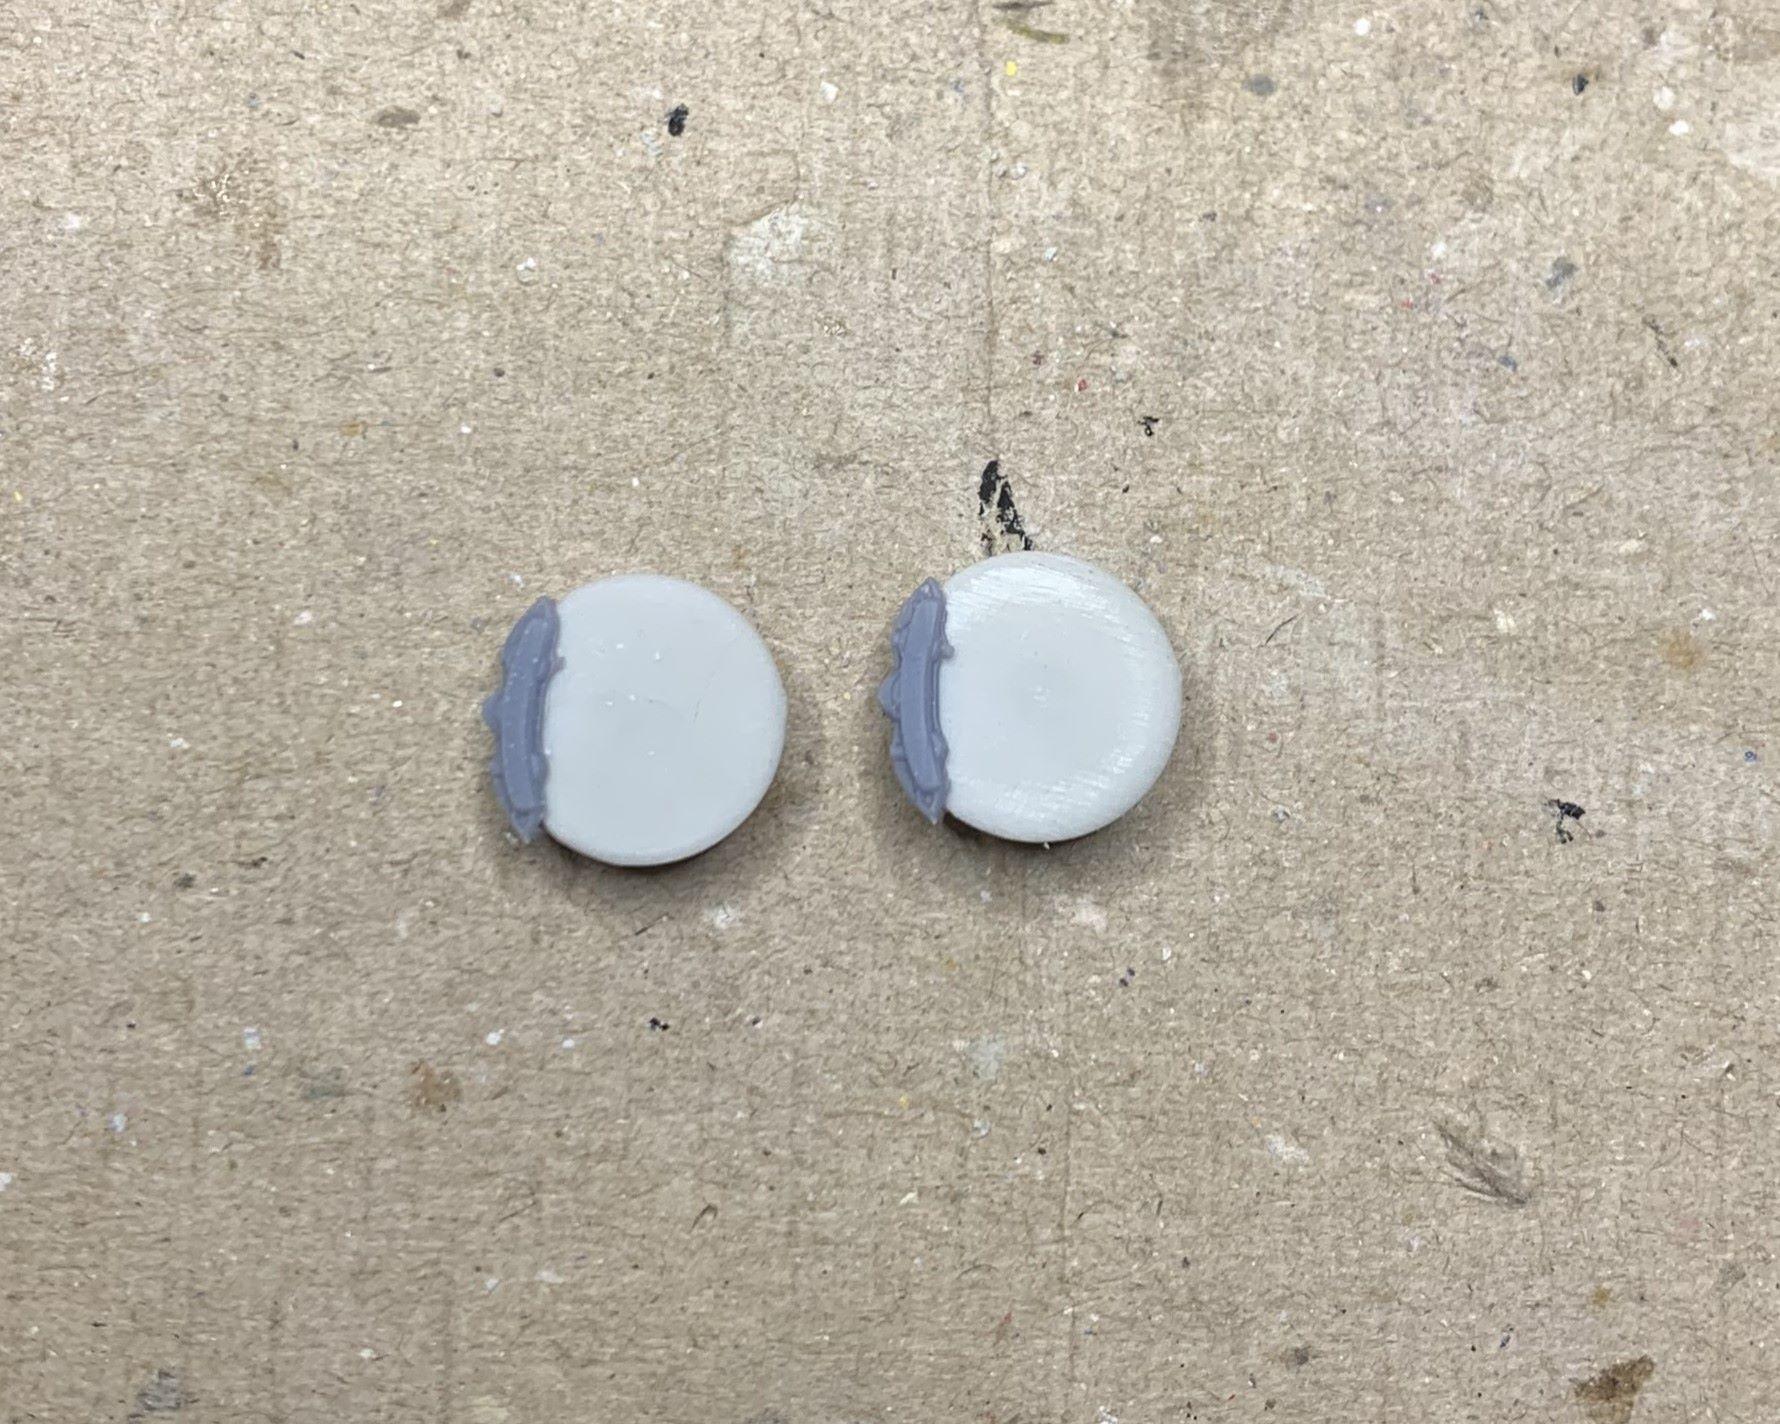
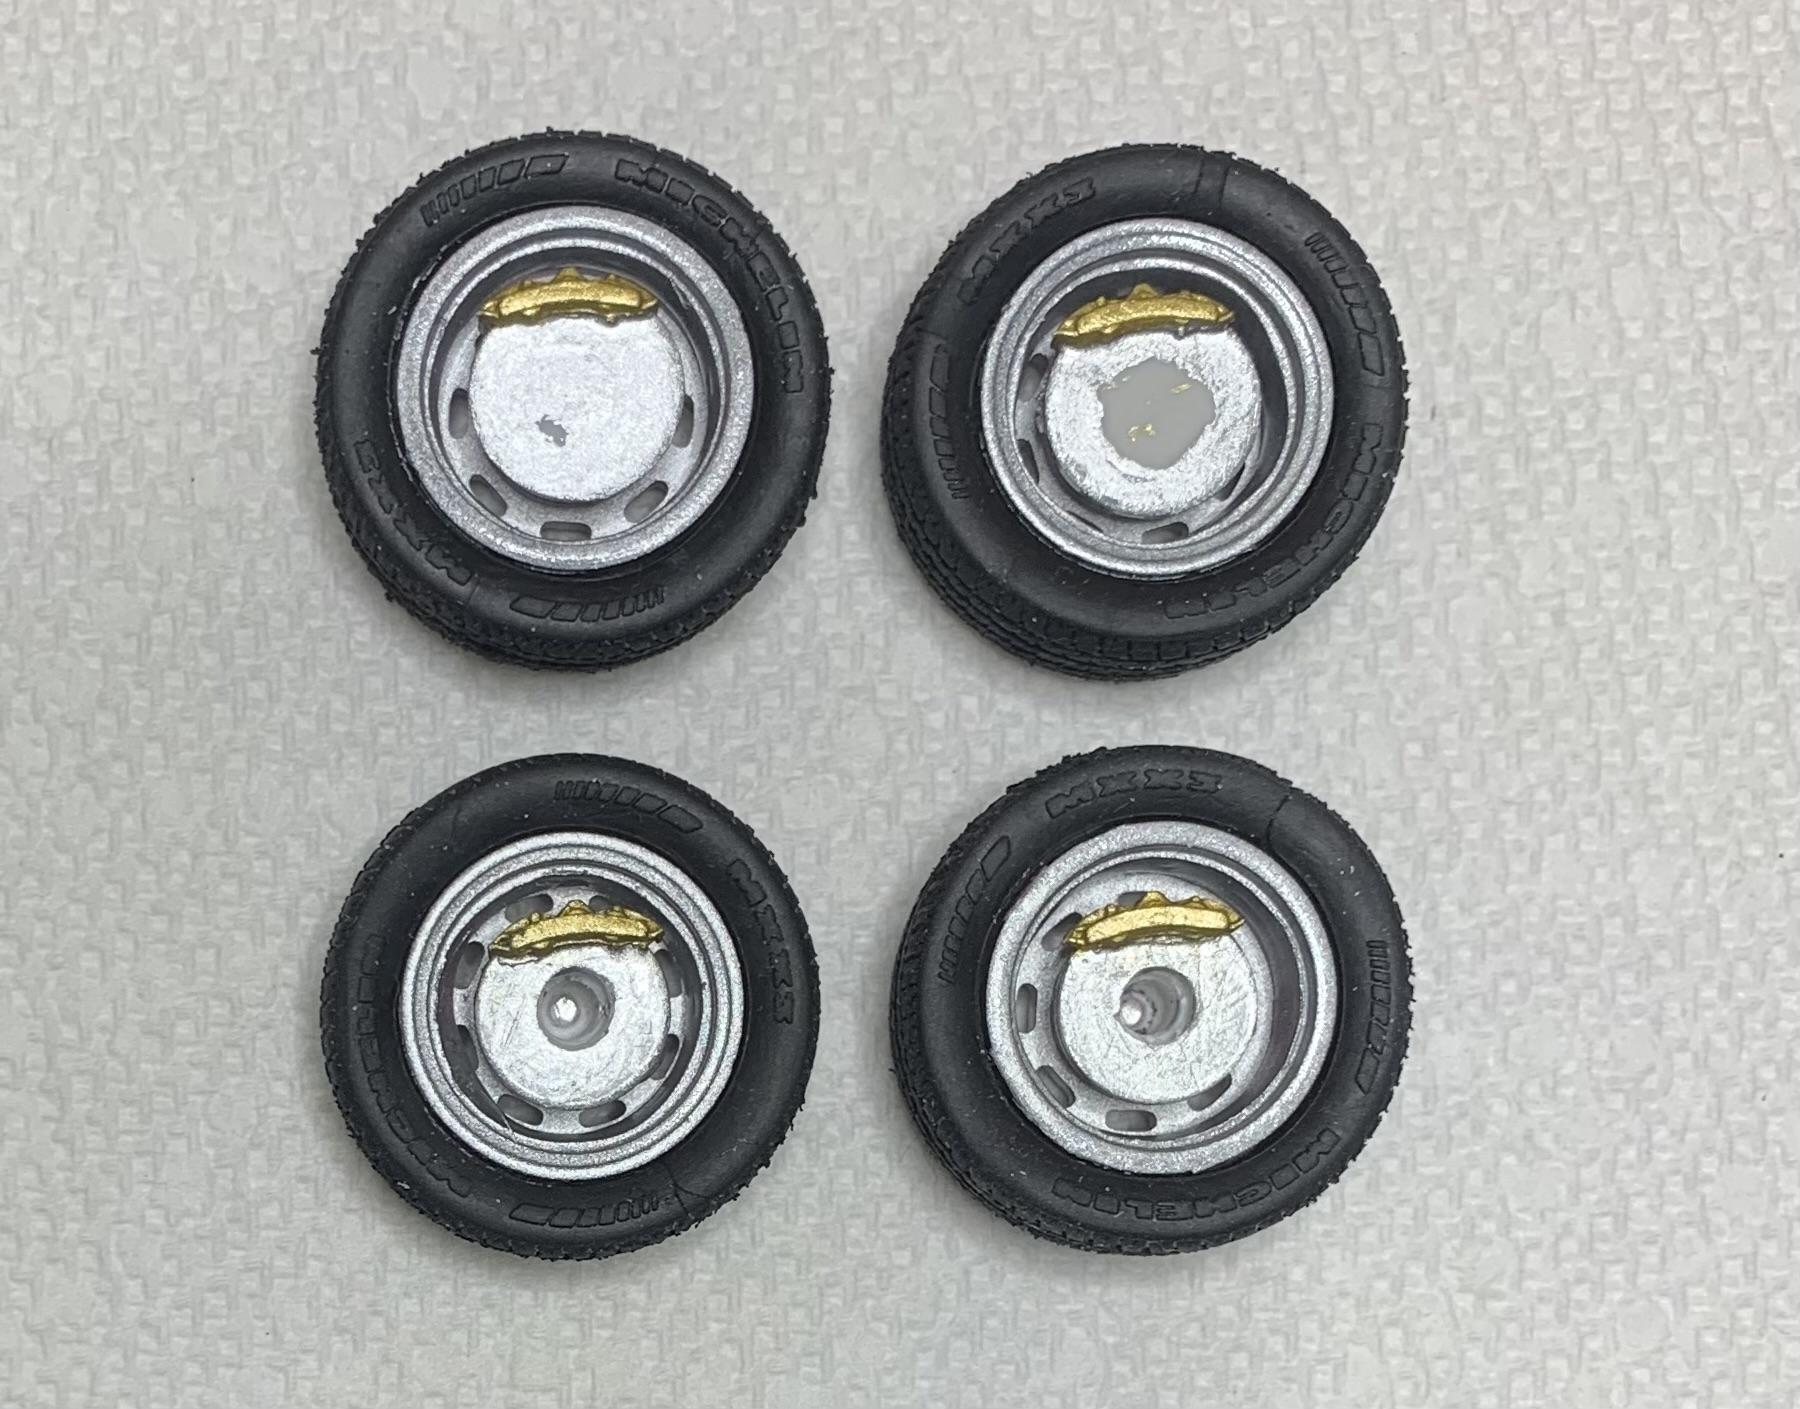
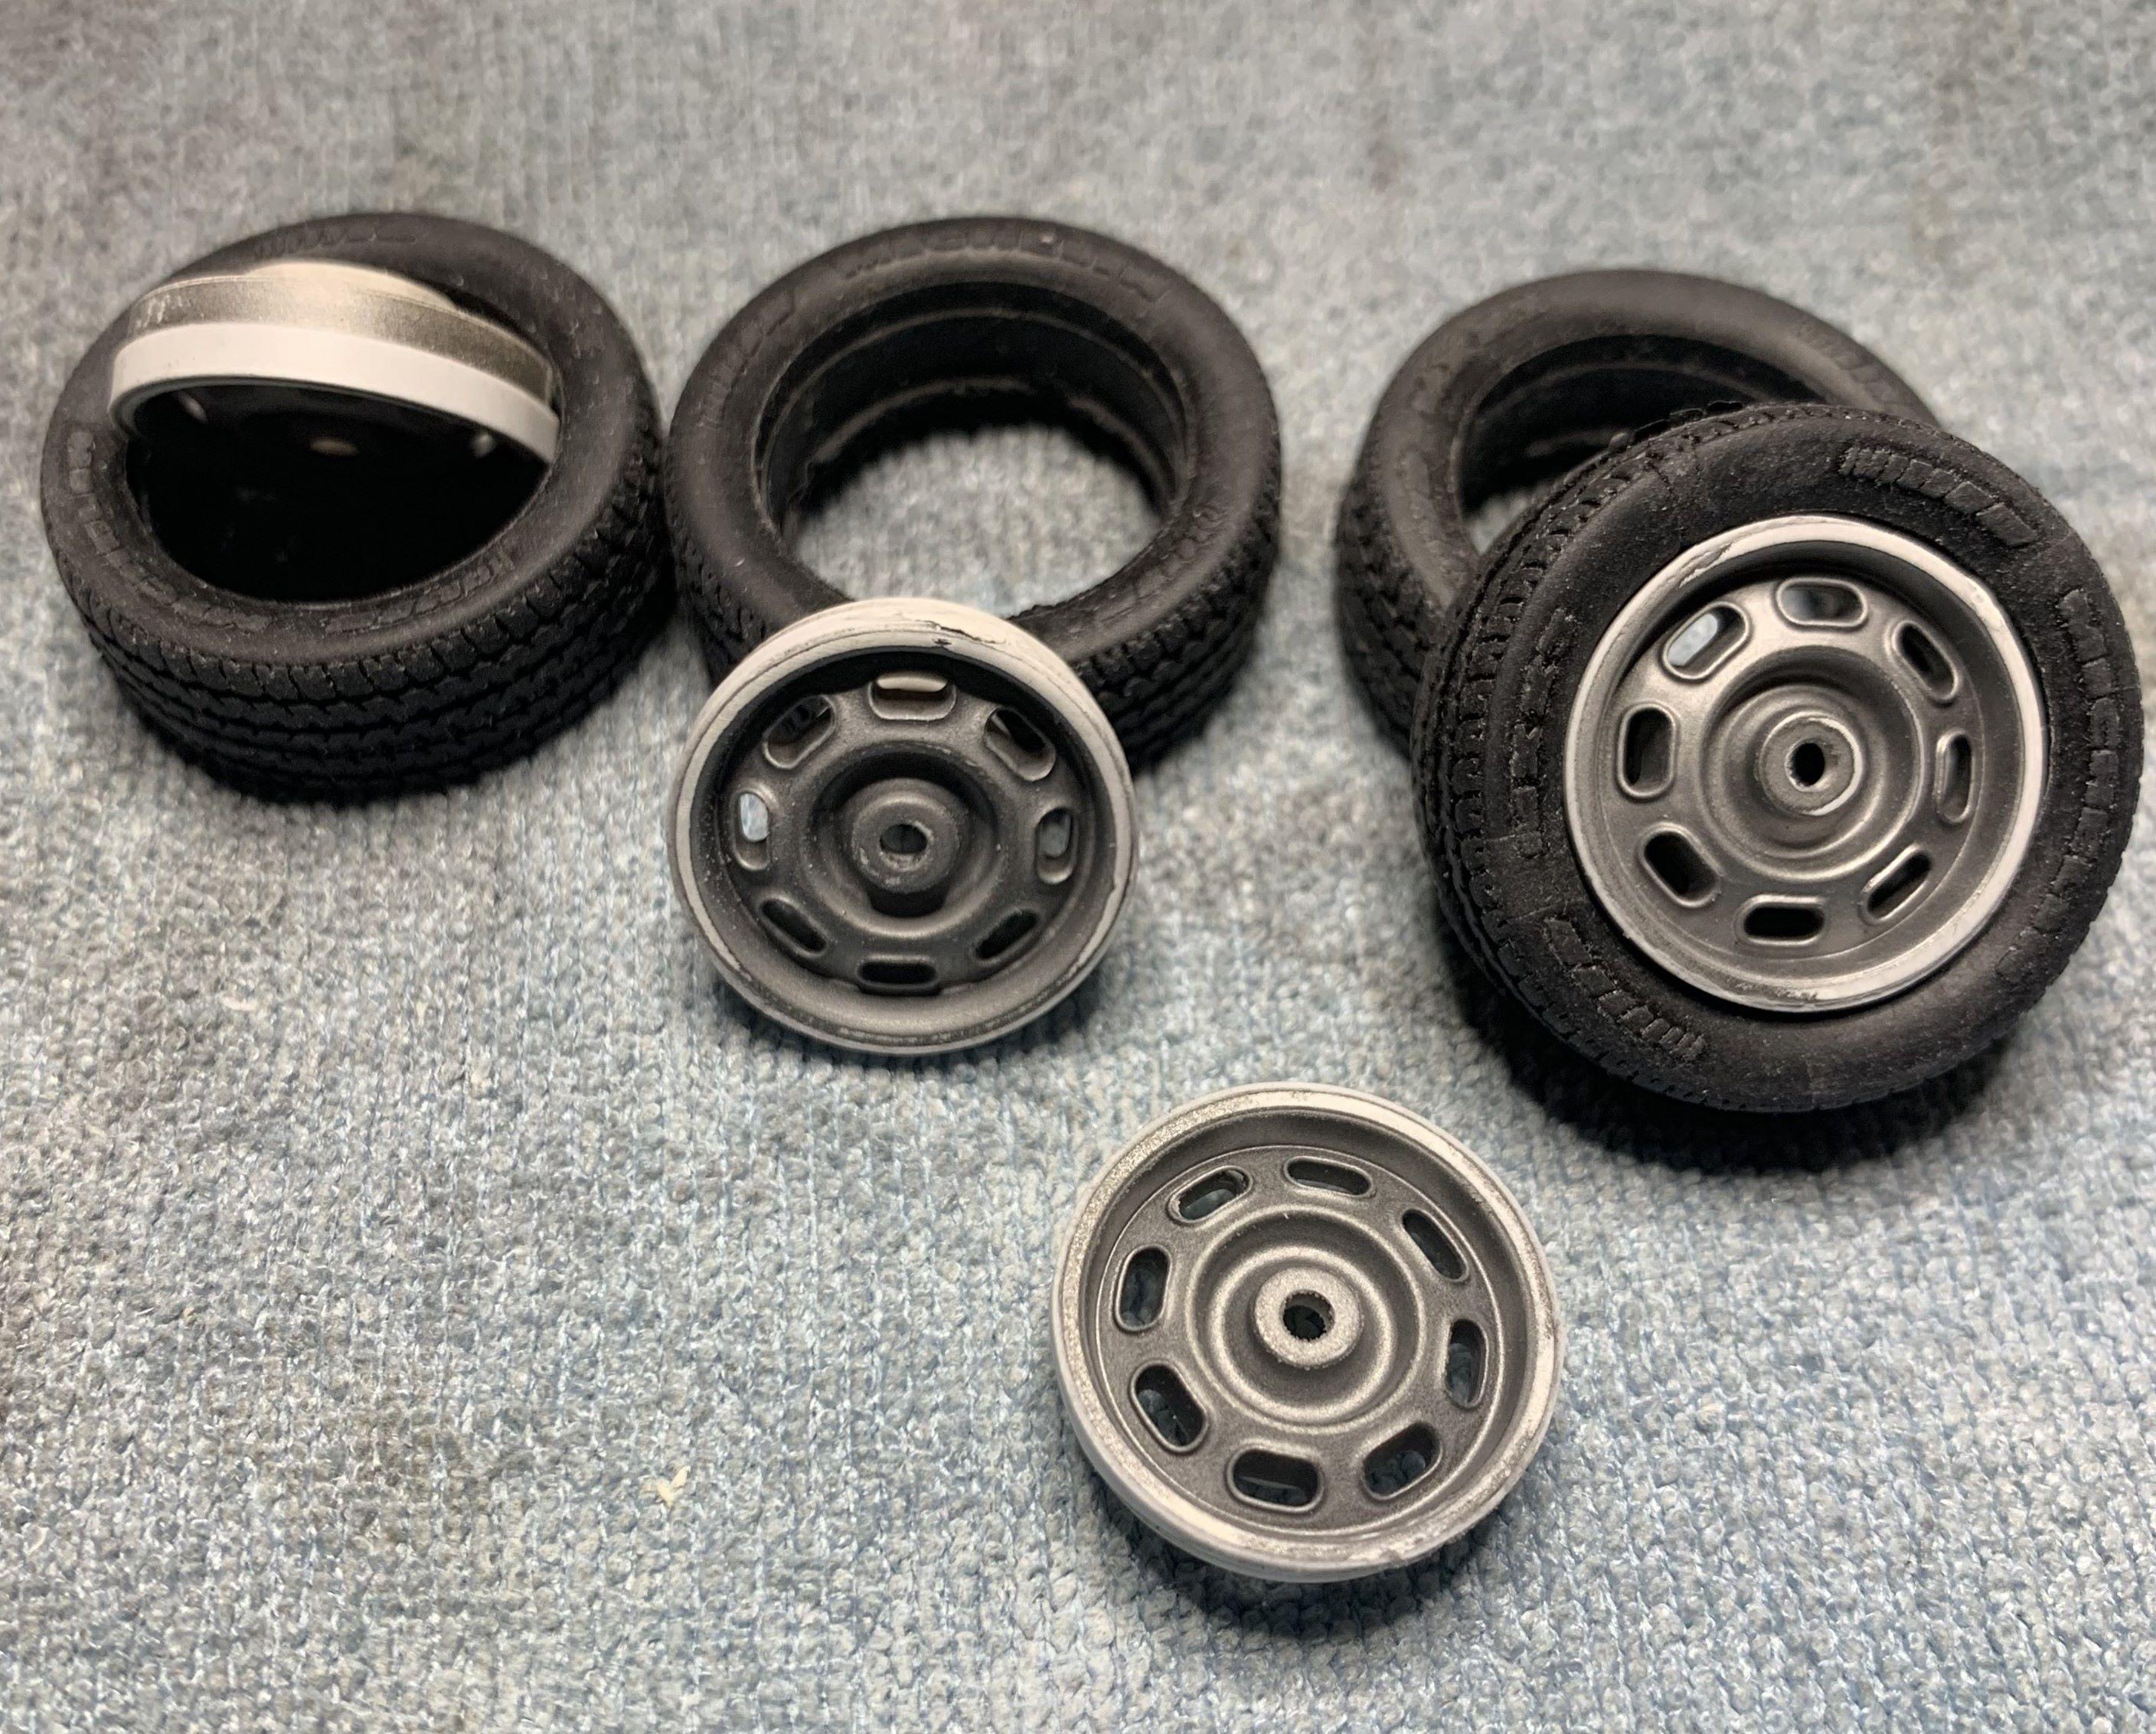
I have plenty of nice disc rotors and calipers, from exotic kits, resin, photo-etch and 3D but none small enough for these wheels, so........... I used parts box wheel backs, backwards, with 3D calipers, fronts slightly larger than rears. Once I installed them, they don't show, from the outside or looking at the chassis, but I HAD to have them!
-
Original AMT '64 GTO meets newer Revell '66 GTO and more!
dino246gt replied to dino246gt's topic in WIP: Model Cars
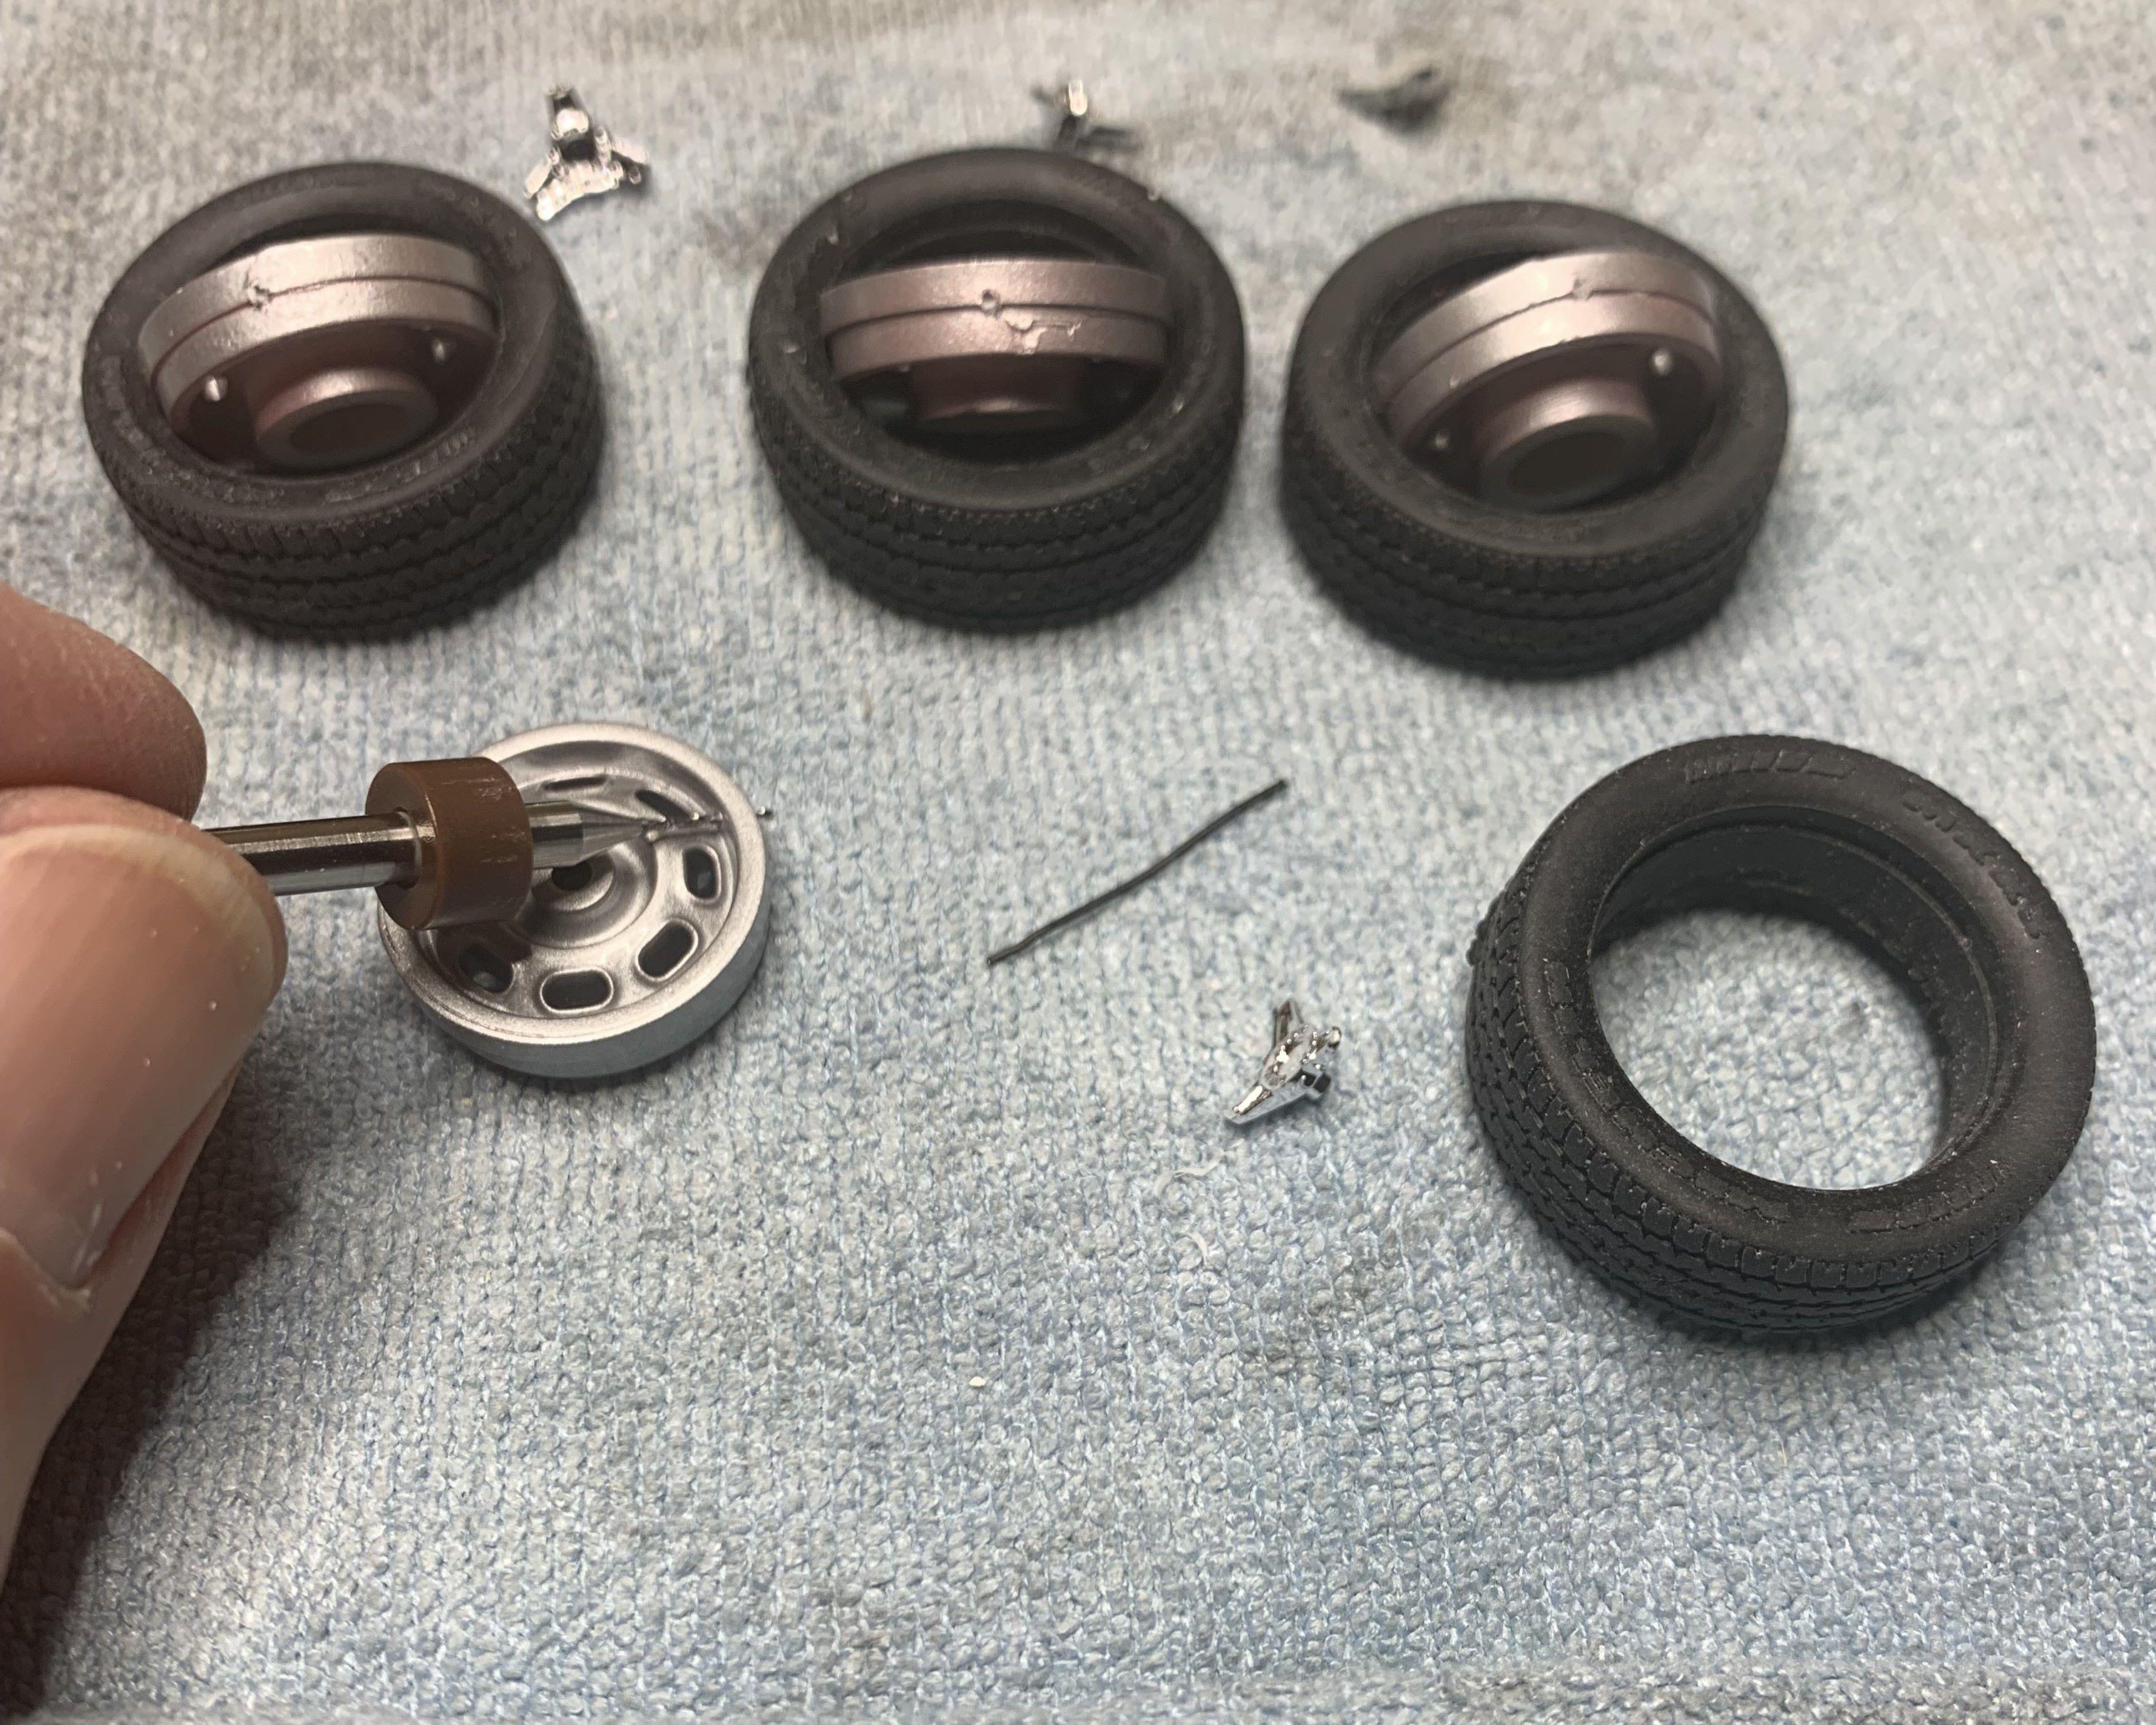
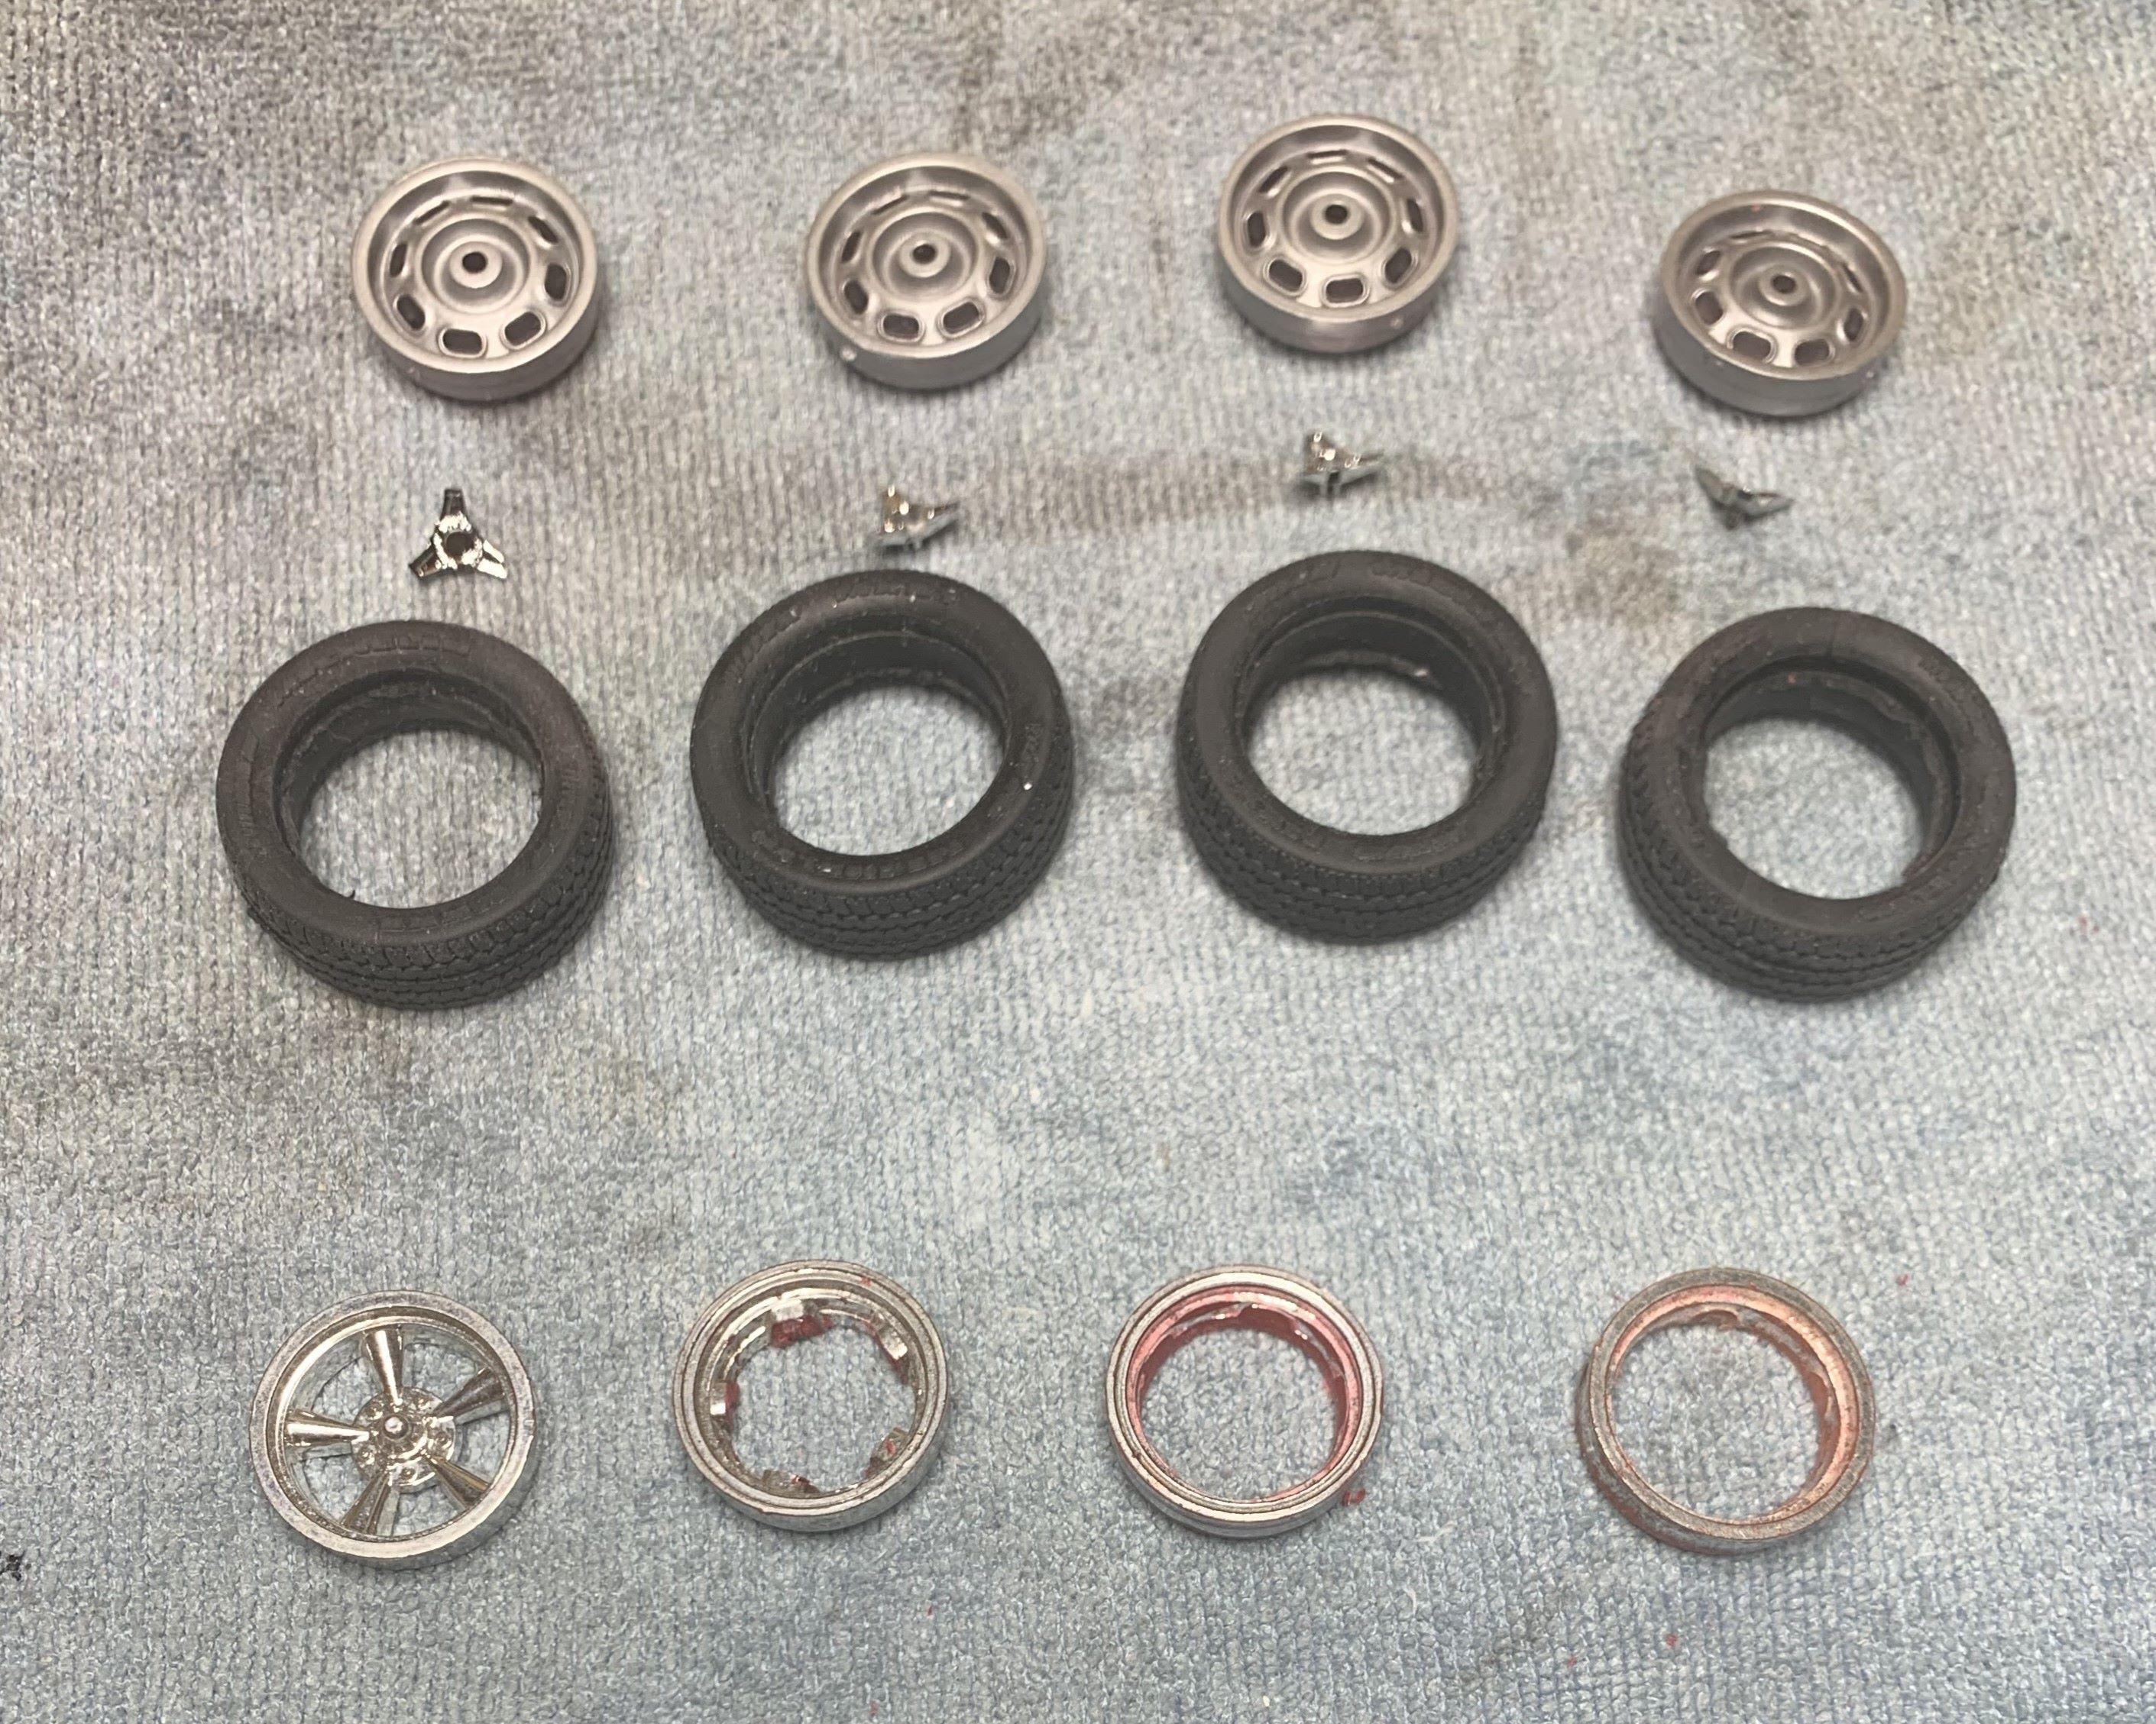
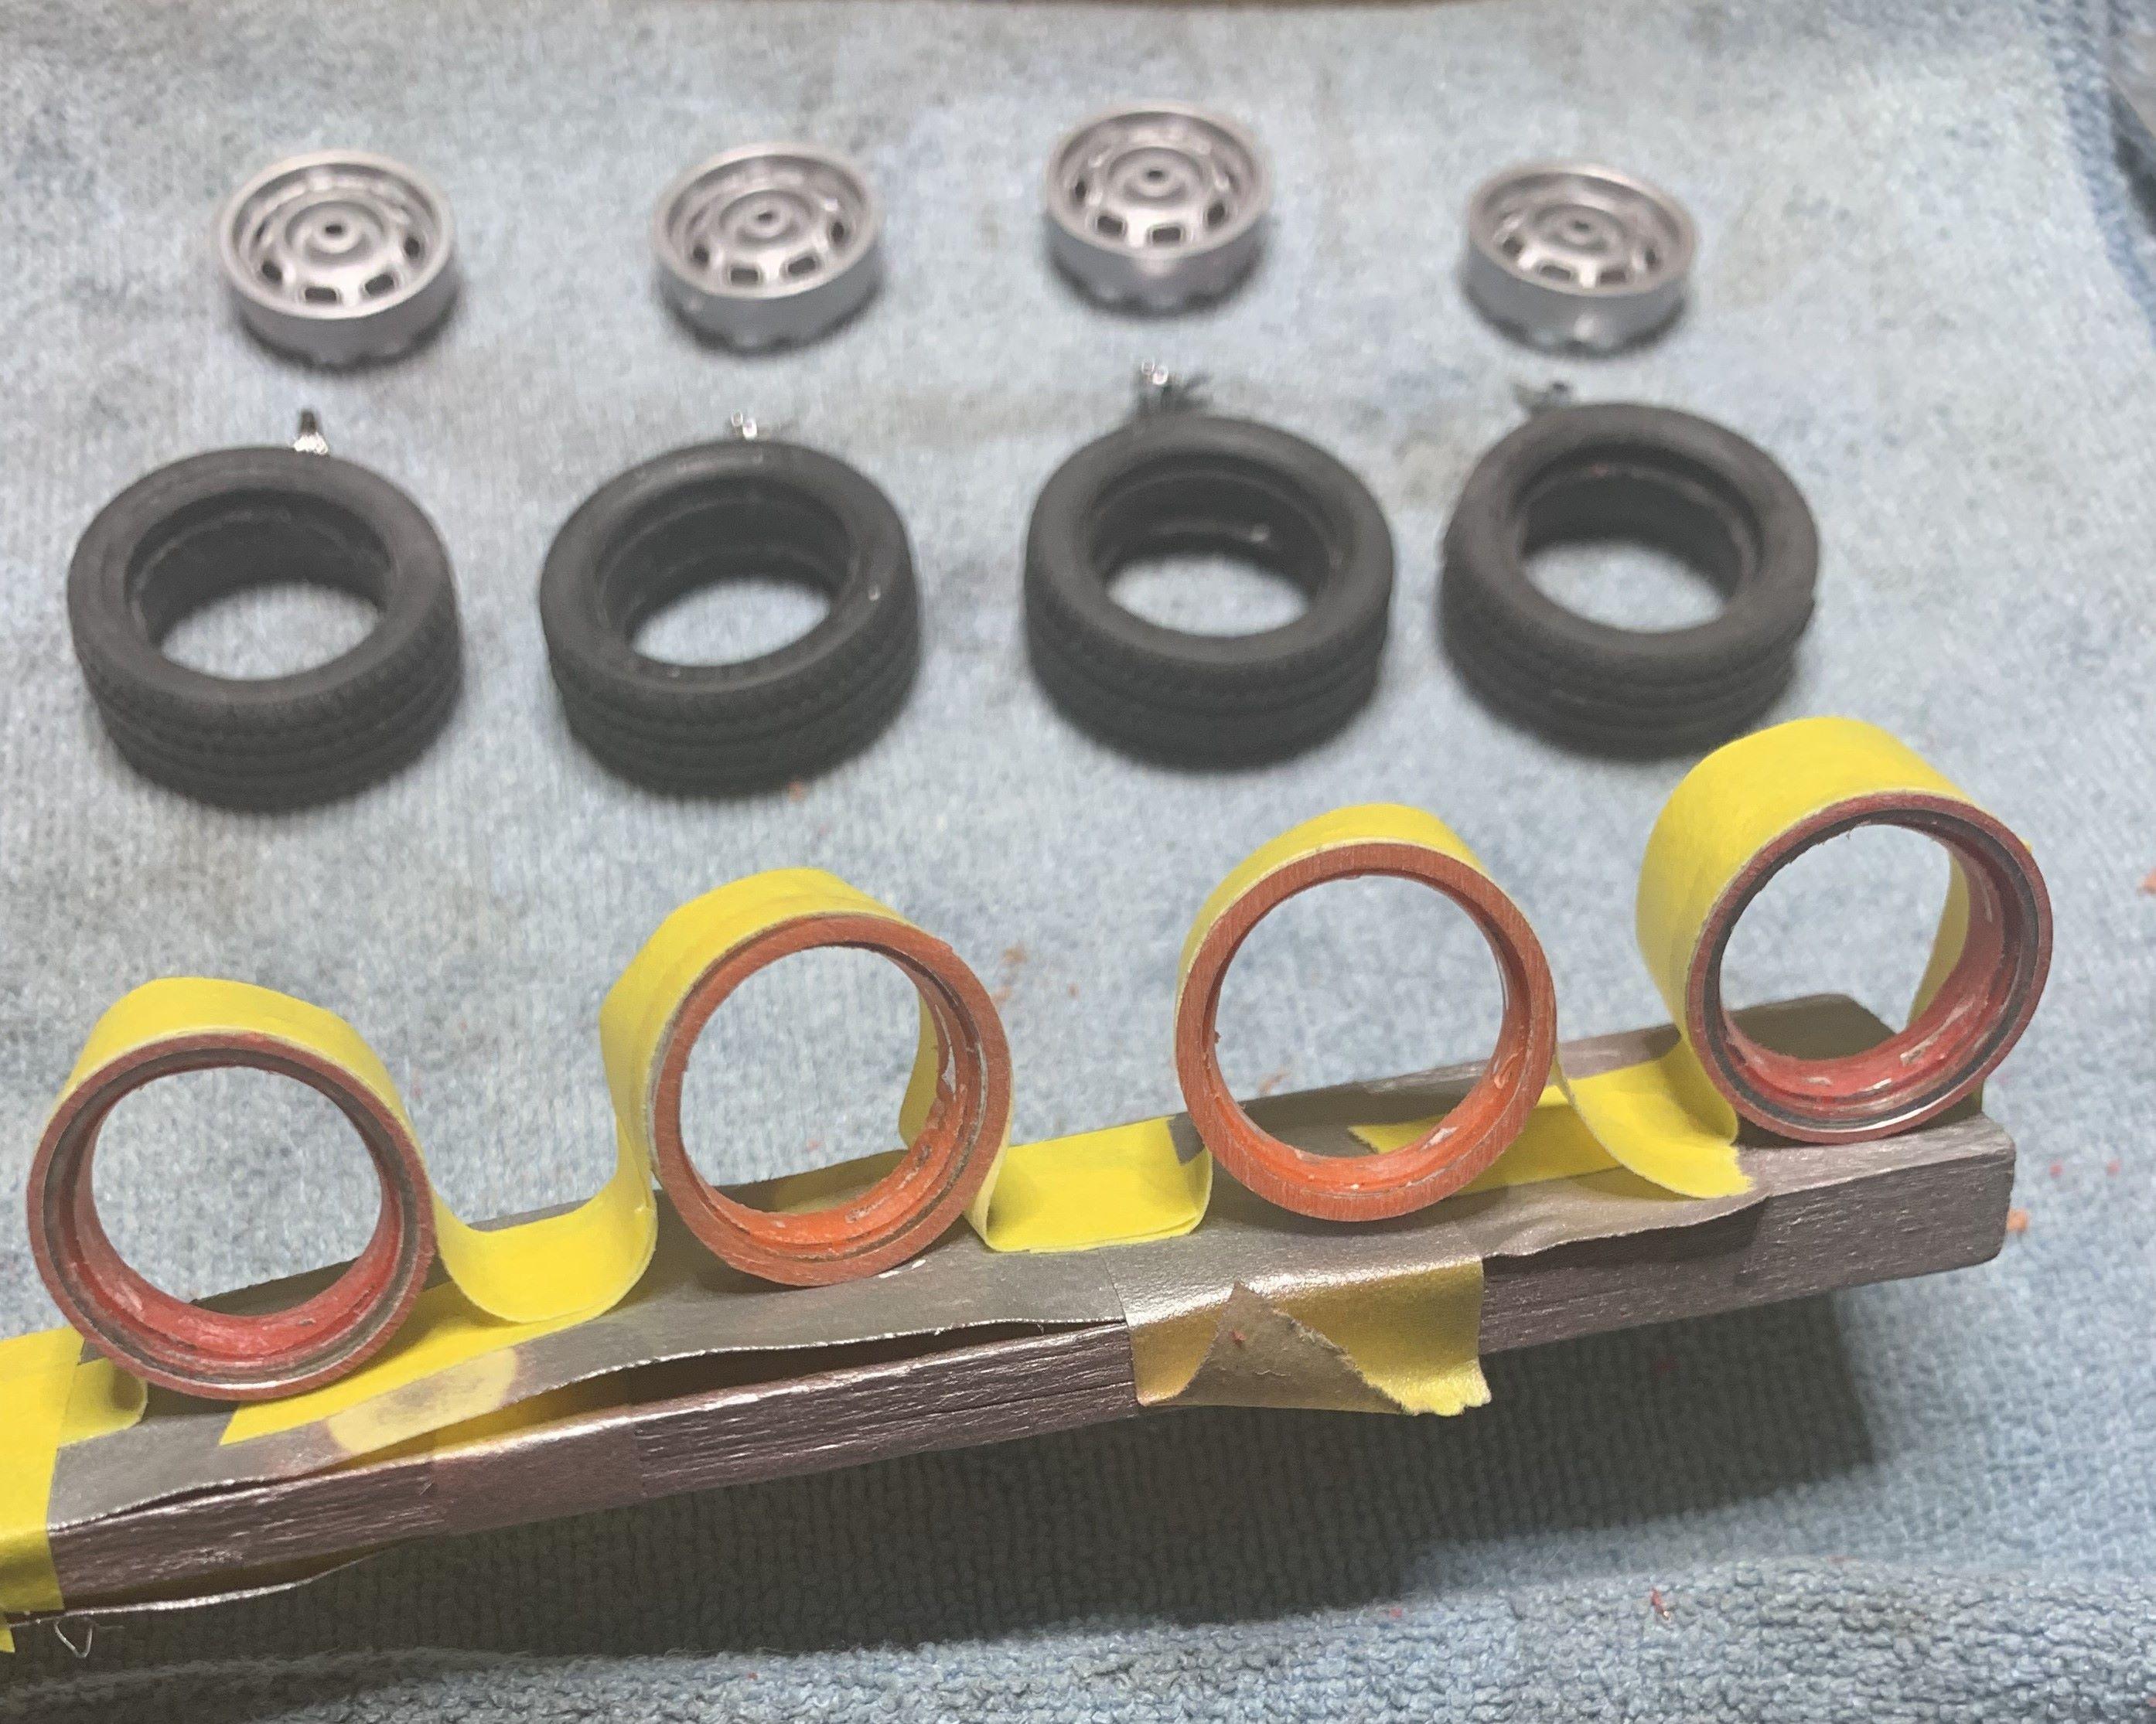
I had these rims, I think 1/24th from the Monogram kit, anyway they were already de-chromed and I do like the look, painted silver. I found suitable tires in my parts box but the rims needed to be slightly taller, so I carefully added .020 styrene around them. I could've made the added rim diameter pieces slightly proud to introduce another step but took the easy way out and just kept it flush. Of course I drilled for valve stems. For wheel backs though I had to find parts box rims tall enough, and I did. I removed the spokes and painted them to match the wheel fronts, Tamiya aluminum followed by Mr. Hobby UV cut clearcoat.
-
Original AMT '64 GTO meets newer Revell '66 GTO and more!
dino246gt replied to dino246gt's topic in WIP: Model Cars
Made up some better than original power brakes. Will make 4 wheel discs soon! Cheers.
-
Original AMT '64 GTO meets newer Revell '66 GTO and more!
dino246gt replied to dino246gt's topic in WIP: Model Cars
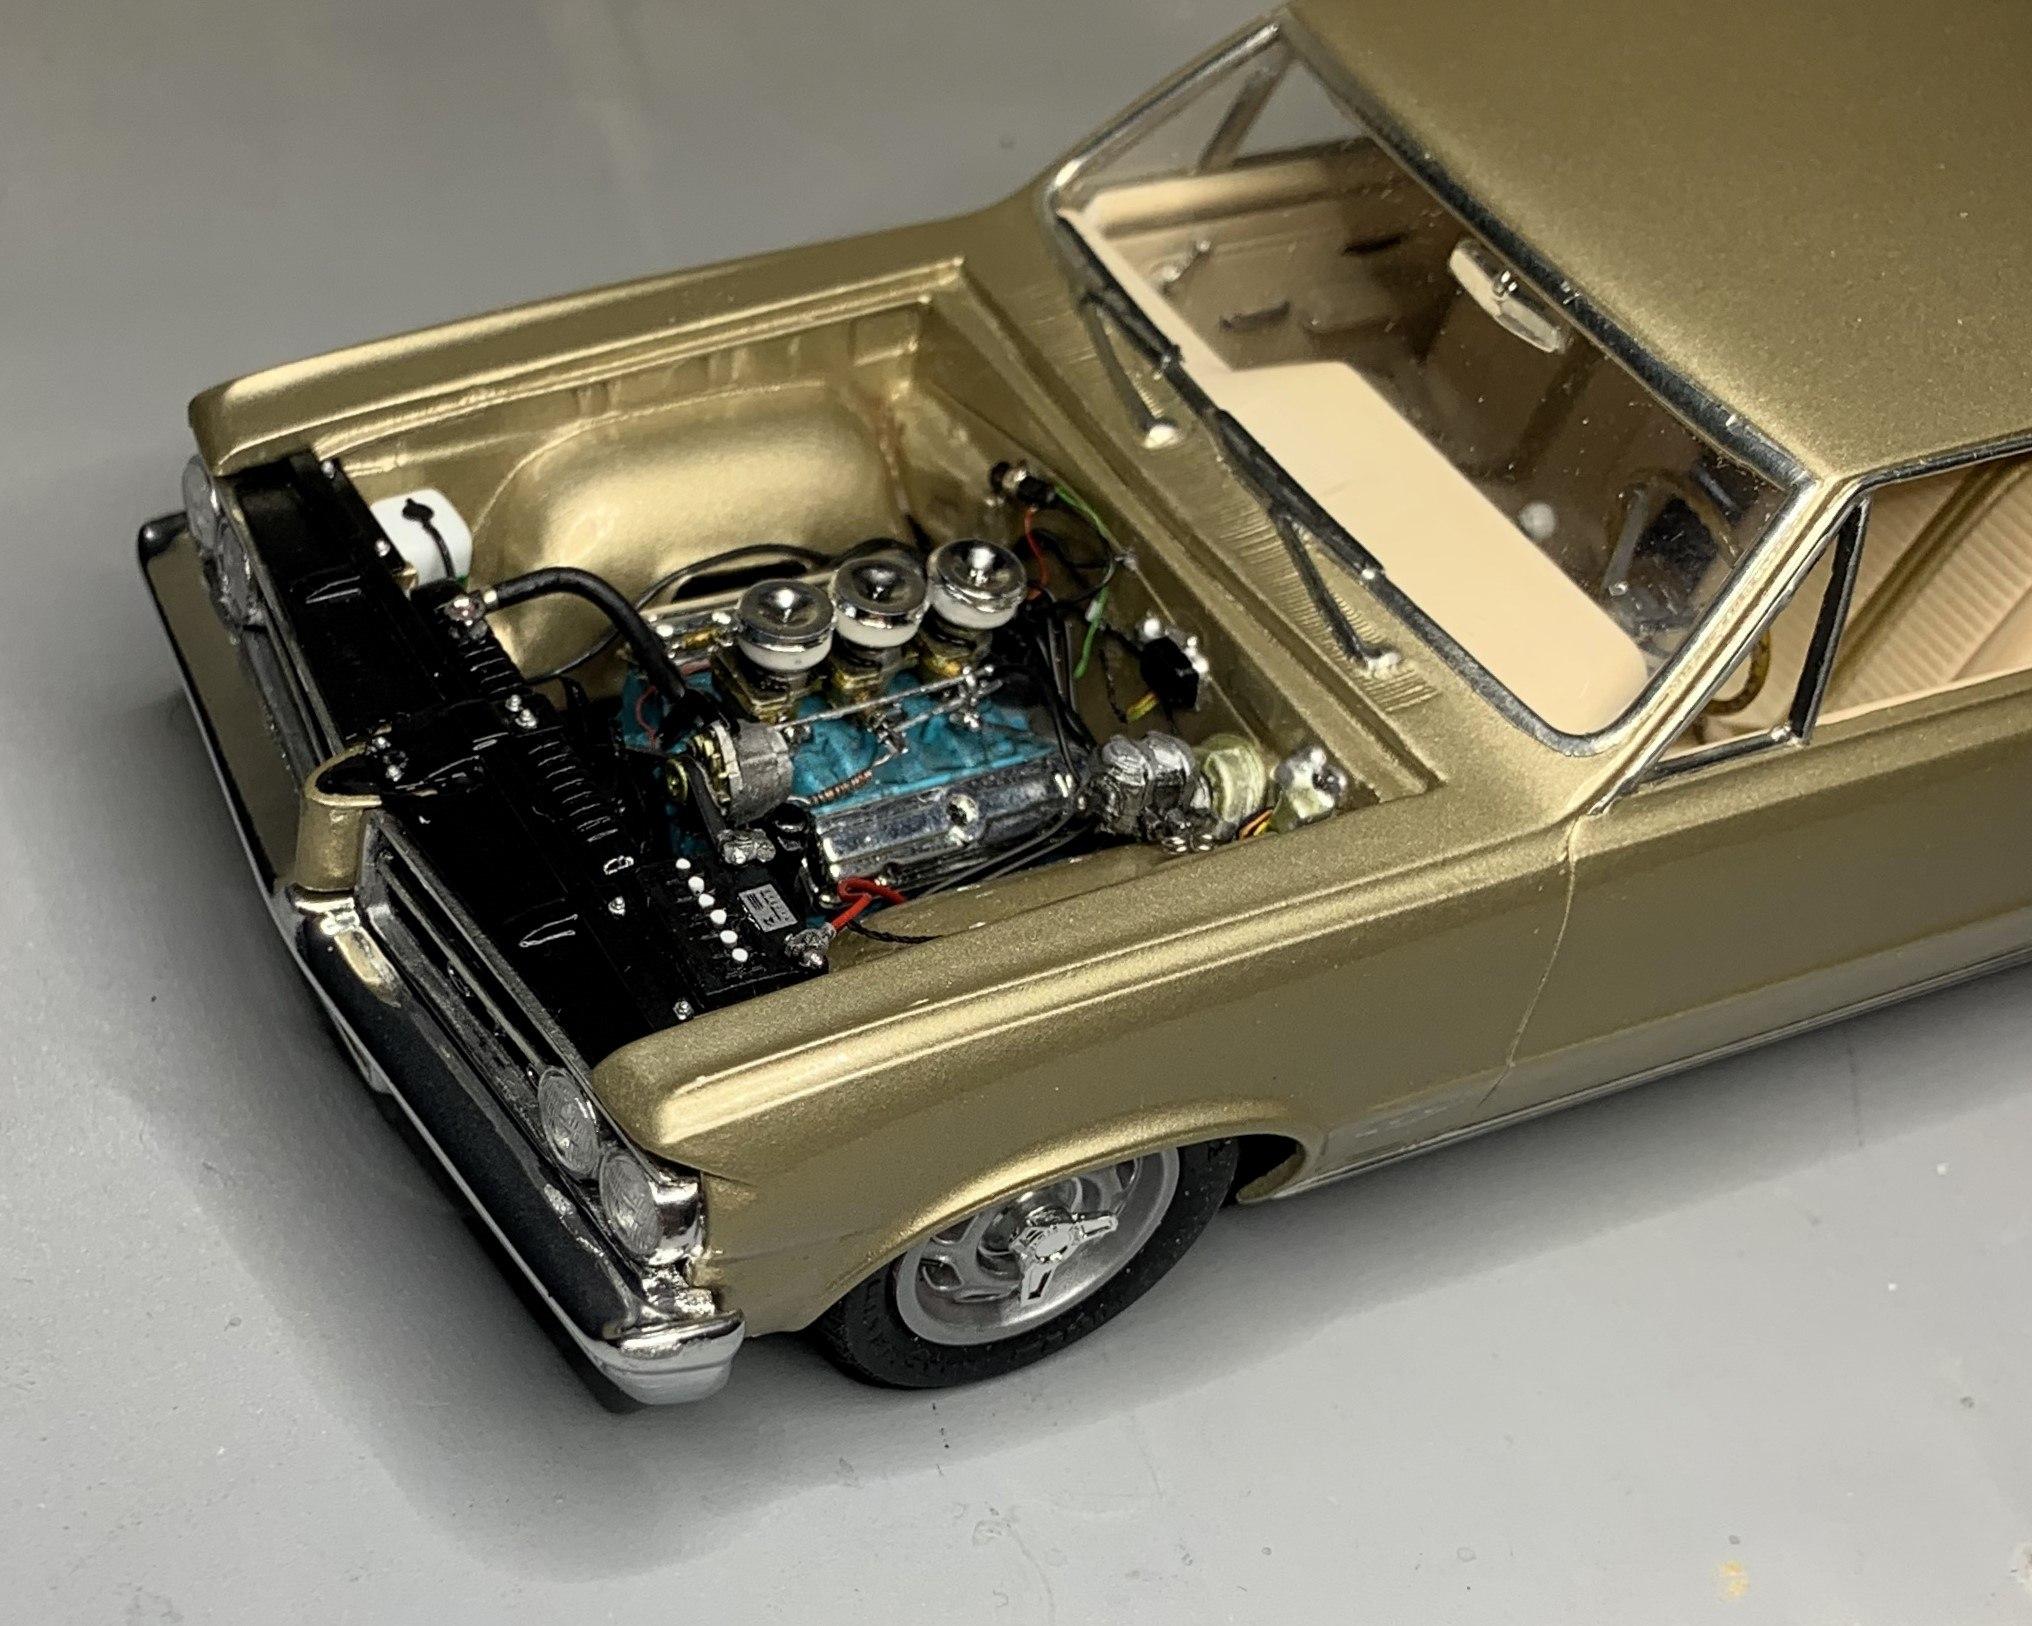
I scratch built this piece to bridge the new rad with the grille. It's just layers of flat styrene, drilled with tiny bolt heads from the railroad section added. Here it is installed.
-
Original AMT '64 GTO meets newer Revell '66 GTO and more!
dino246gt replied to dino246gt's topic in WIP: Model Cars
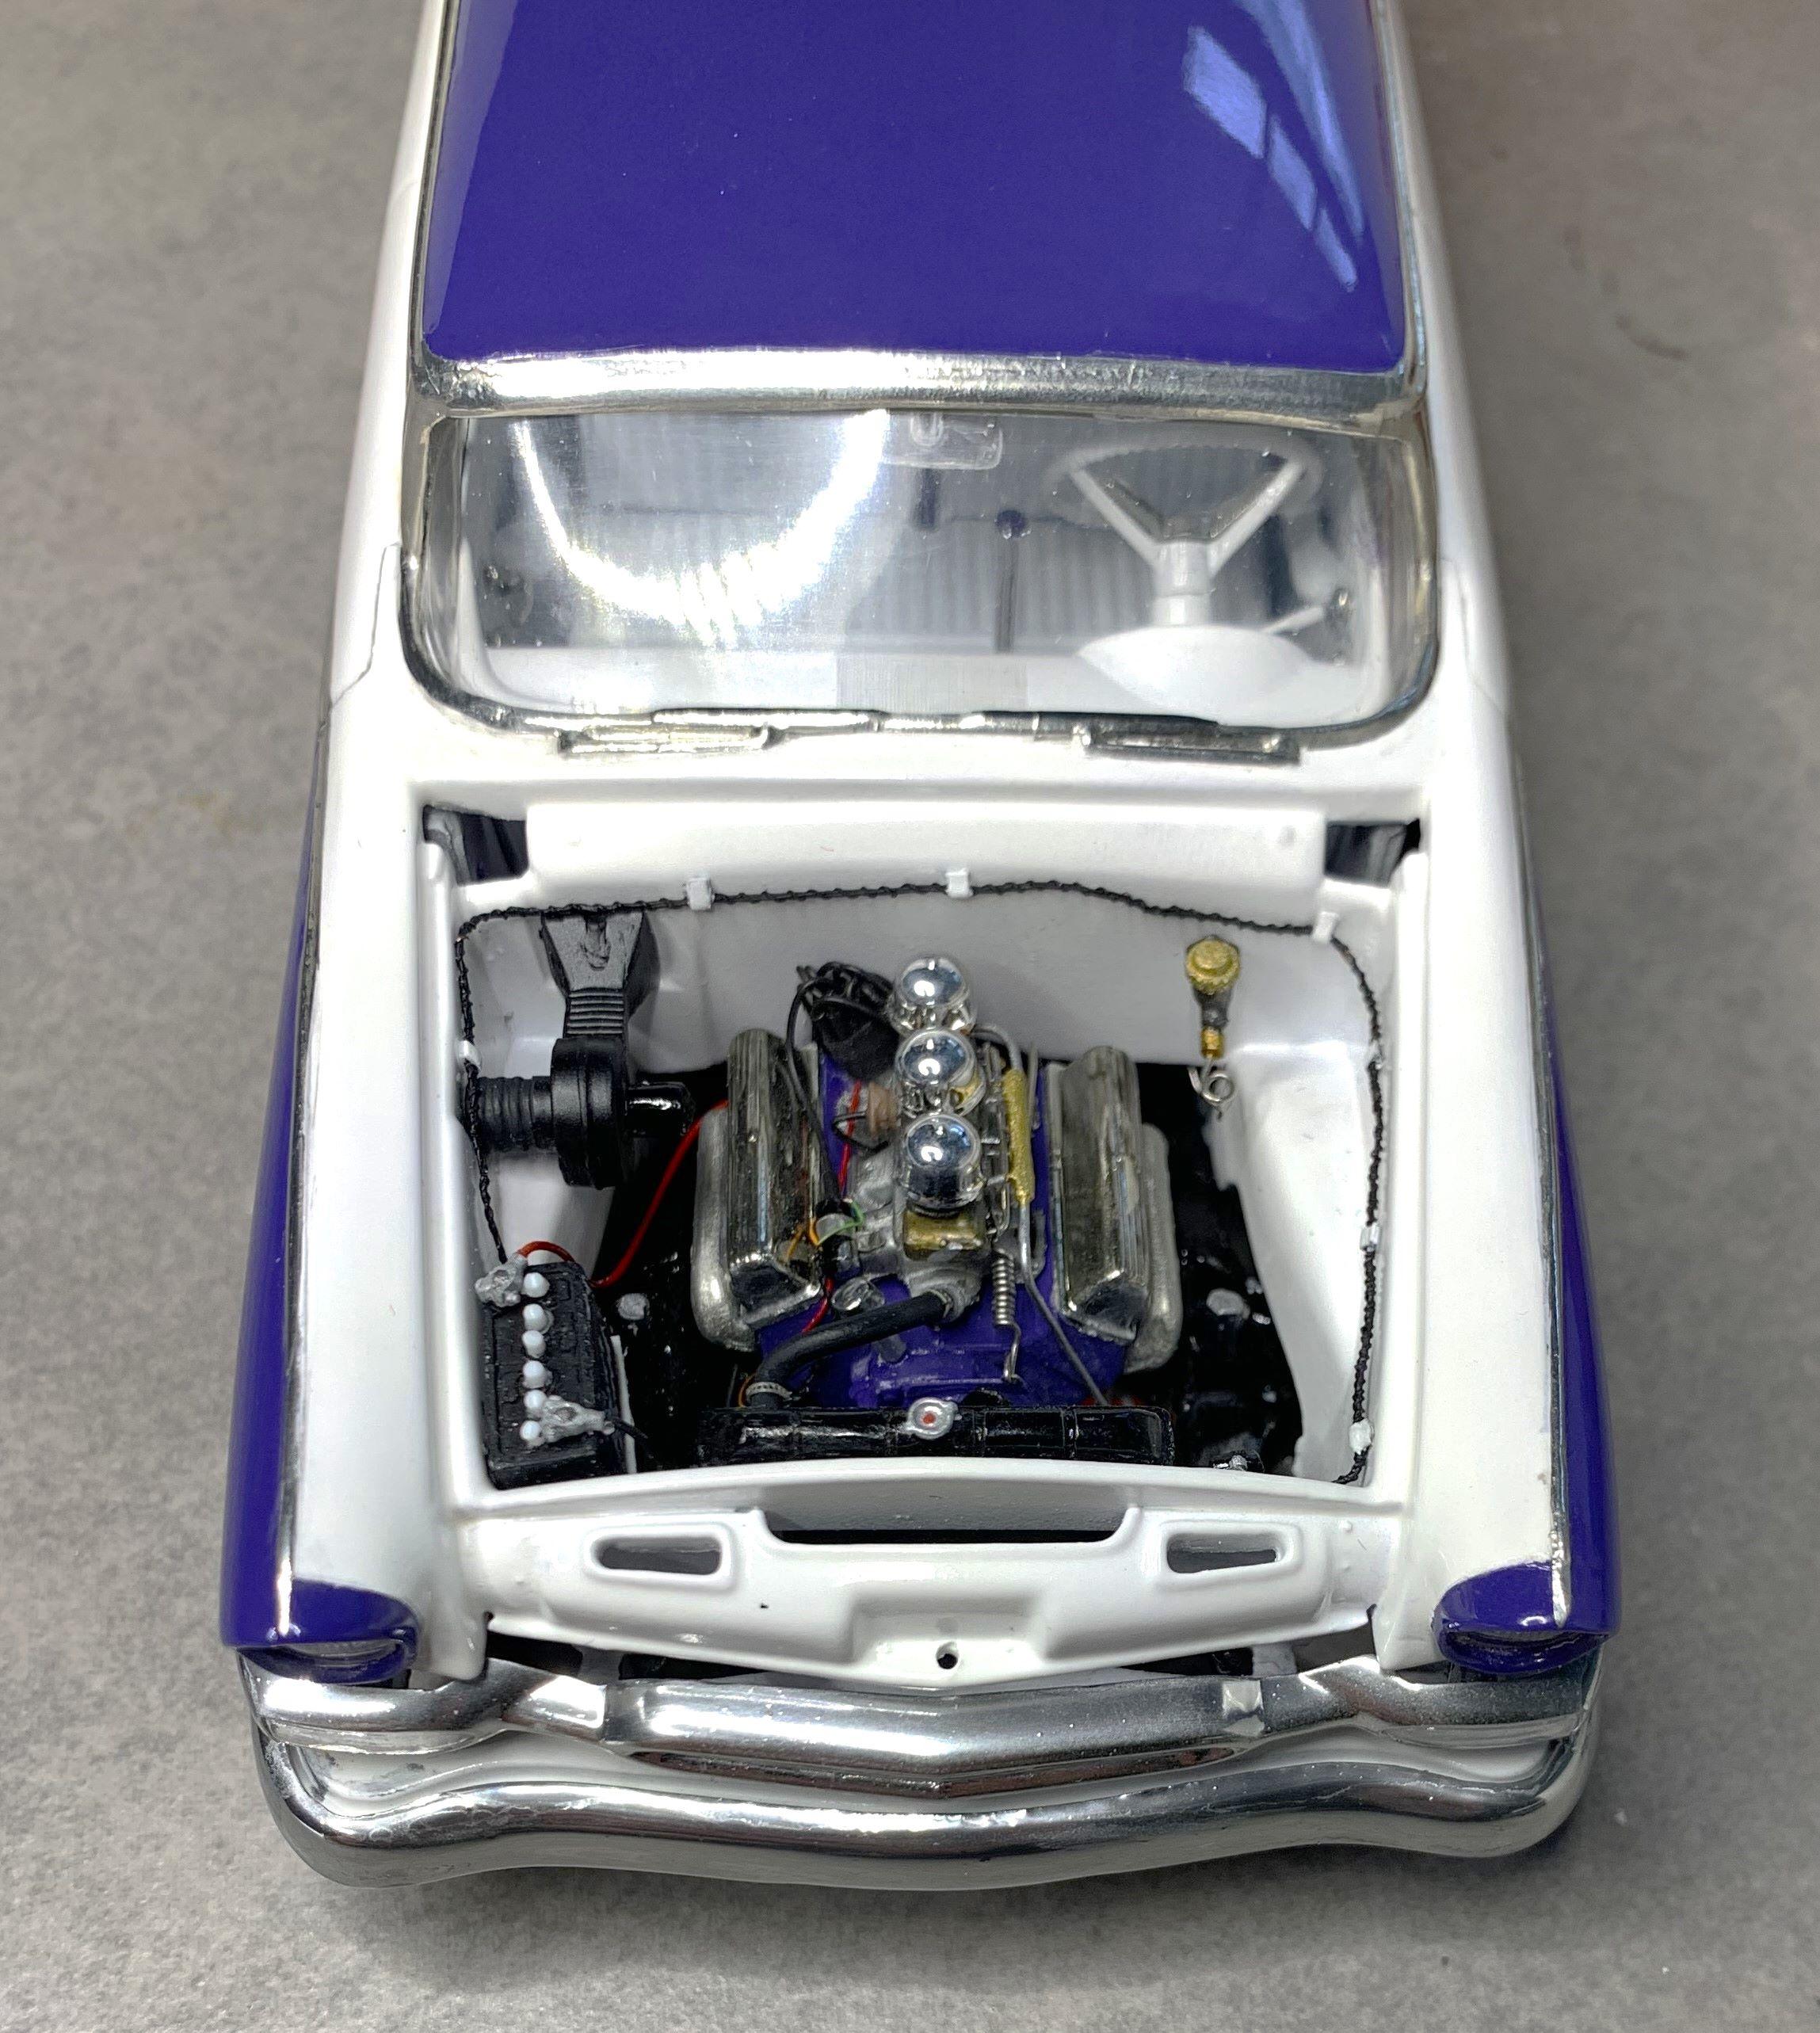
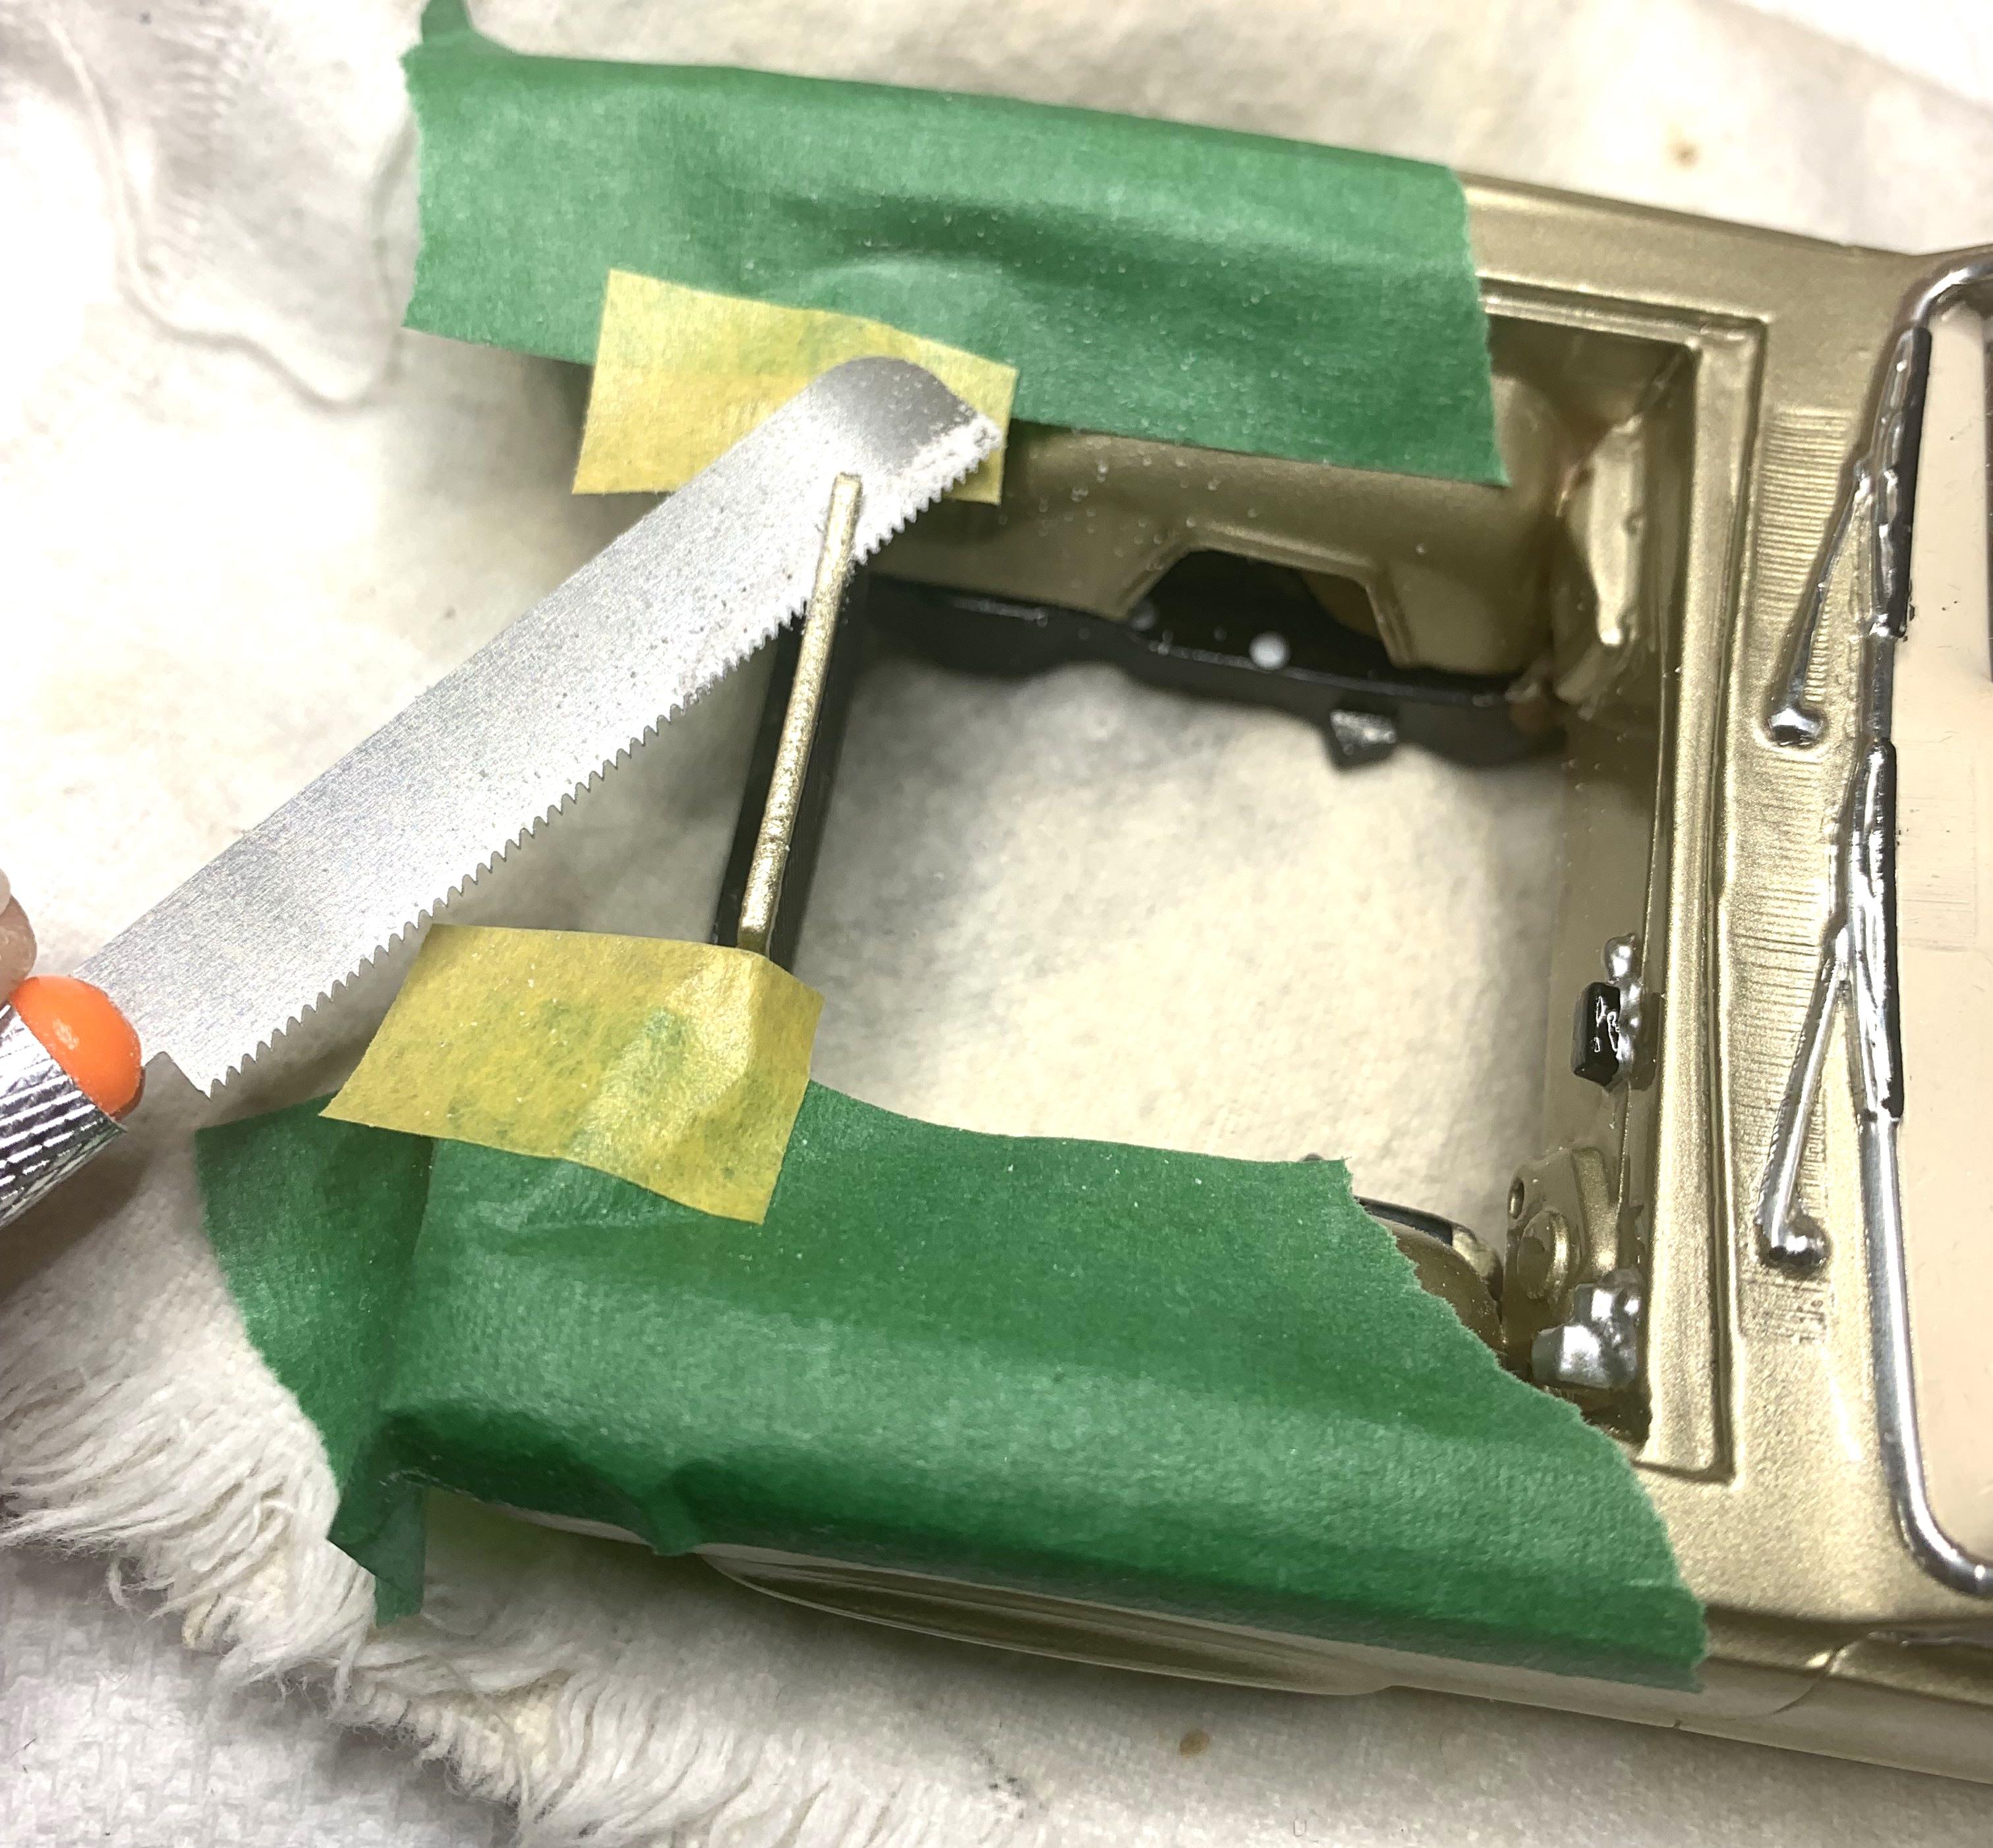
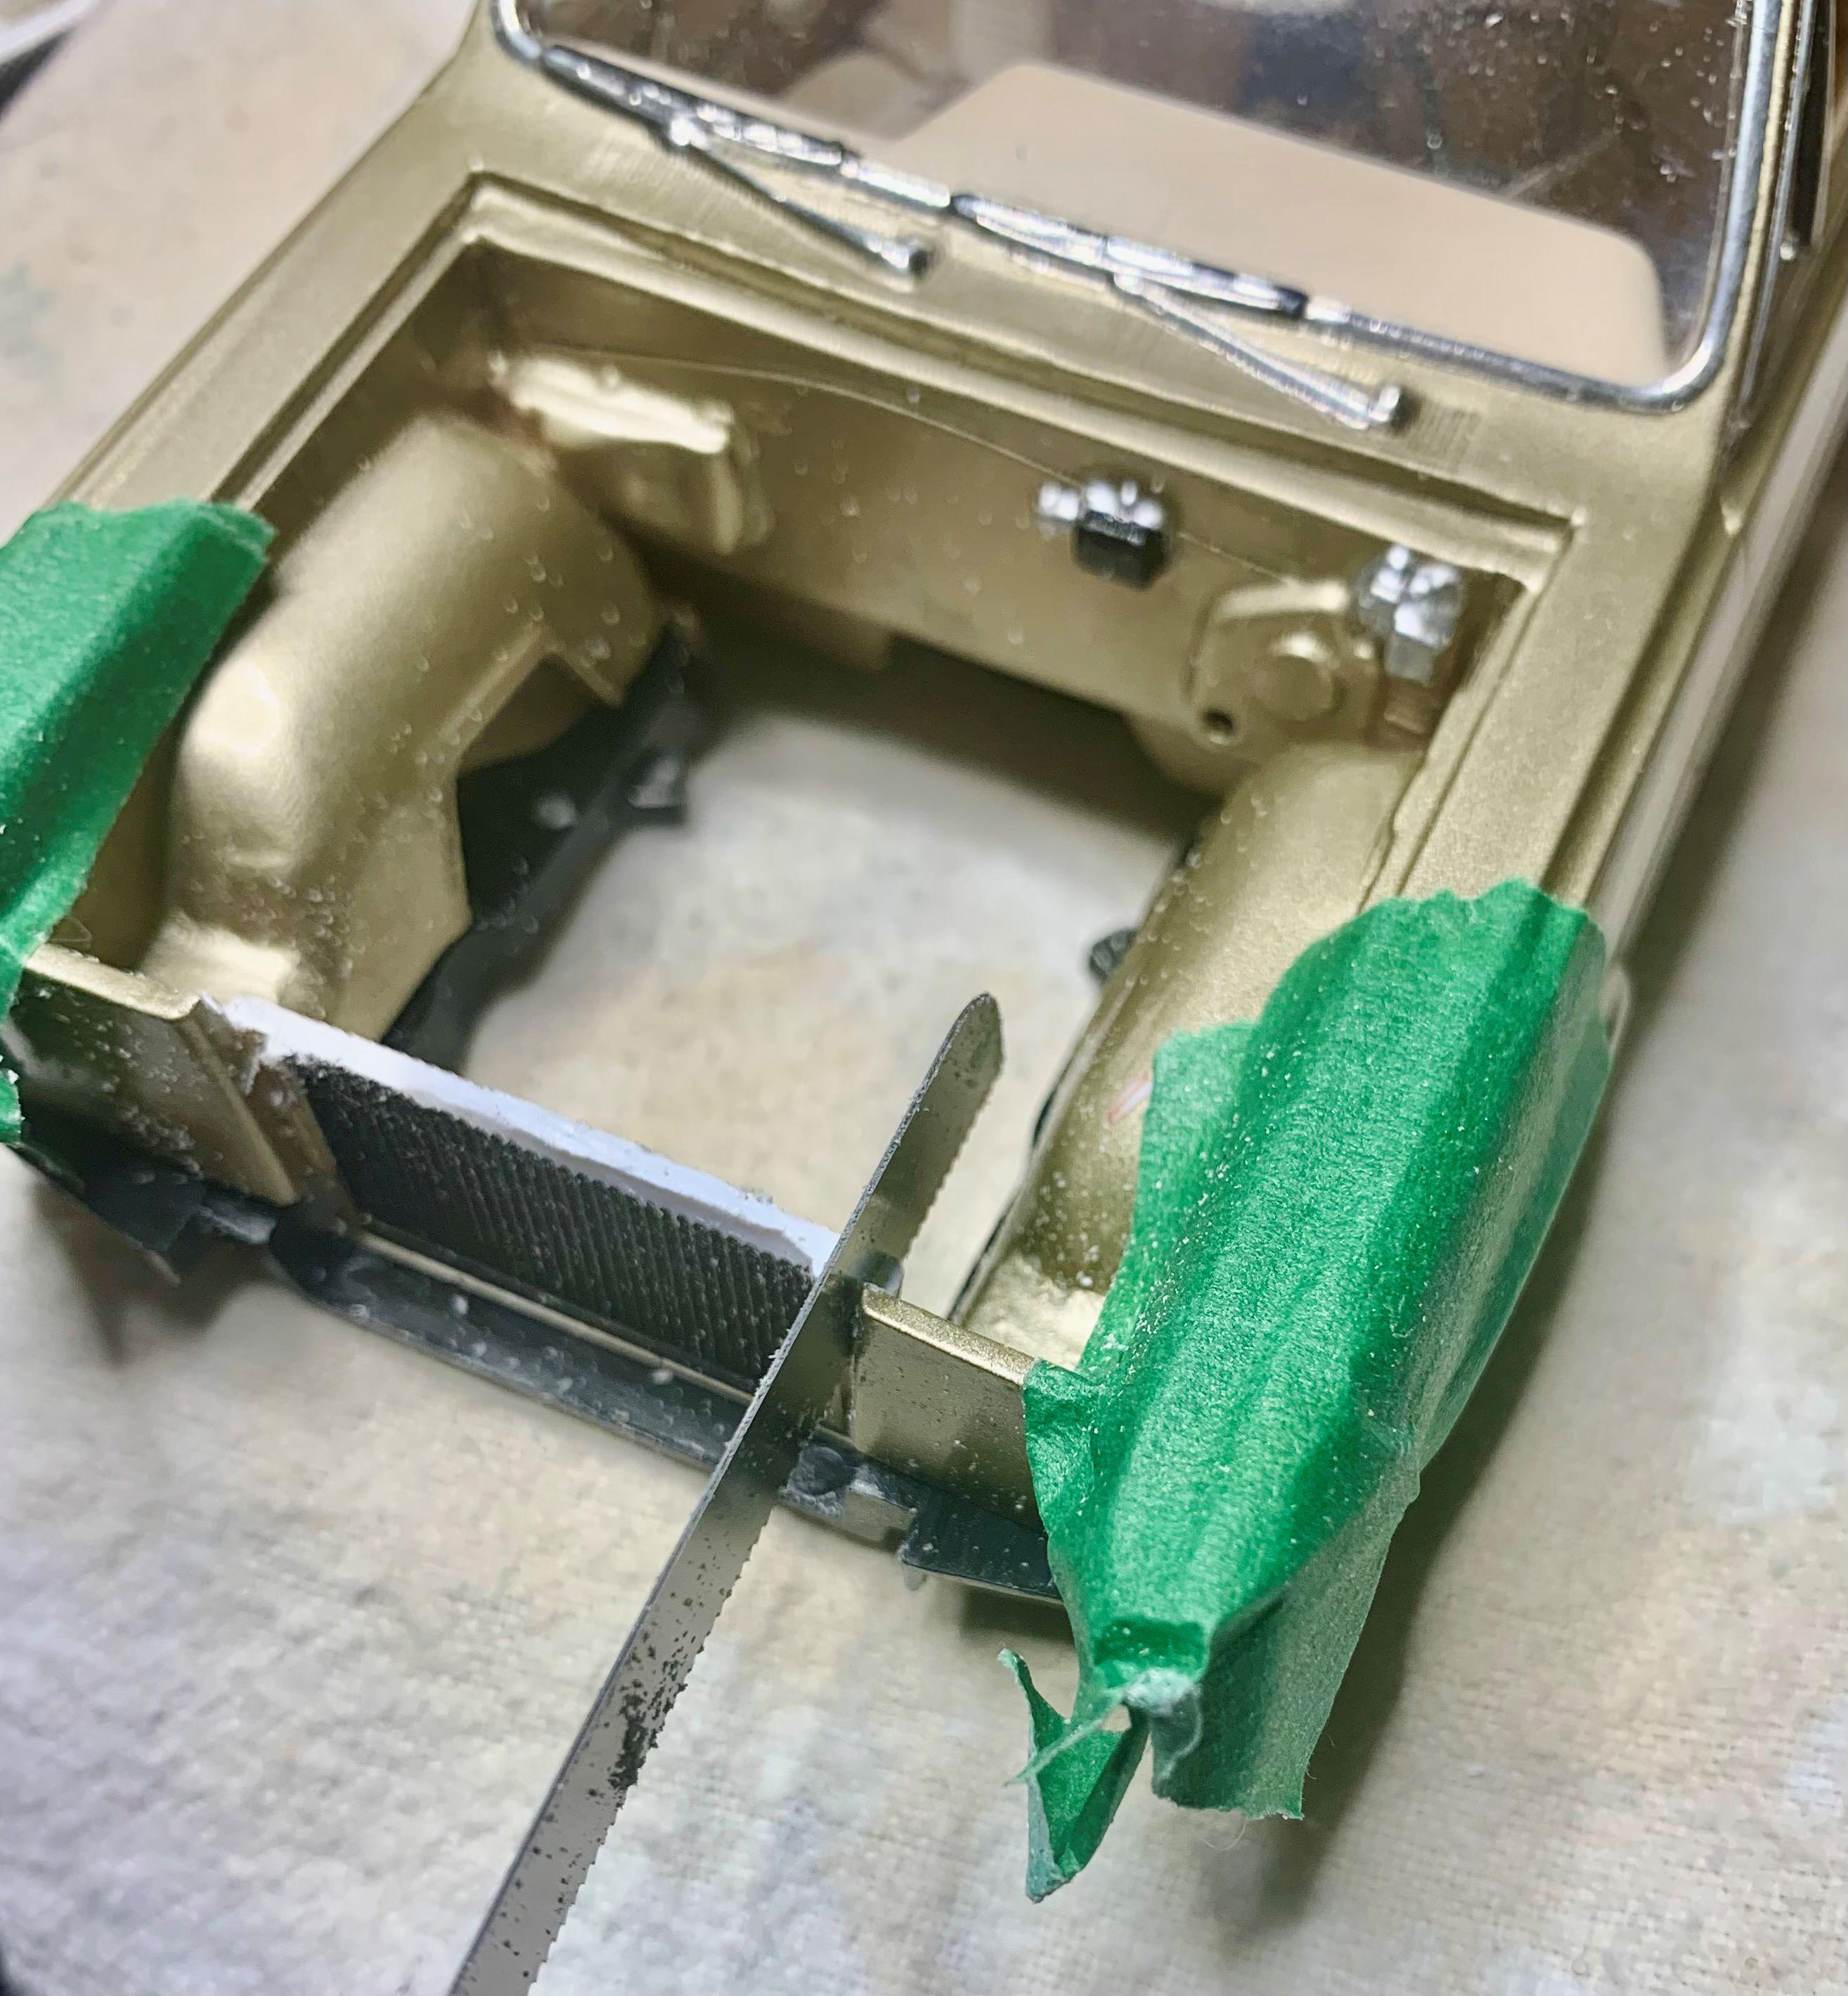
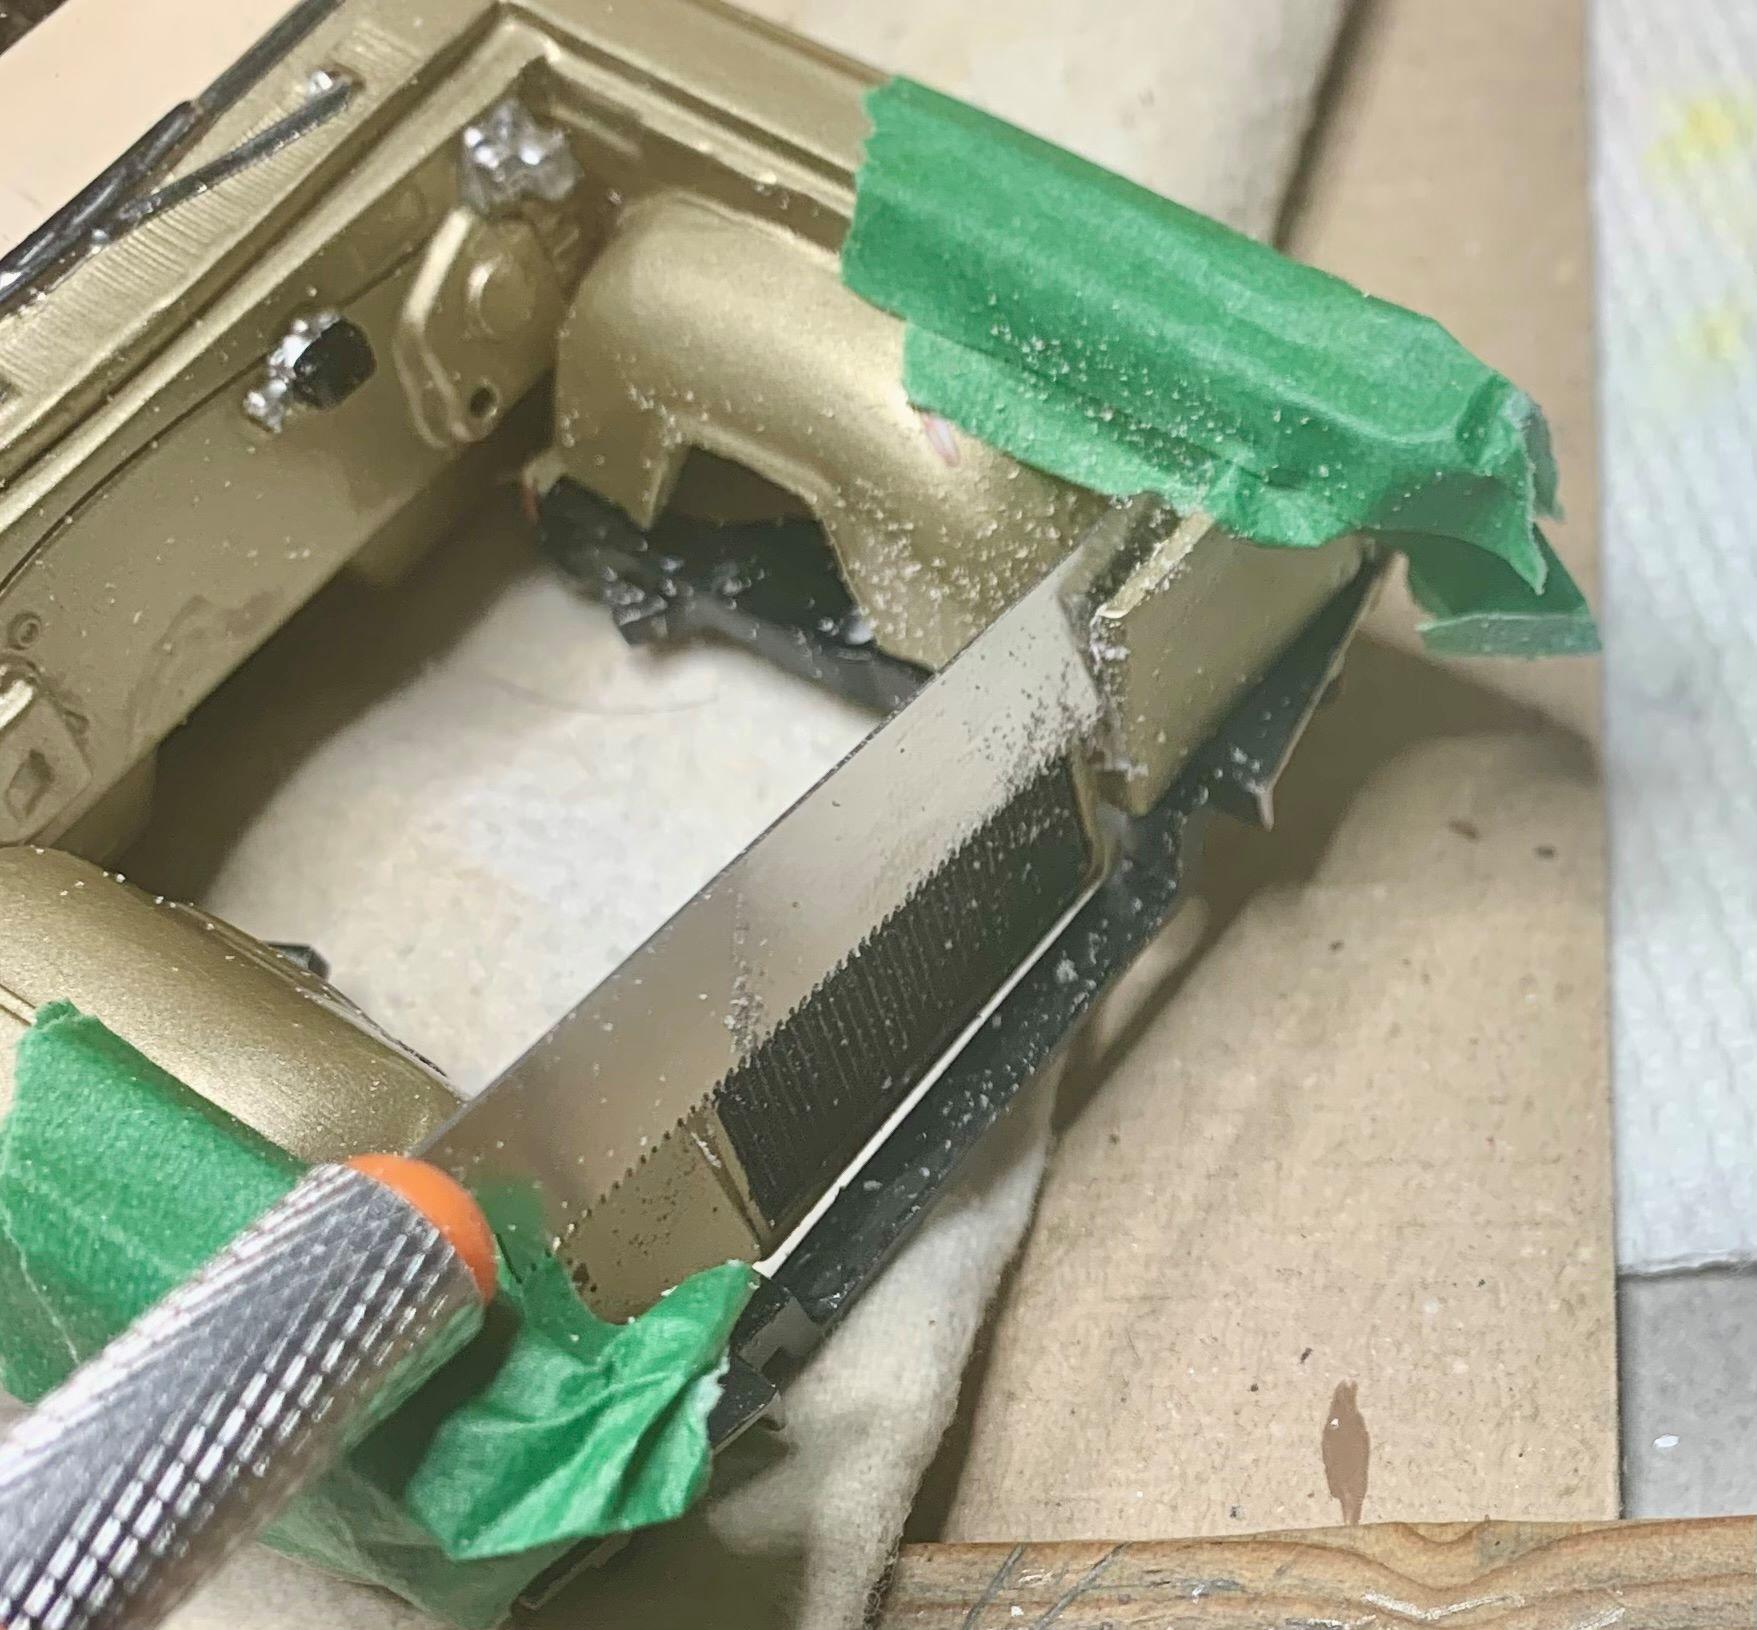
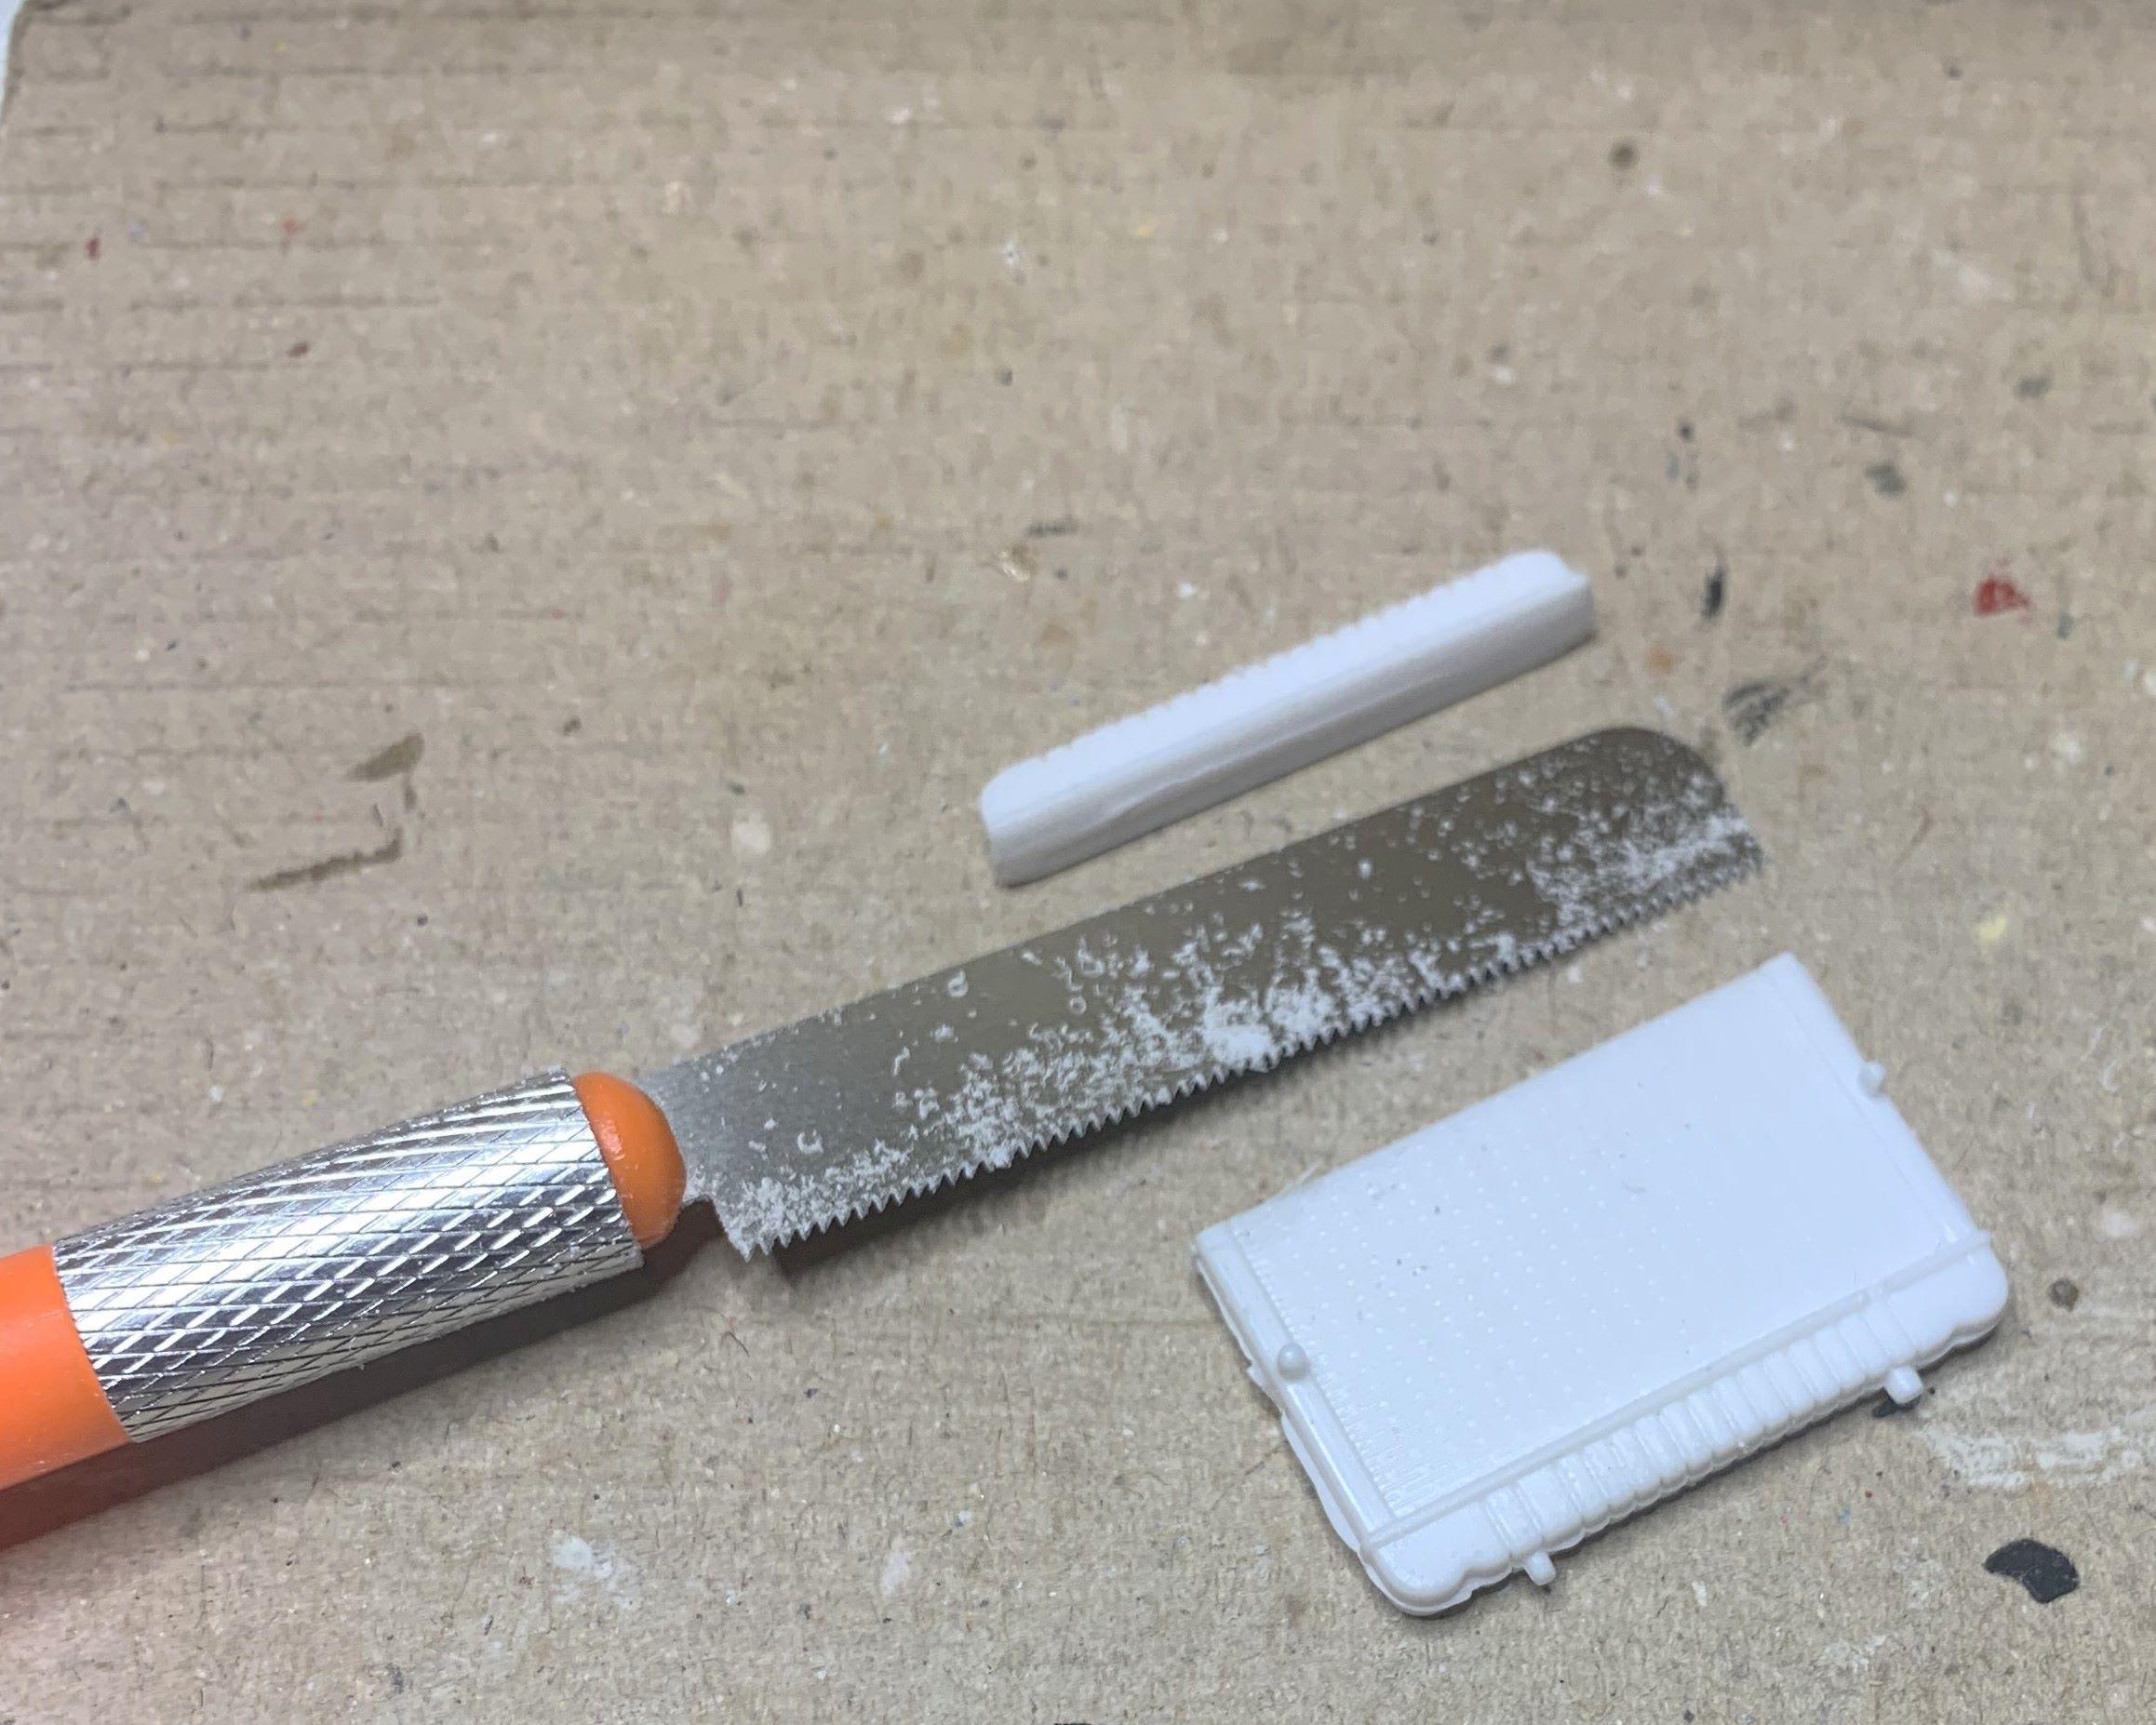
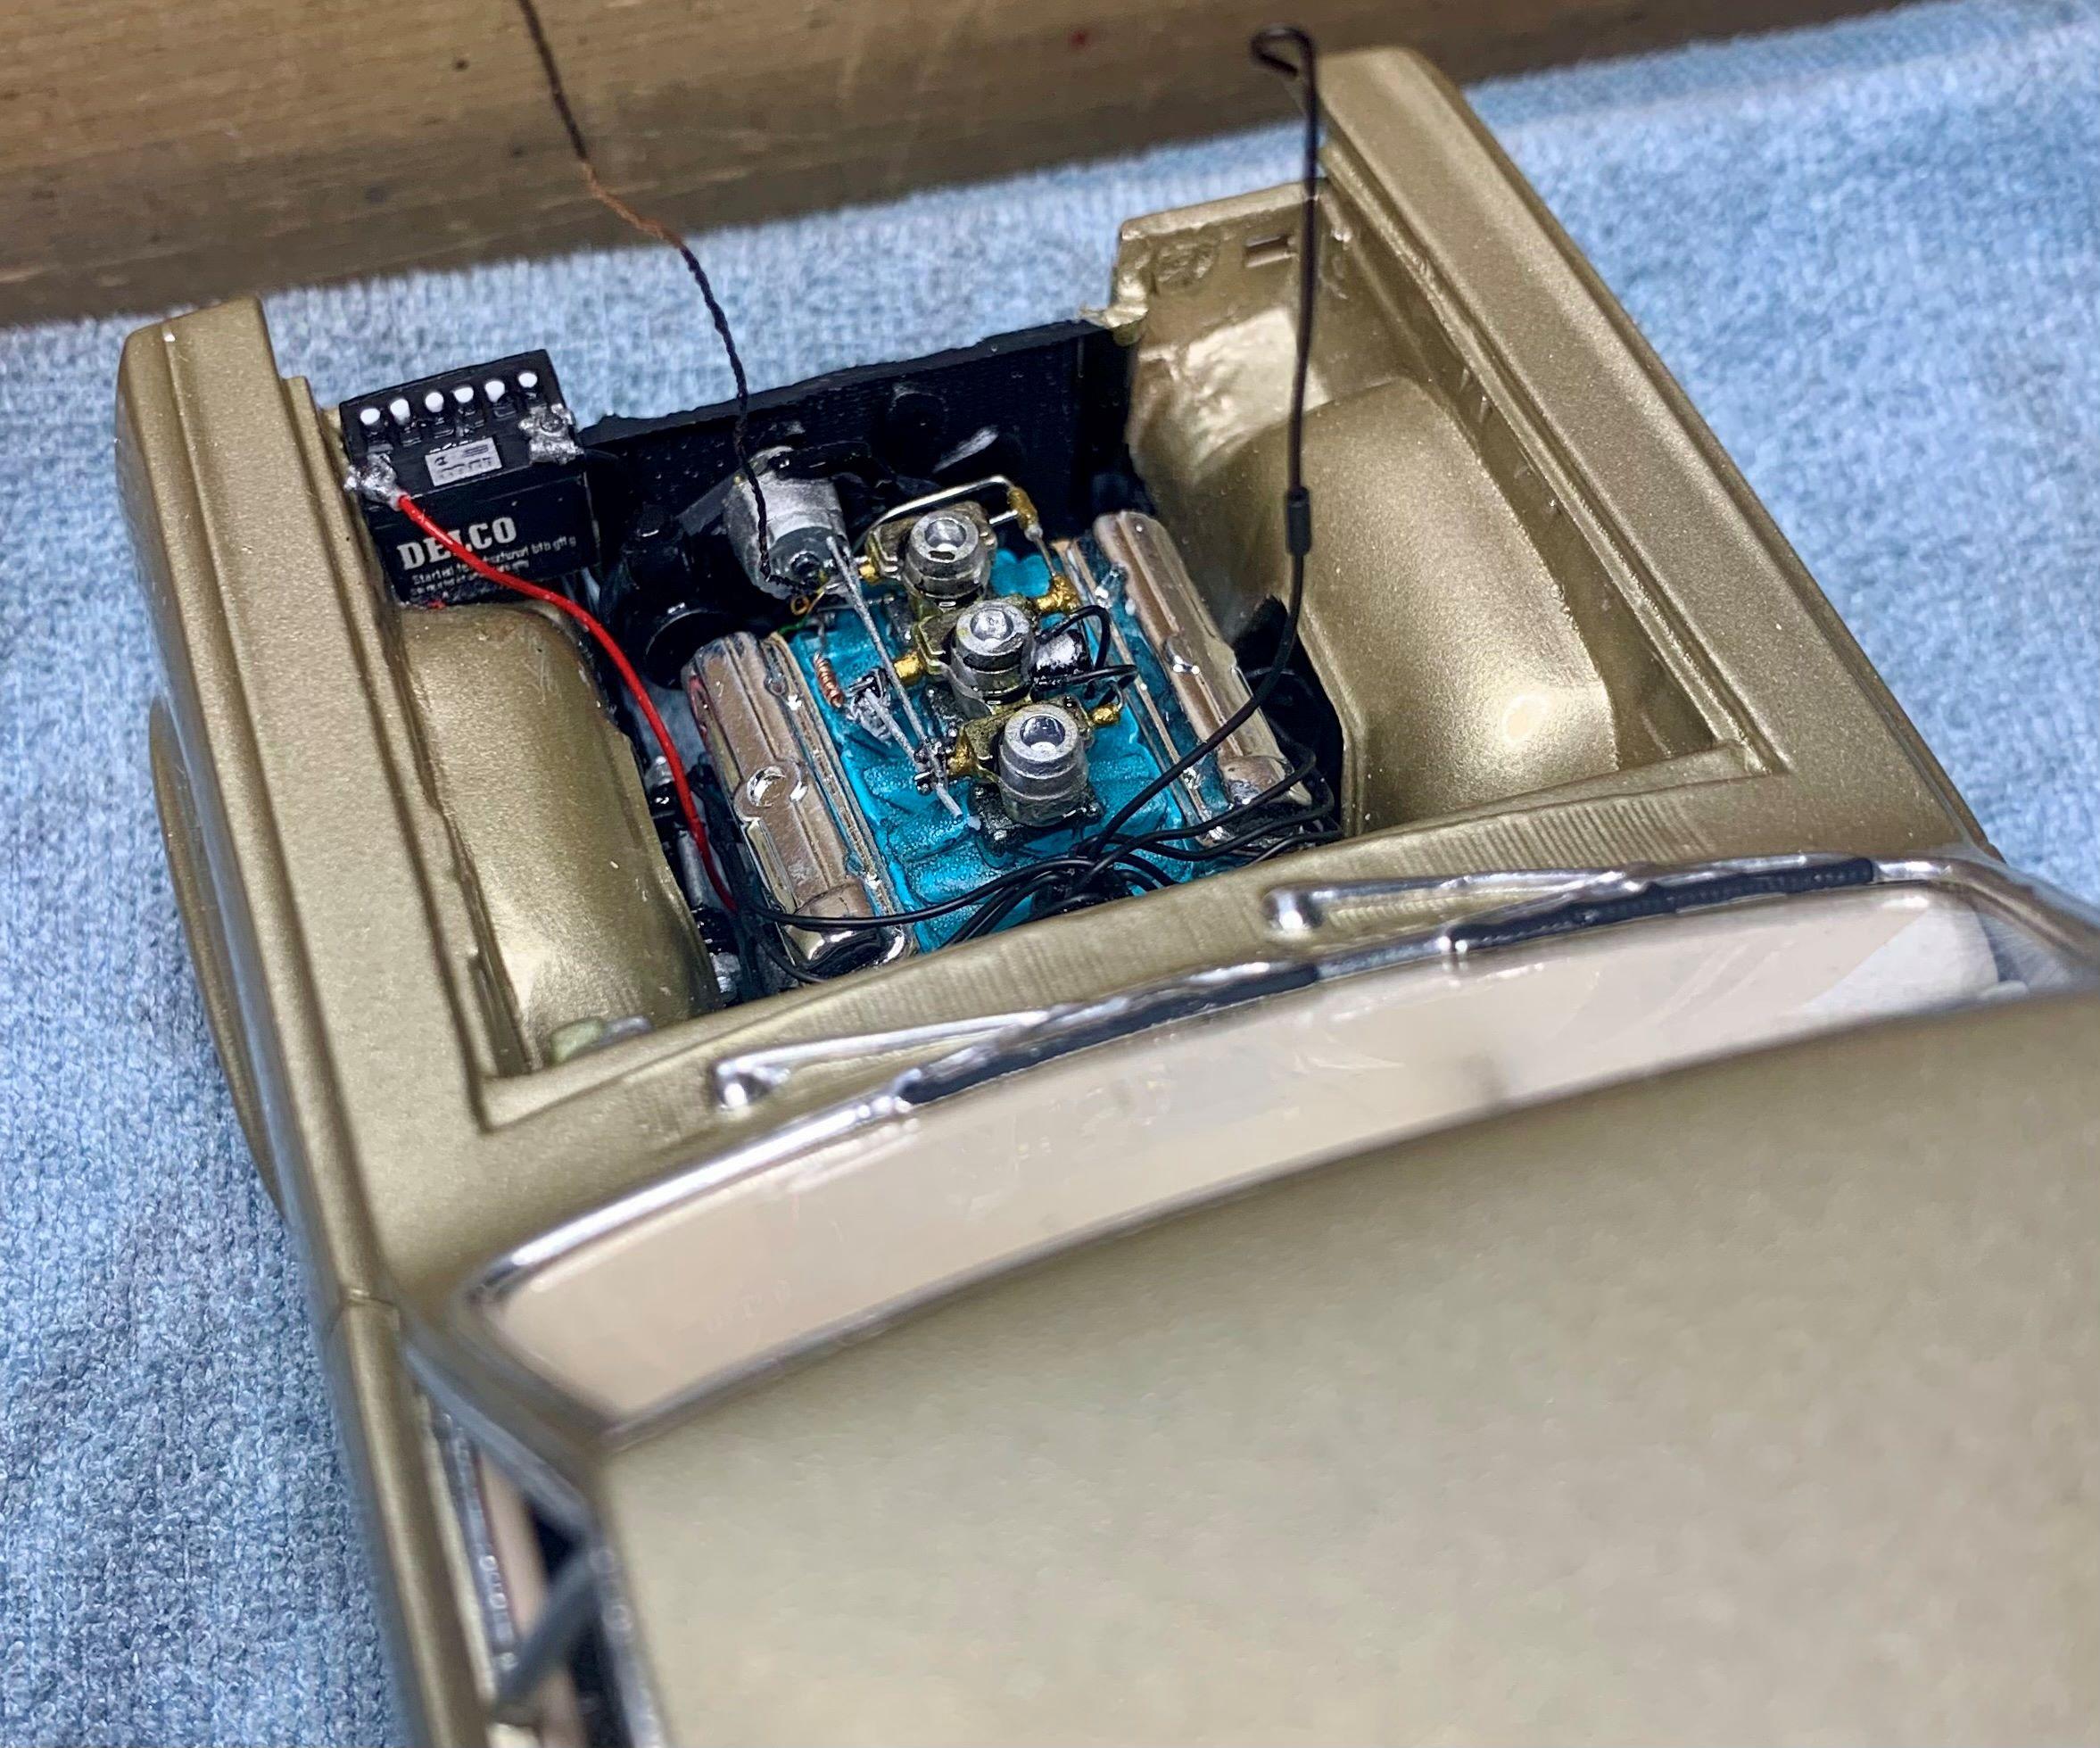
The radiator was going to interfere with the hood once I added a rad cap, so I carefully cut it down. Had to make a tiny bit more room for my battery to fit at the same time. You can see where I removed some inner fender at the bottom where the upper A arms will go, making it wide enough for the exhaust to fit between the inner fenders. Cutting the painted and polished body is somewhat dangerous! I cut the top off a parts box rad that will fit properly.
-
Original AMT '64 GTO meets newer Revell '66 GTO and more!
dino246gt replied to dino246gt's topic in WIP: Model Cars
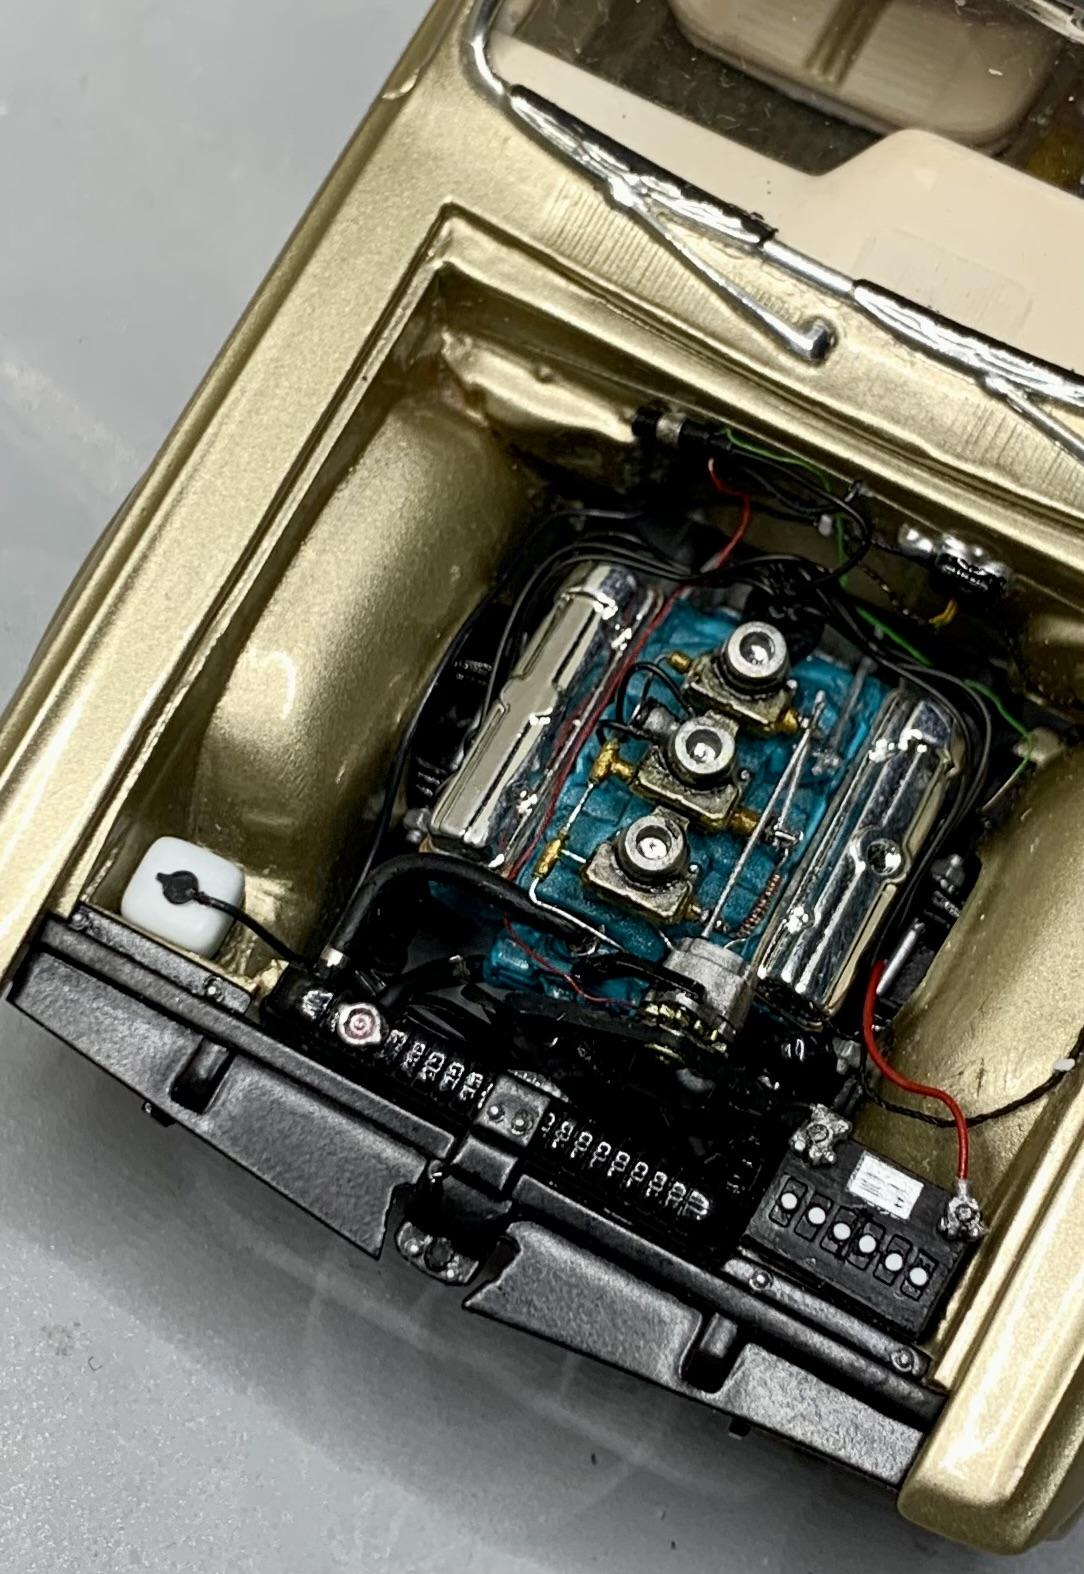
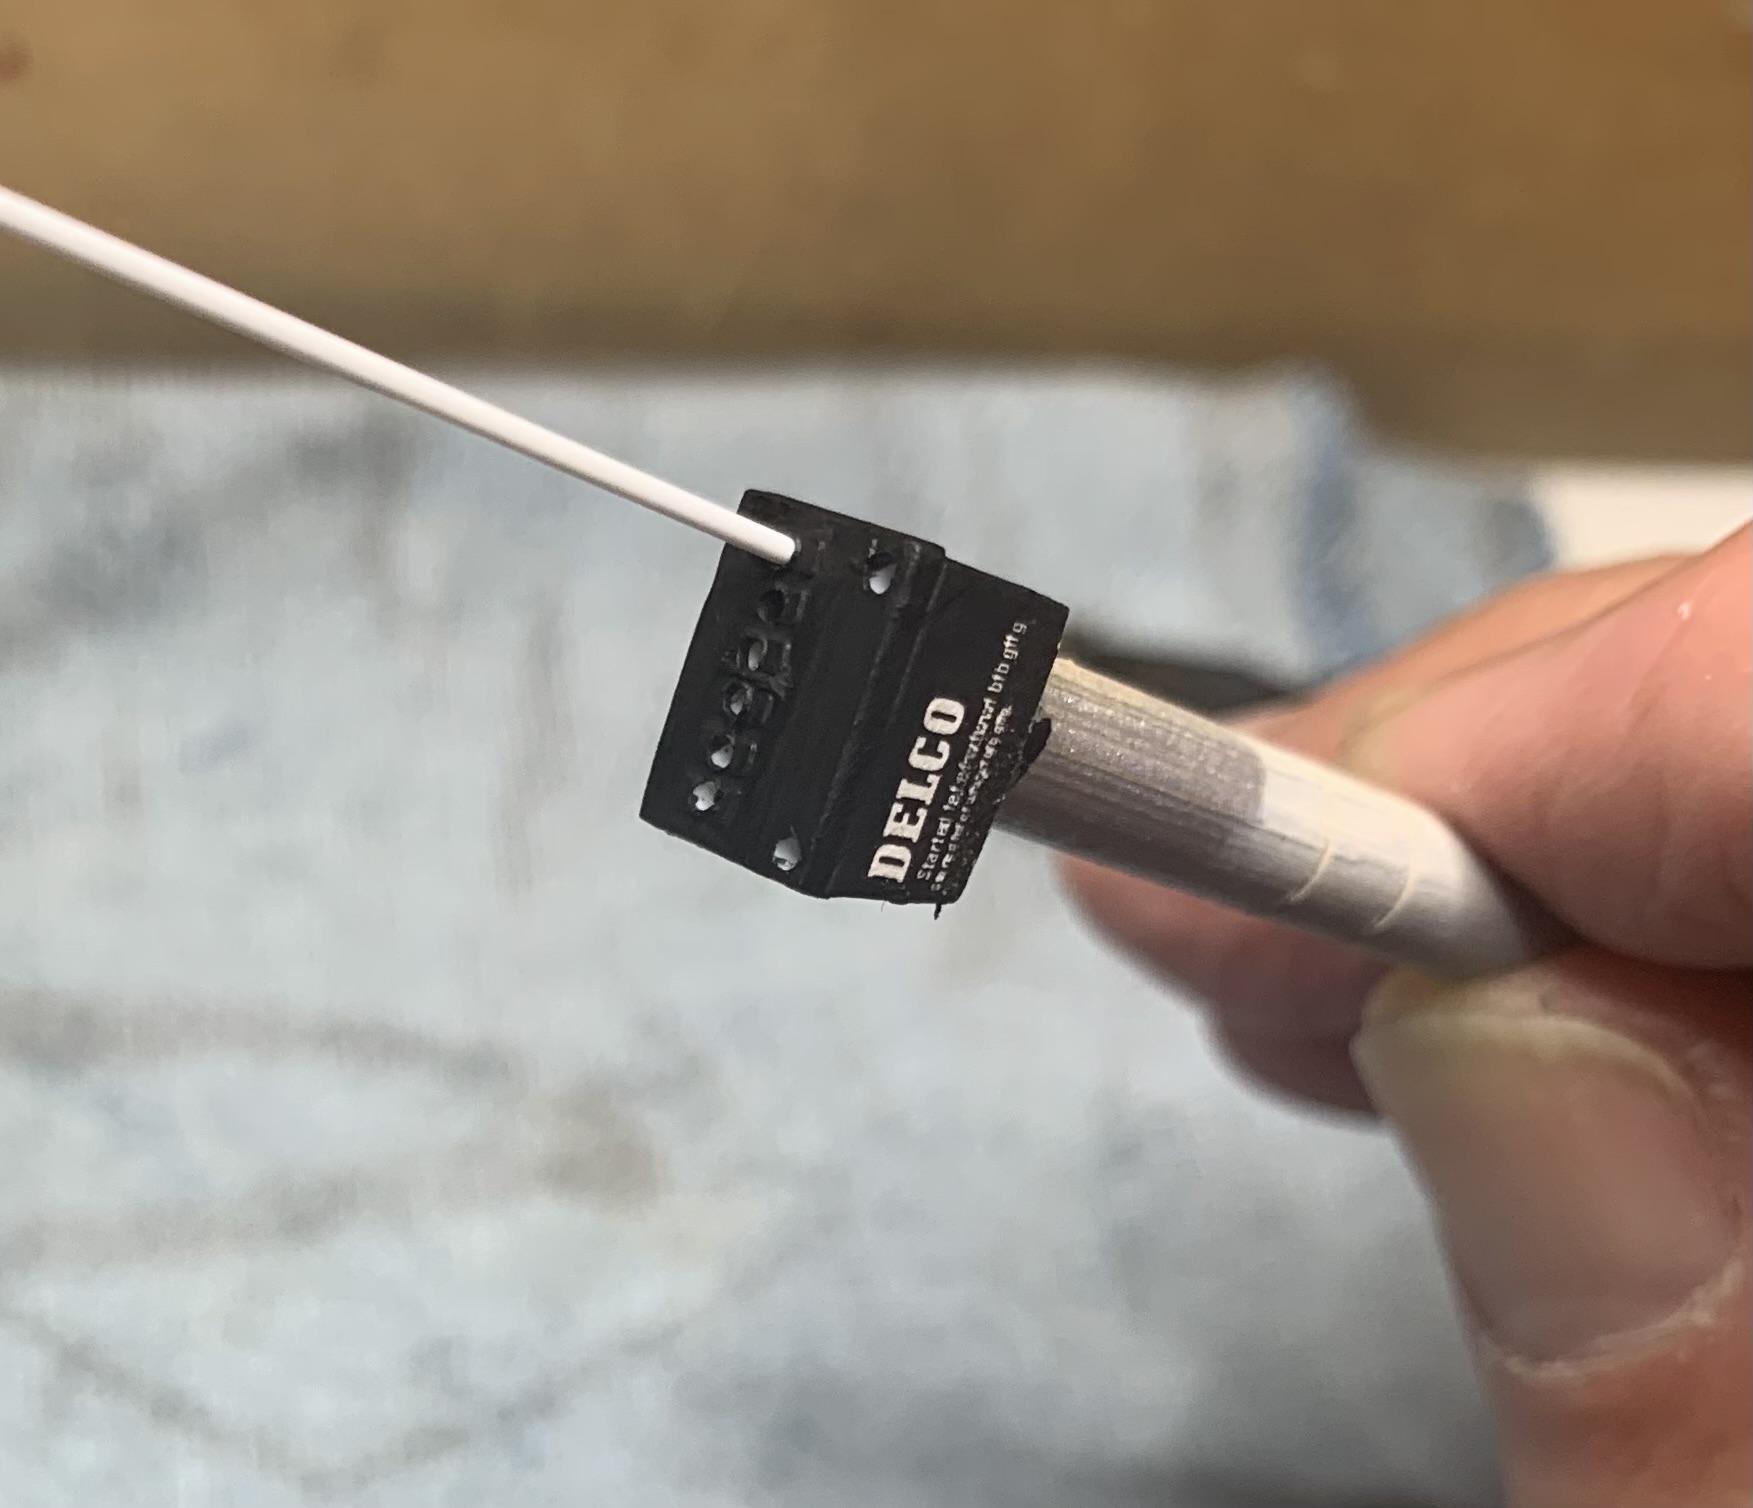
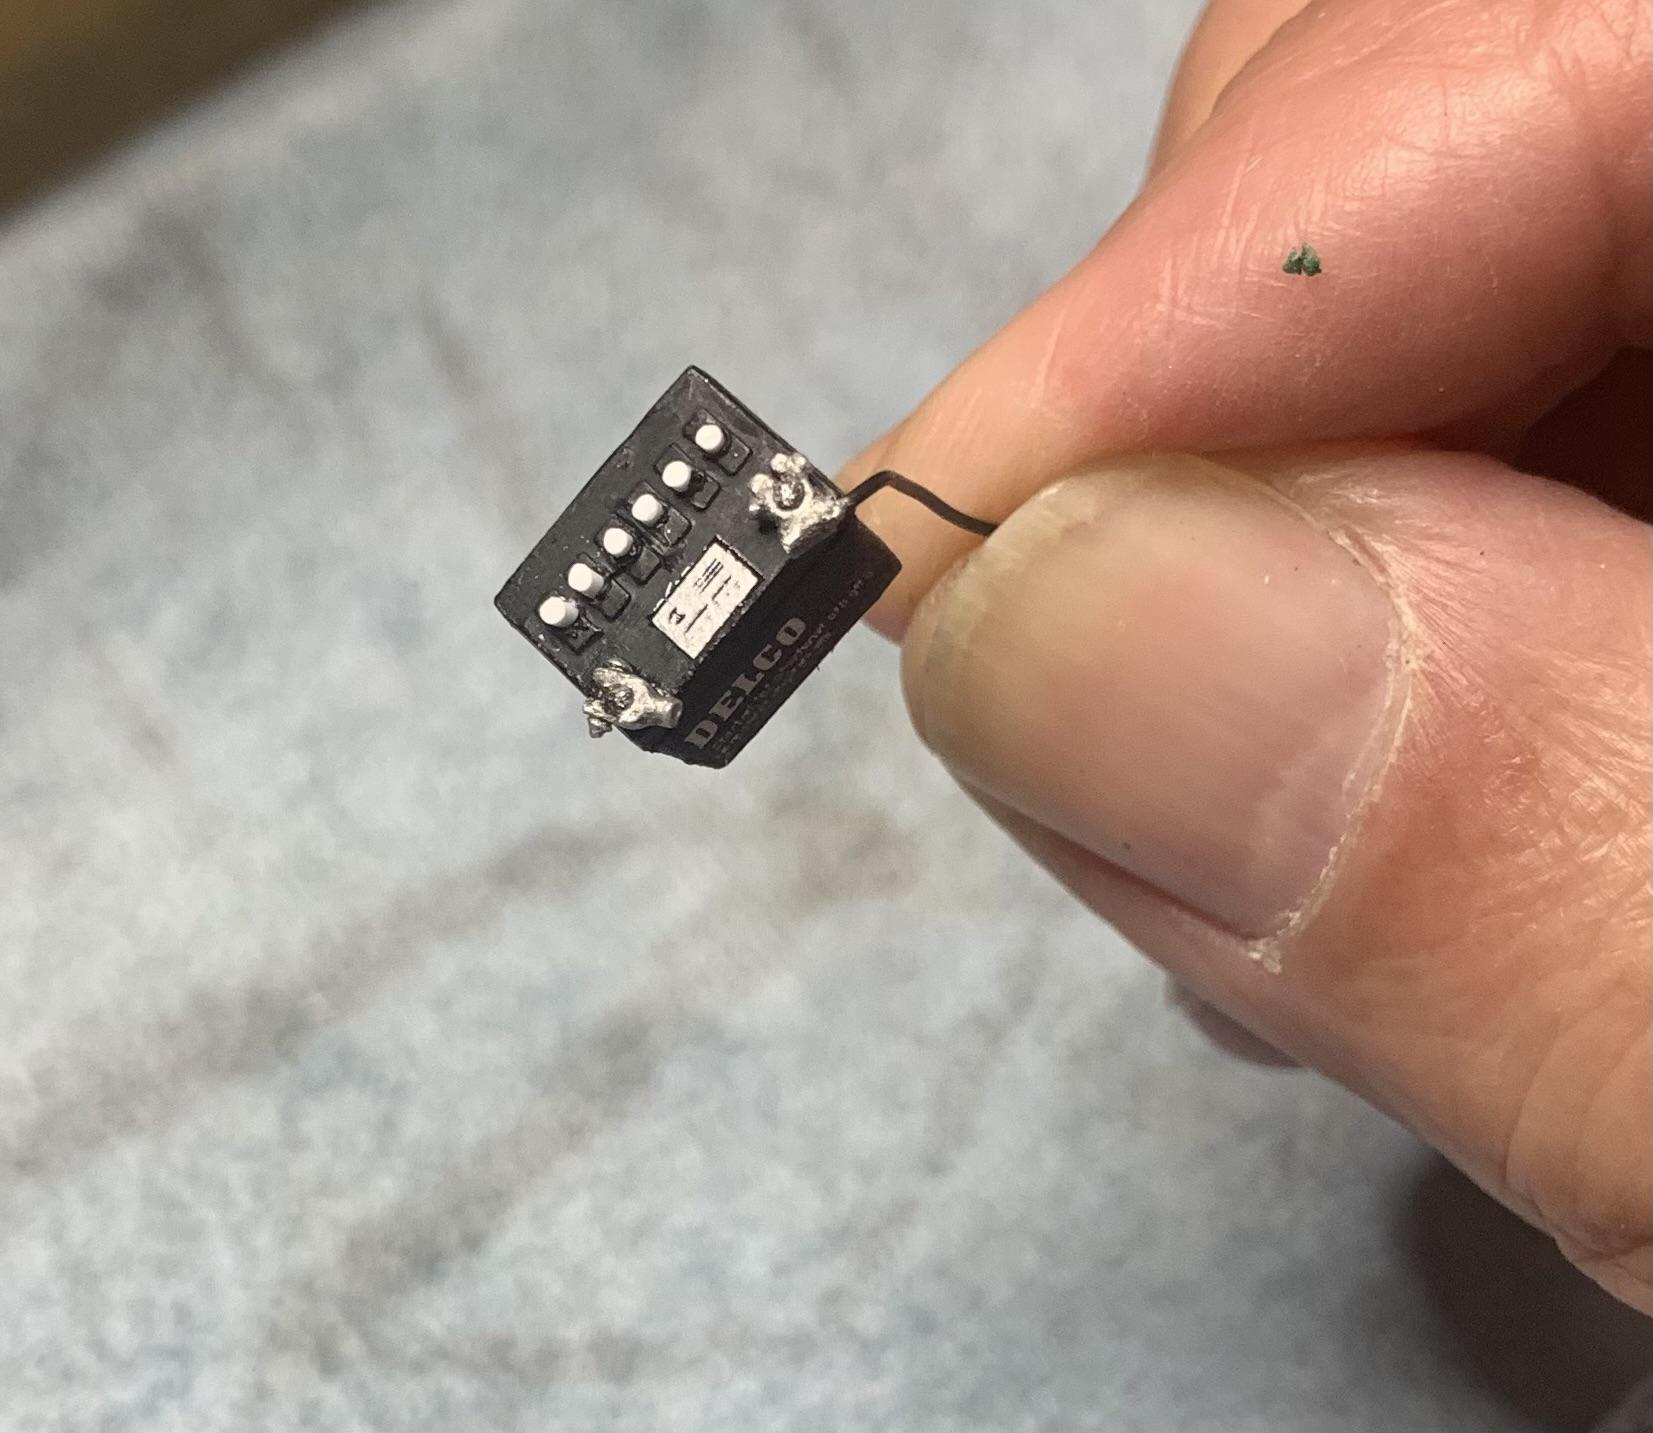
I like to add detail to my batteries, so easy and it does make them look better. Separate caps helps. I drill out the molded on ones then use styrene rod pushed through to the same height then glued from underneath. Cable ends are from Norm, Replicas and Miniatures of Maryland, I always use them. DELCO, is simply printed on paper and glued on.
-
Original AMT '64 GTO meets newer Revell '66 GTO and more!
dino246gt replied to dino246gt's topic in WIP: Model Cars
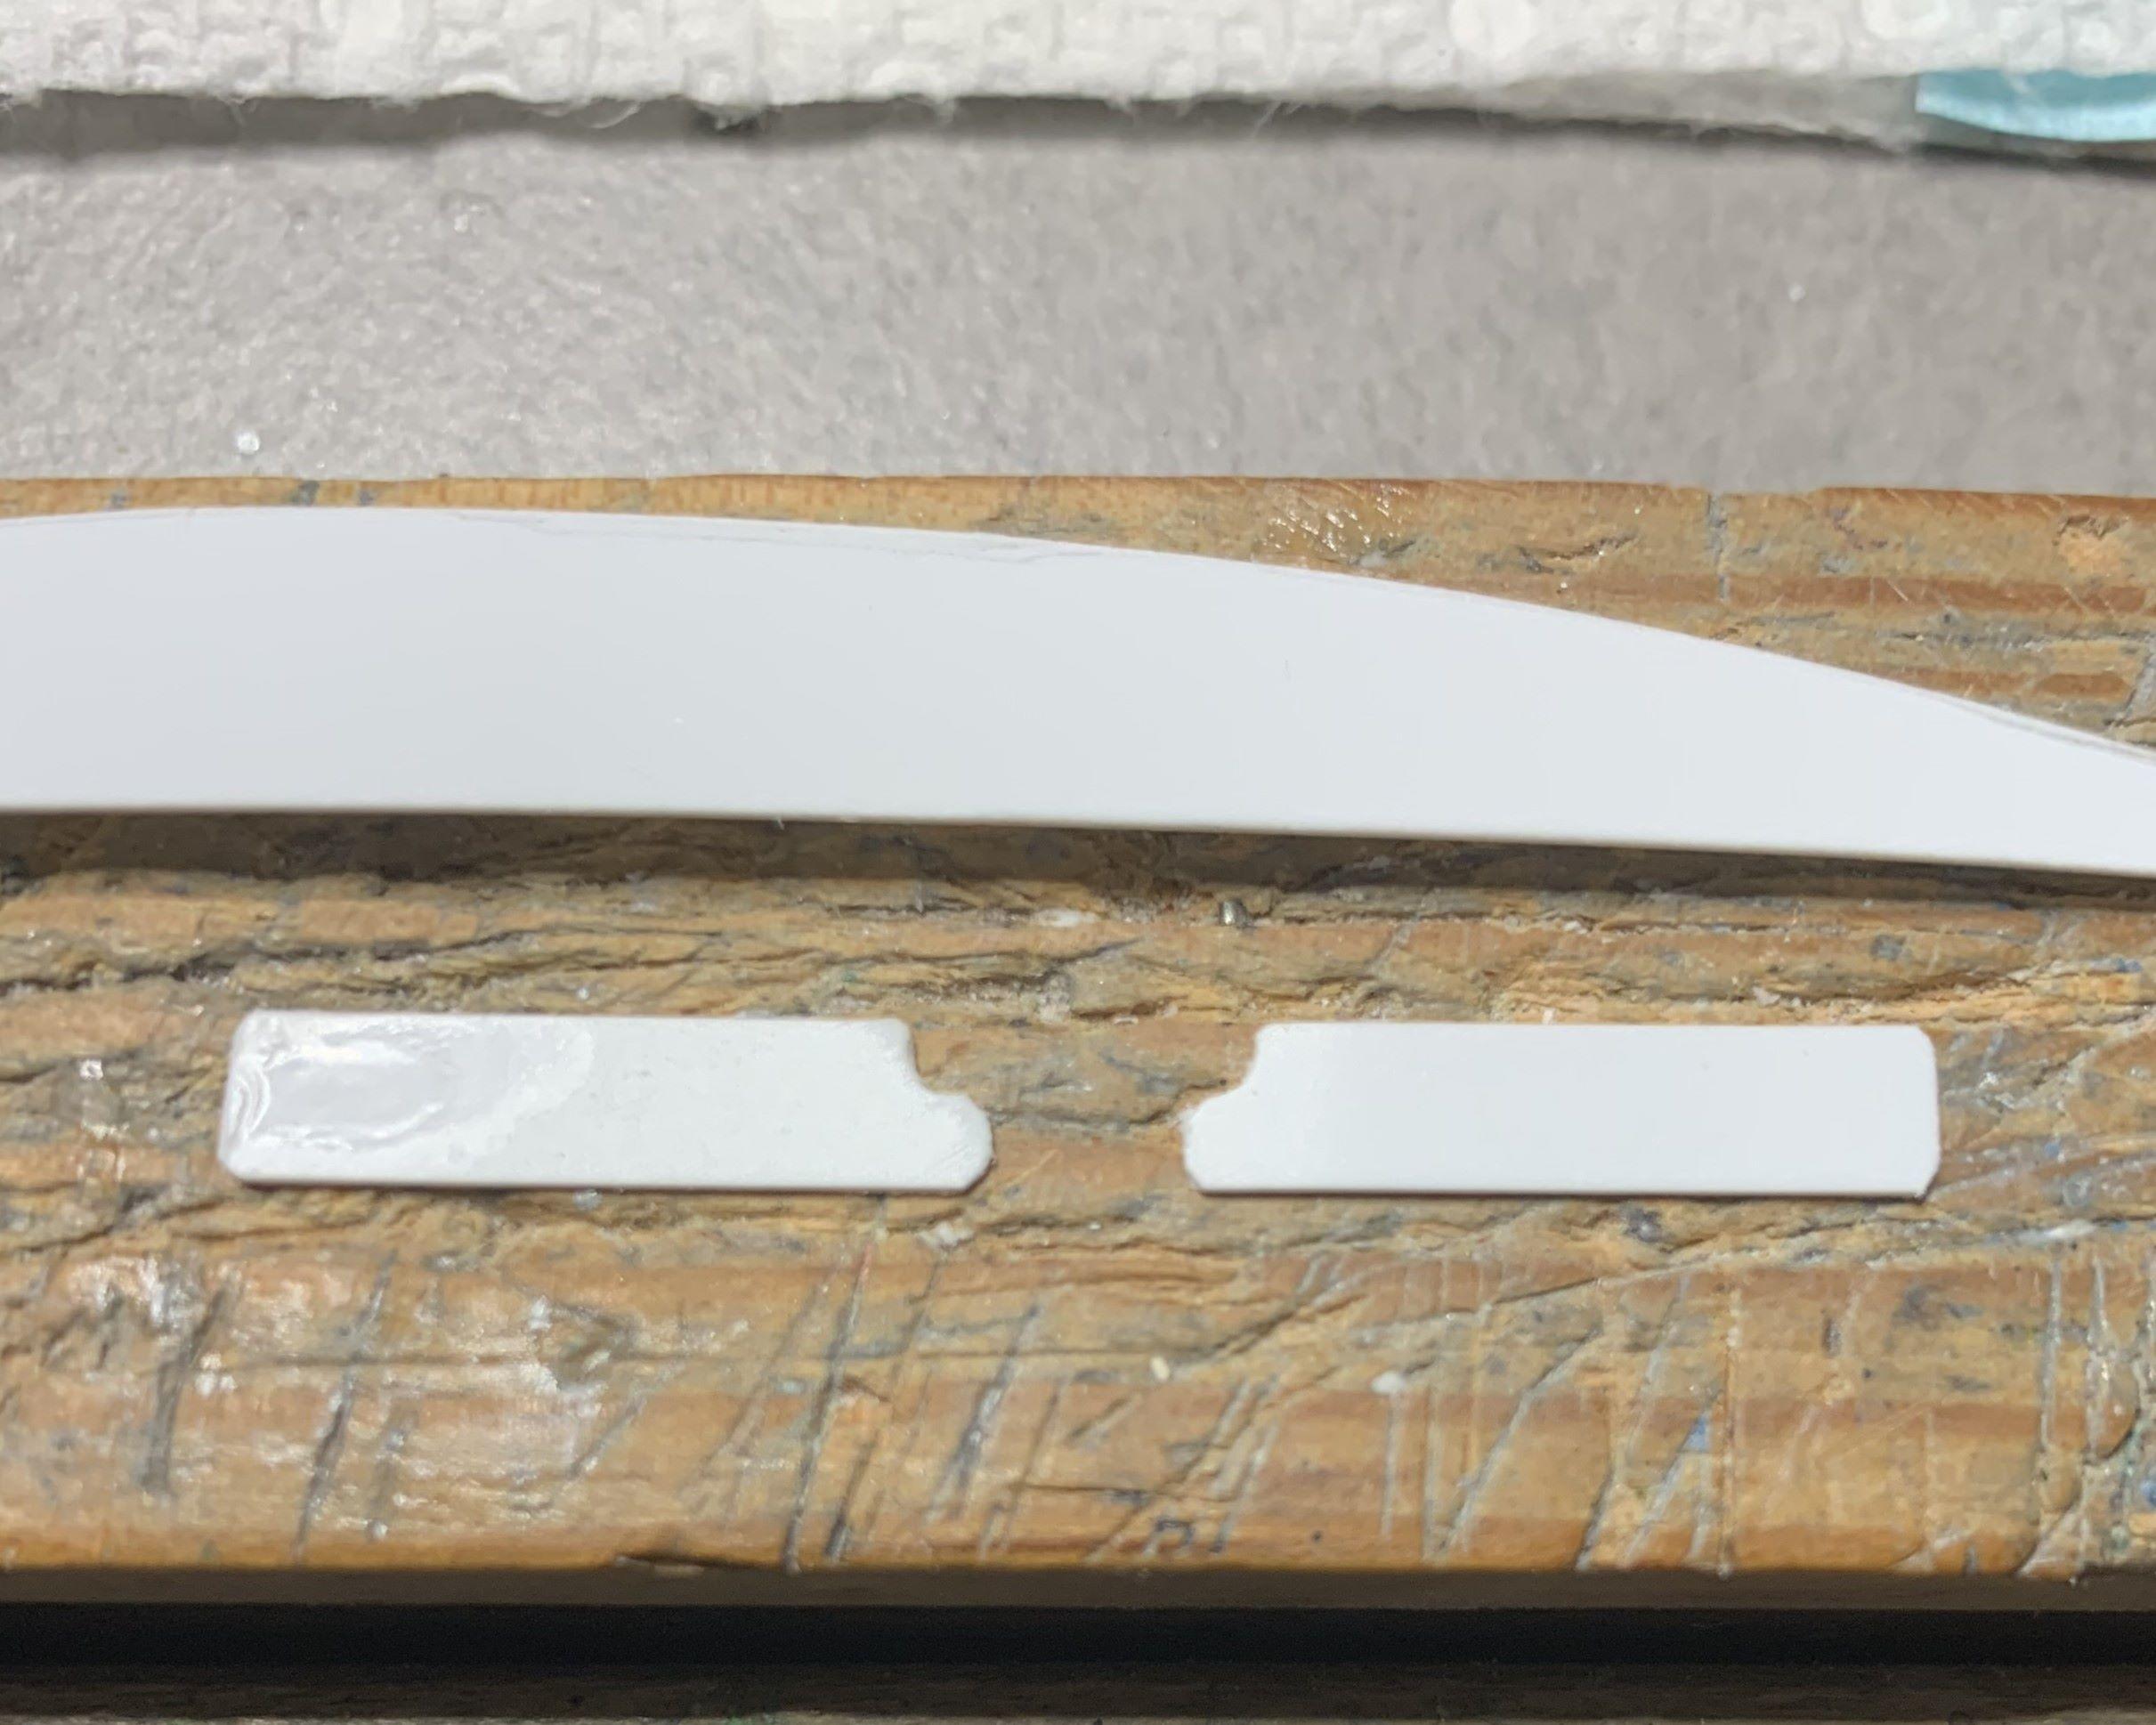
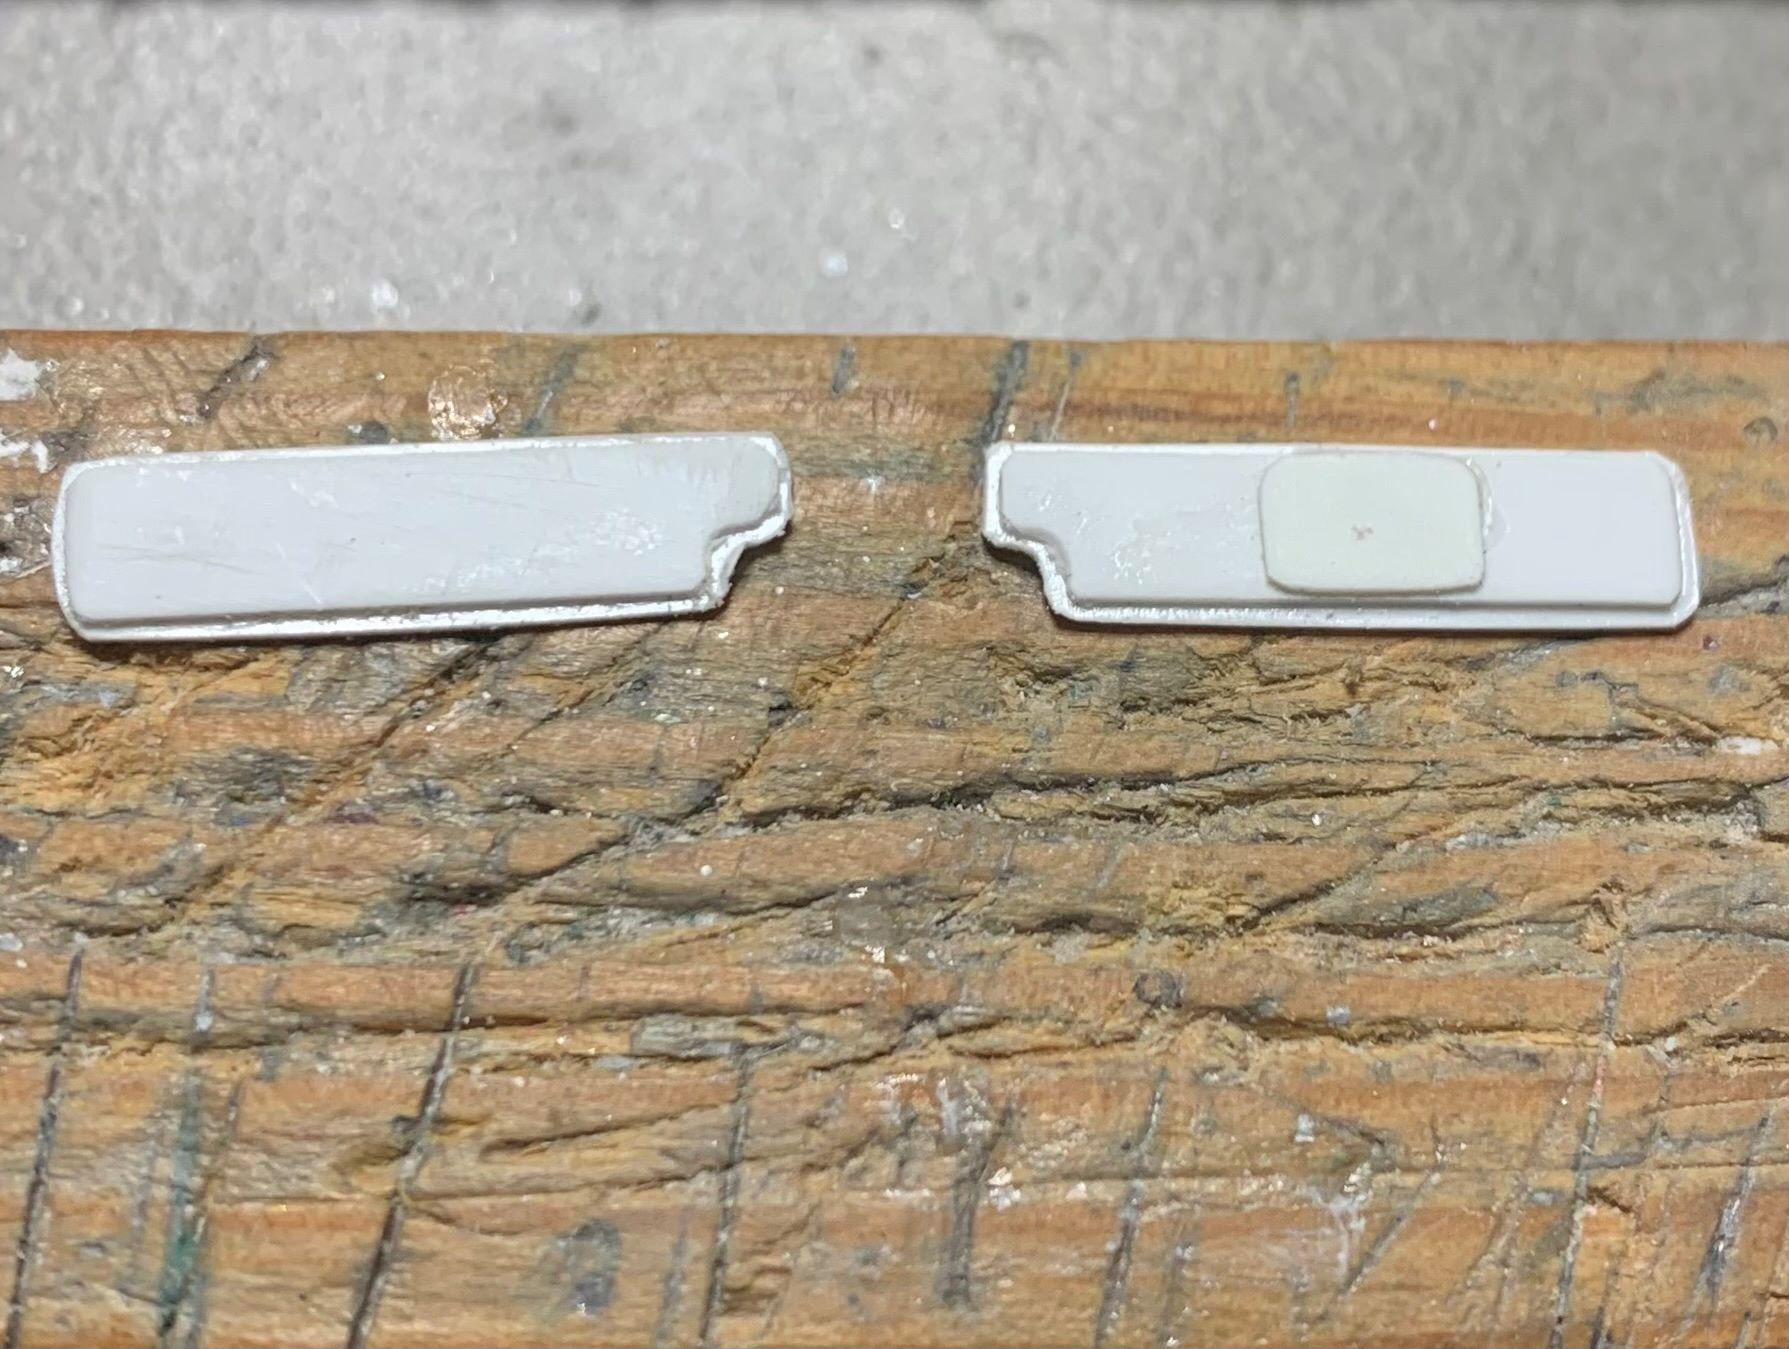
After brush painting the headliner, I made some simple visors, 2 layers of .010 styrene scraps. Nobody ever looks at the headliner so it's certainly not even close to perfect, I just do it for fun.
-
Original AMT '64 GTO meets newer Revell '66 GTO and more!
dino246gt replied to dino246gt's topic in WIP: Model Cars
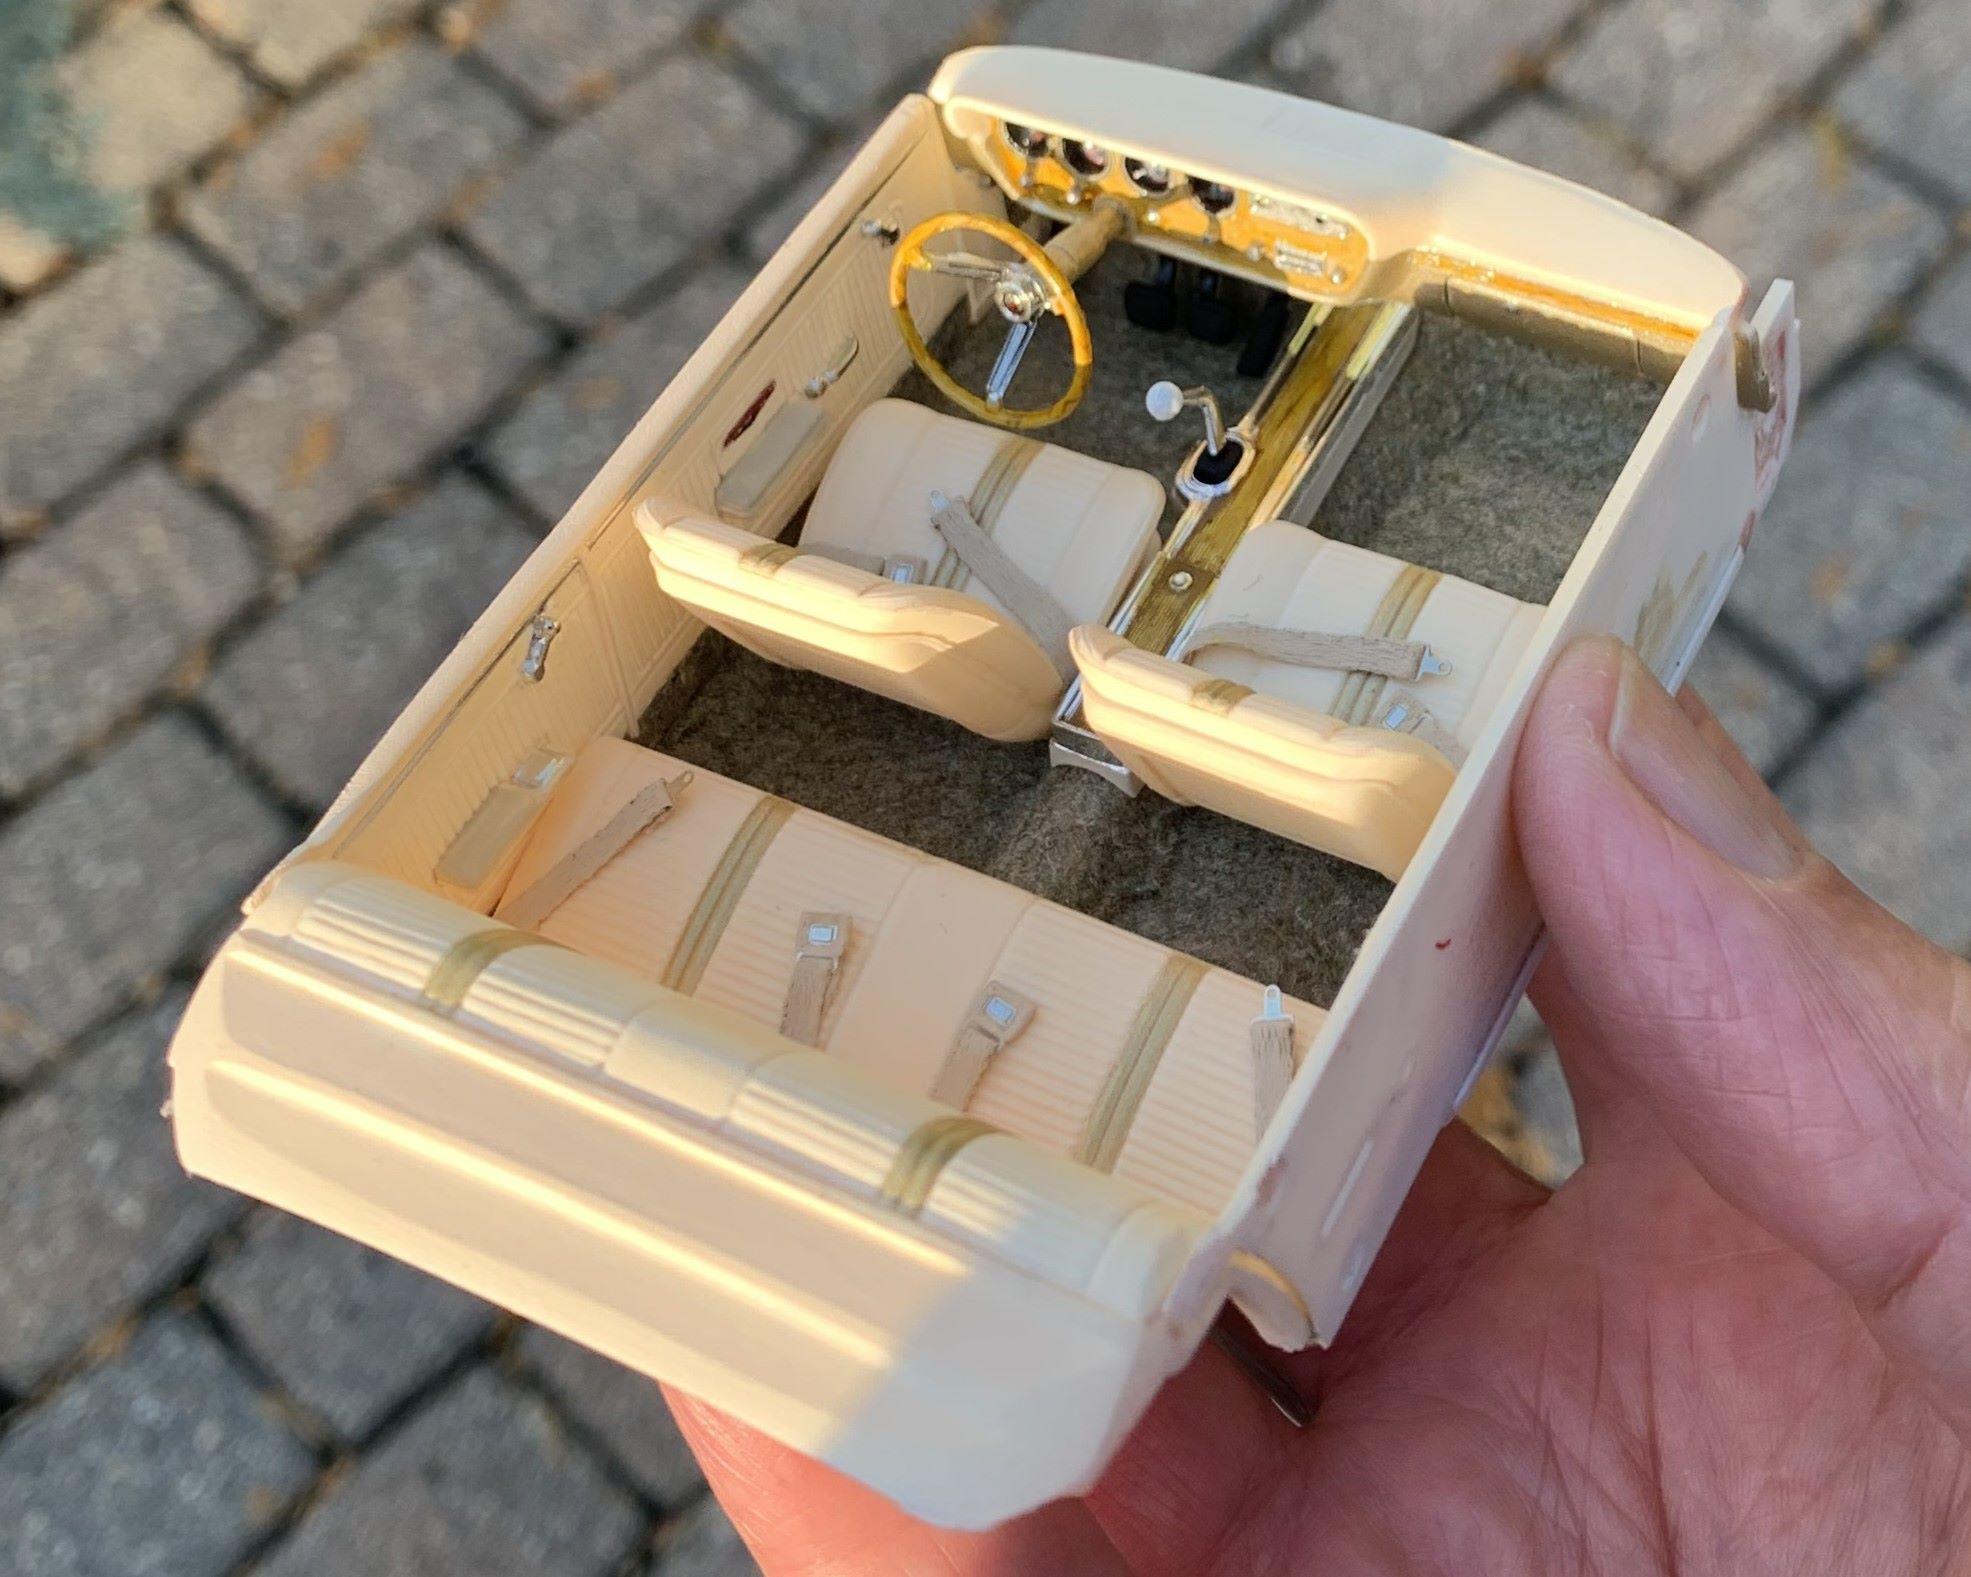
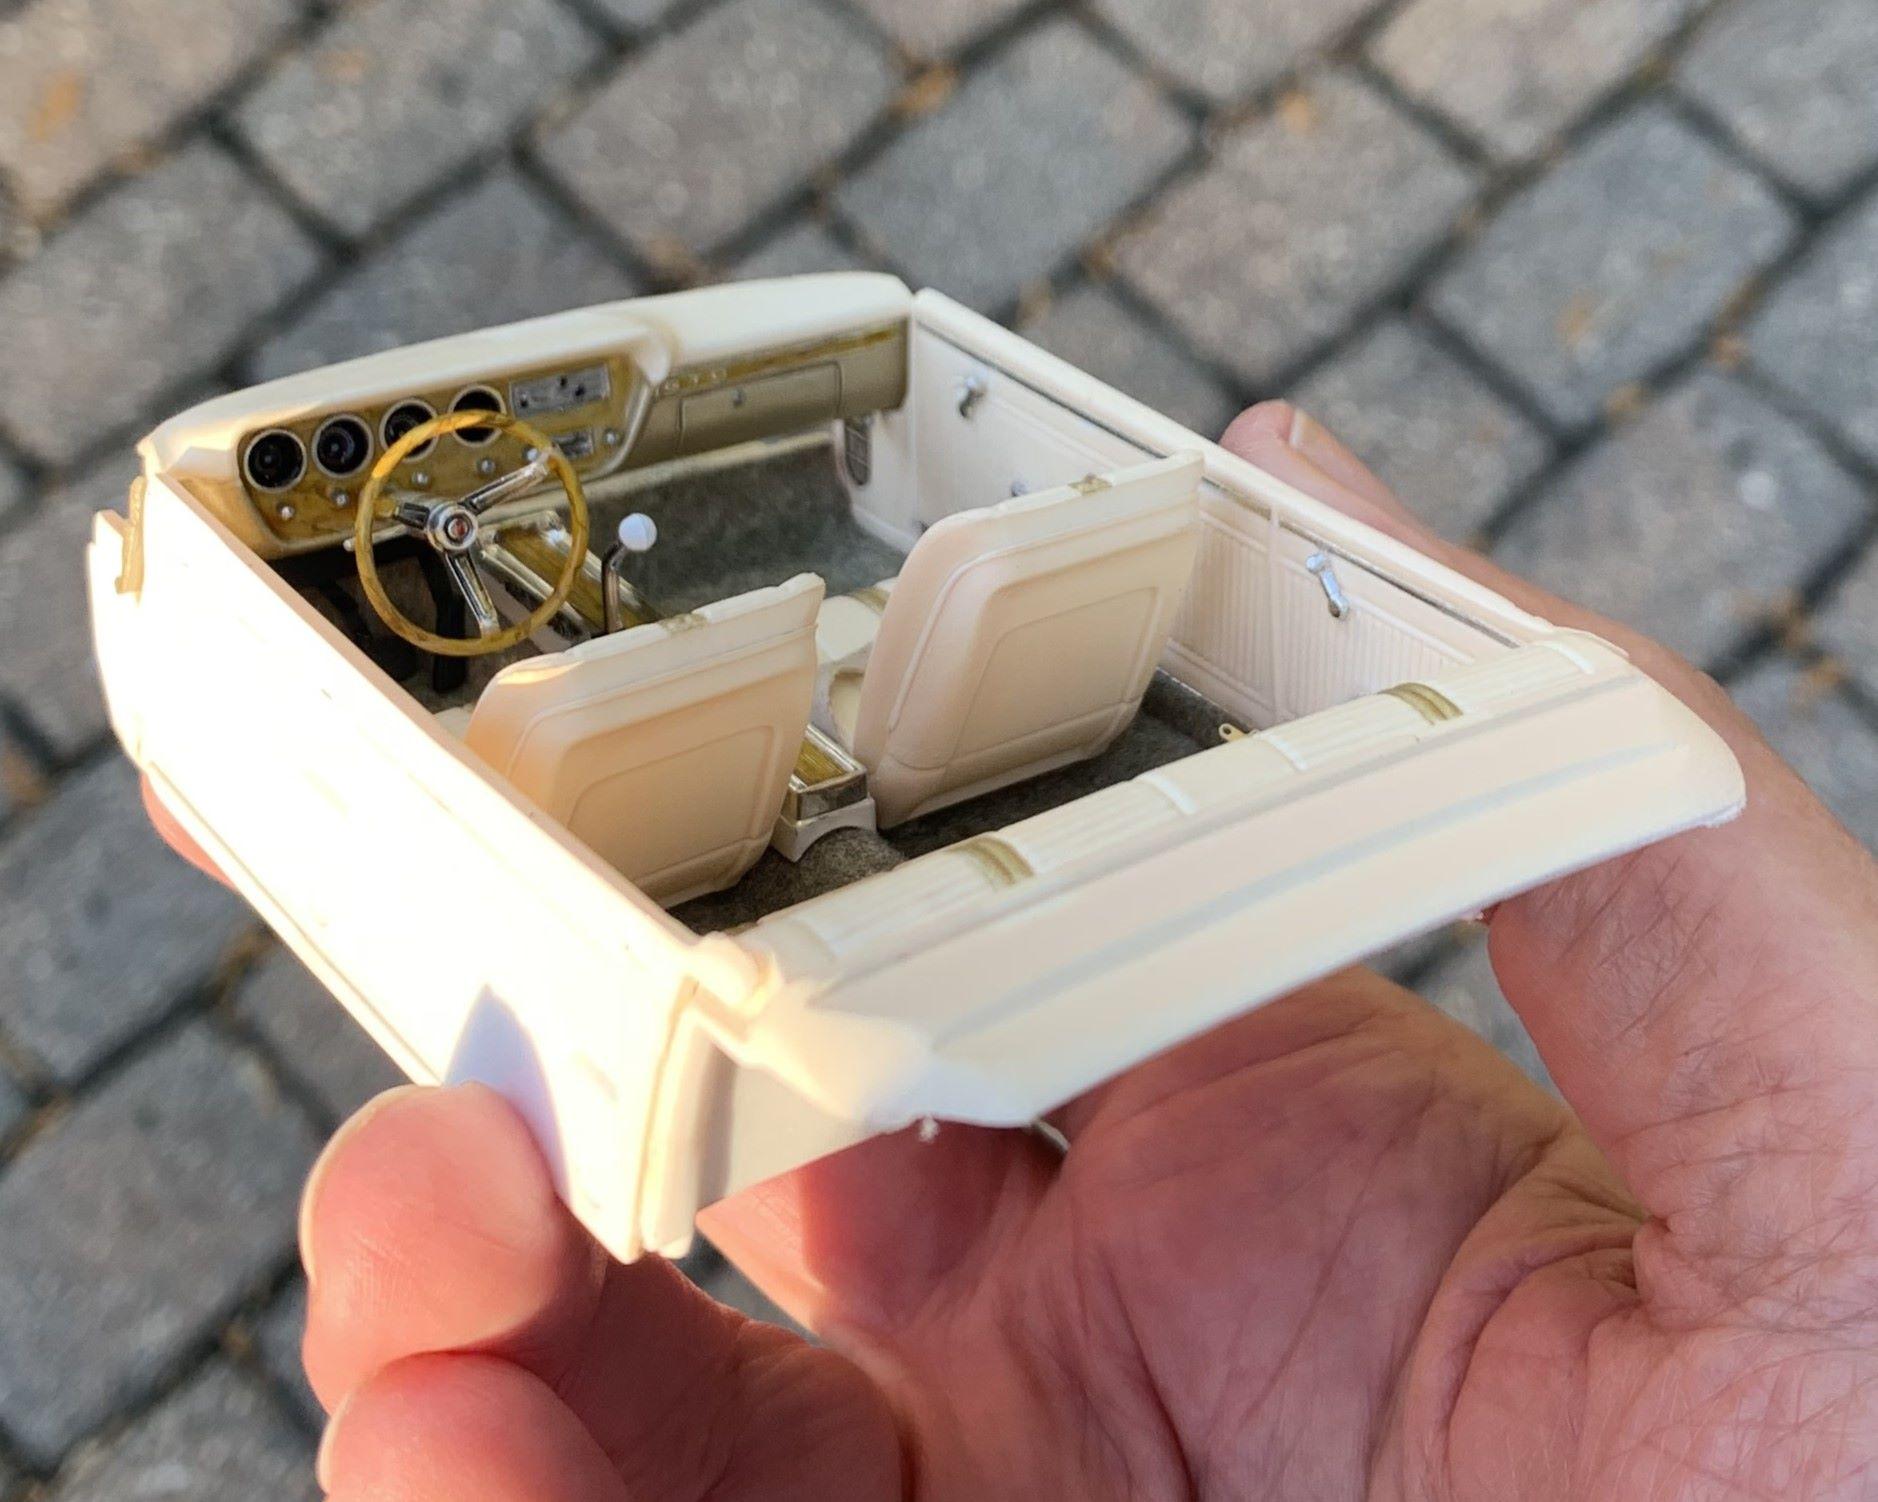
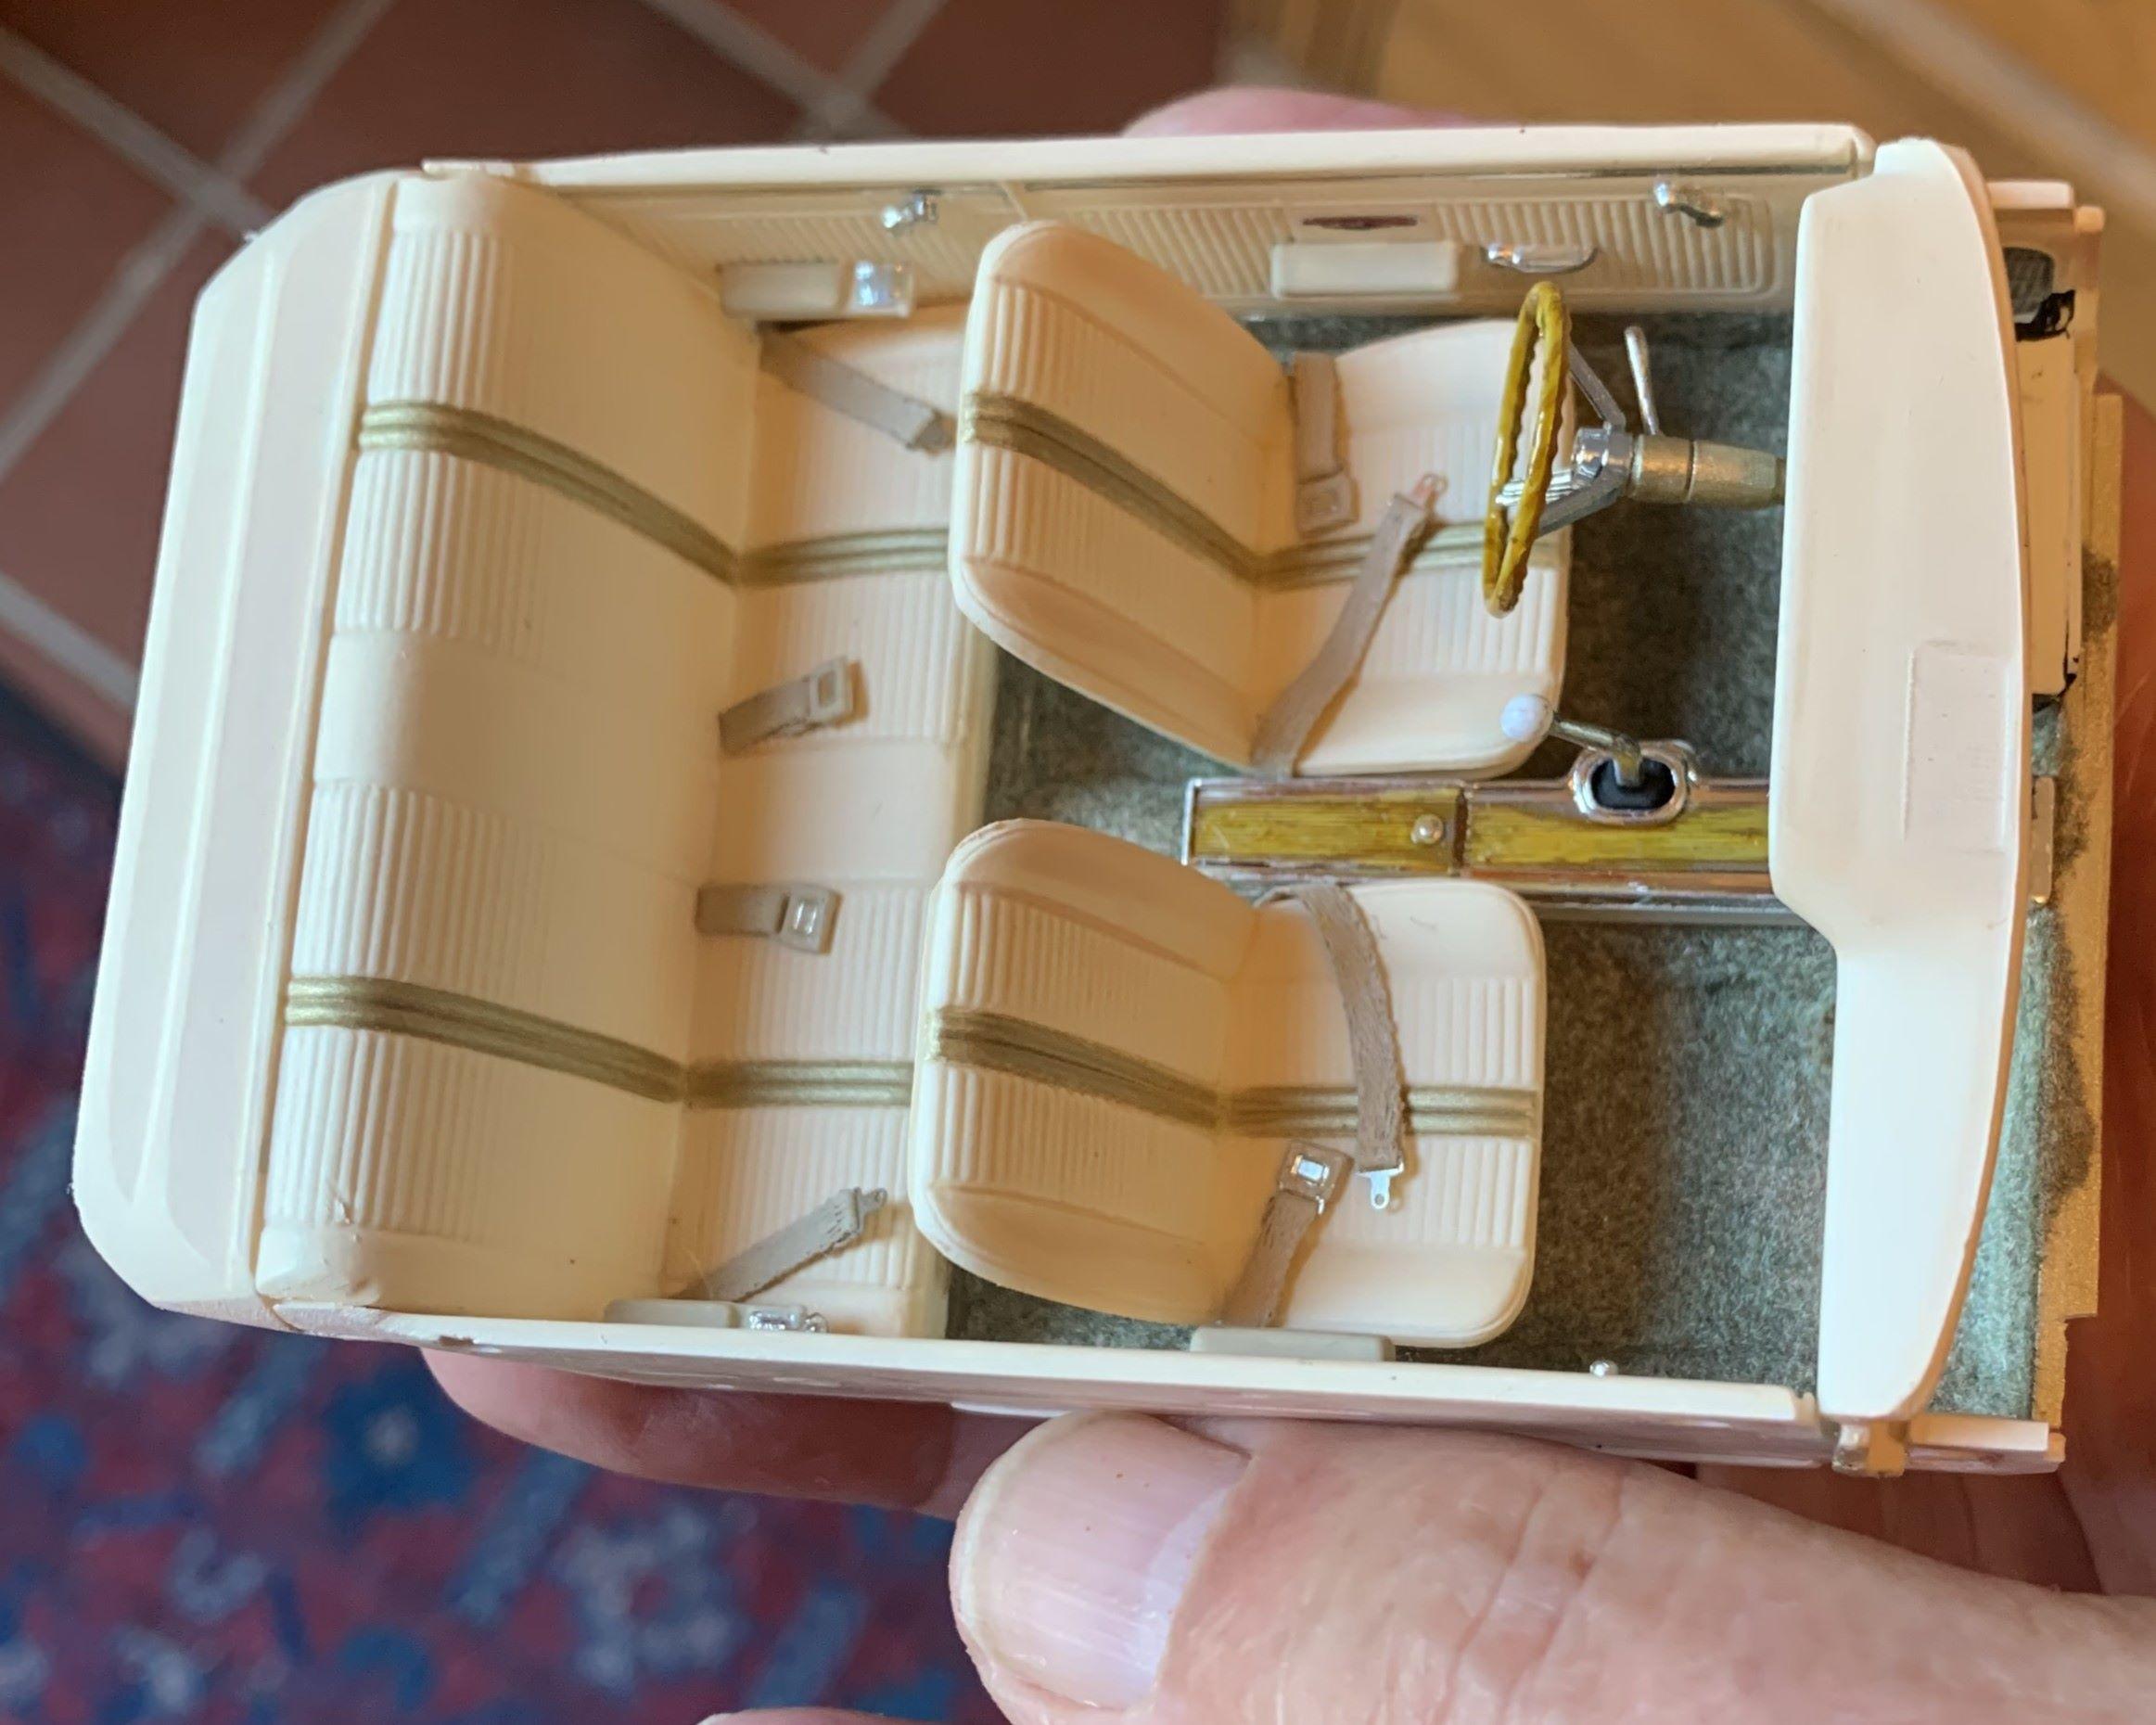
After adding foil and some detail paint to the side panels, I foiled the rear ashtrays, added seat belts, some wood-ish paint, steering wheel, shifter and, well, it looks like an interior!
-
Original AMT '64 GTO meets newer Revell '66 GTO and more!
dino246gt replied to dino246gt's topic in WIP: Model Cars
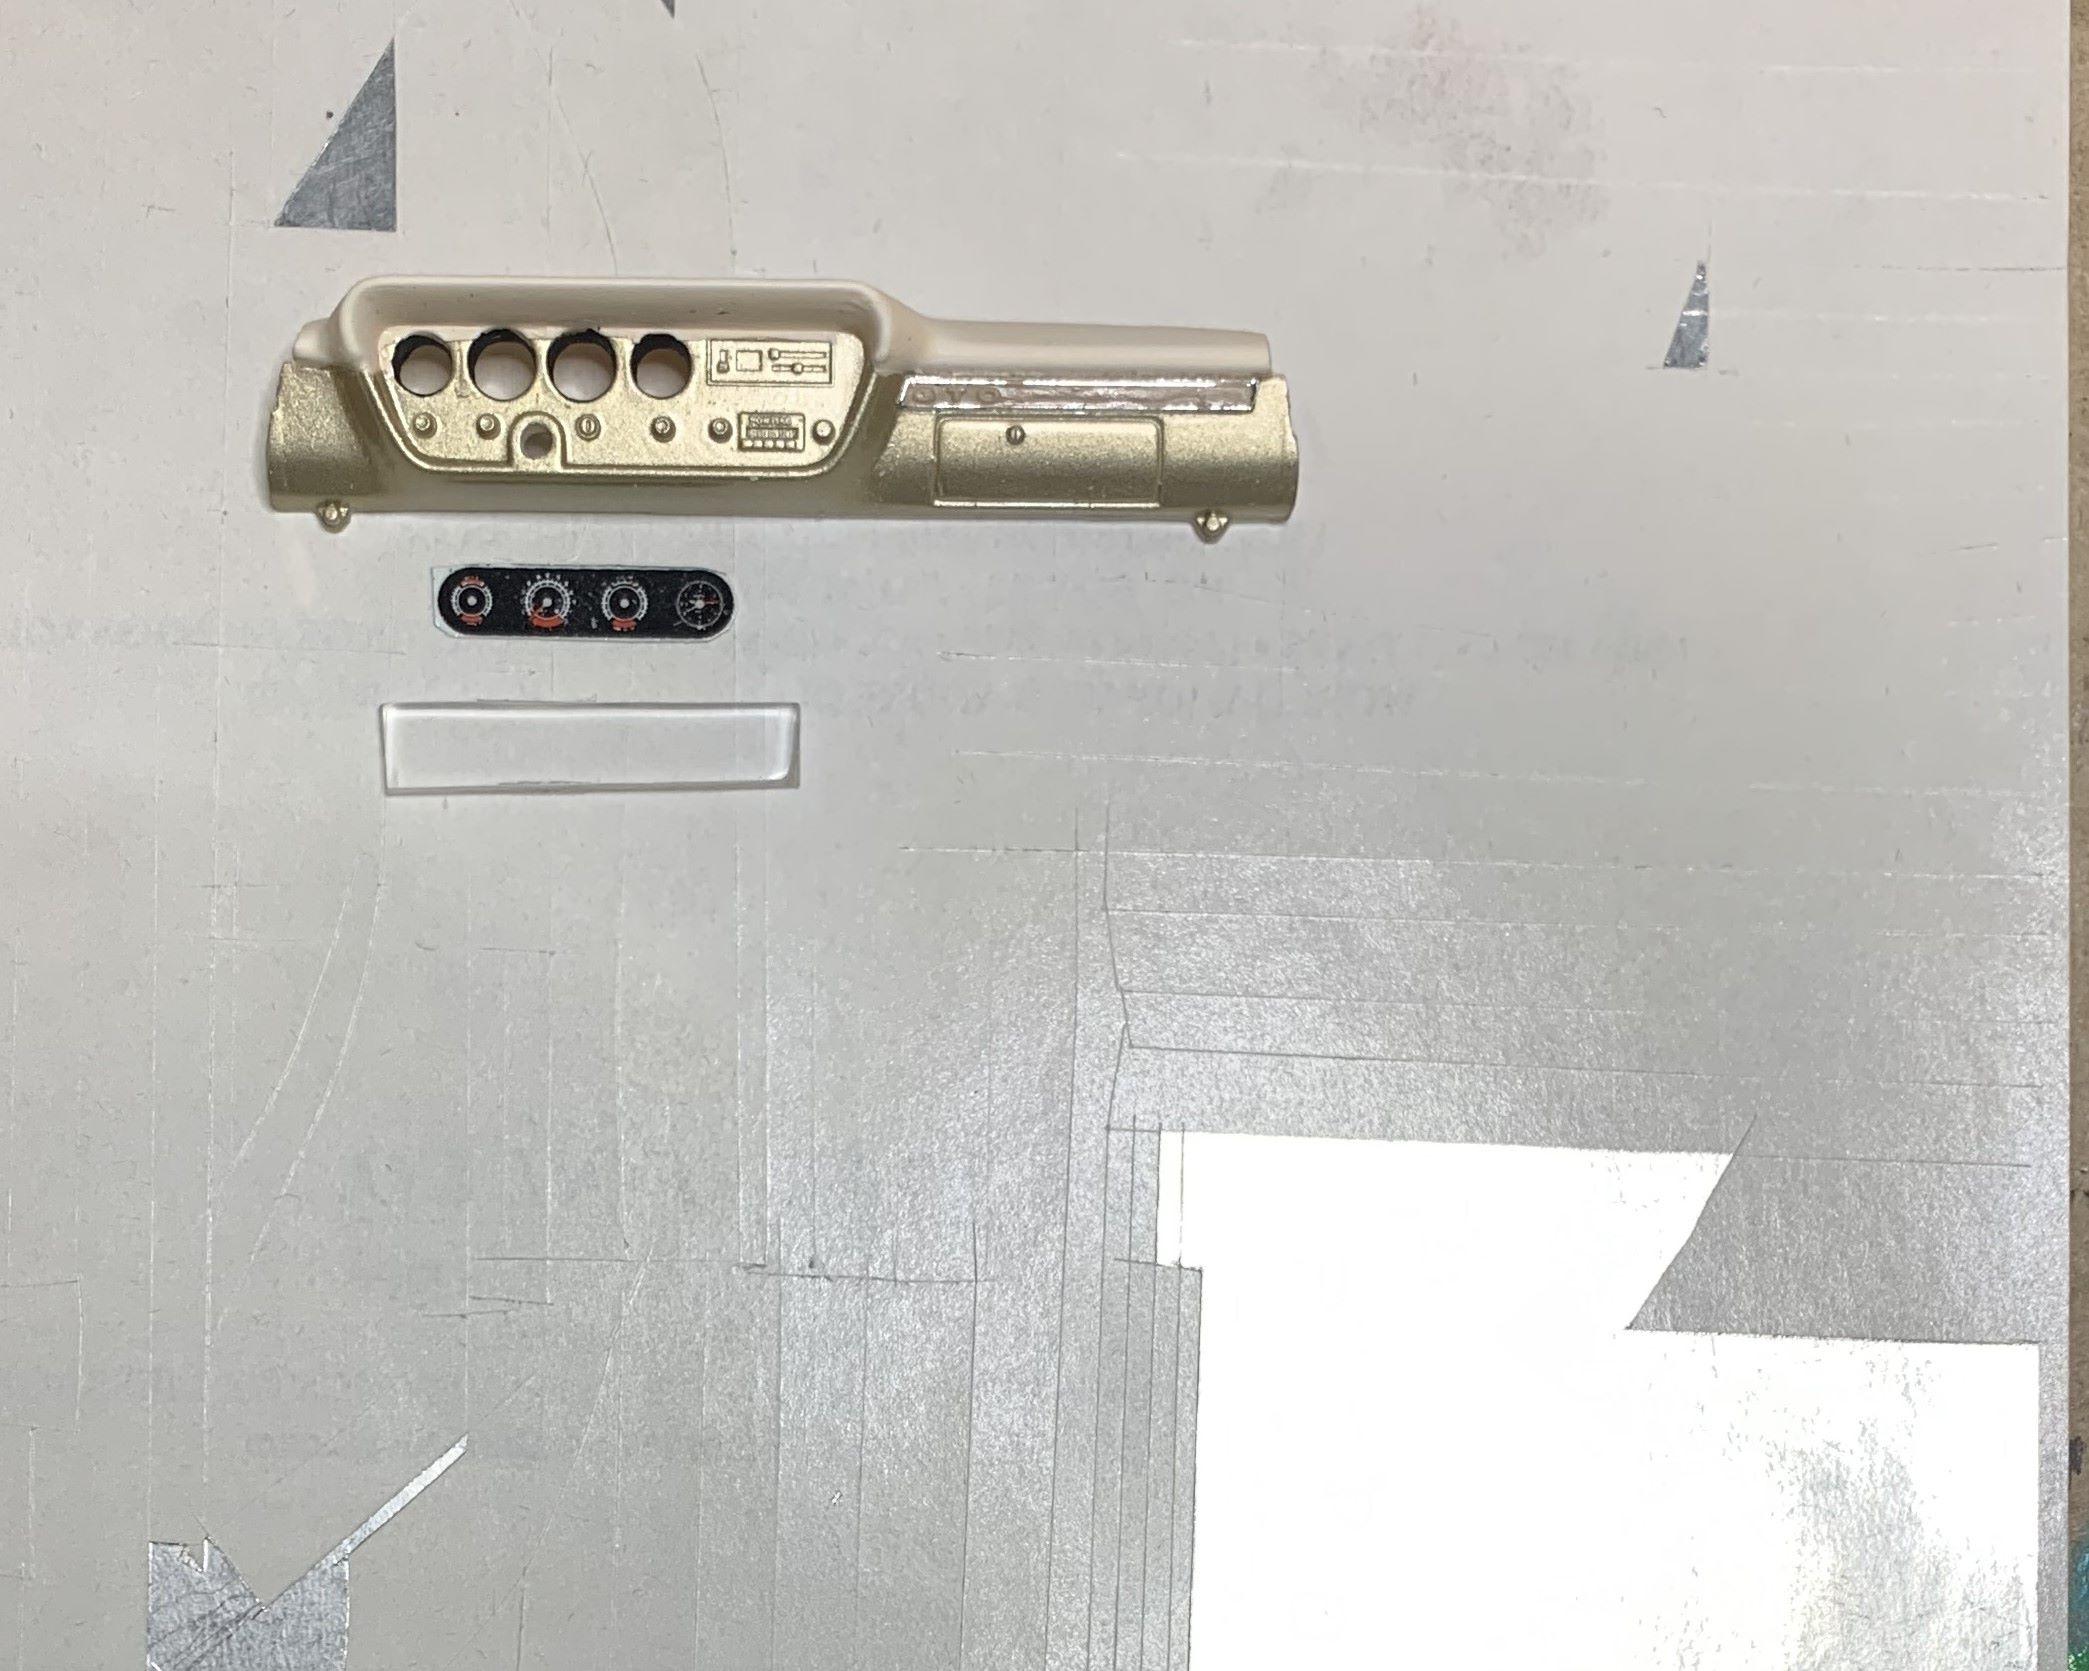
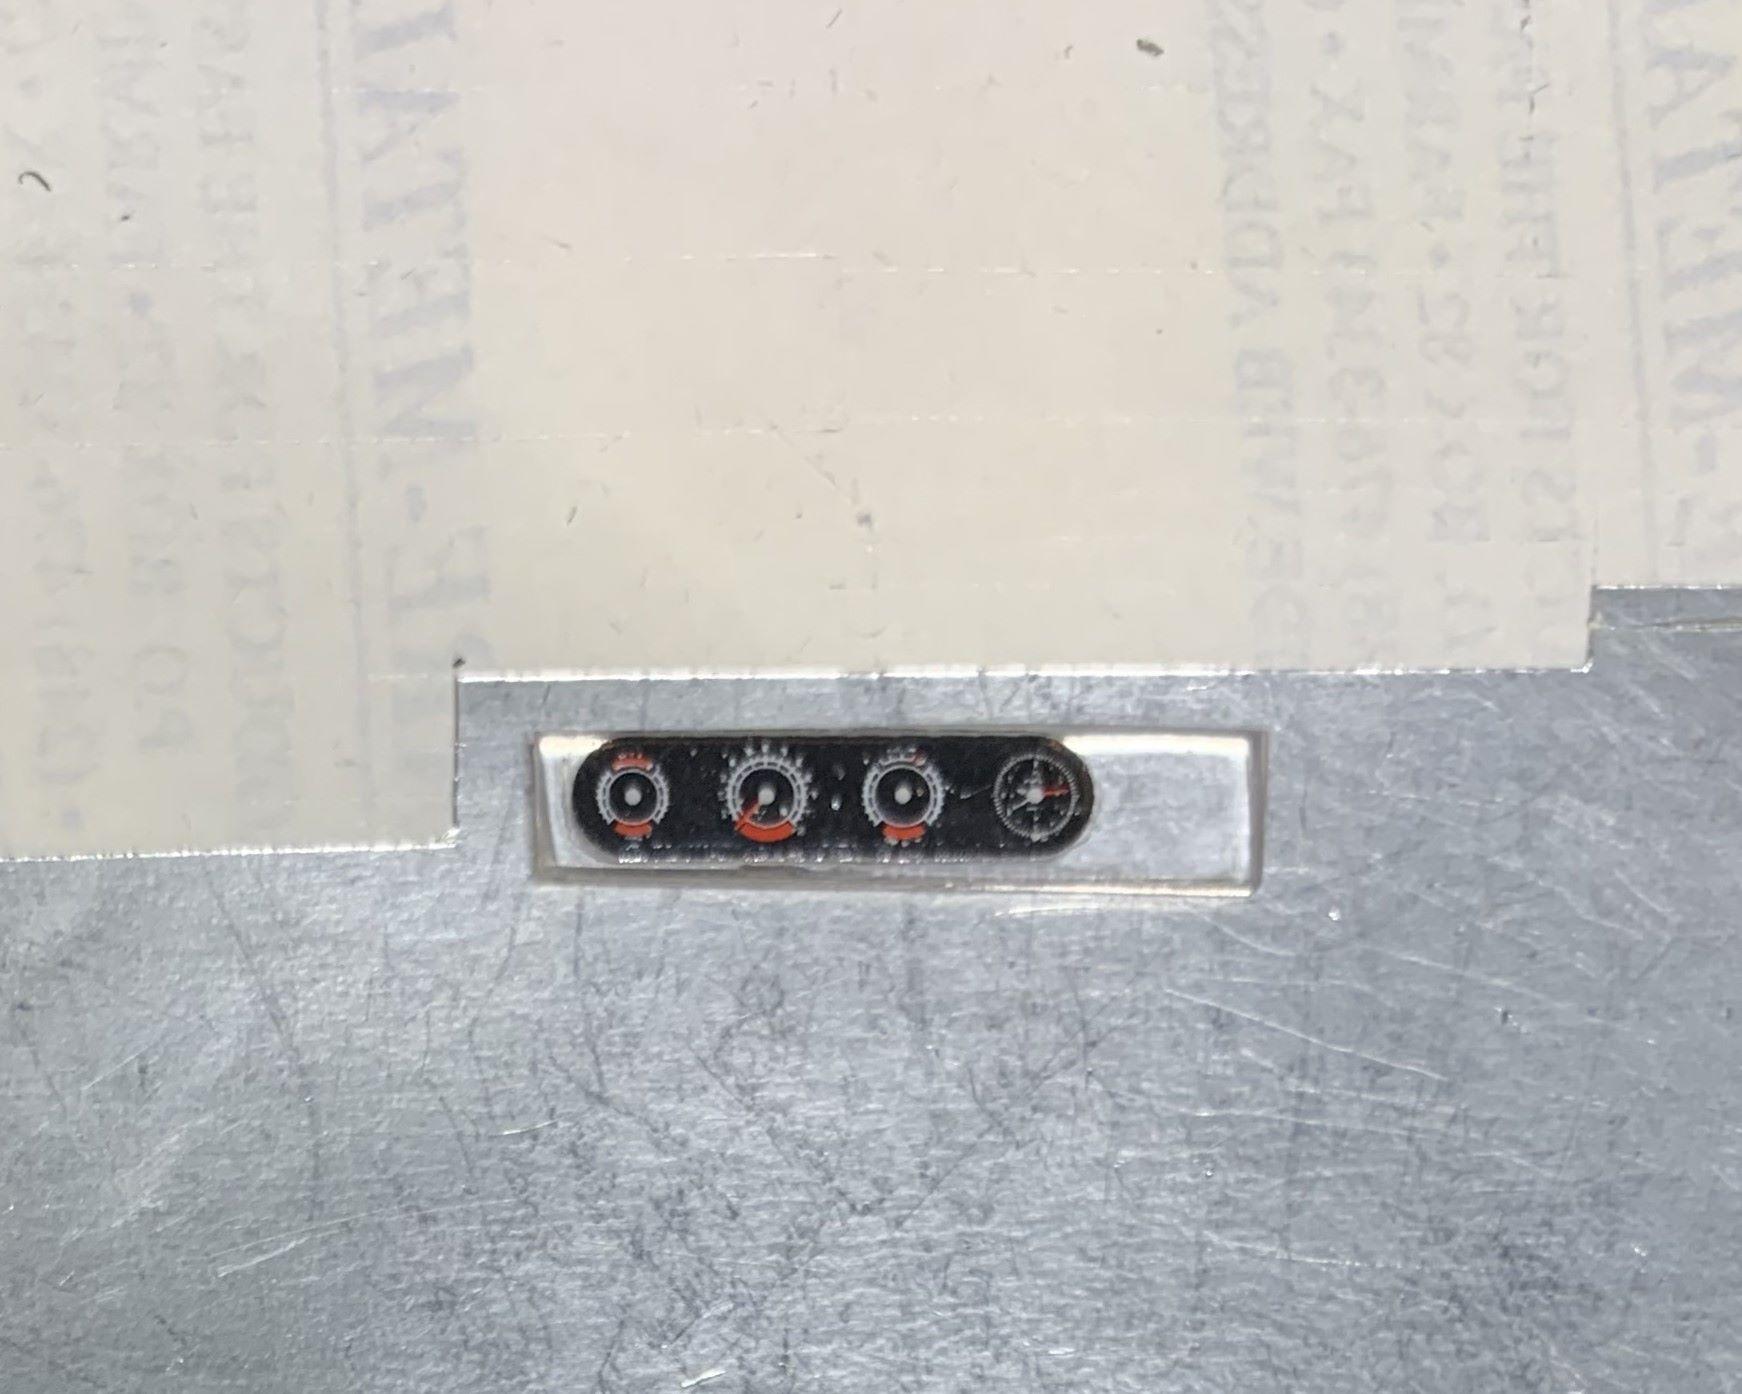
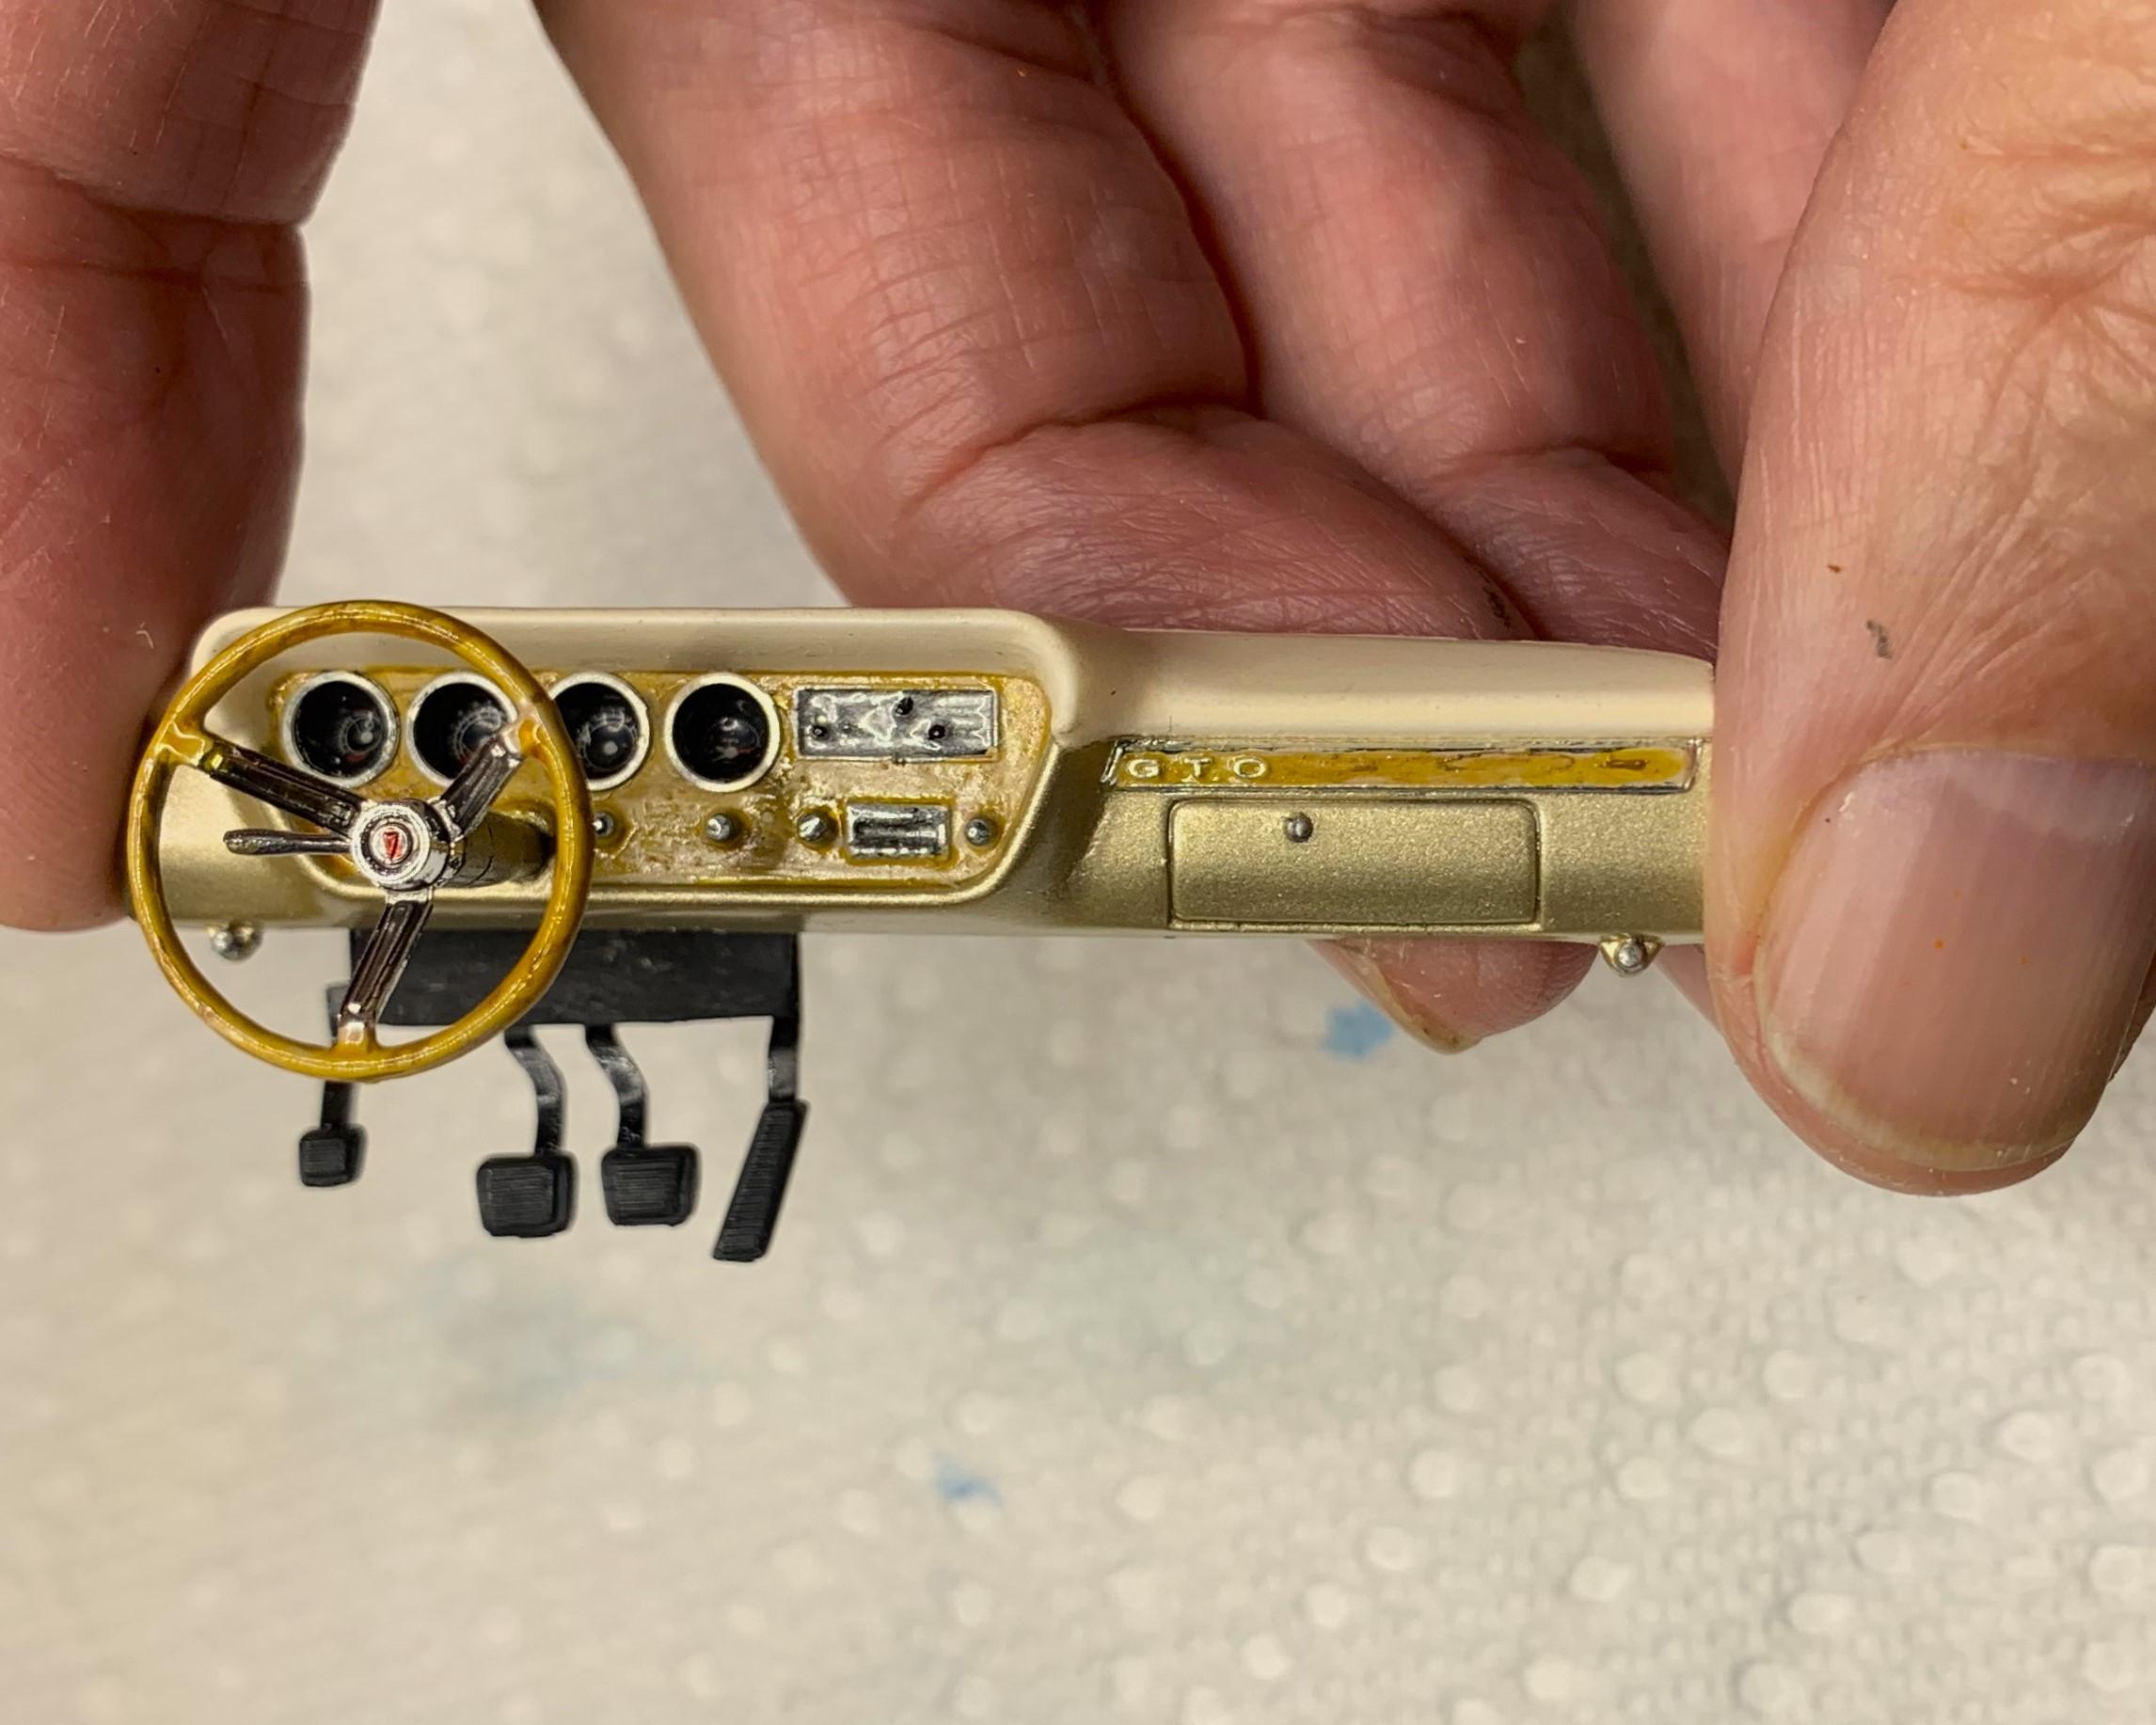
I tried something new for the gauges, didn't work out though, but no harm done. I thought that maybe applying the gauge decals to clear plastic, part of a kit windshield, so pretty thick, then foil behind would maybe let light reflect and make them more visible. That didn't make any difference, oh well. Dash turned out okay anyway.
-
Original AMT '64 GTO meets newer Revell '66 GTO and more!
dino246gt replied to dino246gt's topic in WIP: Model Cars
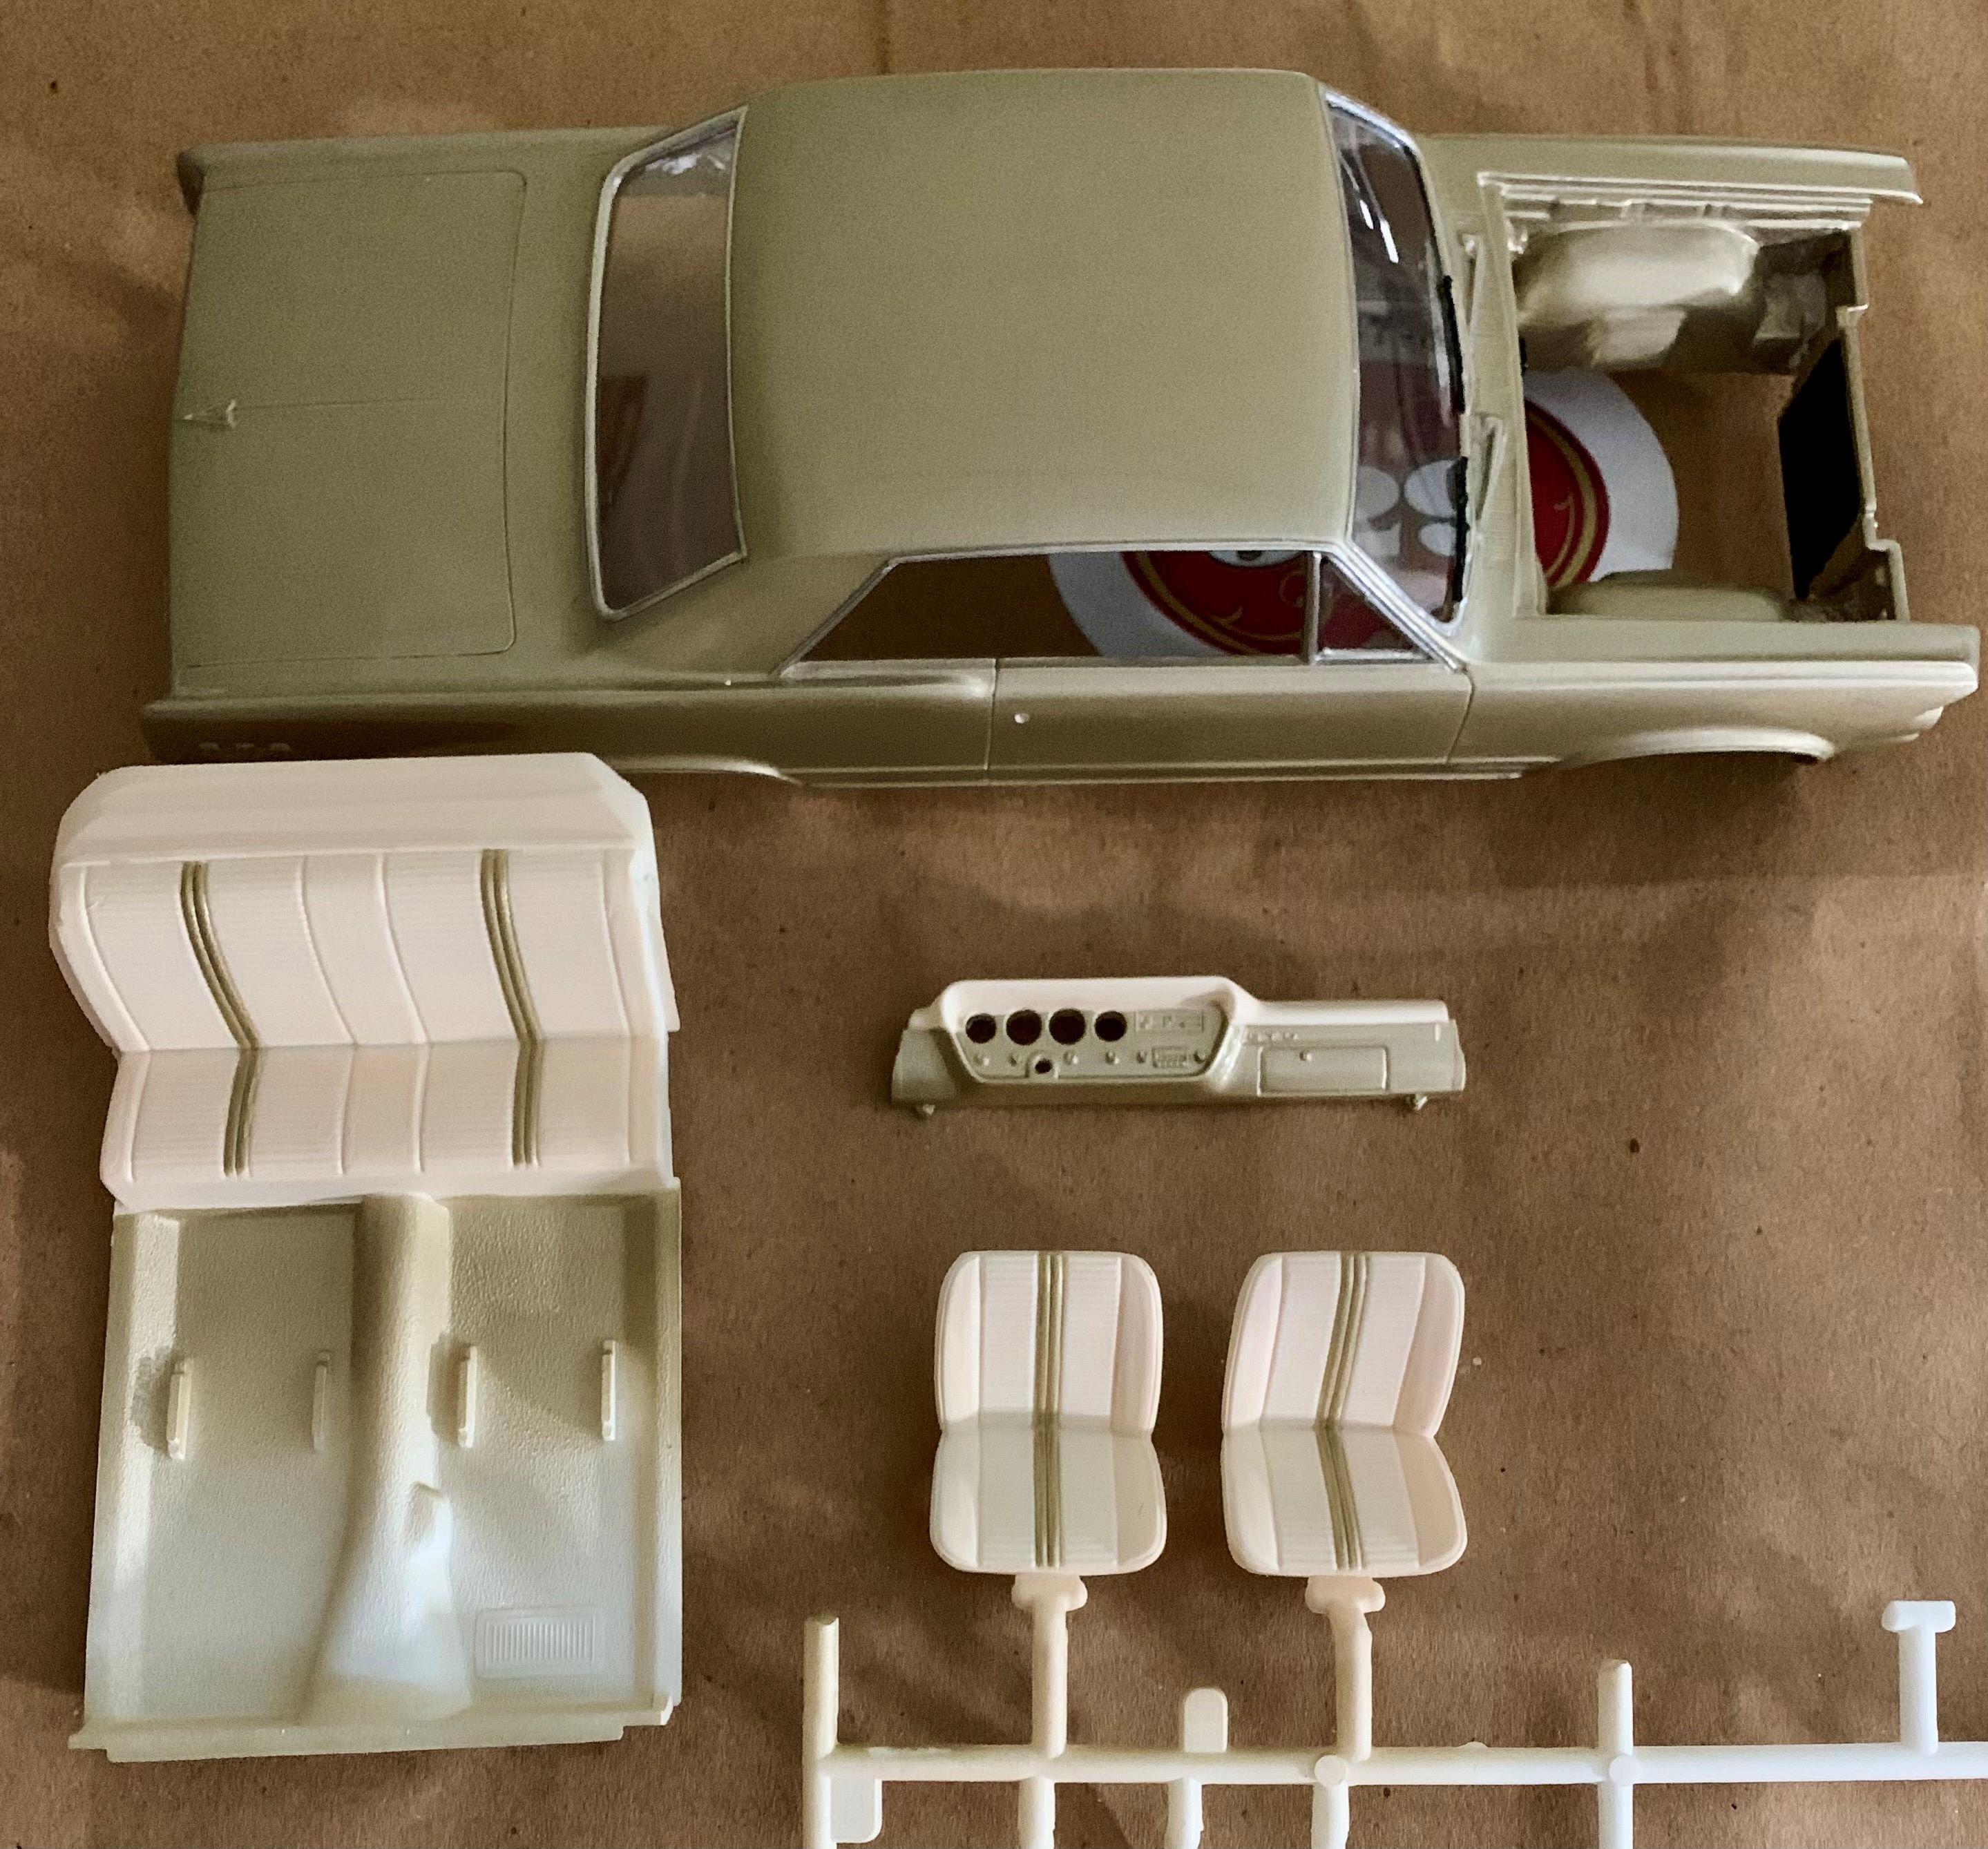
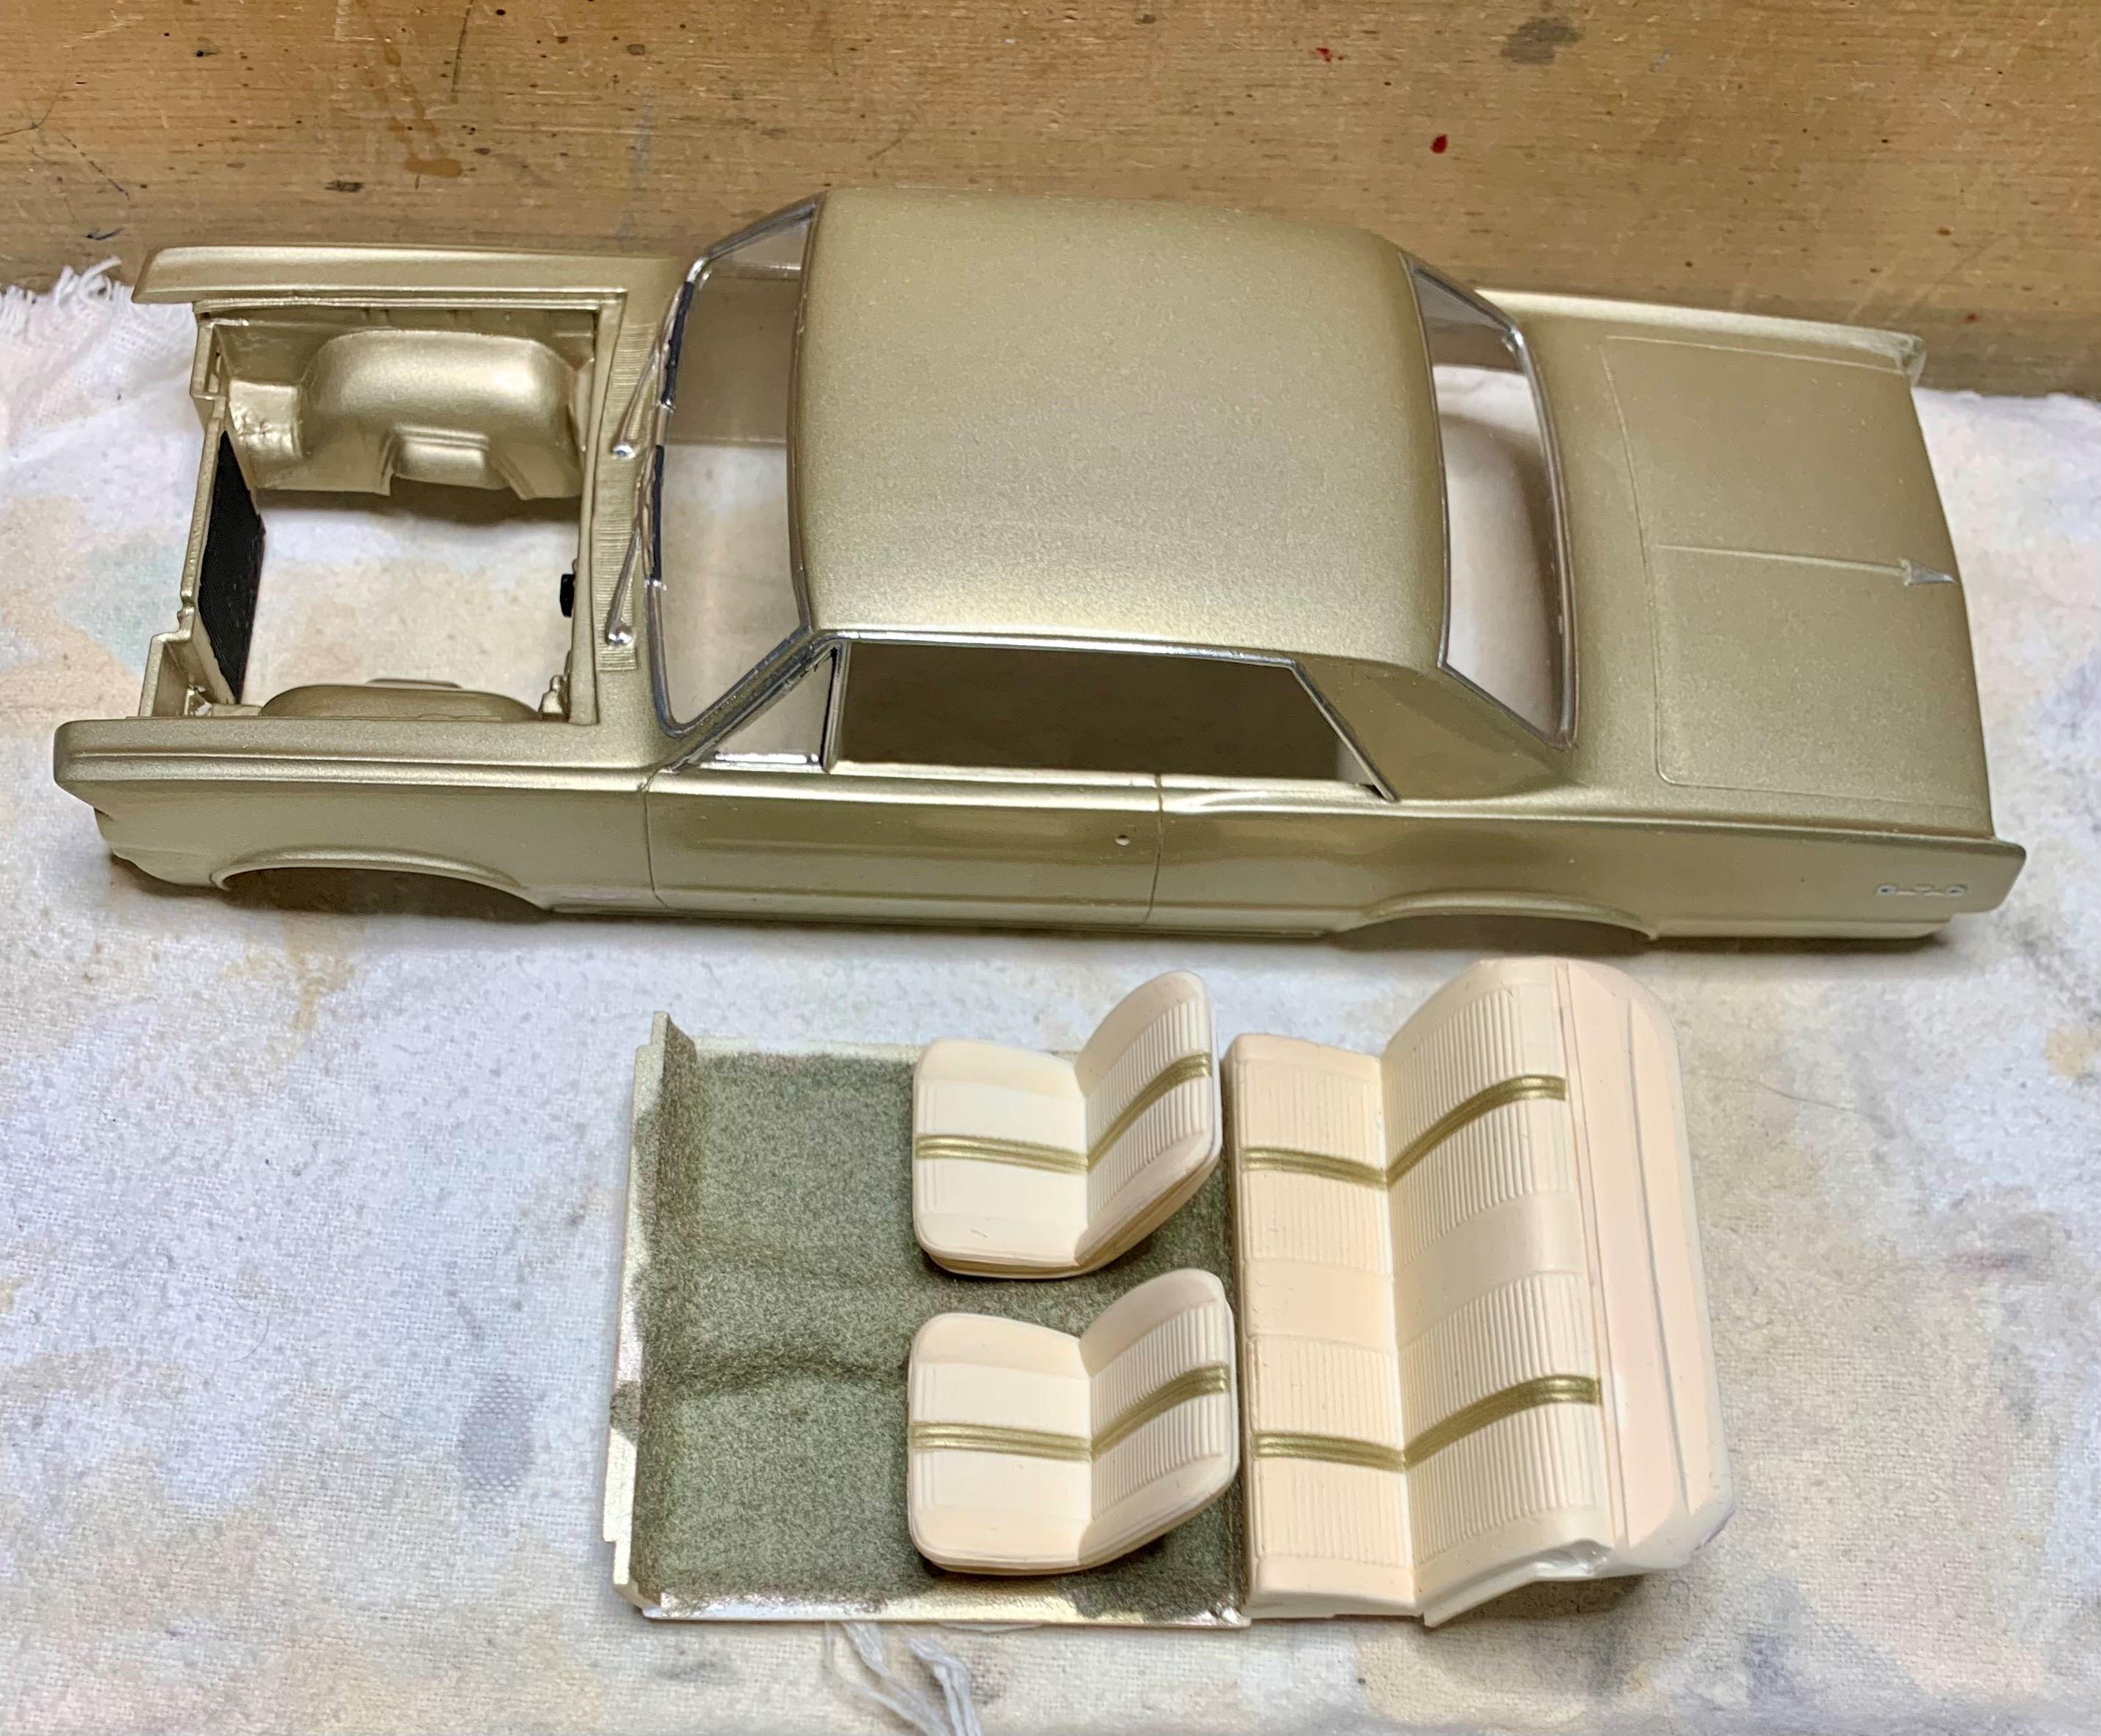
I chose this colour, well, I gave it a try and as it turned out, I like it! So I went with a creamy interior colour and added body colour stripes on the seats and lower dashboard. I have a few shades of tan flocking but none seemed to look right with the gold, so I mixed some green into tan and it blends in more to my liking.
-
Original AMT '64 GTO meets newer Revell '66 GTO and more!
dino246gt replied to dino246gt's topic in WIP: Model Cars
That 389 was going to be a tight squeeze, so I removed those bits of inner fenders closet to the engine. Now the upper A arms will show so they need a bit more detail. I drilled through and placed styrene rod through them and added some 3D printed bolts. After paint, they look okay, better than before and might not even show!


.JPG.5997c54005f07ea0e048a4e9a65d795a.JPG)