Rider
-
Posts
2,270 -
Joined
-
Last visited
Content Type
Profiles
Forums
Events
Gallery
Everything posted by Rider
-
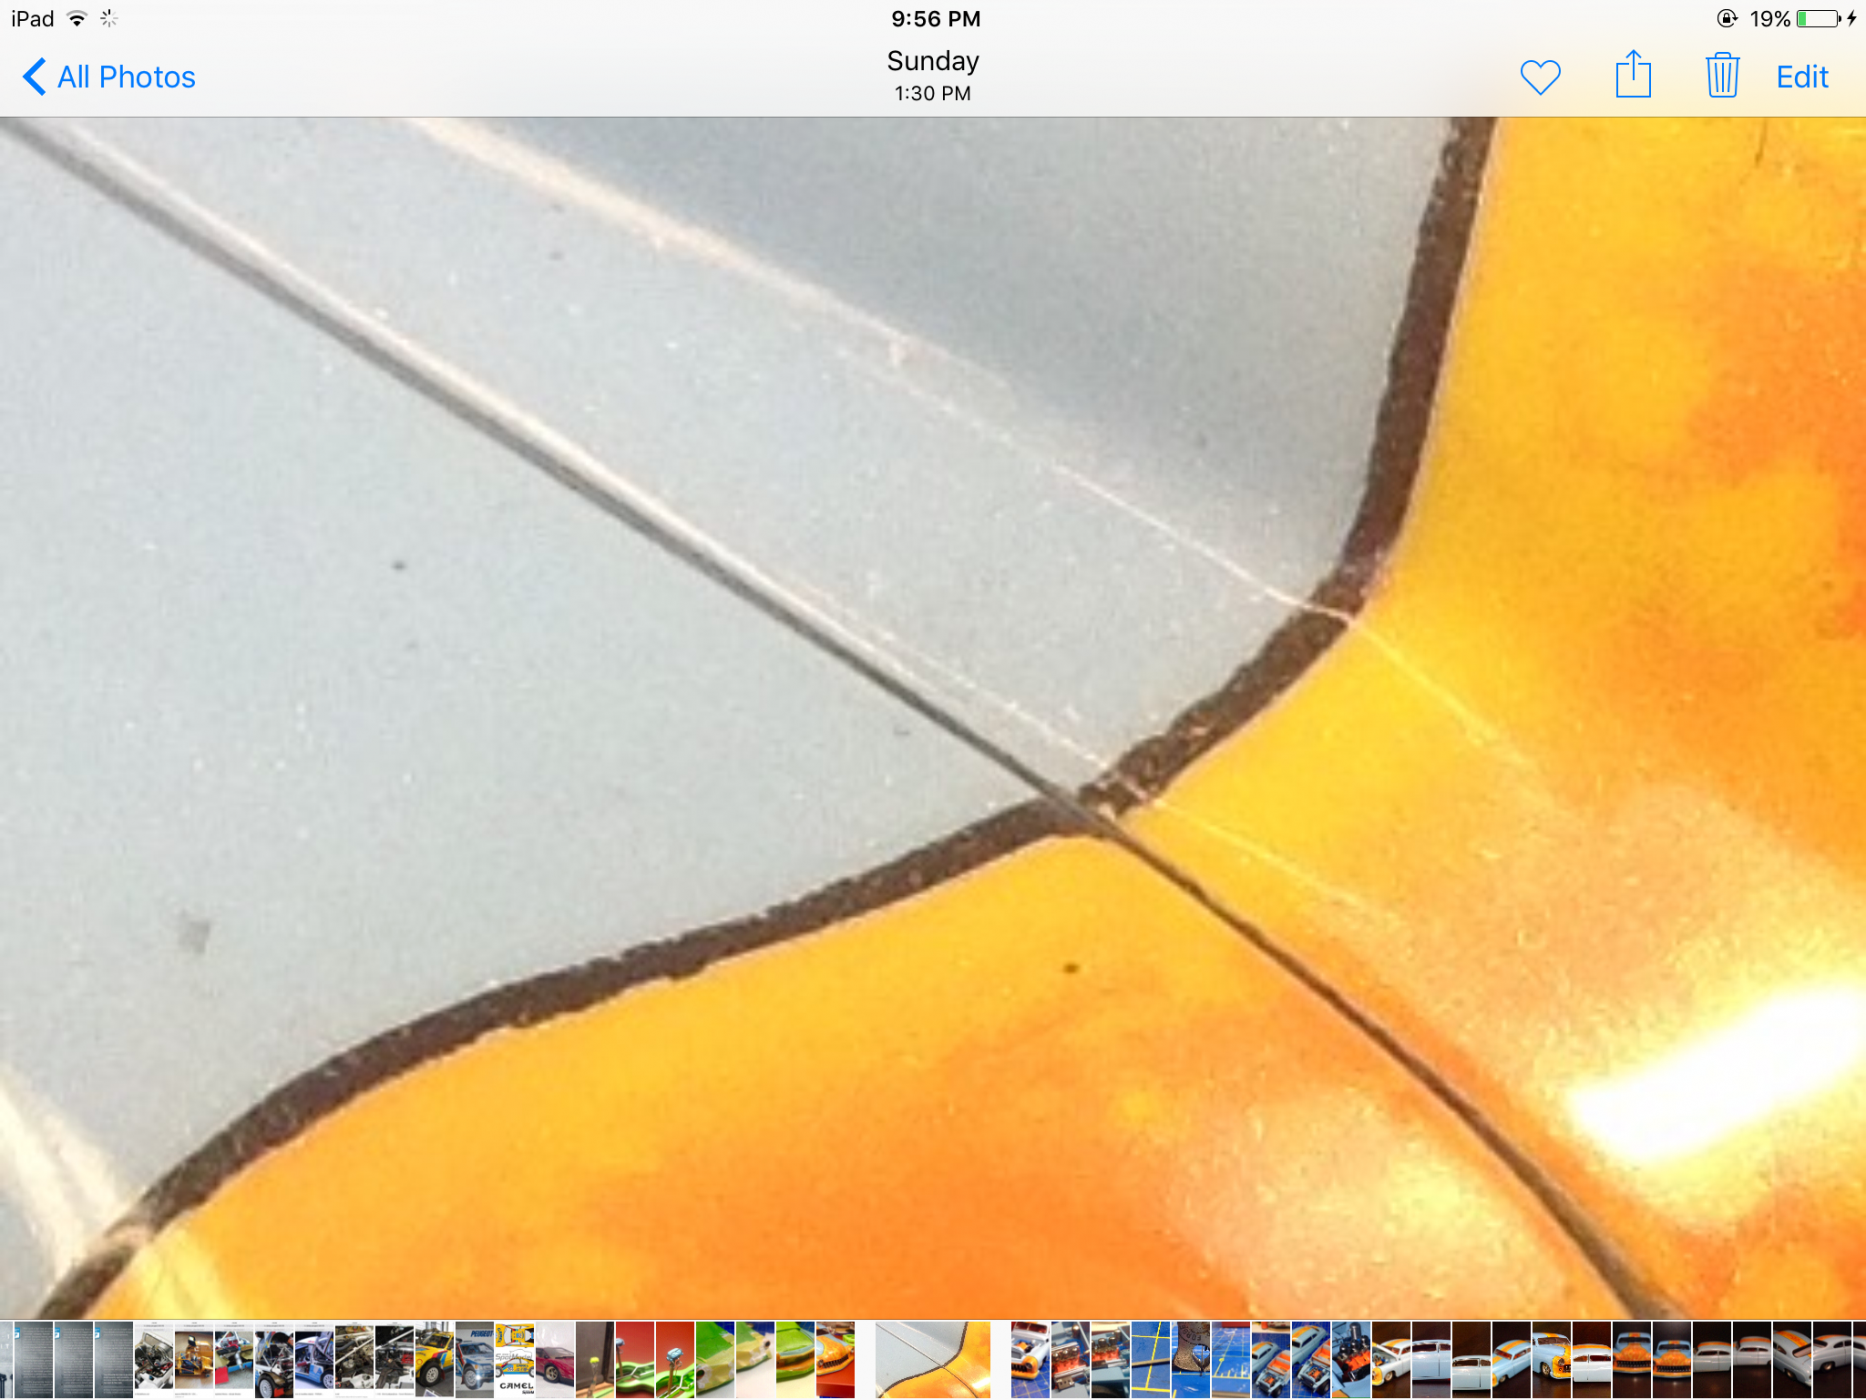
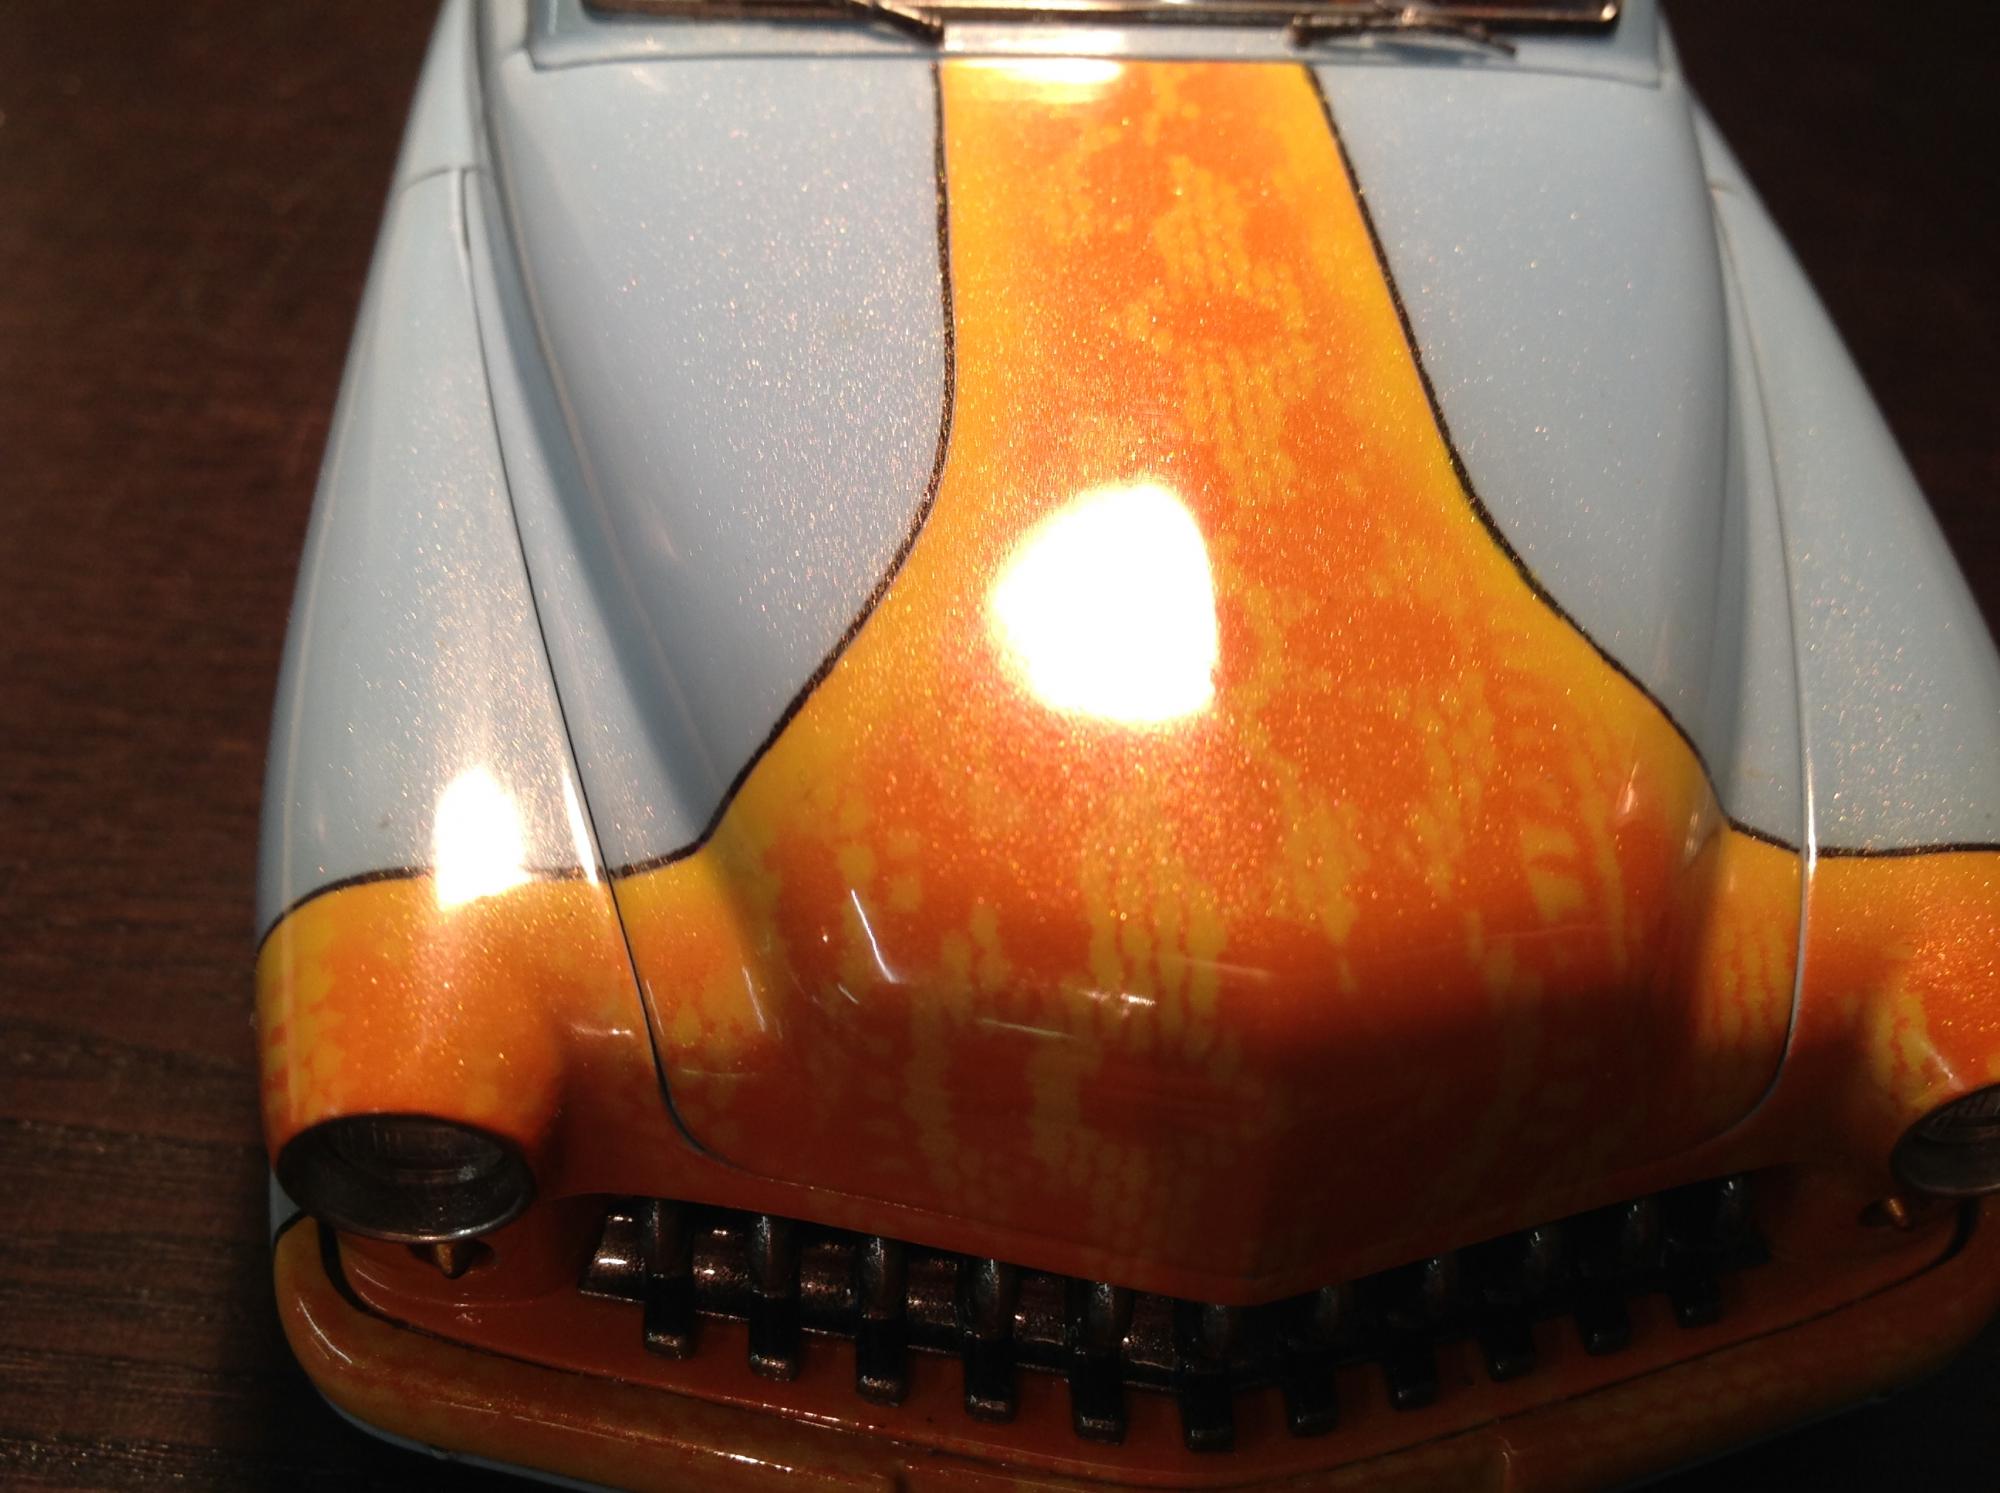
Looking for actual experience advise. I am not new to crisp bleed free tape lines. I am how ever very very new to using the new to me narrow .4mm masking tape and pin stripping a multi lay/colour paint job. Heres's my question. When doing a multi layer/colour job where the pinstripe mask will be down for most of the coats how do you stop the edge from building up so much that when it is wet sanded the edges break and you loose that crisp line. This is my first crack at a multi colour/layer paint job and as you can see the black pin strip is not all that crisp. I understand these pics bring out the flaws but I did that so I can show what I am asking about. My limited experience says I should be wet sanding between every coat, and the coats need to be very light, am I correct? If so what grit should I use? I really want to learn how to do this correctly. Thanks for the help.

-
Thanks Tim.
-
From one rider to another, this is an epically spectacular build.
-
I'll take that as a compliment Harry, thanks.
-
I really dig the look of this.
-
Love those big cars, great build and Chrome work.
-
Bang on dude, what a great build, with some fantastic engine bay detail. Not a fan of the colour but the execution of the entire build is fantastic. Cudos.
-
Wow! When you have skills you have skills no matter how long you've been away from the bench. Way to go bro, welcome back to the model building tribe.
-
Wild awesome looking ride.
-
lol, no idea what you're talking about.
-
? is that the 1/16th kit? Sucks to have those troubles at that stage.
-
Thanks Very much guys. Yes It is Chrome paint. It works 100 times better then Alclad, no hit and miss like Alclad. This stuff can be handled, taped, cleared etc, basically as true to Chrome paint as you will find without the crazy expensive chroming paint. It also comes in rattle cans.
-
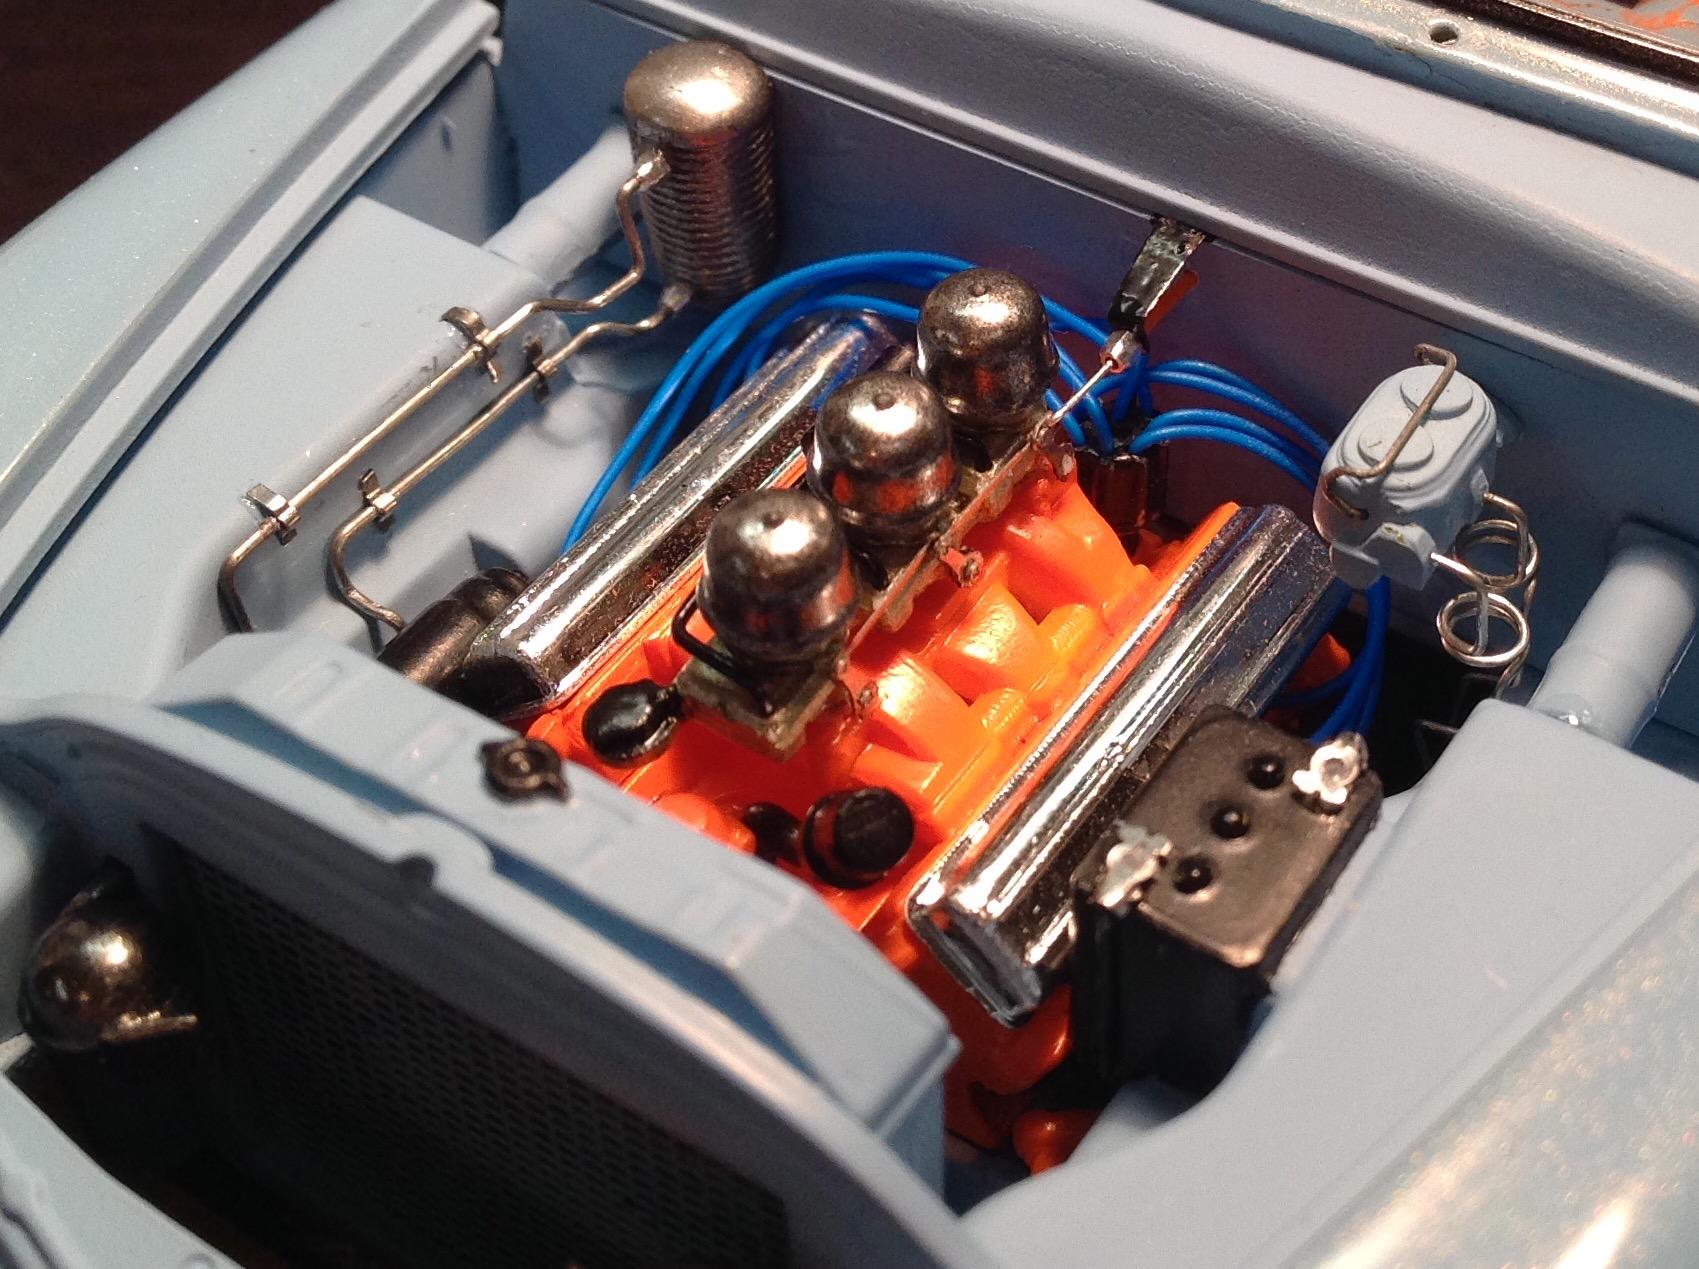
Great looking build, love the colours. Looks like you put some great detail into the engine too.
-
Dan, I am in Ancaster, thank for the props. Lace would be awesome if we could get it in scale, or even get masking laser cut. Thanks for the welcome guys and for the comments on my build.
-
Thanks for checking my build out, and thank you for the kind words. It was a ton of fun.
-
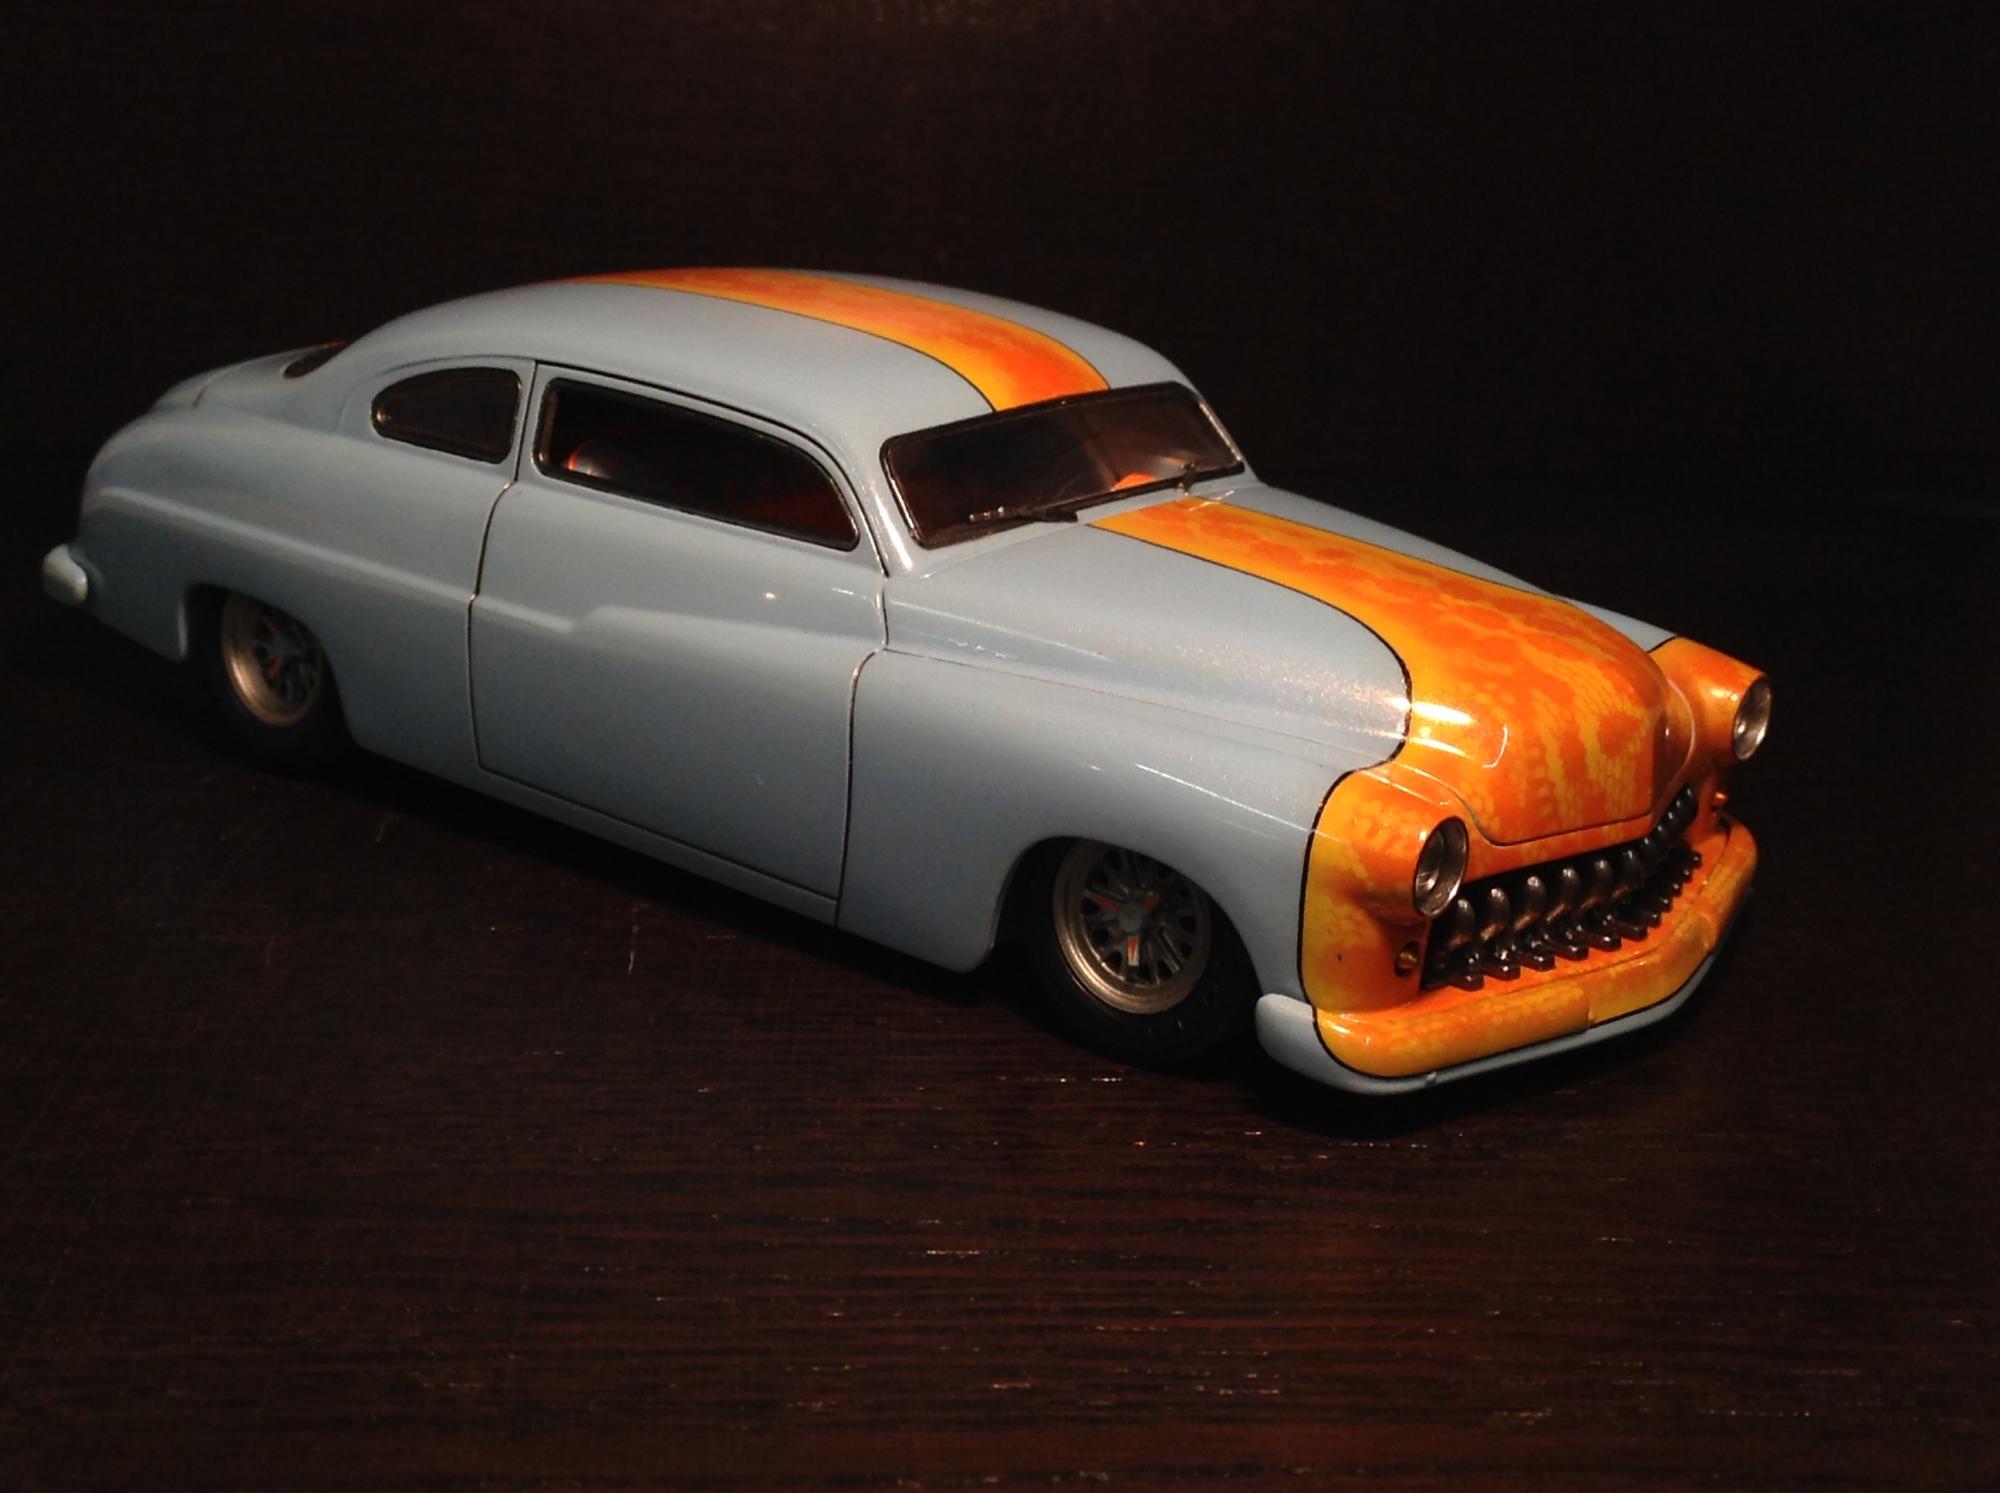
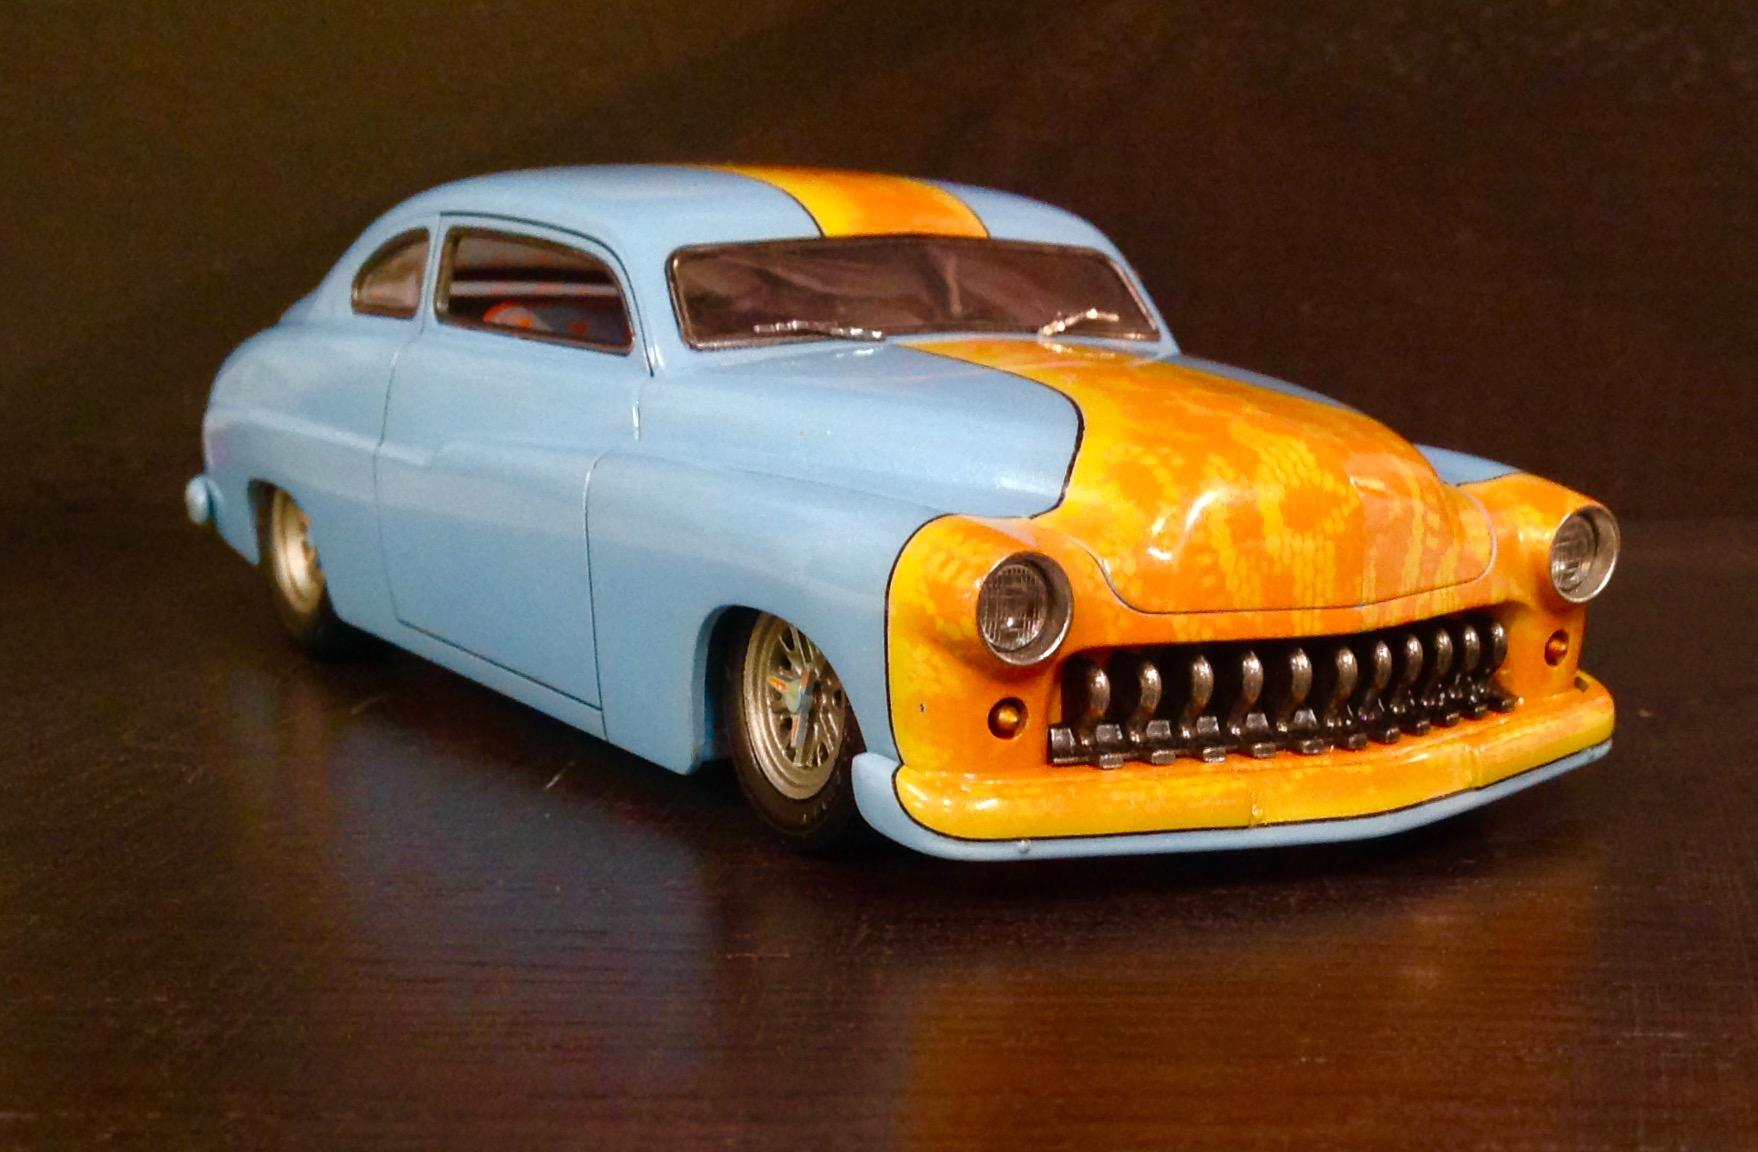
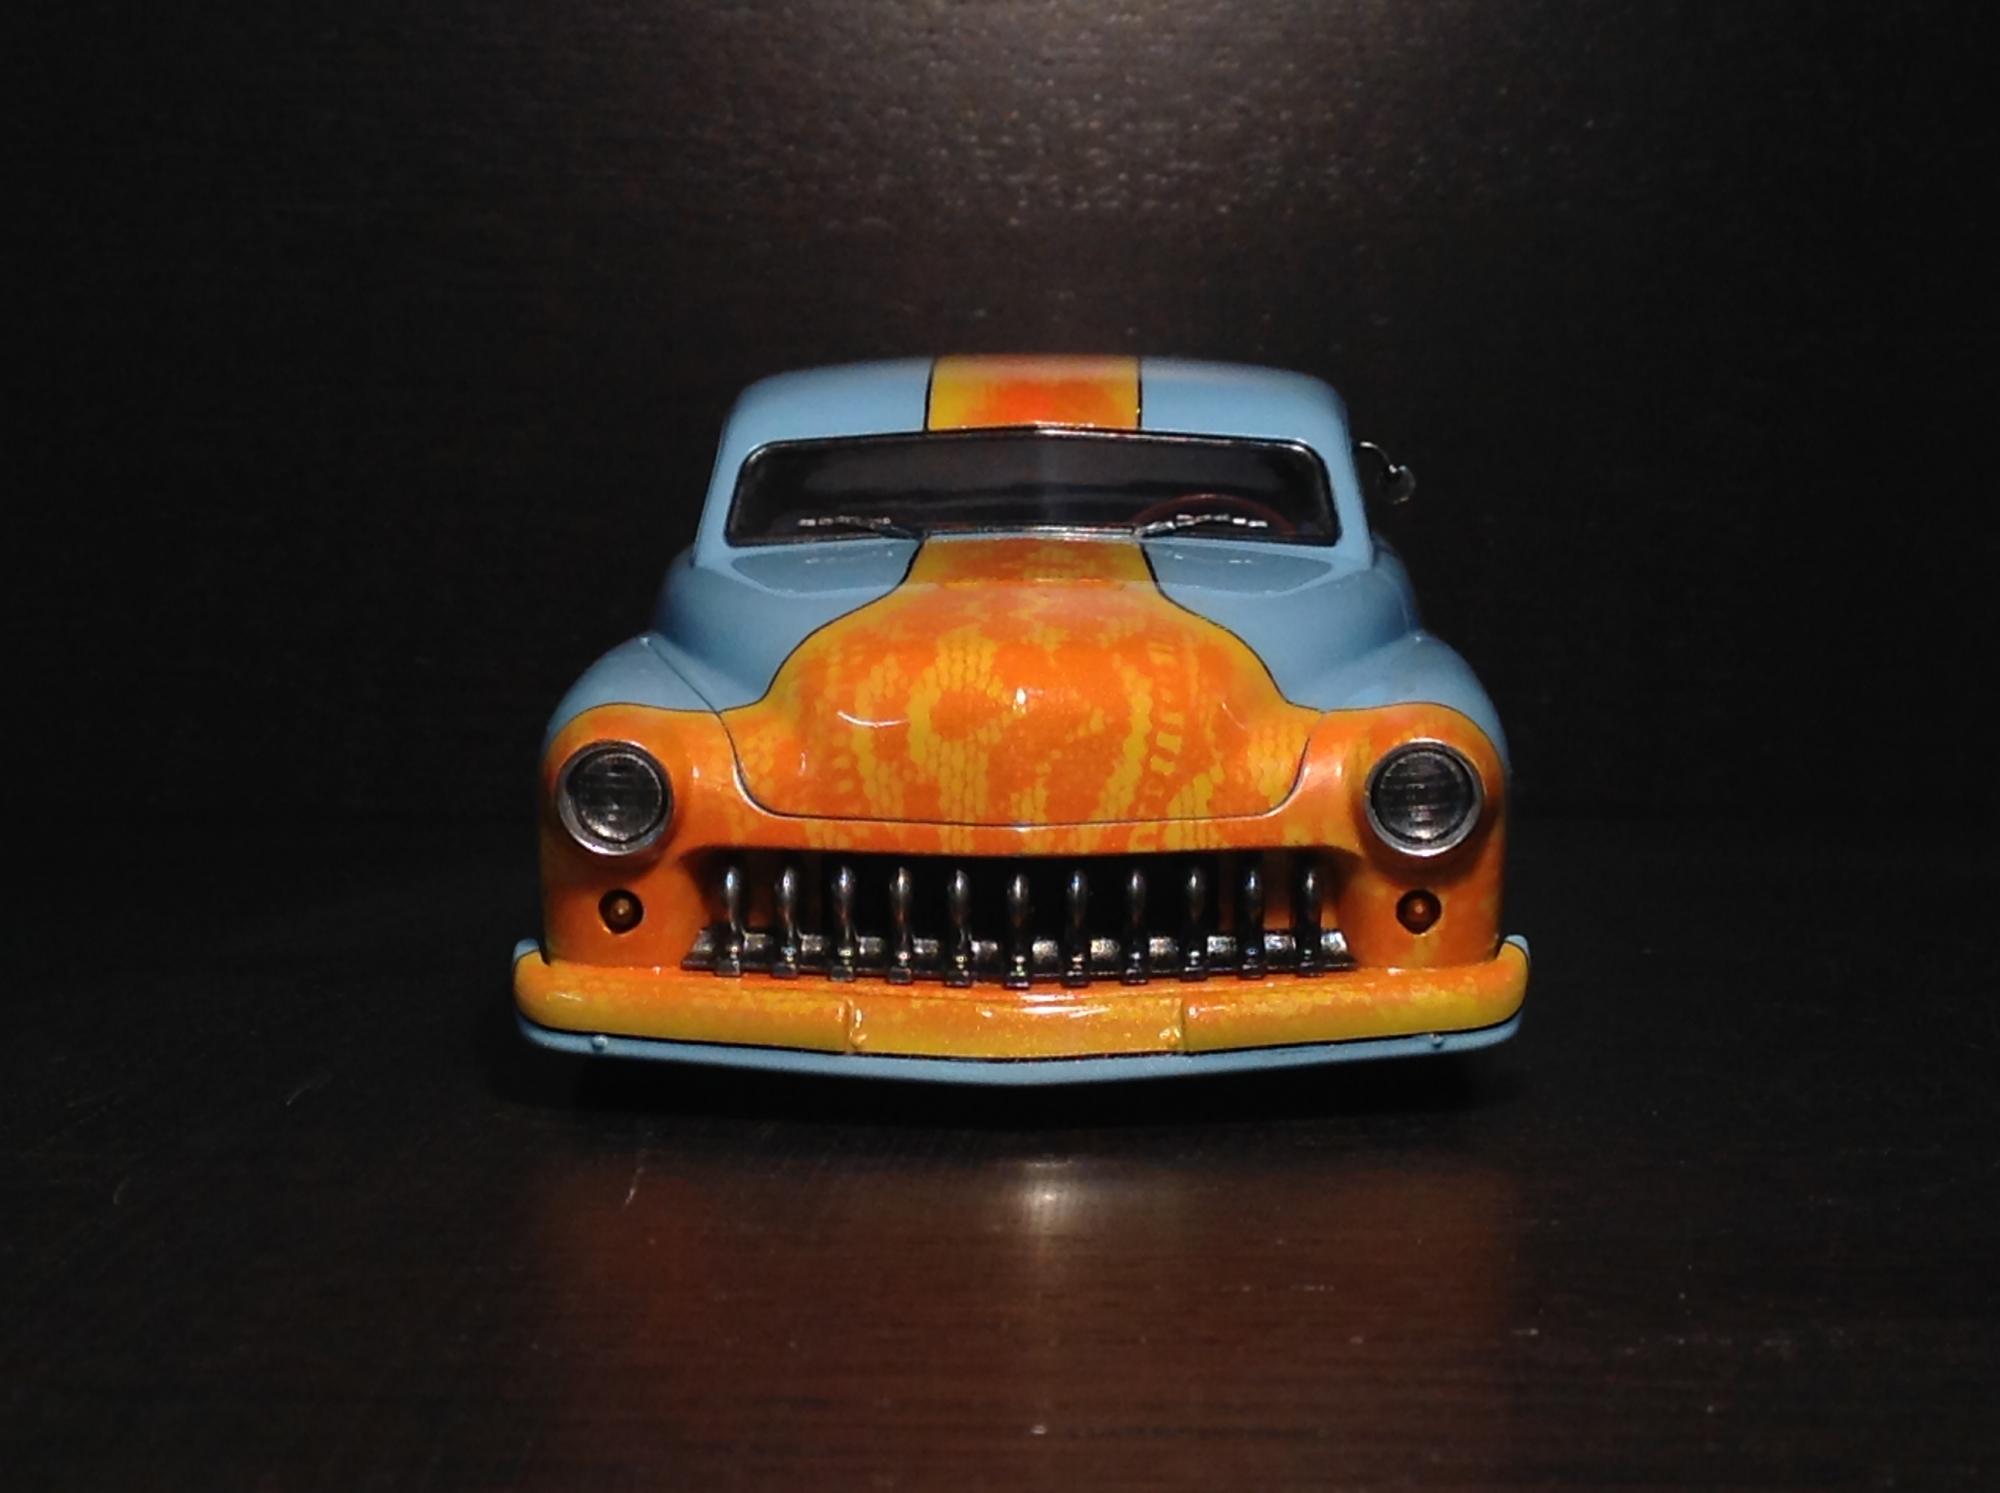
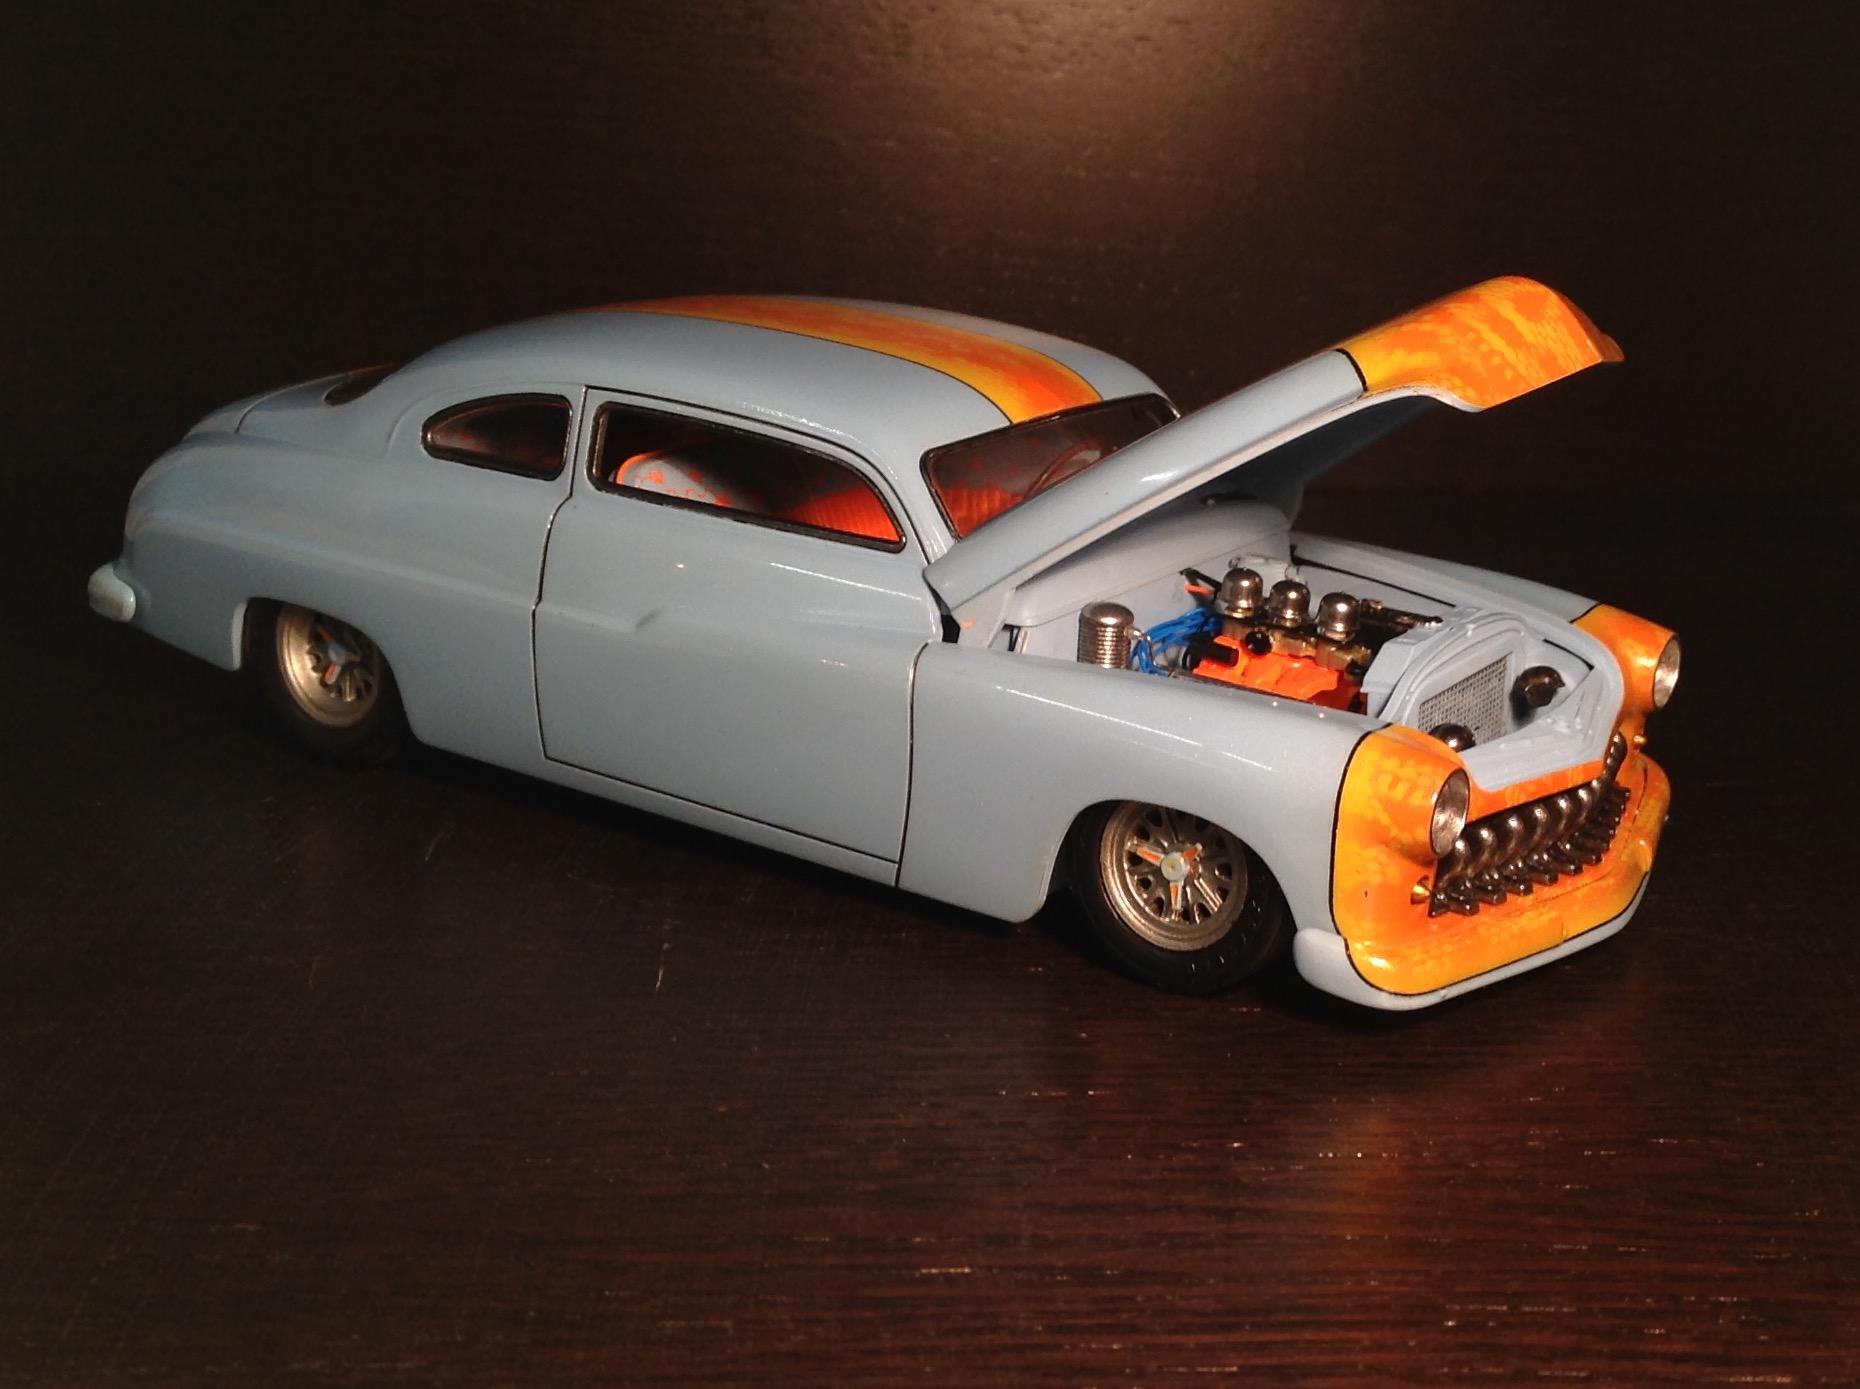
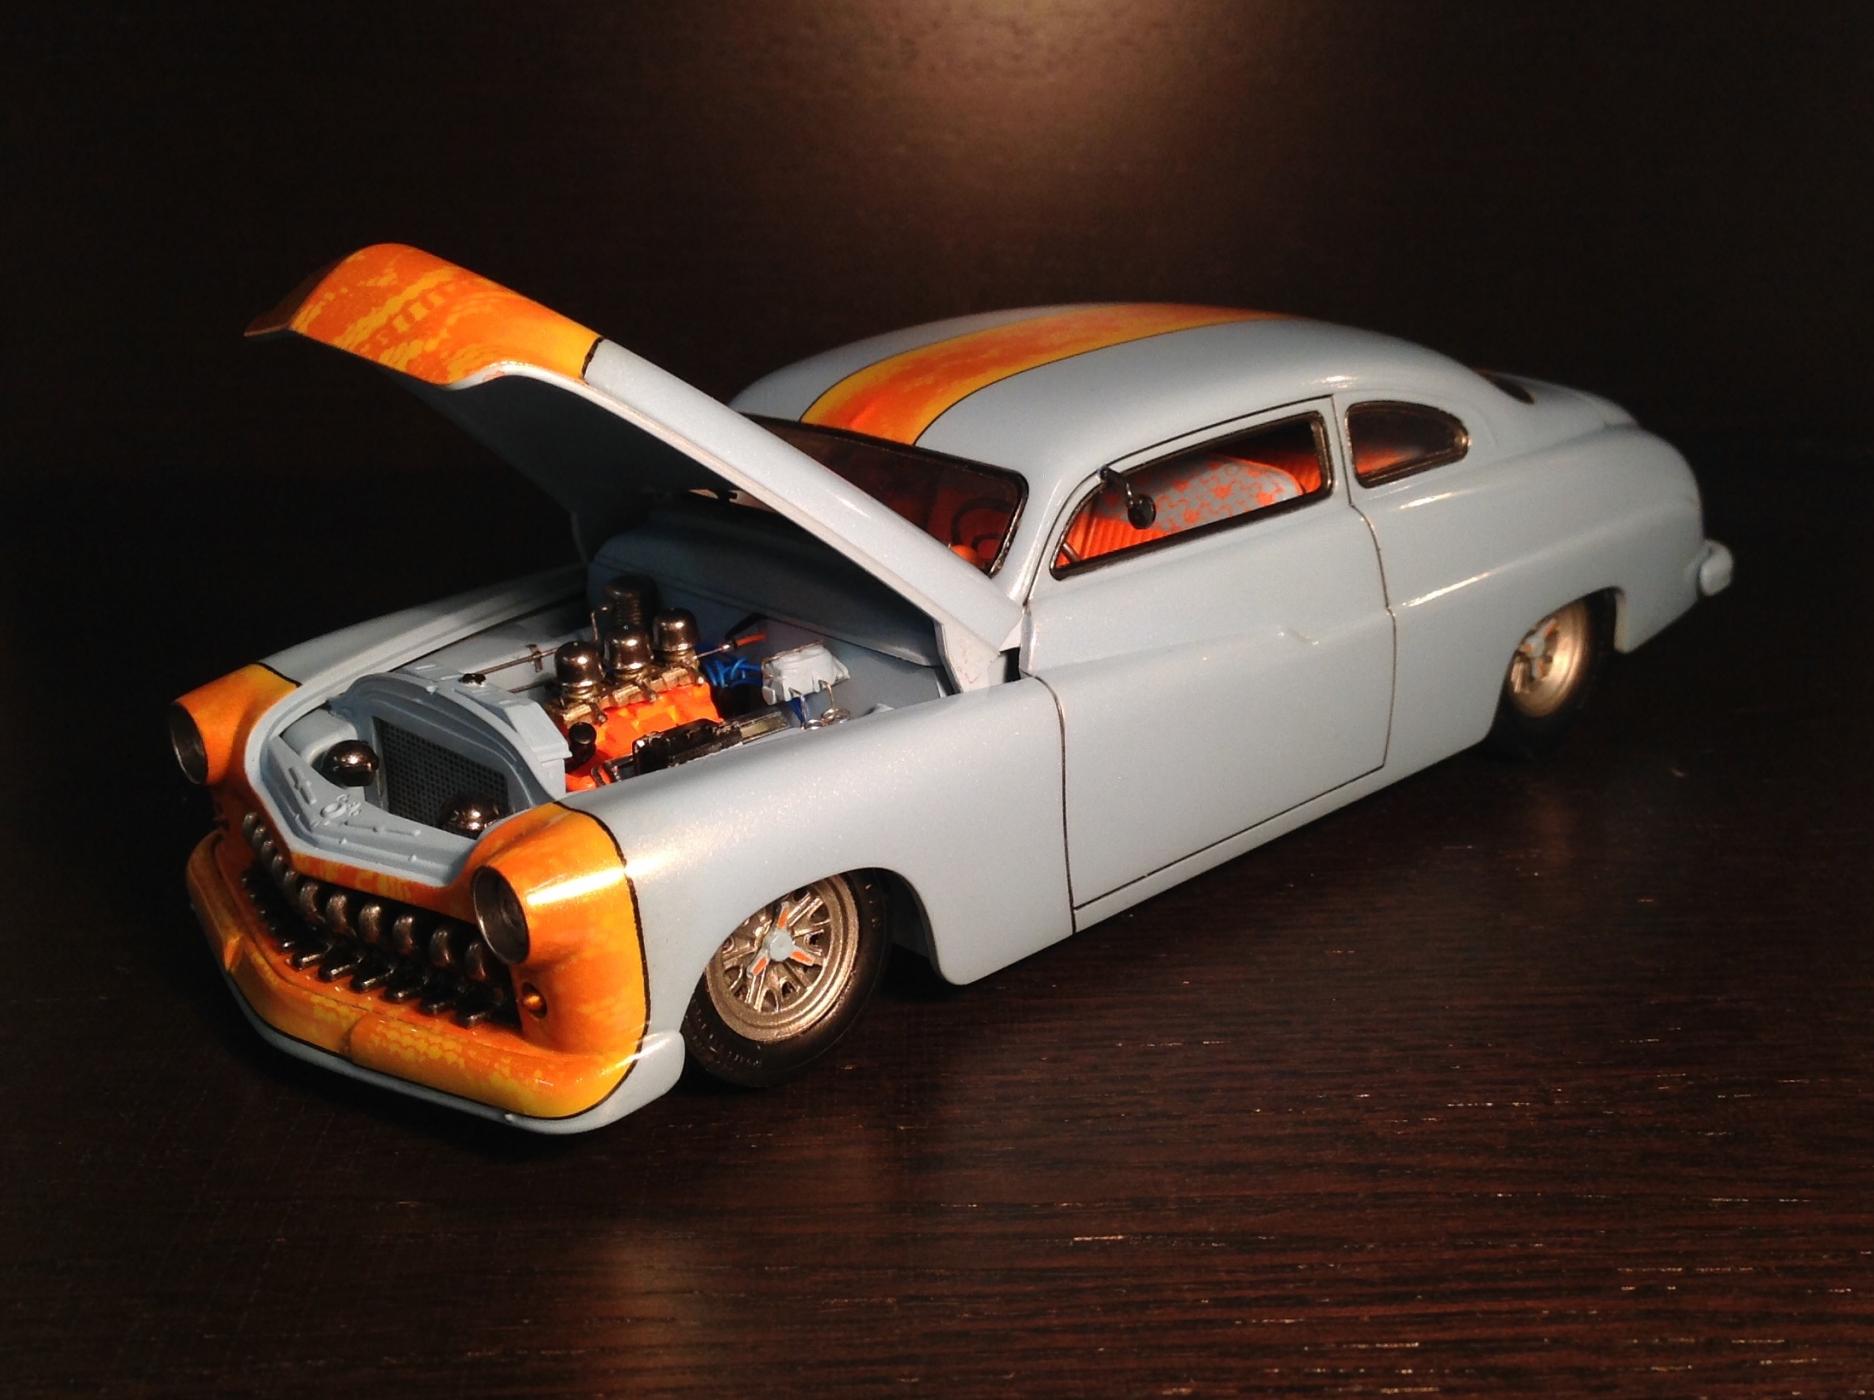
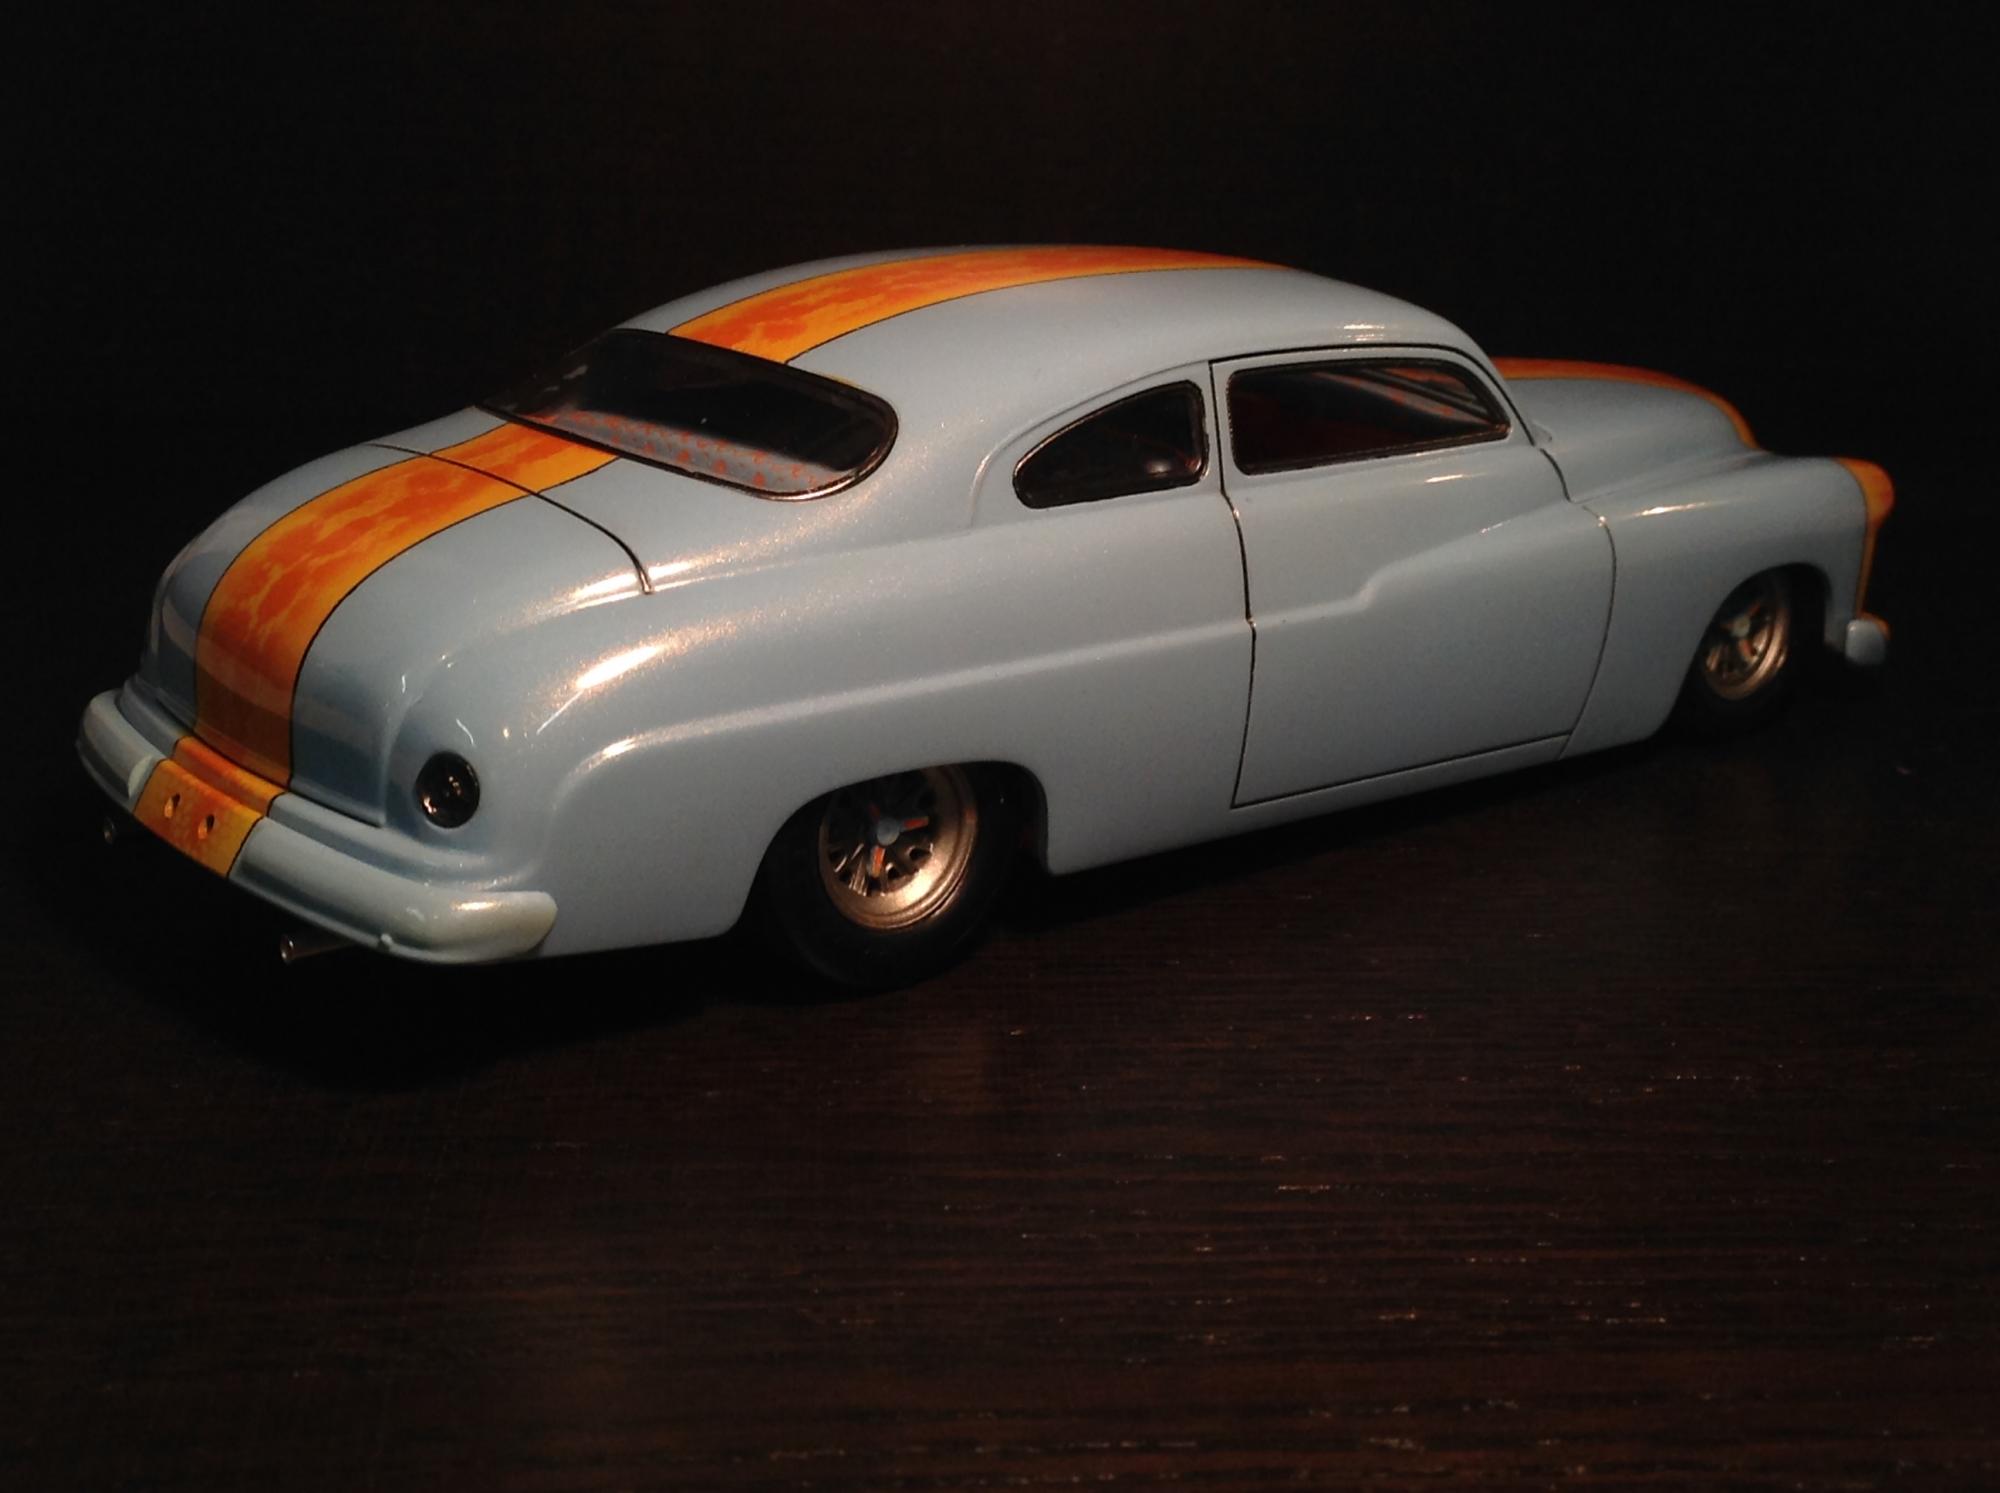
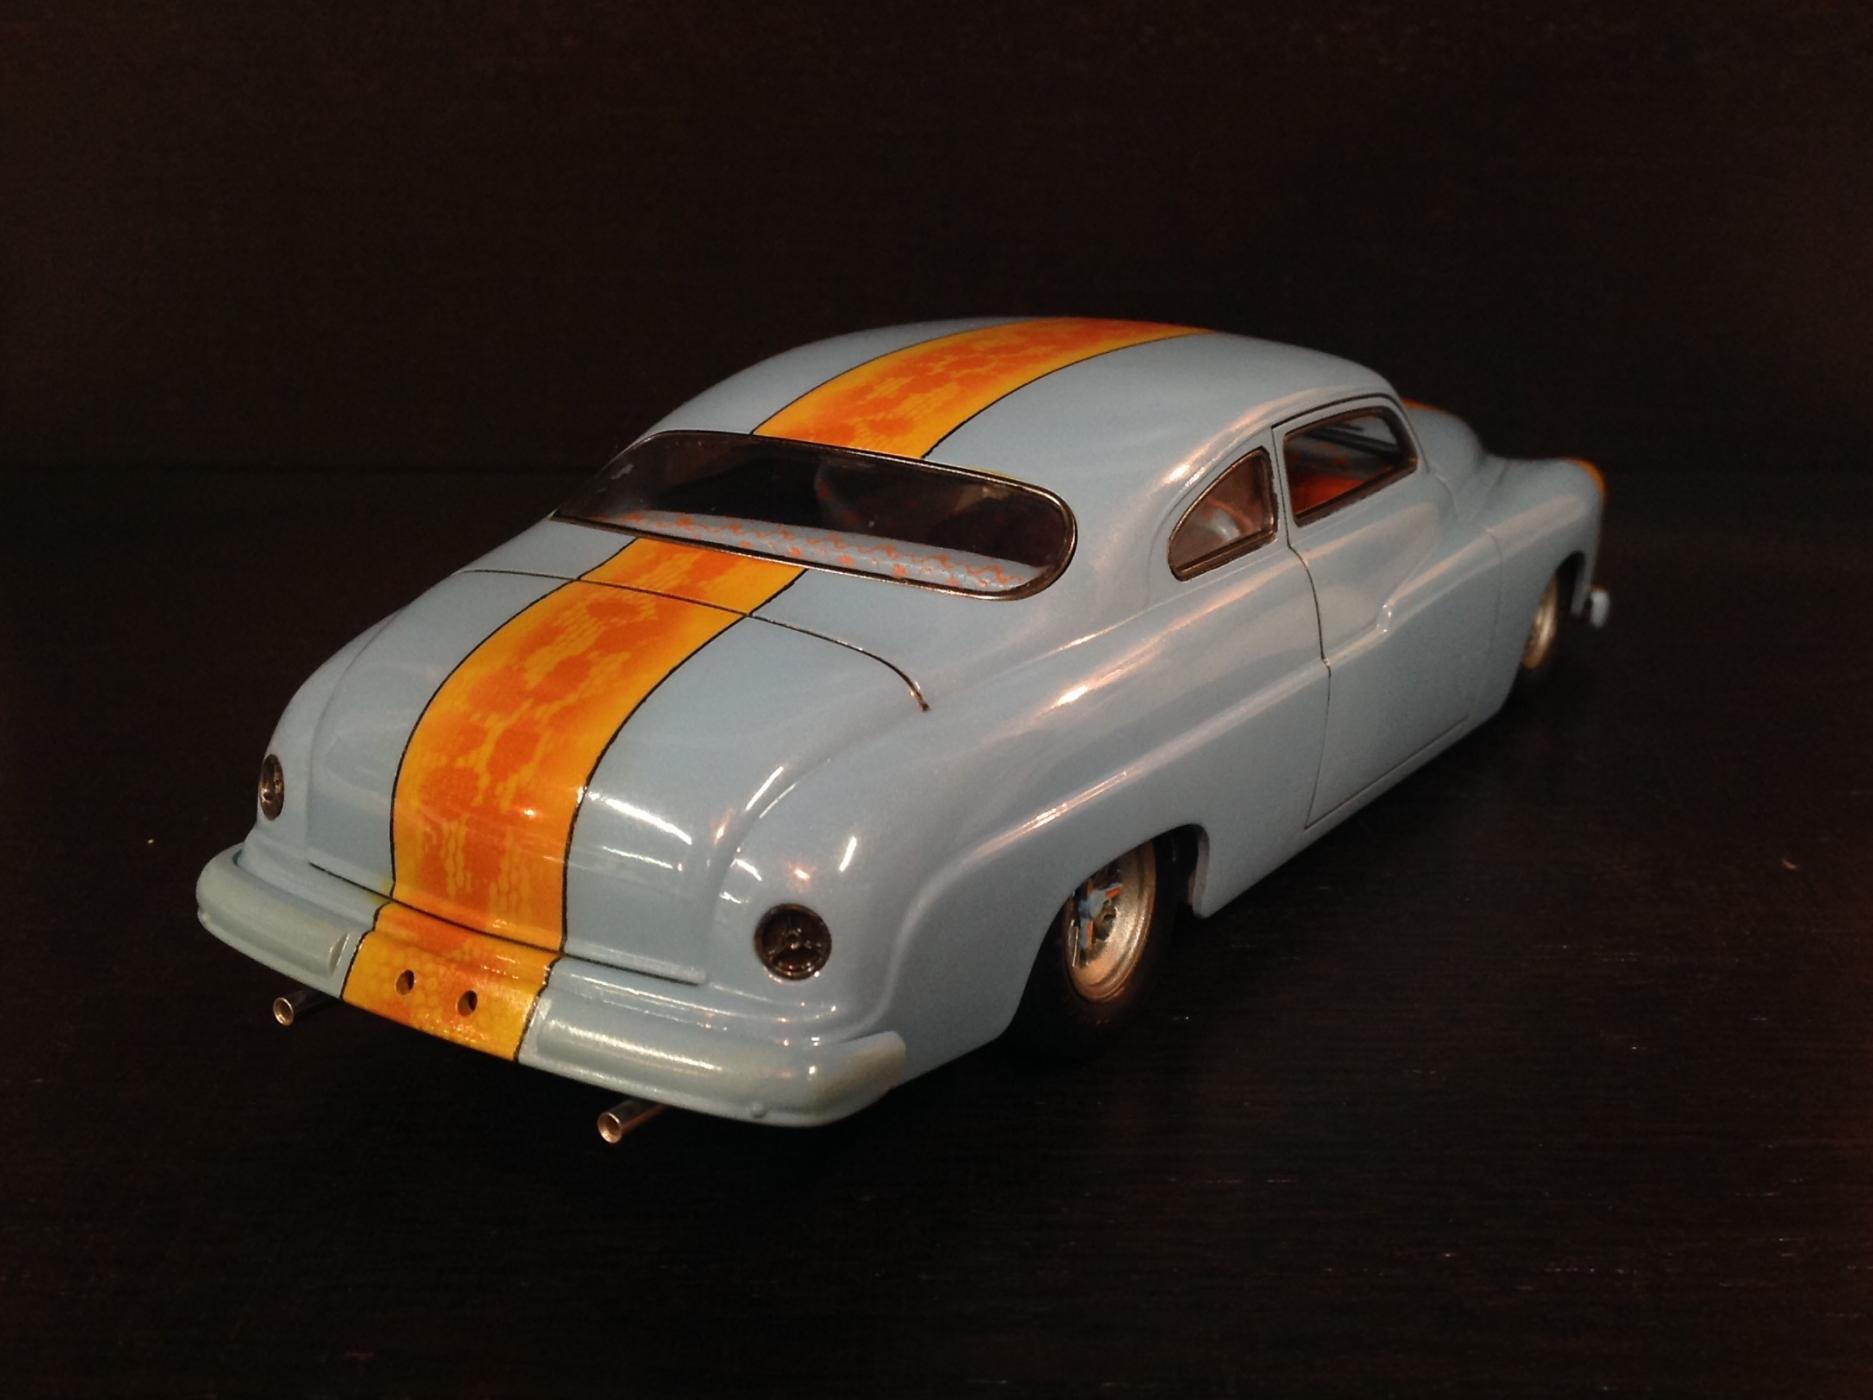
The '49 Revell kit is one of the most popular kits built in recent years. So I had to do something a bit out there. First crack at the lace technique. Zero Paint: GT40 Gulf blue/orange Model Masters: Zinc Cromate Yellow Spaz Stix: Ultra Chrome, Over Tamiya Black Acrylic, for black Chrome effect My own resin wheels/tire's/spinners 2part poly clear with gold pearl powder mixed in. Super fun build, one that I am proud of with much room for improvements.
-
Hello all. Figured I'd drop in and see what's going on. There has always been tons of great builds and content on this site that is inspiring. This is something I recently finished. Lace technique, all paint no decals, self cast wheels/tire's/spinners, .4mm pin stripping. I don't post much on here, but I have hung out now and then.
-
Nice work John, you need to post this on a couple other sights your on too.
-
Great looking car, nice work on the wheel vents.
-
great looking build, lots of add-on detail, nice work.
-
I'm really liking this, great build.. I have the same kit and plan to something very similar.
-
6lbs test fishing line also works. Pull apart old electronics there's always a good selection of wires in those, especially PC's and older hard drives.
-
That label tape tip is awesome. If you can't obtain that you can also use 2 sided tape with a piece of styrene sheet. The styrene sheet/2 sided tape thing works when you need to scribe a curve, you just cut the sheet to what ever curve you need. For actually scribing the lines, as has been said the back of a knife works ok. For added control use a .010" (which is a 1/4 inch in 1/24 scale) drill bit. I've also used the back of a knife but I've ground the tip down flat then put a small back into it with a small relief. This works by scraping a trench into the plastic not cutting into it and moving material to either side of the blade as when using the back side of a blade. This method leaves a much cleaner cut as it removes material while scribing a line.
-
As master is simply the object you cast a mold from. It's refered to as a "master" for the purpose of mold making, if your original mold ever gets damaged or no longer produces quality casts then you retunr to your master and make another mold, you should always return to your "master" to make a new mold. Using a casting can lead to inaccurate castings due to many issue such shrinkage or warpage. Your master can be a simple wheel and tire. If your asking how to make a master from scratch. That's a subject I'll leave to builders with sculpting skills.
-
Drag Racing cars - how to open doors (detail)
Rider replied to DWR's topic in WIP: Drag Racing Models
If you search the tips section Mr. Obssesive (Bill) has put up a pretty detailed tutorial on how to do the doors I think somewhere about a year ago. As for the front fender/grill, your going to have to make your own inner panels. When cutting (opening) any panels take your time use any number of tools to scrape the plastic out making a groove until you "break" though.To help with getting around corners use a mini drill bit making a series of holes as close together as possible then once all other areas are done you can flex the shell and panel to break the remaining bits, then sand the area to smooth. There is more then one way to achieve clean cut panels, figure out what works best for you. And ALWAYS try a junk body first until your happy with the results.