Force
-
Posts
4,608 -
Joined
-
Last visited
Content Type
Profiles
Forums
Events
Gallery
Everything posted by Force
-

2023 BRGB Movin' On Kenworth
Force replied to leafsprings's topic in WIP: Model Trucks: Big Rigs and Heavy Equipment
Mark Stracener who bought the only known Movin On TV series truck from season 1, one of the 1974 "Sundance" trucks, from Paul Sagehorn a couple of years ago and currently owns it, he is restoring it back to it's former glory with the correct Cummins VT903, torsion bar suspension and all, he do have a set of the TV series correct 22 inch split ring Alcoa wheels for tube tires but tires for them are not that easy to get hold of these days so he will use the newer tubeless style 11.00-24½ Alcoas for now. There aren't many tire manufacturers who does 11.00-22 tires for trucks these days and Mark at Twin Stick Garage (youtube channel) had difficulty getting tires for his Snowman replica build, finally he managed to get a set of 10 but it wasn't easy and most likely not cheap. Here is a video of the "Sundance" truck as it was 6 months ago. -
As Gerry says, there are many to choose from, but you have to decide if you are going to do a Mk I, Mk II, J-Car or MK IV For Mk I you have the Revell GT and the newly issued 68-69 MK I (reboxed Fujimi), the Fujimi kits and the old Testors/IMC/Union kits. Mk II Fujimi, Revell (reboxed Fujimi), Meng and IMC/Testors/Union kits J-Car IMC/Testors/Union and MPC. Mk IV IMC/Testors/Union and MPC There are also some aftermarket stuff for the GT 40's, both complete kits and conversion kits
-
As the 289 and 302 (except Boss) pretty much are the same you can look for parts for a 302. I can't remember right now if I have seen anything like you are looking for but the Weber intake manifold can be converted to fuel injection with some injector stacks and a few modifications. But I believe the Ford racers prefered to use the larger more powerful FE instead of the small block for racing in the "heavier" classes and I don't think I have seen many blown 289's except for Paxtons back in the day.
-
2023 BRGB Movin' On Kenworth
Force replied to leafsprings's topic in WIP: Model Trucks: Big Rigs and Heavy Equipment
This I will follow. I plan to build one of the Movin' On trucks myself and have gathered lots of pictures and information as well as the DVD's of both seasons. The second season trucks were 1975 models and are slightly different from the first season 1974 model trucks. -
I have both the Meng and Fujimi kits and both has their drawbacks, but I think the body has better proportions on the Fujimi kit, but as Justin says all the Fujimi GT 40 kits are curbside. The Meng kit is full detail but has some issues and I belive it's based on their 1:12 kit and the wheels and some other parts are not that great as some details are quite crude representations of what they are supposed to be.
-
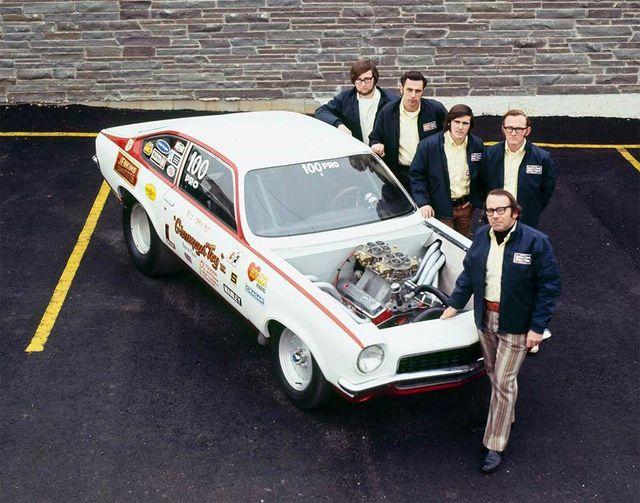
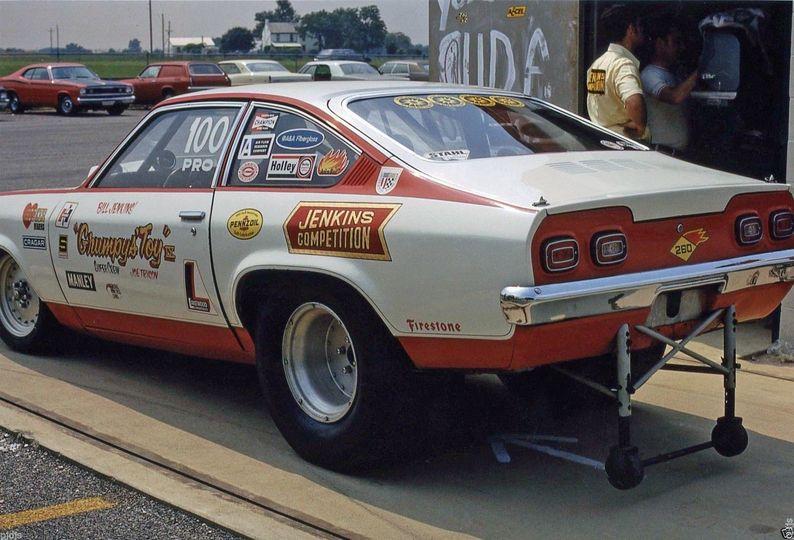
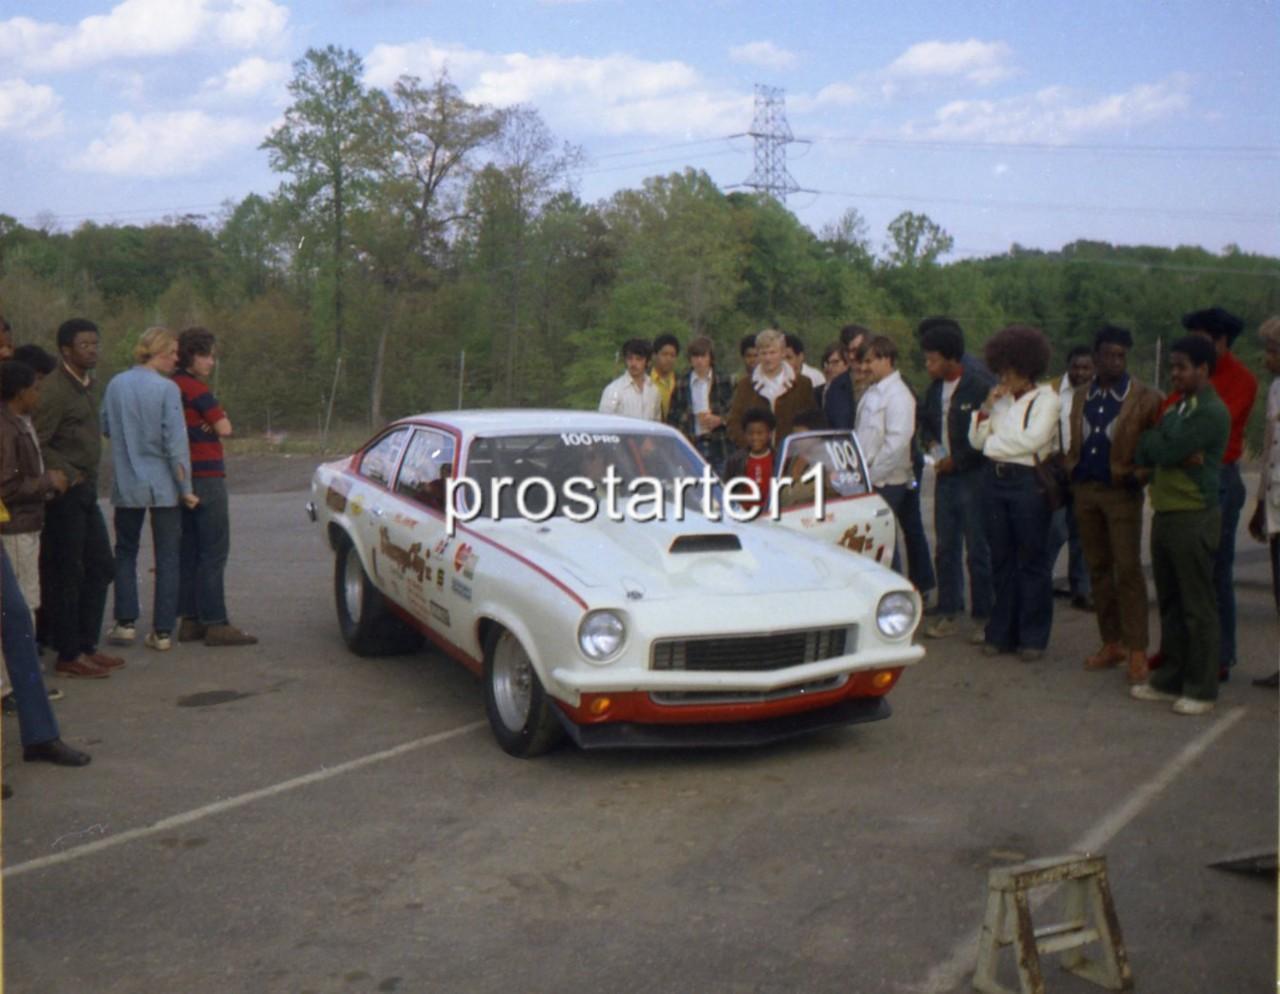
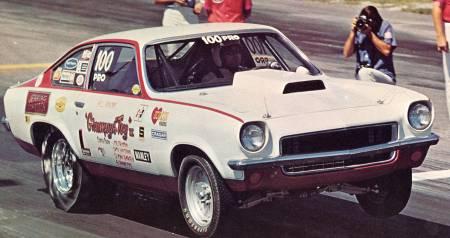
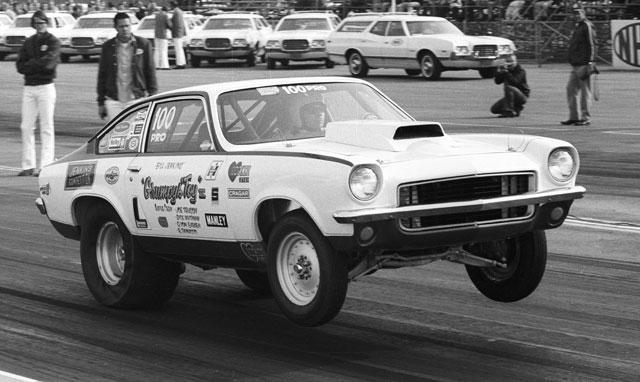
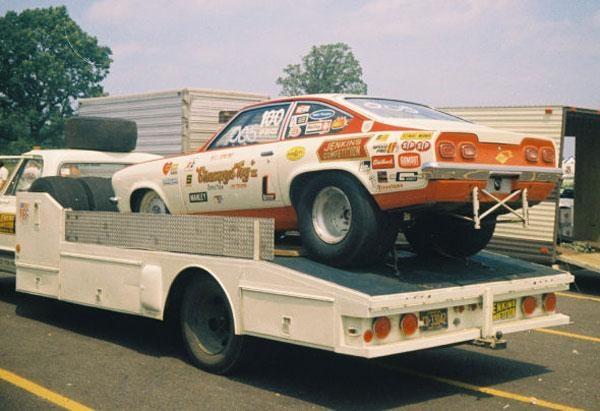
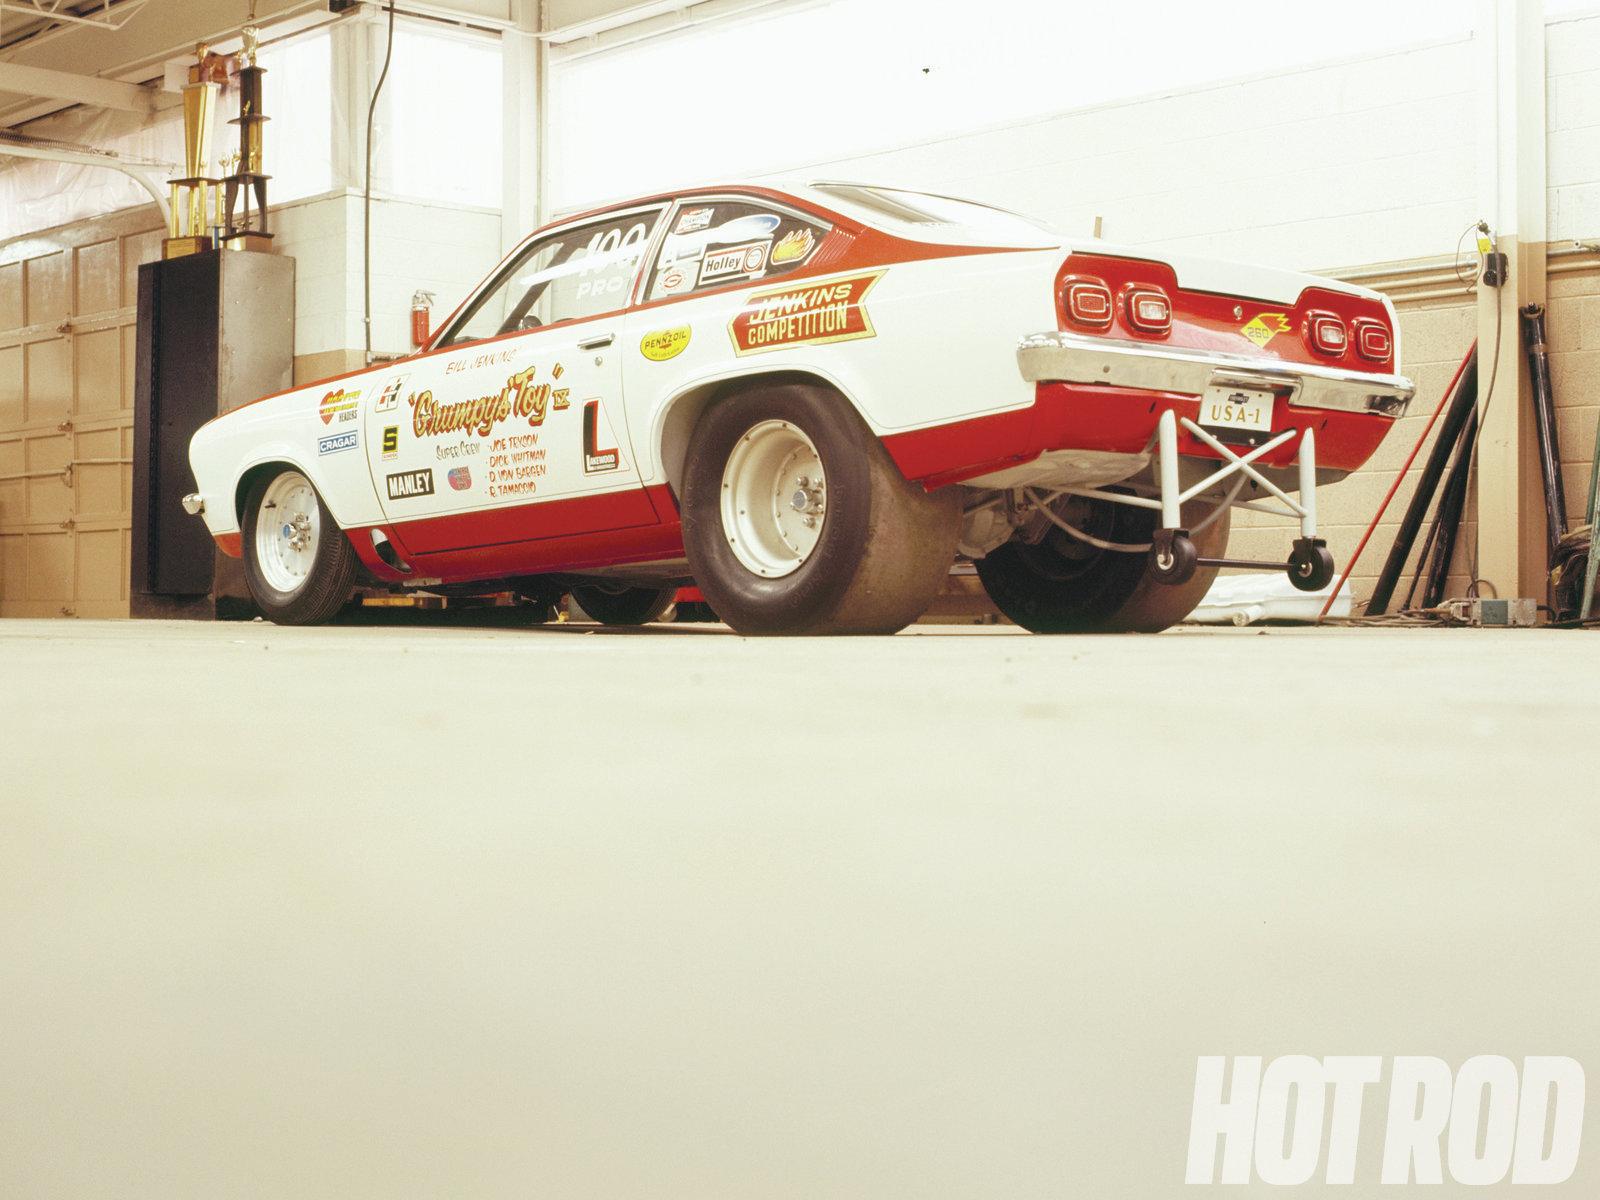
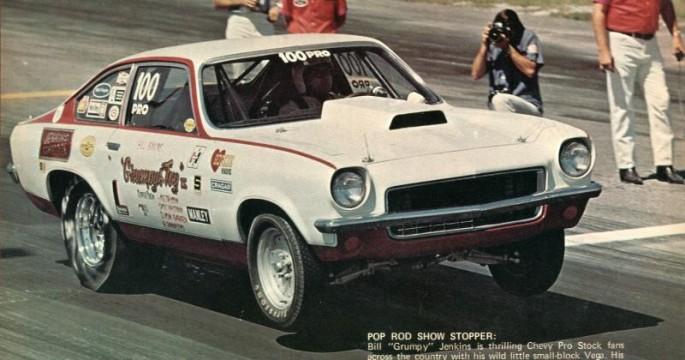
The red sided car was only used a short ammount of time and was crashed, and in 1973 only as I understand it. All the pictures of it I have seen the red sided car has Pro 3 on it and in the 1972 season he had Pro 100.
-
I'm looking forward to see the progress.
-
It came out beautiful. Nice work Mark.
-
BRGB Kenworth Alaskan Hauler
Force replied to k100's topic in WIP: Model Trucks: Big Rigs and Heavy Equipment
Yes it's supposed to be that way, the U-joints takes up that angle difference as well as the differences in hight. No axles as far as I know has the drive shaft in the center of the axle, it's more or less off center depending on manufacturer and how the power dividers on the forward axle are made. How much angle difference there are from the center depends on the distance between the center support bearing and the forward axle, on a longer drive shaft it's not as visible as on a short one. As you see here the drive shaft is not exactly in the center. And this one -
This one? I may have a few more but these are the ones I found right now.

-
Yes you are of course right, I just checked my kits bought back then...16 years ago...time flies. I went by Scale Mates timeline in my earlier post wich often are wrong...so it's 2007, not 2011. And yes, it's time to reissue this kit.
-
BRGB Kenworth Alaskan Hauler
Force replied to k100's topic in WIP: Model Trucks: Big Rigs and Heavy Equipment
Yes that's right, the drive shaft are slightly off center on most axles as the pinions are to one side of the ring gear in the differential, and in a power divider wich are used on dual drive tandems gears go down to drive the pinion on the forward axle and another shaft goes past the ring gear and come out off center at the rear of the pumpkin to drive the pinion on the rear axle. -
I believe it was out 2011, 12 years ago...so one think it would be up for reissue soon.
-
Nice, the curved part on top could maybe have a sharper radius as it looks a bit too round, that will also put the step slightly higher. As you say, some things needs to be exaggerated some to look right, but overall it looks good.
-
Yes, the E model har the same dash as the C model Aerodynes, and that goes for both the E model Flat Top and Aerodyne cabs, so the dash you have done will work just fine for the E model. Yes a little tweak was necessary and maybe even a bit more, the upper surface of the step should be slightly below the bottom of the curved part and it could be even slightly higher, and the radius of the curved part could be slightly sharper and this would move the step and handles up even more and it will be close to perfect according to my nitpicking eye. ? You are right, the sides of the battery boxes are steel and don't have any diamond plate, it's only the covers that are aluminum diamond plate. There seems to have been a couple different patterns for the lower step used on the W900 battery boxes and one I have seen on many trucks is like you can see below but the one you did will work just fine and you don't have to change it if you don't want to.
-
Don't worry about it, the dash looks really good and I like to see it printed...as I said, I have lots of kits who need this dash. If you do a K100E I'm up for one. Flat Top or Aerodyne, well it's depending on personal taste, I suggested the Revell kit because the basic kit is the same for both the Flat Top and Aerodyne with different separate roof sections on the same cab, the downside is the price they go for and that they are not in production right now. But if you do something for the AMT kit you are pretty much locked on the Aerodyne as the only Flat Top they have is the K123 with a shorter and older style cab.
-
First look inside the Box: Salvinos JR Joey Logano Mustang
Force replied to tim boyd's topic in Car Kit News & Reviews
Well the NASCAR Ford FR-9 is not that Ford based as it's not a production engine, it's especially developed for NASCAR by Doug Yates and not available in any form in any car from the Ford factory. You forgot the most noticable parts on the engines, namely the shape of the heads and valve covers wich are very different between Ford FR-9 and Chevrolet R07, they could at least have done those 4 parts right but it doesn't look like they did. Most of the rest of the engine is pretty much covered by the air cleaner and vents. Yes that's it. -
BRGB Kenworth Alaskan Hauler
Force replied to k100's topic in WIP: Model Trucks: Big Rigs and Heavy Equipment
Nice and crisp castings indeed. -
Firestone 10x20 Tires
Force replied to Warren D's topic in WIP: Model Trucks: Big Rigs and Heavy Equipment
The soft ERTL tires are Good Year 11.00-20 and I really like them as they have some meat to them, the original tires in AMT kits has 10.00-20 wich I think looks a tad small, or 11.00-22 wich looks better, the makes are Uniroyal, Good Year or Firestone. -
Pre-wired Top Fuel Duel Distributors
Force replied to Katsusauce's topic in Model Building Questions and Answers
I have not seen any pre-wired MSD Pro Mag 44's anywhere. -
If Scott or someone else does a convincing E model I'm up for it. I may be nitpicking but I want it to look right, I'm sorry about that but that's how my mind works.
-
Now we're talking. It looks good, maybe the knobs for the brake valves could have been even a touch smaller but it's good enough and 200% better than the kit offerings, so good work...now to the printer. ?? When it comes to the drivers side ash tray it's not a big deal as it's under the dash on the "dog house" and easy to scratch build if you want to. As for the K100E, I would be interested in whatever you decide to do, a front clip for an excisting cab you graft on or a complete cab, AMT or Revell AG doesn't matter as I have several of both. If you decide to do a complete cab the Revell AG kit it might be easier as the roof section on the Revell K100's is a separate piece so you can build either a flat top or Aerodyne depending on what kit you start with.
-
I believe the more angular grille came at the same time as the square headlights and it would look weird with square headlights and the more rounded grille from the C model. But as I said, I have seen someone quite recently who did the headlights and the parts where the headlights mount to, I don't remember where, probably on facebook somewhere...but you also need the more angular grille if you want to fake it...just my observation. One thing one could do is print a correct front section of the cab so one could be able to graft it on a K100C cab, because I believe the roof section is the same on the C and E and it's just the wind screens that are slanted 3 degrees more backwards and the front section under the wind screens is 4 inches further forward on the E compared to the C, and make the square stuff like the grille, horns and lights too, in that case we would get a more correct K100E. The side skirt above the front wheels are also at a different angle on the E compared to the C wich are more rounded. The reason for the setback front axle was to be able to mount longer leaf springs for a smoother ride, but that would not matter if someone did a correct cab as both versions were available on the E model.
-
I have seen somewhere that someone was doing just that but it takes more than the headlights to do a K100E, the whole front section of the cab is different as well as the grille wich is more angular than on the earlier K100's. The cab on the E model wich came 1984 is slightly longer as the windshields are laid back 3 degrees more than on the previous K100 models and the cab grew from 86 to 90 inches for the shorter single bunk cab and from 108 to 112 inches for the longer dual bunk cab, so the cab is 4 inches longer from front to back on an E model than the previous models while the roof lentgh is the same. So to do a correct K100E you have to do a complete cab, headlights and grille to get the right look as well as the side grab bars with steps wich are different from the earlier B and C models with separate aluminum steps, and the square horns, roof lights and turn signals. With that said it's not undoable but more work intensive.
-
I might give it a try. Do you have the personal version for private use?