

Modlbldr
-
Posts
6,878 -
Joined
-
Last visited
Content Type
Profiles
Forums
Events
Gallery
Posts posted by Modlbldr
-
-
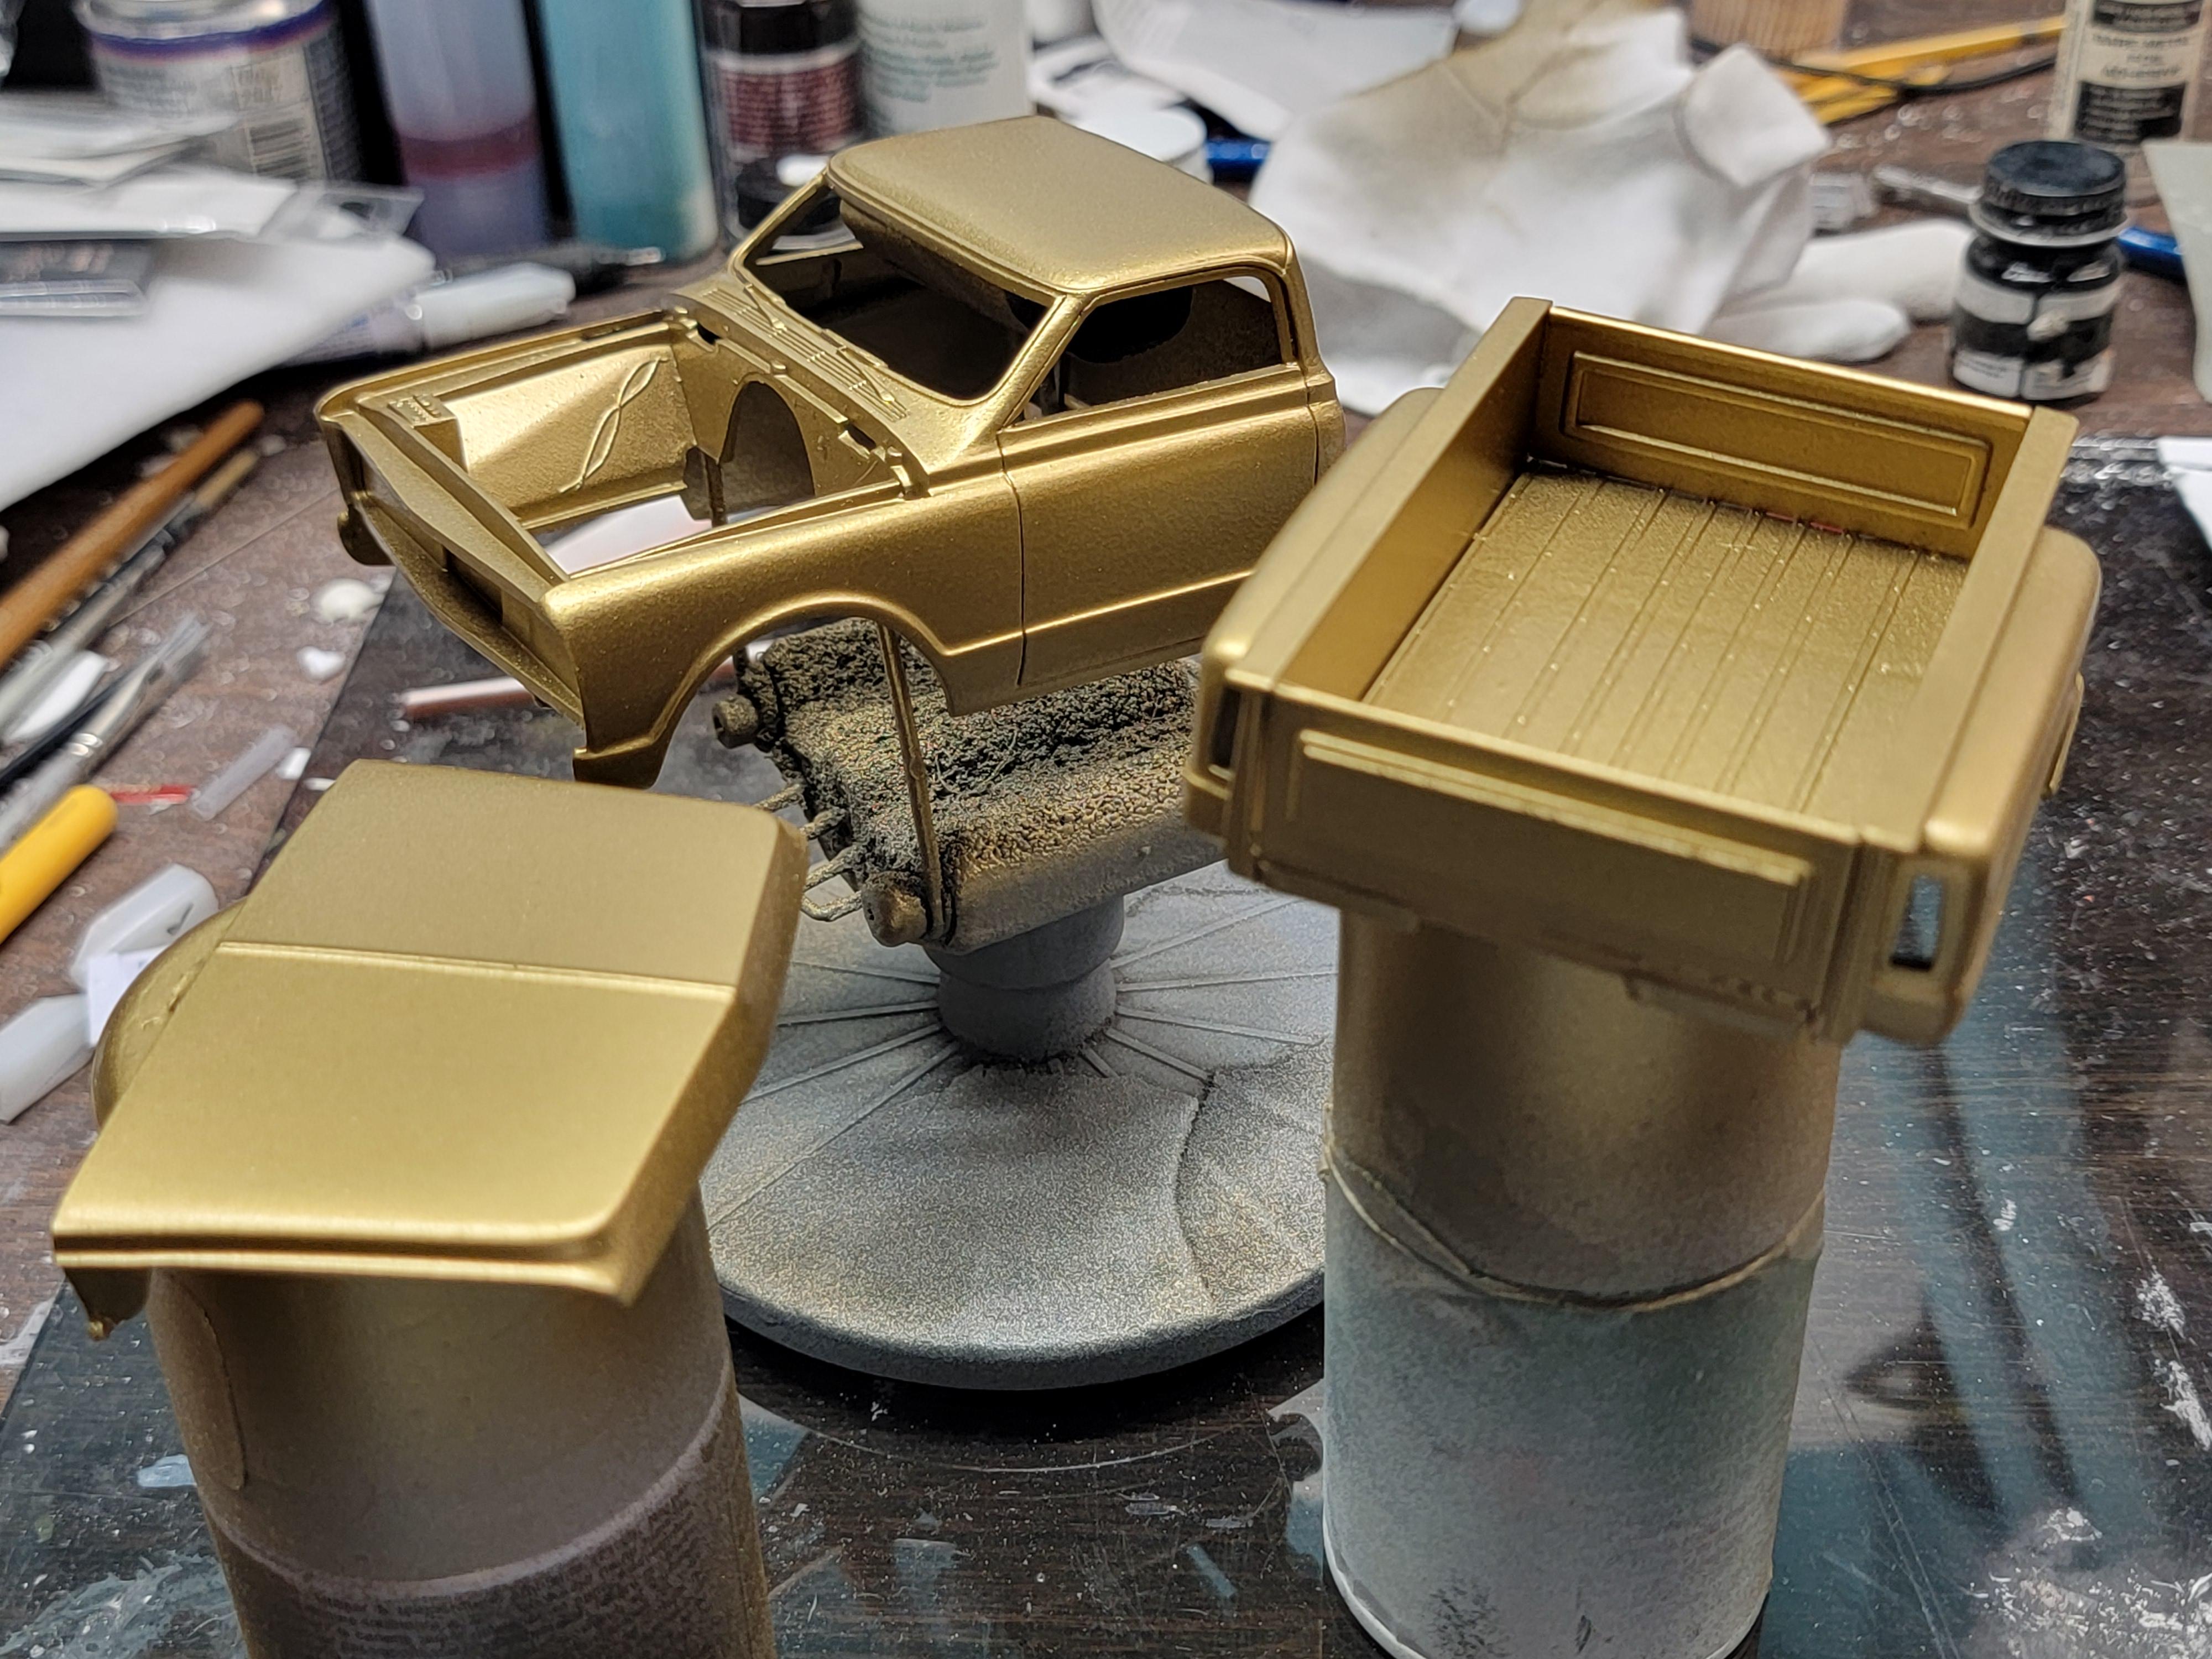
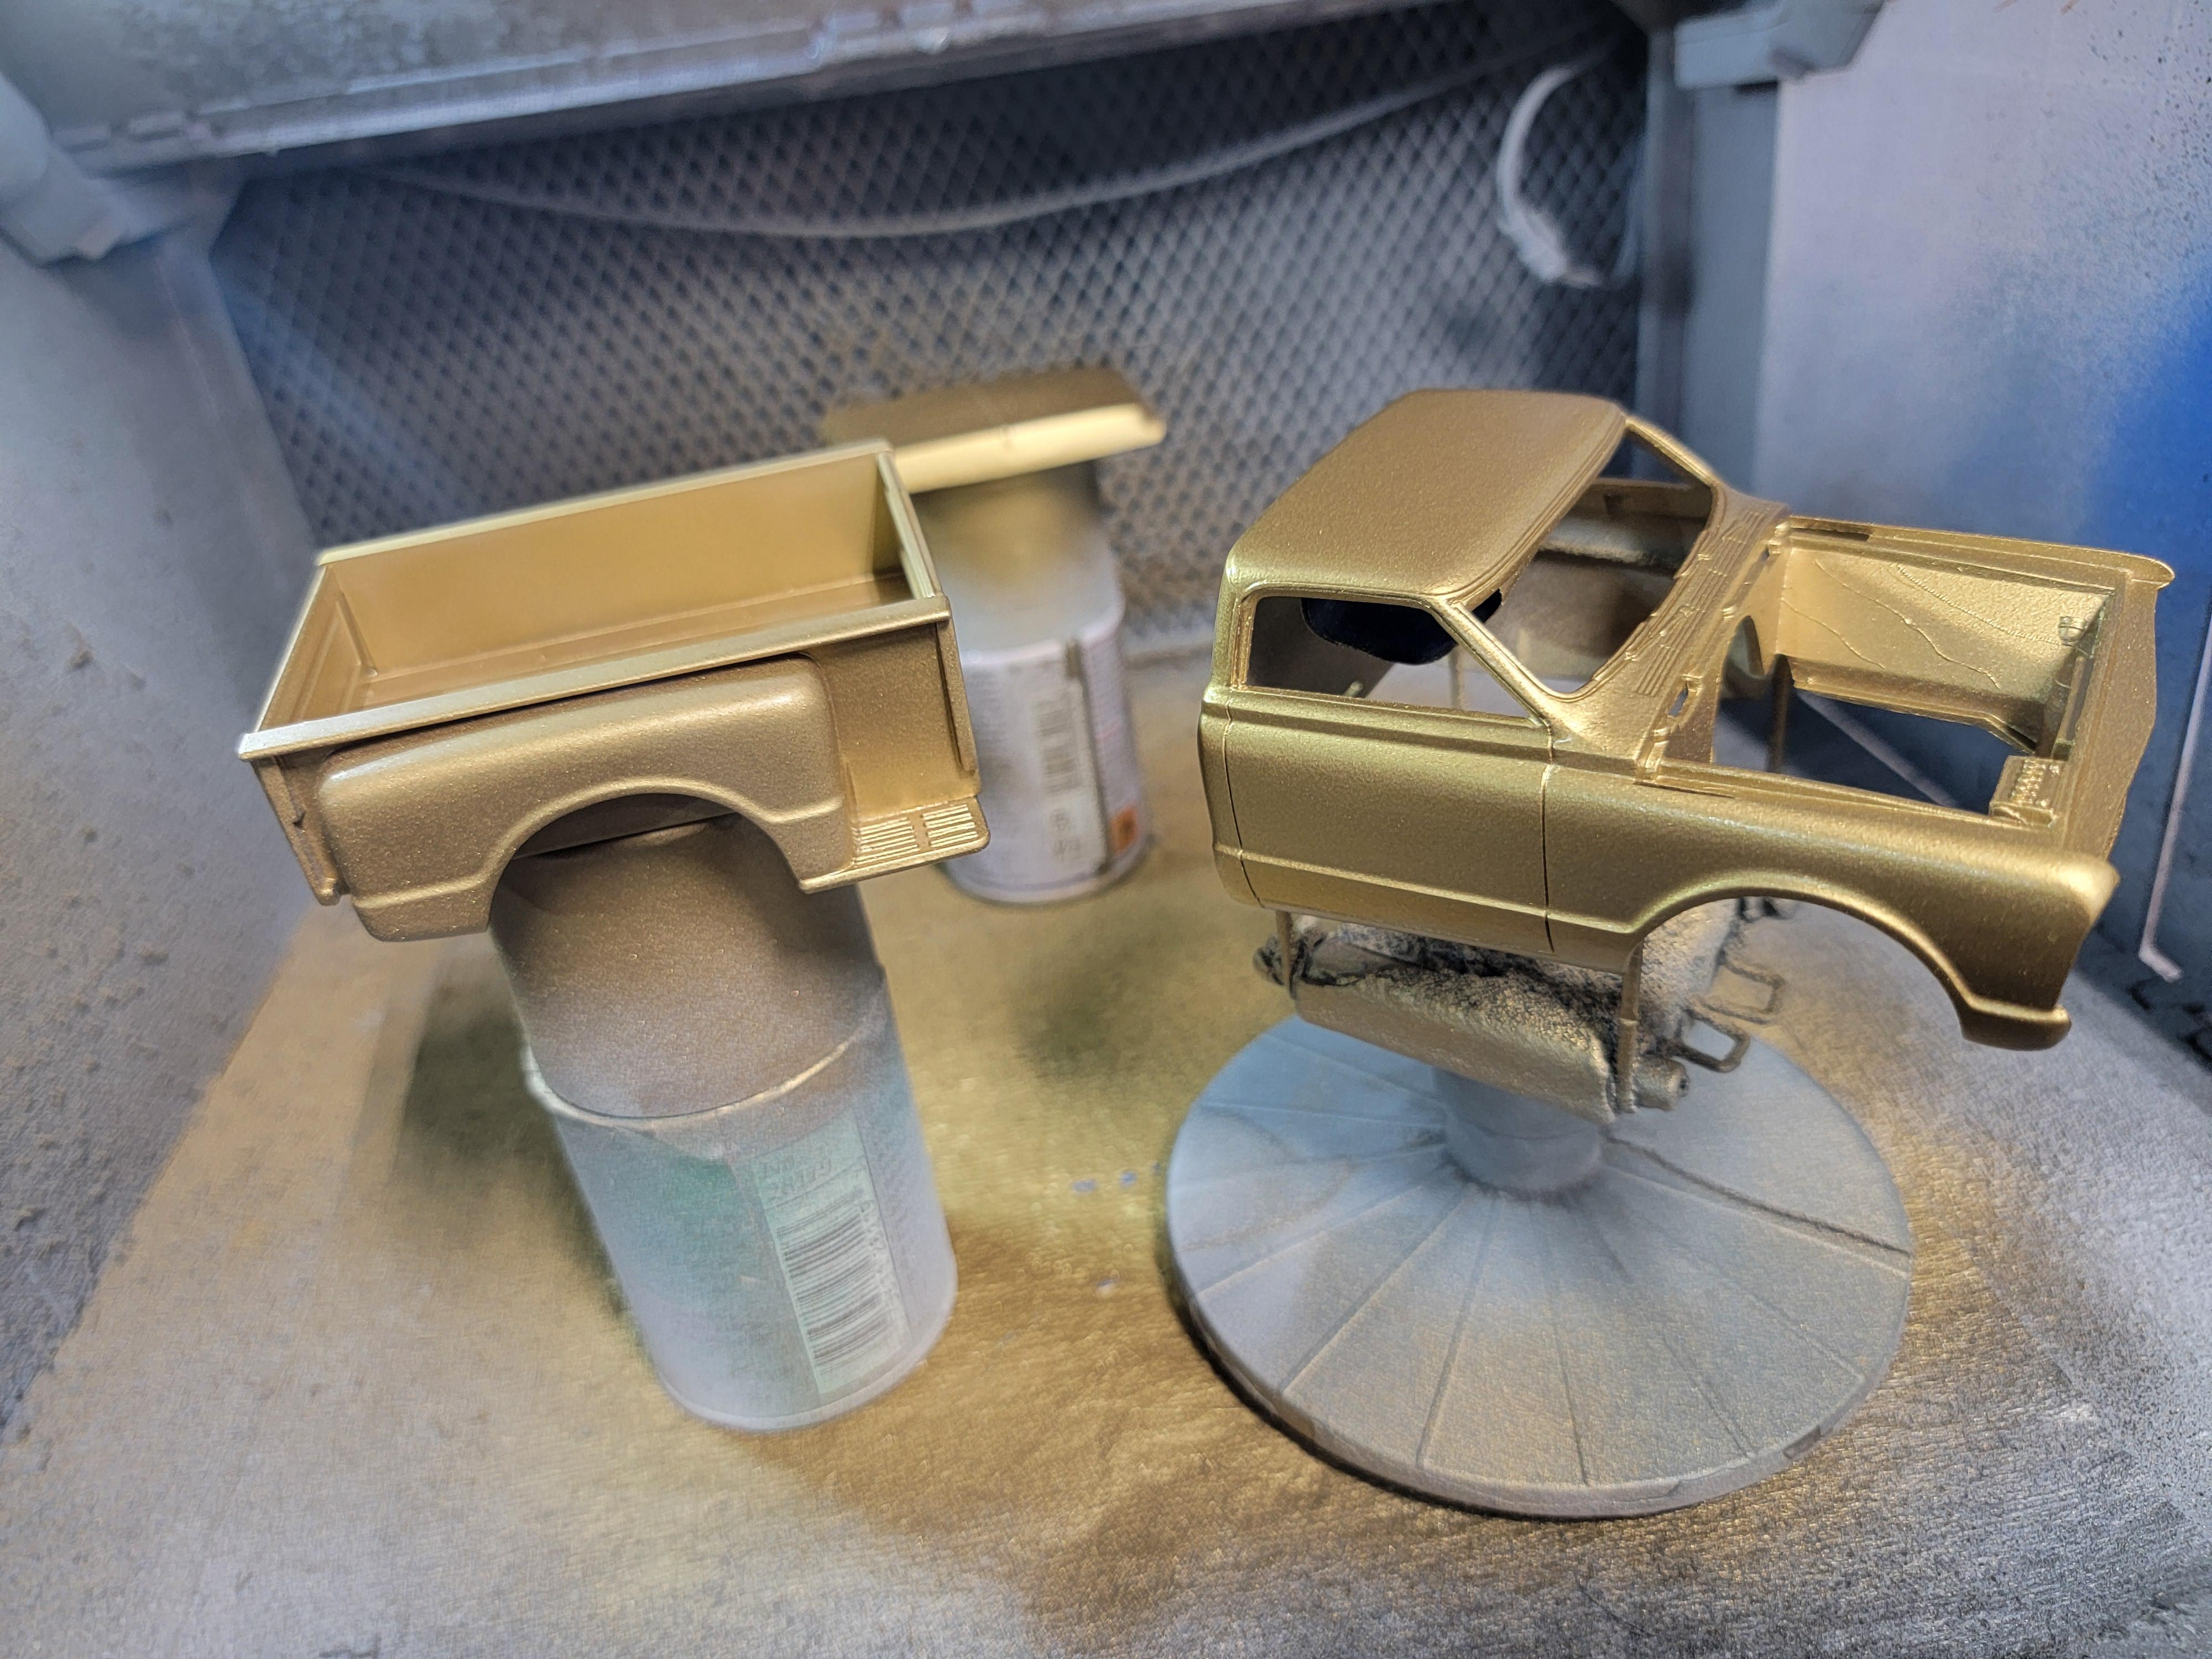
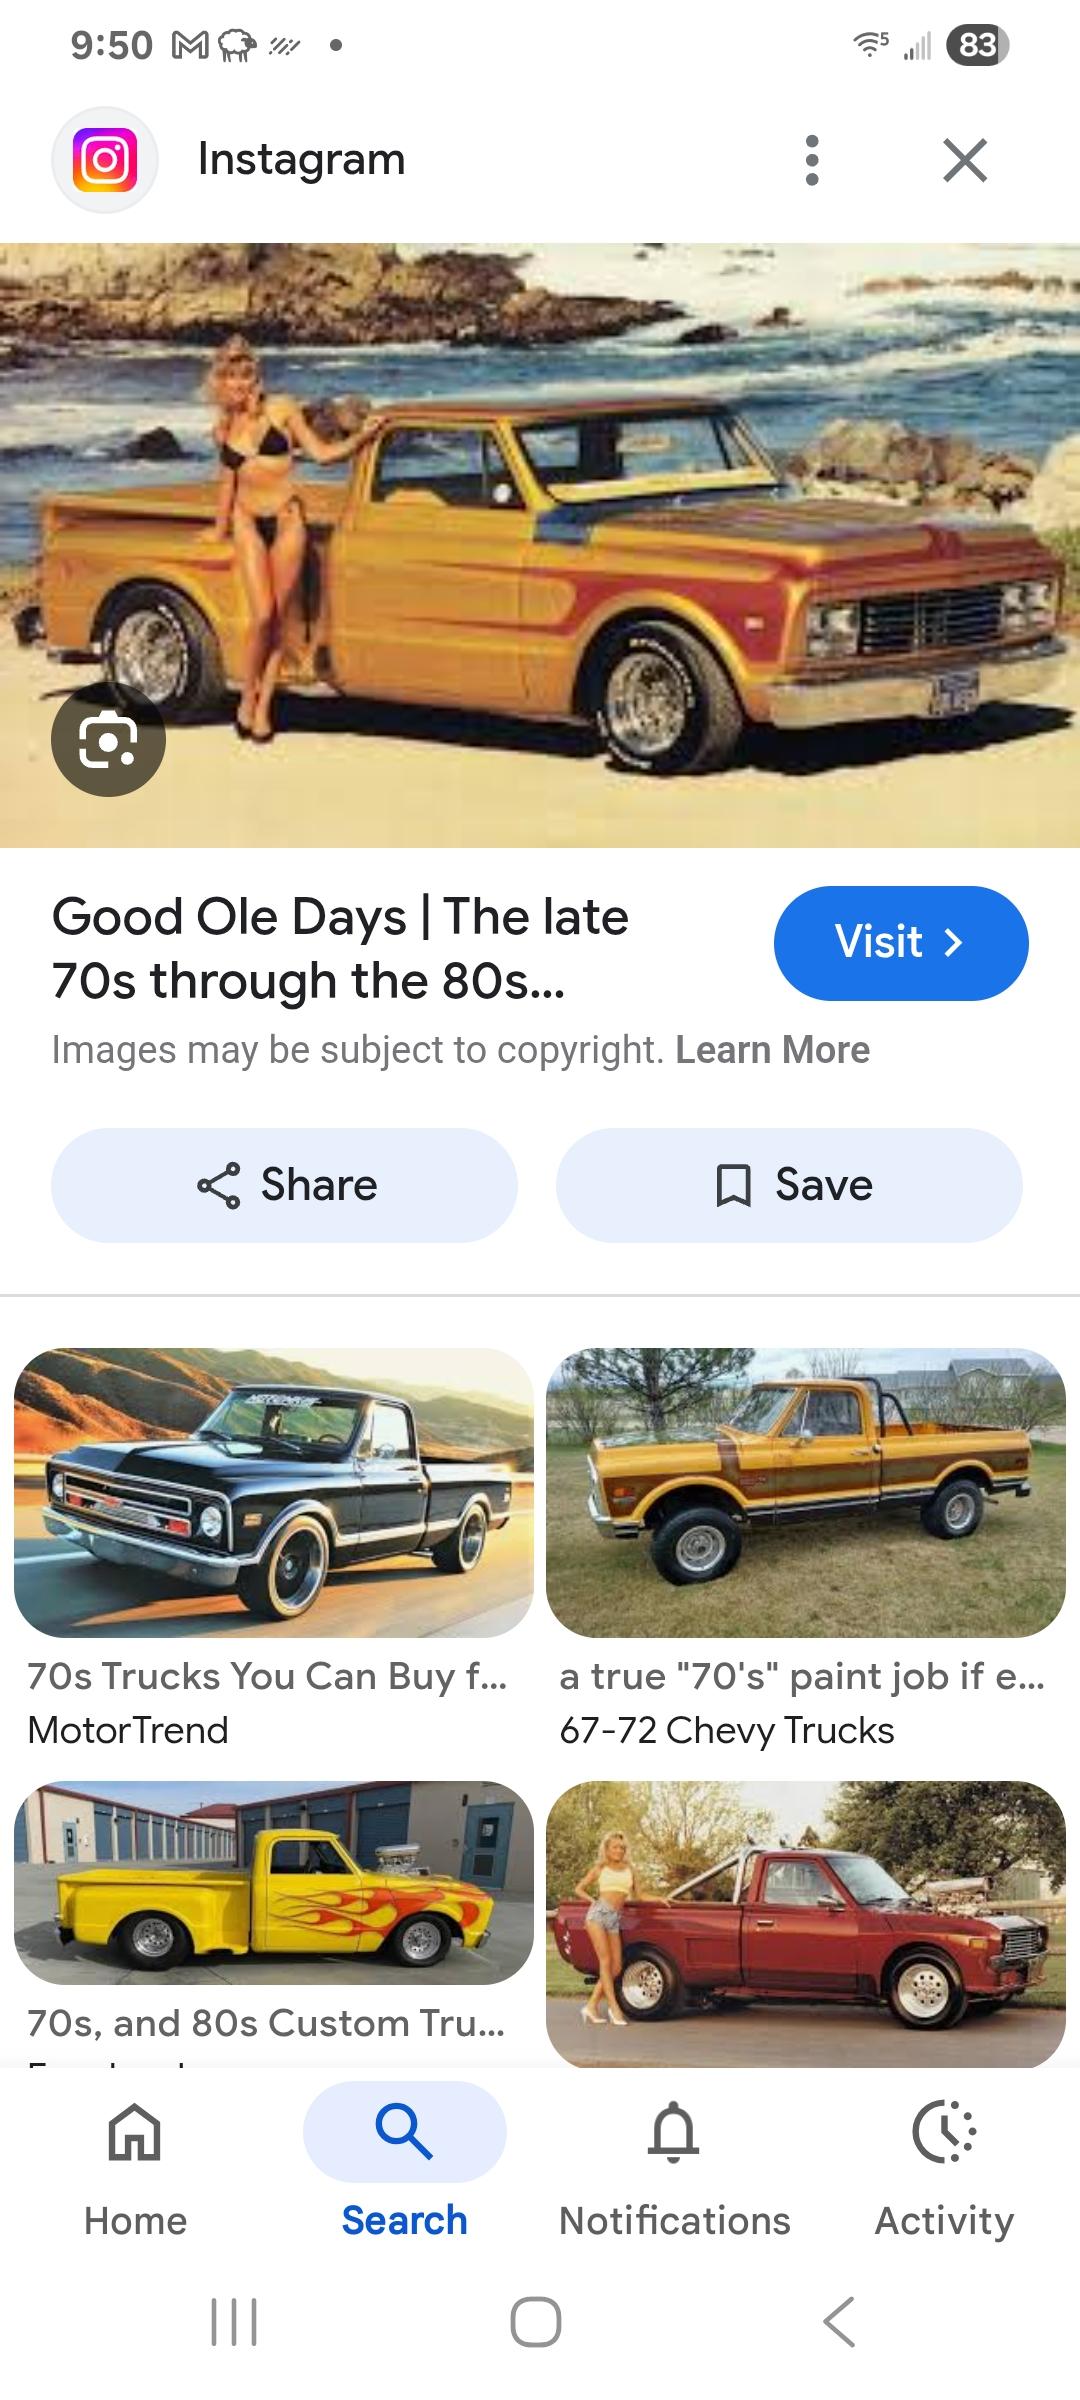
Been a bit since I've been on here. Busy summer. I got the base coat of paint on and that's where it has stopped. I am sitting down now to figure out the scallops. I am loosely following this truck I found on the web. Anybody got a set of 70's side pipes like those from the Baldwin-Motion Camaro?
Later-

-
3 hours ago, espo said:
Like the taillights. Used International Harvester taillights mounted in the same way on a couple of 1:1 Chevy short beds in the past.
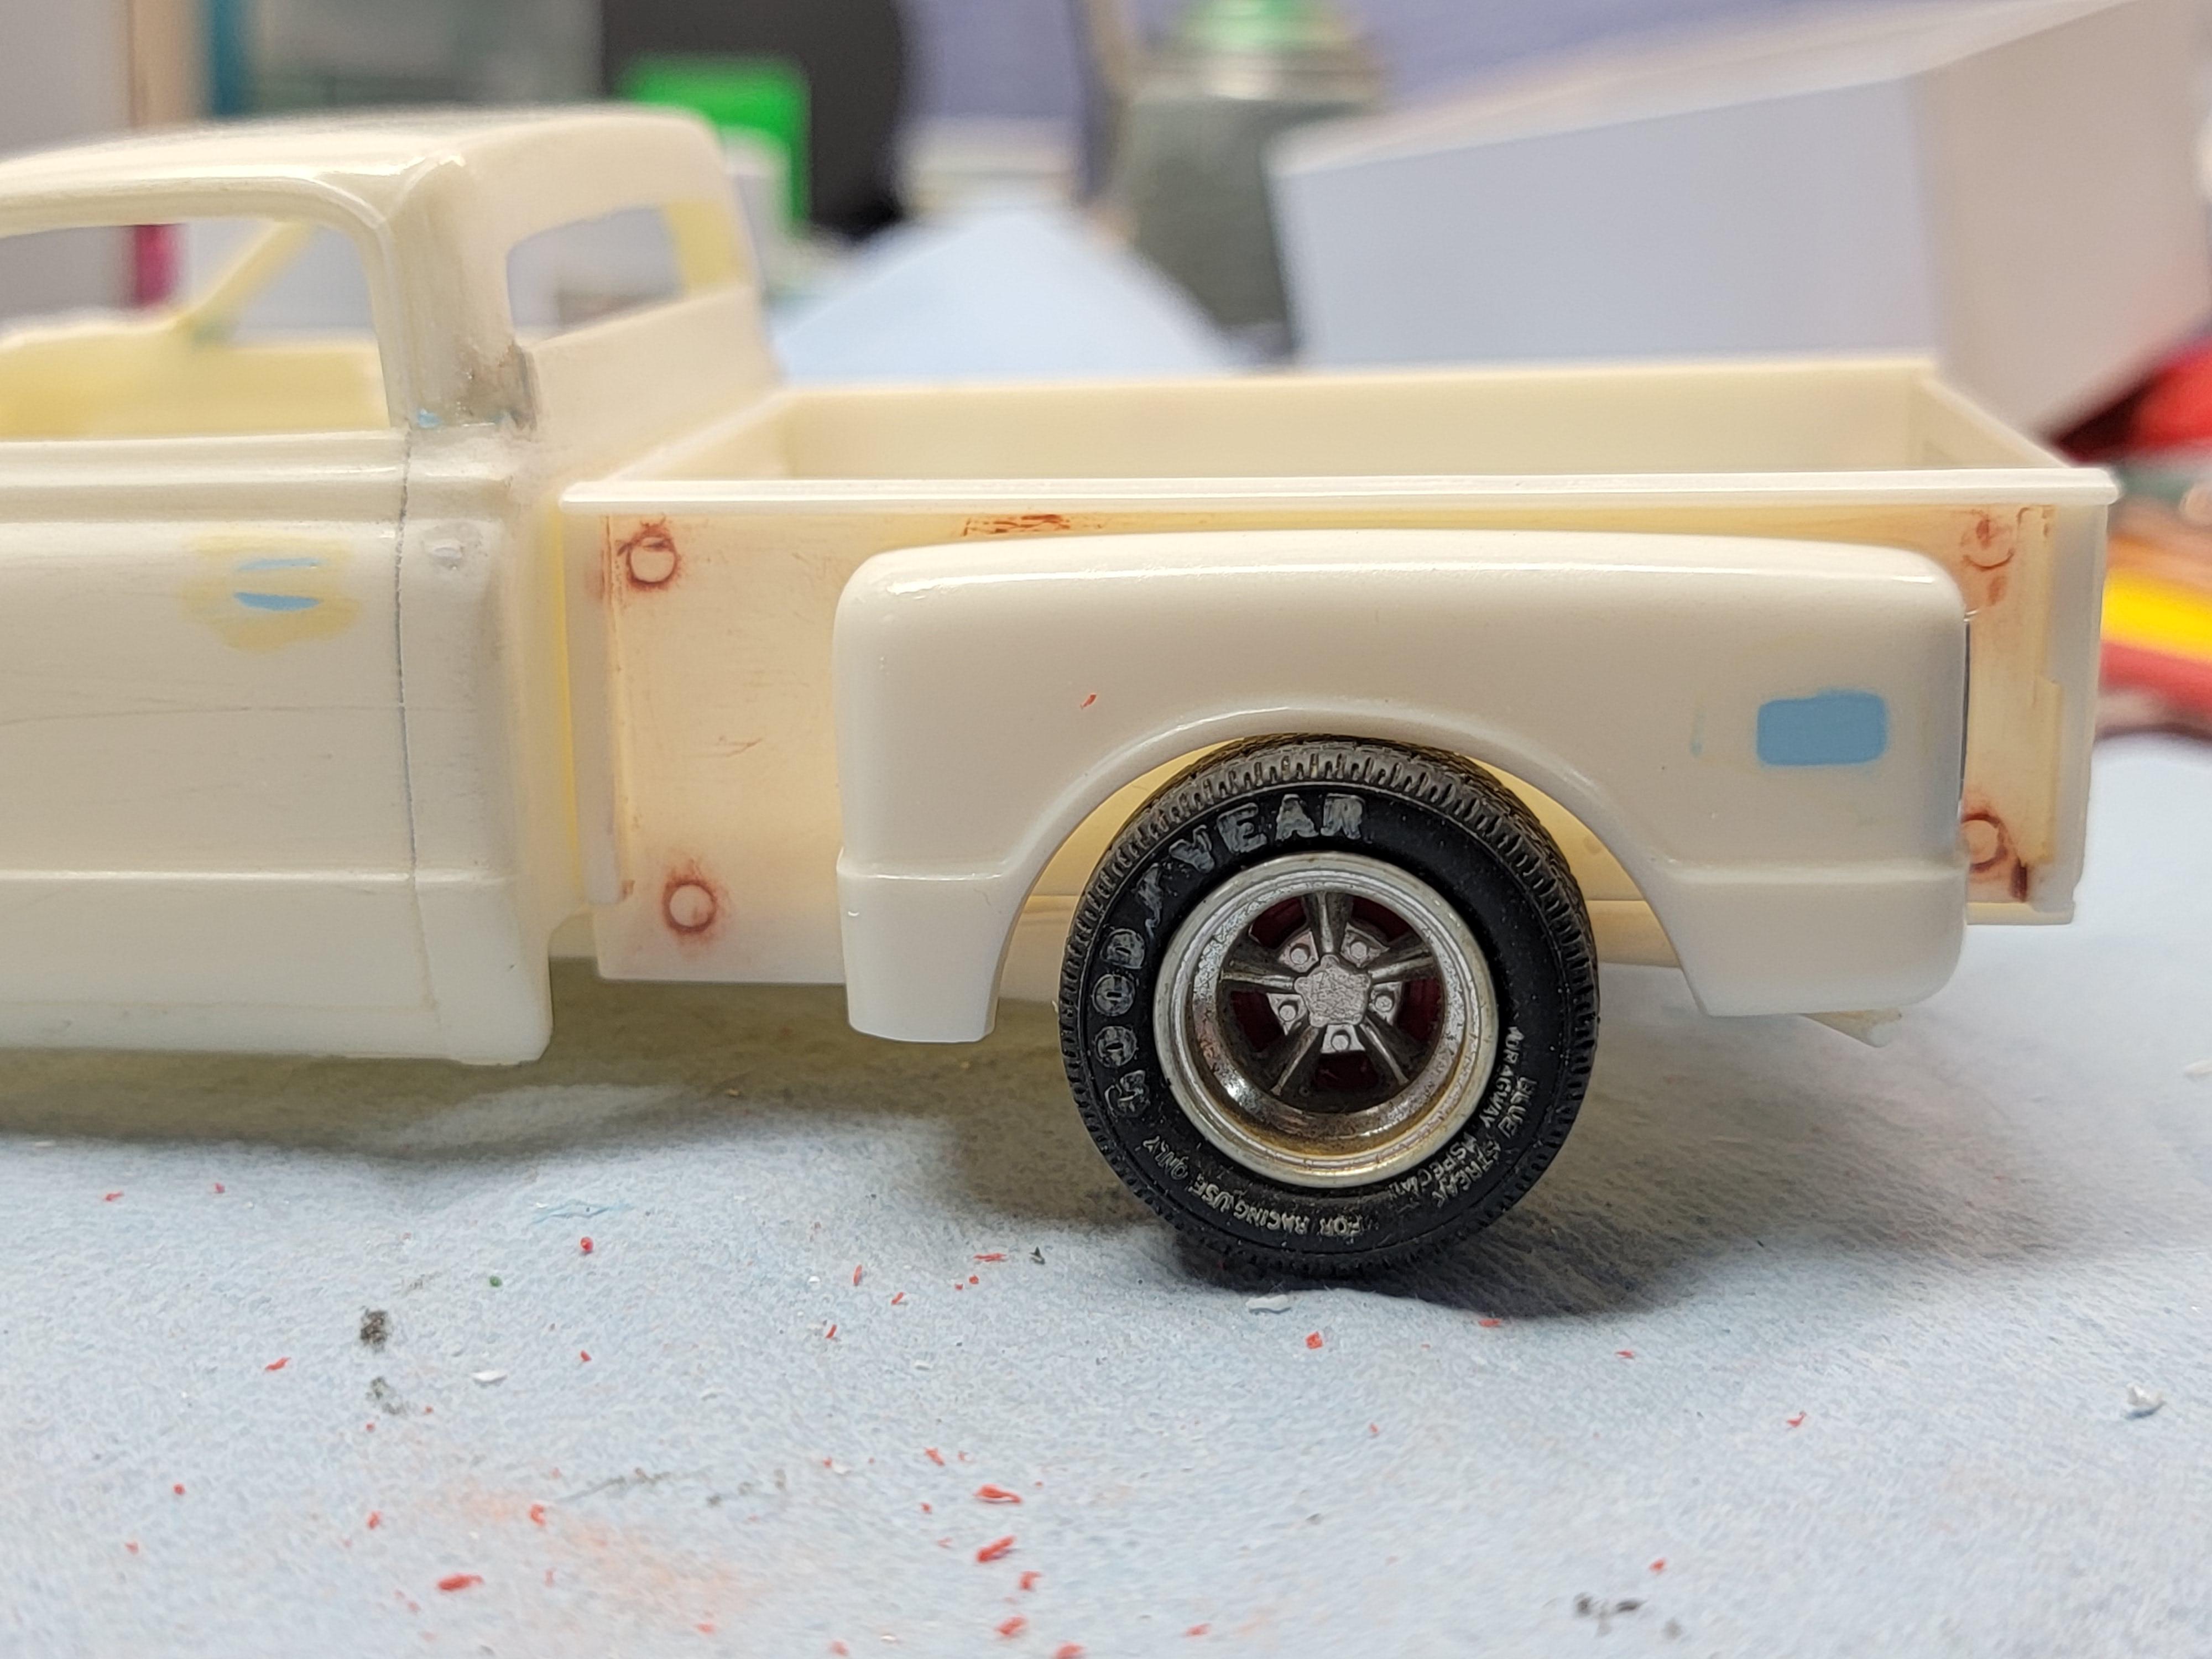
I have changed the design of these since these pics. I added a .10 strip on the inside.The taillights now mount from the backside and are frenched just a bit.
Later-
-
 1
1
-
-
Nice work so far. I'm liking the idea and work. Just a suggestion, mount the headlights on stalks from the top of the frame next to the grill shell to the bottom of the bucket, made from a paperclip.
Later-
-
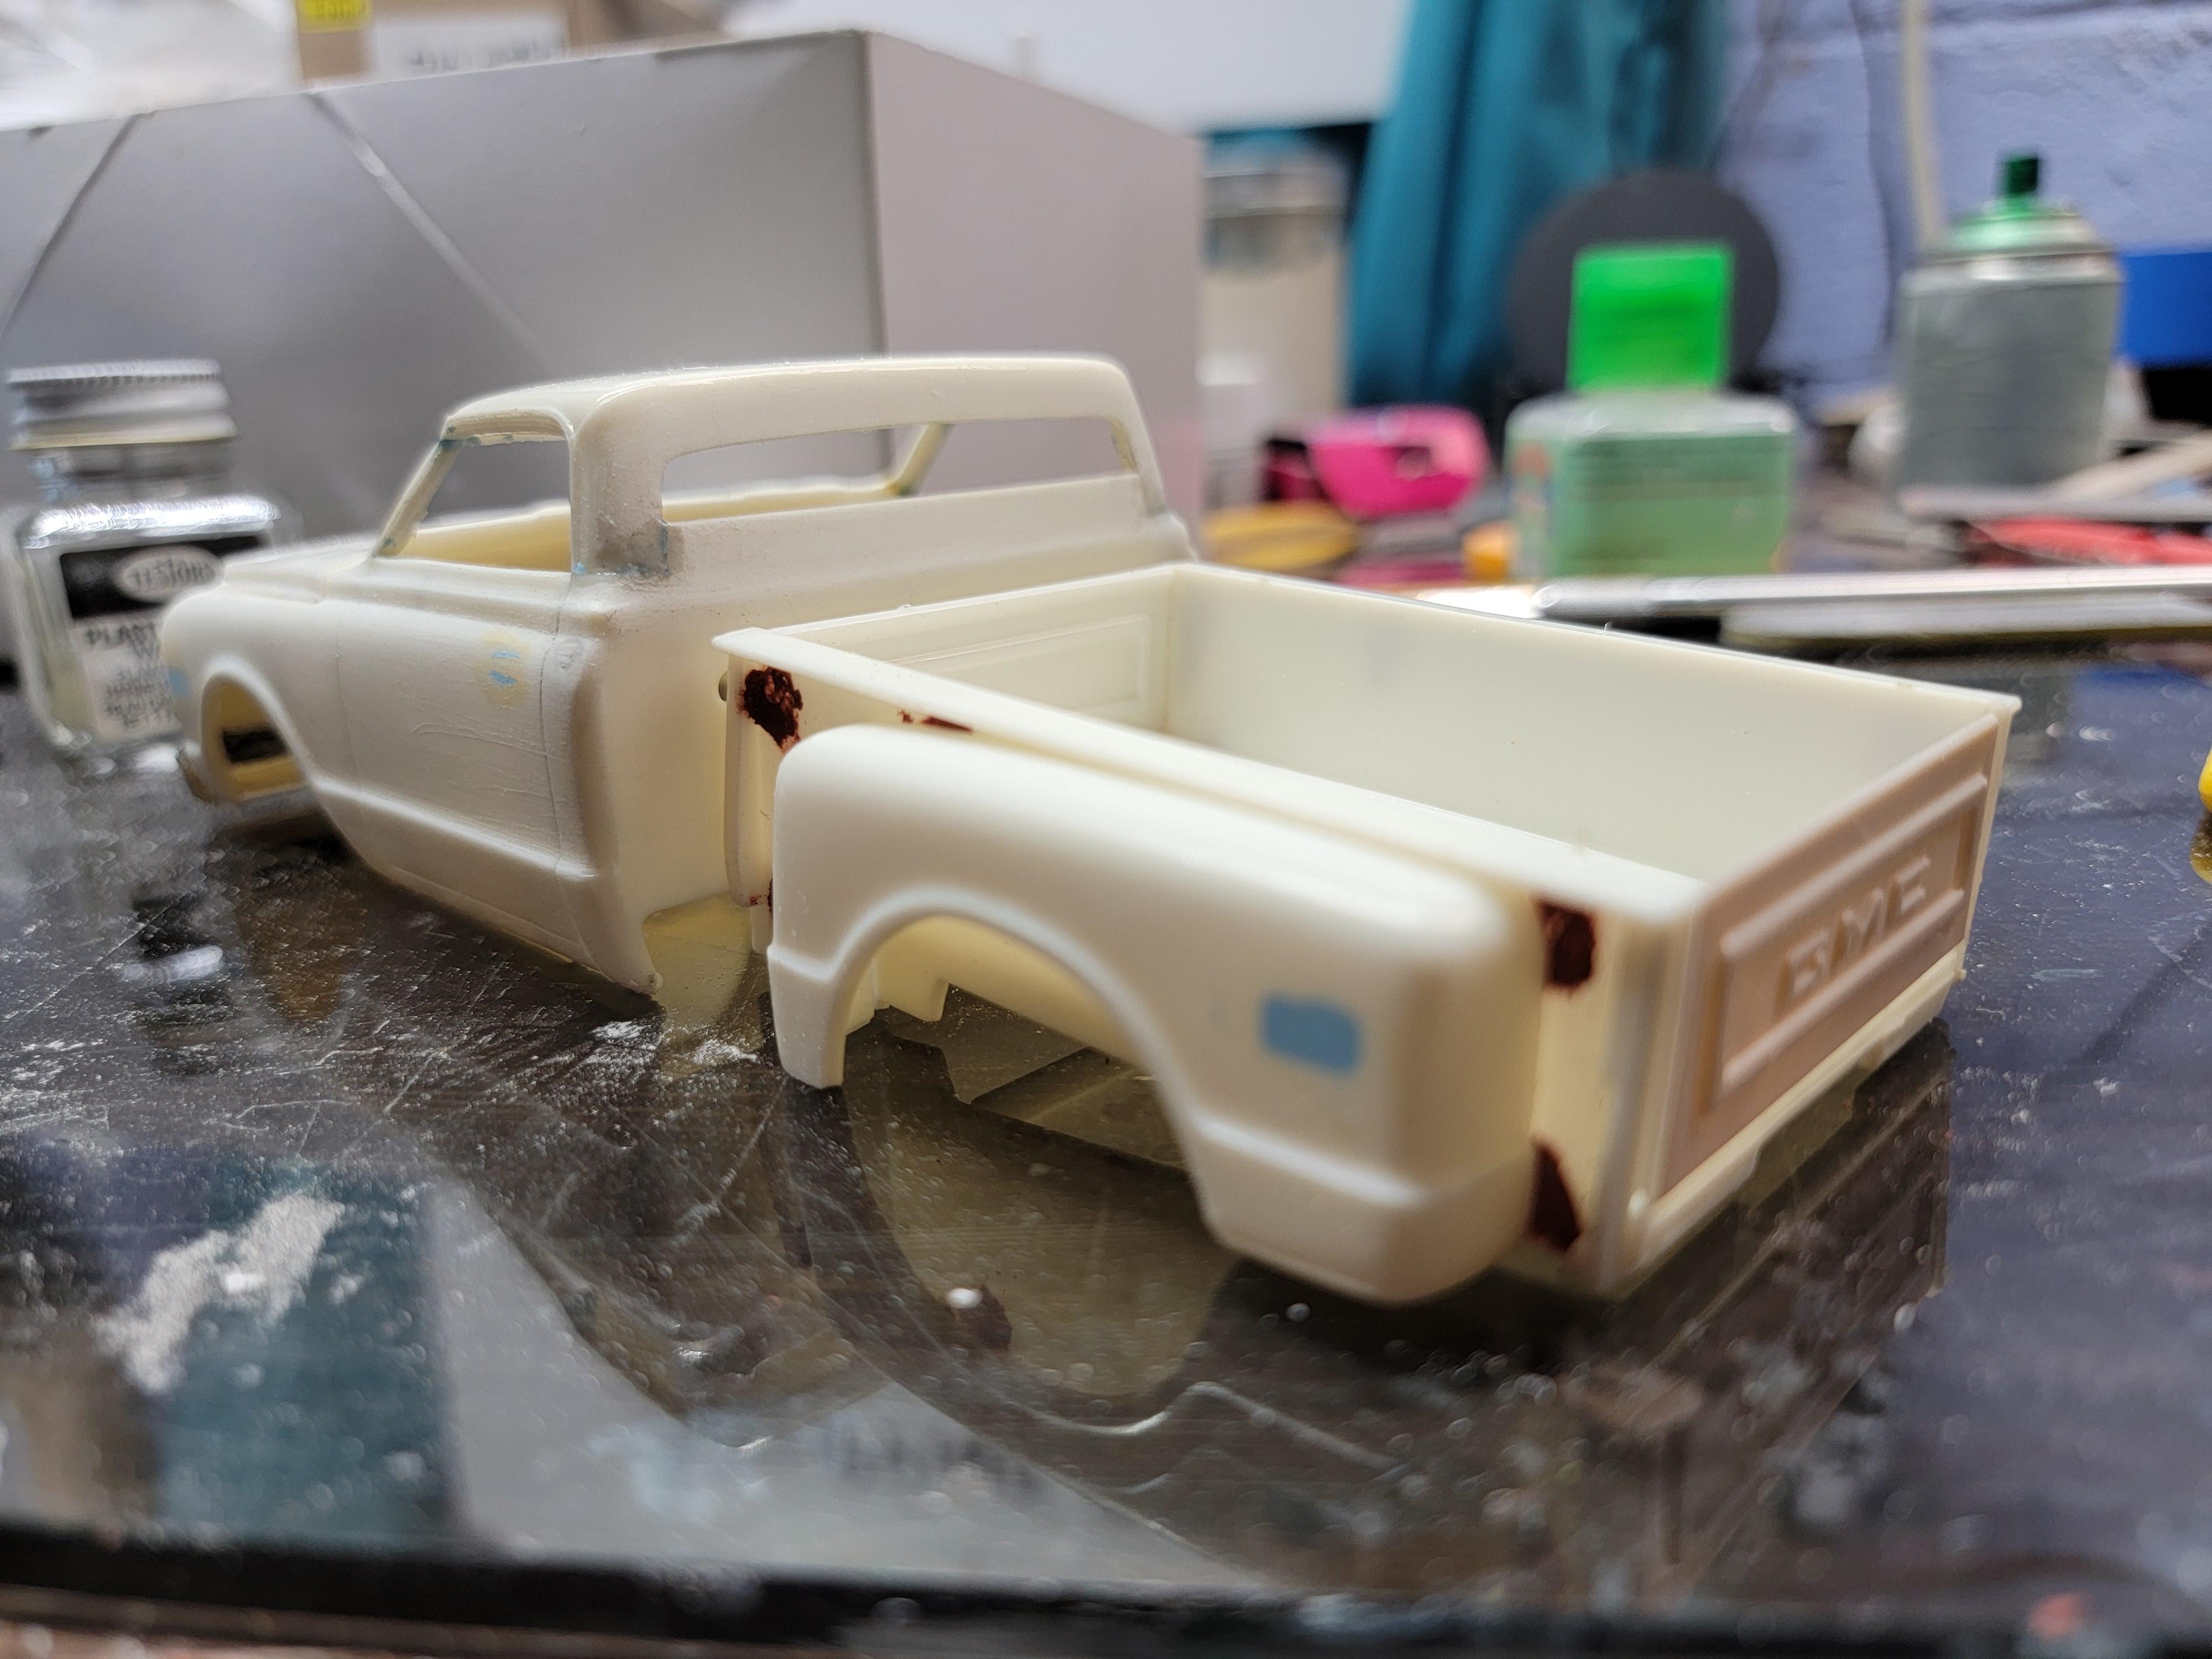
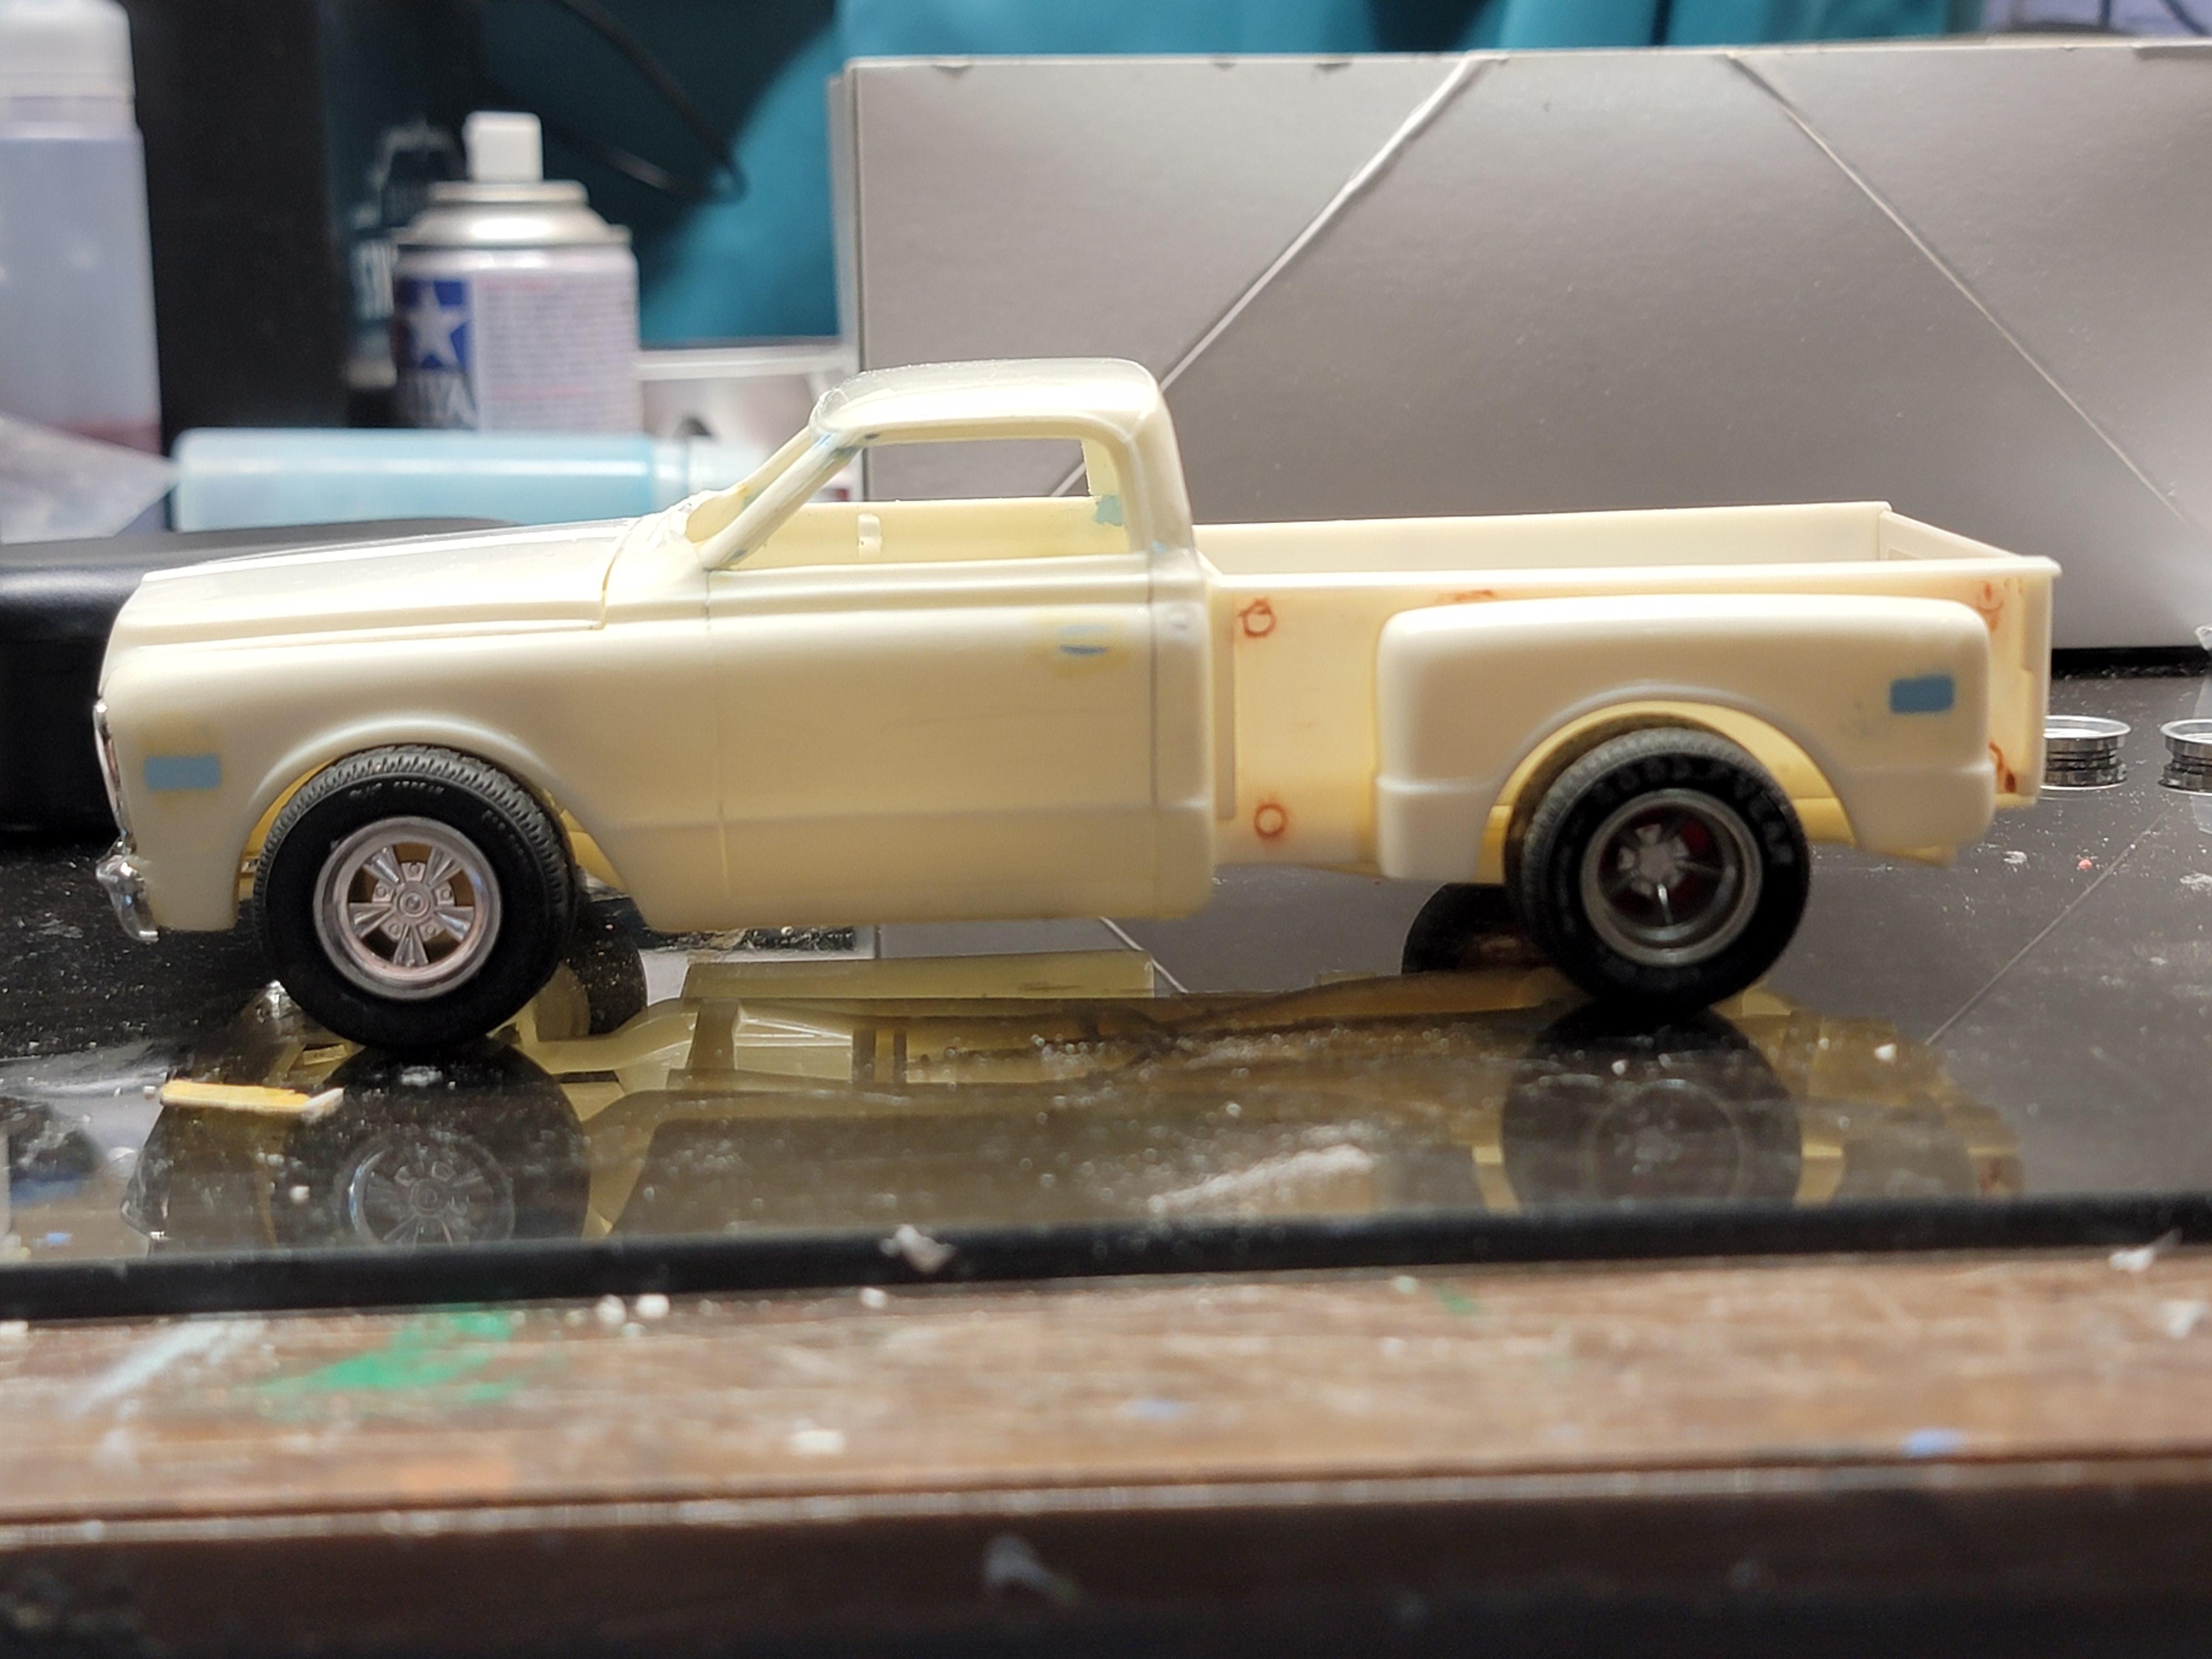
My local club is hosting a show in October with the theme "Truckin". The theme doubles as a semi theme (date to be held is 10/4) and 70's customs. I have decided to build a pickup from straight off the "Truckin" magazine pages.
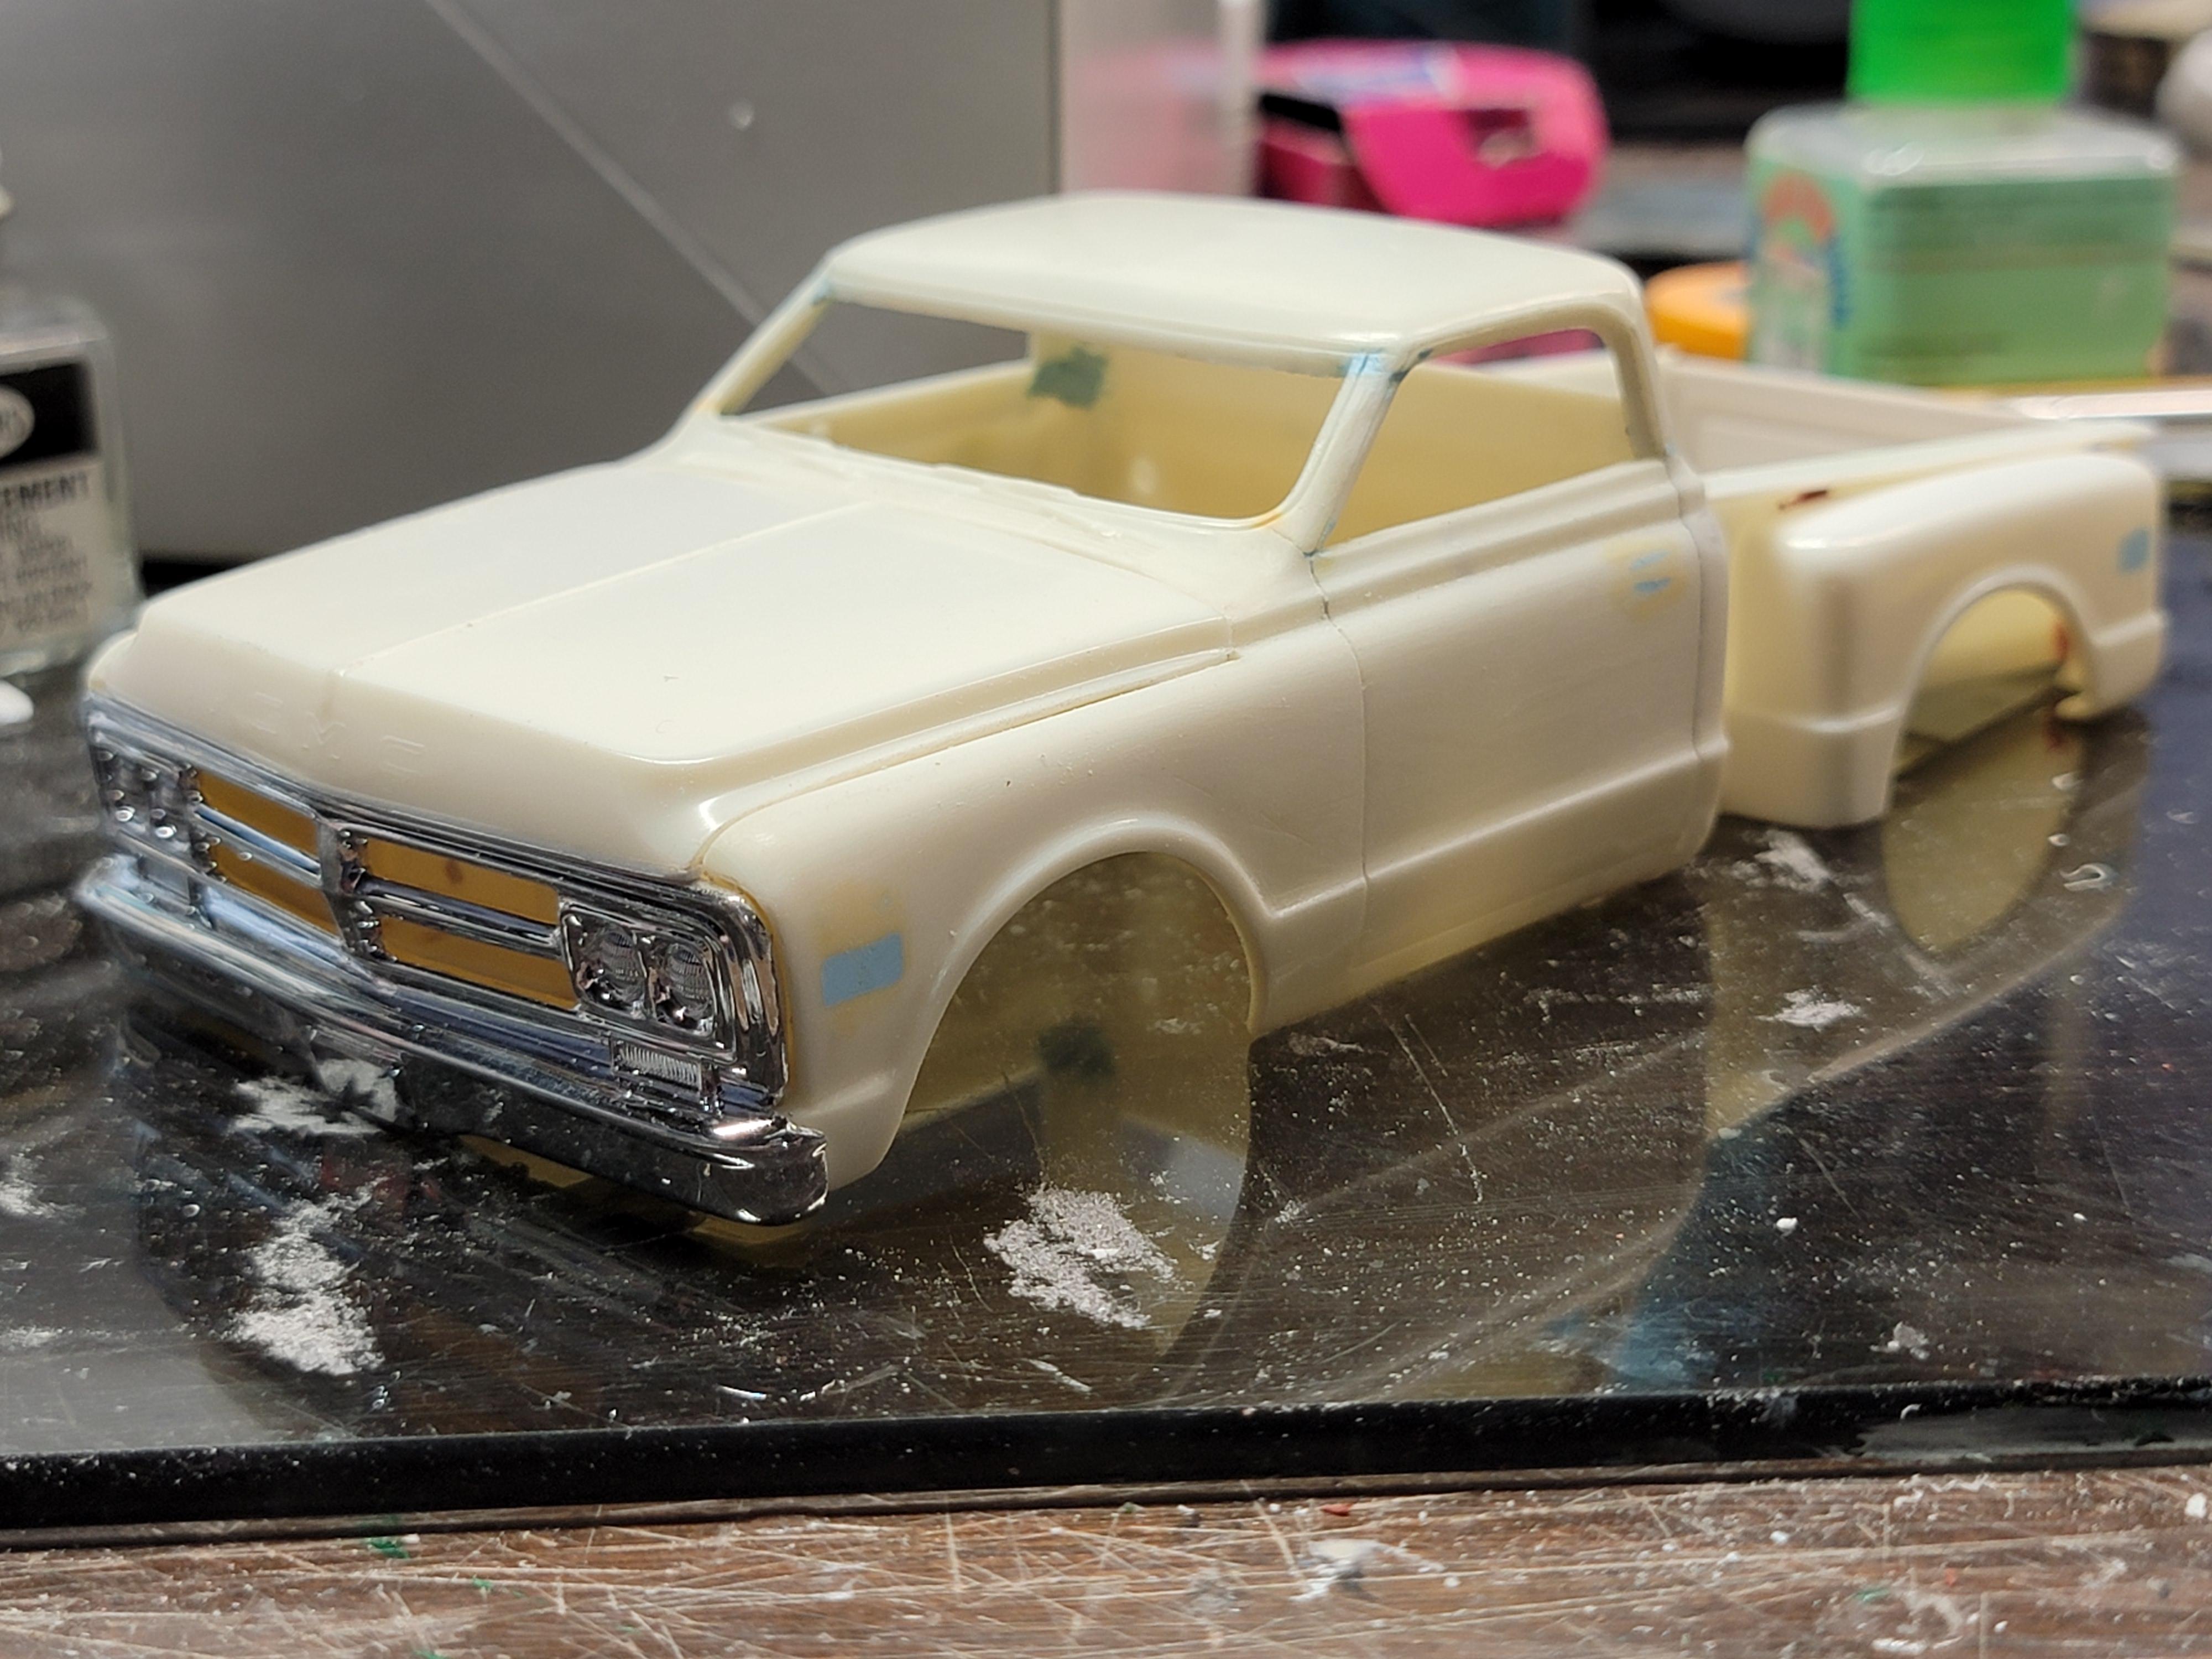
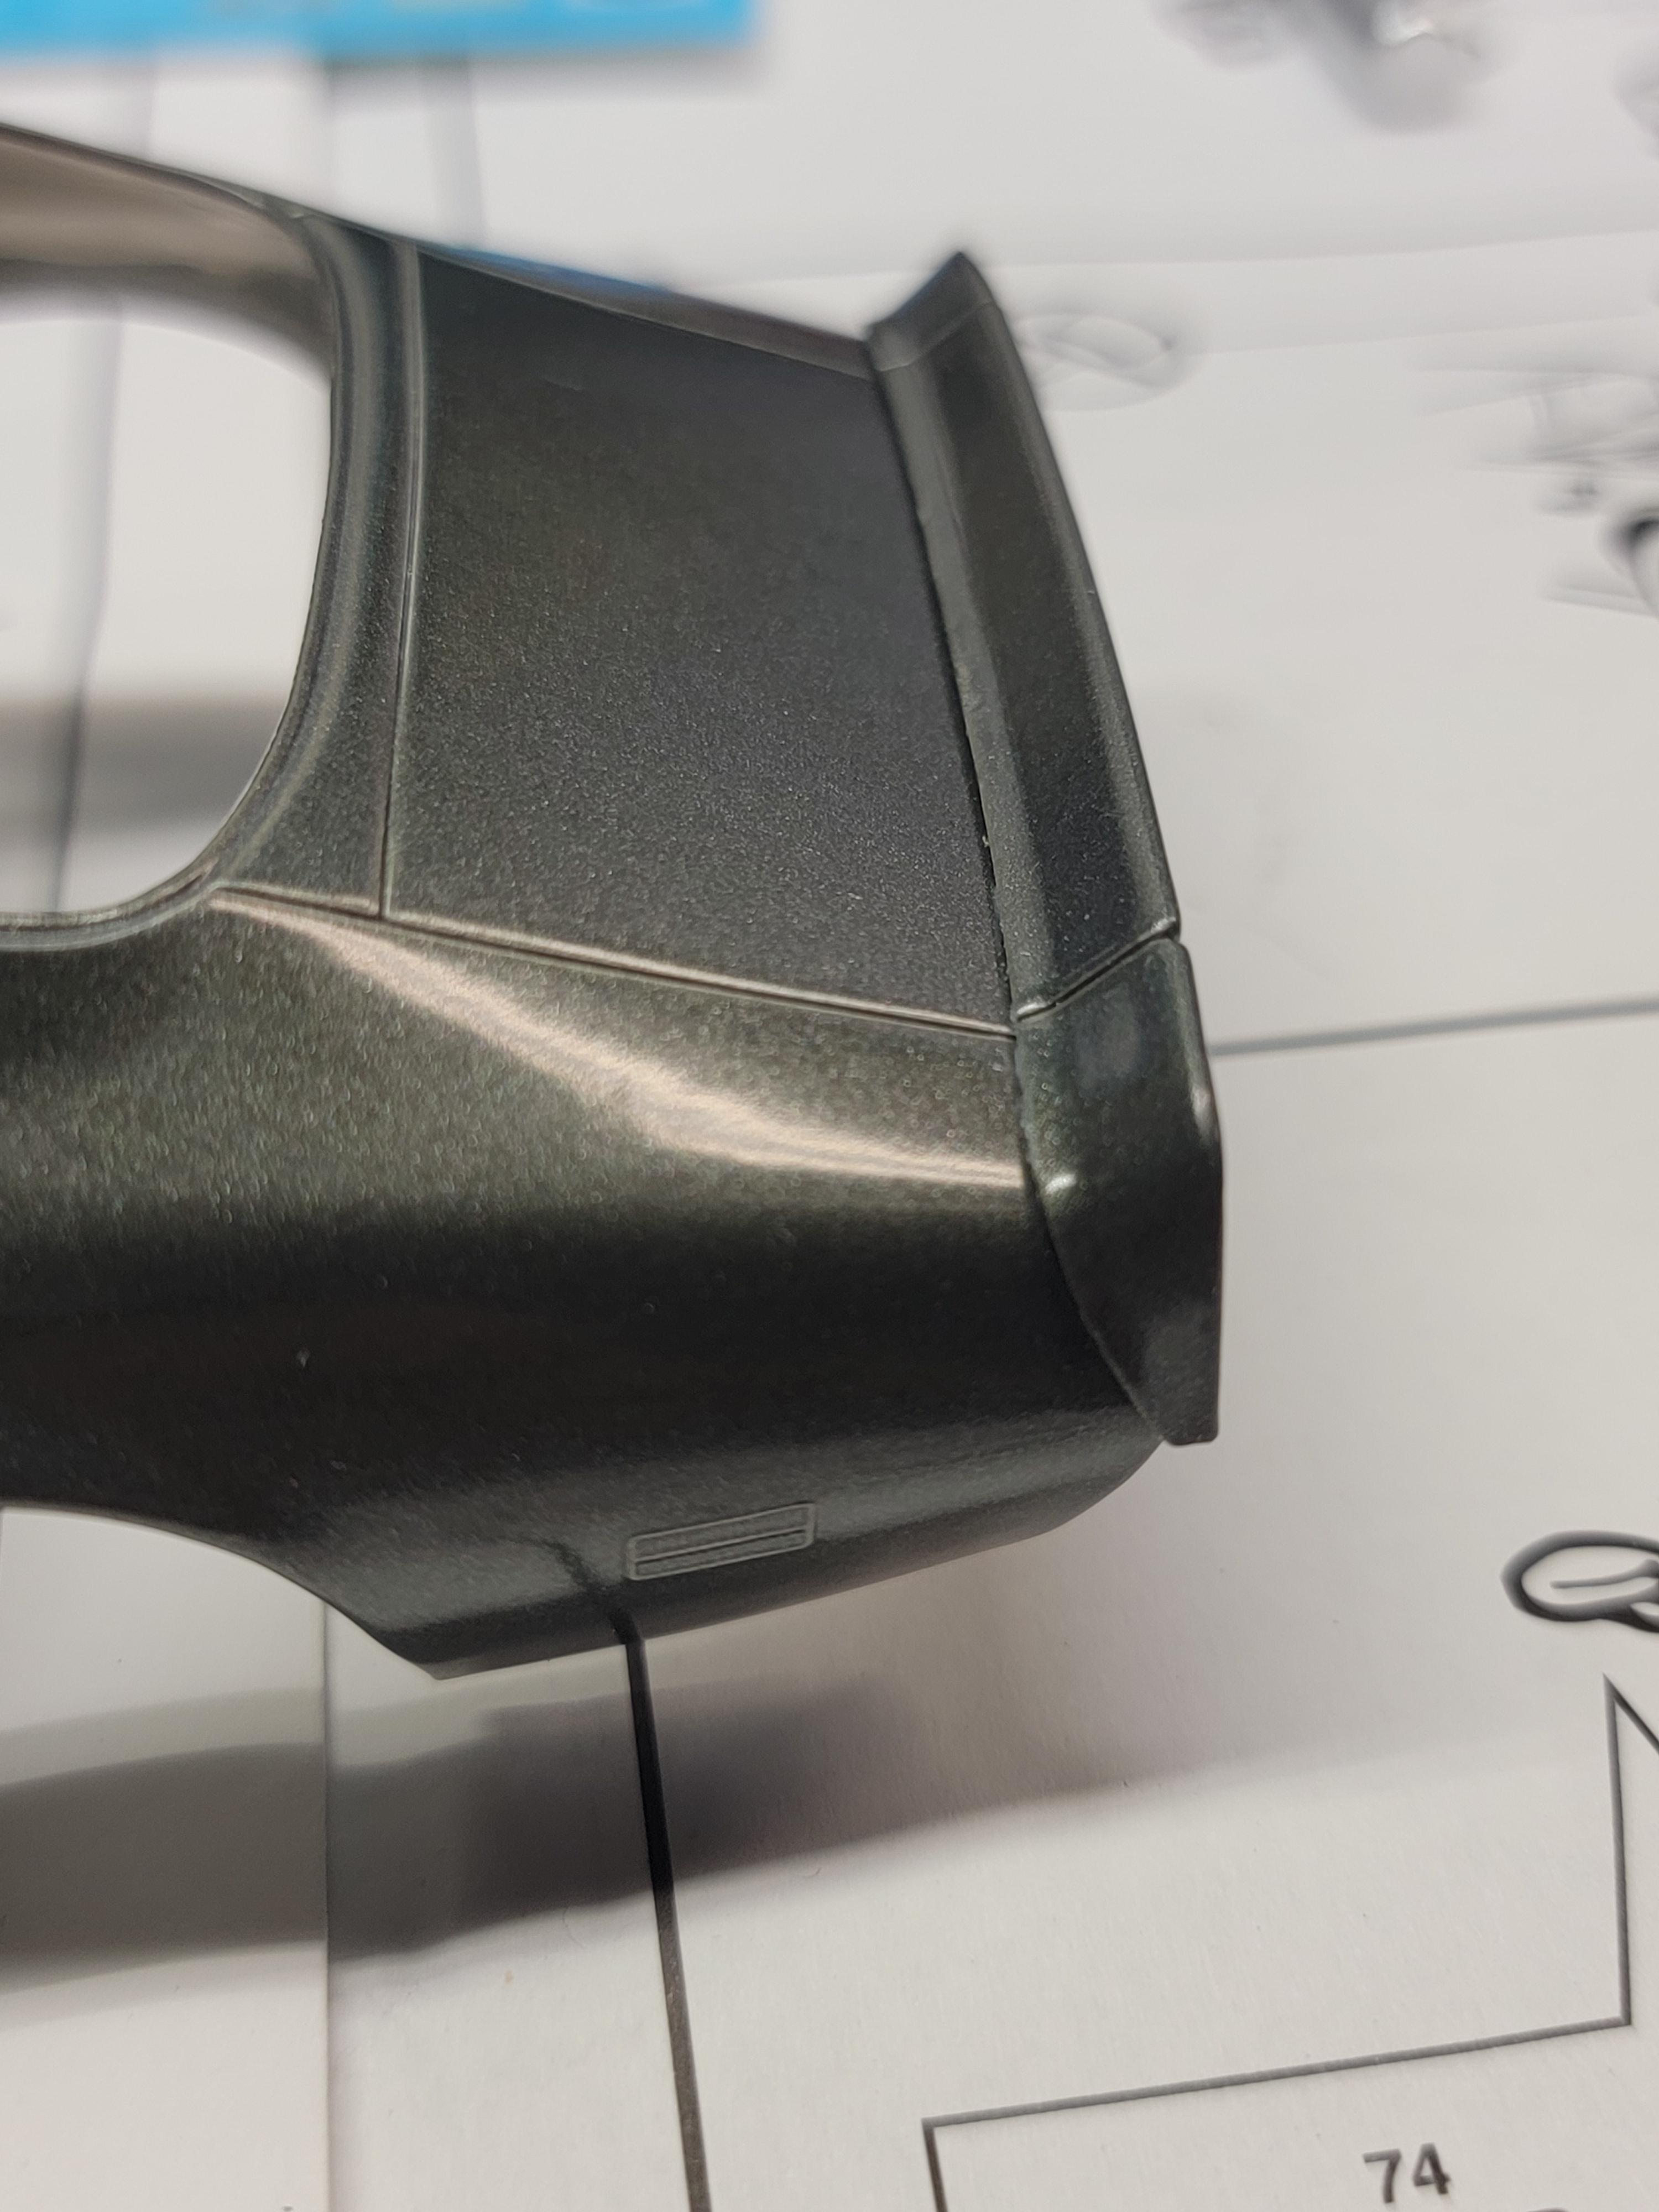
I have had this 72 GMC kit for several years. Someone had poorly chopped the cab and filled the side markers and door handles so I started with cleaning it up. Still a ways to go on that.

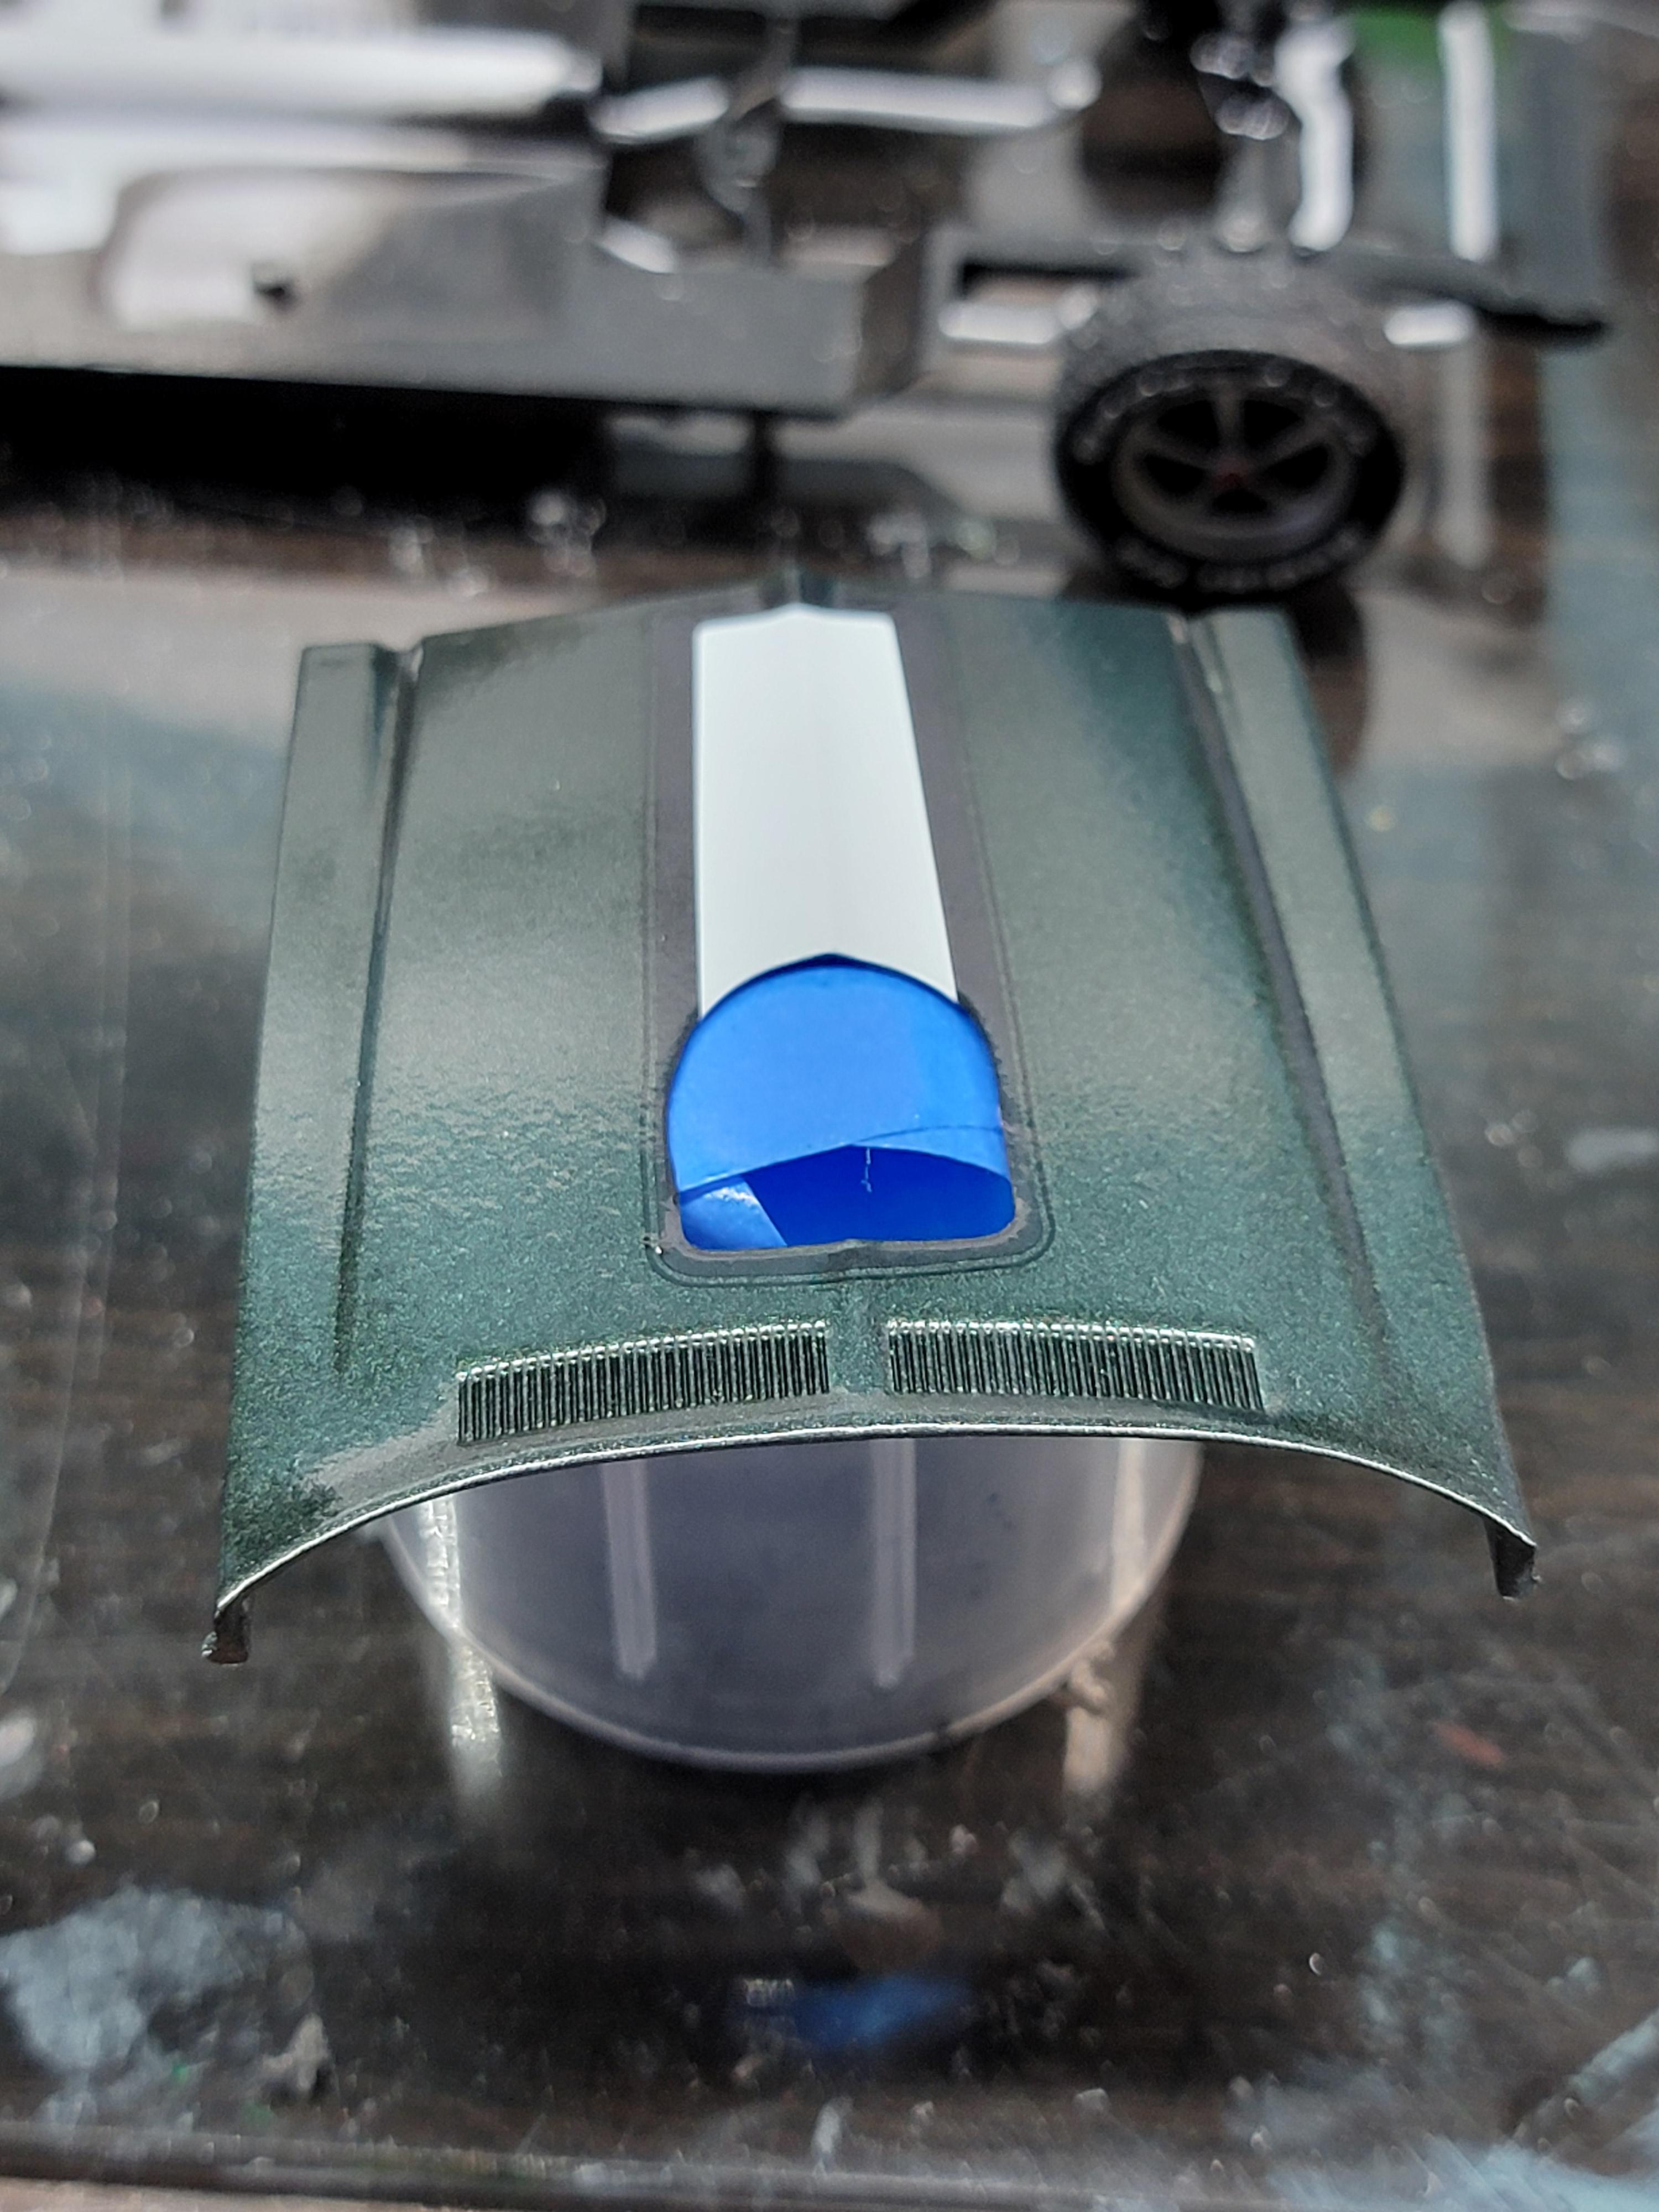
I also needed some sunken taillights in the fenders so I am working on adding some frenched 66 Nova lights.
I want to use these wheels that I pulled from a 70's Chevy rebuilder I have but I need fronts for them and I don't know what kit they come from. (Anybody know and have a set?) The spokes have a definite peak on them. If I can't locate a set I'll use the ones from my MPC 69 Charger 500 kit.
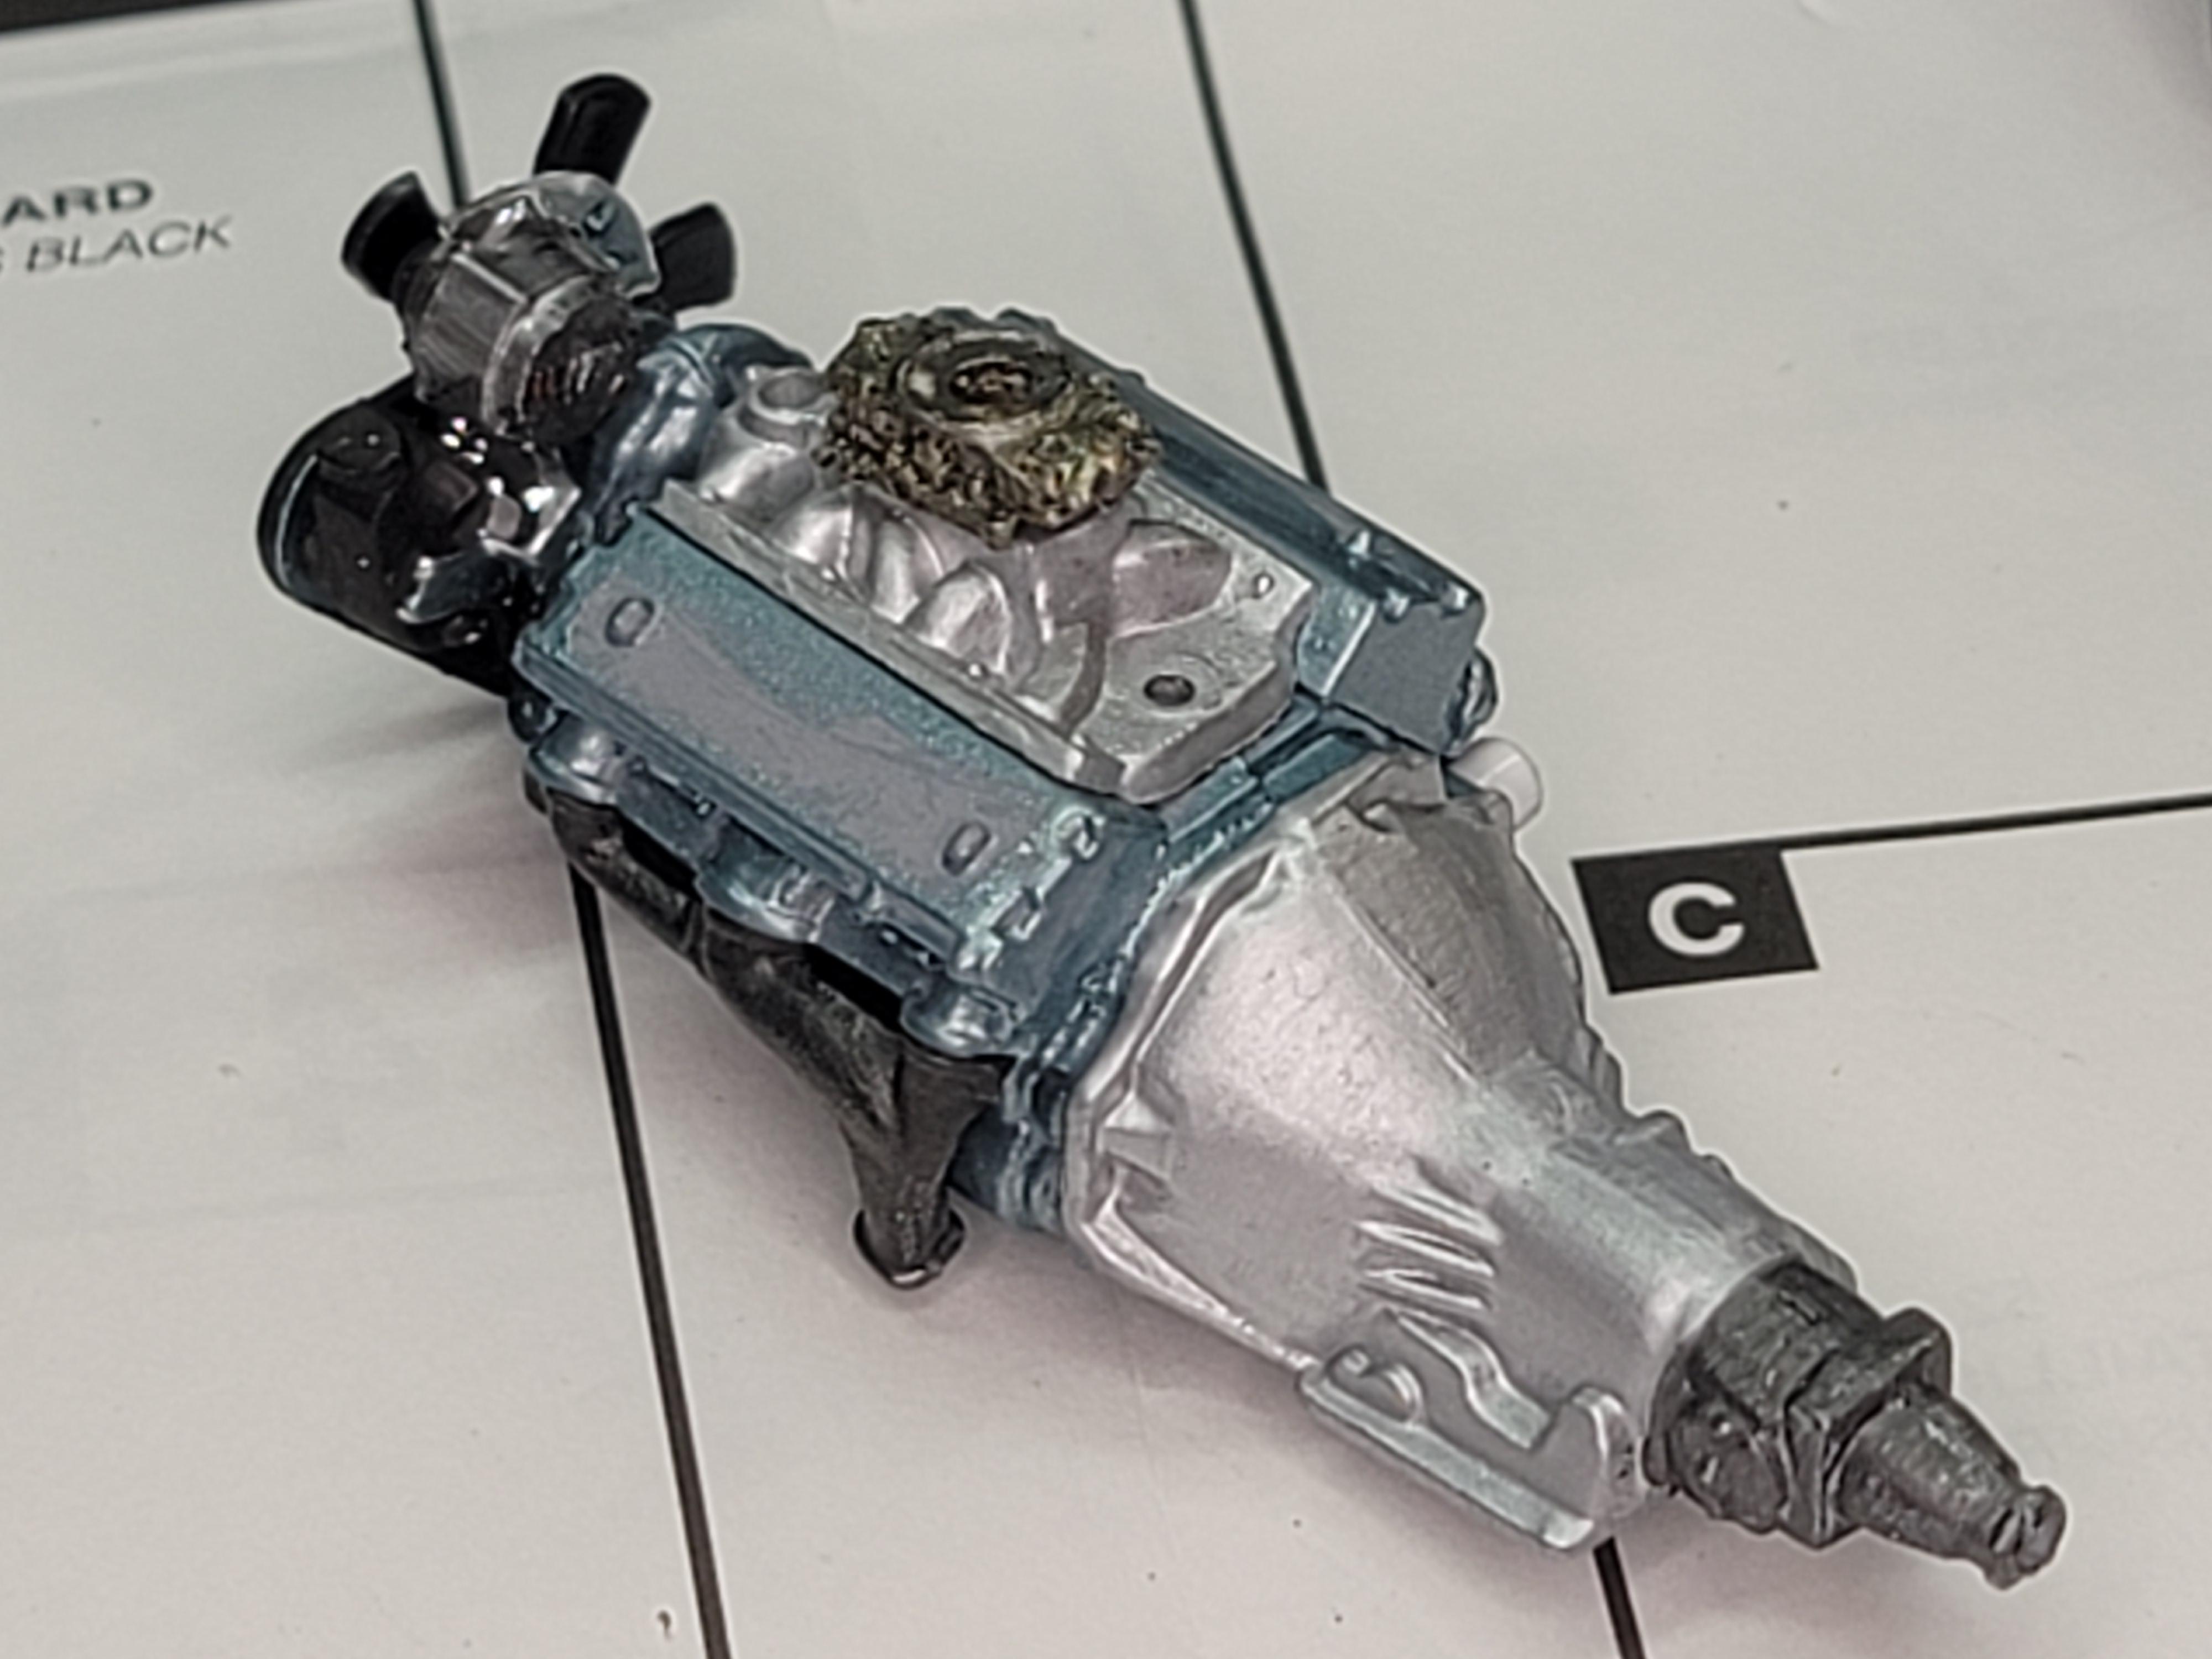
That's about all for now. I am planning to do a multi-colored panel paint job but haven't planned it out yet. A quick primer coat is next. I'd also like to find a dual carbed 454 from a Monogram Chevelle kit (or something similar) if anybody has one available.
Later-
-
5
-
 1
1
-
-
2 hours ago, lordairgtar said:
Nice bunch of kits. Where was this brick and mortar?
Franklin, KY- Outside of Bowling Green.
Later-
-
2
-
-
Found an actual brick and mortar hobby shop today! Unfortunately my funds were a little short. These aren't what I would normally build but since rhey were on clearance they will make nice parts kits. $5 each for the Sting Ray III's and $7 for the Banshee. $8 for the paint. Out the door for $26.50!
Later-
-
4
-
-
Thanks everyone for the nice response. Glad you like it.
Later-
-
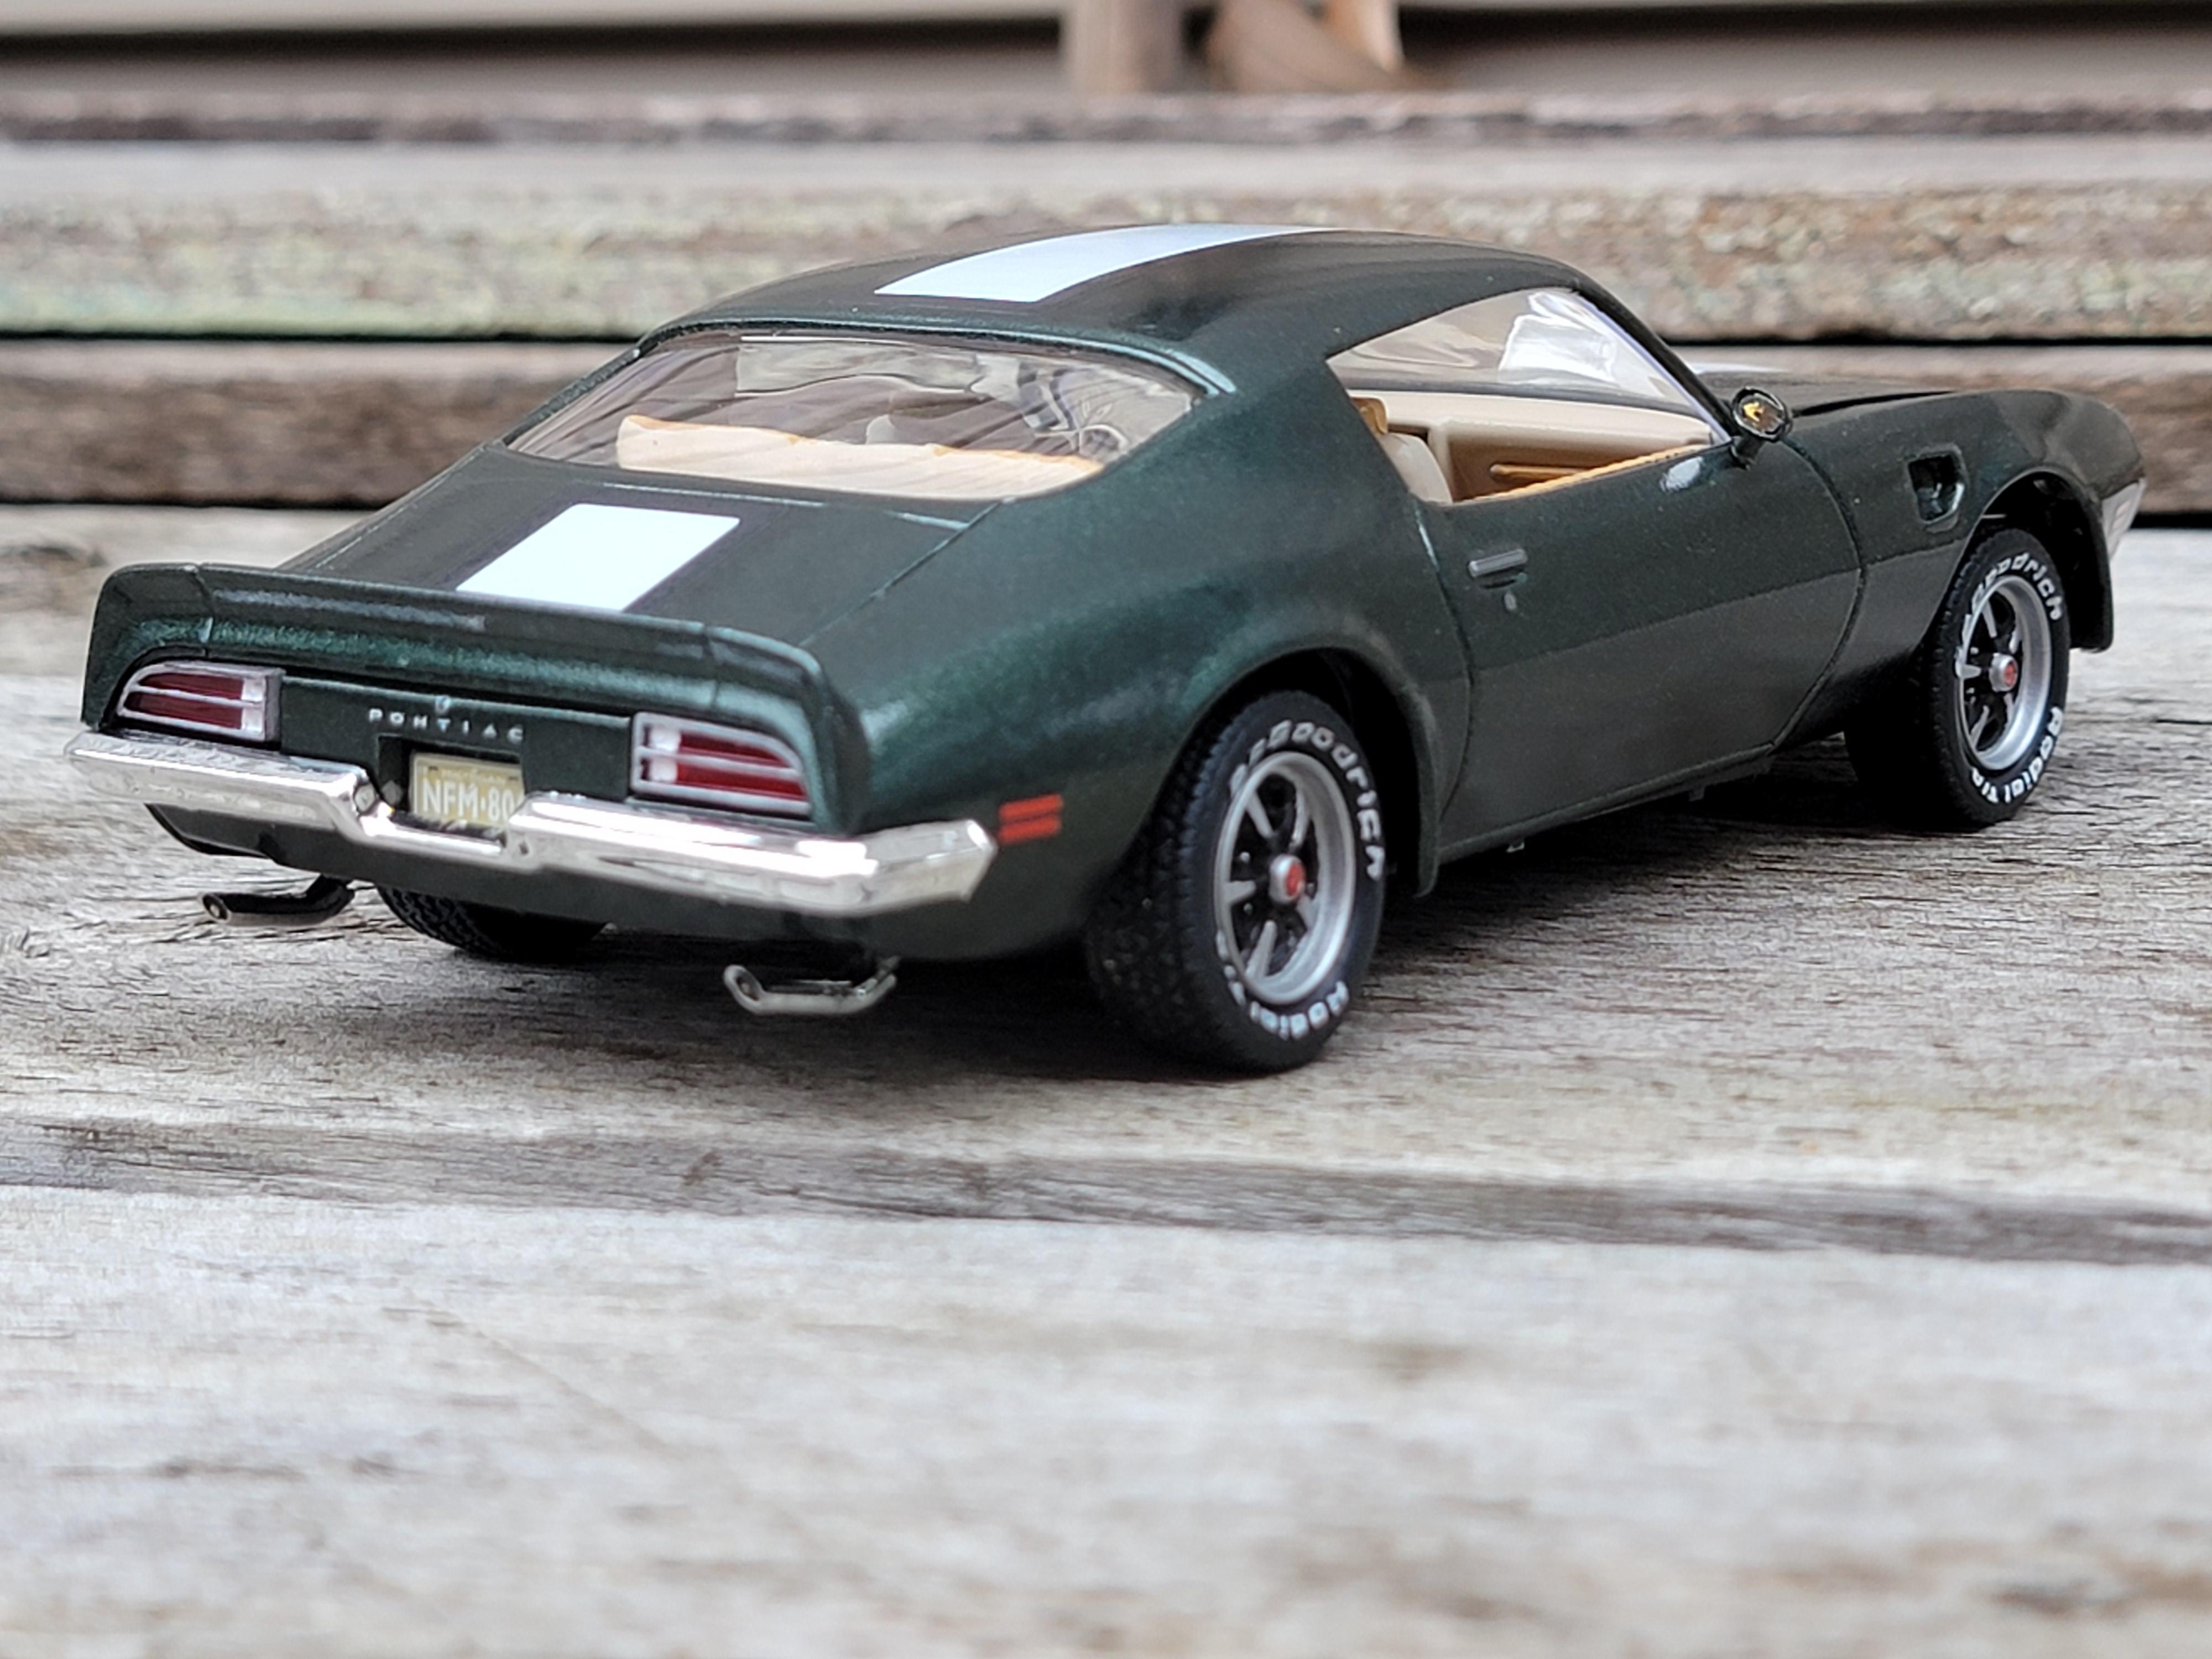
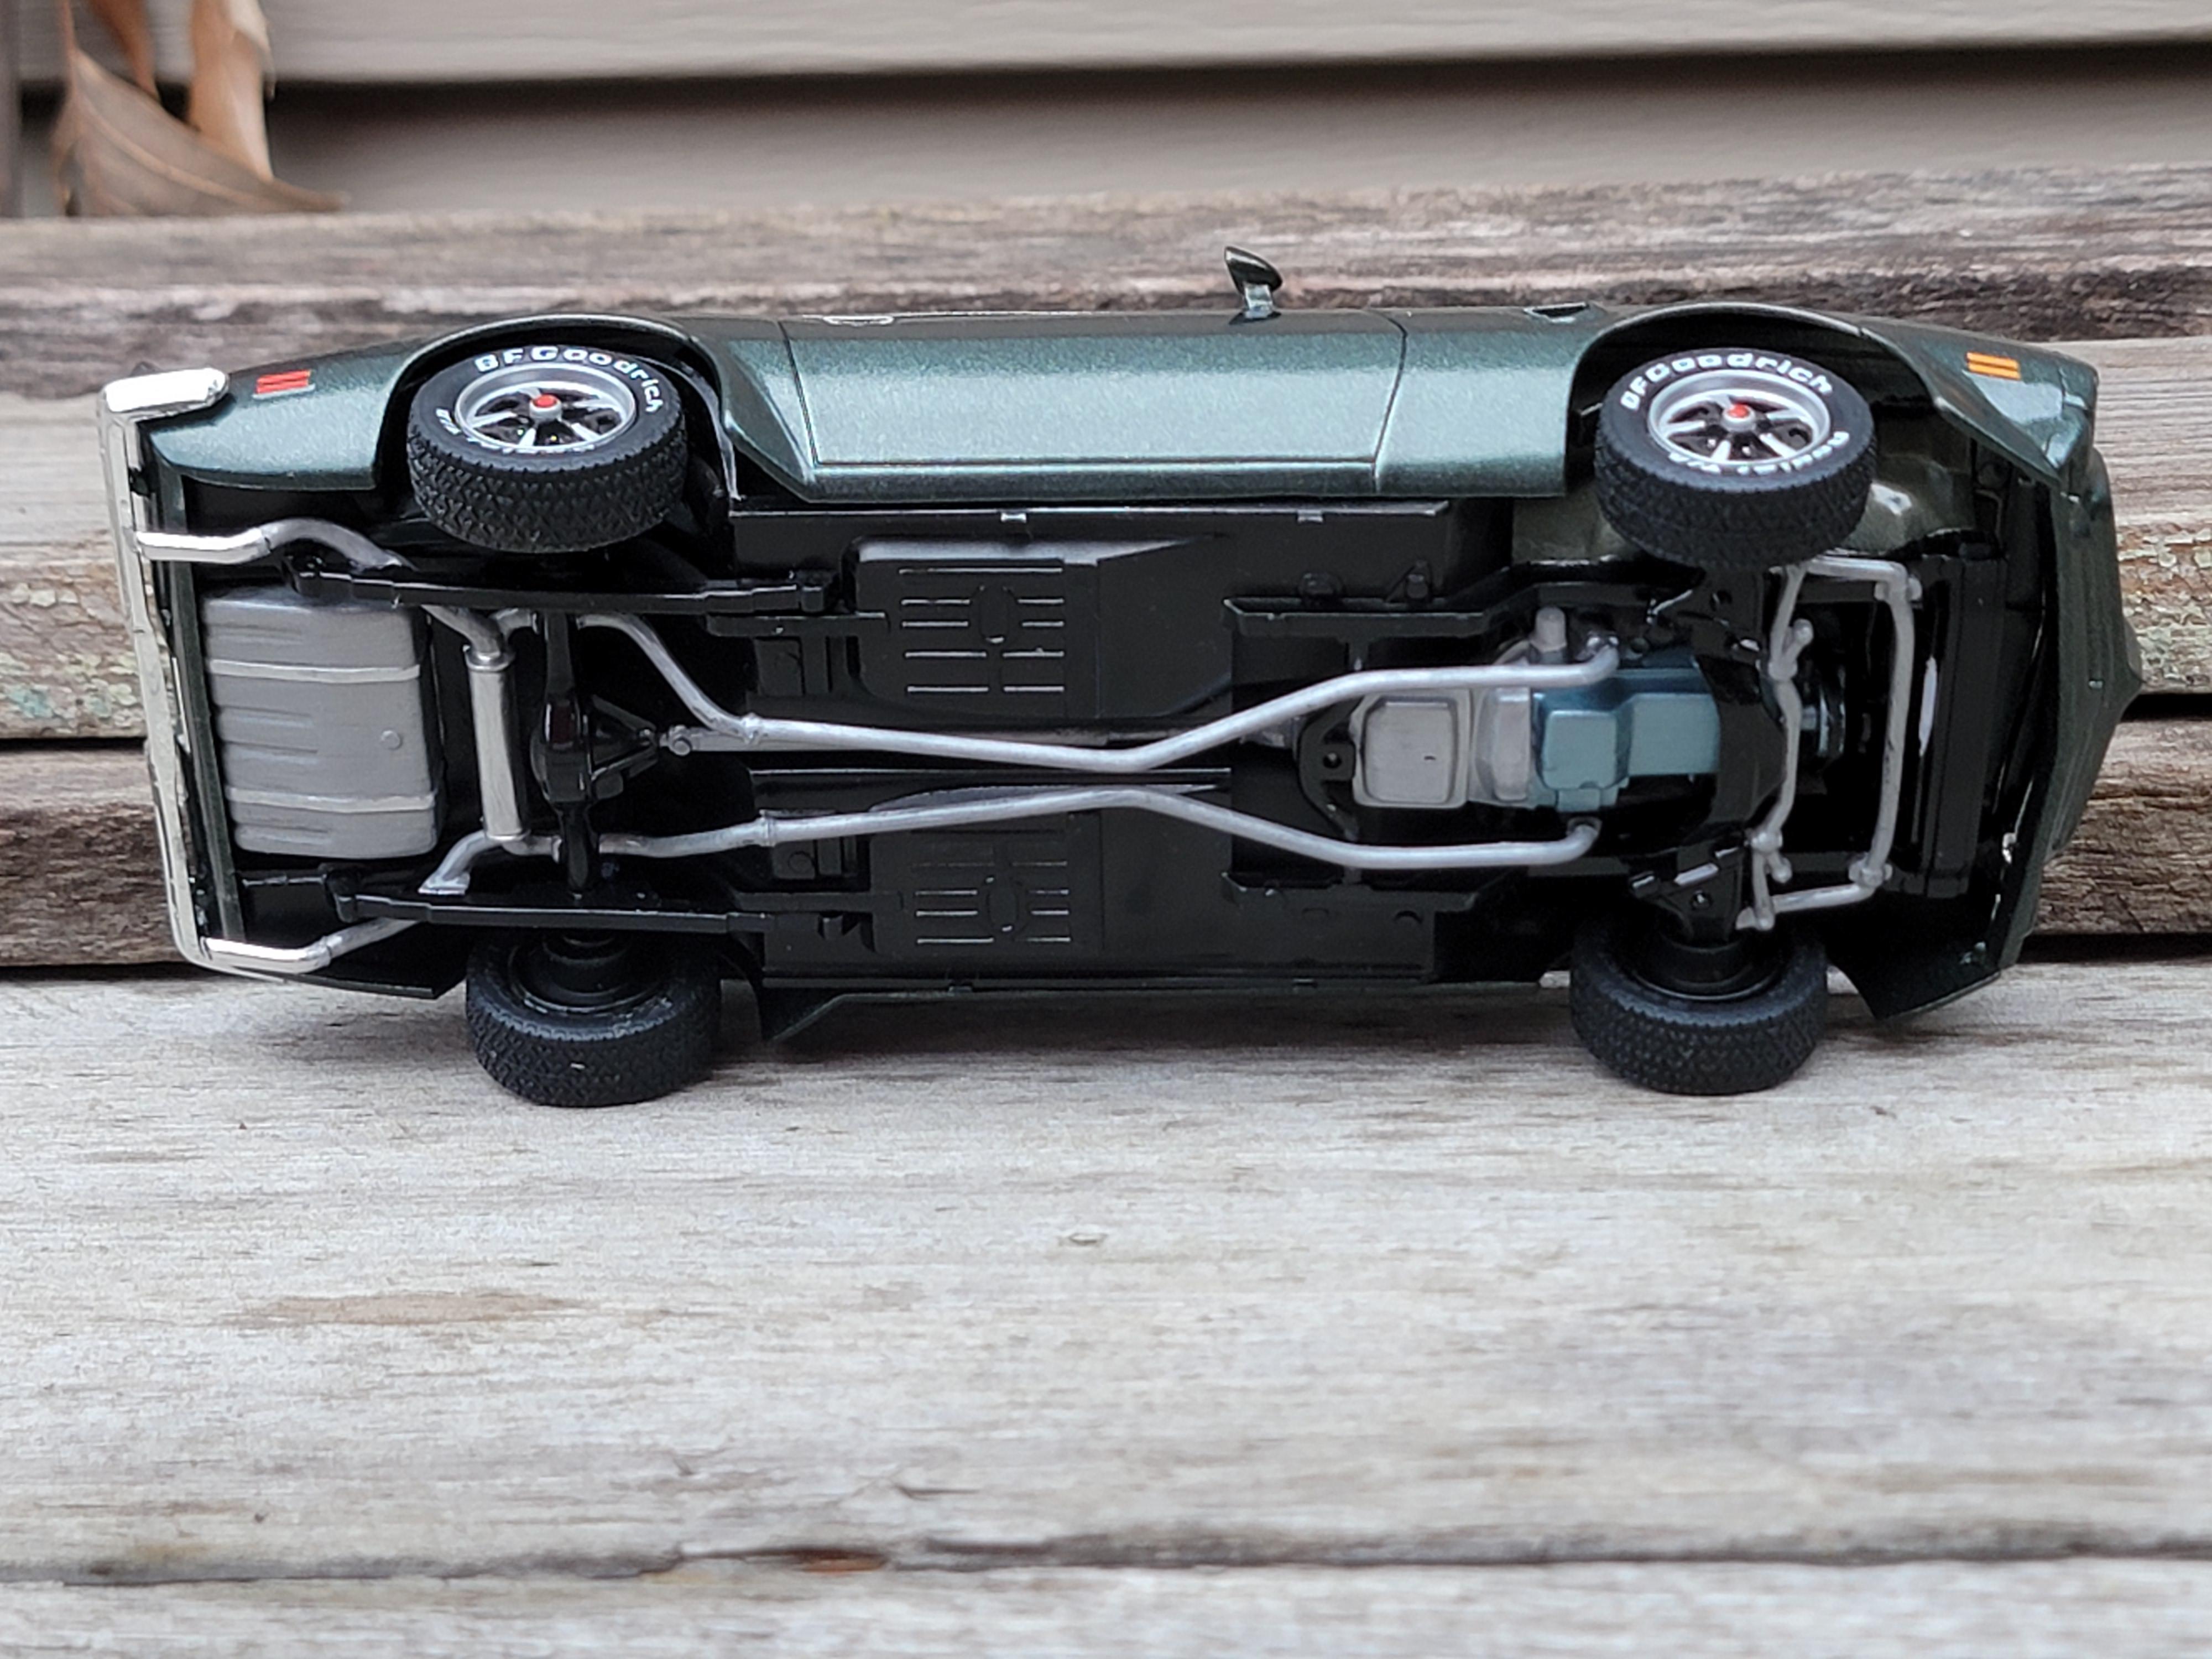
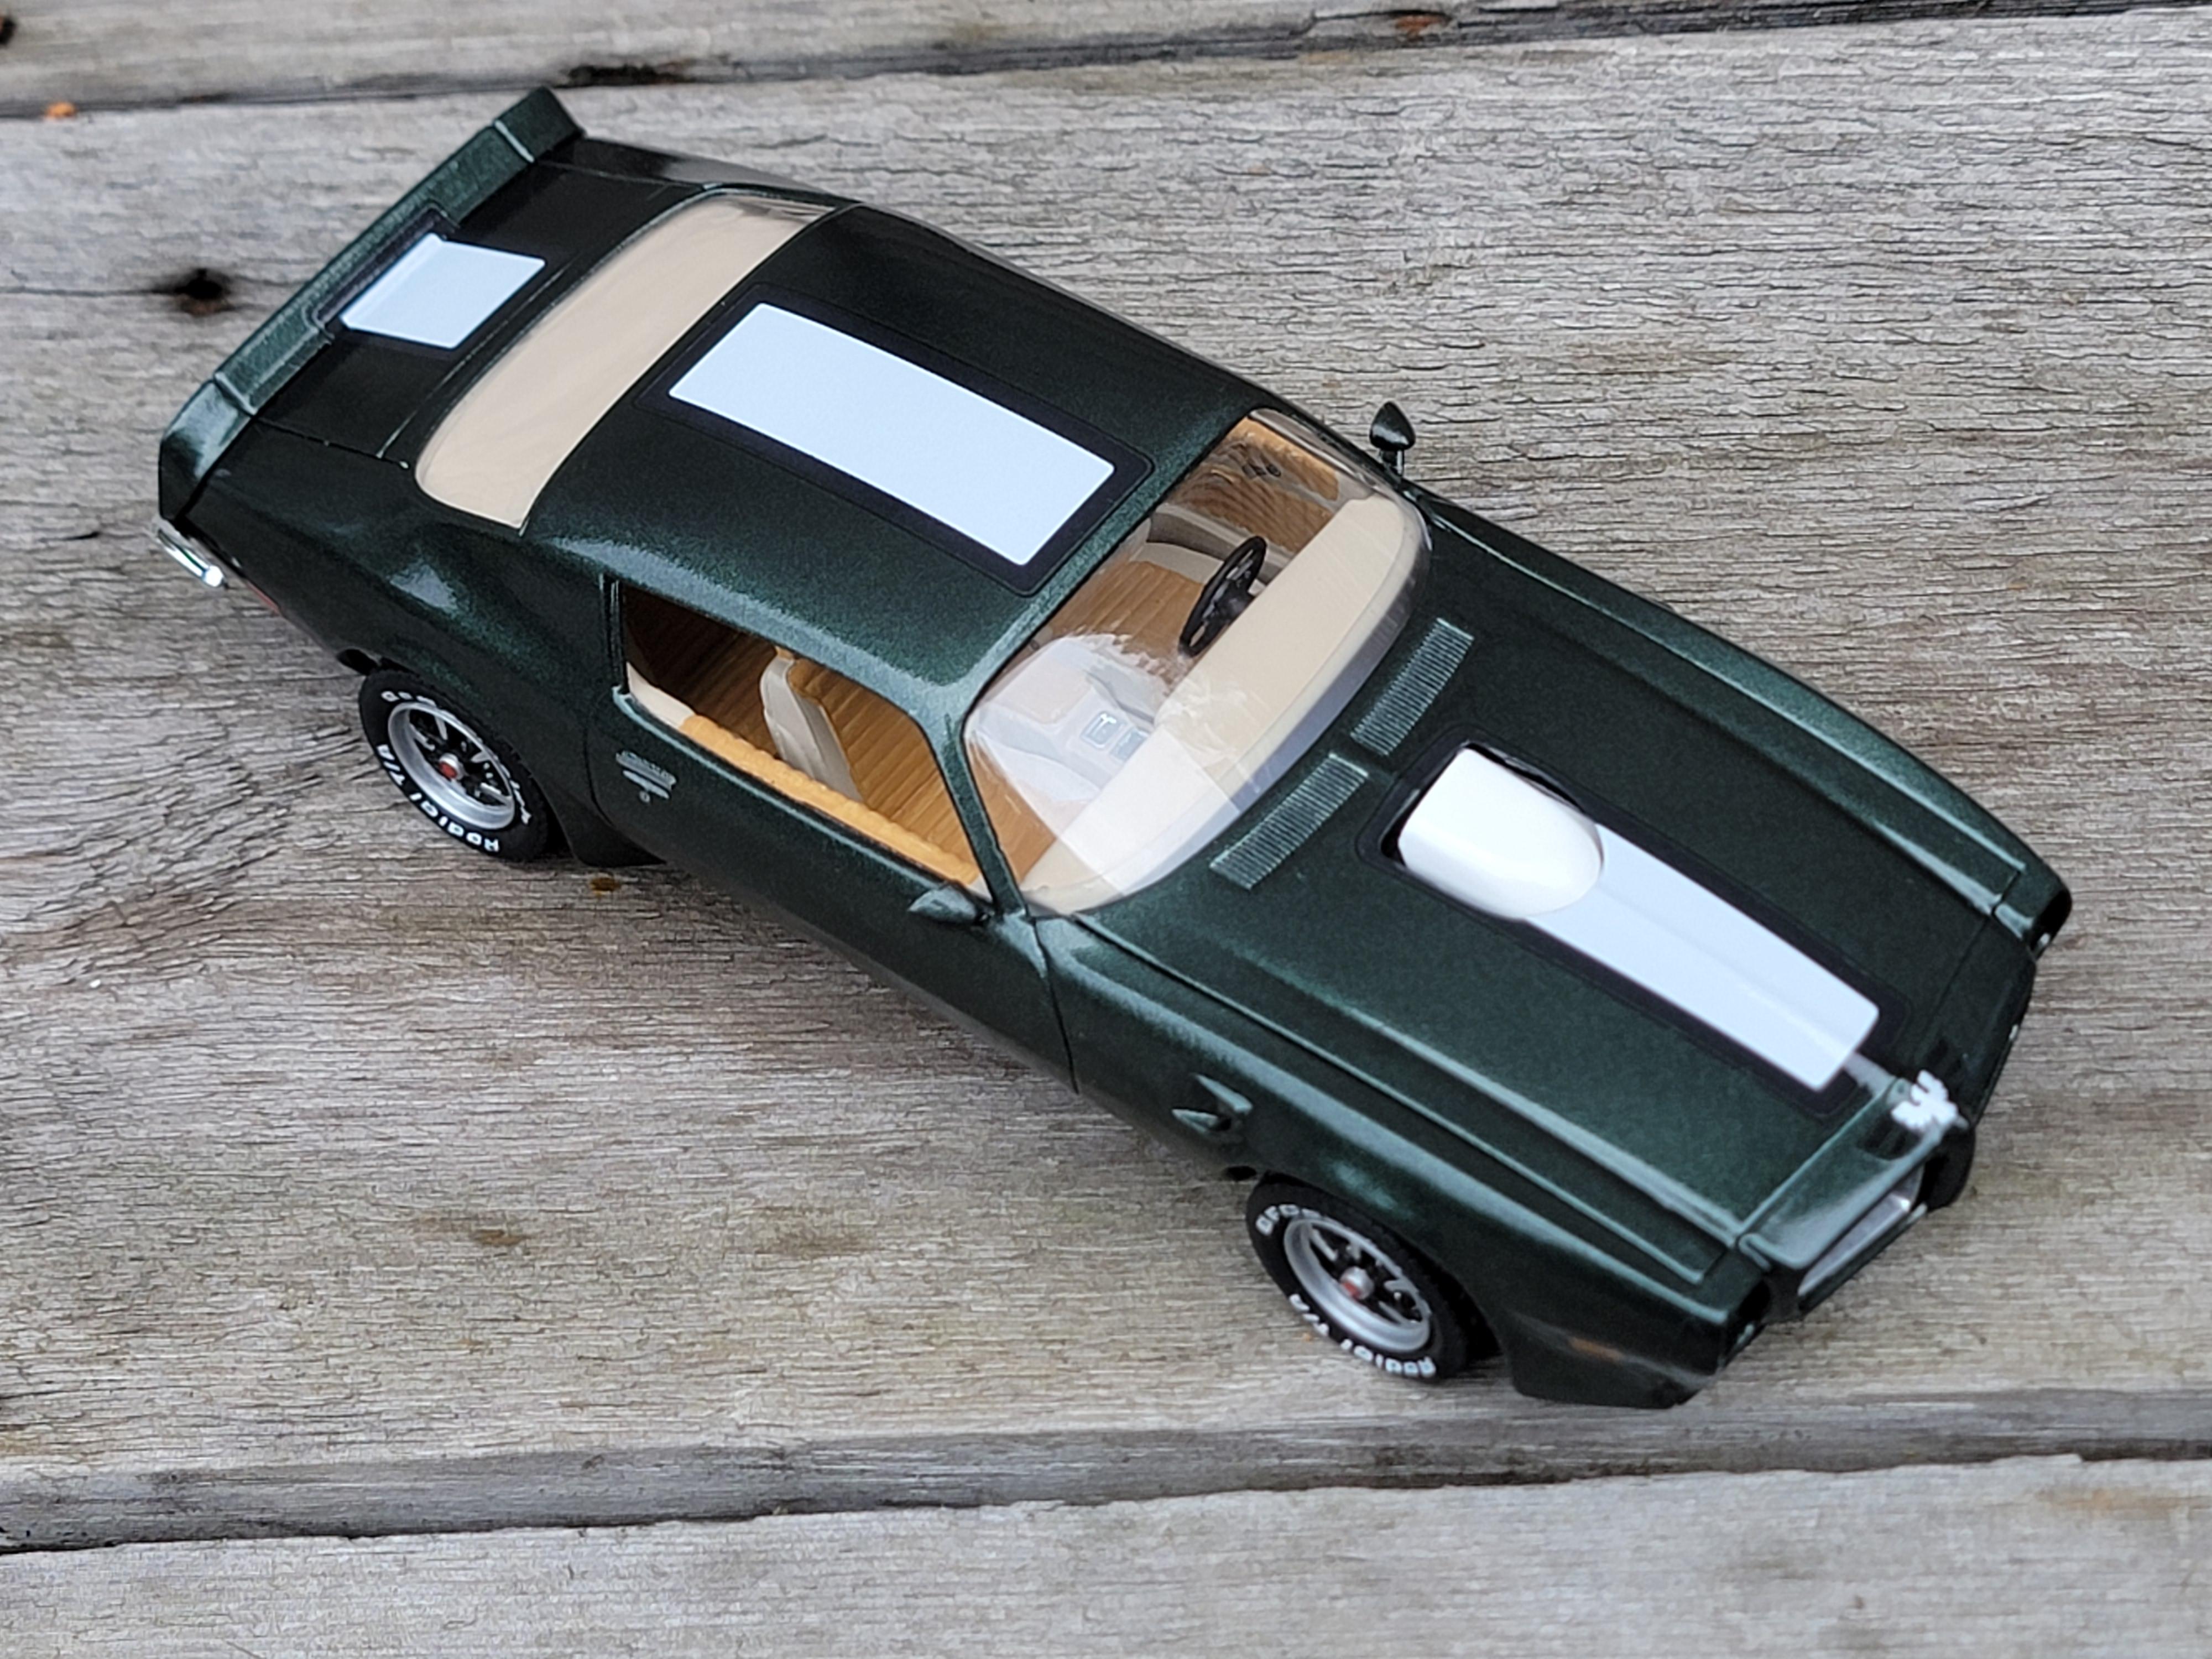
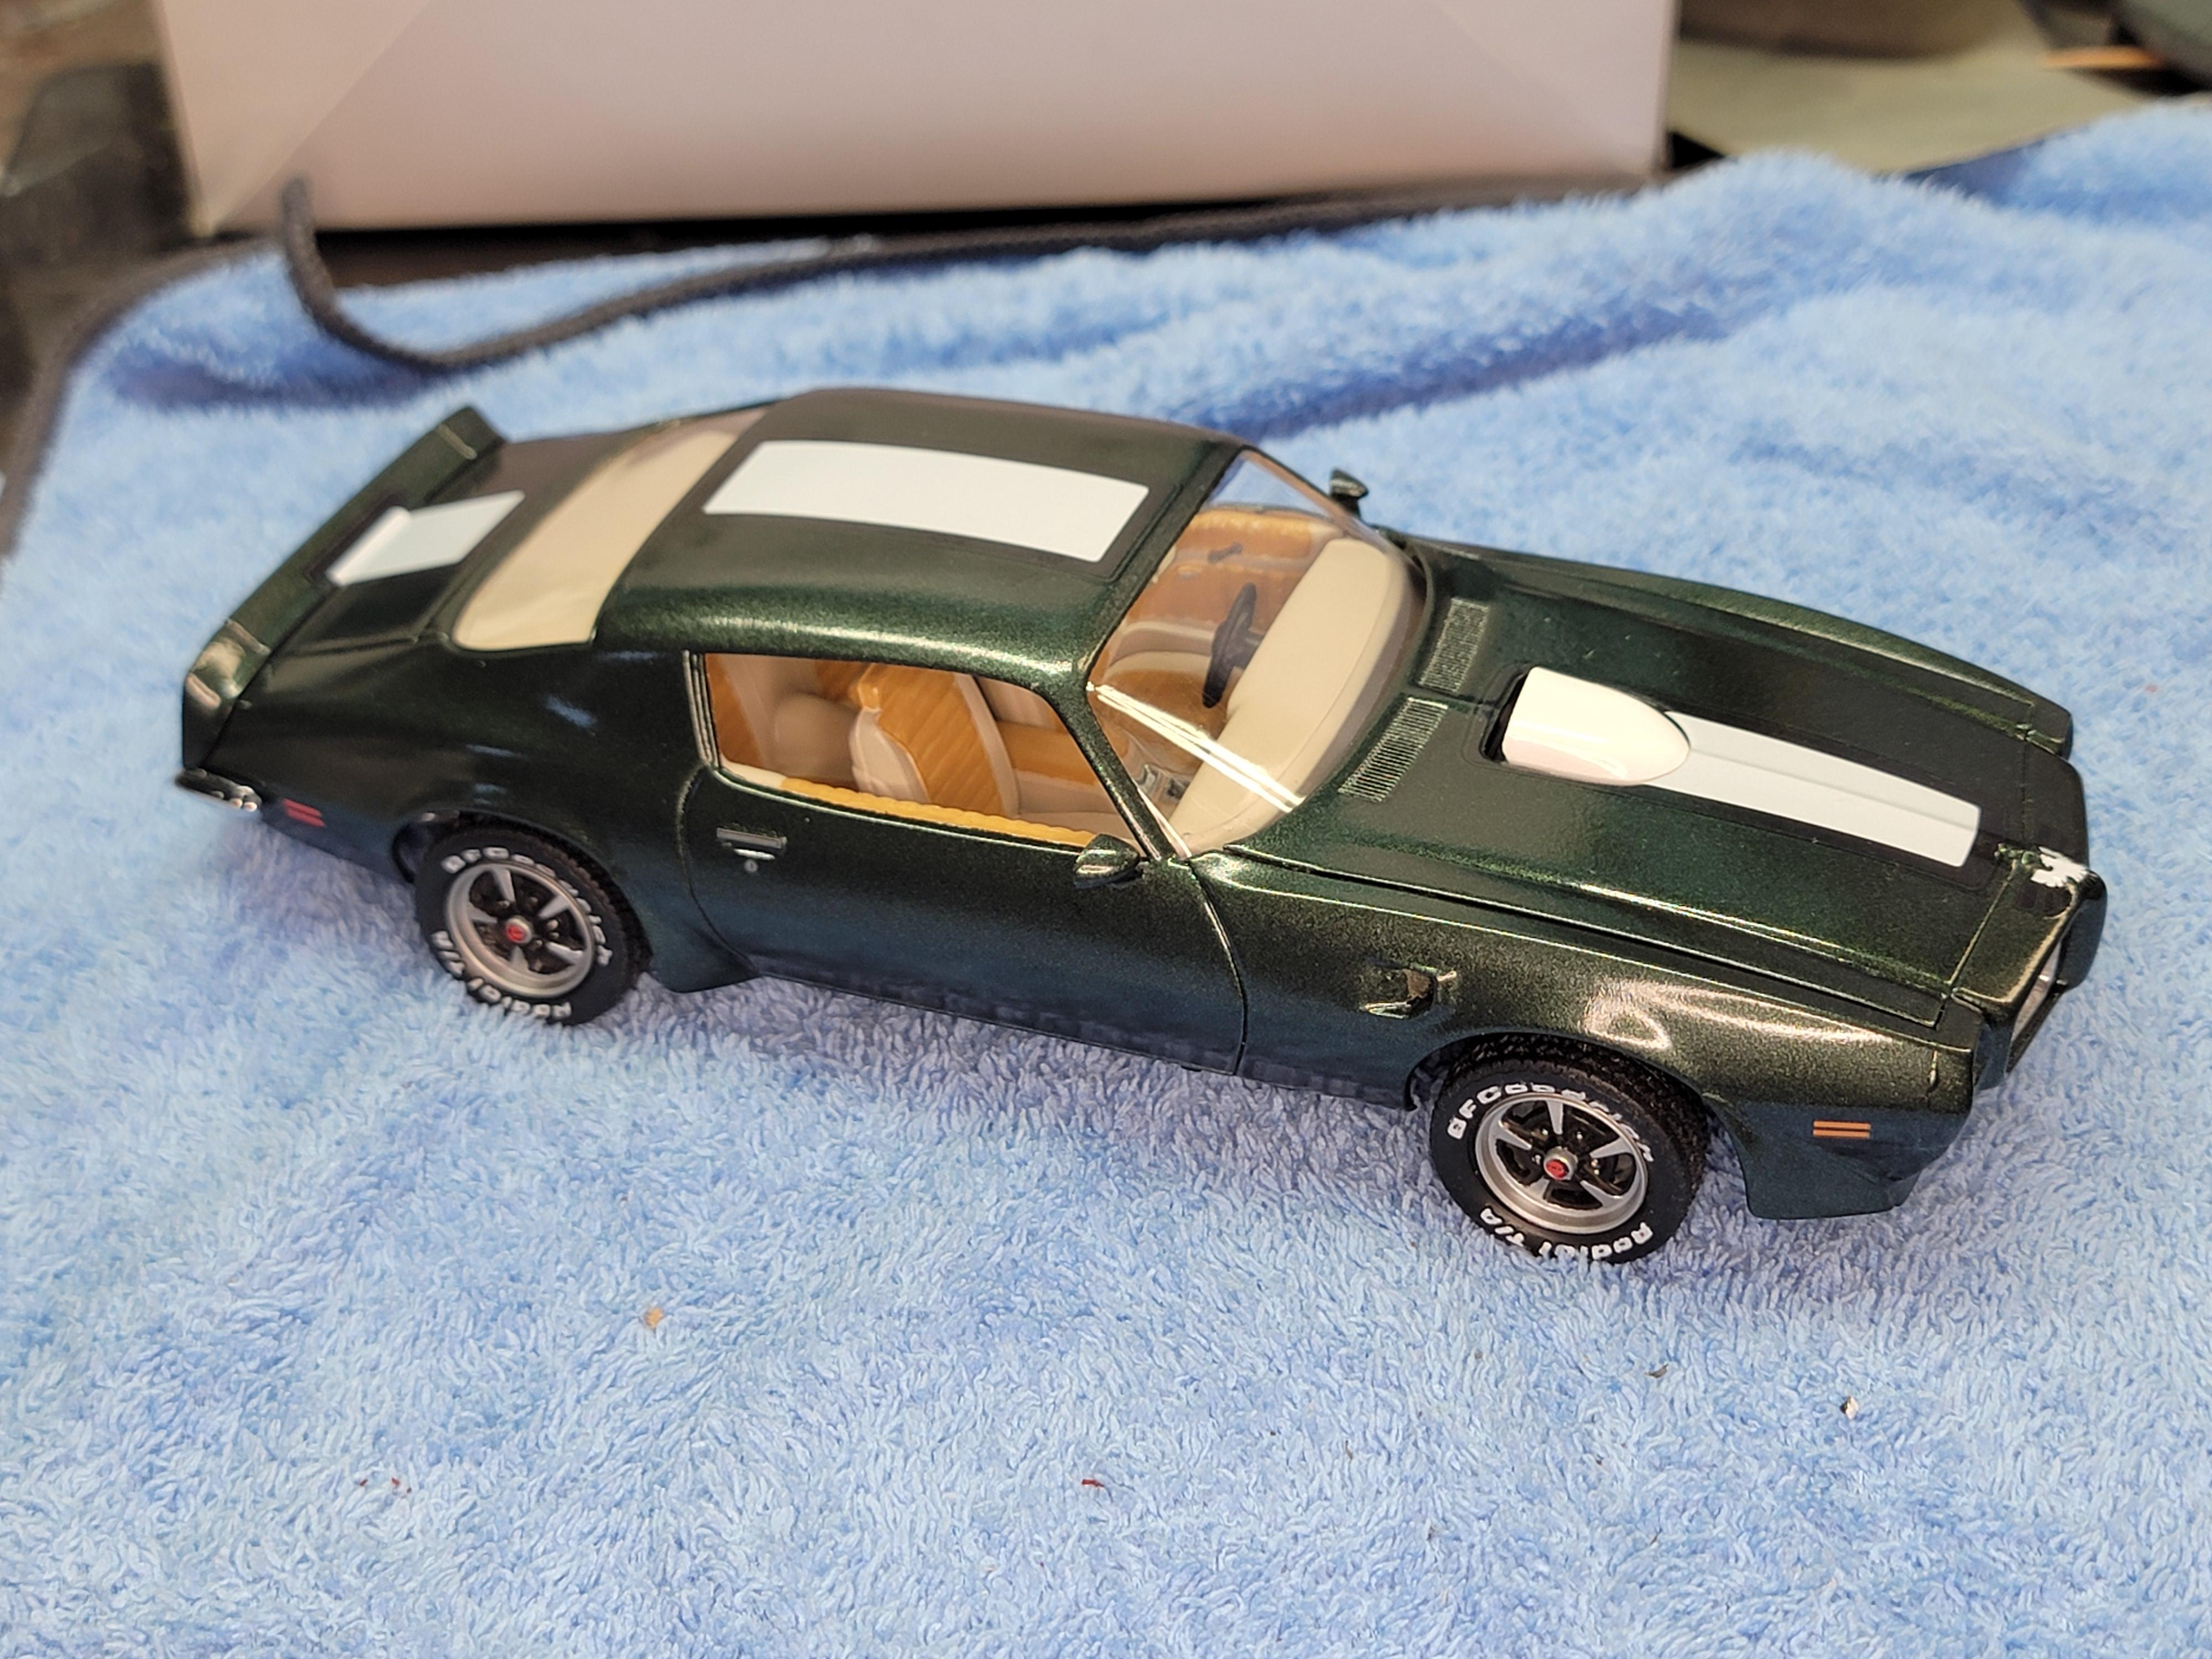
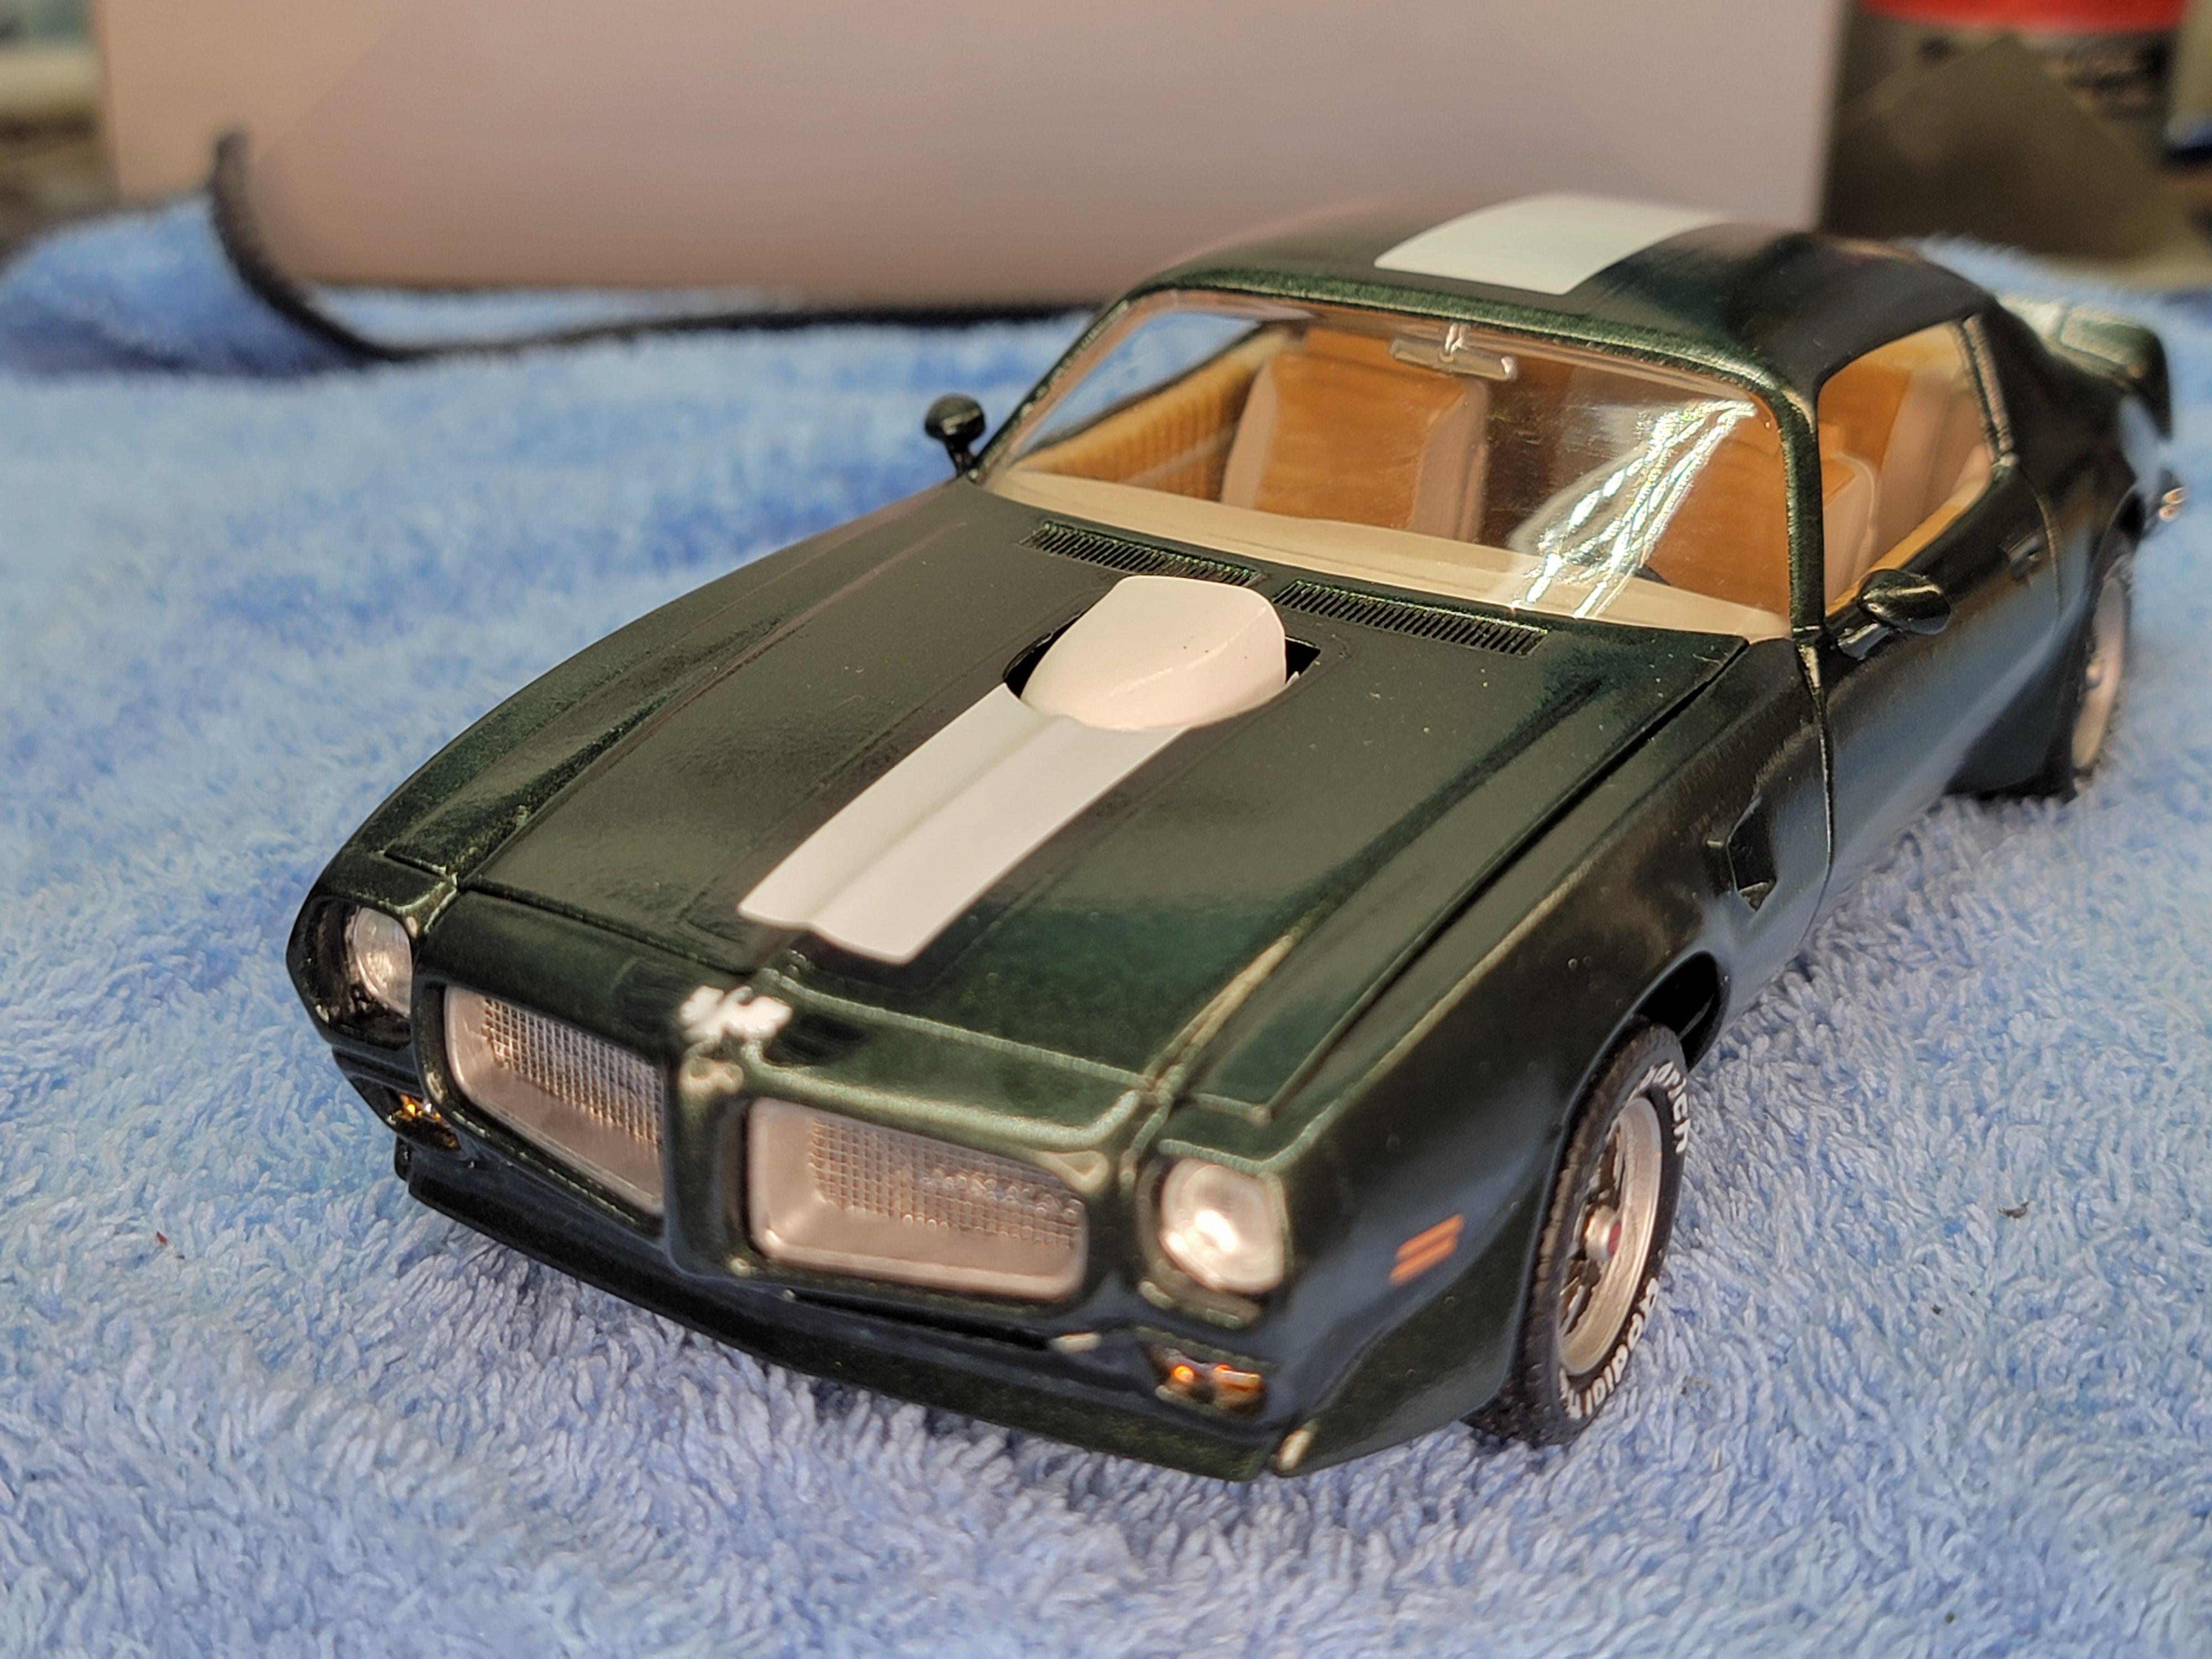
I finished this earlier this week. I bought it as a started kit with a painted body. The body only had a couple light coats of paint. I painted it with Testors Fathom Green paint. The kit tires I replaced with what I saw on line as more accurate BF Goodrich T/A Radials. These did not have as tall a sidewall but they look like the pics of 1:1 cars I found on line. Everything else is right out of the box.
Later-
-
16
-
-
Paul,
Sorry, I was unable to find any sheets of seat belt latches. Swore I had some but could only find a sheet with a couple racing harness latches.
Sure wish I could have helped.
Later-
-
Finished this tonight. I'll clean it up tomorrow and get beauty shots for "Under Glass".
Later-
-
2
-
-
Found one. Admins- Please delete.
Later-
-
Looking for one of these kits. PM me if you've got one to let go.
Later-
-
Not much of an update but, along with being busy, it has been raining every other day here, which makes for problems with spraying. I did manage to get the first coats of clear on the other day and got it in the dehydrator overnight. I'll do a light sanding and get a couple more coats of clear ASAP. I also eed to get the white decal on the air cleaner. That will be fun. Nothing like decaling a dome.
Later-
-
2
-
-
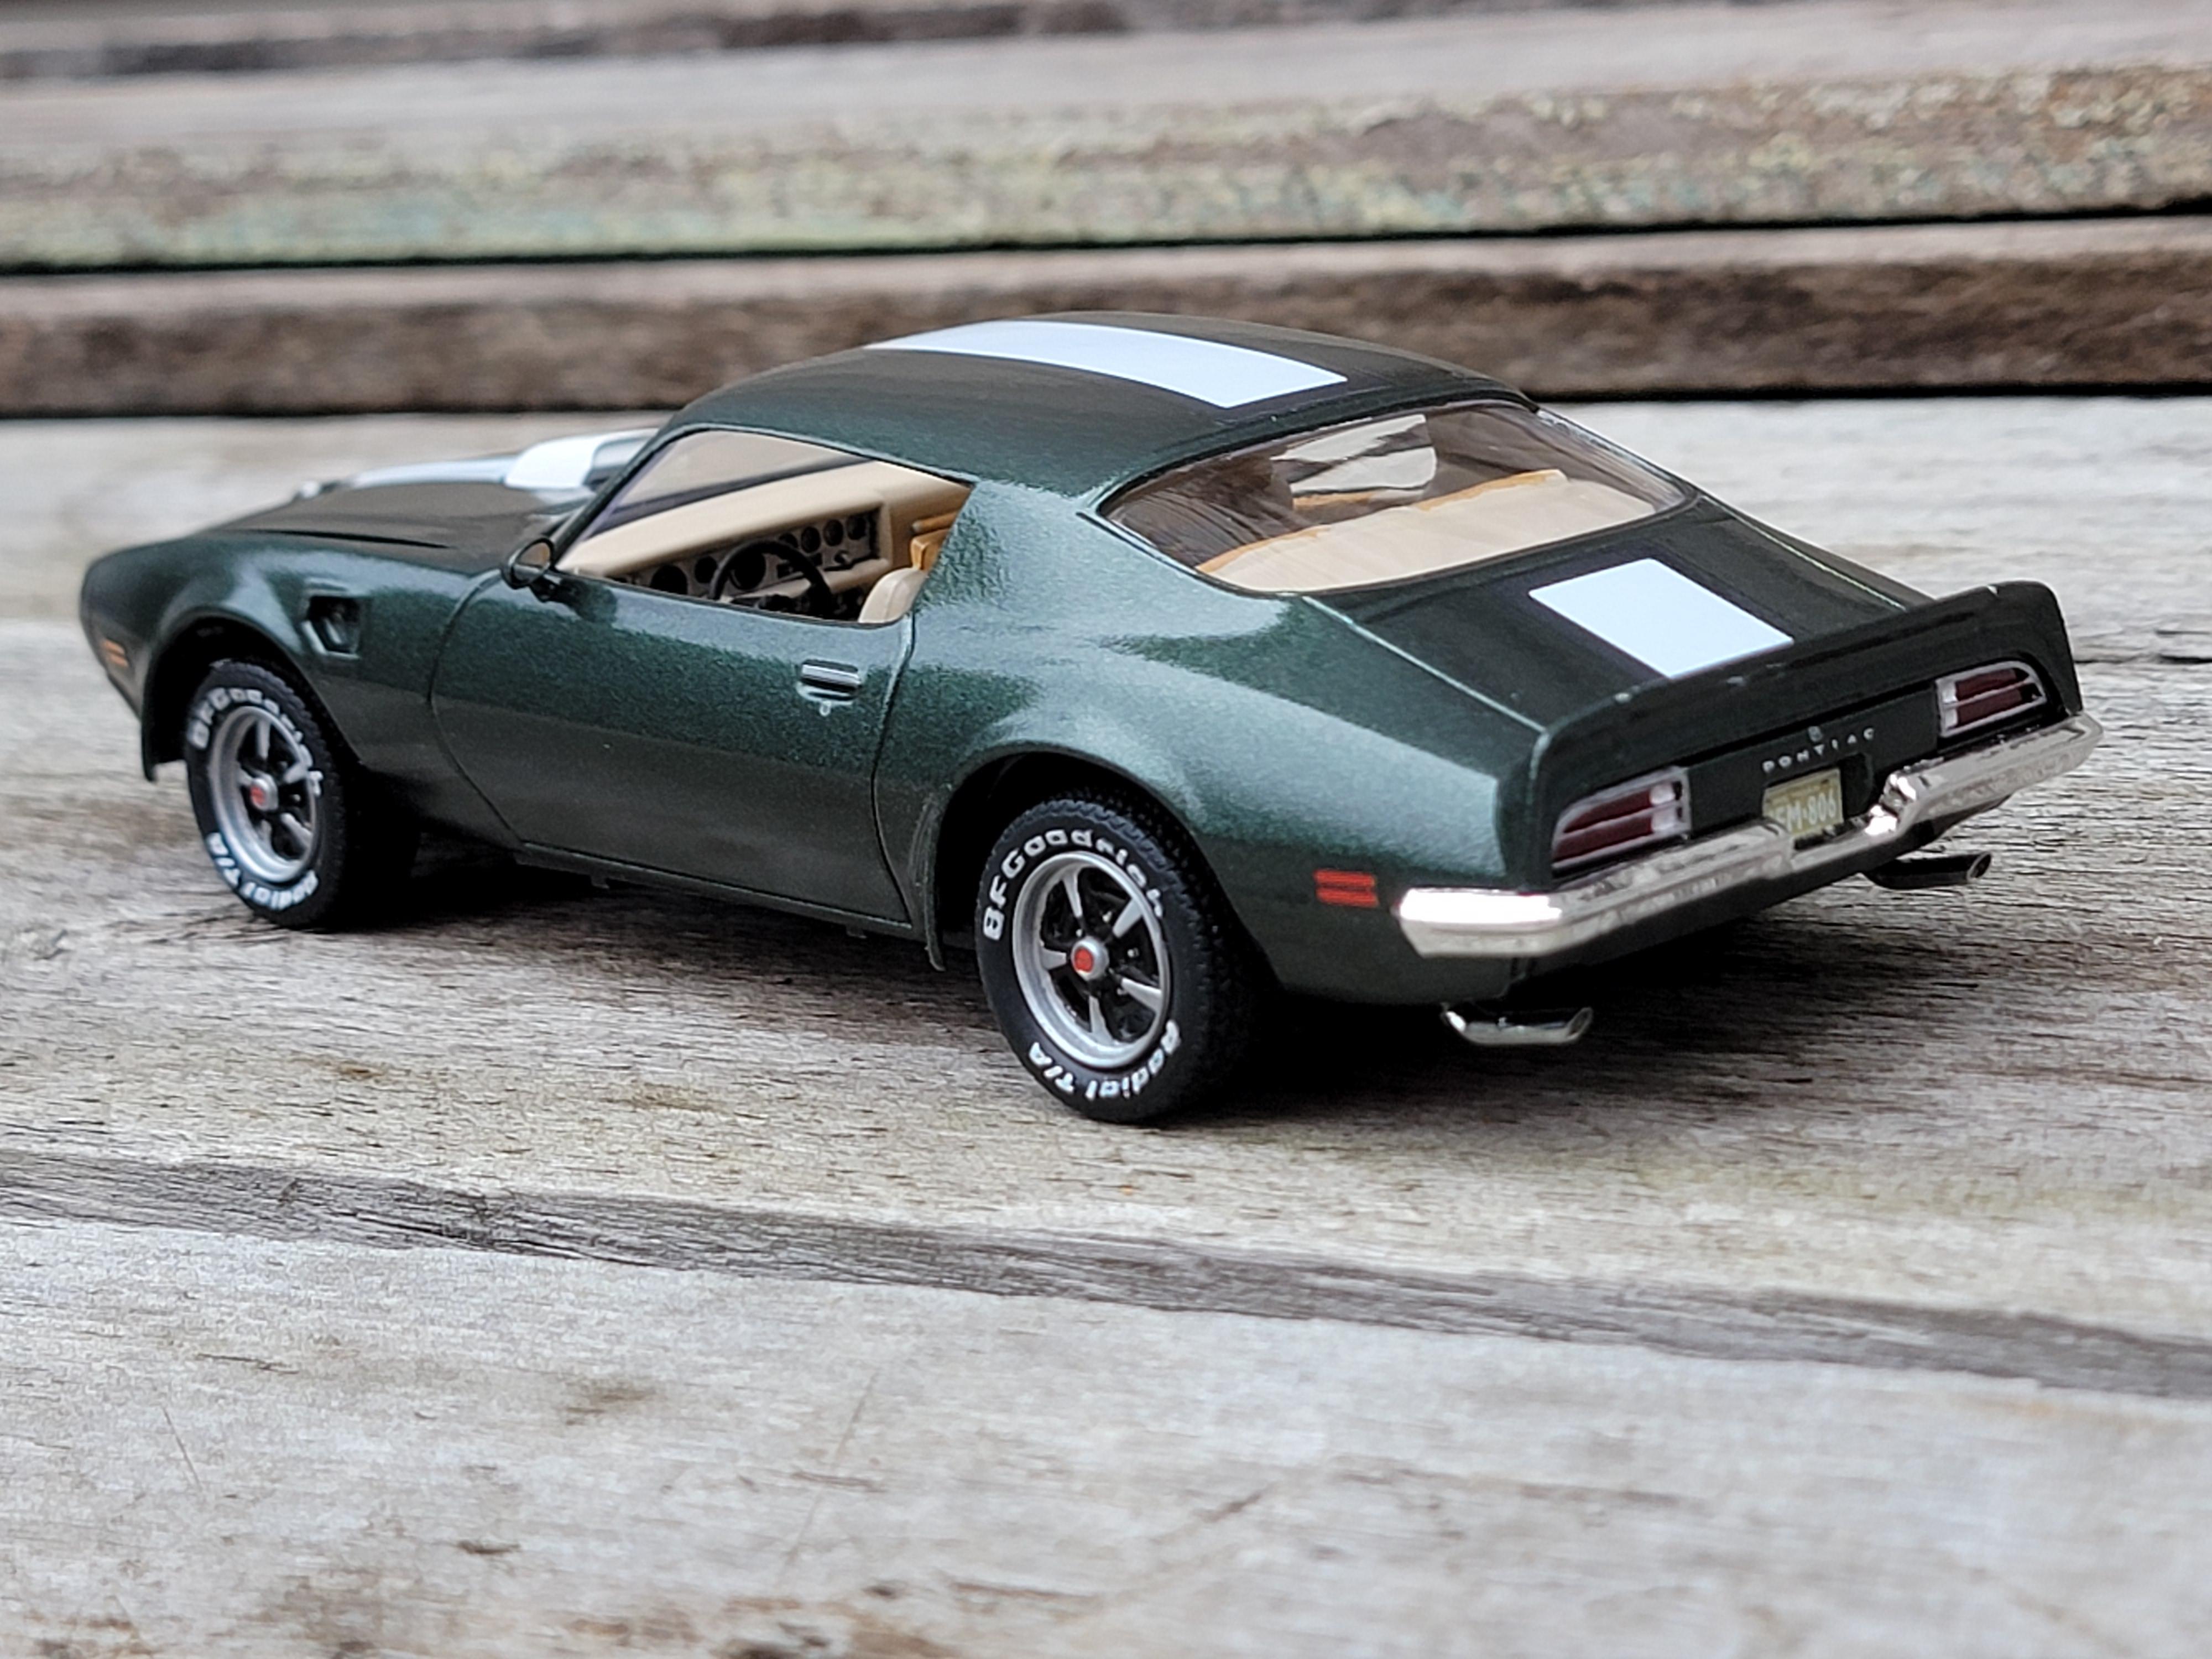
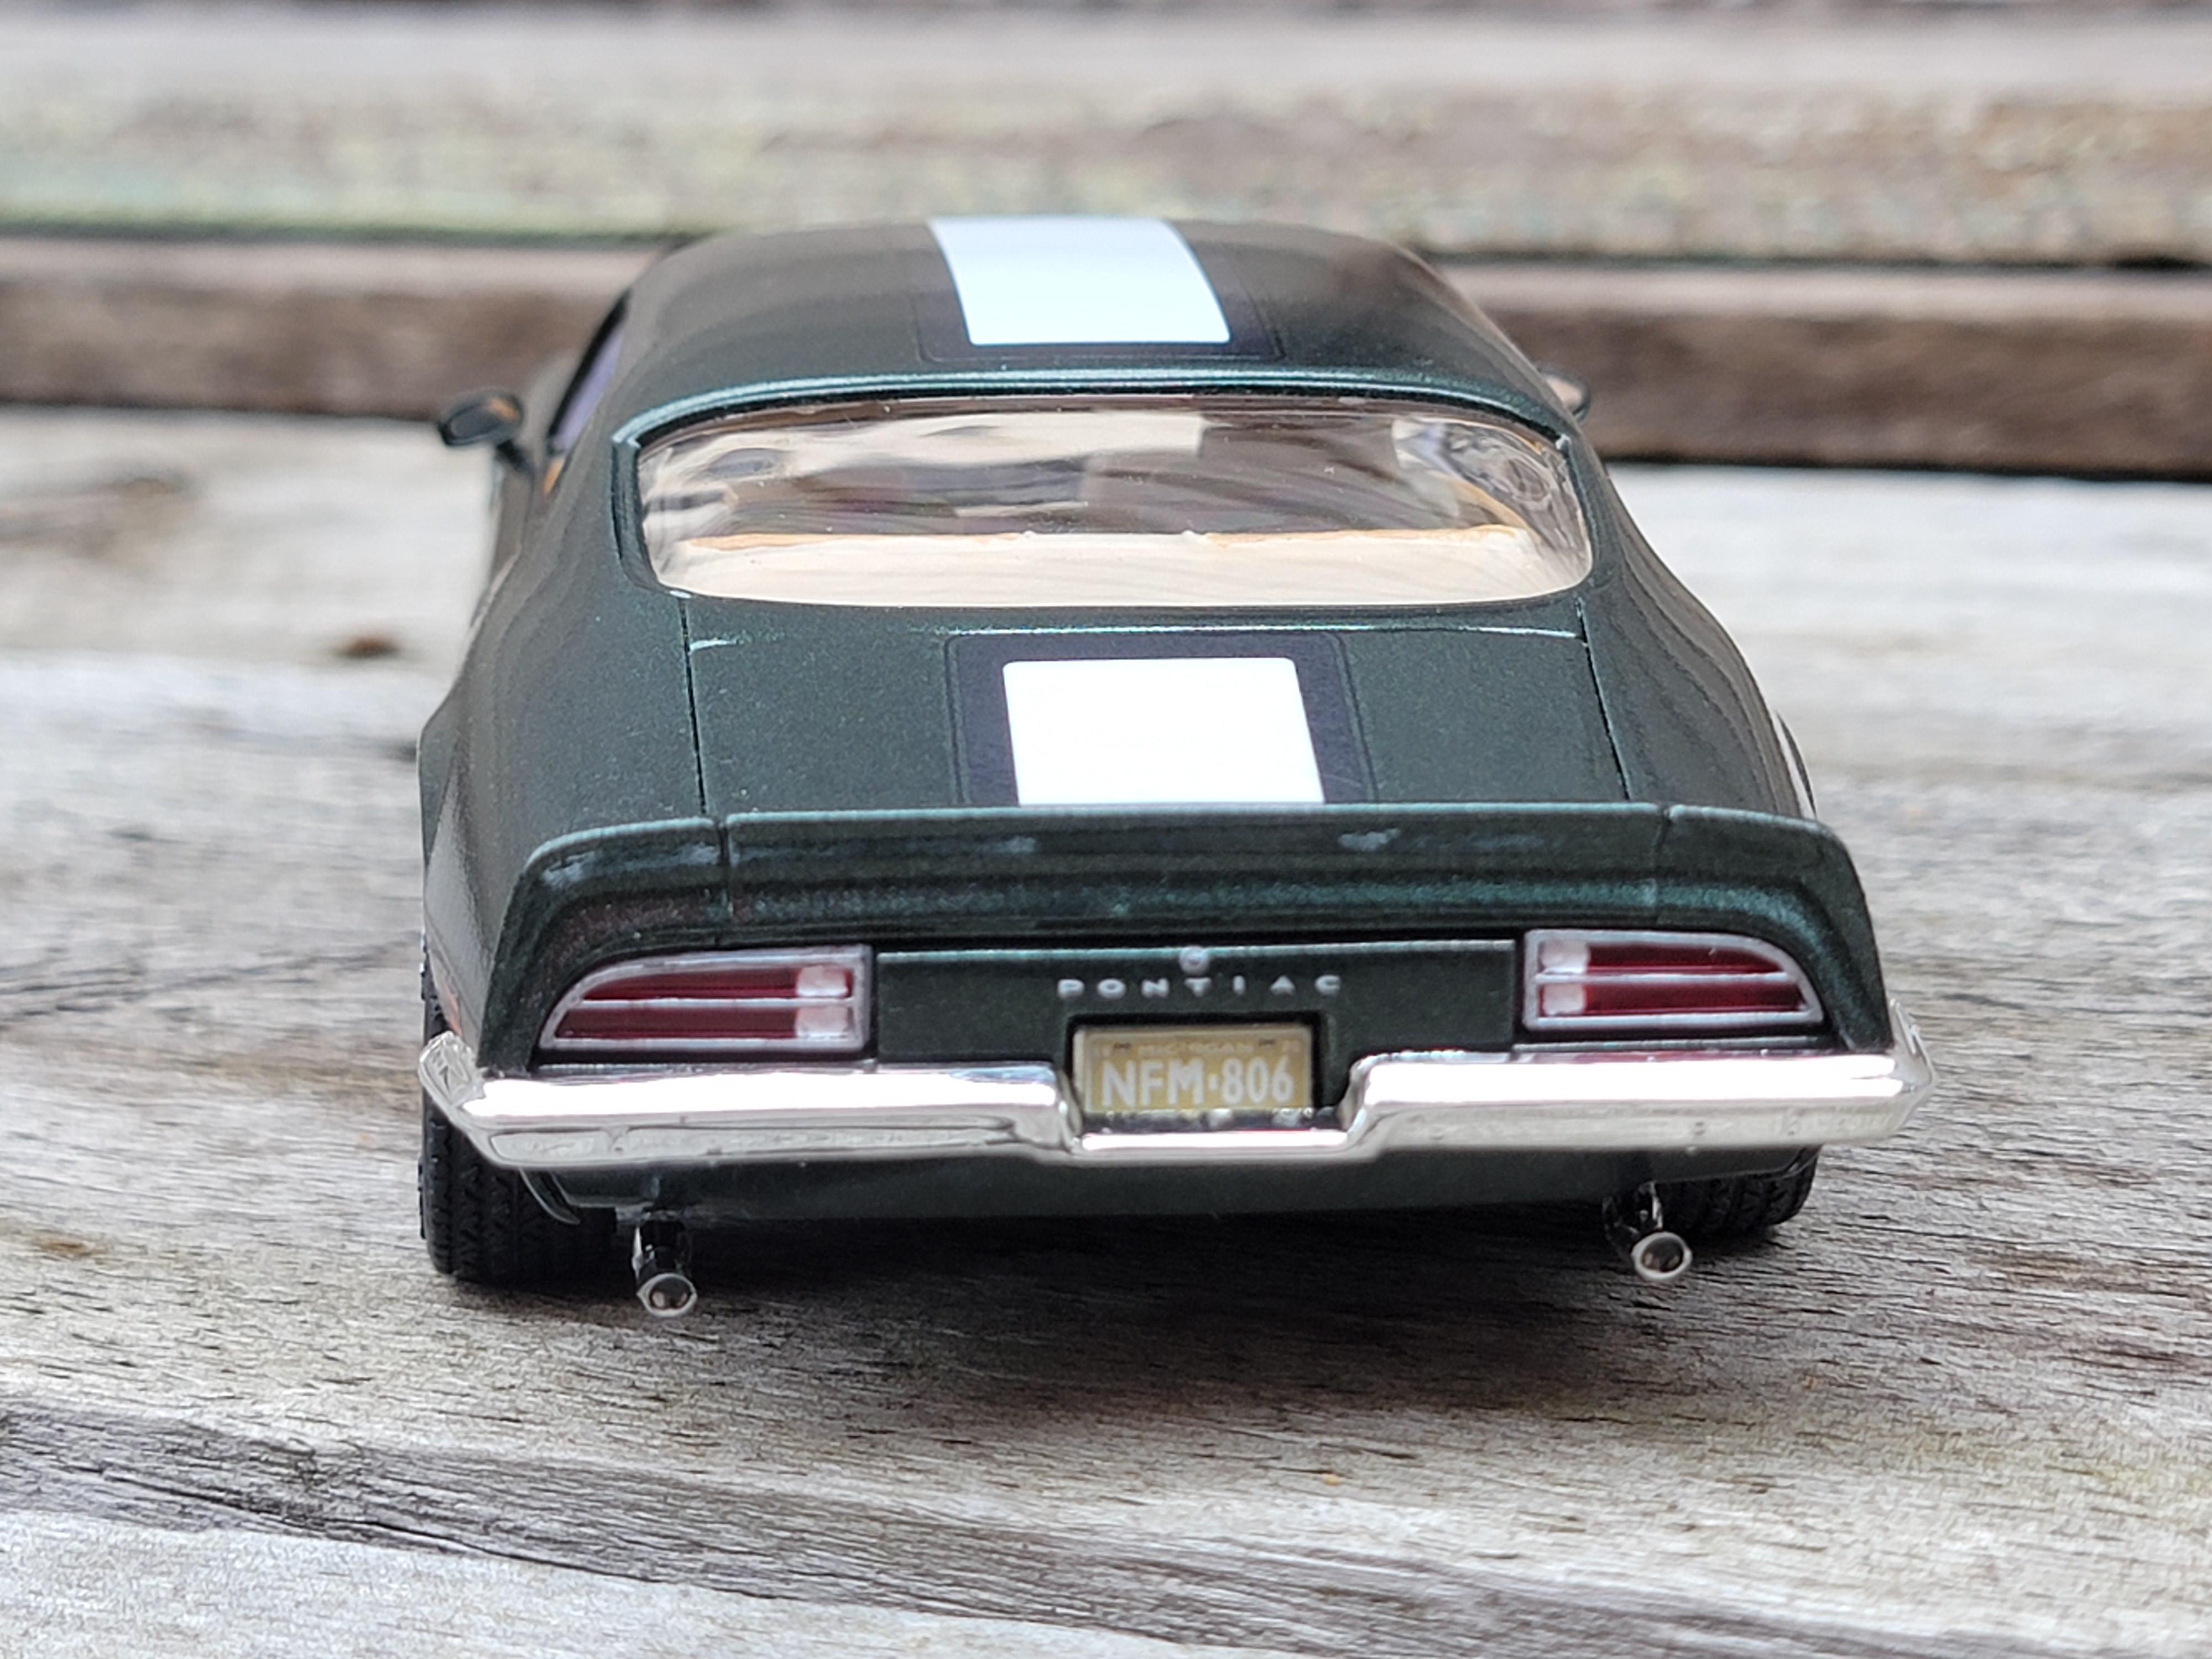
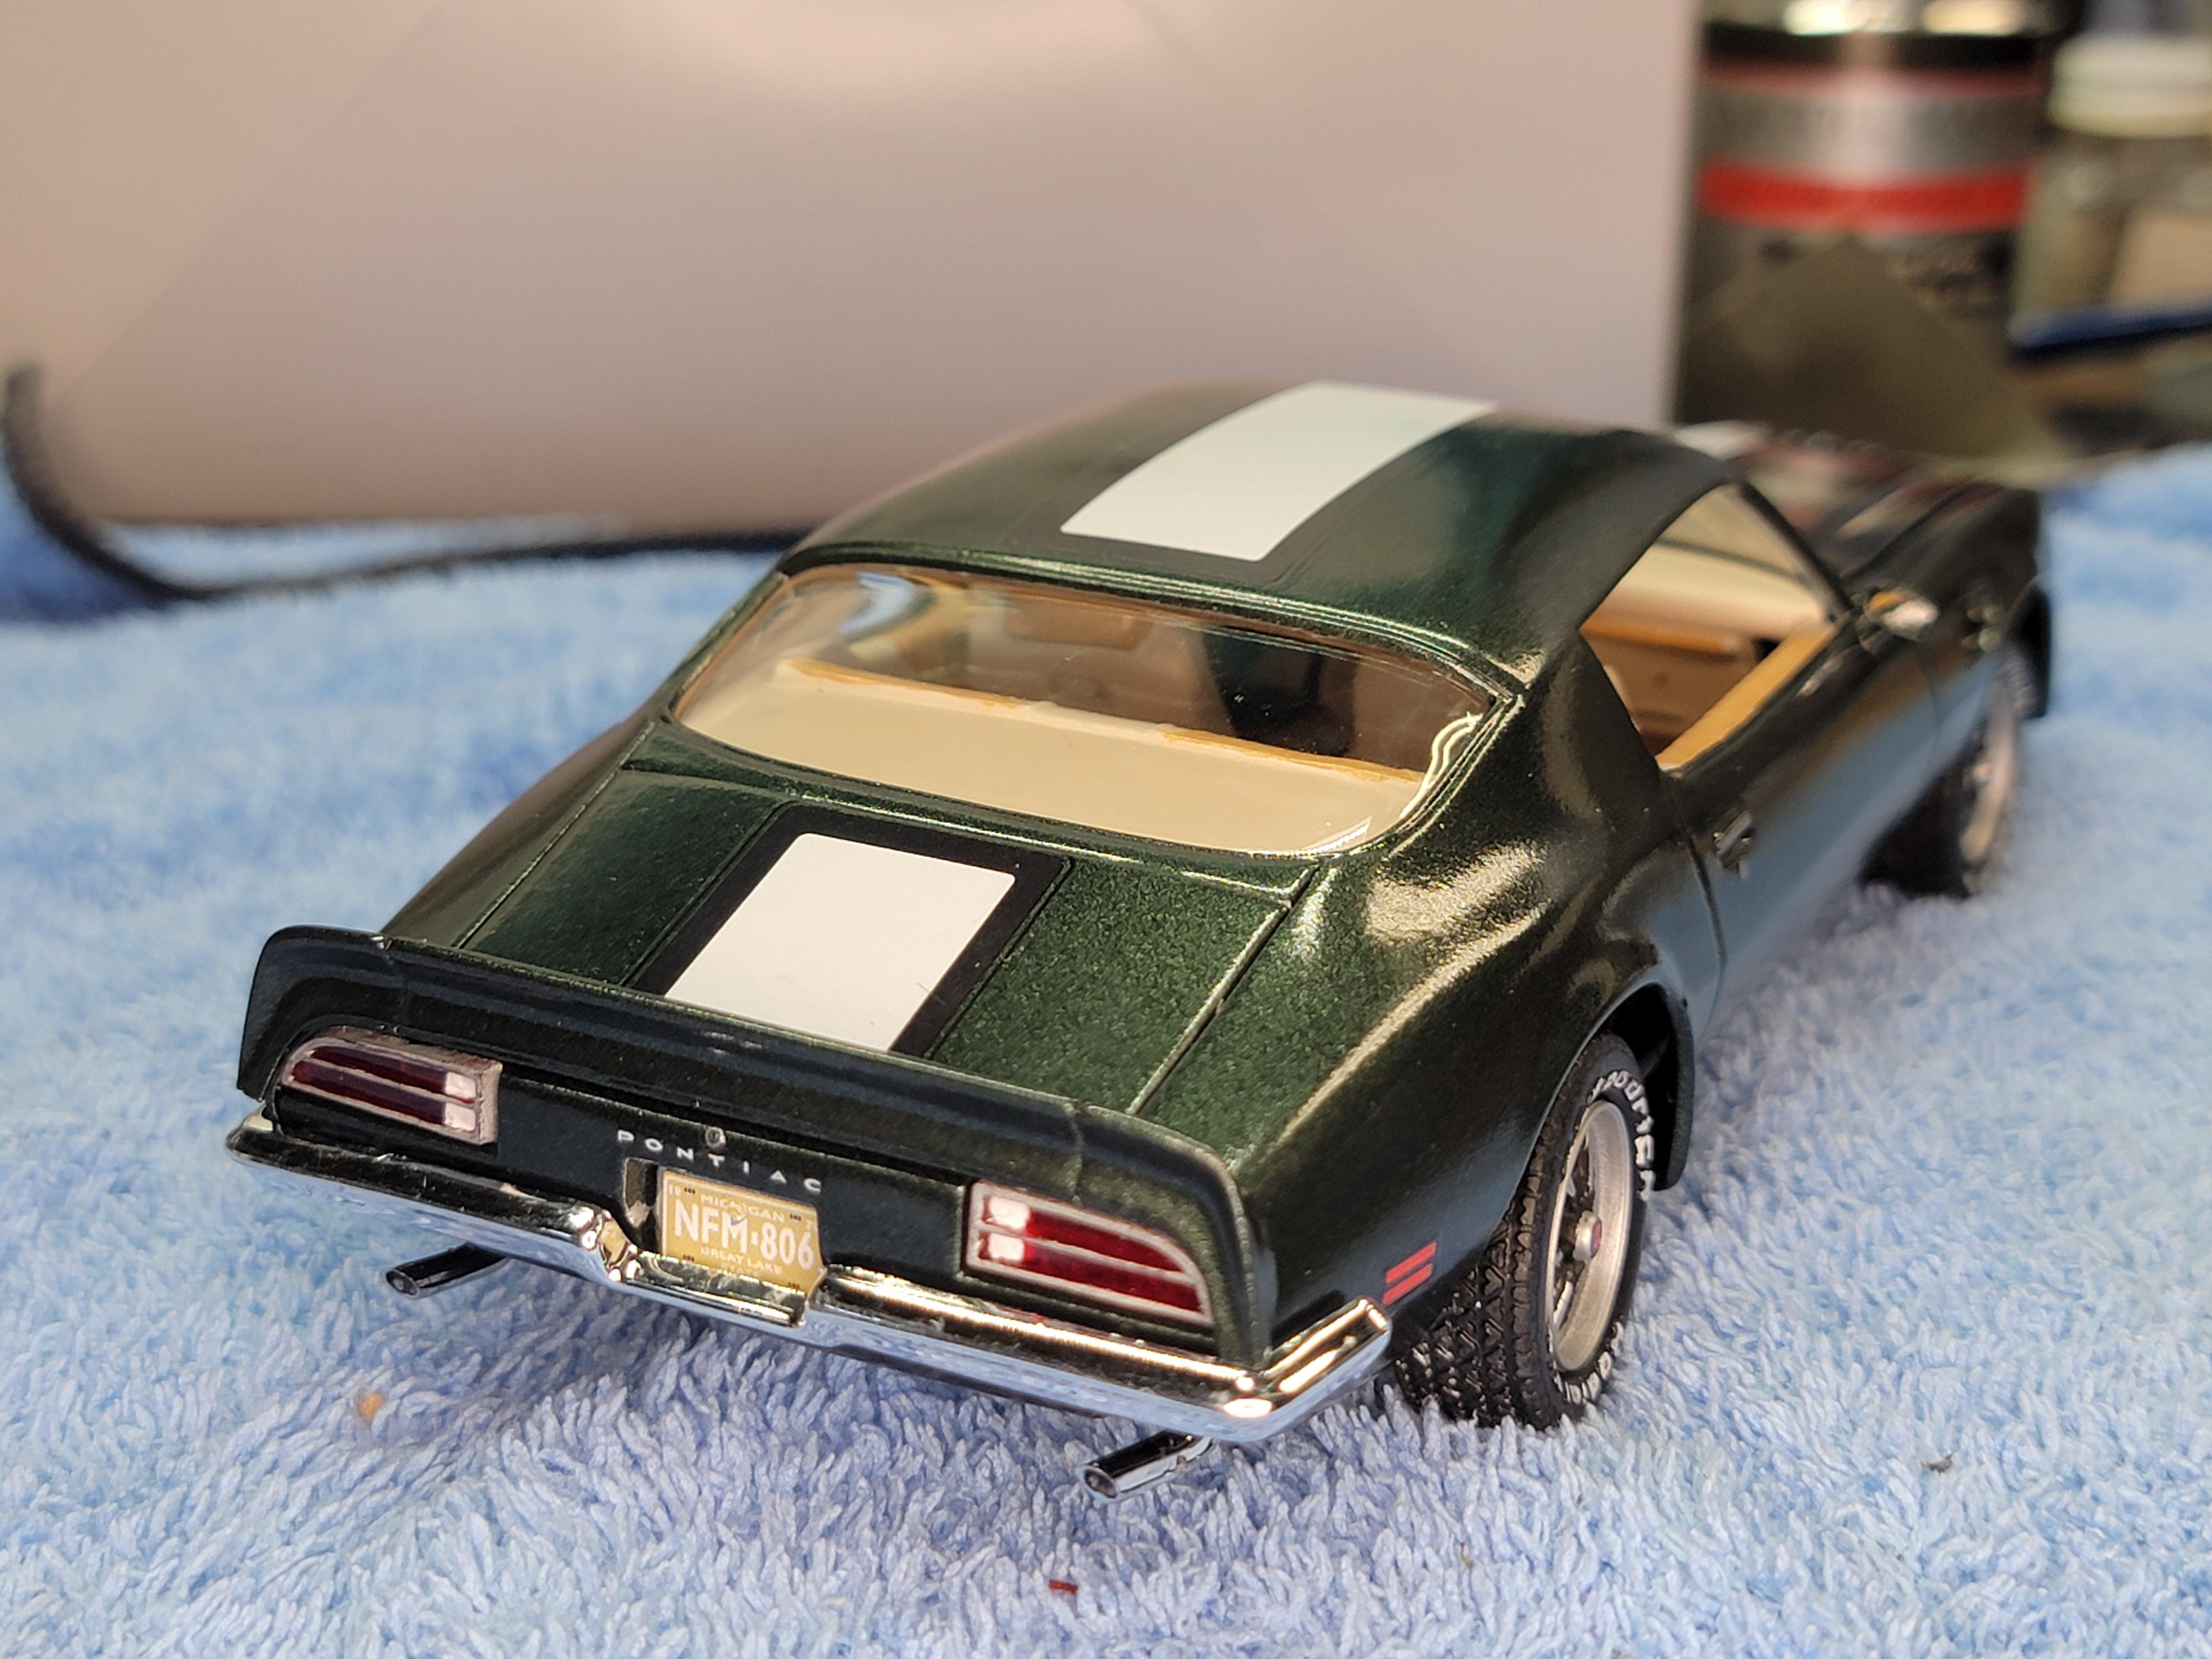
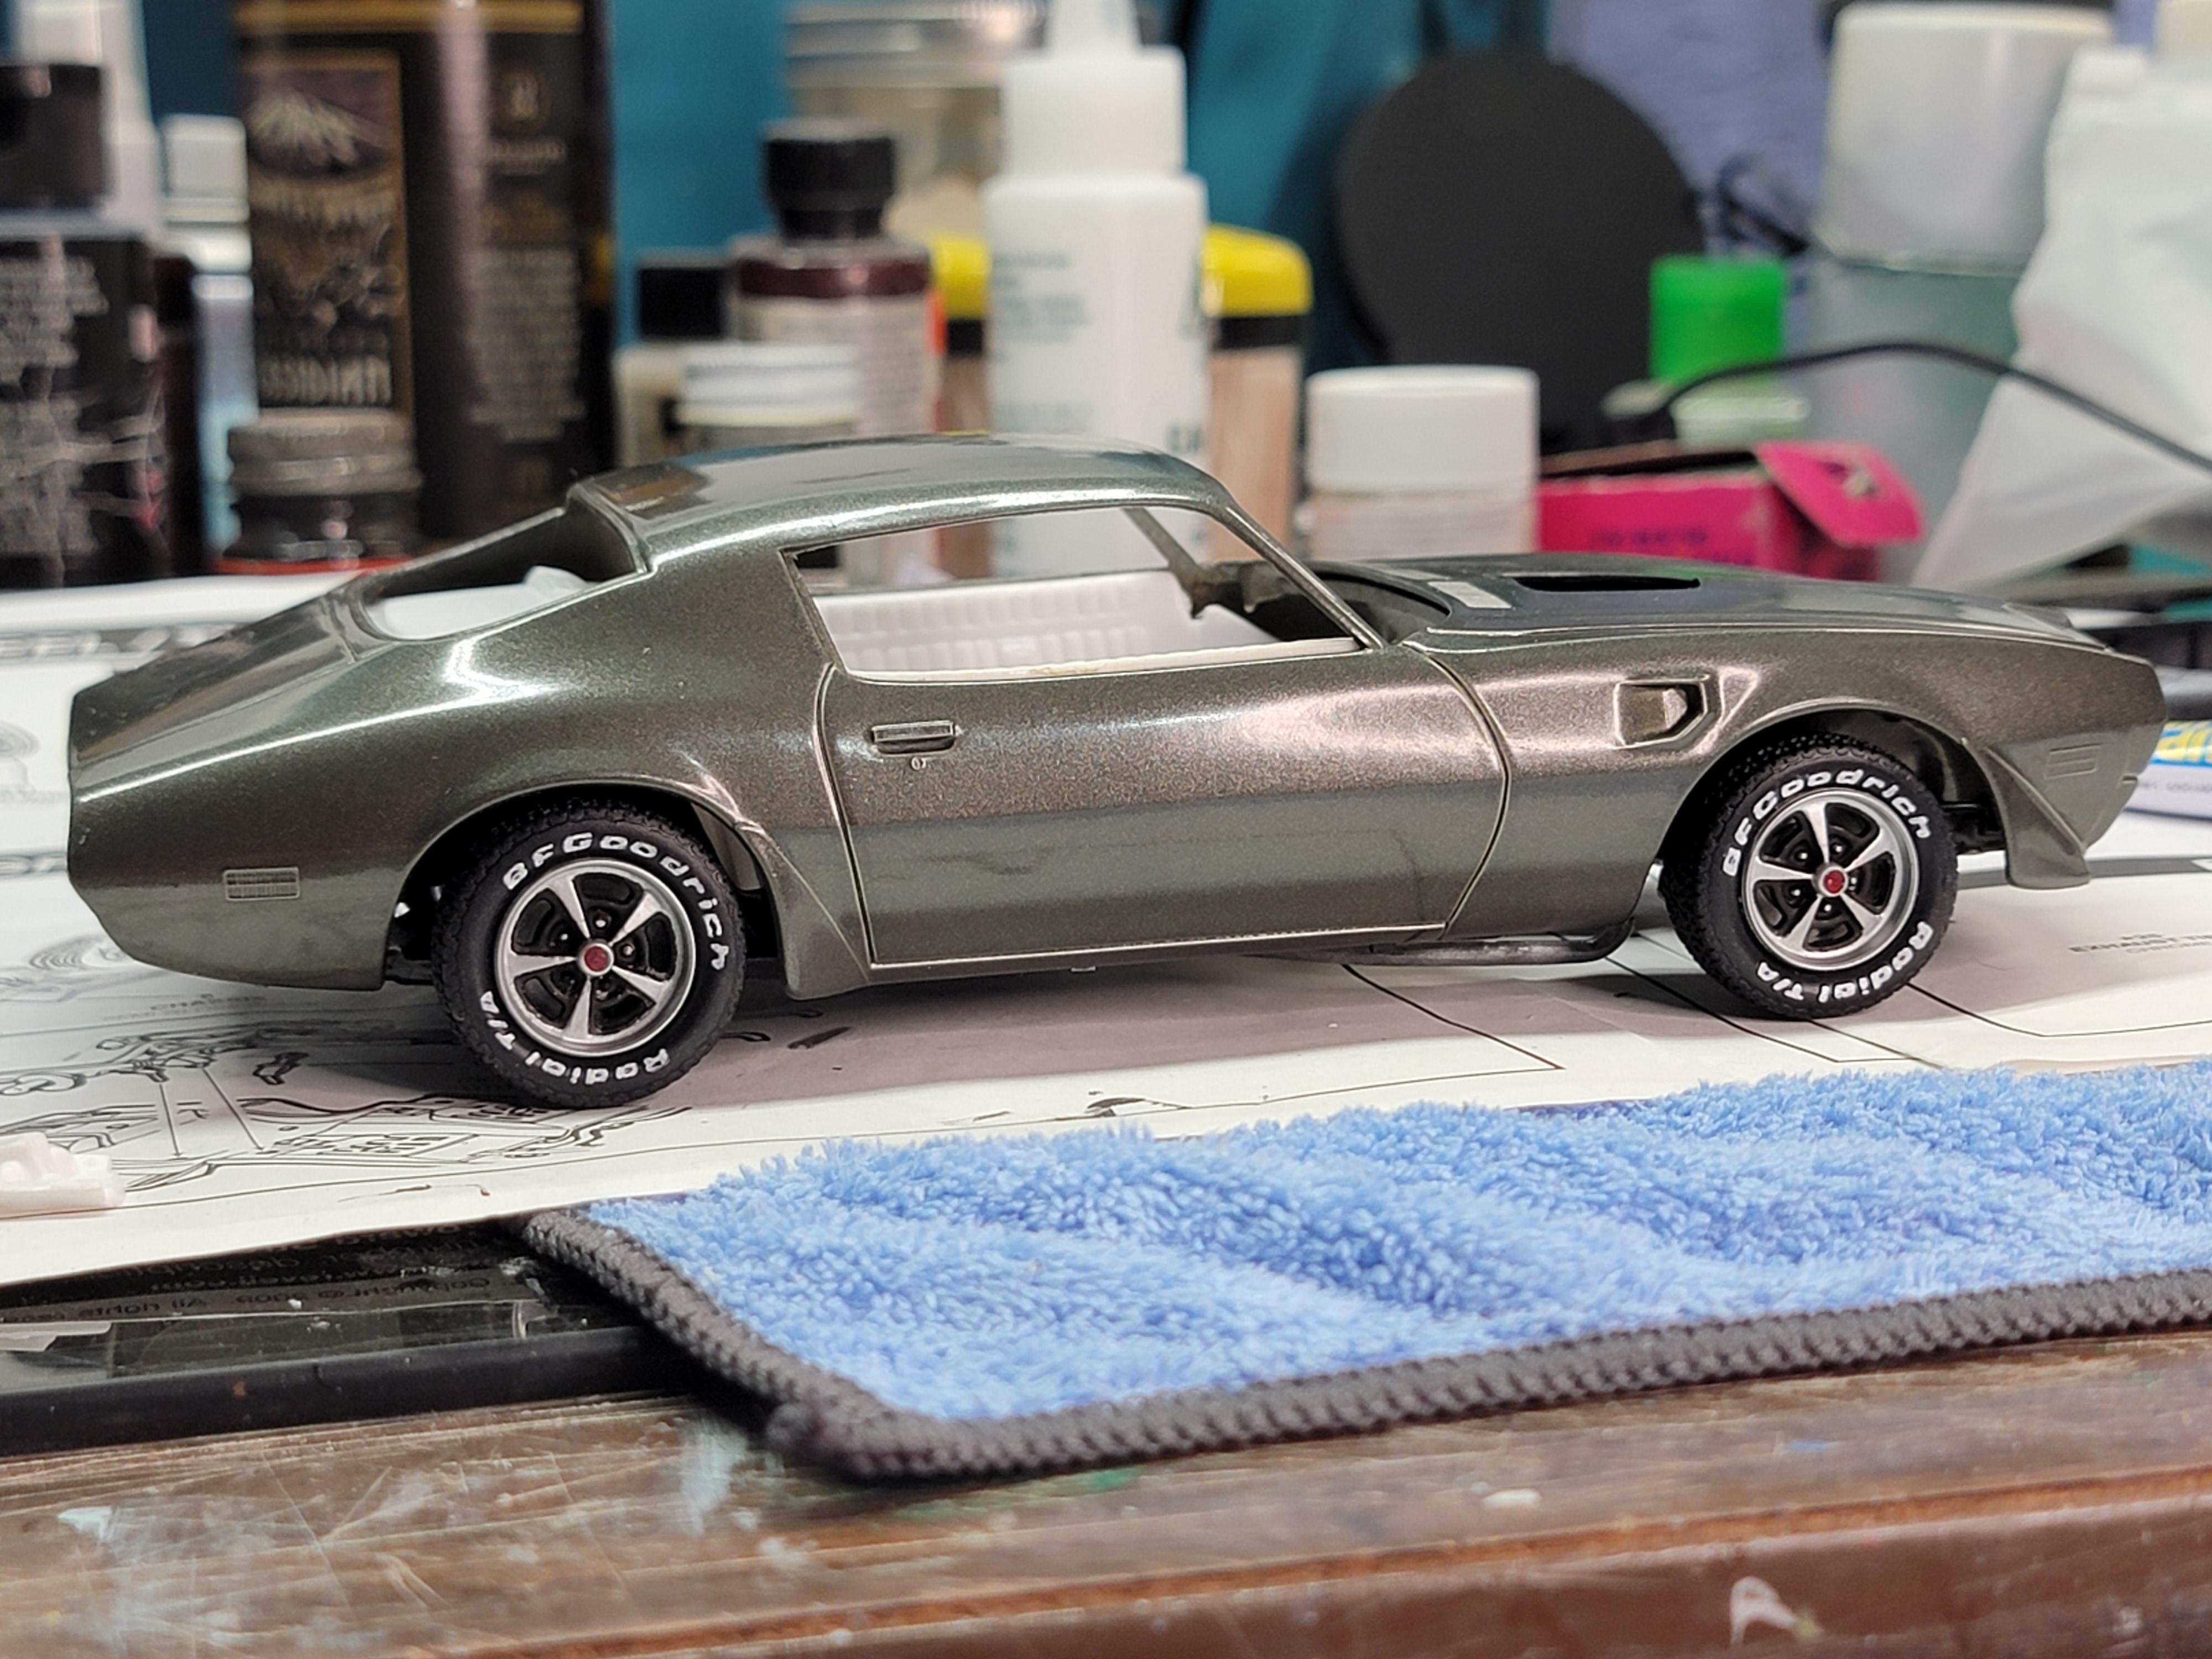
Latest mock up of my 70 Firebird project. Changed the tires to something more period correct. Body painted Testors Fathom Green.
-
9
-
-
I may have a fret of seat belt latches. Let me look today.
Later-
-
On 6/3/2025 at 6:06 AM, Belugawrx said:
Paint looks better, especially around the door lines. Looking good so far Tom
Yeah, although I really liked the color originally, it was pretty thin in spots. I wish I knew what color it was. Looked like a greenish/grey silver.
Later-
-
1
-
-
8 hours ago, meechum68 said:
That looks like Tamiya Light Gunmetal .. it maybe the Tamiya Gunmetal. (I love those 2 colors.)
The lighting in the pics makes it look gunmetal but it is actually Fathom Green. It is better seen in this pic that I couldn't get to load last night.
Later-
-
5
-
-
Got the decals on the other day. Now for the clear.
Later-
-
4
-
-
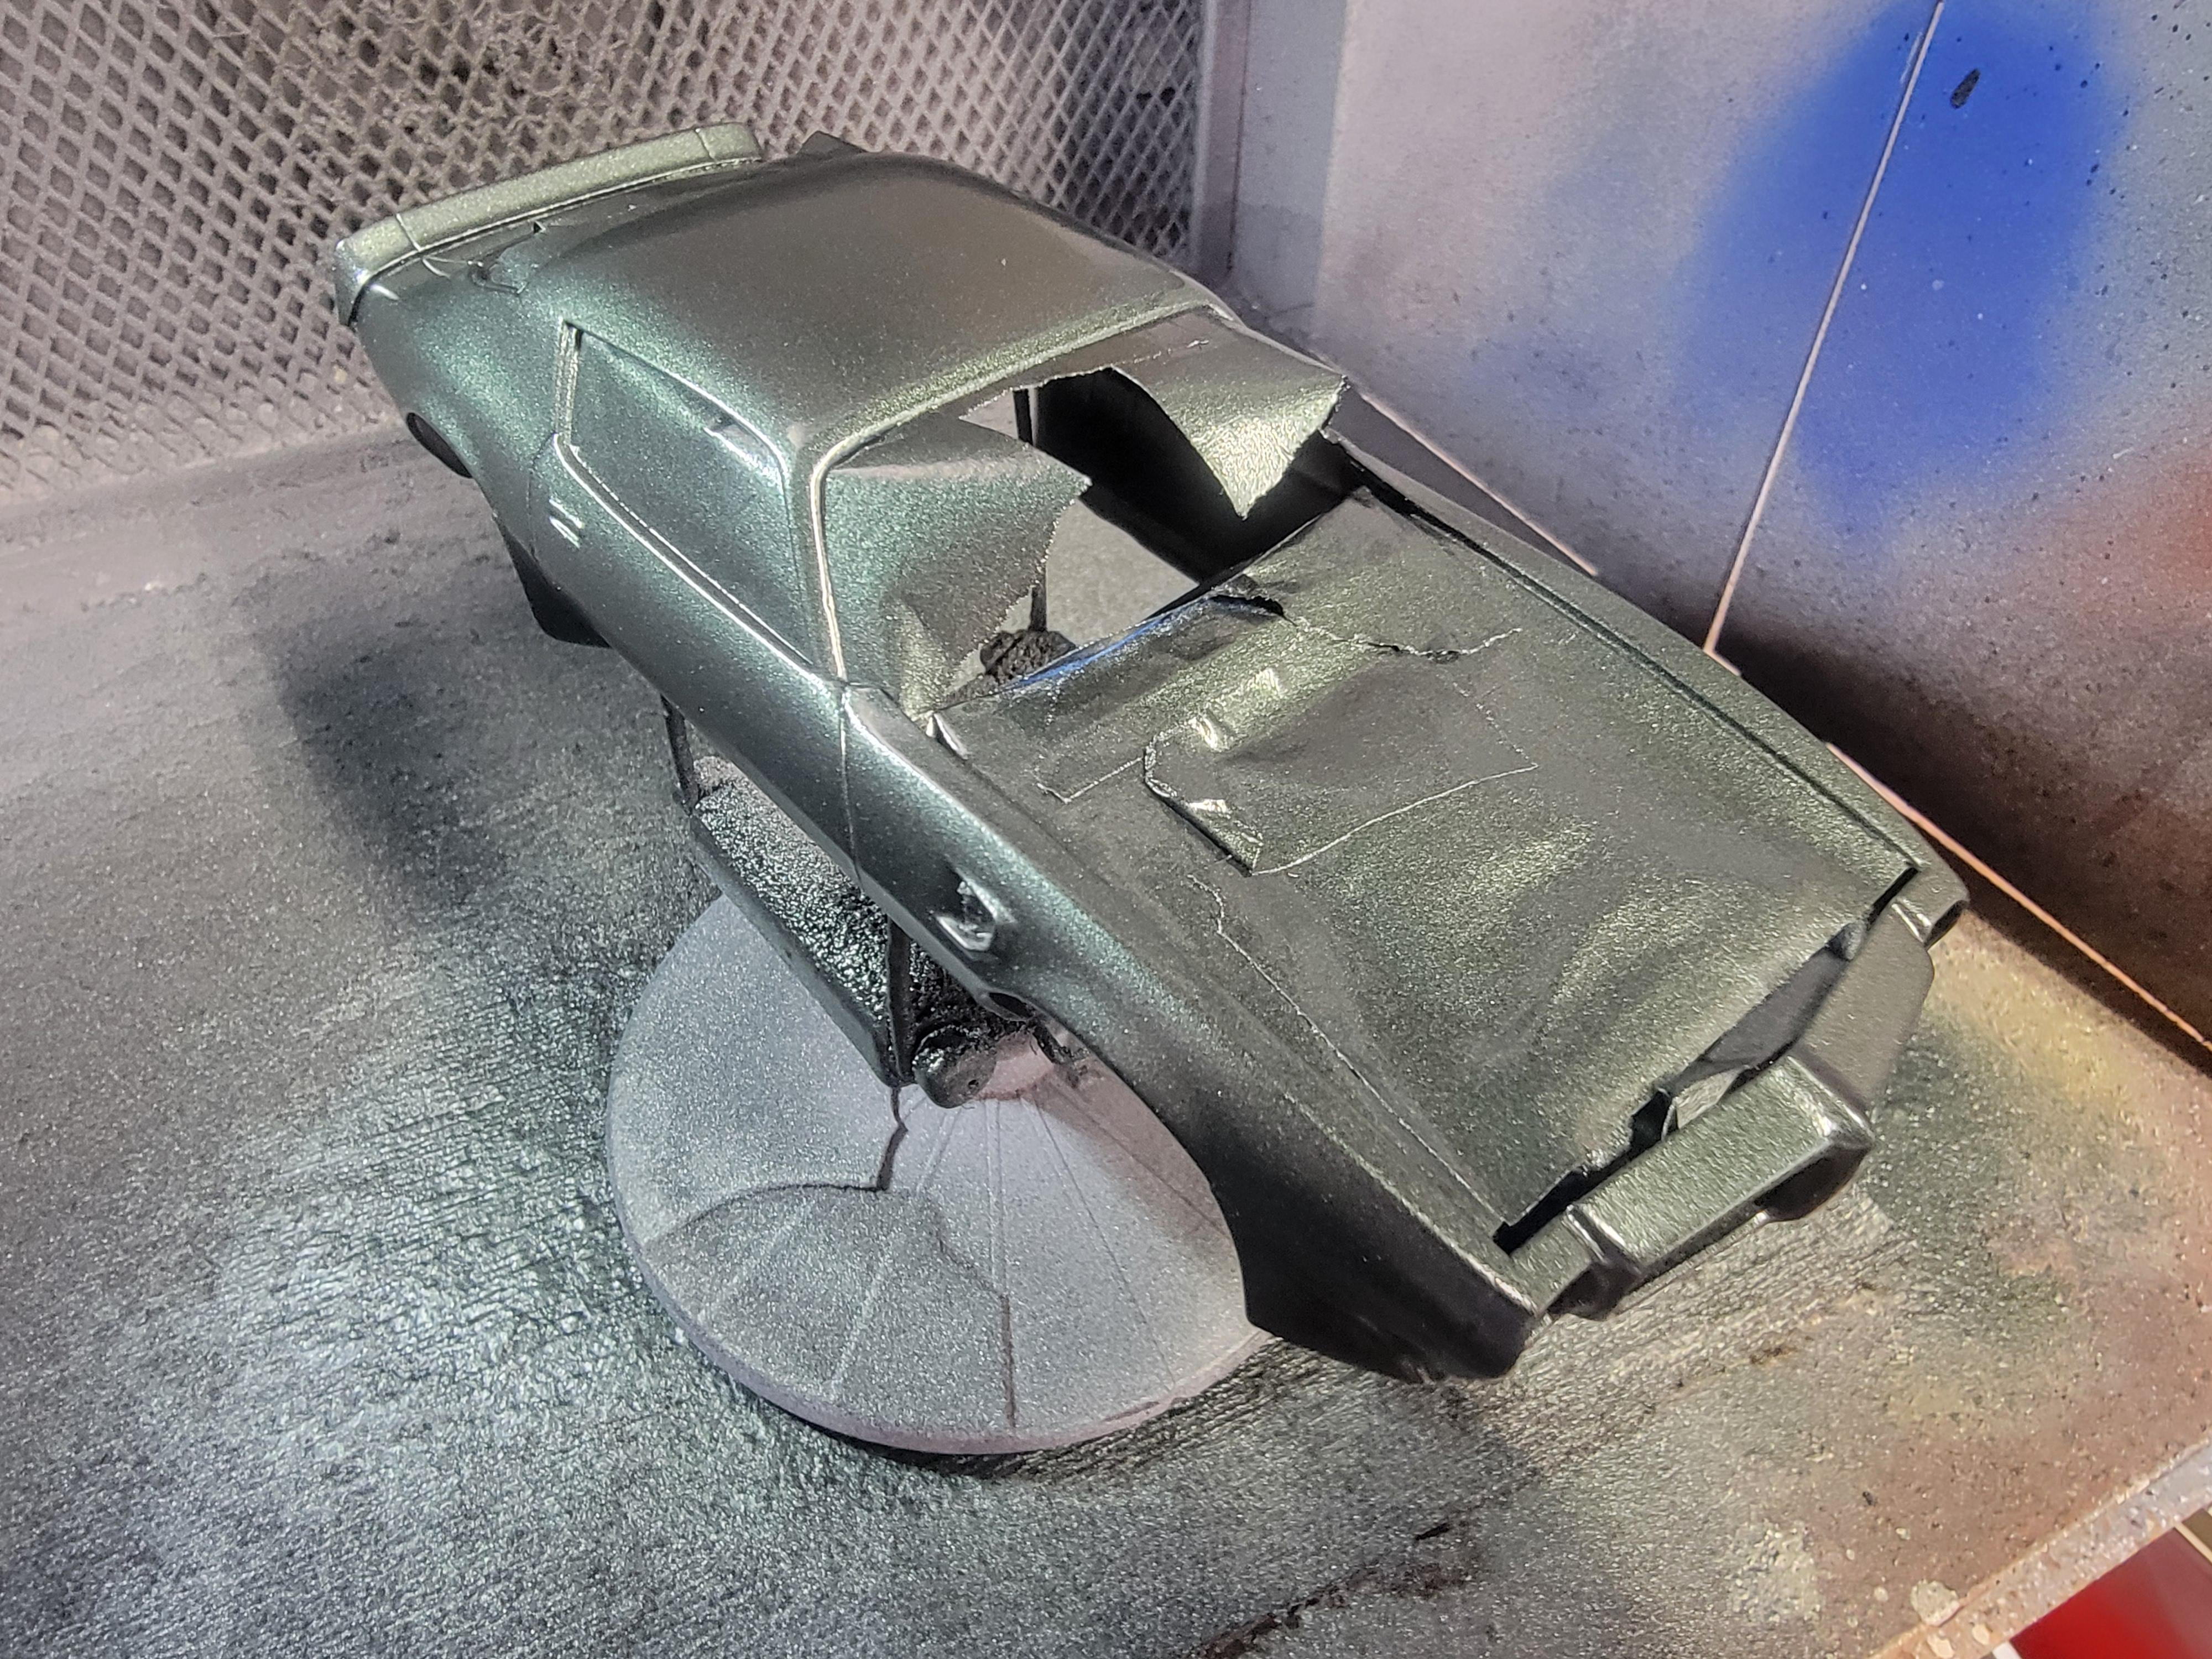
Got to looking at the paint on the body. Whoever sprayed it didn't spray enough coats and it had a few bad areas. I had some Testors Fathom Green on hand so I sanded a few spots smooth and shot a couple of coats on it. It's now considereably darker but it works.
Later-
-
2
-
-
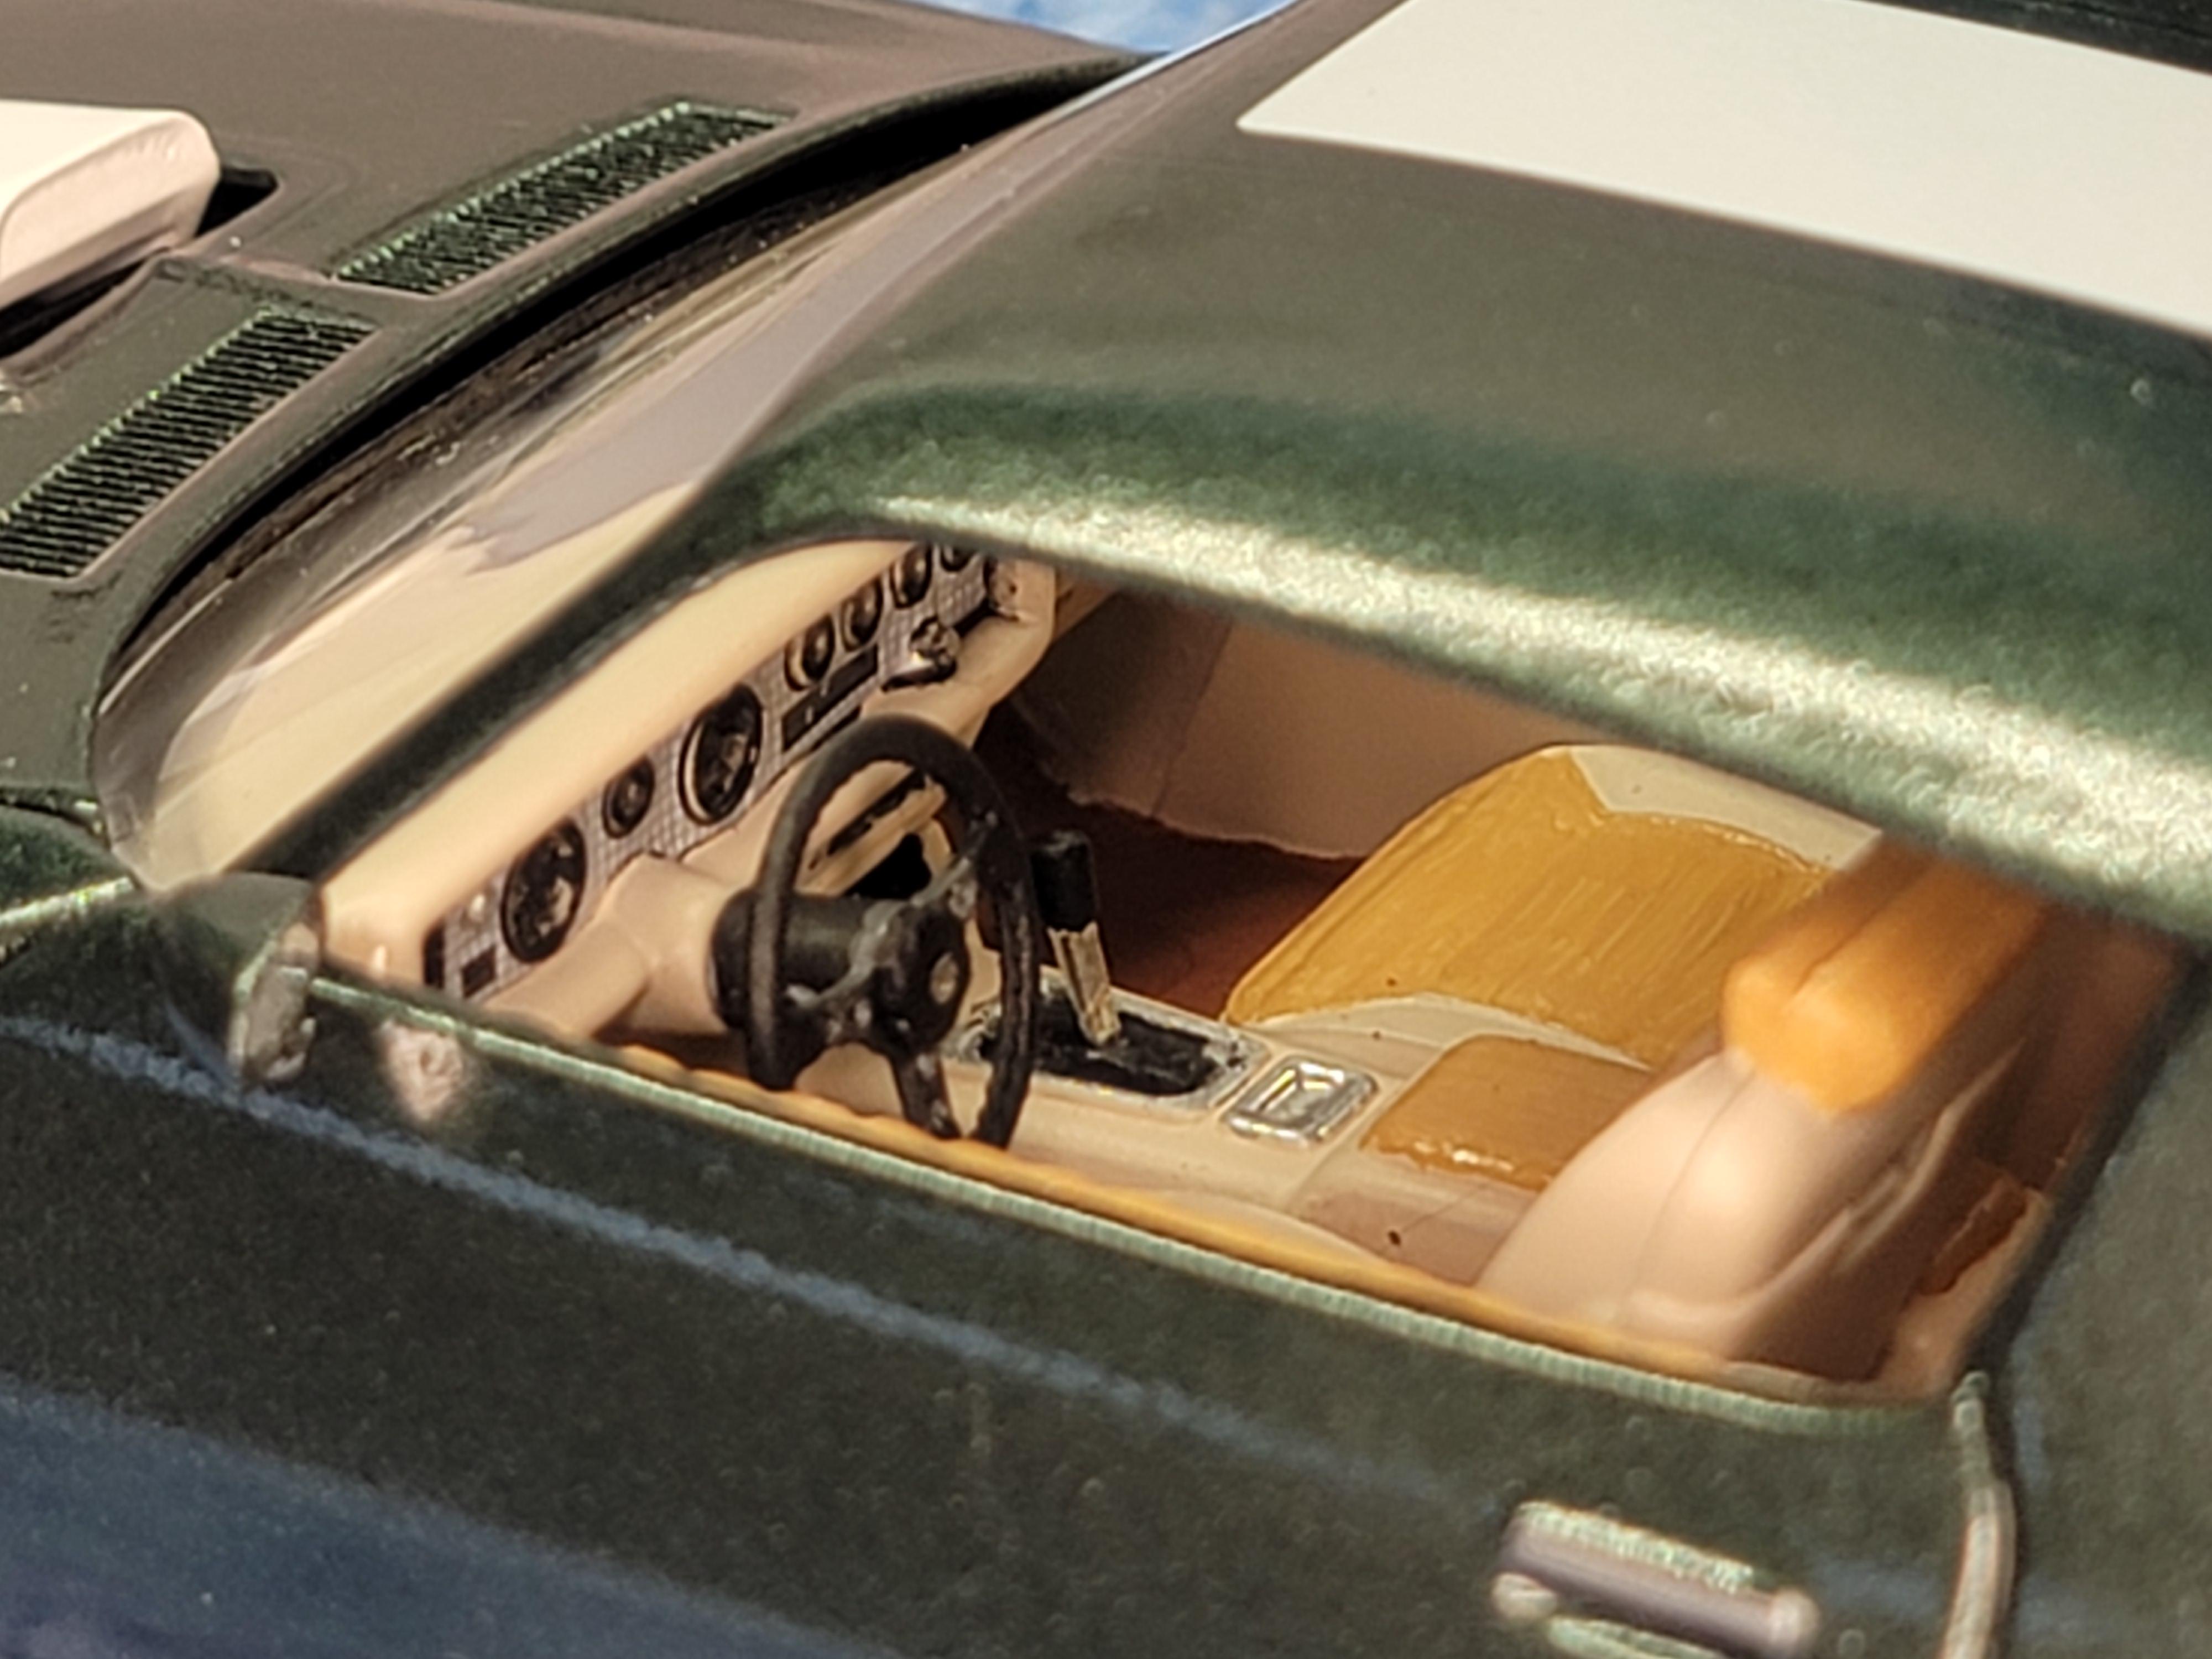
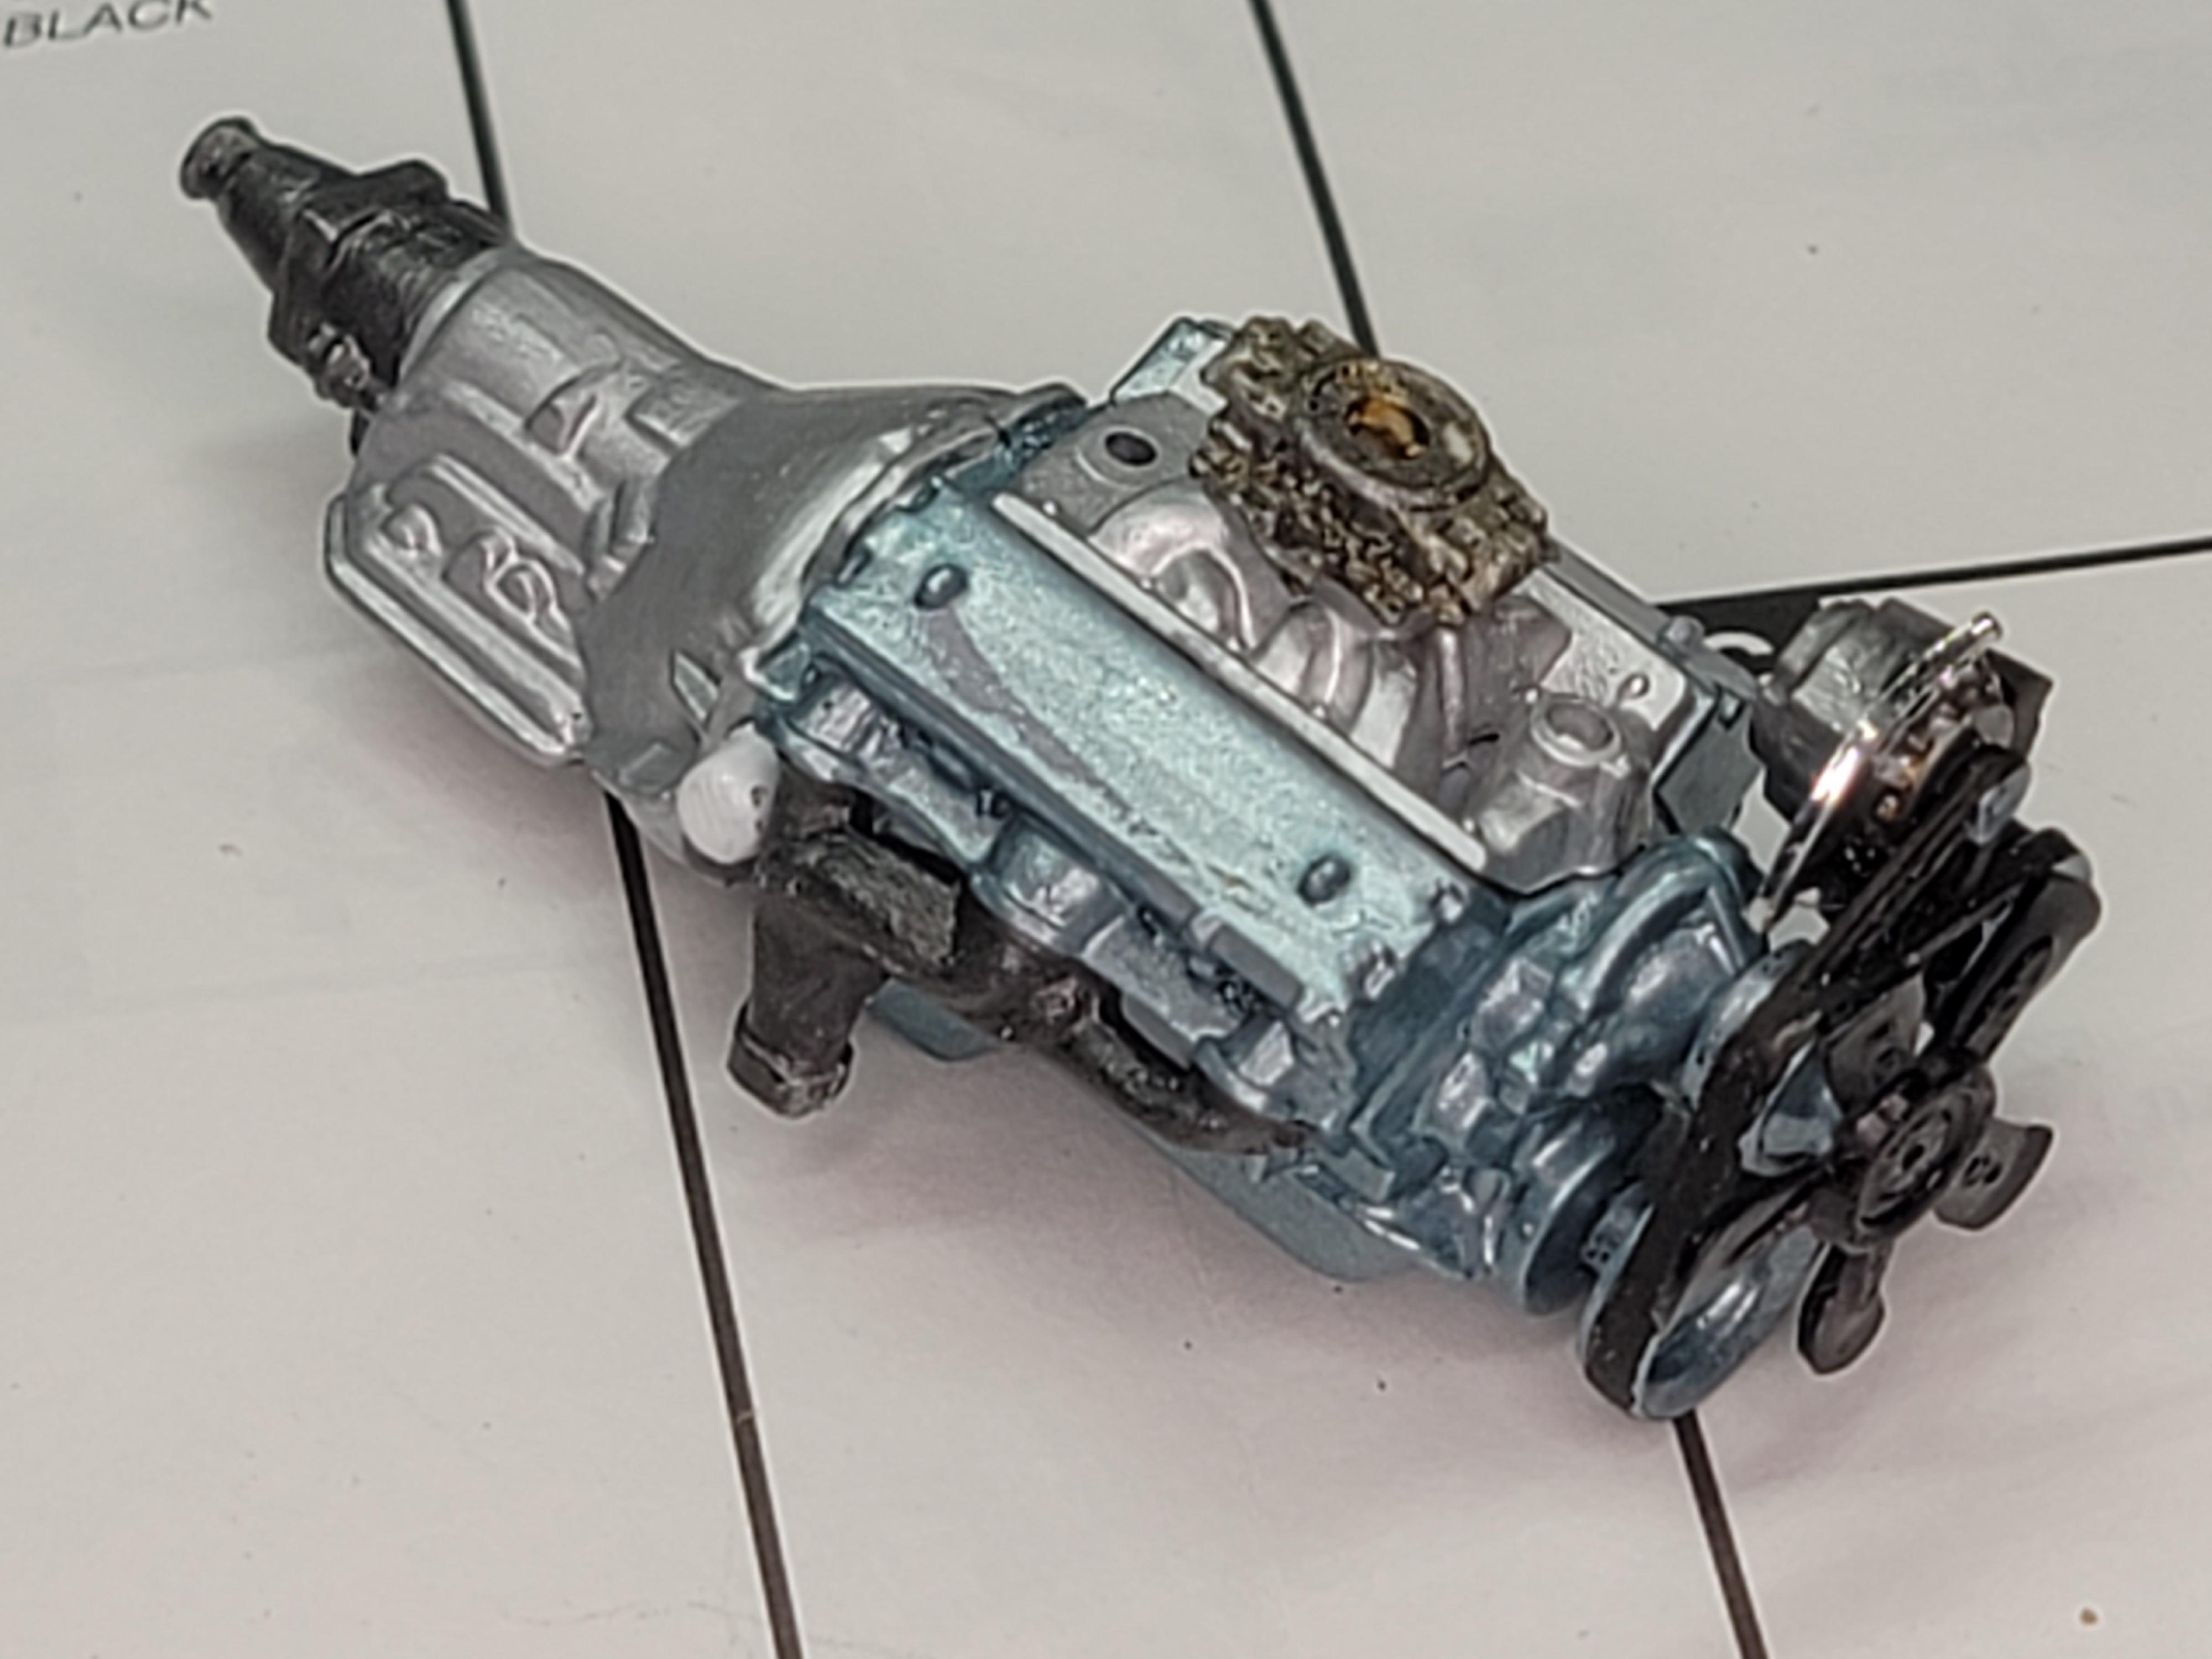
Got a bit of time at the bench tonight. Wired the plugs for the engine, installed the rear spoiler, and detailed a bit under the hood.
Later-
-
2
-
-
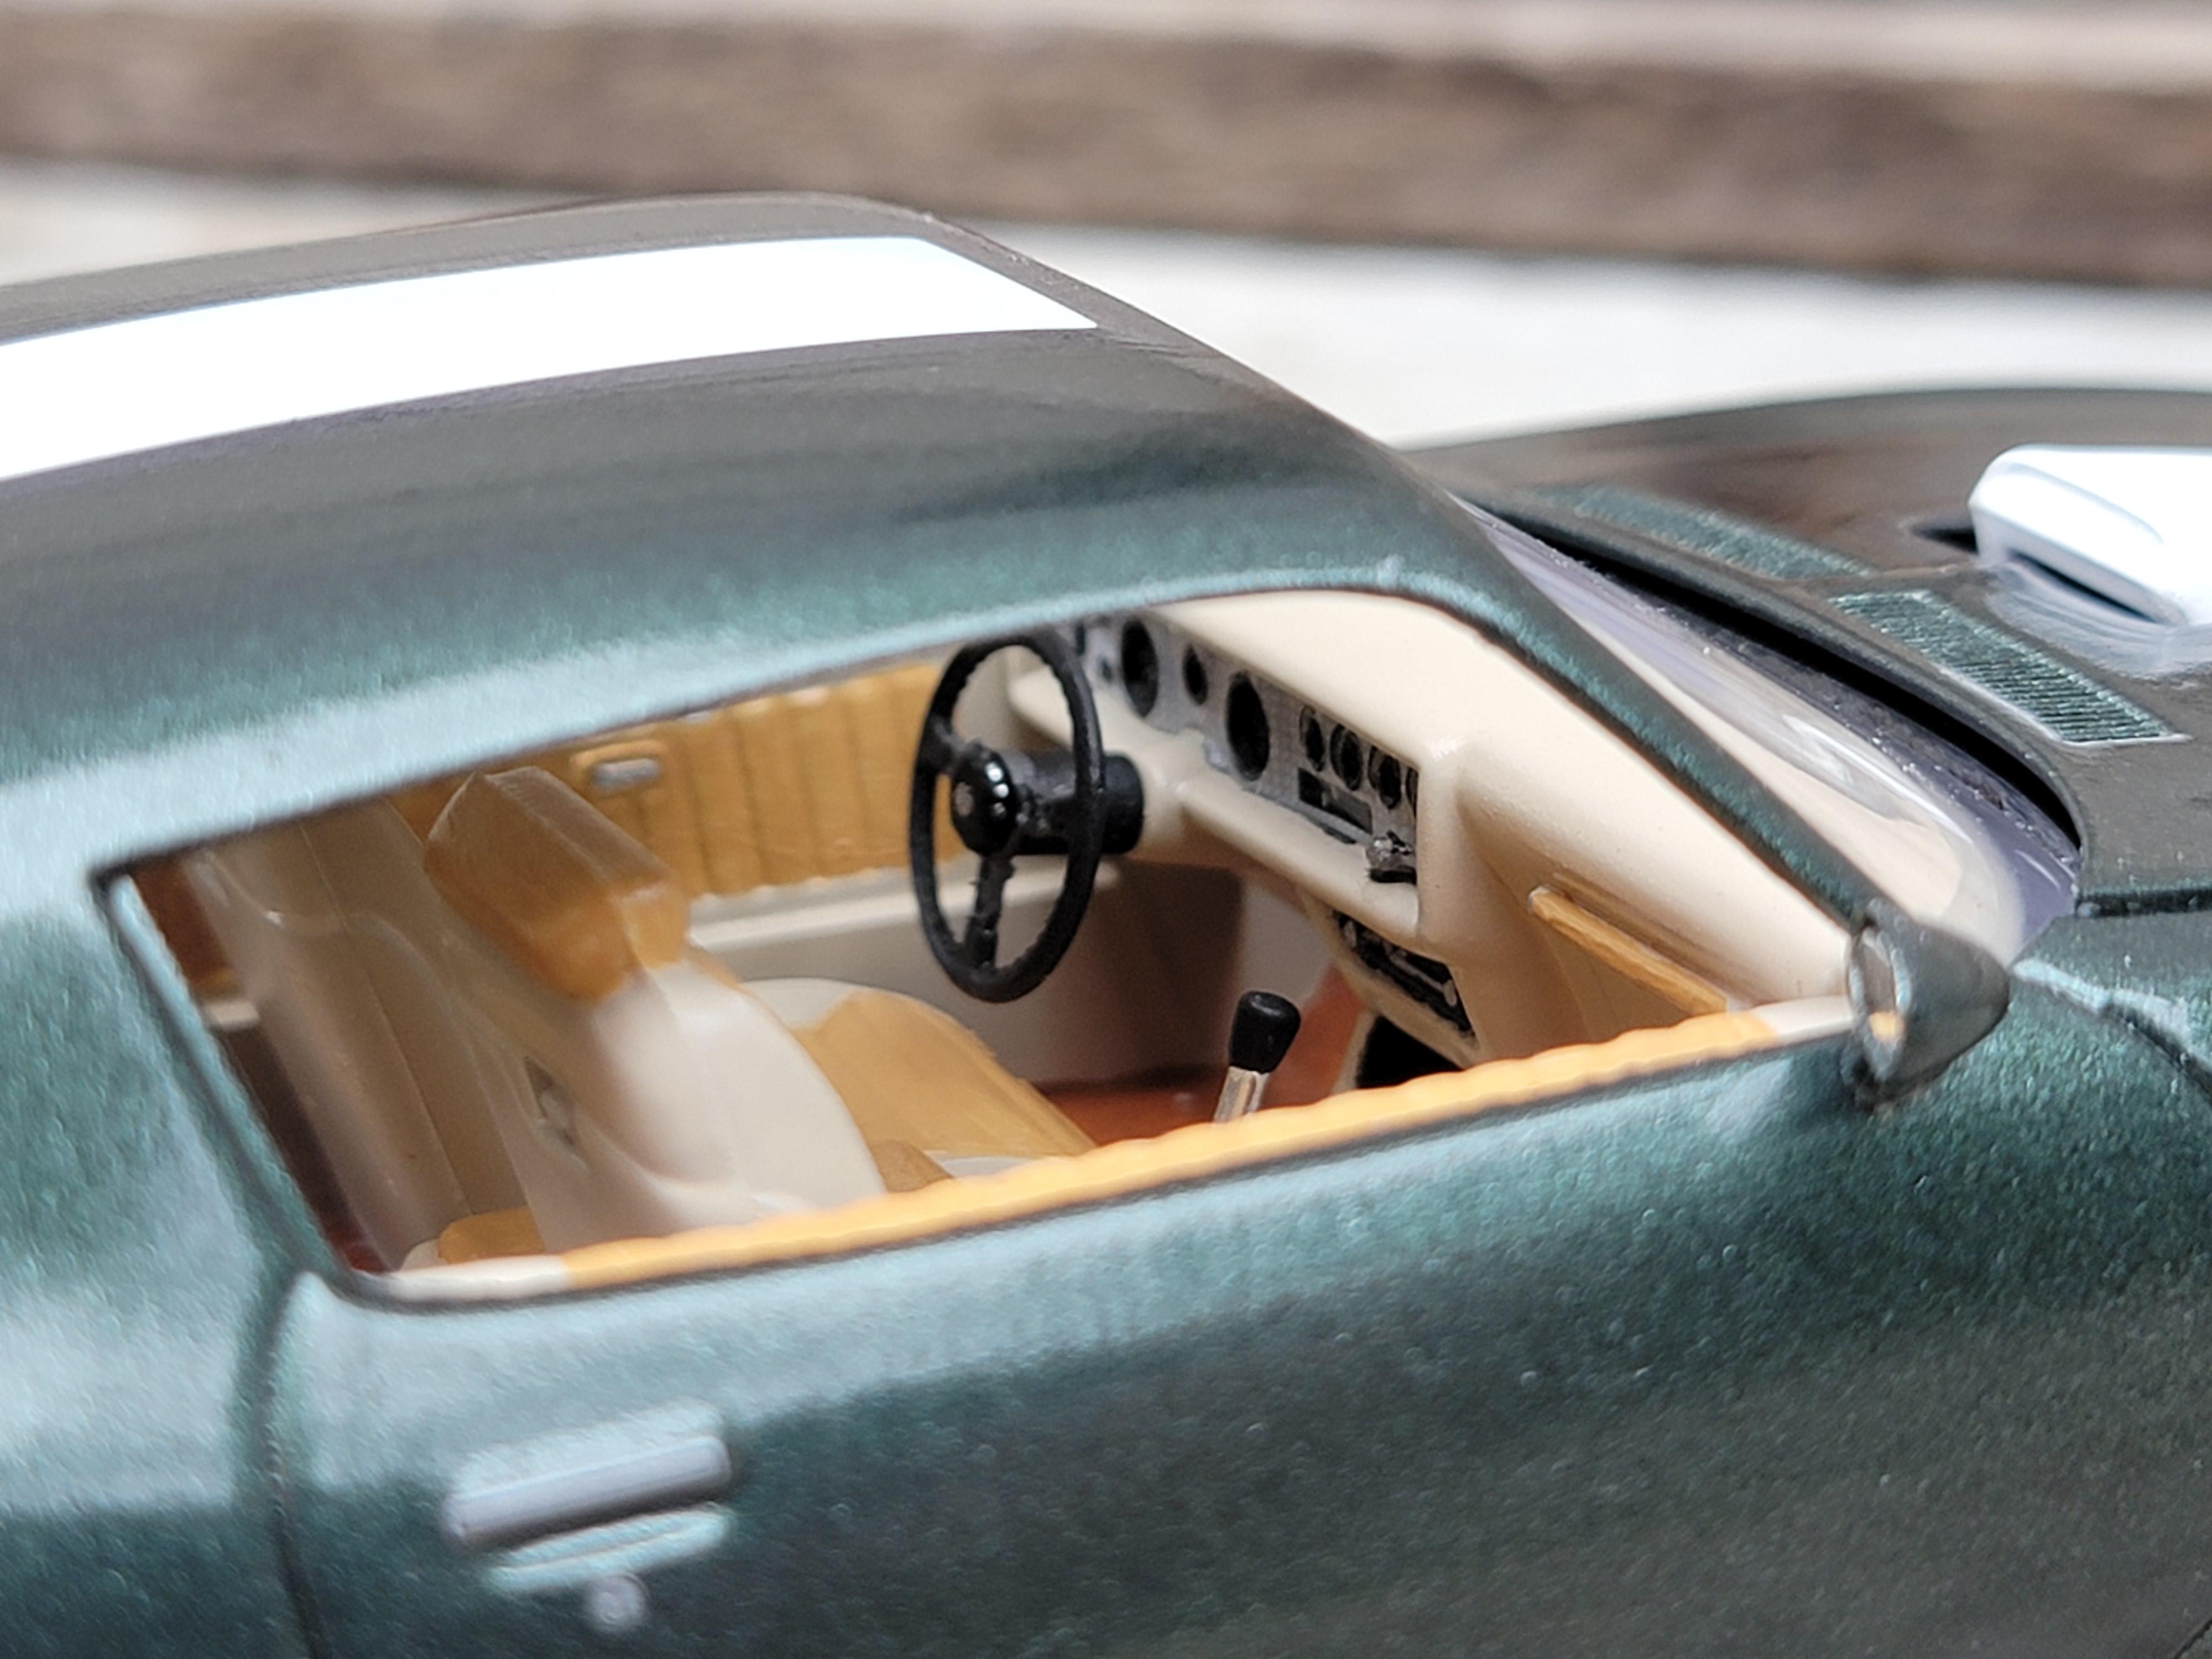
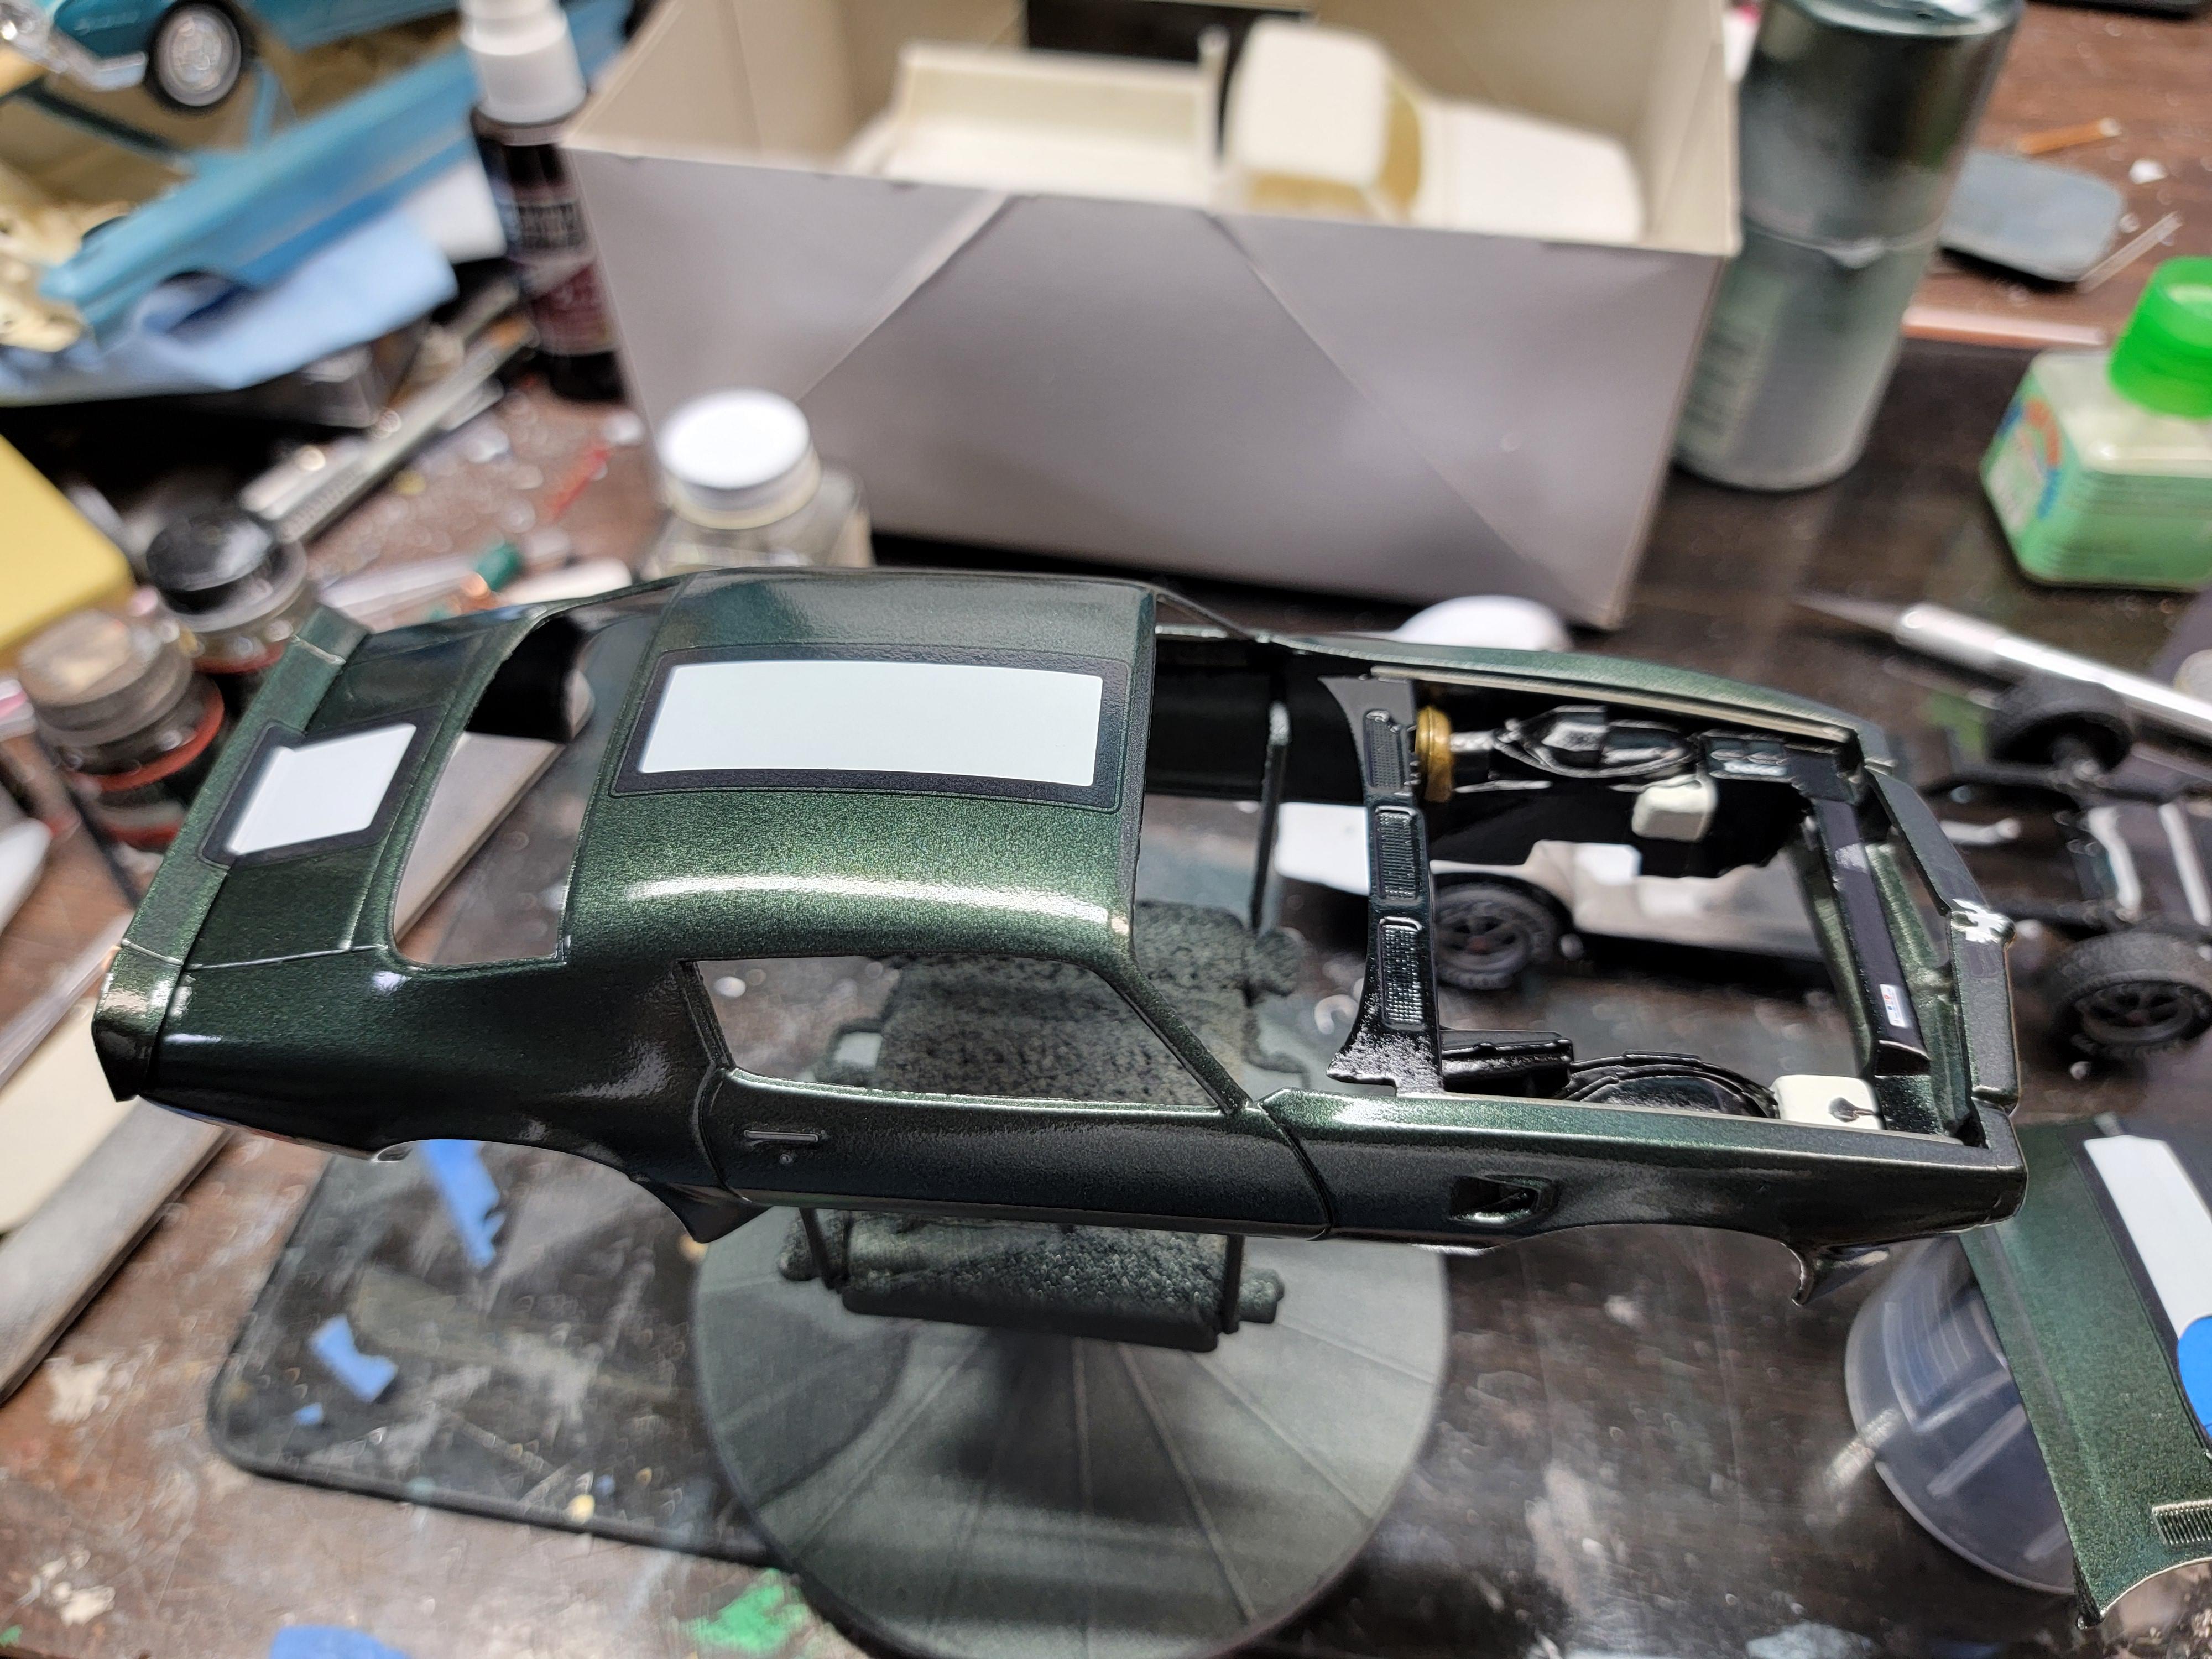
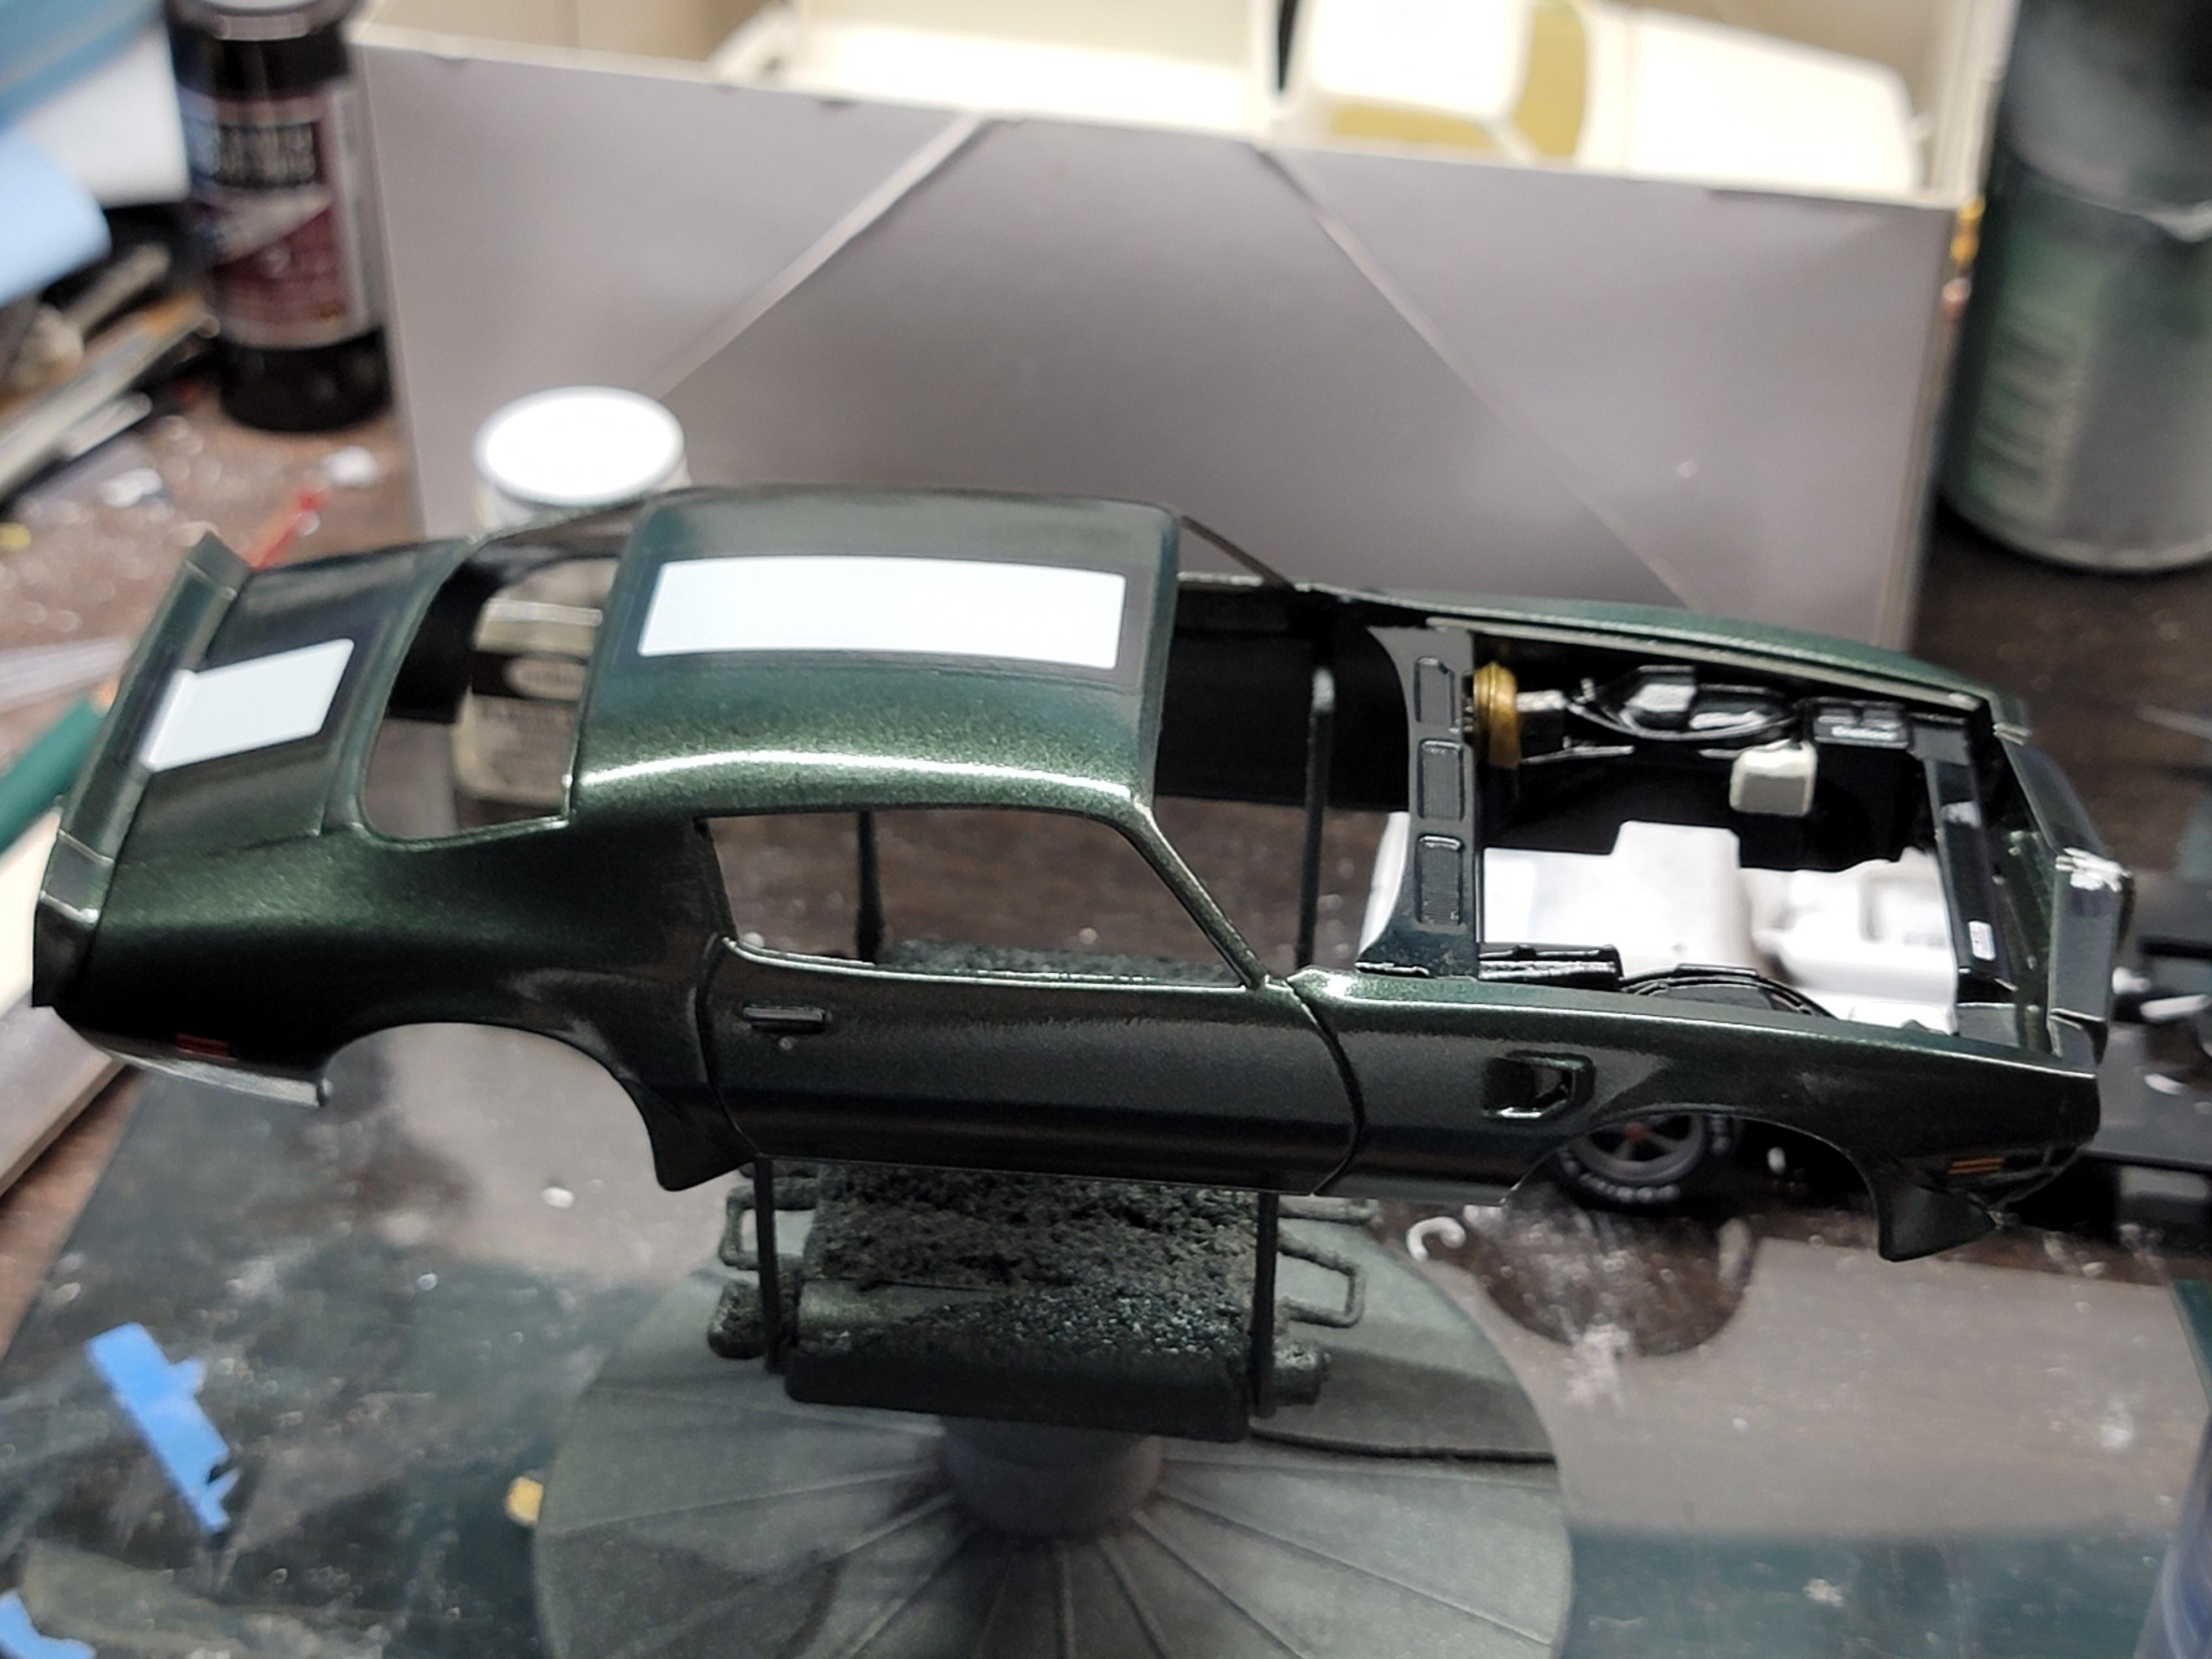
Been a bit since I posted any updates. Got most of the engine done. Engine bay taped off and hit with some flat black. Finished the interior the other night. Now to get the body polished and the glass in.
Later-
-
5
-
-
Wow! Some wild customizing. It looks amazing. I'll be watching to see the end results.
Later-
-
Got it mocked up to see how tge tires look in the wheelwells. They are a bit smaller than the kit ones but once the body is glued in place I believe they will look just fine.
Later-
-
7
-
-
Thanks everyone! It was a quick, fun build.
Later-


70's era side pipes
in Wanted!
Posted
Looking for a set of 70's side pipes in 1/24 1/25 from the Baldwin-Motion Camaro or others.
Later-