

Modlbldr
-
Posts
6,876 -
Joined
-
Last visited
Content Type
Profiles
Forums
Events
Gallery
Posts posted by Modlbldr
-
-
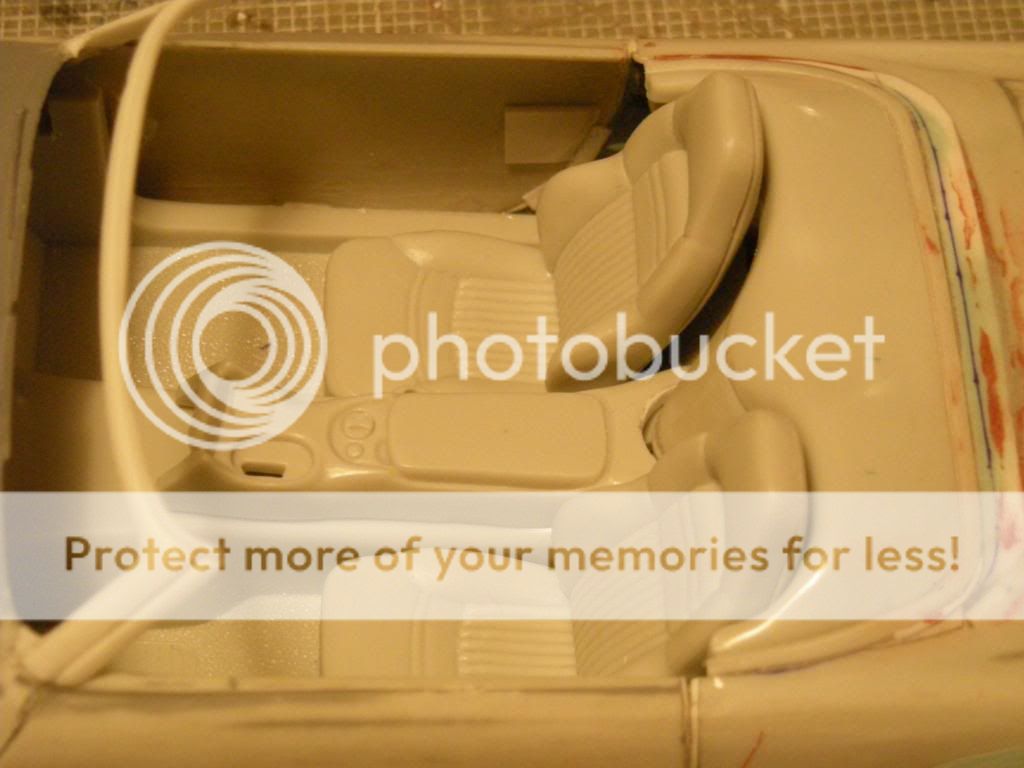
Does anyone have photos of, access to, or knowledge of the door locks on a 70 1/2 Camaro. Are they chrome or plastic to match the interior? How about the rings in the top of the door panel surrounding the door locks?
Any help?
Photos of my 70 1/2 Camaro convertible build:http://s486.photobucket.com/albums/rr225/Modlbldr/70%20and%20half%20Camaro%20Convertible/
Later-
-
Beautiful.....but maybe it would look better w/ a white top?????
Either way, that paint is gorgeous. Gonna look great once it's finished.
Later-
-
Simply beautiful. And Yes, nice color choice.
Keep posting photos.
Later-
-
Double D's (I like that)
 -
-Nice job on the body work and Gasser style. I am really glad that you described how you did the lace paint job. I've been contimplating it for a while now and didn't know it was that simple. I was out in my garage the other nigt going through some of my daughter's old boxes. I came across a piece of lace about an inch and a half wide by 8 inches long and I put it on my model desk. I had planned on trying it. Now I know that feasibly, it will work.
Thanks, and again, beautiful work.
Later-
-
Dave-
Thanks for the advice. Right now I have three other projects to try to finish then I may dig this one back out for a while. So many projects (not just modelling), so little time.
Later-
-
That is beautiful. What a list of changes. It must have been a real pain. Keep it up though and that dream will become reality.
Later-
-
What do I think?
I think that your wife is a keeper.
Oh...And, great idea on the build.
Later-
-
Dave-
Thanks for the kind words. I have been frustrated by this one for quite a while. I started it back in 99 or 2000.
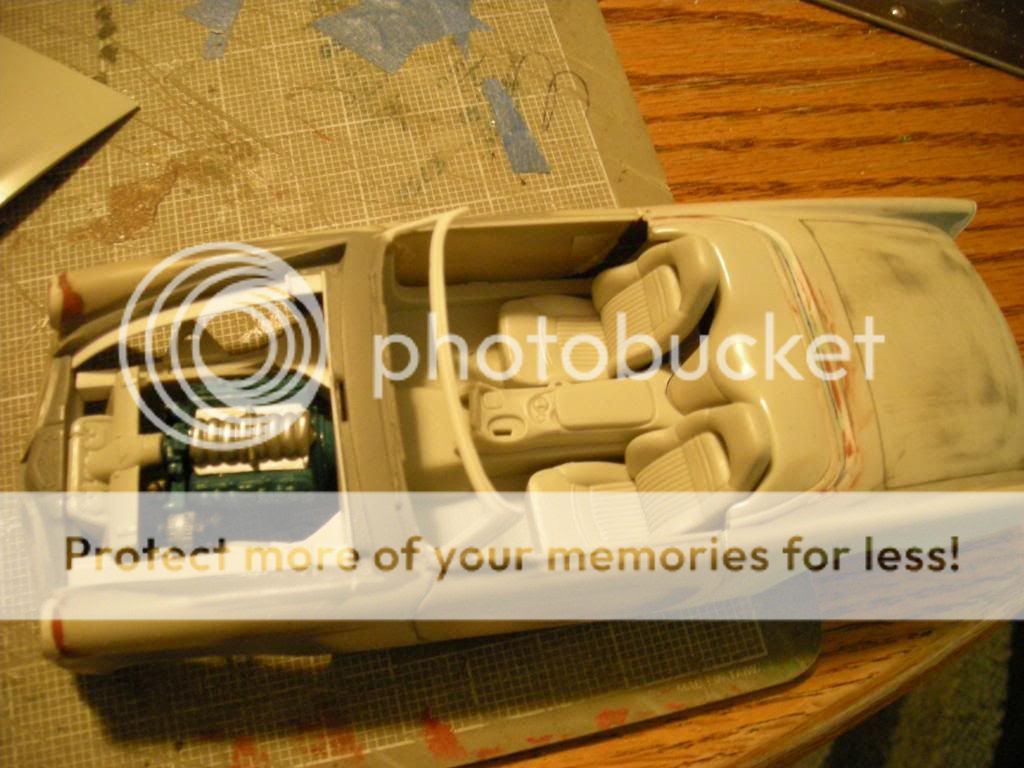
At one time the doors were cut out. Had to glue them back in because it was so flimsy and my work speed on it meant that it was destined to end up snapped in half at the rocker panels. The windshield frame got busted at one point, so I put in the window frame from a 53 Ford convertible. My problem now is that in order to get the rear wheels to sit in the center of the wheelwell I need to do some surgery on the Vette frame in front of the rear wheelwells. Always something....
Yes it is shortened. To me the Stude has always been too long. The first thing that I did was to remove about 5/8 to 3/4 inch behind the door. I didn't really measure, I just eyeballed it. This, to me, made it look more the length of say, a 53 Vette. I also took a little height off of the front pan before gluing it on and I leaned the headlights back by putting in a spae set of buckets from a Fujimi 85 Porsche.
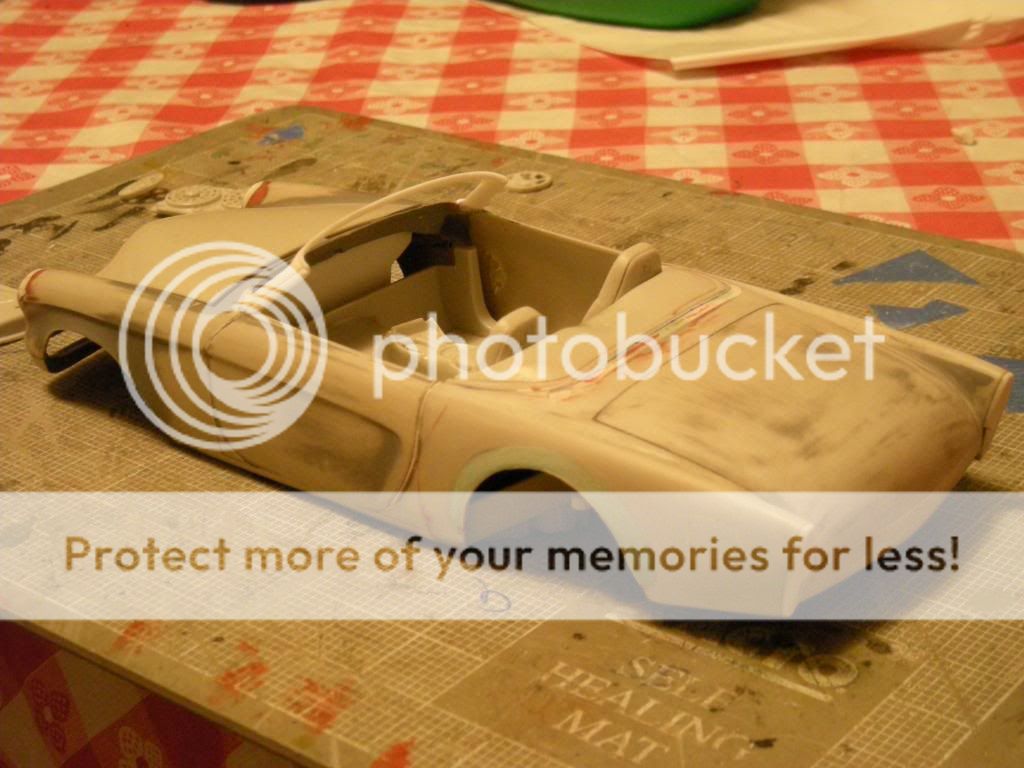
This project has been an on again off again project for years,but I do intend on finishing it. The main reason is because I originally thought that I could make a beautiful car out of something that I always thought was one of the ugliest body styles. I'm sure that I made a few enemies there, but to each his own.
As far as paint is concerned, I'm not sure. At one time I thought that I might go silver. Kind of a low key elegance. I'm still not sold on that though. Any ideas?
Thanks again, Dave and I'm sorry for the novel and hijacking. I just really admire your work and creativity. You're one of the best, if not, the best on here. IMO.
Later-
-
Nice looking 1:25 and 1:1. Must be a really fun drive. I'm making plans to pick up a 1:1 71 Dodge Demon and a 383/727and BB fenderwell headers from a friend. Best part is that it is all FREE!
I'll be posting pix when it's in my driveway.
Later-
-
That is beautiful! One of my favorite cars....in a WAGON! Too cool. Nice paint work. I'll keep an eye on this one.
Later-
-
Dave-
What a beautiful build. I like the mix of old and new that you have created here. It is what I have tried to do with my stalled 53 Stude. If you would, please look at my project at this link and see if you can give me any advice or maybe just a good, swift kick. http://s486.photobucket.com/albums/rr225/M...baker/?start=20
Thanks.
Later-
-
Looking good so far. Sounds like his choice of colors are good ones. How is this kit going together so far? Any problems in the build? I have looked at getting this kit for a while but I know nothing about it. Keep up the good work. I'm sure your step son will enjoy it.
Later-
-
Looking great so far. As much as I like Panther Pink (I'm a sucker for those colors too) I think you made a perfect choice with the green. Let us see some progress when it happens.
Later-
-
Bummer to hear. I got laid off on Dec 12 for 2 1/2 months. Wasn't long but it doesn't take long for things to get behind.
My few pieces of advice is to get right out there looking for a job. We all know how time flies and a few days can quickly turn into weeks that can turn into months.
Also, be smart about cutting costs. We shut off the cable TV (nothing worth watching anyway), quit buying coffees and eating out, cutting coupons, and started doing things at home that didn't involve spending money. Playing cards and games, campfires on our property, instead of buying CD's and books- borrow from the library etc. etc. Just be creative. It can really be a positve experience to learn where the household money usually goes and trim those areas.
In the words of Red Green- I'm pulling for Ya. We're all in this together.
Later-
-
Really nice job on the paint. I like the color a lot. Makes me rethink wanting to get rid of the one I have. Keep us posted and when are we invited over for cat stew?
I had the same problem years ago with a cat chewing the nose piece to my 70 Superbird. Had to buy an extra kit too.Later-
-
Wow James-
That looks great! You did some really nice work. I can't wait to see that Butterscotch Bee you are talking about. I can't wait to get that Porsche kit too.
Later-
-
Clay-
Looking great. Now I see why you wanted my 06 Charger. Where did you get the resin 2dr? Did you use the Faux Fabrics paint for the interior. IMO that engine cover needs a decal (Like an 01 or a rebel flag?????). Try painting the wheels black to see how that would look. Keep it up.
Later-
-
Wow Dave-
That is simply gorgeous and must have been quite a chore to build. I enjoy looking at all of your builds. I saw a few of them on the Scale Auto website a few years back. You surely have some talent and patience. Keep posting those beautiful builds. BTW- How did your 50(?) Lincoln turn out? Post some photos of that one please.
Later-
-
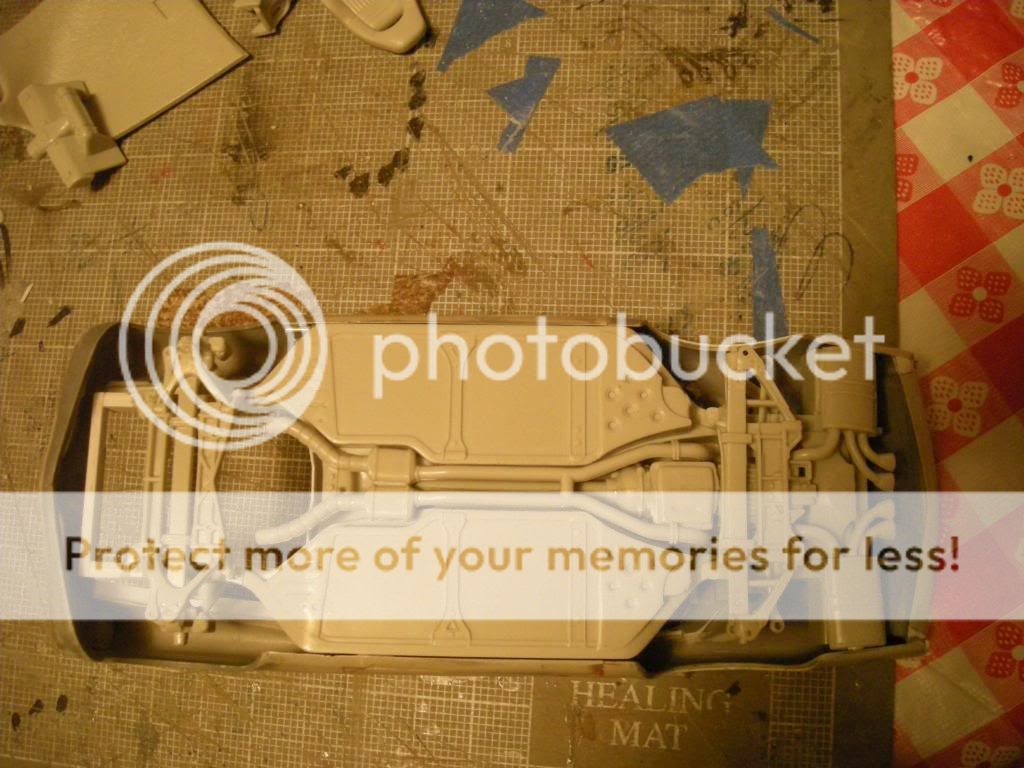
Here's a couple more.
You guys have some great builds on here. I enjoy looking.
Later-
-
This is my 53 that I have been working on since about 1998. It has been shortened (about 1/2 inch behind the doors) and combined with a 99 Vette. The windshield frame is from a 53 Ford Vicky Conv. I hope to finish it someday.
I hope this post worked. Enjoy.
Later-
 -
- I had the same problem years ago with a cat chewing the nose piece to my 70 Superbird. Had to buy an extra kit too.
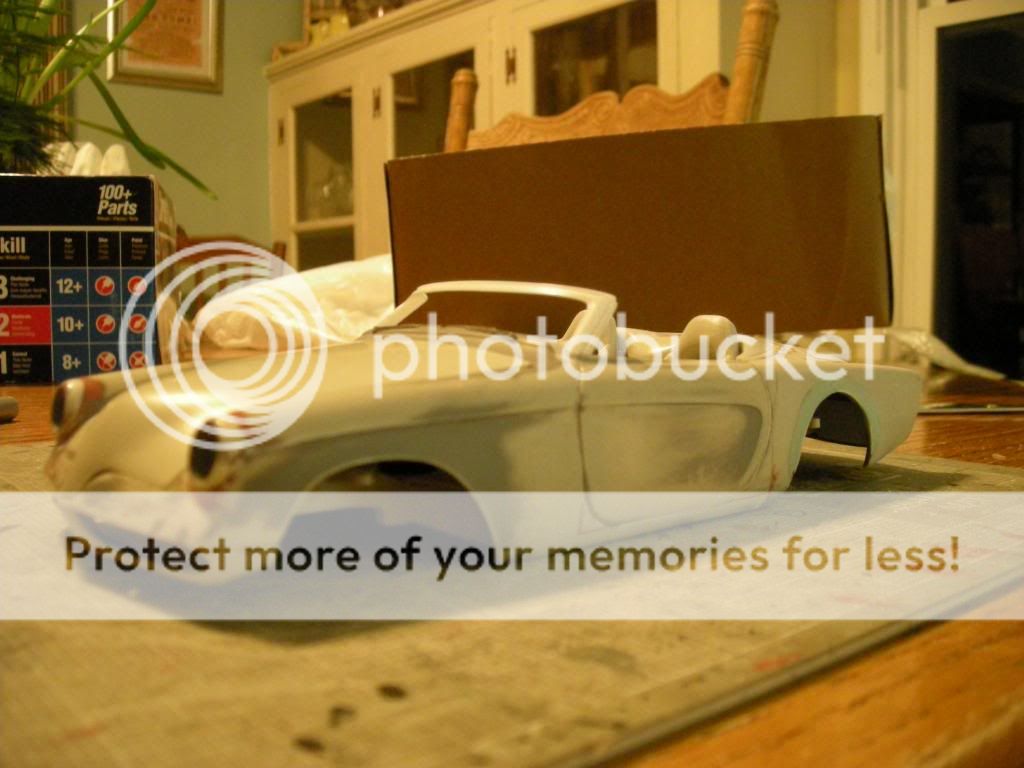

Dick Landy Coronet R/T
in WIP: Drag Racing Models
Posted
A beautiful build of one of my favorite subjects. Can't wait to build one like it someday.
Later-