dwc43
-
Posts
1,928 -
Joined
-
Last visited
Recent Profile Visitors
12,087 profile views


dwc43's Achievements
MCM Ohana (6/6)
-
That's true. All the Hemi cars wore 15in. wheels. Most perfromance models used them.
-
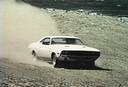
I'd put the Road Wheels back on it. That's what you are going to see on most factory cars. Go with anything but green. don't recall ever seeing a stock car with the black stripes on the hood like that either. Nice car though. I had a 1:1 69 model, yellow with a white top and a 440 auto black interior.
-
 Understood. Still looks good though.
 -
Got an idea for ya. Don't fill them in. Sand the treads down to make it look like these tires have been used for practice or scuffs. Make it look like it's been around hte track a lap or two.
-
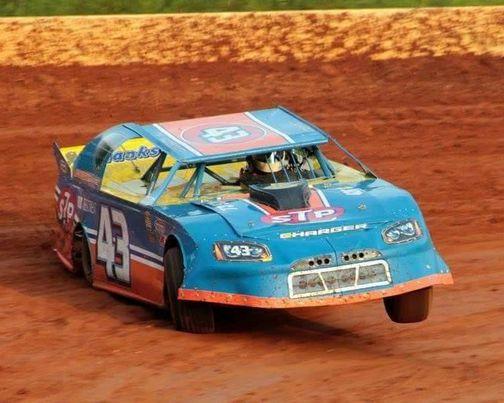
Just for giggles, my car can lift the front tire too. lol

-
Competition Resin has a cross ram that could be easily modified to look like the Edelbrock intake they used. Cheaper than a kit.
-
Great pics you have there. That dash shot shows the oil tank at the rear. And yes, those old fire extinguishers where pretty big back in the day when they started using them. I was surprised not to see a blower motor on the rear end cooler though, just that duct hose.
-
LOL, they got the valve covers on the wrong side. vents go to the front and oil cap on wrong side. Wrong carb too. But a nice-looking engine.
-
Check Ice Man Collectibles. He has some 3d printed people and characters.
-
Paint won't stick to chrome. It should polish right off the chrome.
-
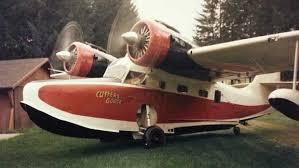
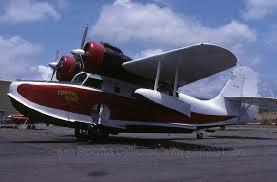
Thanks. I think that's the one I looked at. That's a two blade prop and wrong model. Need a G-21. Not sure if I can make that one work or not. But, I'll keep that one in mind.
-
Nice looking plane.
-
Thanks for that info. Will do.
-
Looking for a 1/48 scale Grumman G-21A Goose. Probably a long shot, but I thought I'd ask. The G-21 Goose has a 3 blade prop and ones that I have found are mostly two blade props and they are the wrong model.
-
More than welcome. Drill bit was a good suggestion too,OB. Now why didn't I think of that. lol