Farmboy
-
Posts
509 -
Joined
-
Last visited
Content Type
Profiles
Forums
Events
Gallery
Everything posted by Farmboy
-
Hey Steve! A bit different from the box top fer shur. Thanks for the comment.
-
Well, it does have some simulated marble added to it so that could qualify as simulated art I guess, lol! Thanks for the kudos meatman, appreciate the shoutout.
-
Thank you much Carl.
-
Garry, I never really thought of the model as a whole, but treated each section (sink/pedals/tub/boudoir etc.) as a separate build, adding the odd detail. Believe me, after making 32 aluminum headers and scratching the fuel system on 4 Buick engines for Ivo's Showboat one tends to compartmentalize one's thinking lol! As for plumbing, to my great sorrow, styrene and a butane torch do not get along well. You needn't ask how I gained this nugget of wisdom. Thanks for the kind words. ☺️
-
Larry, Chris, thanks for the shout outs...appreciated!
-
Just went where it took me Don. Thanx for the kudos.
-
Hey Kenneth I knew a man back in the early 80's, Herman Lamm. I would produce a half hour radio show with him called "the netherlands call". he ran a travel agency. I just don't see the name very much is why I mention it. You must have the Eldon model of a dual bathtub show rod. Barris claimed it as his, but he actually bought it from the guy who designed it....I think. Many thanks for the kudos. Keep an eye out at swap meets, garage sales, ebay for the bathtub buggy....one is bound to pop up.
-
Thank you all for the comments everybody. Bill, some of the detailing was simply adding a radiator so the upper rad hose wasn't just hanging in the air anymore. lol. Keith, If memory serves it was last reissued in 2009. Not a very detailed kit so it's wide open for mods. Emre, always nice when a kit turns out. My pleasure to post the build, hope you enjoyed.
-
a couple of more pictures I missed. The step is made from a ribbon clamp, chrome. A closer though slightly out of focus view of the header ends, and a view of the accelerator with scratchbuilt spring return. just in case the previous photos were too dark... Comments and observations welcome.
-
Thanks much for the comments and kudos everybody. This is one showrod I really wanted for quite a while. Just got lucky I found one. Glad it turned out ok.
-
Finished up the George Barris Bathtub Buggy. Started out as a glue bomb I swapped a kit for with a friend of mine. I went my merry way with this, adding detail I thought maybe should have been there and changed a few things that just looked like they needed changing. There are plenty of mods added to the build, only a couple of pre-planned details were forgotten or simply left off. The shower spray diffuser heads were the only two aftermarket auto parts used in the detailing of this model simply because I had them on hand...and they fit. The buggy build isn't perfect, but as my wife says...it's cute. . 'Comments and observations welcome.
-

Bathtub Buggy Build
Farmboy replied to Farmboy's topic in WIP: All The Rest: Motorcycles, Aviation, Military, Sci-Fi, Figures
Yowza, Dave, that's a heck of a kudo! Really pleased you like the results of the wip! Thanks for the comment! -
Bathtub Buggy Build
Farmboy replied to Farmboy's topic in WIP: All The Rest: Motorcycles, Aviation, Military, Sci-Fi, Figures
And here's the immediate result for the pipe ends. The ends were drilled out for depth, some dark accent paint will be added later. That's it for this build. I think it turned out ok. The pipes are a pain. They have a seam the full length on the top and after removing it, I had no way of duplicating the finish. Decided to hide it in plain sight by adding a brass bar to give one the impression of a heat shield. I'll post pics of the build in the Model Cars Under Glass section when I get back. Many thanks to those who stopped by. Comments and observations welcome. -
Bathtub Buggy Build
Farmboy replied to Farmboy's topic in WIP: All The Rest: Motorcycles, Aviation, Military, Sci-Fi, Figures
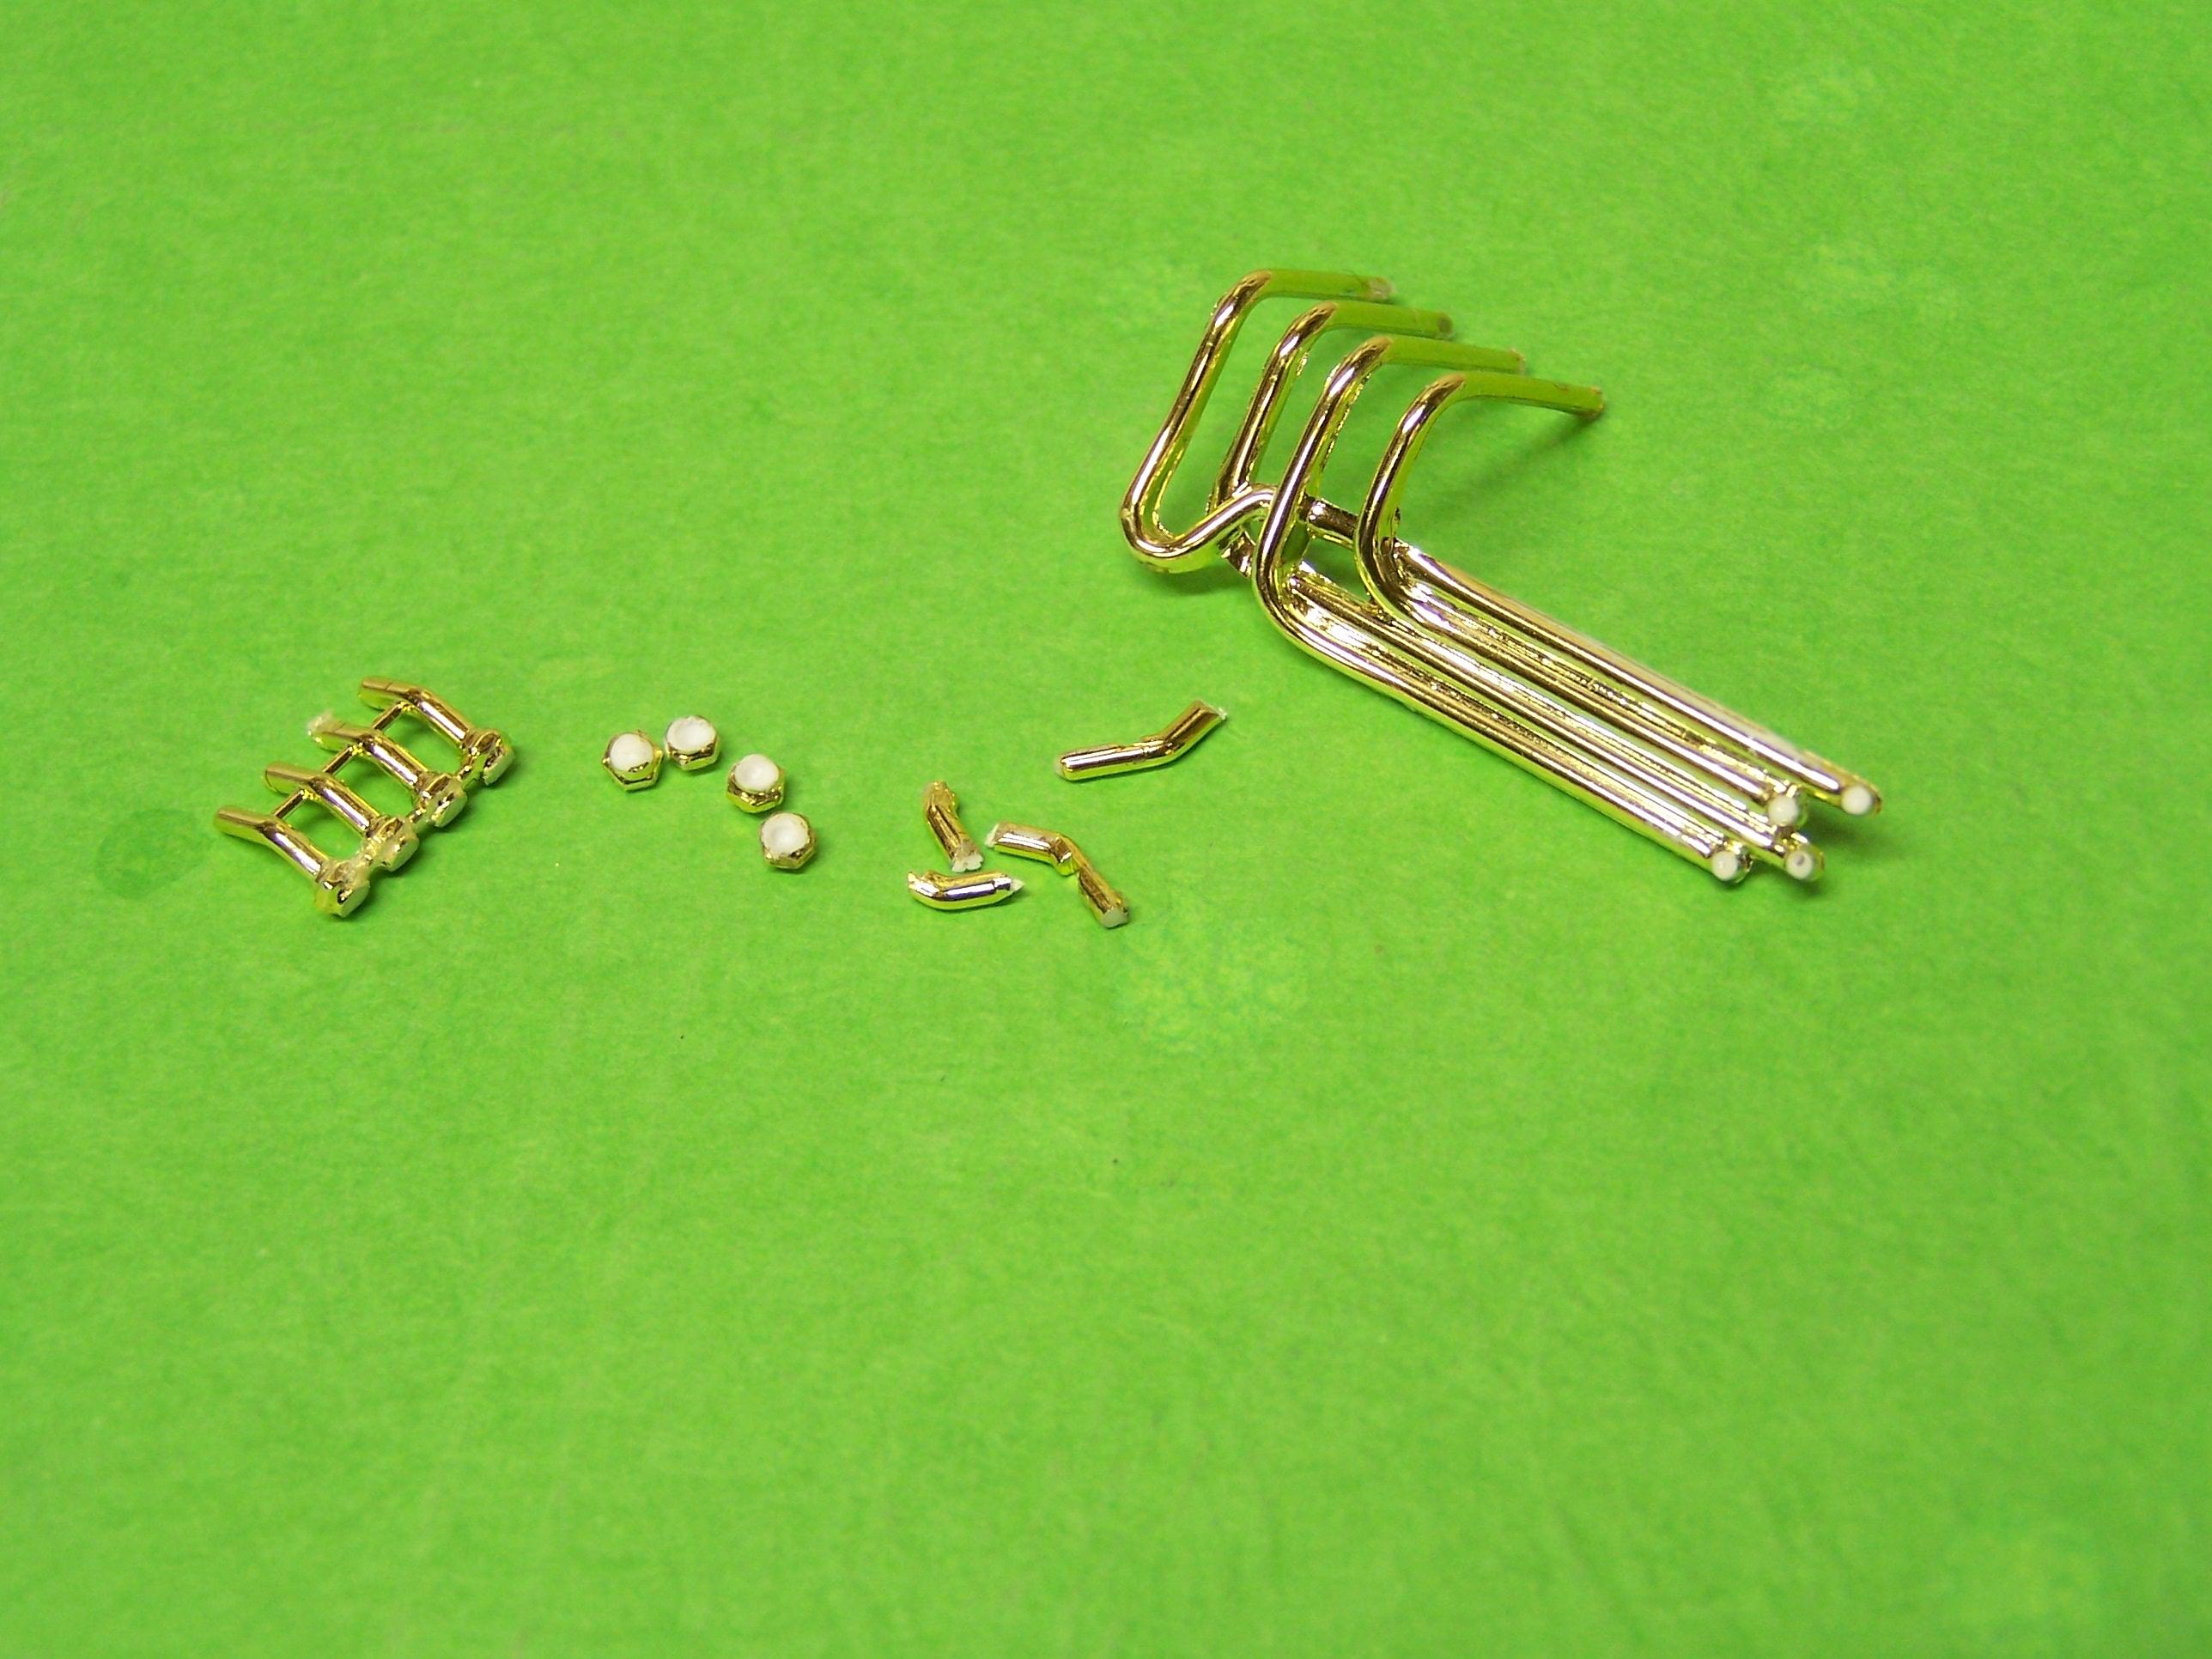
I decided to try my hand at modifying the exhausts to more or less mimic how they looked on the real deal. Here's the sequence in one easy photo: From left to right: One of 2 sets of air intakes coming from the top of the mystery box on the kit engine. Hex fittings cut from the intake pieces. They've been drilled out for depth. Next to them are the separated shaft pieces. The header assembly. The header ends are moulded 90 degrees to the pipes. Filed flat, they will be where the hex fittings go. The model is finished. I'll have photos soon.
-
Bathtub Buggy Build
Farmboy replied to Farmboy's topic in WIP: All The Rest: Motorcycles, Aviation, Military, Sci-Fi, Figures
Thanks for the shoutout Carl. Just about finished this build. I added copper water lines to the tub this afternoon and the car is now all together but for the headers. If I hack the exhaust pipes I'll show how I did it (kinda forgot to show a few things I had done along the way with this build) but other than that, the next shots will be the completed model here, then the Under Glass section. Your kind words appreciated. -
Bathtub Buggy Build
Farmboy replied to Farmboy's topic in WIP: All The Rest: Motorcycles, Aviation, Military, Sci-Fi, Figures
I appreciate the comments Dave. The end is in sight. Throttle linkage, a couple of water pipes, scratch built header supports and I'm almost done! I'm experimenting with using the large hex union couplers (I'm repurposing the no longer needed kit air intakes) as header pipe endings like on the 1:1. It's not so much the building but giving them a good finish that'll make the decision. So glad you're enjoying the build. -
Bathtub Buggy Build
Farmboy replied to Farmboy's topic in WIP: All The Rest: Motorcycles, Aviation, Military, Sci-Fi, Figures
My apologies for the delay in posts. Onward and upward. First off, the tub, beginning with the legs/feet. The moulded on 4 pegs didn't do it for me and I looked a long time for ball and claw feet. I honestly bought a few dinosaur toys hoping to wrap some T Rex claws around a small round bead but no luck. I decided to go art nouveau and put my own idea together. It started with things called earring backs. They're shiny brass with a clear flexible plastic flange that's easily separated with a single cut from a knife or scissors. Dollar store of course. While there, I grabbed a variety size pack of pearl beads. The photo below shows the two cemented together, cemented to the tub. I think it looks ok. incidentally, this corner foot isn't secured in this shot, but the 3 others are. I decided to keep with the kit supplied stop light assemblies, but a quick stop in to the brother in law's got me a couple of much better looking 'lenses'. The make ceramic christmas trees so they have lots of sizes and colors of this sort of stuff. The curved assist bars are craft items. I didn't feel they looked out of place. These bars have flat ends with holes in them. A few pins snipped off at the head left just enough of the pin to hold them in the hole. CA cemented and all done. These shots as usual are hi mag and don't look half as primitive up close as they do here. A bit of perusing the internet for french tubs told me I wanted a hand held shower. I had a necklace with a snake chain, small enough to suit my needs. I built the sprayer from a cut down shock absorber body, a short piece of brass wire, a round piece of aluminum I had punched (a leftover from another project) for the sprayer back, and a 4 cyl photoetch distibutor for the sprayer face. I drilled a hole in the top of the tub faucet, cemented the necklace part into it adding a short piece of brass tube for support and devised a way to make it look halfway believable. A piece of brass colored wire was formed to make a support for the shower head and cemented under the lip on the outside of the tub. Not exactly scale but I'm ok with it. Next I decided on a footrest. These are apparently quite common in a wide array of forms though I've never heard of one. I made mine from a piece of brass and a couple of craft support pieces that lent themselves well to the project. I painted the tub interior with Tamiya white primer, leaving a smooth eggshell finish that's easily and invisibly touched up while I was still working on this. The outside was sprayed with Humbrol copper, but didn't like too bright and shiny finish. I ended up using acrylic copper craft paint, darkened with a few drops of acrylic Gunmetal. Worked great, tough as nails. That's it. Back soon. Comments and observations welcome. -
it's the potvin direct drive blower assembly from the Mooneyes kit modified to fit a flathead engine assembled from the partsbox. Worked out ok.
-
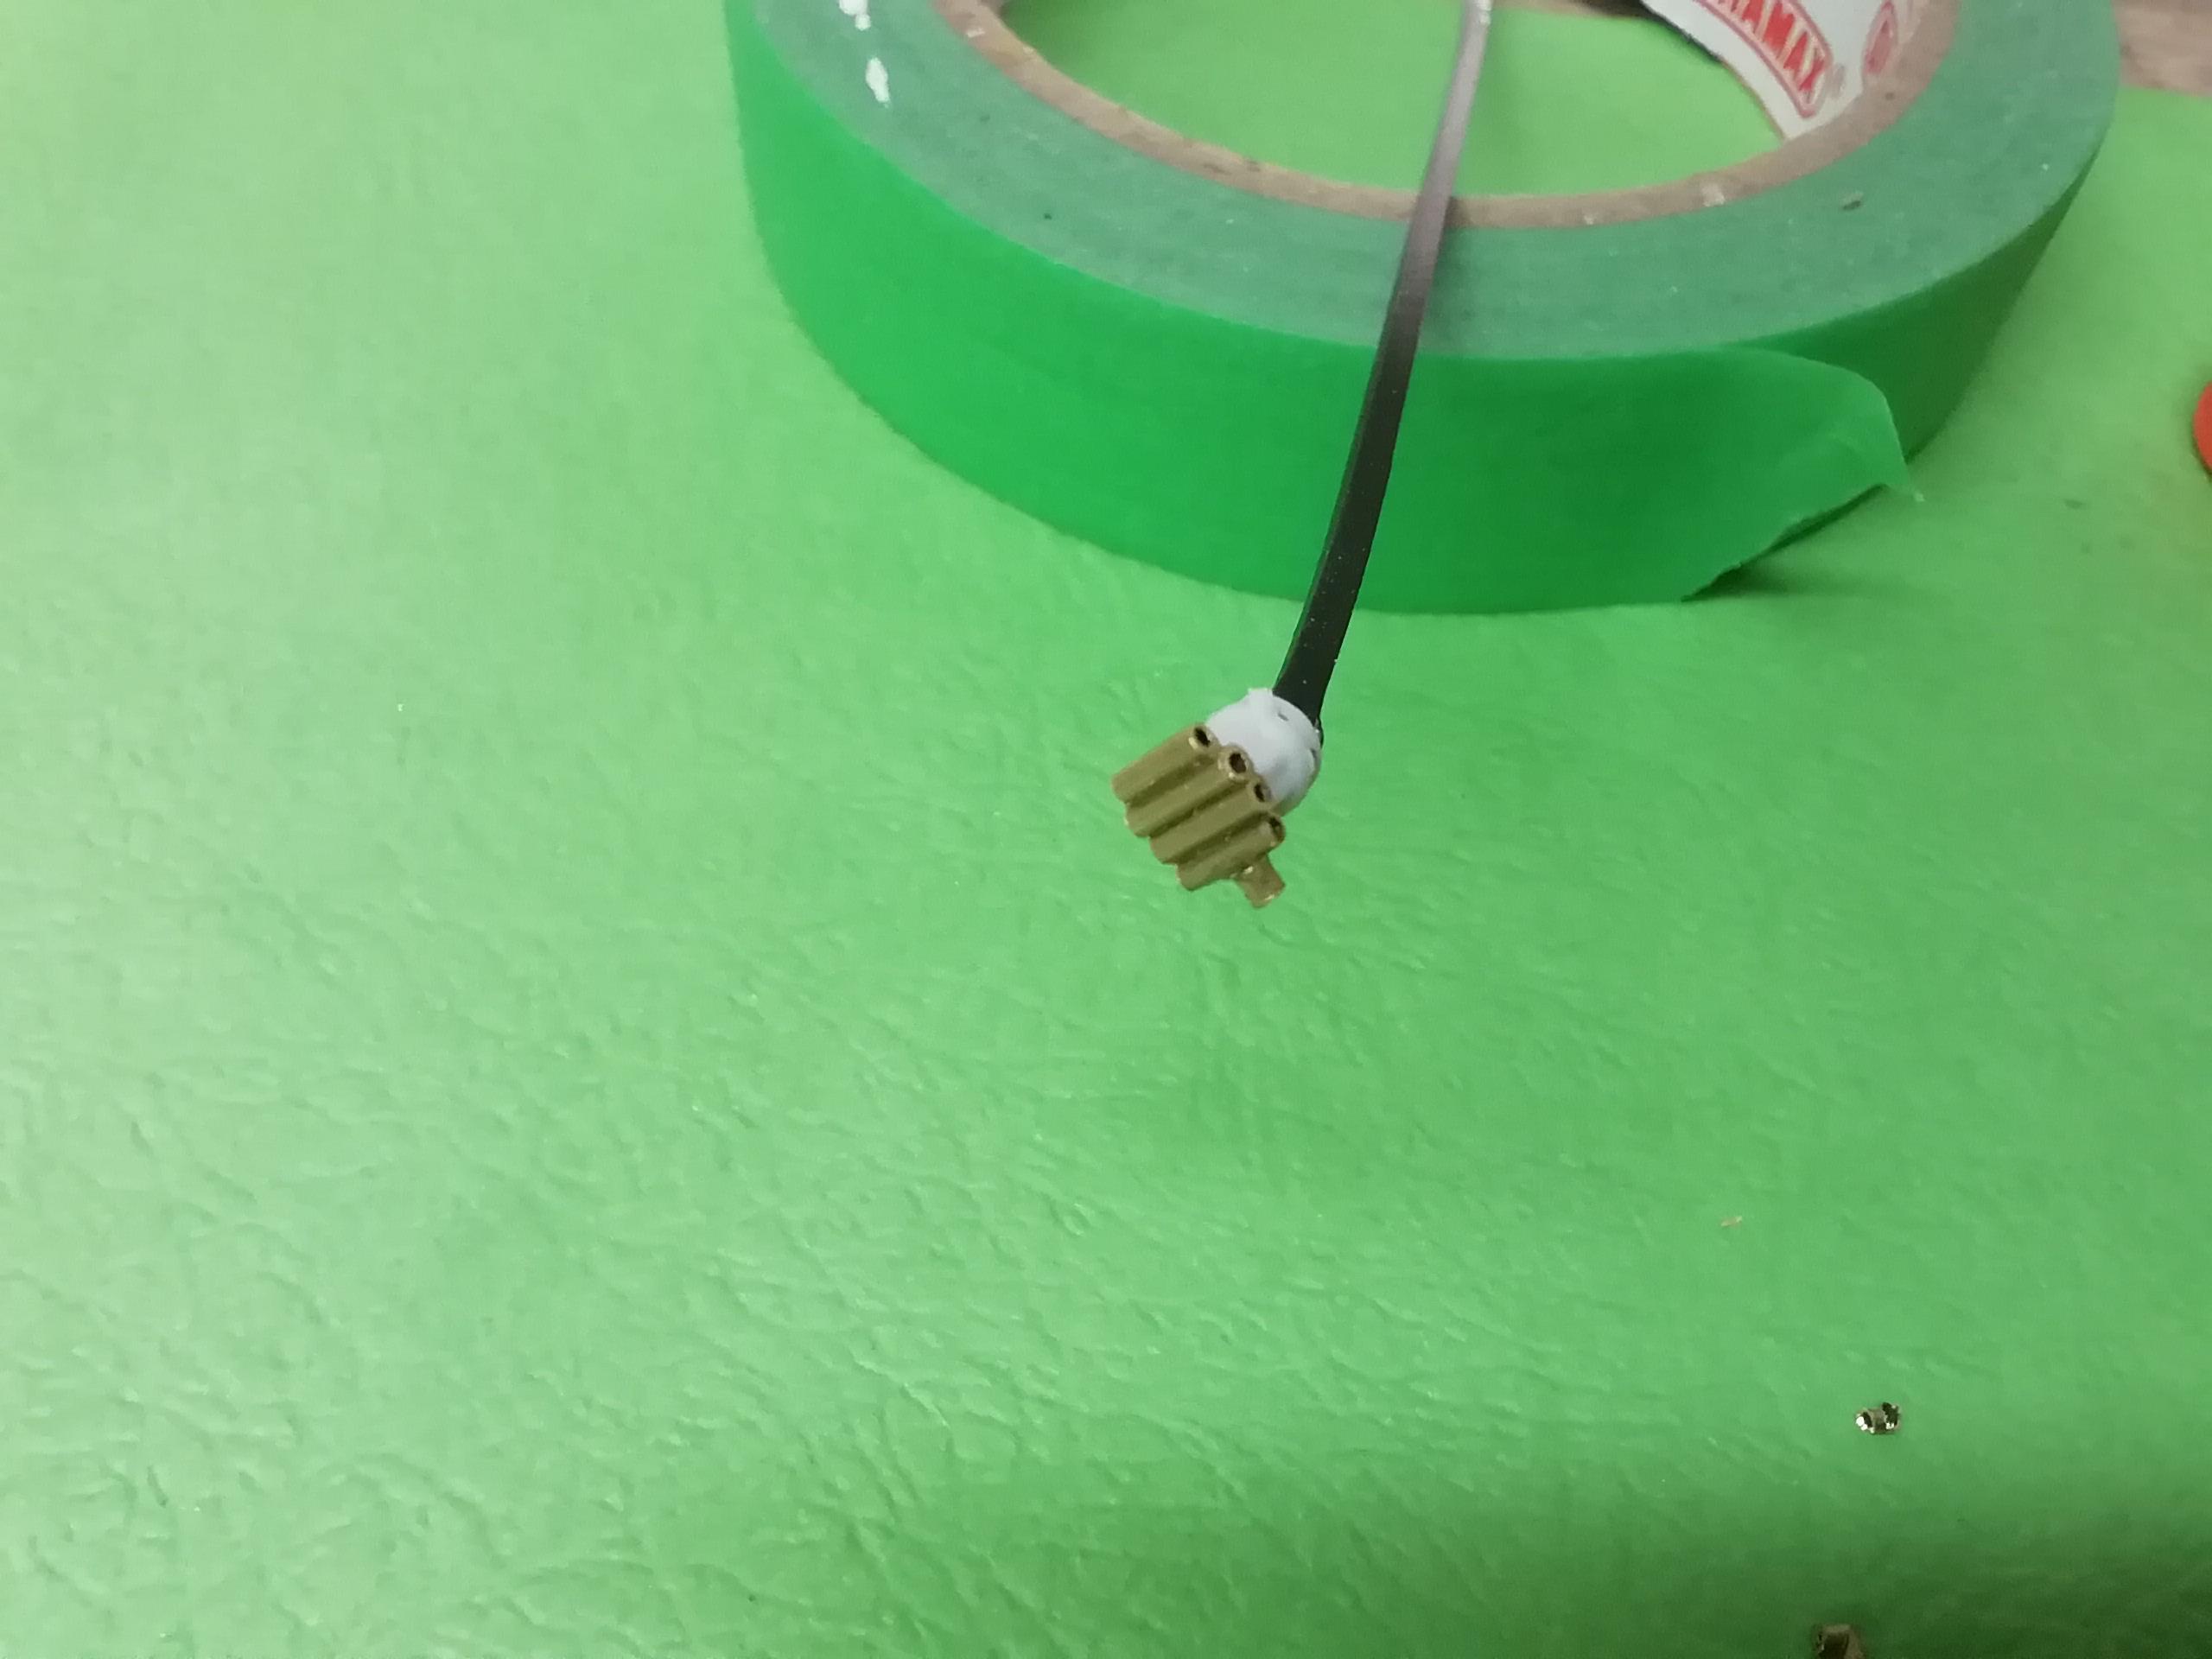
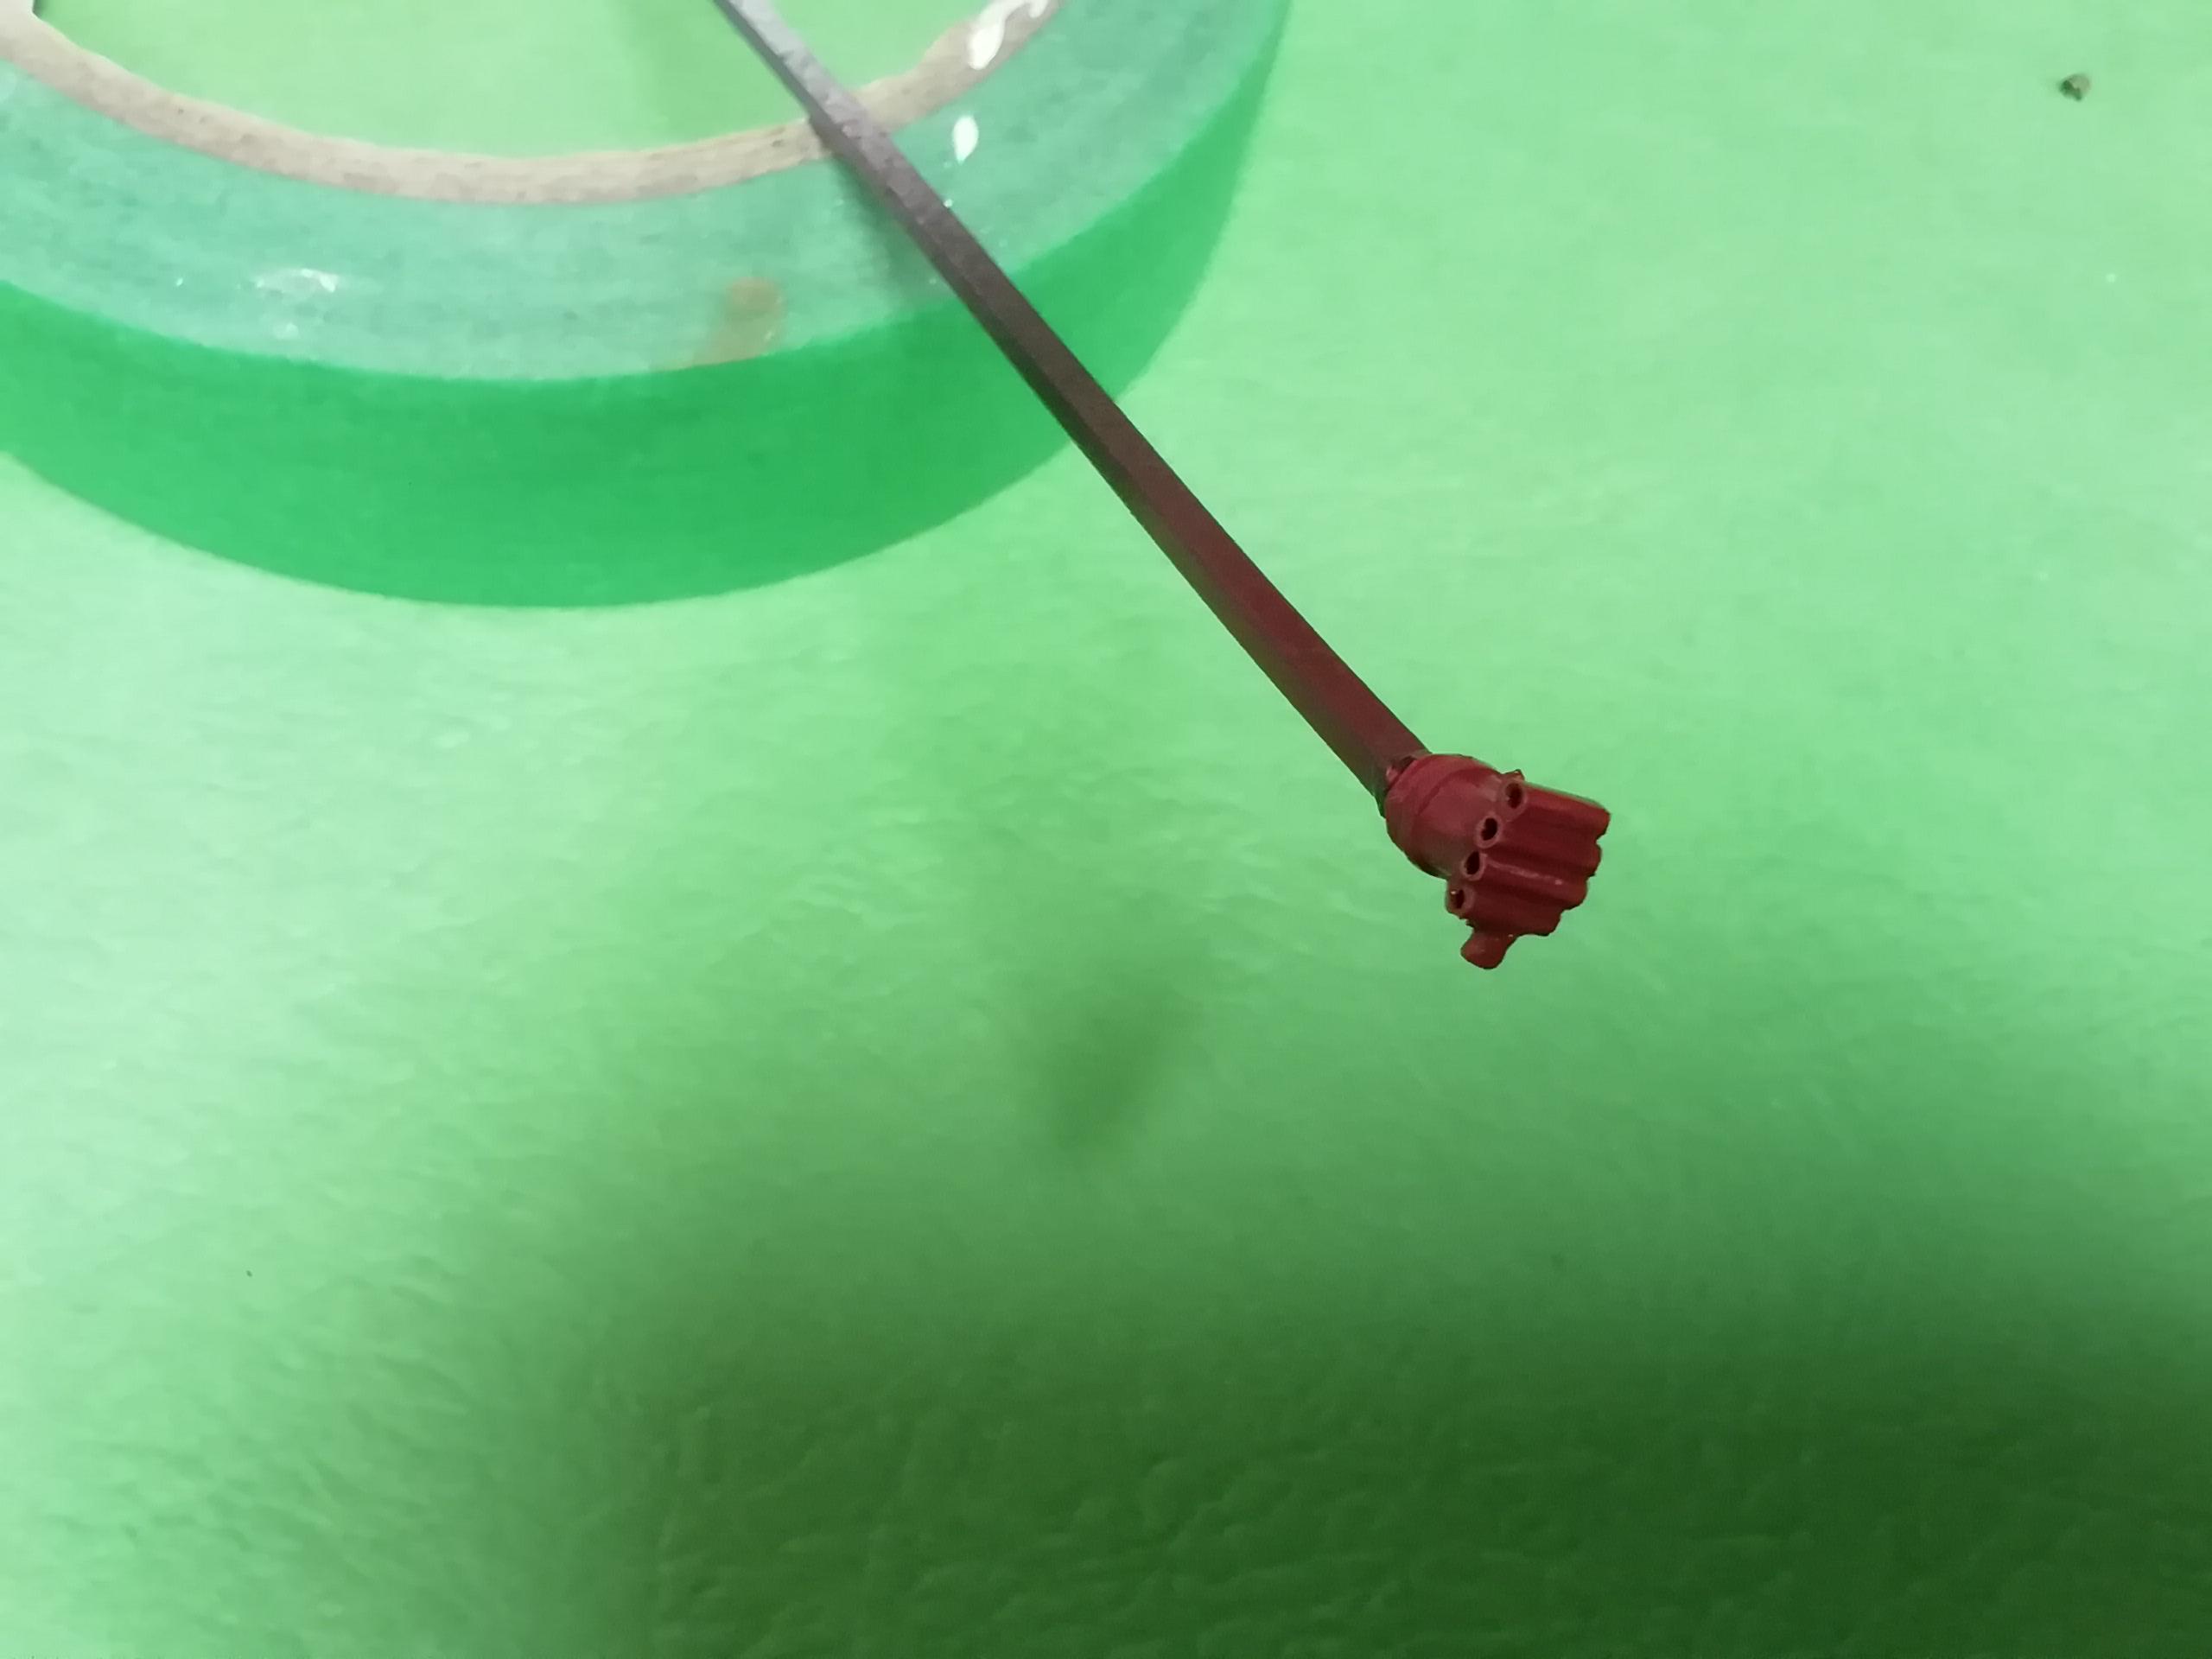
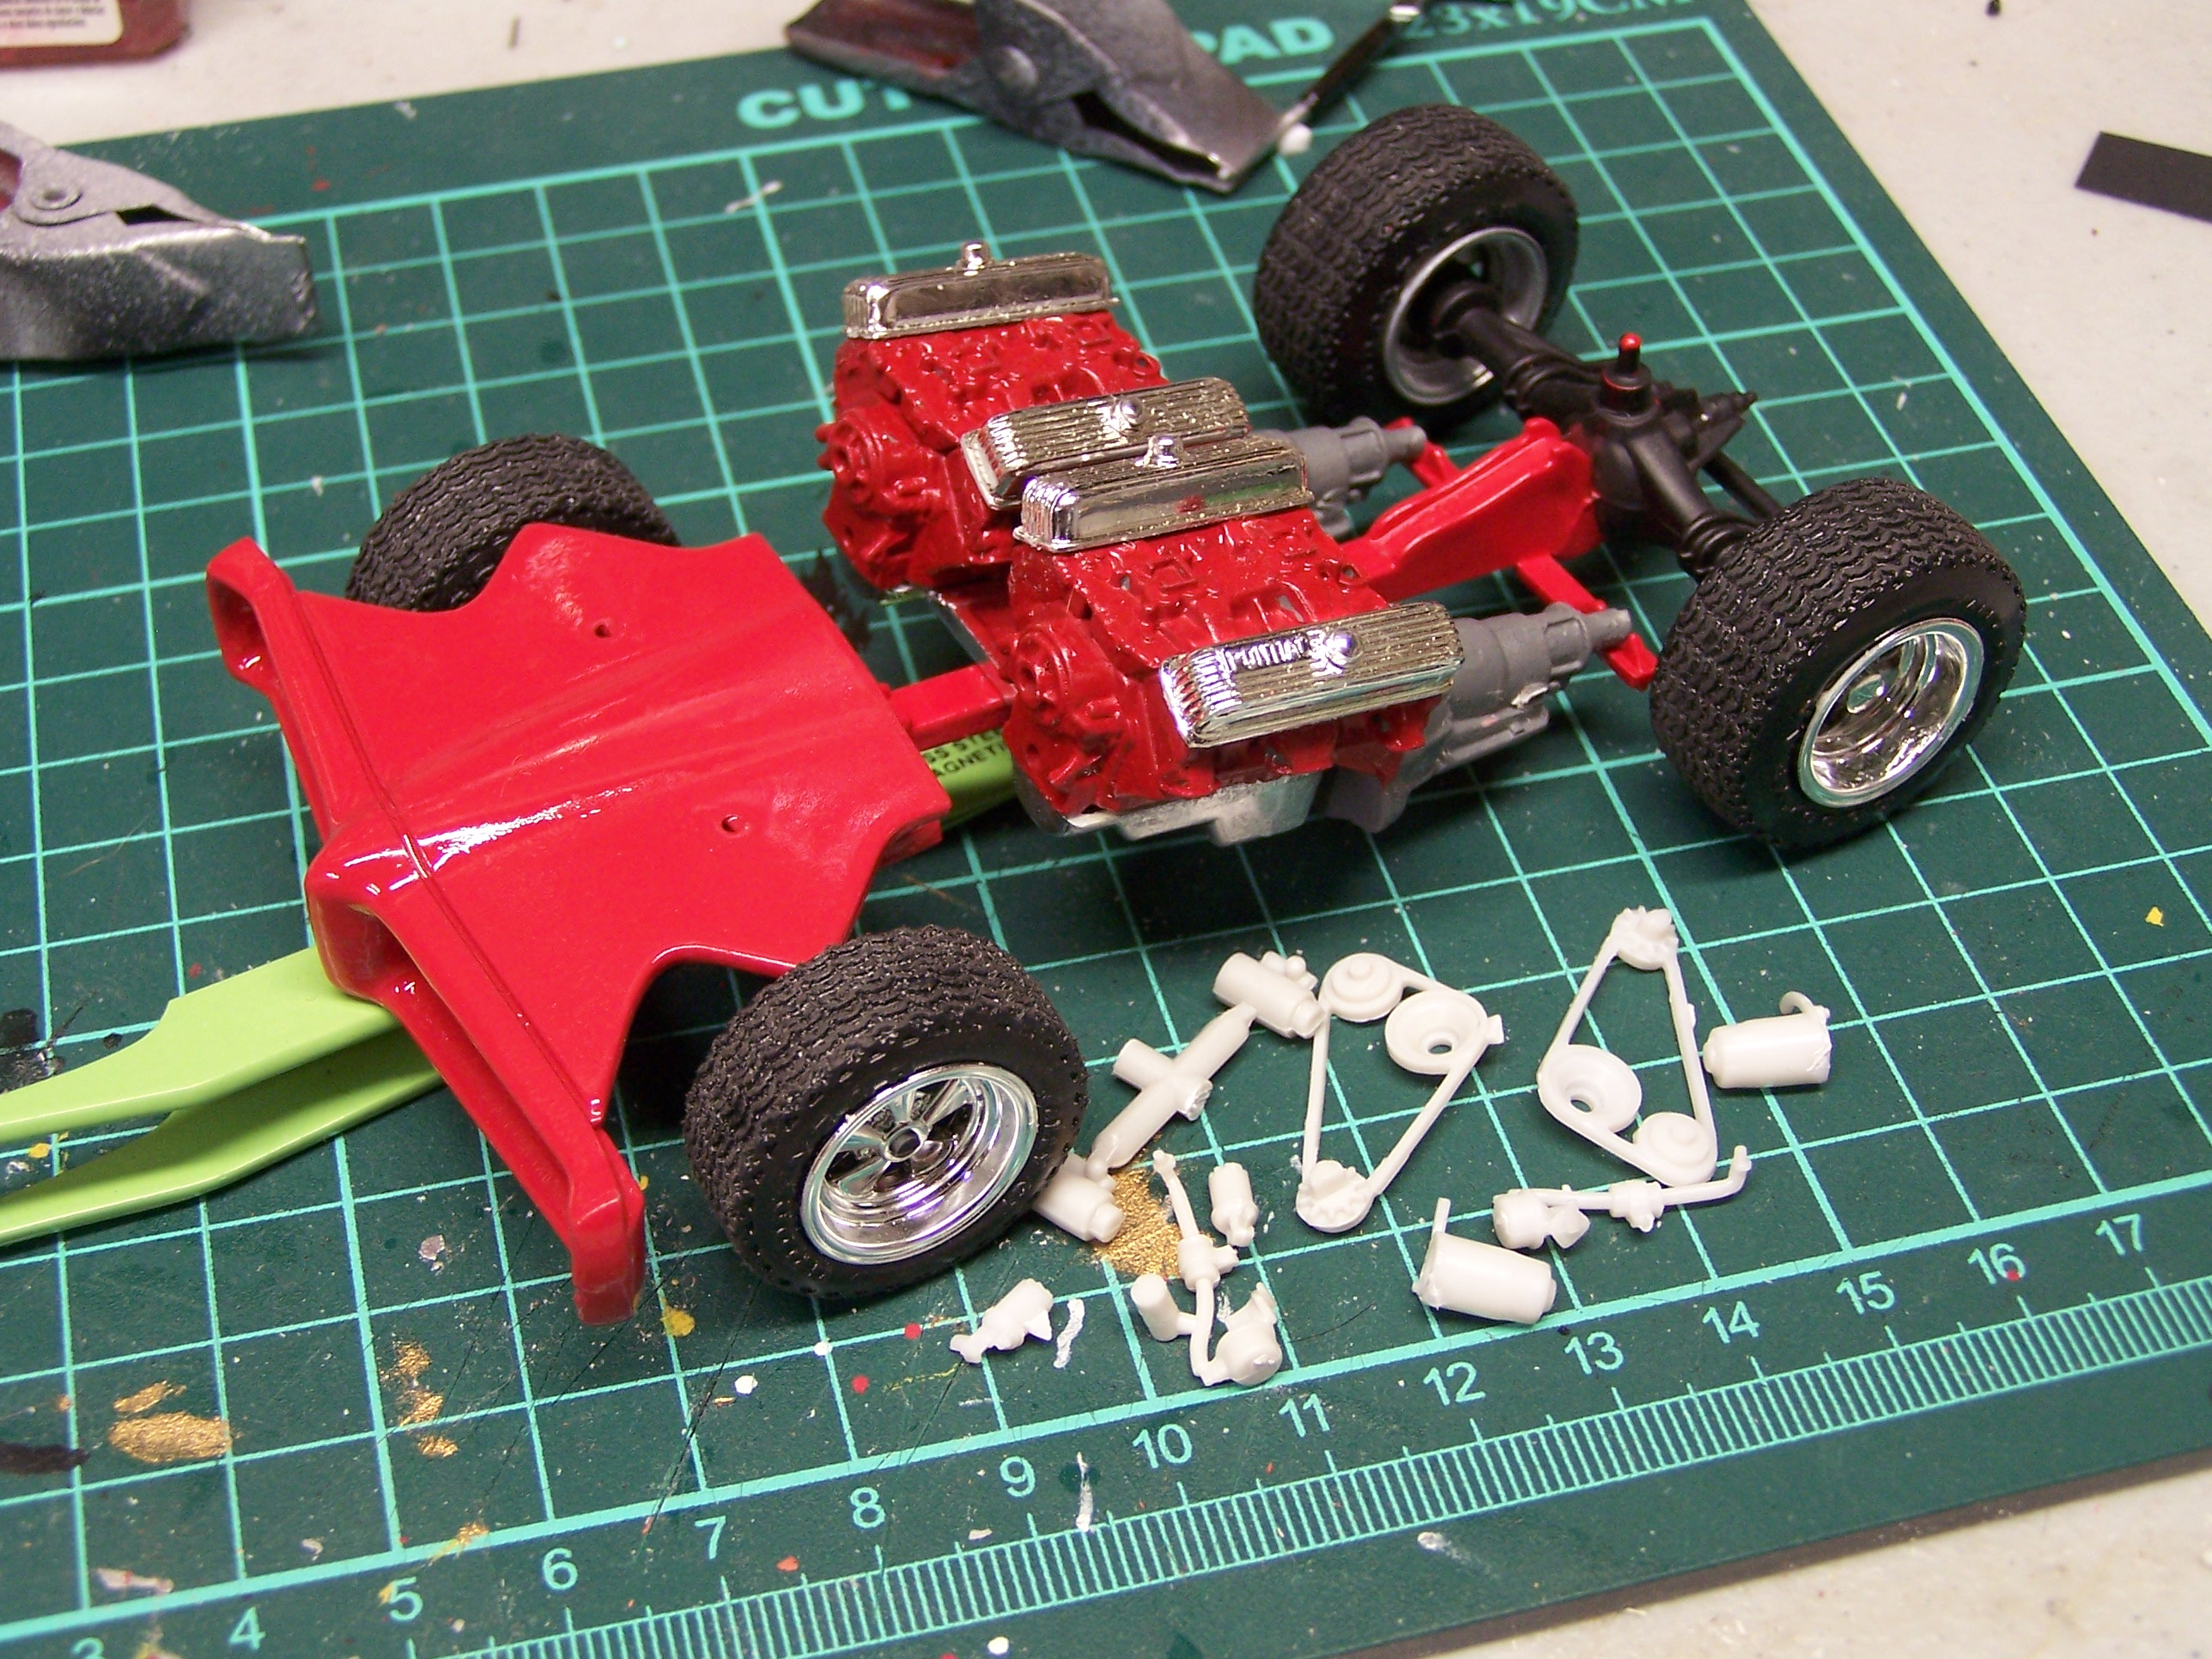
I wanted to try something different than a plain Jane distributor, didn't want a magneto either. I've seen this referred to as an e-fire, or crab type. Looked like a candidate for a simplified version. Using brass tube I cut lengths to approximate shape -- better too long than short. I lined them up, applied some thin ca, and filed each one to length, adding the coil tube 90 degrees to the rest. On the shots I've seen on the real deal, the coil connect was parallel with the rest but as I said, I was out of room. The real ones also had a shallow dome center to them but I kind of like the tuck 'n roll look. It was attached to the kit distributor after filing down the distributor posts, then sprayed red. A short shaft will be attached to the bottom of the assembly and mounted in to a hole I'll drill in to the side of the engine cover. You can see how it fits neatly in the space available, not interfering with the air intakes and cooling hoses. I had originally painted the plug boots red but thought it looked too much like a Fisher price toy lol. Out came the black. and it all tucks nicely behind the belts. This is a mockup of hose connections to make sure everything fit. just another option.
-
The 8 velocity stacks were just an air intake 'hat' over a single carb. Both engines are from amt's Pontiac Catalinas. A bit of modification was necessary for this build but I found the stock blocks to be very nice pieces.
-
I have always found Michaels' kit selection a disappointment.
-
Nice looking kit, but I also think that engine's killer kool! Clean job on a nice lookin' piece o' gear! Looking forward to the rest of the build.
-
Bathtub Buggy Build
Farmboy replied to Farmboy's topic in WIP: All The Rest: Motorcycles, Aviation, Military, Sci-Fi, Figures
From here on in, "Hydro Dipping" it is Gary. Wasn't even sure there was a specific name for the process lol. Thanks for the heads up.👍 Dave, happy you're enjoying the build! Slowly working my way back to the bathtub. -
Bathtub Buggy Build
Farmboy replied to Farmboy's topic in WIP: All The Rest: Motorcycles, Aviation, Military, Sci-Fi, Figures
I've used the 'aqua' paint technique a few times, mostly for stark contrast. This is the first time that I'm after subtleties. I'm going for a marble desktop finish. I decided on tones of gray. I used primer/gloss and flat. Not much of a difference in the end anyway. For those not familiar with this technique, it involves water and paint. A suitable container (line it with plastic if it's reusable) is filled deep enough water to cover the piece you want painted. Submerge your piece and spray the top of the water at a very shallow angle. When you see a pattern you may like raise the piece up thru it, gently rolling it to avoid wrinkles as you do. Here's what's left after I did my counter top thru three shades of gray. ...and here's the immediate result I'll be v e r y gently giving it a wet sand tomorrow, finishing with clear matte. Here it is ready for sanding. I put the unfinished gauges on just so I was sure the pattern is something I liked. Mikey likes it! The sides will be done in gold to match the rest of the boudoir. Comments and observations welcome. -
Bathtub Buggy Build
Farmboy replied to Farmboy's topic in WIP: All The Rest: Motorcycles, Aviation, Military, Sci-Fi, Figures
Got the two piece windshield installed, but just before we get to that, here are the pins I used to do the lightbulbs. I find them great for glue application of course, but I buy them because if you drop one or set one down, it's so much easier (for old guys like me anyway) to pick up the first time 😖. Nothing big to report, just a mockup. The two windshields were easy enough to make. I didn't measure but started with a rectangle of clear plastic. The pieces are small enough to cut in one scissor snip so I just kept gradually cutting a narrow strip, test fitting, cutting another etc until it made for a gentle friction fit. I used Future clear acrylic (or whatever the name is this week) on a pin, touched it to joint letting it evenly fill in. I managed to get glare in the bottom piece so you can see it's there. The top piece that's canted out has a goldish strip of tape along the bottom. It's only there so your eye picks it up. The top of the piece has a dark brown hinge fabbed from a stir stick (thank you Tim Horton's) that's been split and glued at an angle. It's not really necessary but I find it makes for a better -- and less obvious -- glue joint. I could have tinted the glass with clear acrylic and food coloring but that whole area is busy enough already. Some minor paint touch up and that piece is finished. Comments and observations welcome