Farmboy
-
Posts
518 -
Joined
-
Last visited
Content Type
Profiles
Forums
Events
Gallery
Everything posted by Farmboy
-
Are your planning to replicate the rear wheel opening fretwork? 2 or 4 wheels aside, I'd be interested in seeing photos of your work progression if you do so as it would seem to be the most prohibitive part of the build (for me anyway). Never heard of this custom before but your build has me thinking. I can probably find a 59 Caddy easy enough but the 59 el camino could be a pain. I have a Vette I have no interest in that would supply the side pieces. Carry on please, you have my attention.
-
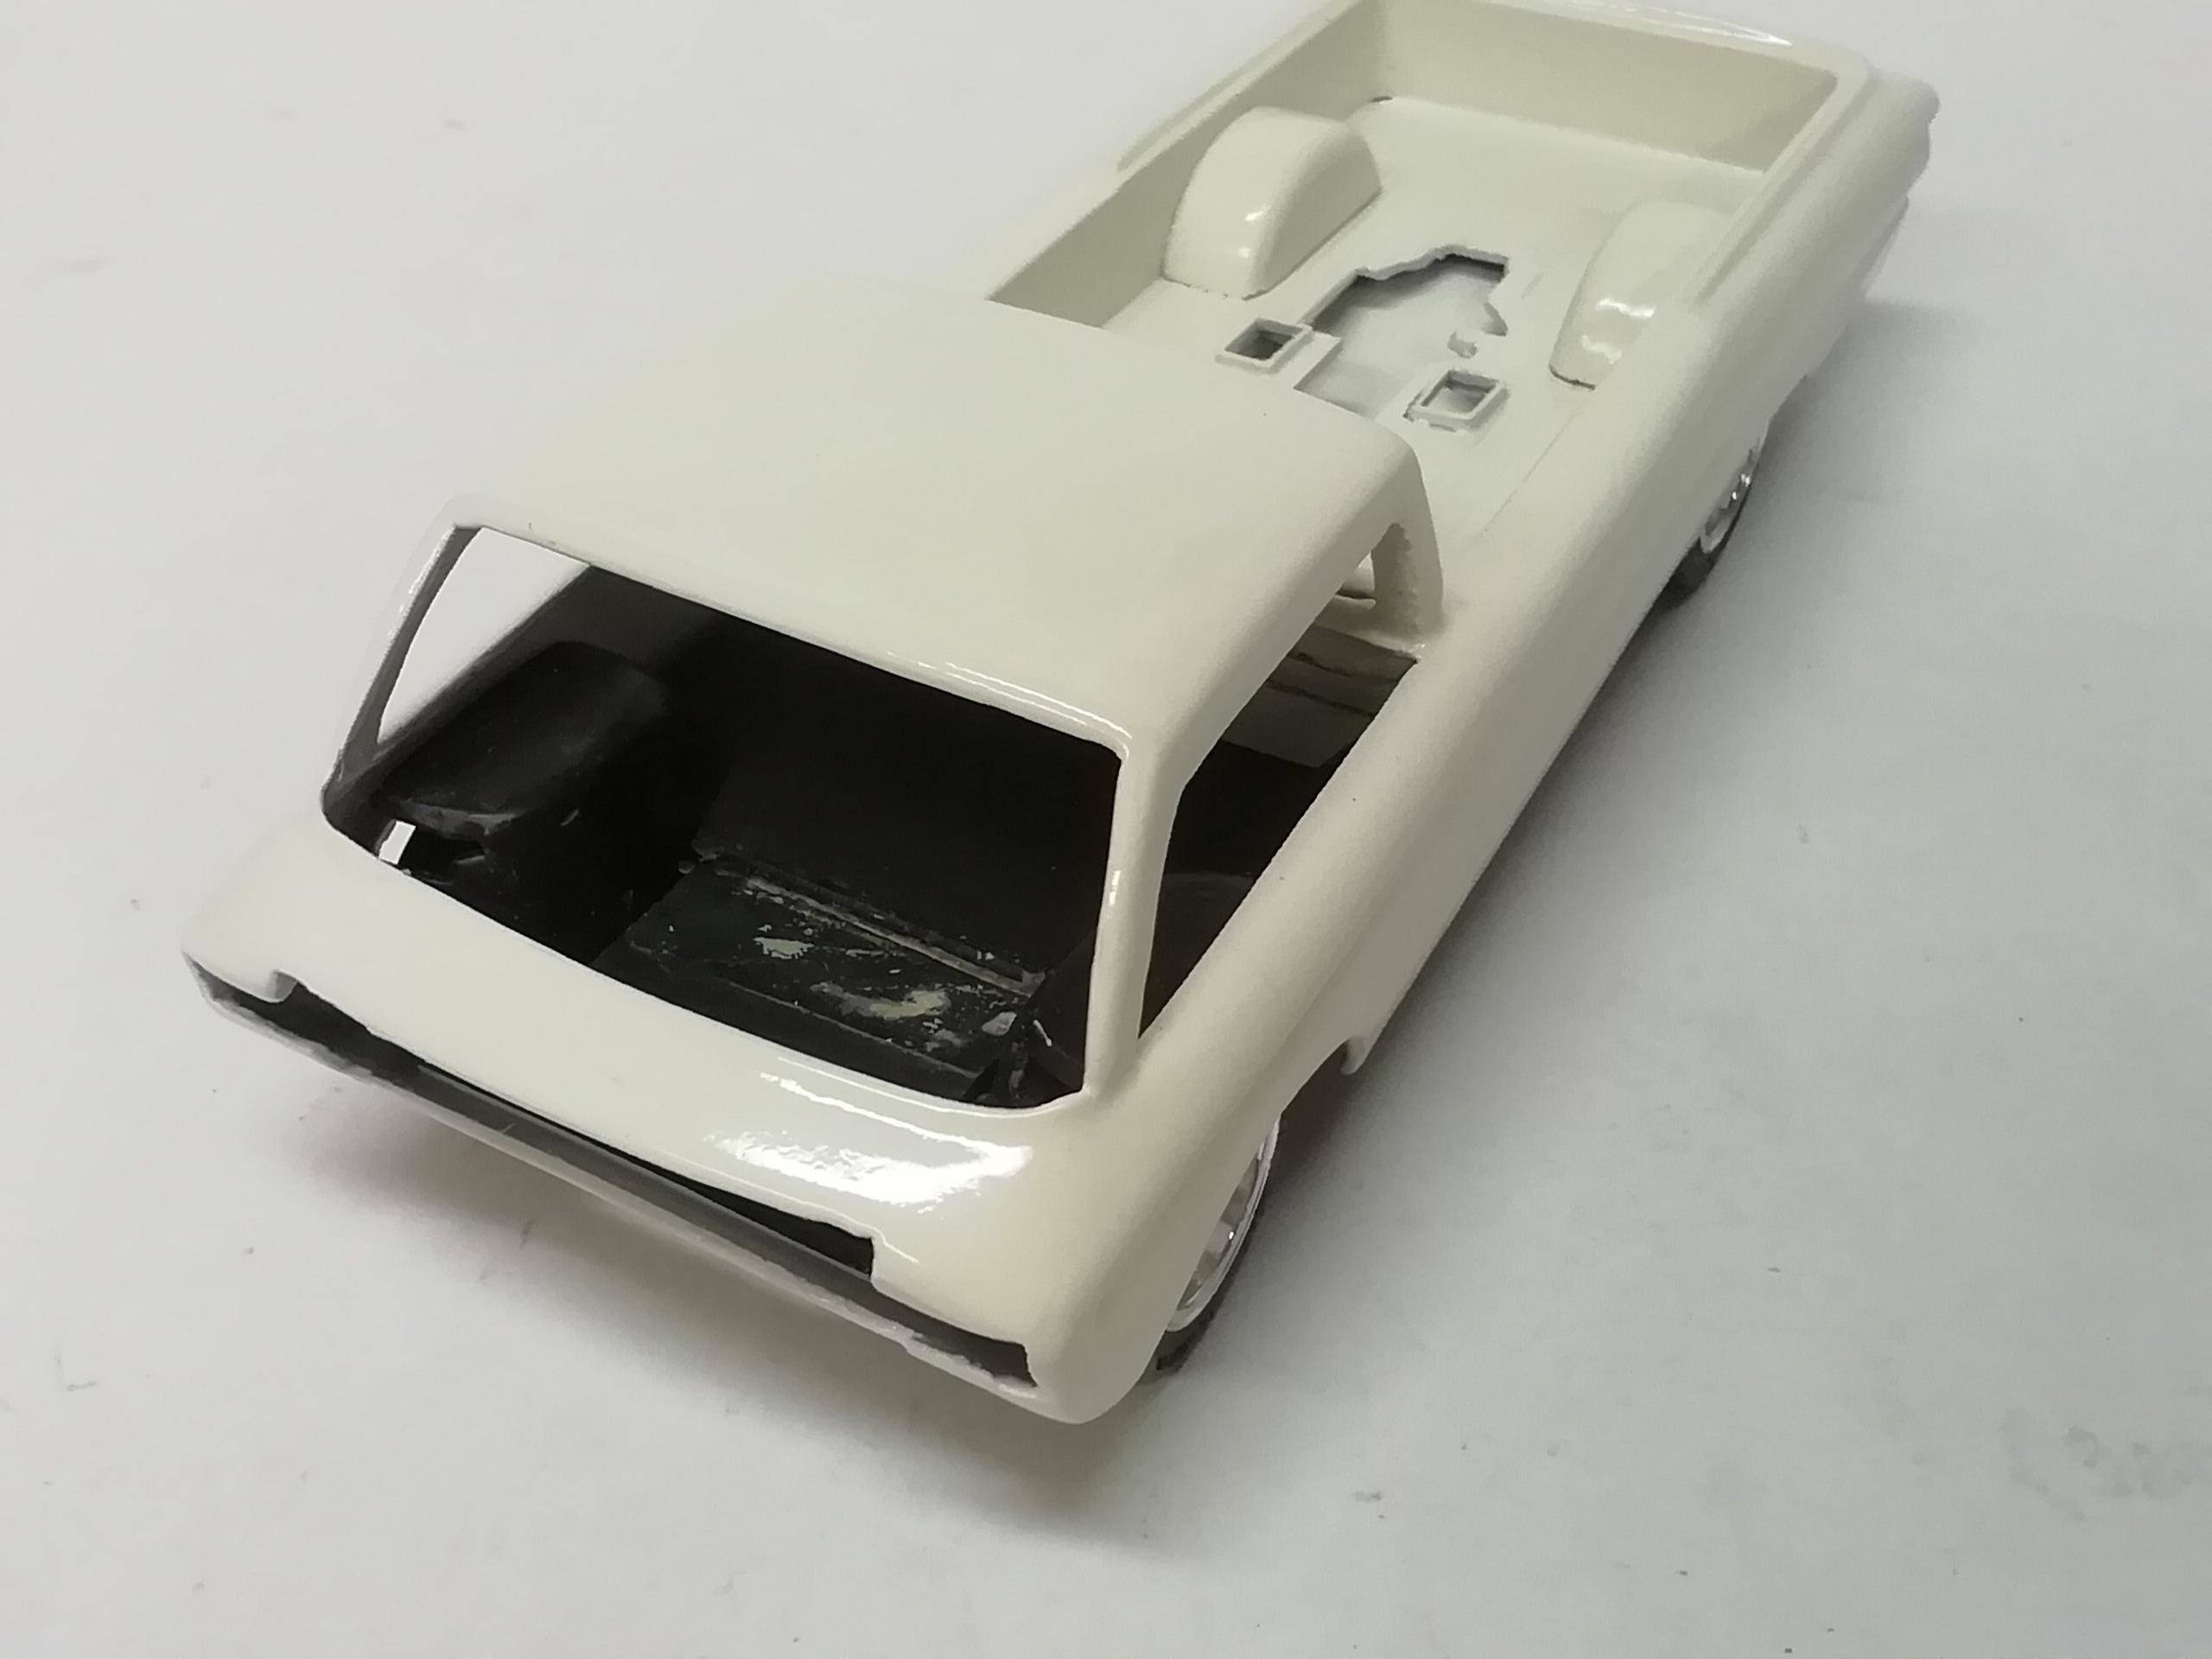
Got the seats in, whew! Using plain ol' Testors tube glue and some old school tech, I applied cement to the bottom of the seat bases and mounted them in position on the floor. The glue sets reasonably quickly but takes a few hours to cure solidly, so, after about 30 minutes I began carefully mounting the body starting from the back. I slowly let the rear cab wall pivot the seats toward the dash just enough to get the front pan down over the front of the chassis. Once I had the body in place, I used tweezers and the eraser end of a pencil to tilt the seats back to their original positions. Try that with CA or liquid glue lol! Steering wheel is painted and drying but shouldn't present any serious install problems. On to the engine! Comments and observations welcome.

-
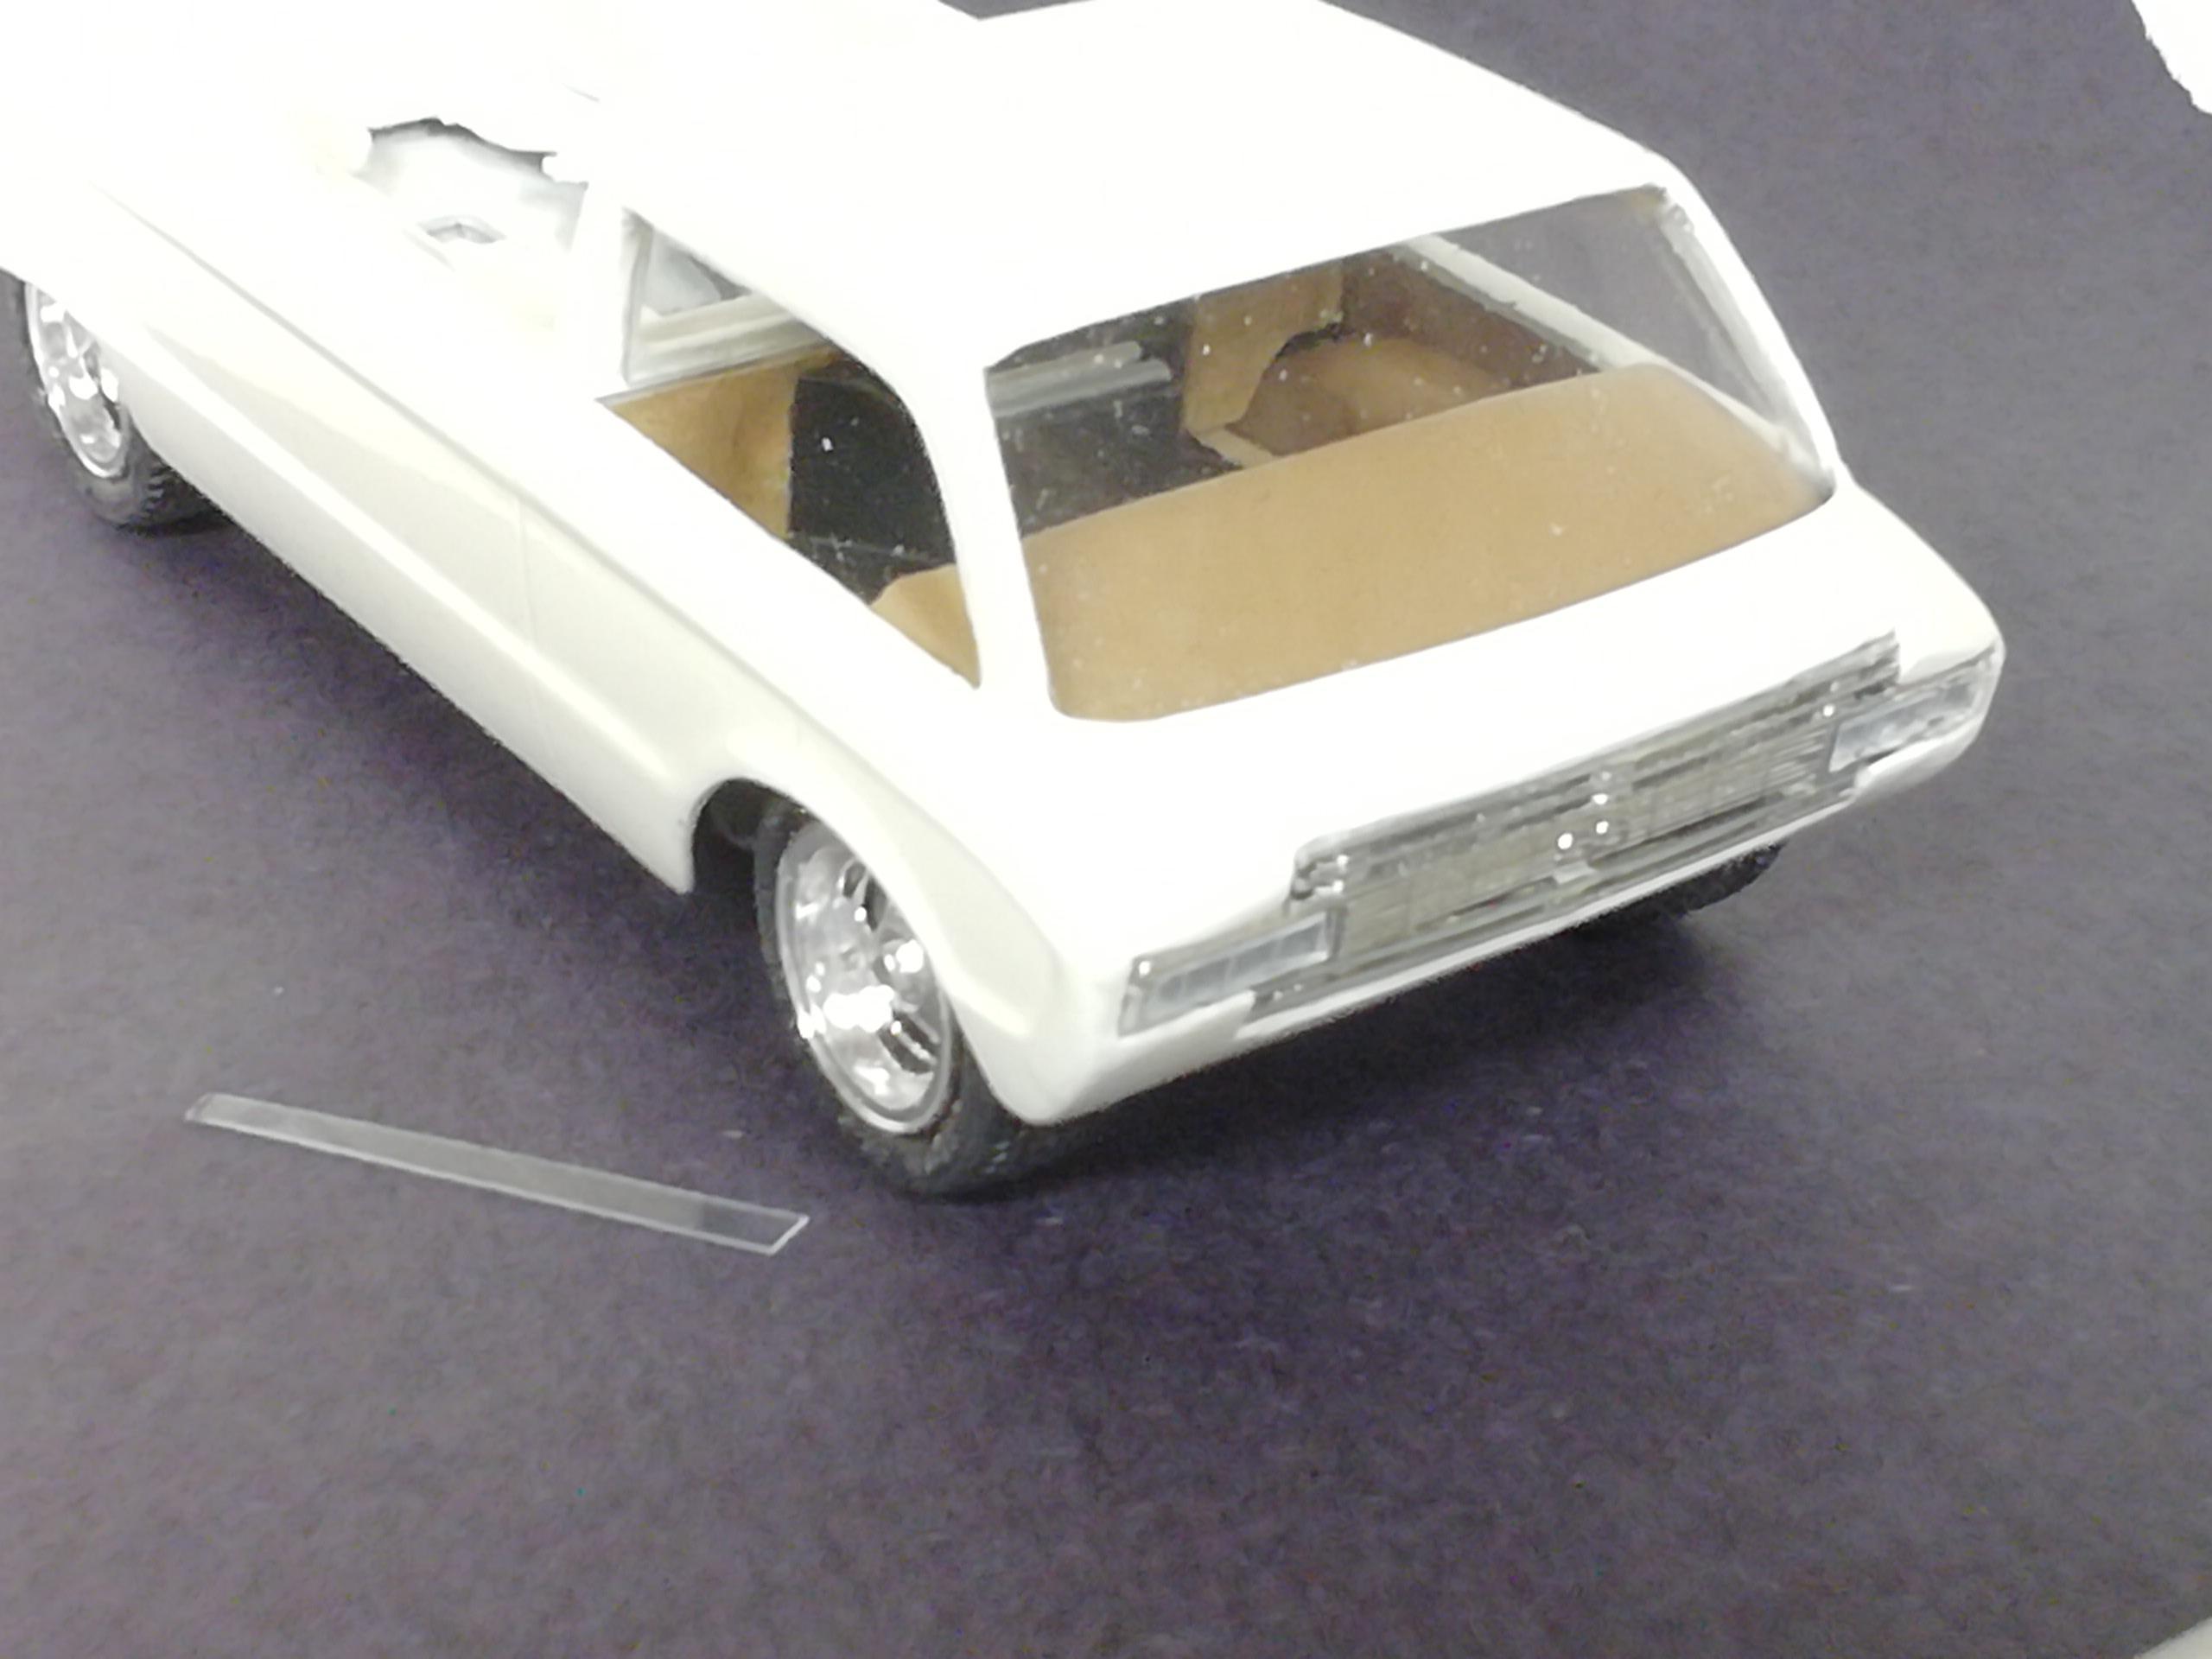
....and this is what I ended up with. The center piece from a Nova, the upper and lower grille pieces from a Pontiac. There will be a Ford blue oval in the center. I also redid the dash in tan, I felt there was too much black. Home made windshield needs a good cleaning too Looks like a booboo under the drivers side headlight to fix. We'll see. Comments and observations welcome Comments and observations welcome
-
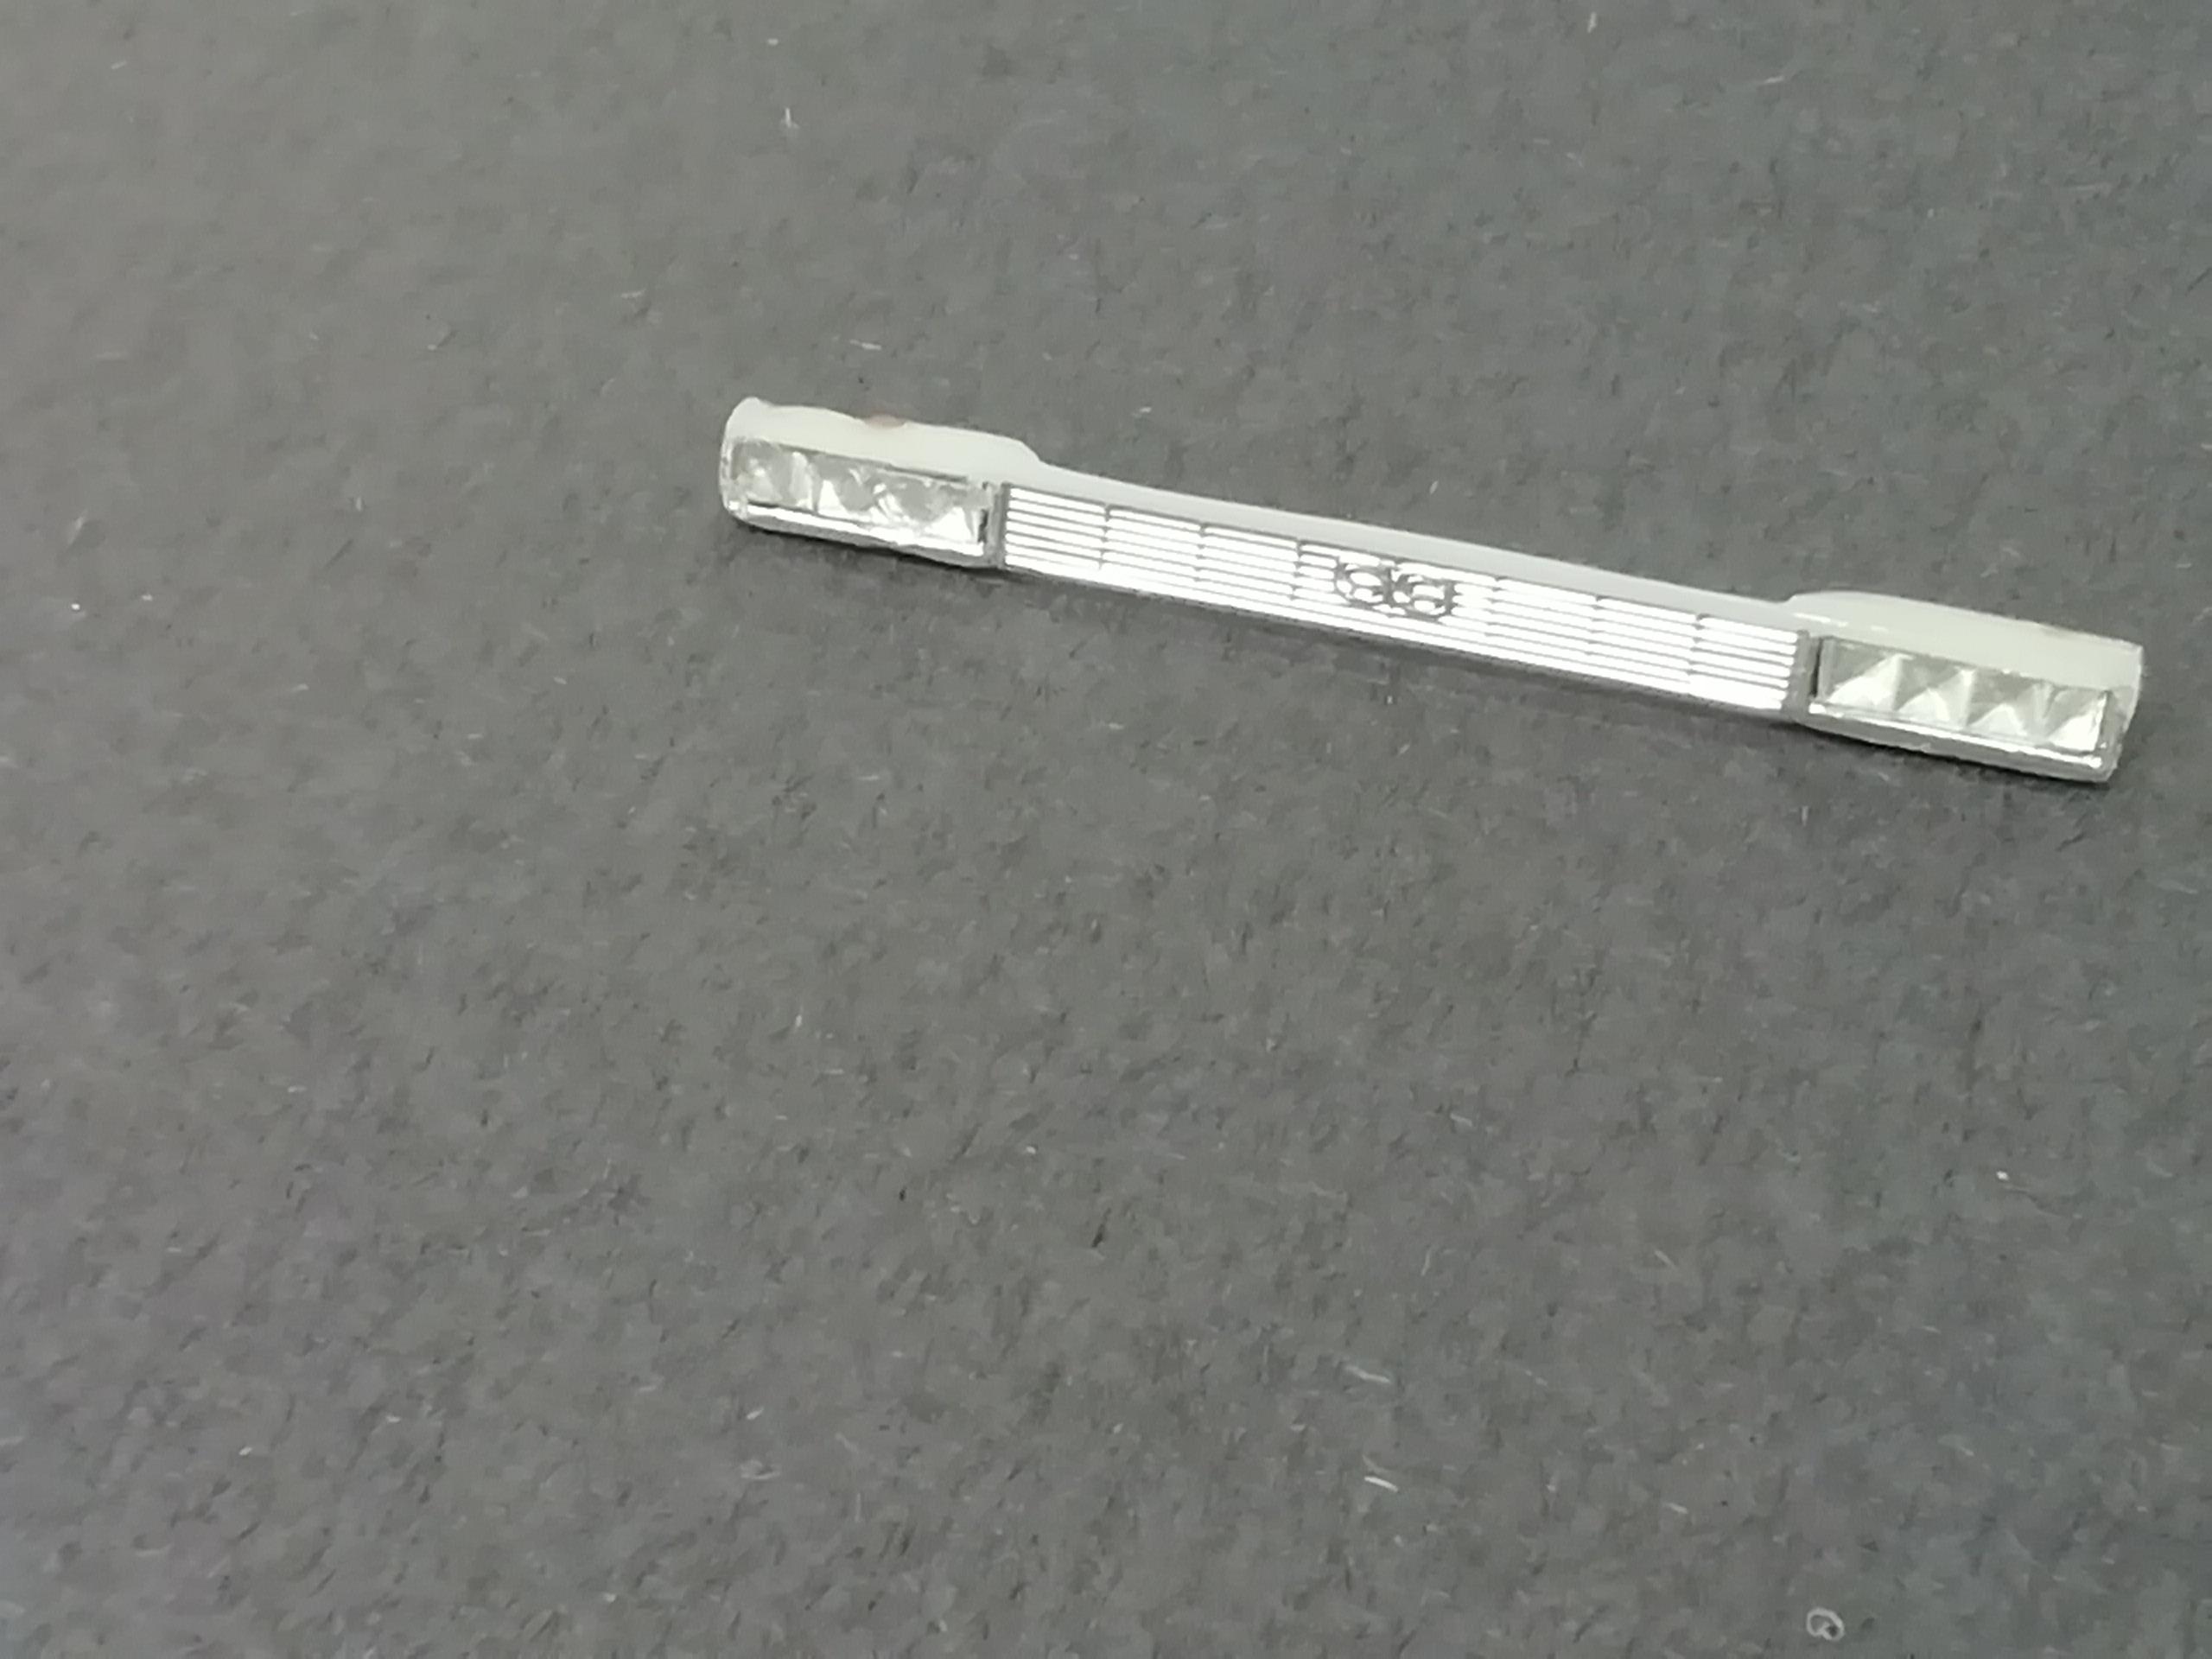
I'm hoping it'll turn out ok Cobraman, 'preciate the kind words. I'll post a pic of the completed light bar and grille assembly as soon as it's completed.
-
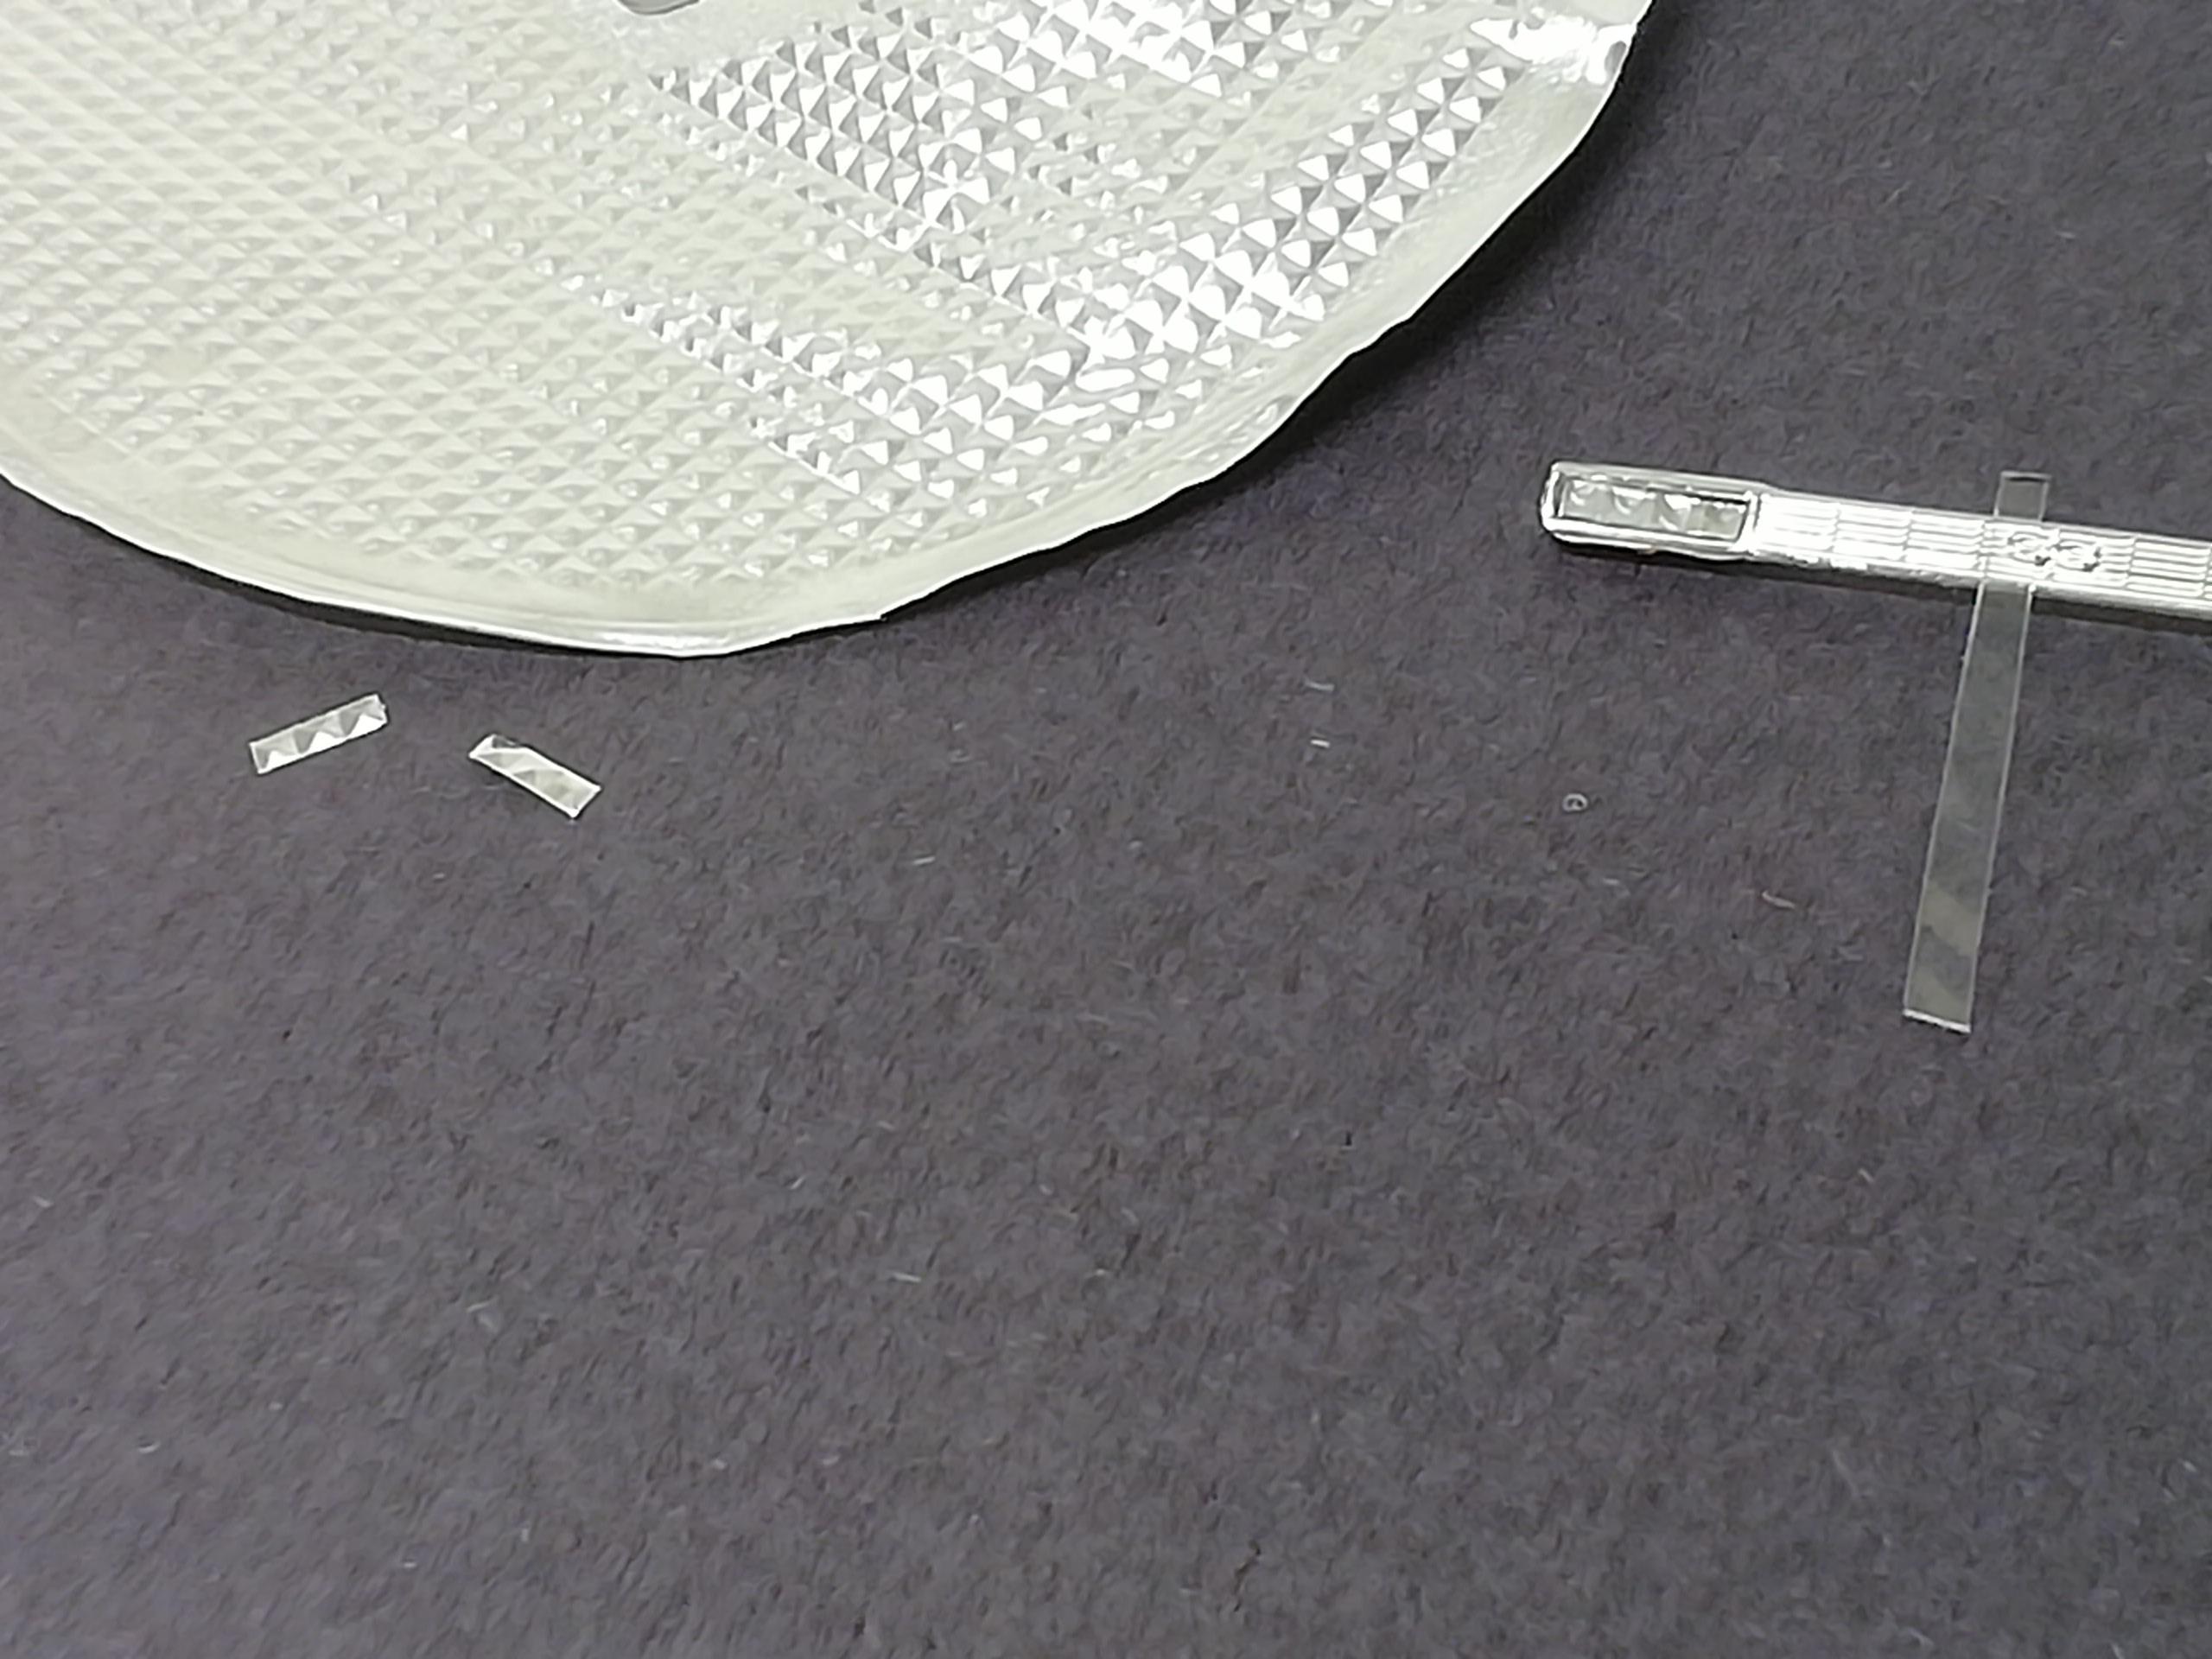
I have to install the grille and lightbar before I can finish the interior. The floor is attached to the chassis and once the seats are installed the body can not be removed. I need to get behind the horizontal grille bars to get them into position. The headlights turned out ok, here's how I did them. As mentioned earlier in the build I've convinced the rear tail light assembly from the Ol' Pro nova kit to be the center bar/headlight assembly. As shown below I cut a single strip of embossed diamond shaped foil (it's the Melitta coffee can seal) to act as reflector bases. A narrow strip of clear plastic to cover and I'm in business. I tried pin heads, dots of paint, kitty litter granules and a few other bulb stand in's and decided it was too busy. Maybe next time with only 1 or two bases to deal with. My camera seem to over compensate on monochromatic shots. In the mock-up below, I can assure you the light assembly on the left looks like the one on the right. A blue Ford oval will replace the SS in the center bar. Comments and observations welcome
-
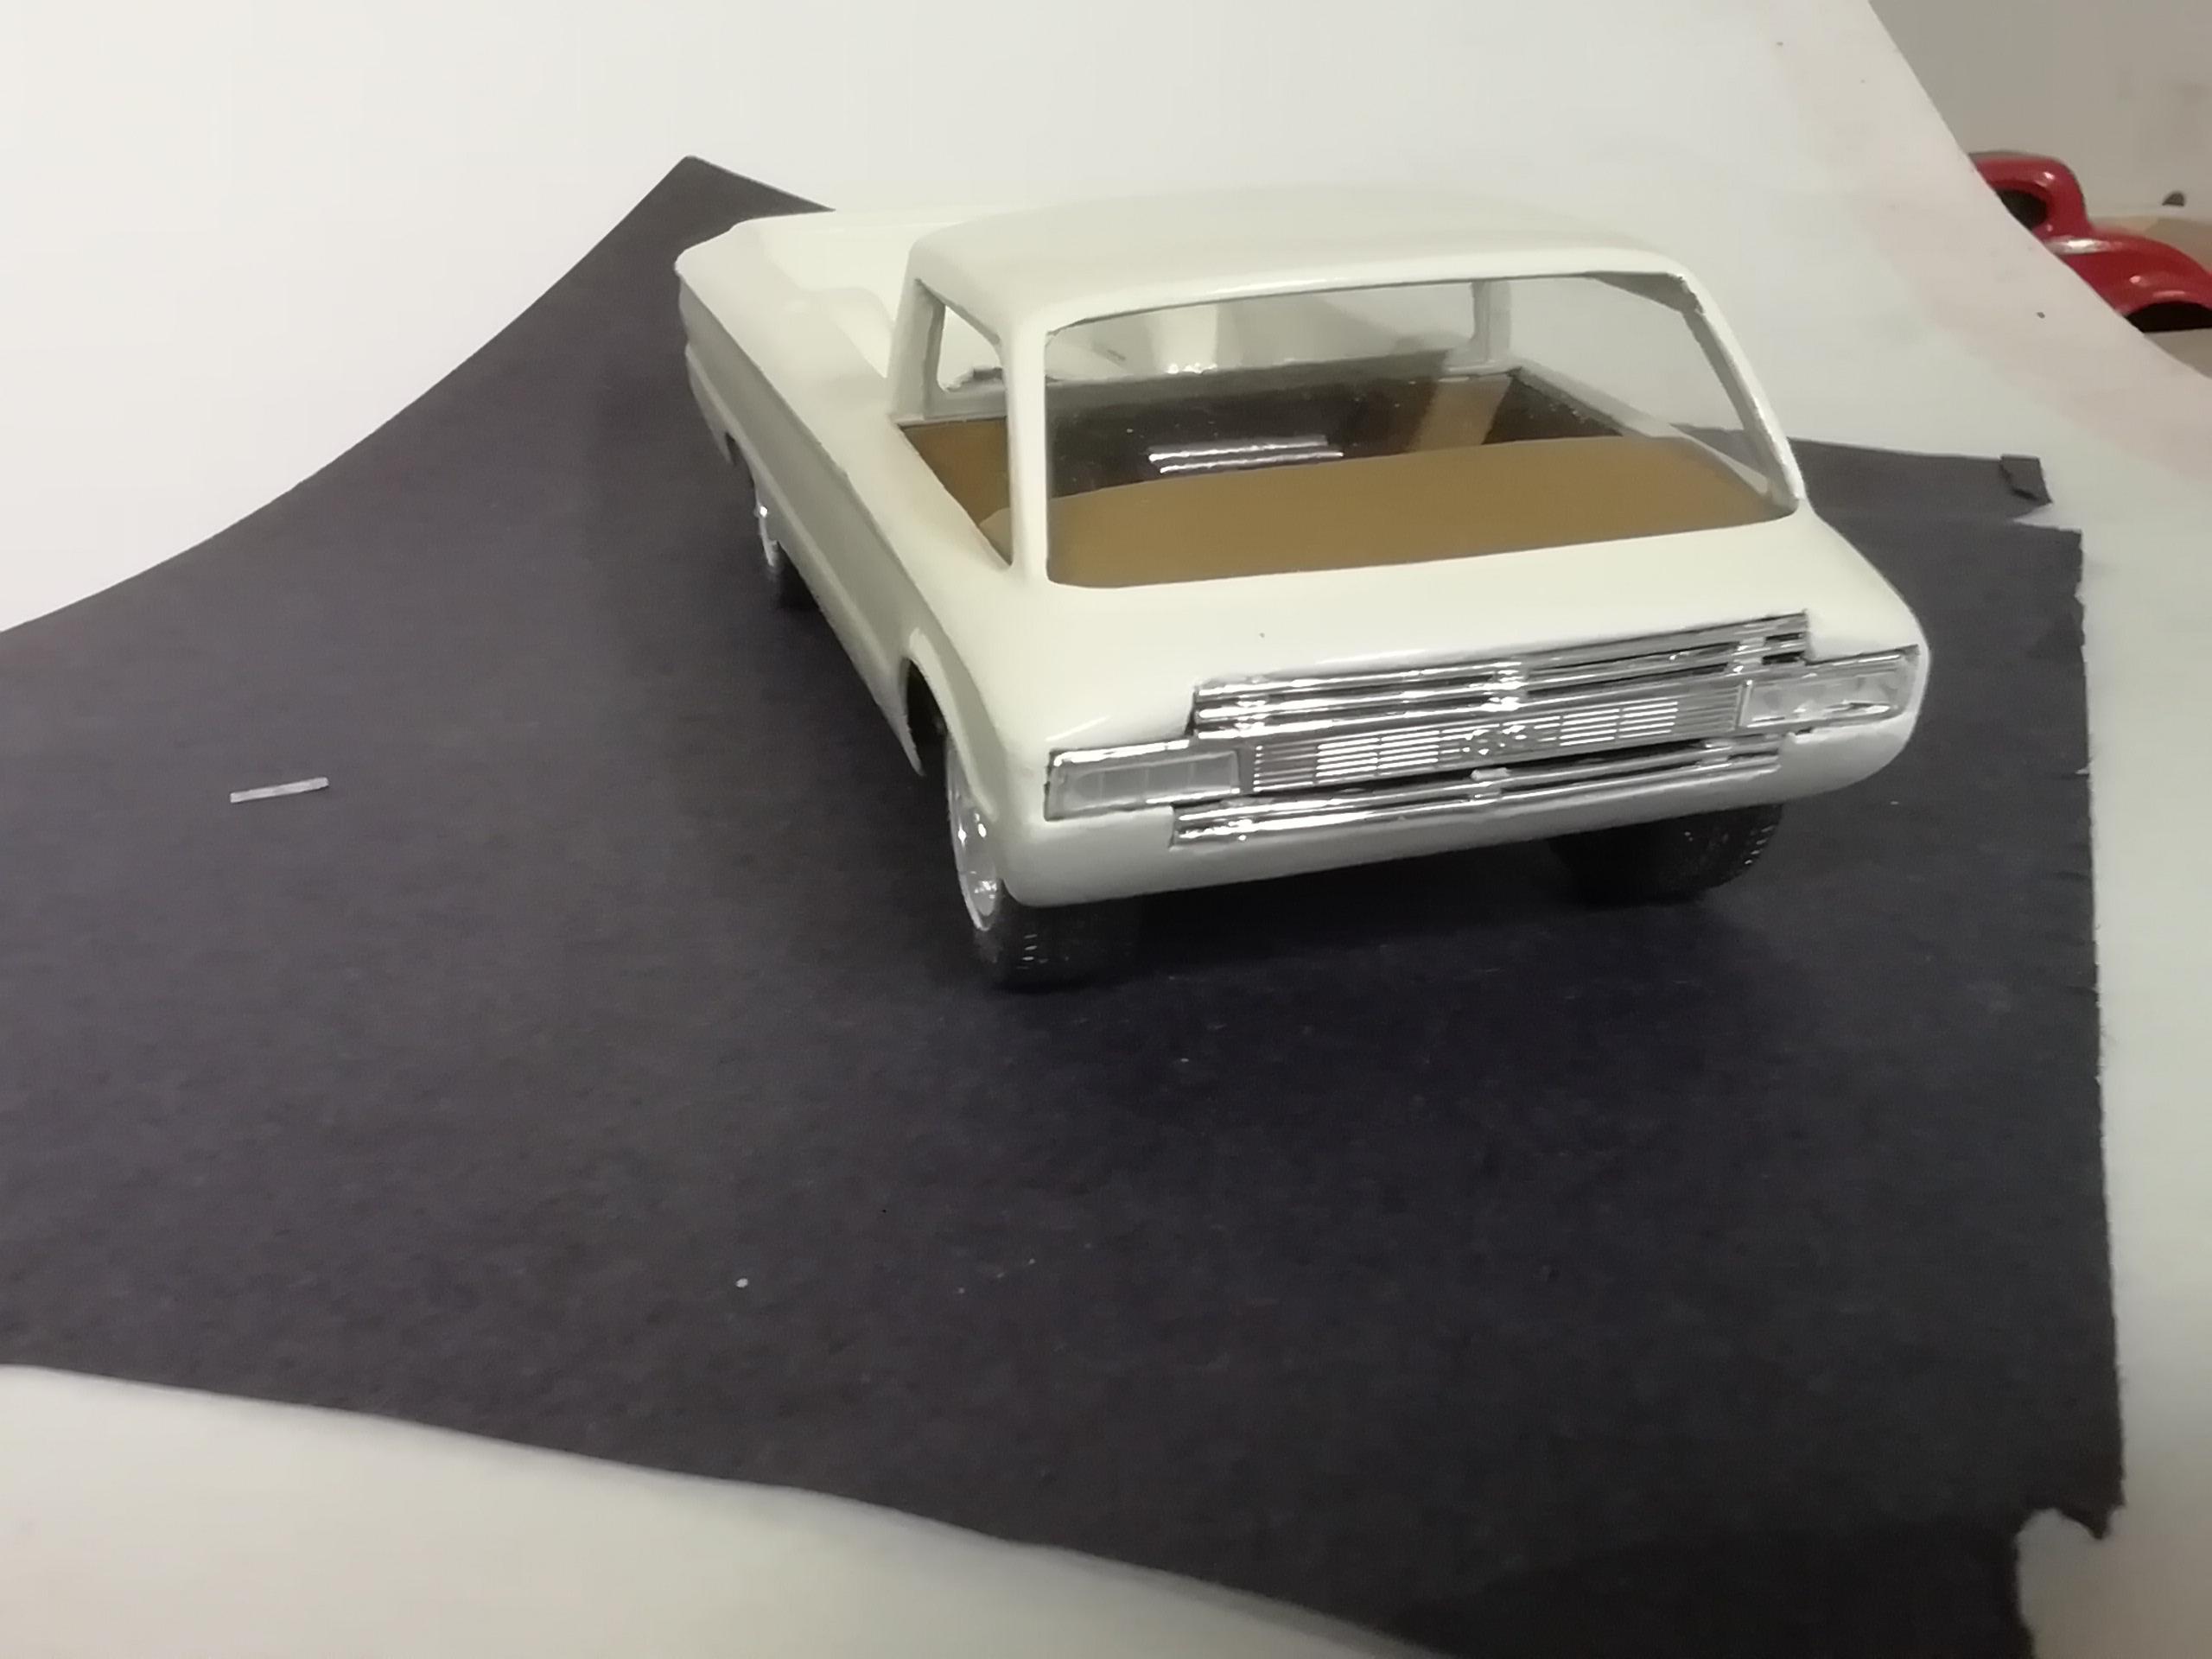
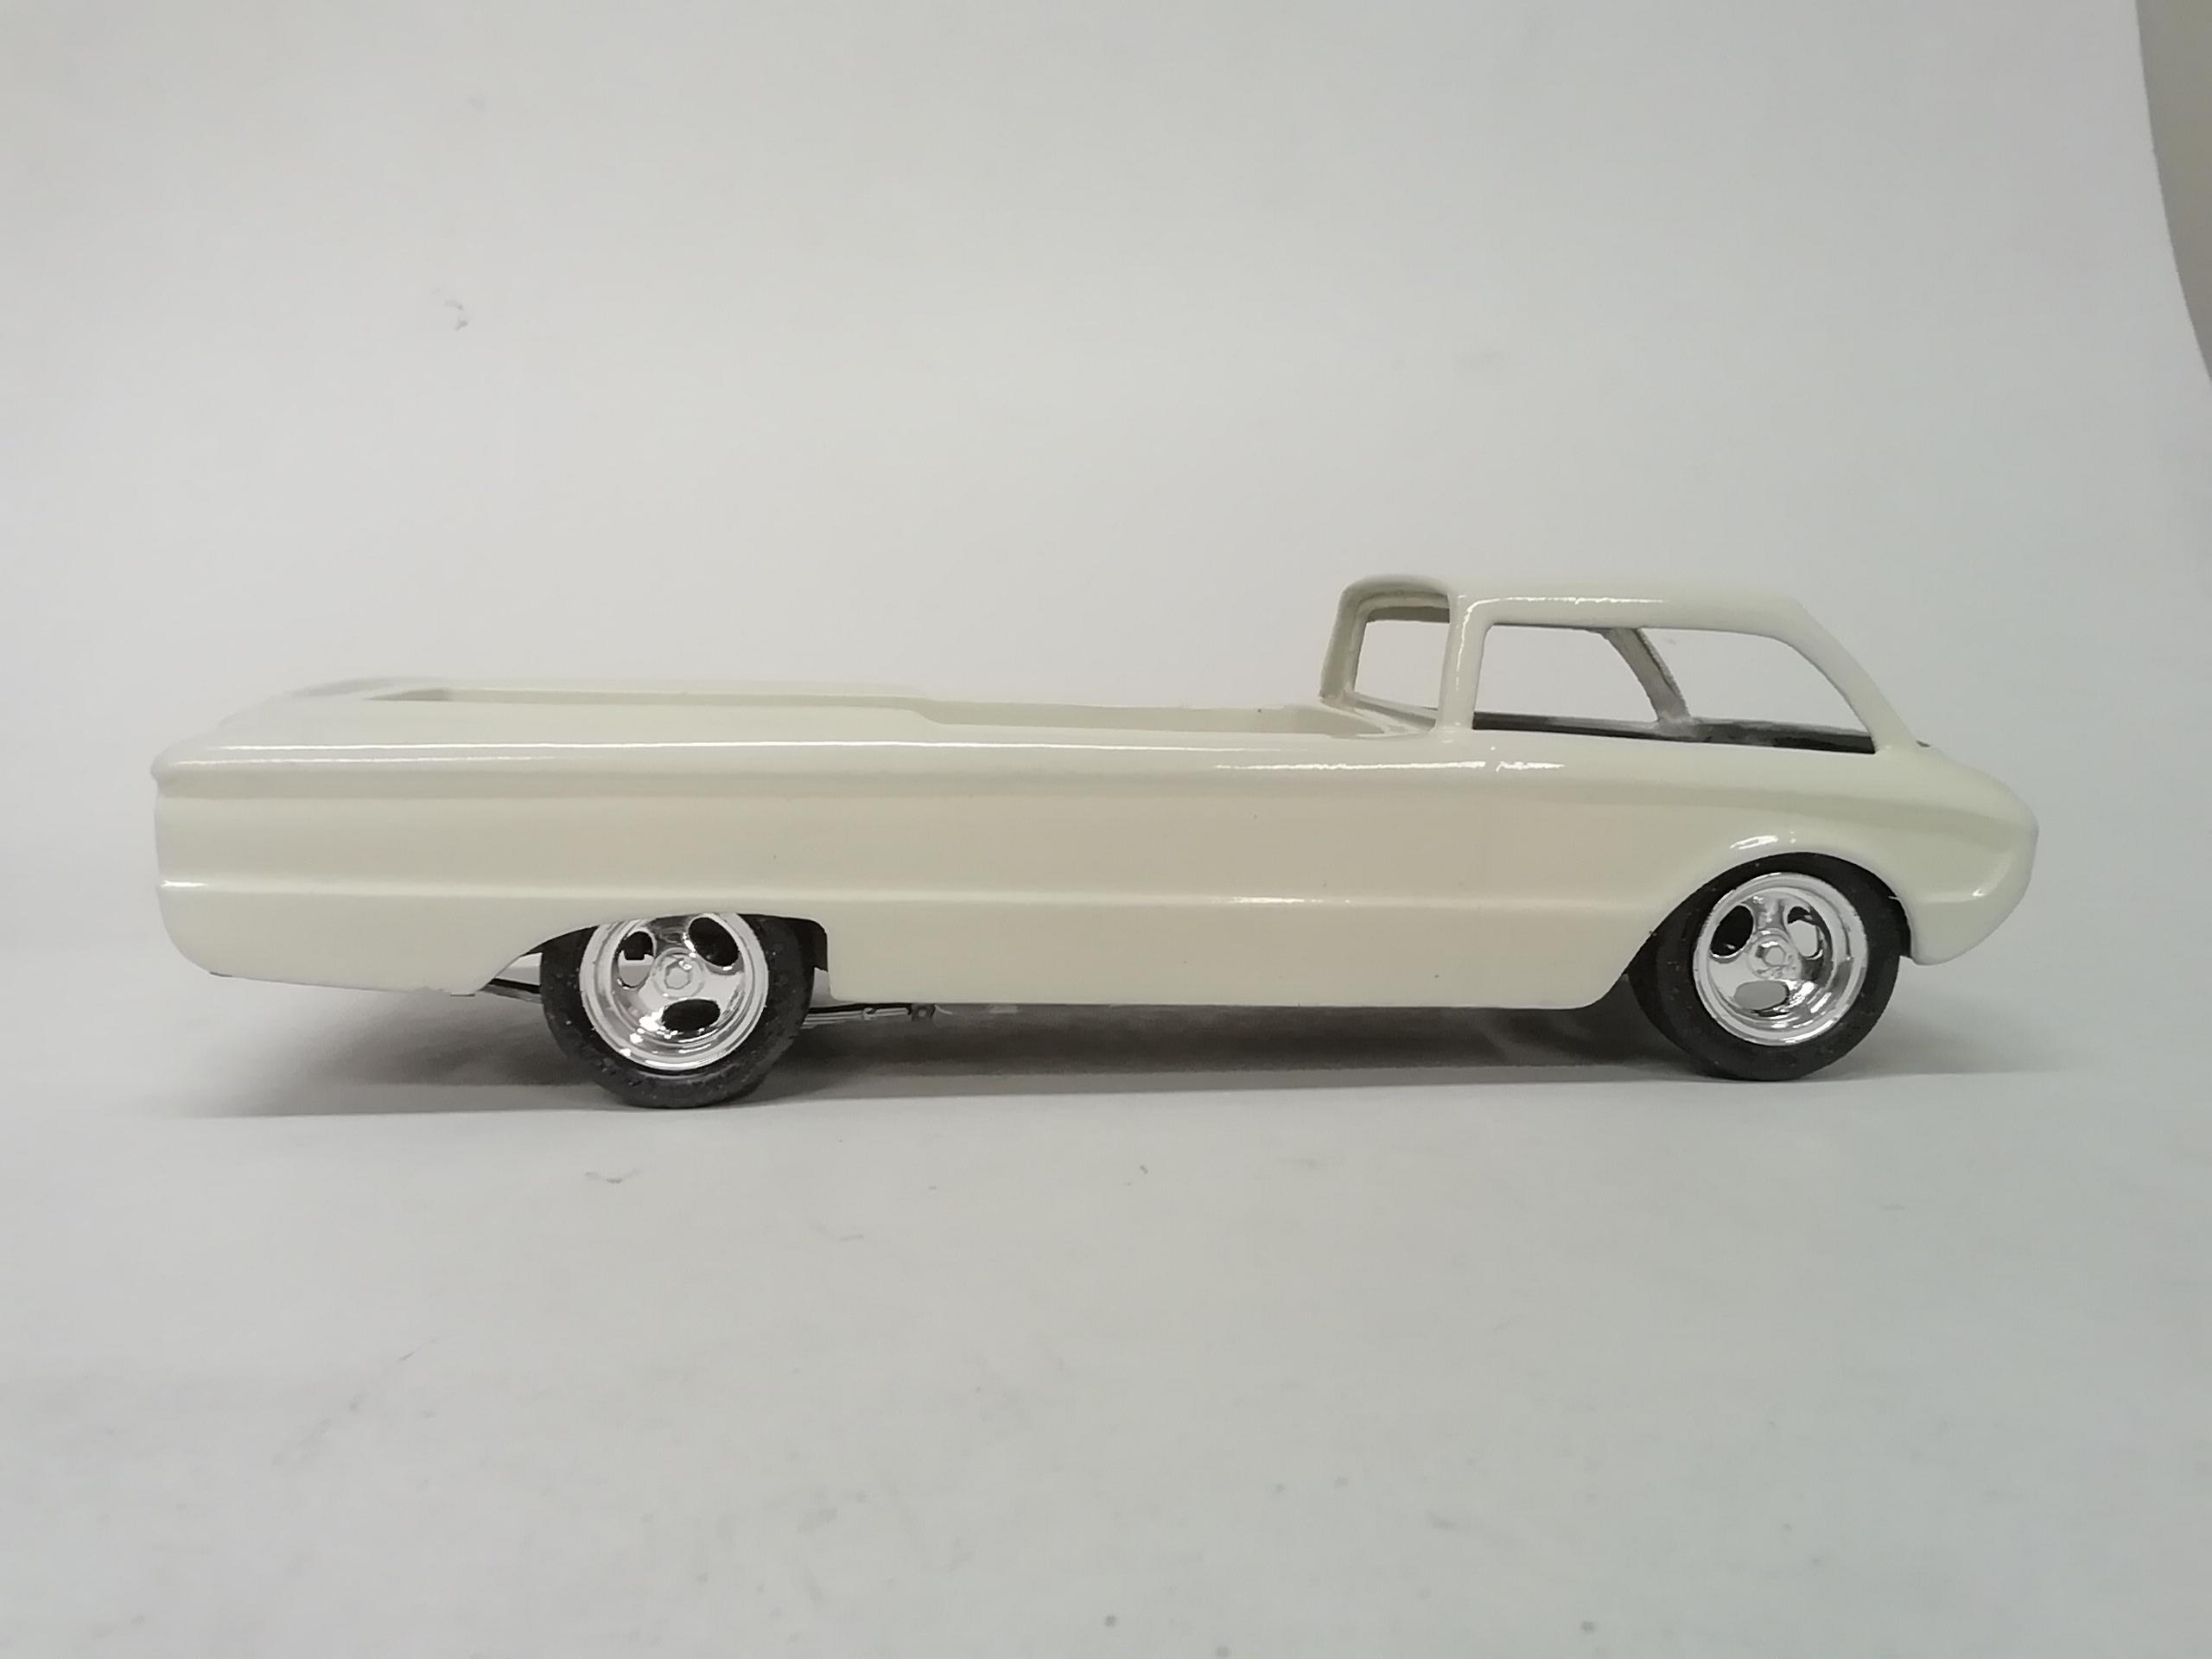
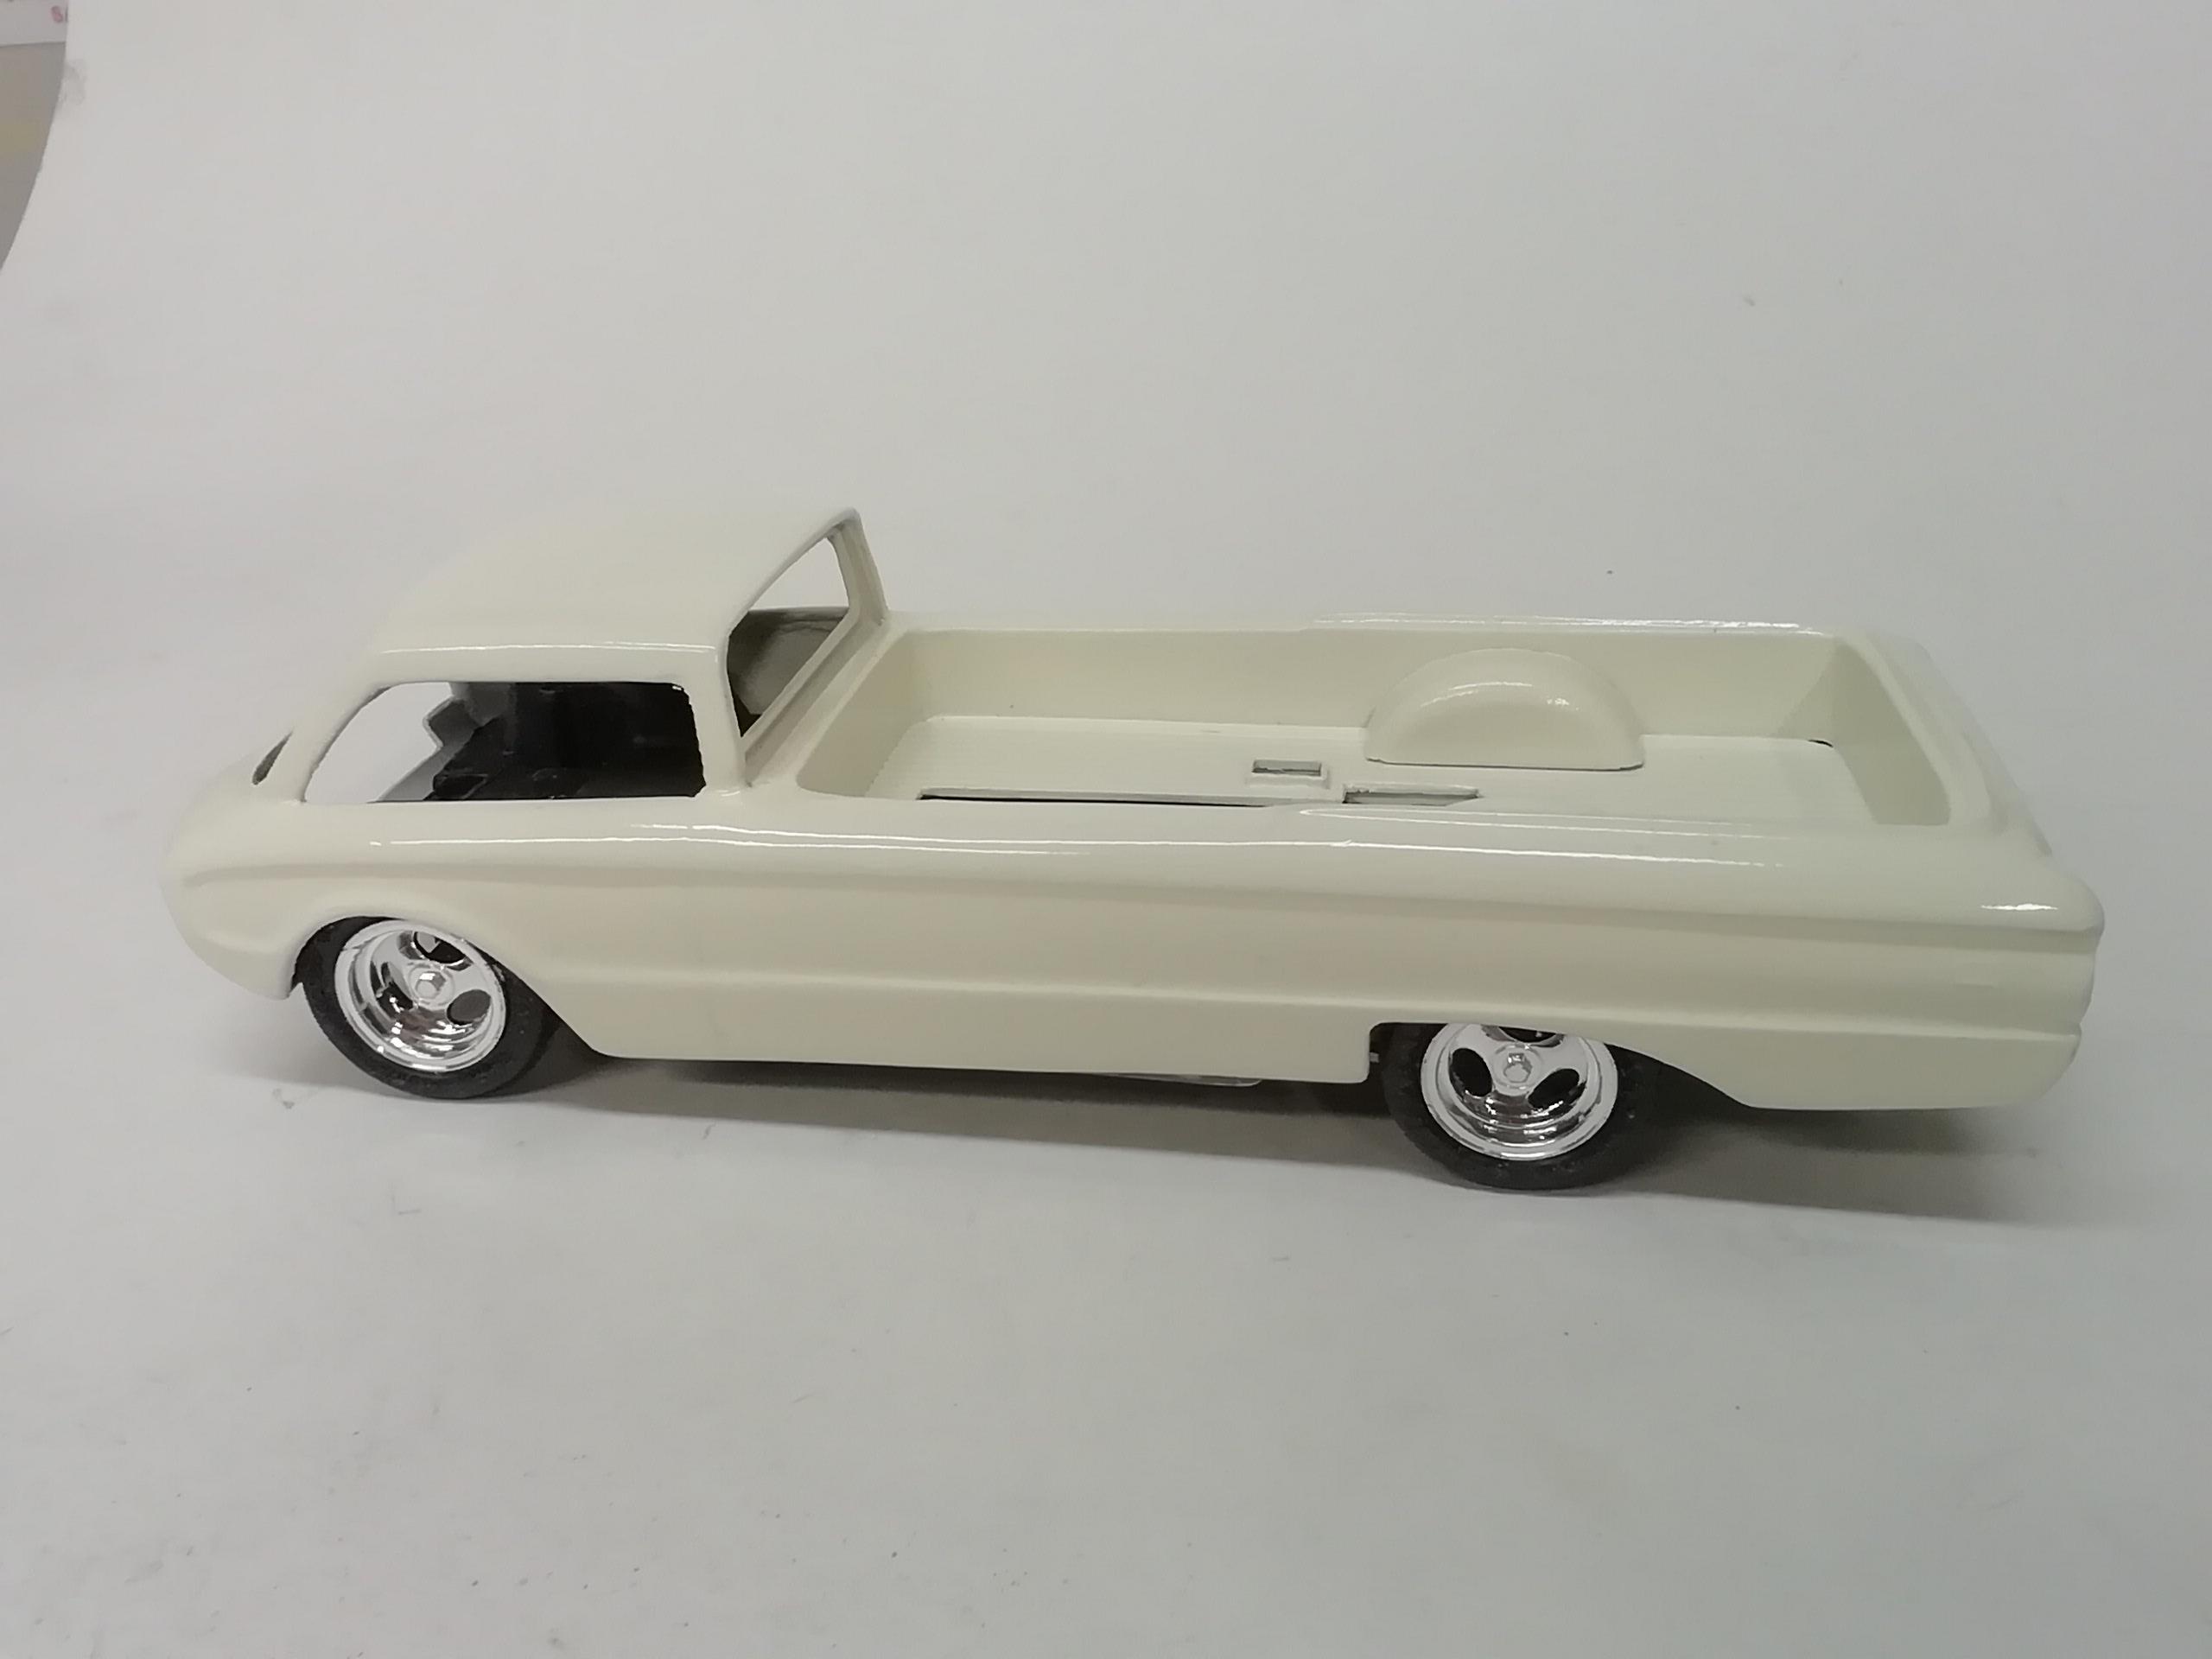
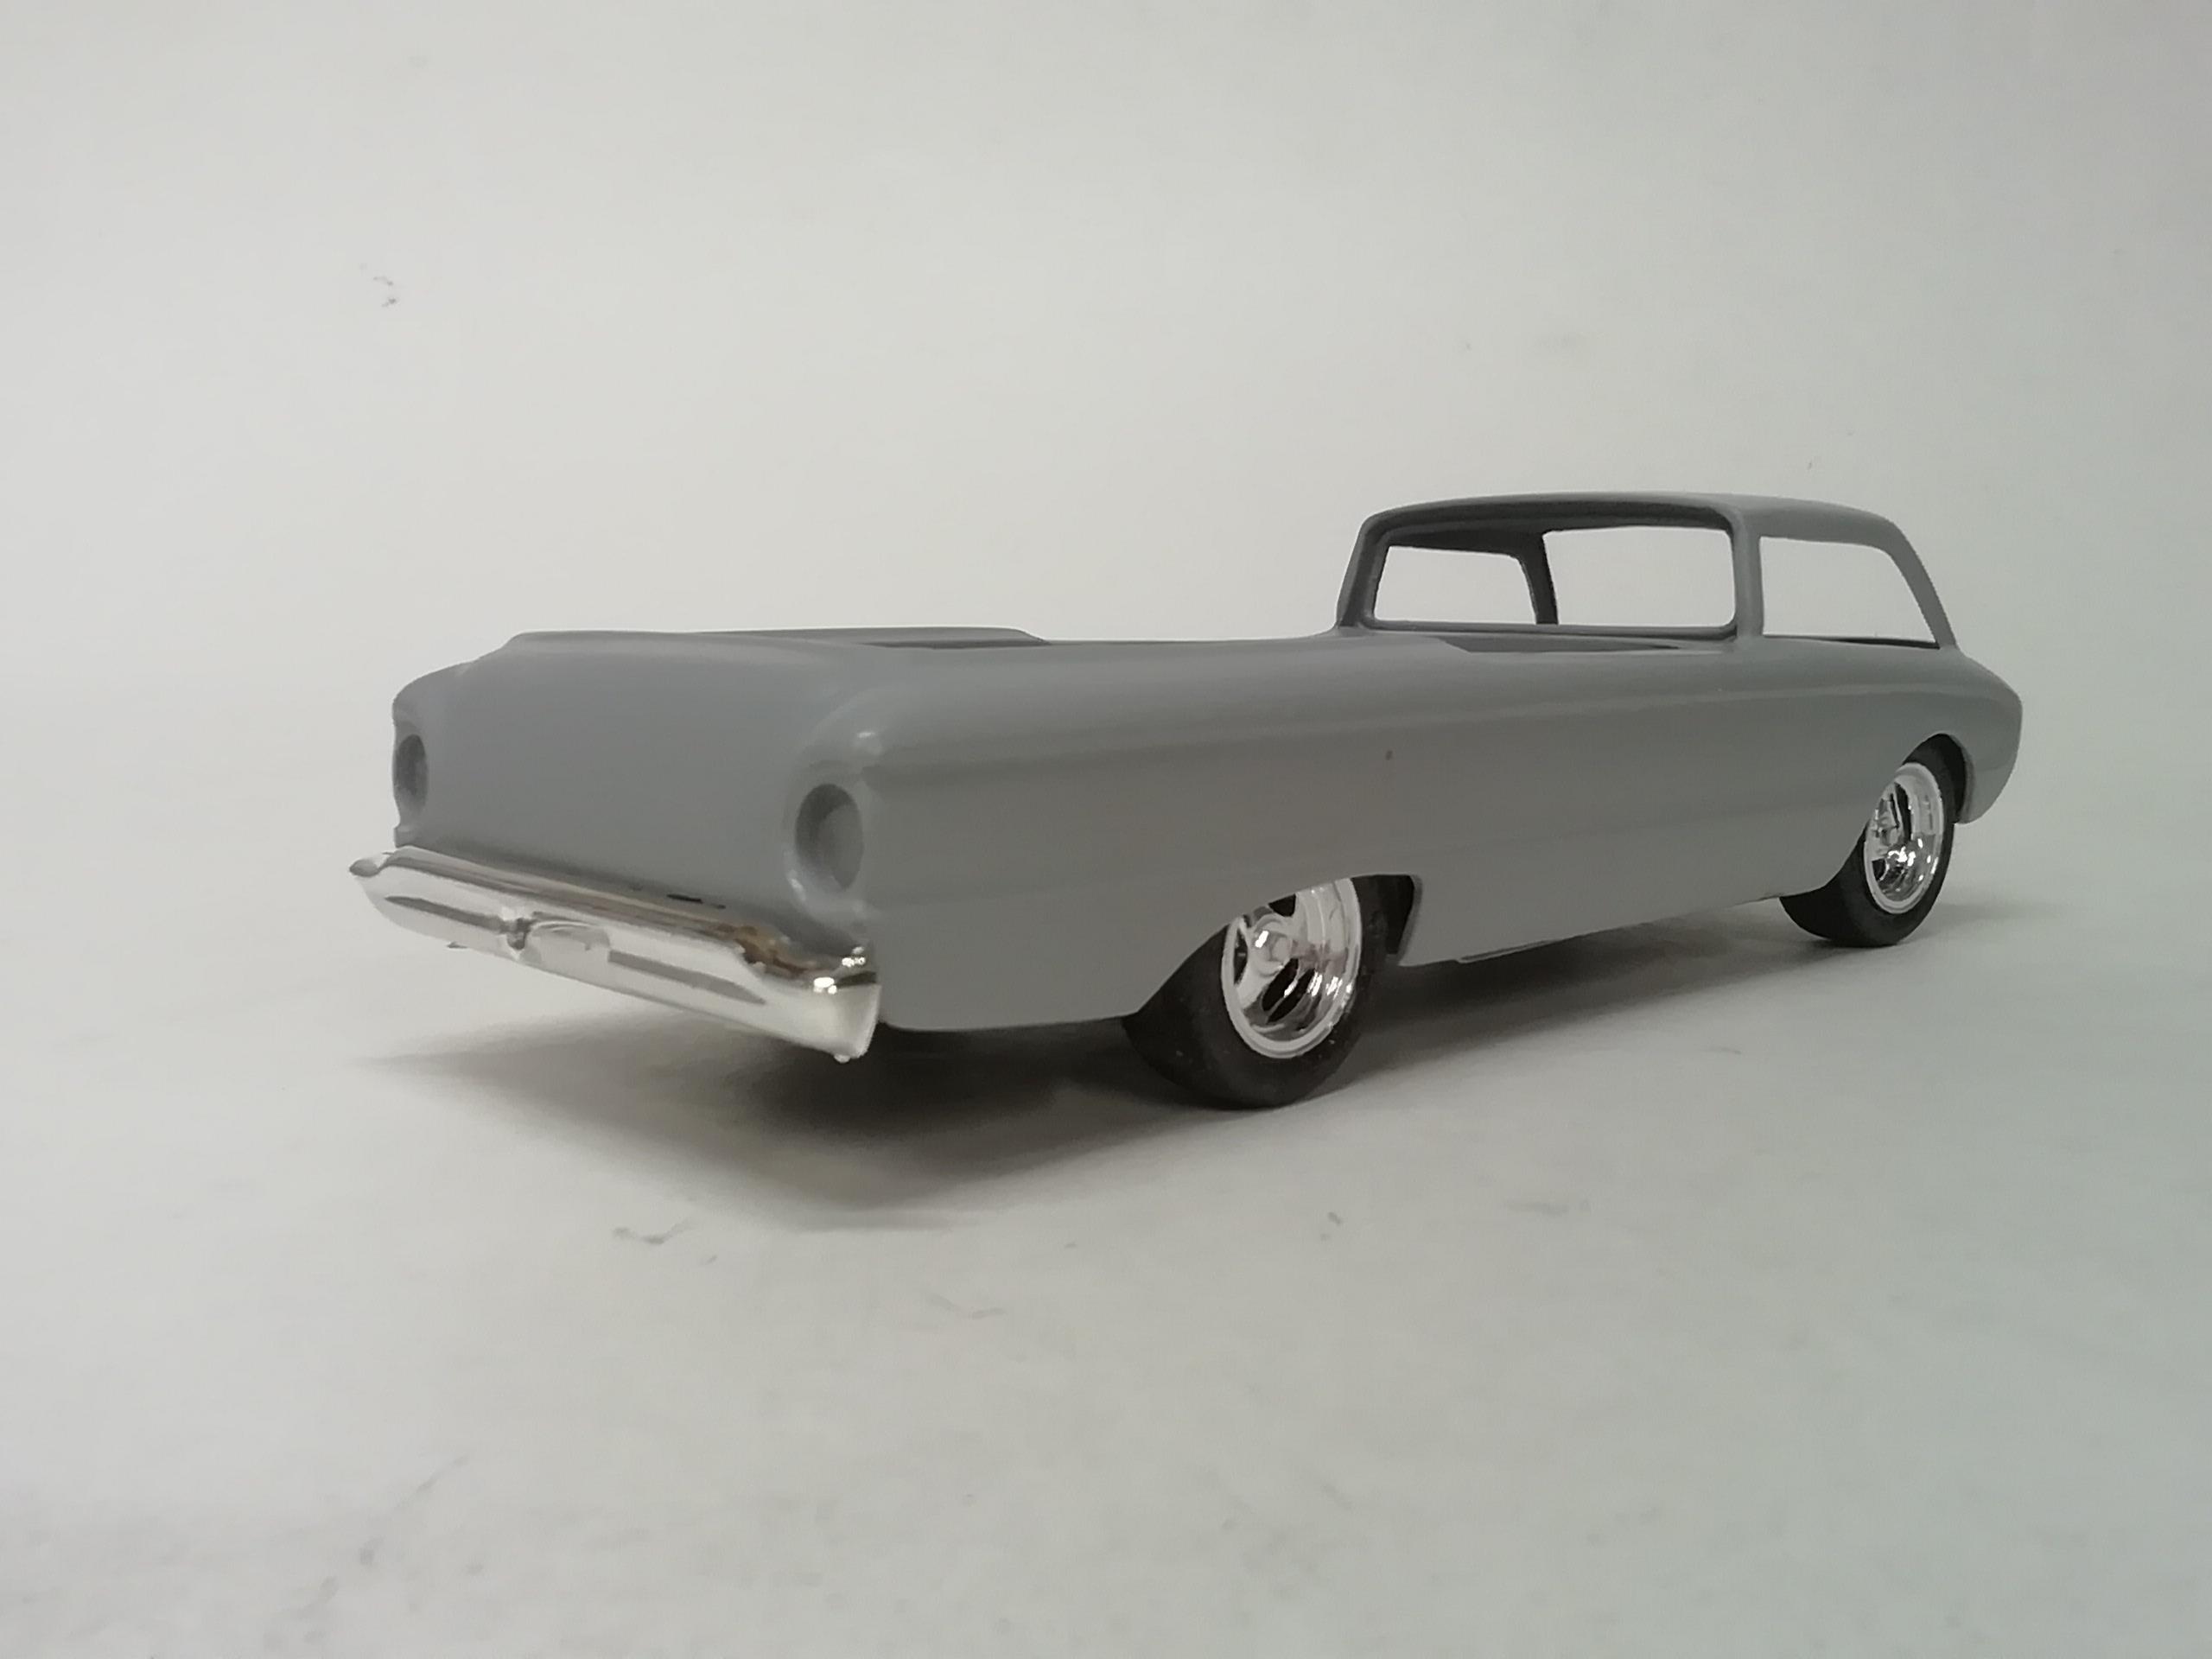
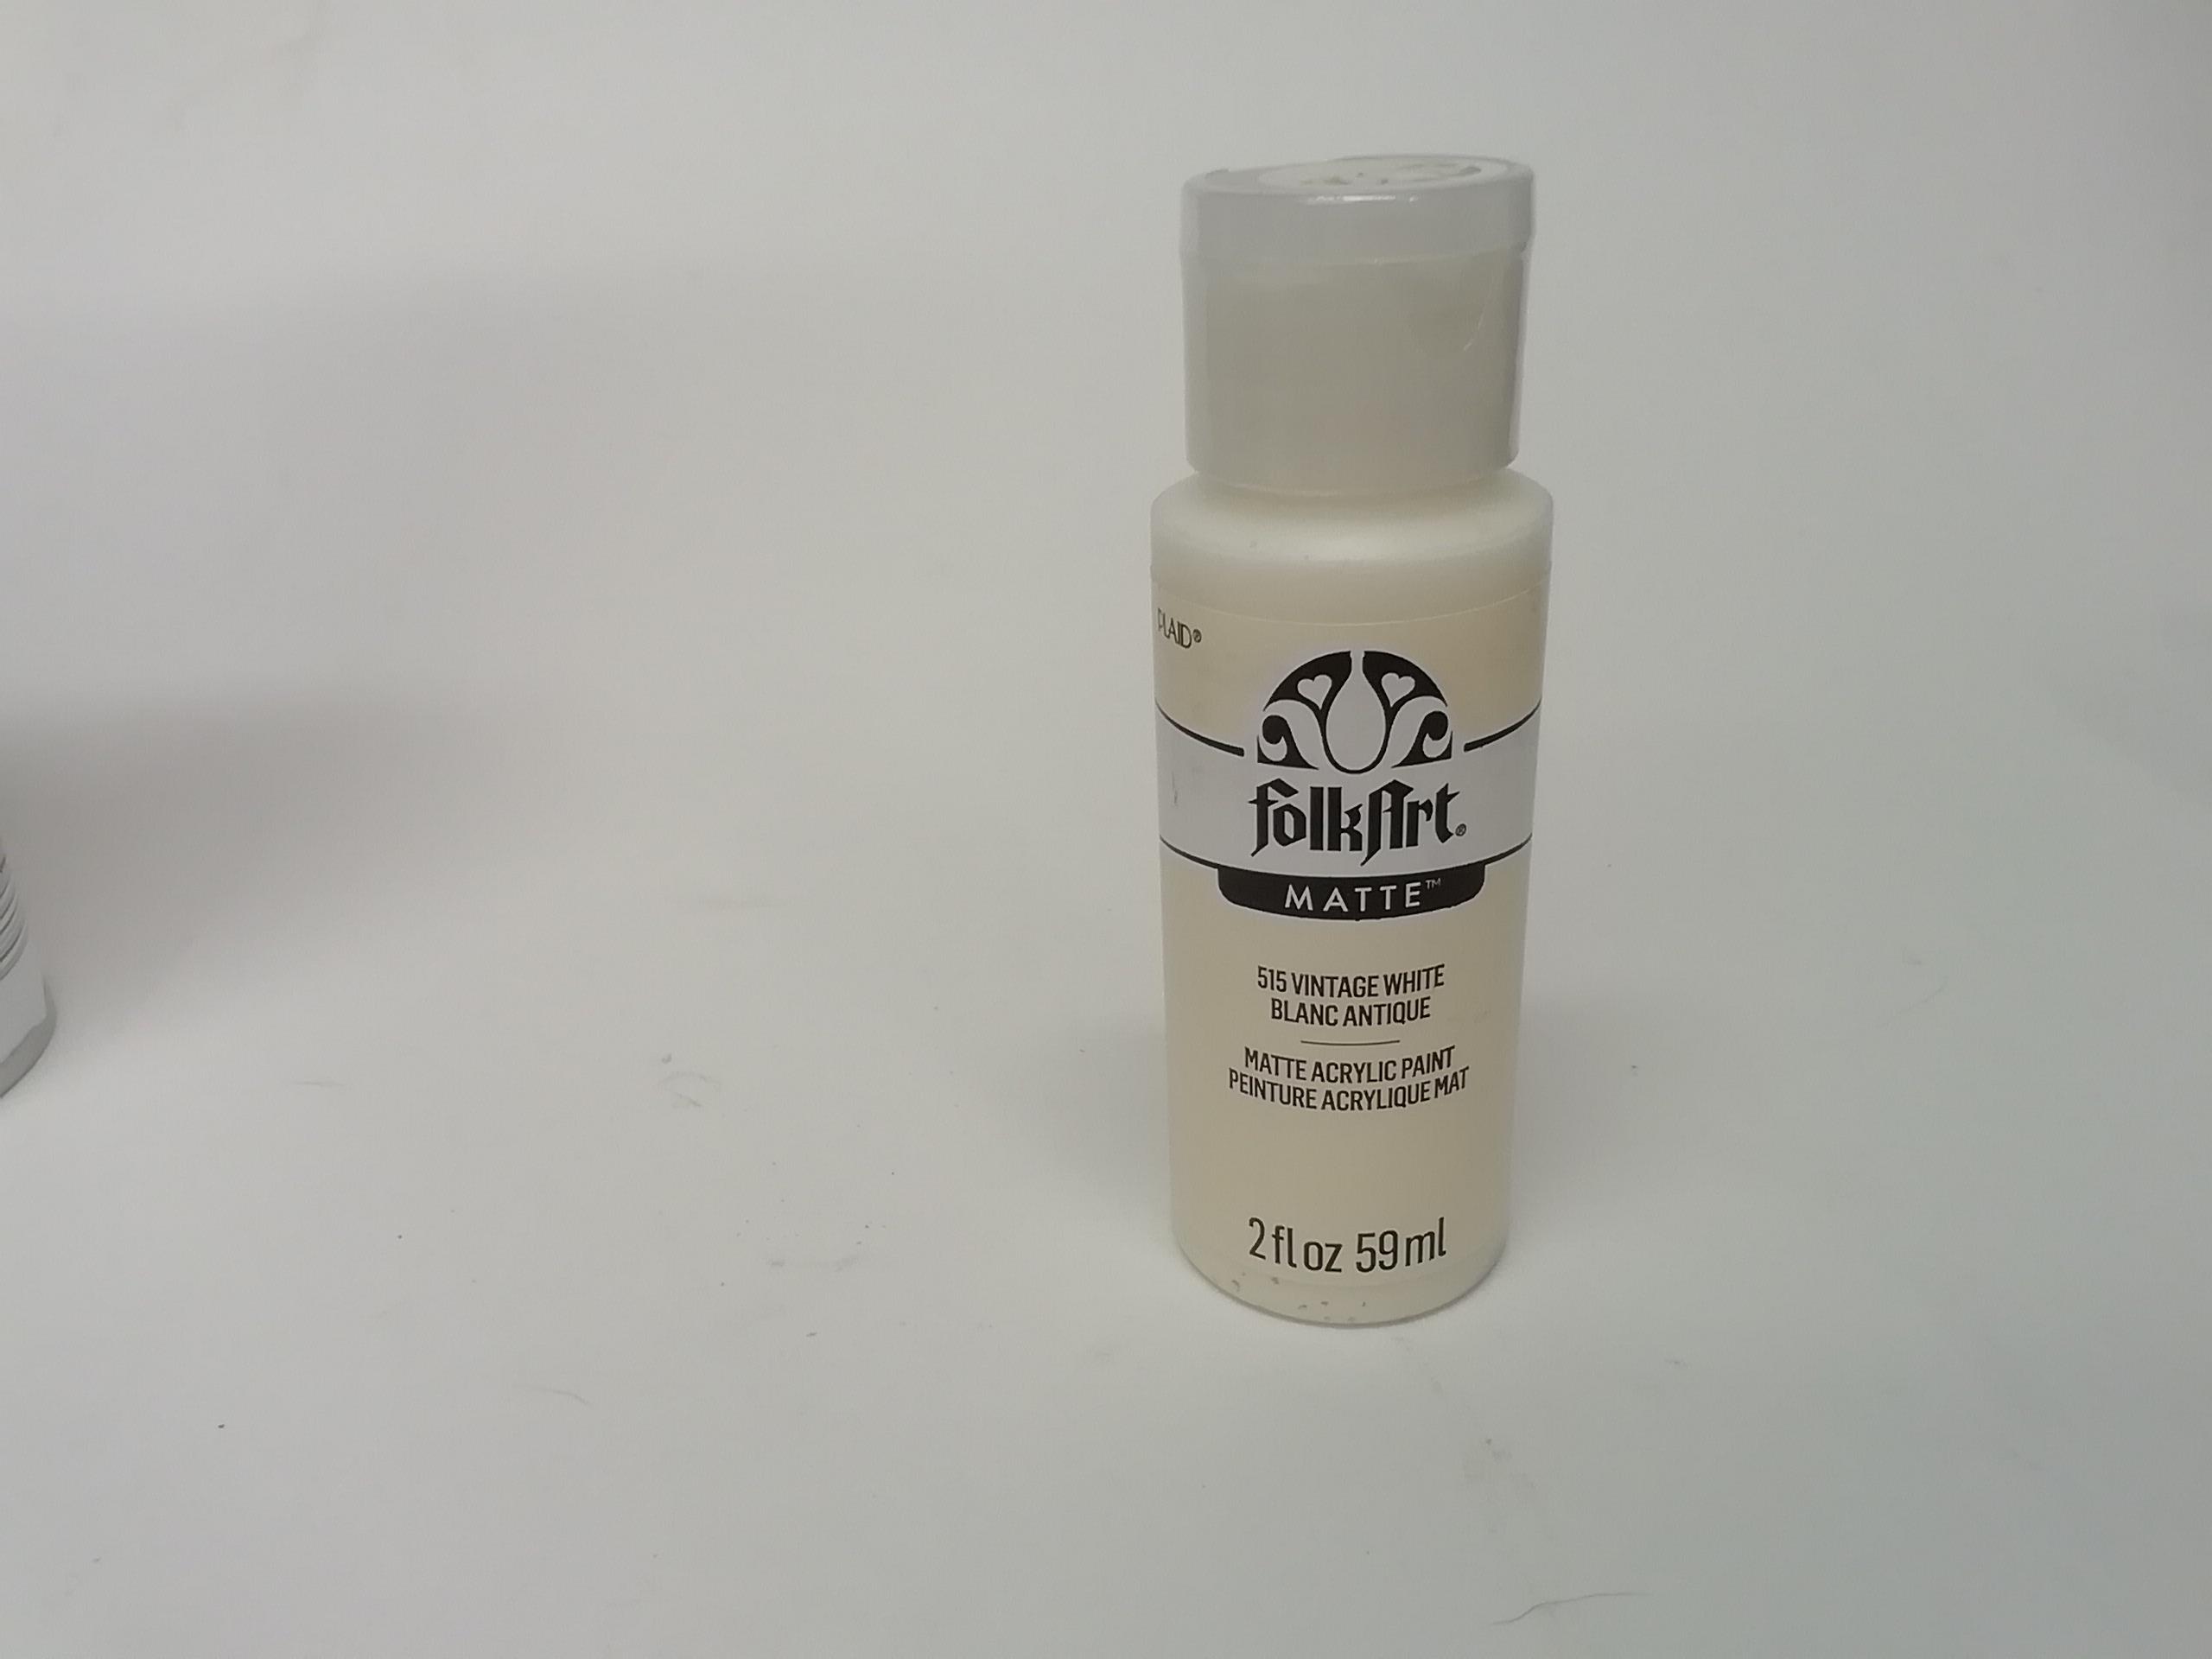
Got her painted. A single monochrome finish, in this case vintage (or antique) white. Primer, acrylic craft paint, a couple of coats of clear, a wet sand, some Novus 1 & 2 and here it is. On to the interior... Comments and observations welcome.
-
Sometimes Slotto, I'm sure the lunar phase or coronal shift has an effect on how the acrylics spray lol, but I think they're worth the effort.
-
Lol, you and me both mopar2. The vehicle is taking the time obviously, the engine should be pretty straight forward. Thanks for the shout out.
-
Hey Slotto. I'll be doing this in an antique white craft acrylic. I've finished a few other builds using acrylics and I was really pleased with the results. Hope my luck holds. We'll see what happens.
-
Happy the build is of interest RRR. A little bit of cleanup for a few small body sections then it's on to paint.
-
Thanks Cobraman. Looks like paint is next.
-
Much better. Almost ready for paint. Comments and observations welcome
-
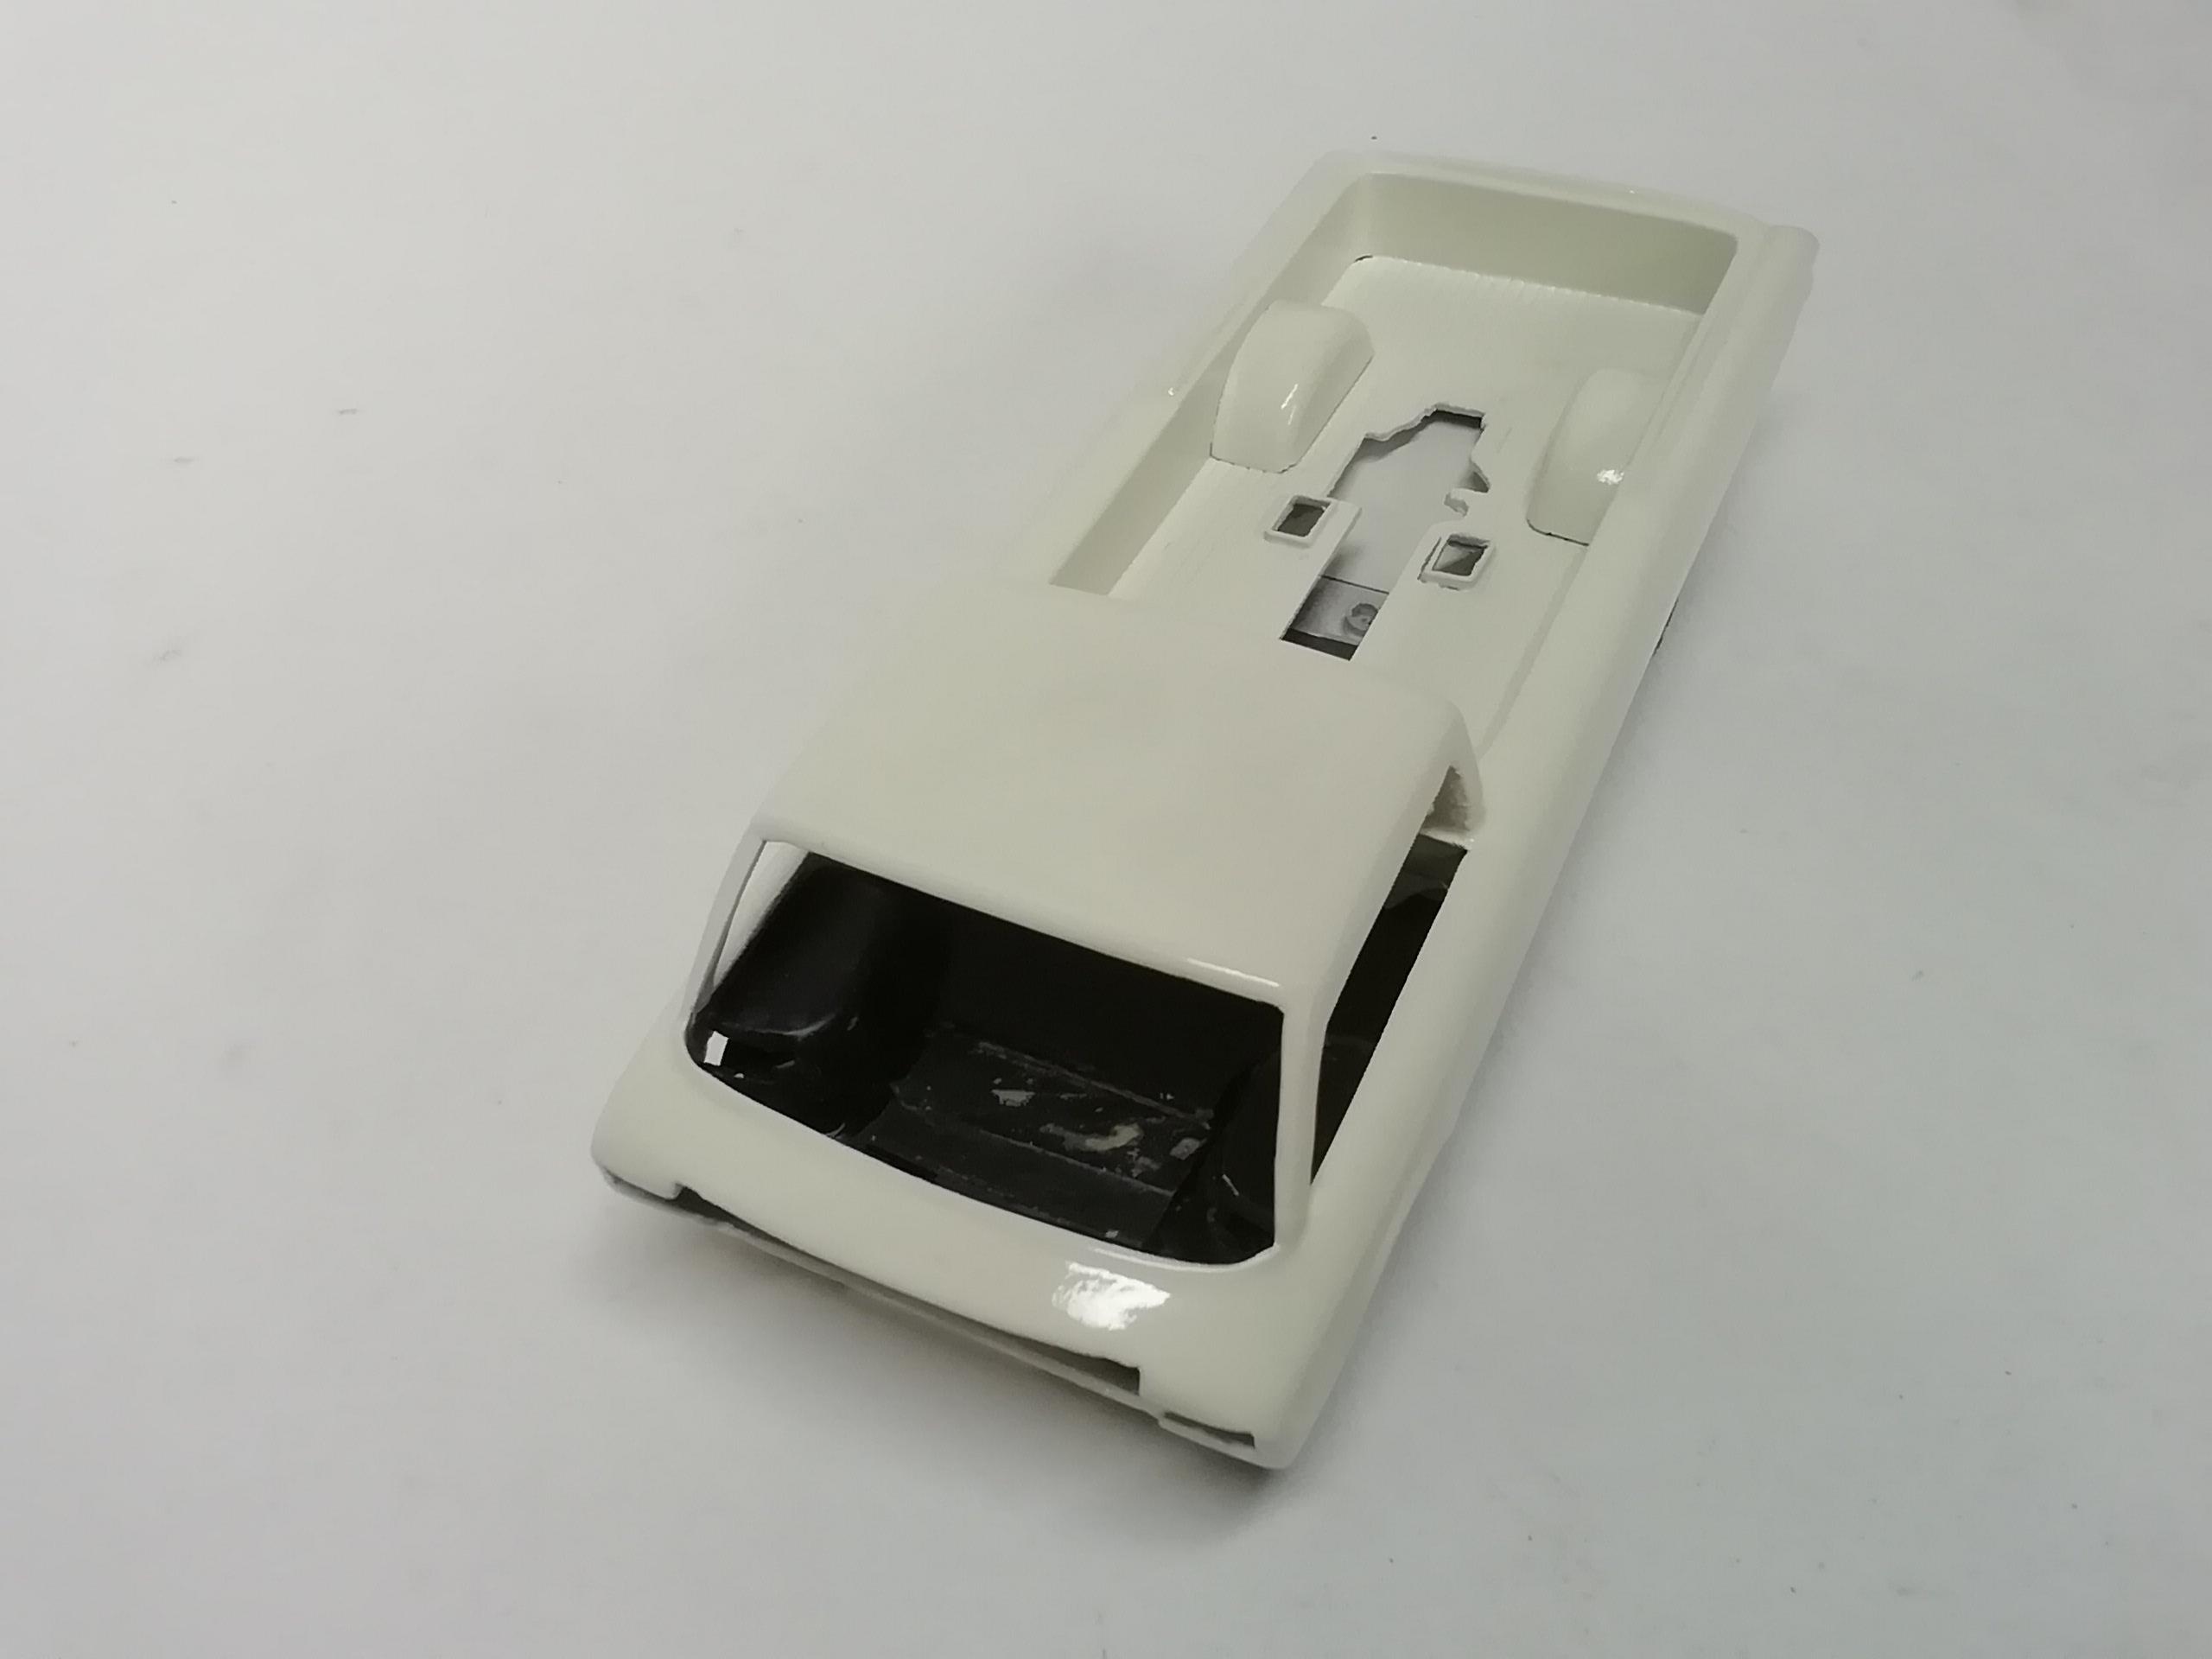
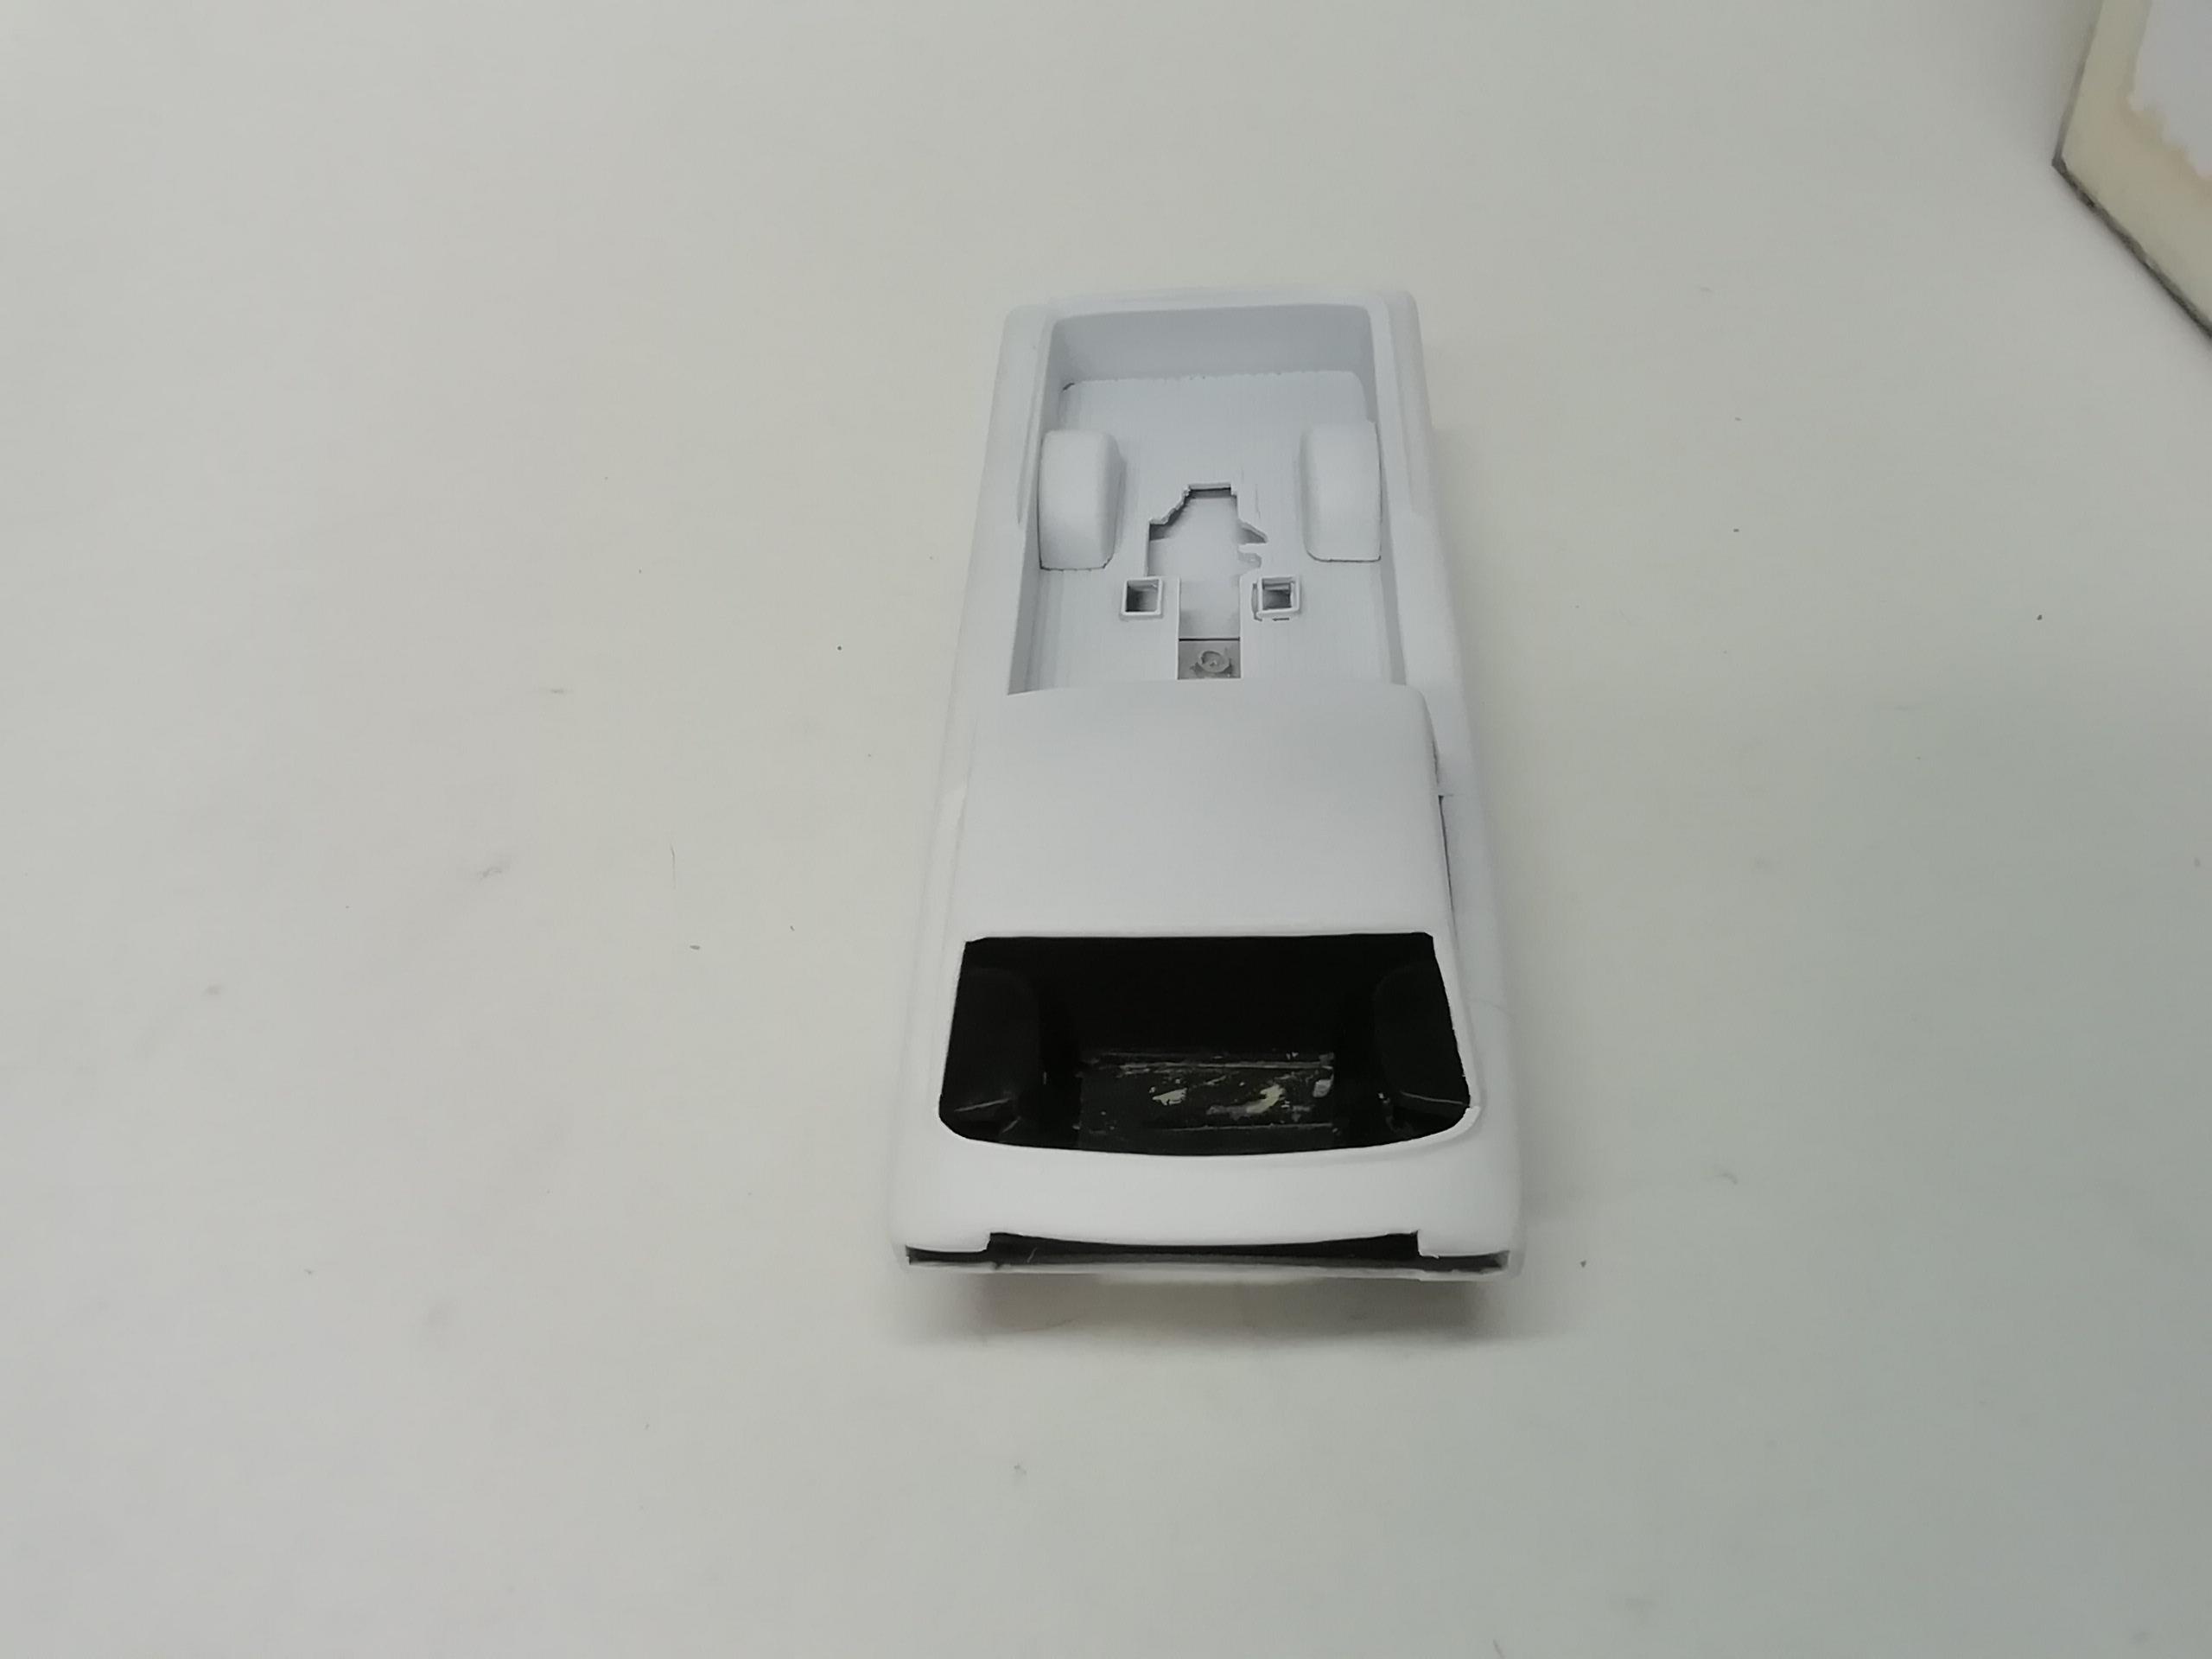
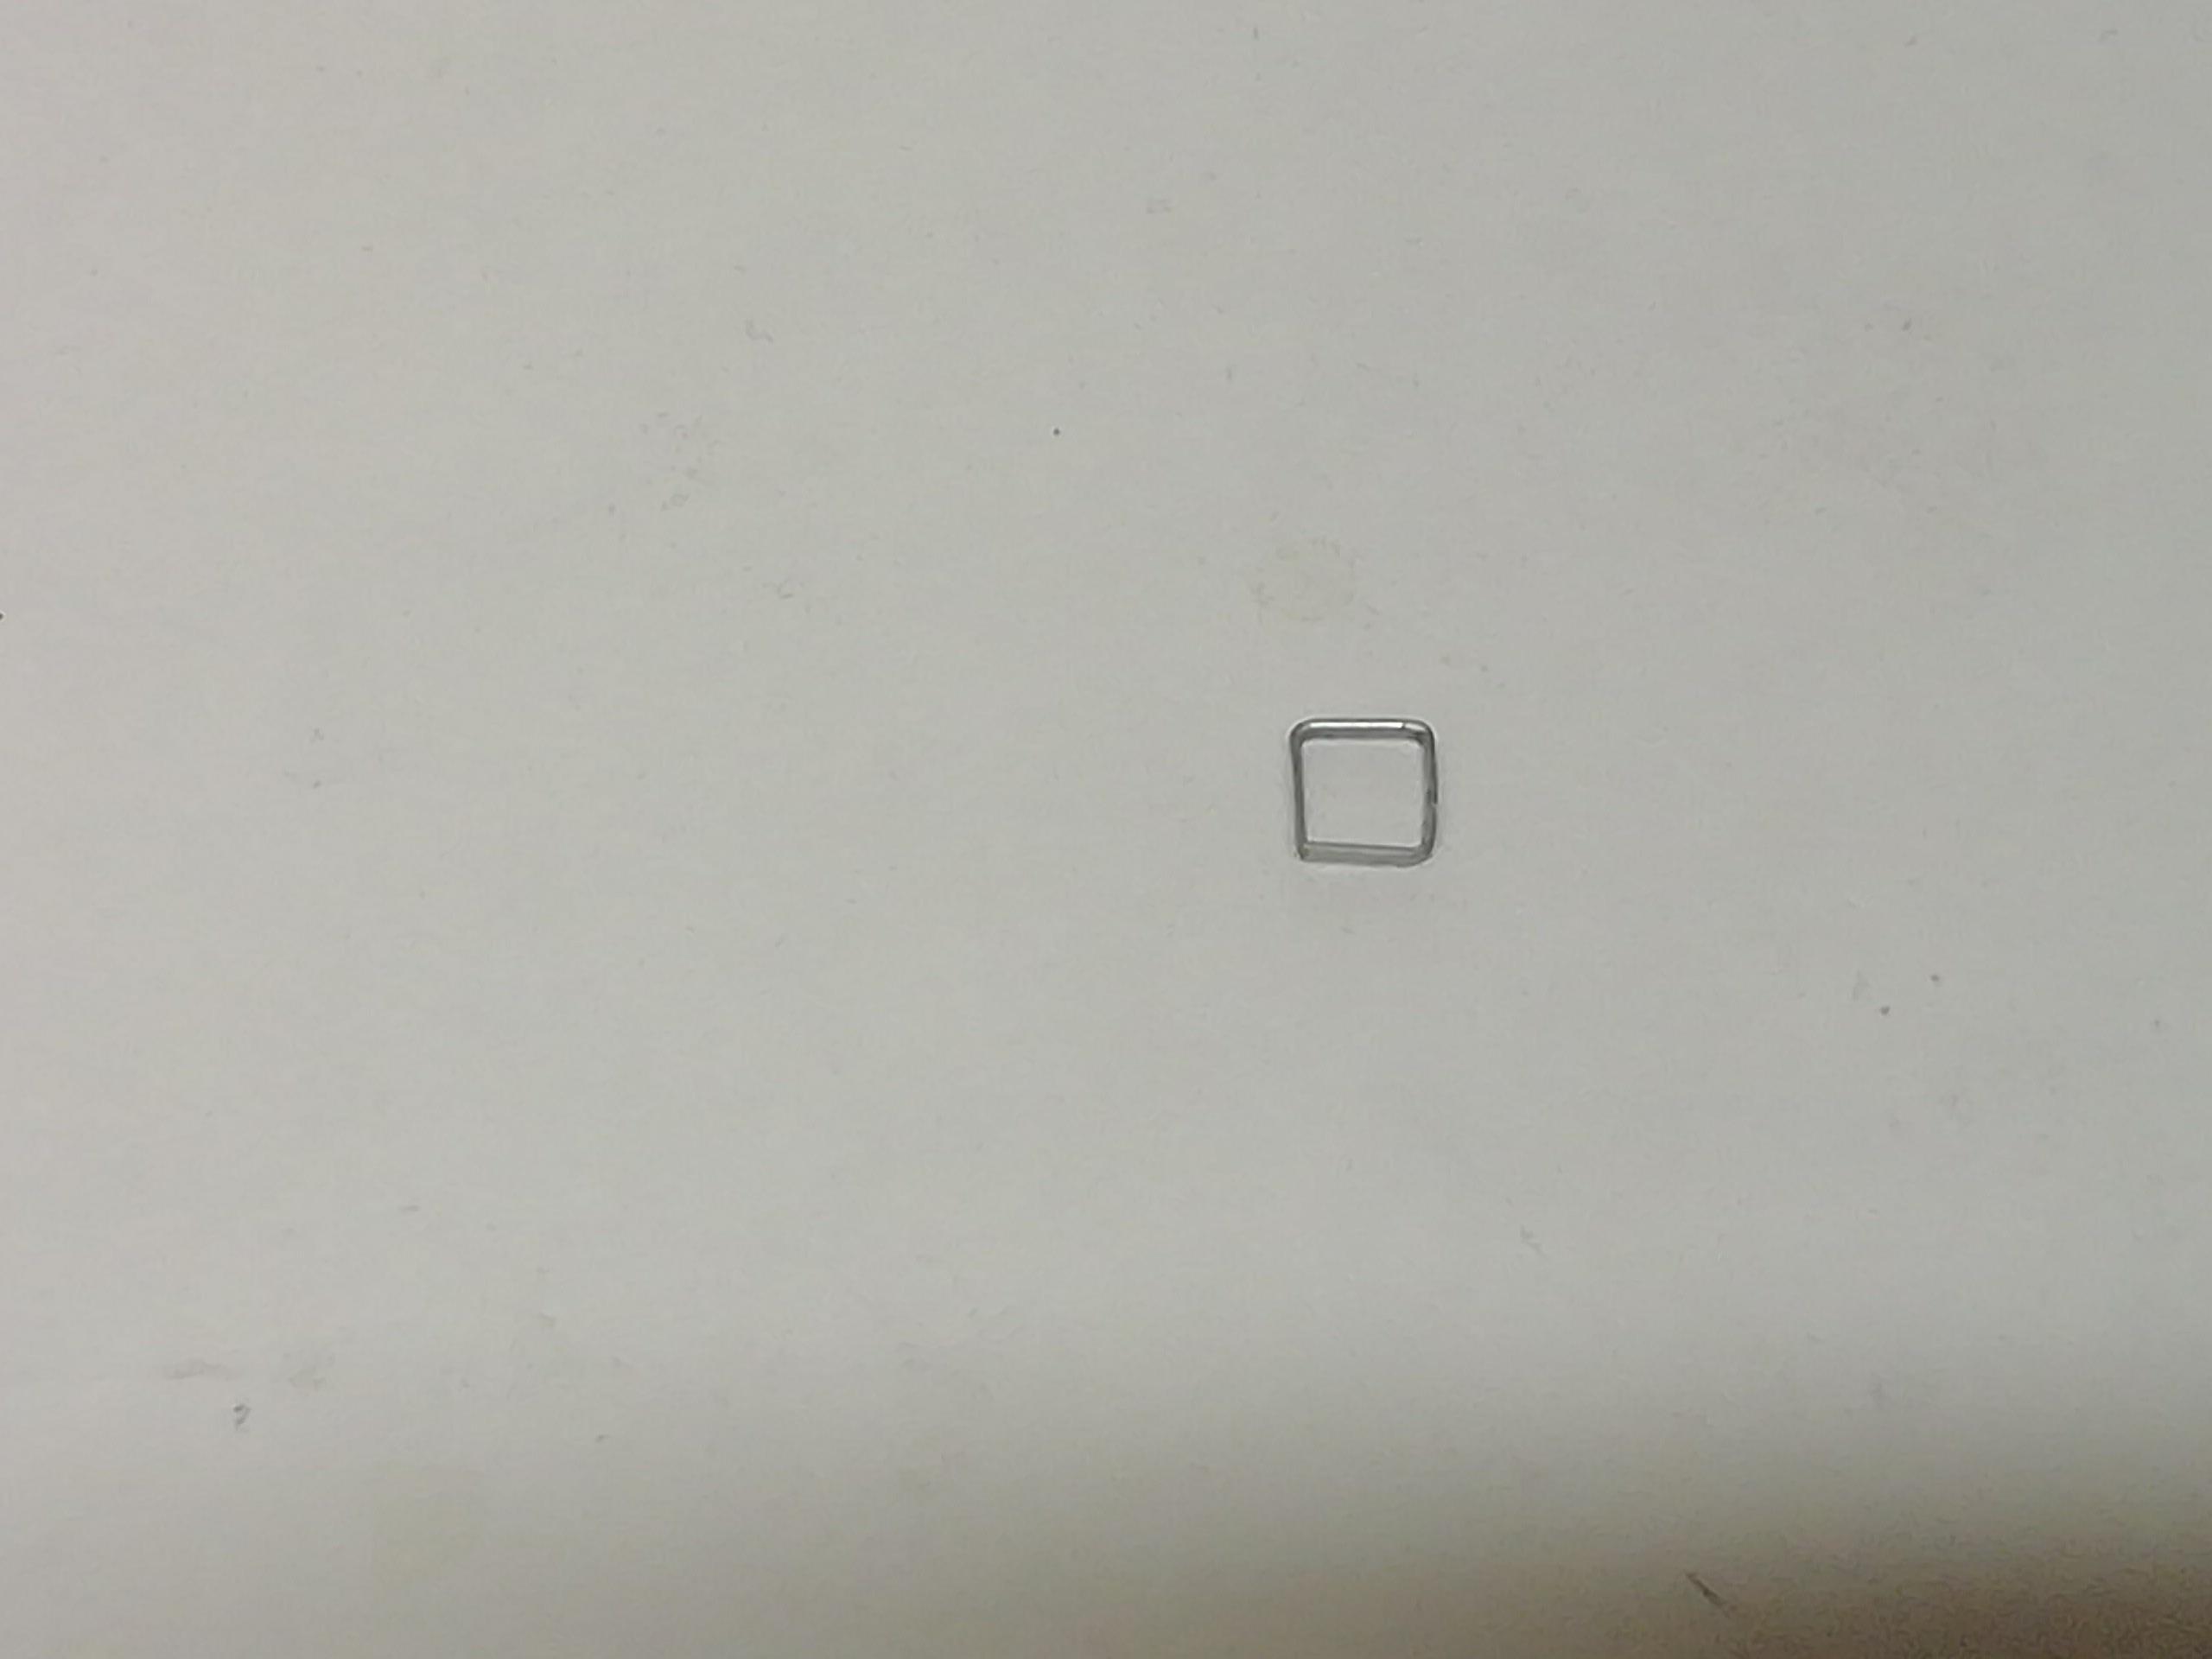
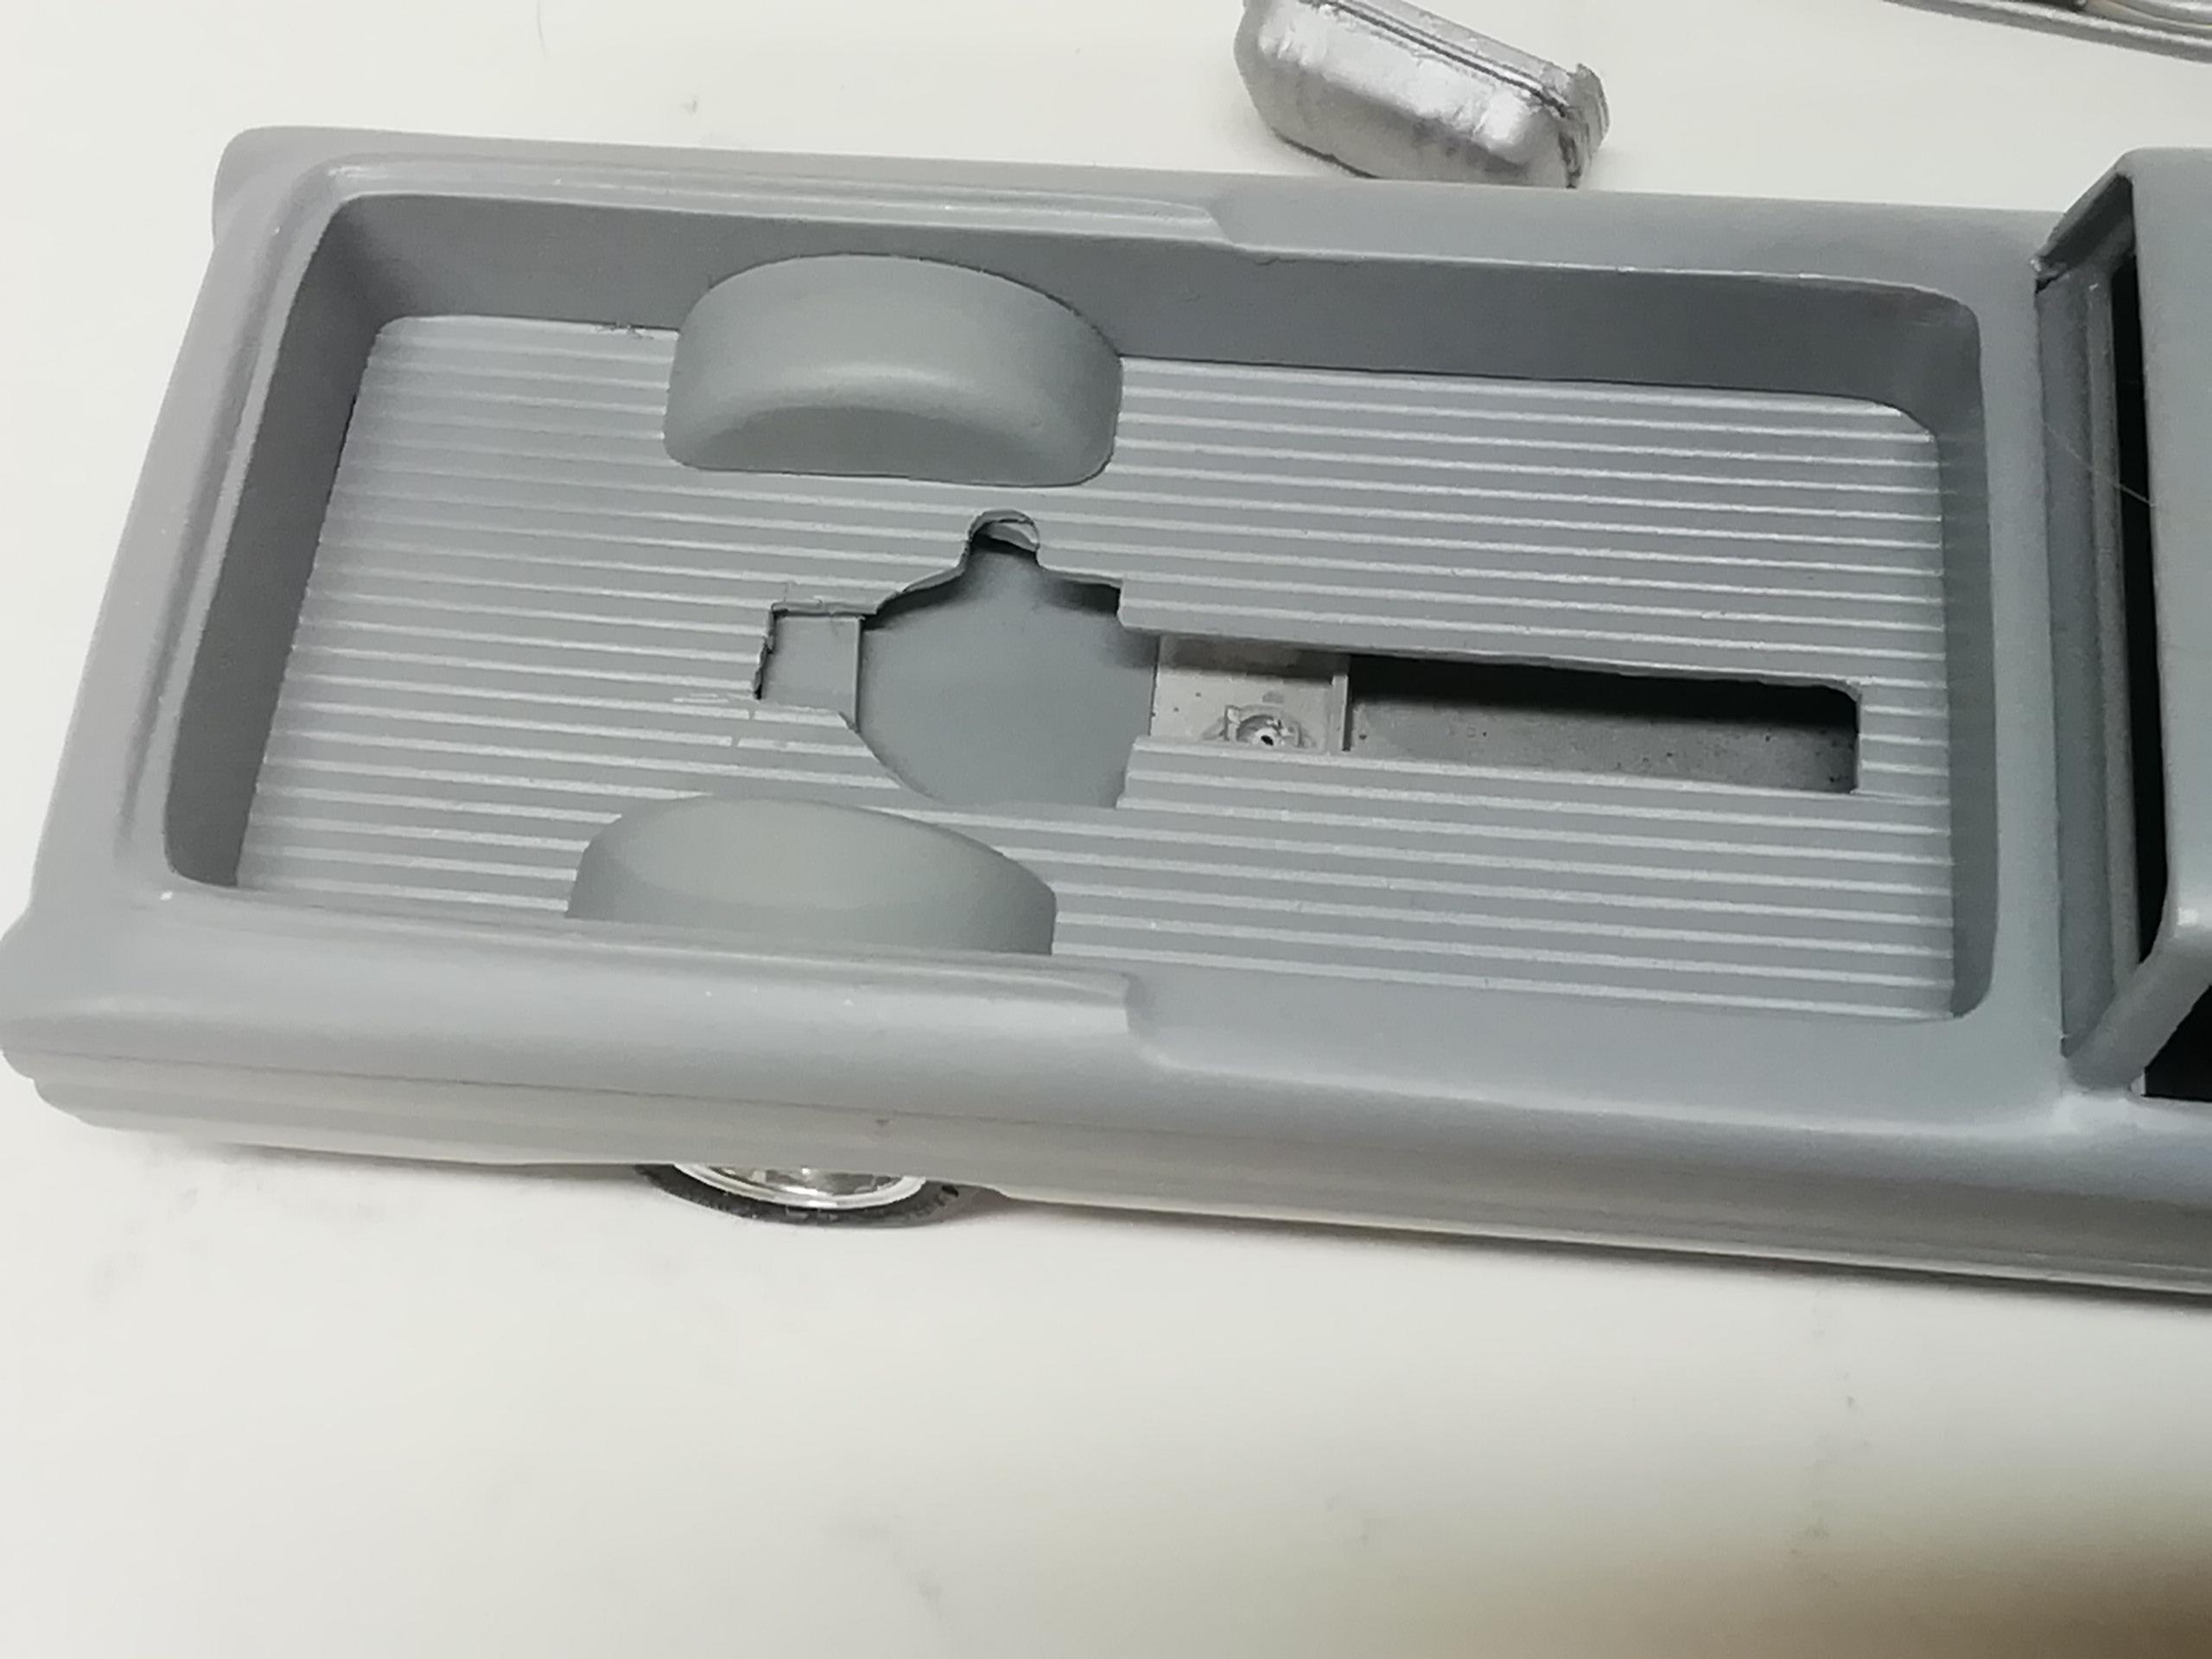
Life's kept me away from the bench for awhile but things are back to normal. I had cemented the bed floor in the rear and....discovered two small but distracting gaps between the floor and bed walls. Looks like it happened when cementing the wheel wells in place before securing the floor. A little too much down pressure on them I guess. Everything looked fine in gray primer, but they became obvious when I coated the body in Vallejo white primer. Not panicking too much I did the inside perimeter with small 1/4 round. I tried to convince myself it looked ok but...Dammit Jim, two days later I redid the floor using the wrecked one as a template. After finishing the new floor piece I gave some thought to the header exit points. I had originally planned 4 separate pipes per side but decided to go with the ubiquitous flathead 3 per side arrangement, constructed from 4 into 1 headers from the partsbox. A roomy rectangle in the floor made from a staple gun staple looked like the right way to go as it kept the pipes tucked in close to the engine. Below is one of a few that didn't make it. It took a few tries but I finally got the shape I wanted. I cut the holes in the floor, making the rectangle to sit above the opening to give it the illusion of structure The above mock-up looks a mess but it's just the gray primer poking thru the white, along with graphite smears from pencil indexing lines. You can see where the 1/4 round went against the walls. Its all sanded smooth. This time I'll be securing the floor first, then the fender wells. Haven't decided on white, black, steel, gray, or chrome for the headers after cleaning them up. Comments and observations welcome
-
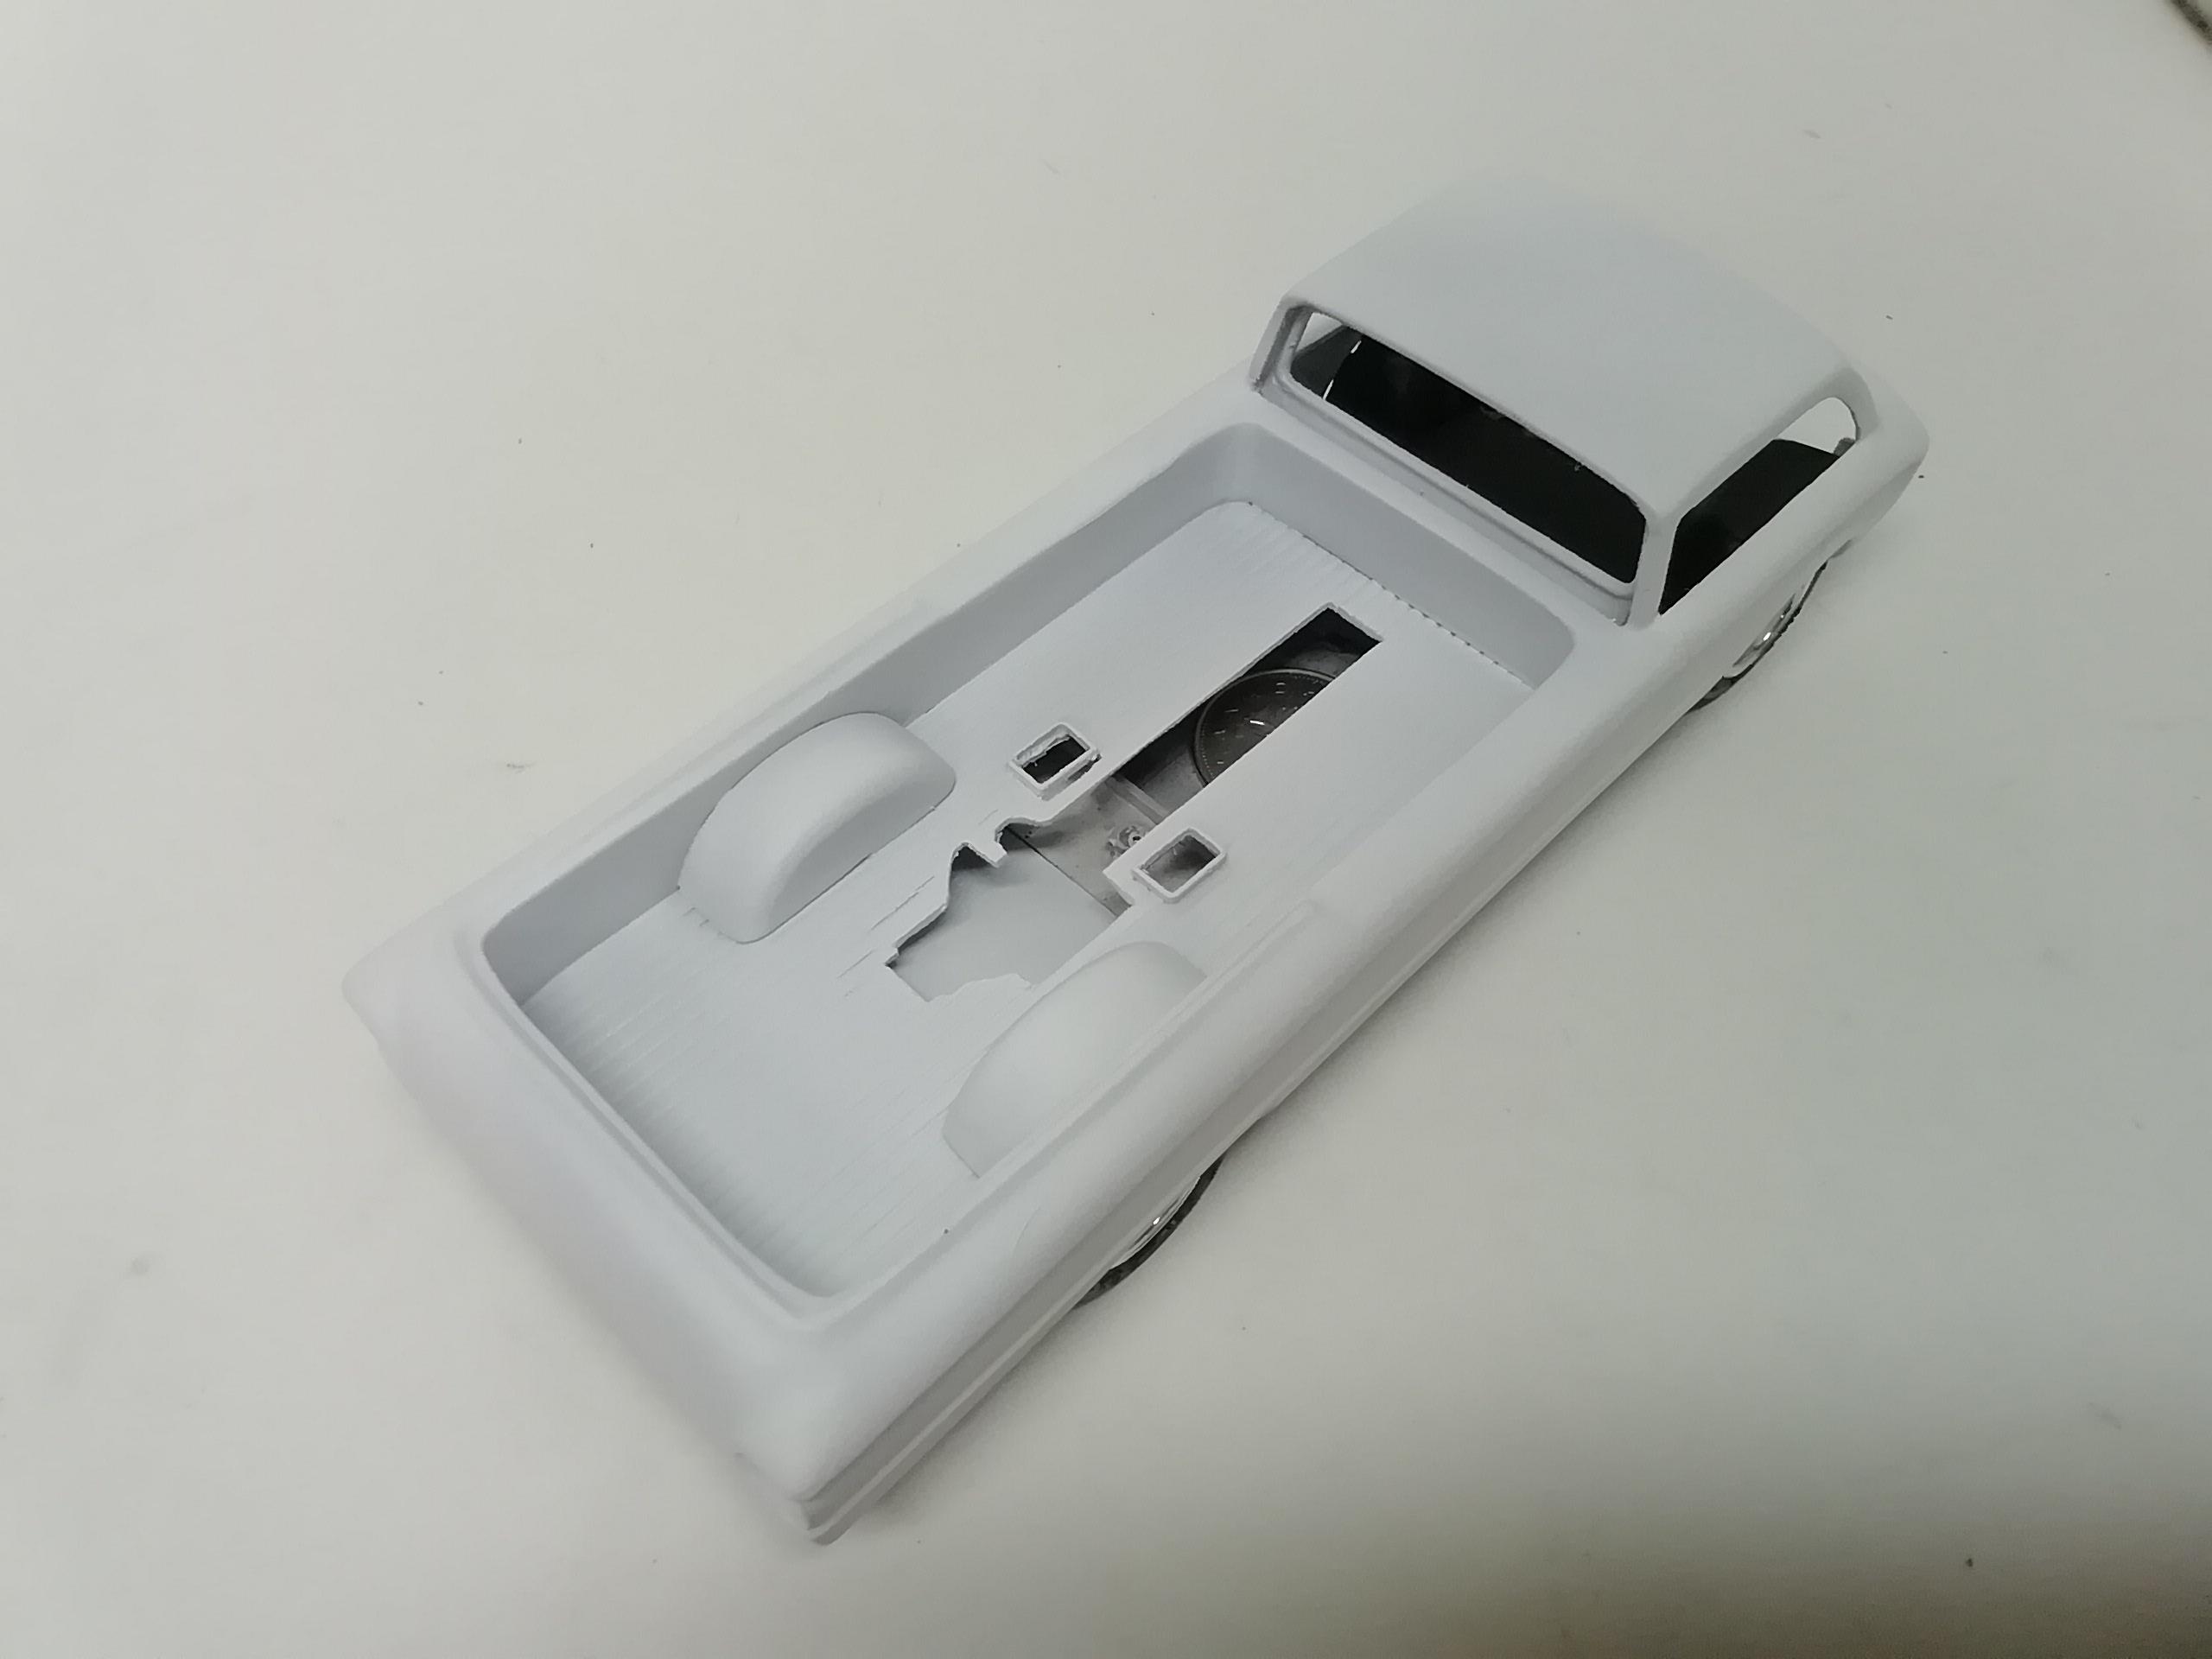
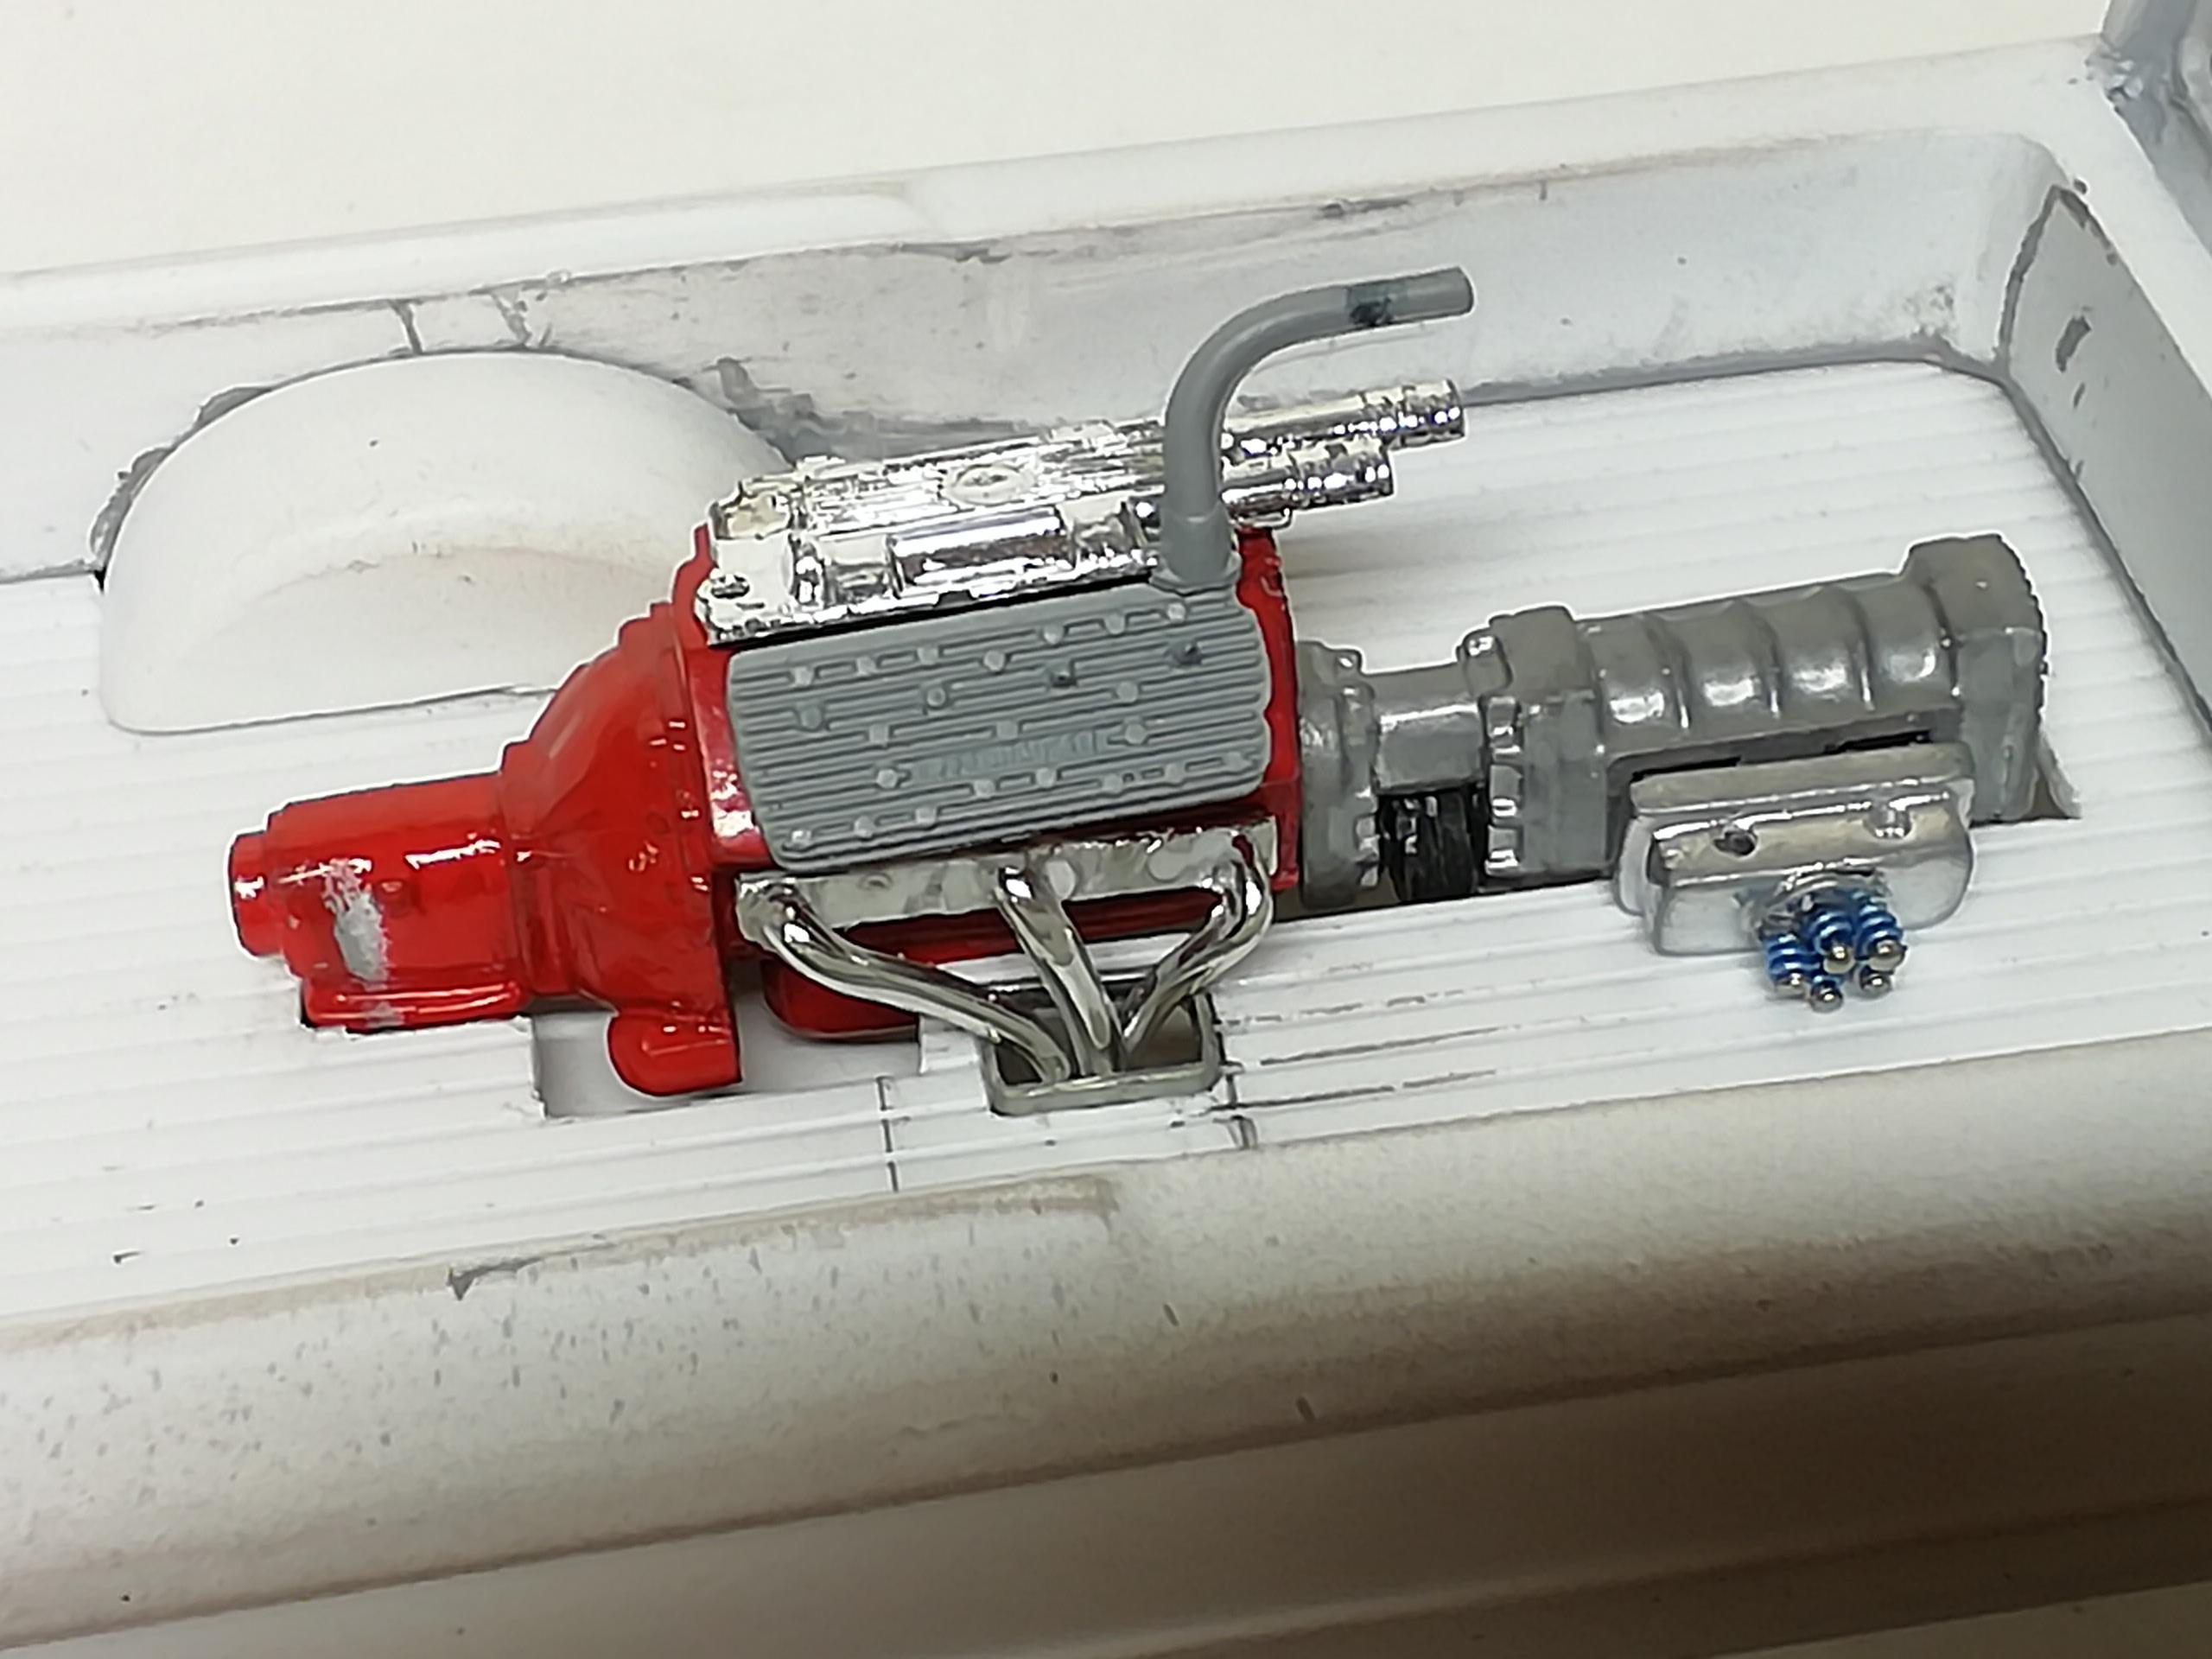
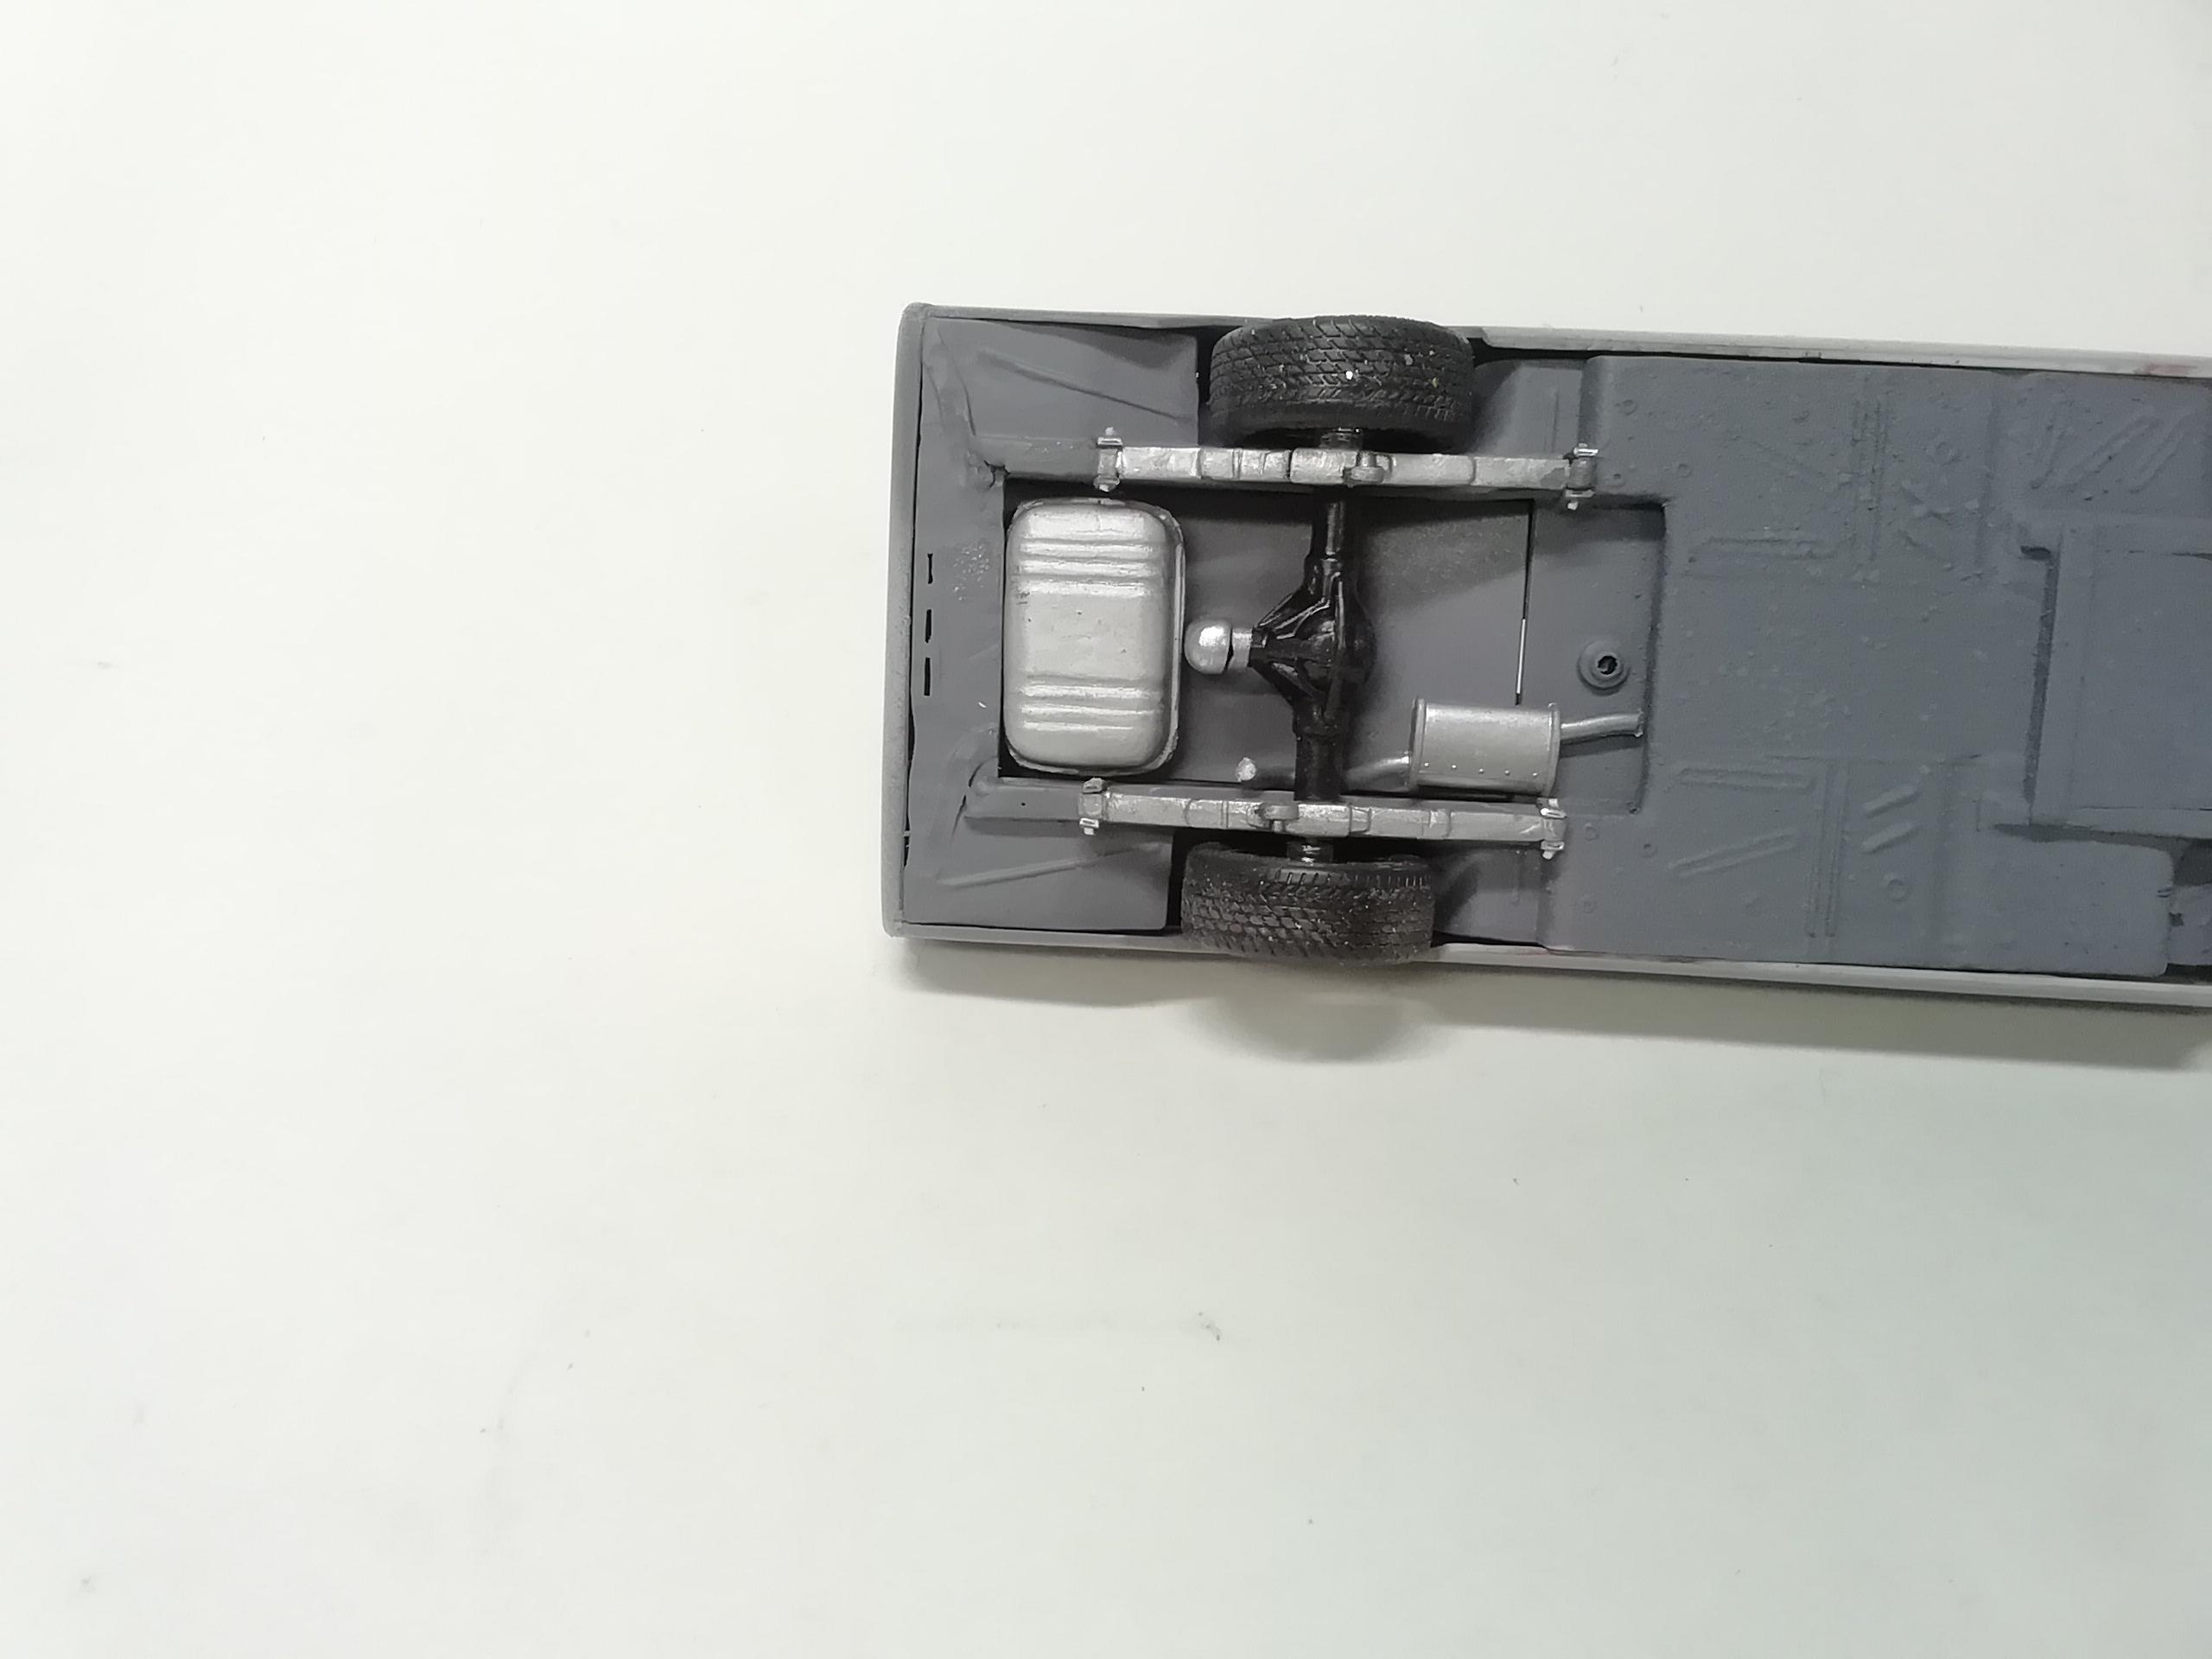
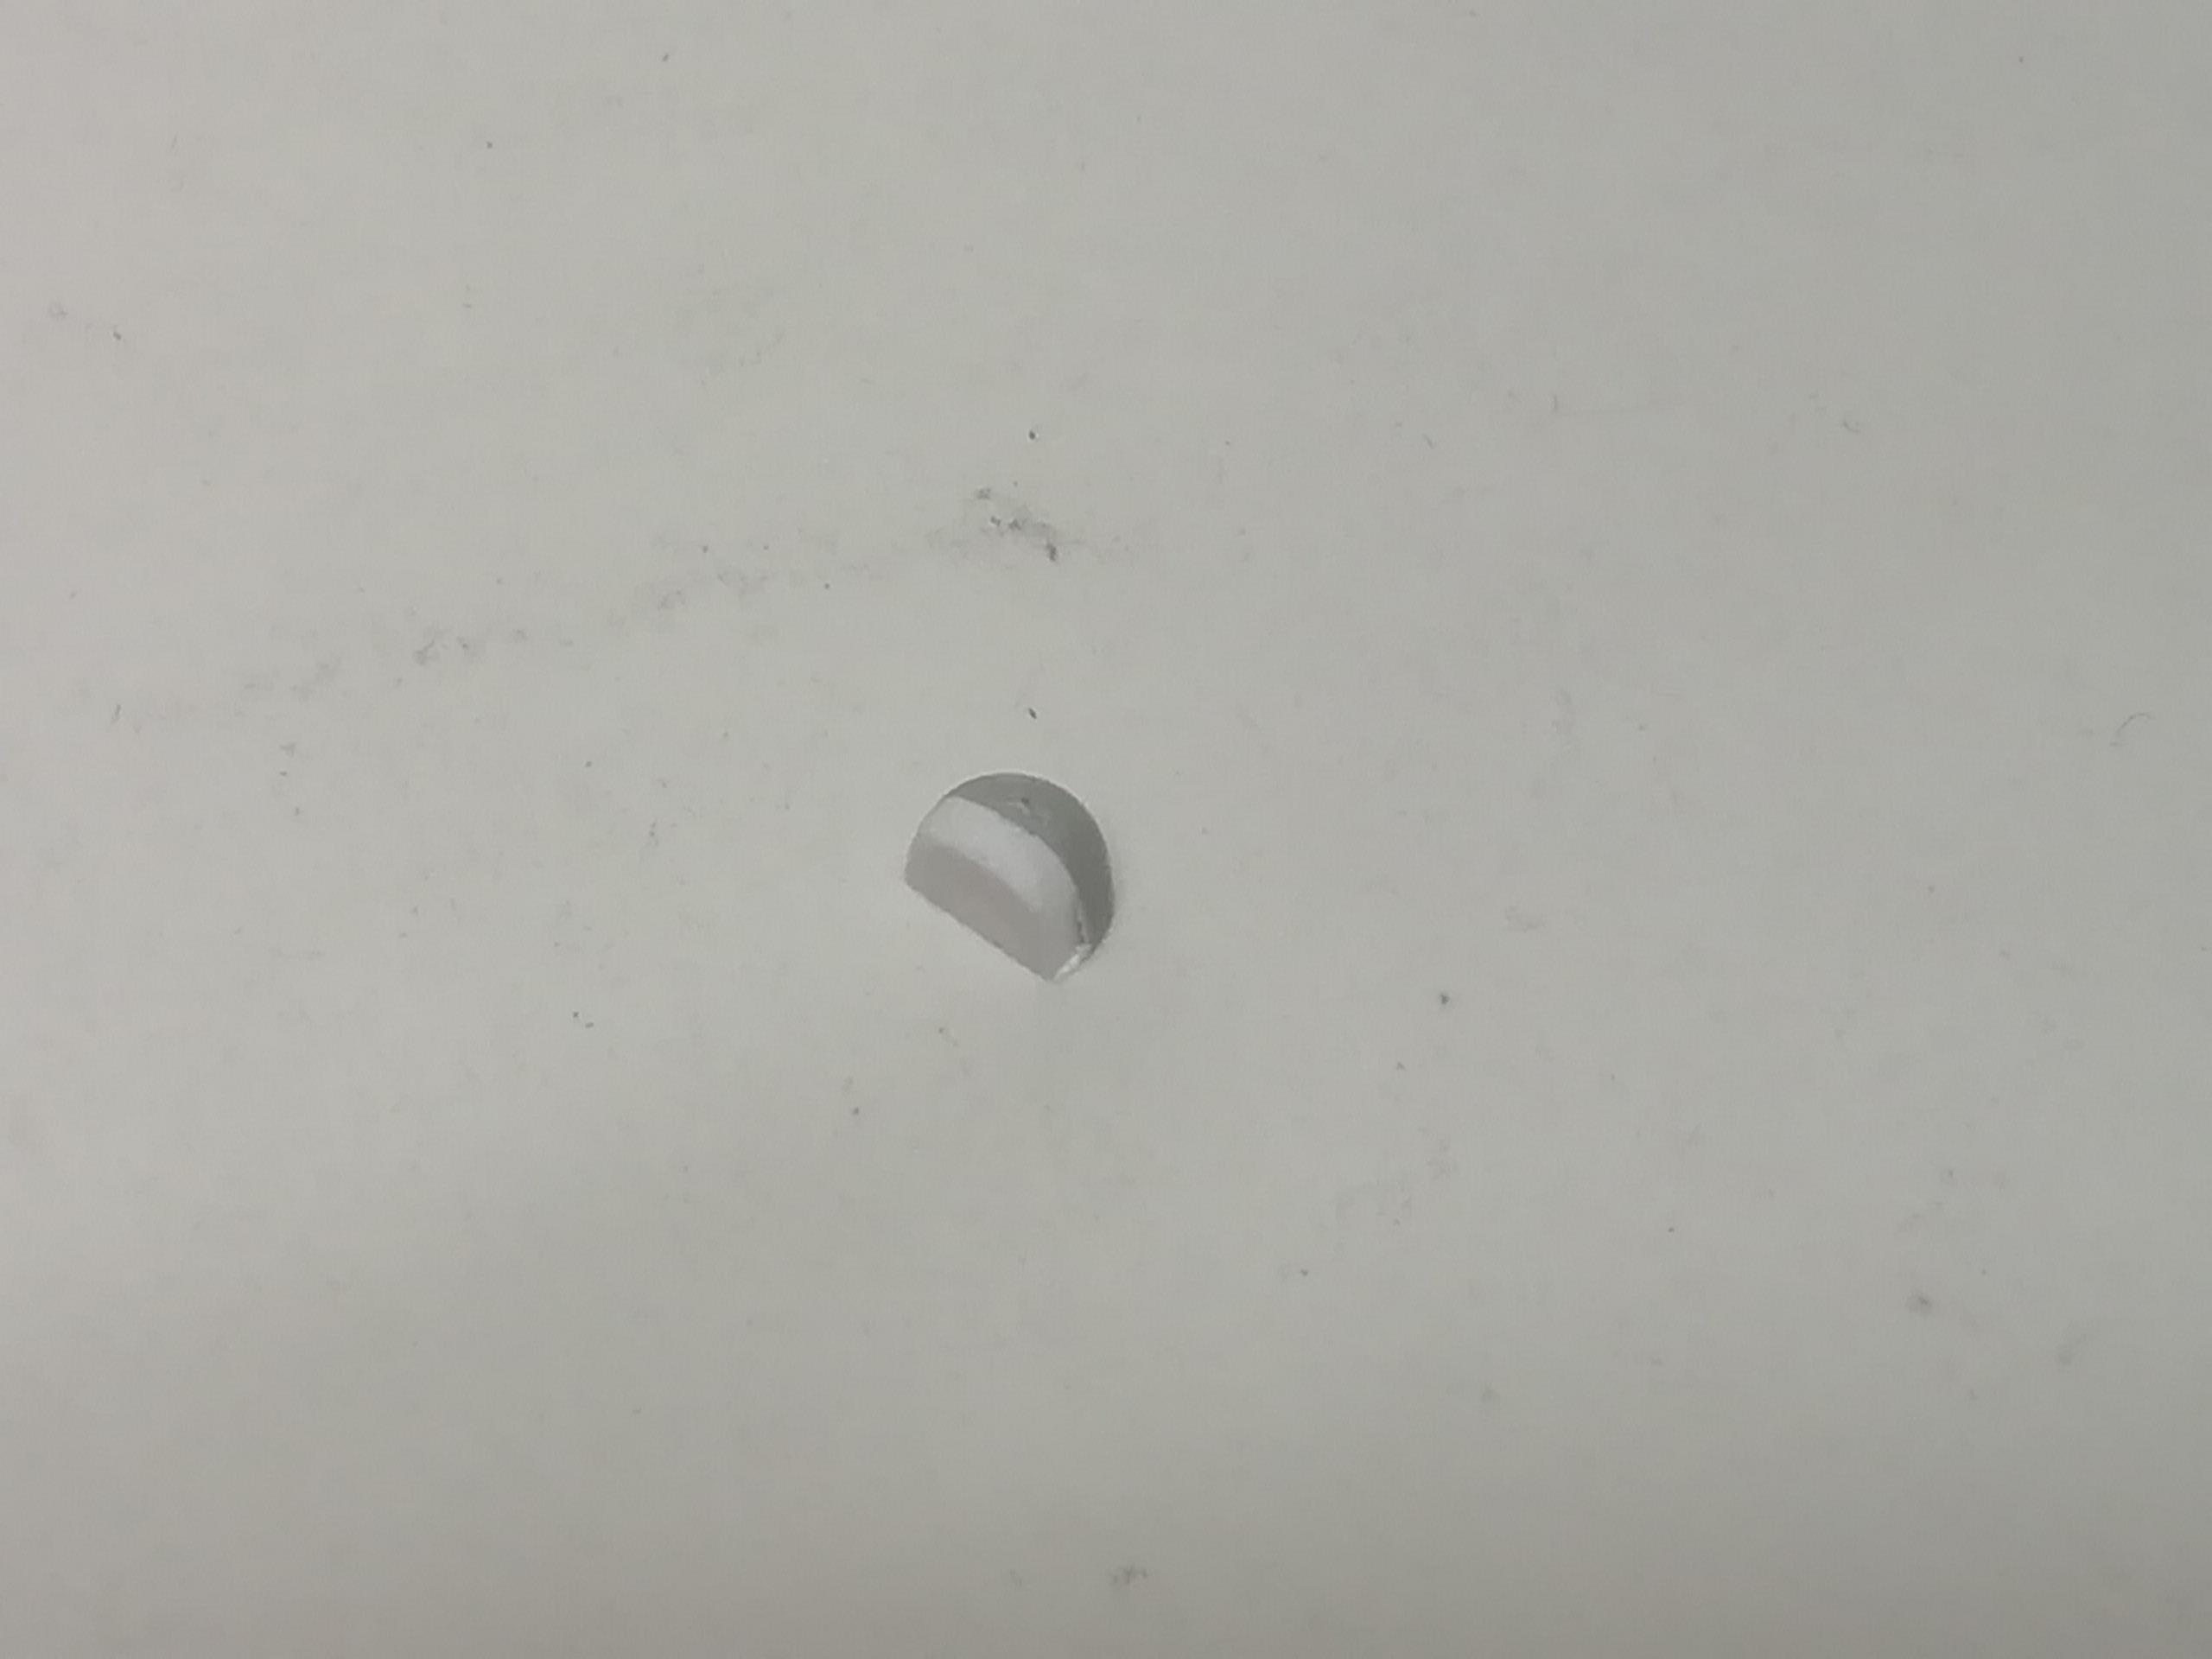
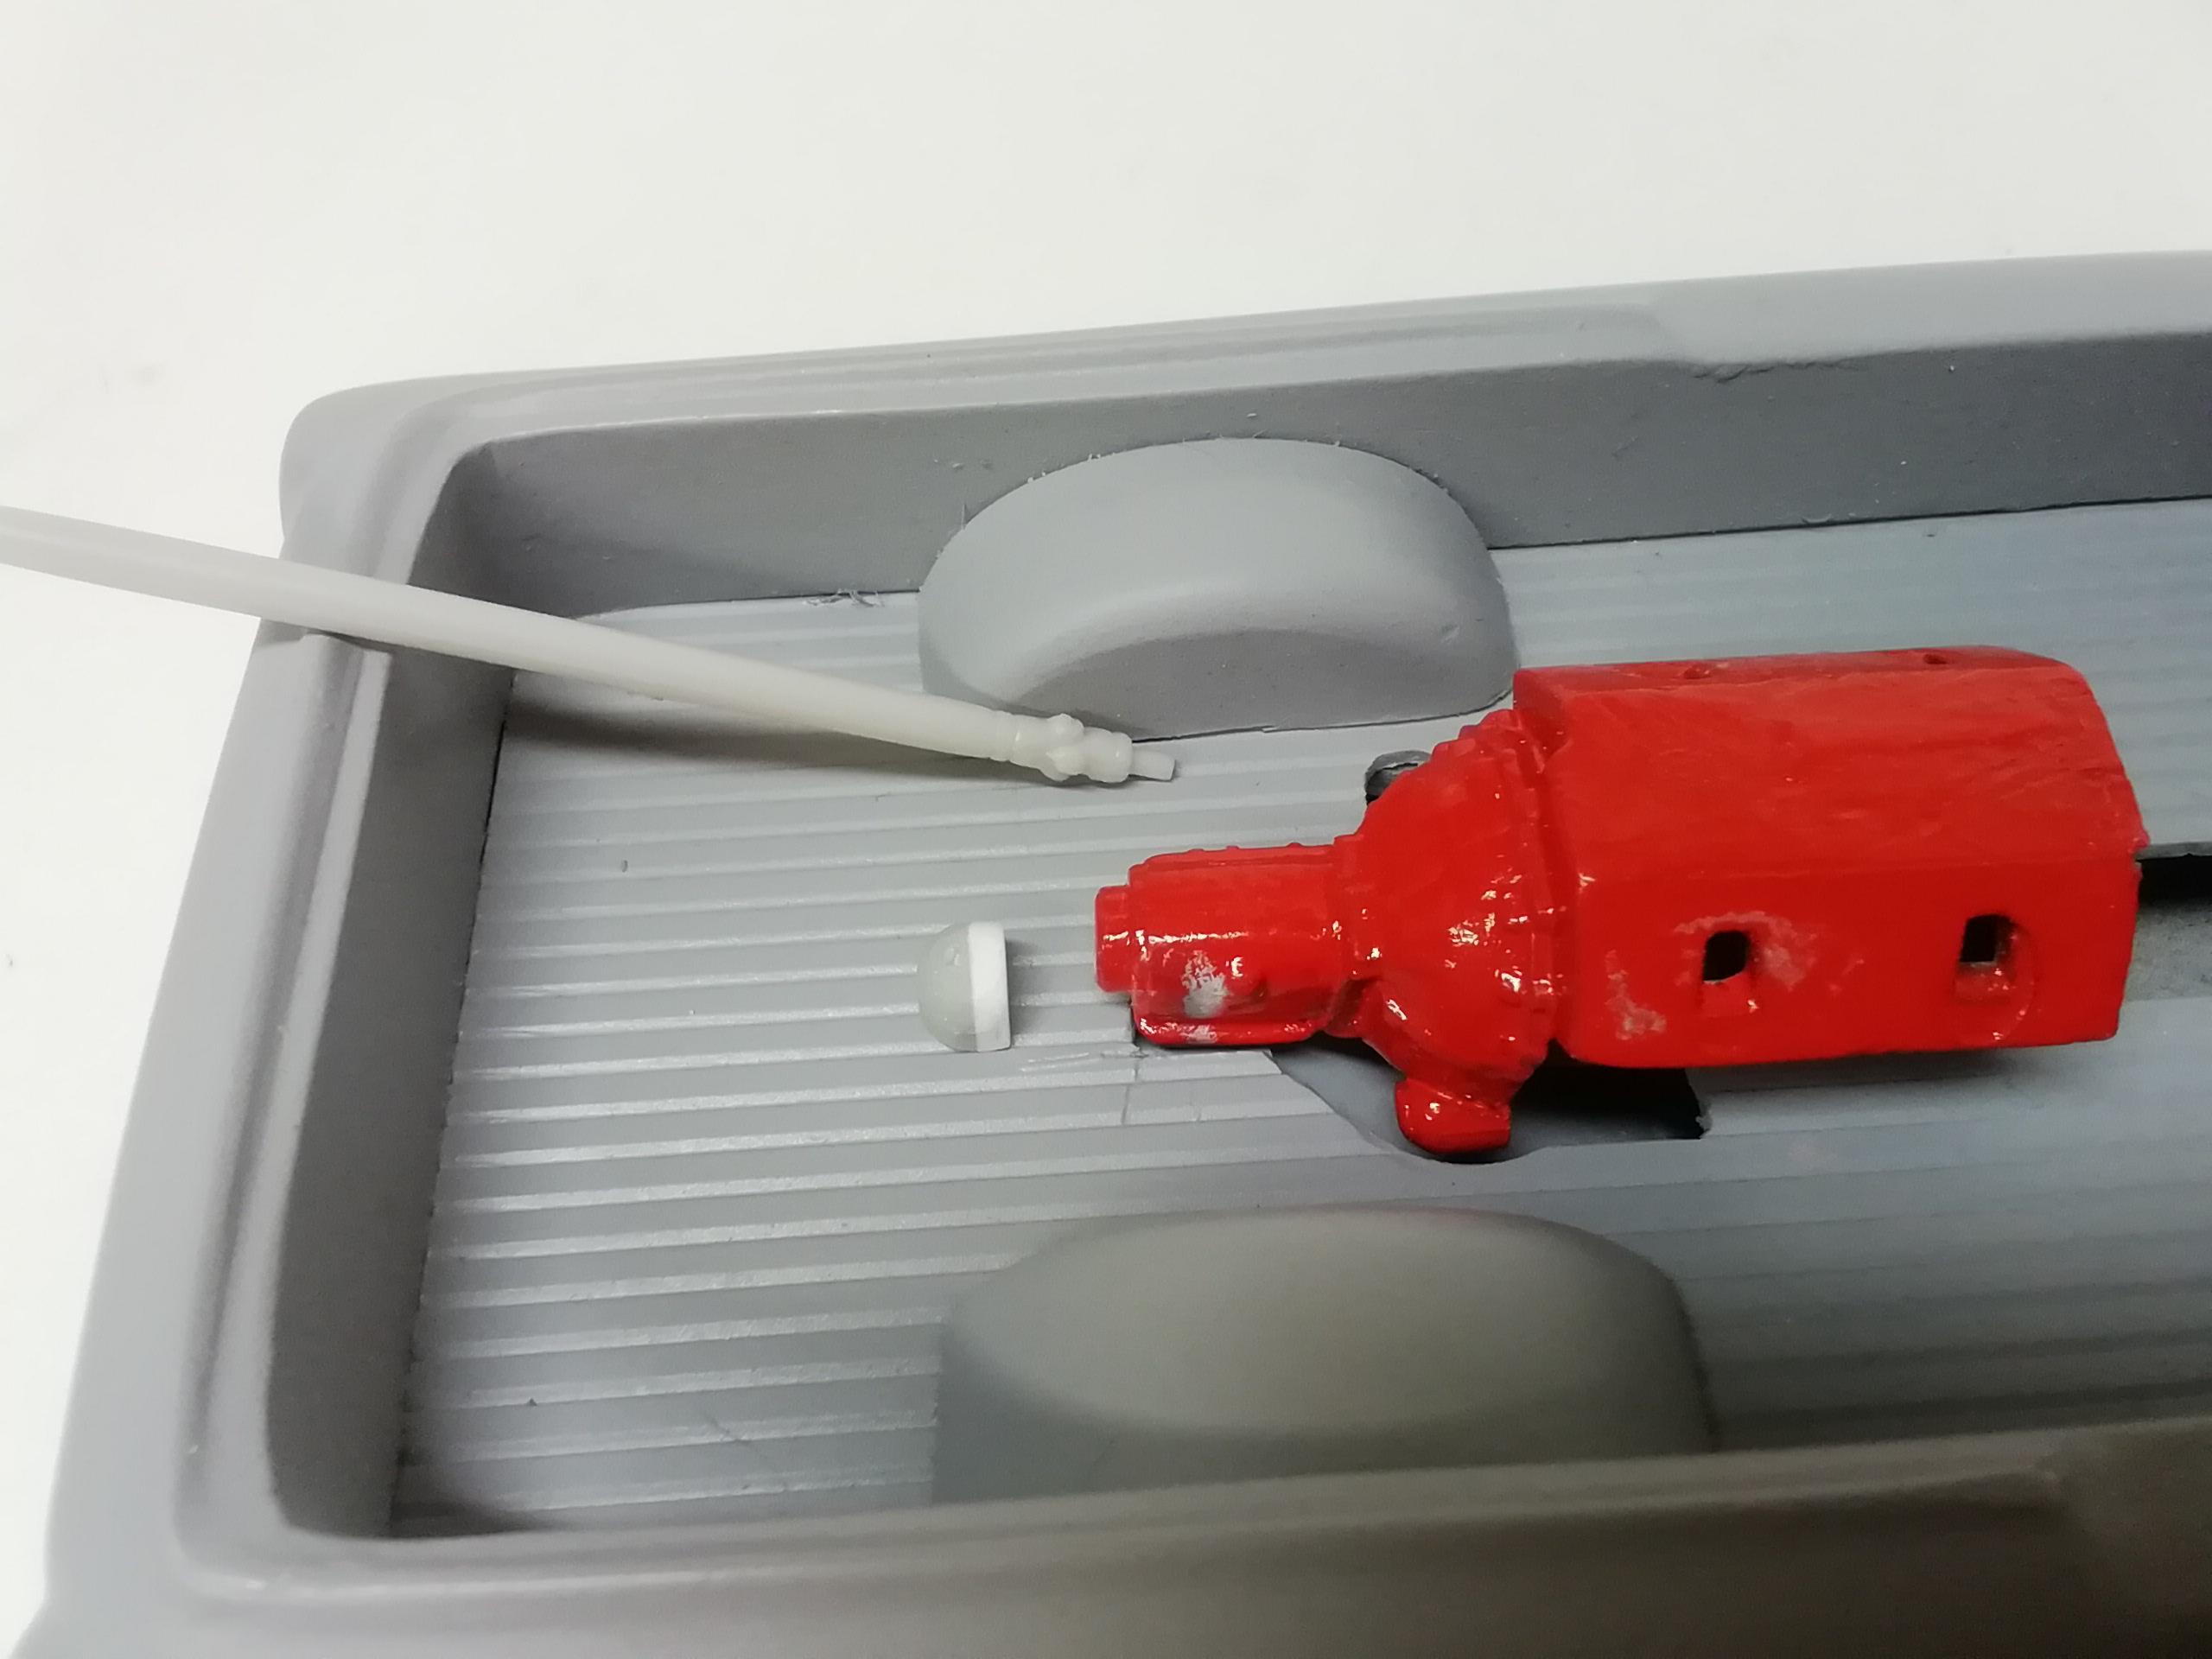
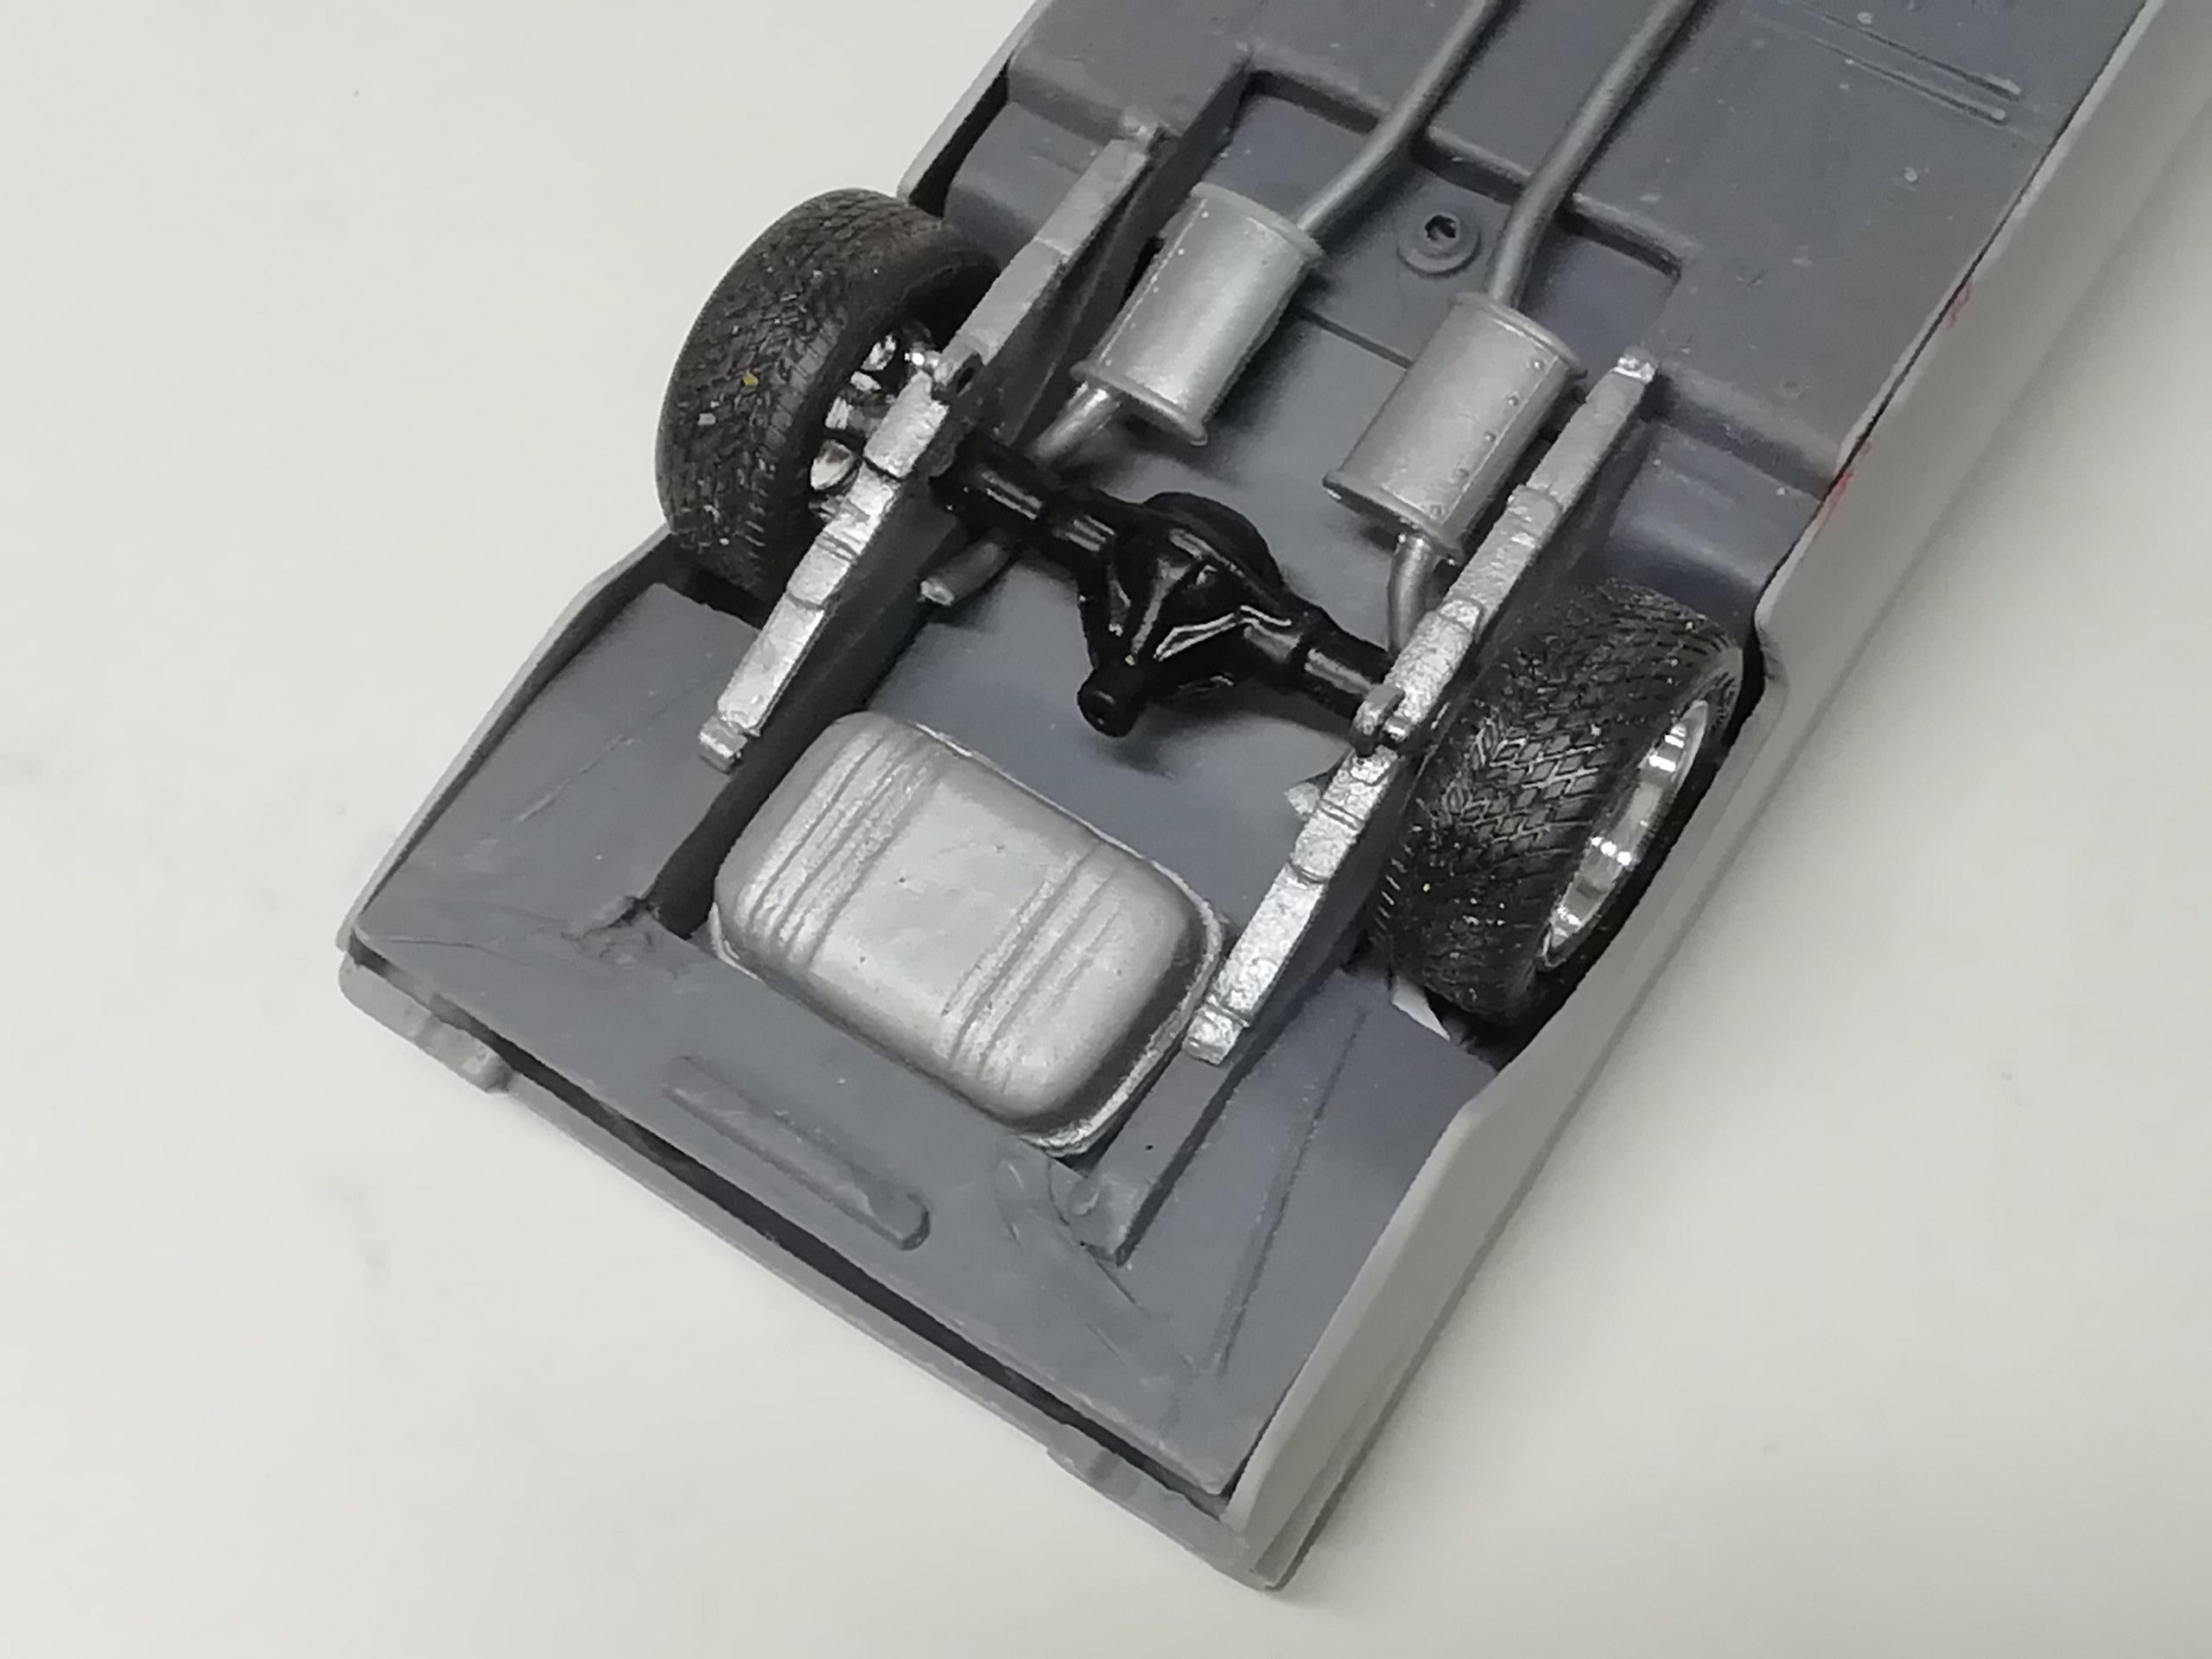
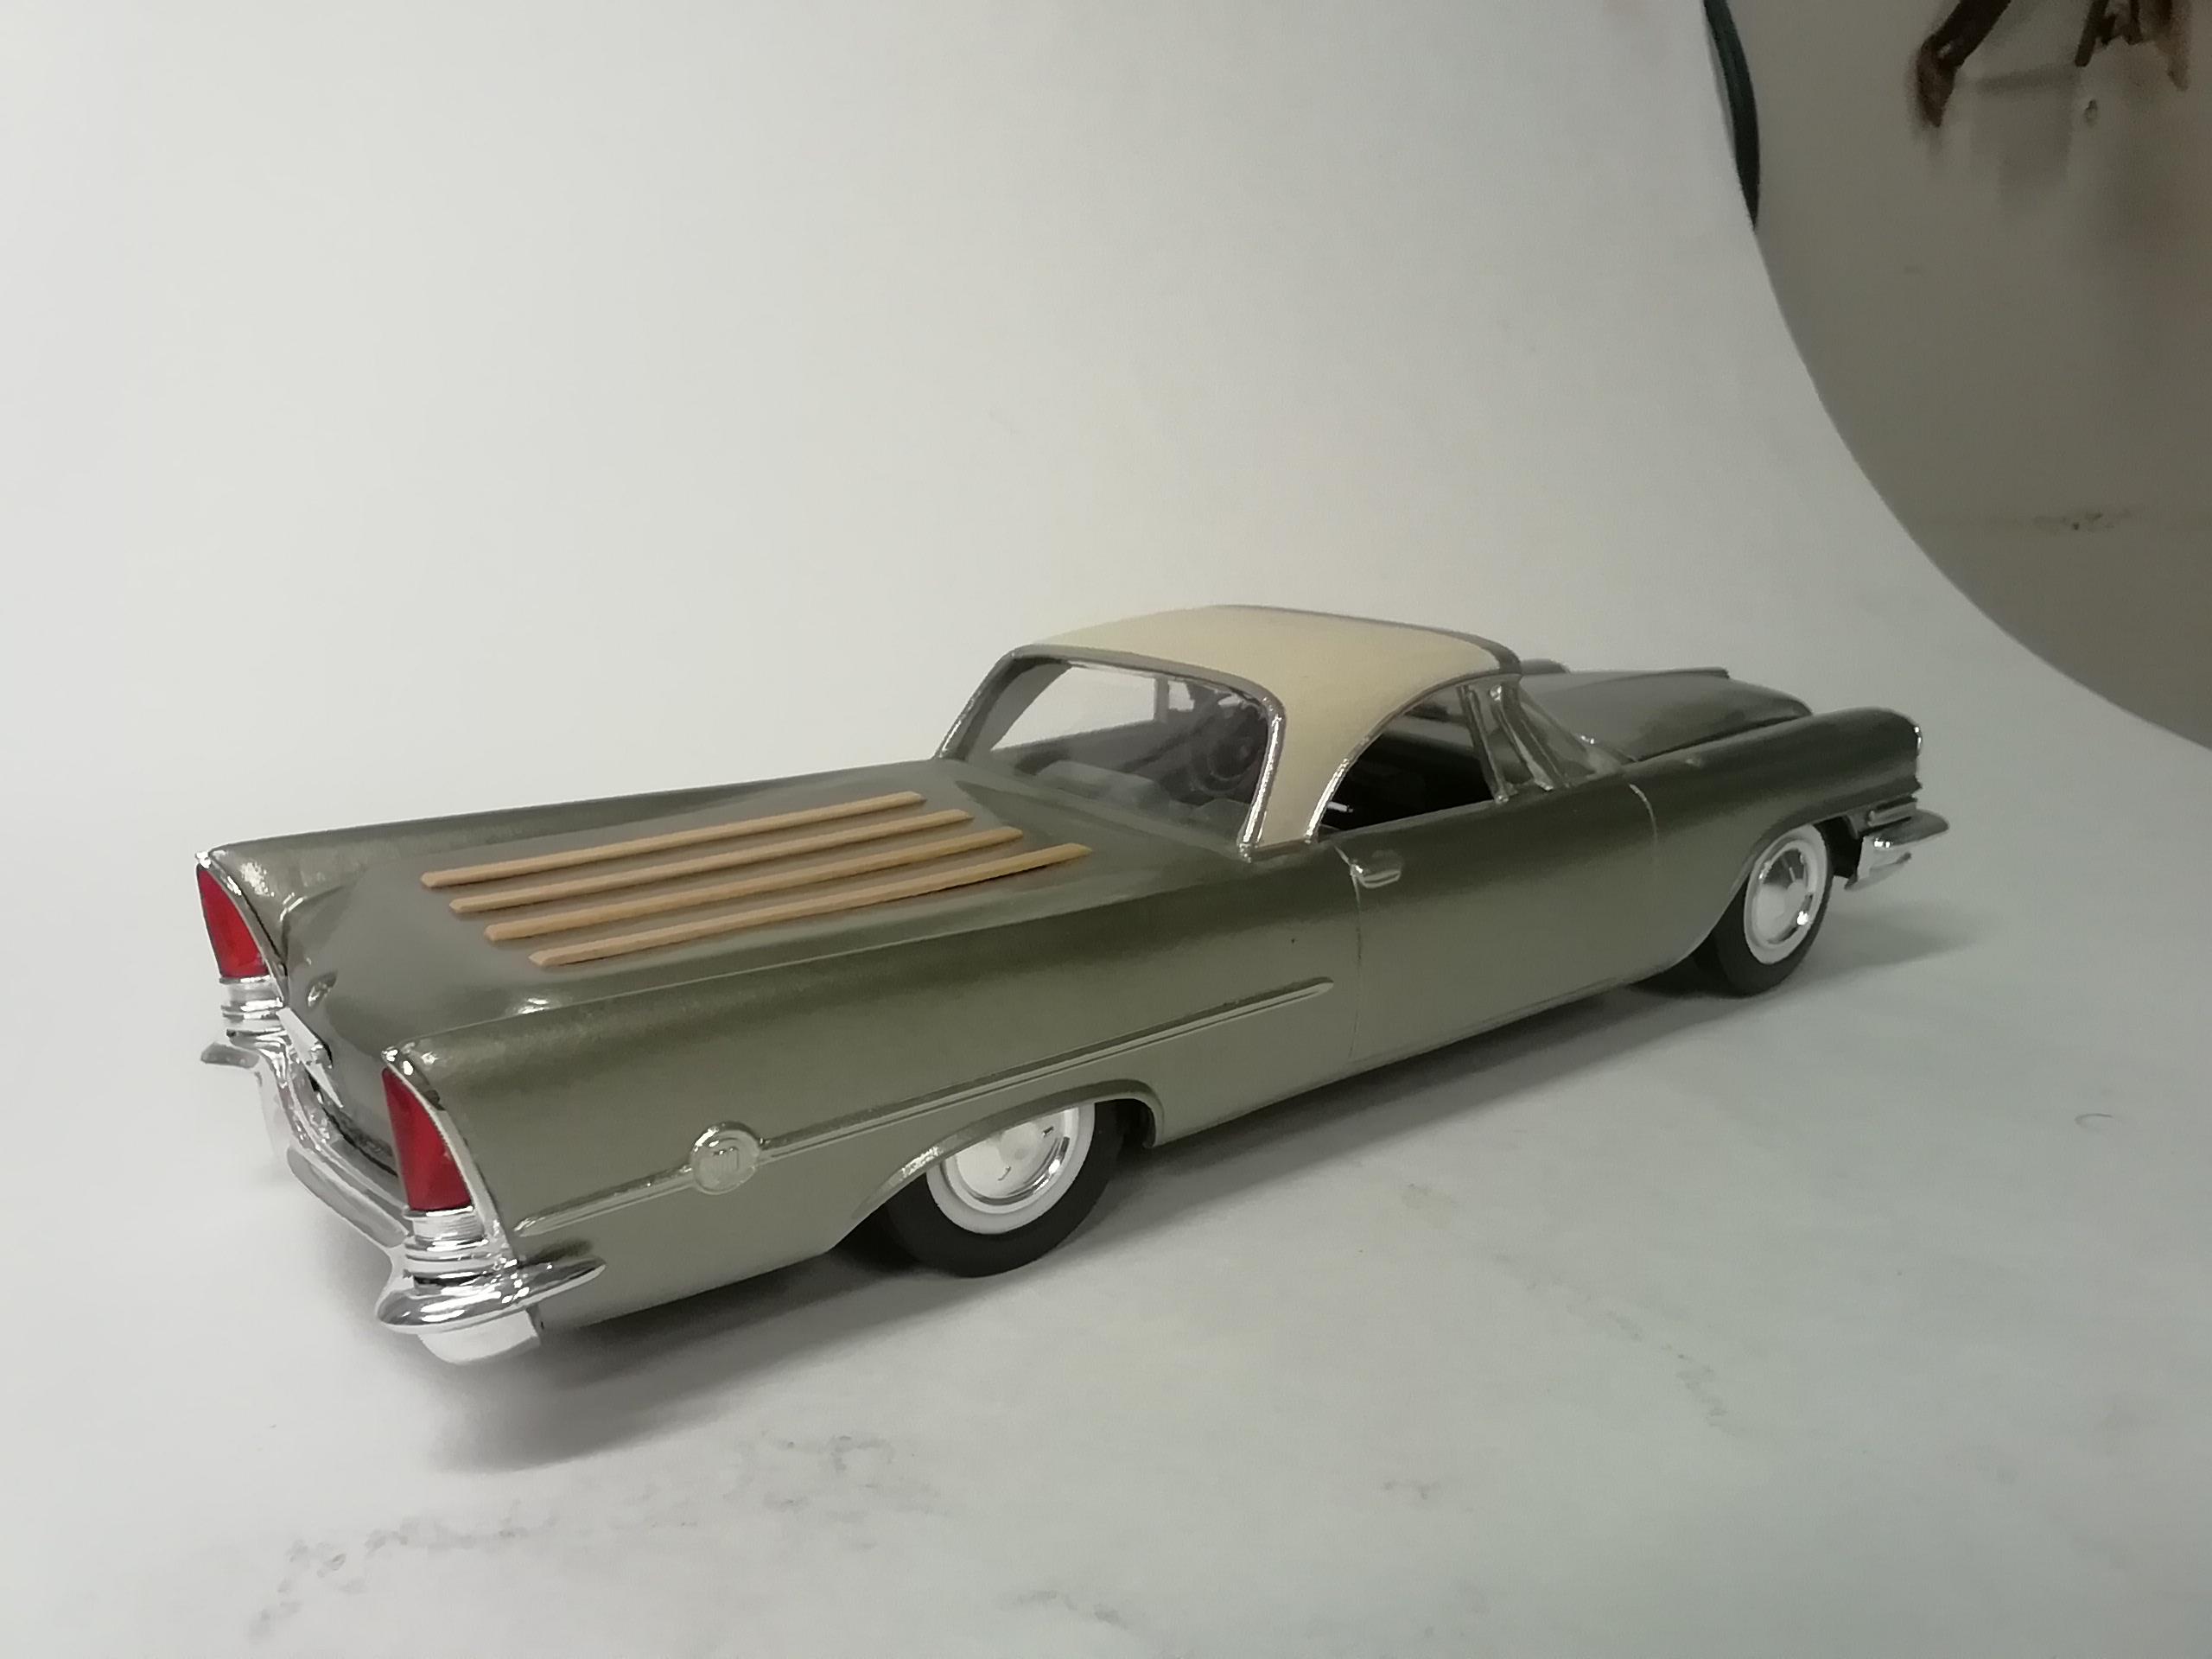
This is a view of the rear end mocked up showing it nearer to completion. The gas tank isn't cemented in place yet as I'll be removing the chassis quite a bit while installing the interior, and it sits on a piece cemented to the bed. Note also the chassis edge needs evening. One of the mufflers is shown in it's approximate location. The pipes from the engine will come thru the inset piece on either side of the oil change access cover. The more important piece is that chrome half-round connector attached to the differential. It sits over the hole drilled previously so it lines up with the topside piece. I made the transmission/differential connector from a half piece of ordinance included with a long forgotten aircraft kit. I thickened it with a piece of styrene sheet shaped to fit. This will be sprayed chrome like the other end on the bottom Here's where it will sit when cemented to the bed. I'll be using the joint from the Nova driveshaft in the photo to join it to the transmission. Comments and observations welcome.
-
Thanx for the shout-out Bruce. Workin' my way thru to the engine slowly but surely.
-
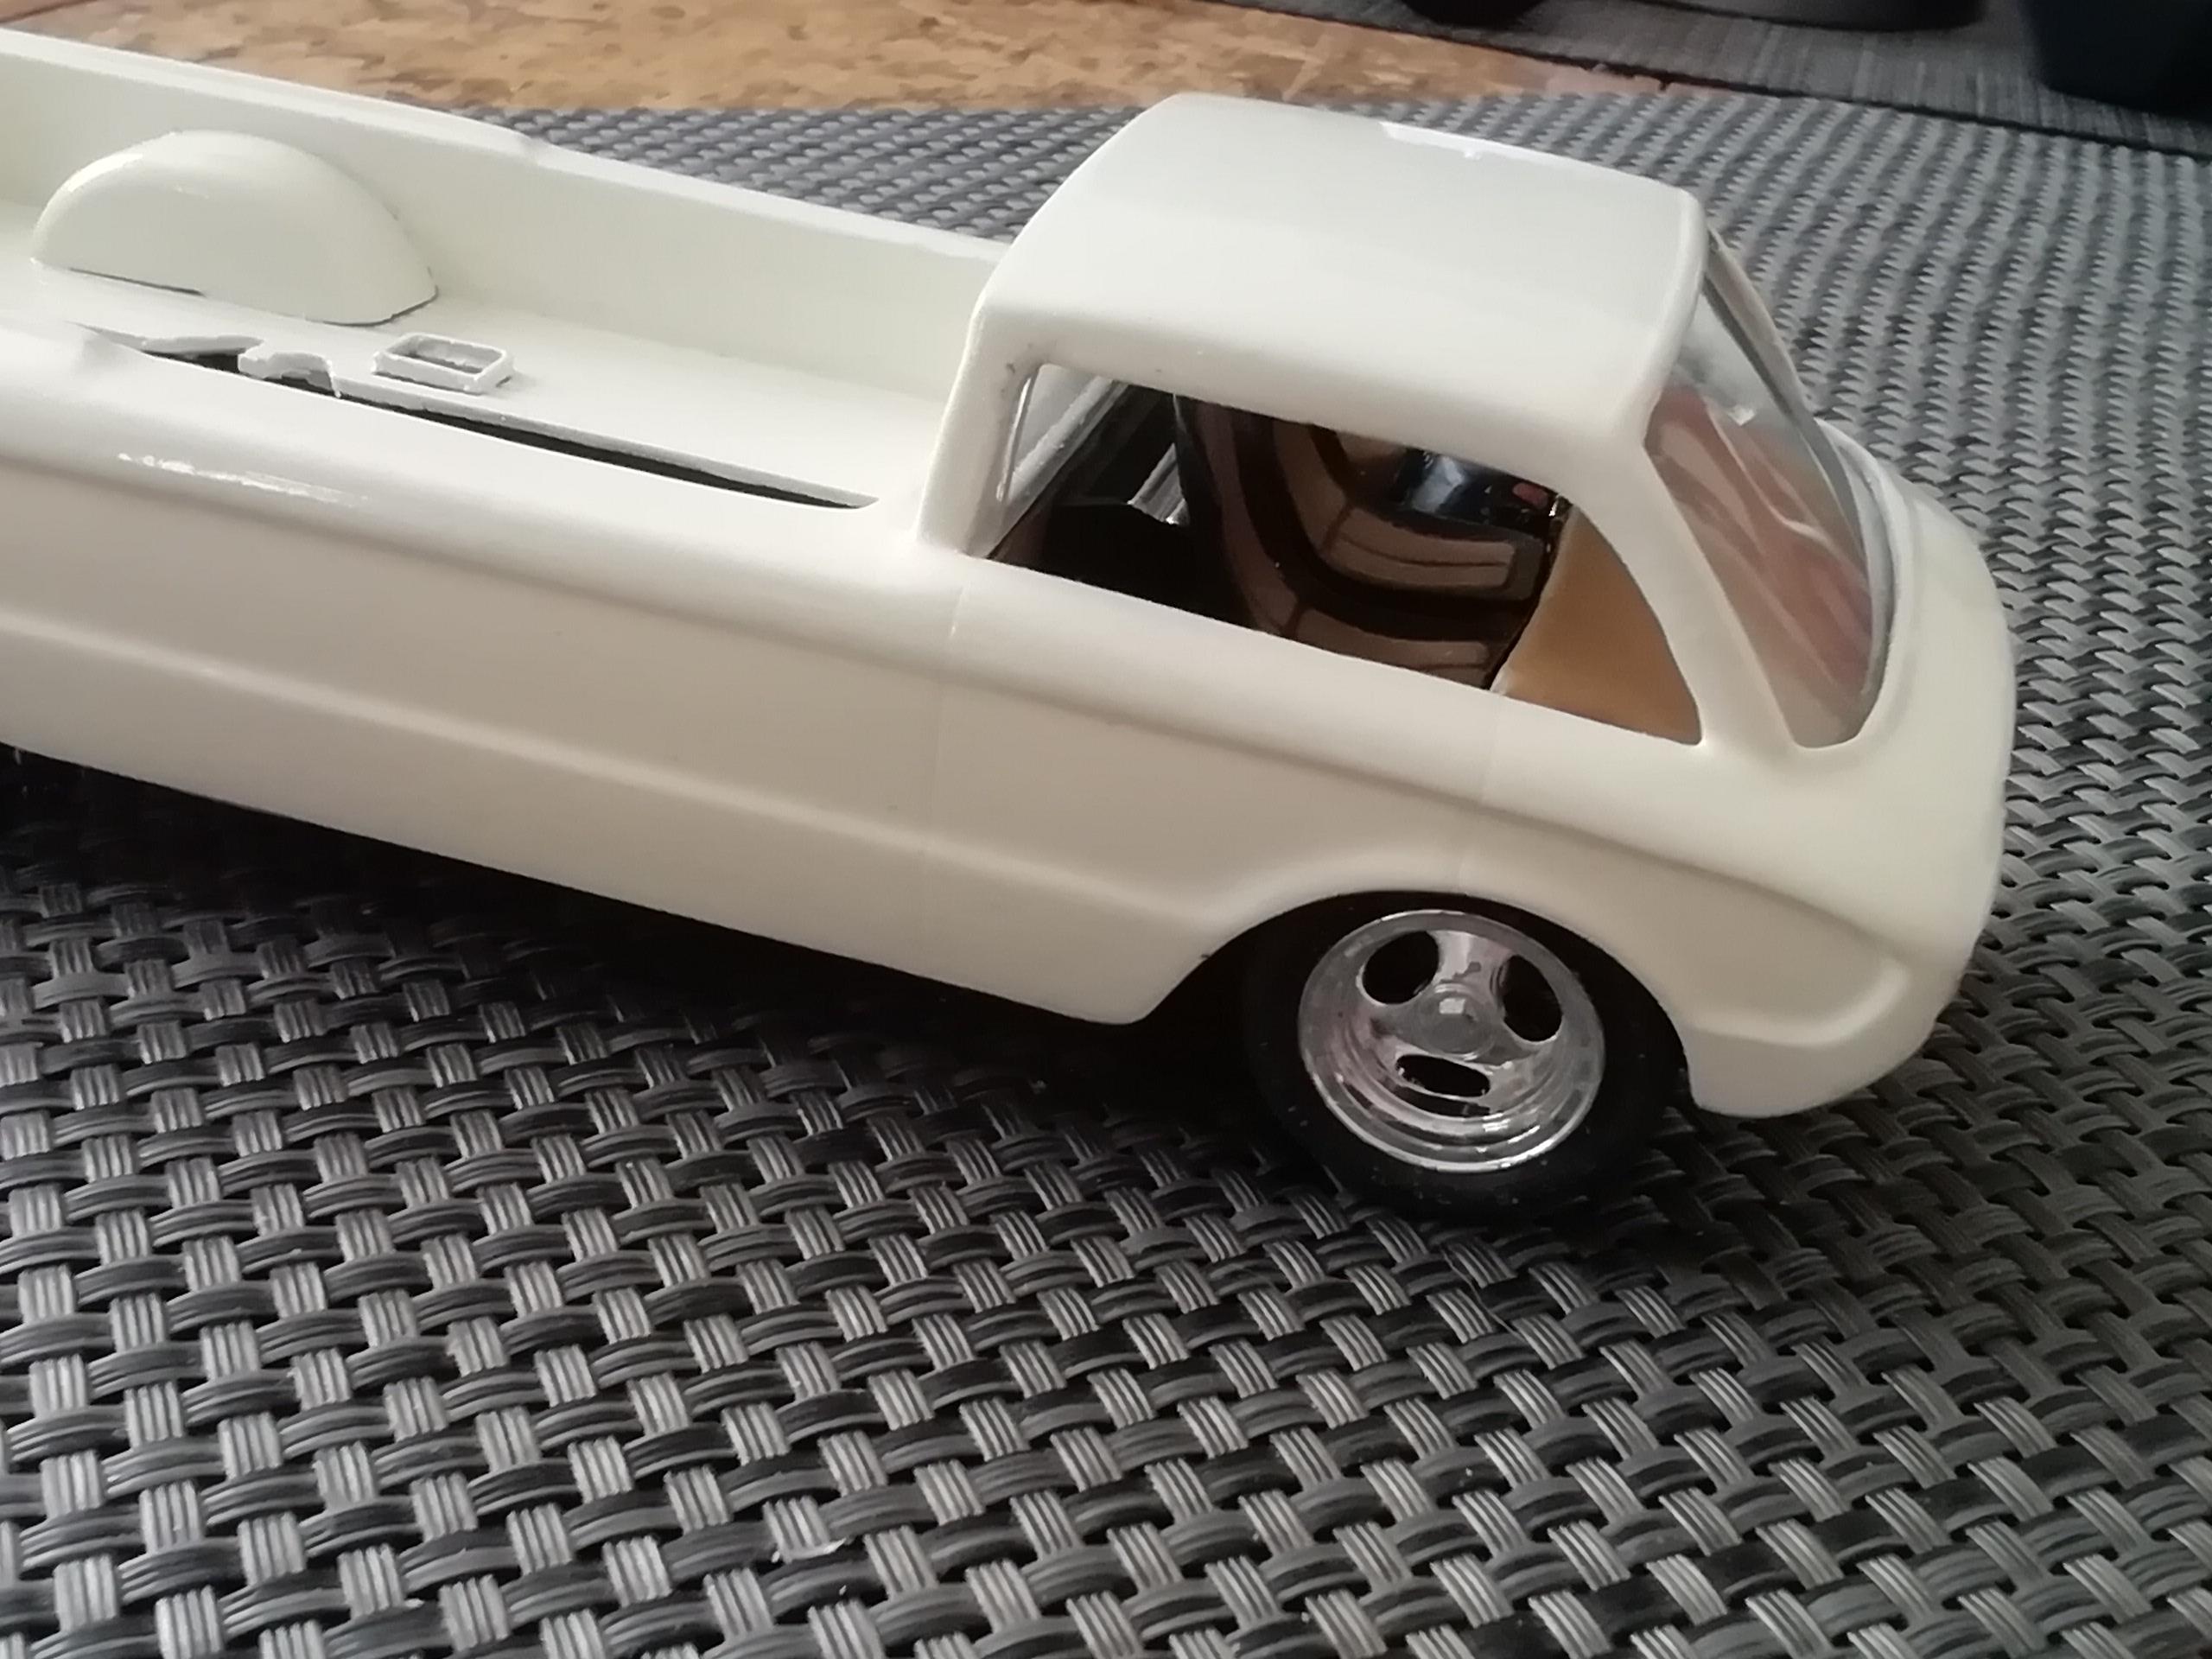
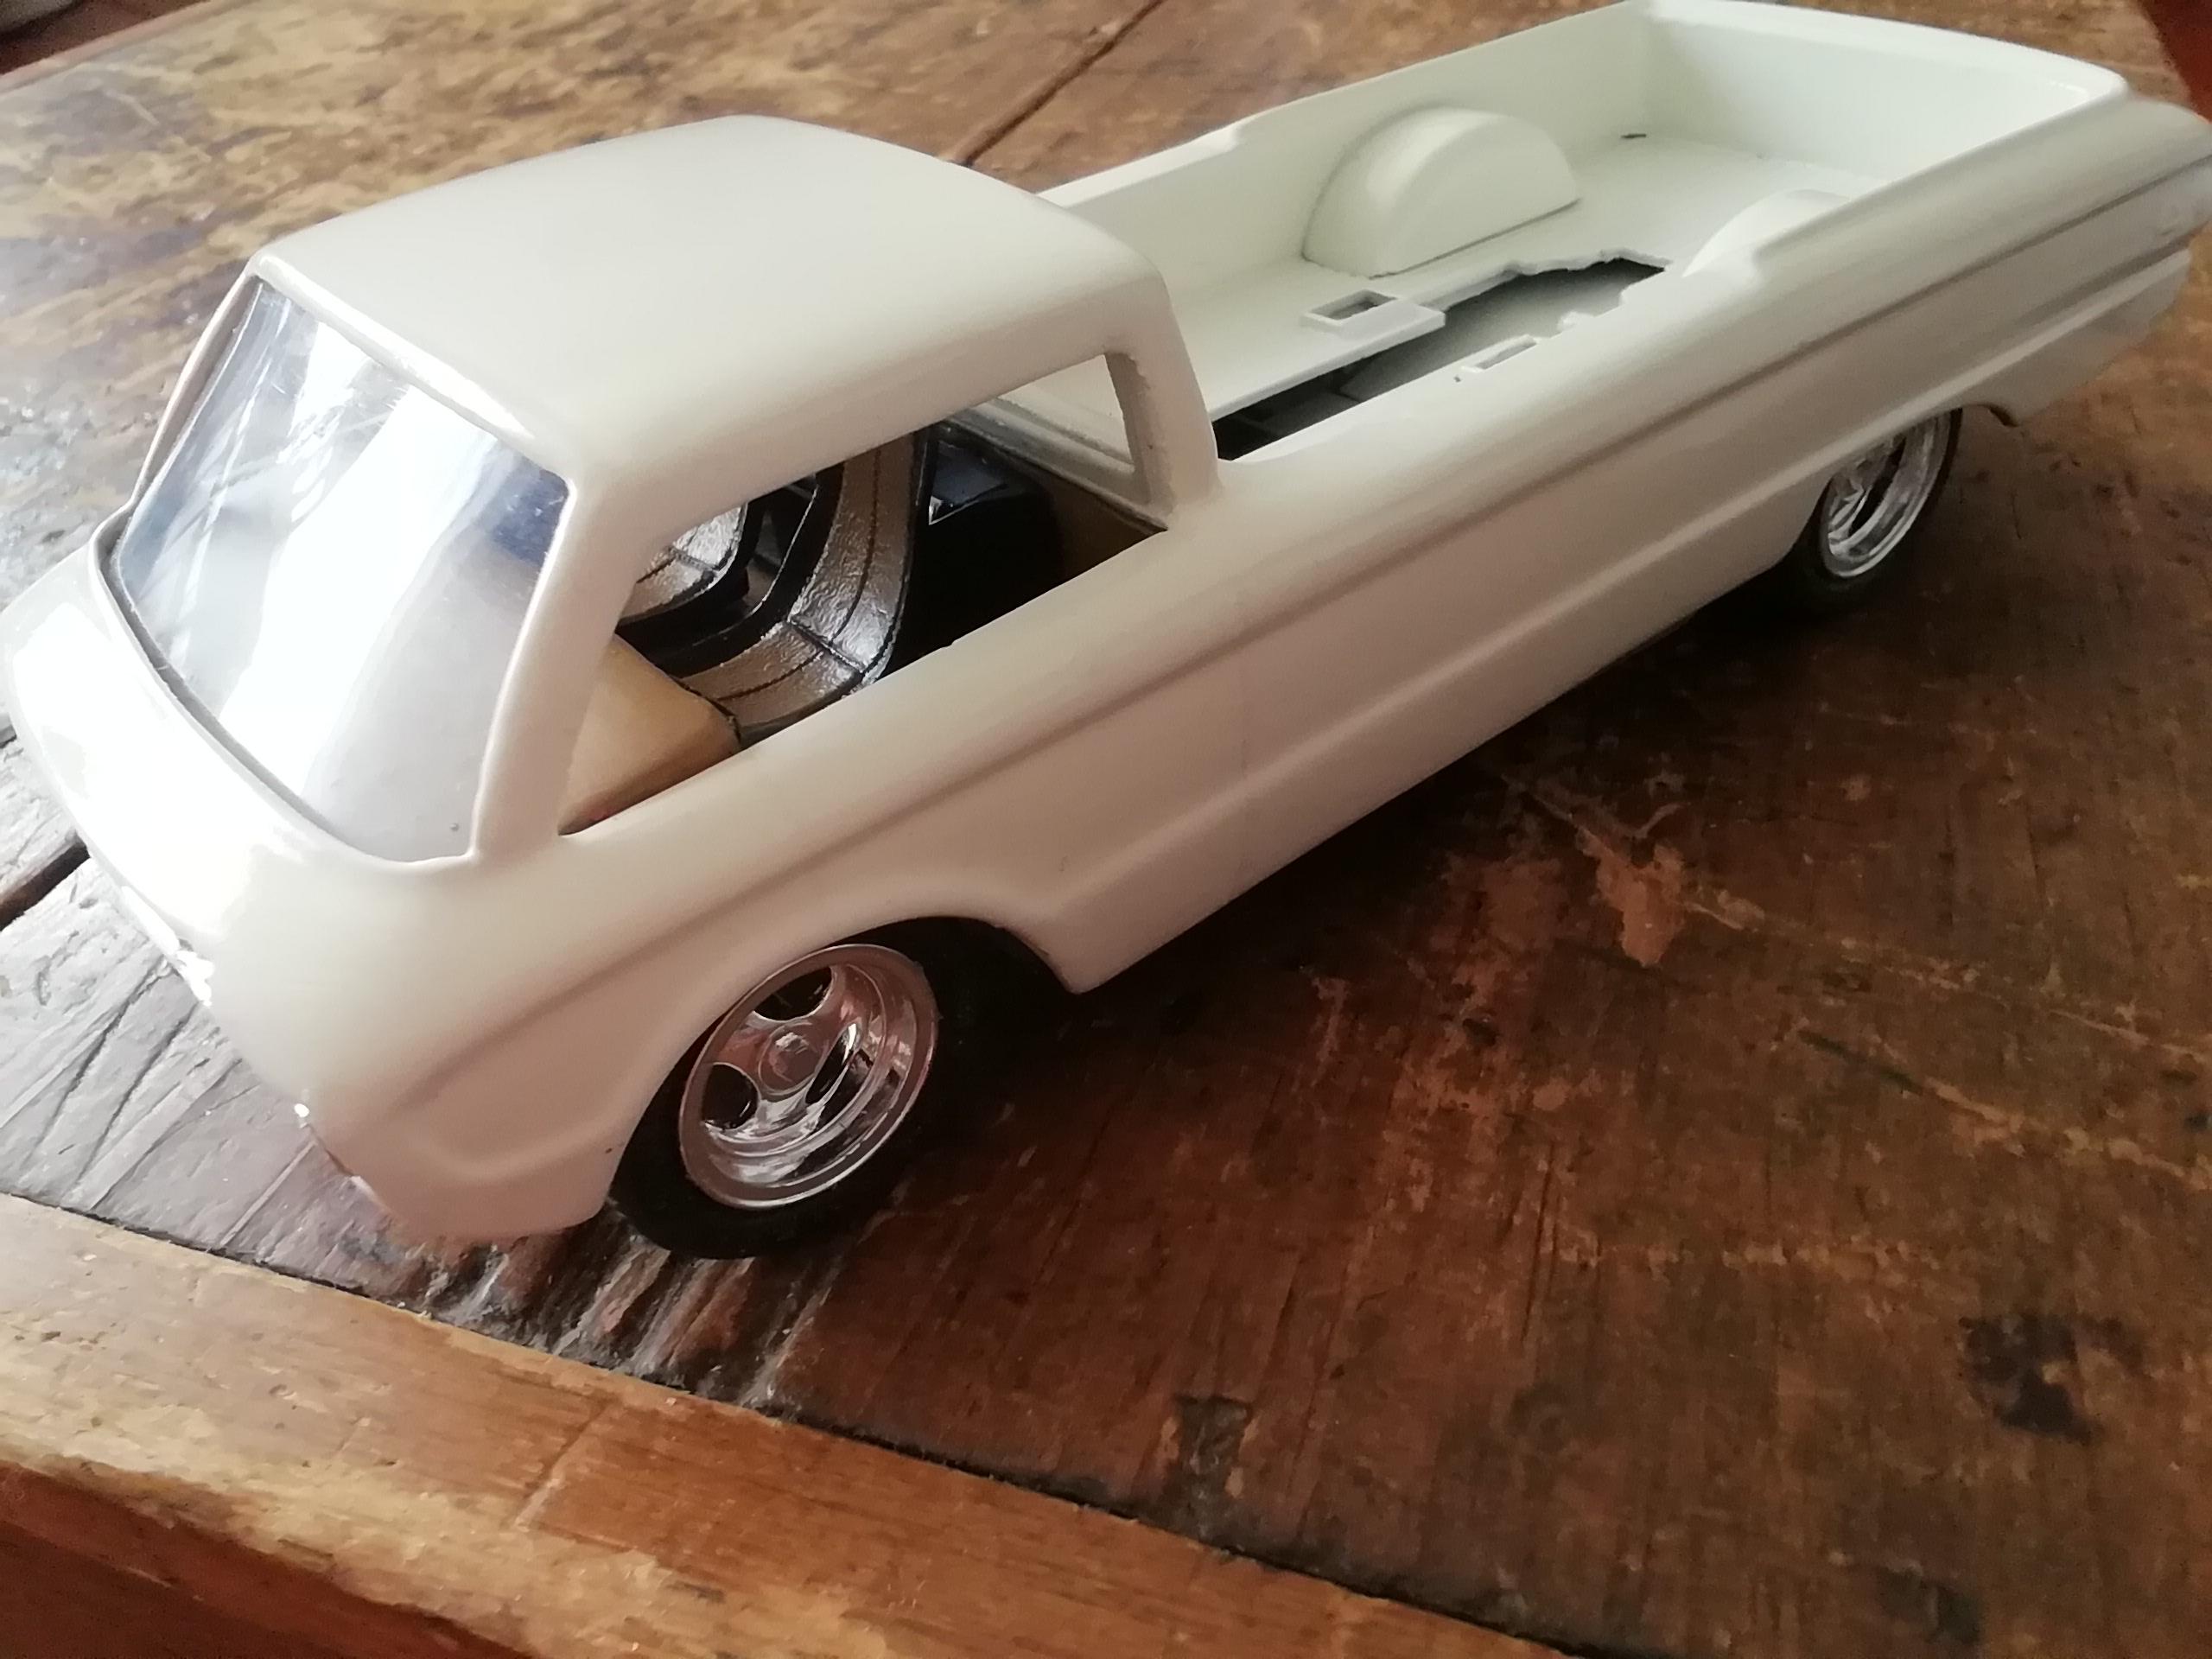
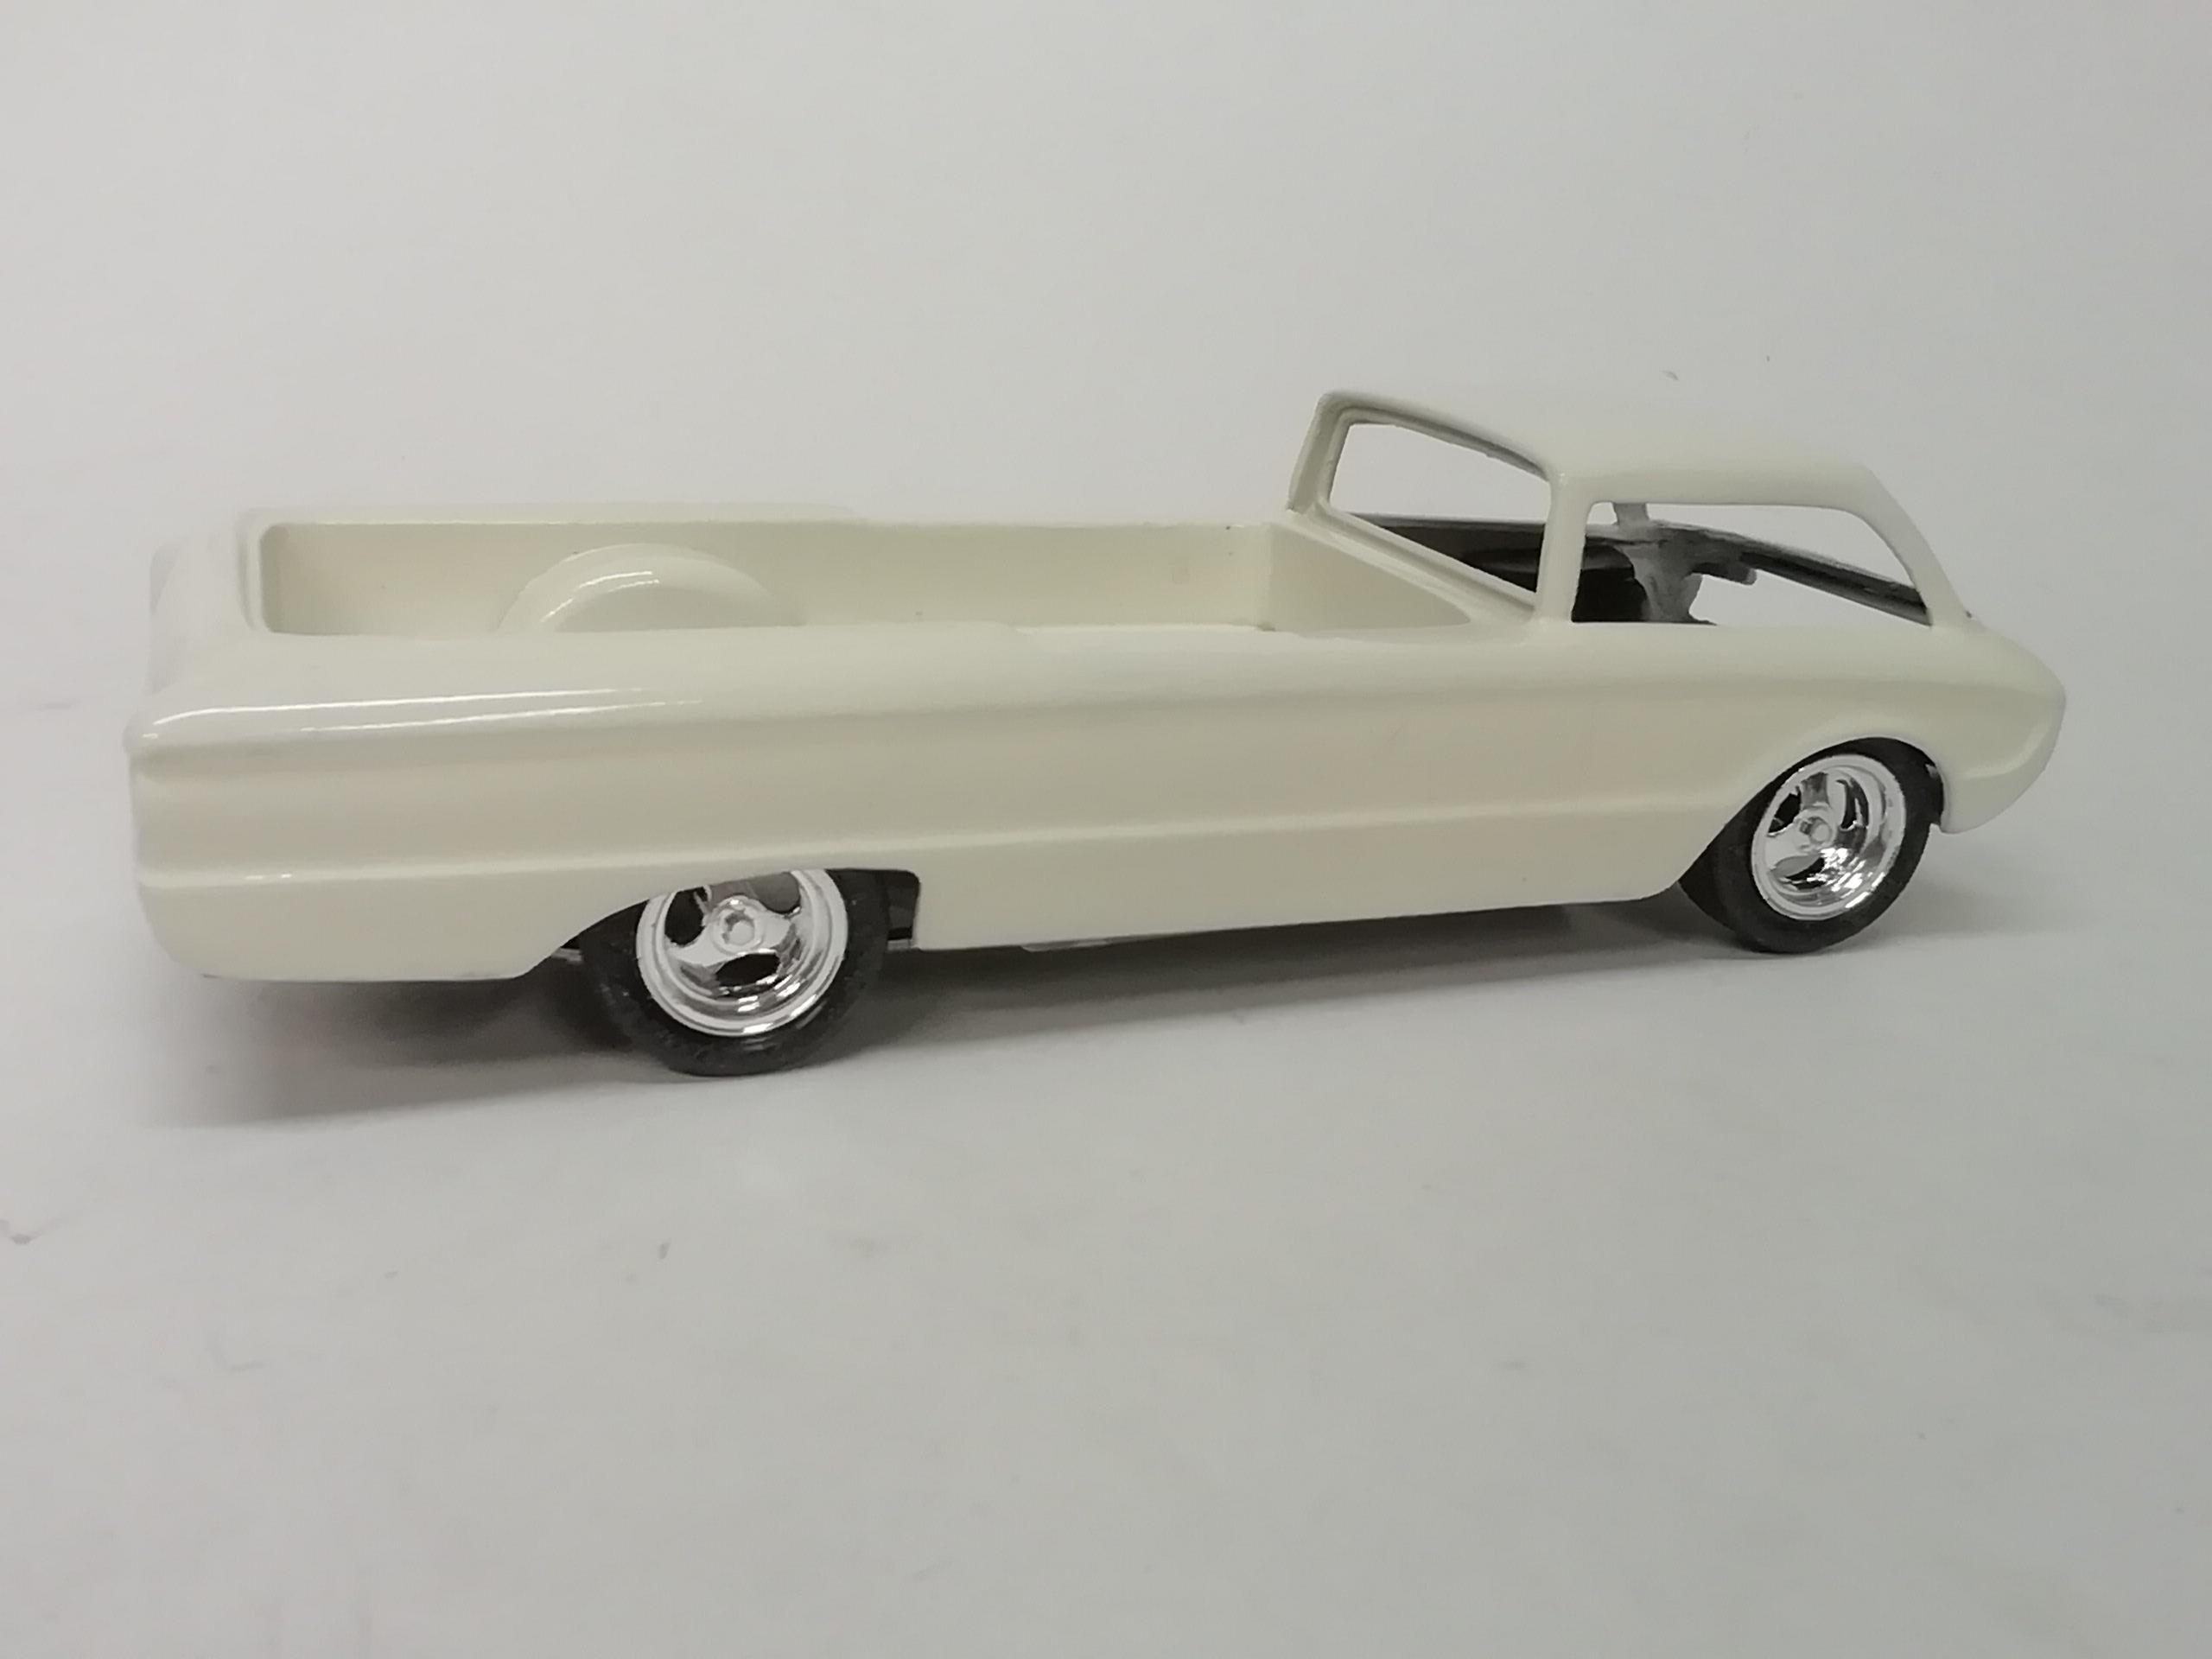
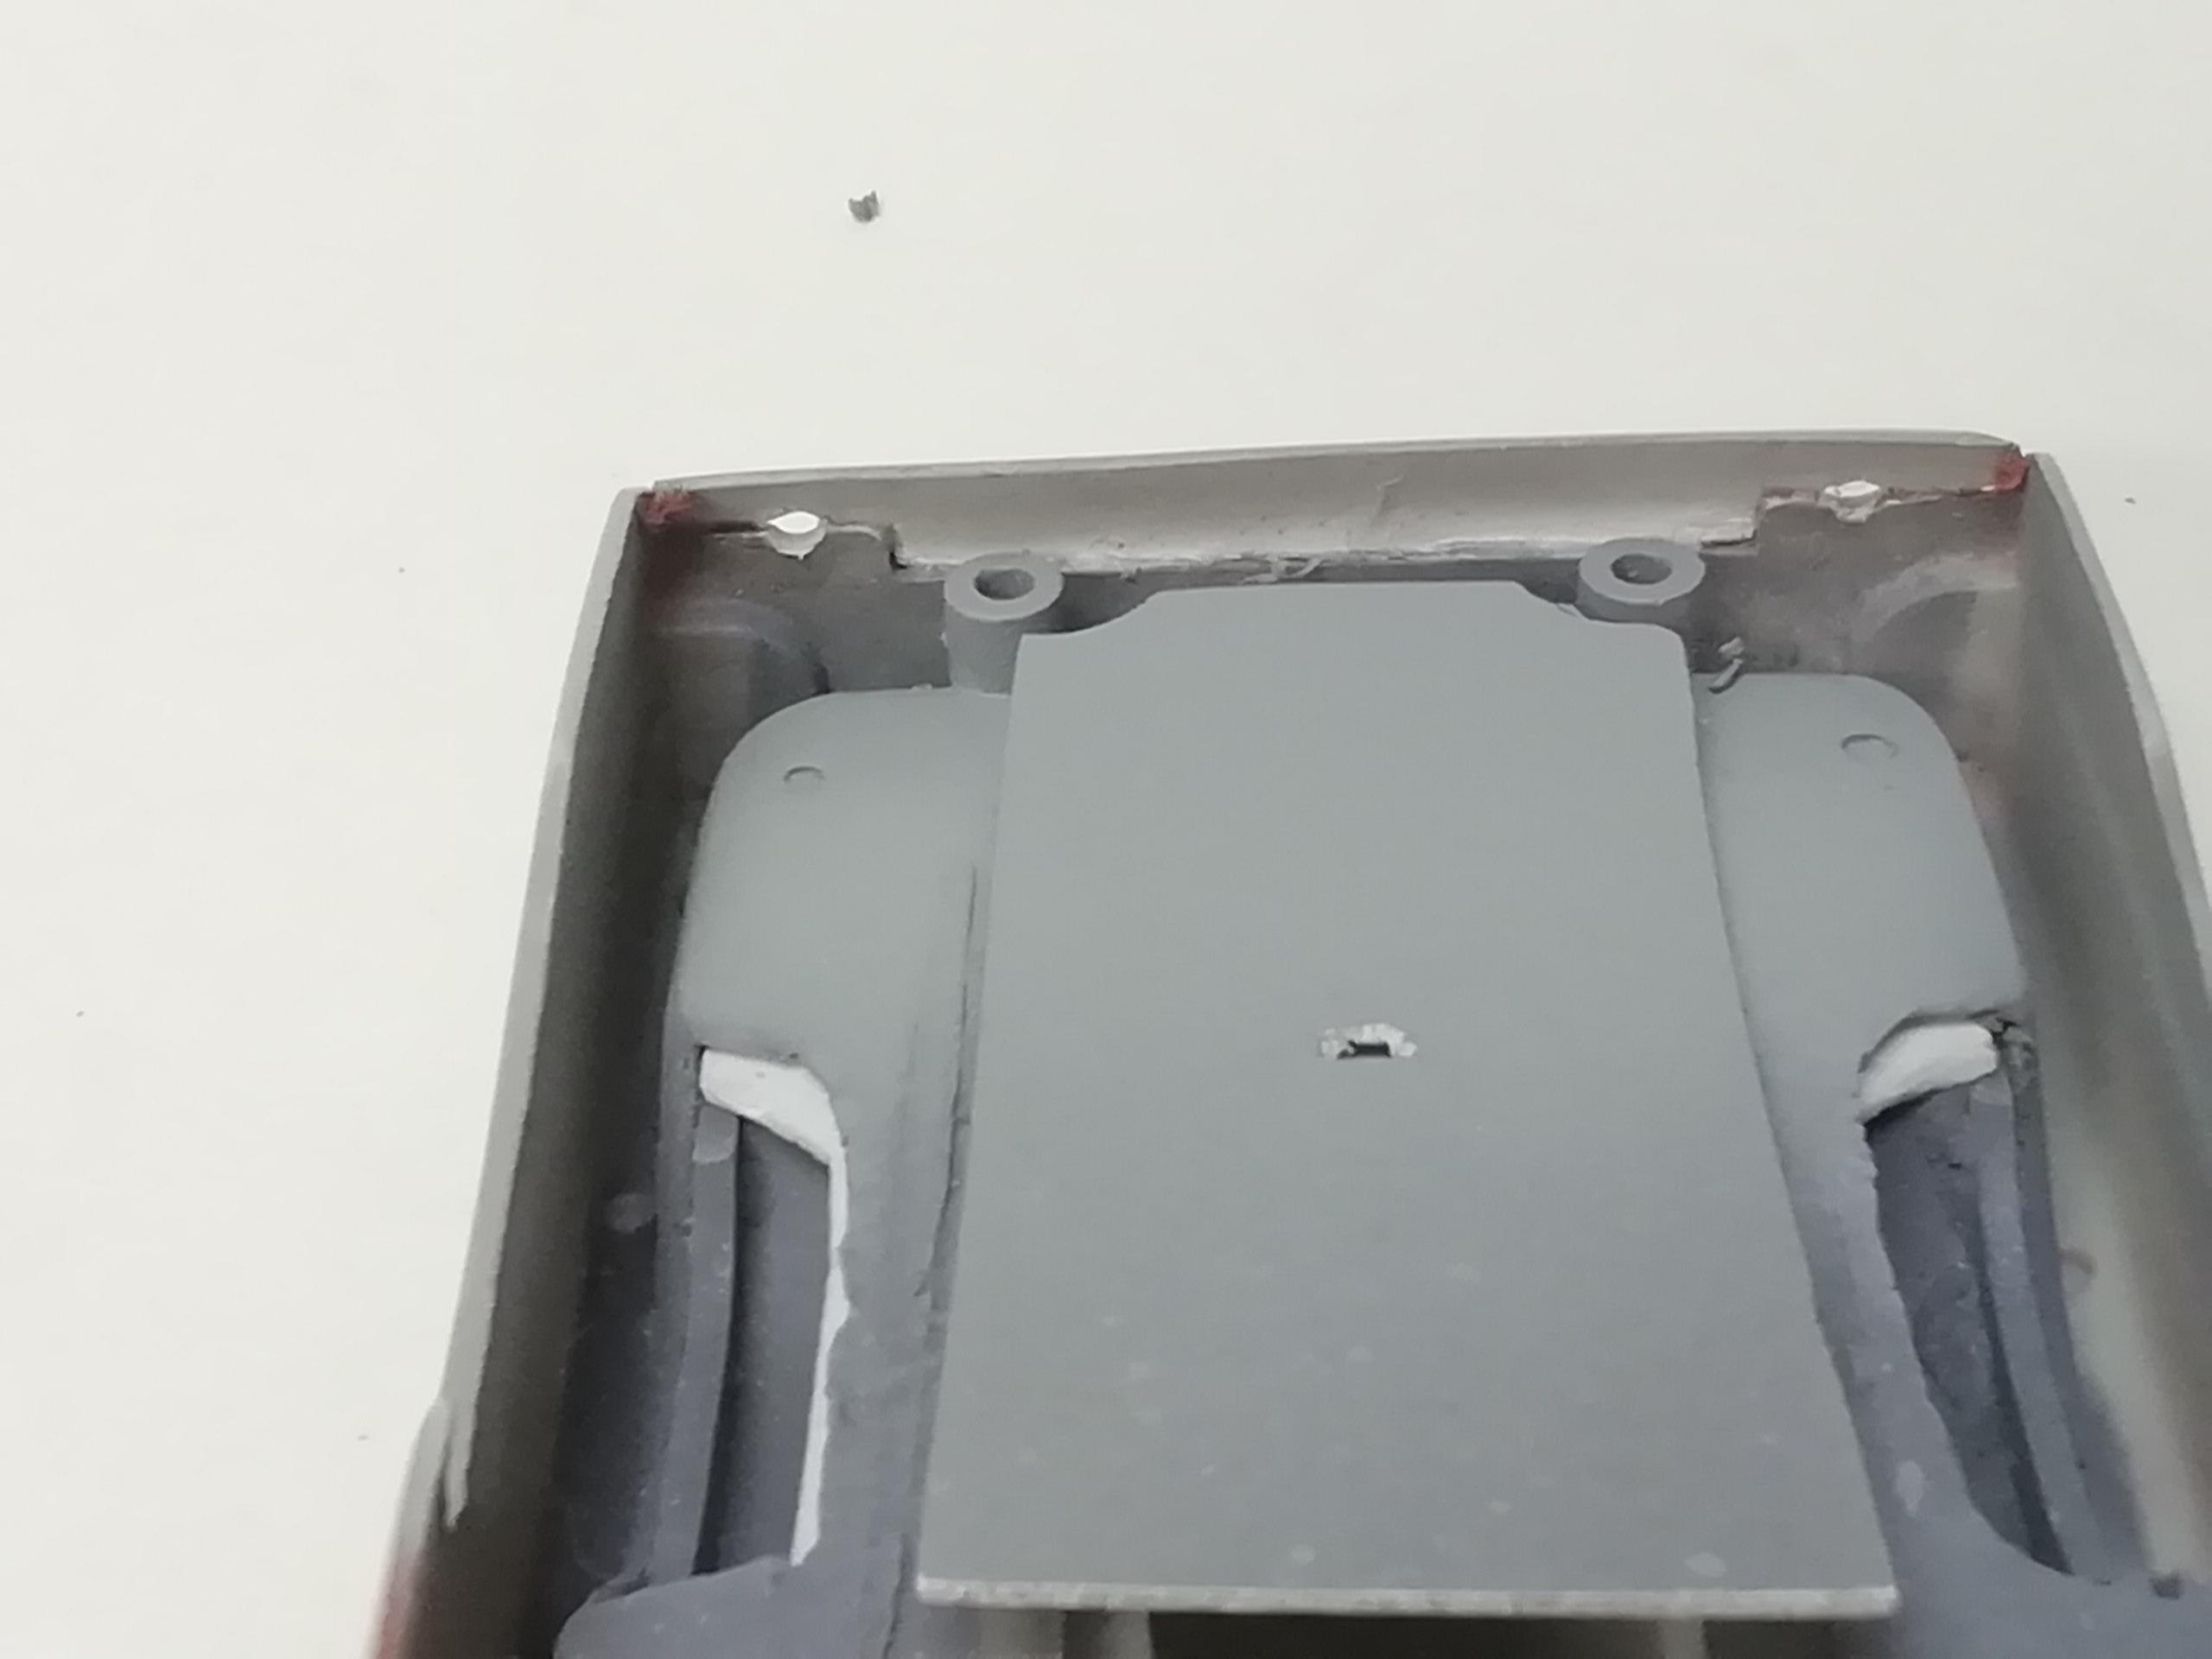
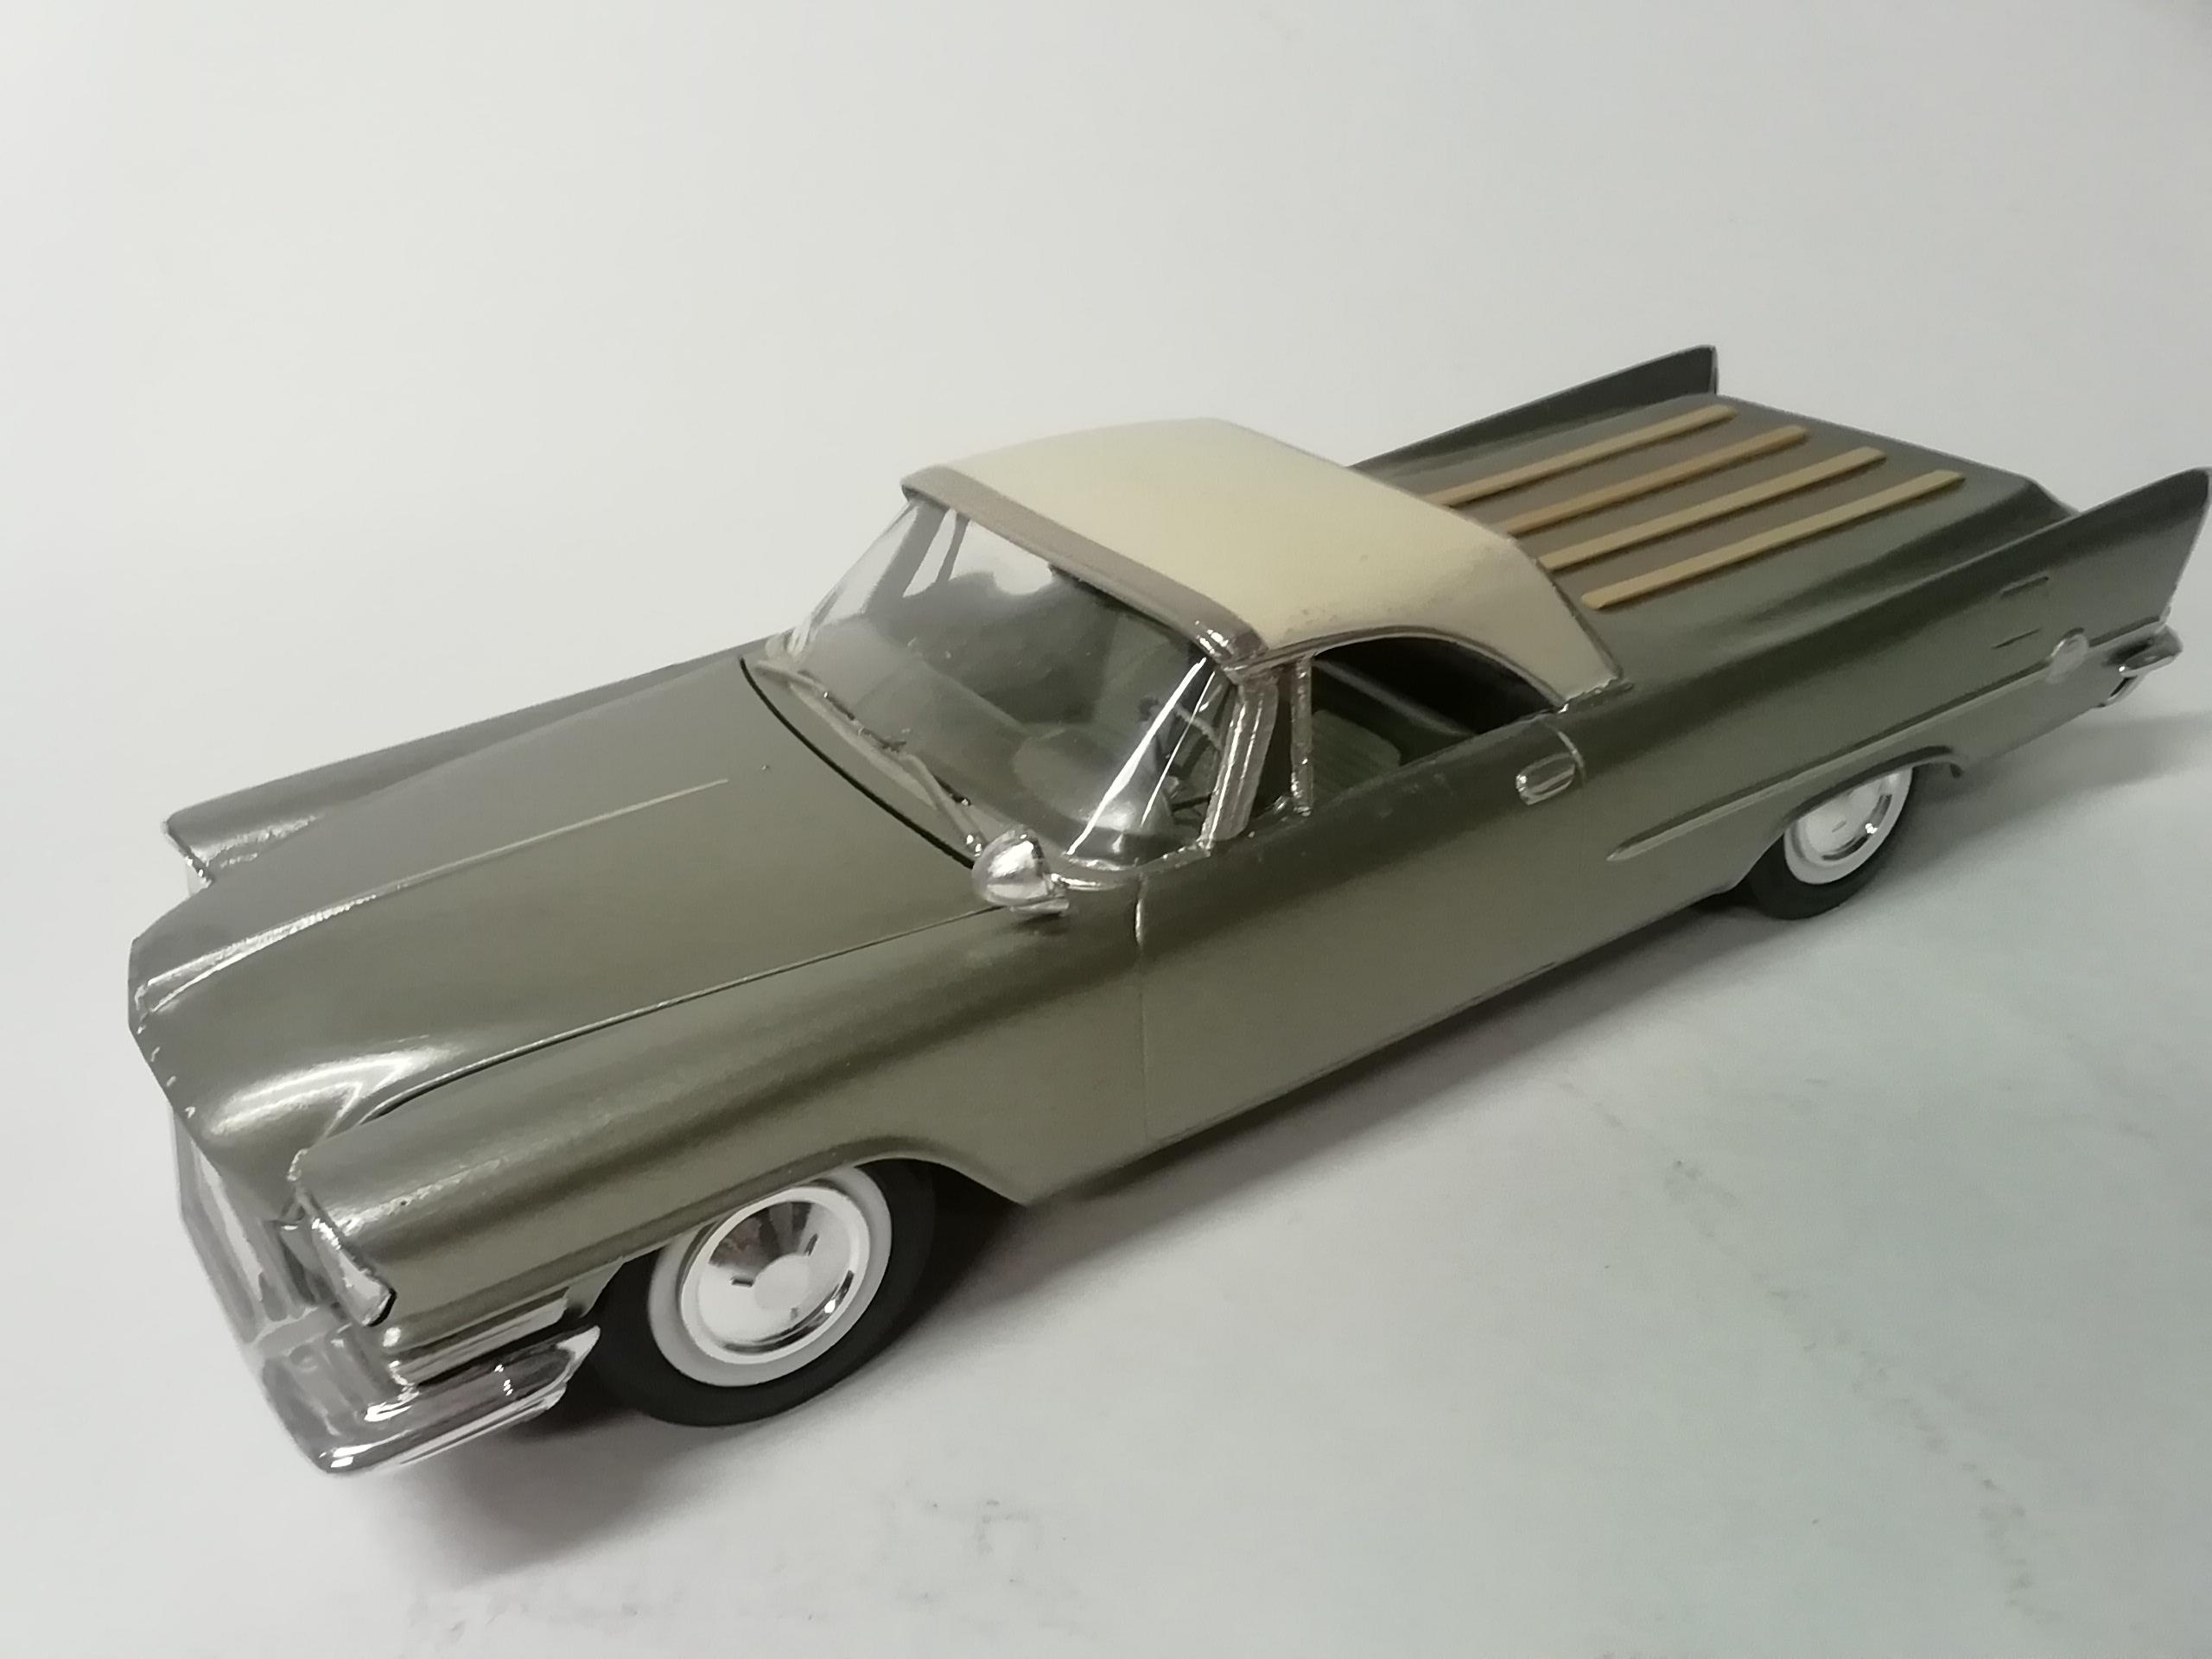
I want a smooth slab tail so the tailgate panel lines were filled in, leaving an obvious rectangular notch in the body for clearance when folding the gate down. Searching thru photos of rear 'slabbed' custom Rancheros and El Caminos showed a rolled pan to be the mod of choice much like I had performed to the front. This is a test fit viewed from underneath showing the white styrene piece I cut and curved to fit. There was no room between the end of the chassis and panel to add a curve so I filed the chassis back as far as I could to the anchor posts. This allowed a good curve and good fit. Just a small amount of cleanup to do. I had originally wanted the rear panel to be smooth from top to bottom but I noticed the slab customs kept the stock rear bumpers because without them they looked....wanting. Stock bumper it is. It covers some of the work that was done but that's ok. This is a mock-up of how the pan helped make for a clean presentation. Comments and observations welcome
-
Thanks for the kind words Gary. Like you, I enjoy and learn from wip's..even 50+ years later.
-

Another 3100...4 door duallie
Farmboy replied to Farmboy's topic in Model Trucks: Pickups, Vans, SUVs, Light Commercial
The kits were $5 each when Walmart was clearing out their model inventory many years ago. Had them in my stash for quite awhile. 'Glue issue with kids'? I believe this whole sniffin' glue thing goes back to balsa airplanes. One would use airplane 'dope' (there's that word) on the linen or paper, a varnish that would indeed give one a headache in a non ventilated area. How one gets a high from tube glue is beyond me....and I had a pretty good time in the '70s lol! -
Hey Mike! Thanks for the shout out. The body should have paint soon. Ken, Bad Chad's show was a favorite of mine. Maybe he might bring a car to the Nat's this year....maybe even stop in to the model show like Gene Winfield used to.
-
Tasty tidbit Ace. Oddly, I was considering using the D100 split windshield early on in the build. How oddly coincidental would that have been! I decided not to as the mild chop to the Ford cab seemed the way to go.
-
Glad to be on your radar Cobraman.
-
Thanks Rich. Should be getting more done a little quicker.
-
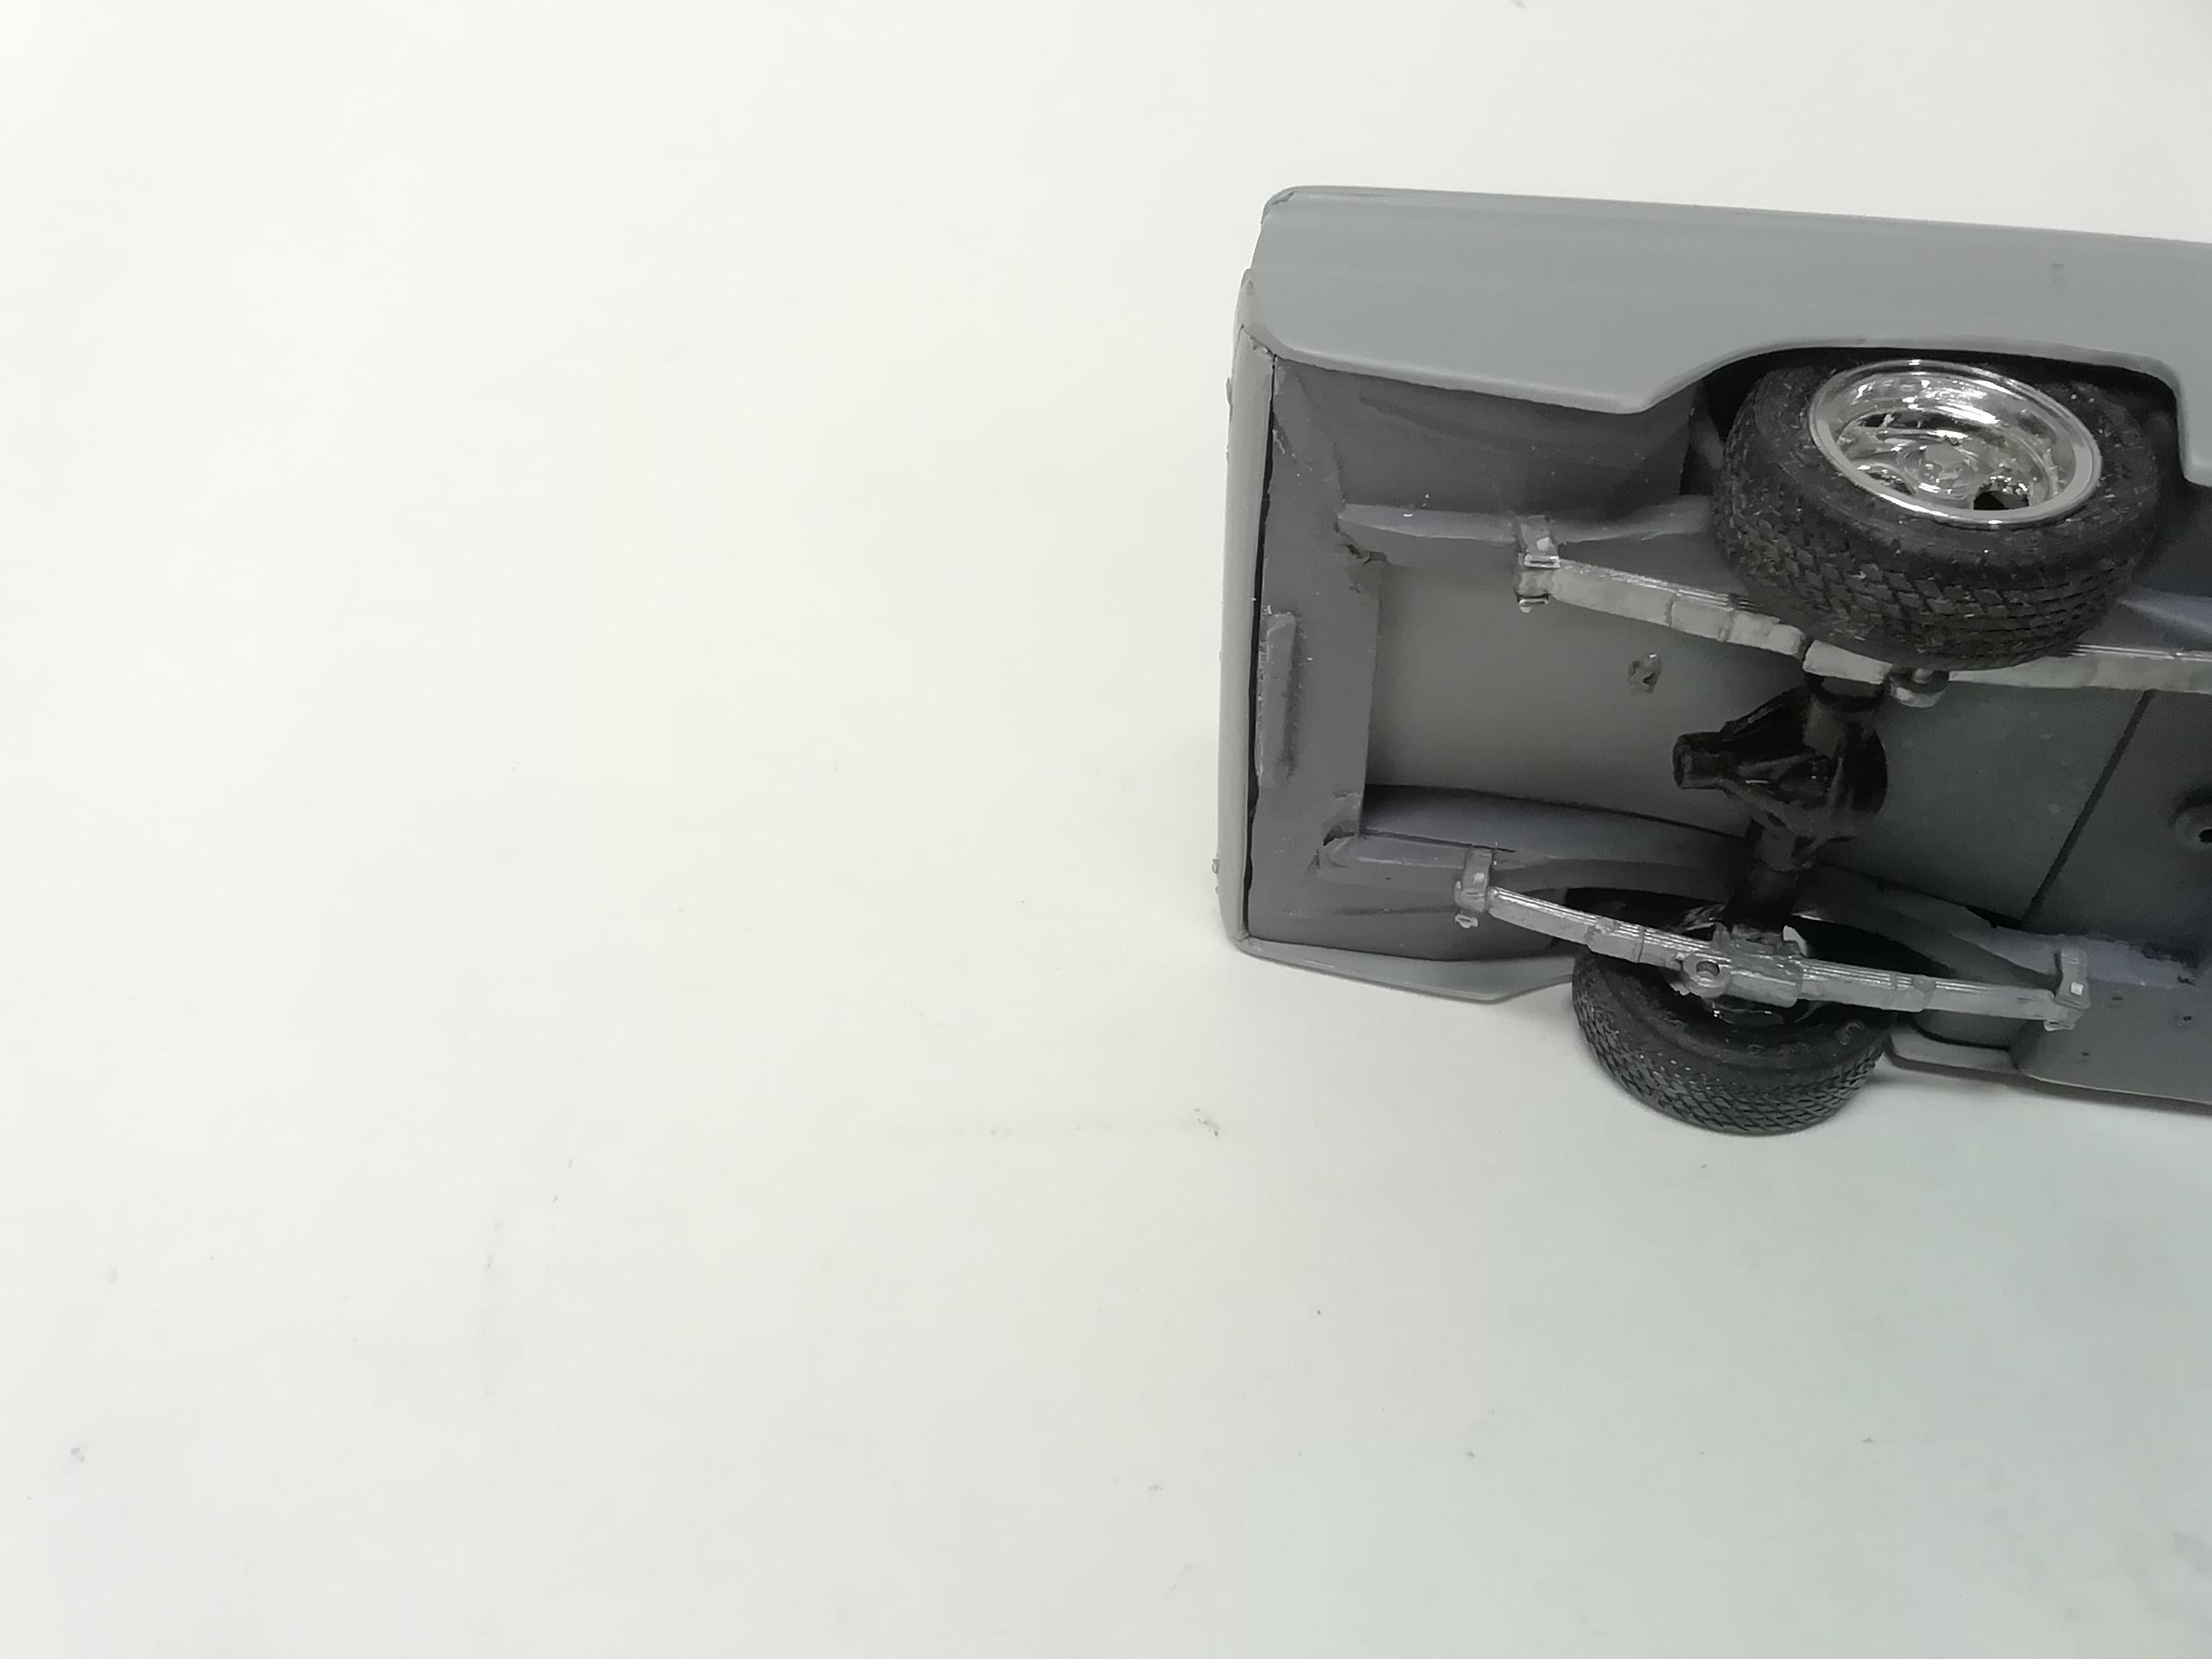
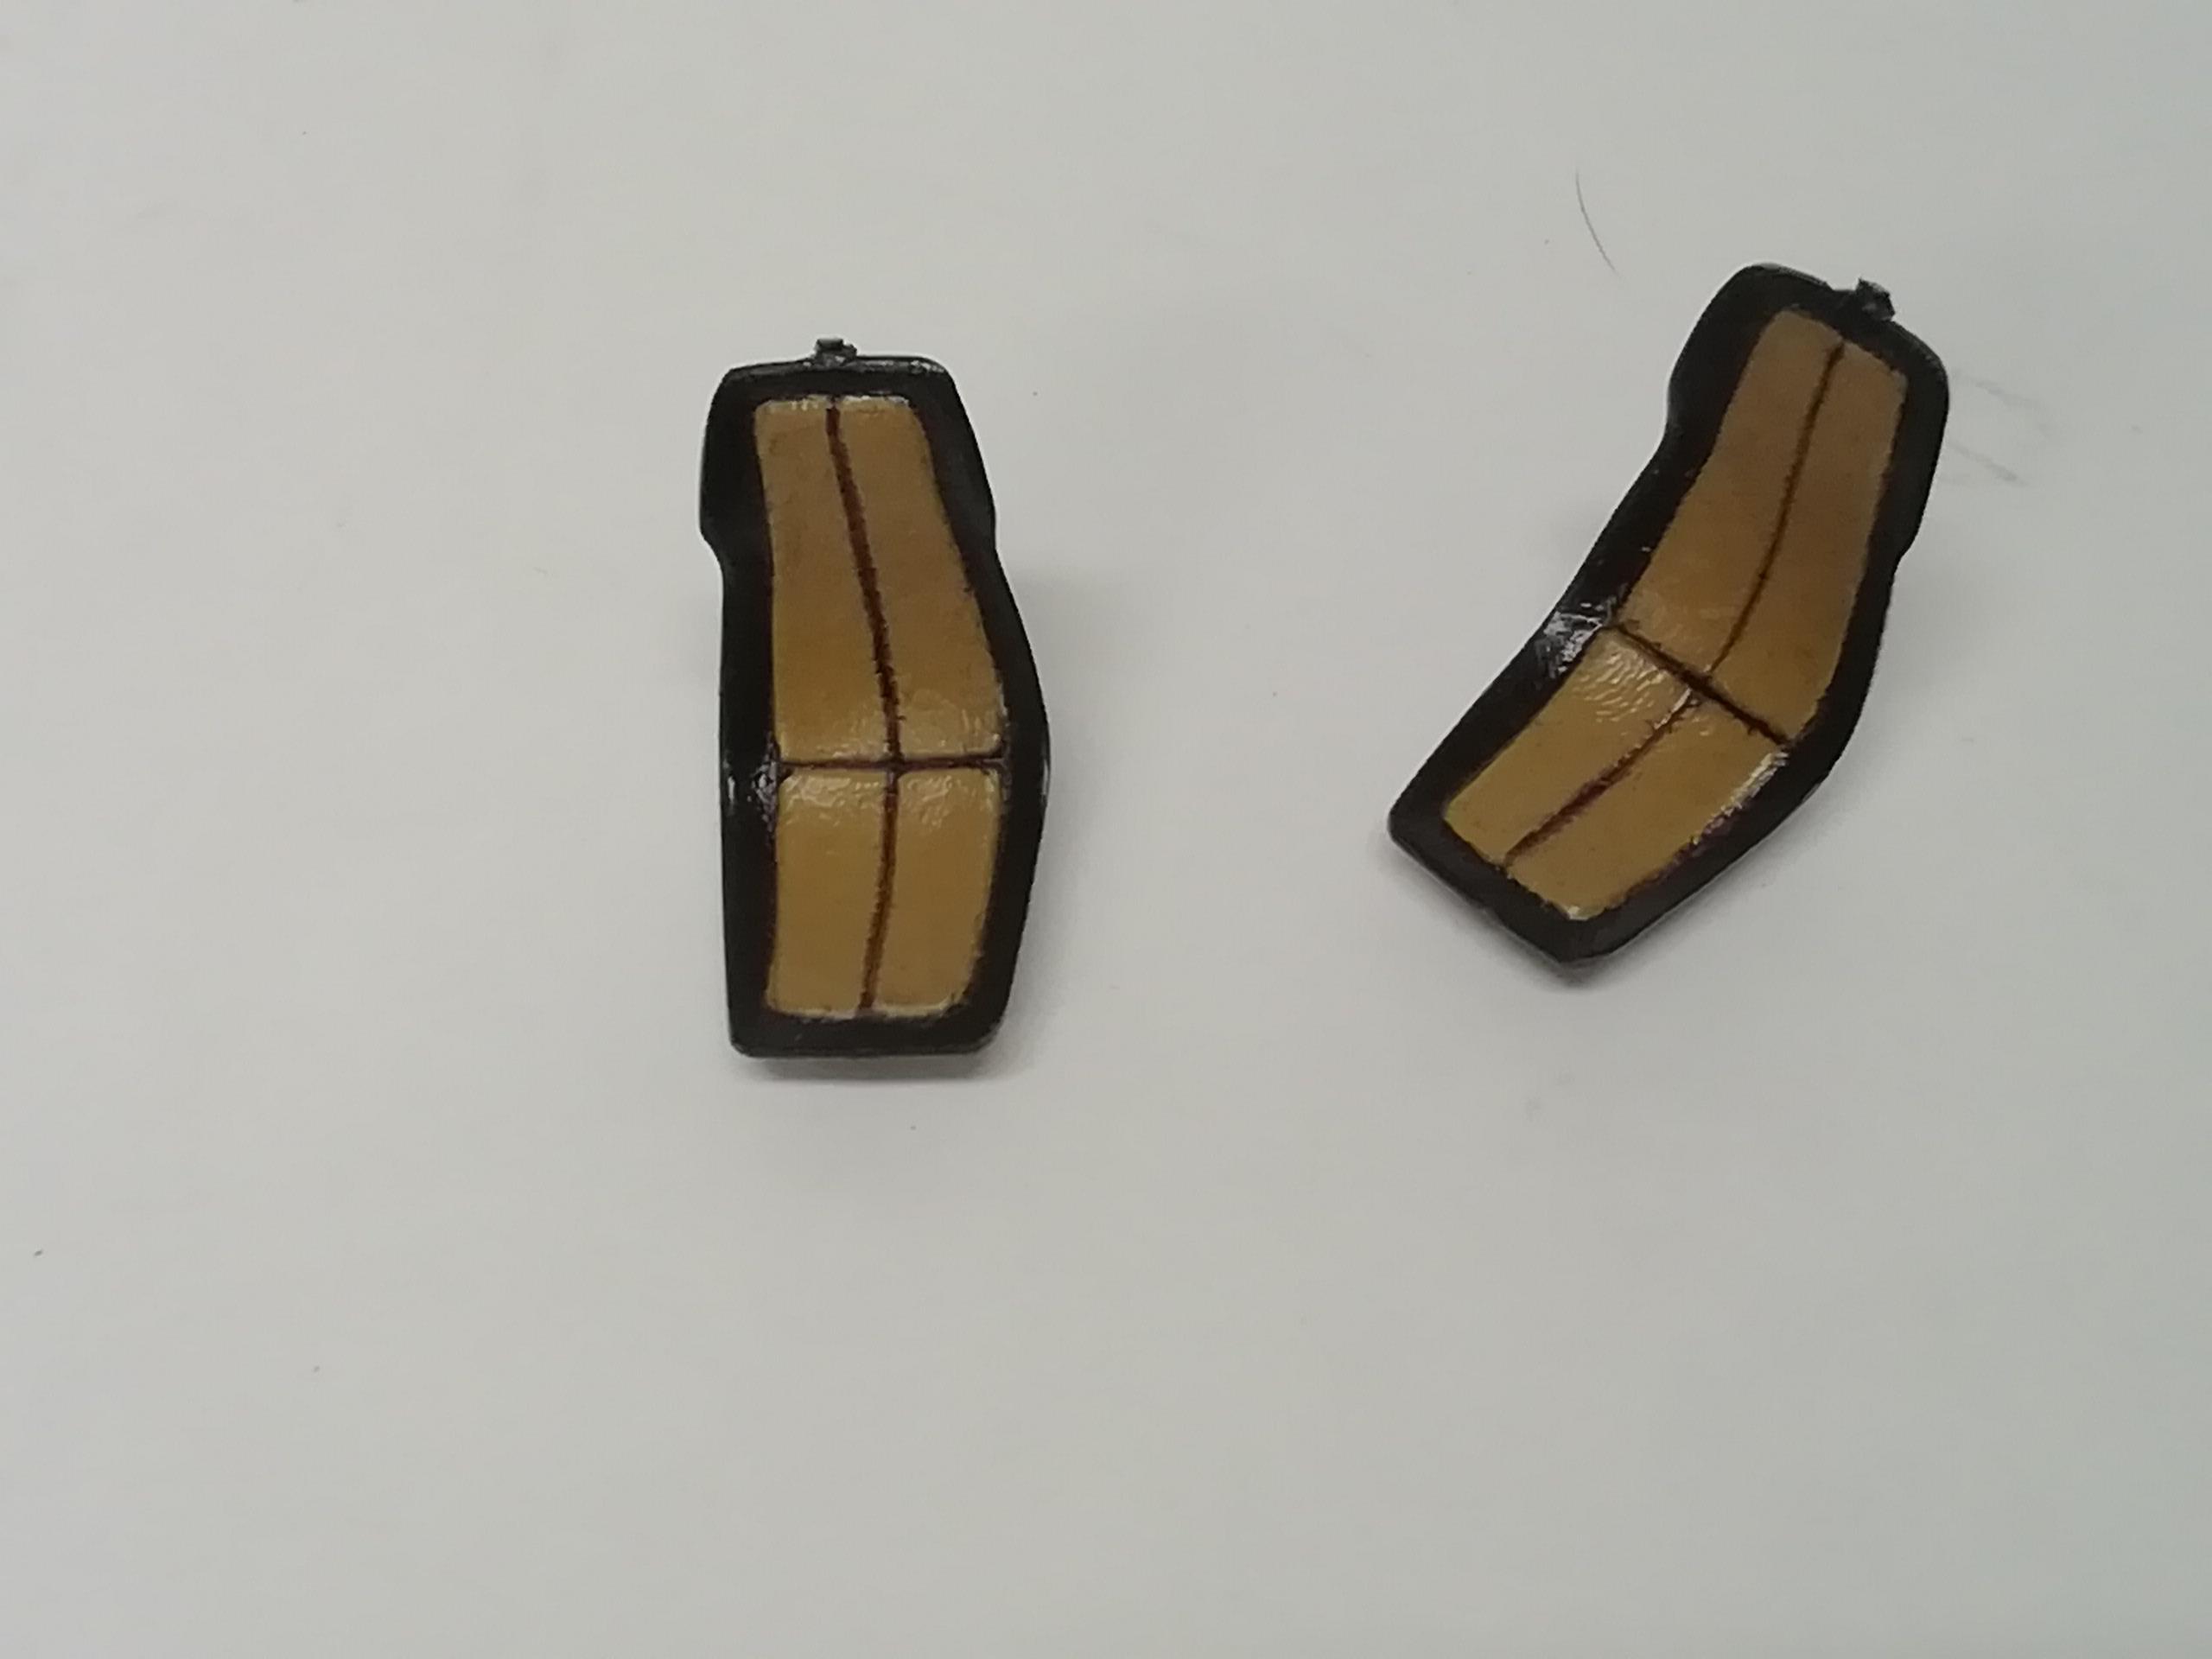
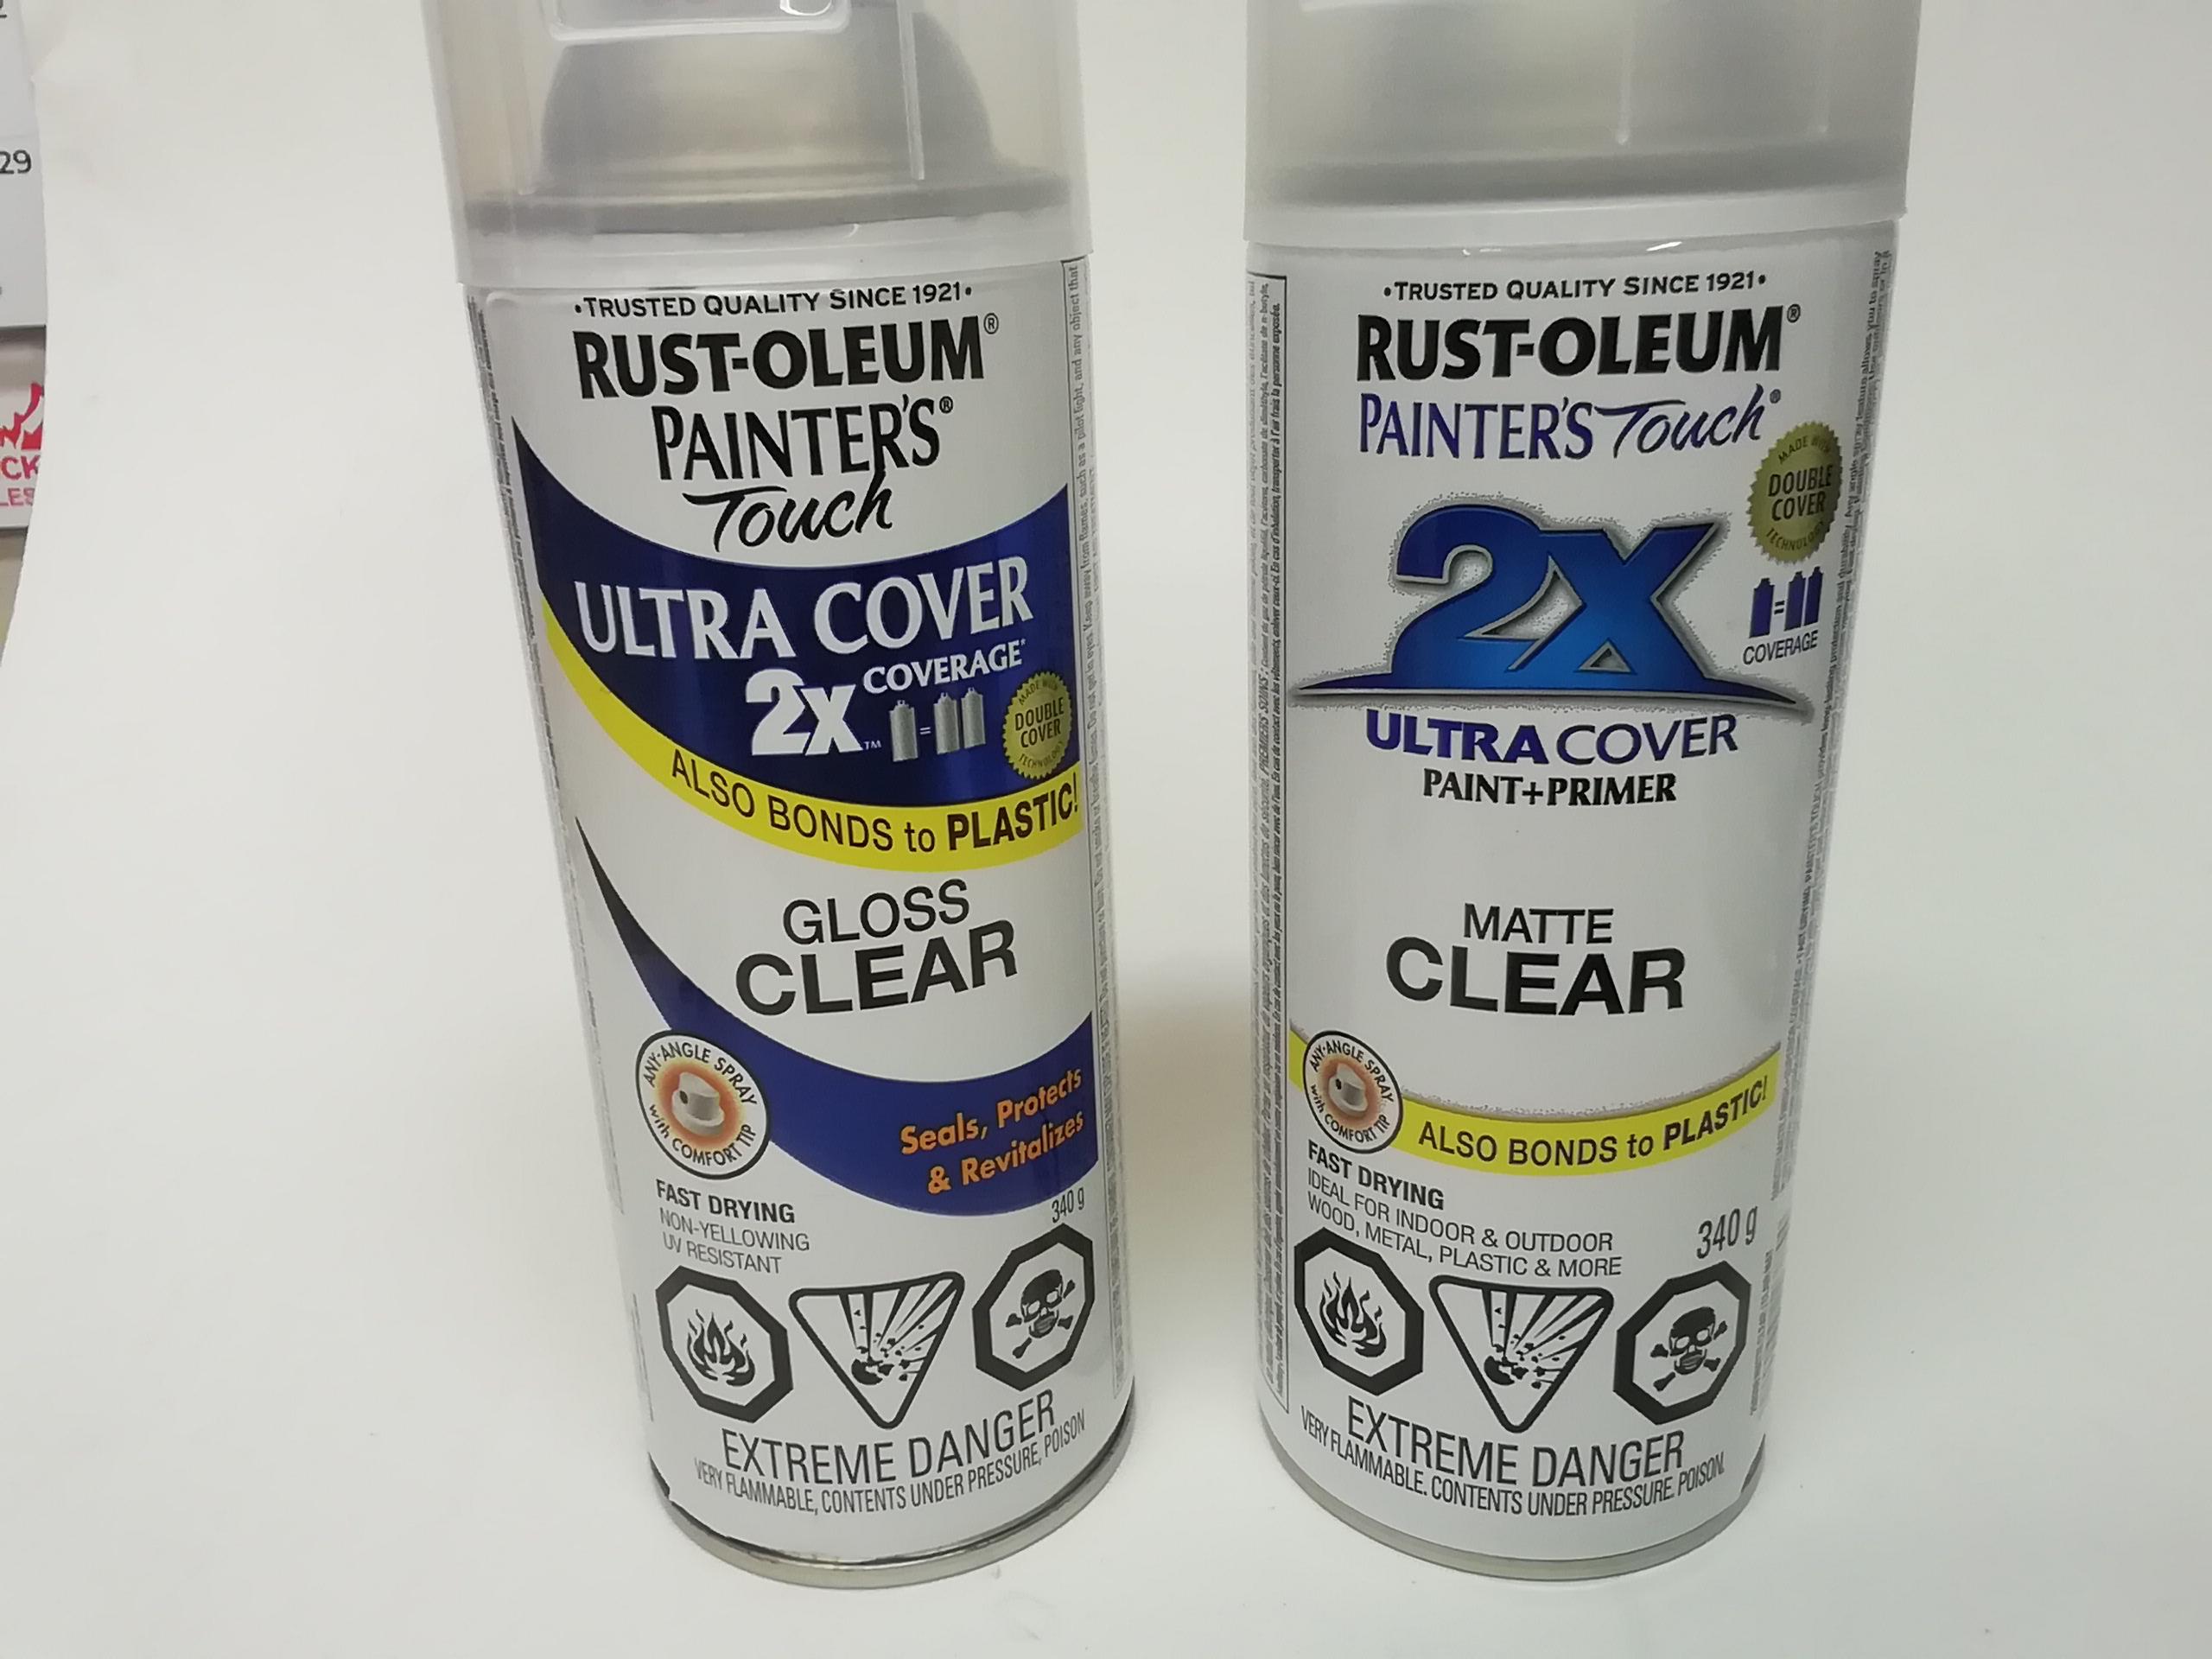
Got a little bit done in the past while, the interior parts painted, most notably the seats. These were Deora seats from a glue bomb, thought I'd use them. I masked the panels after painting a tan color. The super thin black divider lines were done with a micro sharpie. This is a hi mag shot, obviously some minor touch up work to do but all I all they turned out ok. I have the underside almost done. Some finish work yet on the agenda. This mock-up shows the diff pointing backwards as required. Once I have the the transmission-to-differential piece made I'll know how large to make the opening in the chassis and exactly where to drill it. I also have spring mounts and shocks to add. That round piece between the mufflers will have a cap & D handle mounted on it to explain how the oil changes are done with engine in place. Dual exhaust is from the parts box and will be altered to suit the environment. Not really doing much to the underside after that. The cut out in the bed is finished to suit the transmission, engine, and blower. Came out nice and snug. Front engine mounts will be the water pump mount type, the transmission mounts will be imagineered. Note the oil drain fixture. Krylon has been my go-to for years for spray bomb colors and clears, and I couldn't figure out why the clear was suddenly having such a hot reaction with other brand paints, ruining all that prep and wet sanding, because it never did before. The answer was in the 'clean up' line. It now read "... lacquer thinner.". Gone was "...mineral spirits.". I can only assume a chemical change. I bought the two Rustoleum products below that had cleanup reading "...mineral spirits". I tried both on a painted body and no problem. I wish Krylon had put the change on the front of the can. It would have saved me a lot of frustration. Full disclosure: I found adding a coating of future between the previous and "new" krylon coats helped. Here's the color I've chosen for the Fedora Comments and observations welcome
-
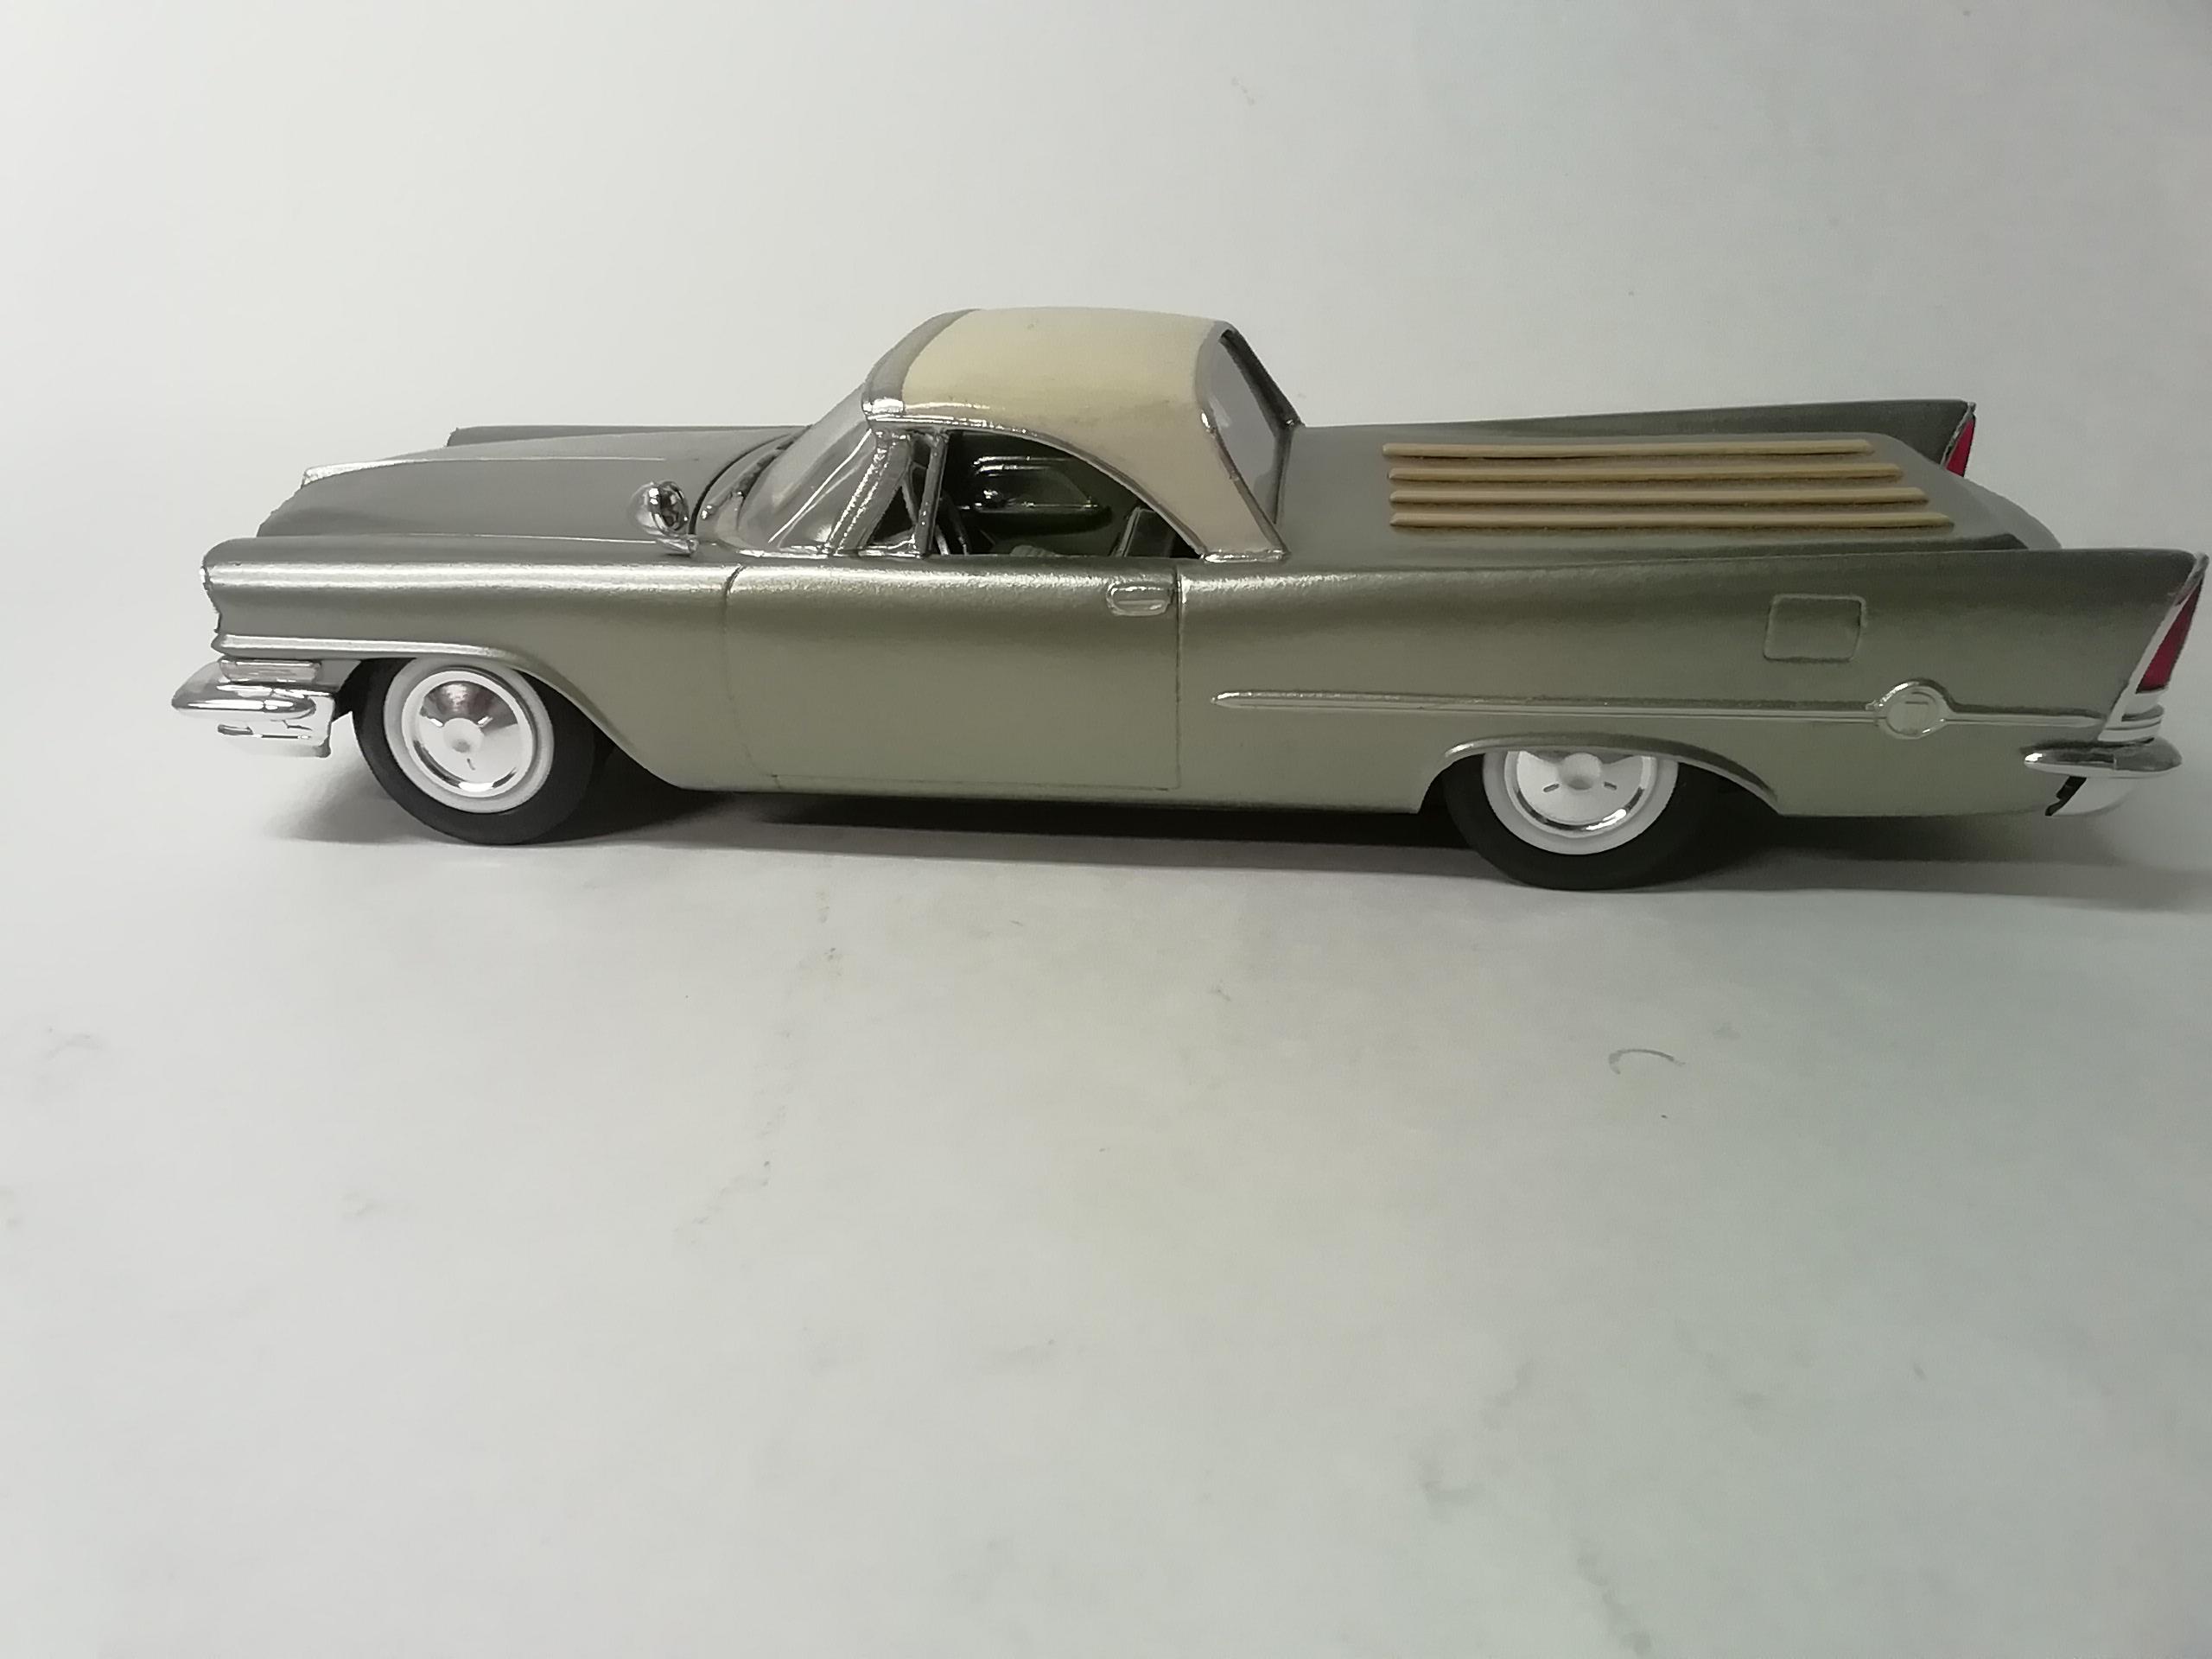
Here's an EL 300...
-
Another 3100...4 door duallie
Farmboy replied to Farmboy's topic in Model Trucks: Pickups, Vans, SUVs, Light Commercial
I had the same experience too Tony, clean and smiling! I have a good idea of what I'm wanting the truck to look like. It would drive out of the lyric "It was the 3rd of June, another sleepy dusty delta day..." and would tend to diesel when it was turned off lol.