Farmboy
-
Posts
518 -
Joined
-
Last visited
Content Type
Profiles
Forums
Events
Gallery
Everything posted by Farmboy
-
Thanks cobraman! If you got it build it! It's a beauty of an ootb build too.
-
Seatbelts. Thought I'd try a couple of different things. I tried a simple strap and tongue version I may yet use, and the adjustable strap I'll show here I started with sawing off a section of square plastic tubing and filing as thin as I dared Here they are stuck to a piece of painters tape and sprayed Kryplon Chrome This is a prototype I tried using a pin to see if this would make a difference in the final appearance I decided that I could get the same effect by using ca glue and bending to form a permanent hump in the two pieces of belt to achieve the same result. It was then a simple matter of setting the adjuster piece over the hump with a touch of ca. I think this going to look ok. Some slight filing to narrow the piece and we should be good to go. The belt tongue is photoetch passenger car type but experience has taught me it's better than anything I want to put time in to making. Comments and observations welcome.

-
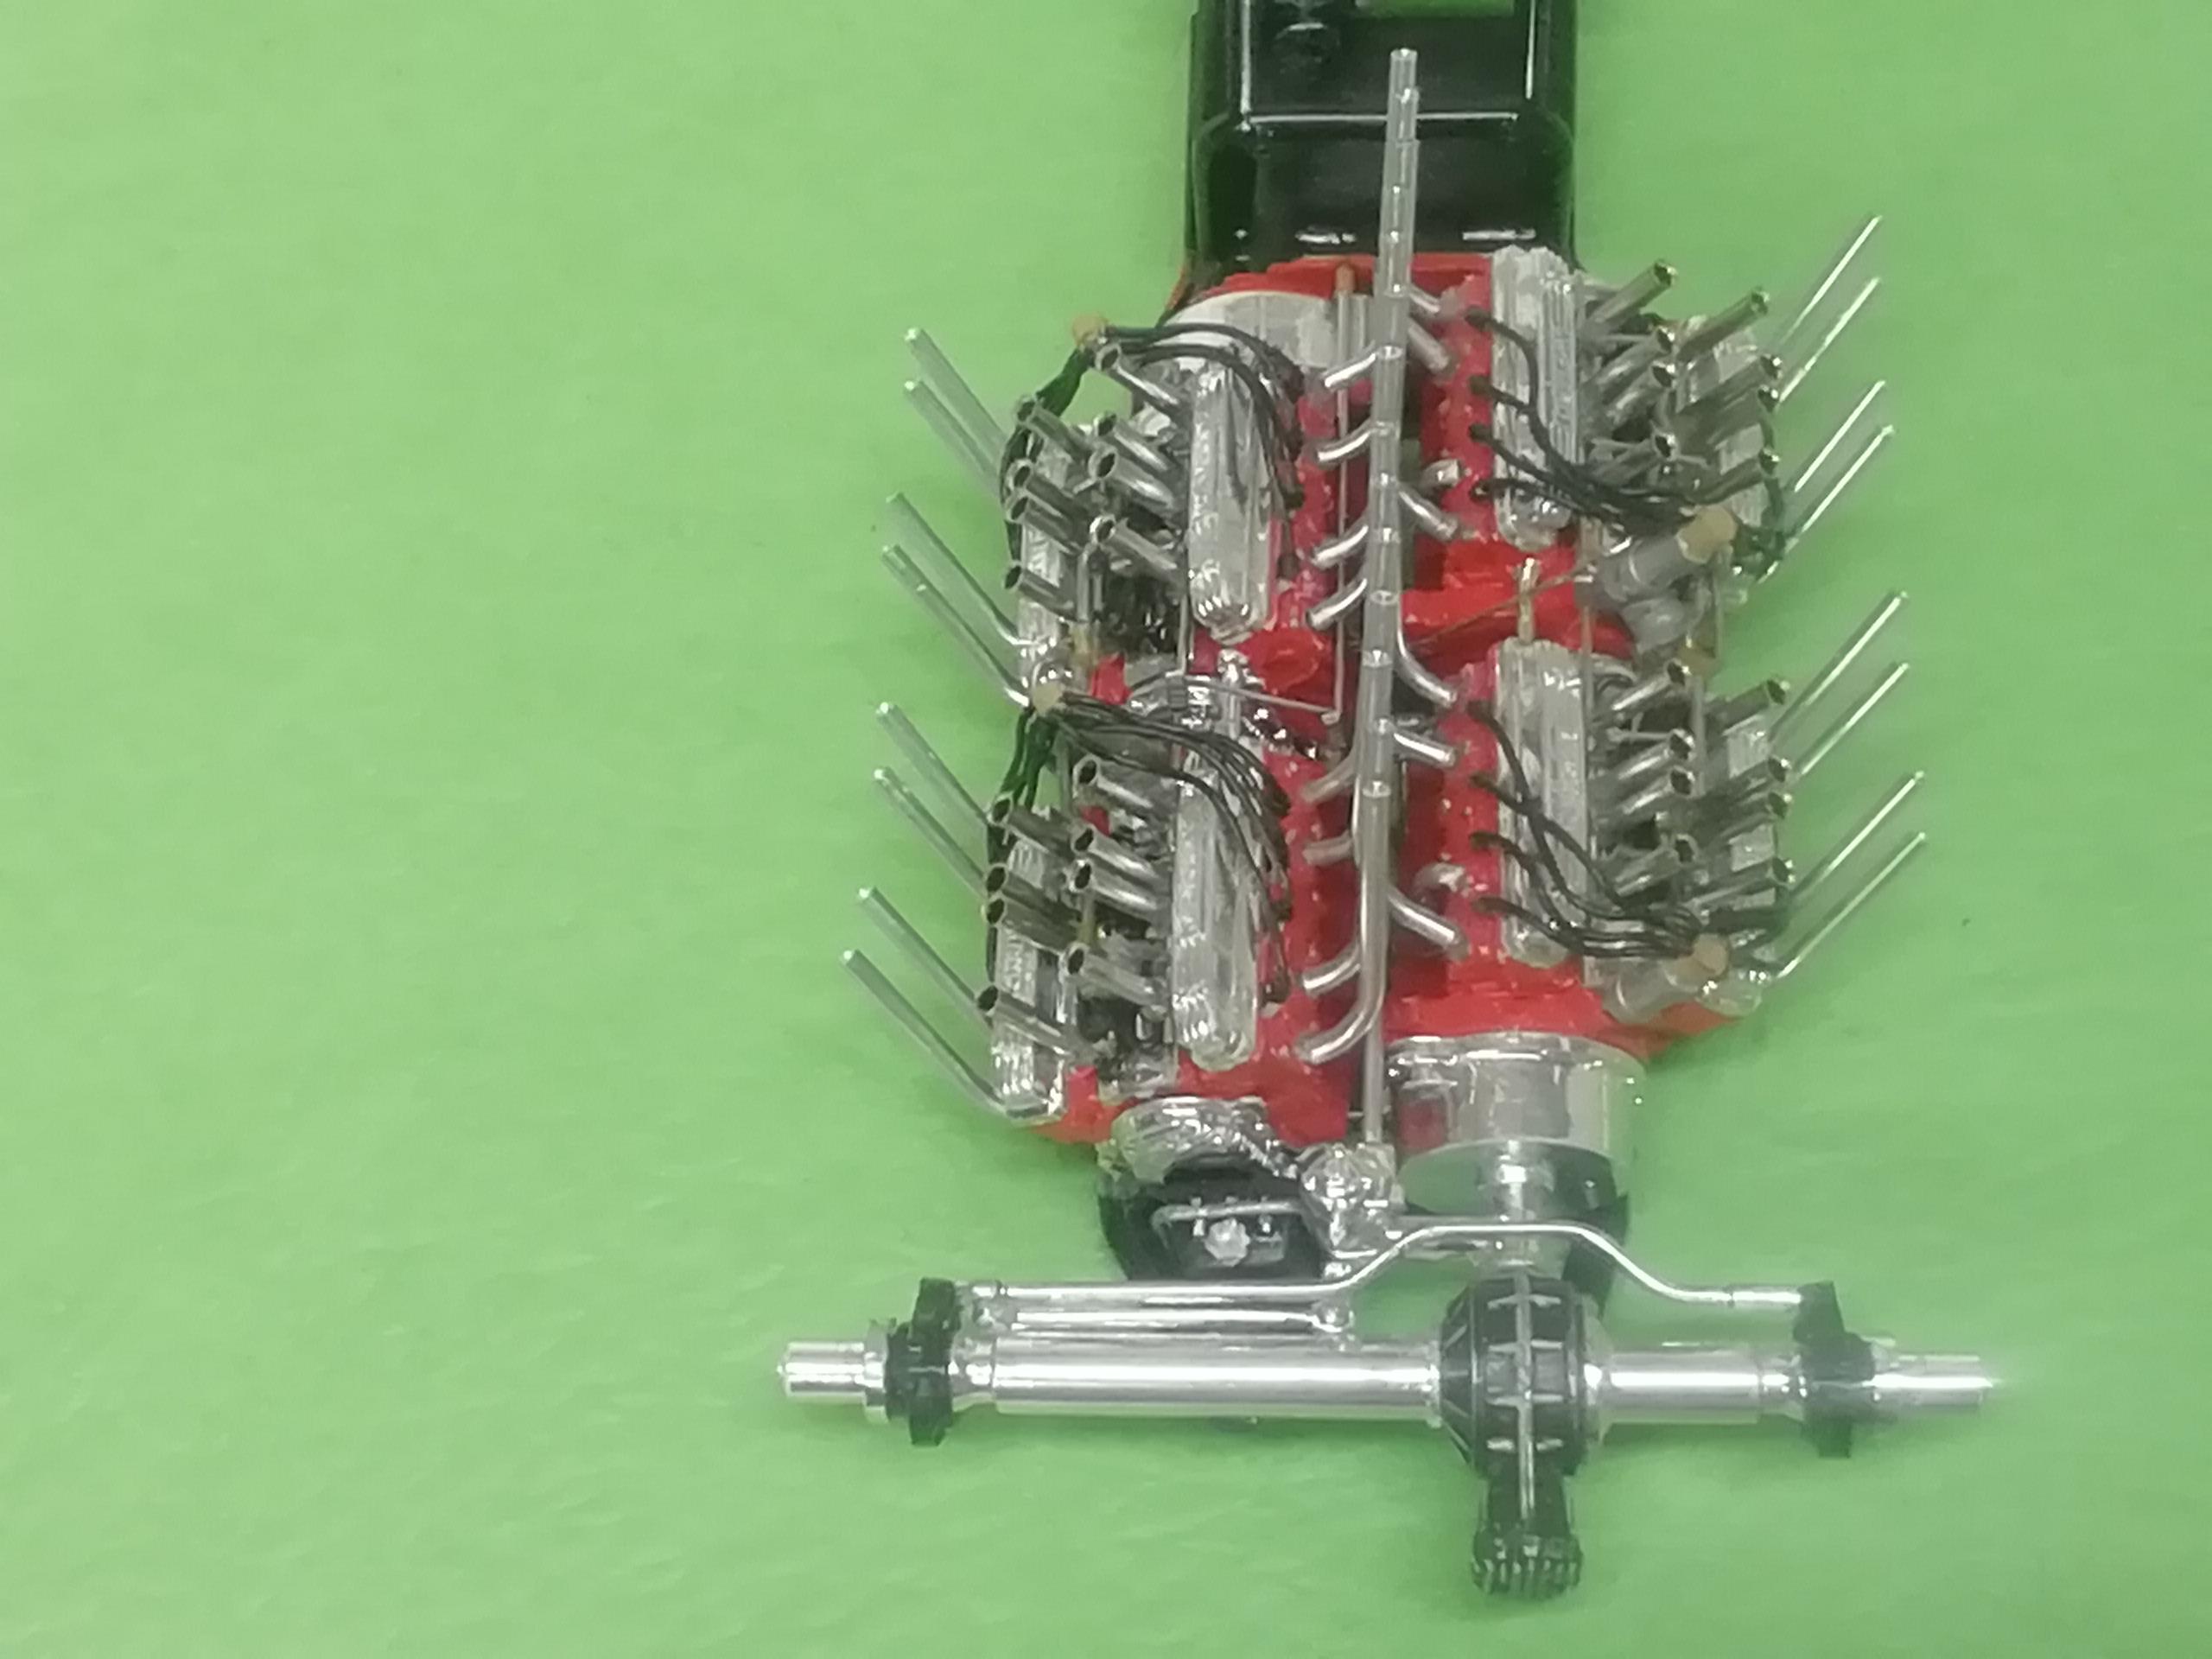
The Porcupine lives! Whew! Also, I added the harmonic balancer behind the fuel tank. It's a barely visible small black disk that did the job. Just noticed in the photo below the center row makes a slow lazy lean to the right. That's the !ens. They're straight. Comments and bservations welcome
-
Got the individual headers made. I'm sure there are a number of ways to make them, here's how I did it. This is the stock I've been using for all the header pipes so far Its a two step operation. First make a master pipe for all the others to get their common shape from, then, make a jig so the opening is the width and height of the master pipe. From then on it's a fairly simple matter of making them fit the jig. As you proceed, some tweaking and adjusting will be required. Copy all your bends from the master for all pieces.. Make 2 or three extra. It's inevitable some pieces will need length and additional bend adjustments. Jig #2 makes it an easier task I made this 90 degree jig from stuff at hand. It works. Master is on the left, clone is on the right, or placed on top of the master. And this is what you get. Comments and observations welcome.
-
Thank you sflam, it's coming along.
-
The fuel system is what's been putting me off to building the 'crate...I'd love to see an accurate diagram of it. Plus, it then depends on what system (there were a couple) you wish to model. I'm planning to replace both the iffy fuel pump and barrel valve by making my own or finding them in my parts stash, but that's after I finish this monster. Looks like the headers are next.
-
You mean this guy lol? Another kit build I don't think I've seen in person but I have seen a few finished ones on line. It's somewhere on my to-do list. Thanks for the shout out Joe.
-
Thanks for the kind words Trevor. Not a whole lot left to finish, only finding time to do it, but it's getting there.
-
I wasn't happy with the way the gas tank mod turned out. It didn't really look like the one on the real car so I took a shot at re building it. This is a shot of the oversize D string I used for a hold down strap removed, 3 super fussy strips applied per the original (they should be indentations but I'm not telling anyone), sanded and sprayed flat black. The strips have been painted silver per the real deal, the gas cap moved forward, and the hold down strap installed made from small diameter solder slightly squeezed between serrated pliers. And here is the mock up install Just have to plumb it. Comments and observations welcome.
-
Thanks Marcos. The ferrules will come in handy for more than injector stacks too.
-
Gas tank. This is an odd 2-piece affair that you don't see very much of. All I added to it were the fuel in/out necks and the spring hold down I made from an old wound 4th string from my 5 string This is a 3/4 front view showing cap and hold down spring And a 3/4 rear view showing the fuel in/out and spring hold down. Top is return, bottom is feed. Apologies for the foggy pics, not sure why that happened. Finally the mock-up of where it's going to sit...only straight lol. Just have to hook it up. Comments and observations welcome.
-
Nitro, thanx for the kinds words. I've only really begun learning to use tweezers instead of my fingers to attach parts in the last couple of years. Took some adjustment but I now I can't see building without them!
-
Hey Marcos. The stacks are made from metal ferrules ordered from Amazon. The plastic container has a few hundred of them in various sizes, more than enough for the rest of my model building days lol! Yeah the wires are slightly oversize. They tend to look really thick when magnified in a close up. I have scale plug wire but it just looked too spindly to me on this model. Final decision was: a) the look and fit to the magnetos; 8 holes/8 wires easily installed with plenty of room to spare), and b) the look with plugs and plug boots. The 30awg won. Once the 16 additional side pipes are on I'm hoping things will be busy enough to look right at home. Thanks for the input, 'preciated! Comments and observations welcome.
-
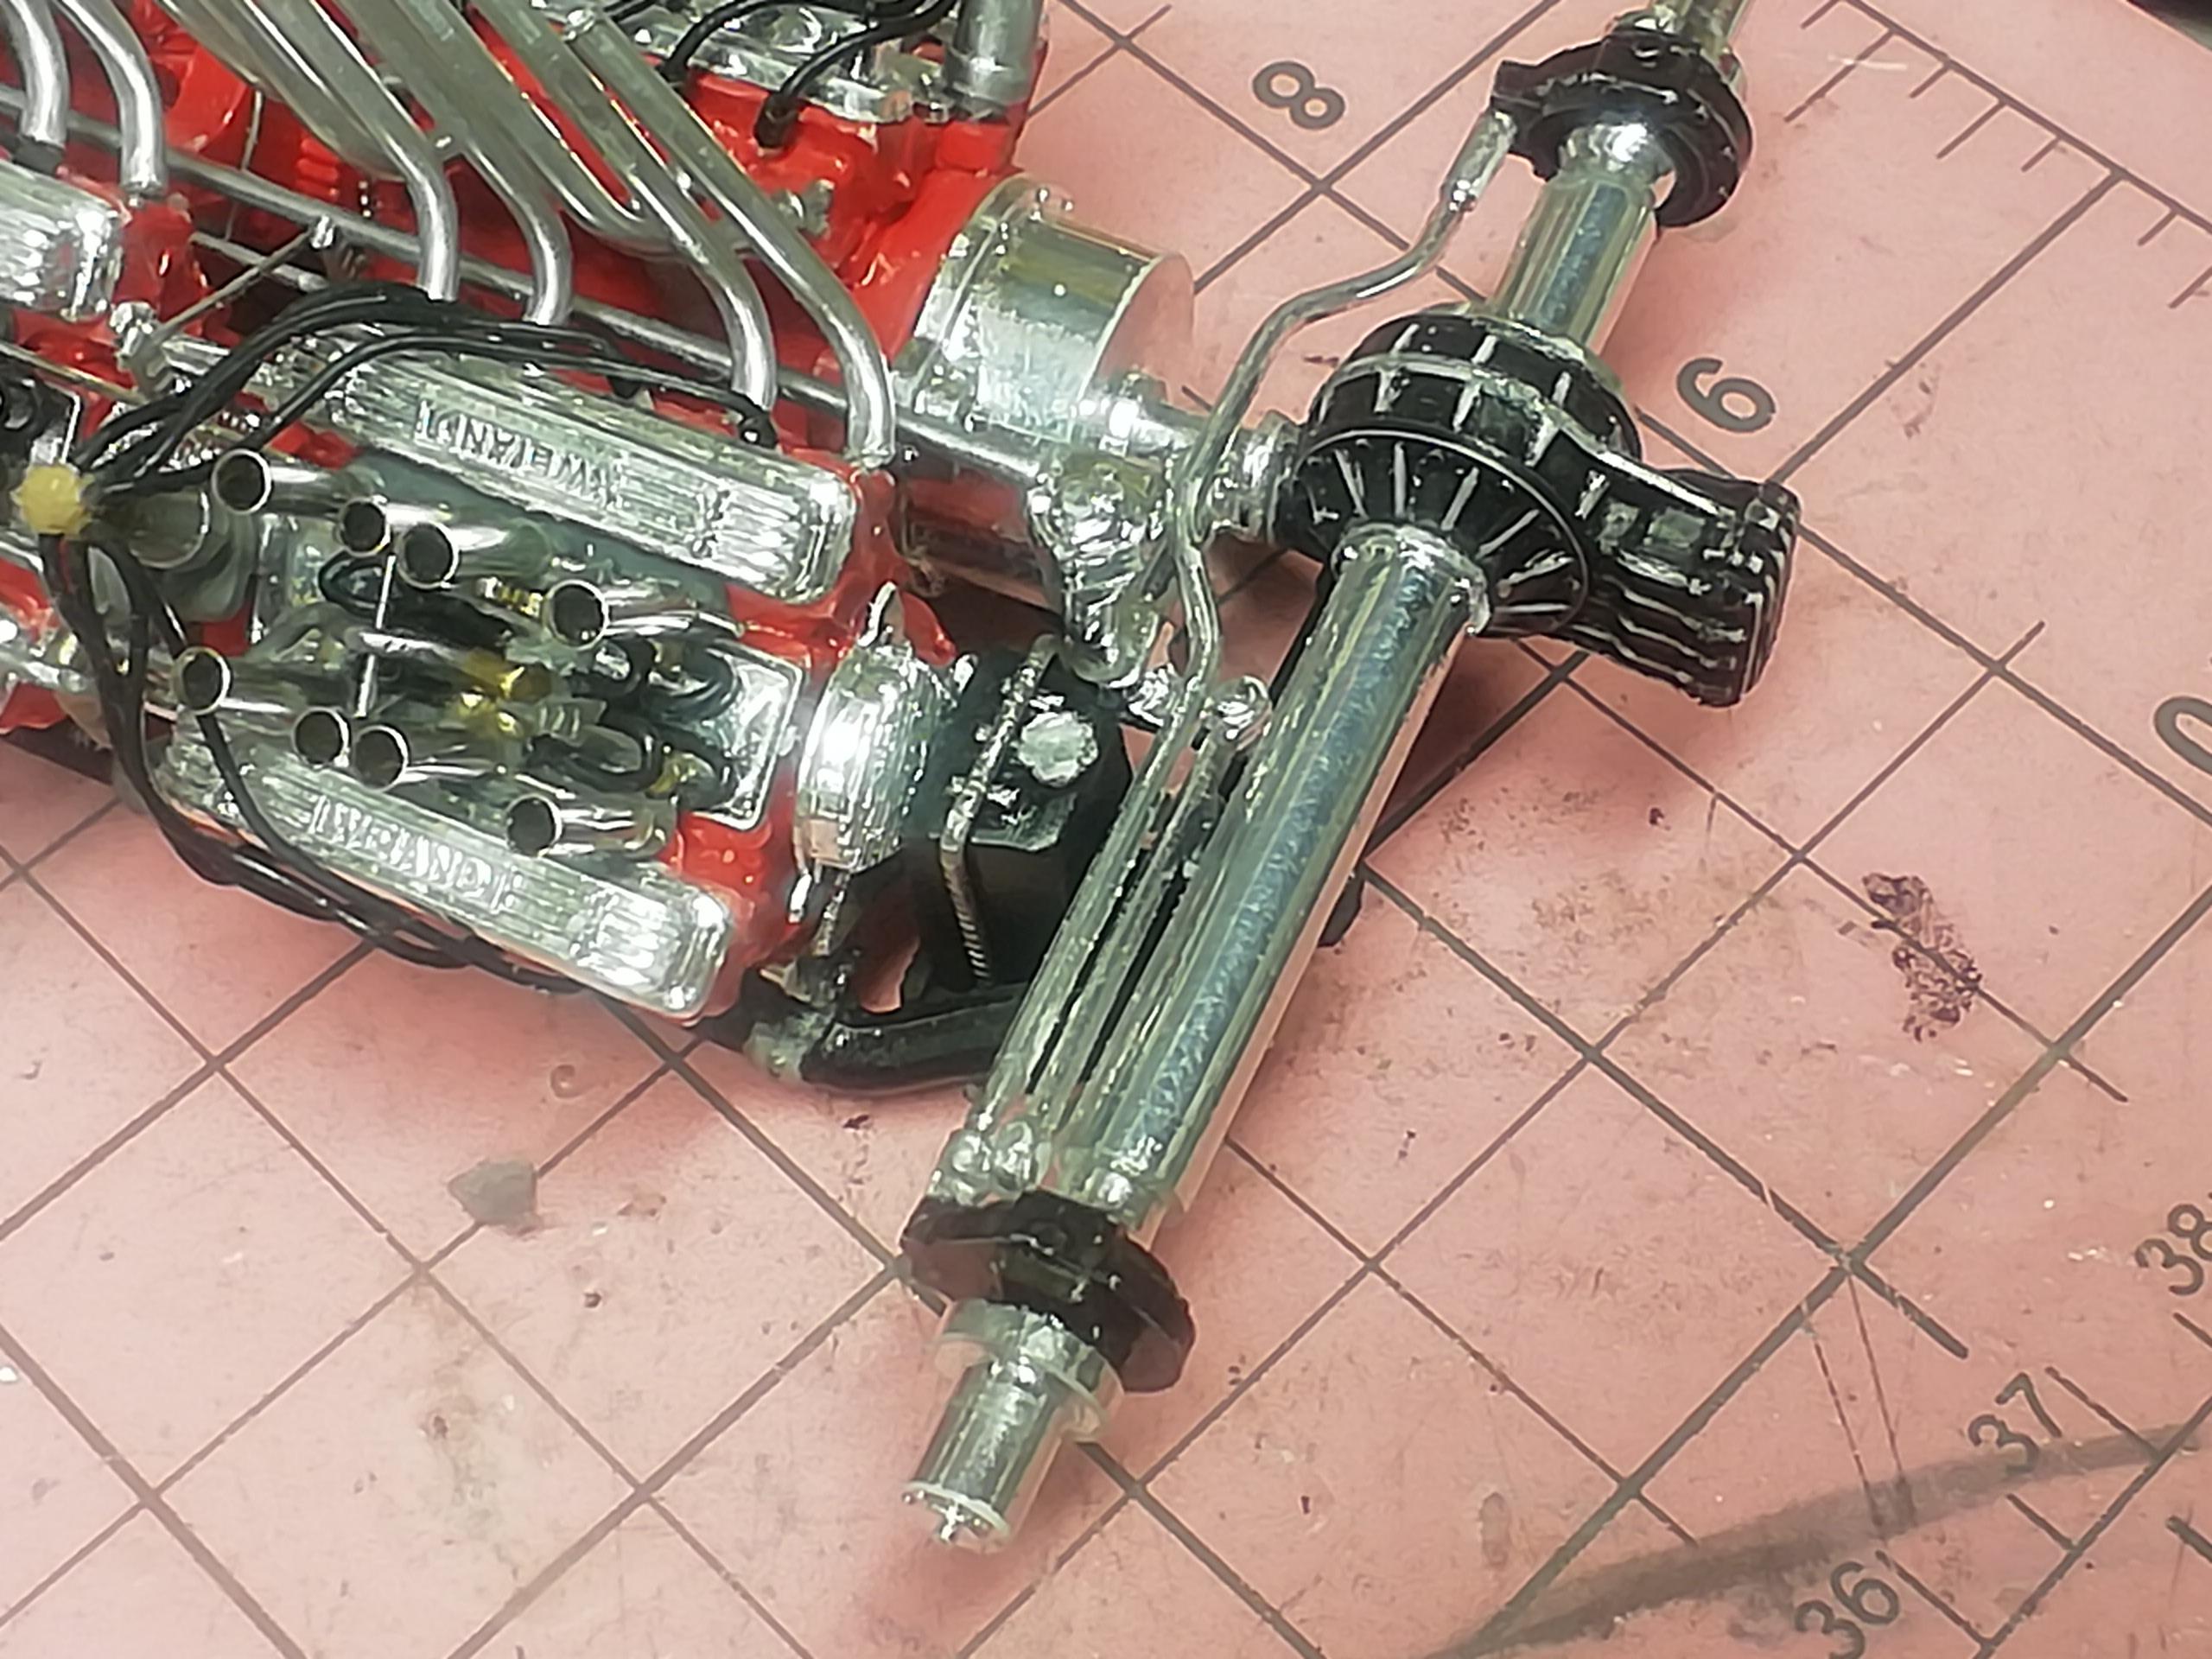
I've completed the fuel lines from the distribution blocks to the injectors, as well as the hard lines from the dual pumps to said distribution blocks. These lines will bring the fuel from the tank (not yet installed) to the fuel pumps. A single fuel feed line (there's also a return line) leaves the fuel tank to about the middle of the engines between the fuel pumps. This is where it is tee'd to the left and right pumps. The tires are bracing the frame as I've just cemented the fuel tank support to it and want it to cure with no tilt to it. You càn also see the hard lines that go from the pumps to the hardline tees. This overhead shot shows the fuel lines connected to the tee down between the engines. The unused connection is the one that joins to the tank Comments and observations welcome.
-
Thanks for the kind words guys! Joe, a marvellous beast it is, hope I do it some credit when it's finished. And Mike, dispatch method of choice was .177 cal at 25 feet. Silent and selective lol!
-
IMHO if only one other modification is done to the kit beyond spark plug wires one should consider fabricating the hard lines on top of the engine. They easily add reality and complexity to the kit's presentation with only a small amount of attention. This is what I'm referring to. I've since replaced the line and tee with a better rendering. Note that there are 3 pieces of solder, 2 brass elbows and a brass tee. Even if just one piece of solder was used with the ends painted brass and no tee it would be an extra detail that is quite noticeable. The photo below shows the larger piece. Note it's backwards to what's presented in the previous photo as it was to go on the other engine bank, but thems the breaks. ☹️ A piece of solder leaves a brass elbow on top of the fuel distribution block, a small hump is created to clear an actuator bar connecting to the other row of injectors. Following that, a number of sharp angle bends make the line circumvent the magneto to join up to the tee. As seen in the previous photo a separate piece of solder is bent, leaving the opposite side of the tee to meet up with the distribution block on the second engine and capped with a brass elbow. The tee itself is joined to a length of solder that connects to the fuel pump. Be careful not to cover a part of the injector base where a velocity stack will go. Comments and observations welcome.
-
Marcos, a lot depended on that single throttle rod and linkage to activate the four fuel distribution blocks. I'm surprised it's not part of the kit and that's not even mentioning simplified inkage and very obvious hard fuel lines going between the engines though they do include four one piece fuel injector line assemblies. I simply chose to make my own. The frustrating part of the build for me is what I call 'Detail Progression Syndrome' lol. Adding a new detail to the first engine sometimes needs re-doing cause the fourth unit - in whatever oder you do them - looks cleaner built because one becomes accustomed to doing the mod. Despite that I think it's turning out ok. Comments and observations welcome
-
THANKS RRB. Buicks for sure. There is a diecast out there by GMP 1/18 SCALE but don't know what you'd pay if you found one.
-
Throttle linkages. Hard to pick out but they're there. This photo is for the right side This is for the left. Note the pivot arm on the throttle rod is mounted facing down. This is due to the two downpointing headers getting in the way. I ended up mounting the throttle rod up higher on the unused engine starter mount to get the job done believably. I don't know how many people I'll meet that will know the difference, but it's easier to beg forgiveness.... Comments and observations welcome.
-
Thanks David. Lots left to do but it's mostly big stuff like headers and body parts, nothing like building the fuel injection set ups and engine wiring again.
-
Next to constantly knocking injector stacks and header pipes off or out of alignment during the build there's not a whole lot of frustration packaged with the kit. I believe the biggest hurdle to most is dealing with 4 like engines. See them as one b i g unit and you're halfway home. The rest is parts cleanup and as much detail as you want to add.
-
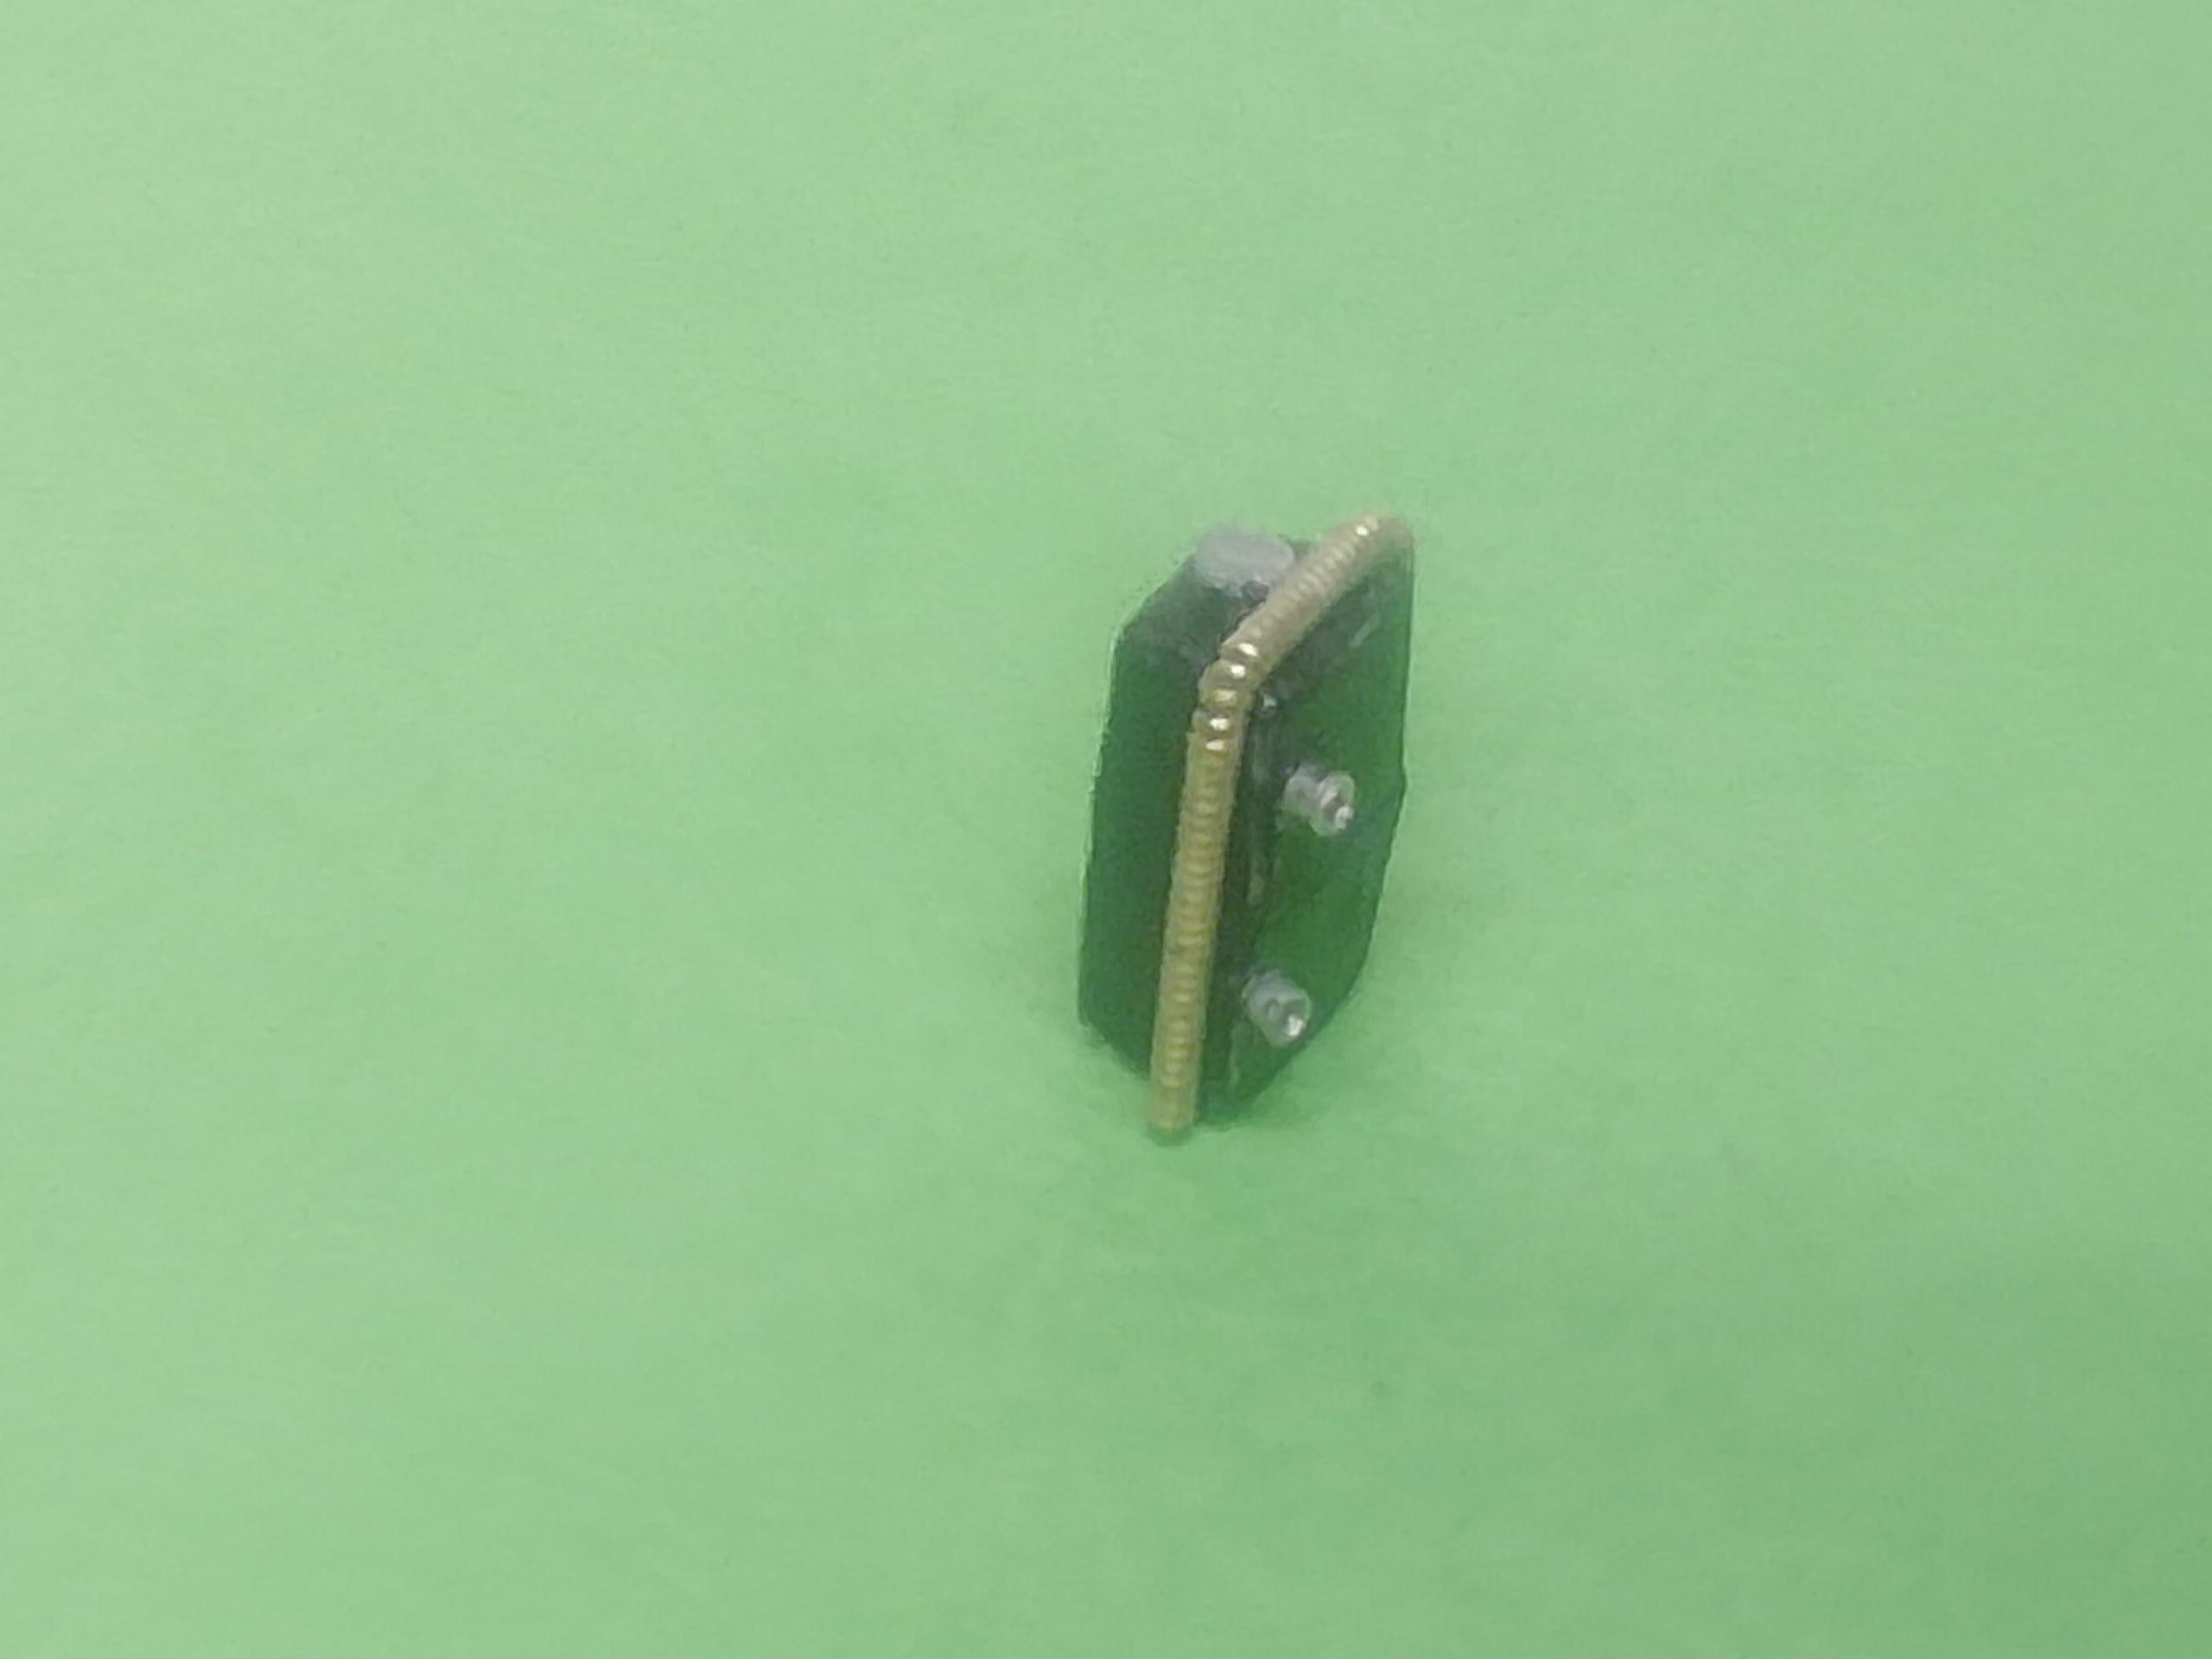
A quick detail. Rather than a simple black seat, I added a piece of round styrene around the rear edge. Painted silver it's an easy representation of an upholstered aluminum bucket Comments and observations welcome
-
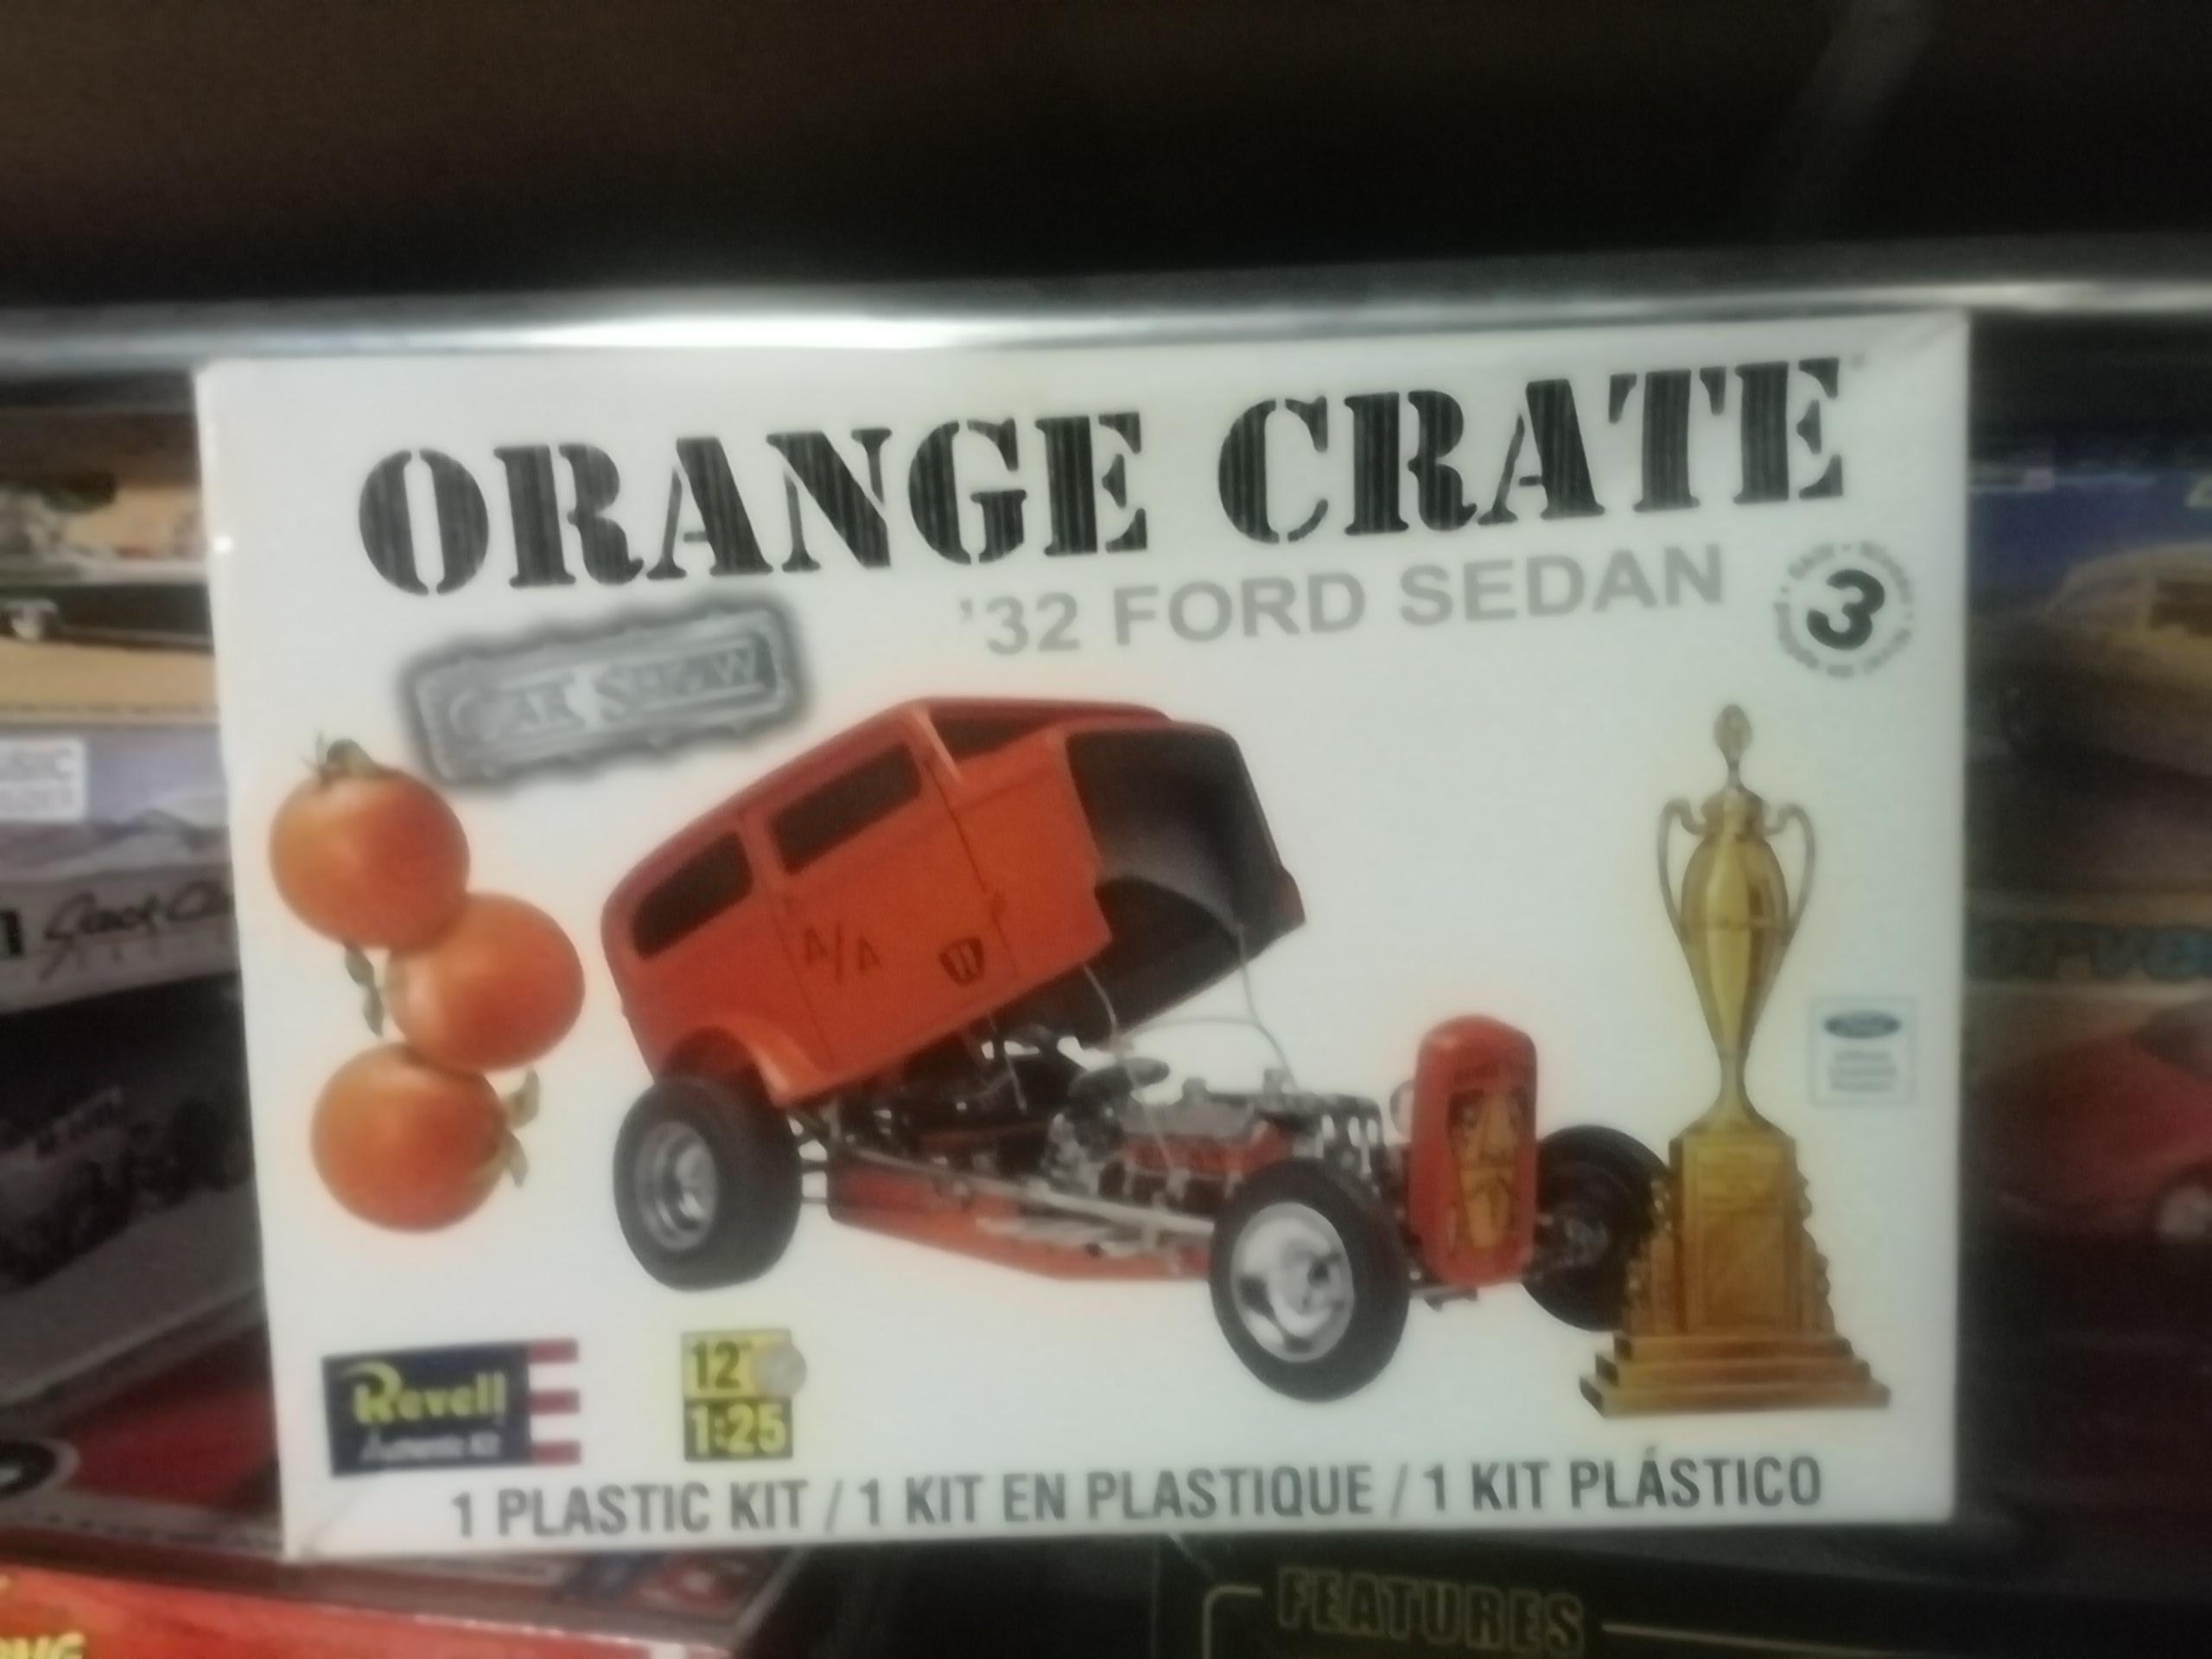
Thanks for the shout outs guys. I'm sure the reissue (this is one of them) sold quite quickly and I'm sure there are plenty of modelers that have at least one in their stash, but like you rrb, I've never seen one built in person either. Again, its a jewel right out of the box after a bit of attention and cleanup, even though the kit supplied headers are quite troublesome.
-
Thanks much cobraman.should be done soon.
-
I agree, a unique vehicle fer shur. Its an old kit where building/detailing experience and some research really pay off but it's a jewel right out of the box too!