Farmboy
-
Posts
518 -
Joined
-
Last visited
Content Type
Profiles
Forums
Events
Gallery
Everything posted by Farmboy
-
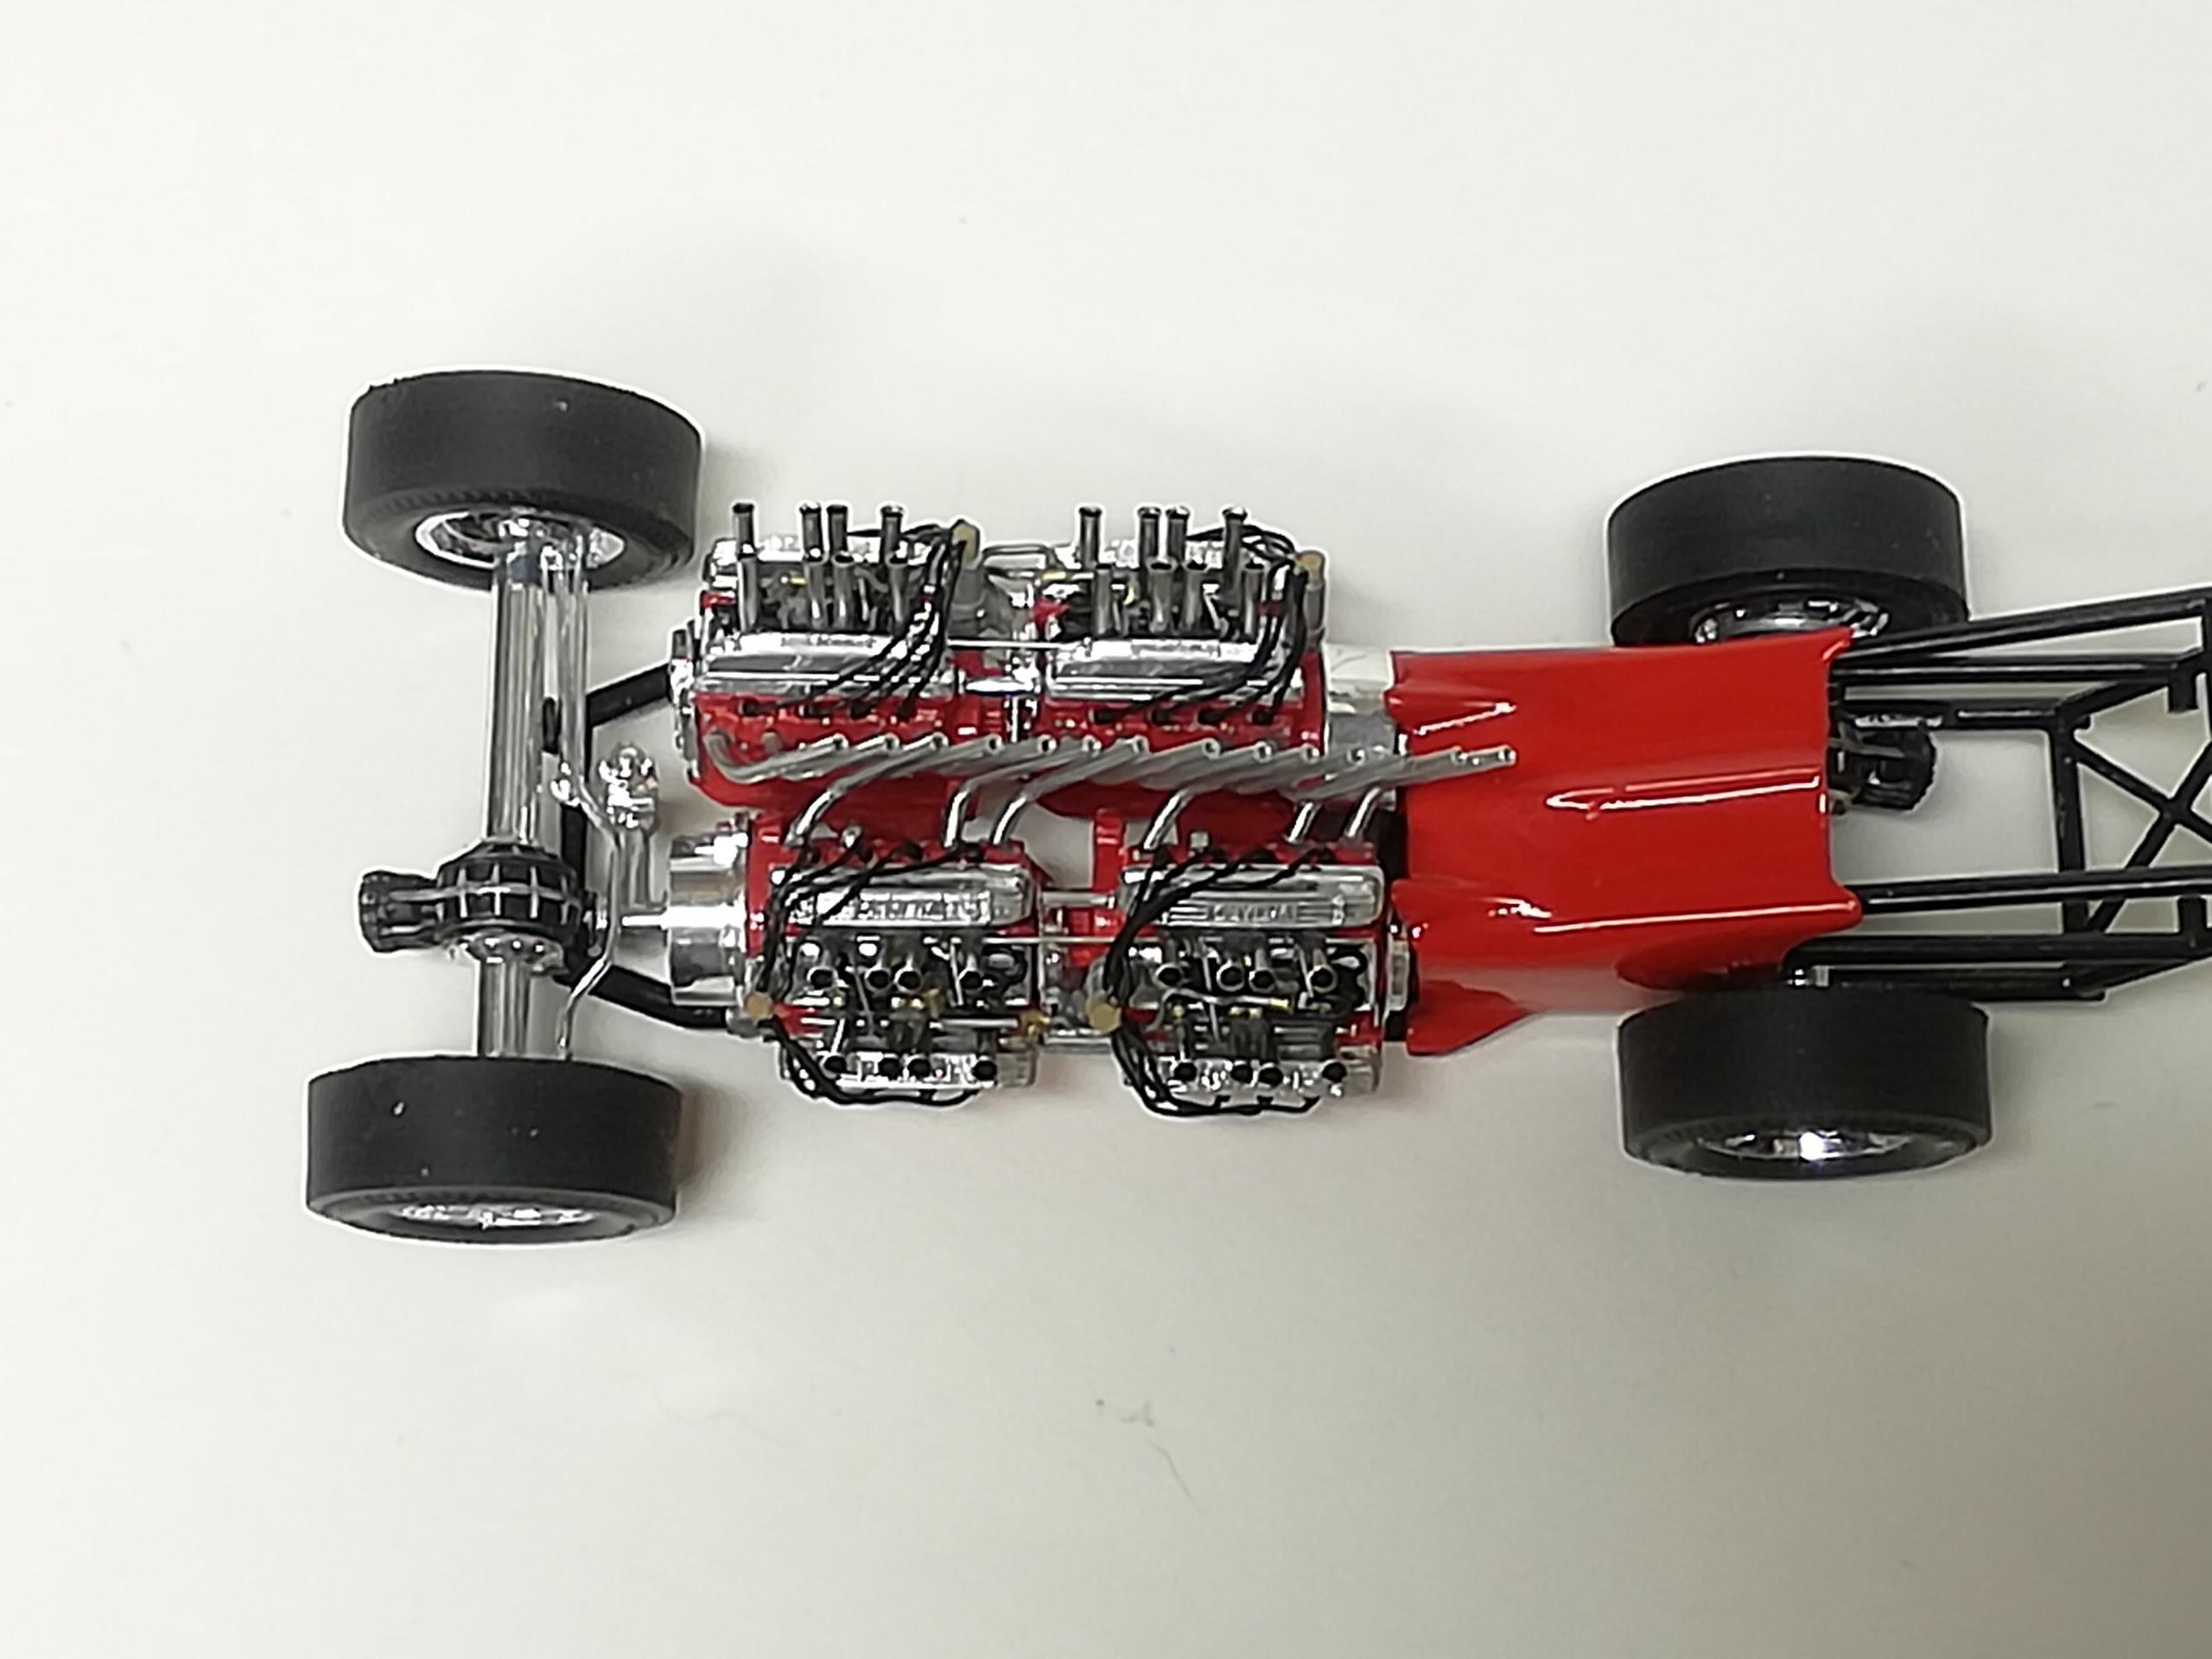
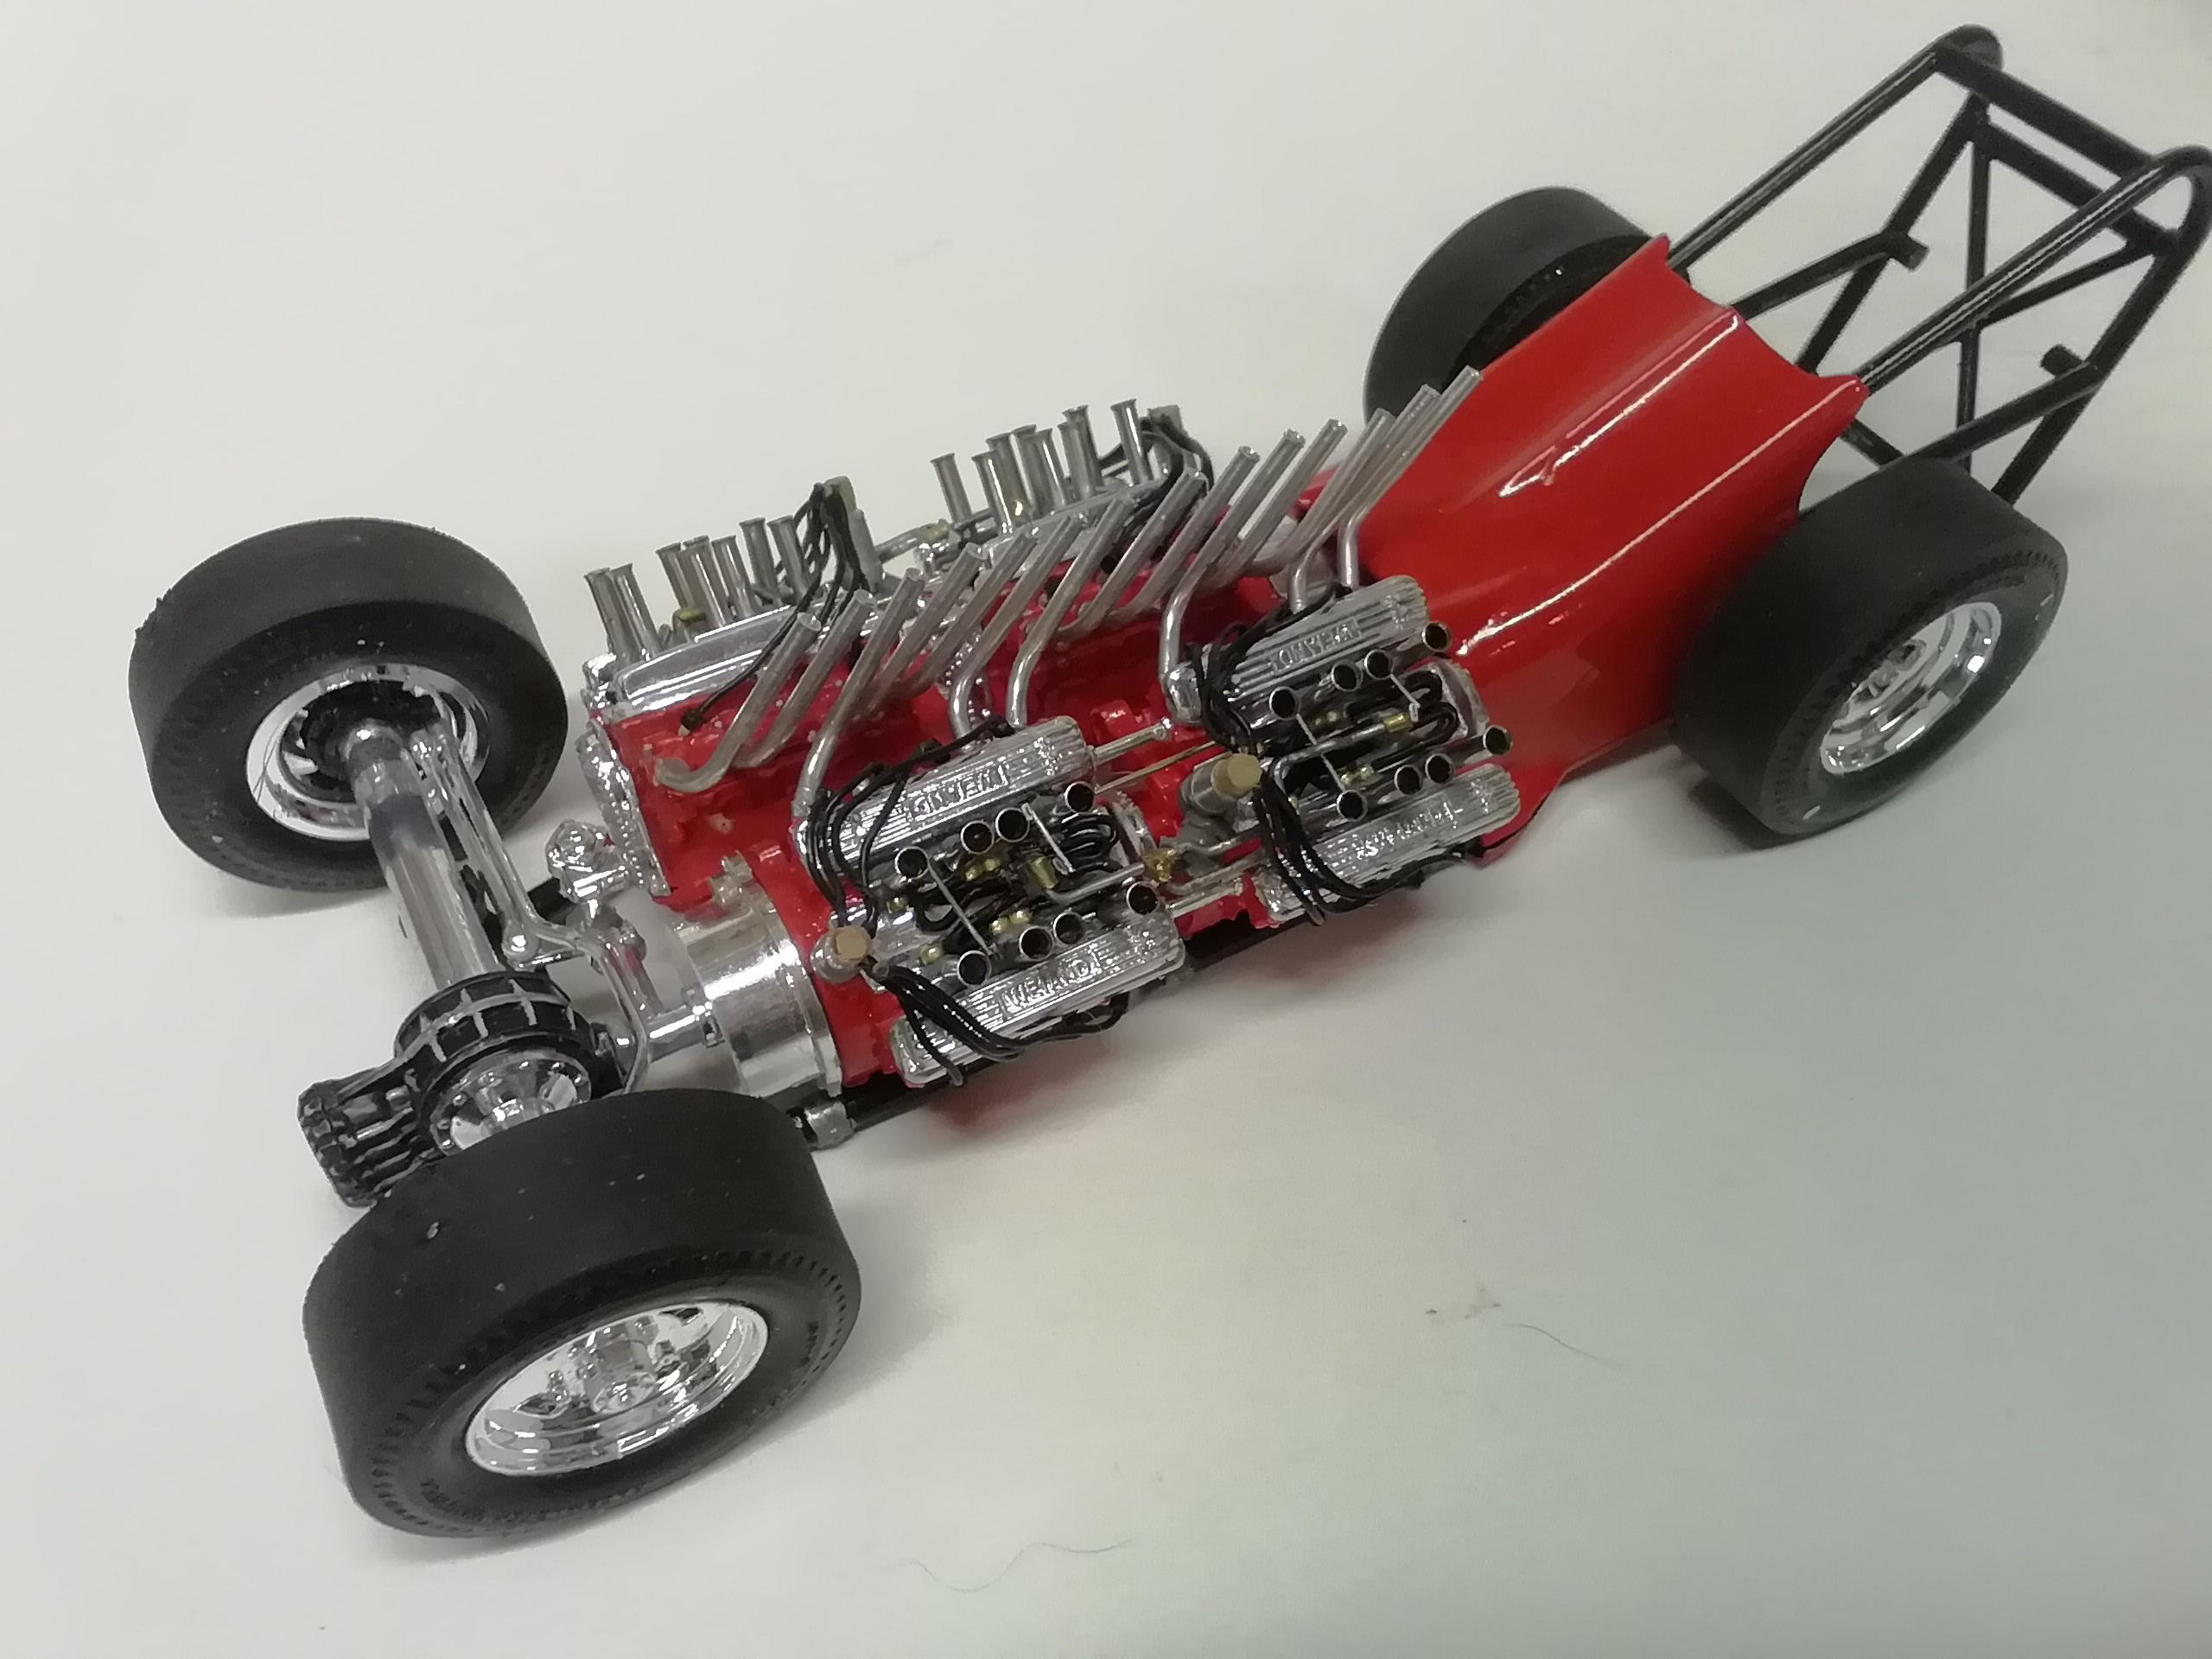
Don't see many of these Revell 1/25 kits built or in the process. This is just a mockup of my build (no seat, body panels, chute etc) still have to do the 16 outside pipes, add a few additional fuel lines/return to fuel tank, line tee's, throttle linkage rod with actuators, brake lines and stuff. Thanx for looking. Comments and observations welcome.

-

Unreal Roller Showrod
Farmboy replied to Farmboy's topic in All The Rest: Motorcycles, Aviation, Military, Sci-Fi, Figures
Thank you guys for the nice words. It was a fun build. -
Wish all my tests turned out as winning as that. Excellent.
-
Robotime Tramcar TG505
Farmboy replied to Beurlys's topic in All The Rest: Motorcycles, Aviation, Military, Sci-Fi, Figures
Holy (expletive deleted)! What an excellent build!! Wish I could do as nice a job!! -
Unreal Roller Showrod
Farmboy replied to Farmboy's topic in All The Rest: Motorcycles, Aviation, Military, Sci-Fi, Figures
My pleasure Alan. -
JU-287
Farmboy replied to philo426's topic in All The Rest: Motorcycles, Aviation, Military, Sci-Fi, Figures
A rare bird indeed! Well done! -
Unreal Roller Showrod
Farmboy replied to Farmboy's topic in All The Rest: Motorcycles, Aviation, Military, Sci-Fi, Figures
Thanx for the good words Pappy. Glad you like it! -
Unreal Roller Showrod
Farmboy replied to Farmboy's topic in All The Rest: Motorcycles, Aviation, Military, Sci-Fi, Figures
Thanx Lazlow. Had a good time trying new things -
Unreal Roller Showrod
Farmboy replied to Farmboy's topic in All The Rest: Motorcycles, Aviation, Military, Sci-Fi, Figures
Thanks Chris! -
Unreal Roller Showrod
Farmboy replied to Farmboy's topic in All The Rest: Motorcycles, Aviation, Military, Sci-Fi, Figures
Hey Bob. You're right, it was never real so there are no pre conceived limitations. -
Unreal Roller Showrod
Farmboy replied to Farmboy's topic in All The Rest: Motorcycles, Aviation, Military, Sci-Fi, Figures
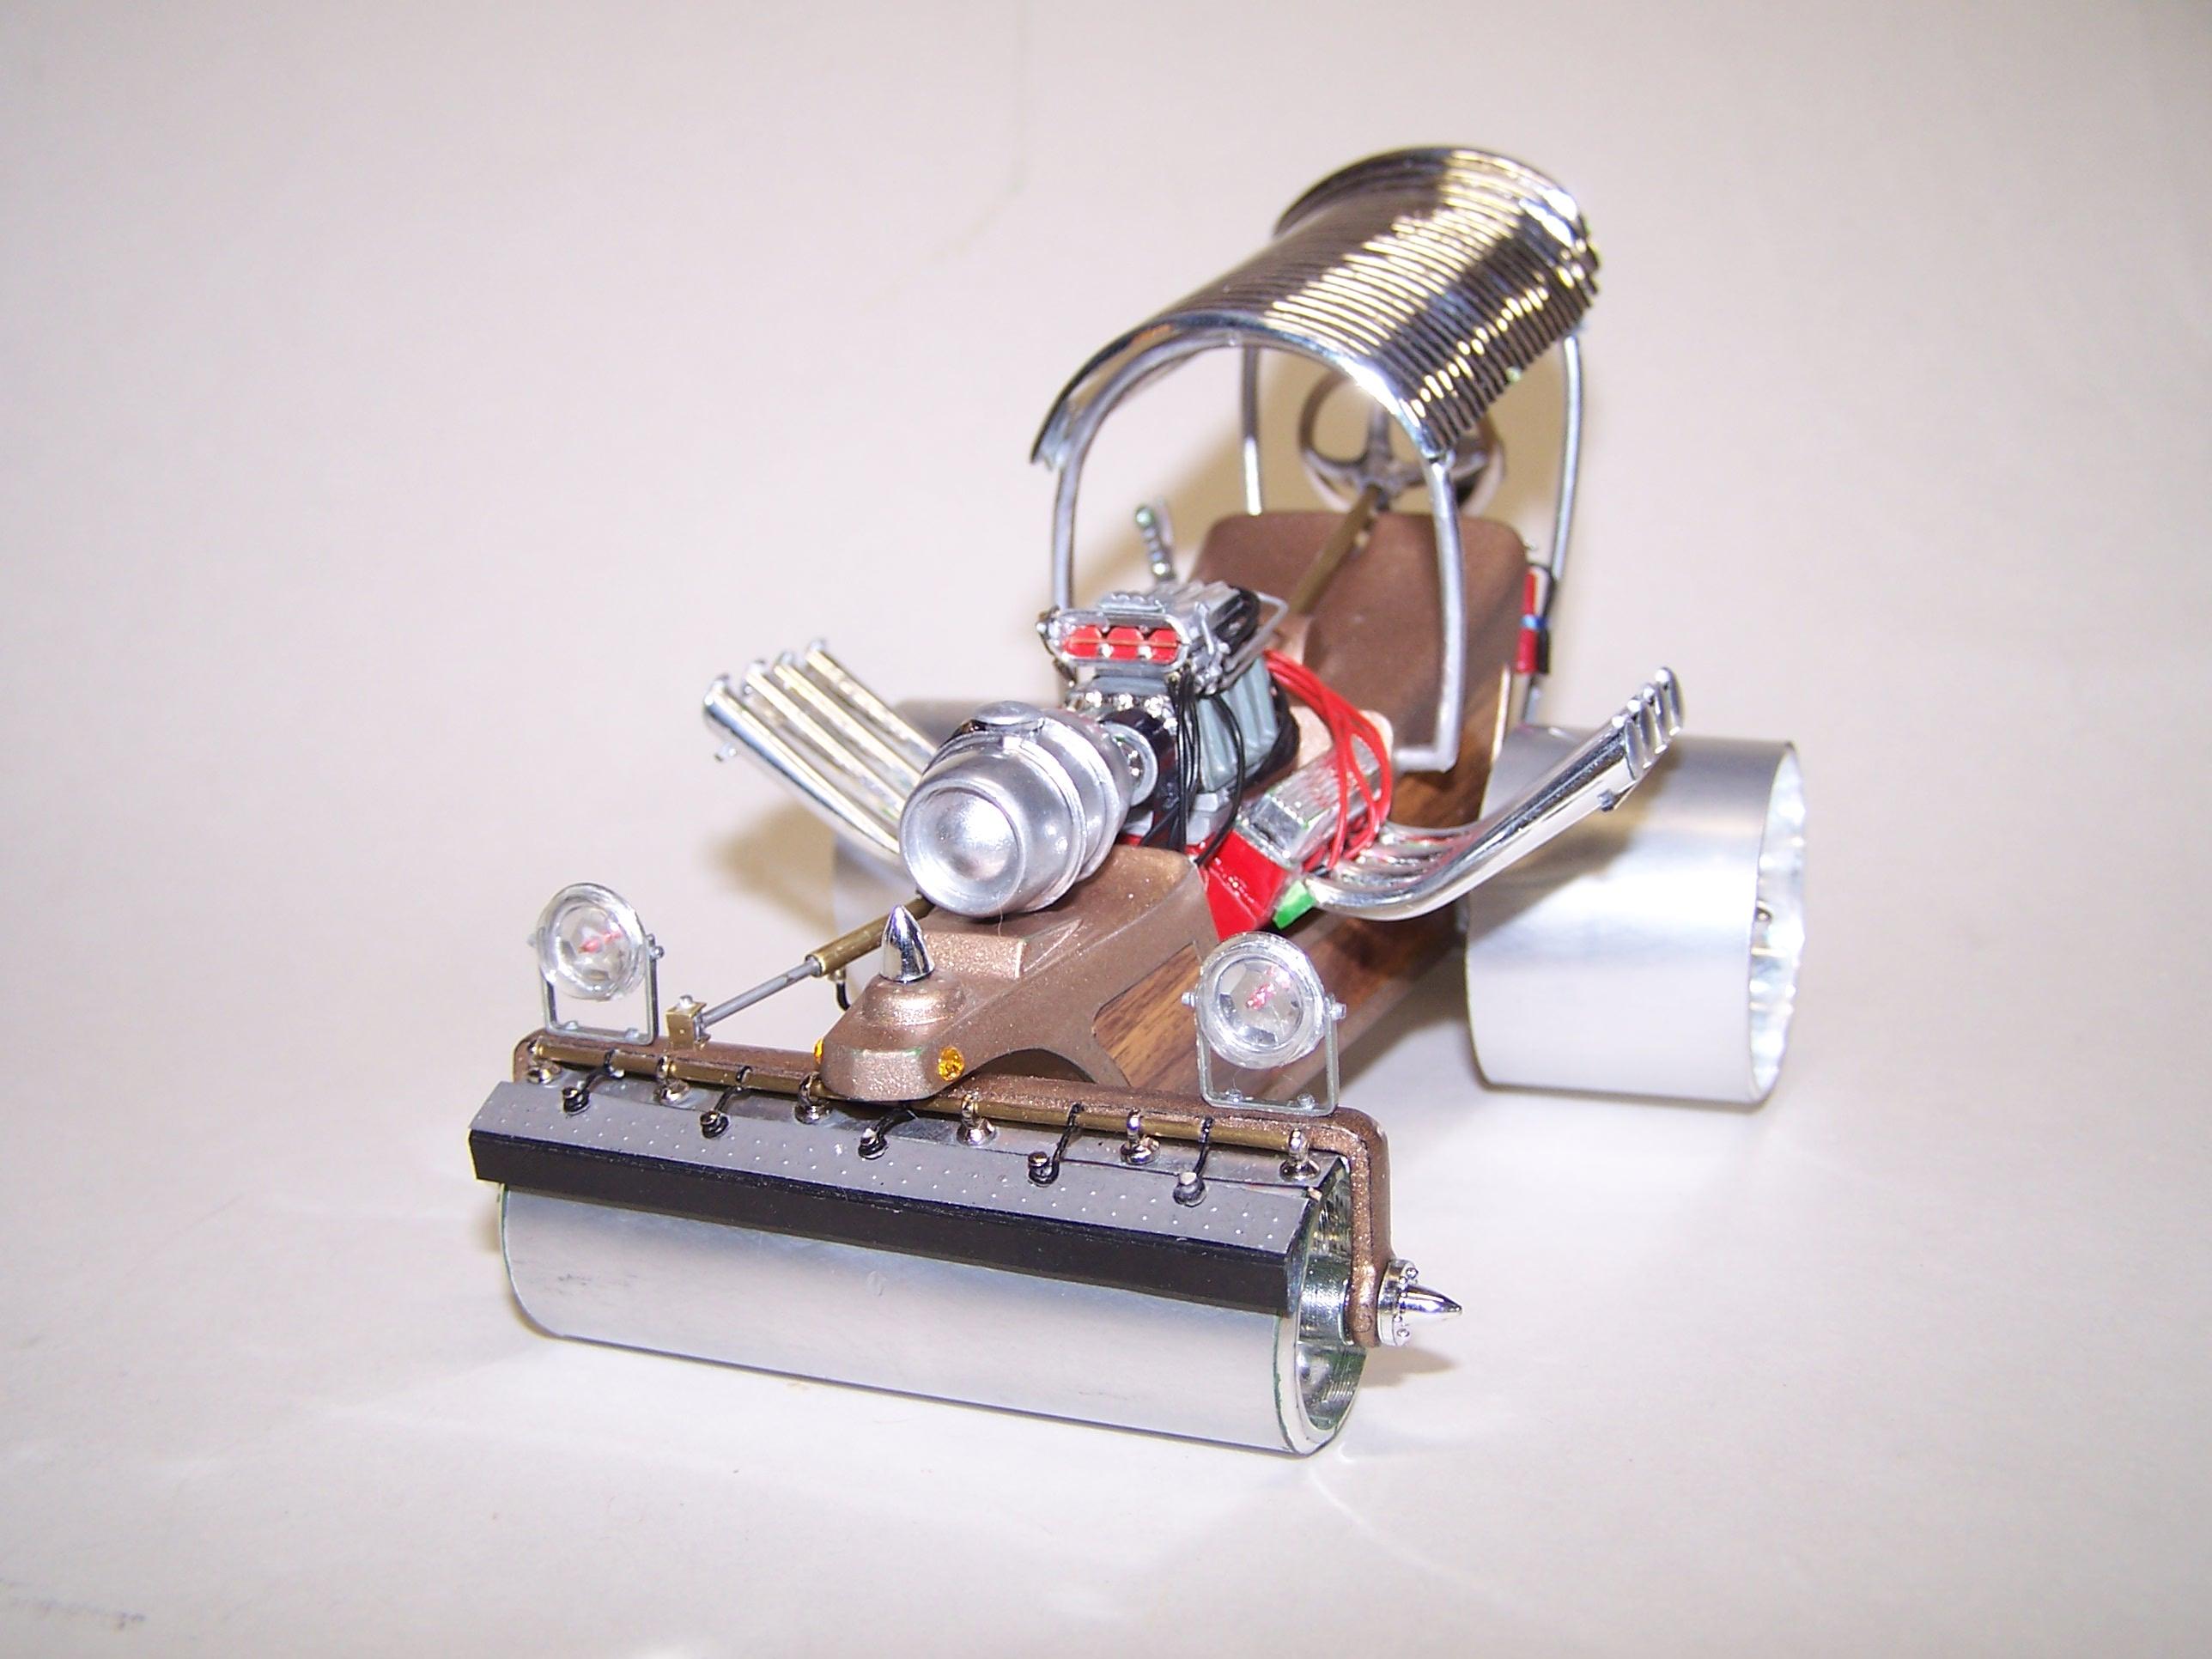
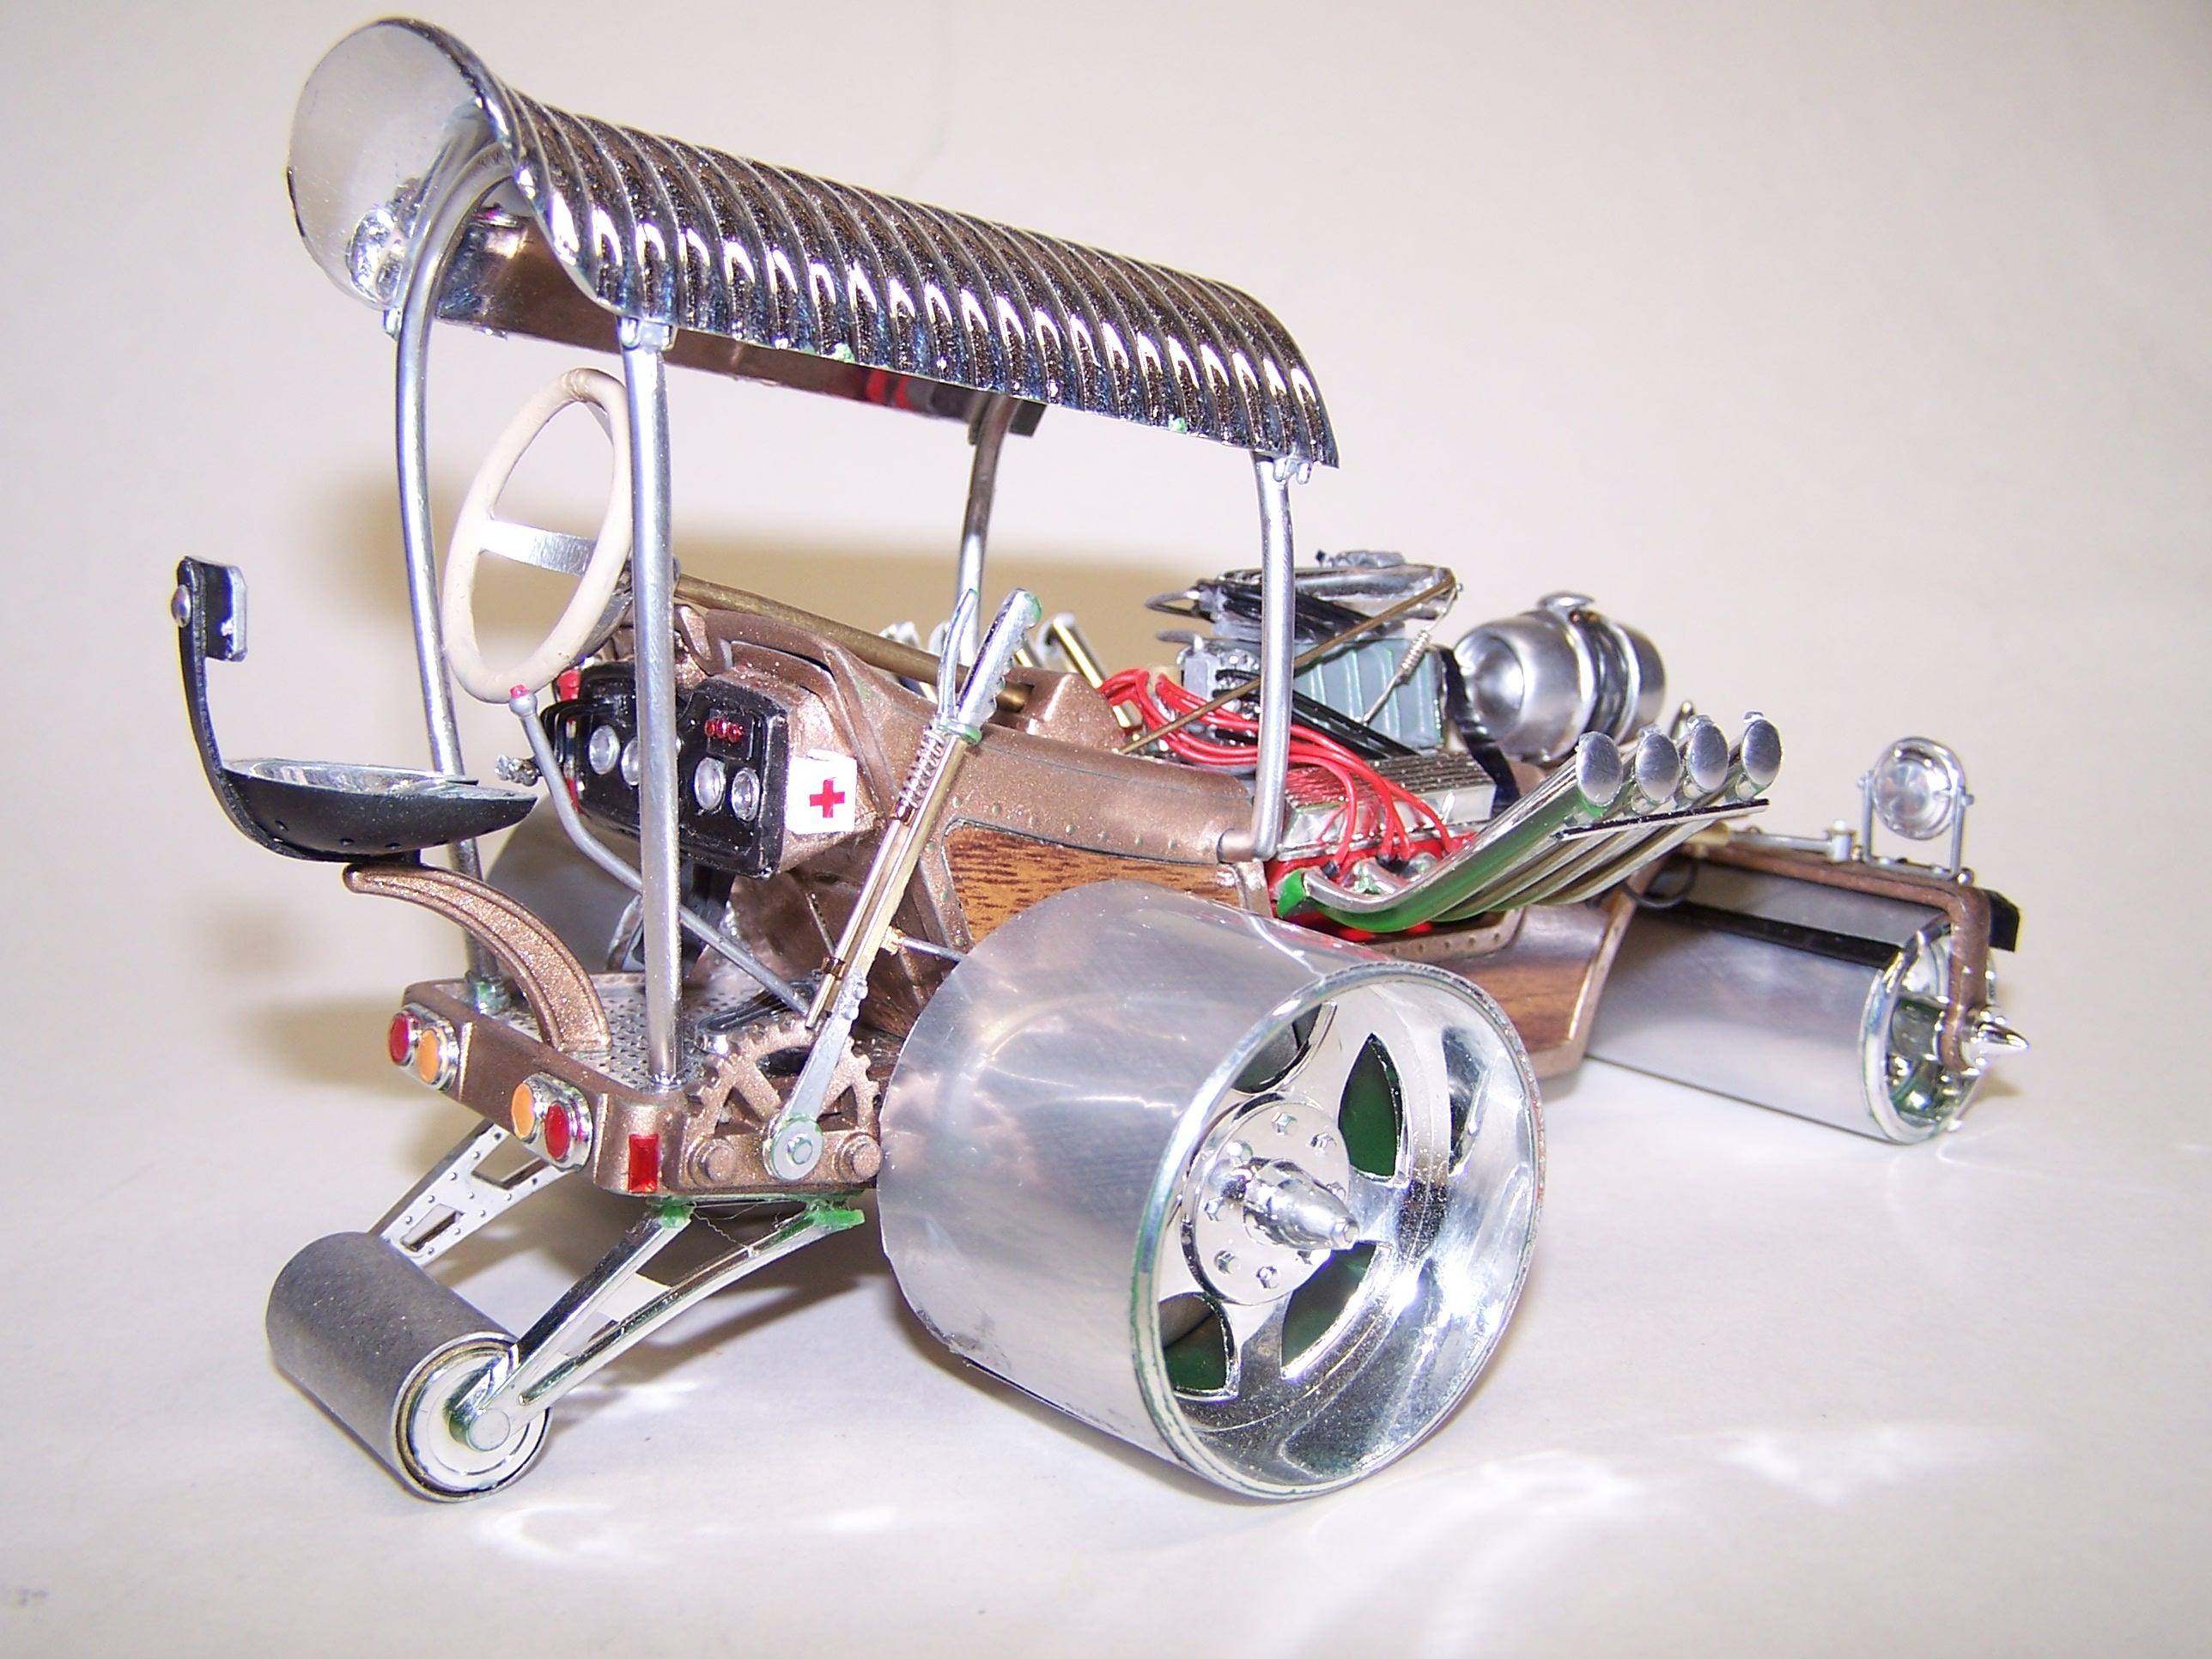
Thanks Alan. The more I did the more it grew lol. The base started life as a case for a chocolate log cake case complete with useable clear cover. A sheet of styrene made things level and the surface worked on from there. The lights are from dog dish hubcaps left over from amt's '62 Catalina. They're not branded and looked right! A sequin from a variety pack (dollar store) made an excellent reflector base while a small electronic something made a good bulb. The lens is from a googly eye (dollar store pack) that luckily fit over the edge of the hubcap. A dab of future made it permanent while the base is from a staple gun staple. Fits right in with an industrial flavour. A couple of small rod cutoffs finished the job. -
Unreal Roller Showrod
Farmboy replied to Farmboy's topic in All The Rest: Motorcycles, Aviation, Military, Sci-Fi, Figures
Thanks Carl, it was a fun build and I got to try a few new techniques. -
Unreal Roller Showrod
Farmboy replied to Farmboy's topic in All The Rest: Motorcycles, Aviation, Military, Sci-Fi, Figures
Thanks Jim. -
Unreal Roller Showrod
Farmboy replied to Farmboy's topic in All The Rest: Motorcycles, Aviation, Military, Sci-Fi, Figures
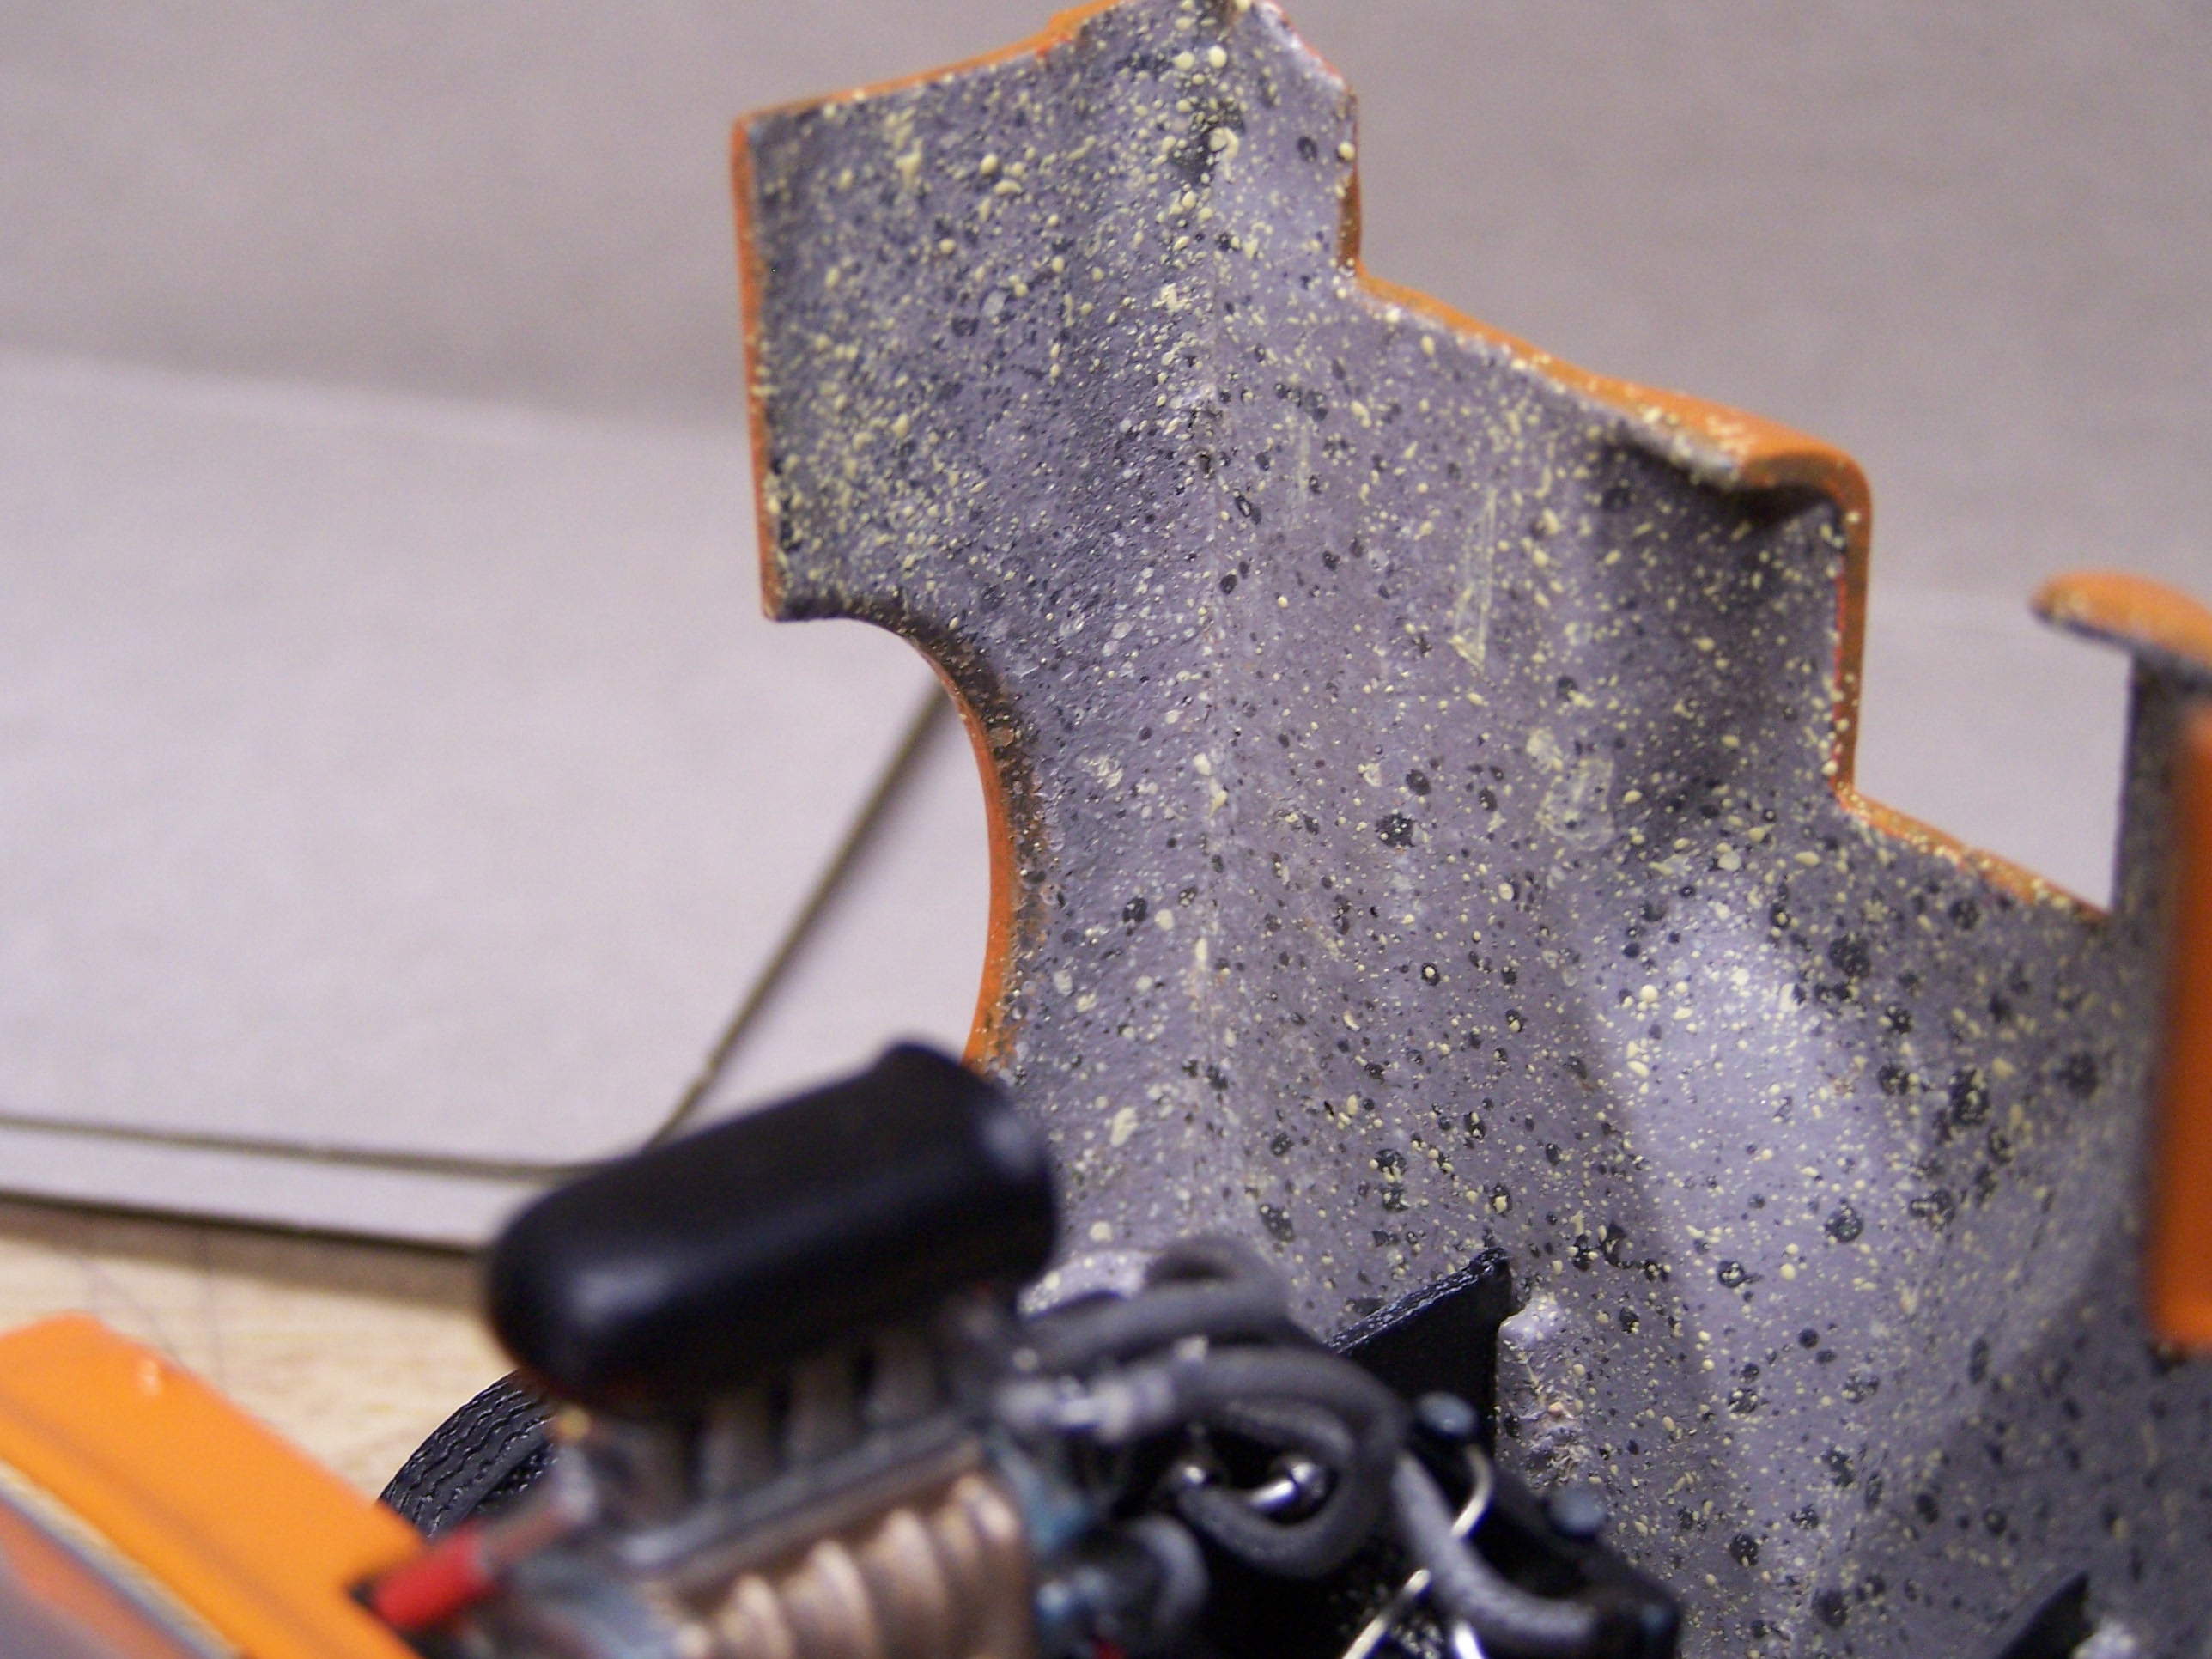
Got the base made. I made a template of the roller widths and distances and applied to a sheet of pvc. I sprayed the sheet flat black, gave it a coat of spray adhesive and covered everything with used coffee grounds. It was then sprayed black with a misting of gloss and the template removed.
-
Unreal Roller Showrod
Farmboy replied to Farmboy's topic in All The Rest: Motorcycles, Aviation, Military, Sci-Fi, Figures
And Dave, change is good! -
Unreal Roller Showrod
Farmboy replied to Farmboy's topic in All The Rest: Motorcycles, Aviation, Military, Sci-Fi, Figures
Thank you much Mr. Mopar -
Unreal Roller Showrod
Farmboy replied to Farmboy's topic in All The Rest: Motorcycles, Aviation, Military, Sci-Fi, Figures
Hi John. Had a good time building it, glad you enjoy how it ended up. -
Unreal Roller Showrod
Farmboy replied to Farmboy's topic in All The Rest: Motorcycles, Aviation, Military, Sci-Fi, Figures
It started with sheathing the rollers in aluminum, then that mod led to another etc. Thanx for the kind words Rusty. -
Here's my version of the Atlantis re-issue Unreal Roller, modded with a few extra details. Comments and observations welcome.
-
Nice start on your Roller. Just started mine. I'll be interested to see where you go with the rest of the kit.
-
I am looking for someone that has the GMP Tommy Ivo Showboat. Specifically to get a drawing or schematic of what appears to be the cv plumbing. It's the line that simply connects to the rear (front?) of the intake manifolds. What does GMP do to replicate it? If anyone here as the GMP 1/18 diecast, would you be able to get even a simple box drawing to me of where the lines come from and end, do they tee with the other engines? What path do they take? I have the 1/25 Revell kit and plan to super detail as far as my skills allow me to. I more or less have the fuel lines figured out (any info would be appreciated in case I don't lol). Appreciate any help I can get on this.
-
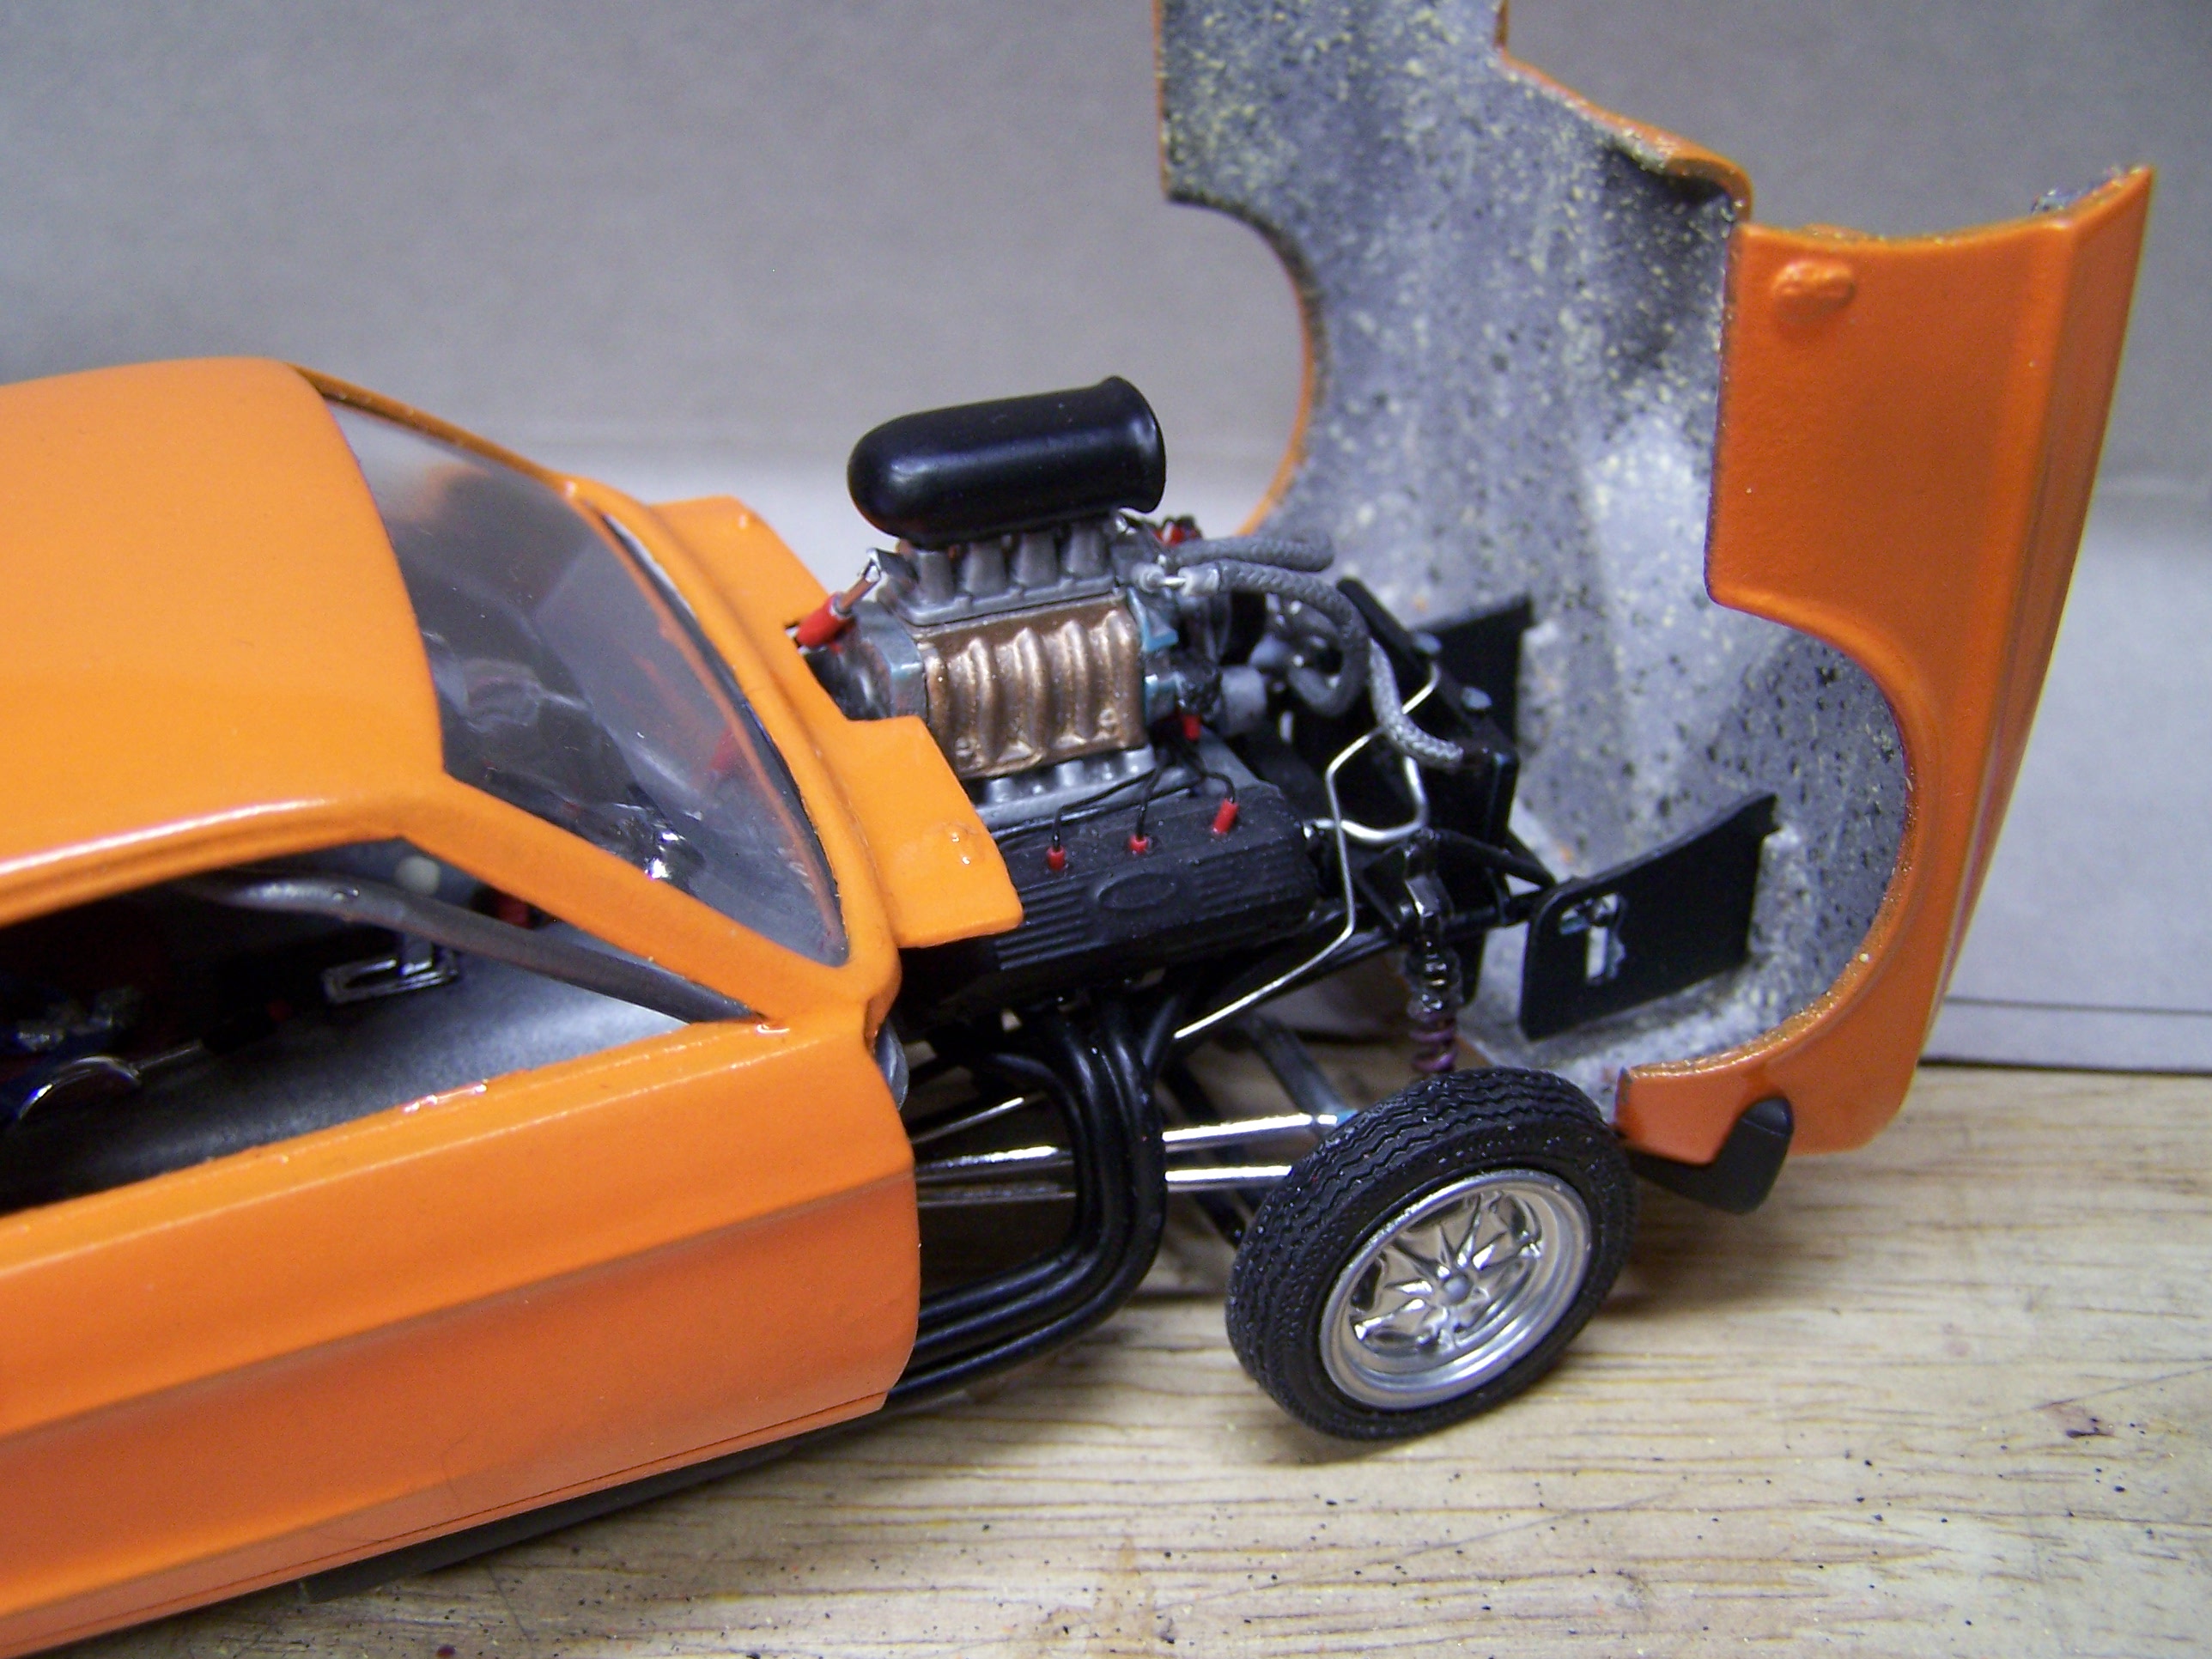
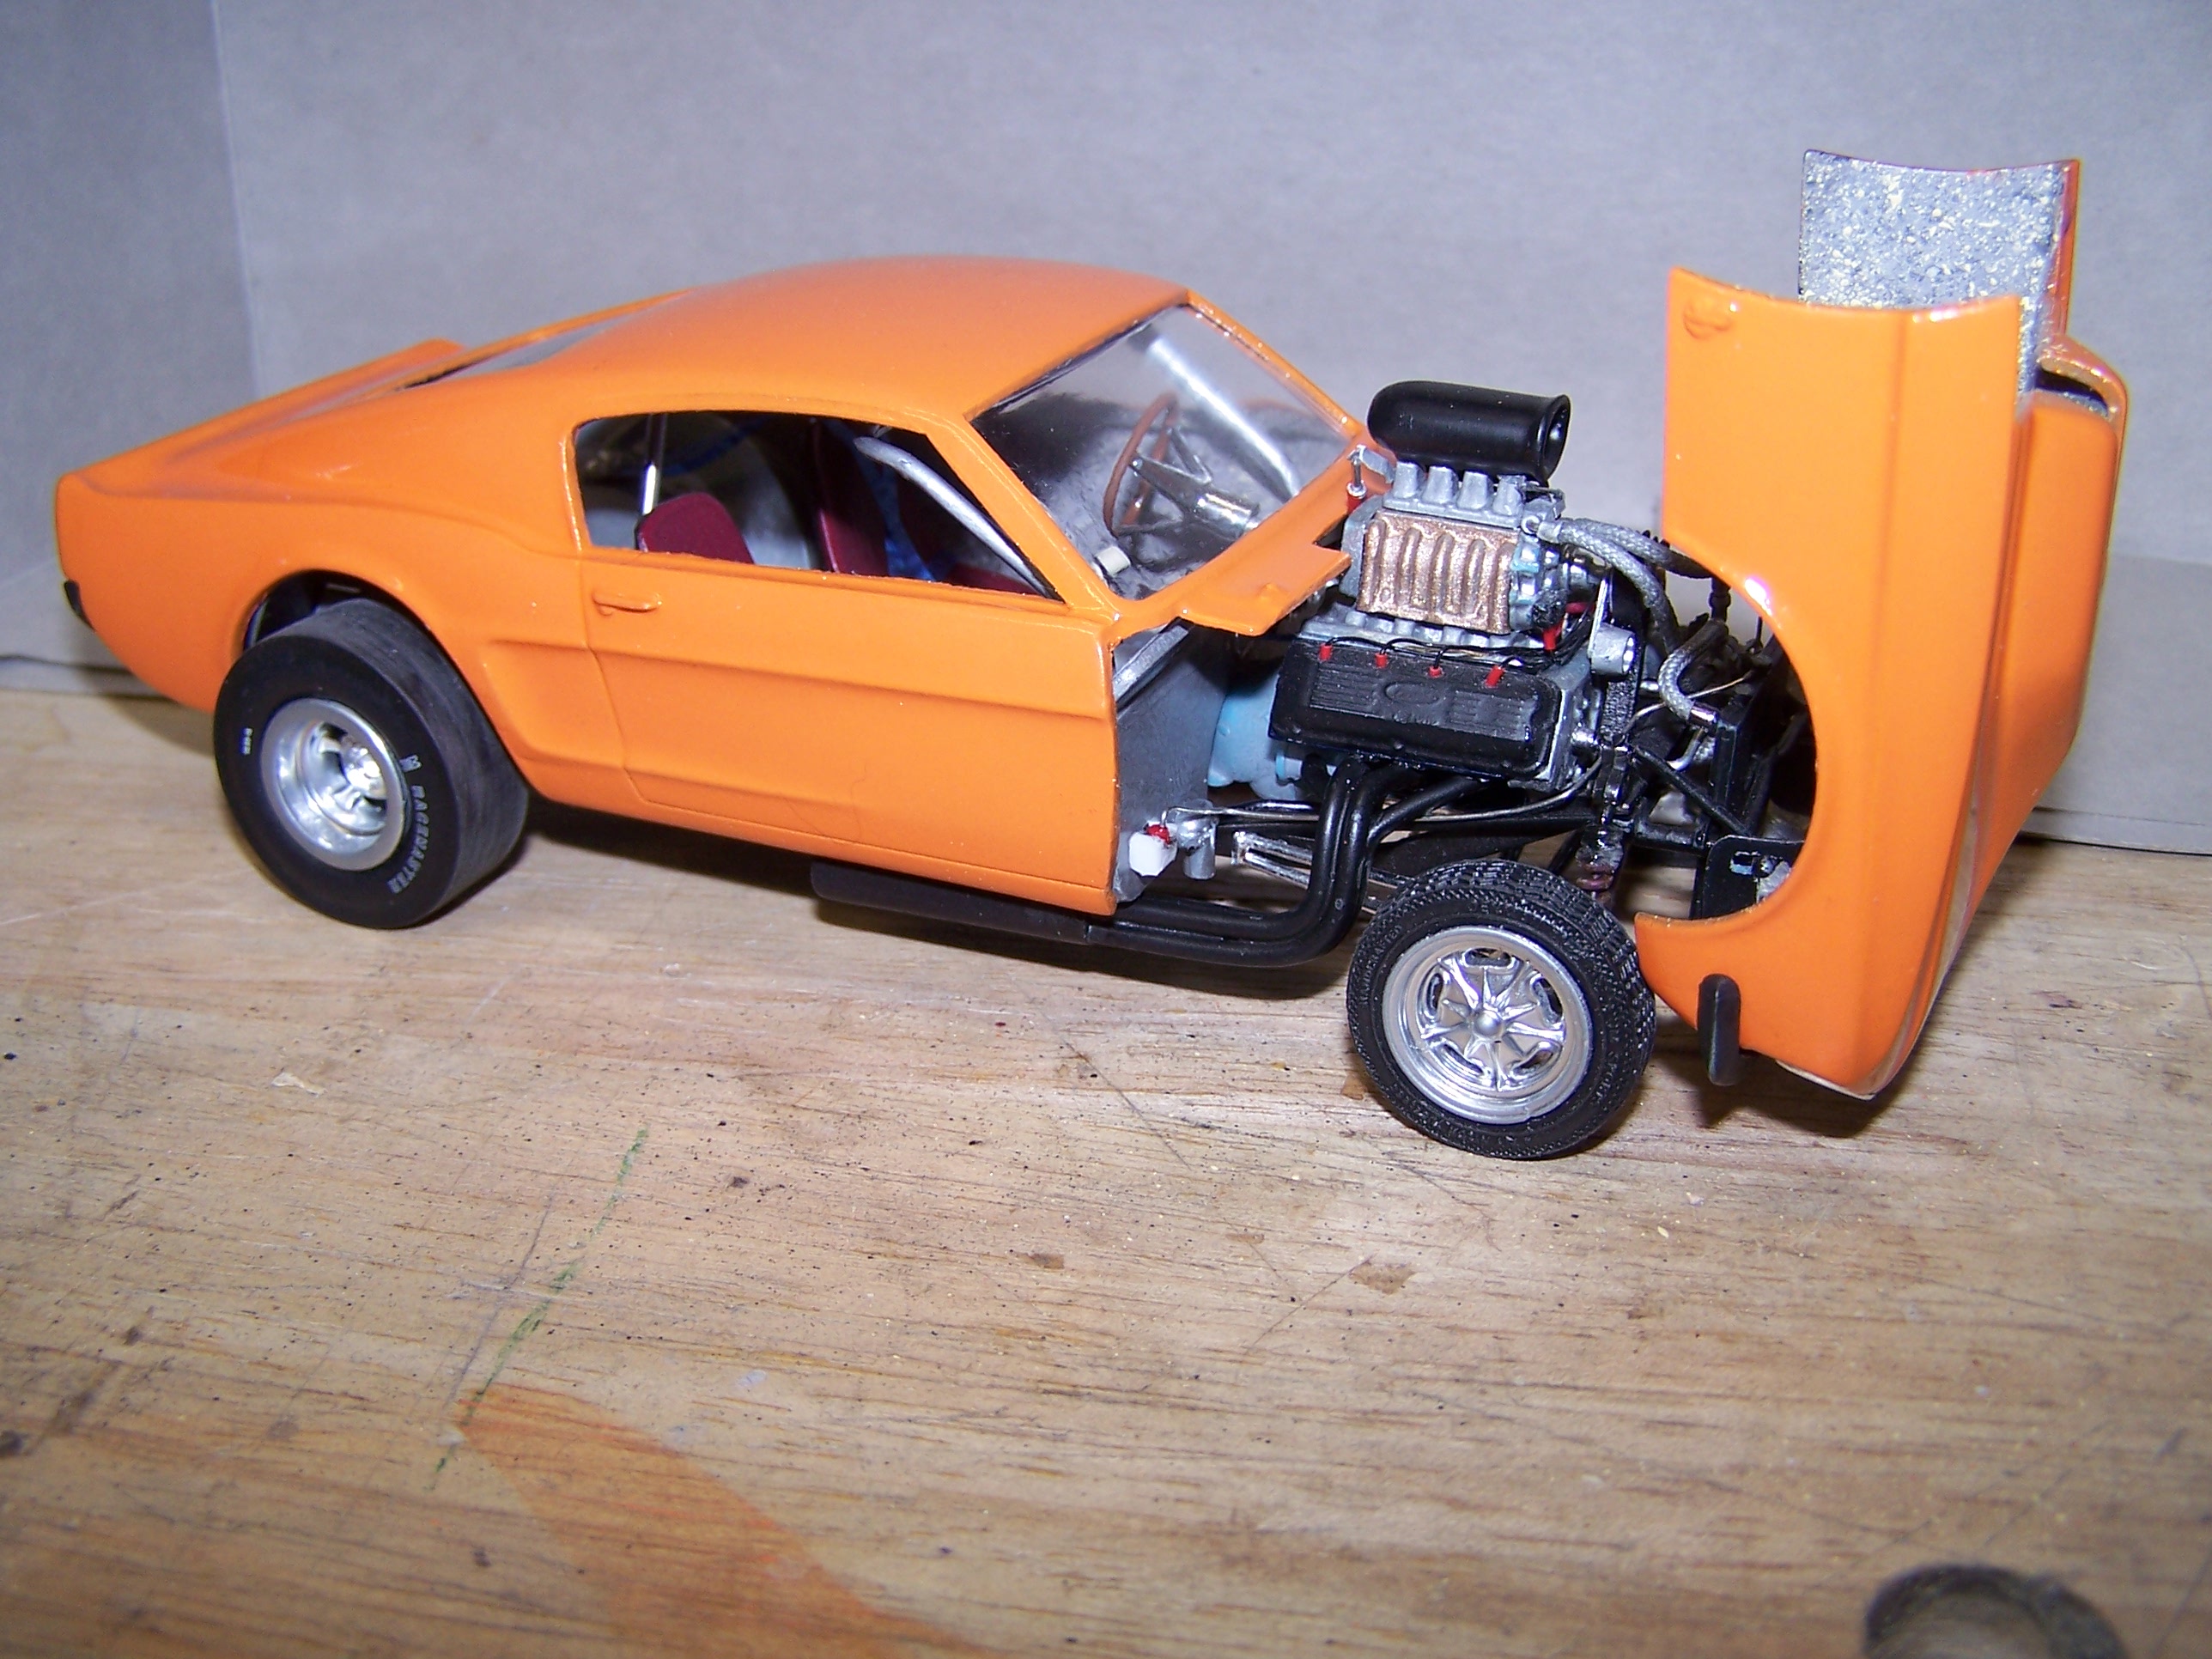
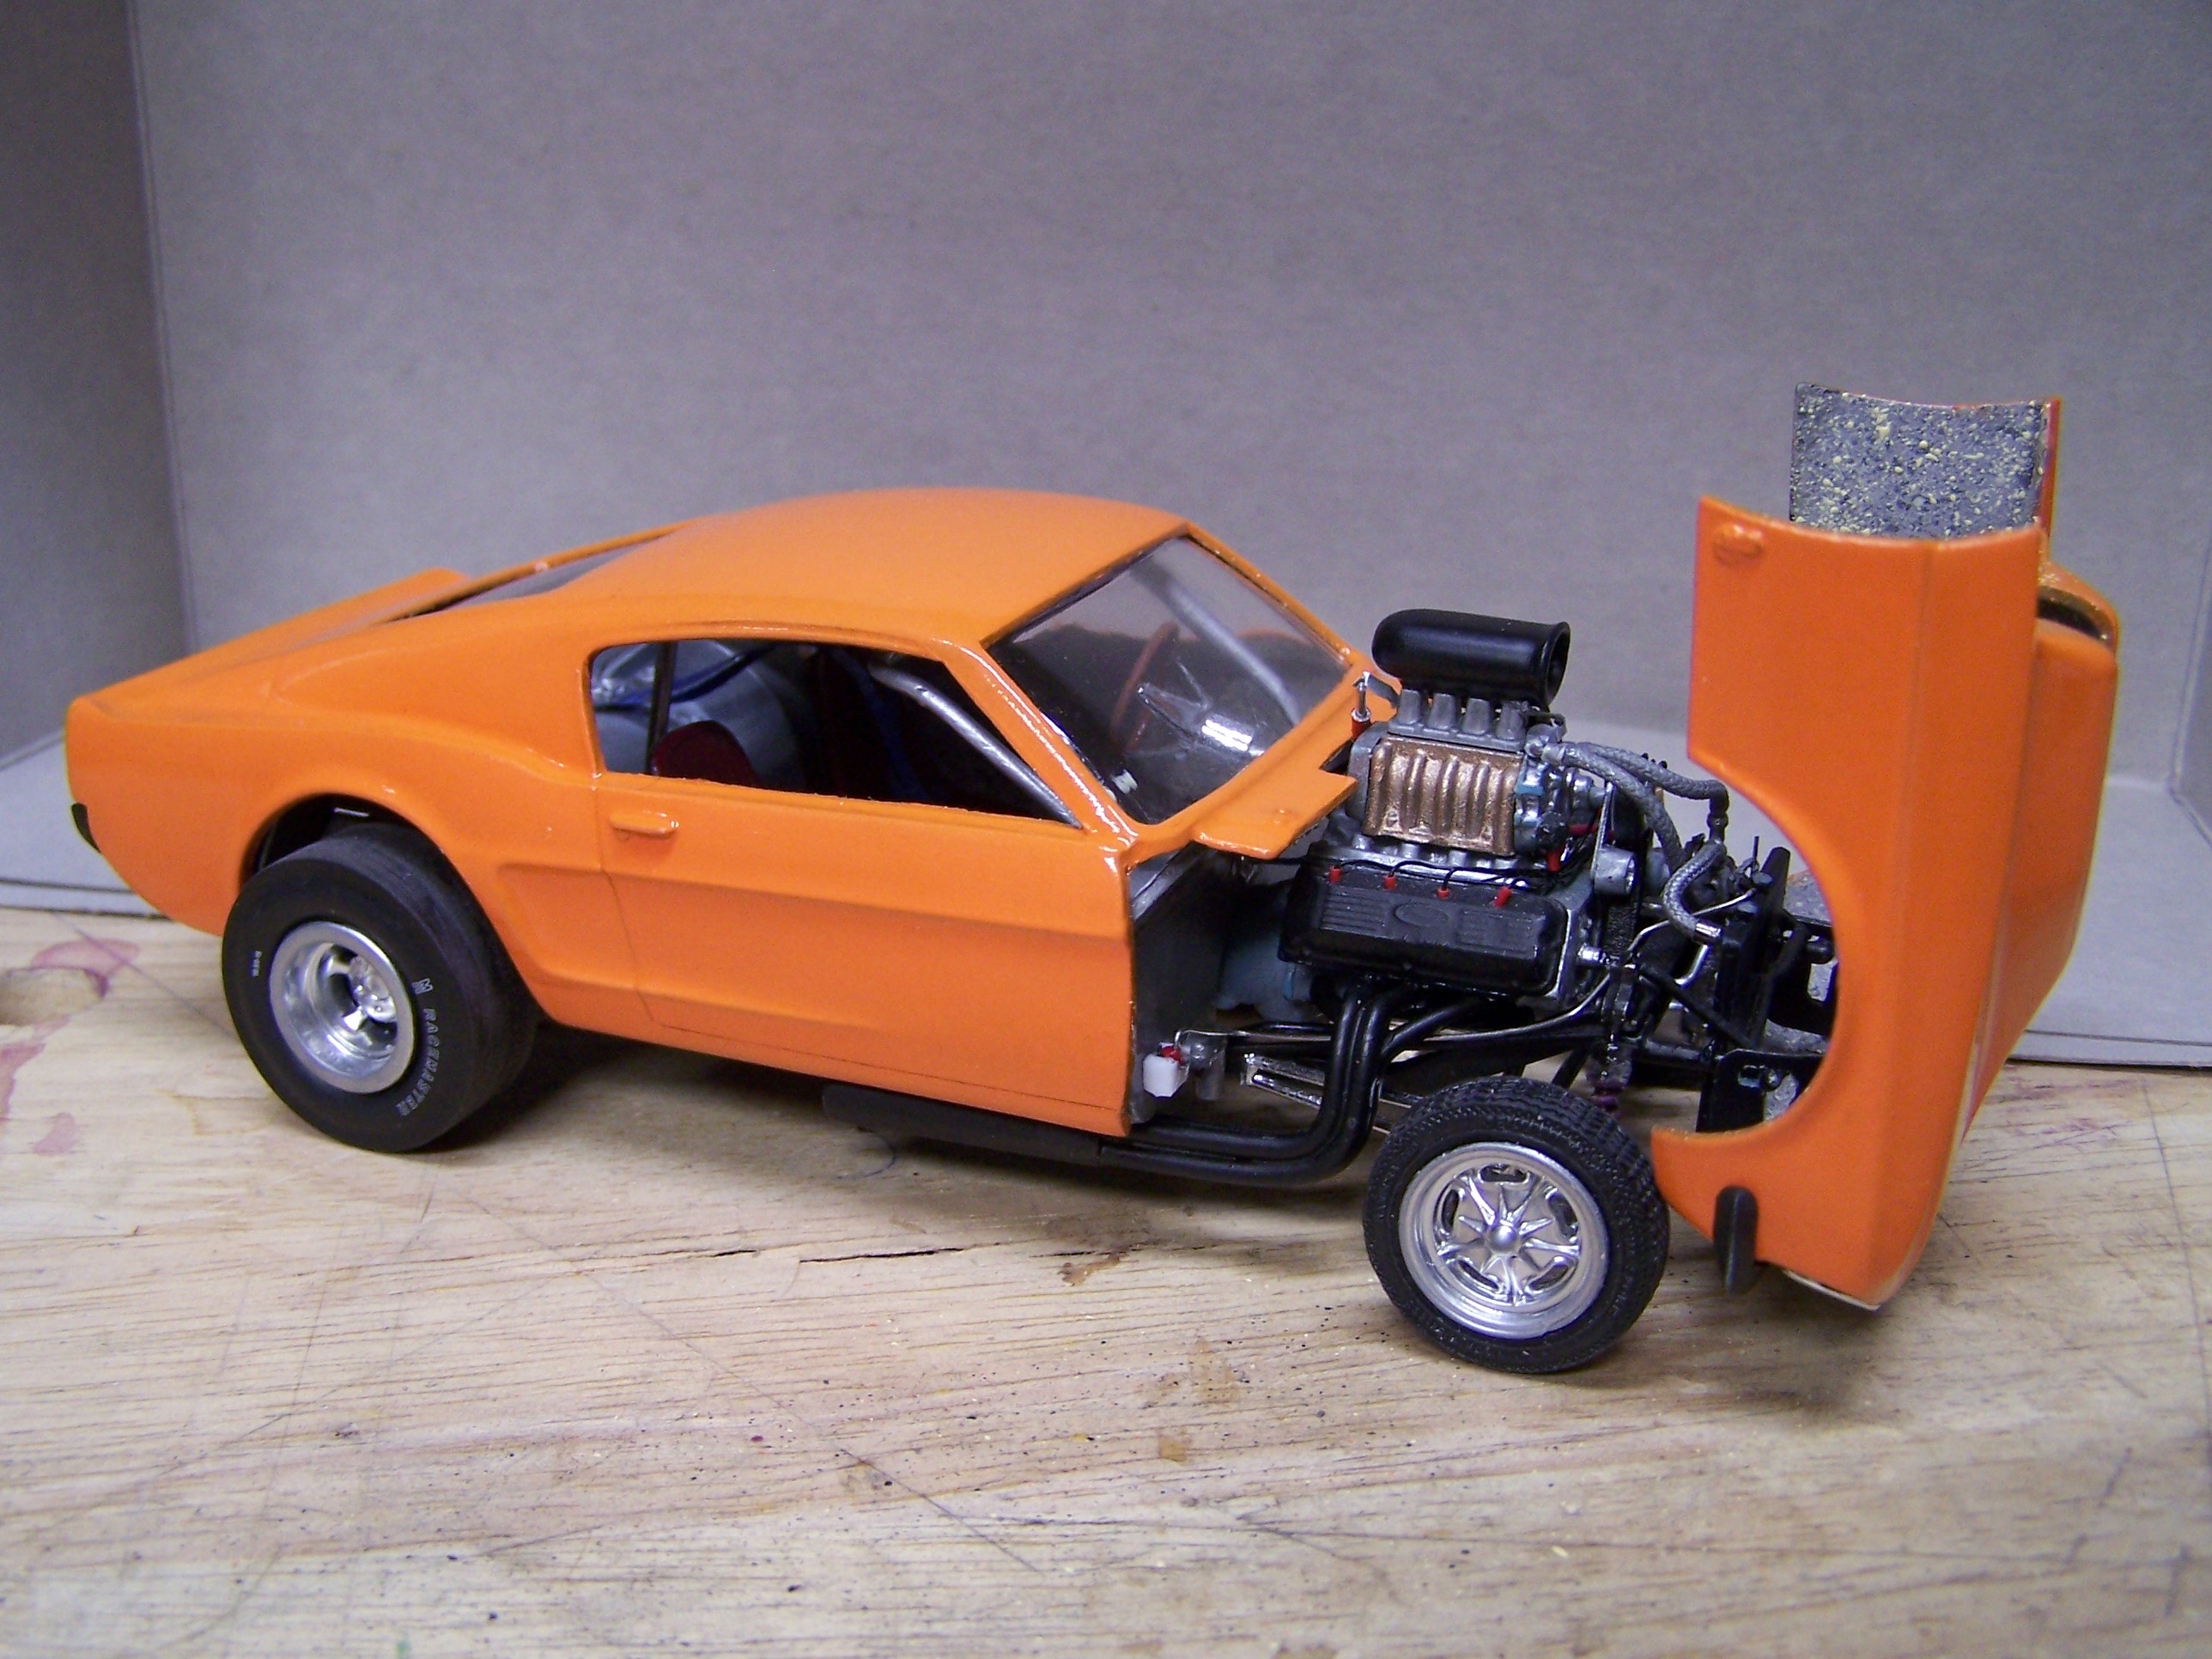
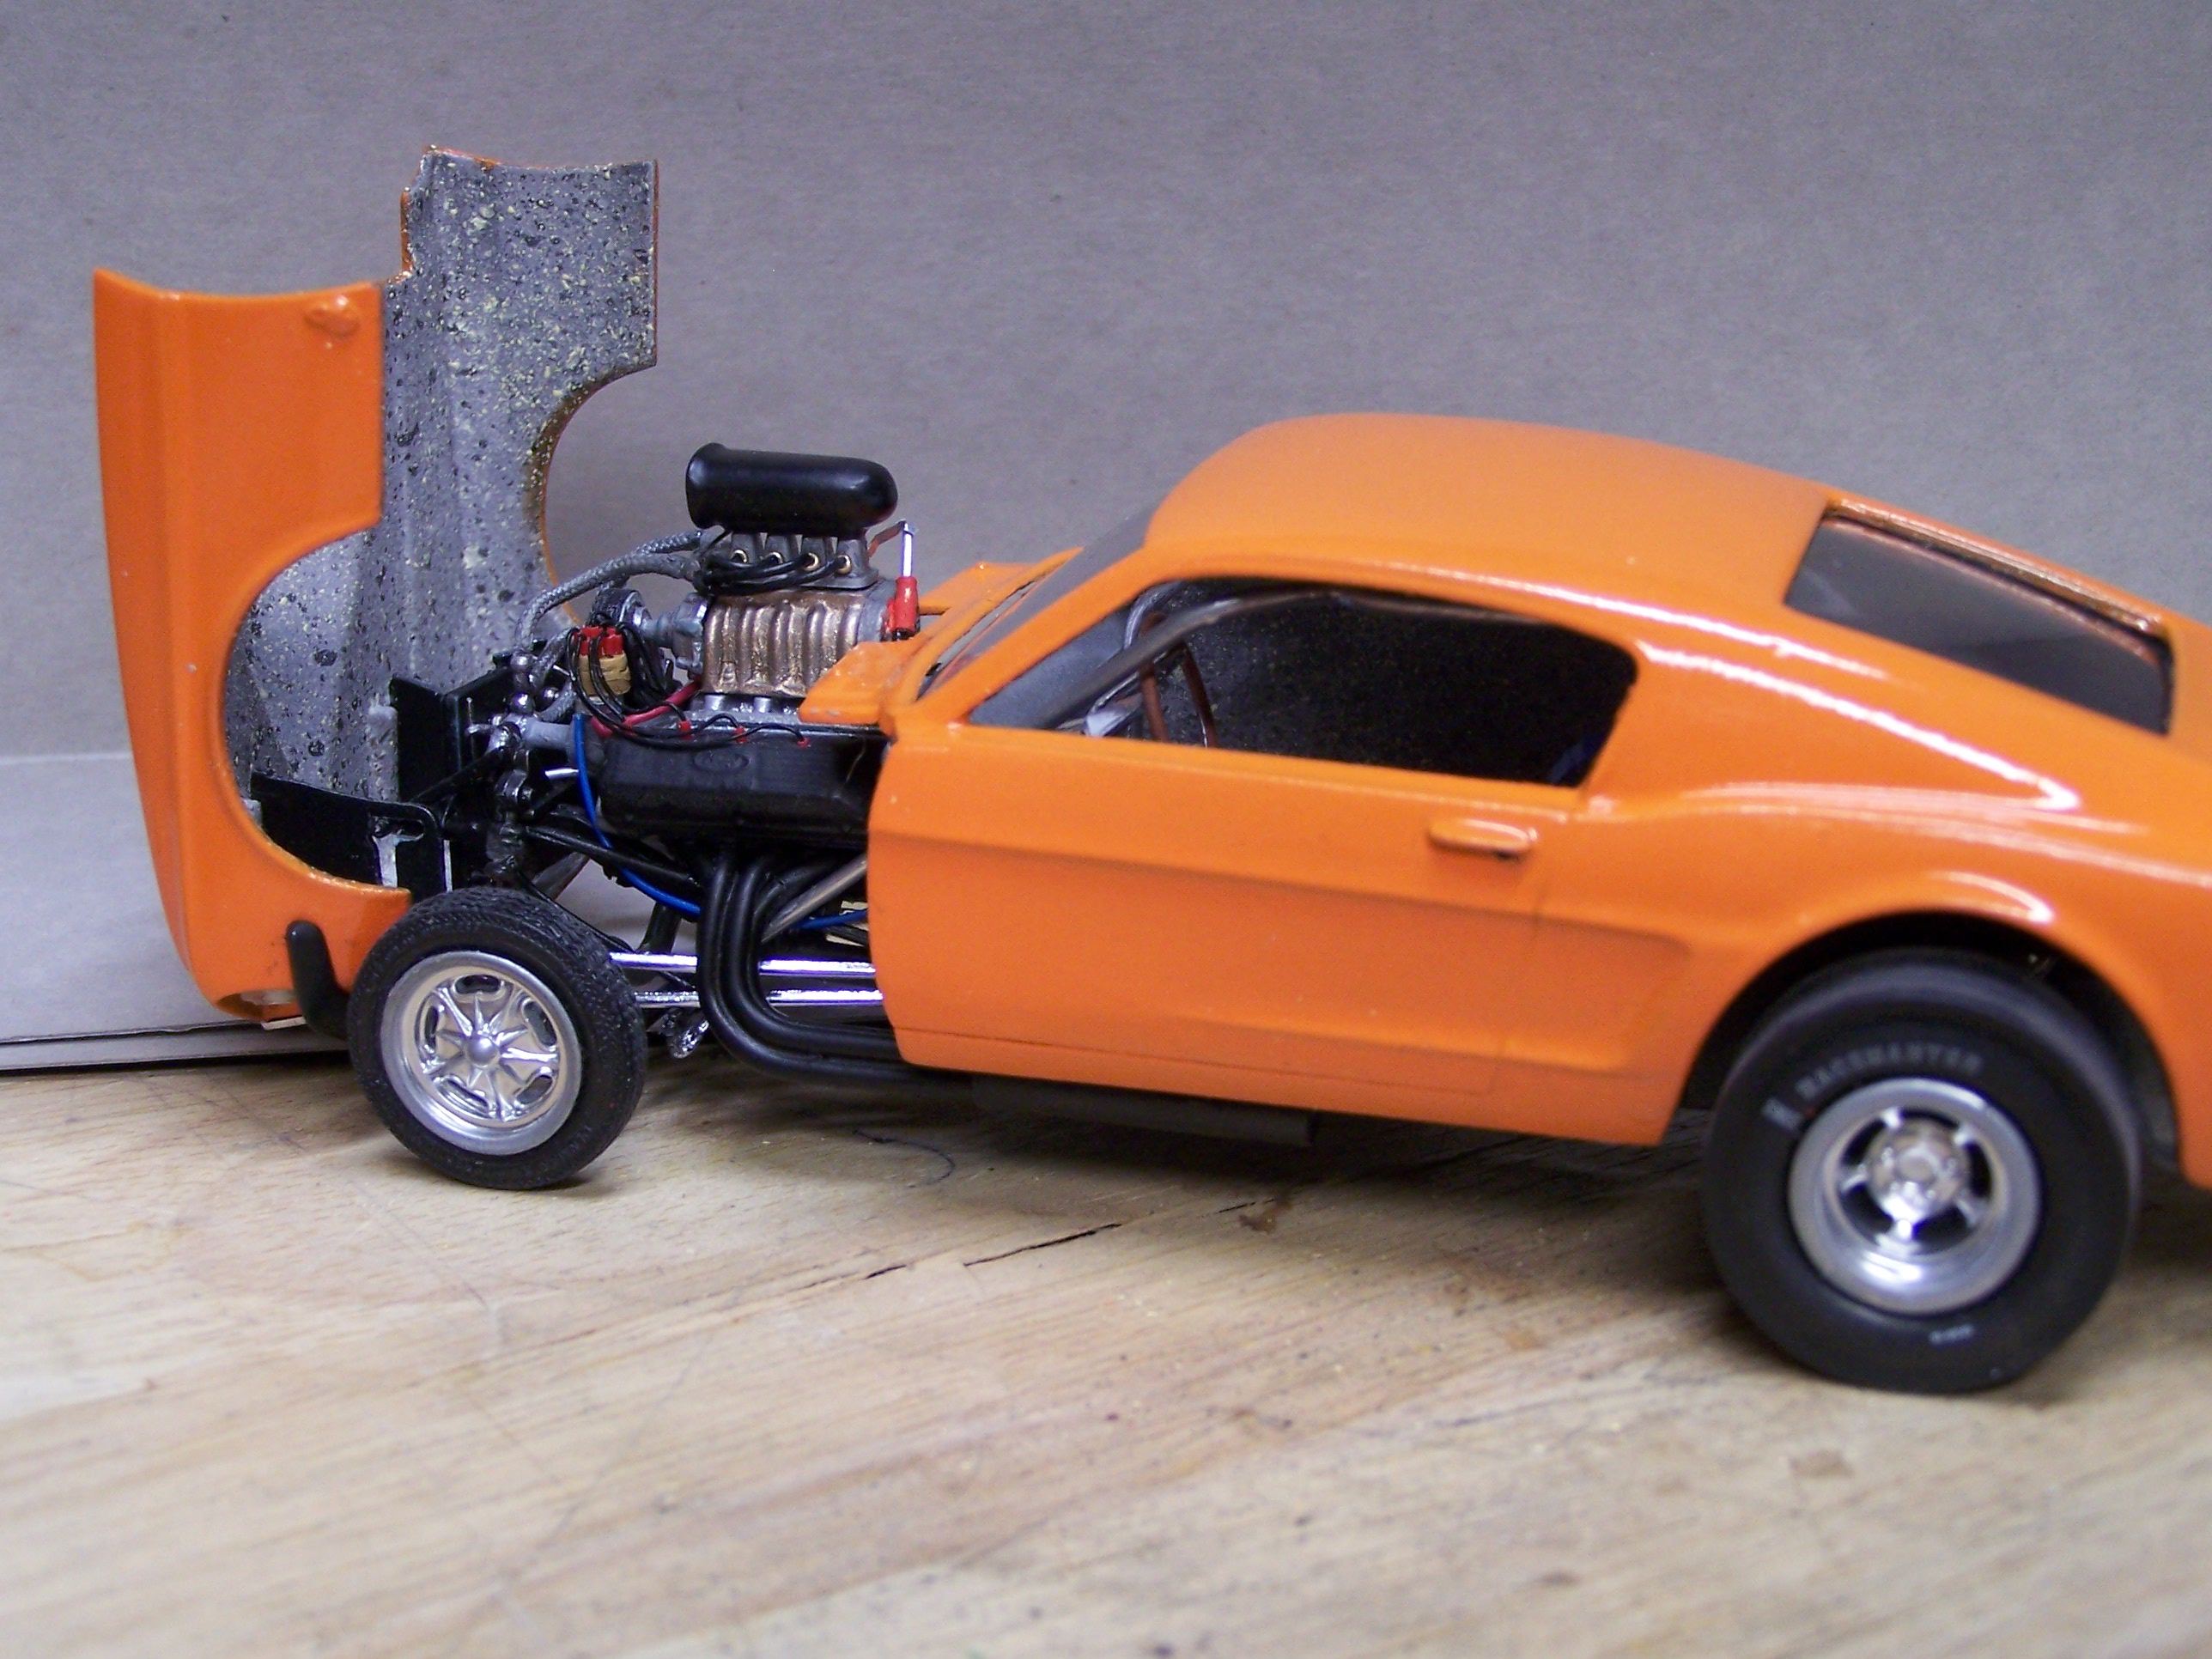
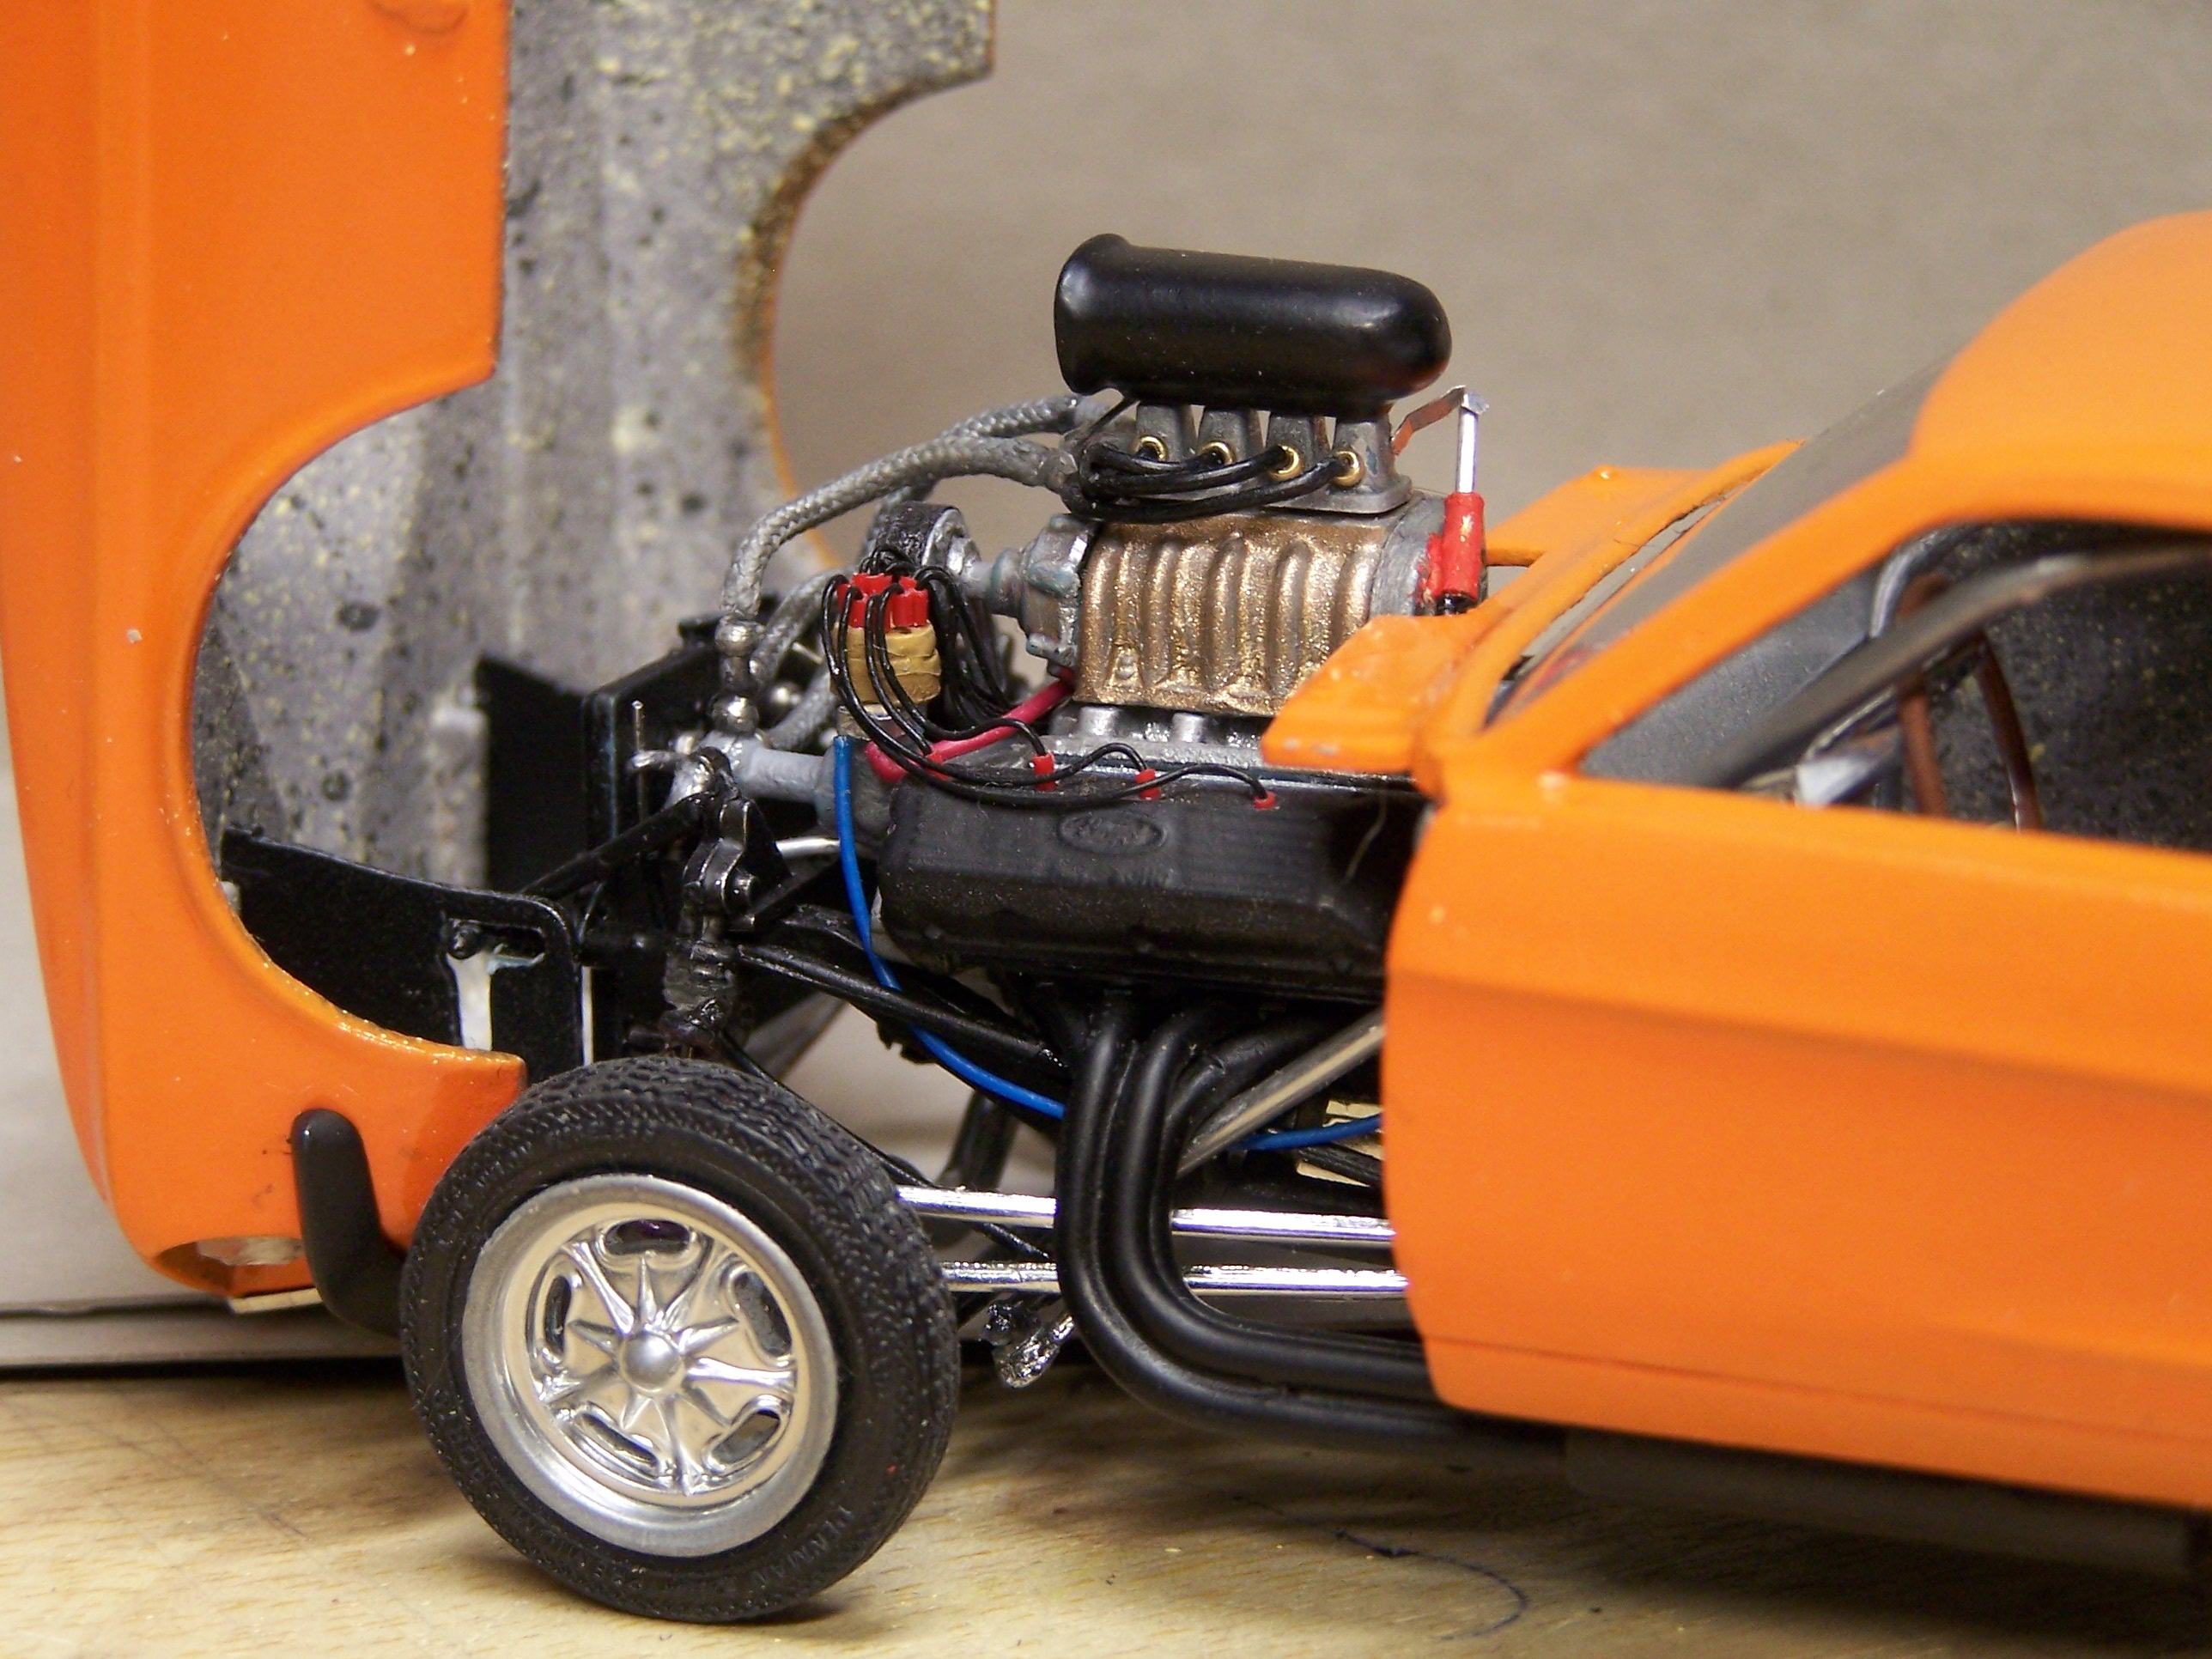
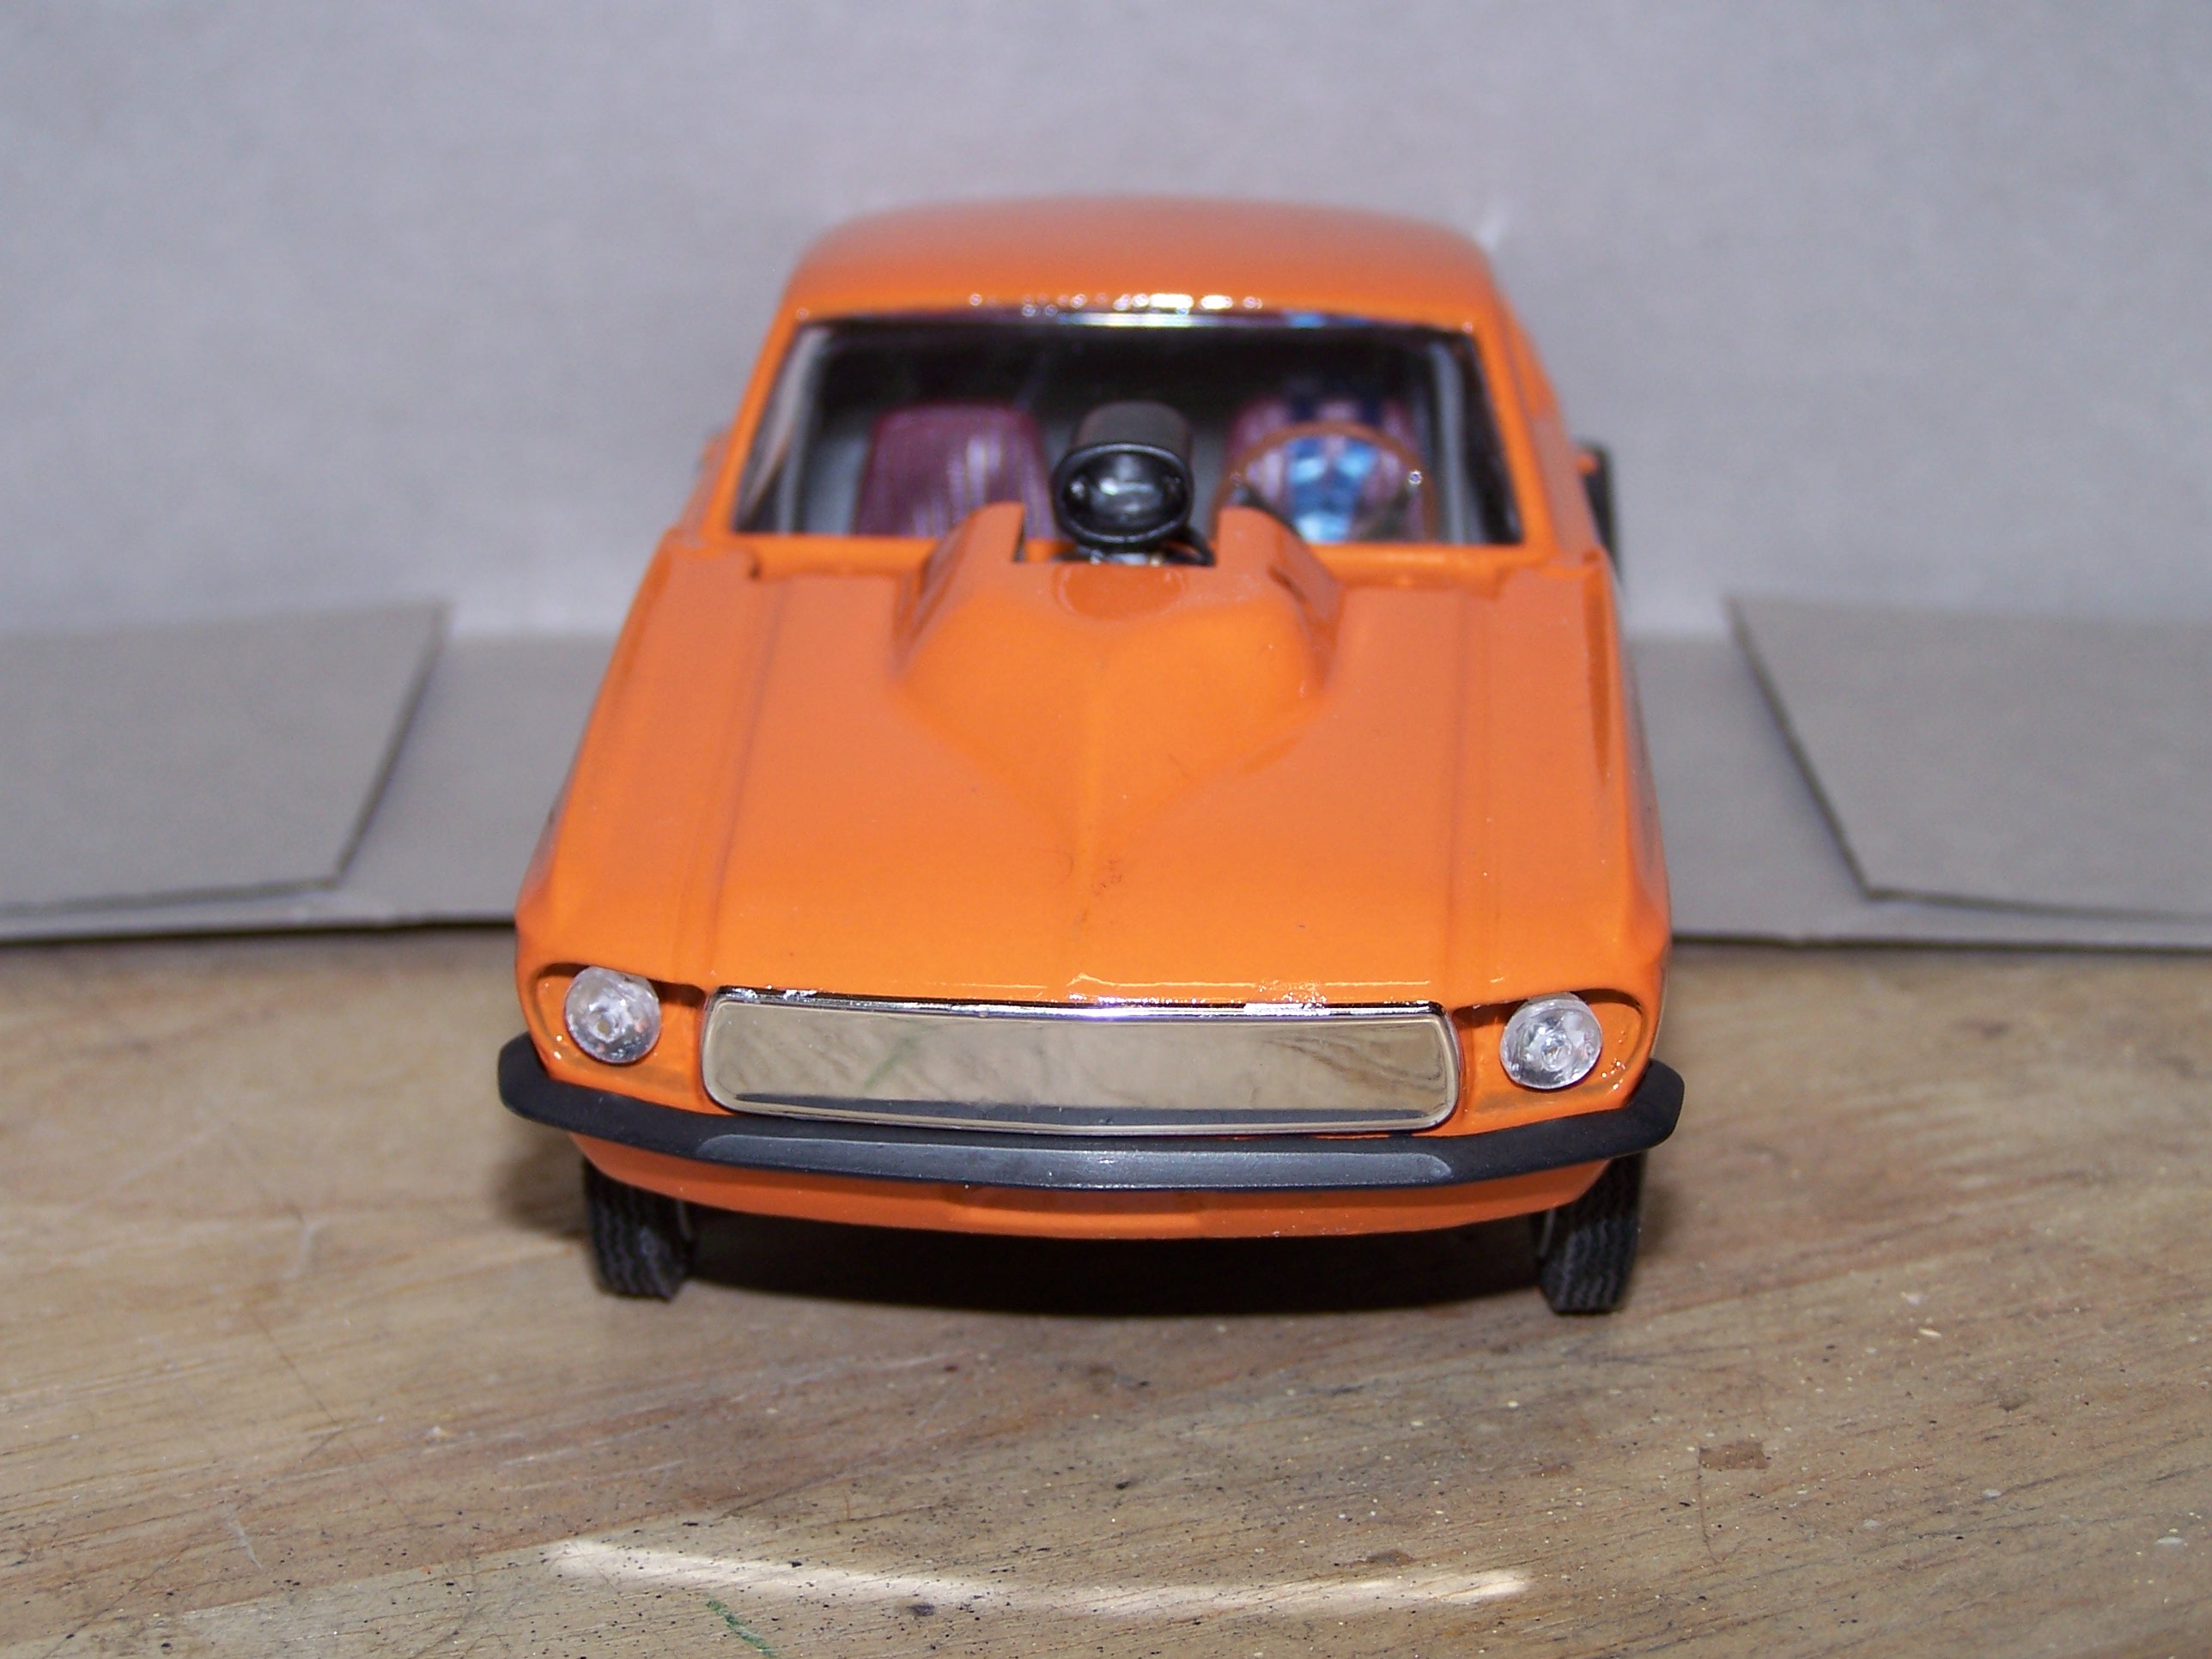
It's my version of the Malco Gasser...in orange.
Farmboy replied to Farmboy's topic in WIP: Drag Racing Models
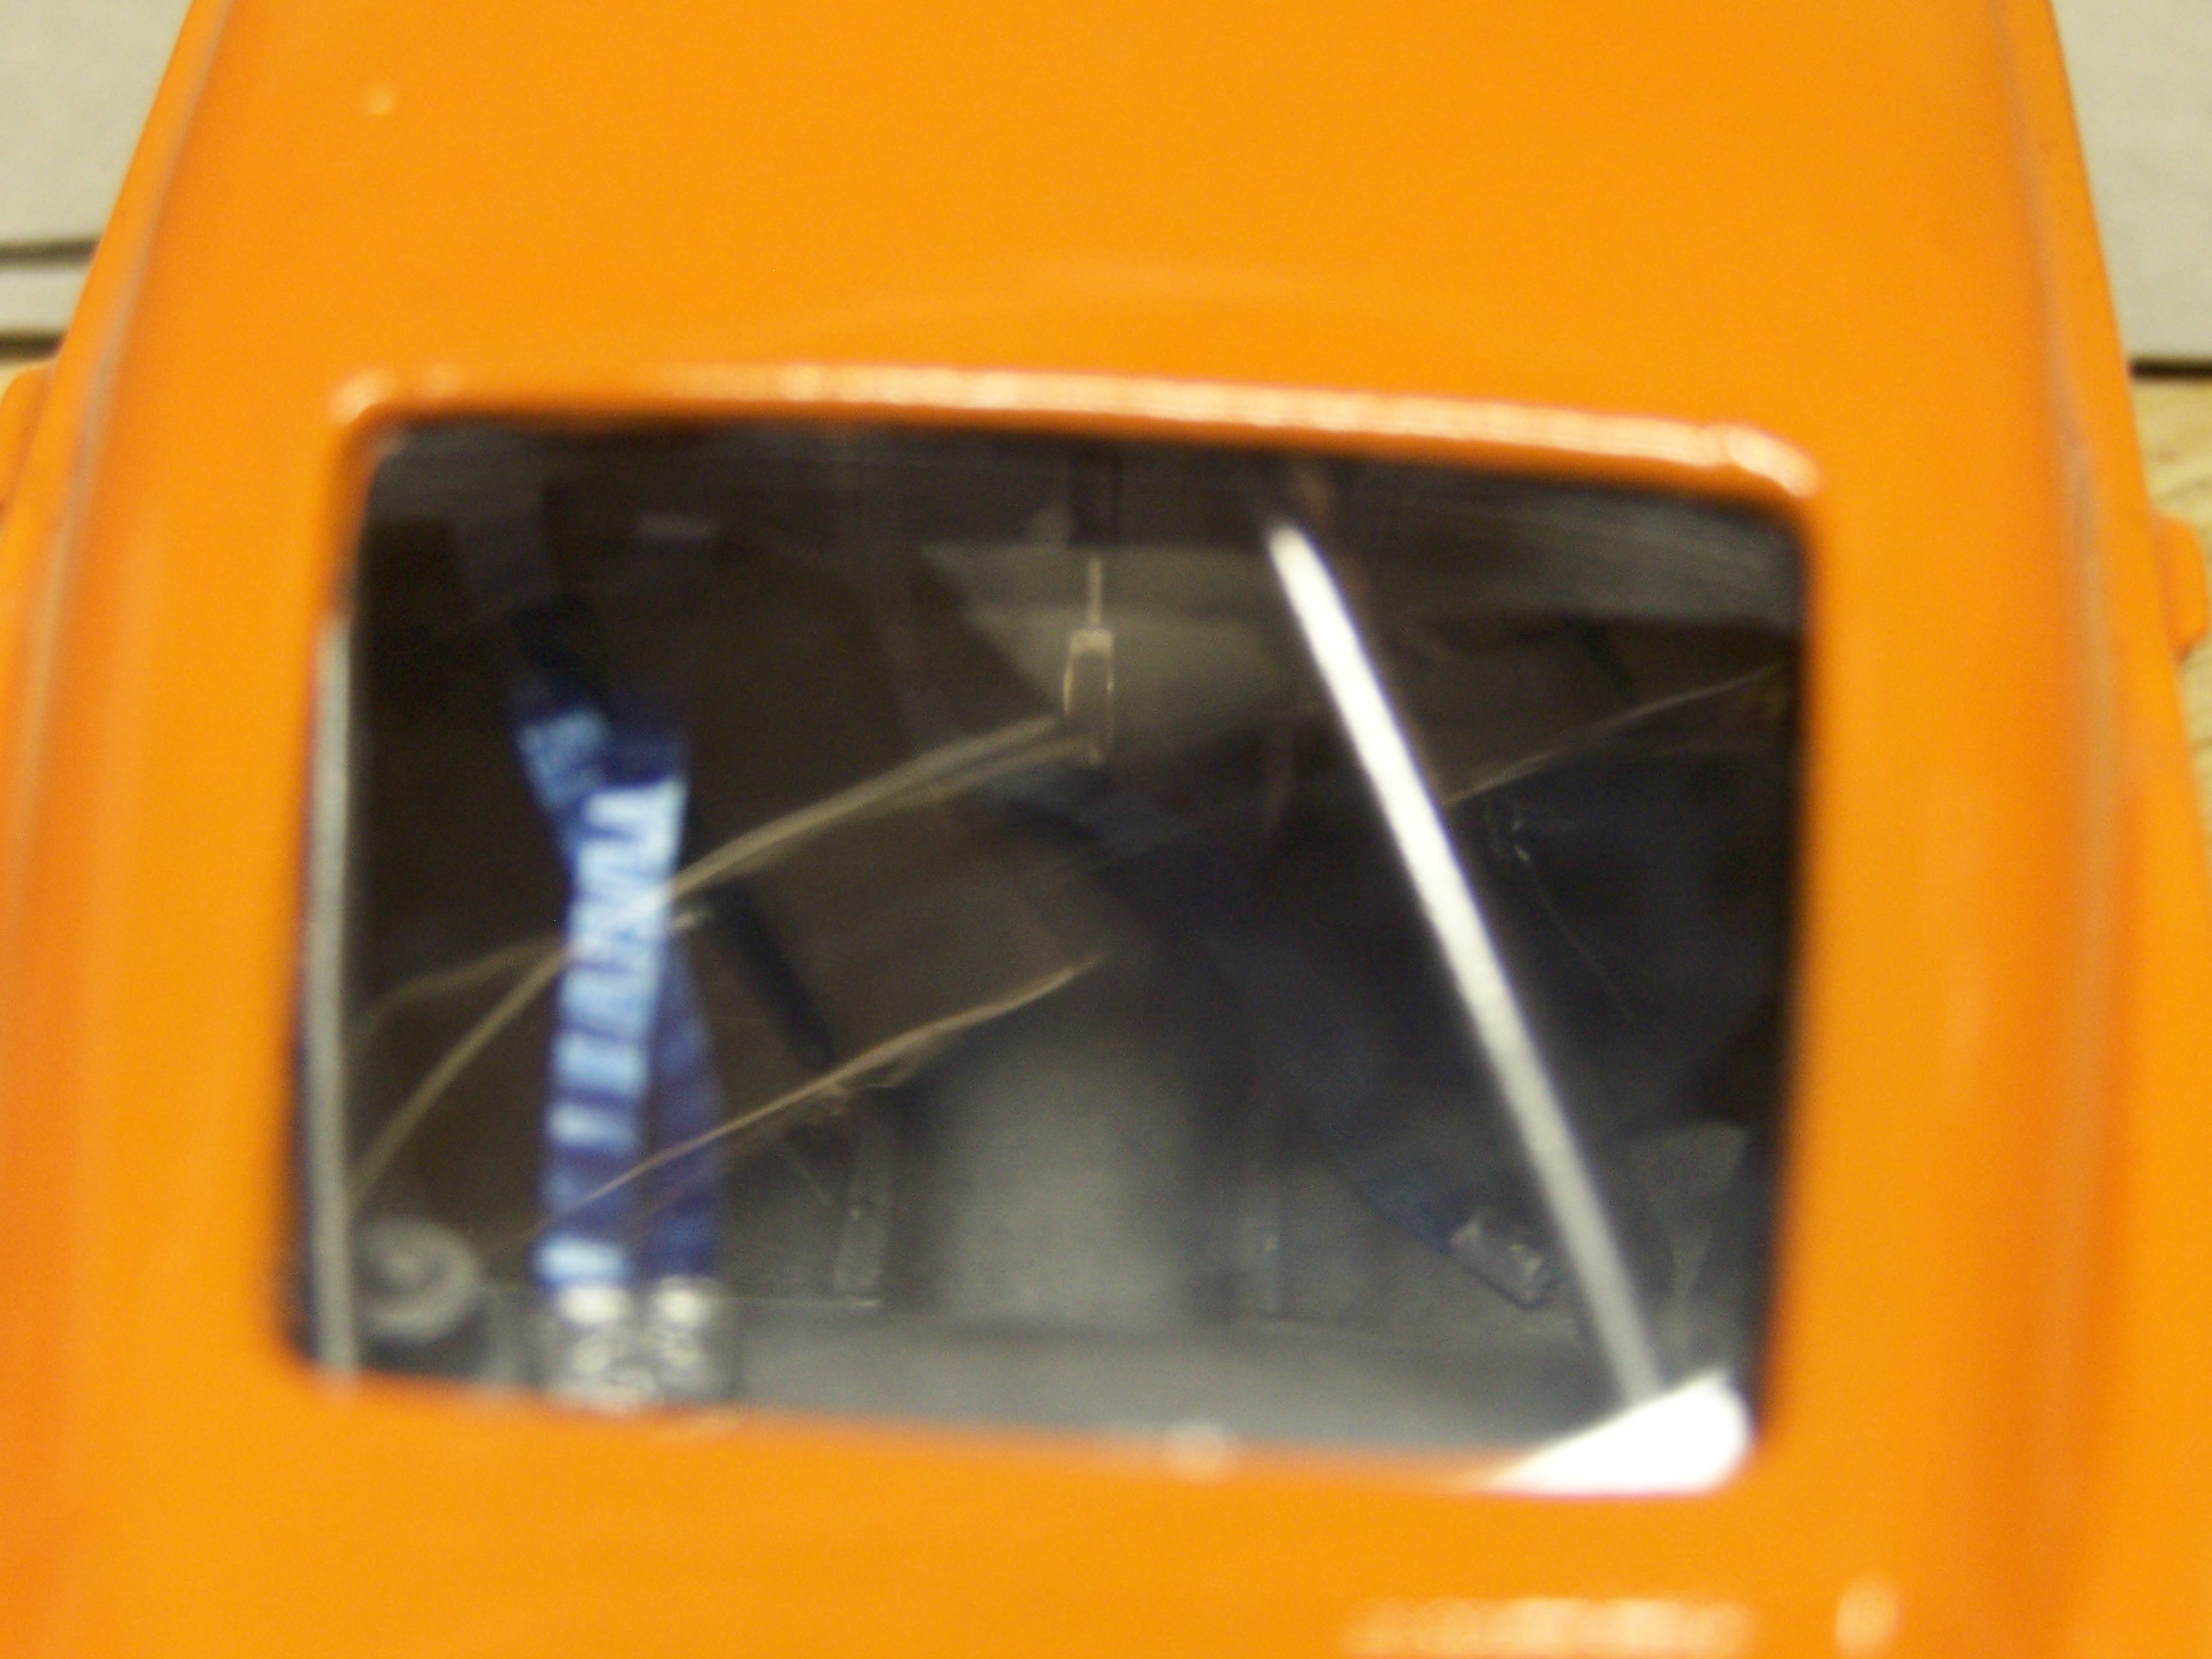
Jesse, that's the first time I've ever seen that photo. Uncanny! Did Revell actually make a kit with those decals? Tom, I don't know if annoyed is the right word. I just accepted it as an old kit with some parts I didn't like changed out or modified where I thought I could do it justice. The windshield/rear window framing is simply a case of surrender lol, but overall it went together pretty well. -
It's my version of the Malco Gasser...in orange.
Farmboy replied to Farmboy's topic in WIP: Drag Racing Models
Thanx everybody, it was a fun build. Incidentally, the 'stainless' fuel lines is actually line cord from a venetian blind. There's a smaller solid string core in it that comes out, and I replaced it with wire so it would hold its shape, sprayed it chrome and voila. -
I had looked around and got quite a bit of help from contributors to this site in getting the pluming and fuel systems correct, or as correct as my skills would allow me to. I did change the headers, hate the originals in the kit. I thought of doing an asbestos wrap but all too much effort. A pair (though incorrect) from the parts box did the trick. The plumbing is as close as I can get it, even managed to get the radiator overflow and the cv hose in the general vicinity. Built my own fluid tank and catcher for the cv. I attempted to do the black with silver bolts/rivets around the windshield. After two attempts, out came the file, sandpaper and a small amount of styrene rod and that took care of that. The orange is the $1.00 acrylic craft paint with a few gloss coats. I also experimented with the 'fleck' process seen on a number of fiberglass moldings using a toothbrush and acrylic paints. Think it adds a little interest and color. All existing trim was blacked out except for the grill cover. Hope you enjoy. Comments and observations always welcome
-
Paint Strippers - What to Use?
Farmboy replied to pbj59's topic in Model Building Questions and Answers
Peter, on this car I used a Rustoleum primer, Krylon colors and Excel Craft clear. All spray bombs. I don't ever plan on stripping paint jobs and have only had to do it a few times with varying degrees of success, but I think the more important part is A: the Iso doesn't harm the plastic and B: did what I wanted it to do. Isopropyl gave me the A and B with minimal fuss and cleanup at a cup 'o coffee price. Nothing about it I don't like so far and a suggestion I'm glad I followed. Incidentally I used the 70% strength from the drug store....I didn't see the 90%, I think you have to ask for it. Anyway, for 3 bucks it quickly and easily solved a heartbreaker problem.