shucky
-
Posts
1,102 -
Joined
-
Last visited
Content Type
Profiles
Forums
Events
Gallery
Everything posted by shucky
-
Scale Hardware was taken over by Model Motorcars. I buy from them as well as RB Motion. Protech PE bolt heads are brilliant also.
-
Got this last May

-
Looks great and fantastic photos!
-

Moebius Comet... Wild Bubbletop Show Rod- Done! 3-17
shucky replied to Impalow's topic in WIP: Model Cars
Another interesting, creative, and amazing project! I keep eyeballing these cutters and know I will buy one at some point. Keep up the great work and super appreciate all the great tips and info you share. So much awesome in here! -
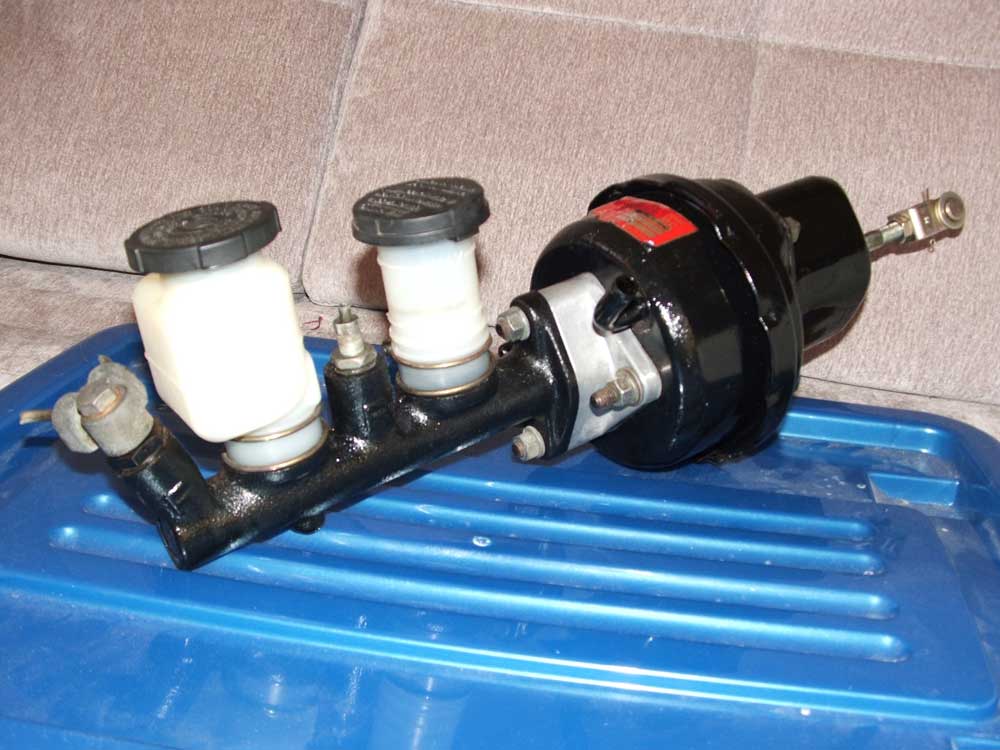
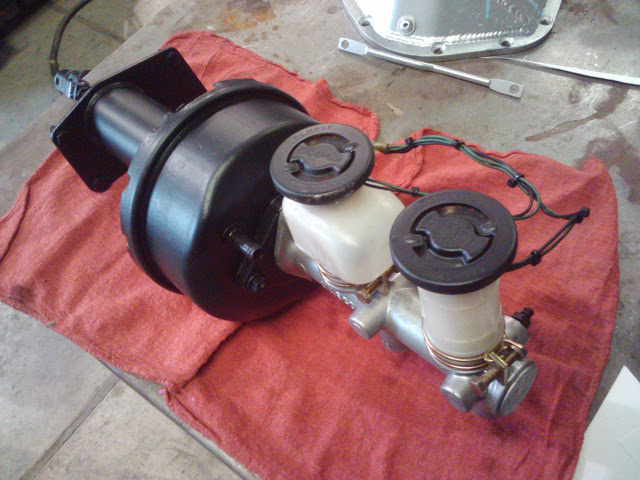
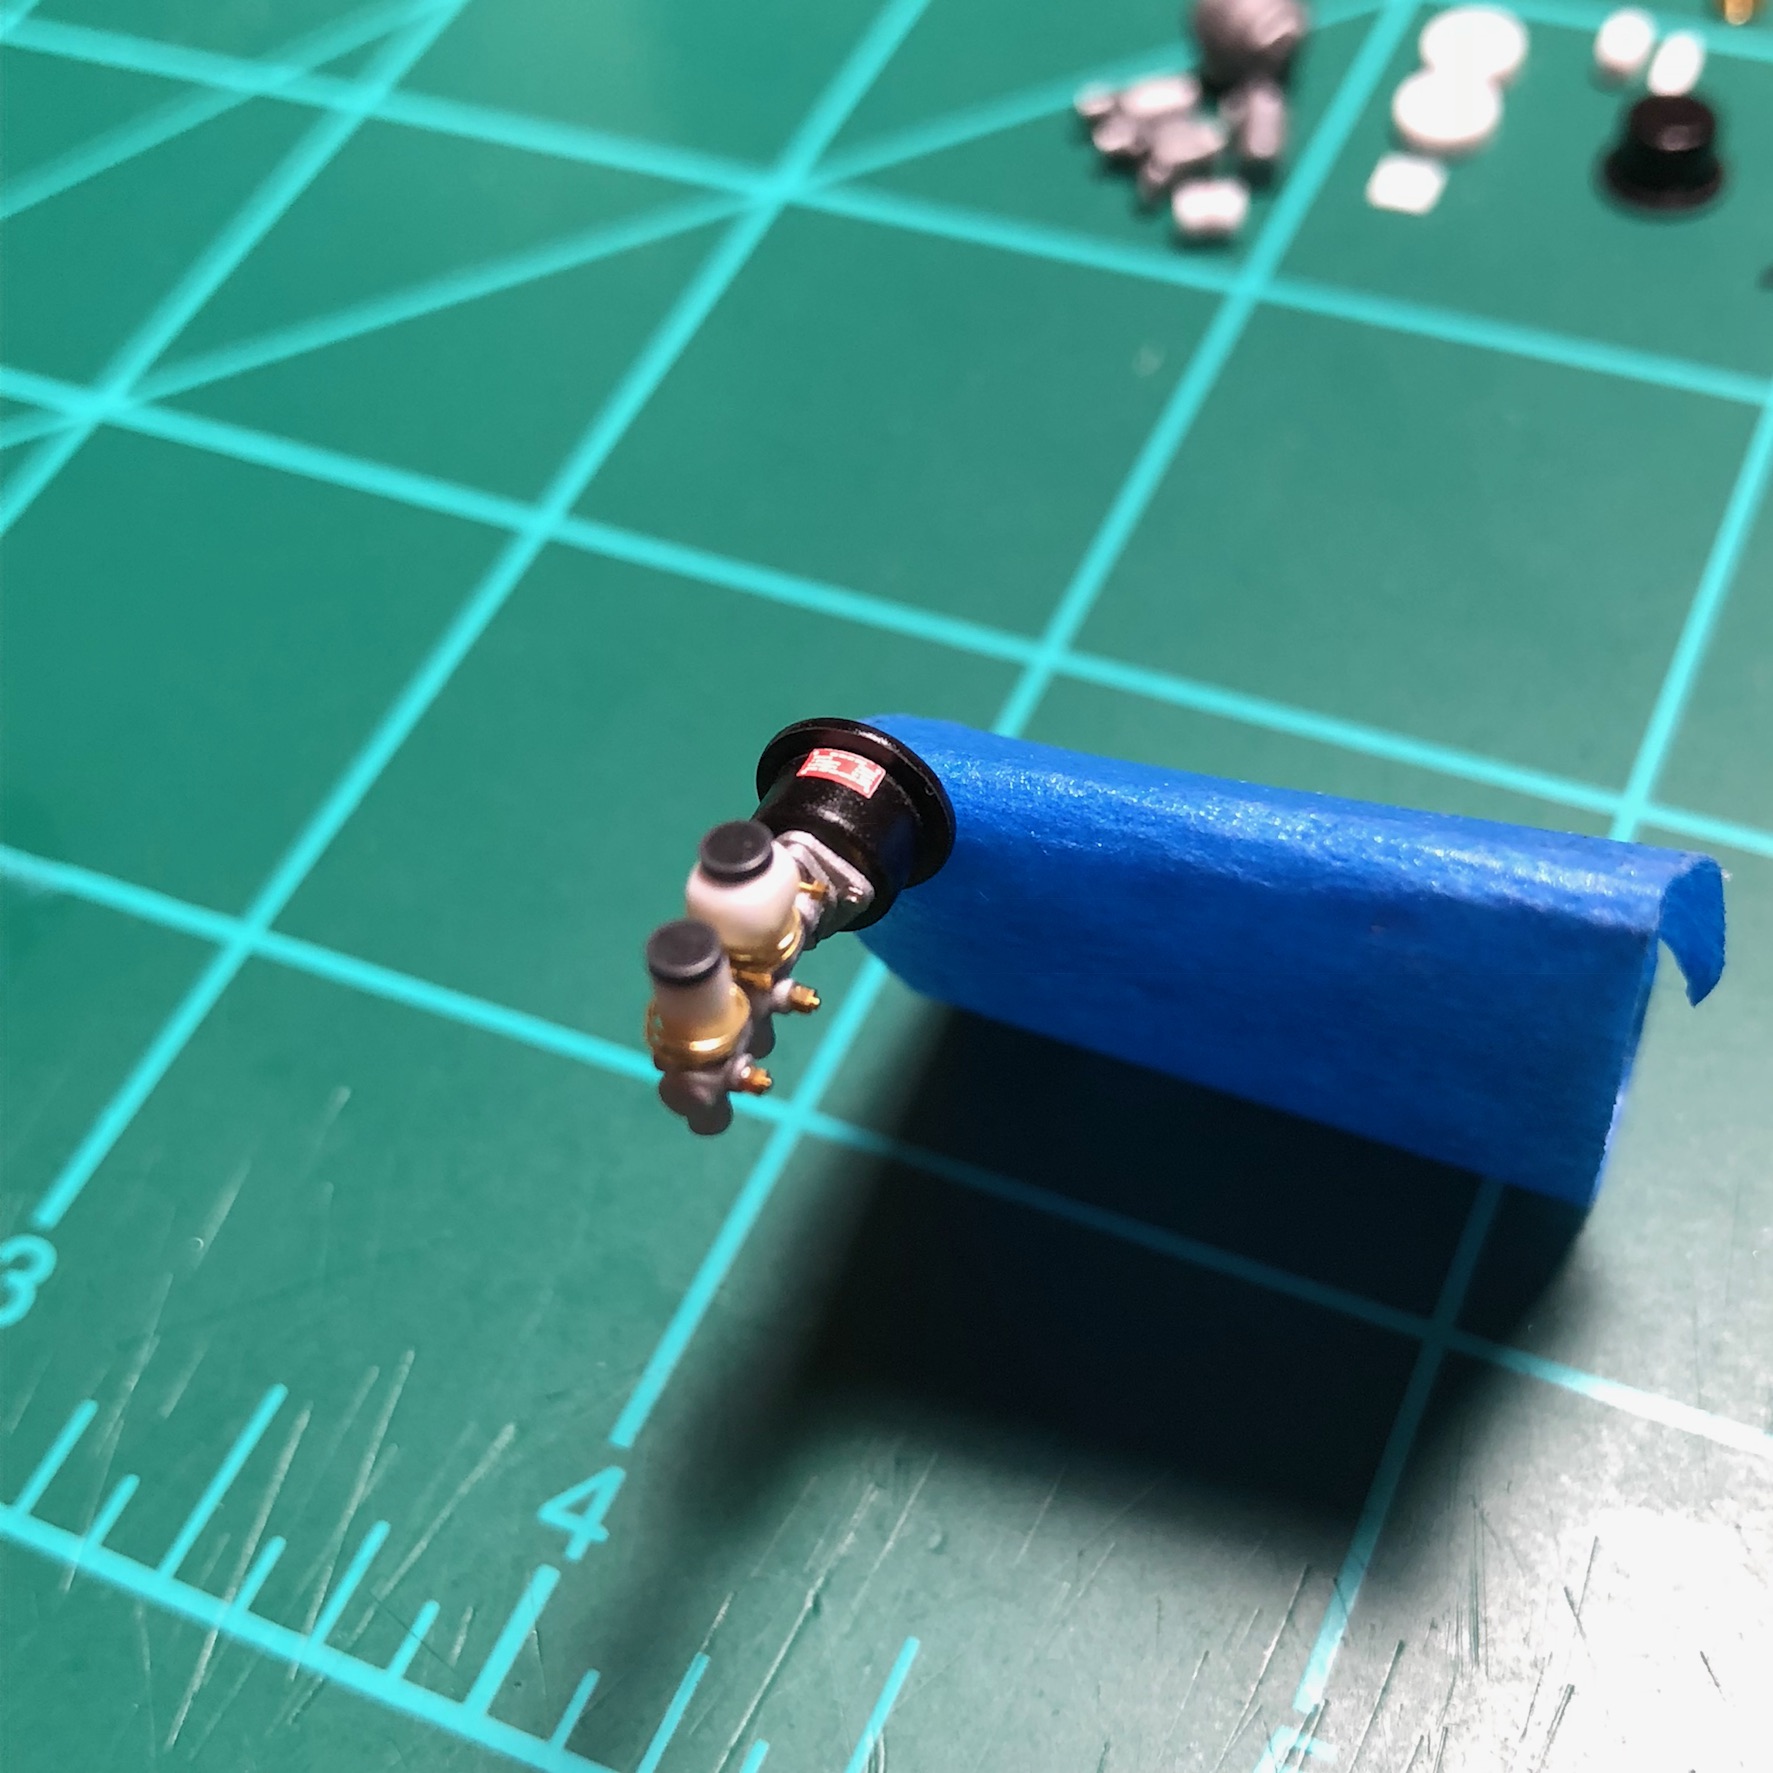
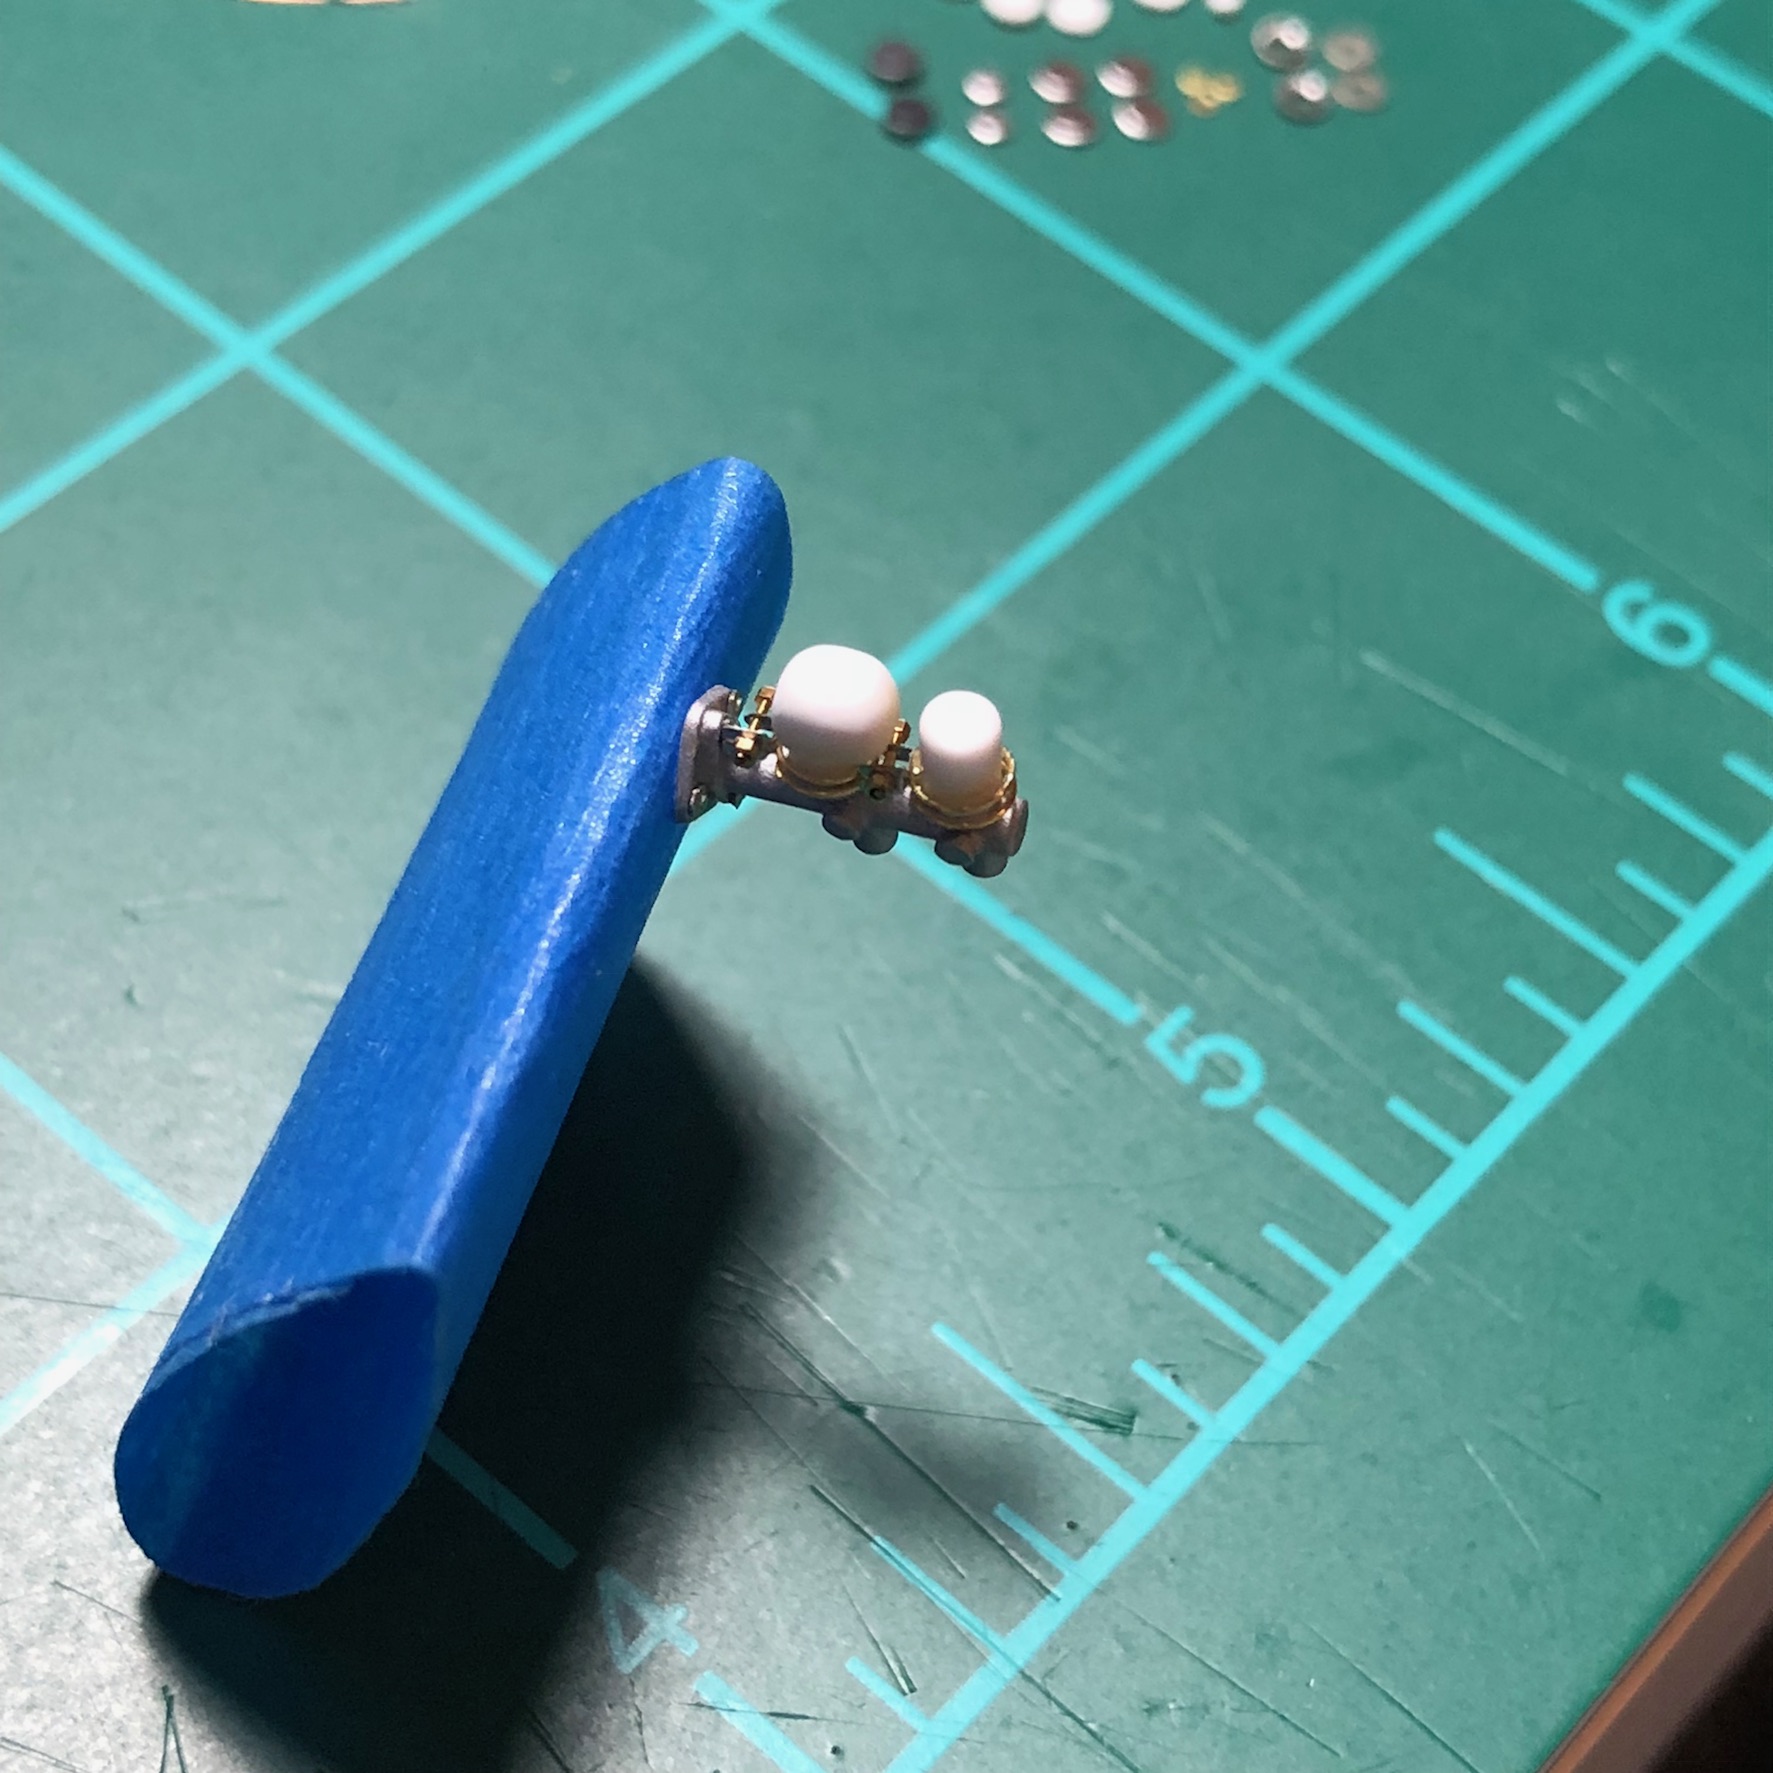
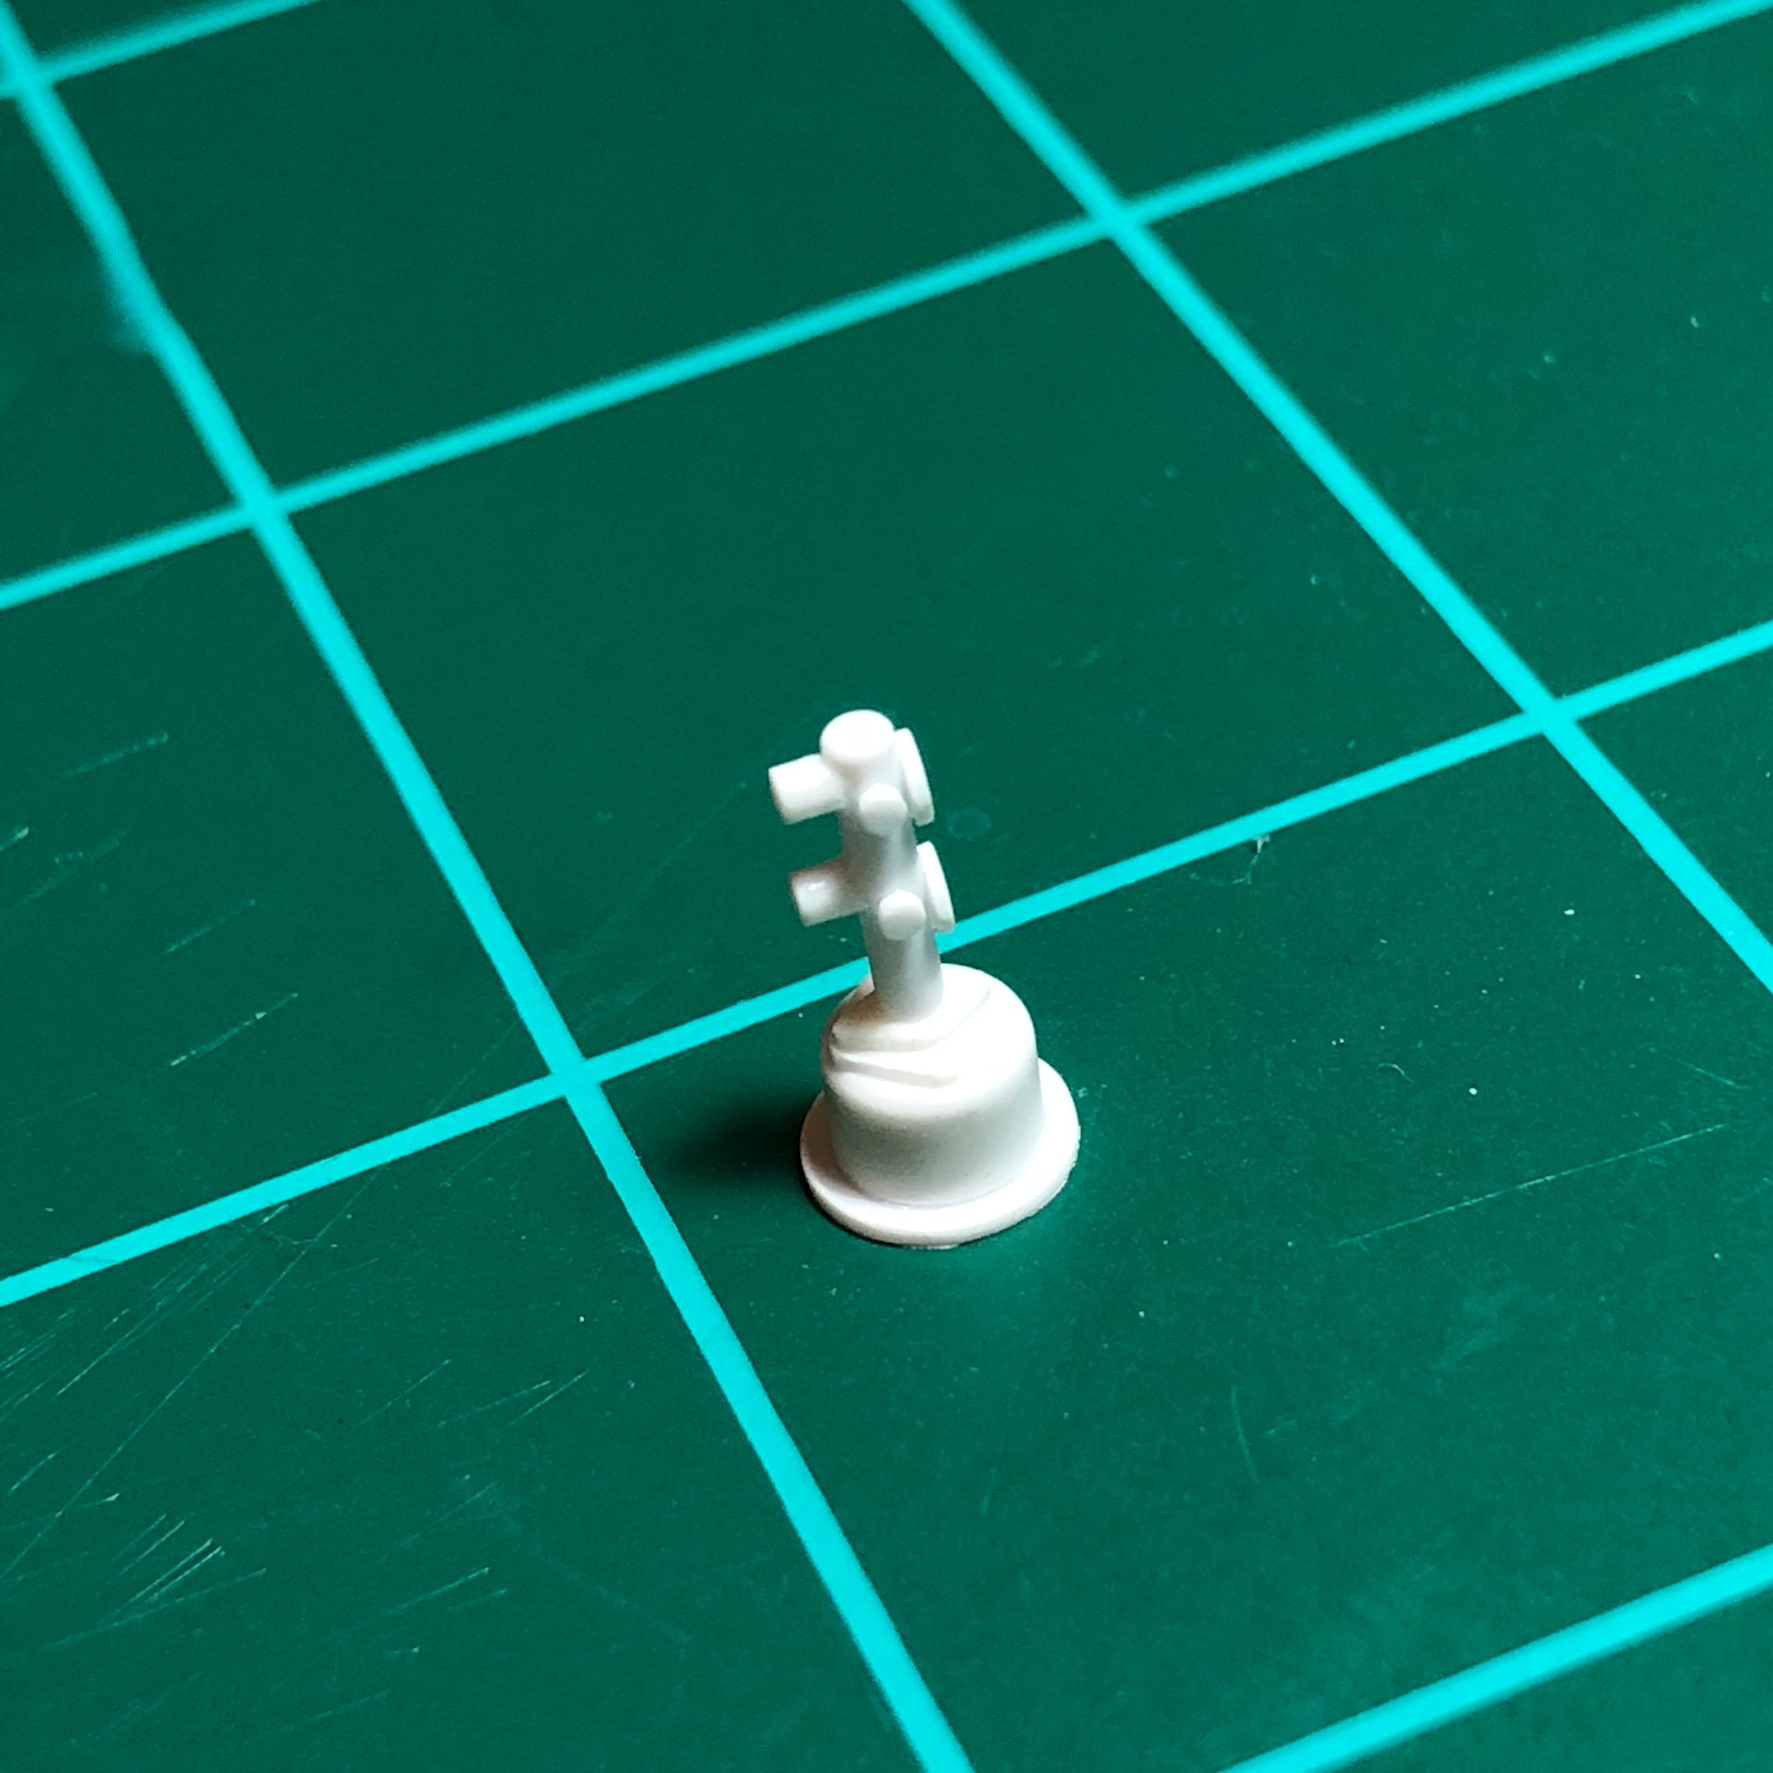
Here are couple examples of real 1:1 I used as reference and the finished piece. The reservoirs were dusted with Tamiya weathering kit to add a bit of depth.
-
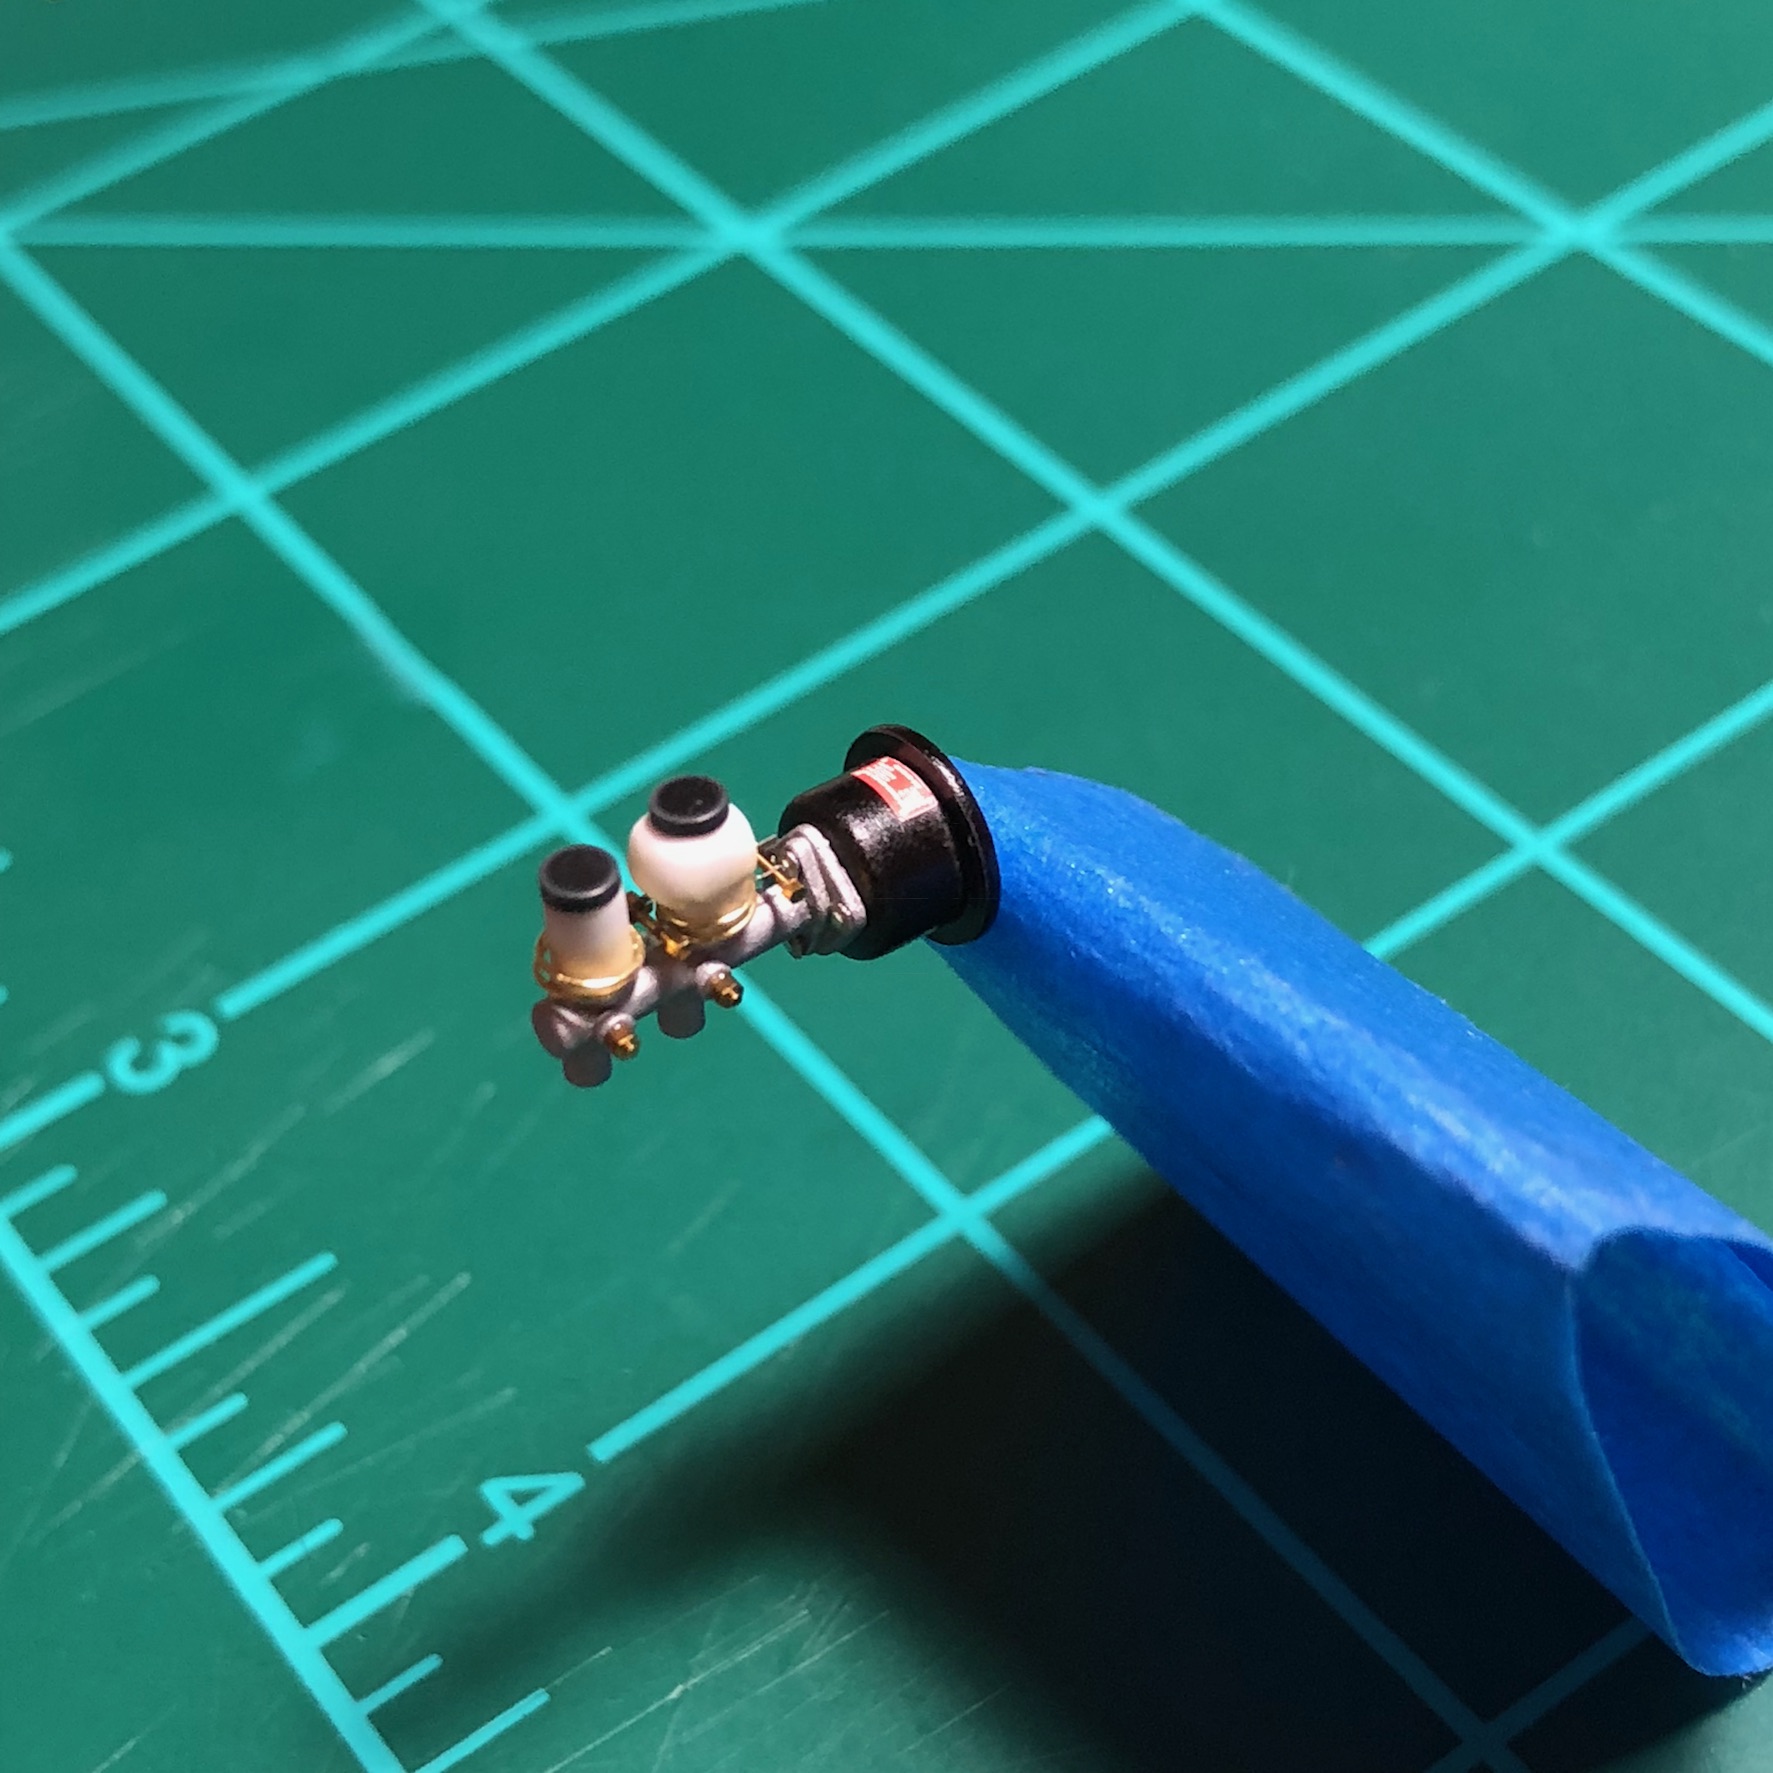
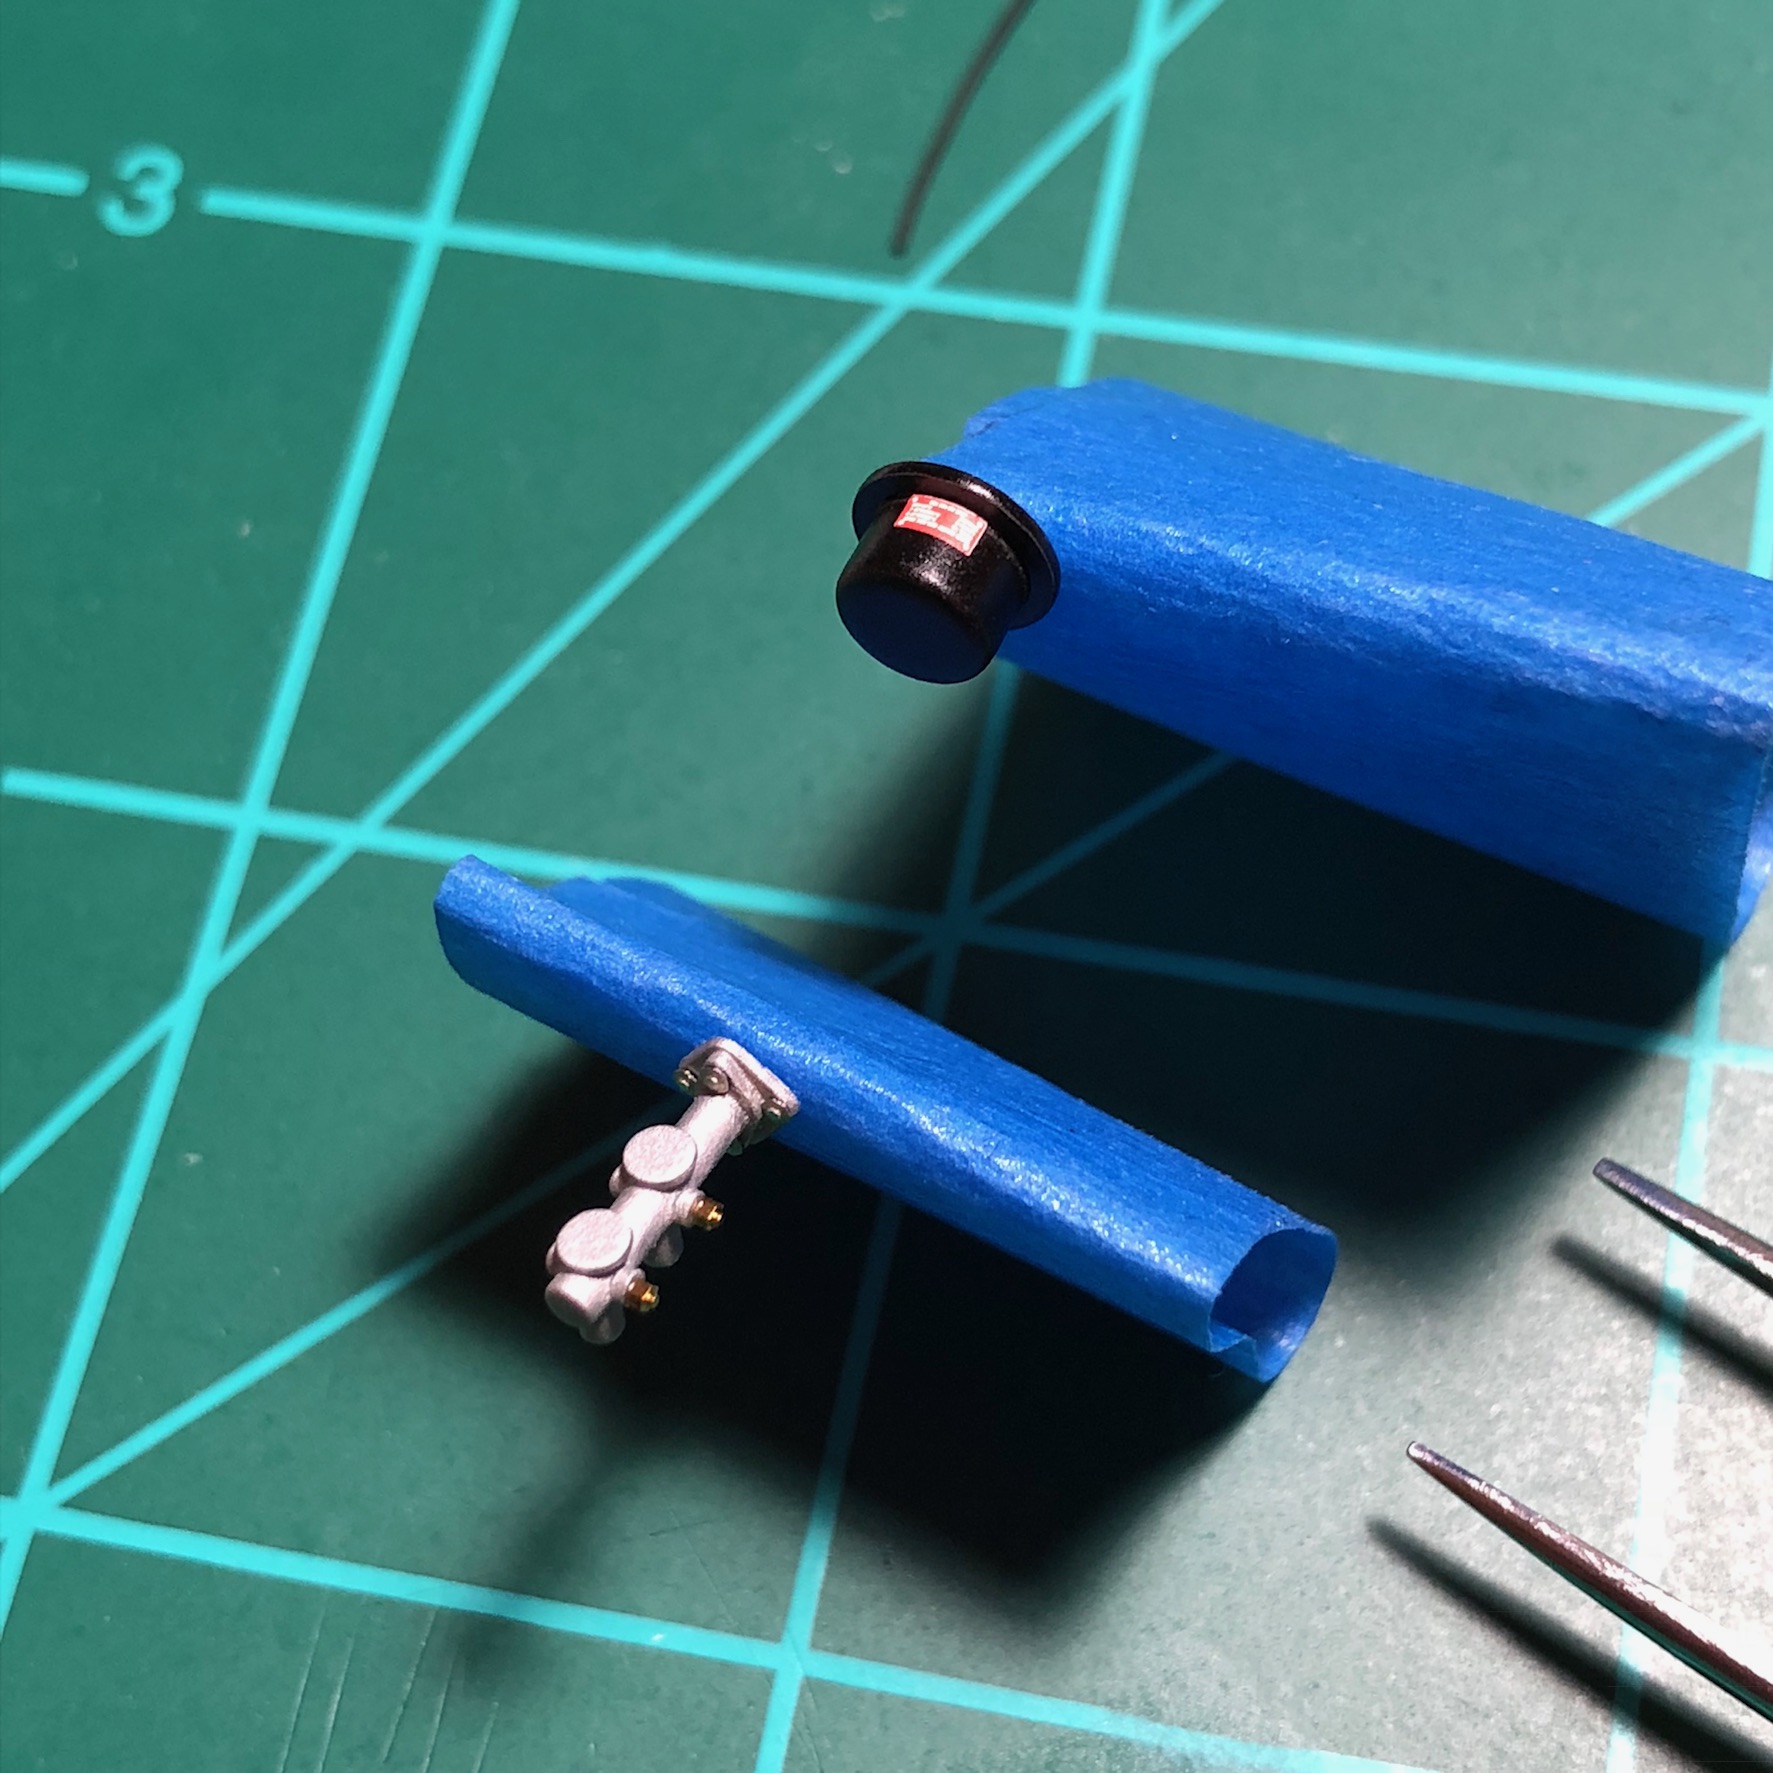
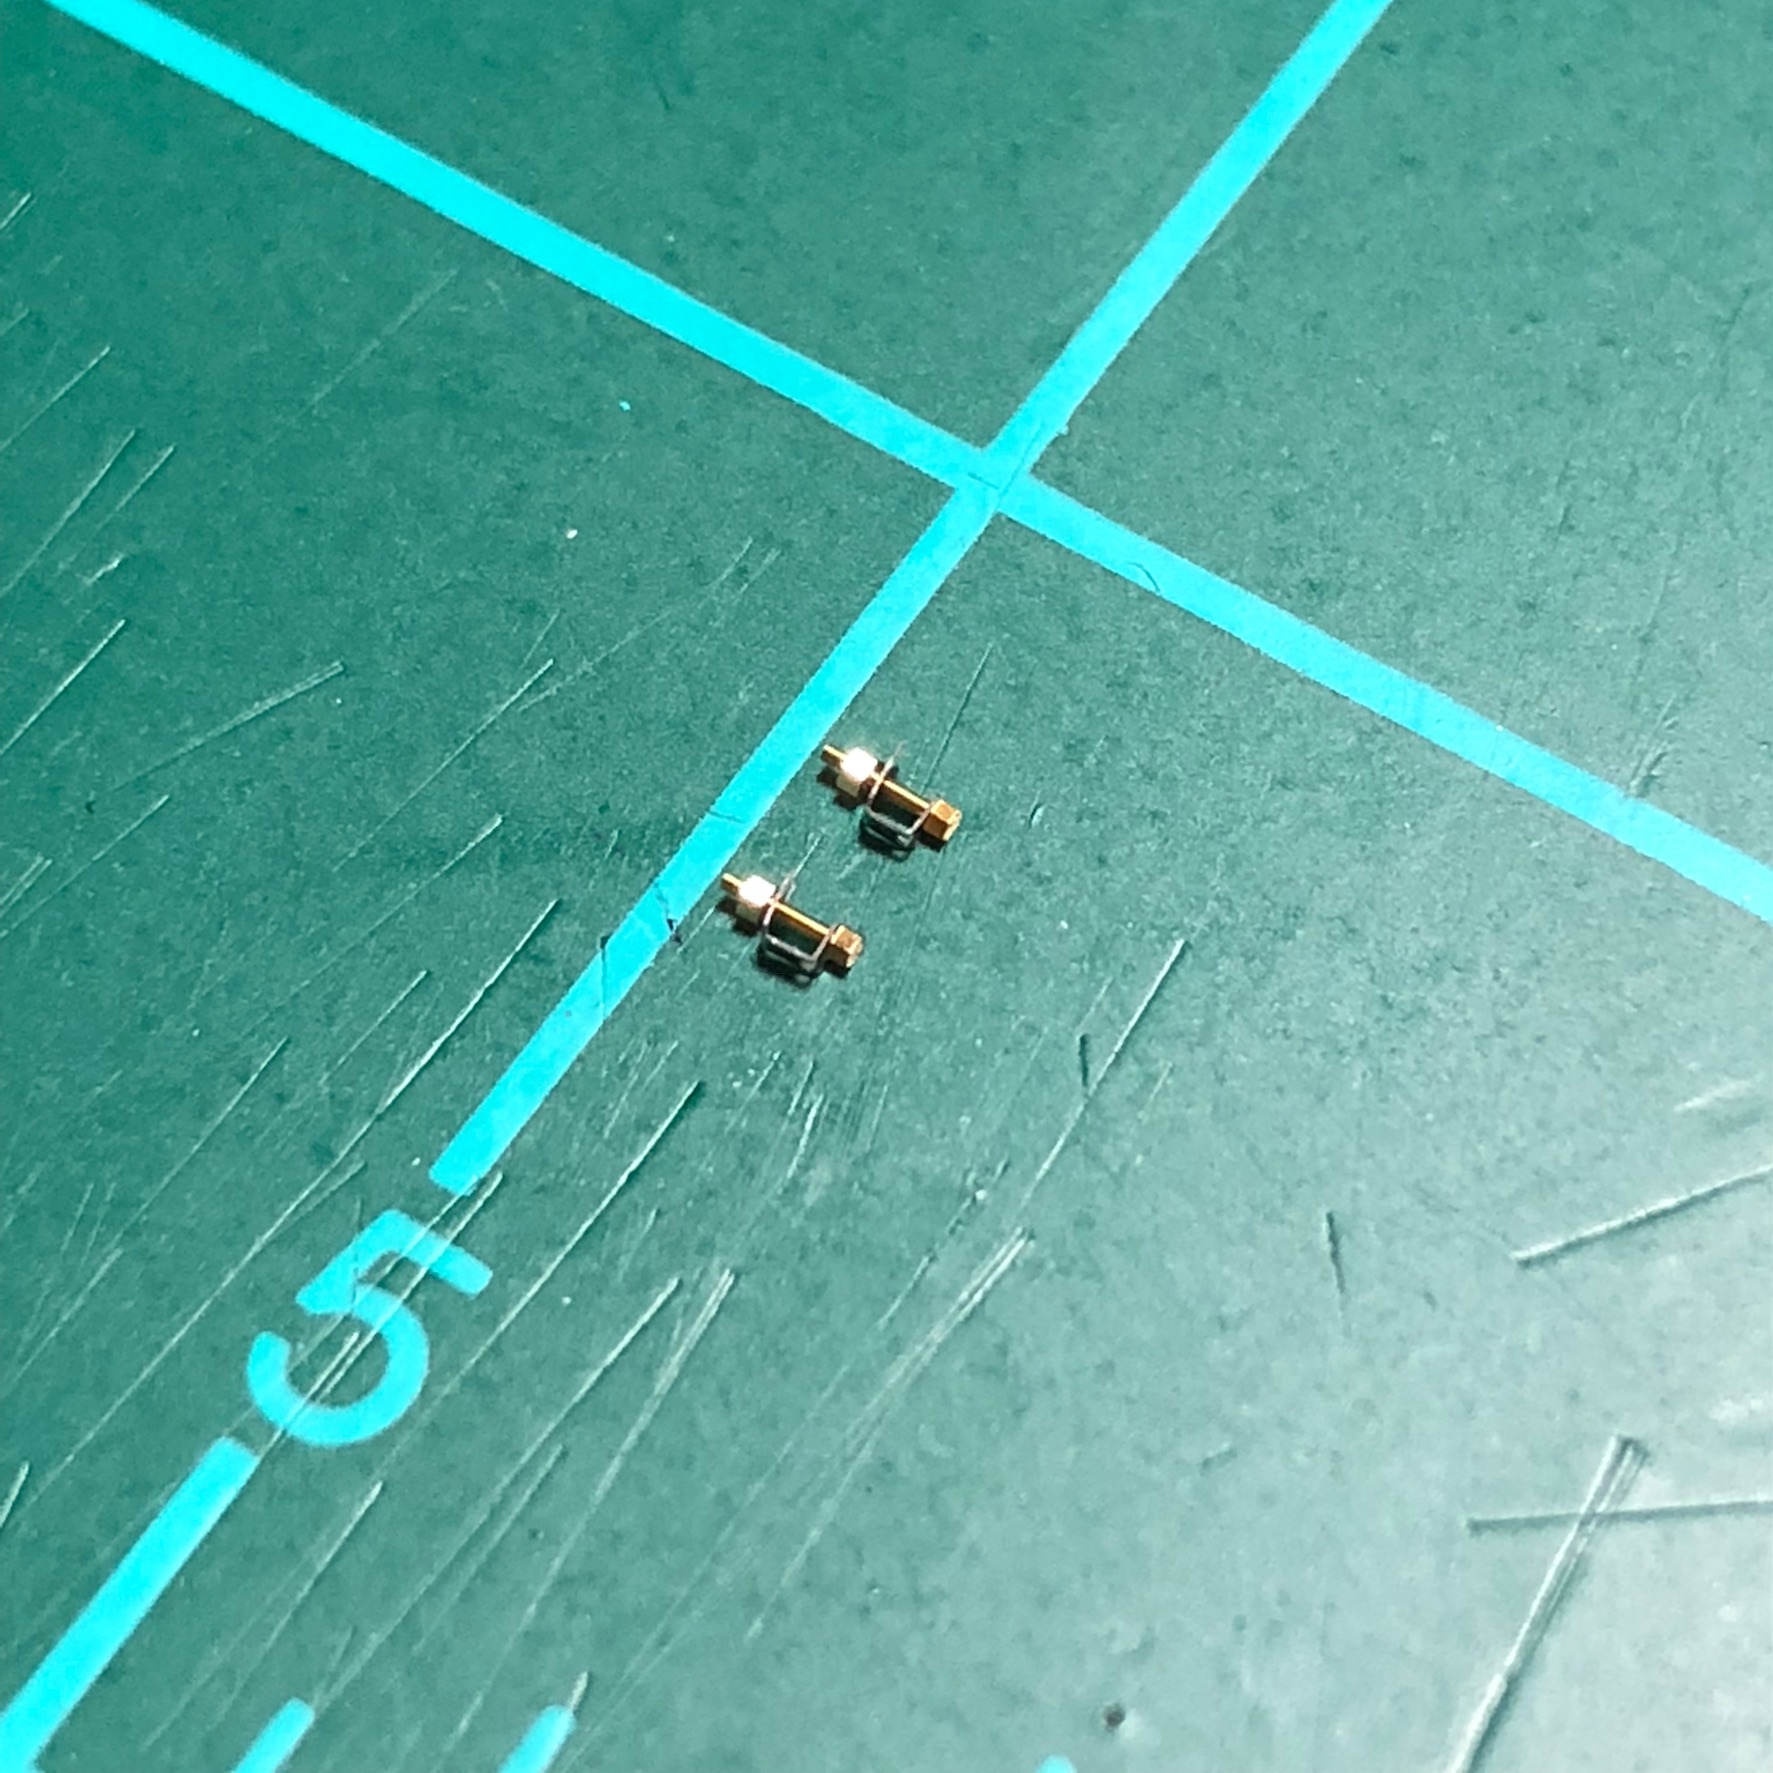
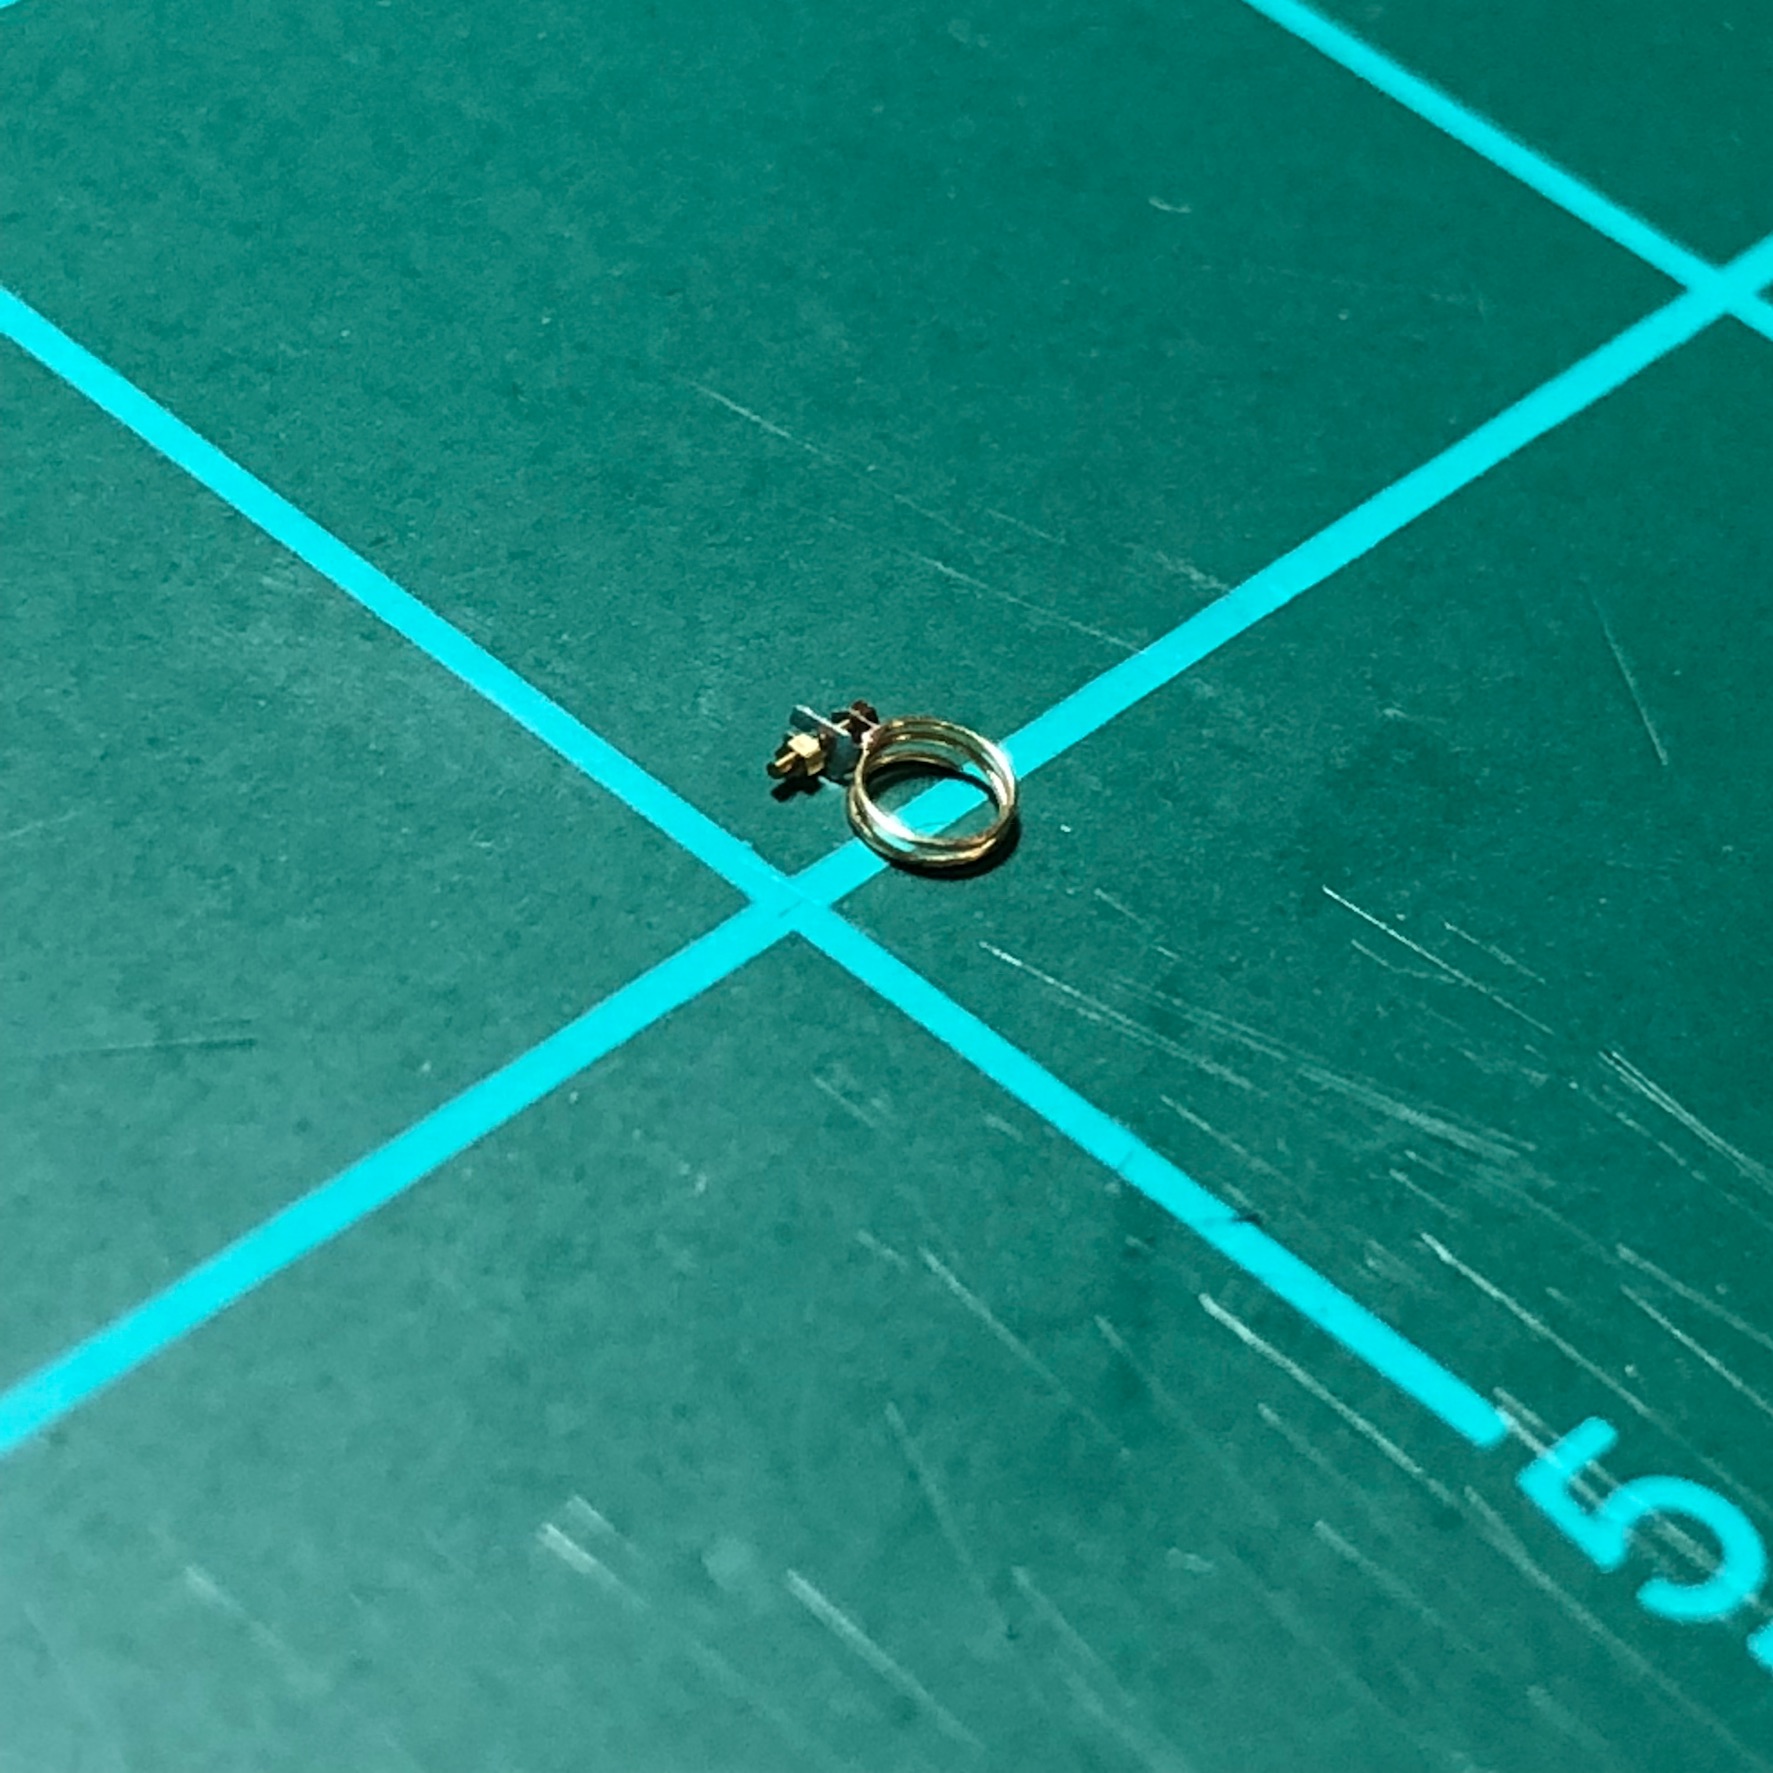
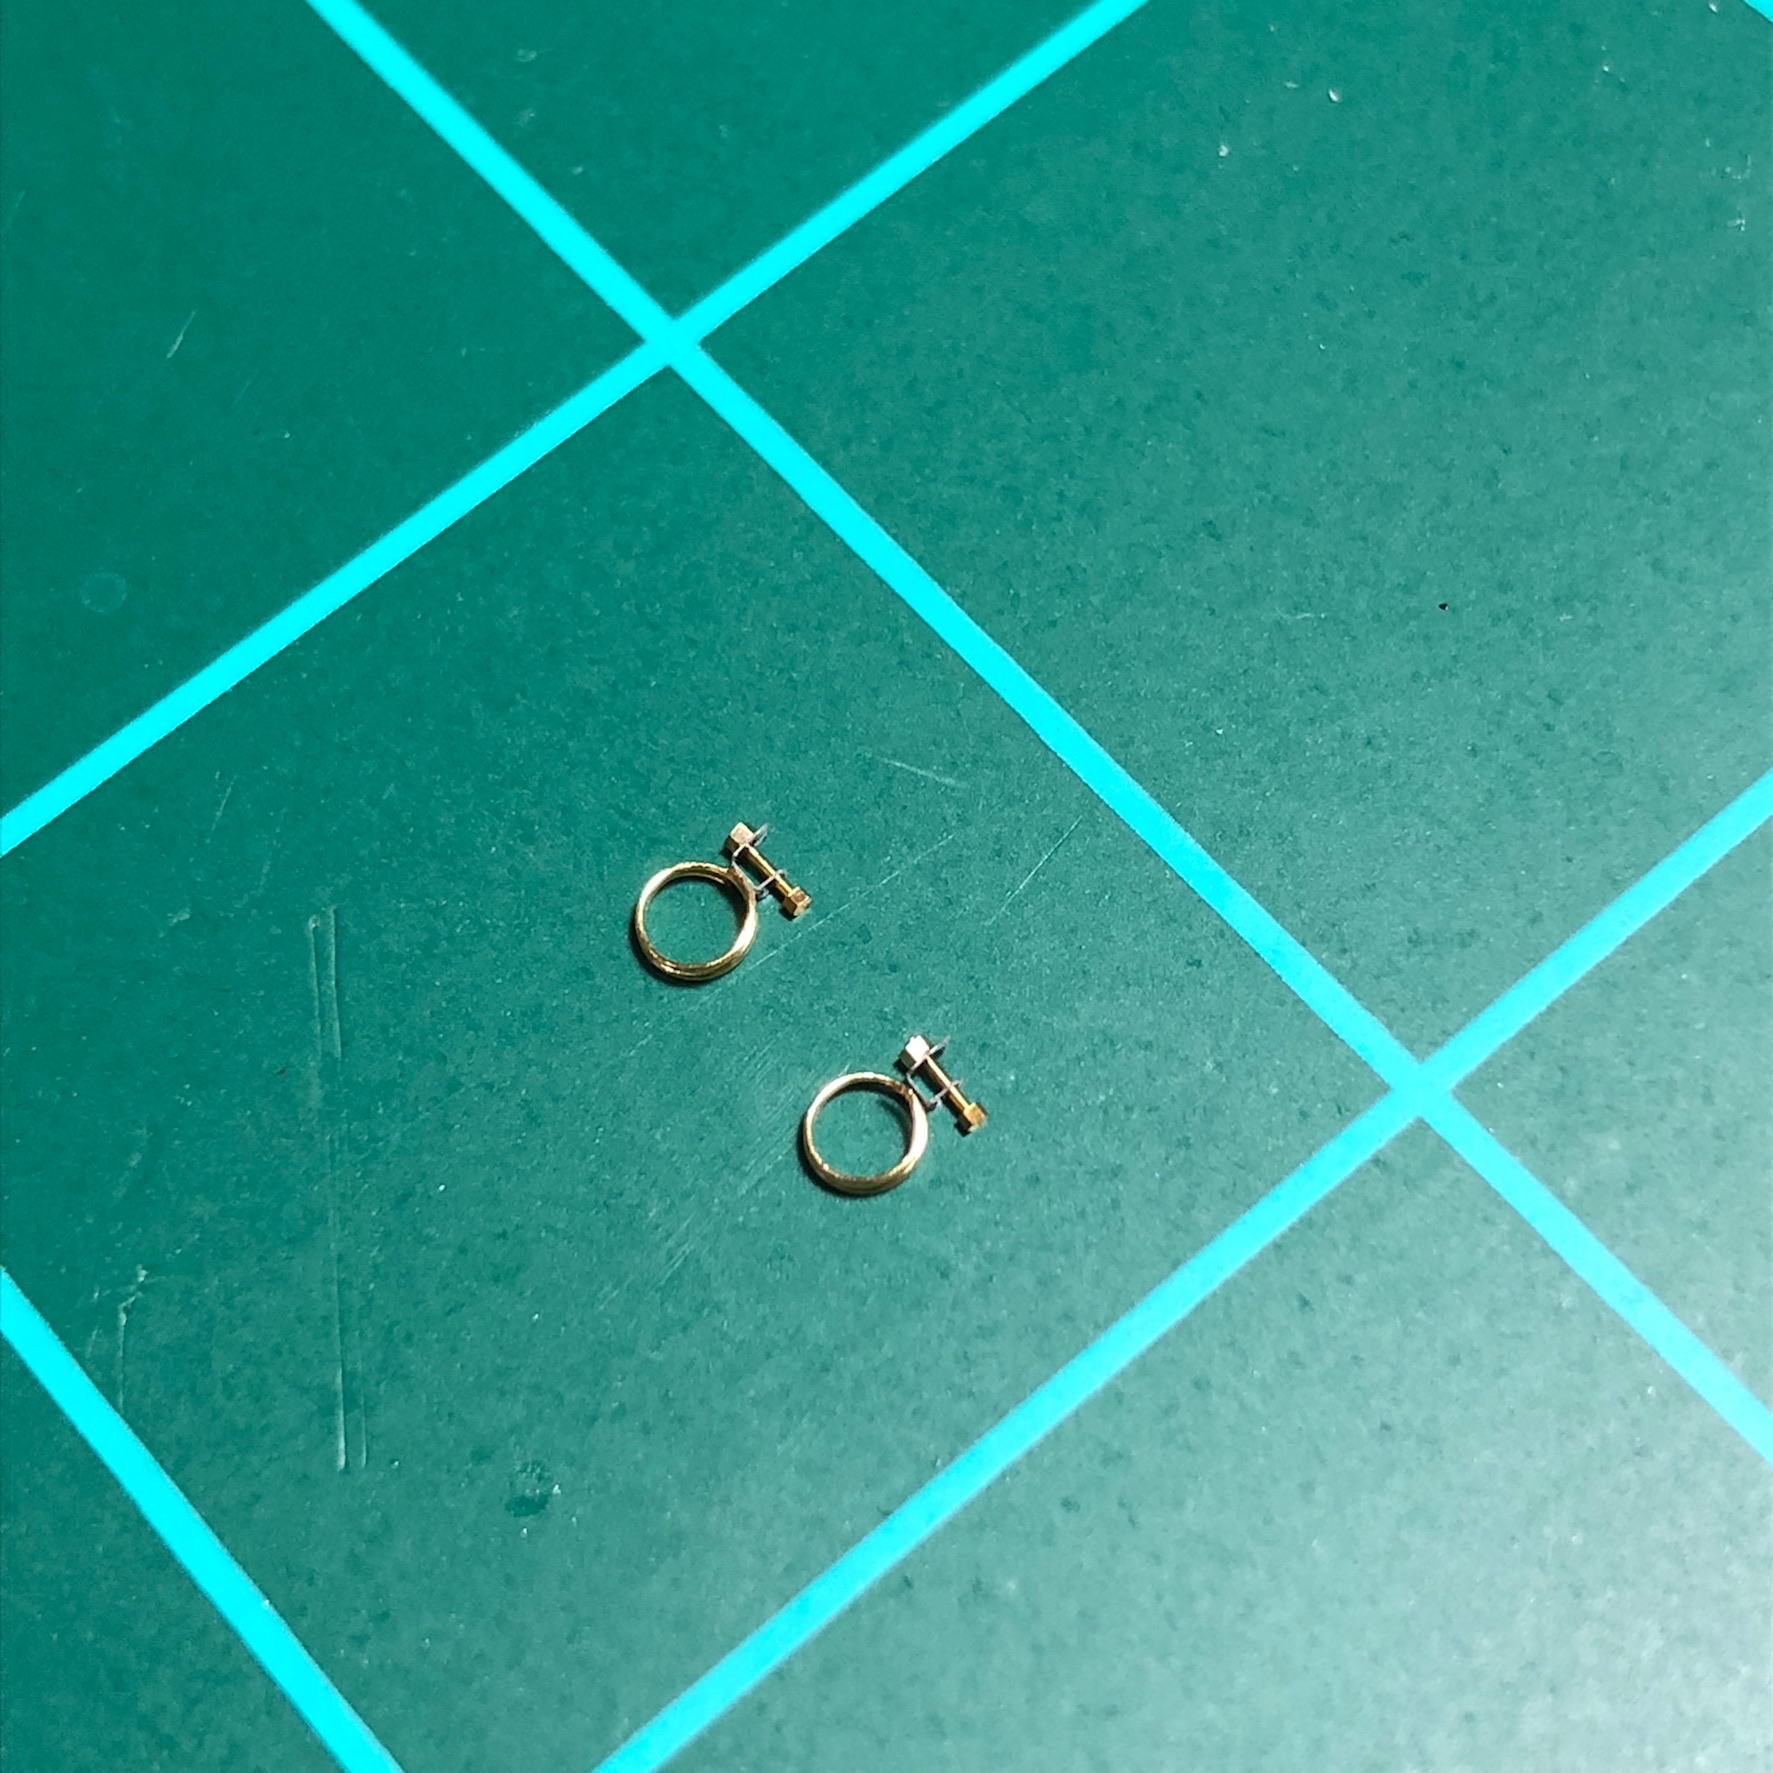
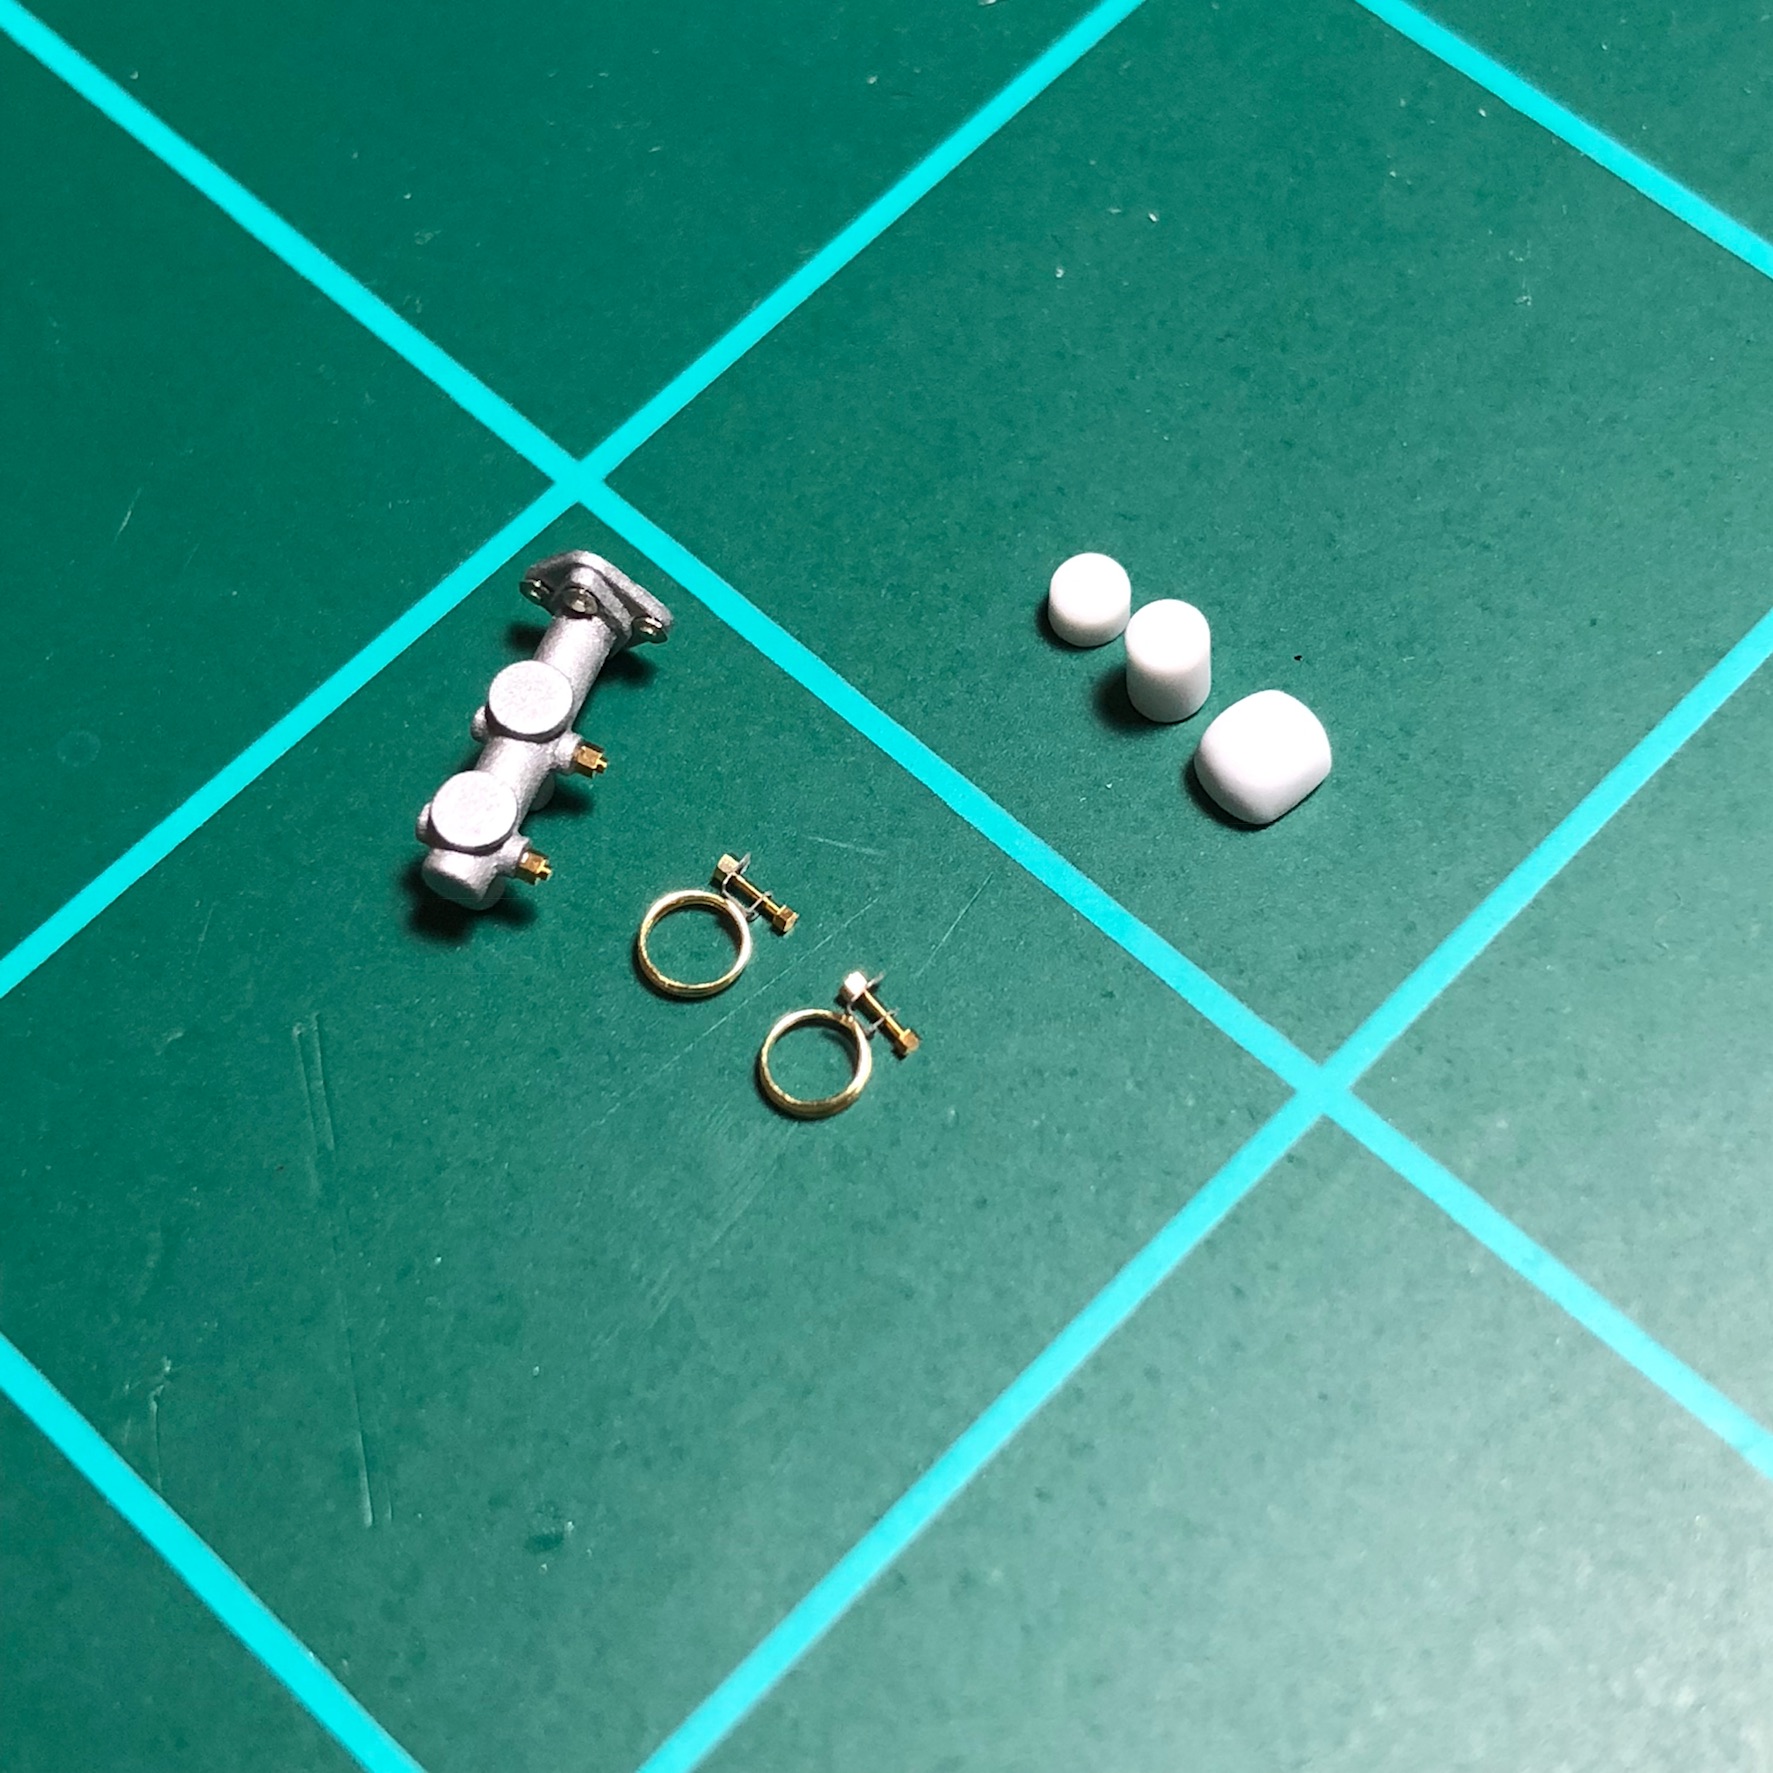
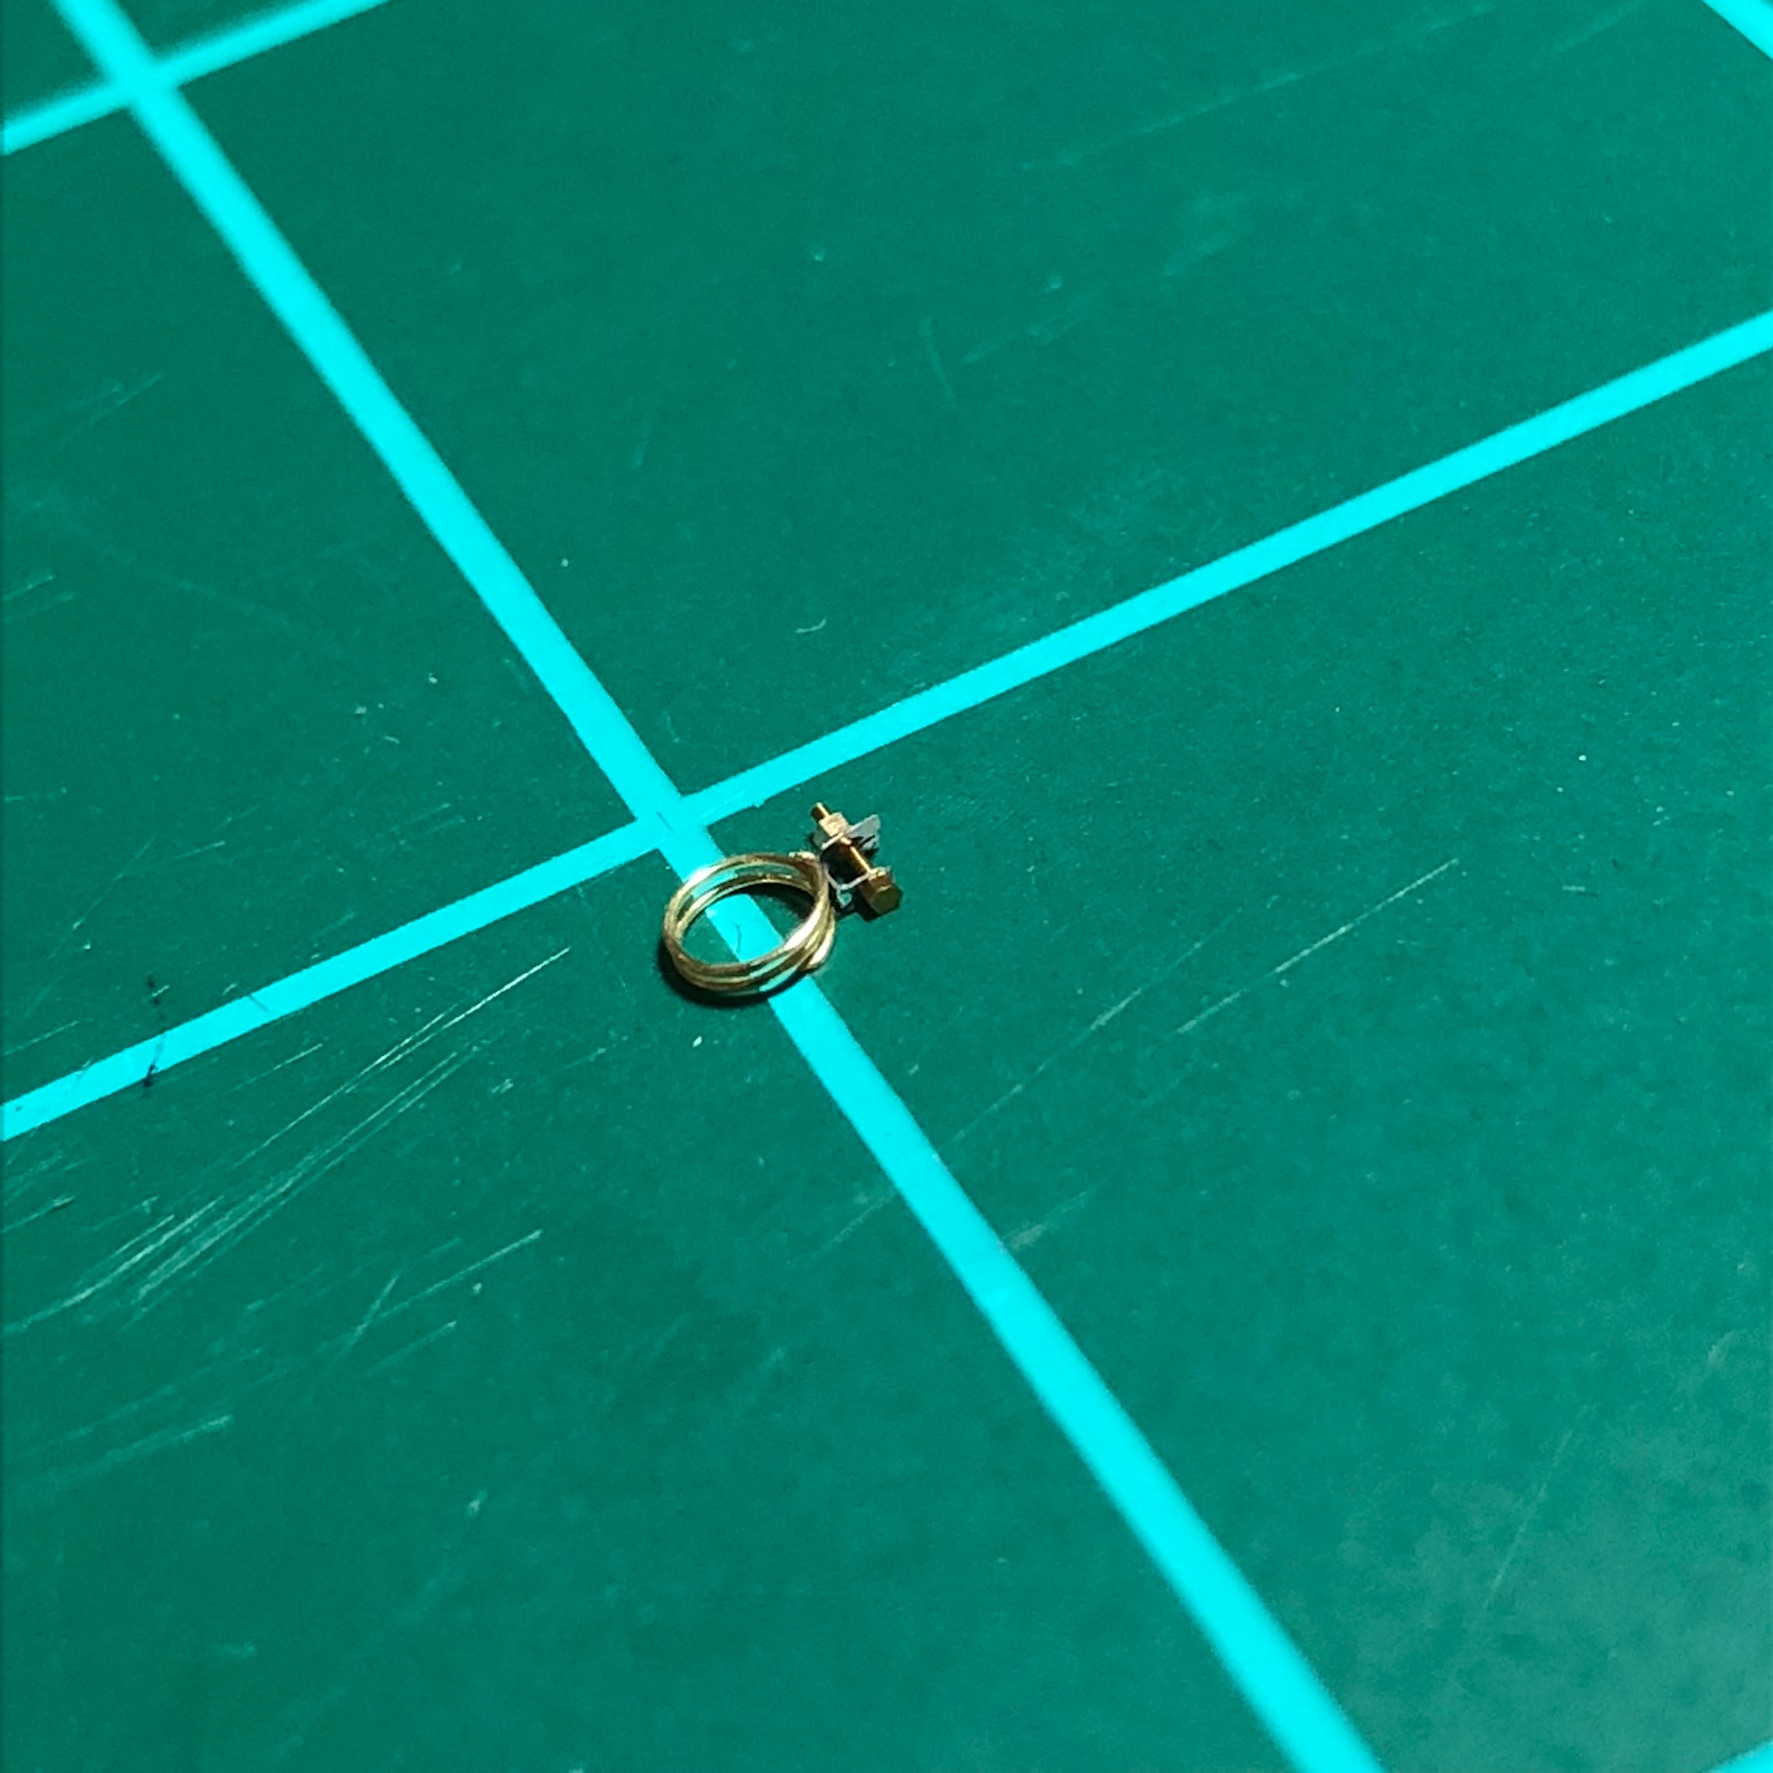
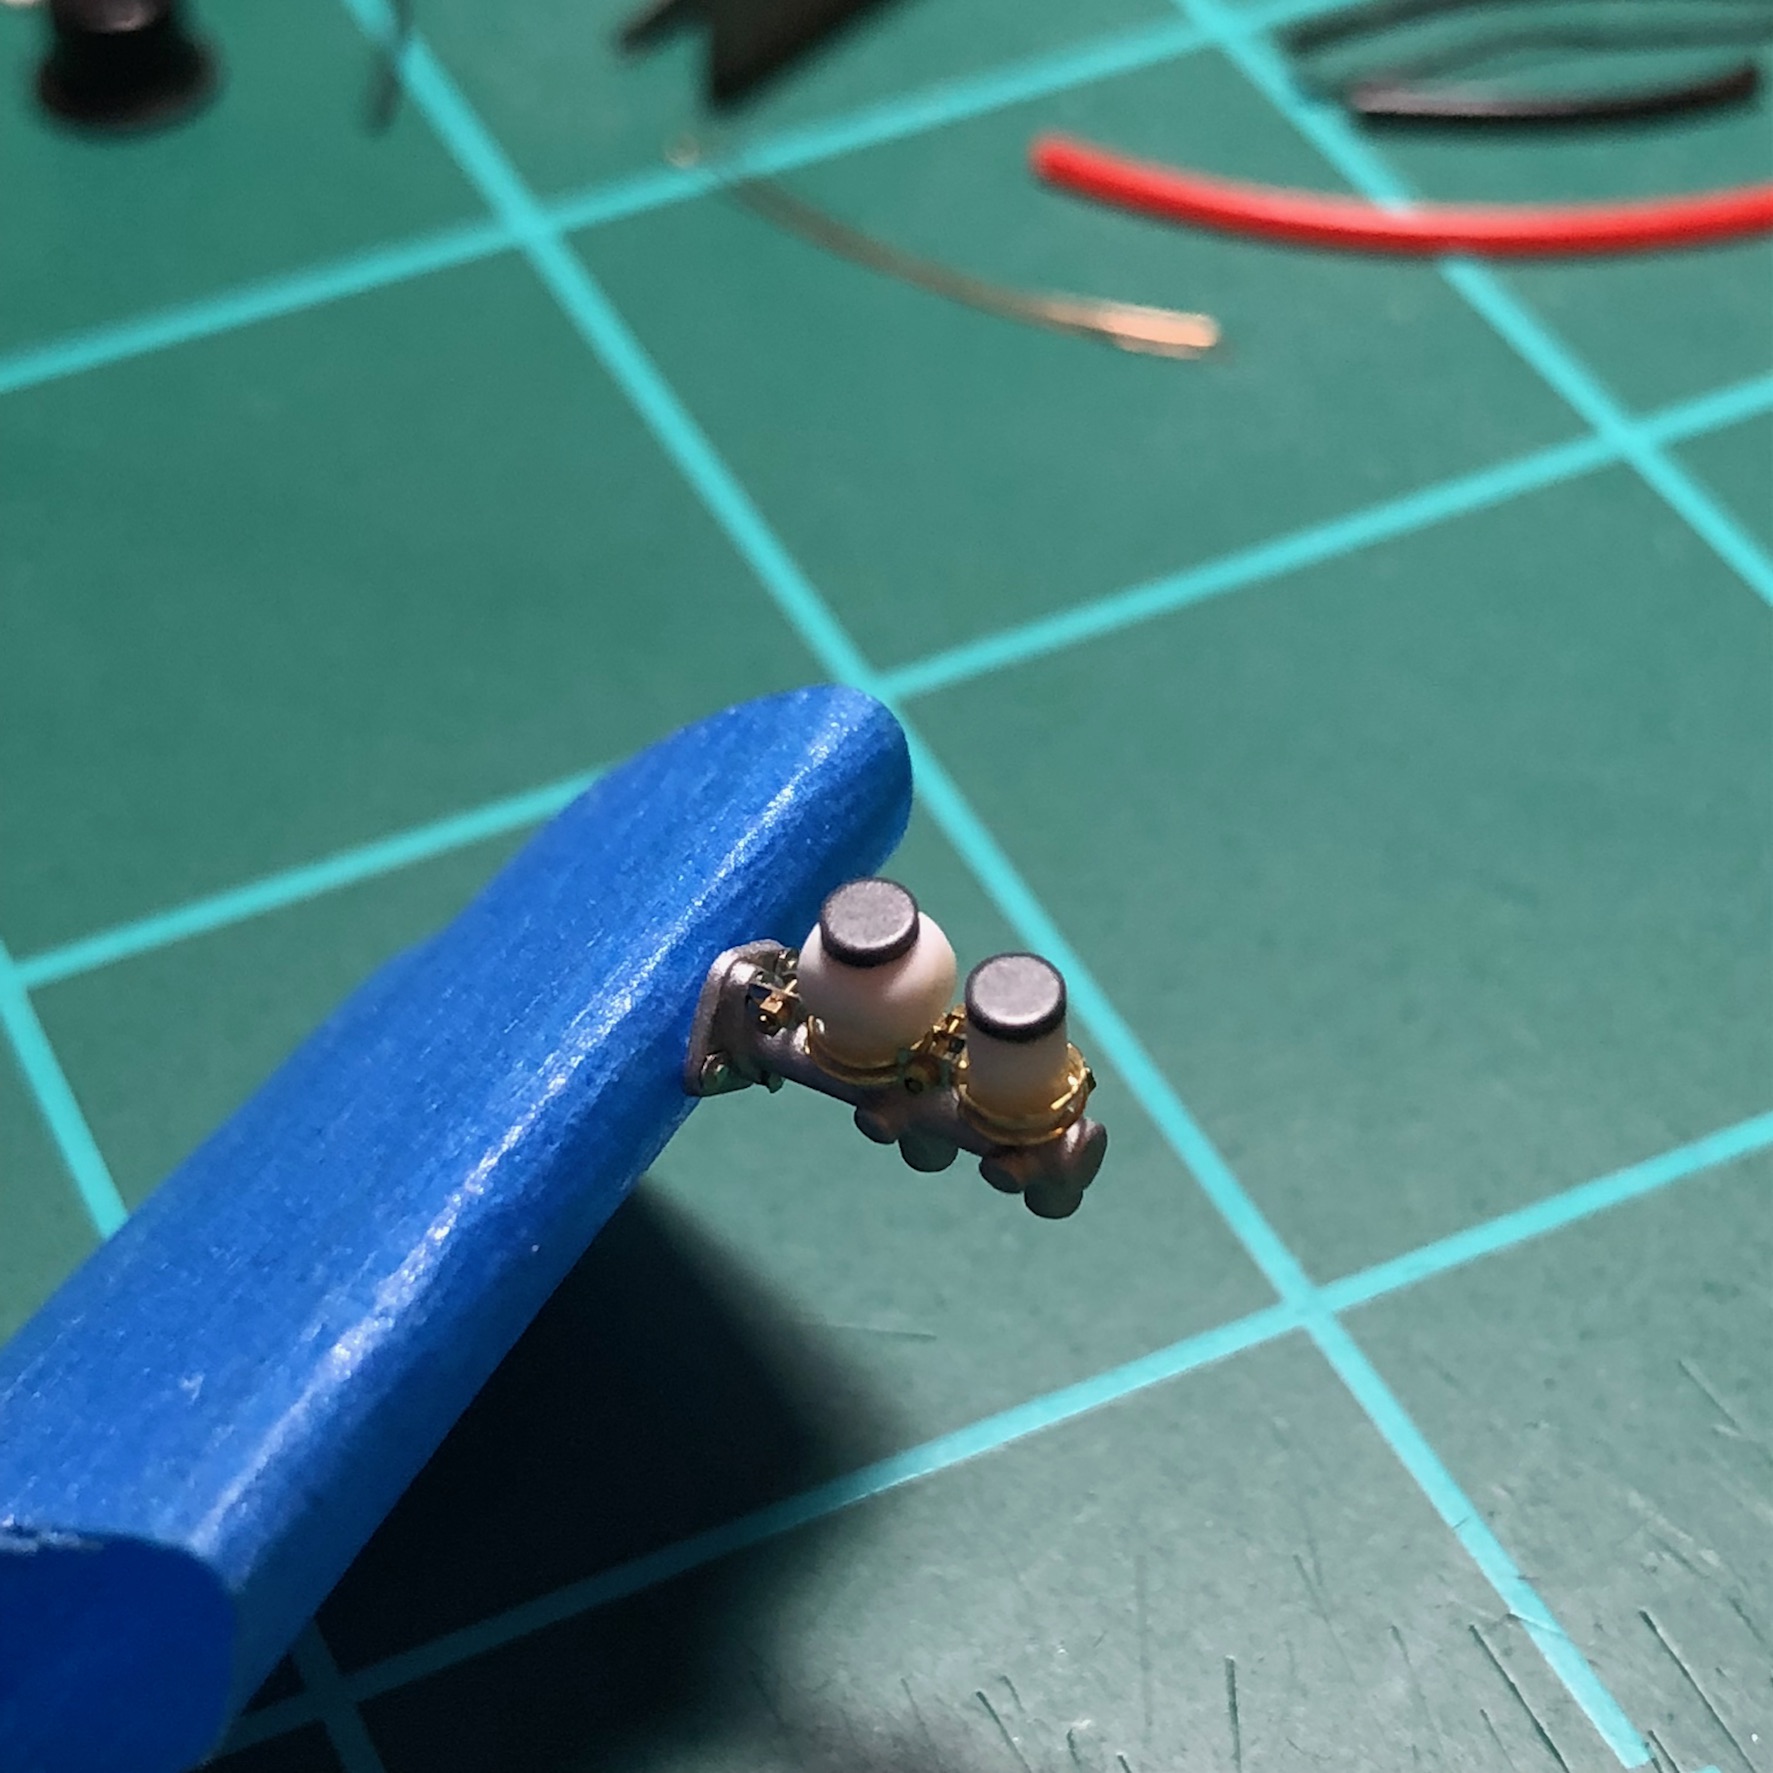
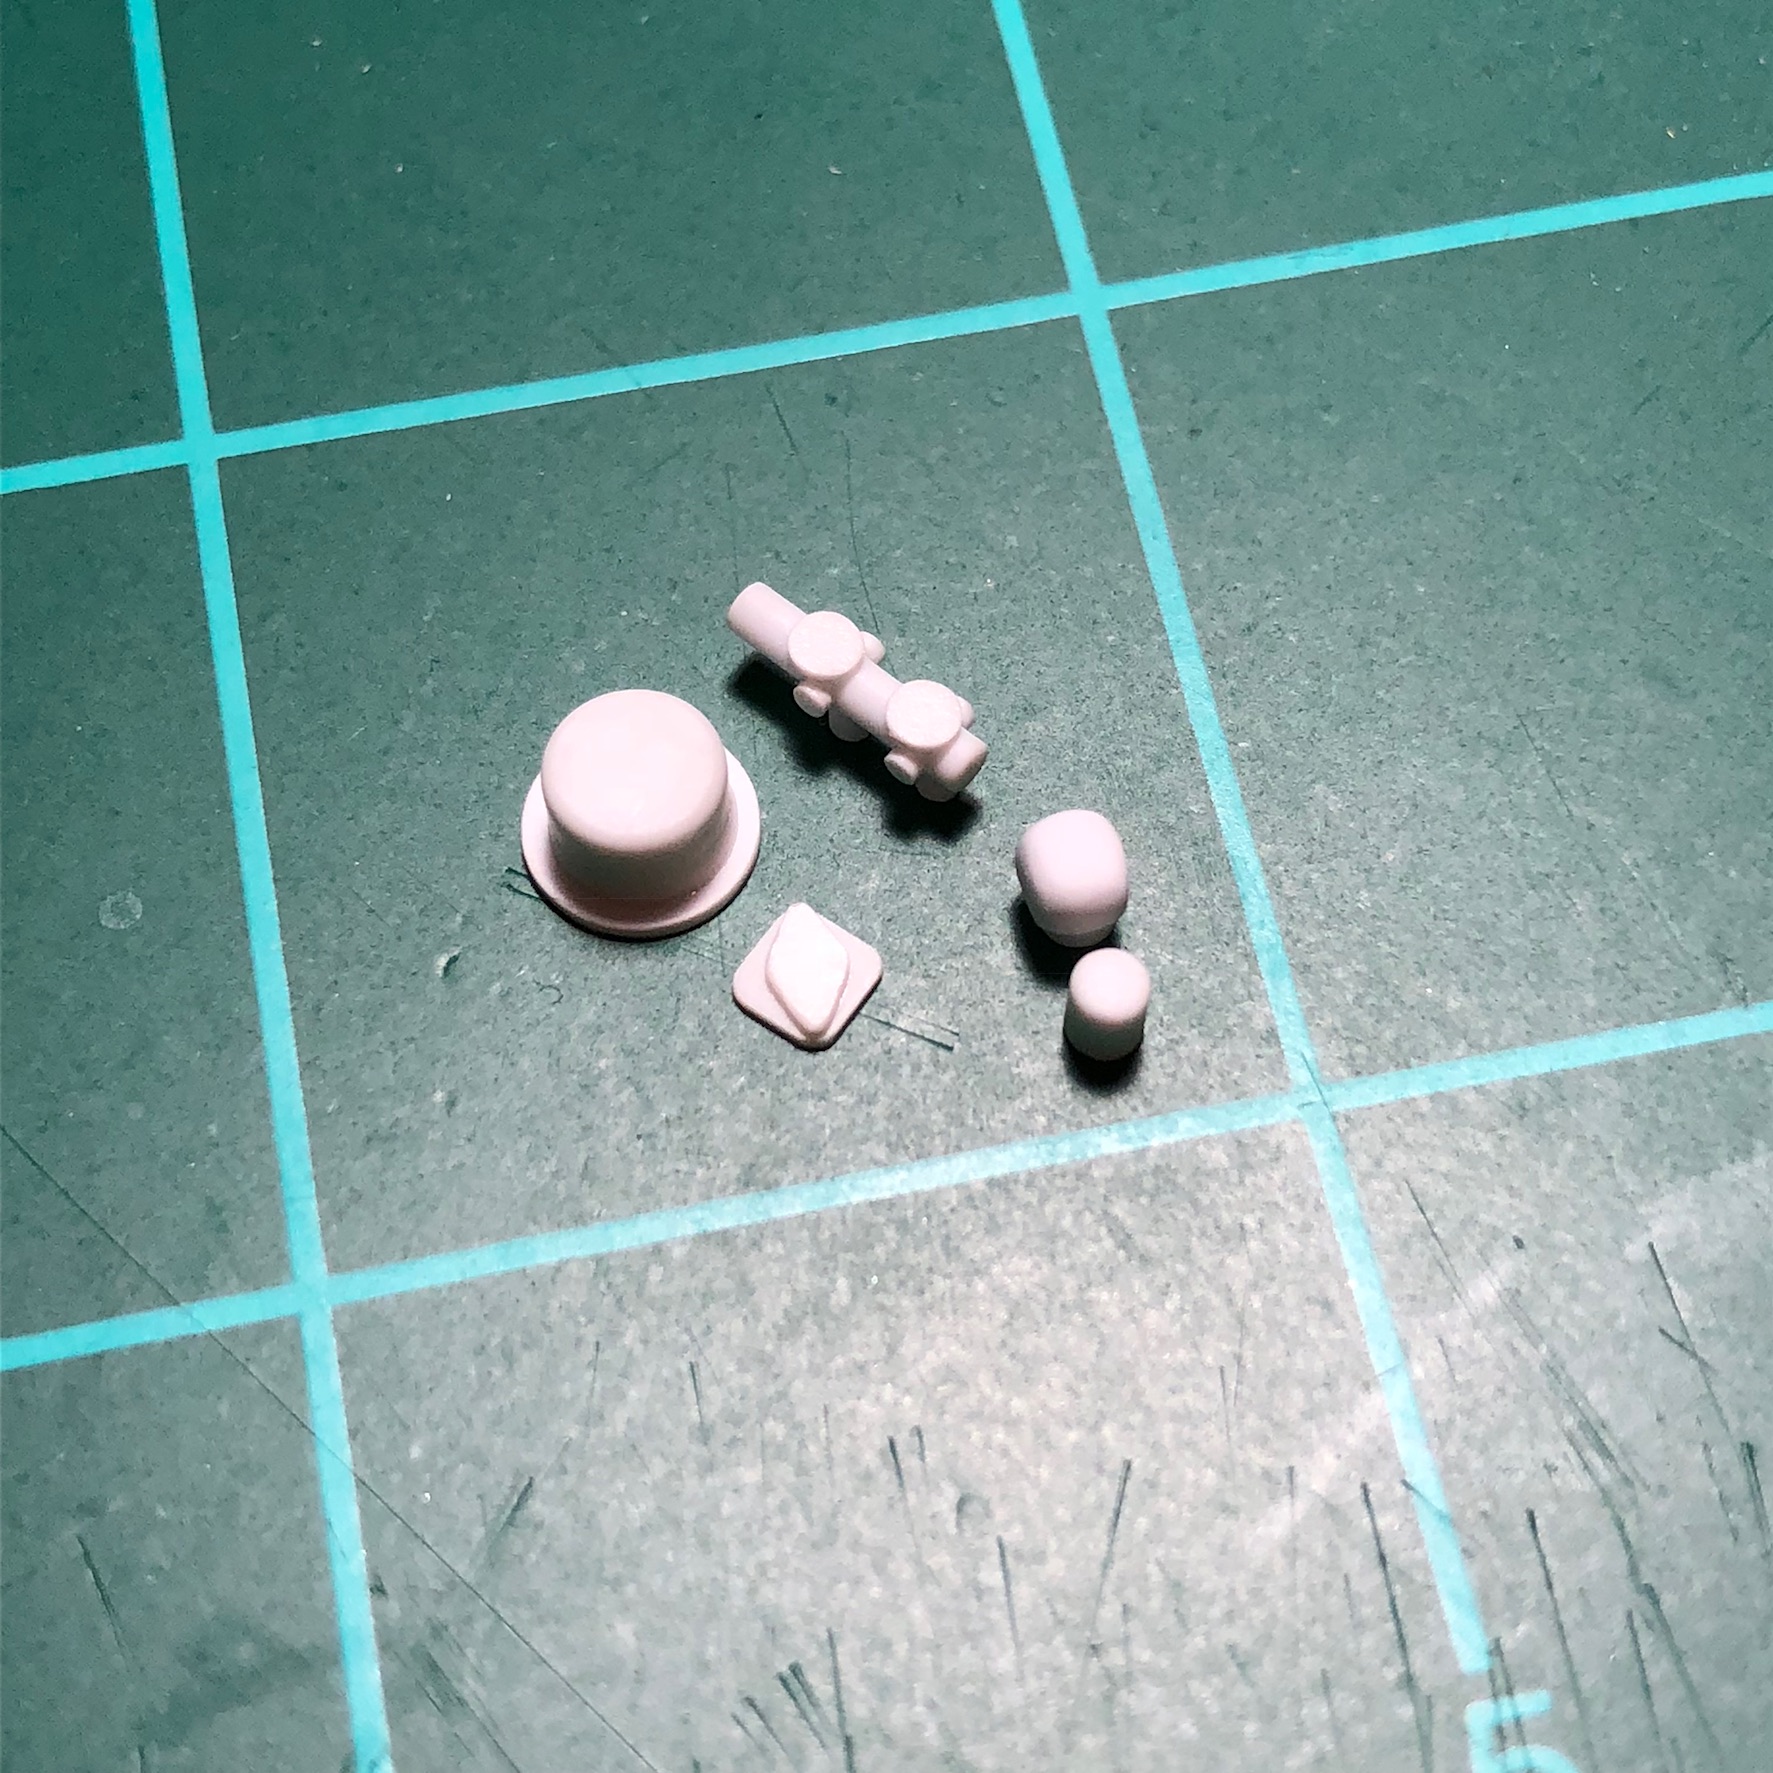
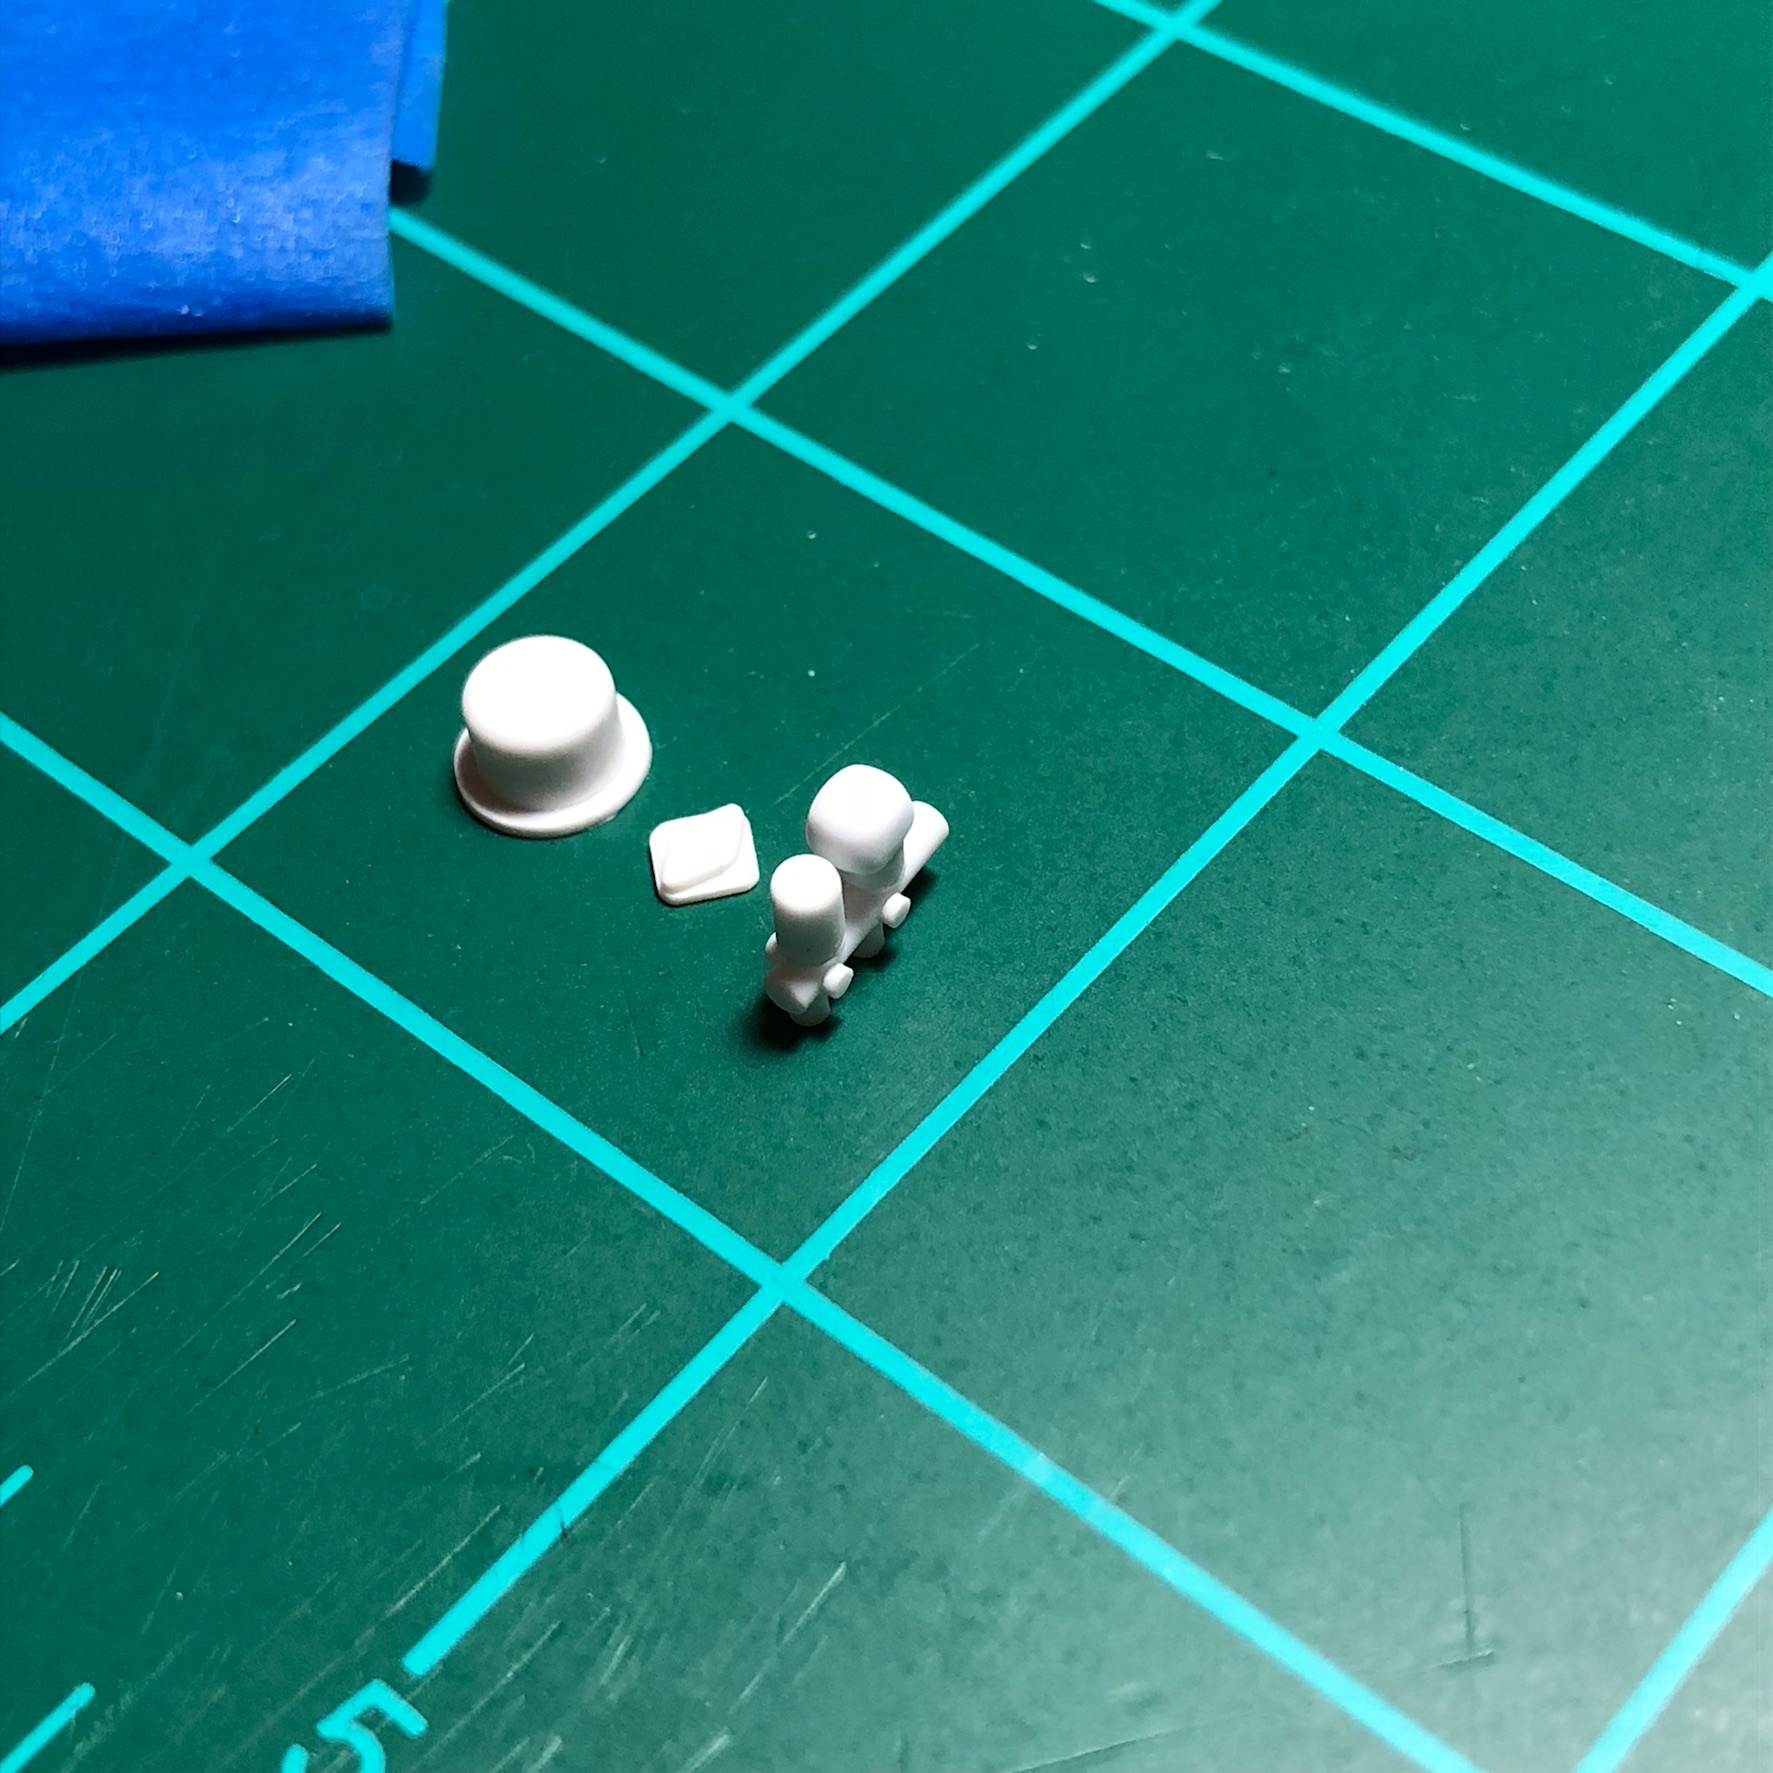
The holidays have given me some time to work on this project. Was able to mostly finish the master cylinder assembly. 100% scratch built. Here are some in progress pics. The clamps were among the most challenging bits but the result was worth it.
-
Super cool project! Cant wait to see more.
-
Looks great and wonderful pictures!
-
Small update! Almost finished with master cylinder and fluid reservoirs.
-
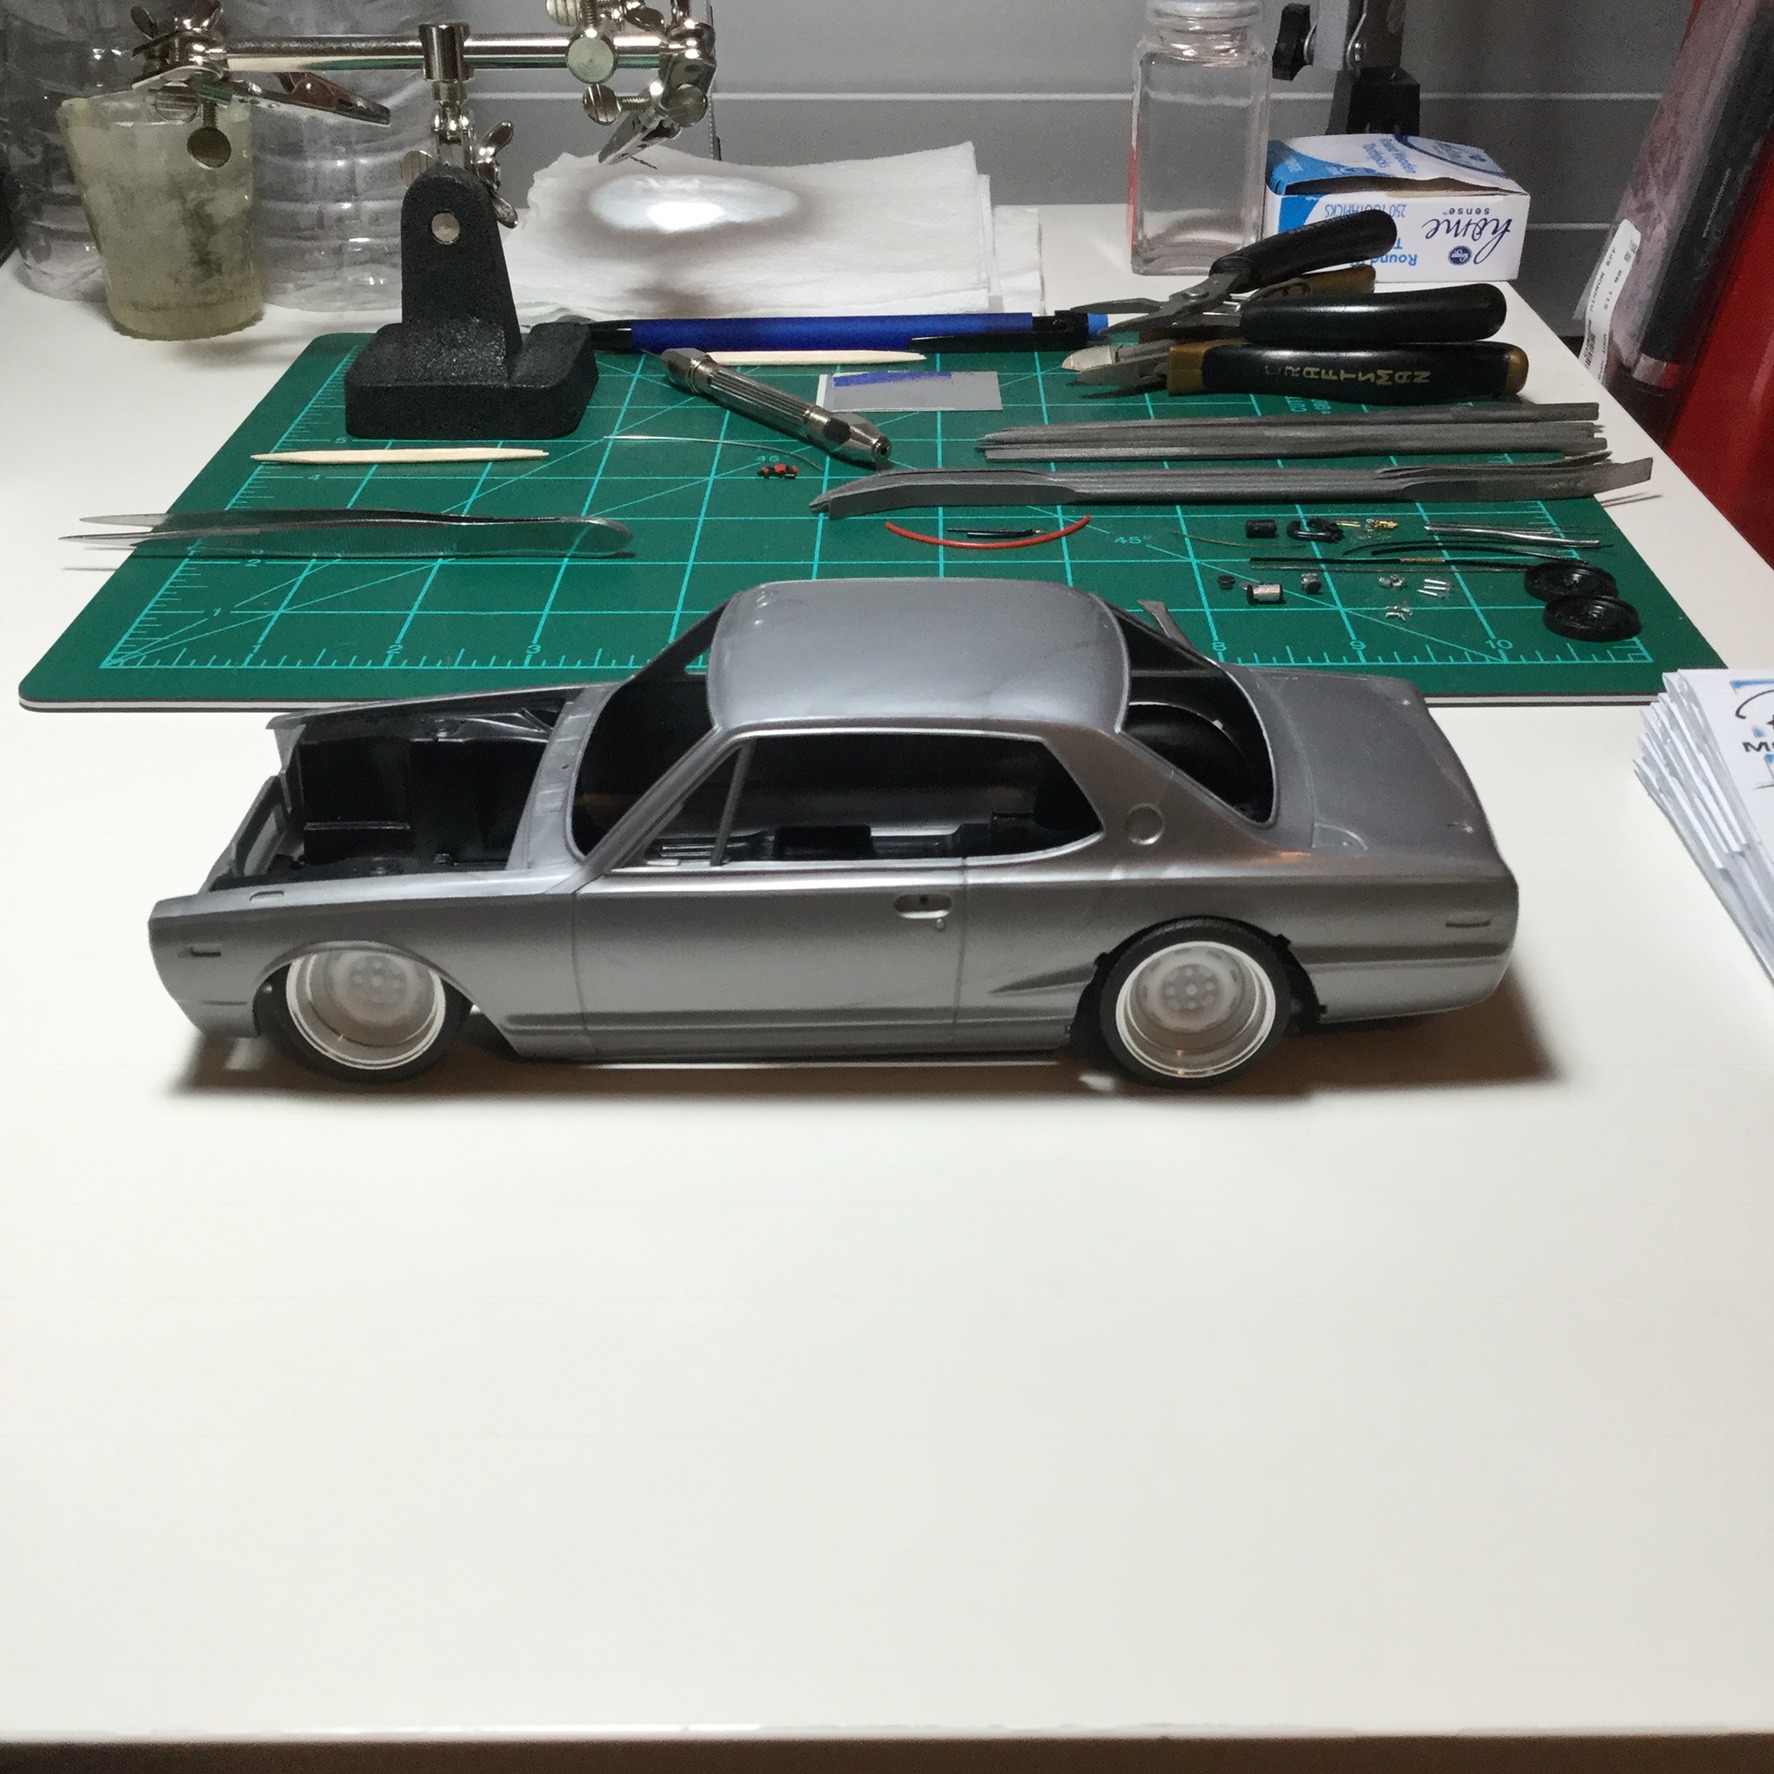
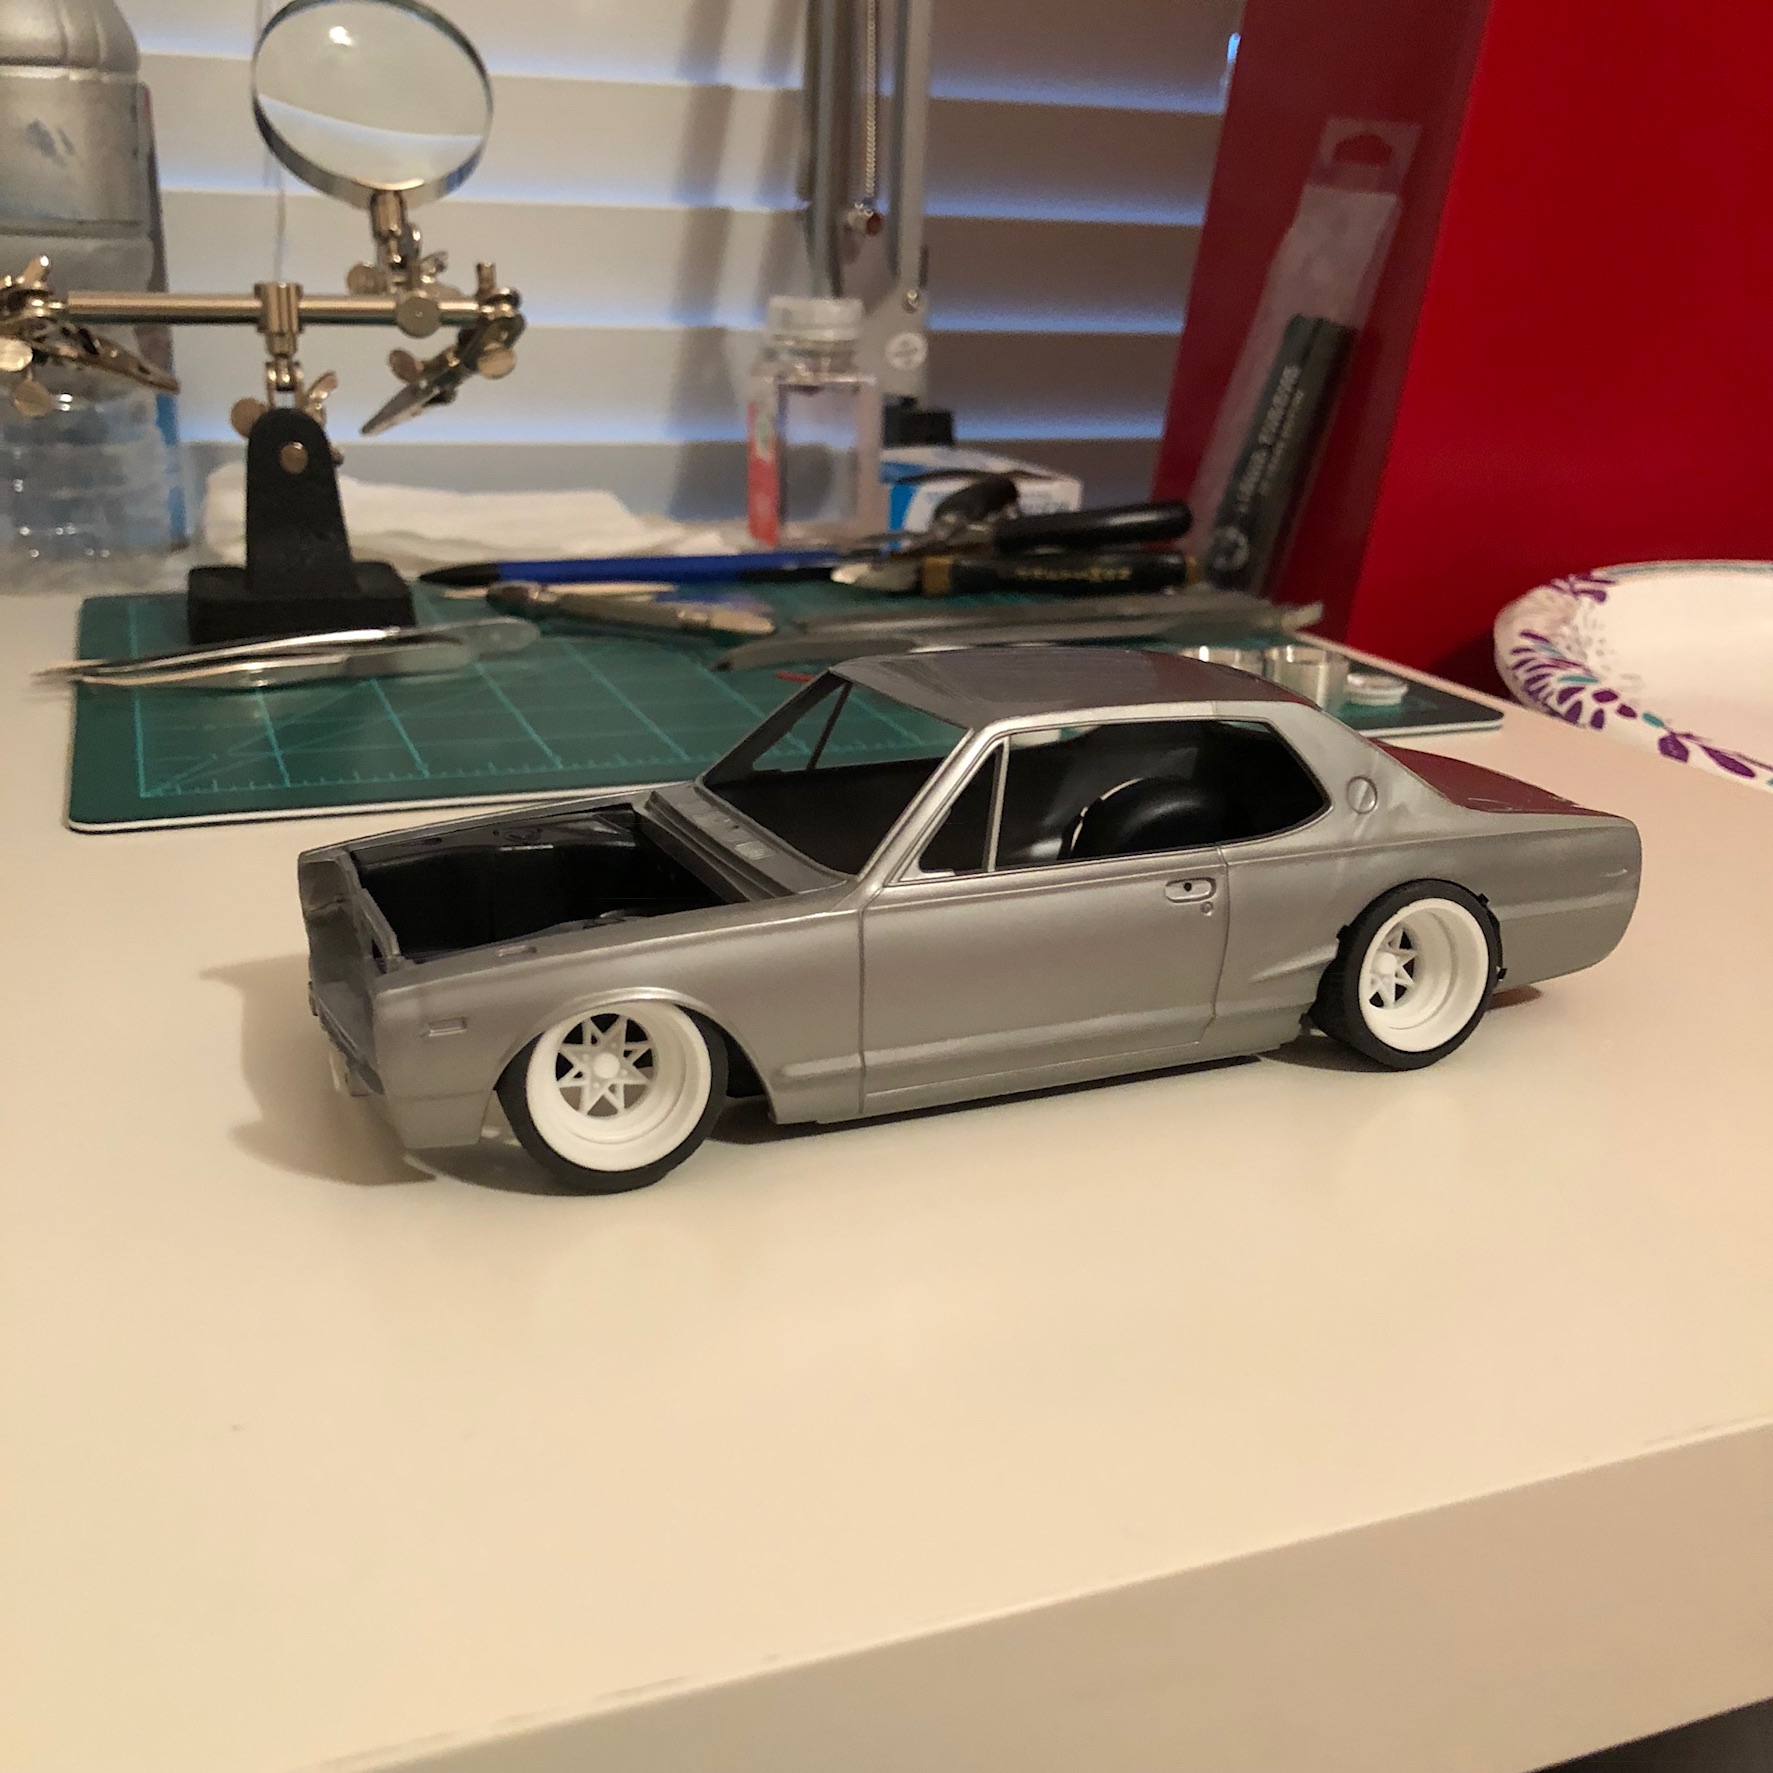
Couple more wheel choices also. One is the kit wheel reduced in diameter and cast in resin and the other is a vintage Star Shark reduced in diameter and cast in resin. Still undecided as I now have about 4 or 5 to pick from.
-
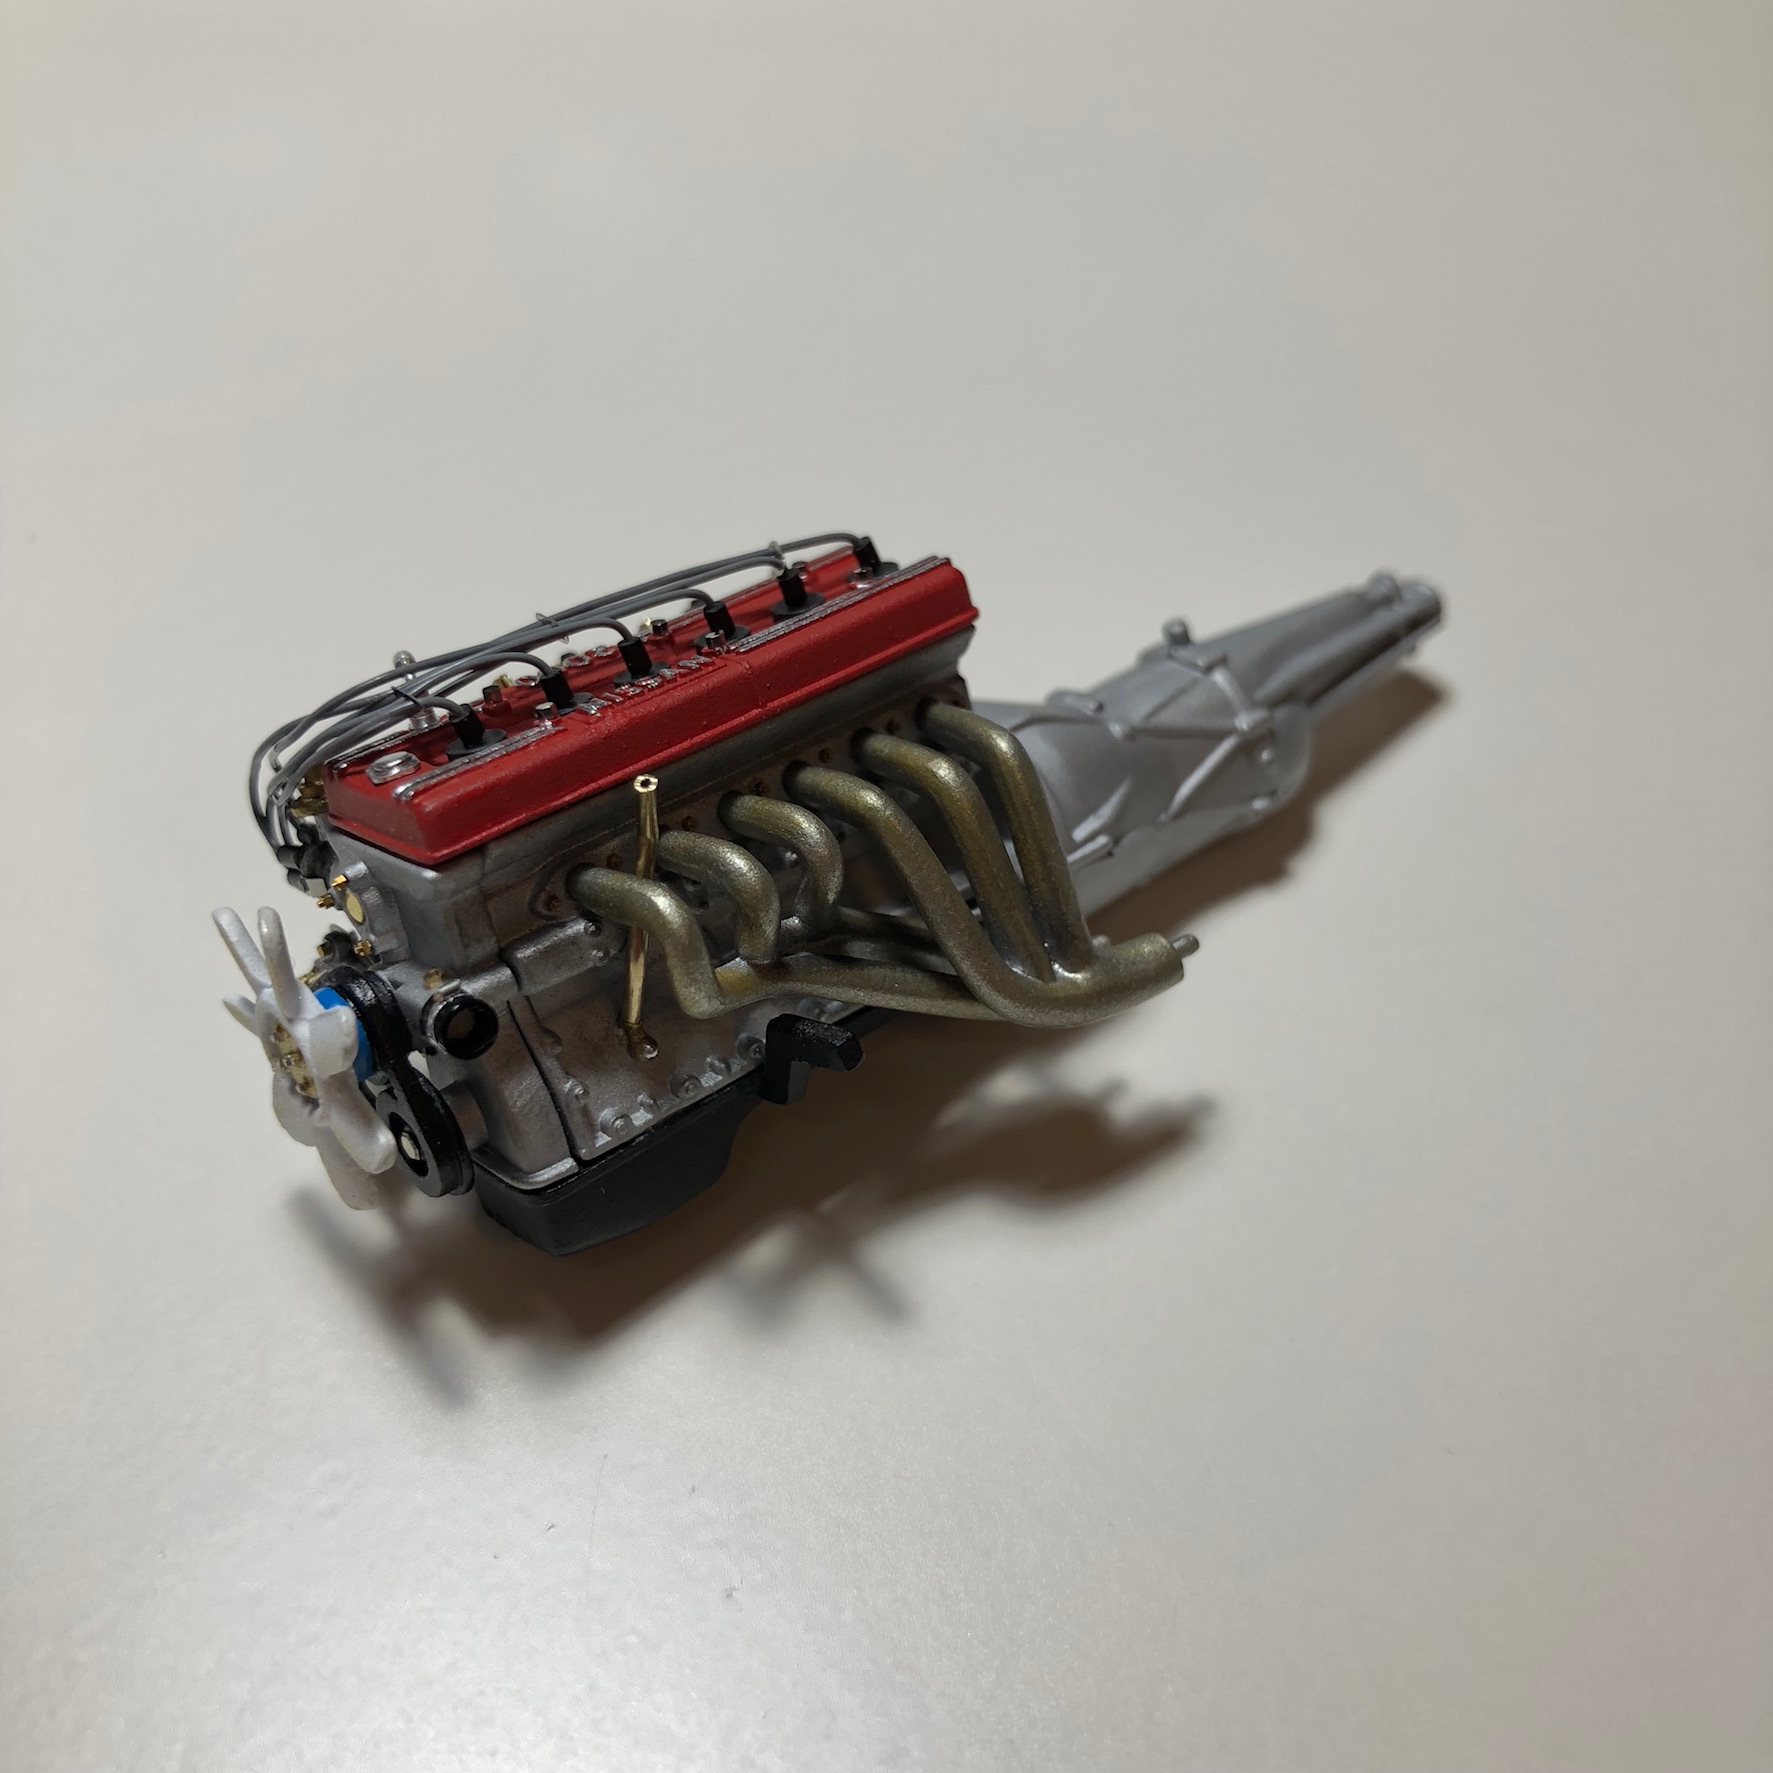
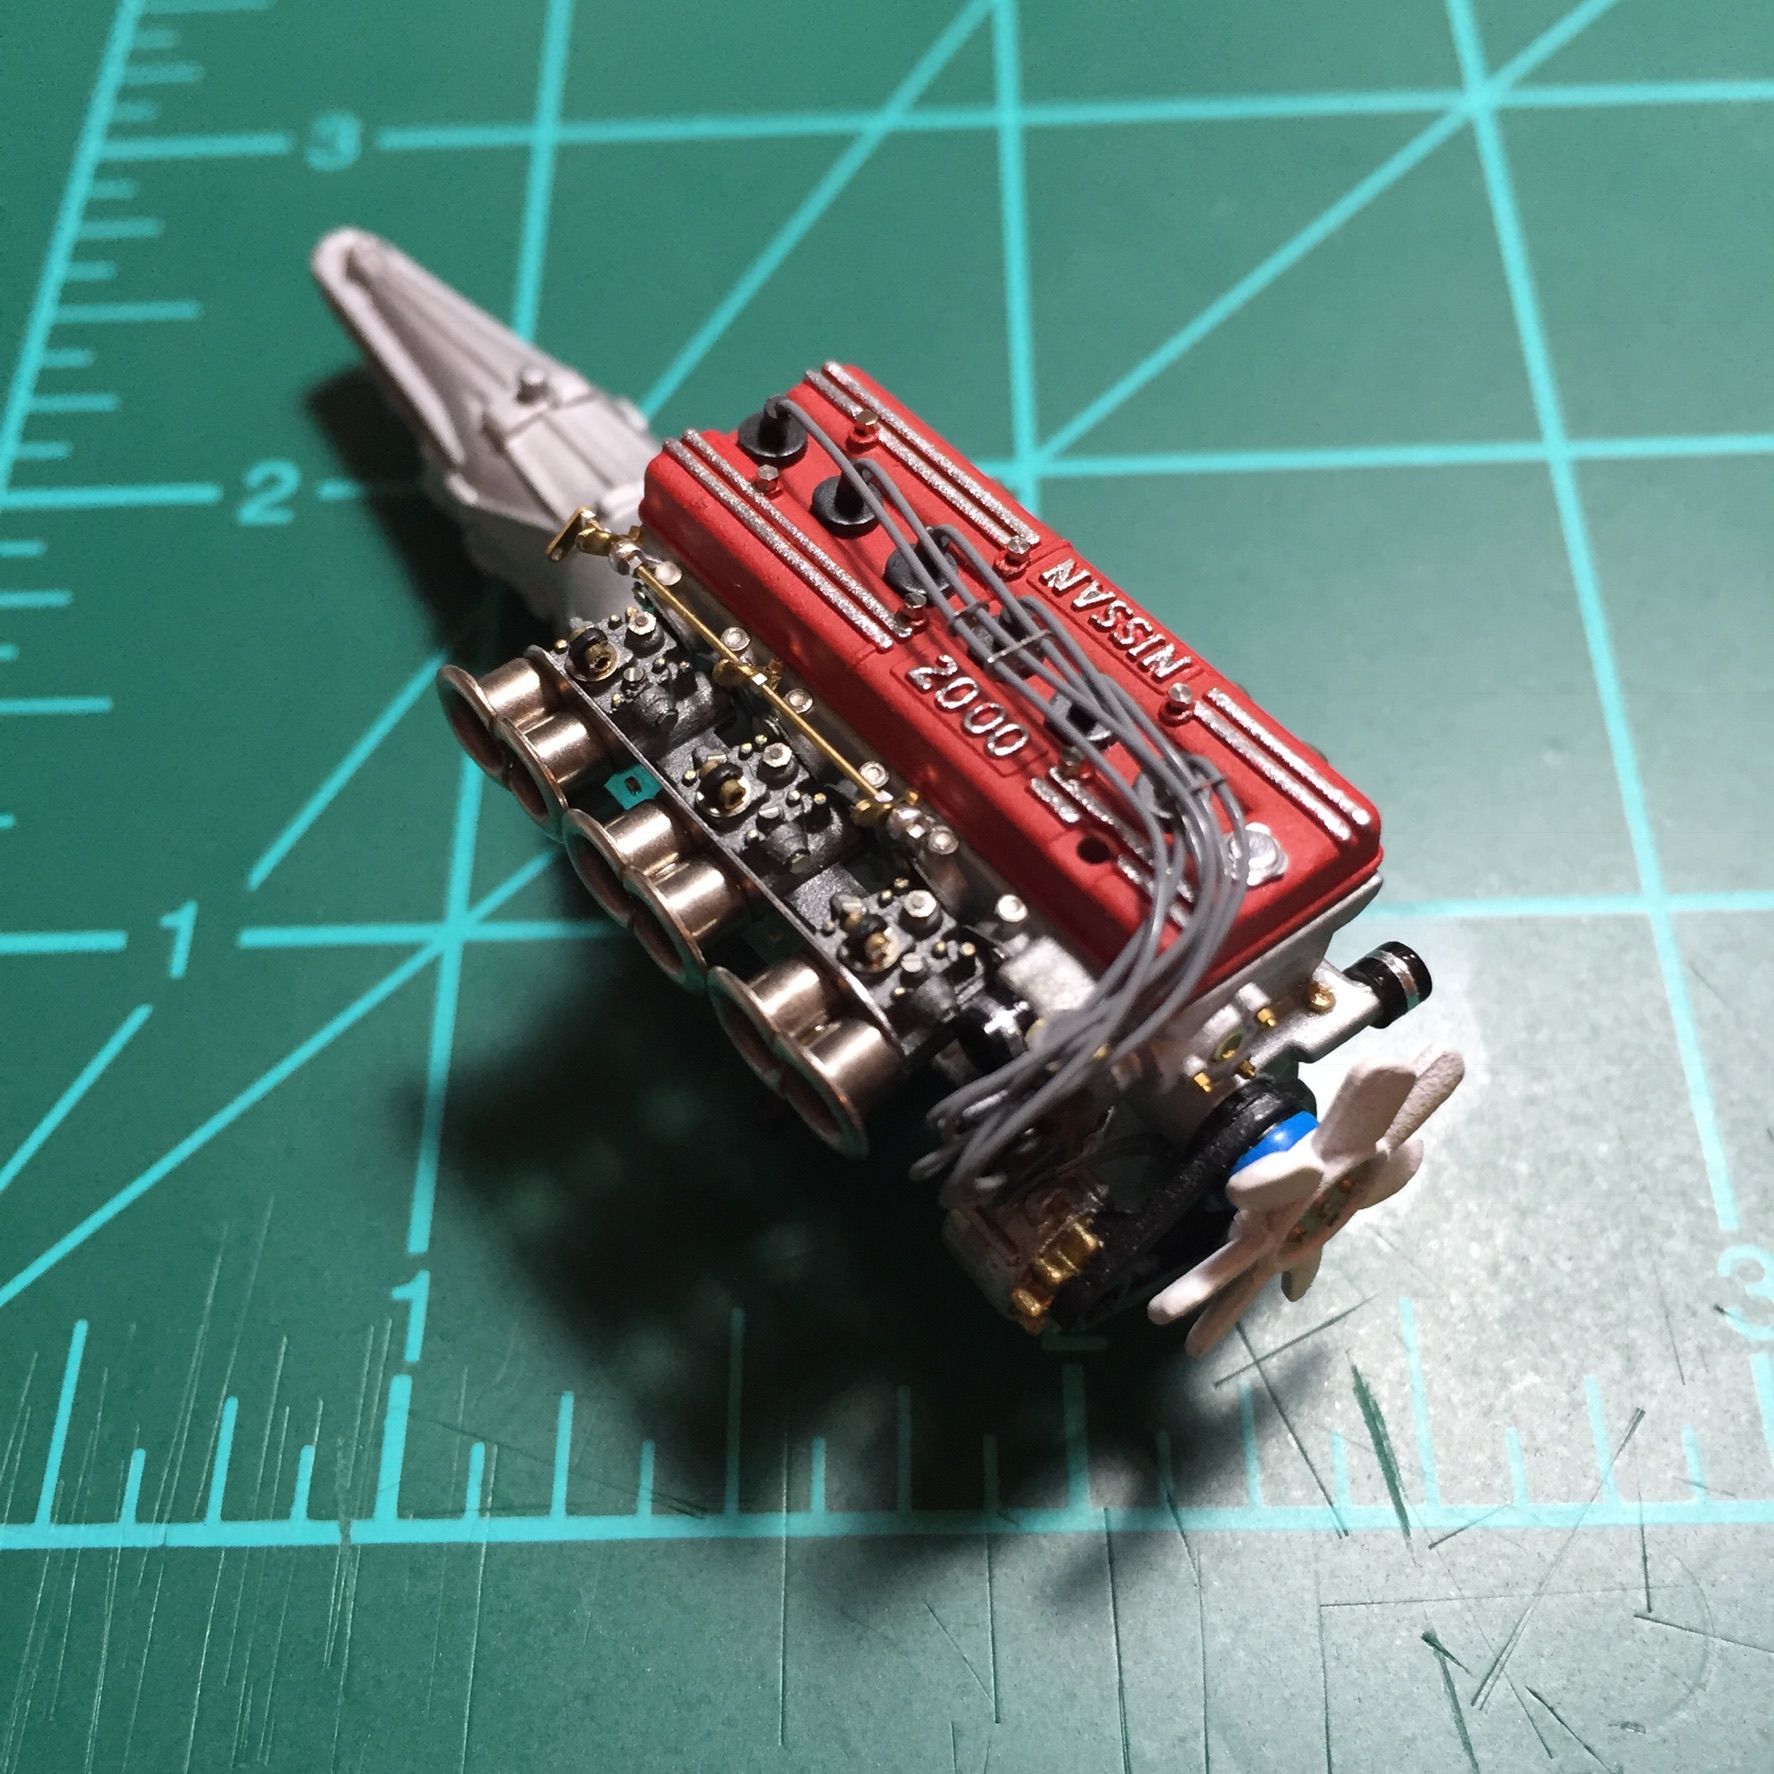
So I wanted to give a quick update. Aside from some mild weathering the engine is complete. I have begun work on the engine compartment now along with trying to decide on which wheels to go with. I am scratch building a shock tower bar, heat shield for the battery, the remainder of the complex linkage system, and also a master cylinder and fluid reservoirs. Need to fab up an oil cooler also. Here is the engine as it sits now.
-
Thanks guys, I have heard that before on other forums where it seems I make each sub-assembly into its own “model” I guess its just how I got used to building. I test fit the engine a couple days ago and it crossed my mind that much of the detail will not be easily seen or at all. I did it more as a challenge to myself I suppose and so far its been an enjoyable journey. Erik, a while back I found and saved pics of the red one you built in my research folder. I love that model. Thanks for the kind words fellas.
-
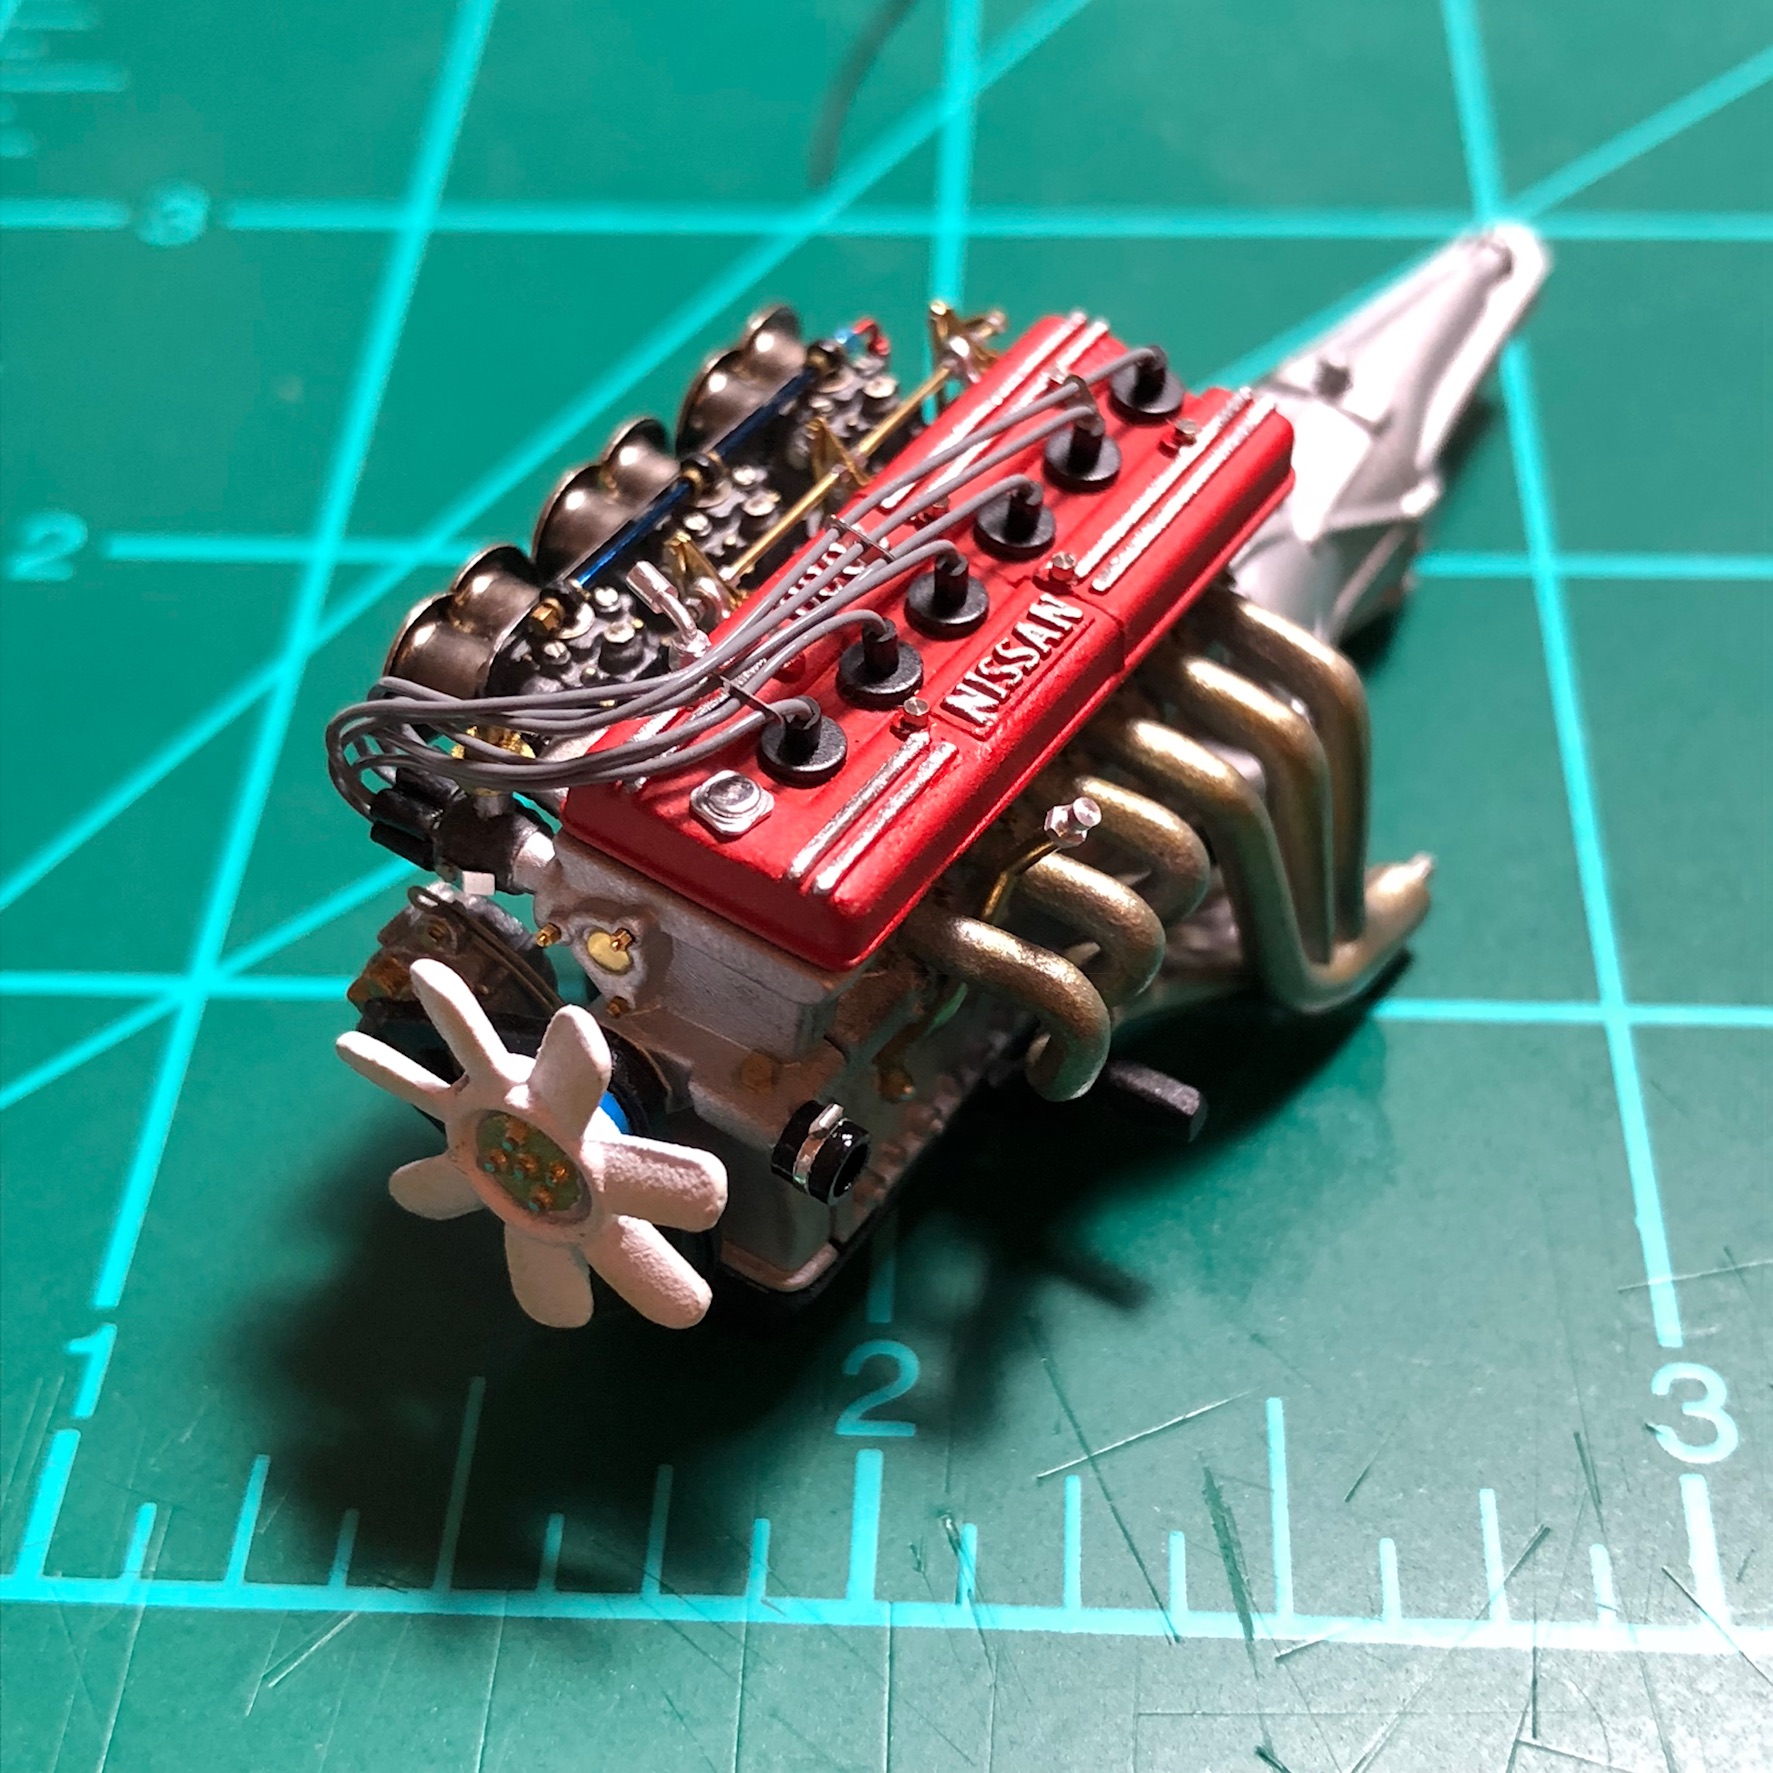
Oil dip stick tube added. More to come. Hopefully motor will be done tomorrow. Need to add fuel line and some misc bits. Will start sorting wheels/tires tomorrow. Cant wait to put this in primer.
-
Much better.
-
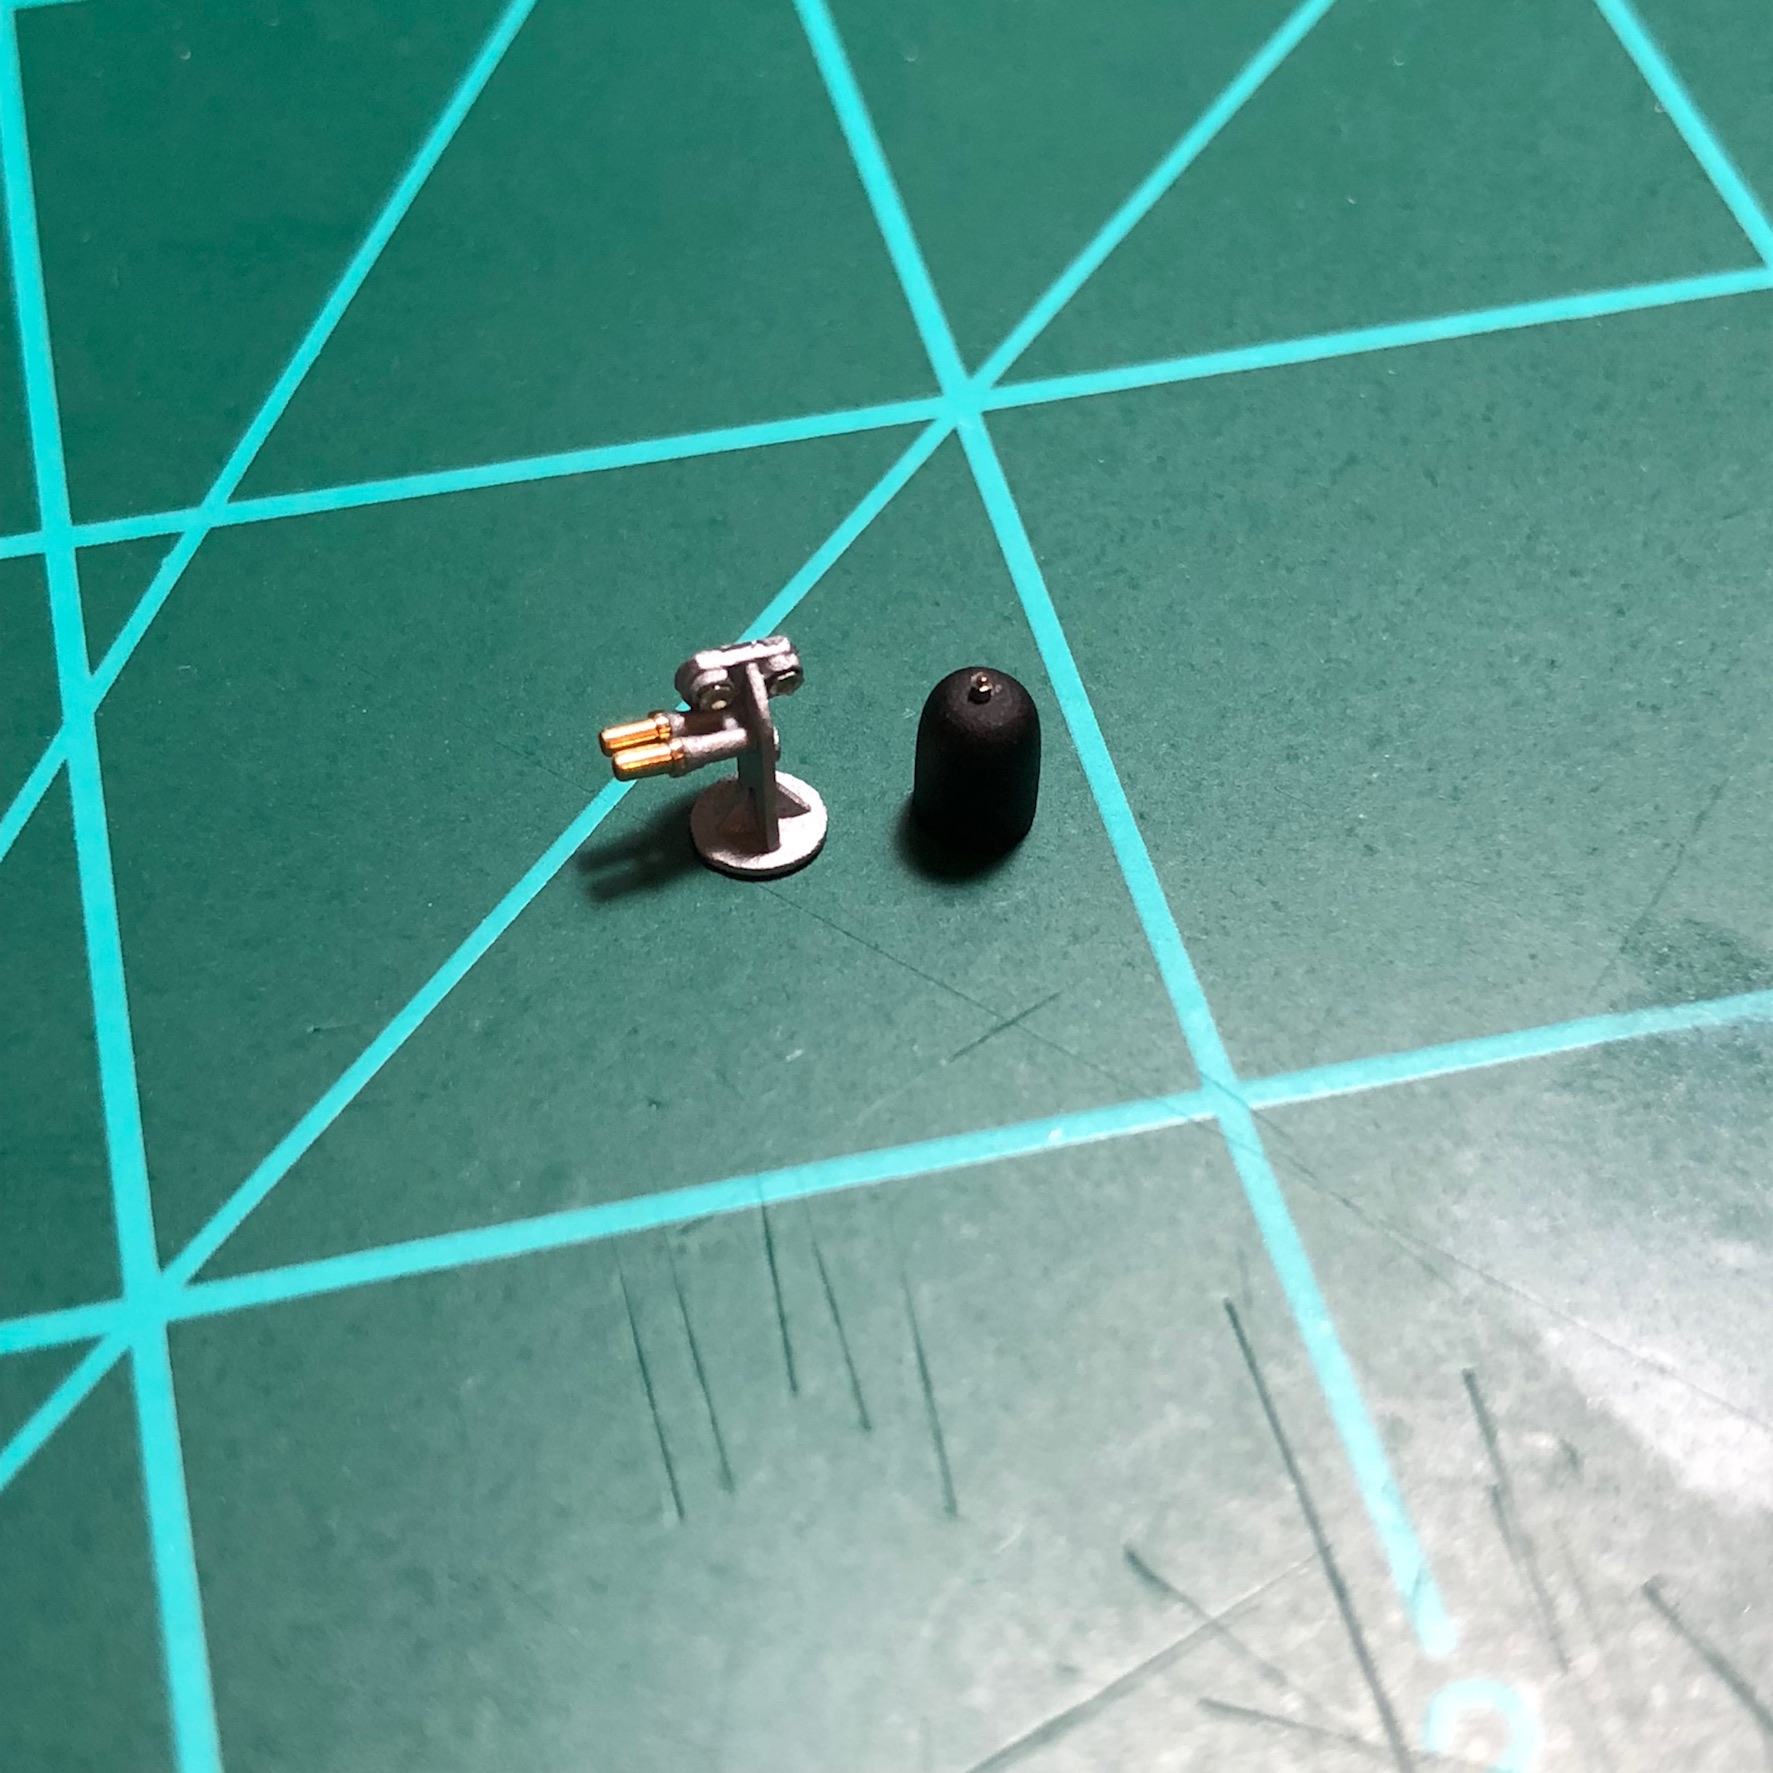
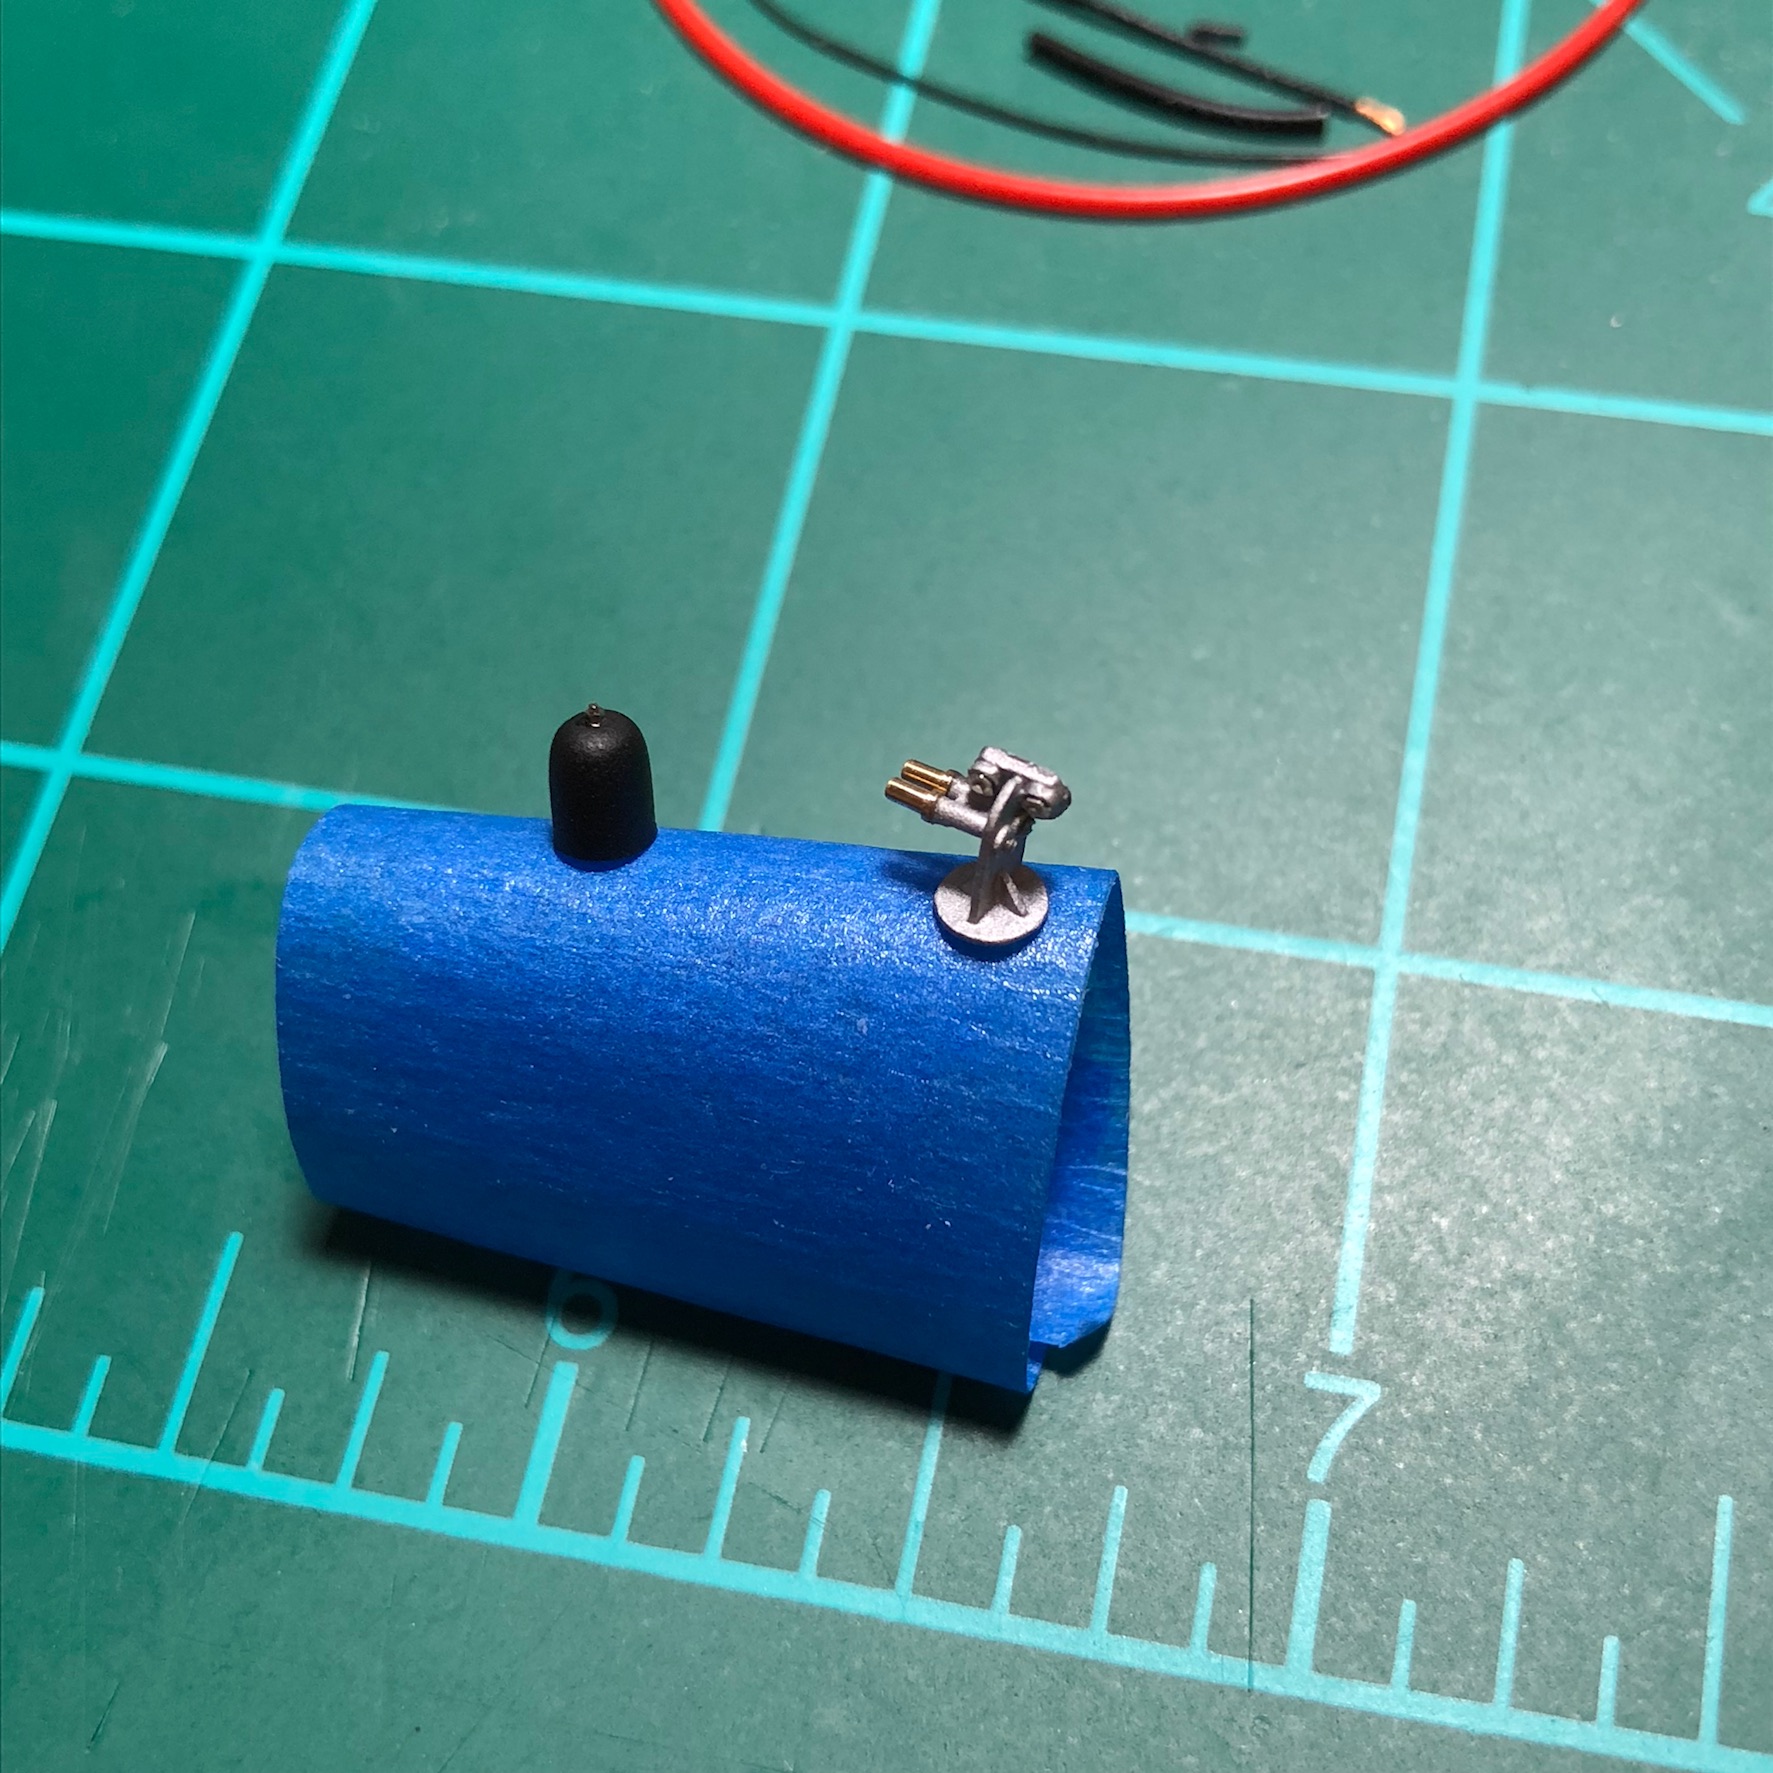
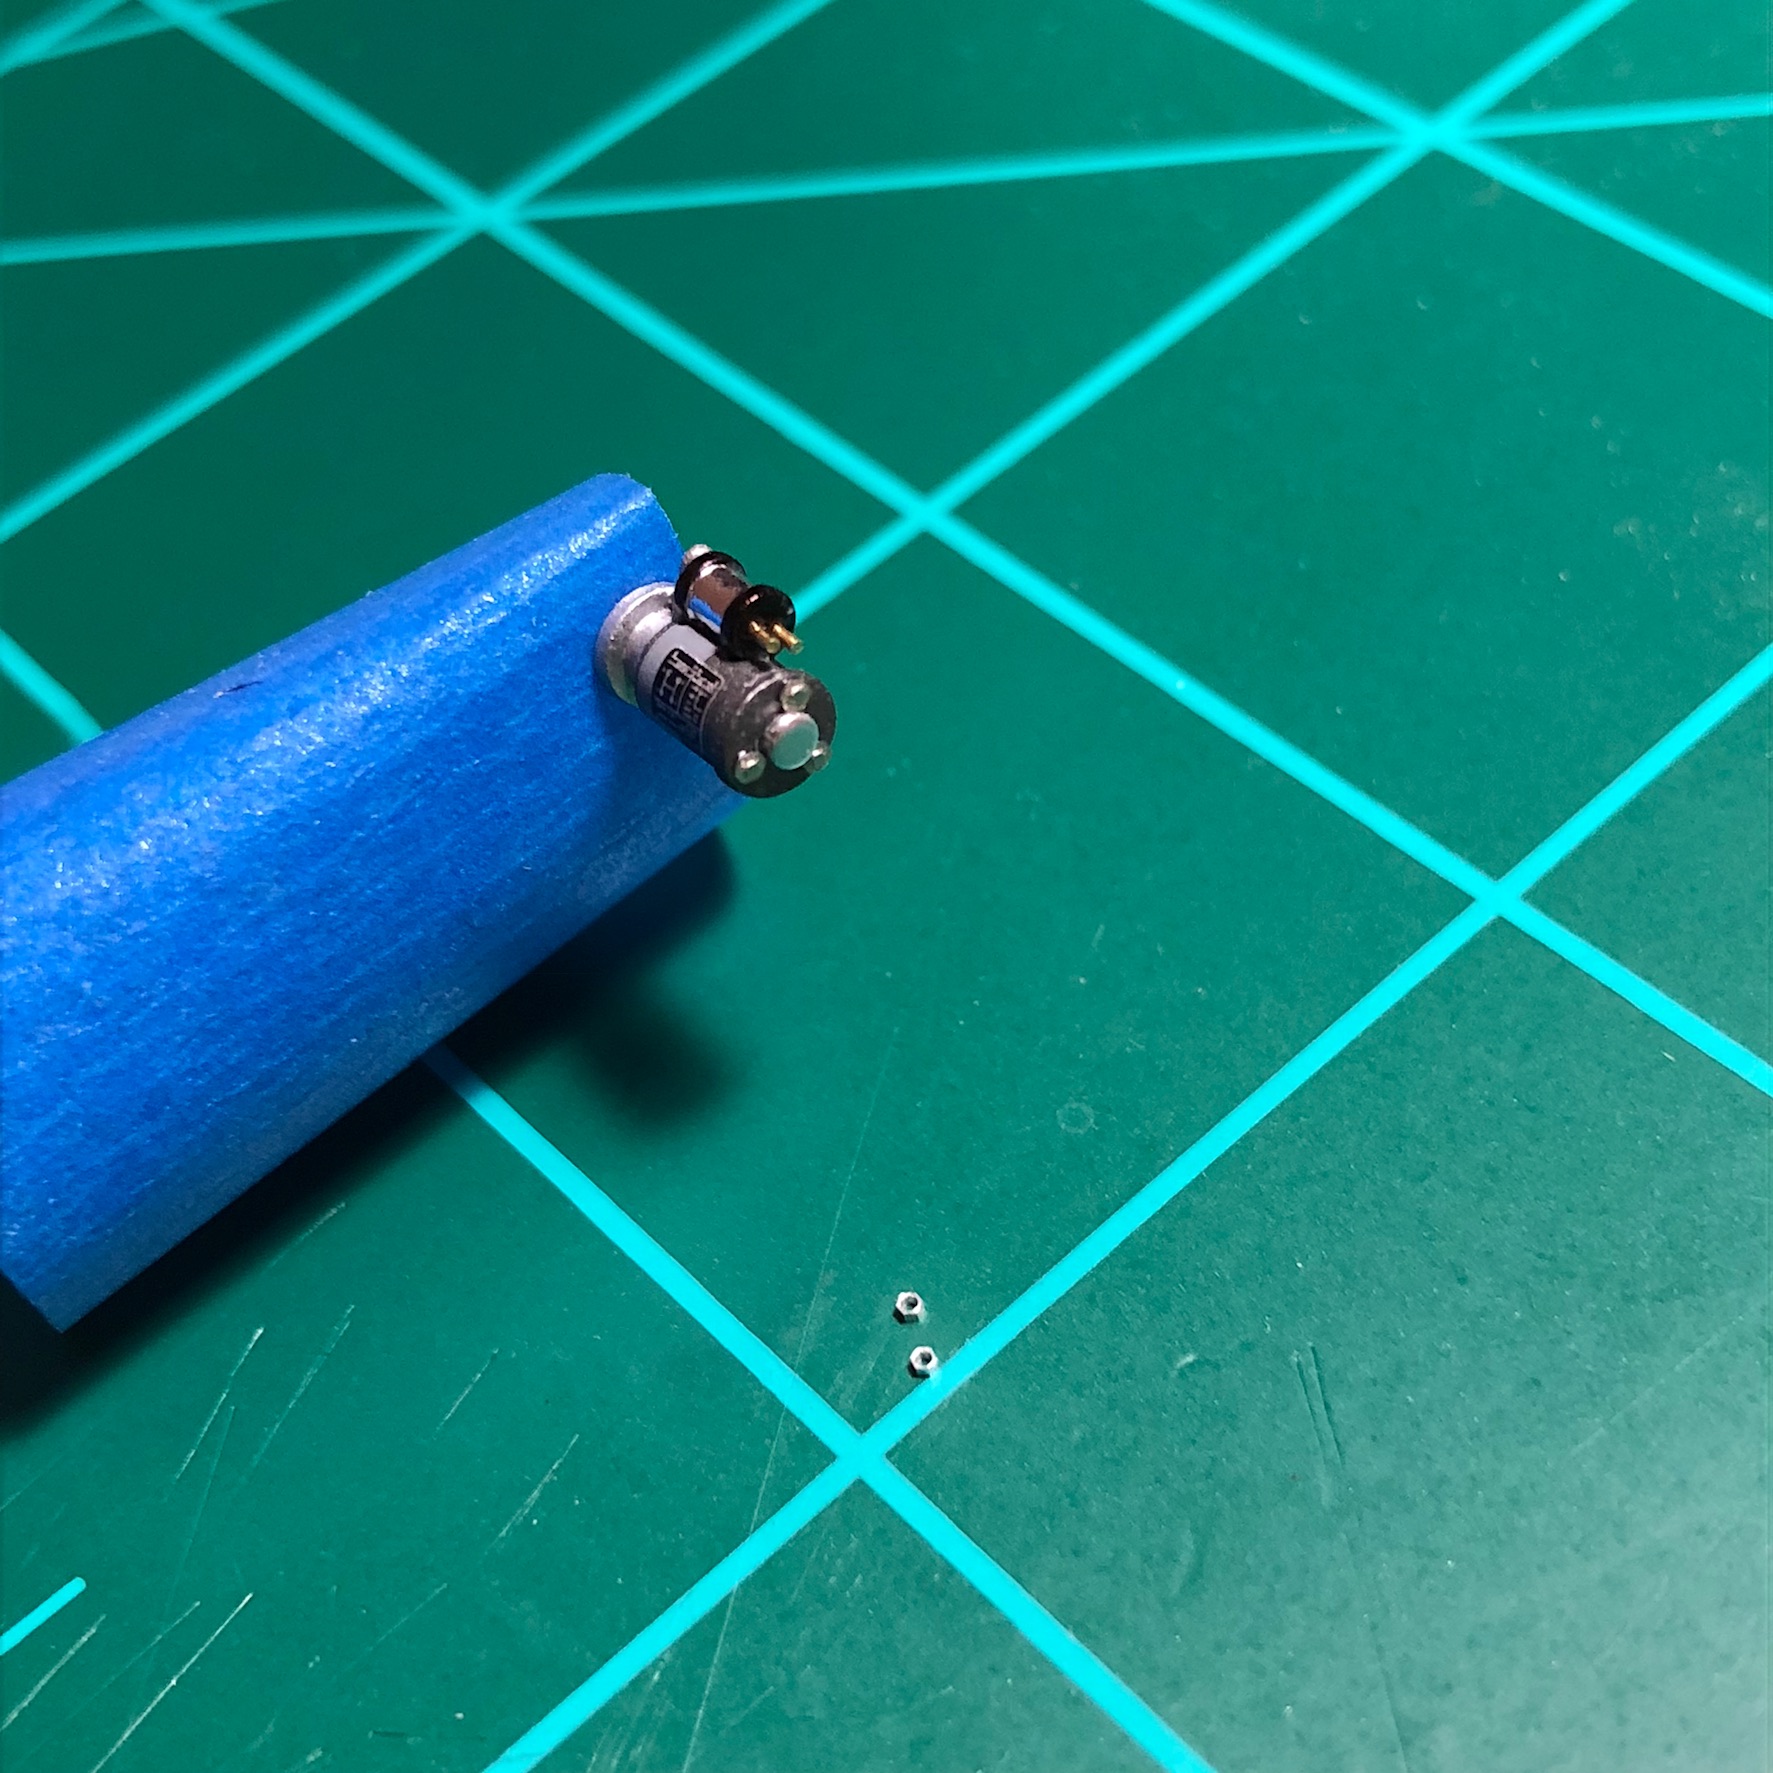
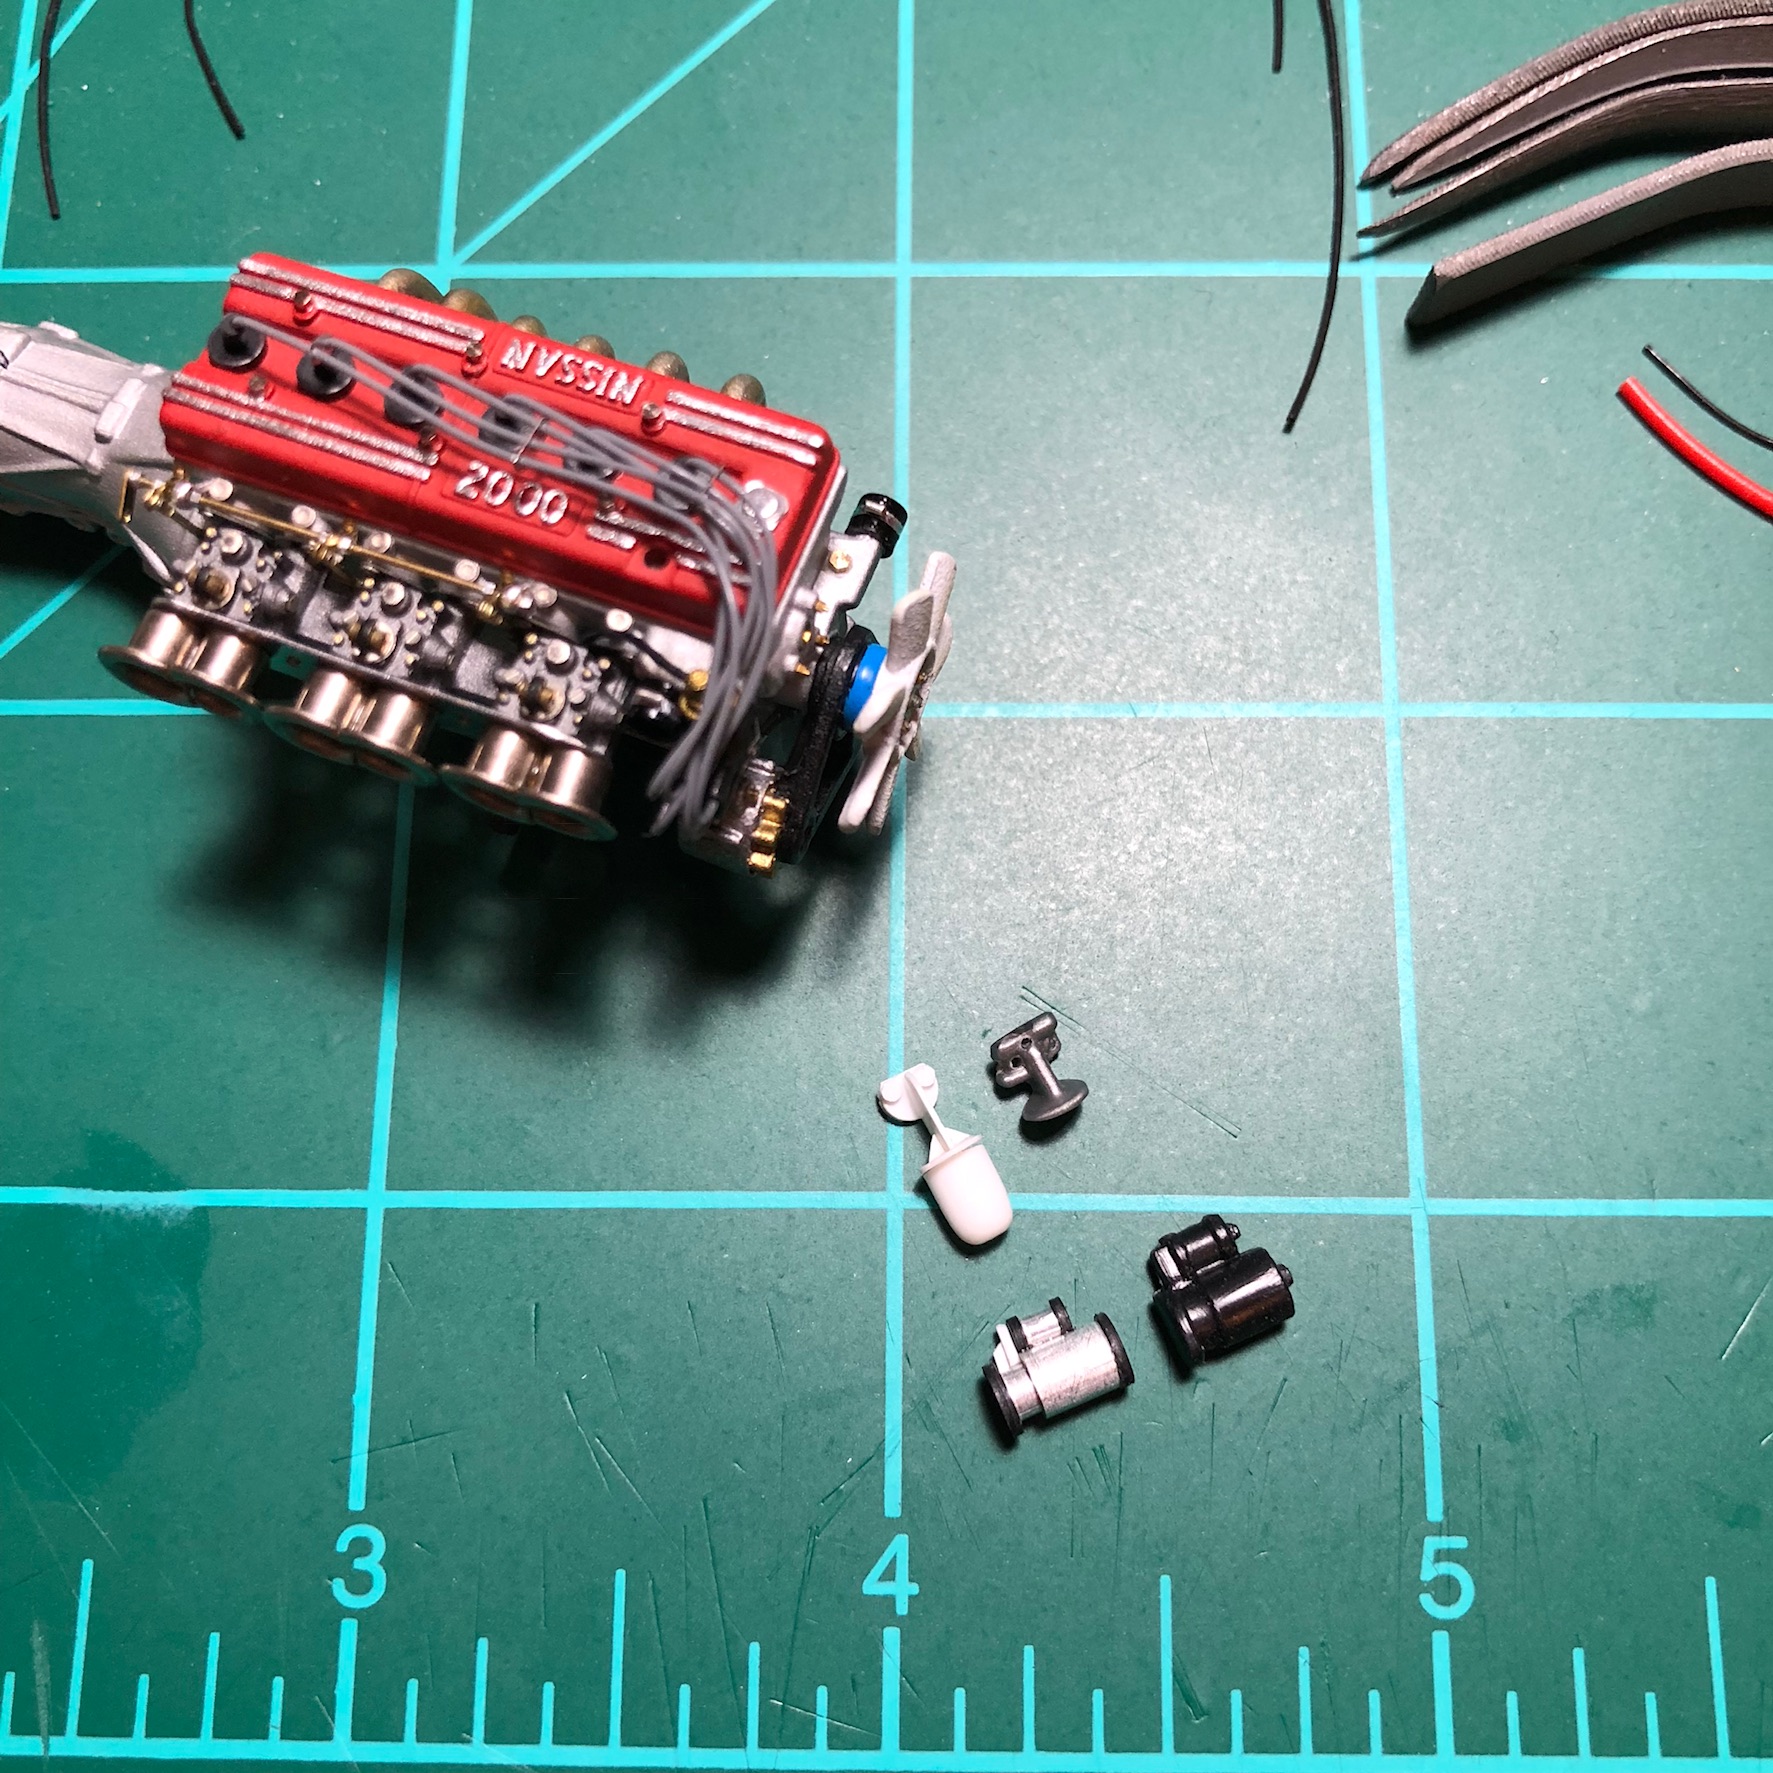
Getting starter and oil filter/housing detailed. Added connections for remote oil cooler also.
-
My apologies for not updating regularly. Progress is slow but steady. Working on finishing touches to the motor before moving on. Not satisfied with kit starter and oil filter assembly, I set out to build better ones.
-
Many Hobbytowns already have the Charger. I do not know how, but Hobby Lobby had one on the shelf 2 weeks ago as I reported.
-
Nice and clean!
-
My local Hobby Lobby already had this kit last weekend. Just FYI.
-
Super cool and super clean! Looks fantastic!
-
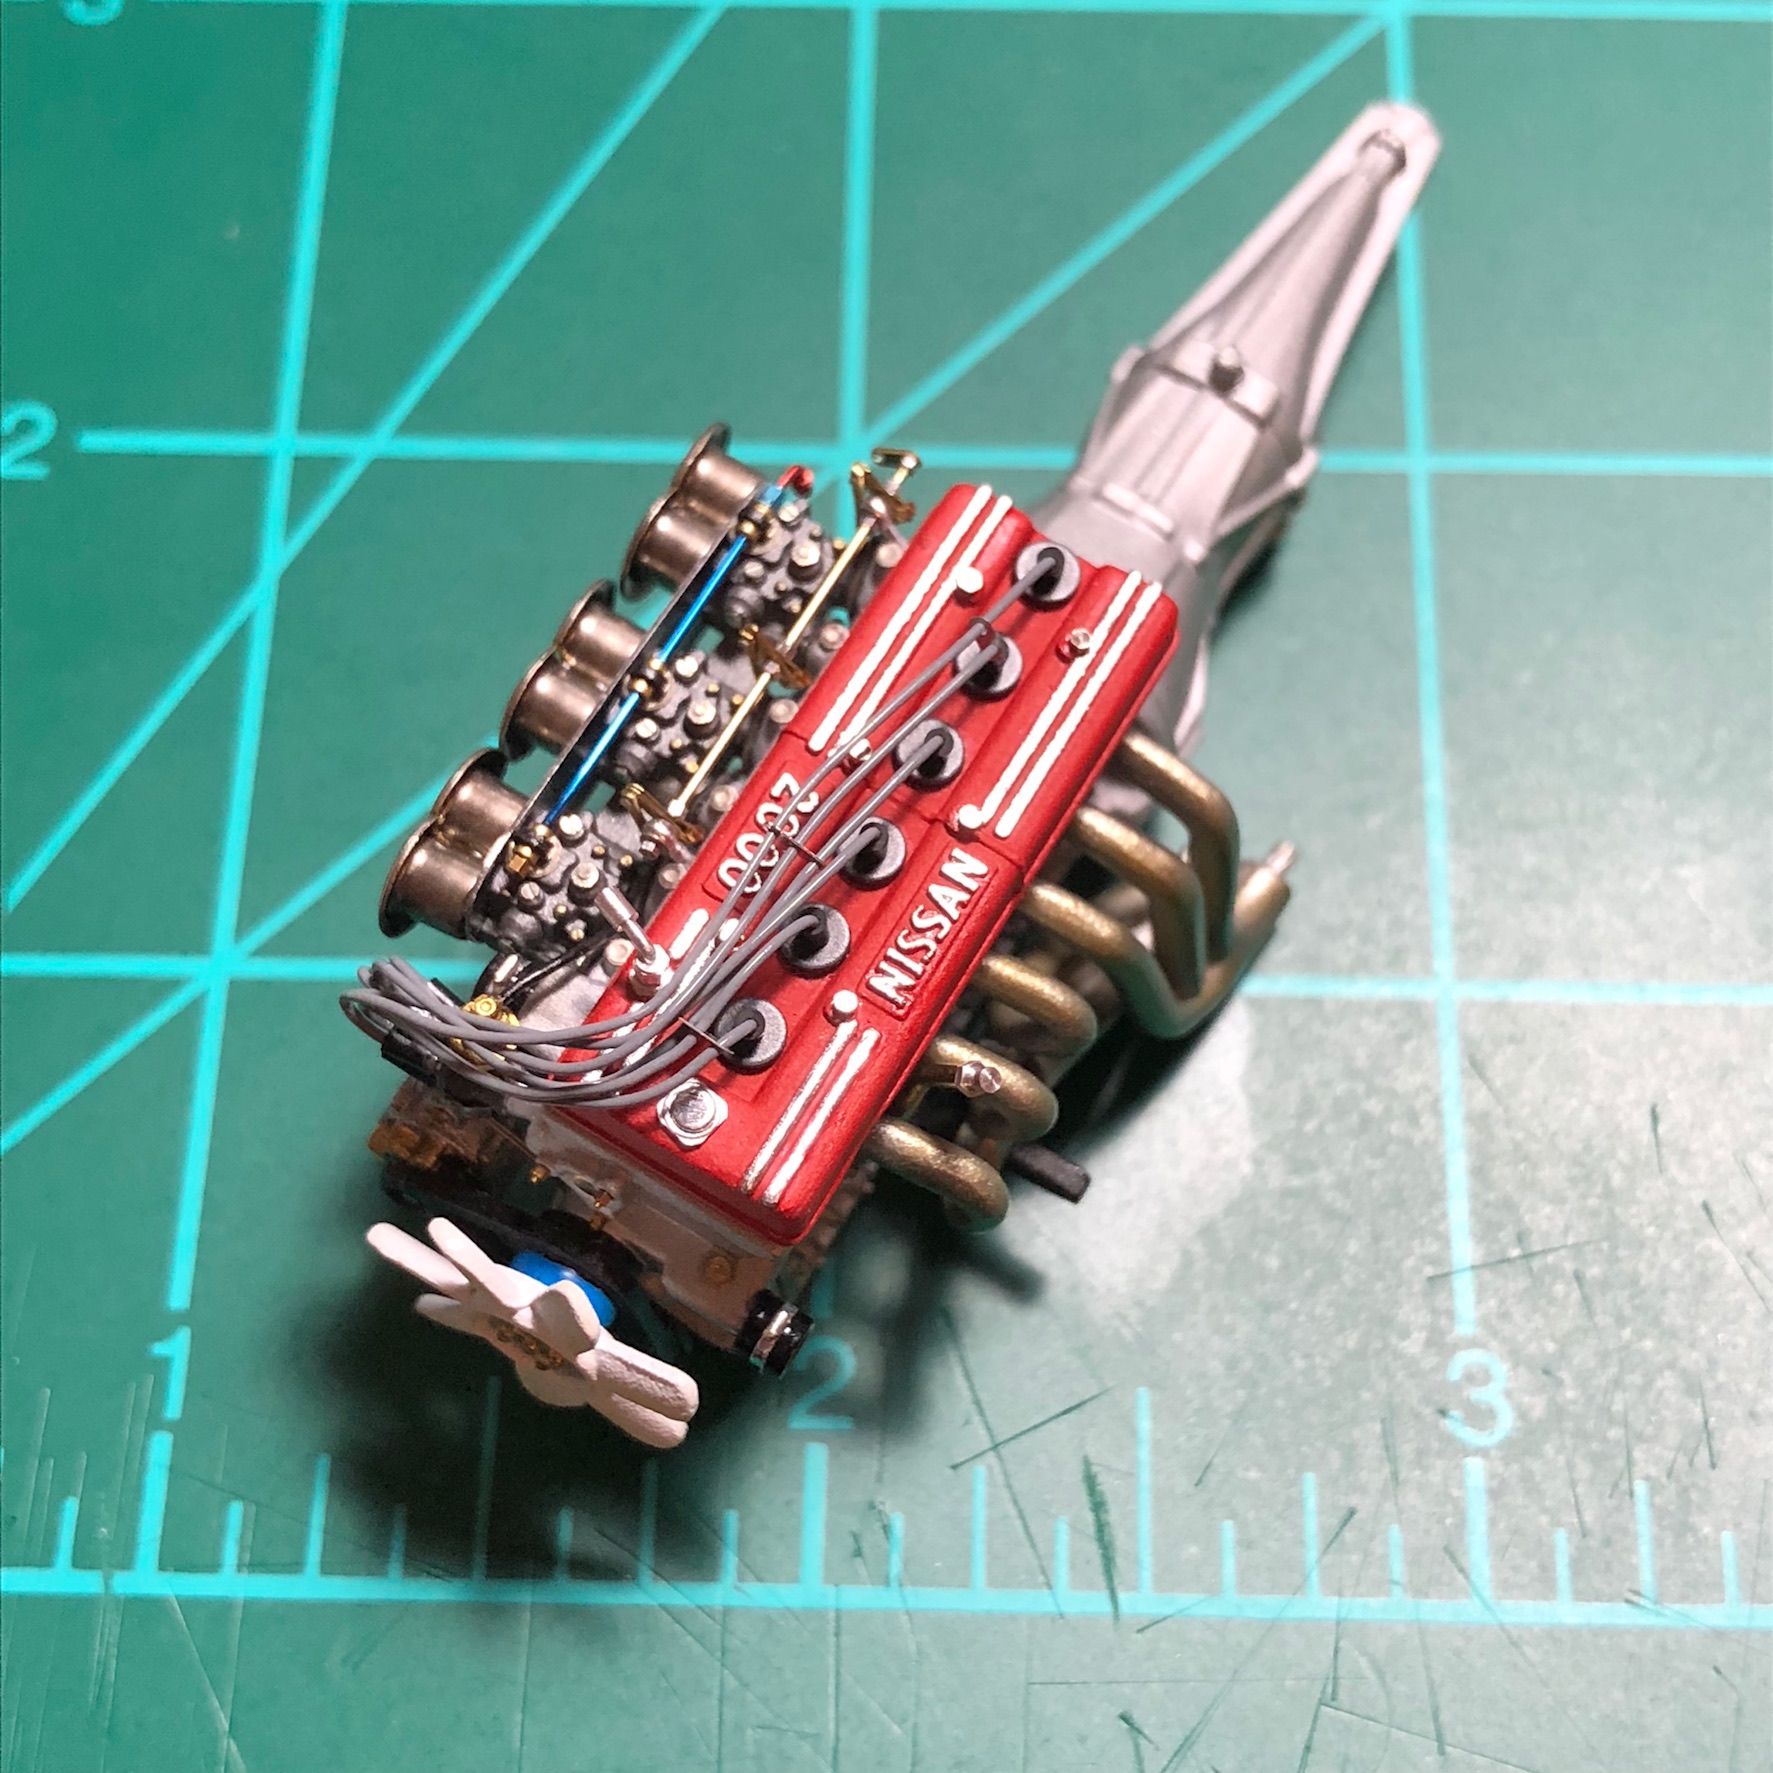
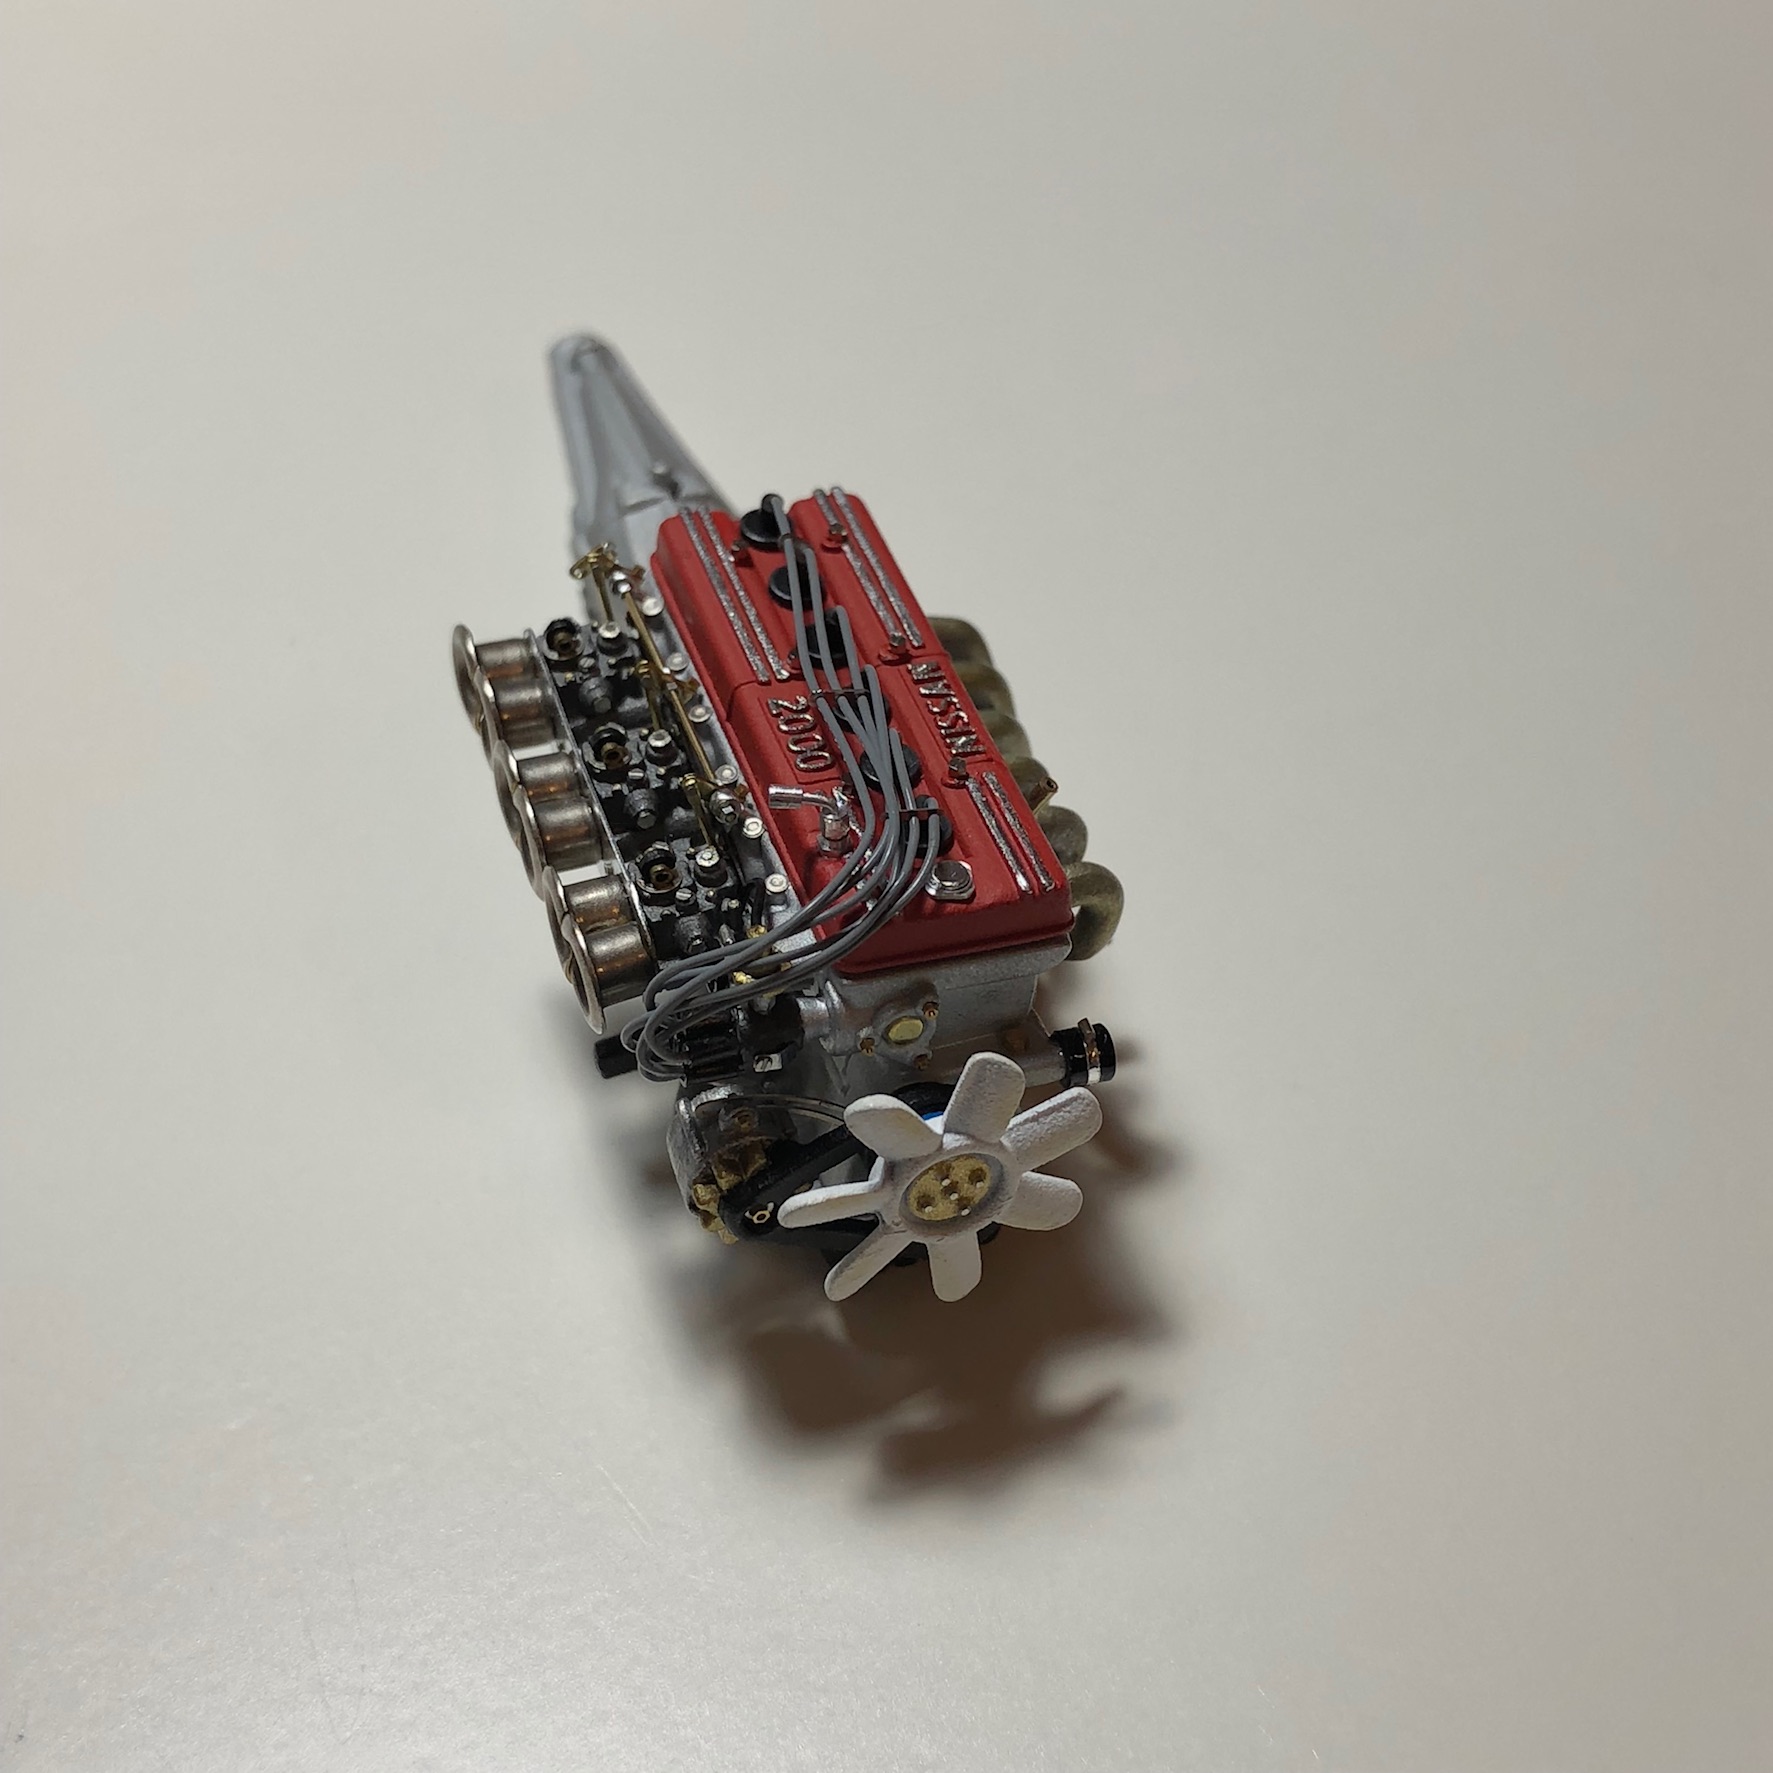
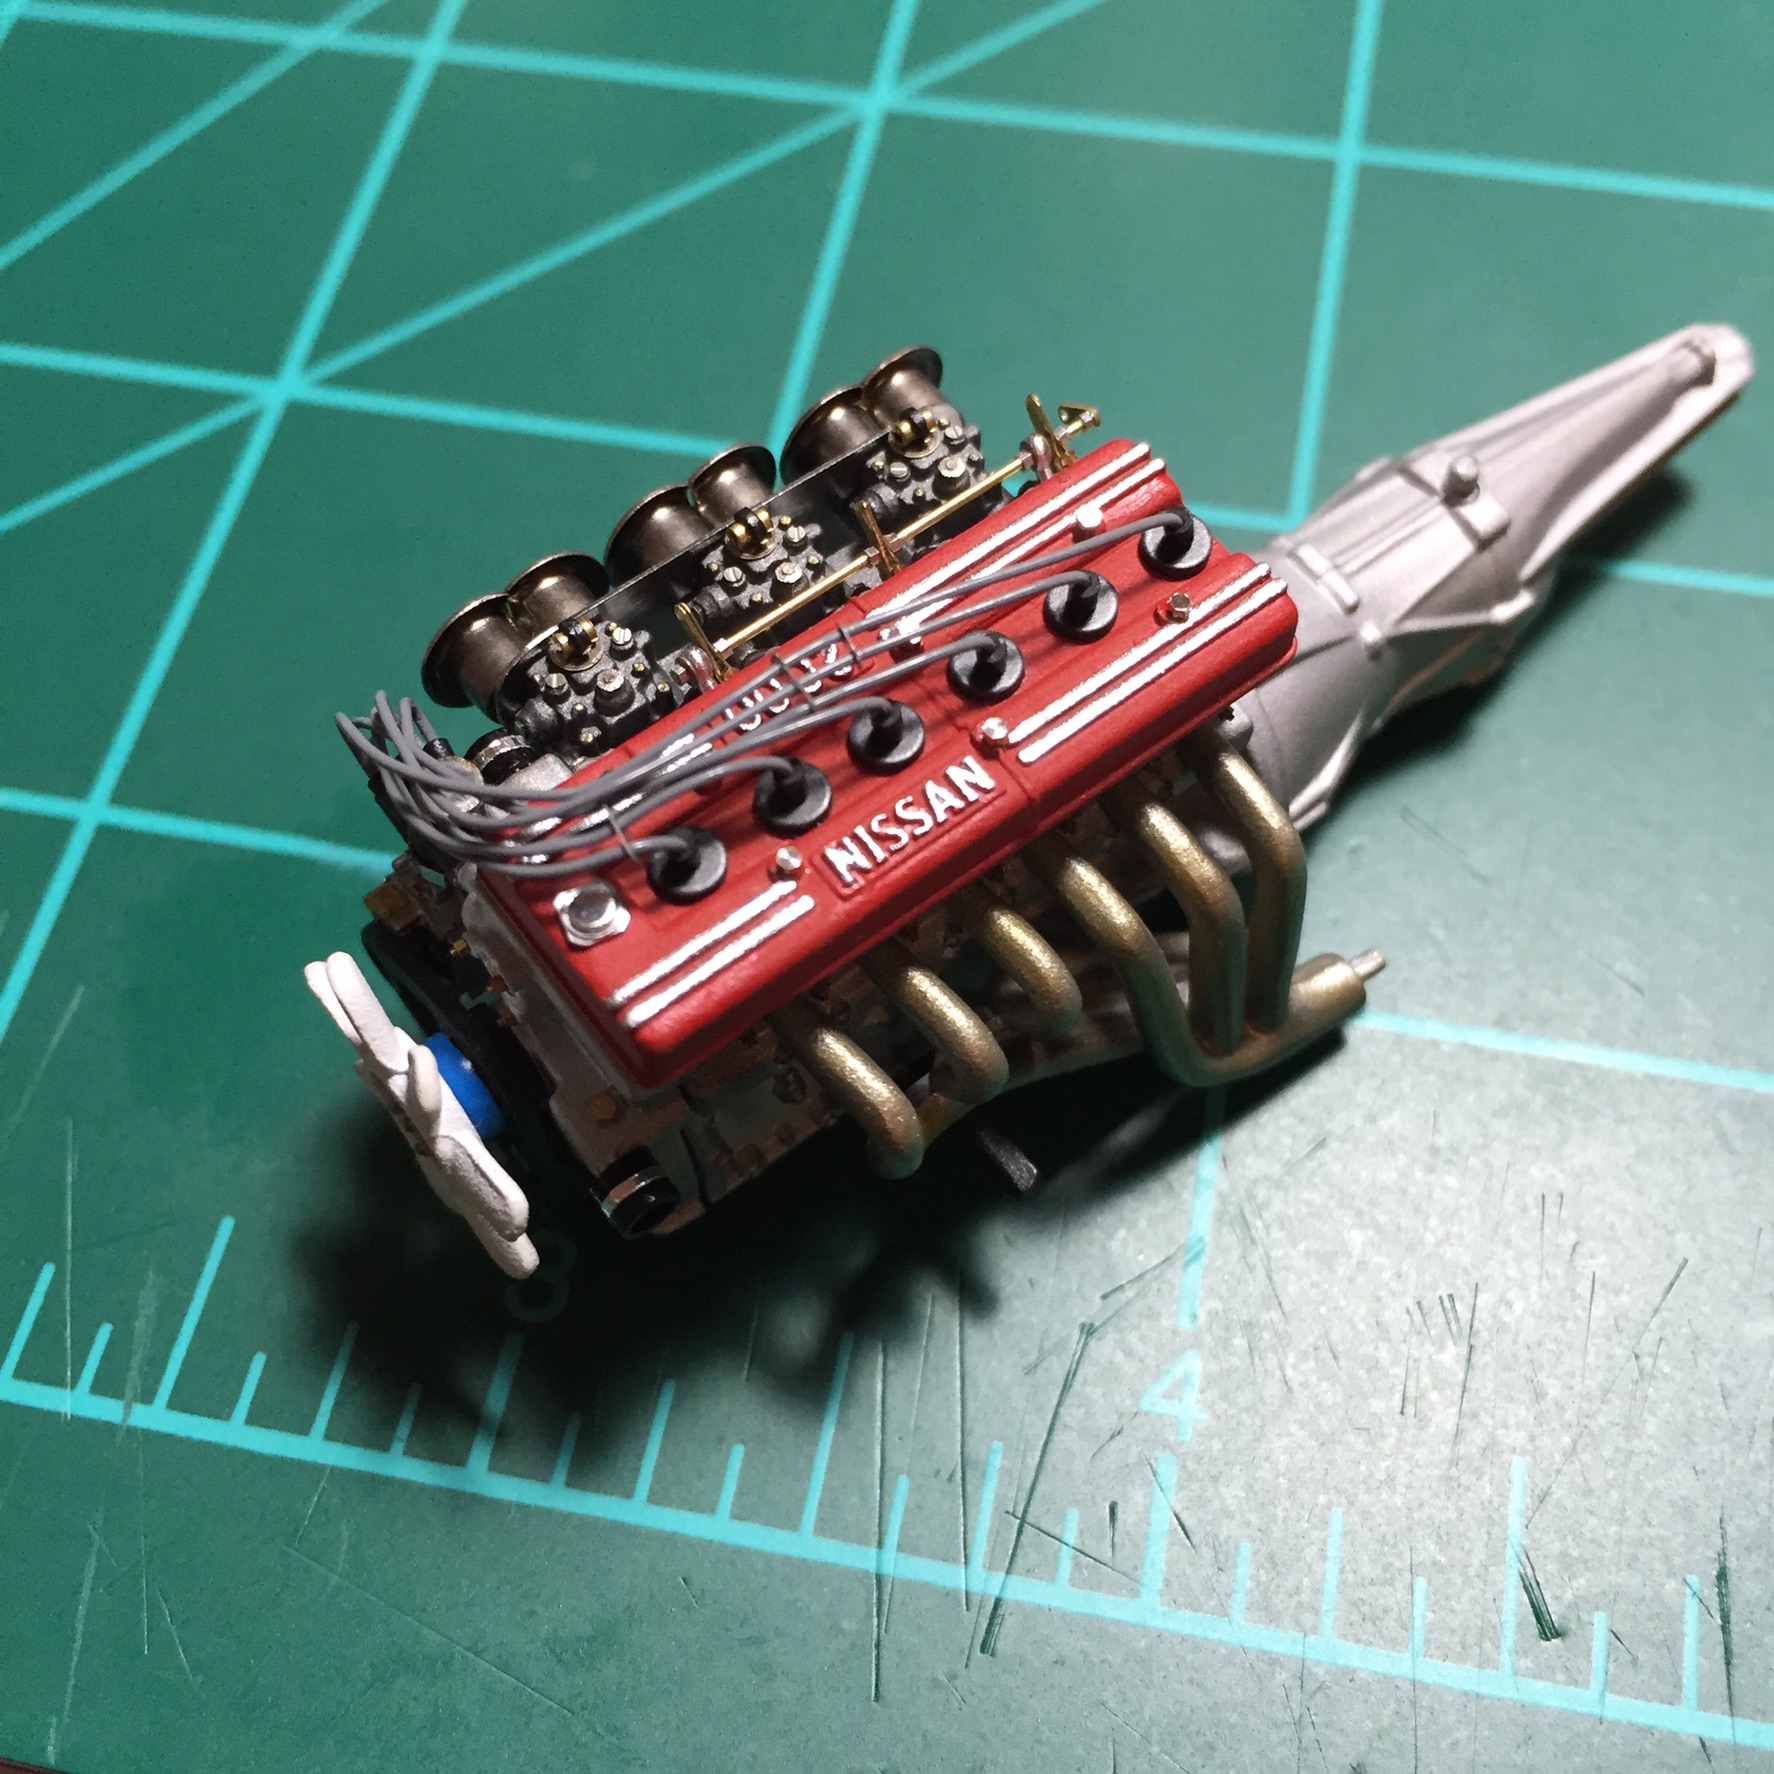
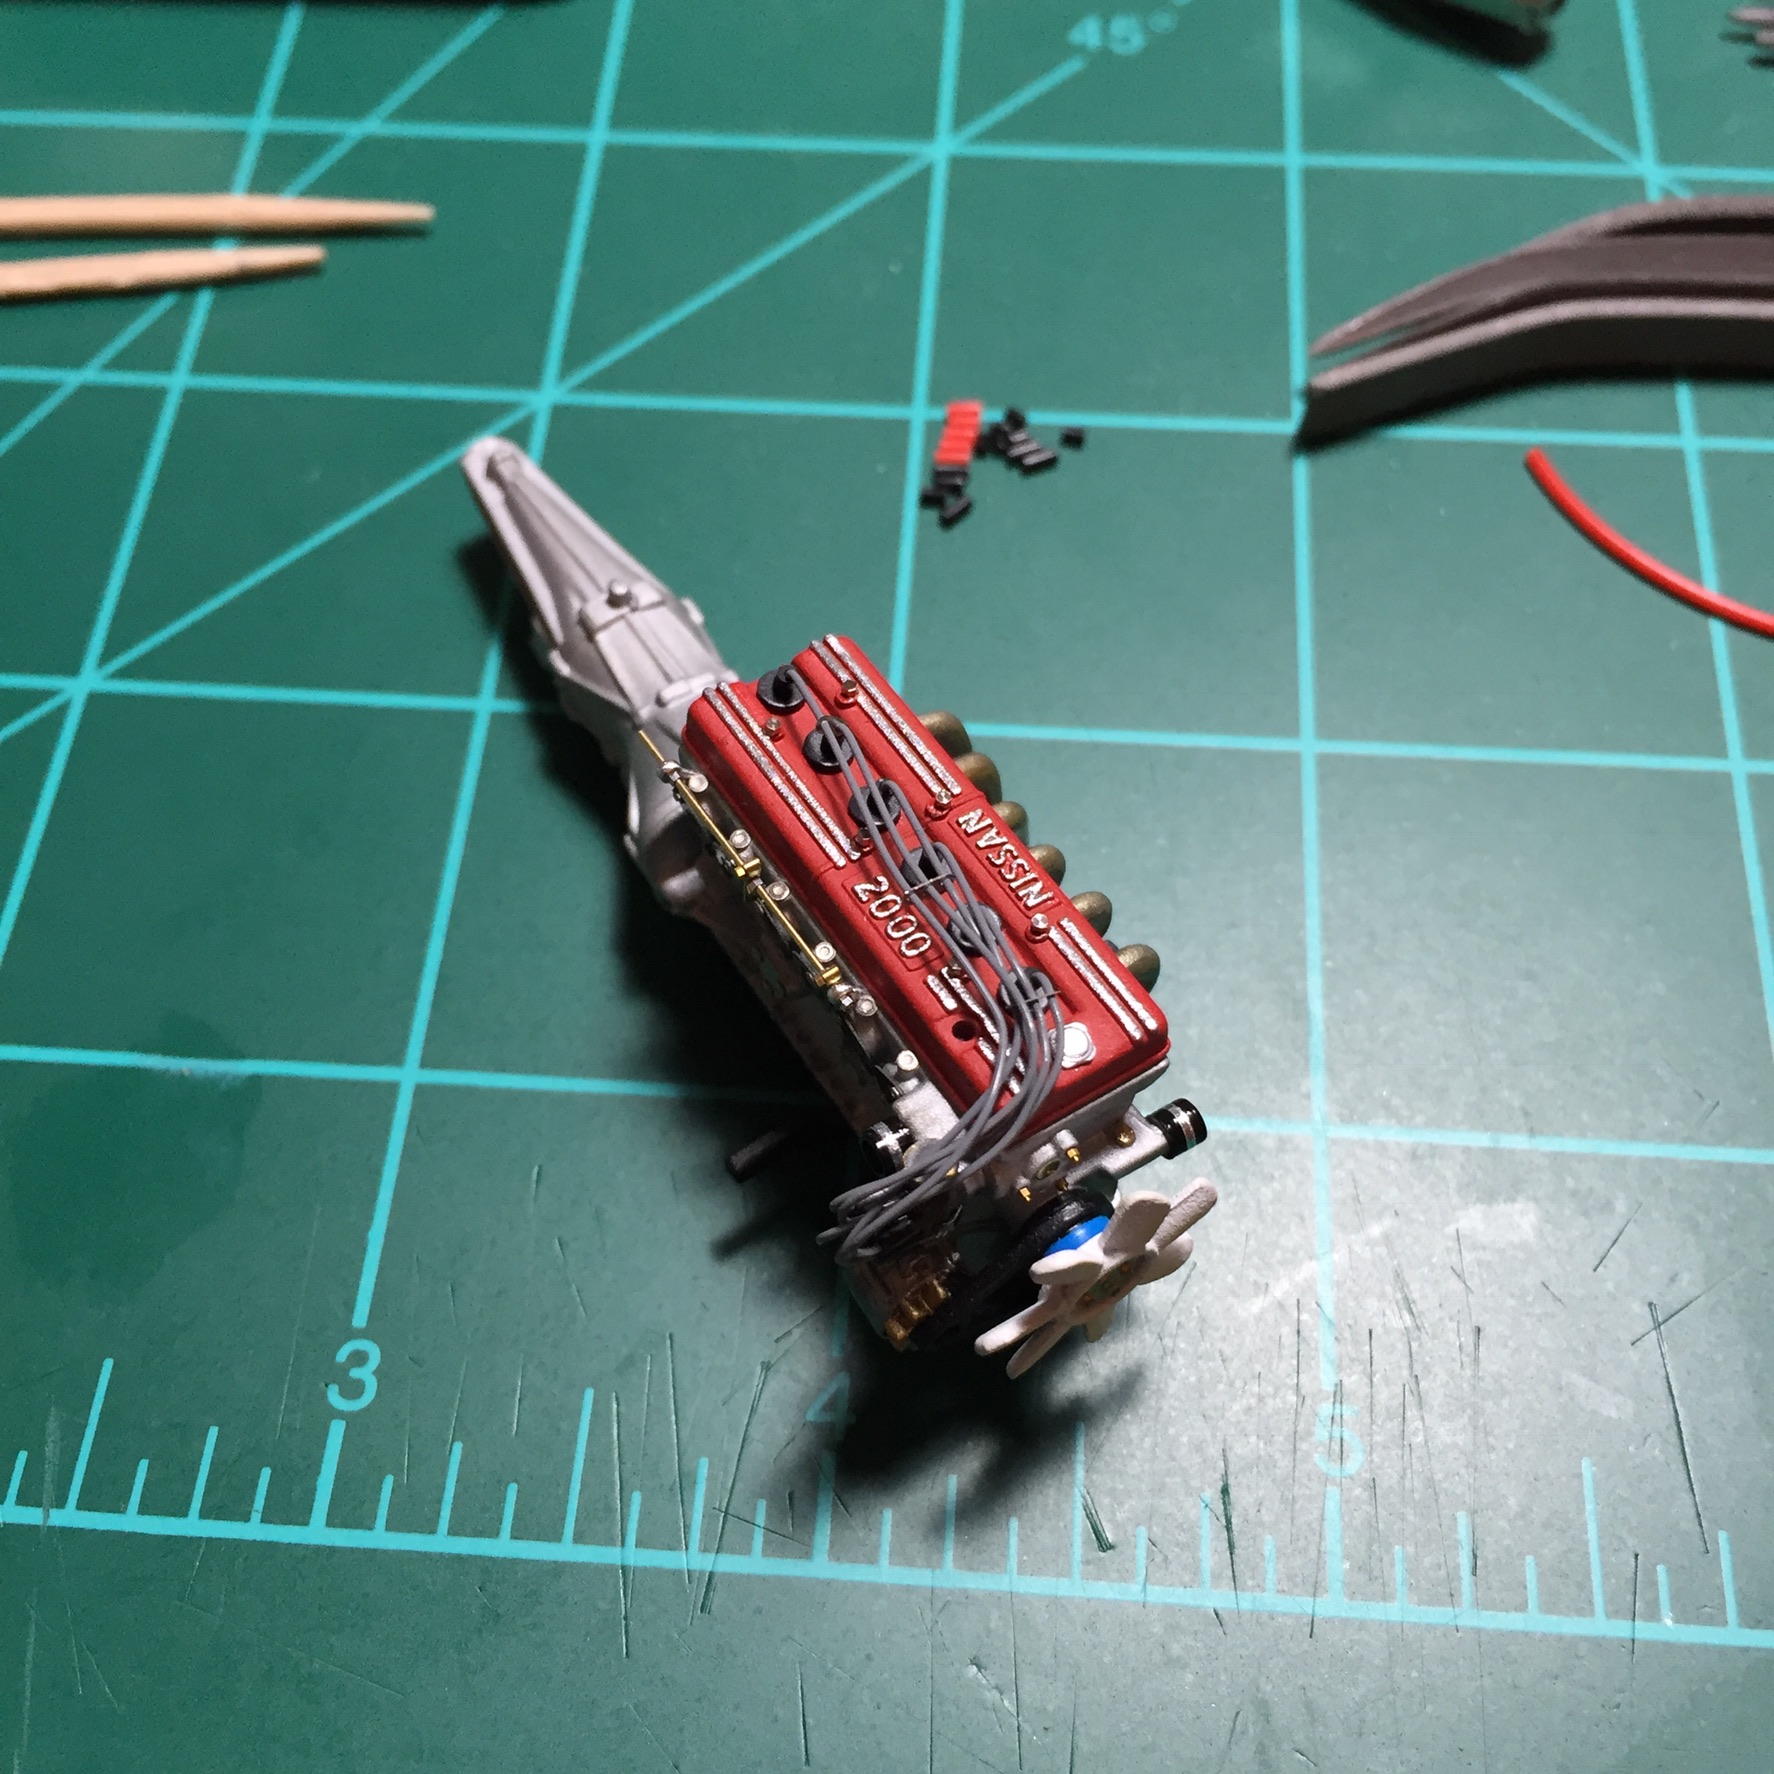
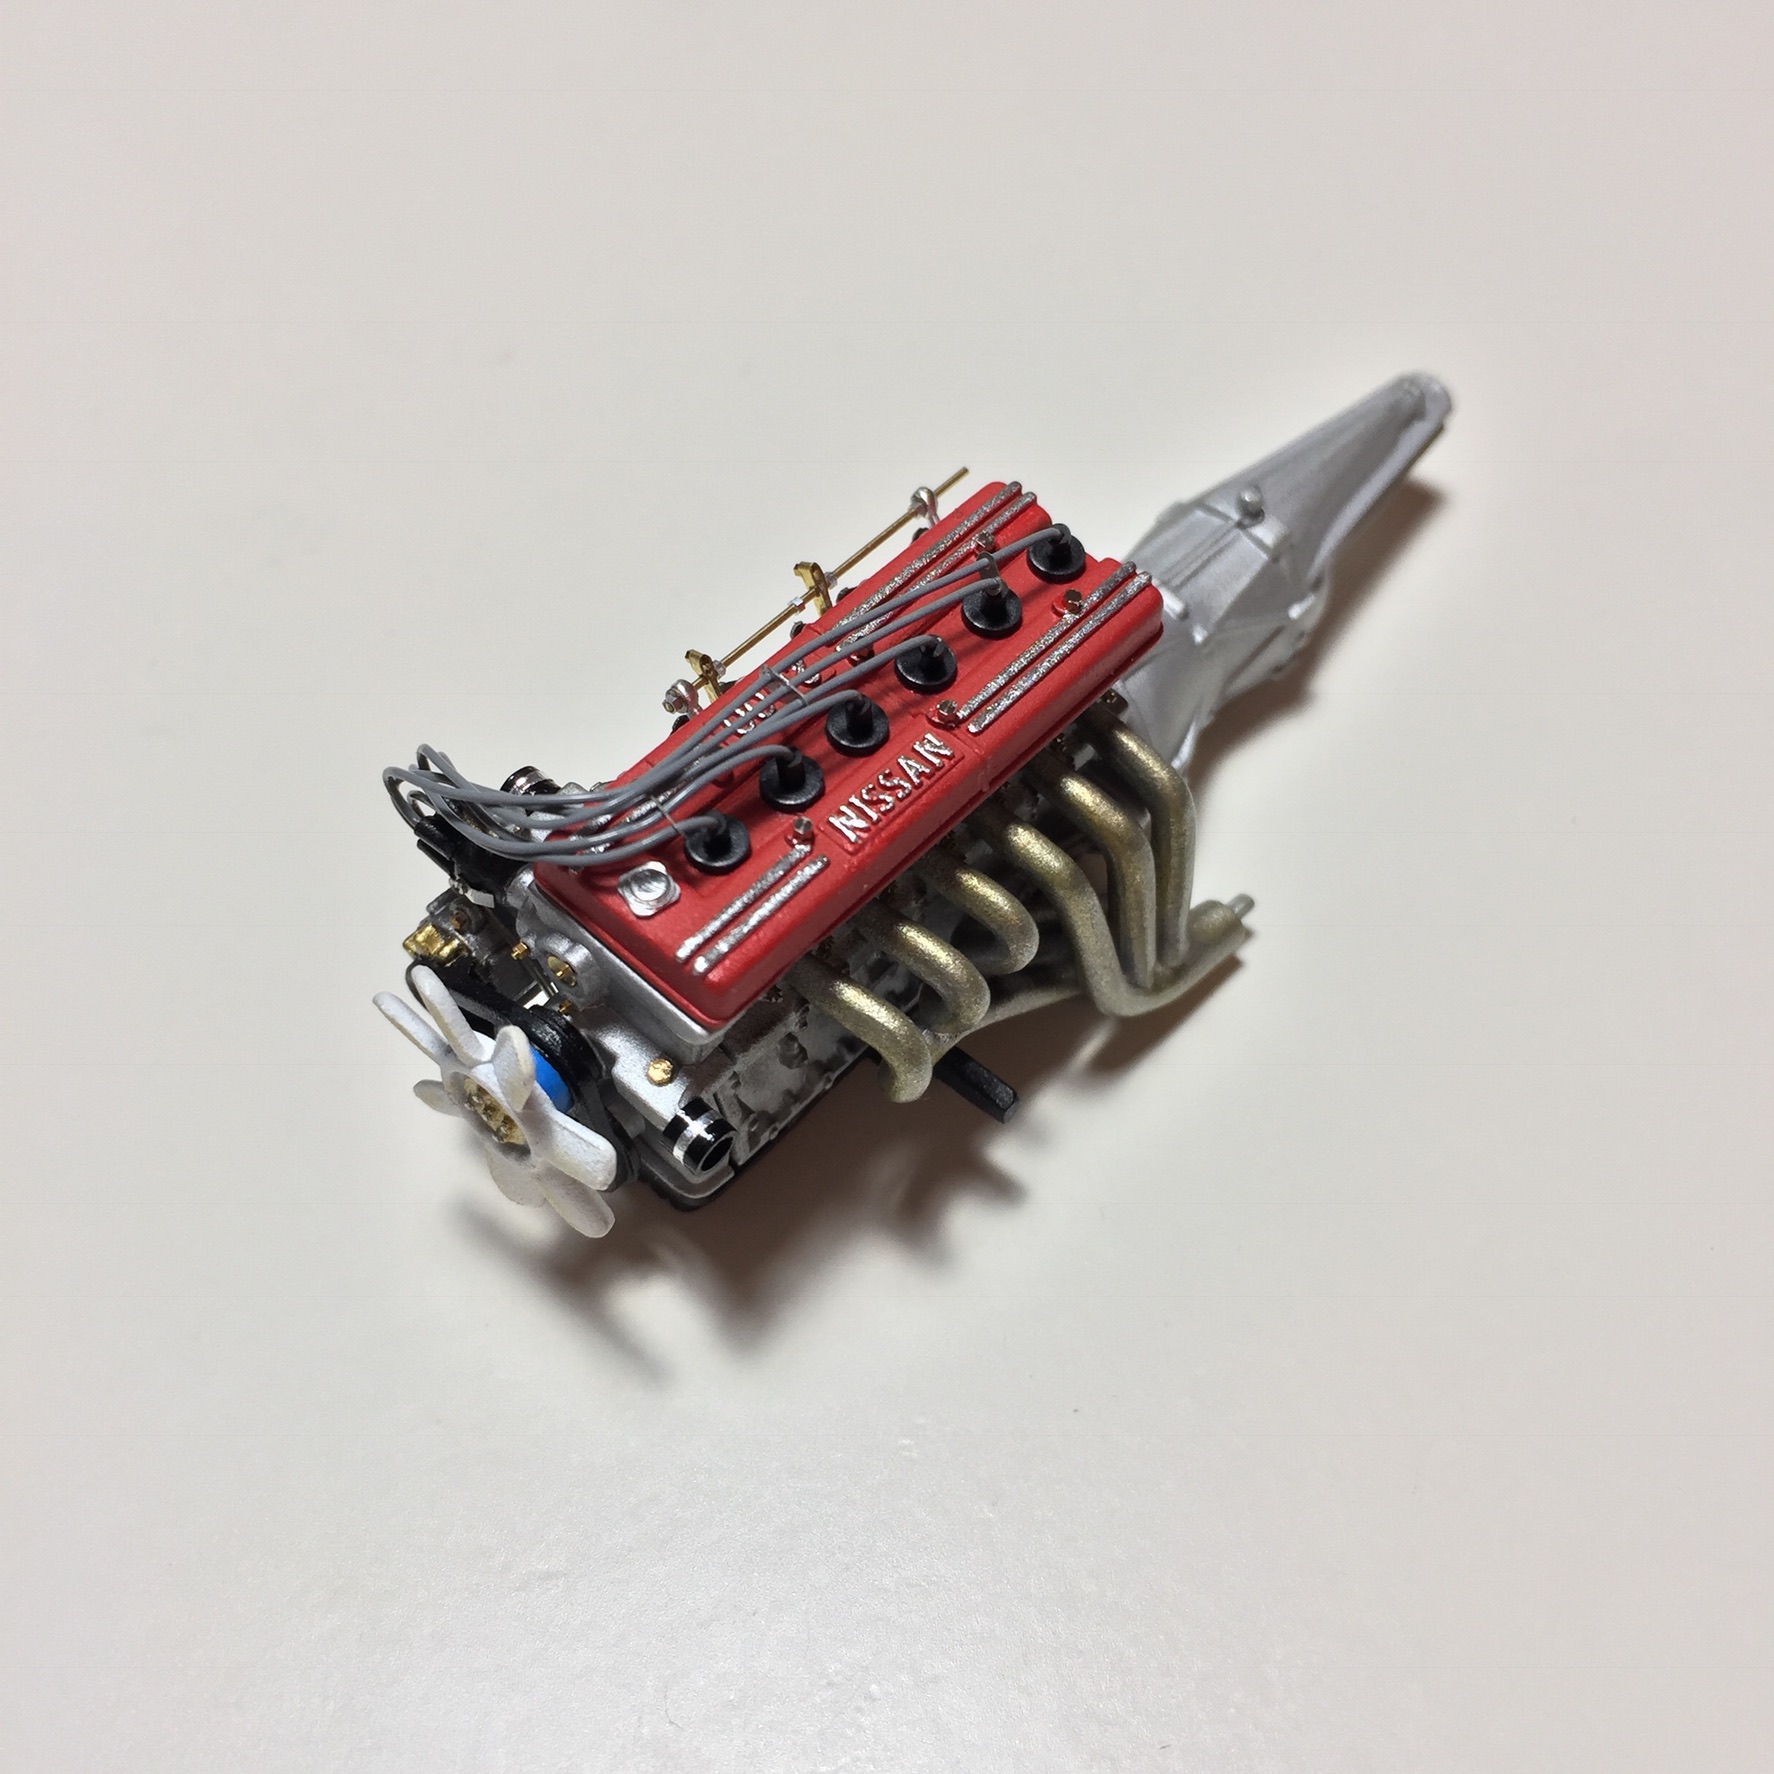
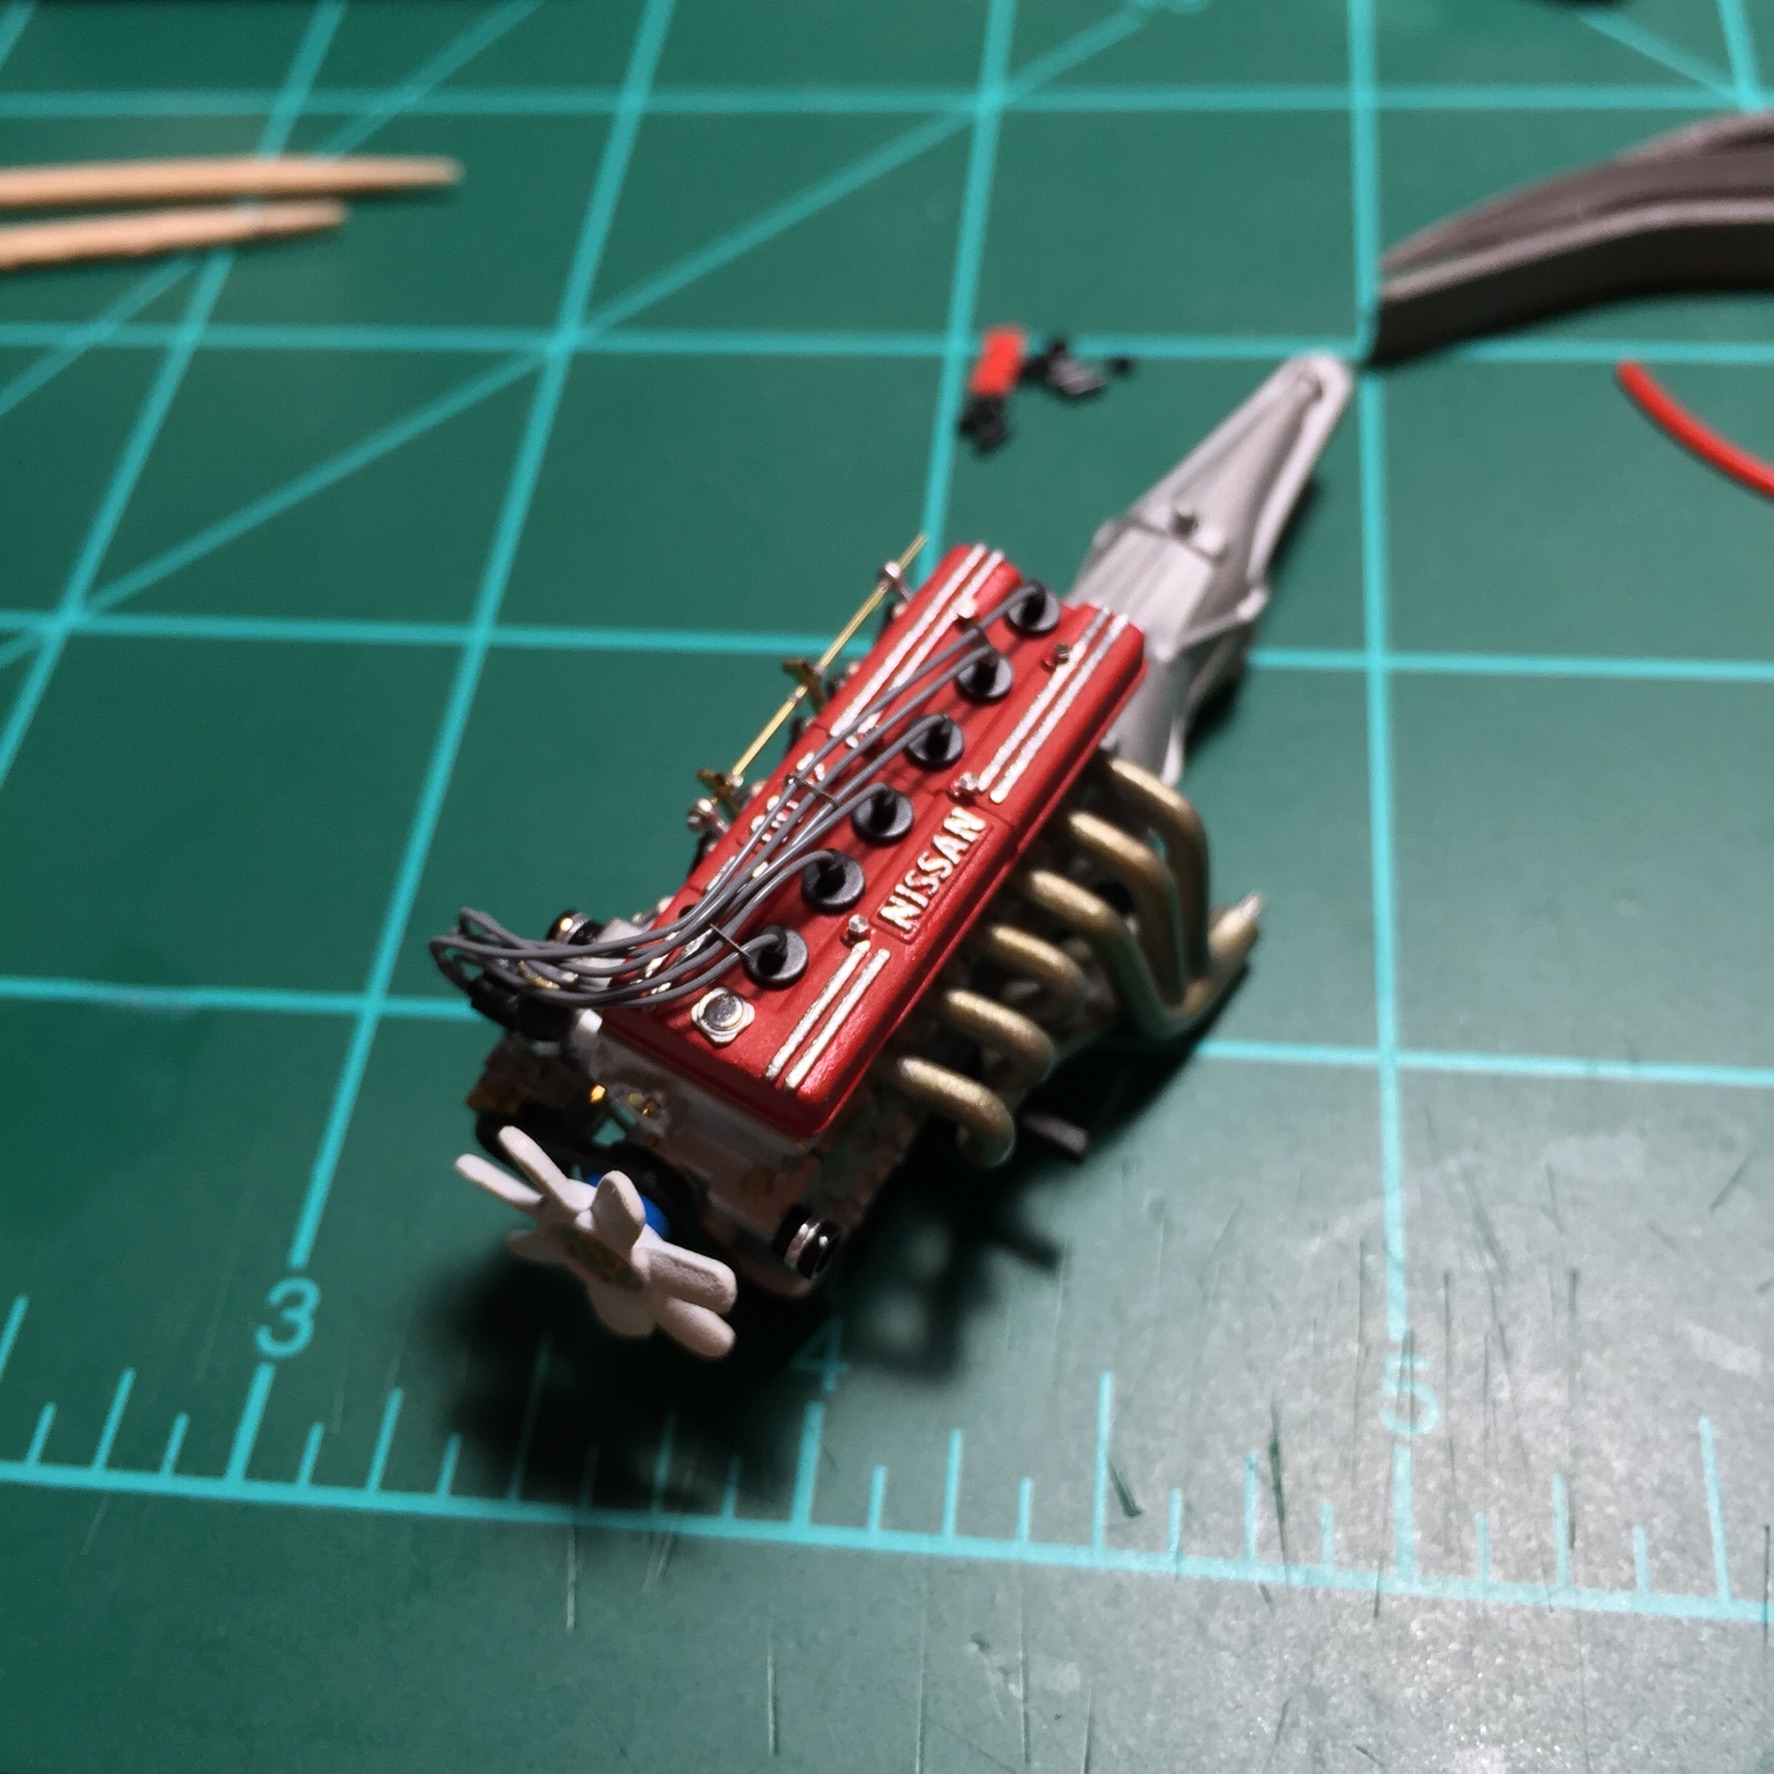
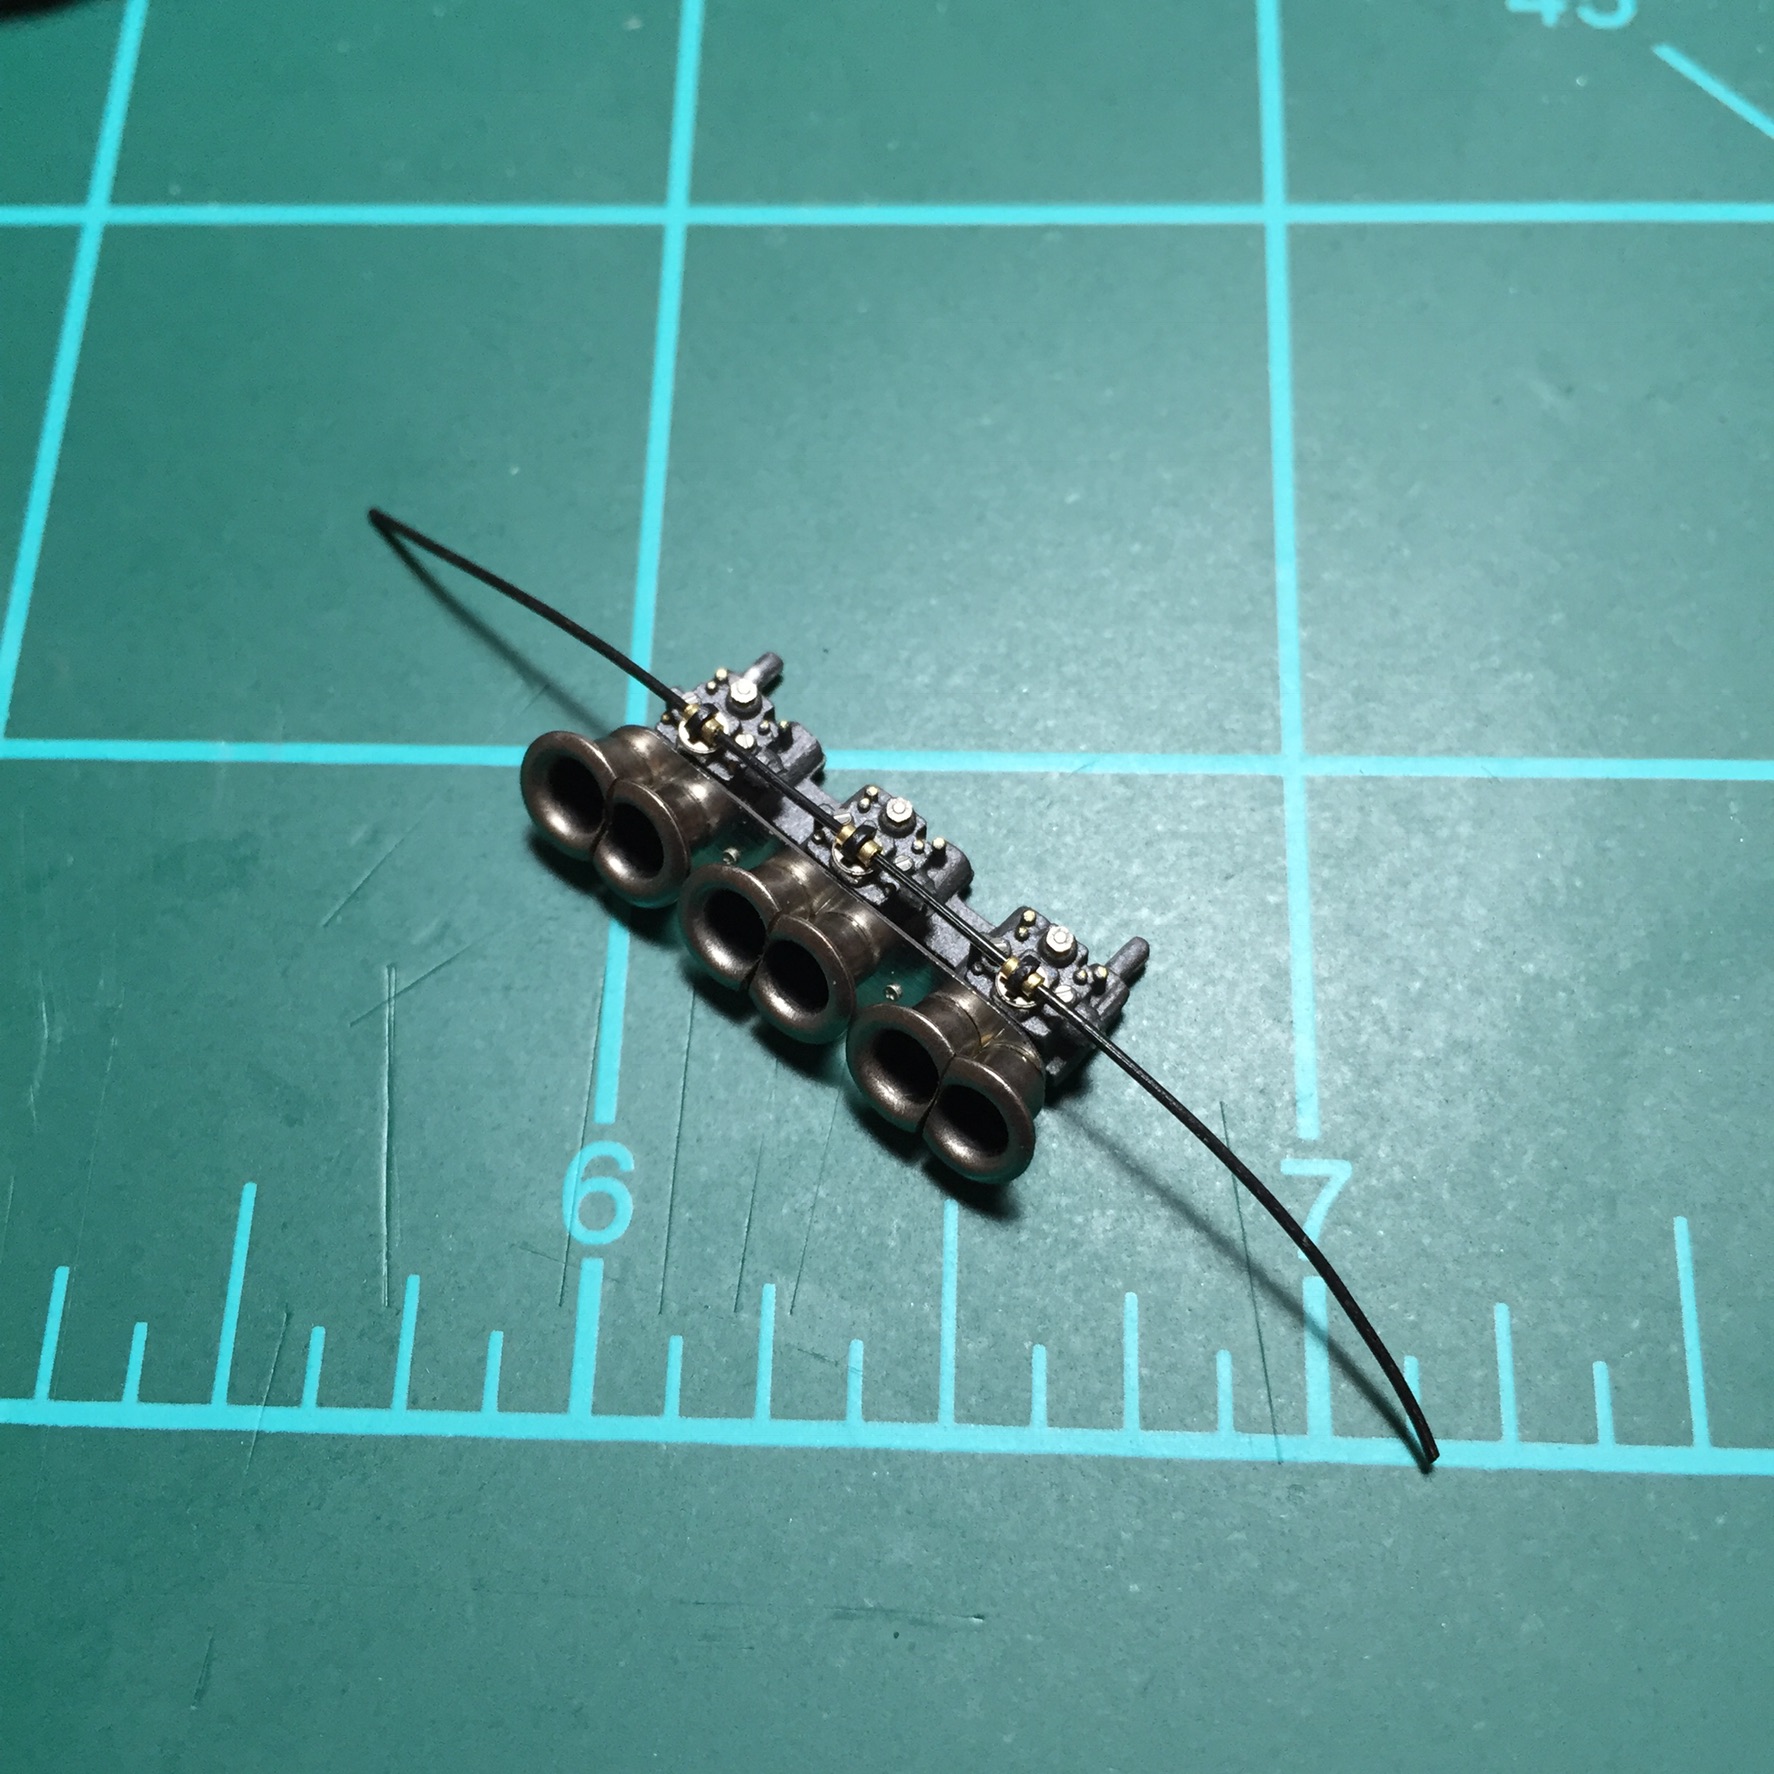
Thanks gents! I am really into vintage Japanese vehicles right now, so many projects yet so little time lol! Anyways, here is the legendary S20 as it sits today. Linkage mostly sorted, need to add each link to each carb next. Carbs and intake trumpets permenantly mounted now. Up next is perhaps scratch build a starter, mount the oil filter, fab a dip stick, fuel line, and other misc detailing bits. Should be deciding on wheels/tires and getting the stance/suspension sorted soon. More updates coming.
-
Getting linkage test fit and mocked up. Linkage arms are not fixed yet and in their "down" position.
-
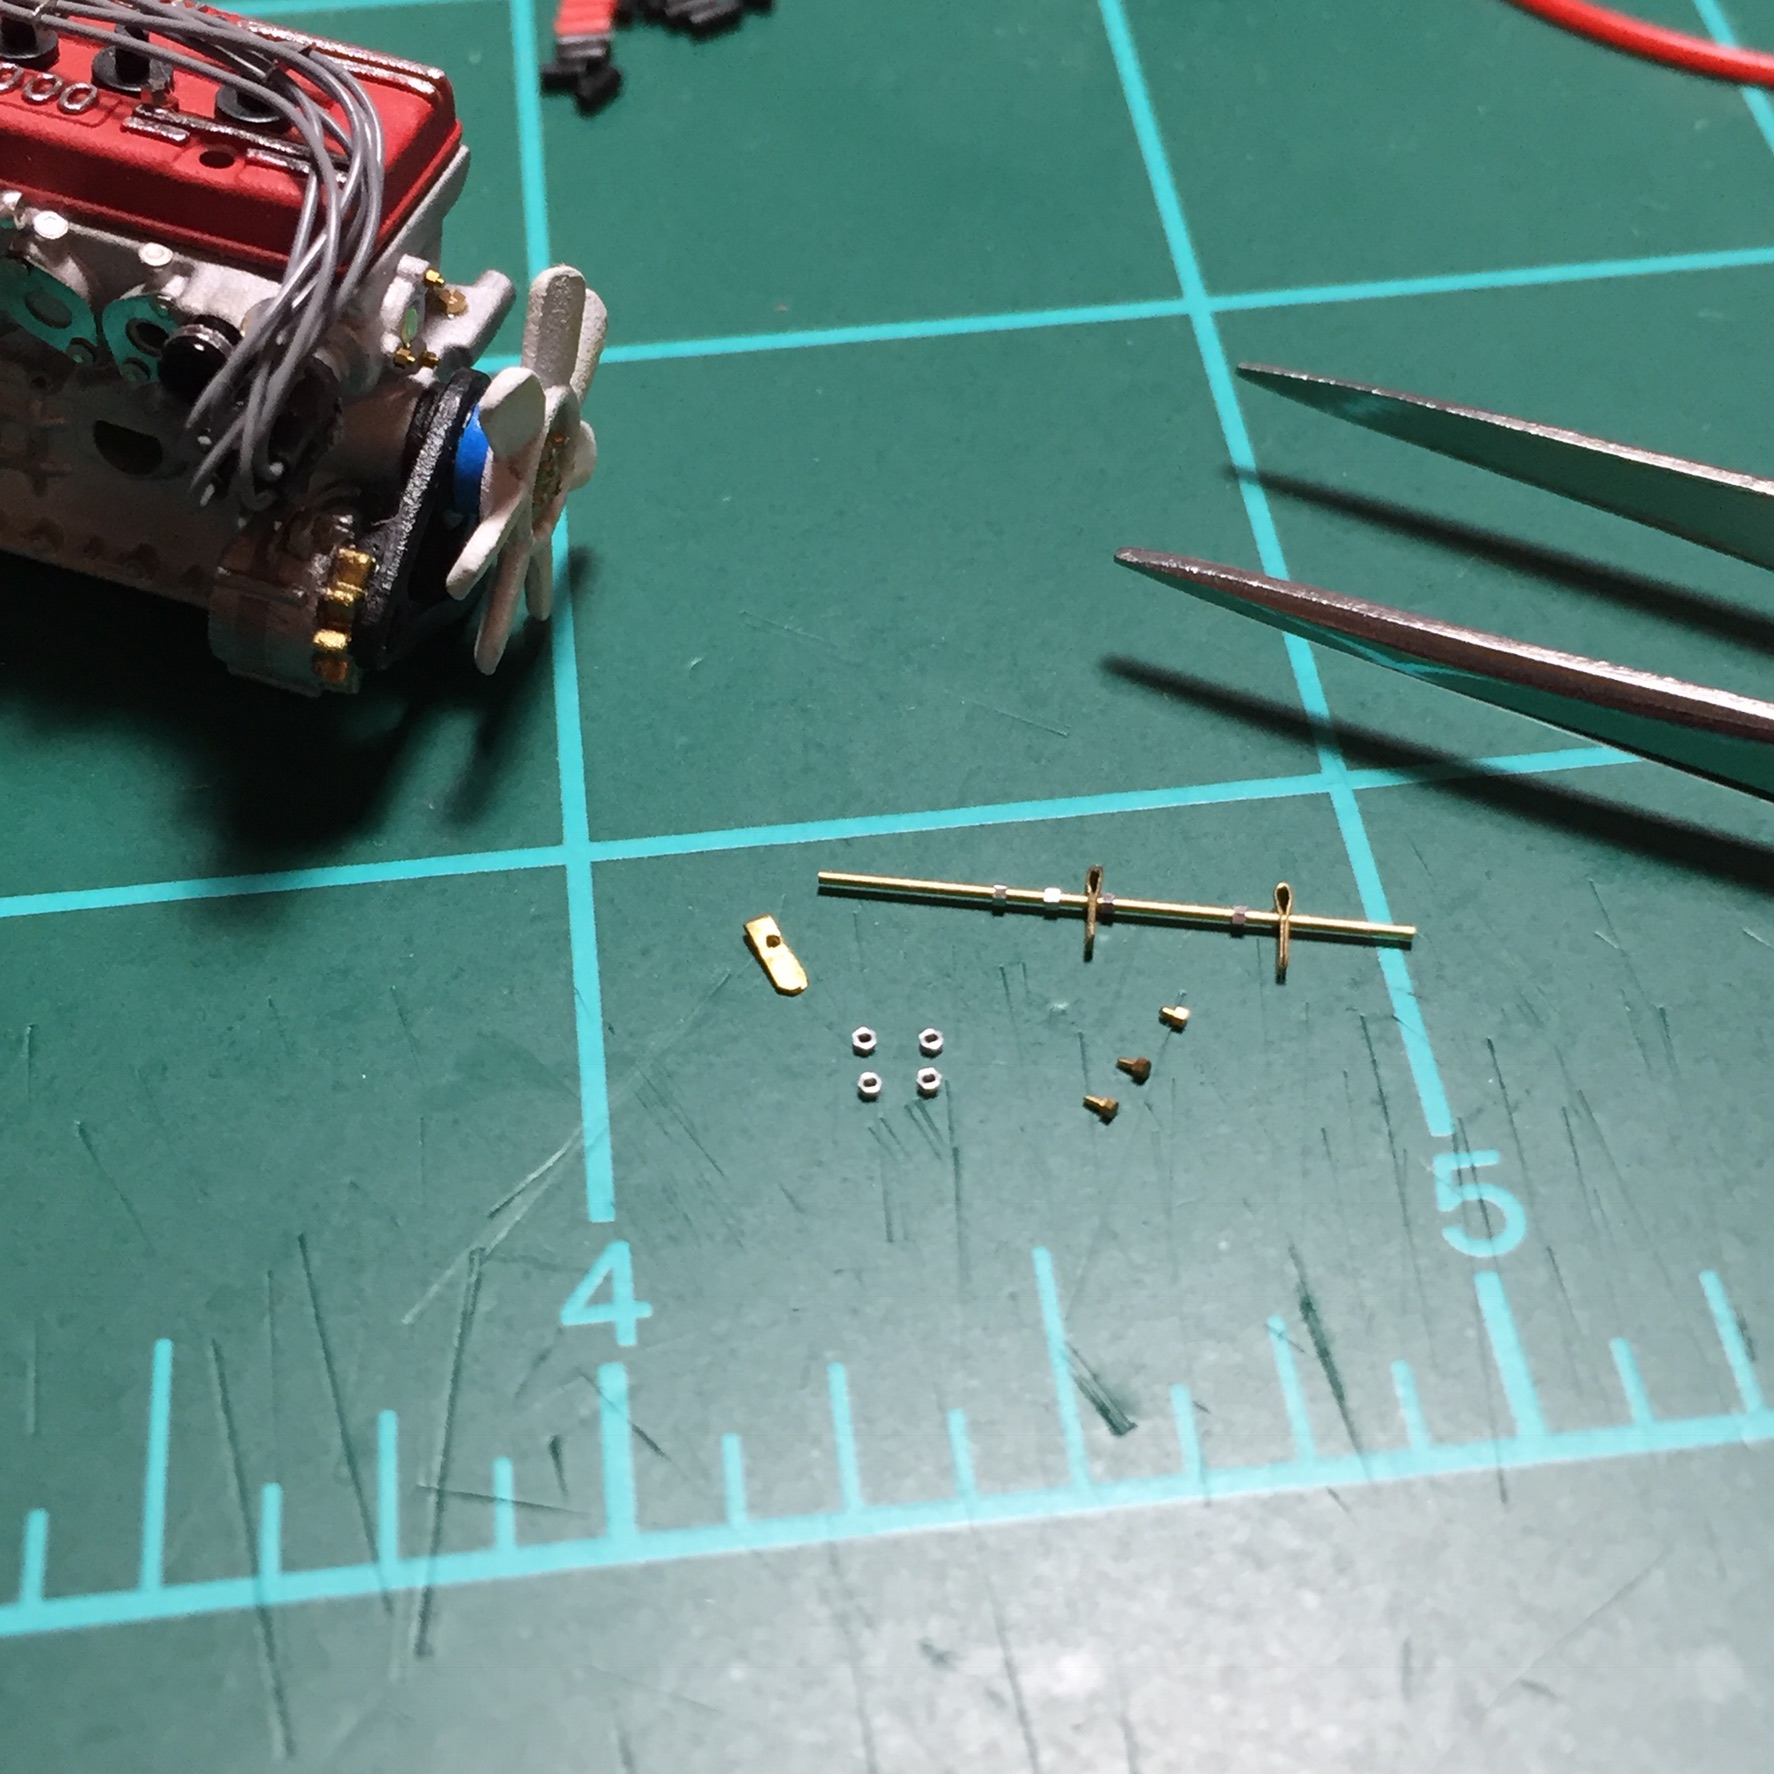
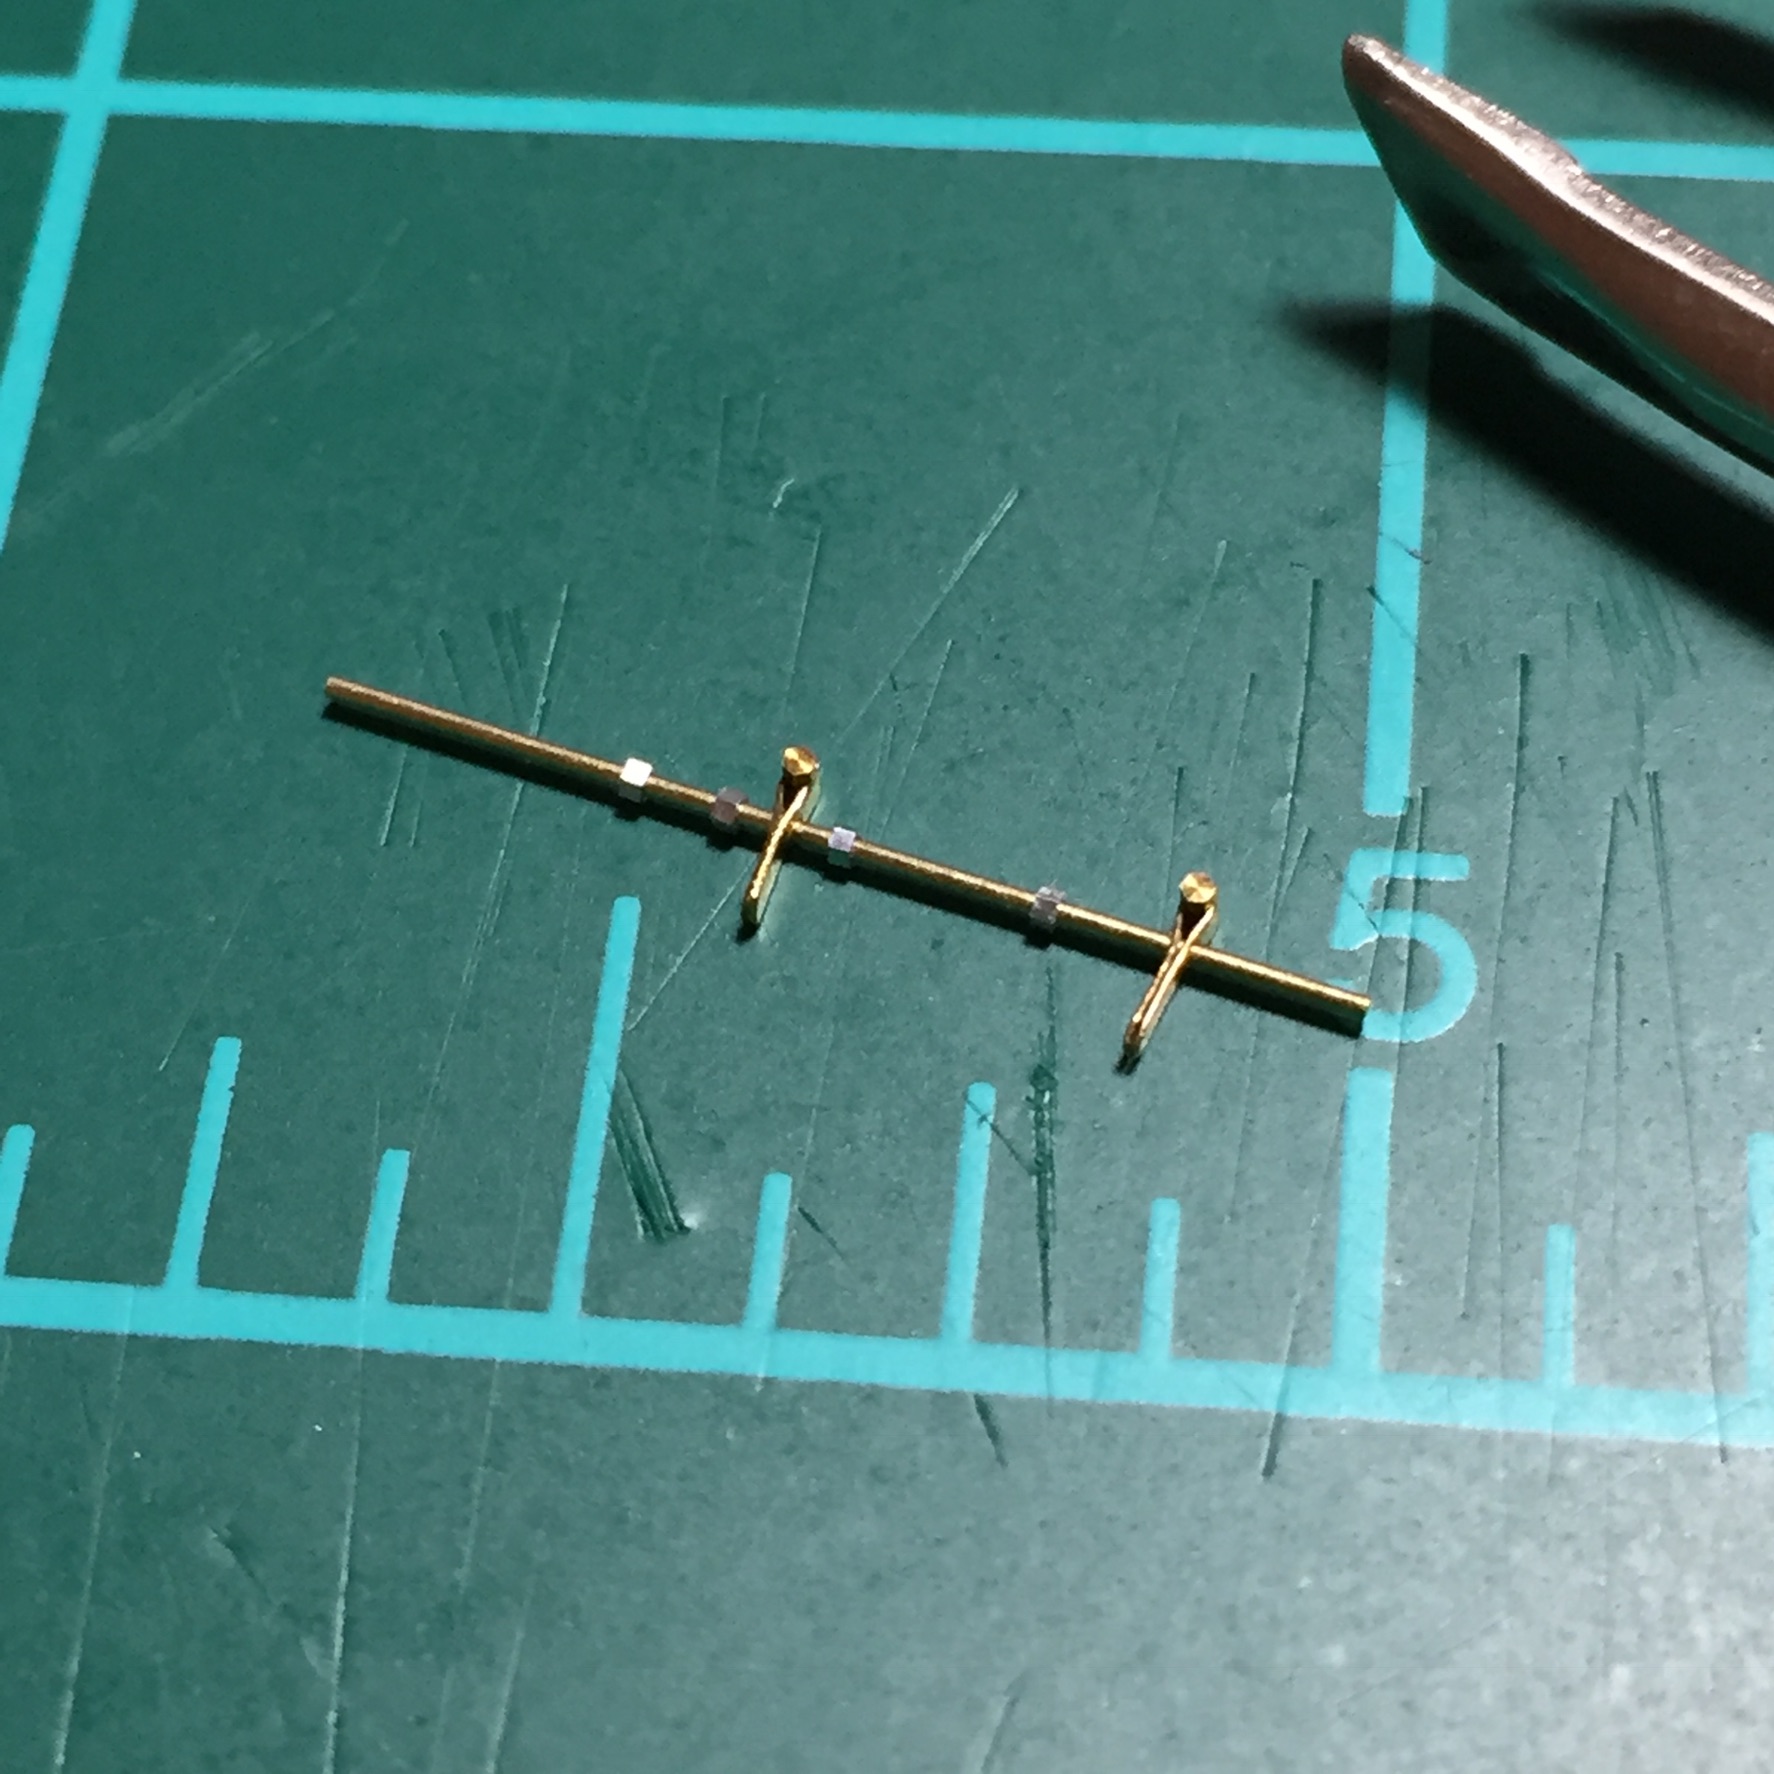
This weekend I started scratch building the linkage. I tried to keep the appearance as close to actual photos of a 1:1 as possible in this scale. Mainly using brass rod and very thin strips of sheet brass with bits from RB Motion and Scale Hardware
-
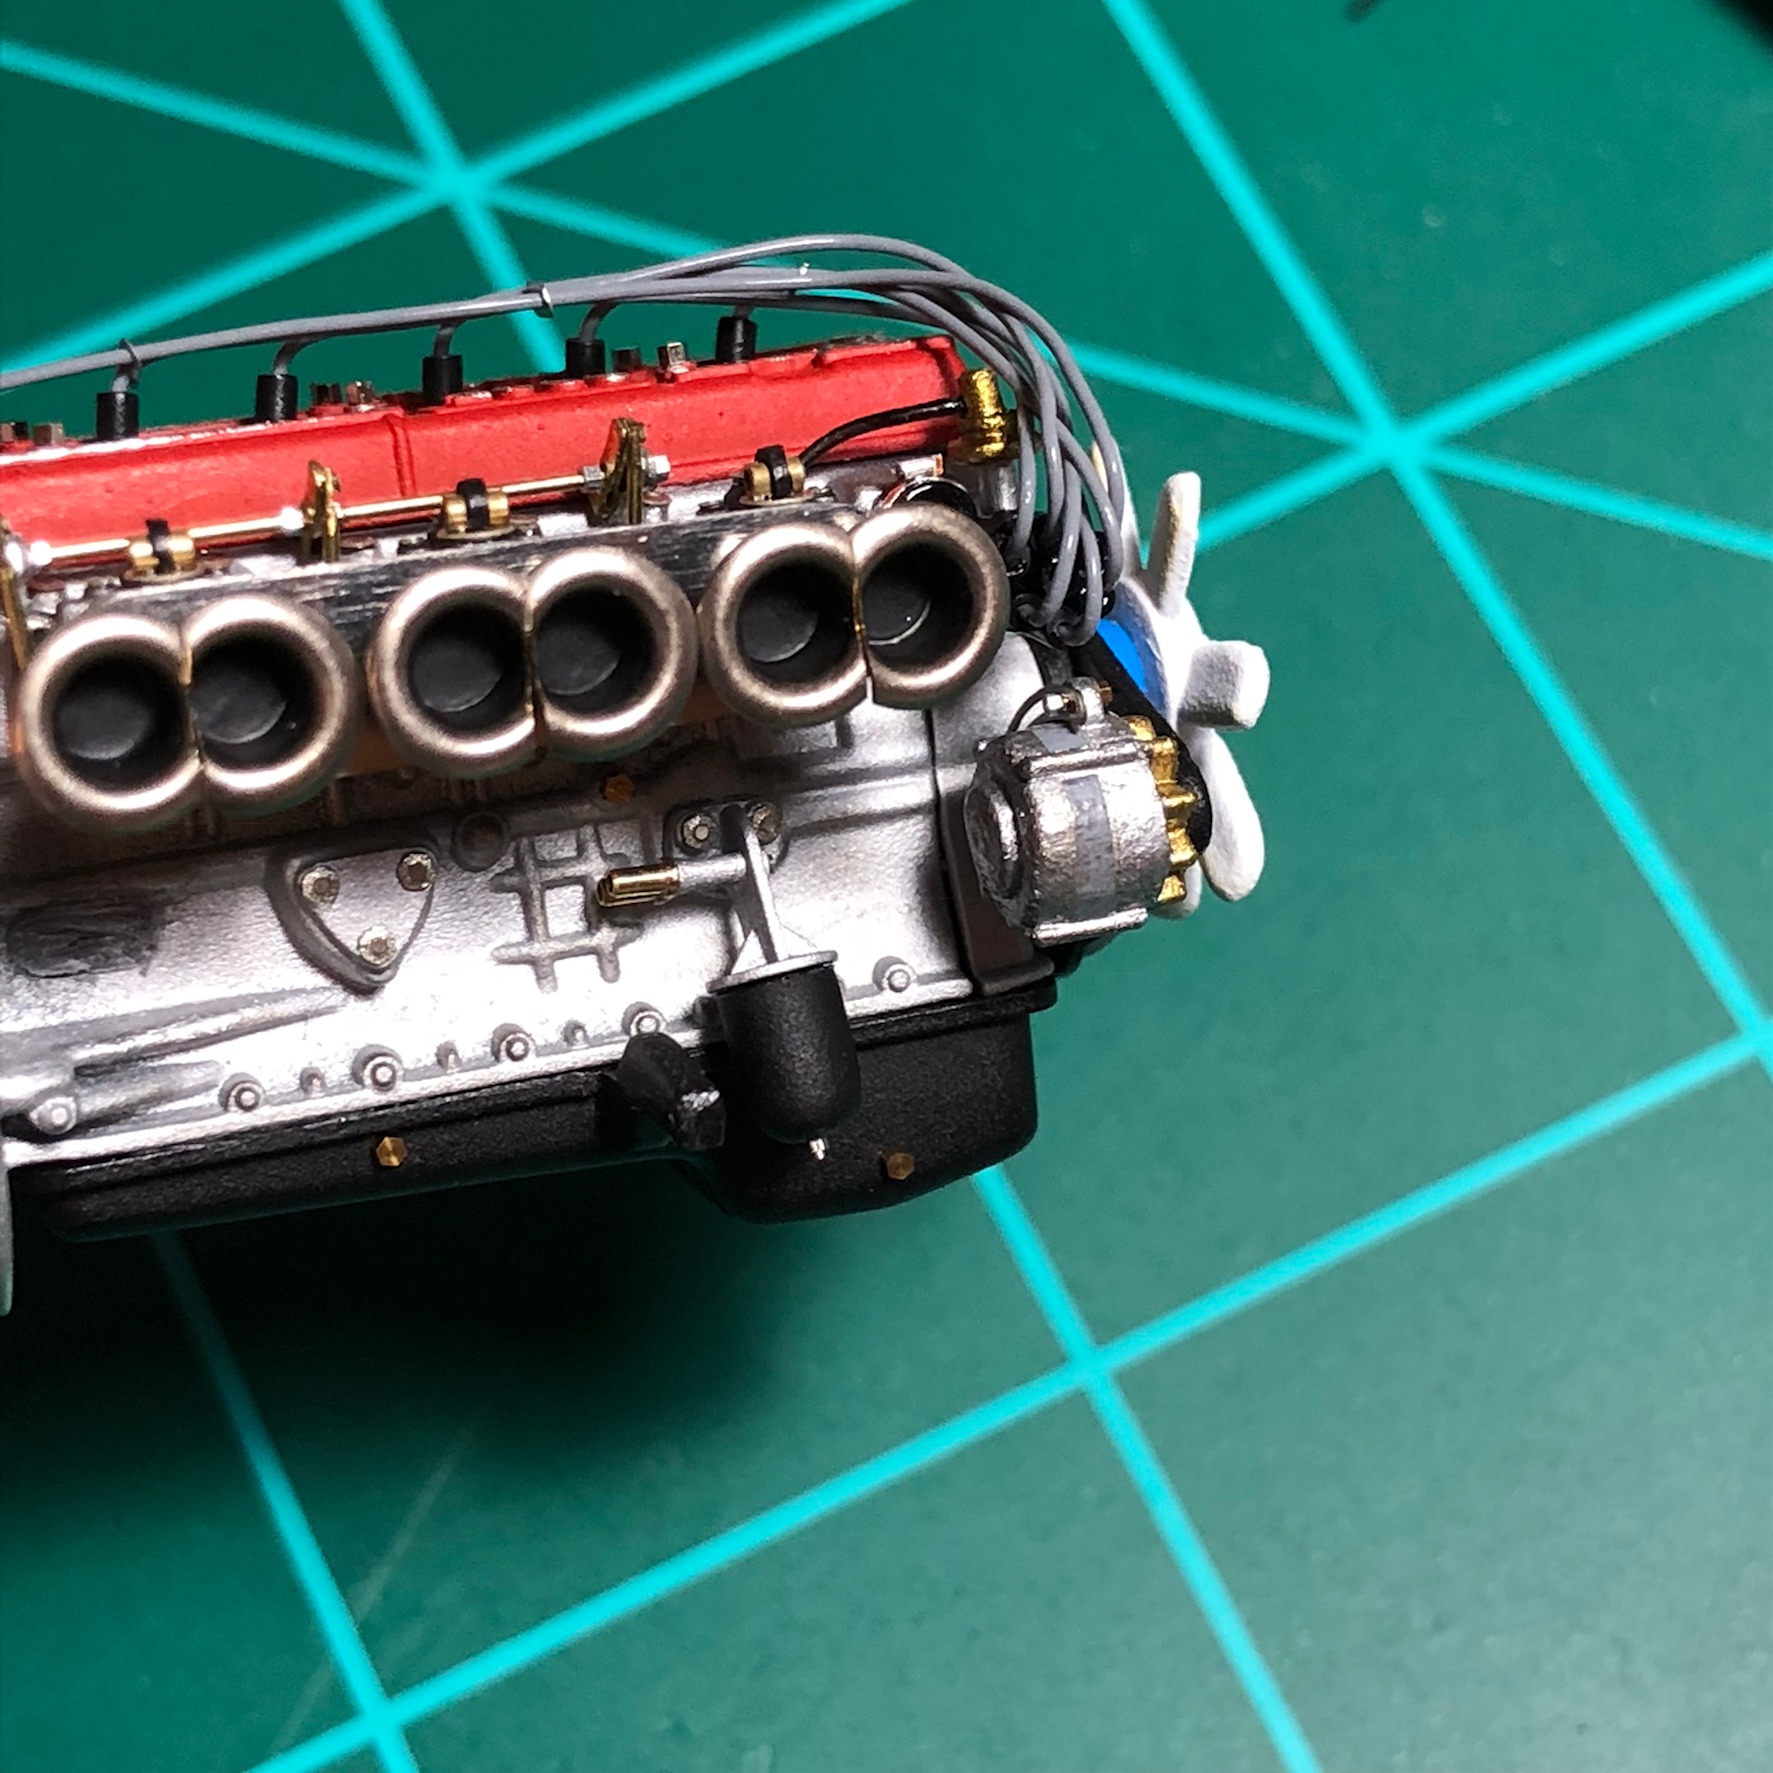
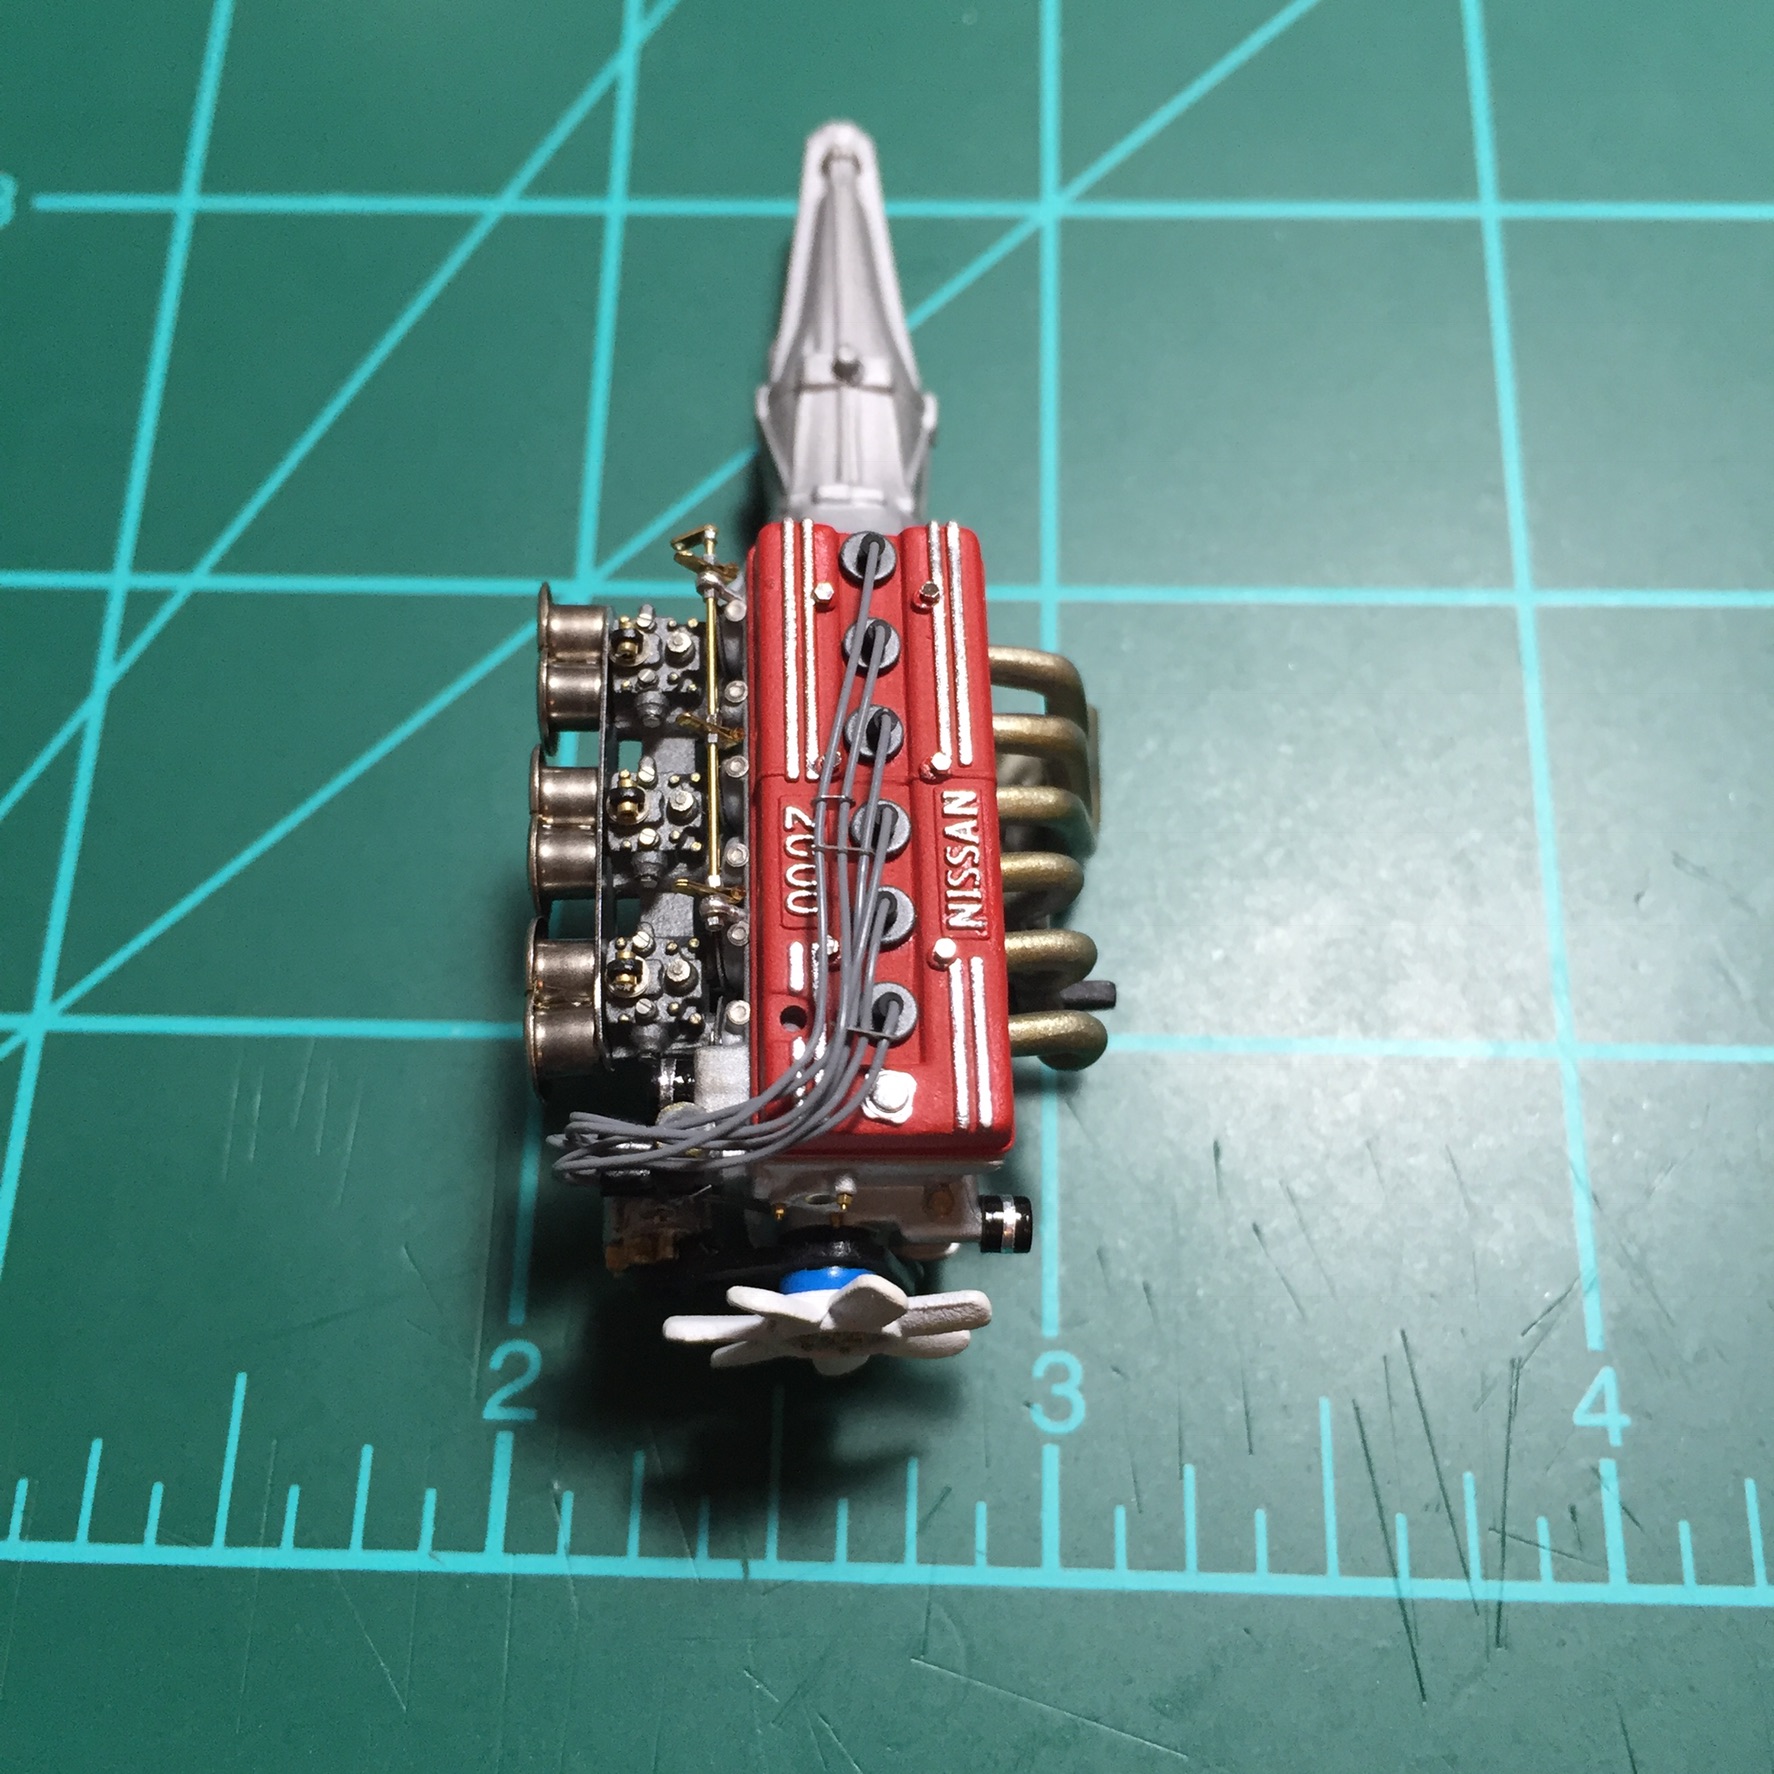
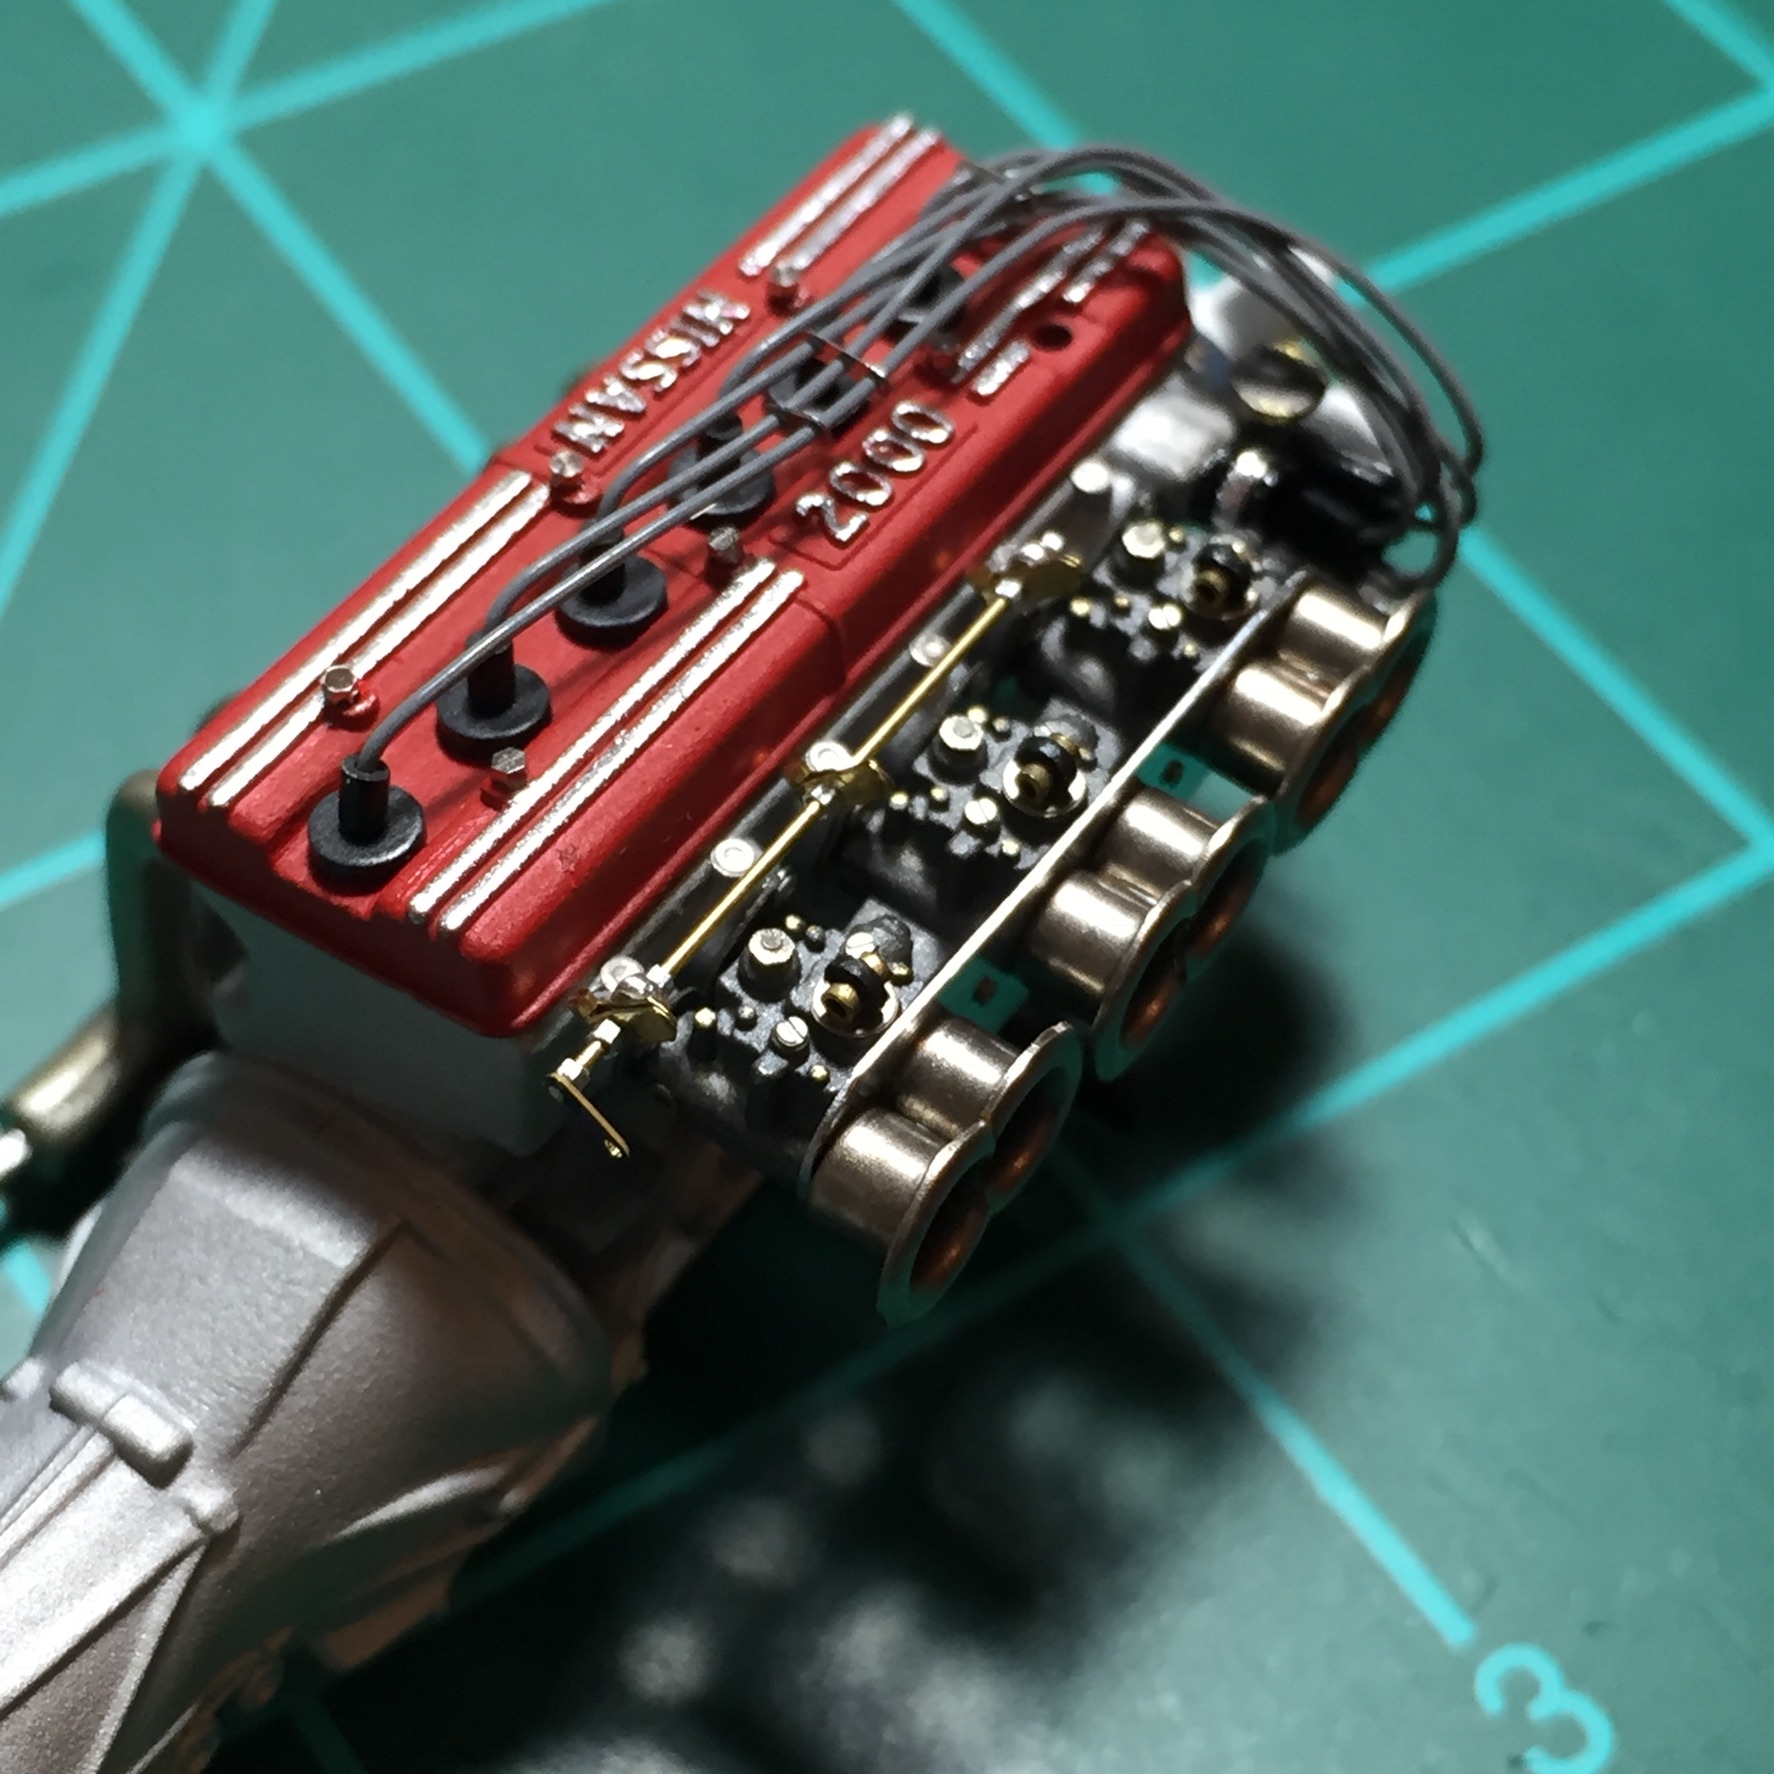
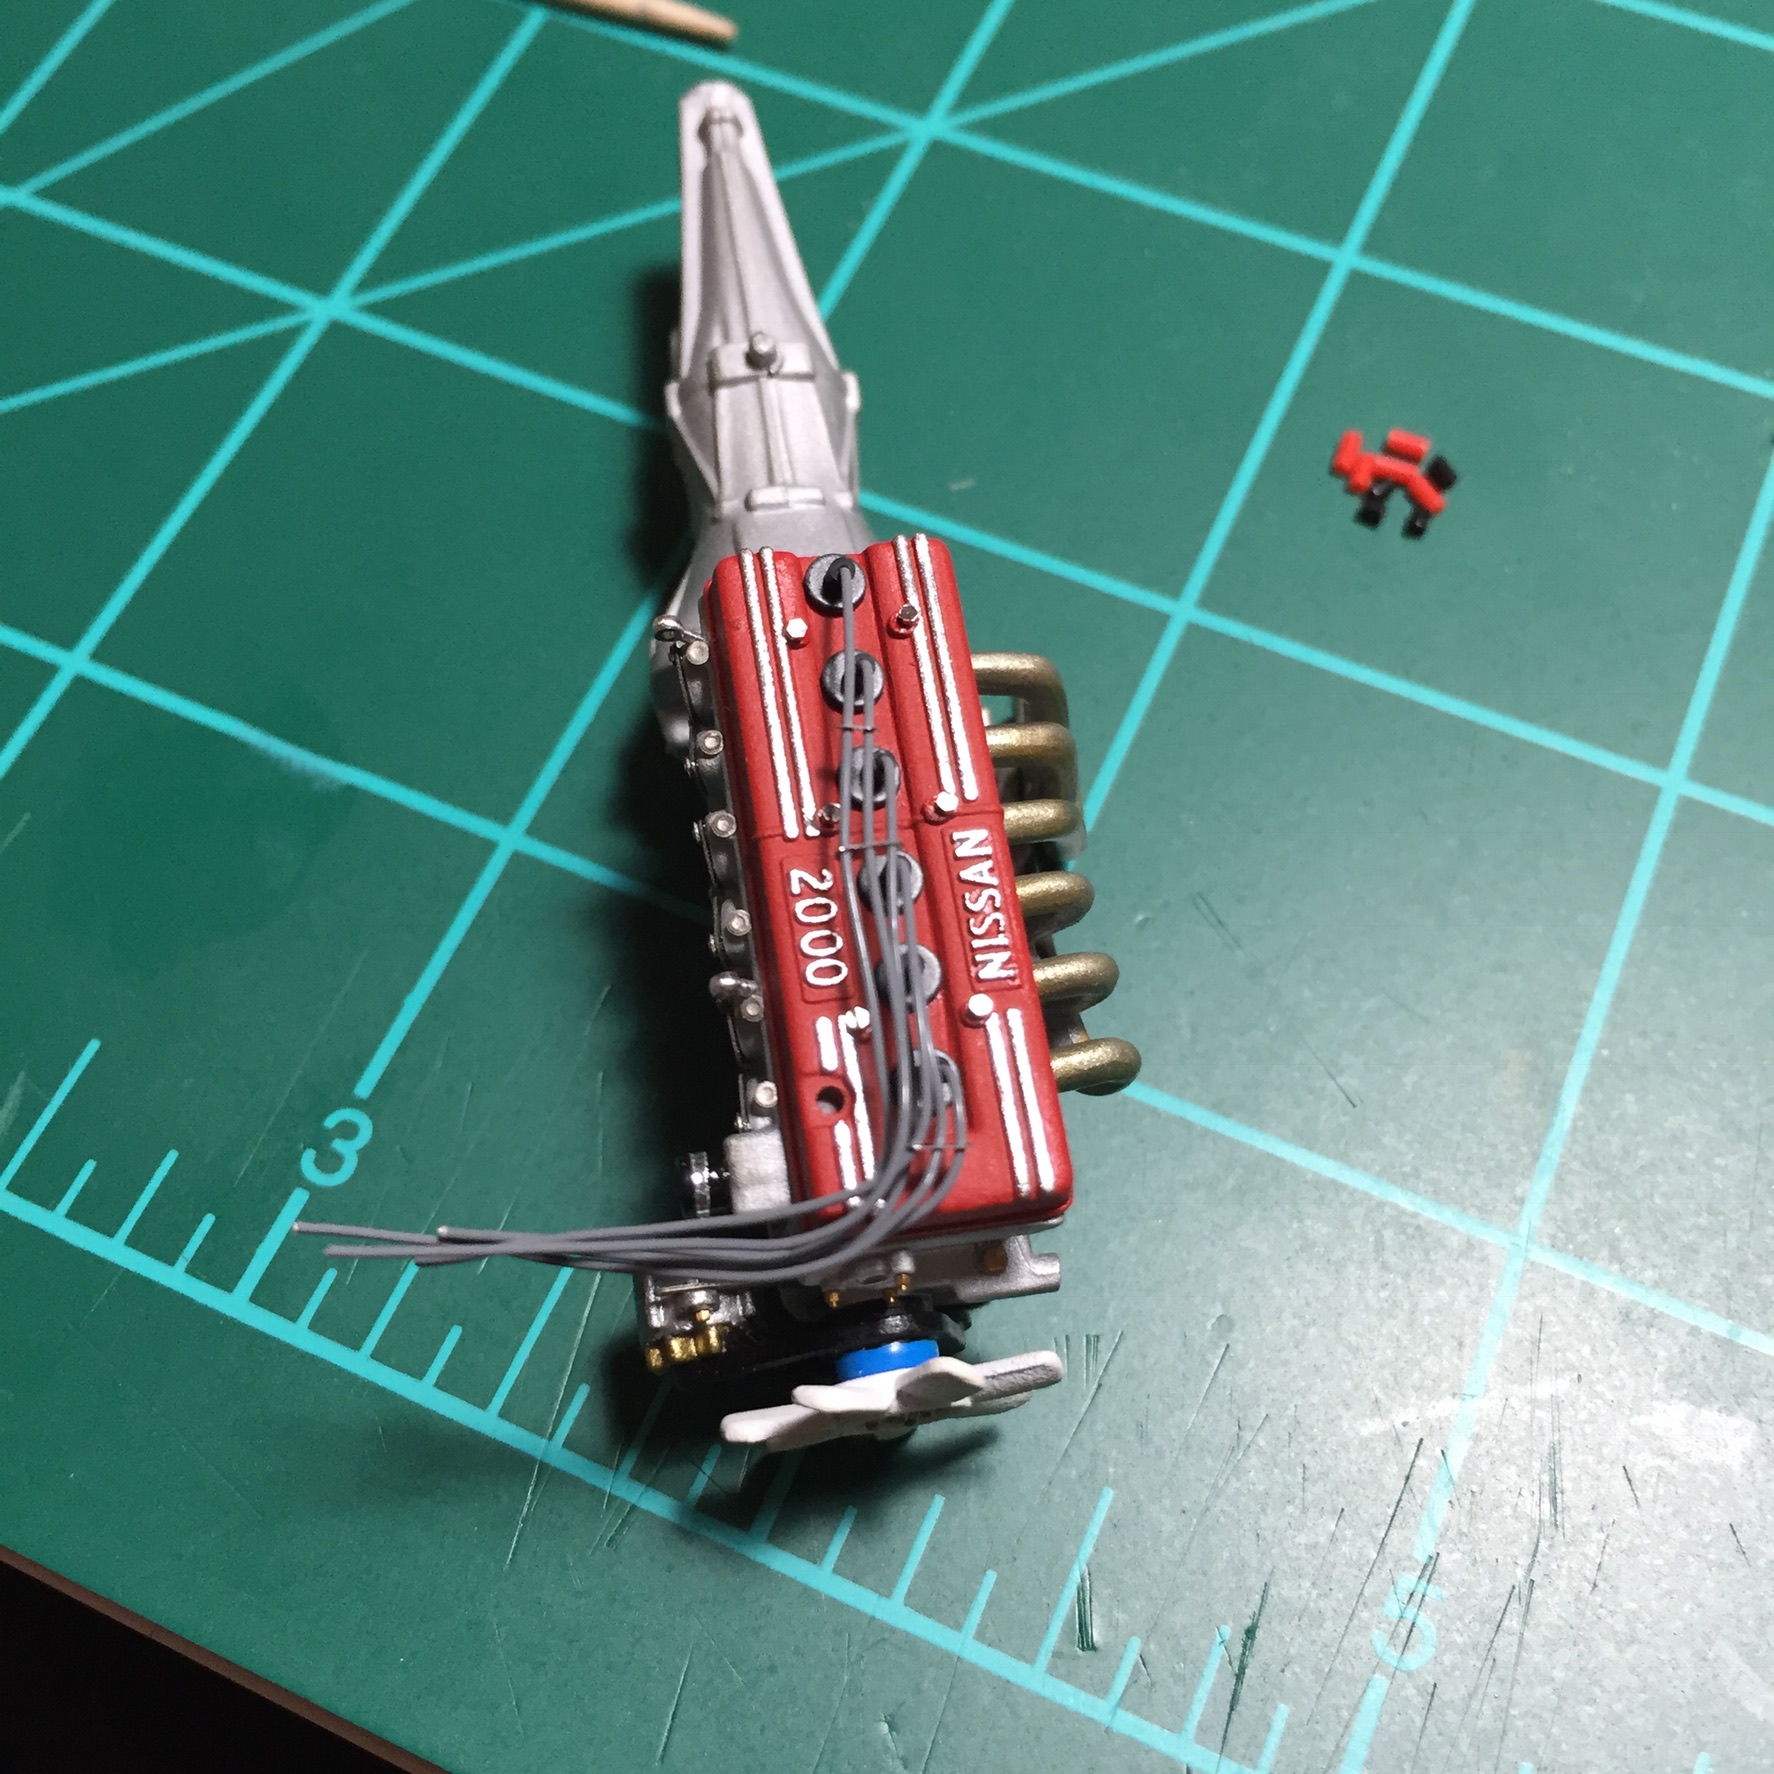
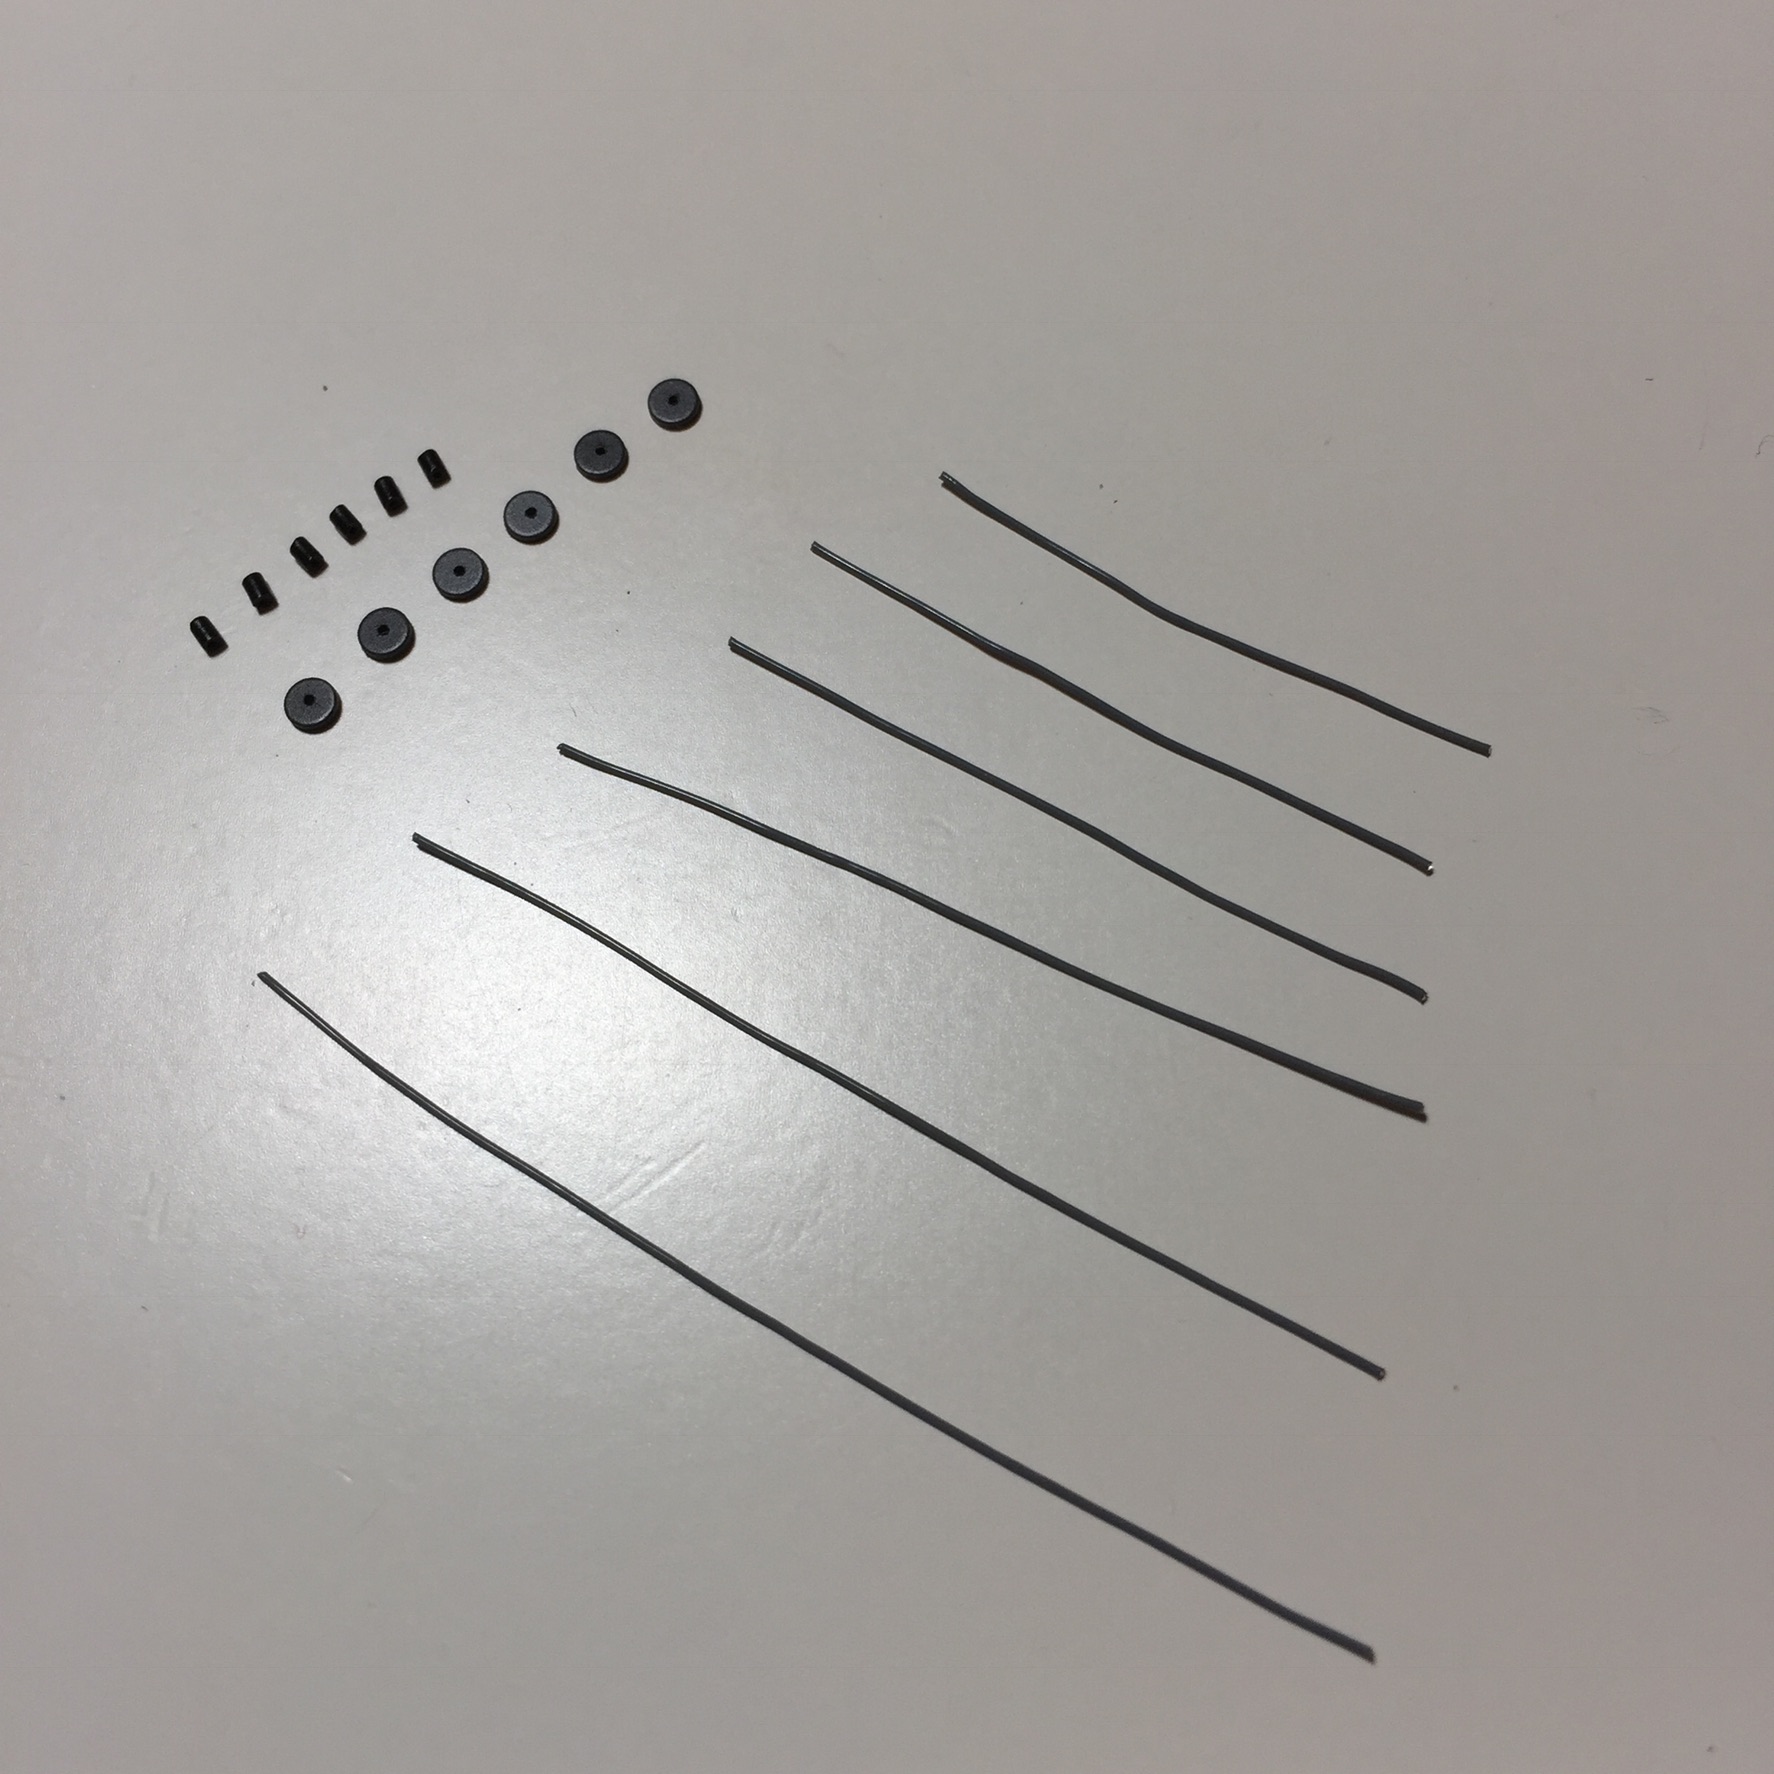
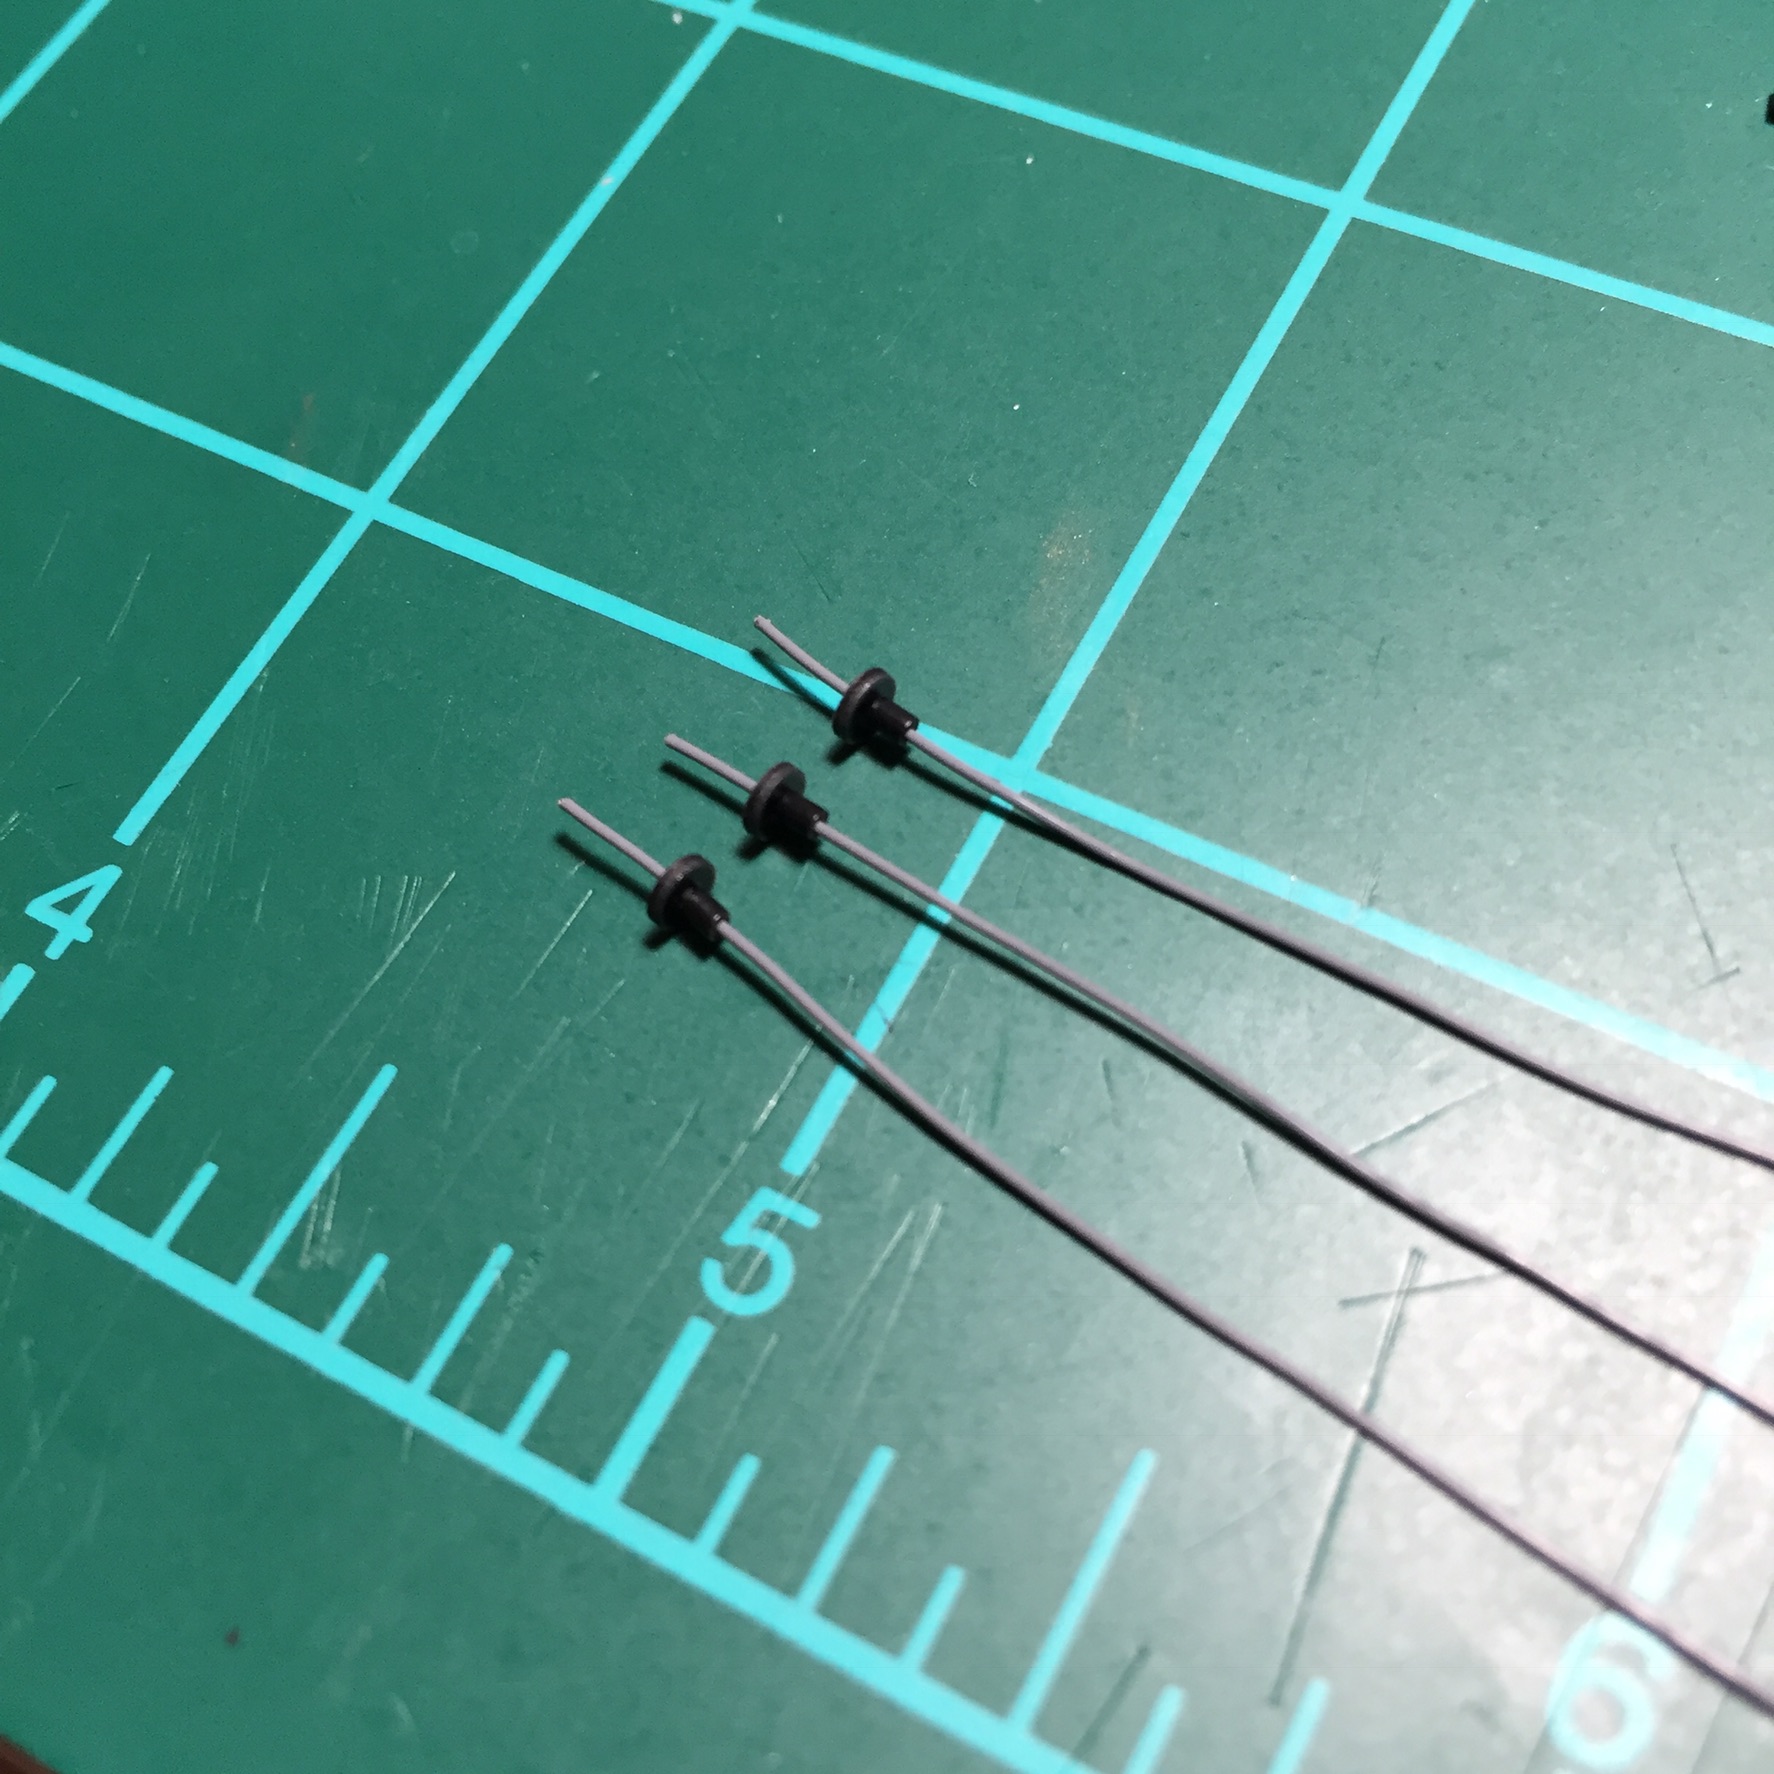
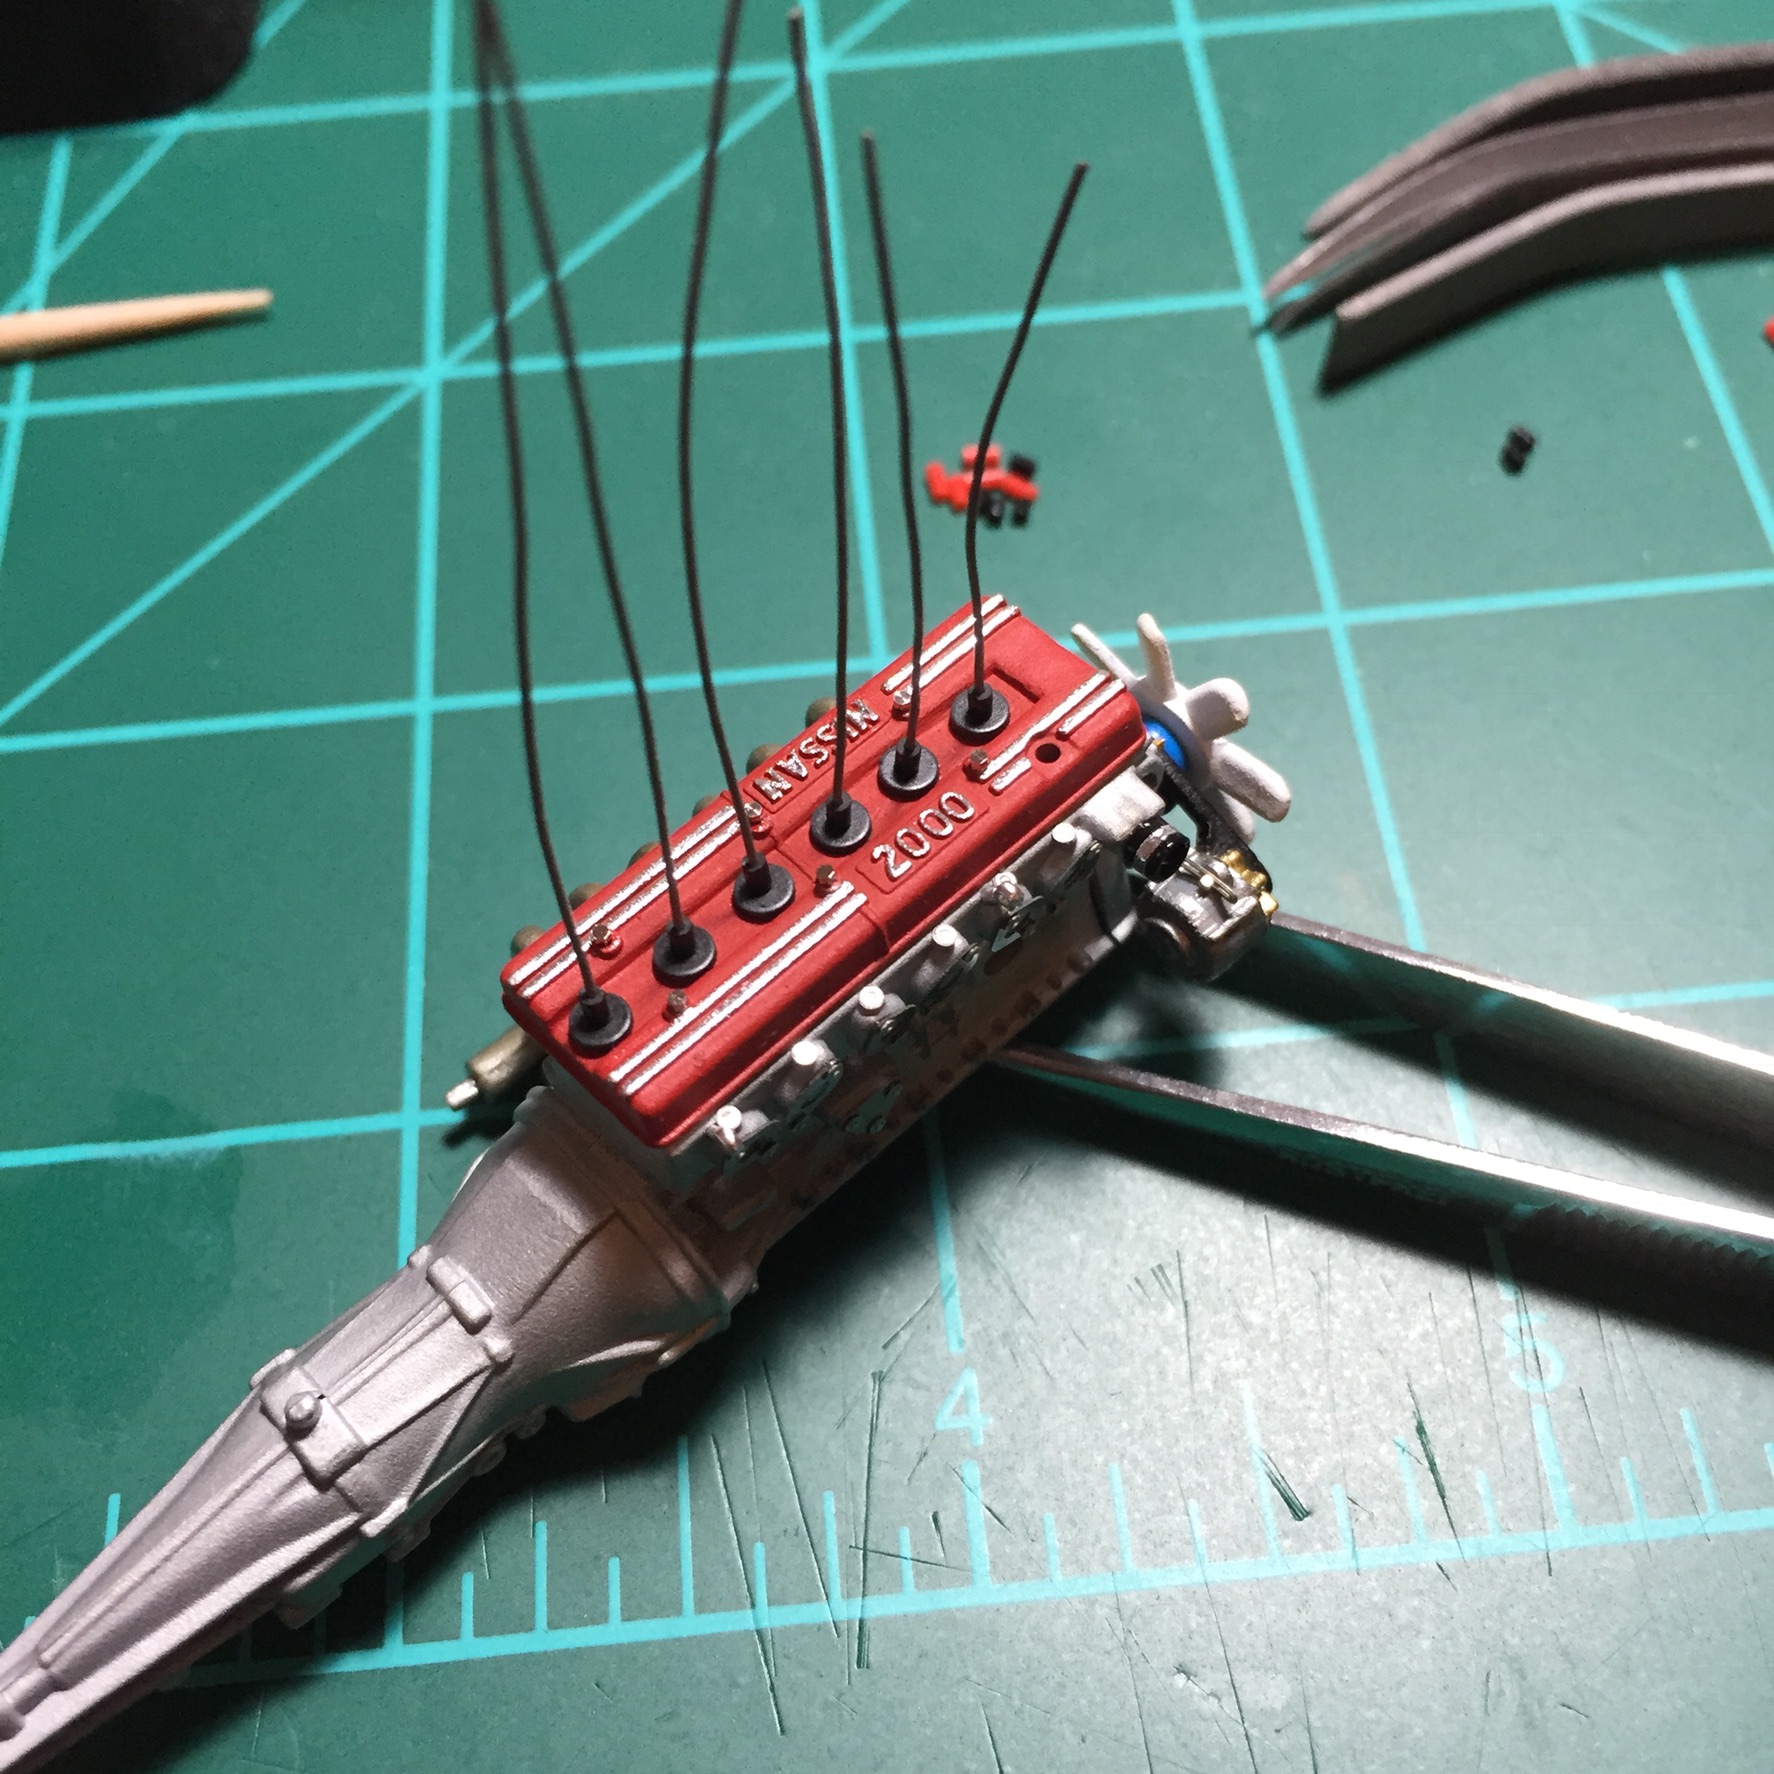
Routing the ignition wires and getting the distributor sorted also.
-
Been making some progress on the Nissan S20. Carbs getting final touches and sorting the plug boots and ignition wiring.