SpeedShift
-
Posts
493 -
Joined
-
Last visited
Content Type
Profiles
Forums
Events
Gallery
Everything posted by SpeedShift
-
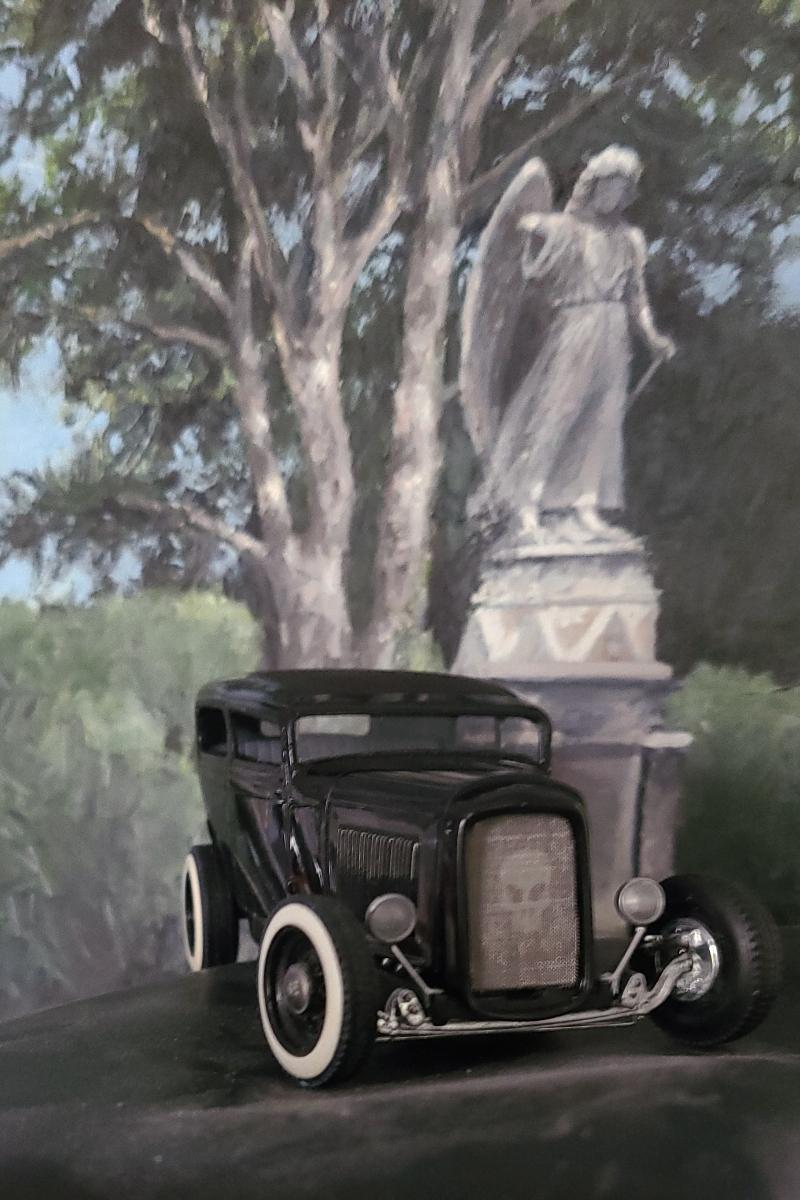
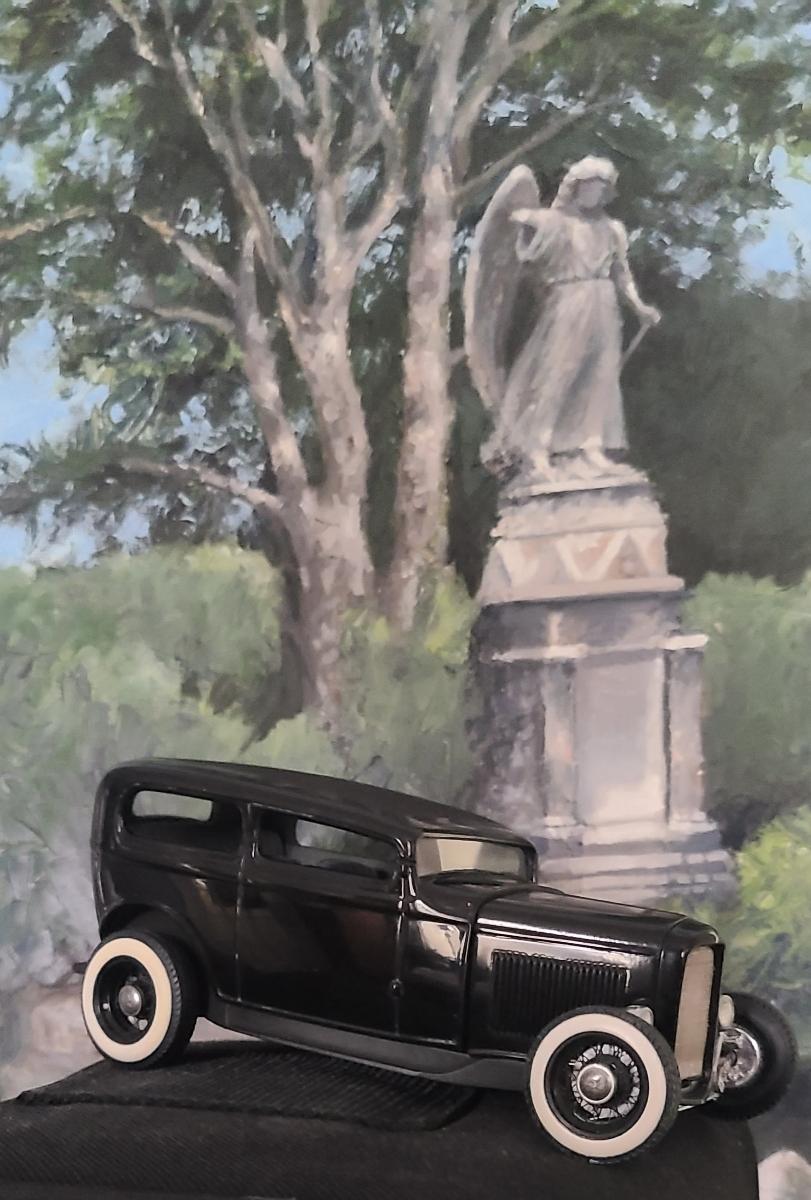
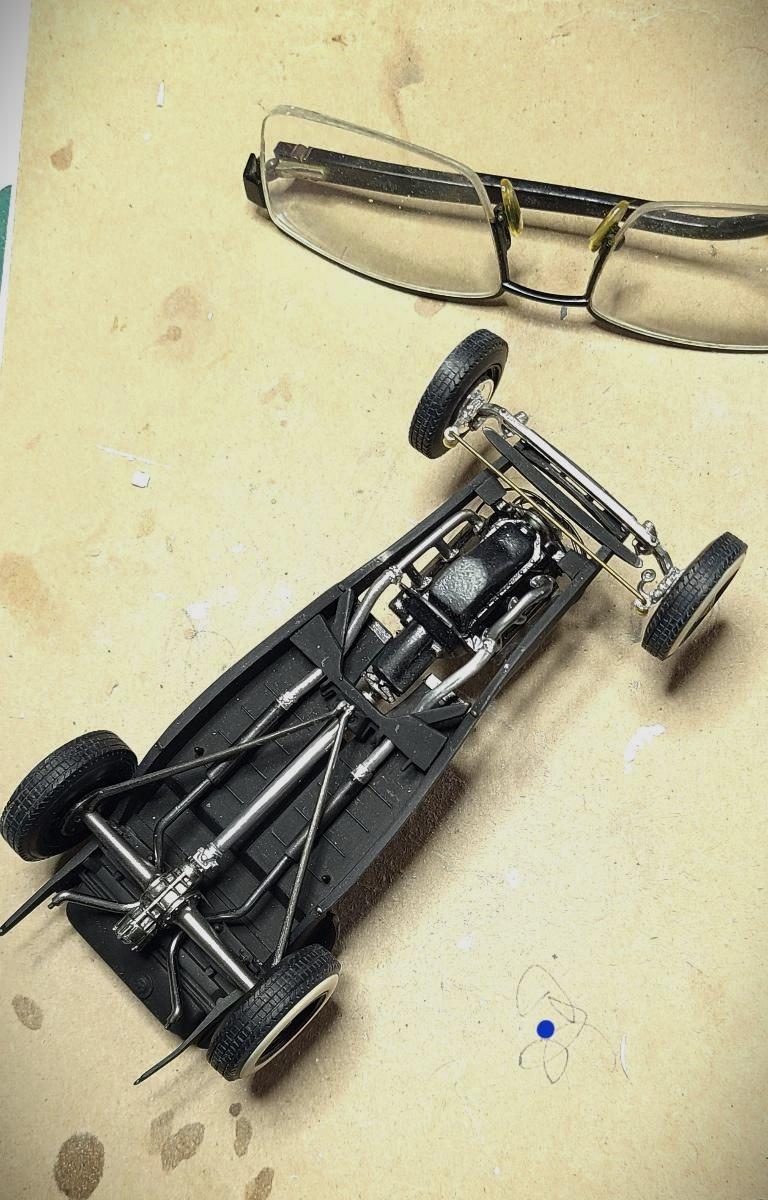
Getting closer to finishing this. Pulled all the masking tape off after doing the last round of polishing (done as much as I can do with the paint job - at my skill level). I see a lot of dried polishing compound in the recessed panel lines and door joints. Need to clean those up - hopefully w/o messing up the paint finish. Got a set of headlights from Replicas and Miniatures that fit alongside the grill shell, and I found some old-fashioned hairpin radius rods in the parts stash that I'm putting AK chrome on. The fabricated exhaust pipes and mufflers were a real pain to route through the drive train and connect to the aftermarket Fenton headers on the flathead engine at this stage of the build ...I won't ever make that mistake again. Did a component mockup (with some background of a local cemetery) for a progress photo. What's left to do: Now that the grill shell is permanently installed to the chassis, I can attach the engine radiator hoses to the grill/radiator, and if I can get a good fit on the firewall and hood (fingers crossed) I can add the vintage beehive oil filter and the last of the wiring from the firewall. I chromed a set of body mounted teardrop taillights, but now I'm thinking I'd rather do a set that mounts on the rear frame rather than the body shell. Looking thru the parts stash. Need license plates and some scary club plaques. Maybe a classic pin stripe decal for the back end.

-
T.R.O.G. 29 Ford
SpeedShift replied to BIGTRUCK's topic in WIP: Other Racing: Road Racing, Land Speed Racers
Love this build. Good subject. -
Beautiful work on that tinted glass...how did you do that? What glue did you use?
-
I plead the fifth.
-
Thanks...I'll need to see what the USPS says.
-
Great link John, lots to look at.
-
nice pictures, the next one will have a 32 frame.
-
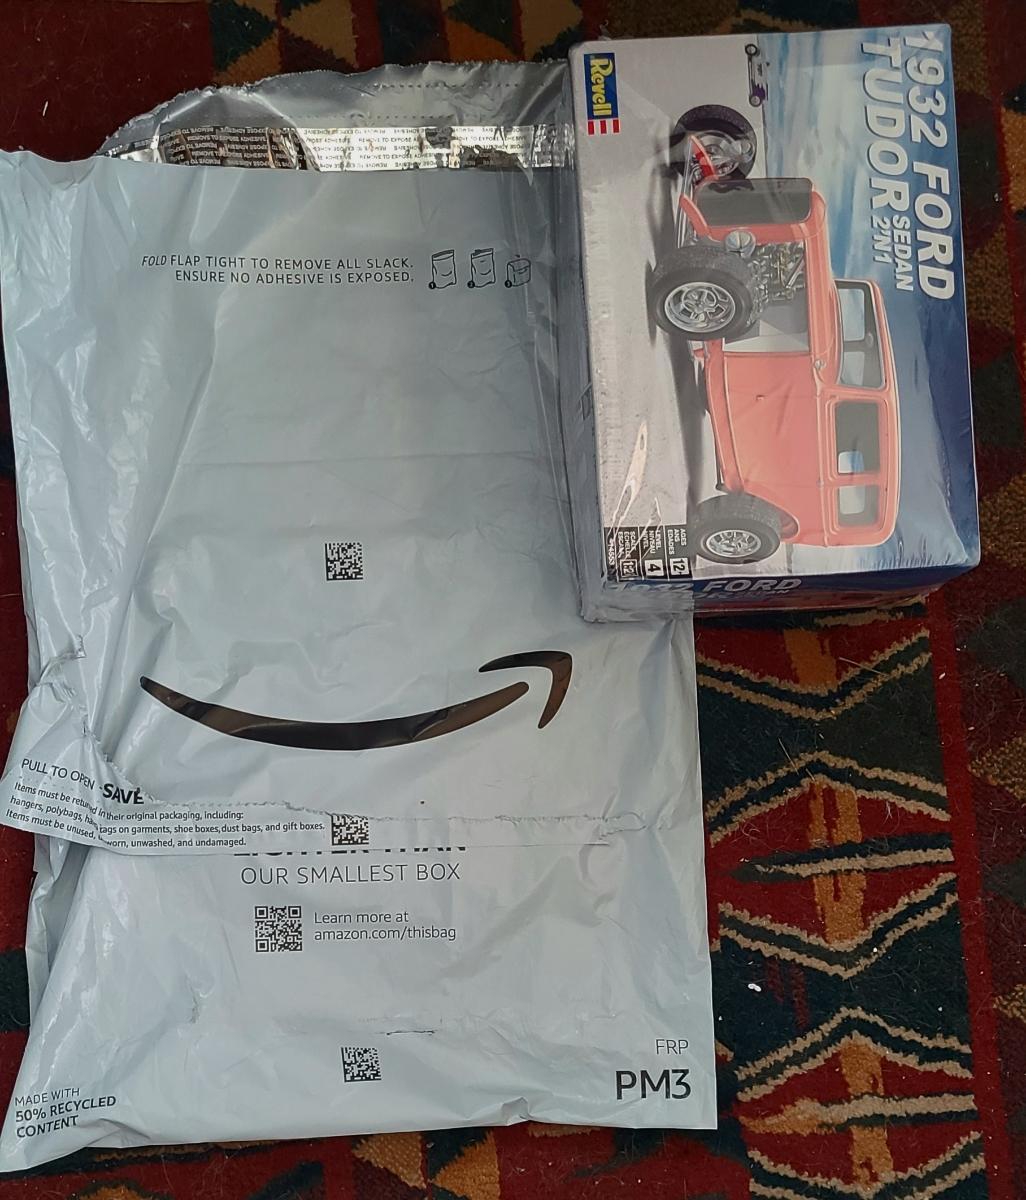
Agreed. I've gotten stuff from Amazon and it was one tiny thing in a big box. This kit came in a grey plastic bag ...NO BUBBLE WRAP. Guess I shouldn't complain, with Amazon Prime- I paid no shipping. If I ever go that route again with something fragile, - I'll have second thoughts.
-
Thanks Paul...certainly put the time in on this one. Give the '27 T is my favorite car (other than a 32 or 34 deuce) I wanted to make it as good as I can.
-
Well, thanks for looking for me.... I may need to think about a new project that uses that Ultraviolet color...not sure if I should mess around with this one further....and just go with this third paint job and give it a wax job and not tempt fate.
-
Thanks Jim - I really like the color too. Purple and yellow are complementary colors on the color chart so the combination of the two works. I went through a testing process to find the color.... retrieved this from my earlier posts on this build (OMG - has it really been 3 years?) : Posted January 23, 2021 (edited) I've been debating the color scheme for this '27 T in my head ...what I was sure of...I wanted a dark body/grill color with complementary (opposite) color on the wheels/engine Black is a bit too often used, I like red too, but that is a bit common as well. Been reading Al Drakes book on fifties hot rods, there were purple cars back then, even some on the dry lakes. I thought I maybe a very dark blue/violet metallic with red or maybe yellow orange steelie wheels. After searching the rattle can racks I couldn't find exactly what I wanted....the choices: Tamiya Blue Violet........ value too pale, hue a bit bland light blue, a solid color, a metallic might be better Tamiya Deep Metallic Blue......right value, dark, but hue was too blue, not enough violet Model Master Deep Pearlescent Purple enamel.........dark enough but not exciting Model Master/Rustoleum Ford Ultra Violet Pearl Lacquer.........the right value, dark, and a deep violet hue, and its a fast drying lacquer "Put the other body in the pond. It deserves a second chance." Yes, maybe if I stripped it and somehow revitalized the raised detail and got a good coat of primer on it - it could have a second life. Kinda burnt out on the '27 T for the time being, but I got a thing for 27 Ts myself.
-
First look, it appears so. Box is no longer mint condition LOL
-
Getting close to finishing this one. Frustrating story time: Paint After taking a close look at the paint finish on the body, I had to decide if I could live with it and proceed to finish this one. It doesn't show in the pictures, but the first paint job had so much tiny pitting from the Testors rattle can paint frothing up along the raised body panel lines, I ended up wet sanding the pitting and putting on another coat. That second coat was better - but still not very good, the paint frothed up again - so I wet sanded some more and tried a third coat but this time only after decanting the paint and letting it settle down and gas off in a jar, and then airbrushing rather than spraying direct from the can. Third try was better, but after wet sanding and polishing the blemishes, the raised detail by now was pretty much gone and worse...inconsistent overall, and close inspection of the surface revealed a lot tiny scratches that just would not polish out. Every time I looked at the paint job ......I imagined myself looking at this project in the future - and seeing nothing but the imperfections. So, I pulled out a "backup" resin body (a Jimmy Flintstone), with idea to transfer the interior tub from the first body shell to a new resin body, and if there was enough paint left in the can, I could try and get a better finish by decanting and airbrushing the backup resin body. Surprise, the backup resin body was just different enough in dimension from the original body (All American Resin) that the interior tub would not fit. So, while I primed and painted the new body shell, I scratch built a second interior with a few modifications to fit the new back up body (not as hard a task as I thought since I had scratch built the first interior - so it was just a matter of copying the first interior and trial fitting it to the second body), Took only two evenings but I got that done, and the second paint job is much better, as good as I can do with what's left in the discontinued Testors rattle can (if anyone has a can of Testors Ultraviolet Pearl let me know, I really like that color). At this point, moving along again on this build, I put some more detail on the engine - radiator hoses fuel bowl and now outfitting the fire wall with the fuel log and beehive oil filter. Long story short: As much as I wanted to get this one finished, sometimes you have to set the bar higher ......for yourself.
-
Got my kit from Amazon via USPS a few minutes ago......Arrived a day early!
-
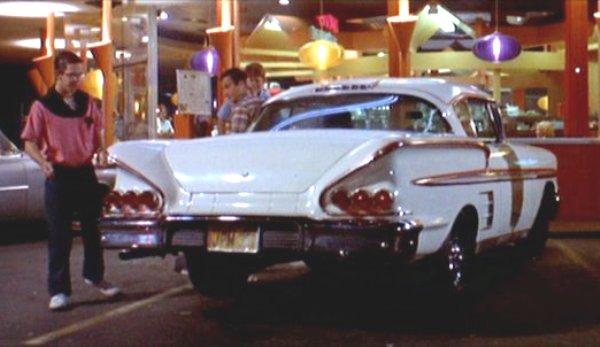
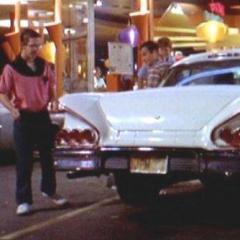
'58 Impala - "I just love tuck 'n roll."
SpeedShift replied to SpeedShift's topic in WIP: Model Cars
Yes, that would be it. Thanks for the link...this is a good one: IMCDb.org: "American Graffiti, 1973": cars, bikes, trucks and other vehicles -
'58 Impala - "I just love tuck 'n roll."
SpeedShift replied to SpeedShift's topic in WIP: Model Cars
Wow...I missed that one. Now I have to watch it again....: ) I'll start here: -
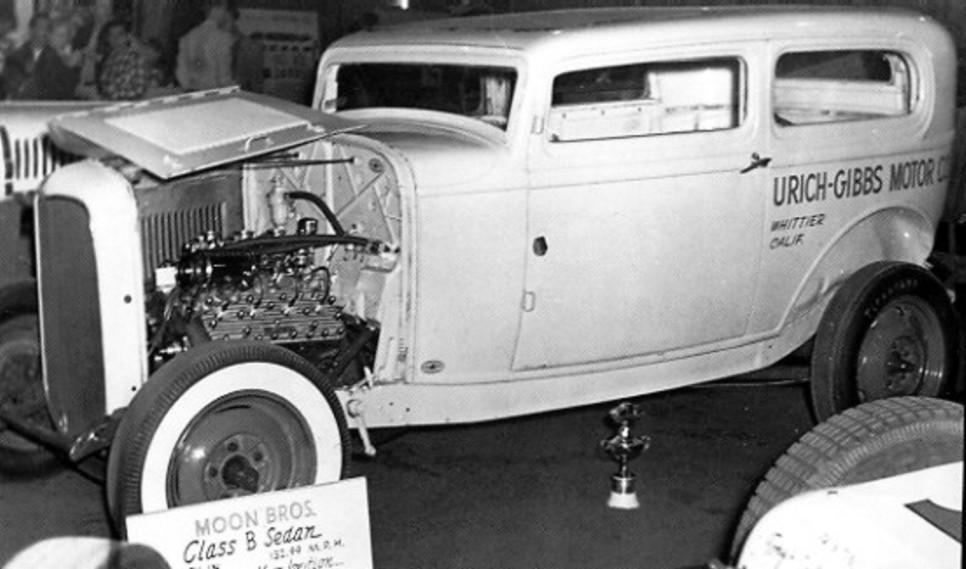
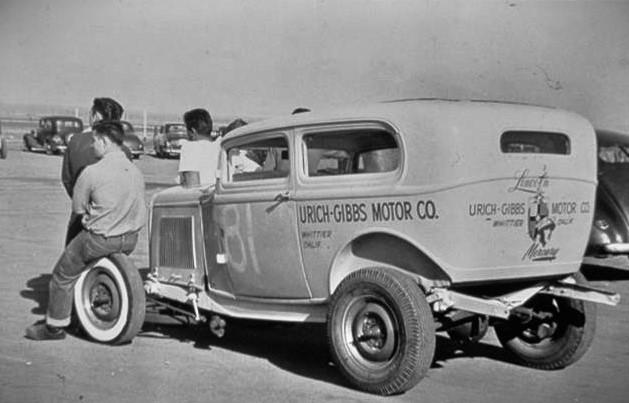
Getting the creative juices flowing...that box art reminded me of several salt flat pictures on the net of Dean Moons 32 sedan.
-
Kept checking my Hobby Town...no show. So I got one via Amazon Prime...a good deal. Thanks for the heads up Jim!
-
'58 Impala - "I just love tuck 'n roll."
SpeedShift replied to SpeedShift's topic in WIP: Model Cars
This build started several years ago when I set it aside, but based on the number of empty bottles I have in my discard box, the preferred liquid cement was always Testors in the pink label (the current label post Model Master demise is a red label). I have tried various liquid cements I've found at my LHS, (Plastruct Plastic Weld, Tenax, Tamiya etc.) and I'm sure each is formulated for whatever plastic (styrene, polystyrene,) they intended. But my preferred liquid cement is this one by Testors. If the Evergreen plastic strip is flexible enough and not too thick or brittle, the cement will help weaken it to take a bend. I do recall in some instances where the plastic strip pulled loose from the curved top. So, I taped the ends down again over the curve - and held it in place with the best masking tape I had on hand, after applying some superglue under the end of the strip, and hitting it with some Zap kicker on a tiny Q tip thing - micro brushes. Sometimes being stubborn helps.
-
'58 Impala - "I just love tuck 'n roll."
SpeedShift replied to SpeedShift's topic in WIP: Model Cars
Fortunately, those Evergreen plastic half round strips were thin, so liquid cement brushed underneath, then taped the ends of the strips down over the top of the seat. Trimmed the ends of the strips even to each other - after the glue had set. -
Is There Room For Another 41 Plymouth or Two?
SpeedShift replied to LennyB's topic in WIP: Model Cars
Amen. Every ongoing project I have "on hold" is always due to- PAINT. -
Is There Room For Another 41 Plymouth or Two?
SpeedShift replied to LennyB's topic in WIP: Model Cars
"I too am a disciple of "the Old Man" (I'm pretty sure I'm a lot older than Don) ; I bought the DVD, I learned his method" When I finally tried the Don Yost method (Testors enamel bottle paint with lacquer thinner) I was amazed at the glossy sheen. I didn't think it would even need a gloss coat. It stays a bit tacky for a while - requiring protection from dust...otherwise having to do wet sanding and or polishing out that dust and blemishes will tarnish that beautiful glossy sheen. This is where the faster drying MCW enamel with the hardener helps. Dries quicker, less risk of dust. "I paint in my dirty, cluttered garage. I don't enjoy it but it must be done" The wife has a super sense of smell so I don't see getting a spray booth set up in my man cave/office right next door to her office. I airbrush (GREX Genesis.XGi) my paint on my back deck...it's well ventilated! Of course, I have to have the right temperature and humidity outside. ... being outdoors there is a seasonal window I have to deal with ...not too cold (winter), not too hot and humid (summer). Spring is just right - but unfortunately this spring has seen incredibly high pollen levels here. Fall might be best. Tell us how the MCW lacquer works for you. Maybe we should start a new MCW topic, Sorry to hijack your thread Lenny! -
Is There Room For Another 41 Plymouth or Two?
SpeedShift replied to LennyB's topic in WIP: Model Cars
I'm trying to improve my painting skills - especially with regards to that high gloss thing. So I'm trying the MCW enamel line, after using Tamiya and Testors bottle enamel airbrushed with lacquer thinner (ala Don Yost) for years. I just used MCW enamel with their hardener, mixed and thinned to airbrush per the website. Results were very good...dried and cured quickly. Which is a big help in avoiding dust while it cures and hardens. After letting it fully cure for week and a bit of wet sanding on a spot or two, it lost the glossy sheen, although it was very smooth. So - I went for the high gloss finish with a wet coat - I tried their MCW clear coat with their hardener (w/o the hardener the gloss stays soft - according to their website) What a disaster. It didn't just orange peel.................it orange lumped. Never seen such a finish...looked like the surface of the moon in places. But it was glossy. So...my bad, - I guess I should have added thinner to the clear coat and hardener mix...and then mist coated it several times before laying a wet coat to get the glossy shine. Just didn't want to do light mist coats with the usual rough surface, especially after all that wet sanding. Fortunately, I can wet sand down the gloss surface "lumpy surface" and not lose the cured base coat, - as long as I don't remove details on the high points. While Tamiya is still the go to spray paint for ease in application and finish, the MCW line is so much more extensive than Tamiya. "Edit: they have a really crappy website with many dead ends. Unbelievable" LOL...yeah...the FAQ link goes to a policy statement on returns, and that's it.. This link on their website will take you to a rather brief PDF "MCW Finishes Enamel Instructions (pdf)" : Downloads and Order Form (mcwfinishes.com) I copy and pasted a much more informative guide to MCW paint on this website: MCW Clears, Hardeners, Engine, & Base Colors – HobbyNut Models Download their much more extensive use guide (PDF) for MCW enamels here: MCW Paint Usage Guide (pdf) I've noticed the club members postings from recent contests - that a high gloss flawless paint job is a prerequisite to even be considered, second only to a quality clean build. It's almost like car model contests have become painting contests. -
Well done! A clean build, great detailing, like the wash on the supercharger to bring out the detail.
-
'58 Impala - "I just love tuck 'n roll."
SpeedShift replied to SpeedShift's topic in WIP: Model Cars