David G.
-
Posts
11,321 -
Joined
-
Last visited
Content Type
Profiles
Forums
Events
Gallery
Everything posted by David G.
-

Moebius 71 Ford Ranger: WIP
David G. replied to David G.'s topic in WIP: Model Trucks: Pickups, Vans, SUVs, Light Commercial
Thank you David. I thought about painting it black but all the images I found online showed it in the same blue as the rest of the block. David G. -
Moebius 71 Ford Ranger: WIP
David G. replied to David G.'s topic in WIP: Model Trucks: Pickups, Vans, SUVs, Light Commercial
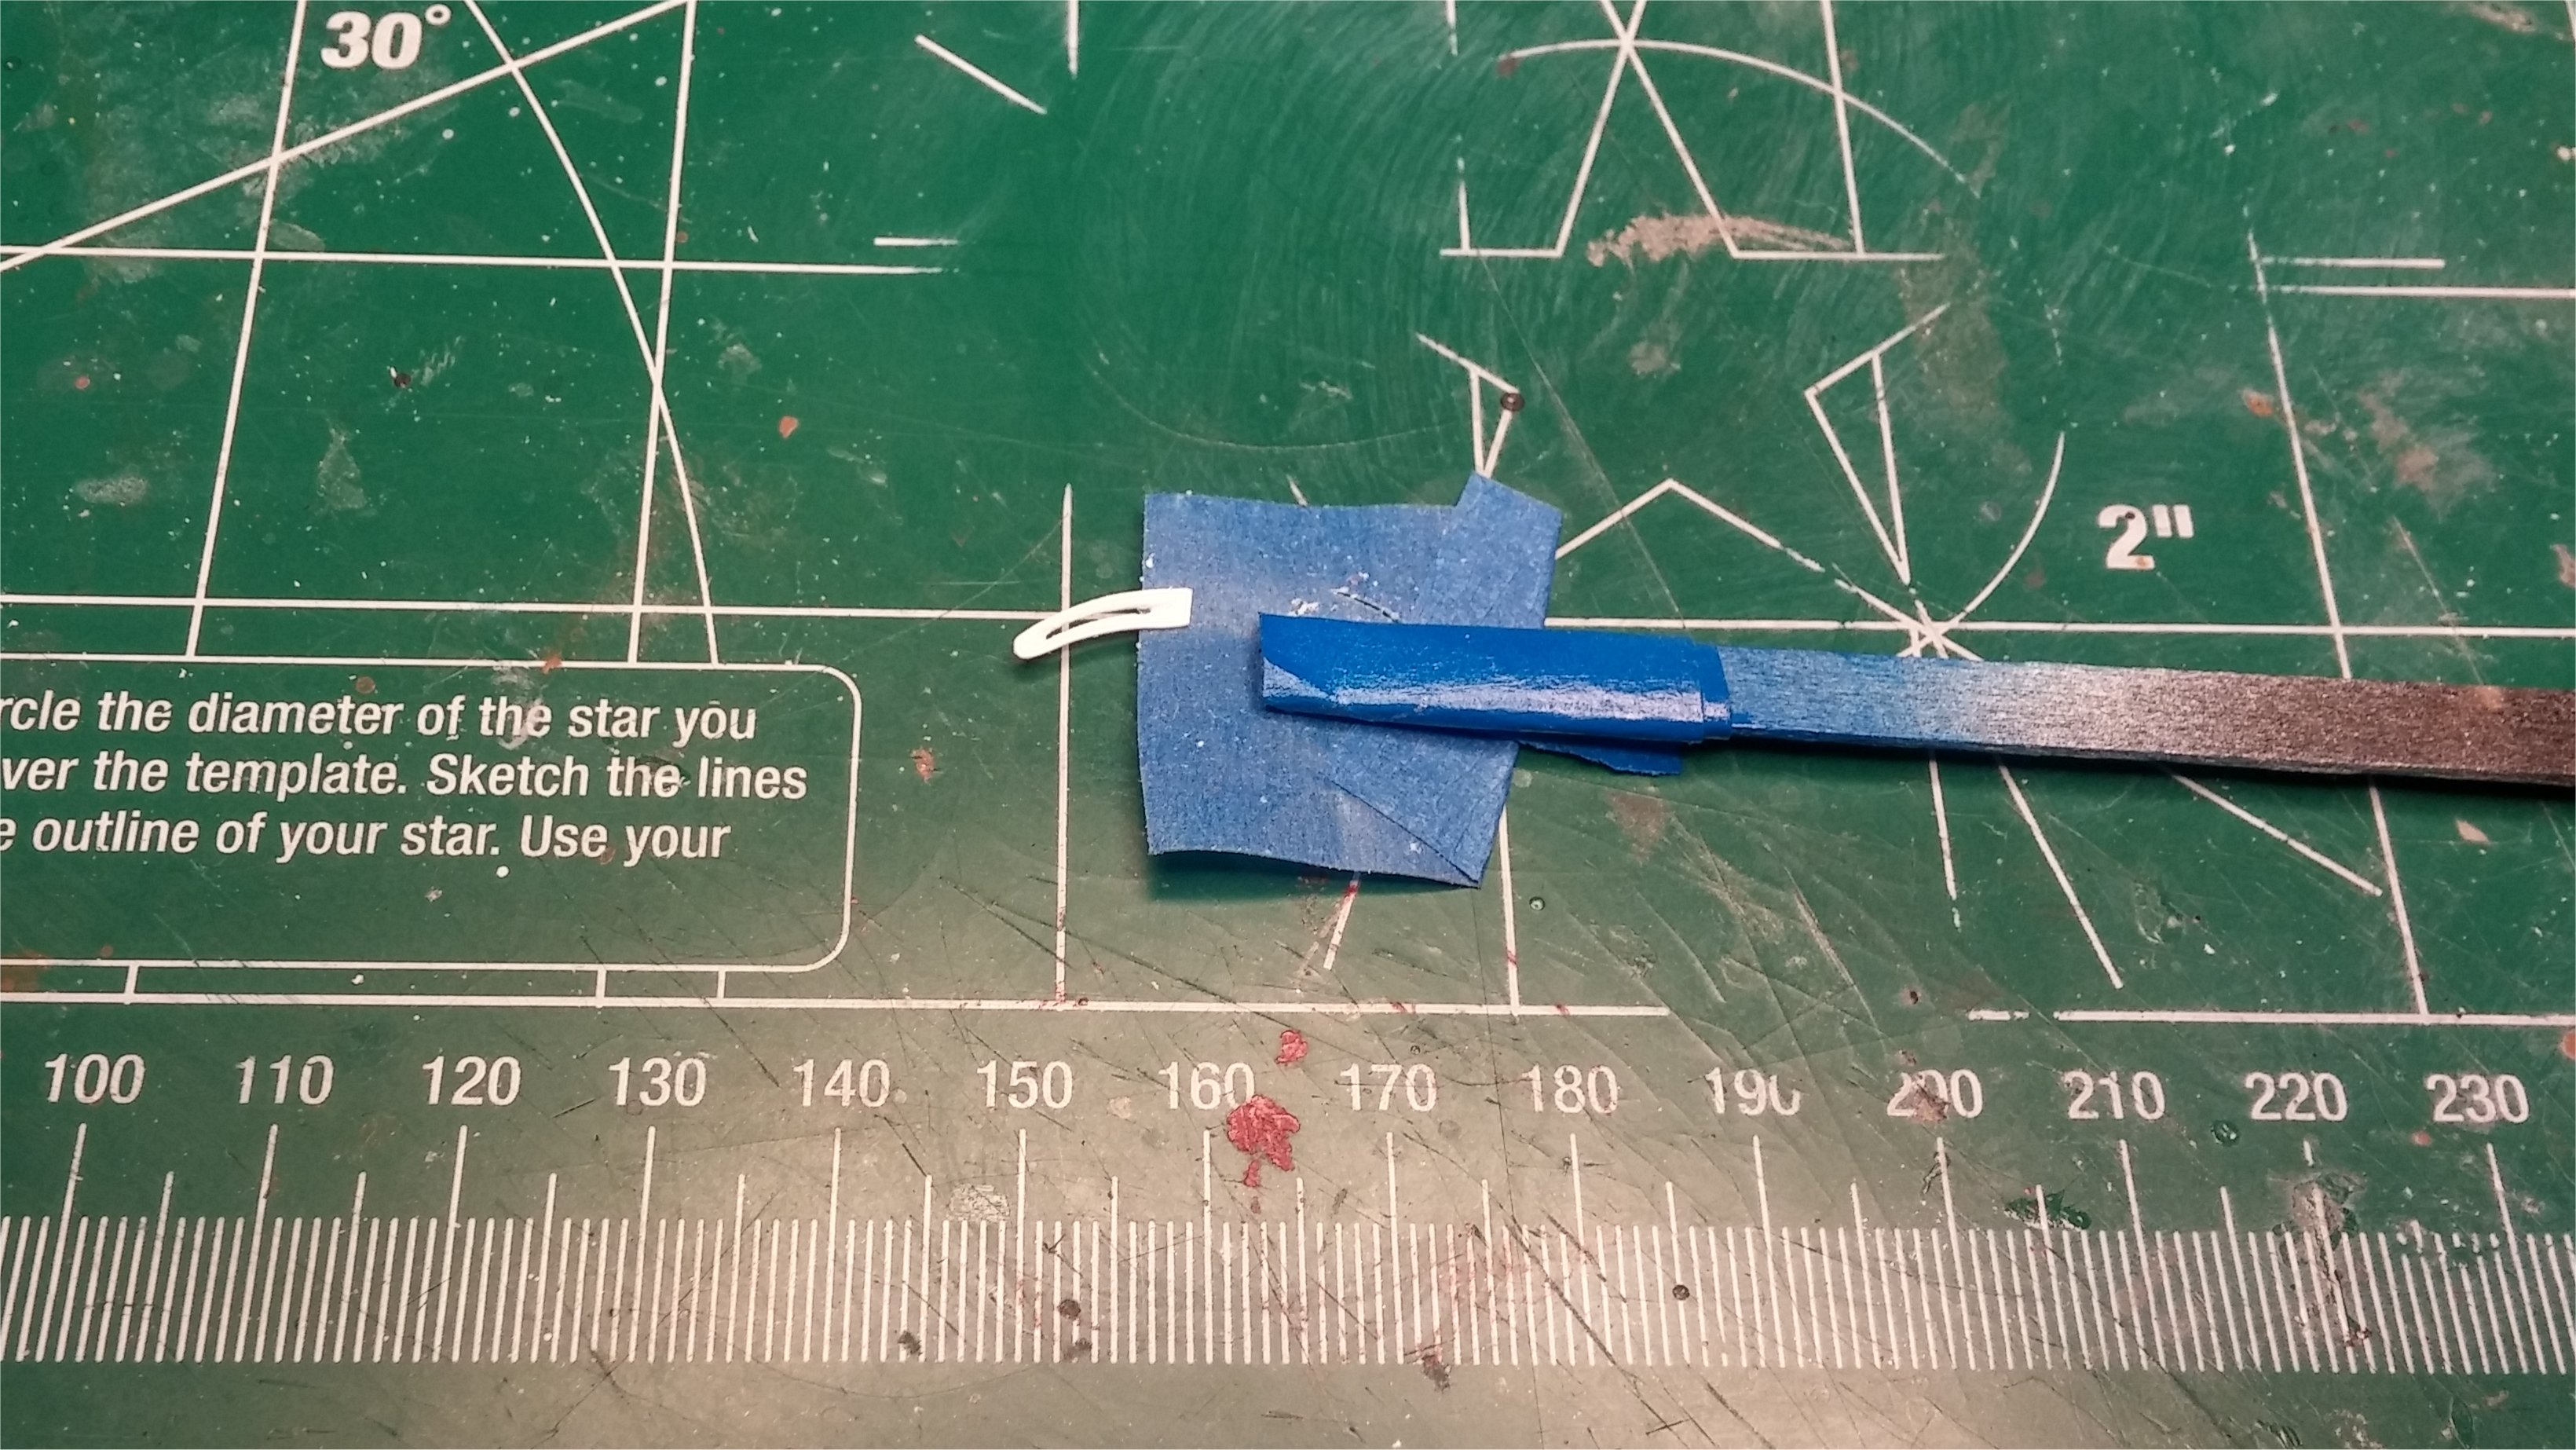
Here's a little bit of an update. One thing Moebius didn't provide in this kit was an alternator bracket. Since I don't like "floating alternators", I decided to make one myself. I fashioned this from a scrap of styrene. I made the slot using a panel line scribe and file. To secure the bracket on the alternator end, I drilled a hole in the alternator to accommodate a "bolt" to hold them together. Here's the bracket installed. It's glued to the block with a spacer in between to properly align it with the alternator and held in place on the alternator with a wire "bolt" which will be trimmed and painted later. As always, thanks for taking the time to look and feel free to comment. David G.
-
Thank you Dennis. David G.
-
Thank you G! I think this is one of my best paint jobs yet. Thanks Danno David G.
-
AMC guys check it out
David G. replied to realgone58's topic in Car Aftermarket / Resin / 3D Printed
I love those old Hornets, yours looks great! David G. -
Beautifully done Túlio. The extra add-ons aren't even missed. David G.
-
Thanks Bo, I'm glad you like it. David G.
-
Here's my shot at the 1971 Ford Ranger by Moebius. This kit is excellent! Everything fits as it should with little or no adjustment. The chassis looks like a model in its own right. I painted the whitewall lines with acrylic paint. They're going to need a little more work. Some minor detail work included drilling out the lug holes in the spare wheel and painting "labels" on the shocks. It usually takes me about ten hours to get to this point- this took about four hours. Test fitting the body. Or maybe the Racer's Wedge from Model King. I think I'd have to make it a dualie though. As Always, Thanks for looking and feel free to comment. David G.
-
Excellent work as always! It's nice to see the progress photos, thanks for sharing them. David G.
-
Thanks Mike, I think the whitewalls bump up the "classiness". Thank you Christian. Are there any photos of your Studebaker on the MCM Forum? If so, I'd like to see them. The other cars in the display case you noticed are the 1941 Plymouth, the 1958 Chevy Proton, and the Reaver. The Reaver doesn't have its own topic and I should probably make one. There are however, other photos of it on MCM Forum that will come up if you search under "Reaver". Thank you for your interest. Thank you Dan. David G.
-
1971 Ford Ranger XLT
David G. replied to yura1961's topic in Model Trucks: Pickups, Vans, SUVs, Light Commercial
Spectacular work and great photos. David G. -
Excellent work! David G.
-
Ok, here's a shot of the Stude tucked safely away in my display case. Thanks again, David G.
-
Thanks Dann!
-
Thanks Chris, I'm glad you like it. David G.
-
Nicely Done! David G.
-
Thanks Steve, did you see the final photos in the Under Glass section?
-
Now that's cool! David G.
-
Smooooooth and deadly! Excellent customization of a custom car. David G.
-
That's one wild custom! David G.
-
Thanks Bruce. I'm glad you like it. David G.
-
Thank you Donald Thanks Pete, I just couldn't picture this one without whitewalls. Thanks Marty. I've never driven one, but I've always loved the way they looked. Thank you David. Thank you Steve, I'm always happy to know that others draw inspiration from my work, as I've drawn inspiration from the work of so many others. Thank you Túlio. I've seen the excellent work you do and your comment means much to me. David G.
-
Thank you for your comment Bill. Thanks Christopher, I'm glad you like it. David G.
-
Thanks Pat, it's one of my favorite body styles Thank you David. I've always believed that these were about 10 years ahead of the design curve. Thanks Bill. The whitewalls are two-piece snap-ins from another kit, I don't remember which one though. You could be right Tom, I'm not really sure. It's been about 45 years! :/ I do remember having trouble with the pose-able front wheels back then. Thanks Lee, I'm glad you like it. There are bore pics in the Build Thread Thanks all, David G.
-
Thank you Eric, that's what I was going for.