David G.
-
Posts
11,320 -
Joined
-
Last visited
Content Type
Profiles
Forums
Events
Gallery
Everything posted by David G.
-
Nice conversion! David G.
-
Smoooth and Deadly! David G.
-
Phil Dauphinee, Lots of great Deuces. love the orange Vicky with the opening hood. David G.
-
Nice work so far. David G.
-

Revell 55 Ford Panel truck
David G. replied to Sasquatch86's topic in Model Trucks: Pickups, Vans, SUVs, Light Commercial
Nice work on the weathering and the chassis swap works well. David G. -
Thanks Túlio, I'm glad you like it! David G.
-
Ah, a Volaire kit, of course! I was wracking my brain for a source for the flairs. That'll be the most challenging part of this project. Thanks for the tip. Is that Volaire kit still readily available? I do have it safely disassembled now and I'm making my parts list. Thanks again, David G.
-
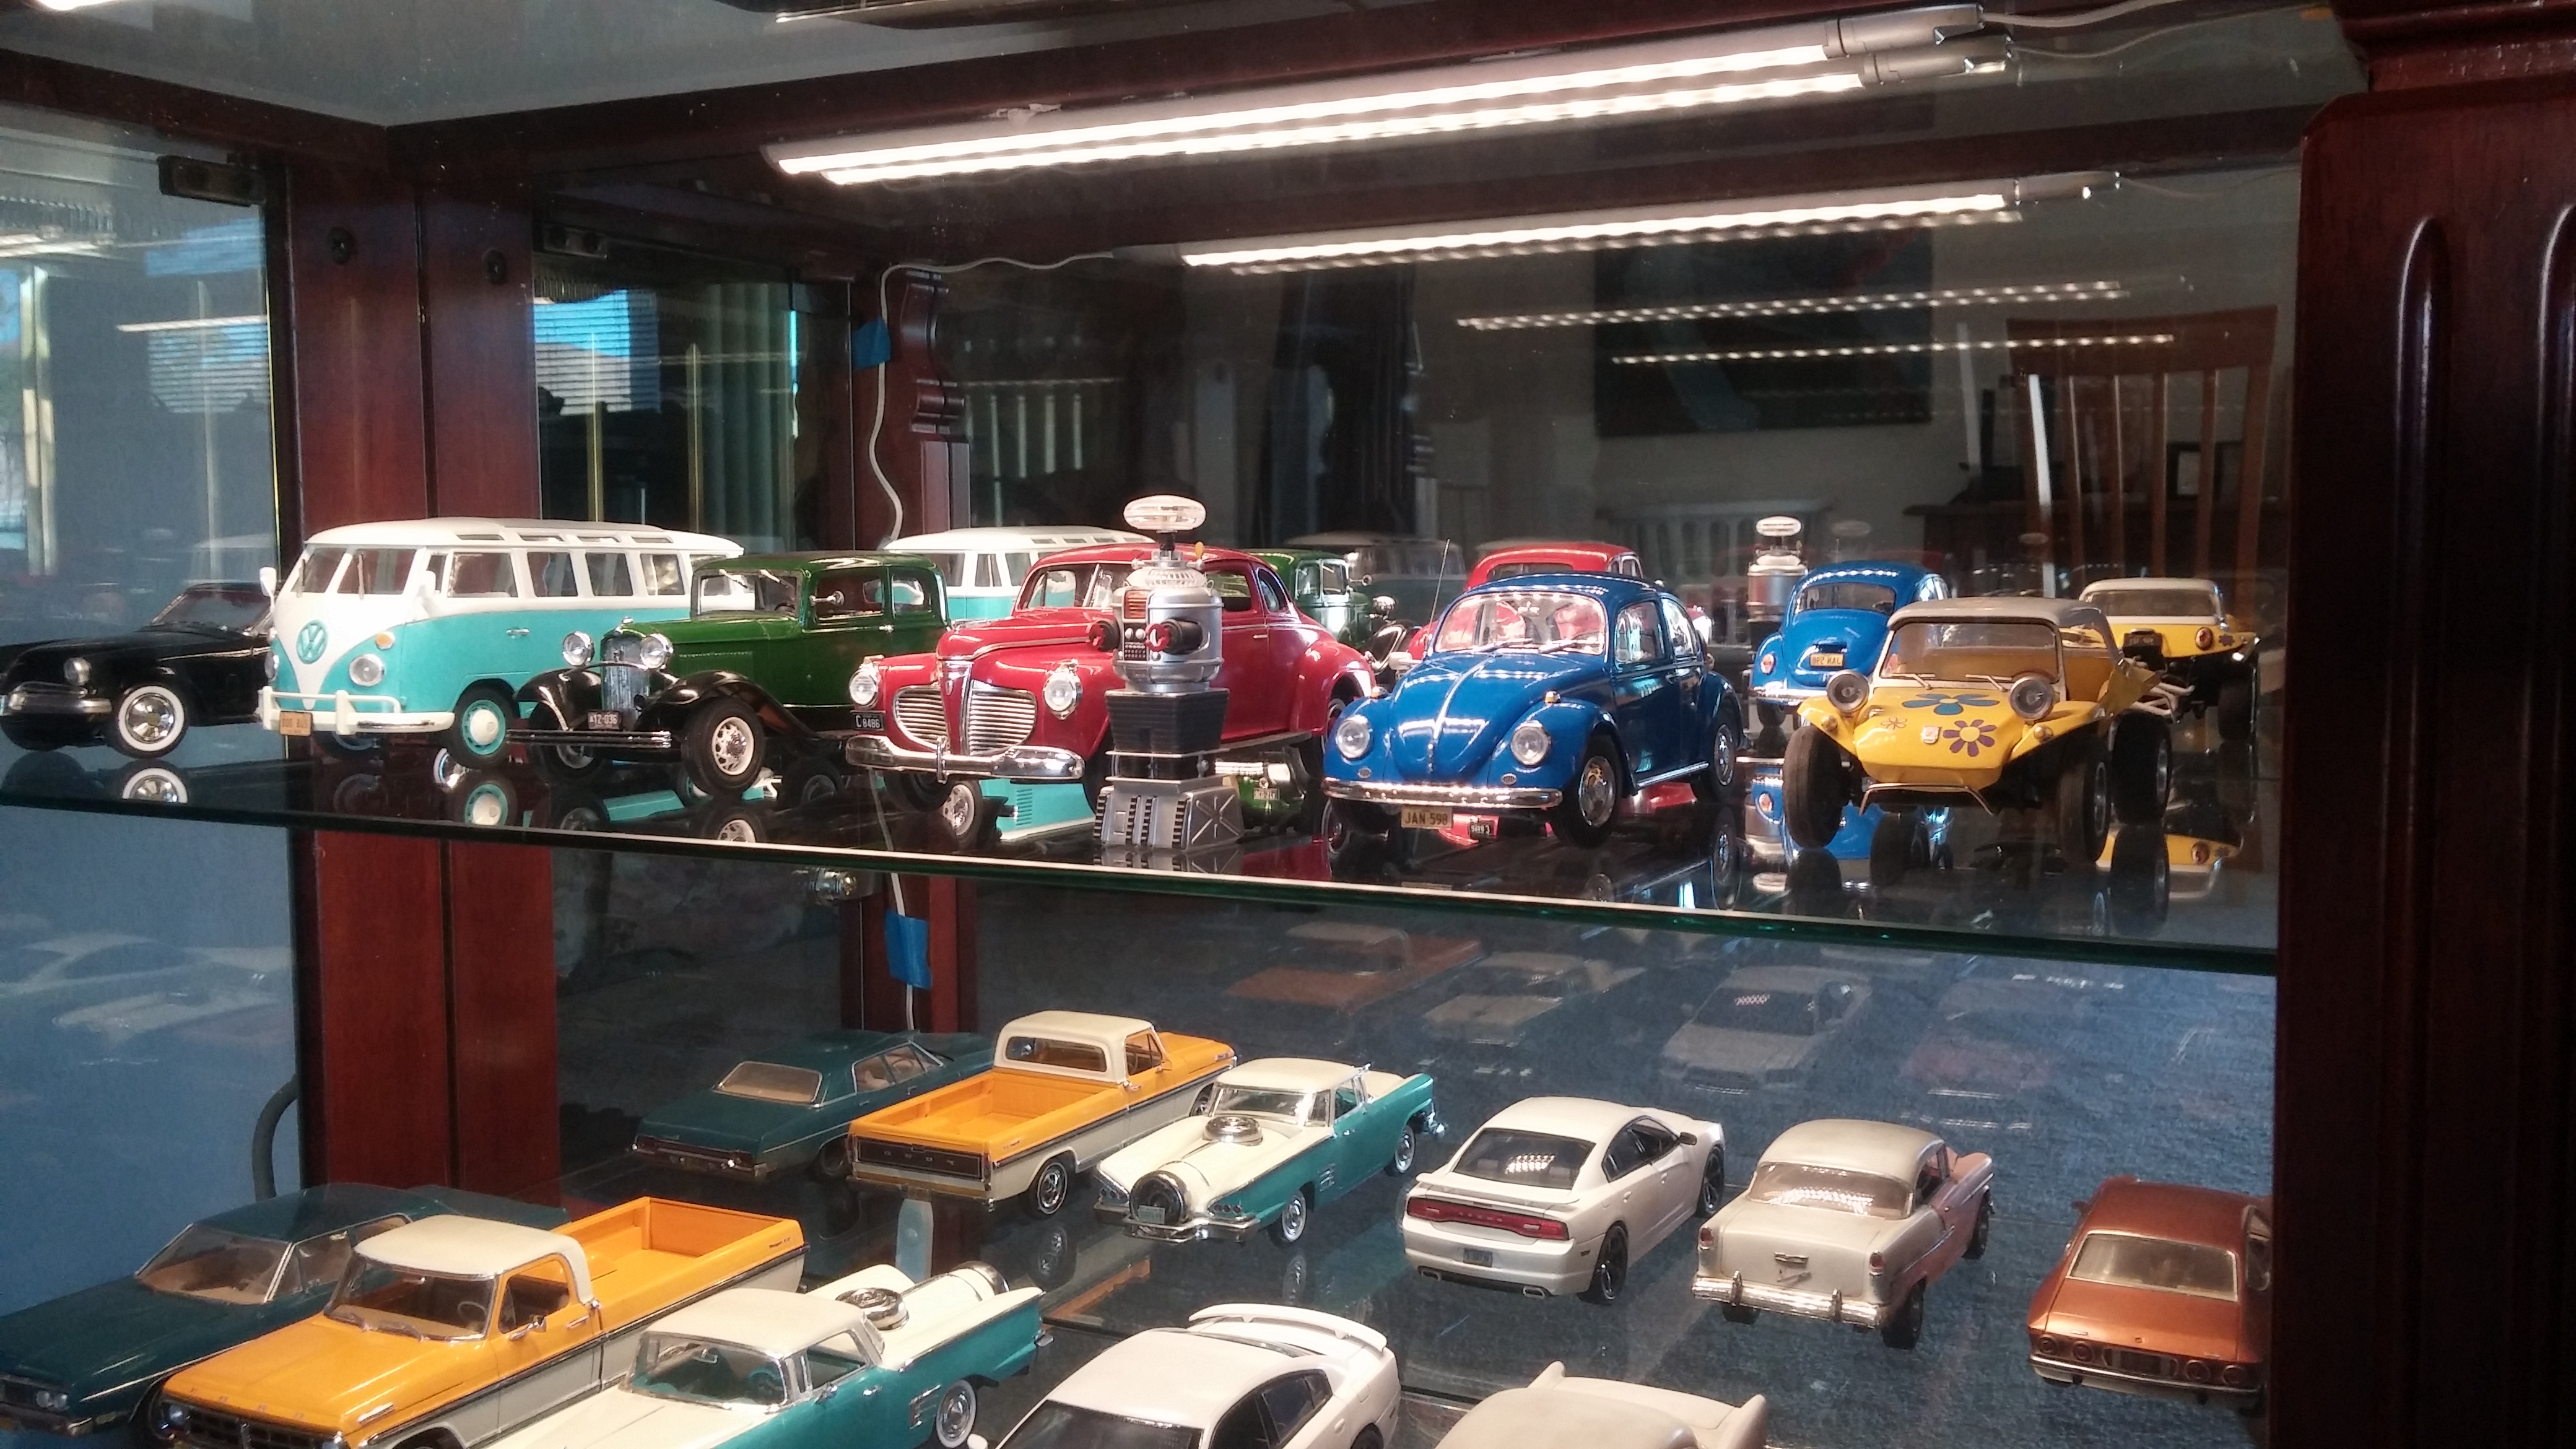
Here are some sunlit photos. A little improvement, but not much. Earlier I mentioned my "Outdoor Studio". Well, here it is! And last but not least- a photo of the Bug on the "Showroom Floor". Thanks,I hope it was worth the trip David G.

-
Thanks everybody, I truly enjoy reading your comments and feedback. I plan to get some sunlit photos tomorrow. David G.
-
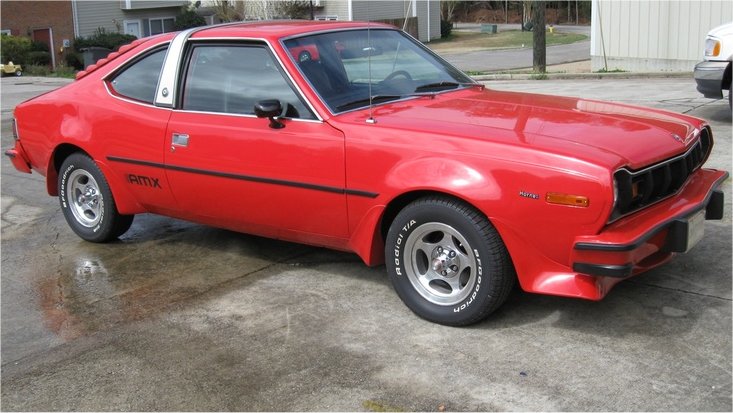
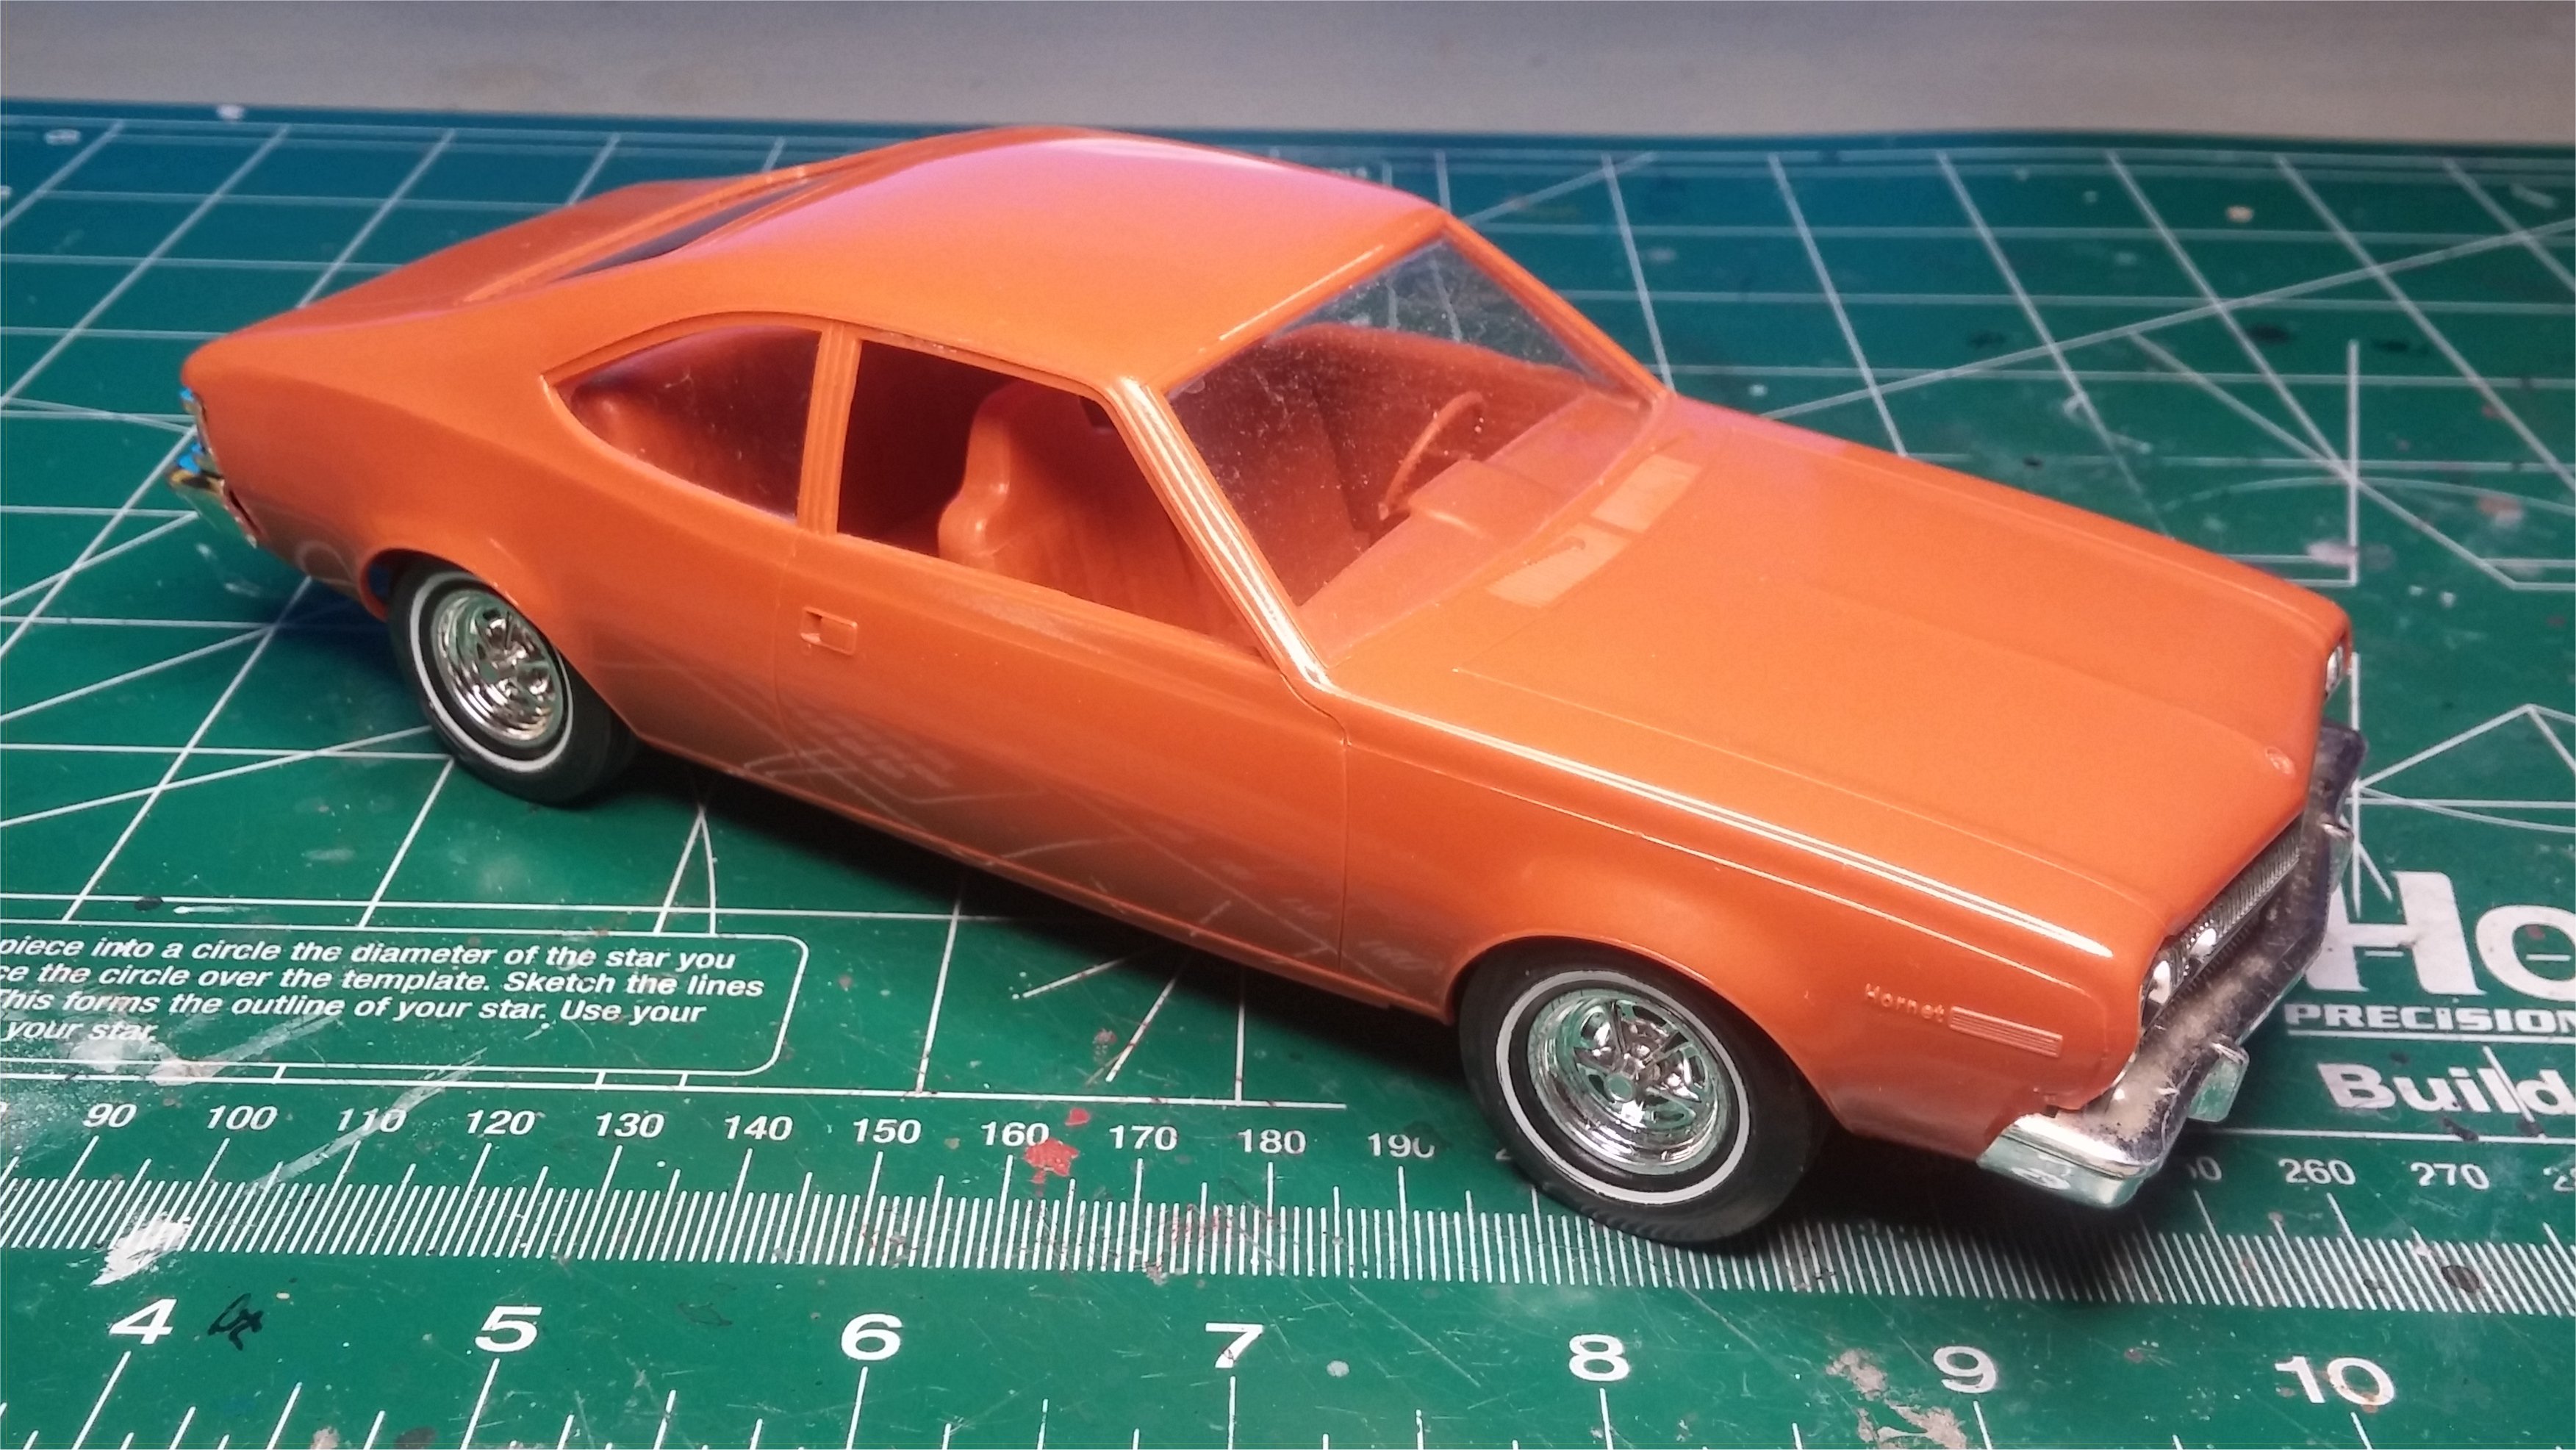
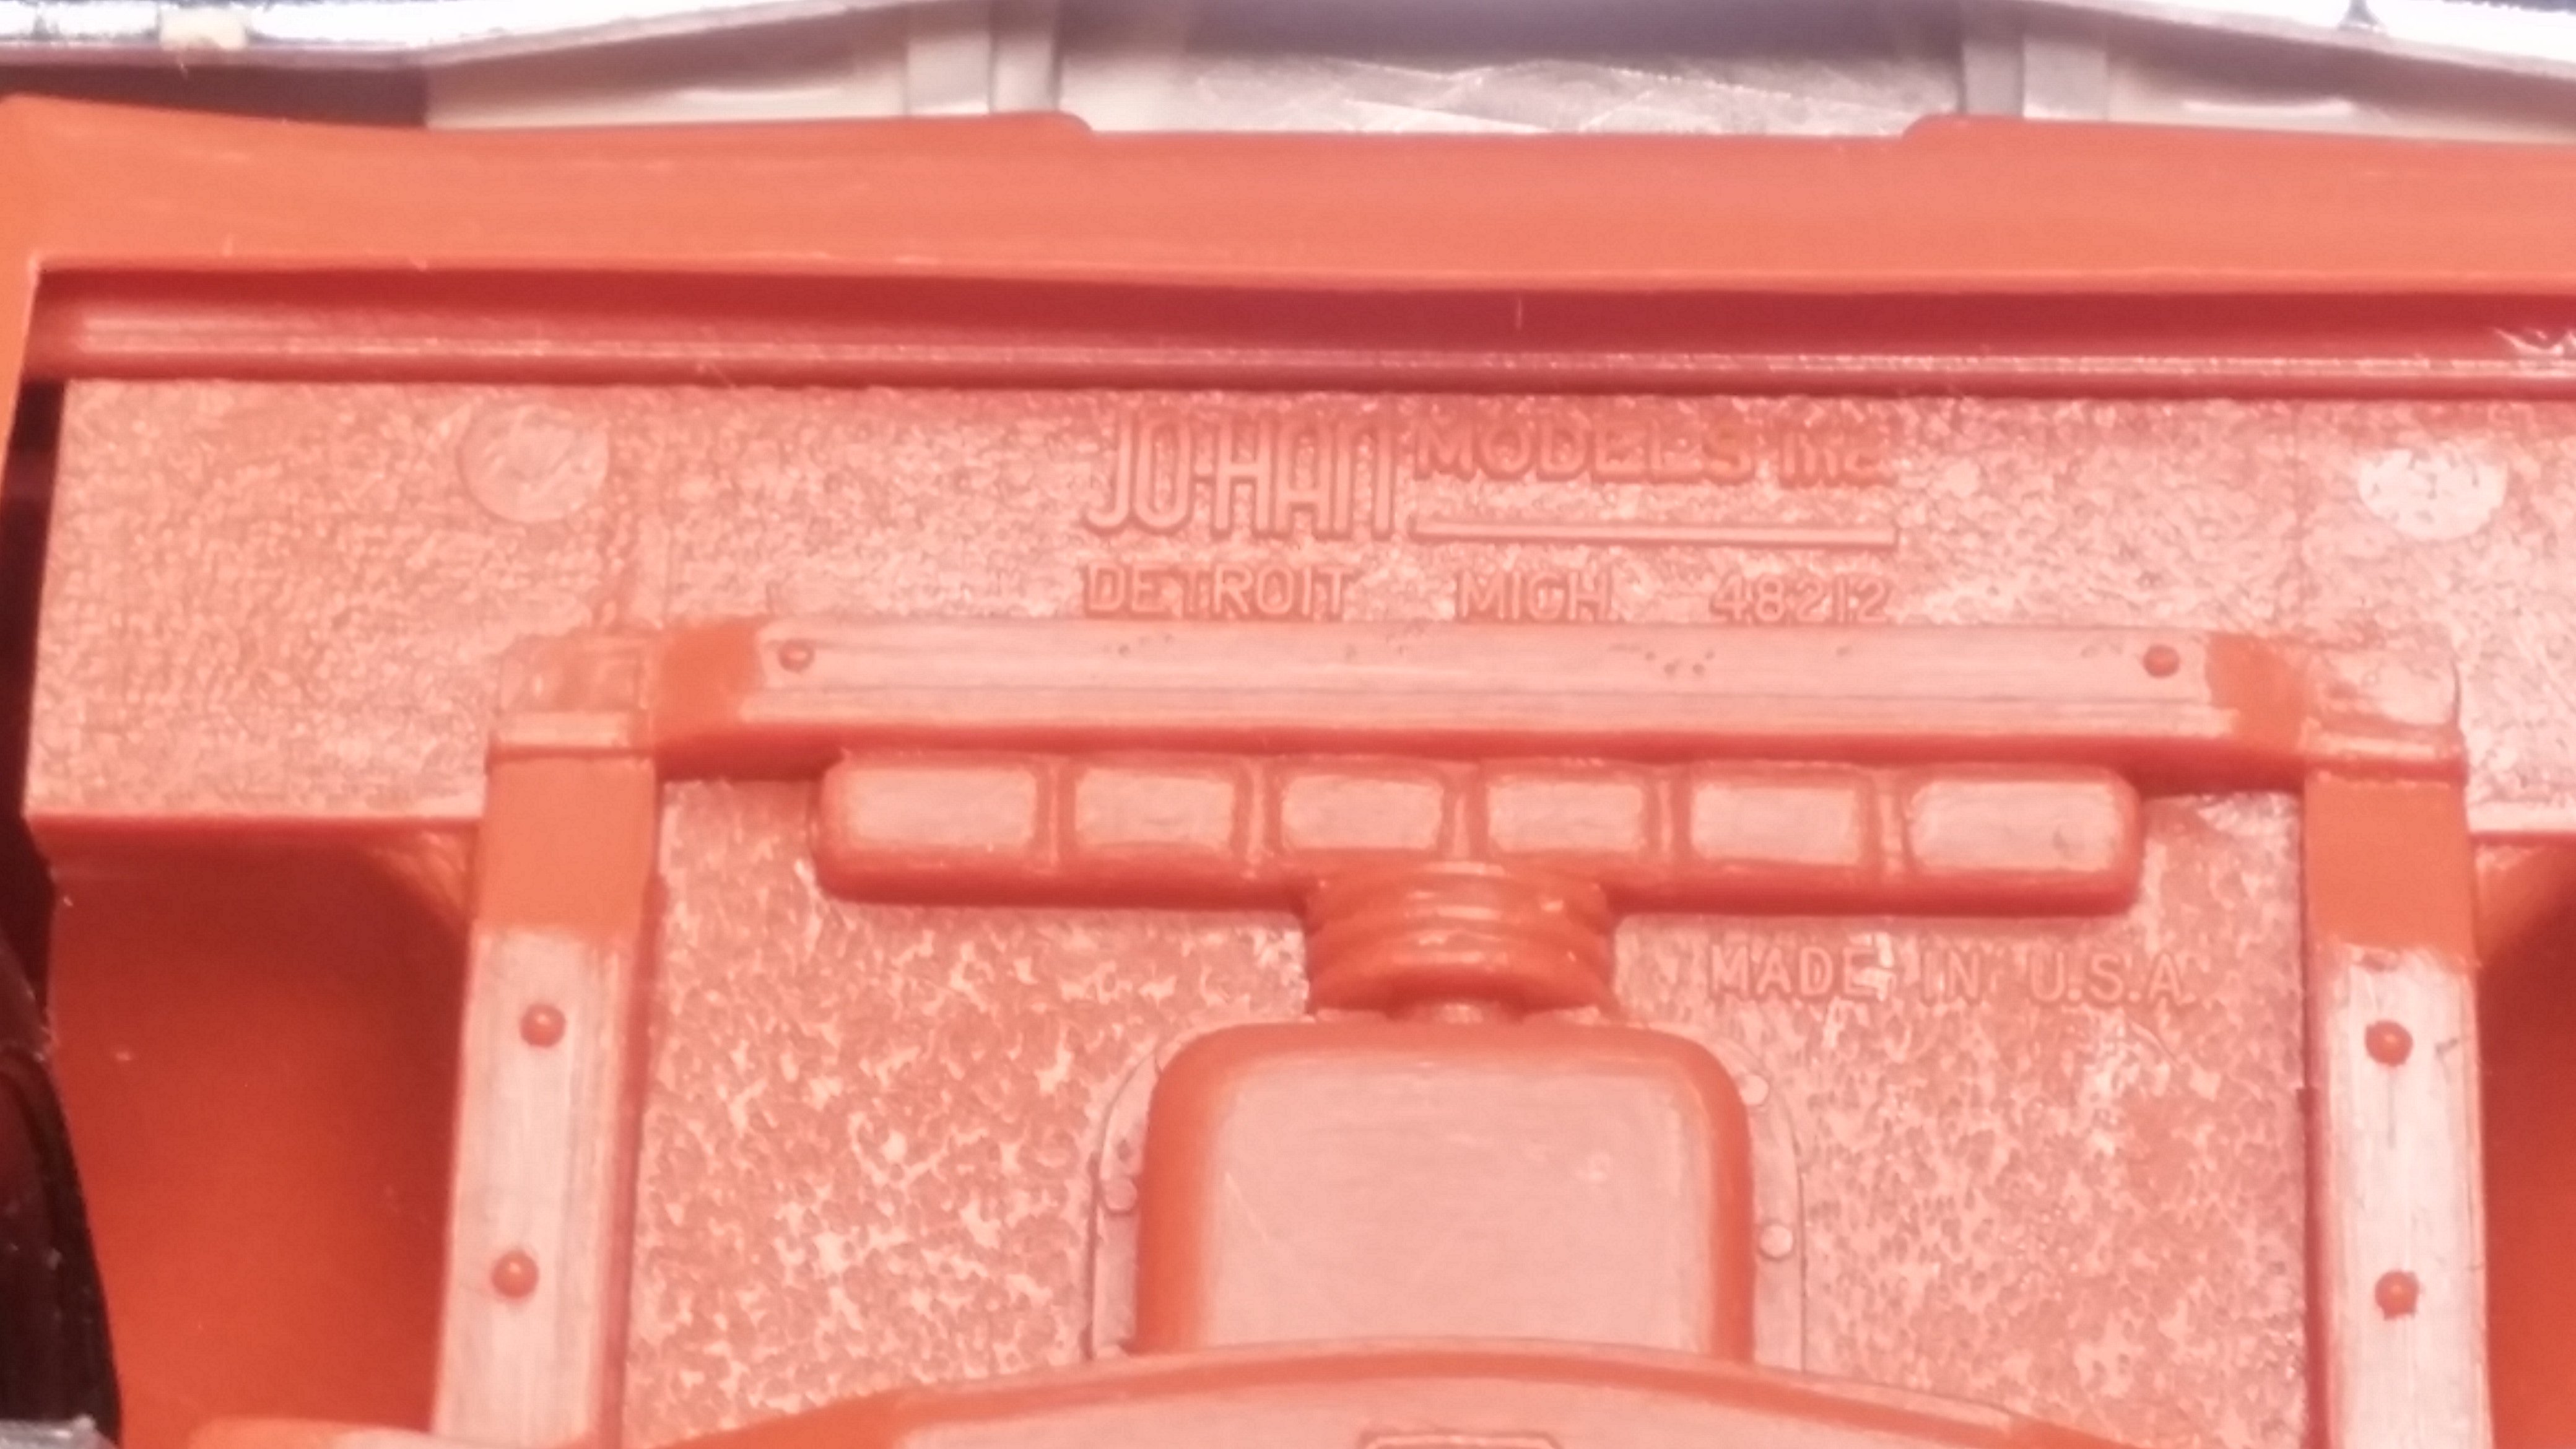
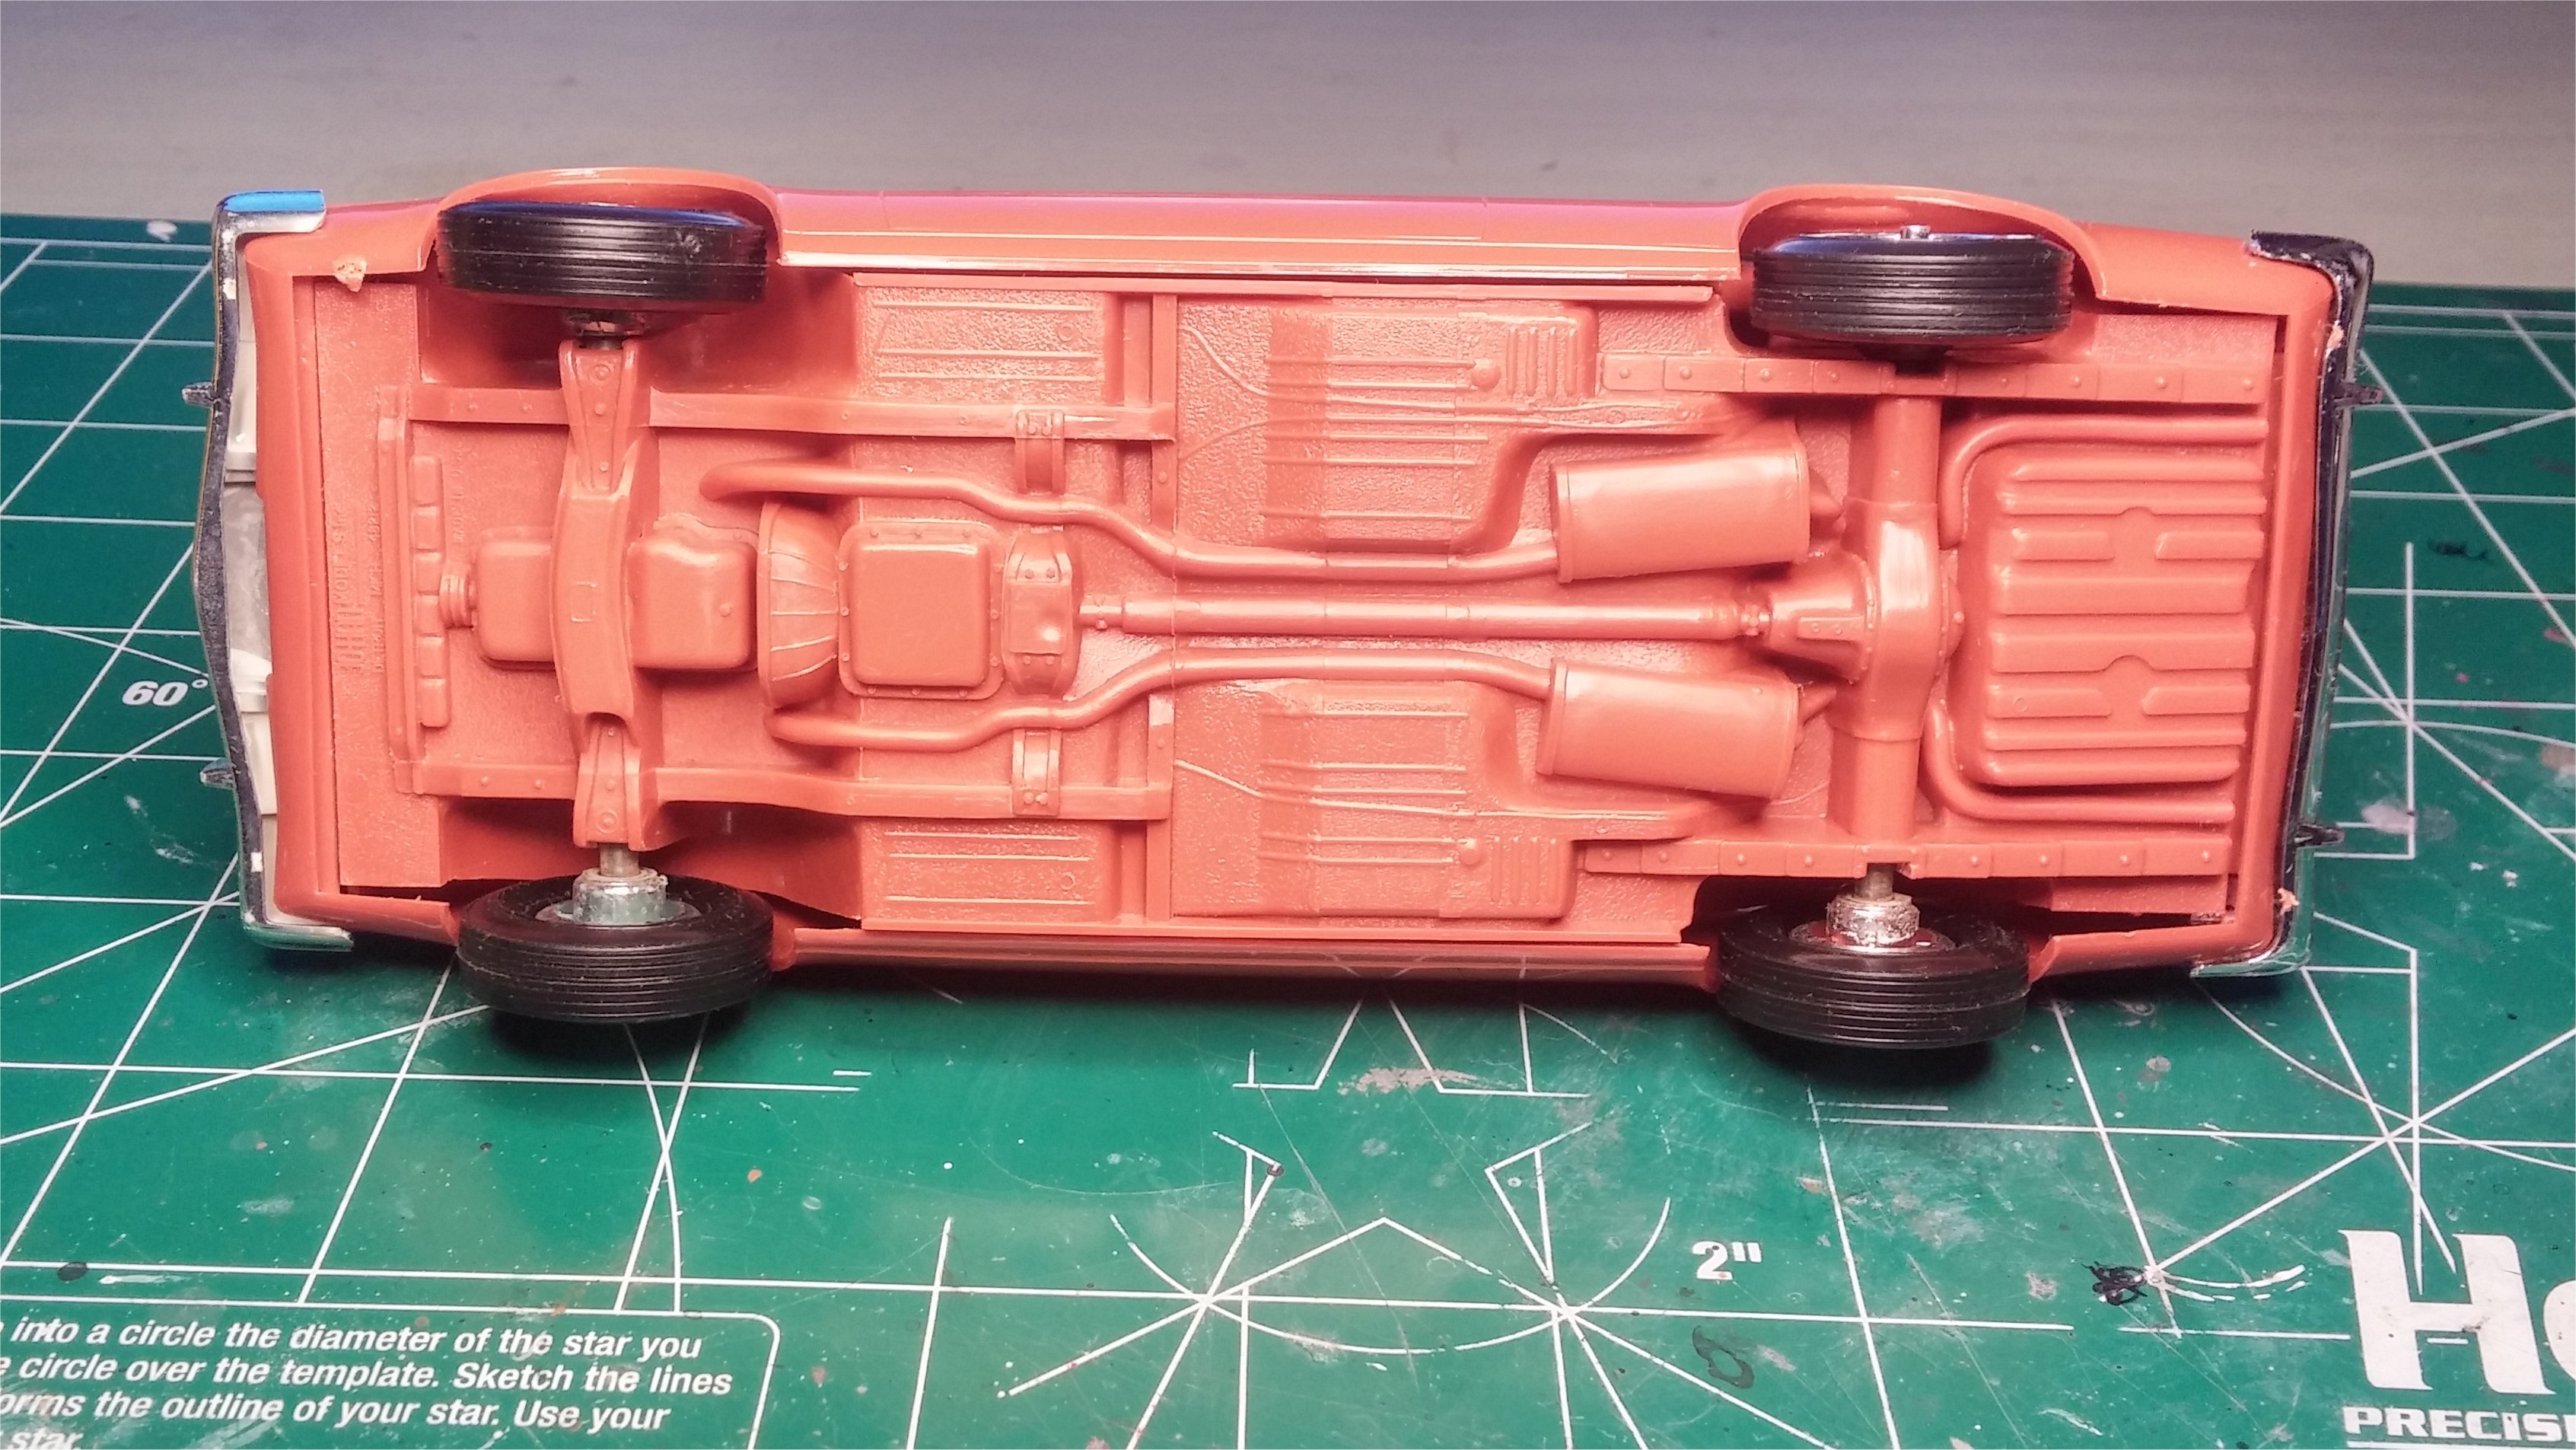
One of my all-time favorite cars that I owned was a 1977 AMX Hornet. So of course, I've wanted to build one for some time. I recently found a suitable model from which to start. My goal is to turn this: Into this: (Not my photo) It's an old Jo-Han promo. It'll need some interior modification, so I'd like to disassemble it without breakage. I'm also considering using the body and mounting it to a suitable donor chassis, if there is one. At this point, I'm still very much in the research and planning phase- collecting parts and information. If there is anyone out there who has experience with these, I would be appreciative of any advice that you could offer. Thanks , David G.
-
Nice progress so far. David G.
-
Excellent work! Looks perfect in every way. David G.
-
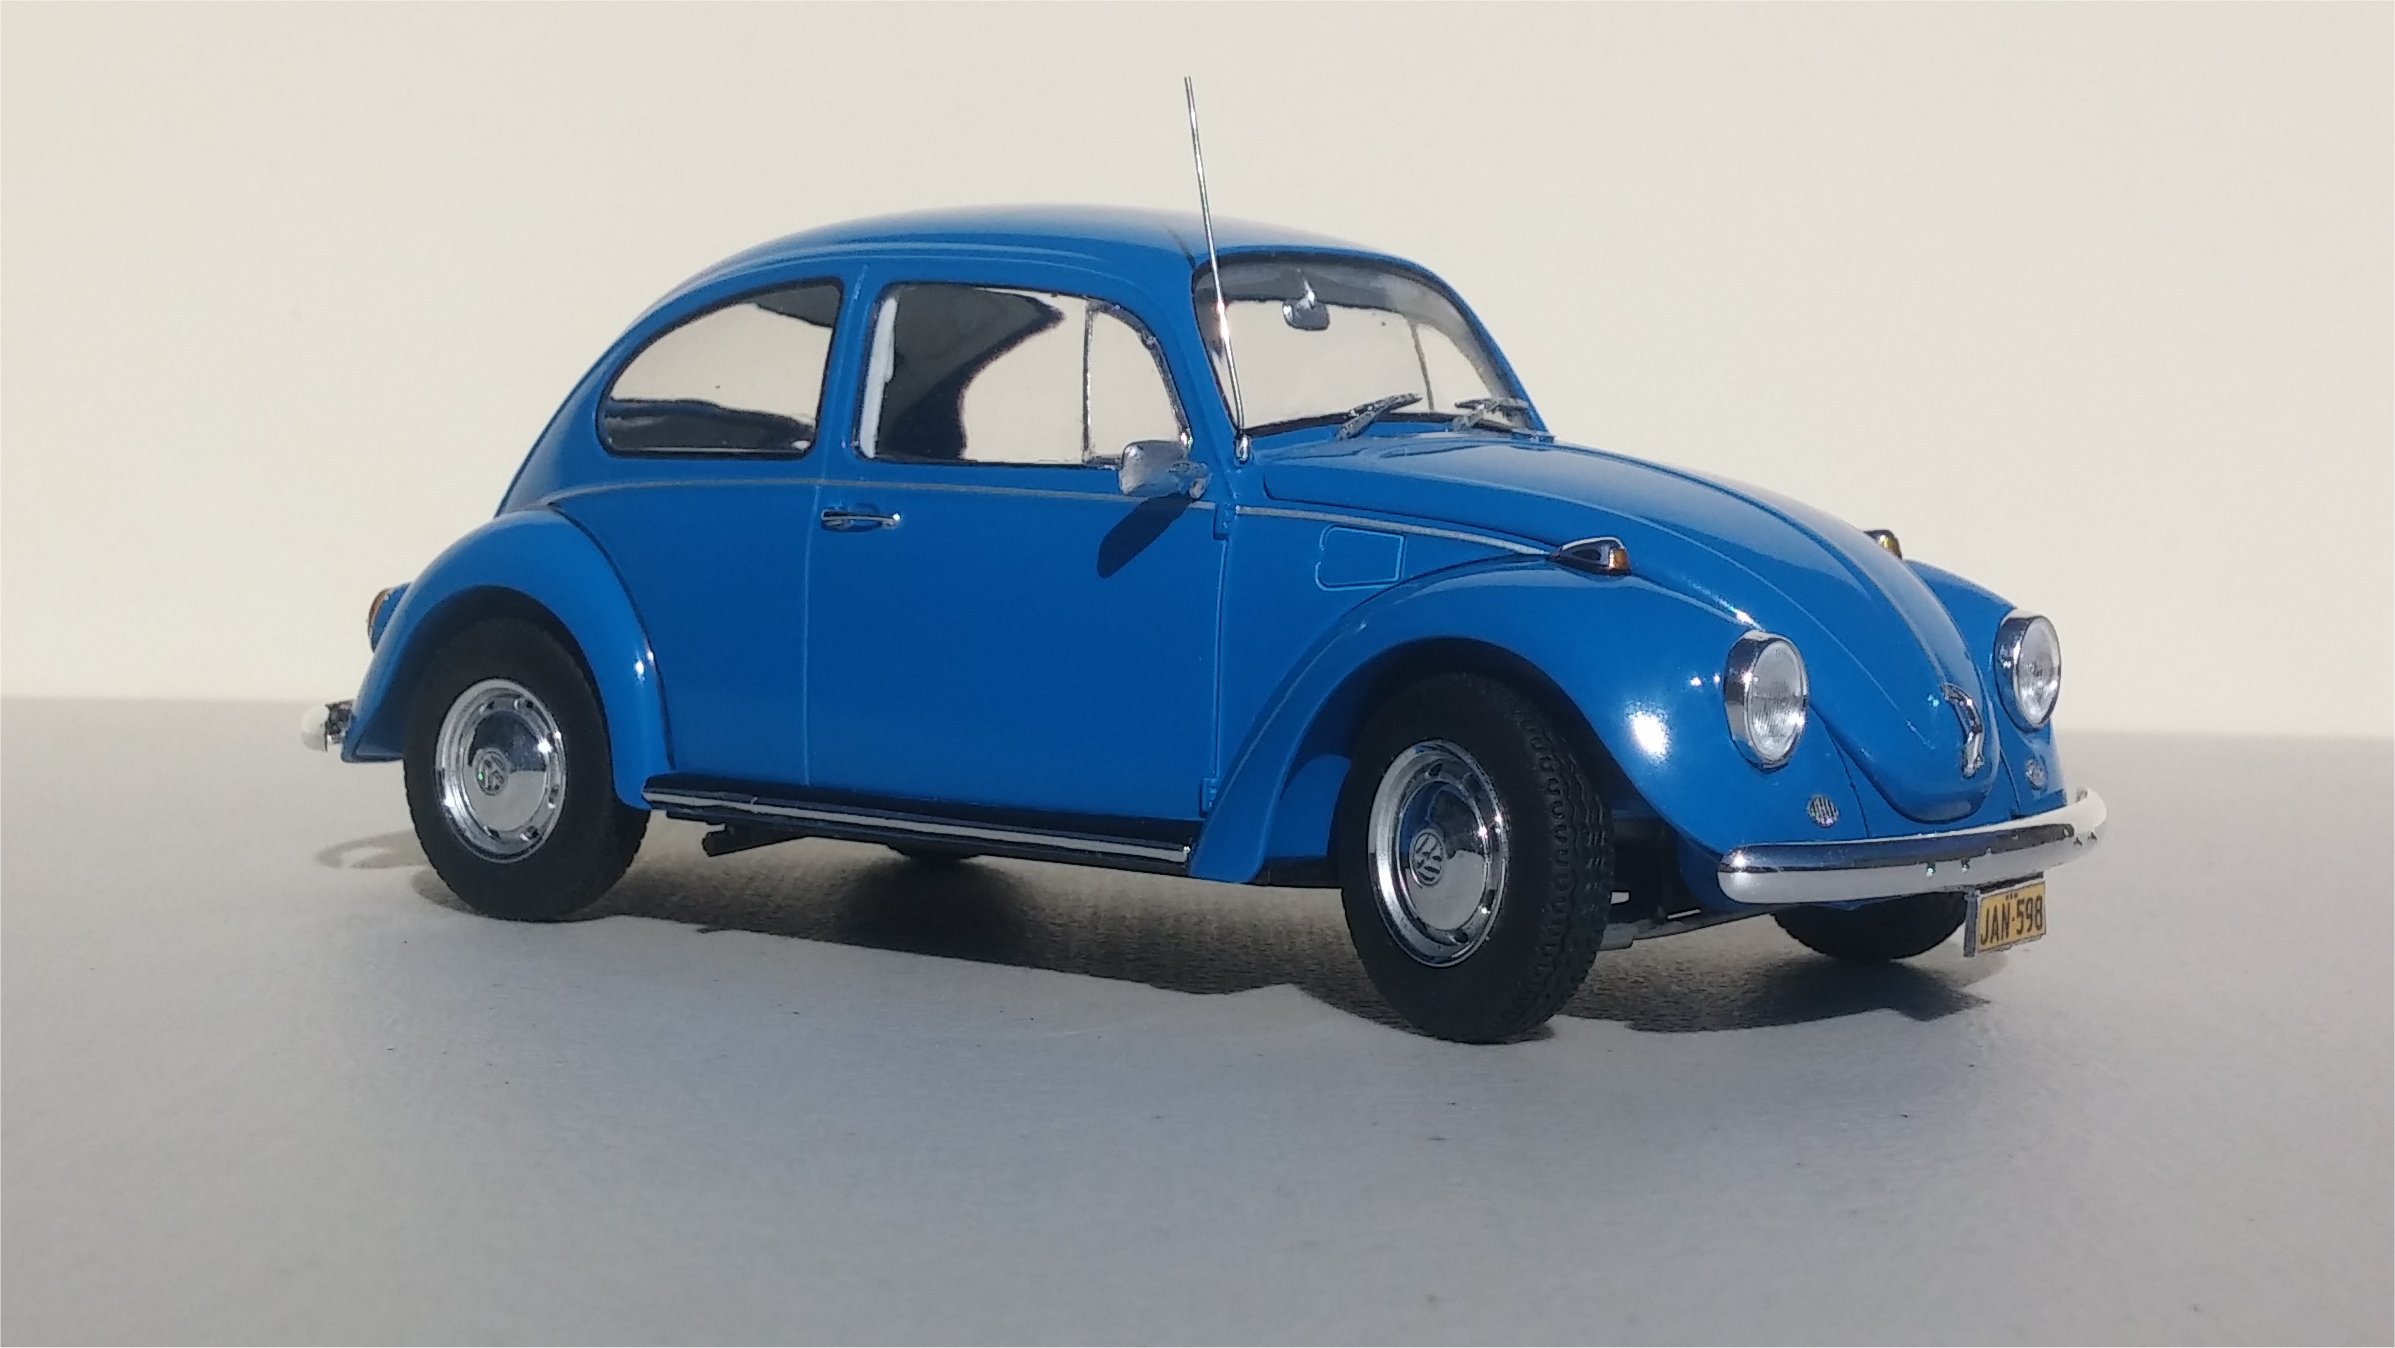
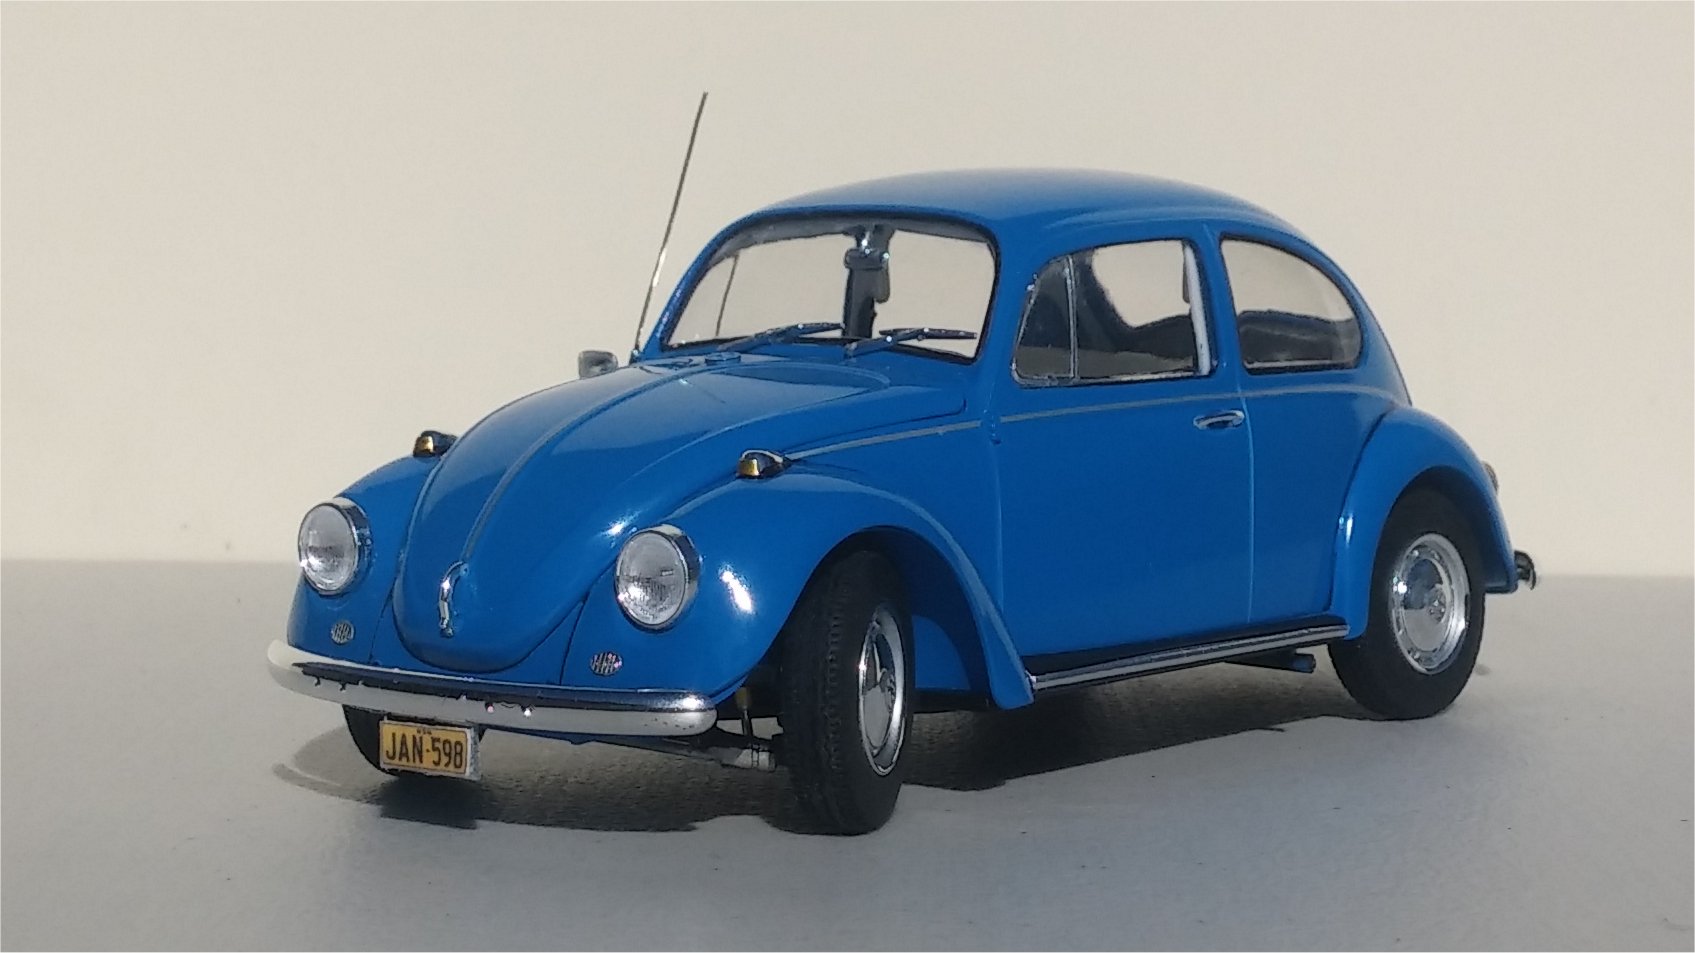
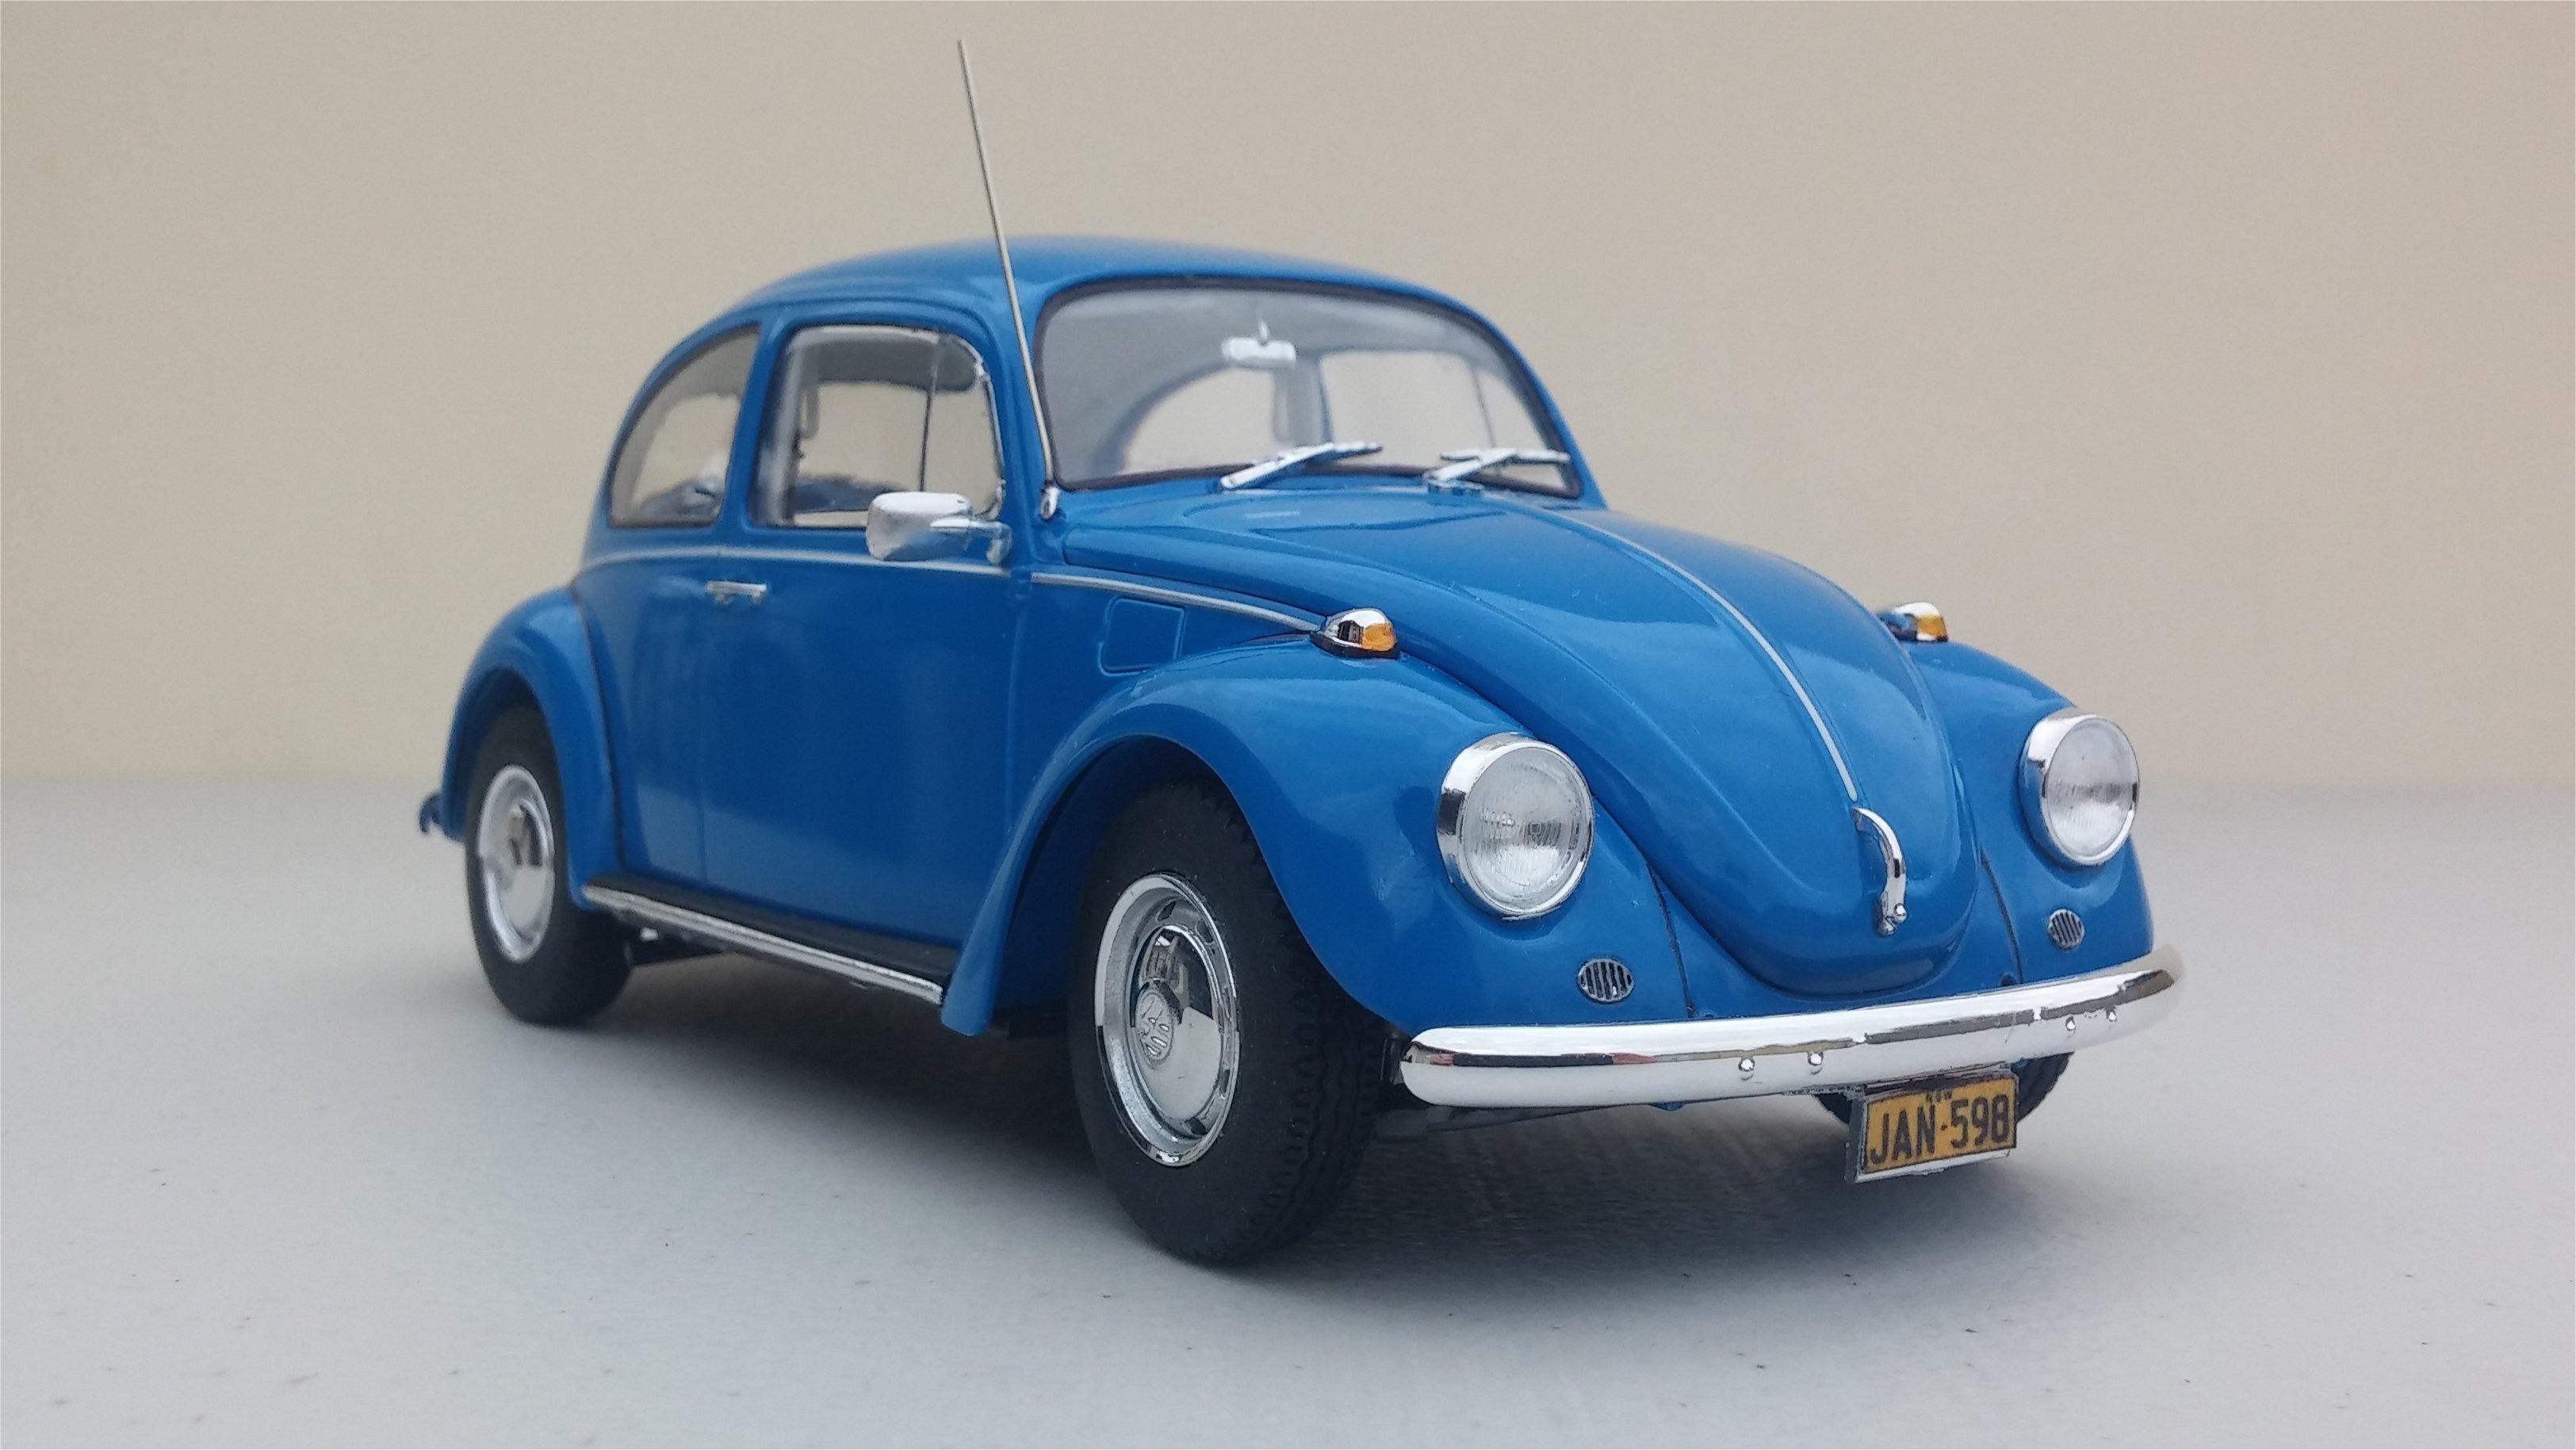
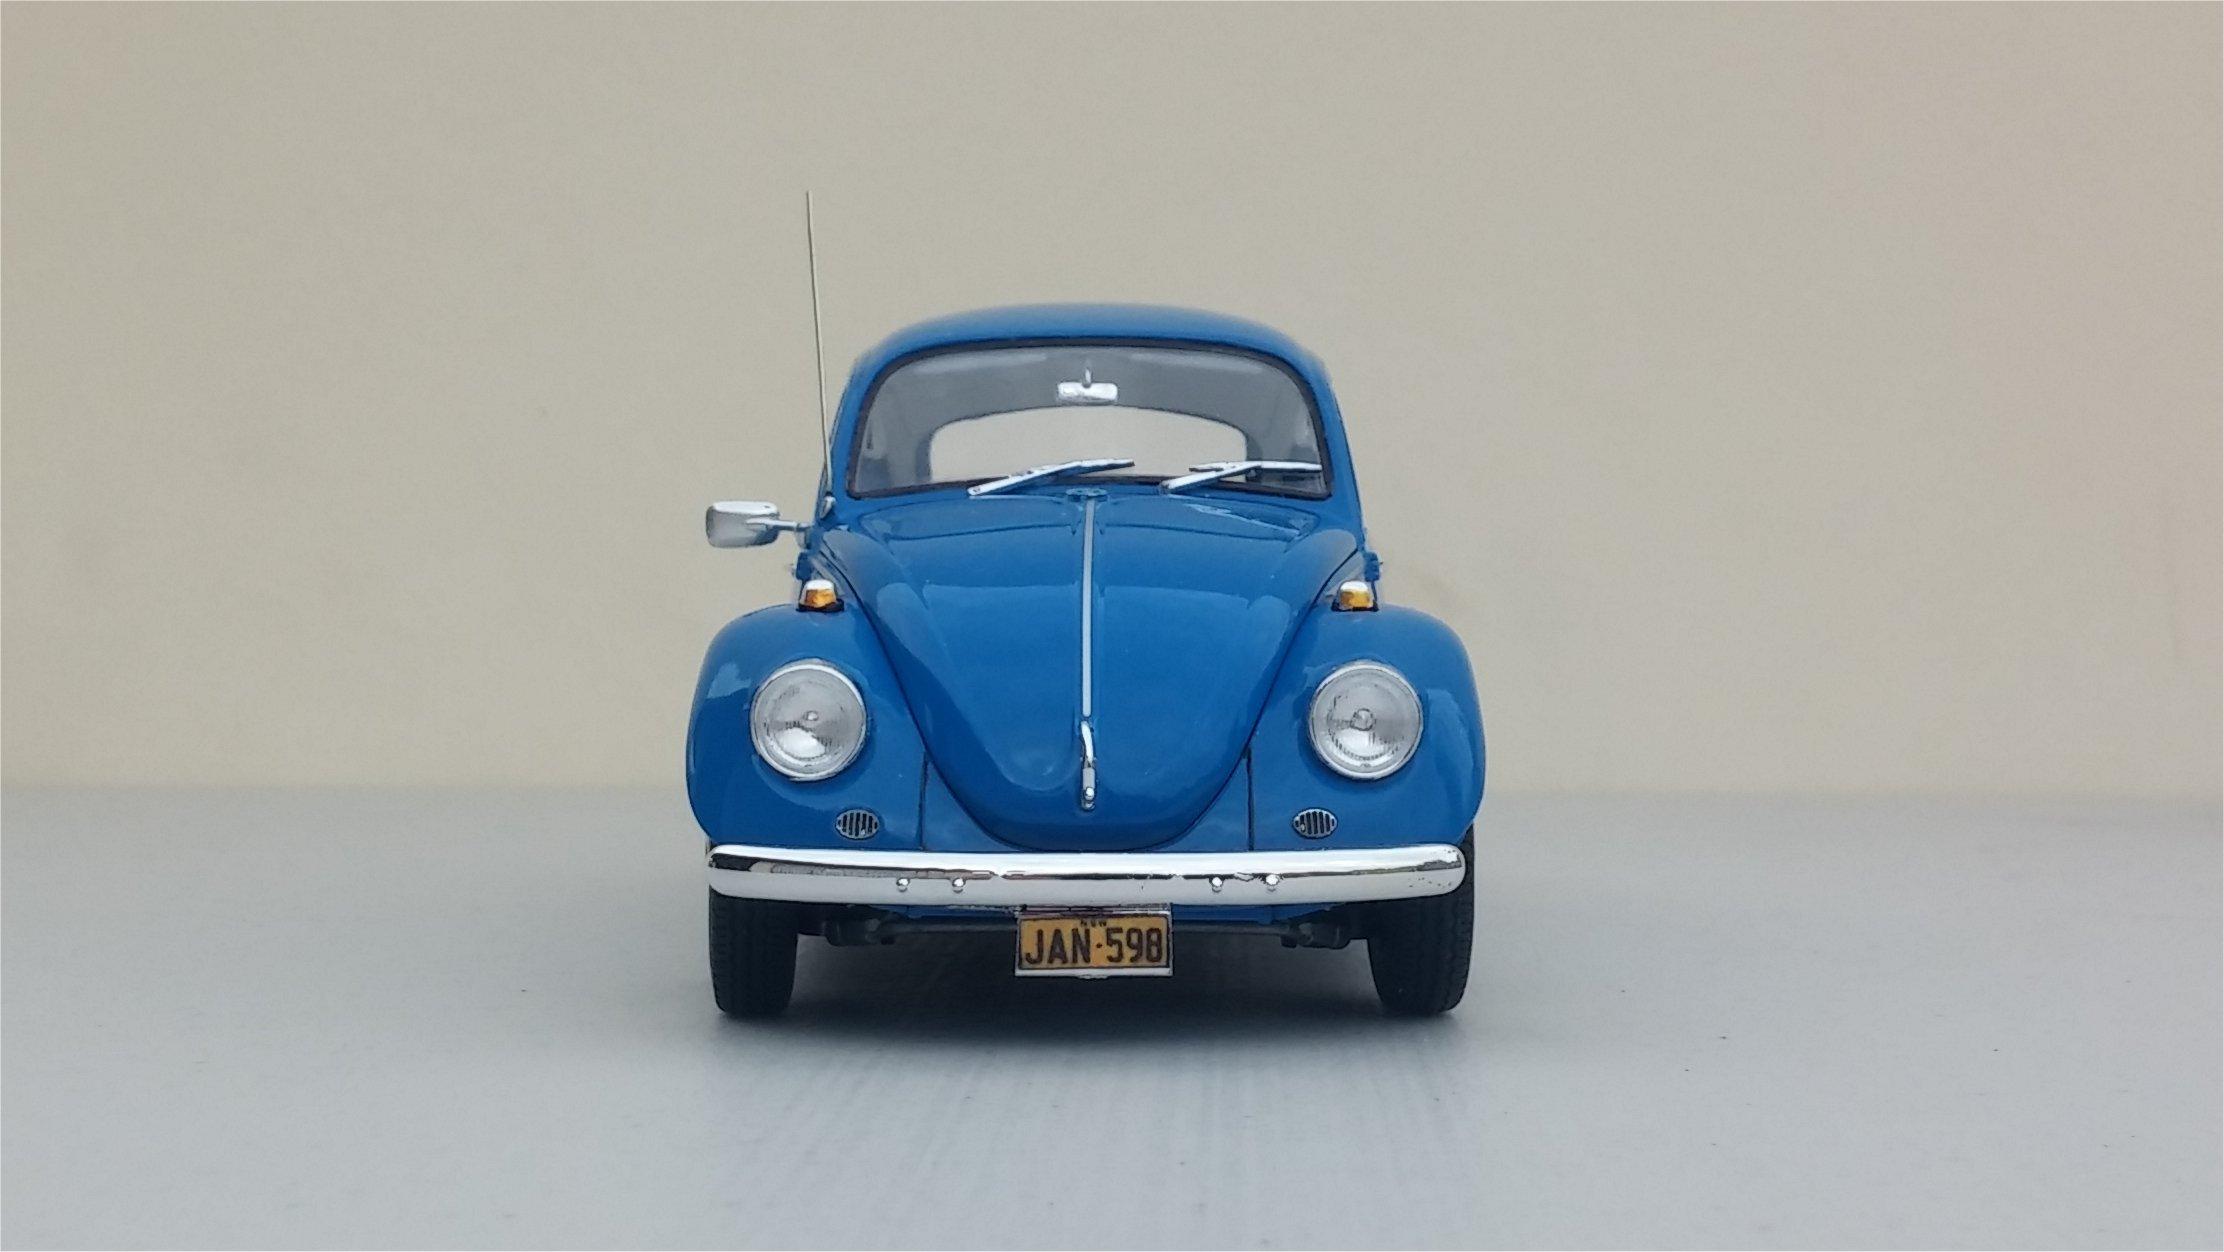
Coming from Revell of Germany, it's a Euro-spec Bug which in my mind explains the bumpers but not the headlights. If I remember my VW history correctly, the bumper over-riders were on the deluxe version which was the one shipped primarily to the States. Regarding the headlights, one of the many transitions for this car in 1968 was the change from a 6 to 12 volt electrical system which is when the sealed beam lamps came into use... I think. At least that's what I'm telling myself. Additionally, by flattened look of the hubcaps, the wheels on this one are the later era 4-lug when they should probably be the early 5-lug with the more dome-shaped hubcaps. To tell you the truth Túlio , I'm actually a bit flattered that you're paying such close attention to my work, thank you. David G.
-
Thank you all for the kind comments you posted. I want to try to get some good outdoor photos this weekend, hopefully the weather and my schedule will cooperate. Thanks, David G.
-
That is suh-wheet! David G.
-
Nicely Done! David G.
-
Thanks Pat, your wish has been granted. This one is finished and can now be found in the Under Glass section. Thanks again to all of you who provided comments and feedback. David G.
-
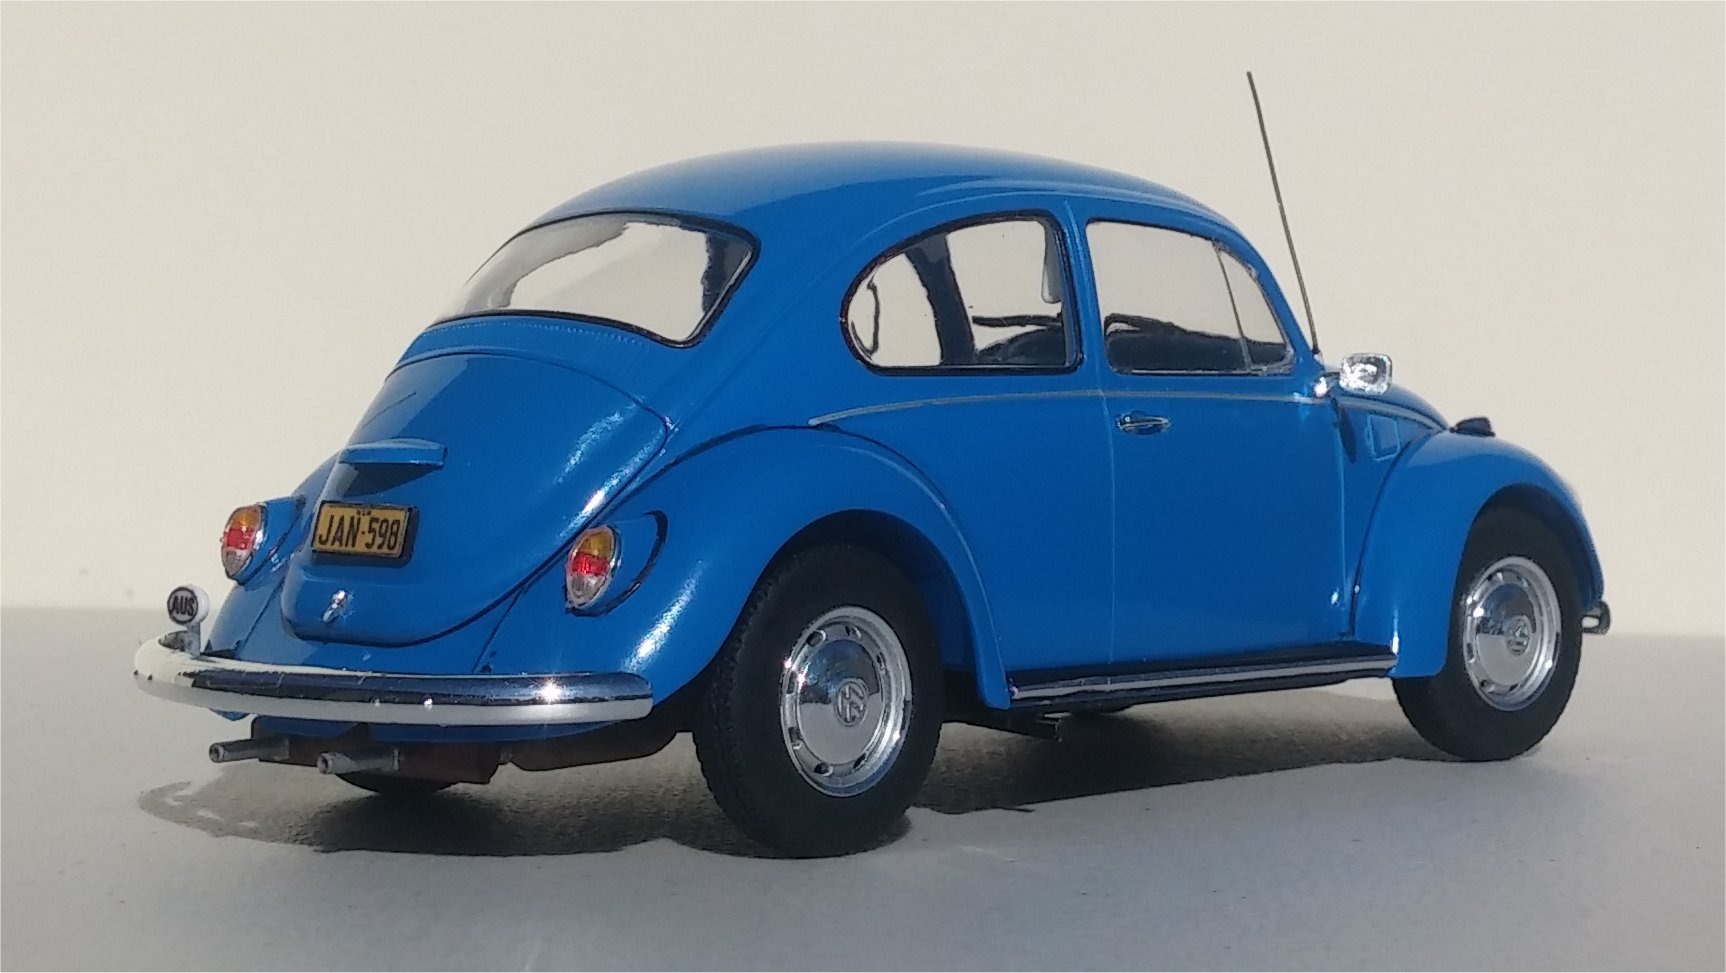
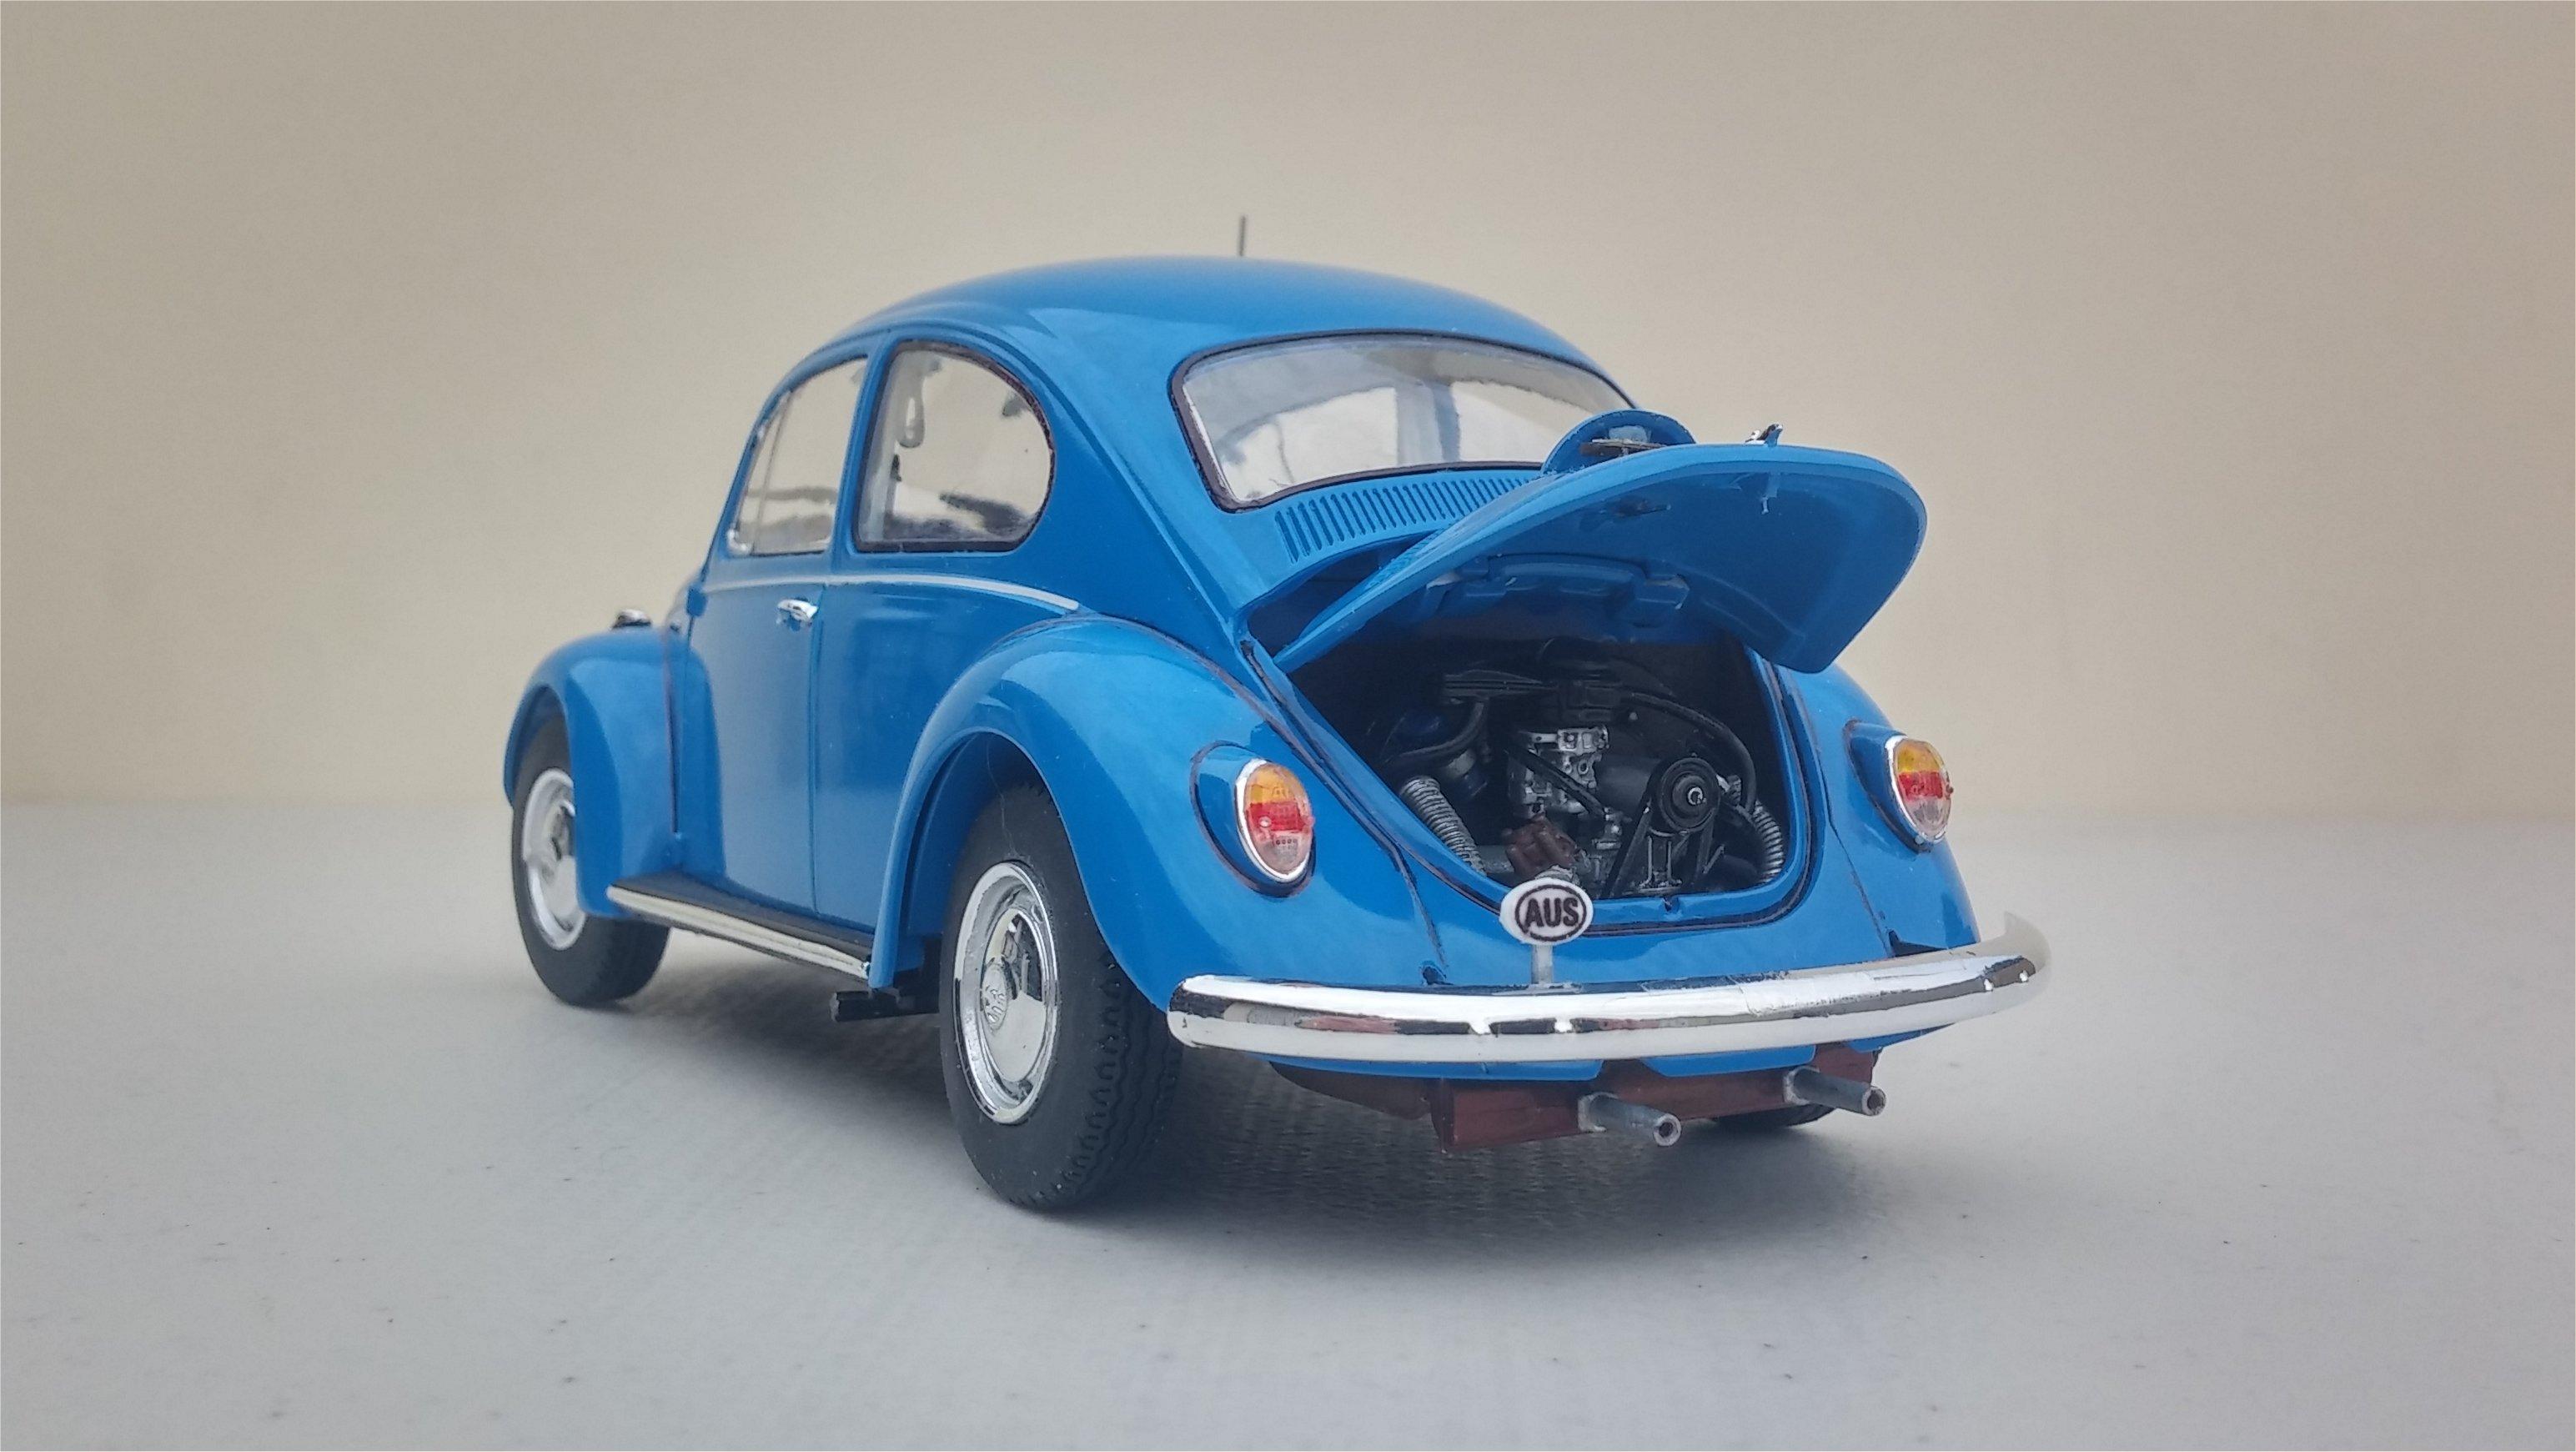
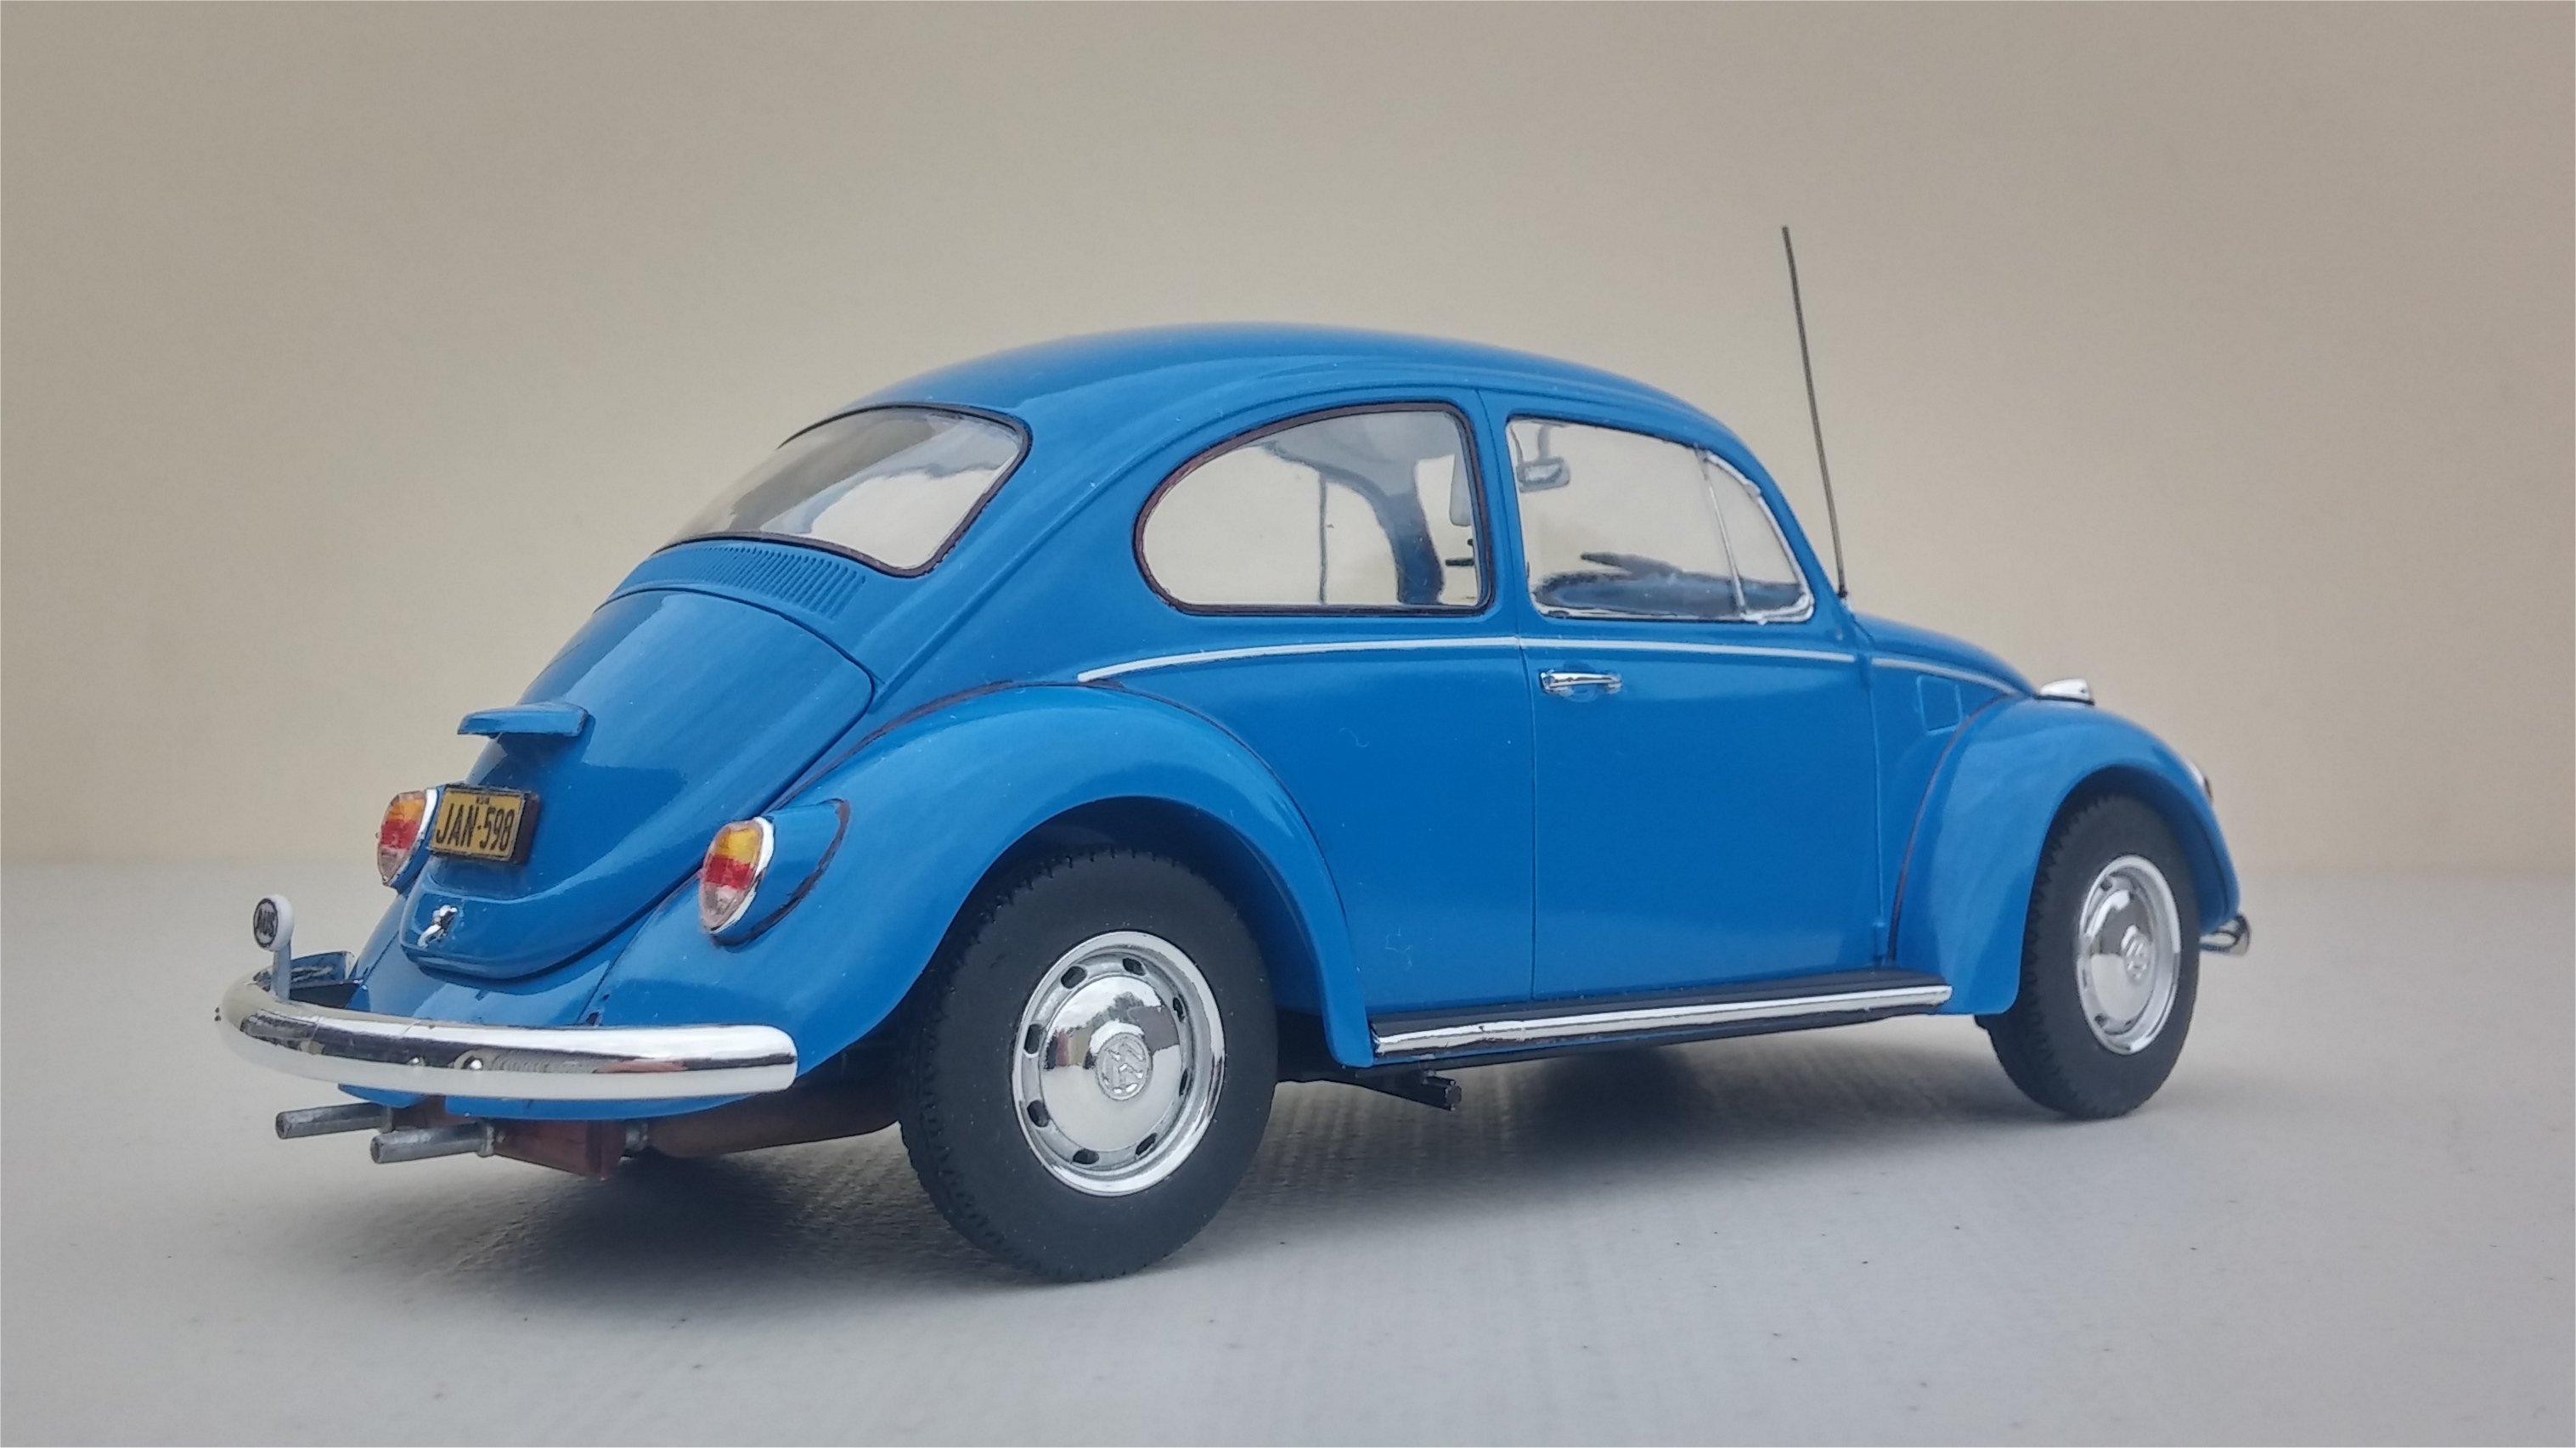
This one is done. Usually the natural sunlight in my outdoor studio makes for great photos. Today however, was rather cloudy. I'll see if I can get some better photos next weekend. If anybody is interested, here's a link to the build thread. I chose to build this Bug as right-hand drive but I thought giving it British number plates would be almost cliche. I decided instead to give it an Australian, NSW circa 1968 registration. A little engine detail and the Aussie badge. I took this photo before I realized that I'd forgotten to install the sideview mirror. As always, please feel free to comment and thanks for taking the time to look. David G.
-
Excellent weathering, finish and detail on all of them. I have a question on the Revell Beetle; How did you make the trim strip for the window gaskets? Thanks, David G.
-
Thanks again for everybody's kind comments and feedback. Though I may not always have the time to respond to each comment individually, I do value them as a source of information and inspiration. This one is very nearly finished. The chassis and interior are done and I just have some finishing details to address on the body. I'm hoping to get it wrapped up this weekend and move it to the Under Glass section. In the meantime here a couple shots of the finished interior. Revell provided decals for the speedometer, radio, horn button and shift pattern inscription on the ashtray- much appreciated. This is probably widely known but the illustration in the directions show the handbrake cluster installed with the handle pointing rearward when it should point forward. I have to agree with Richard... "Obviously the model was engineered by some German way too young to be around when the roads were full of Bugs." Like this... As always, thanks for taking the time to look and please feel free to comment. David G.
-
Looks great from every angle! David G.
-
Yeah, Richard. I wondered how Revell of Germany could complicate such a simply engineered, iconic German automobile. David G.
-
It looks like you have an interest in Chrysler products. The Sox & Martin Cuda is awesome. All of them are very well done! David G.
-
Wow! Sweet foil work- the rest of it looks great too! David G.
-
Thank you all for your kind comments and support. This truly is the best model car community on the web. Here's looking forward to an even better year in 2018. David G.