mrmike
-
Posts
5,325 -
Joined
-
Last visited
Content Type
Profiles
Forums
Events
Gallery
Everything posted by mrmike
-

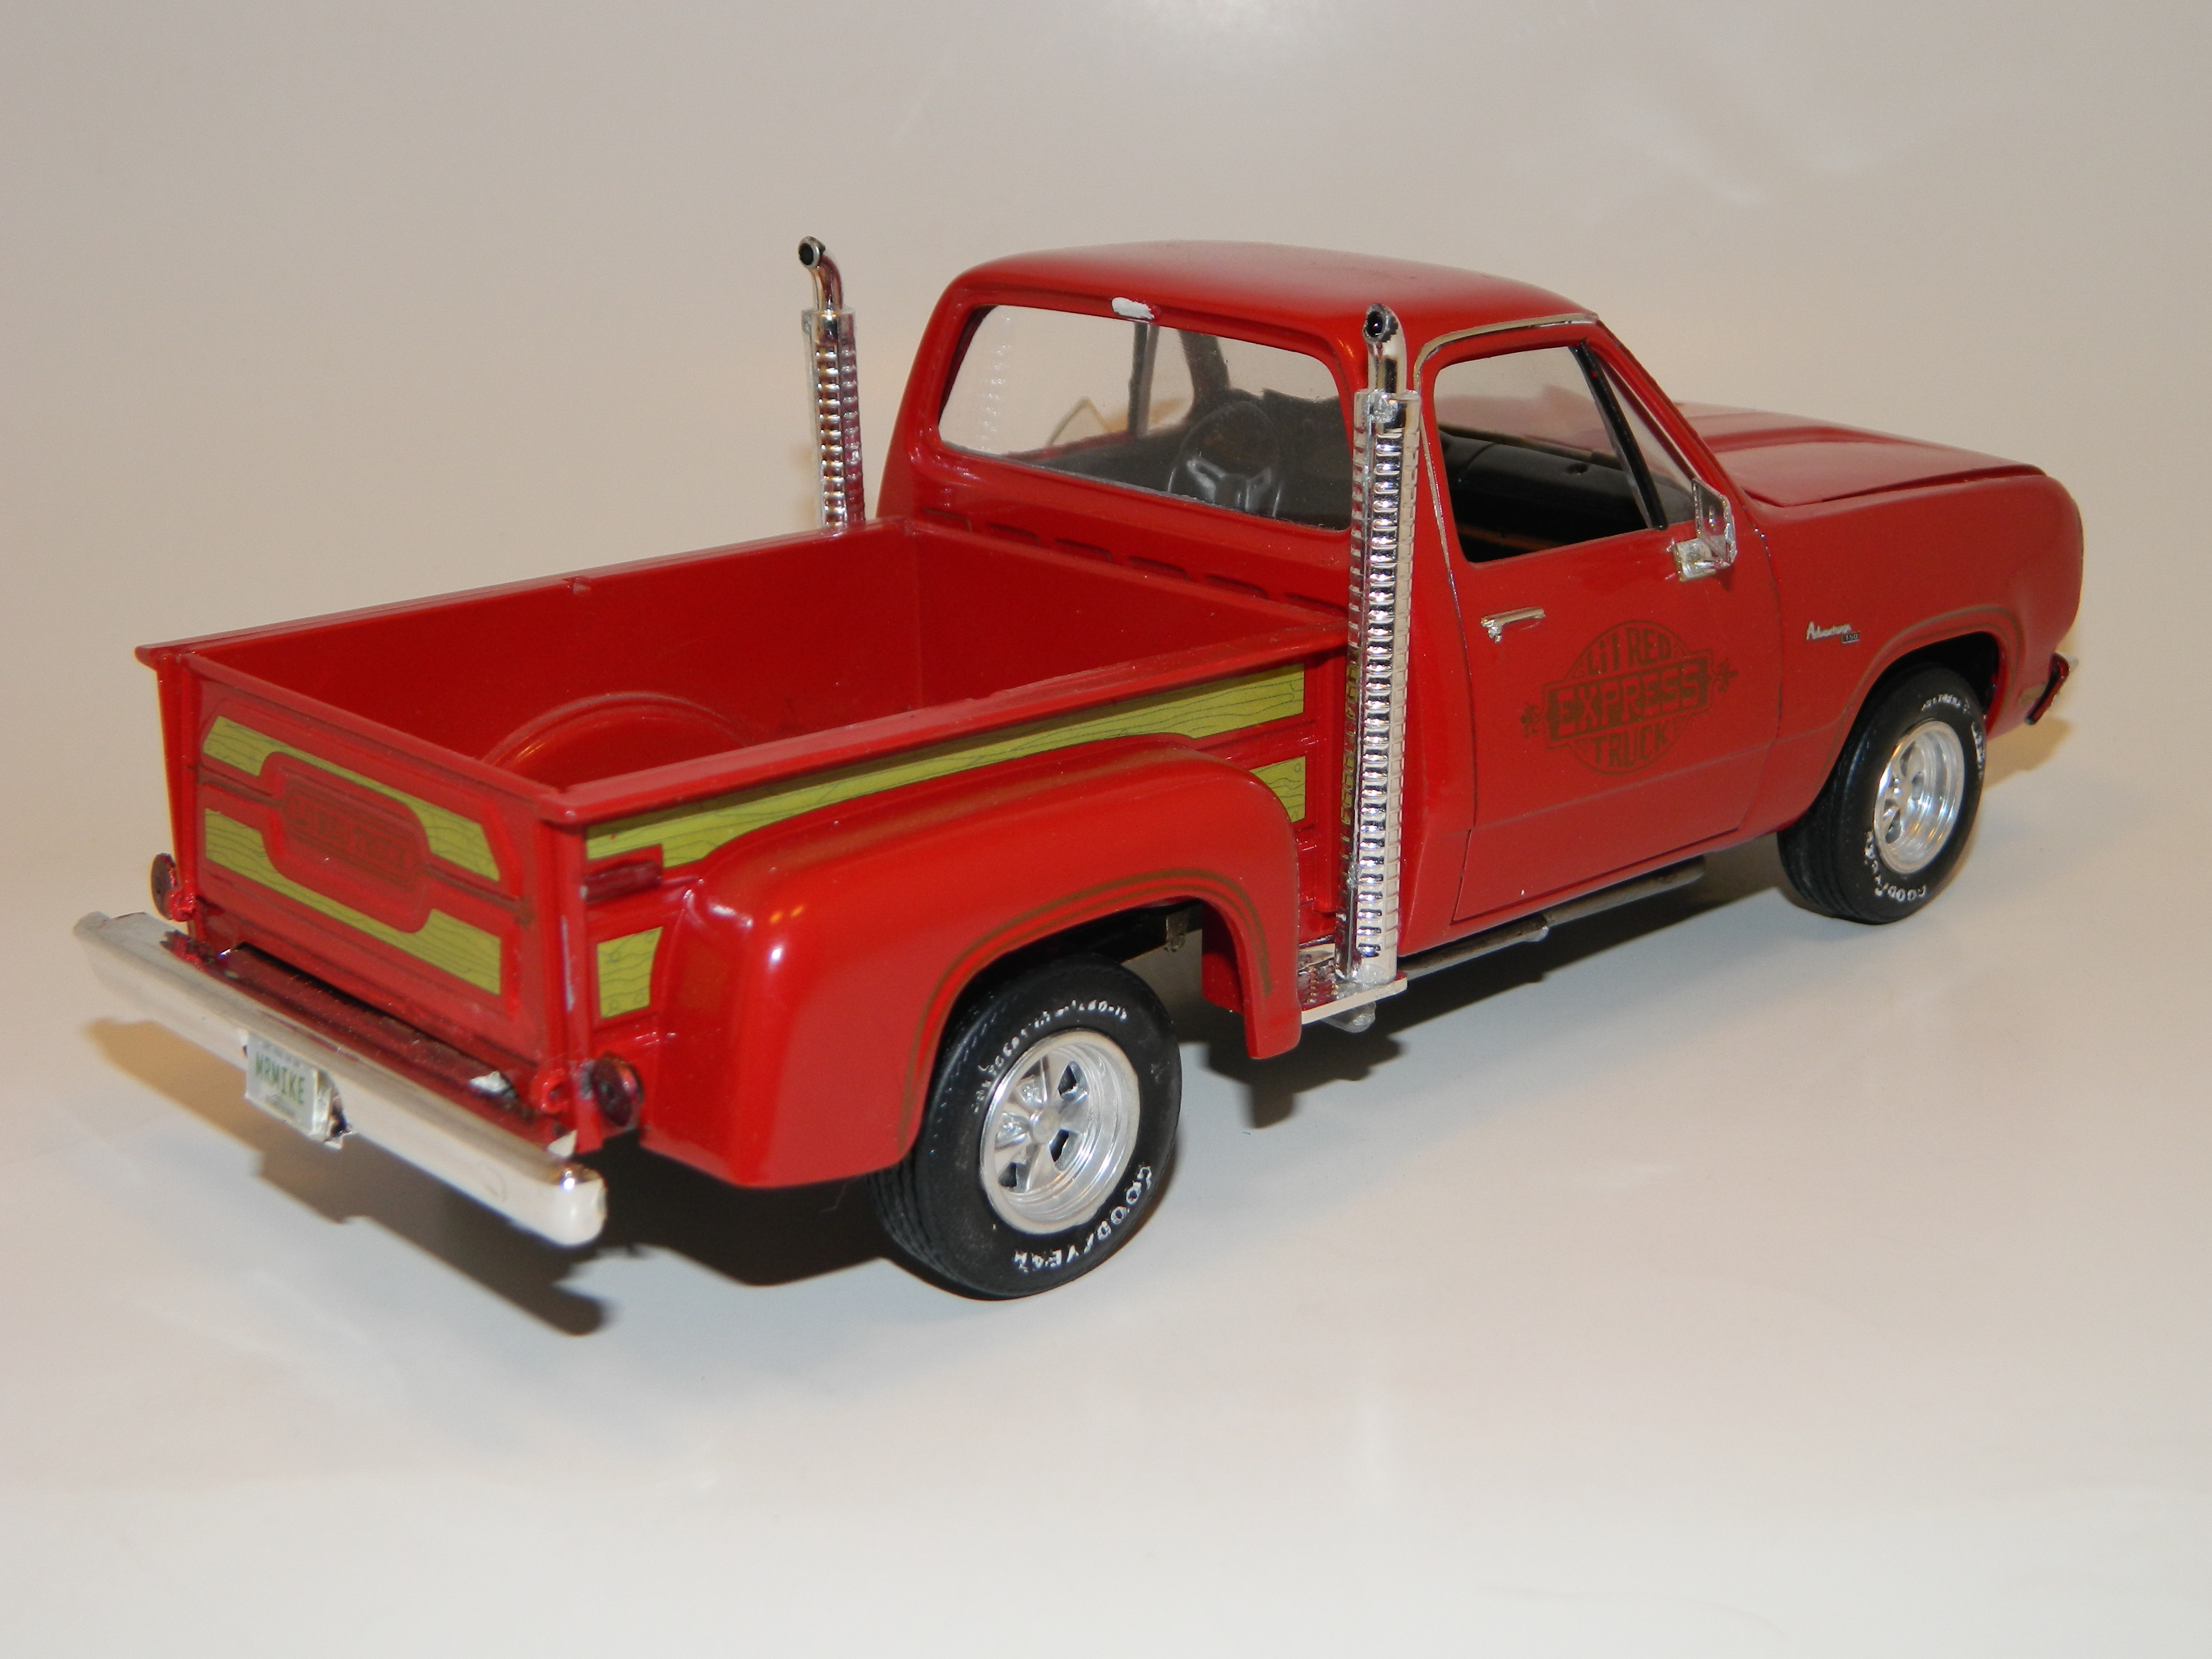
1978 Dodge Lil Red Express
mrmike replied to mrmike's topic in Model Trucks: Pickups, Vans, SUVs, Light Commercial
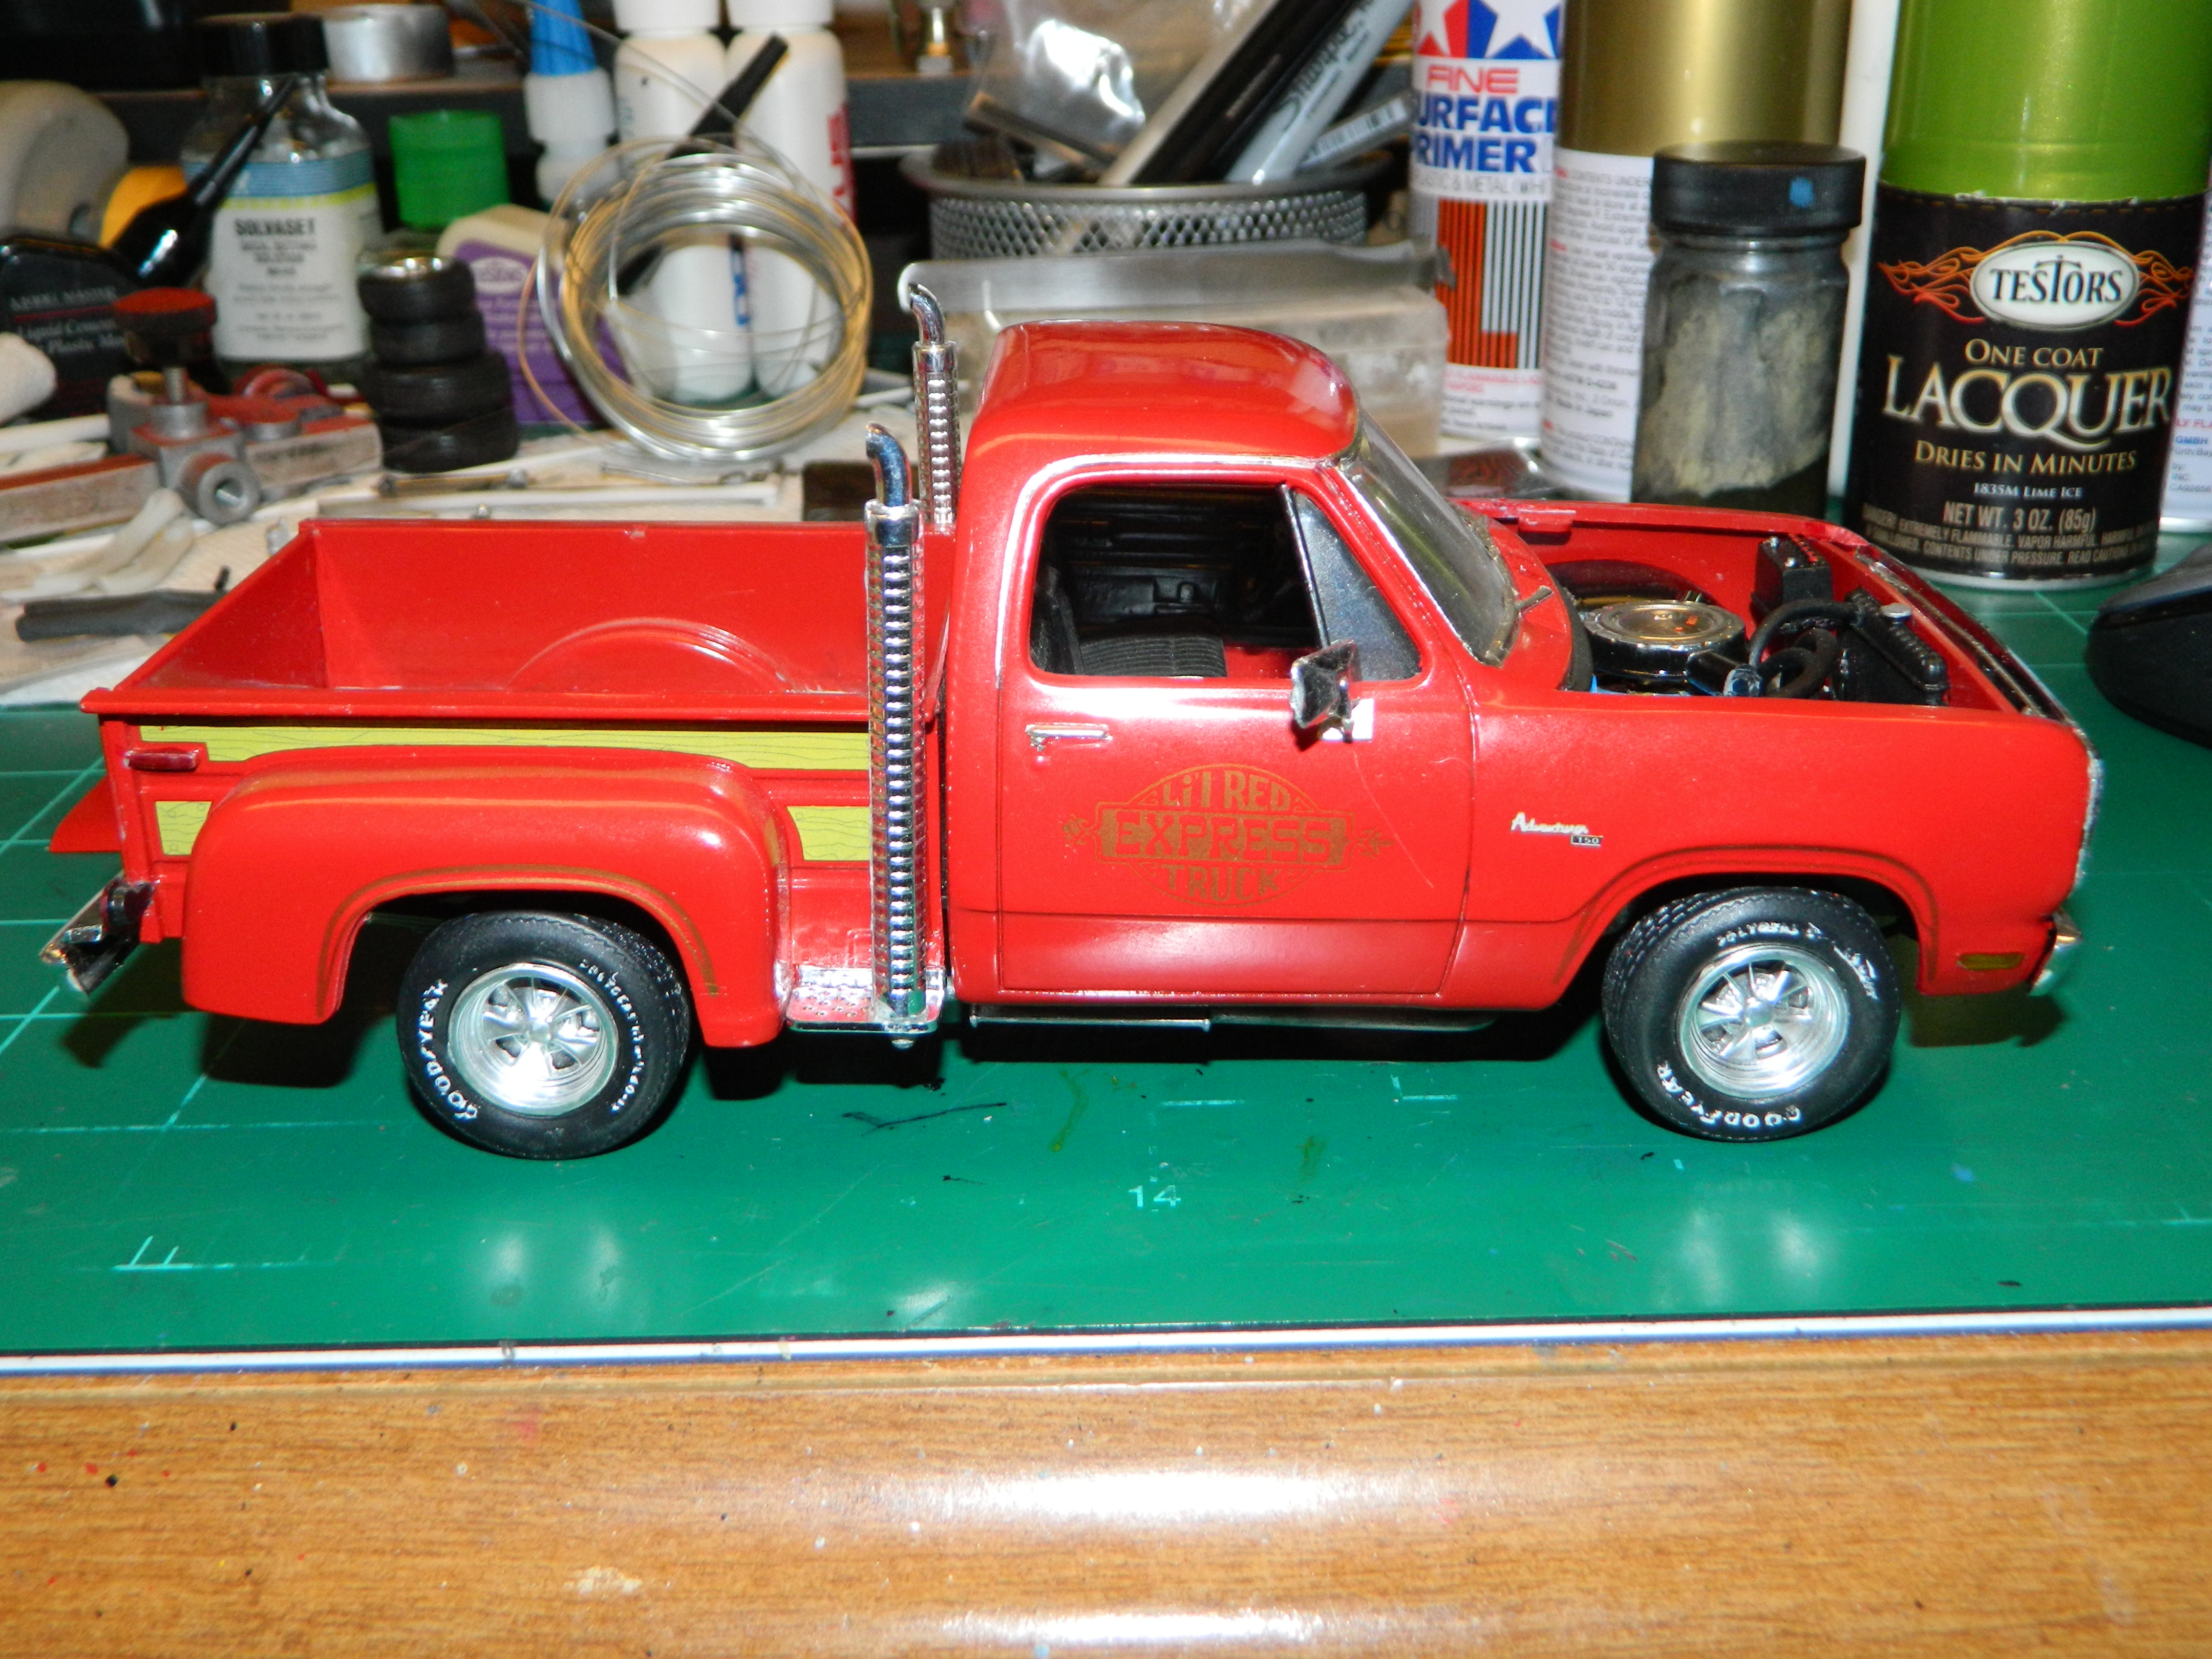
I built it 12 years ago and painted it with Model Master Chrysler Engine Red lacquer. -
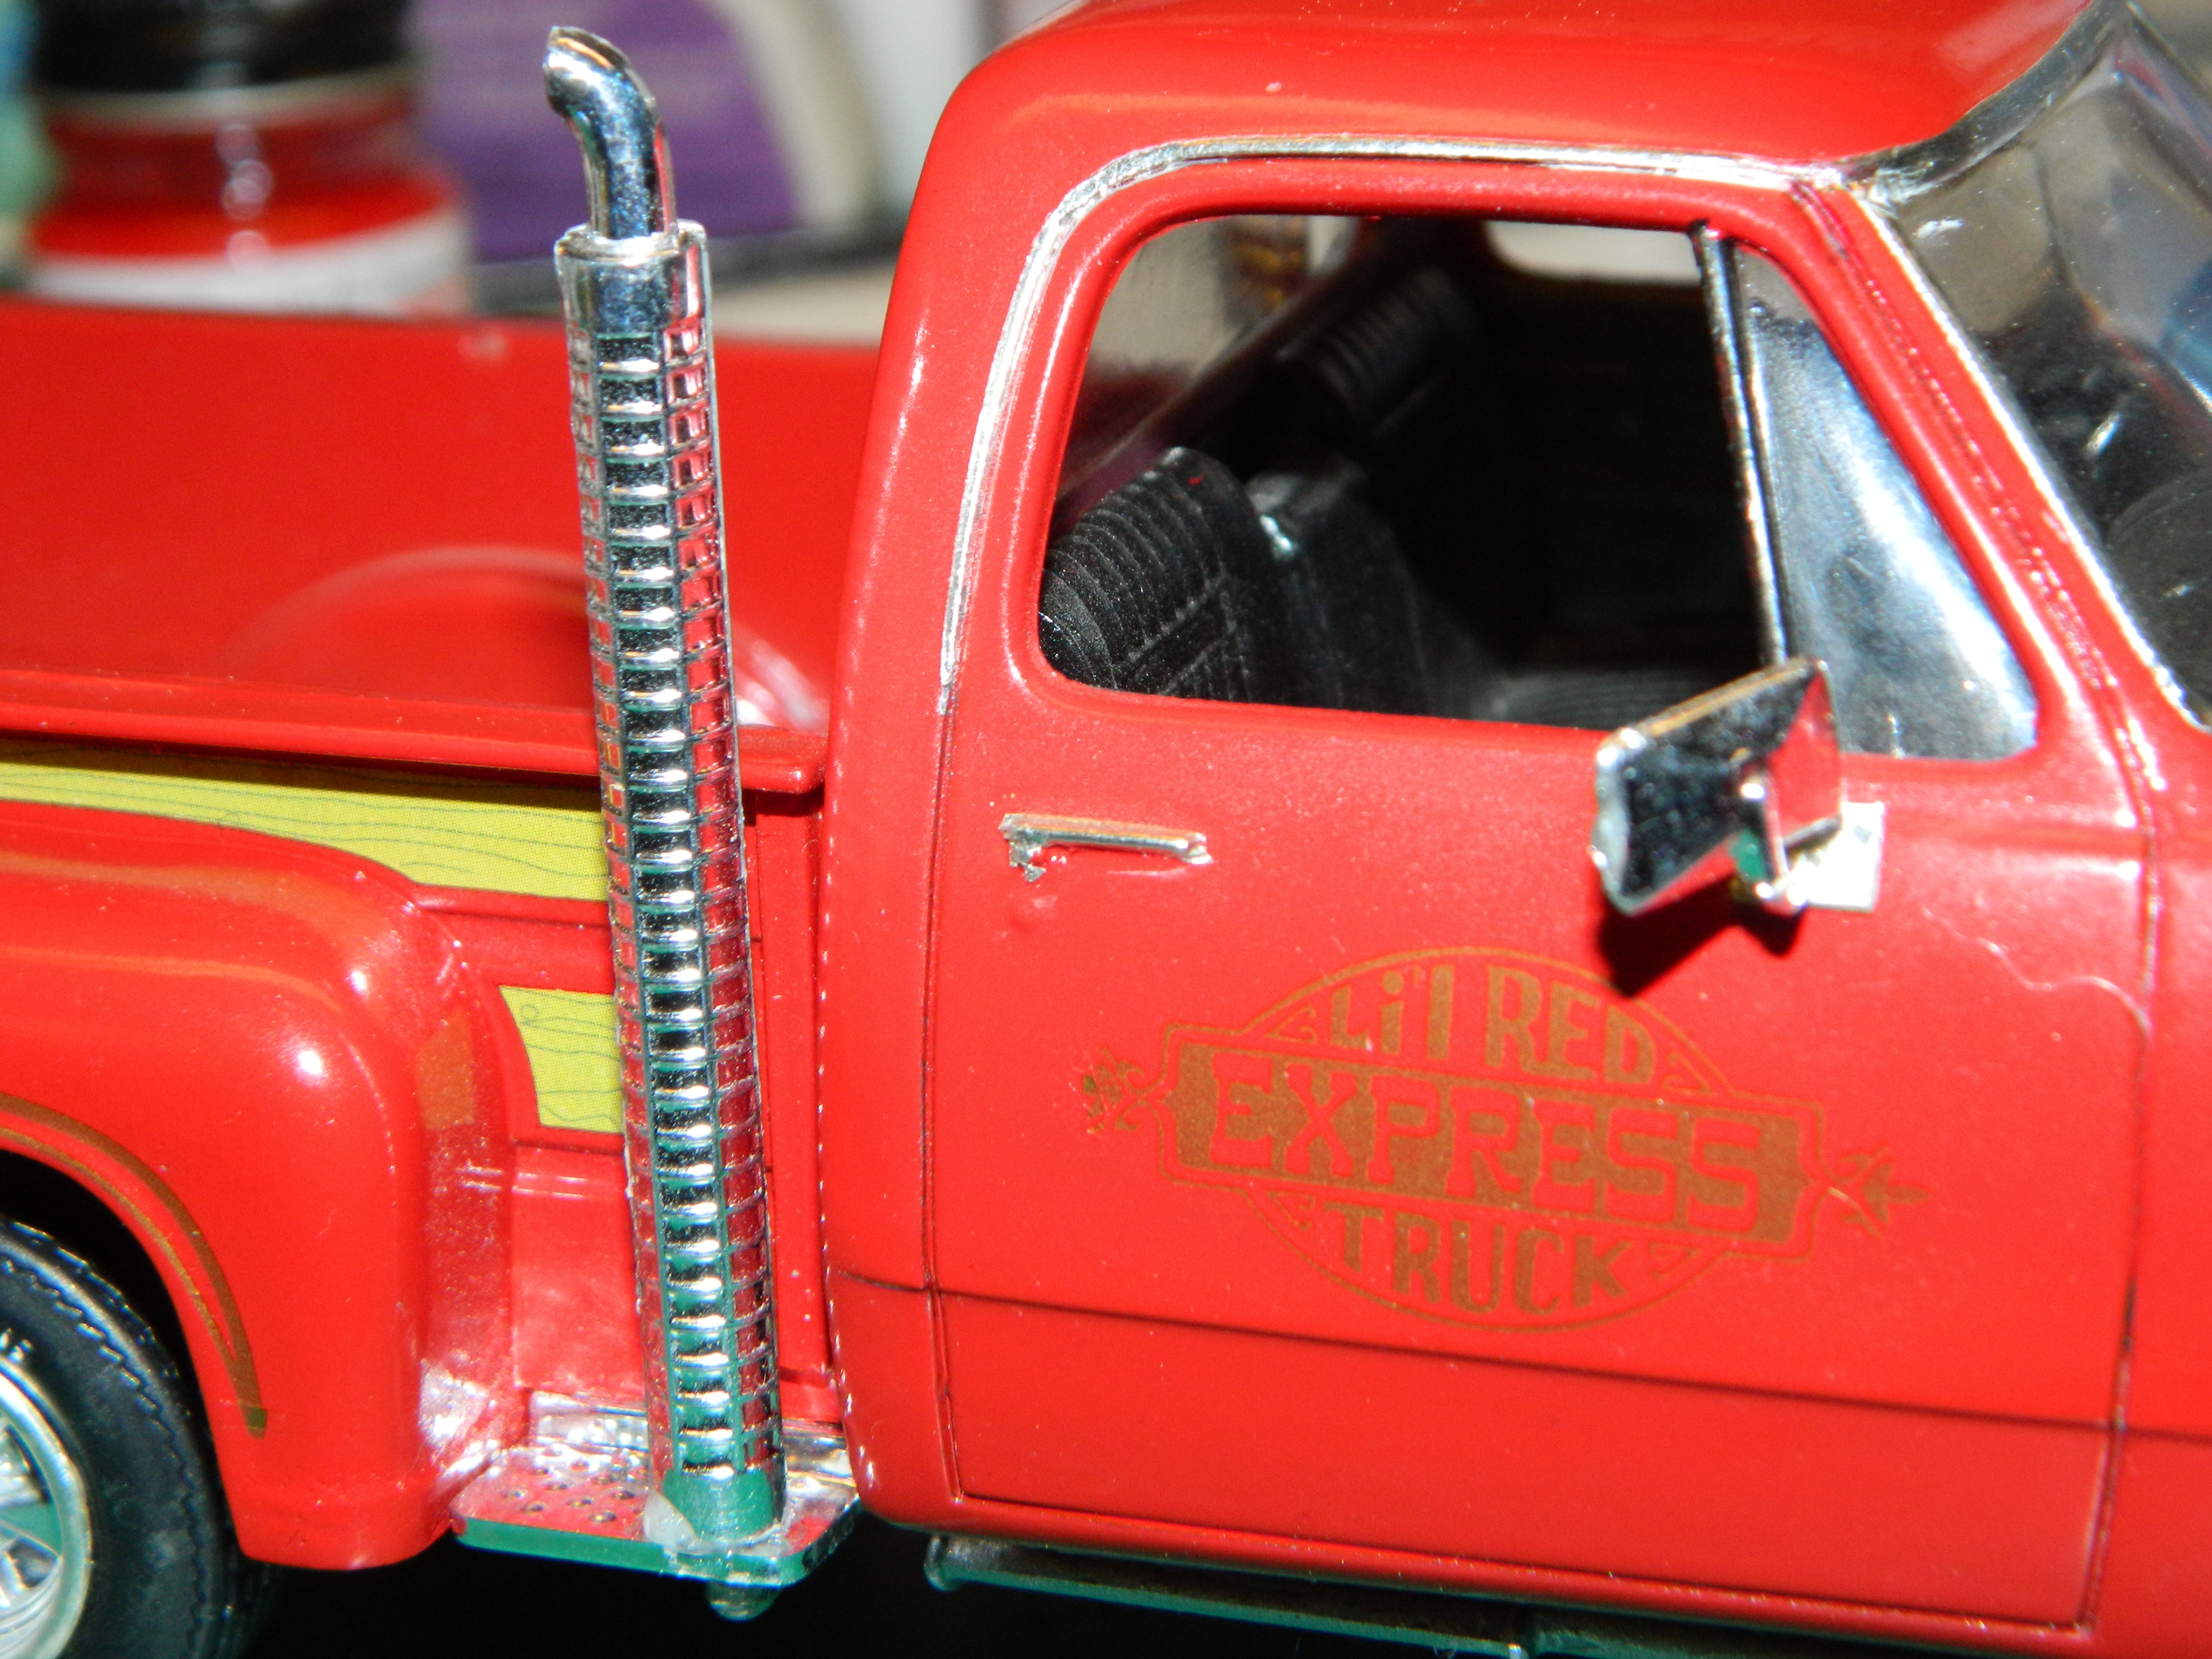
This is my rebuilt '78 Dodge Lil Red Express.

-
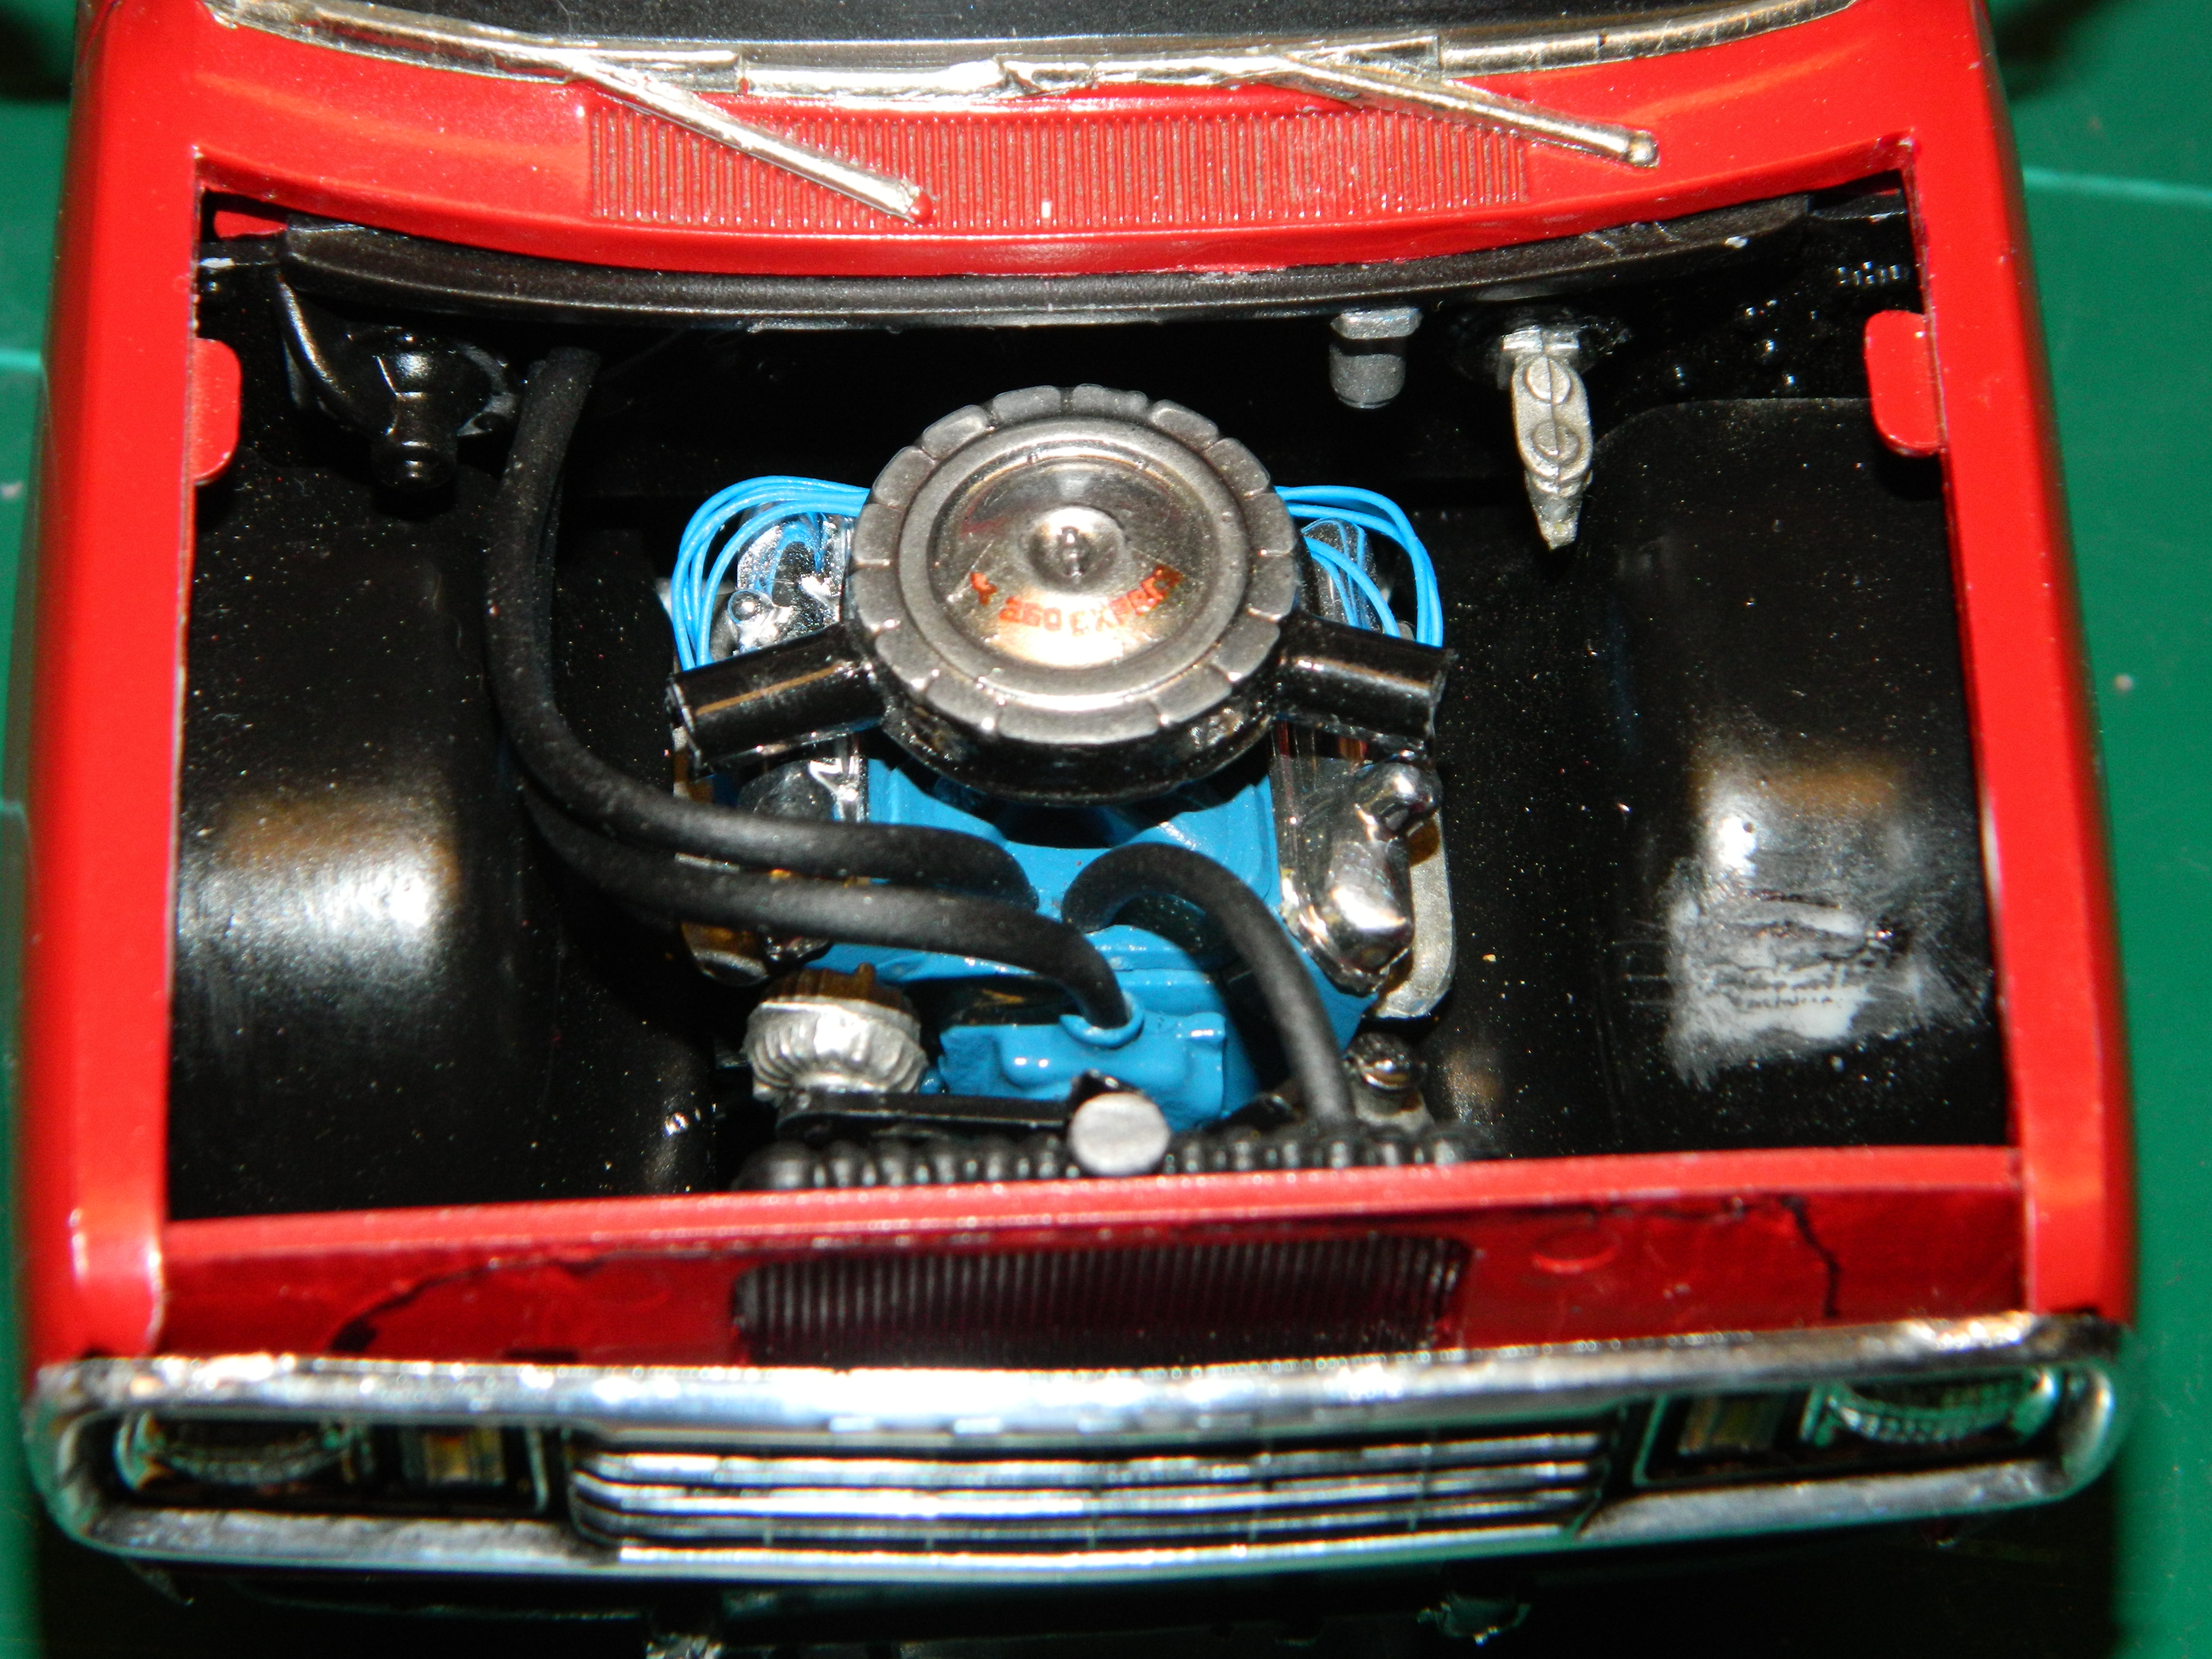
AJ, nice LRE! I tried to convert the 440 CID engine into a 360 by mounting the distributor on the back of the intake. Who would ever notice the size of the engine block? If I knew then what I know now, the engine might look a little different. Even with the Hi-Po 360, these were quick!
-
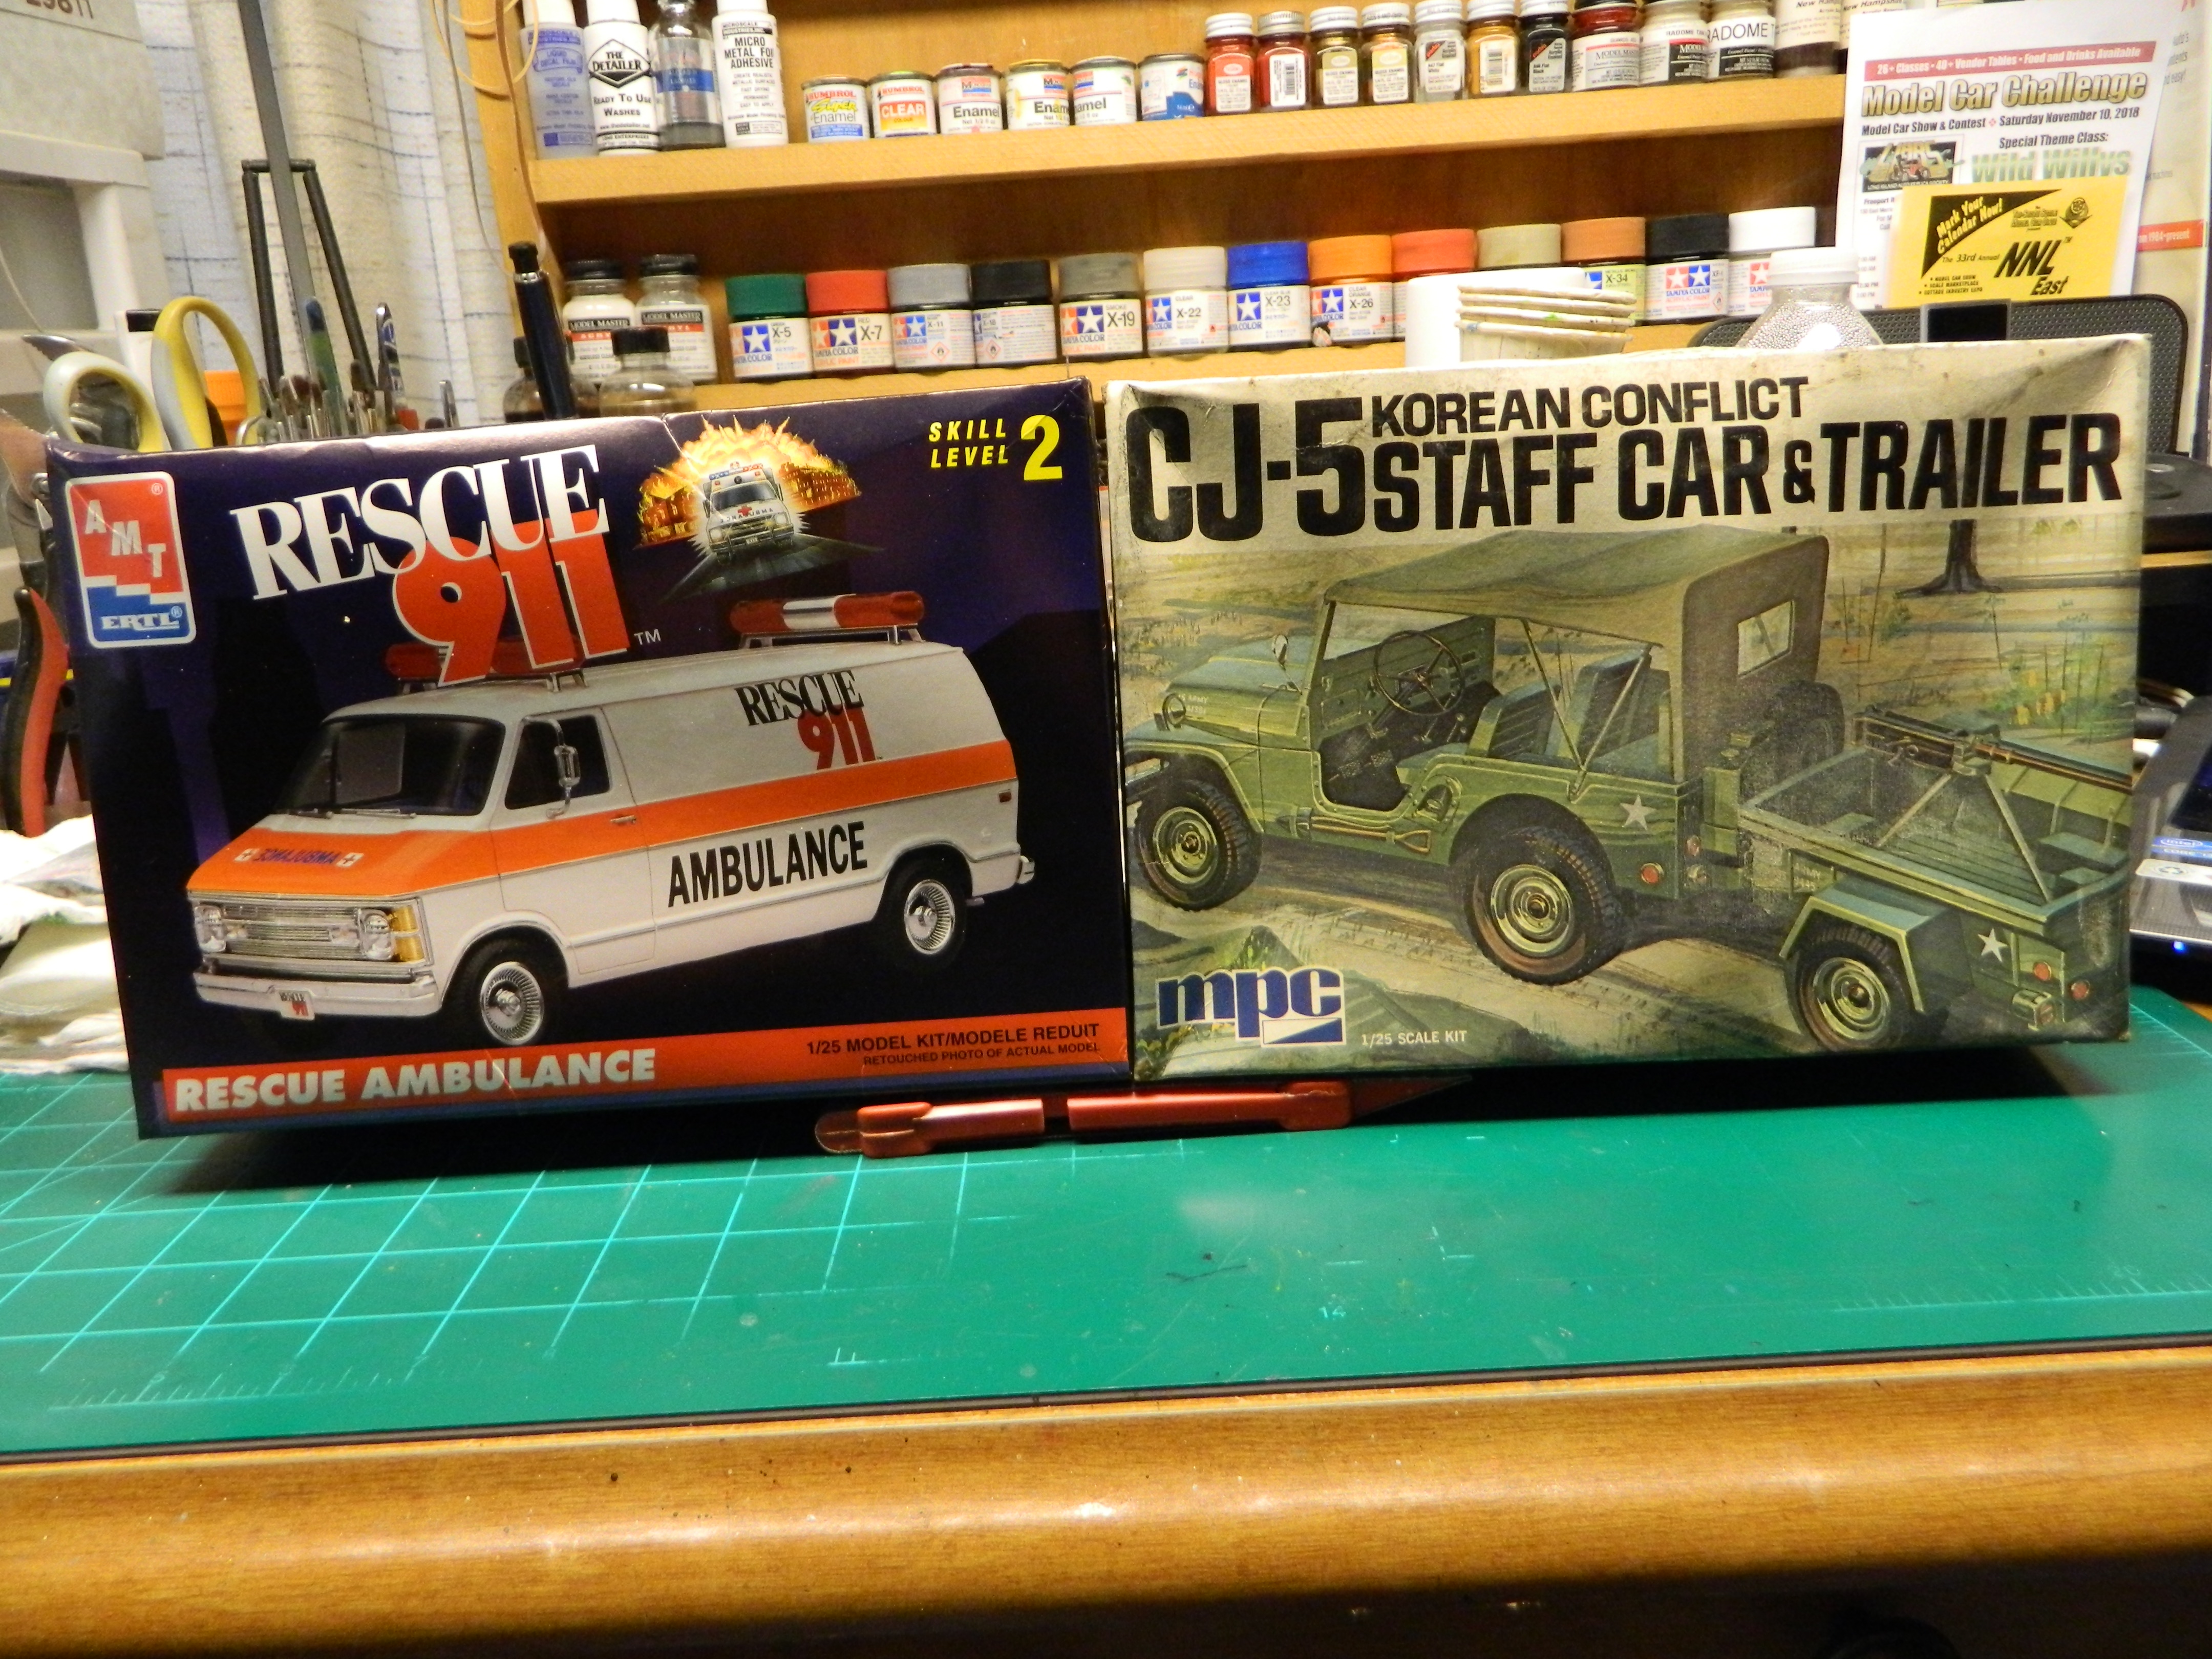
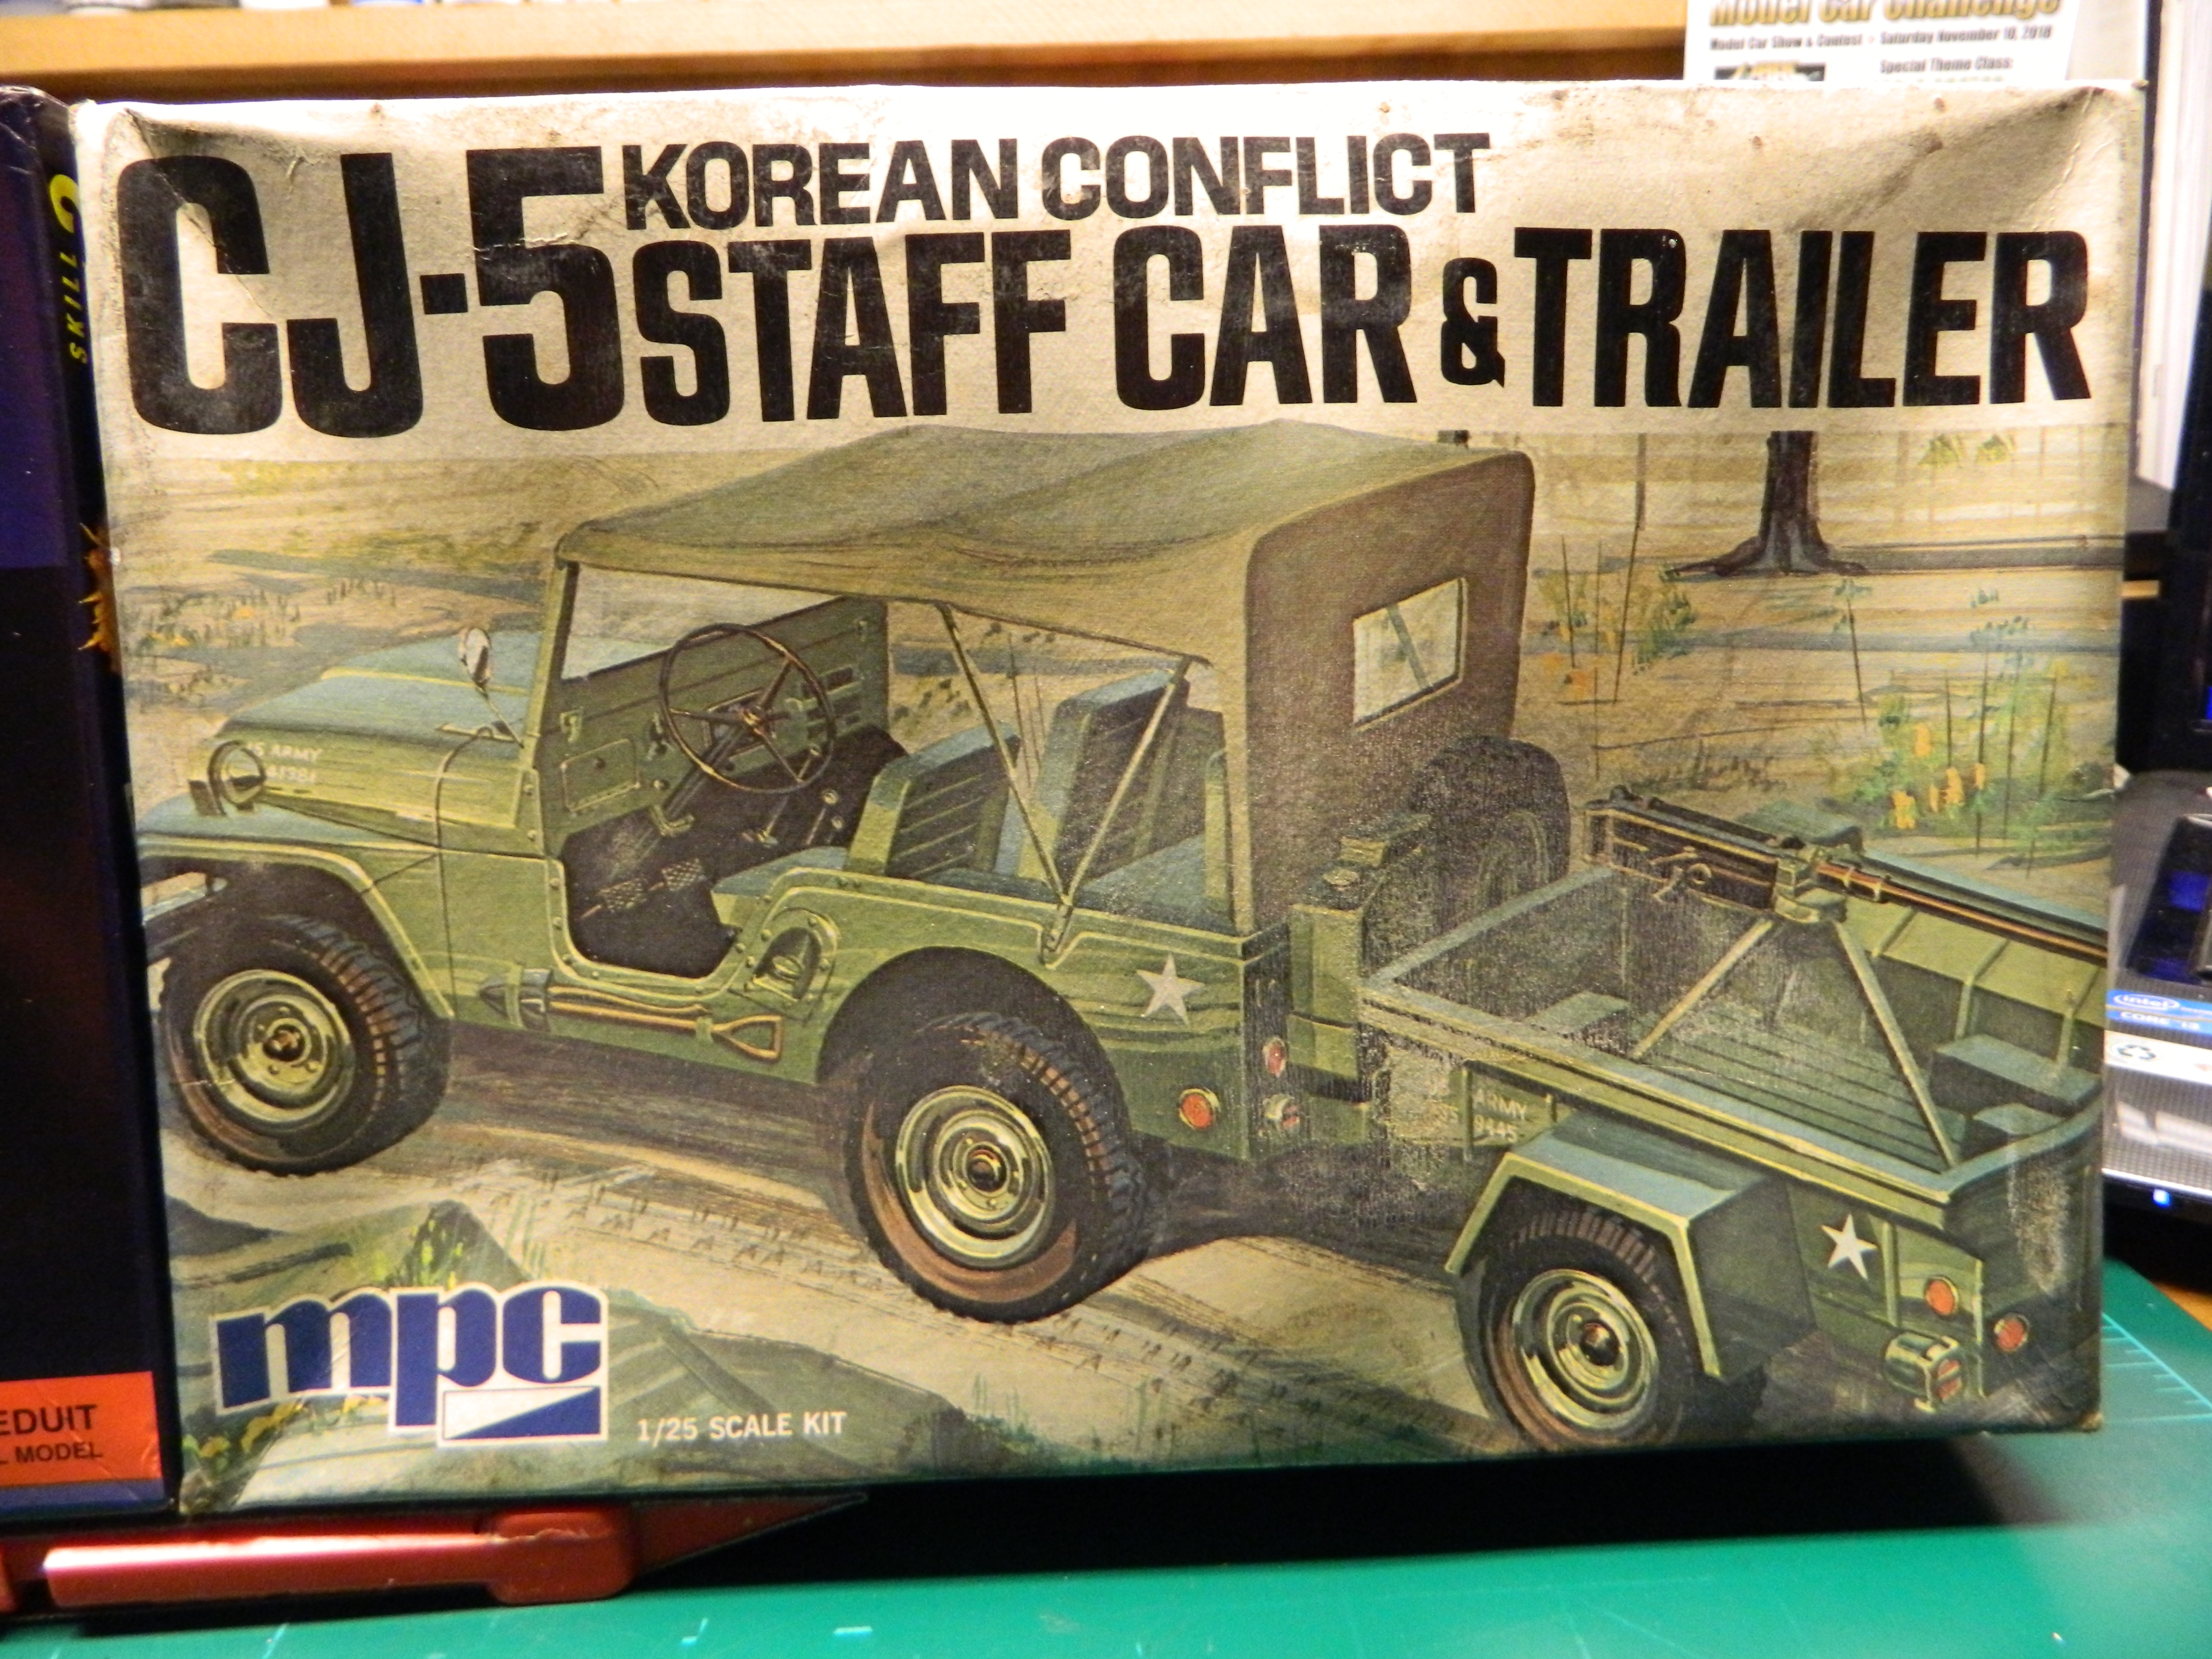
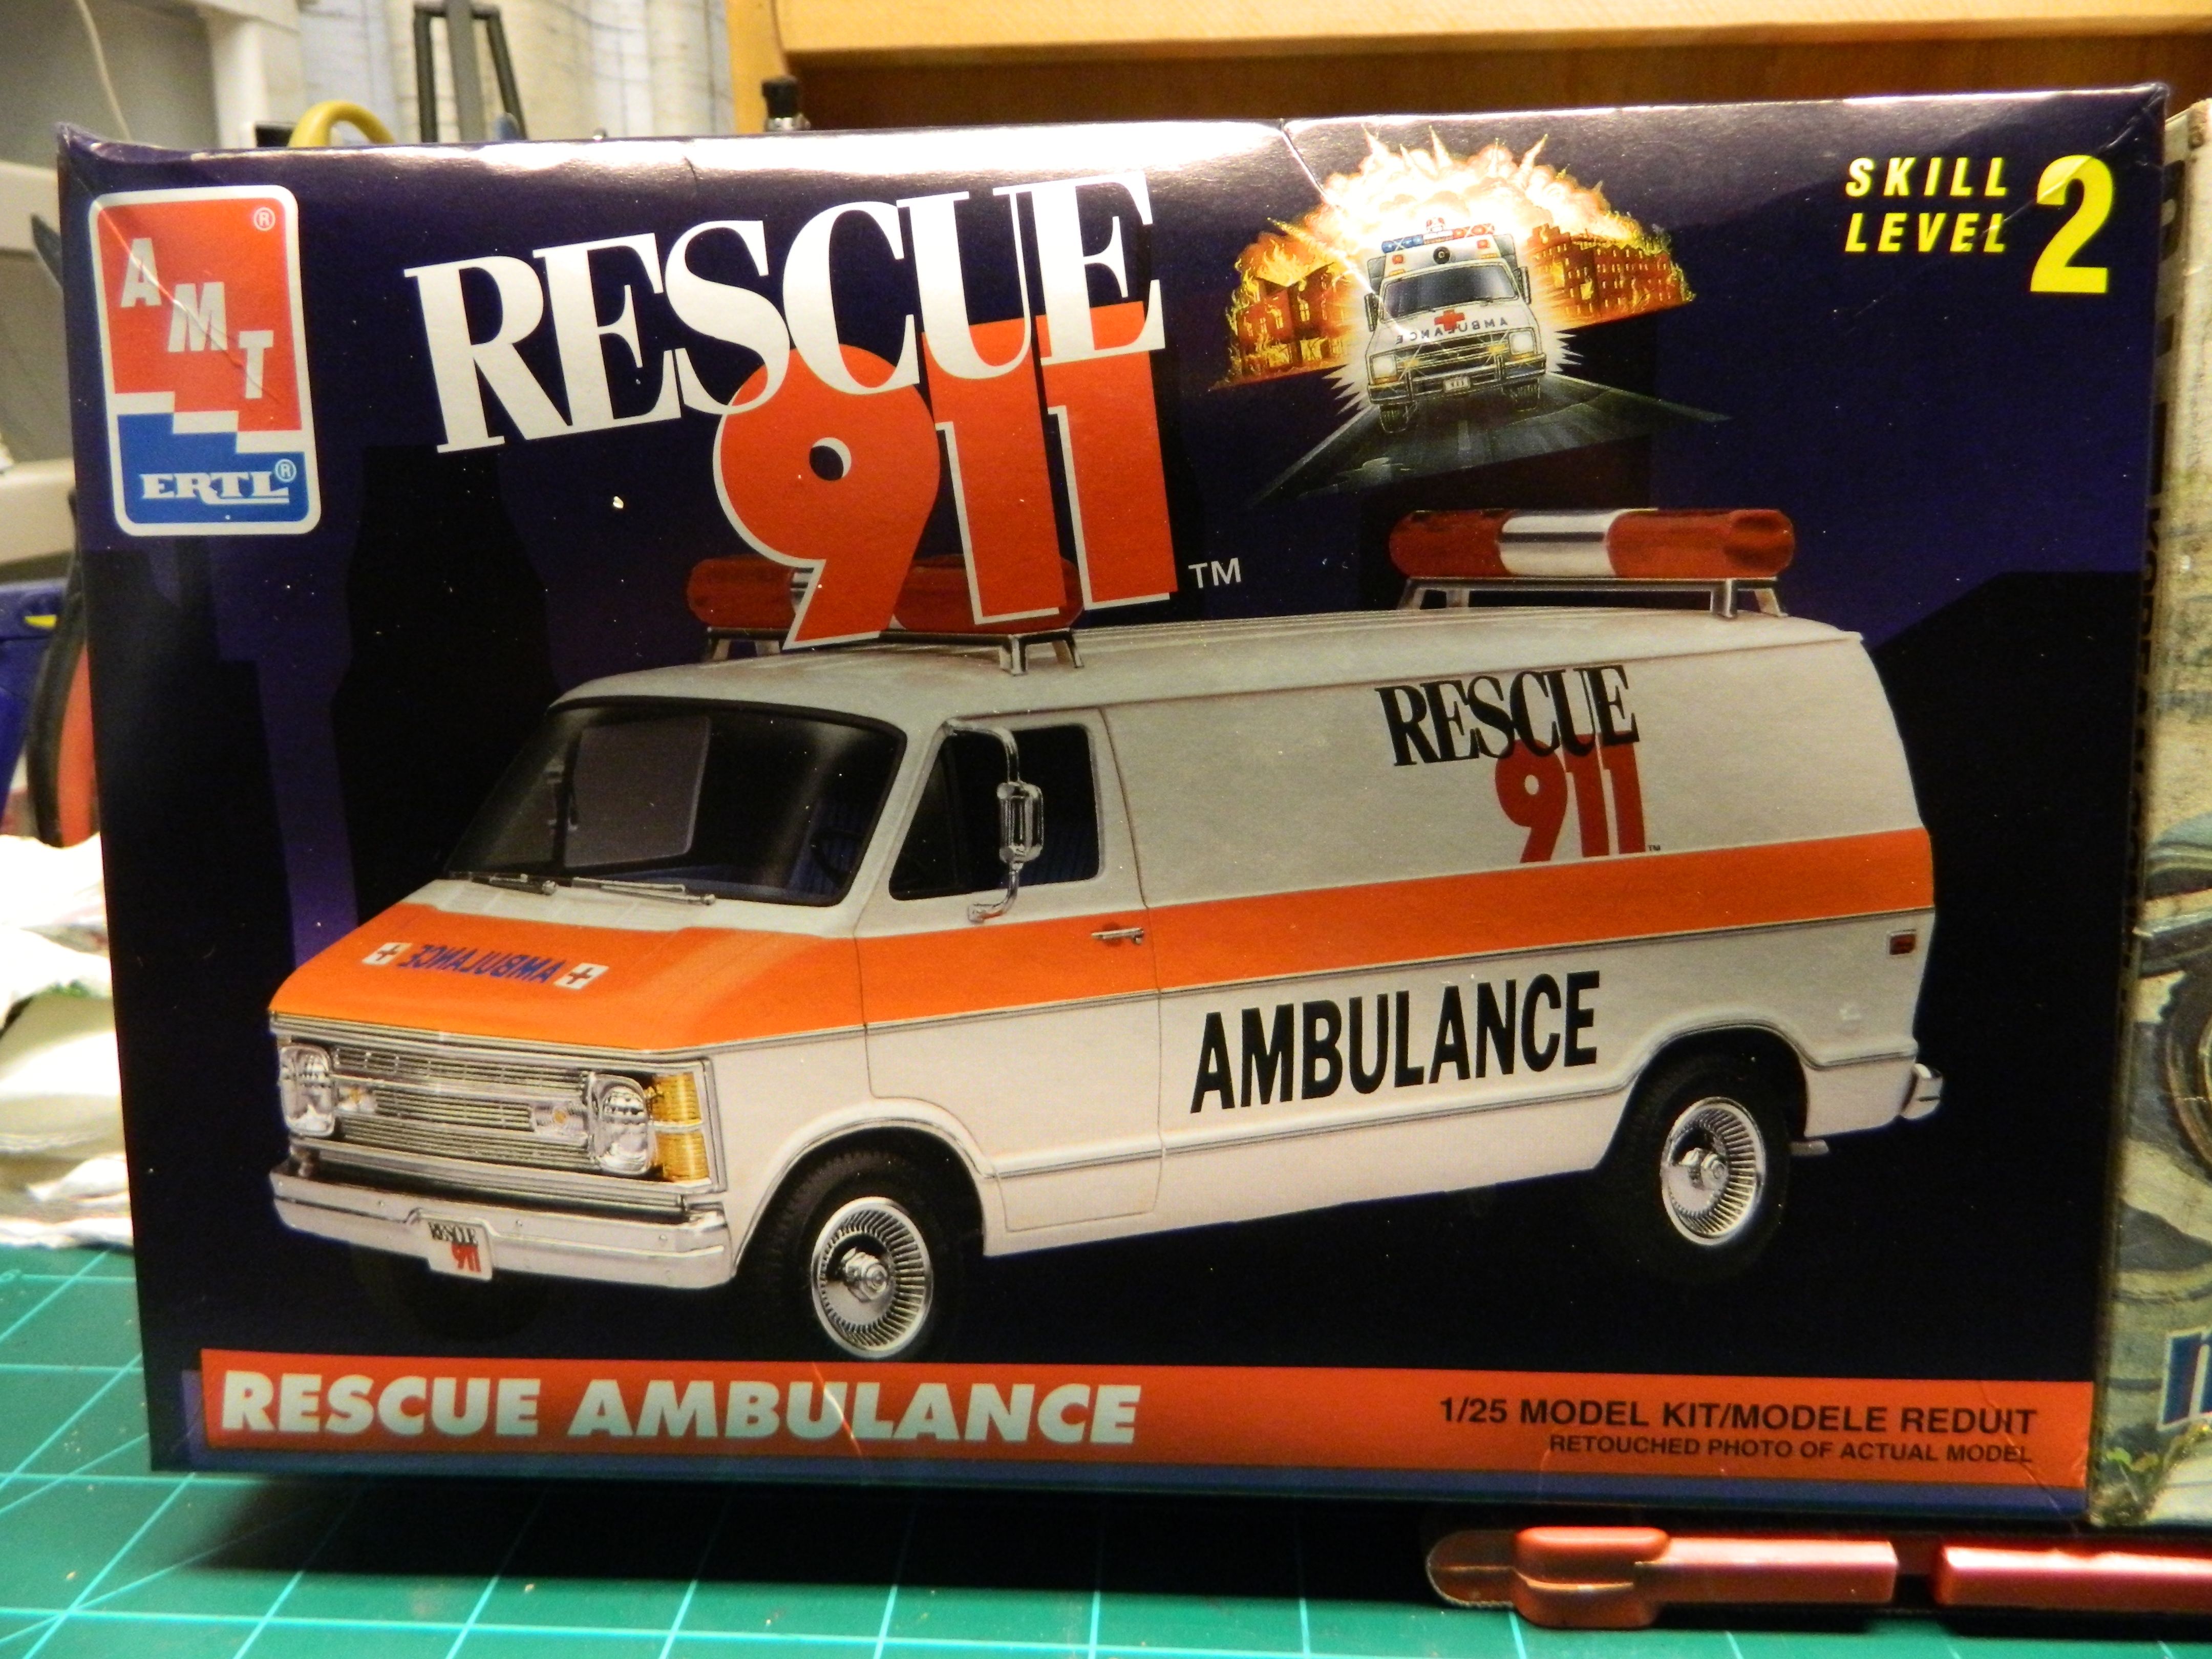
I got these two kits from an auction of a recent Club member's passing. I was the only bidder for these.
-
I spent a few minutes on the LRE this morning. The mirrors have been remounted. The mirror on the passenger side gave me the most trouble. I ended up drilling a hole through the base plate and into the door for the mirror. Now it's not going anywhere! Still need to do some work on the engine compartment. More to come...
-
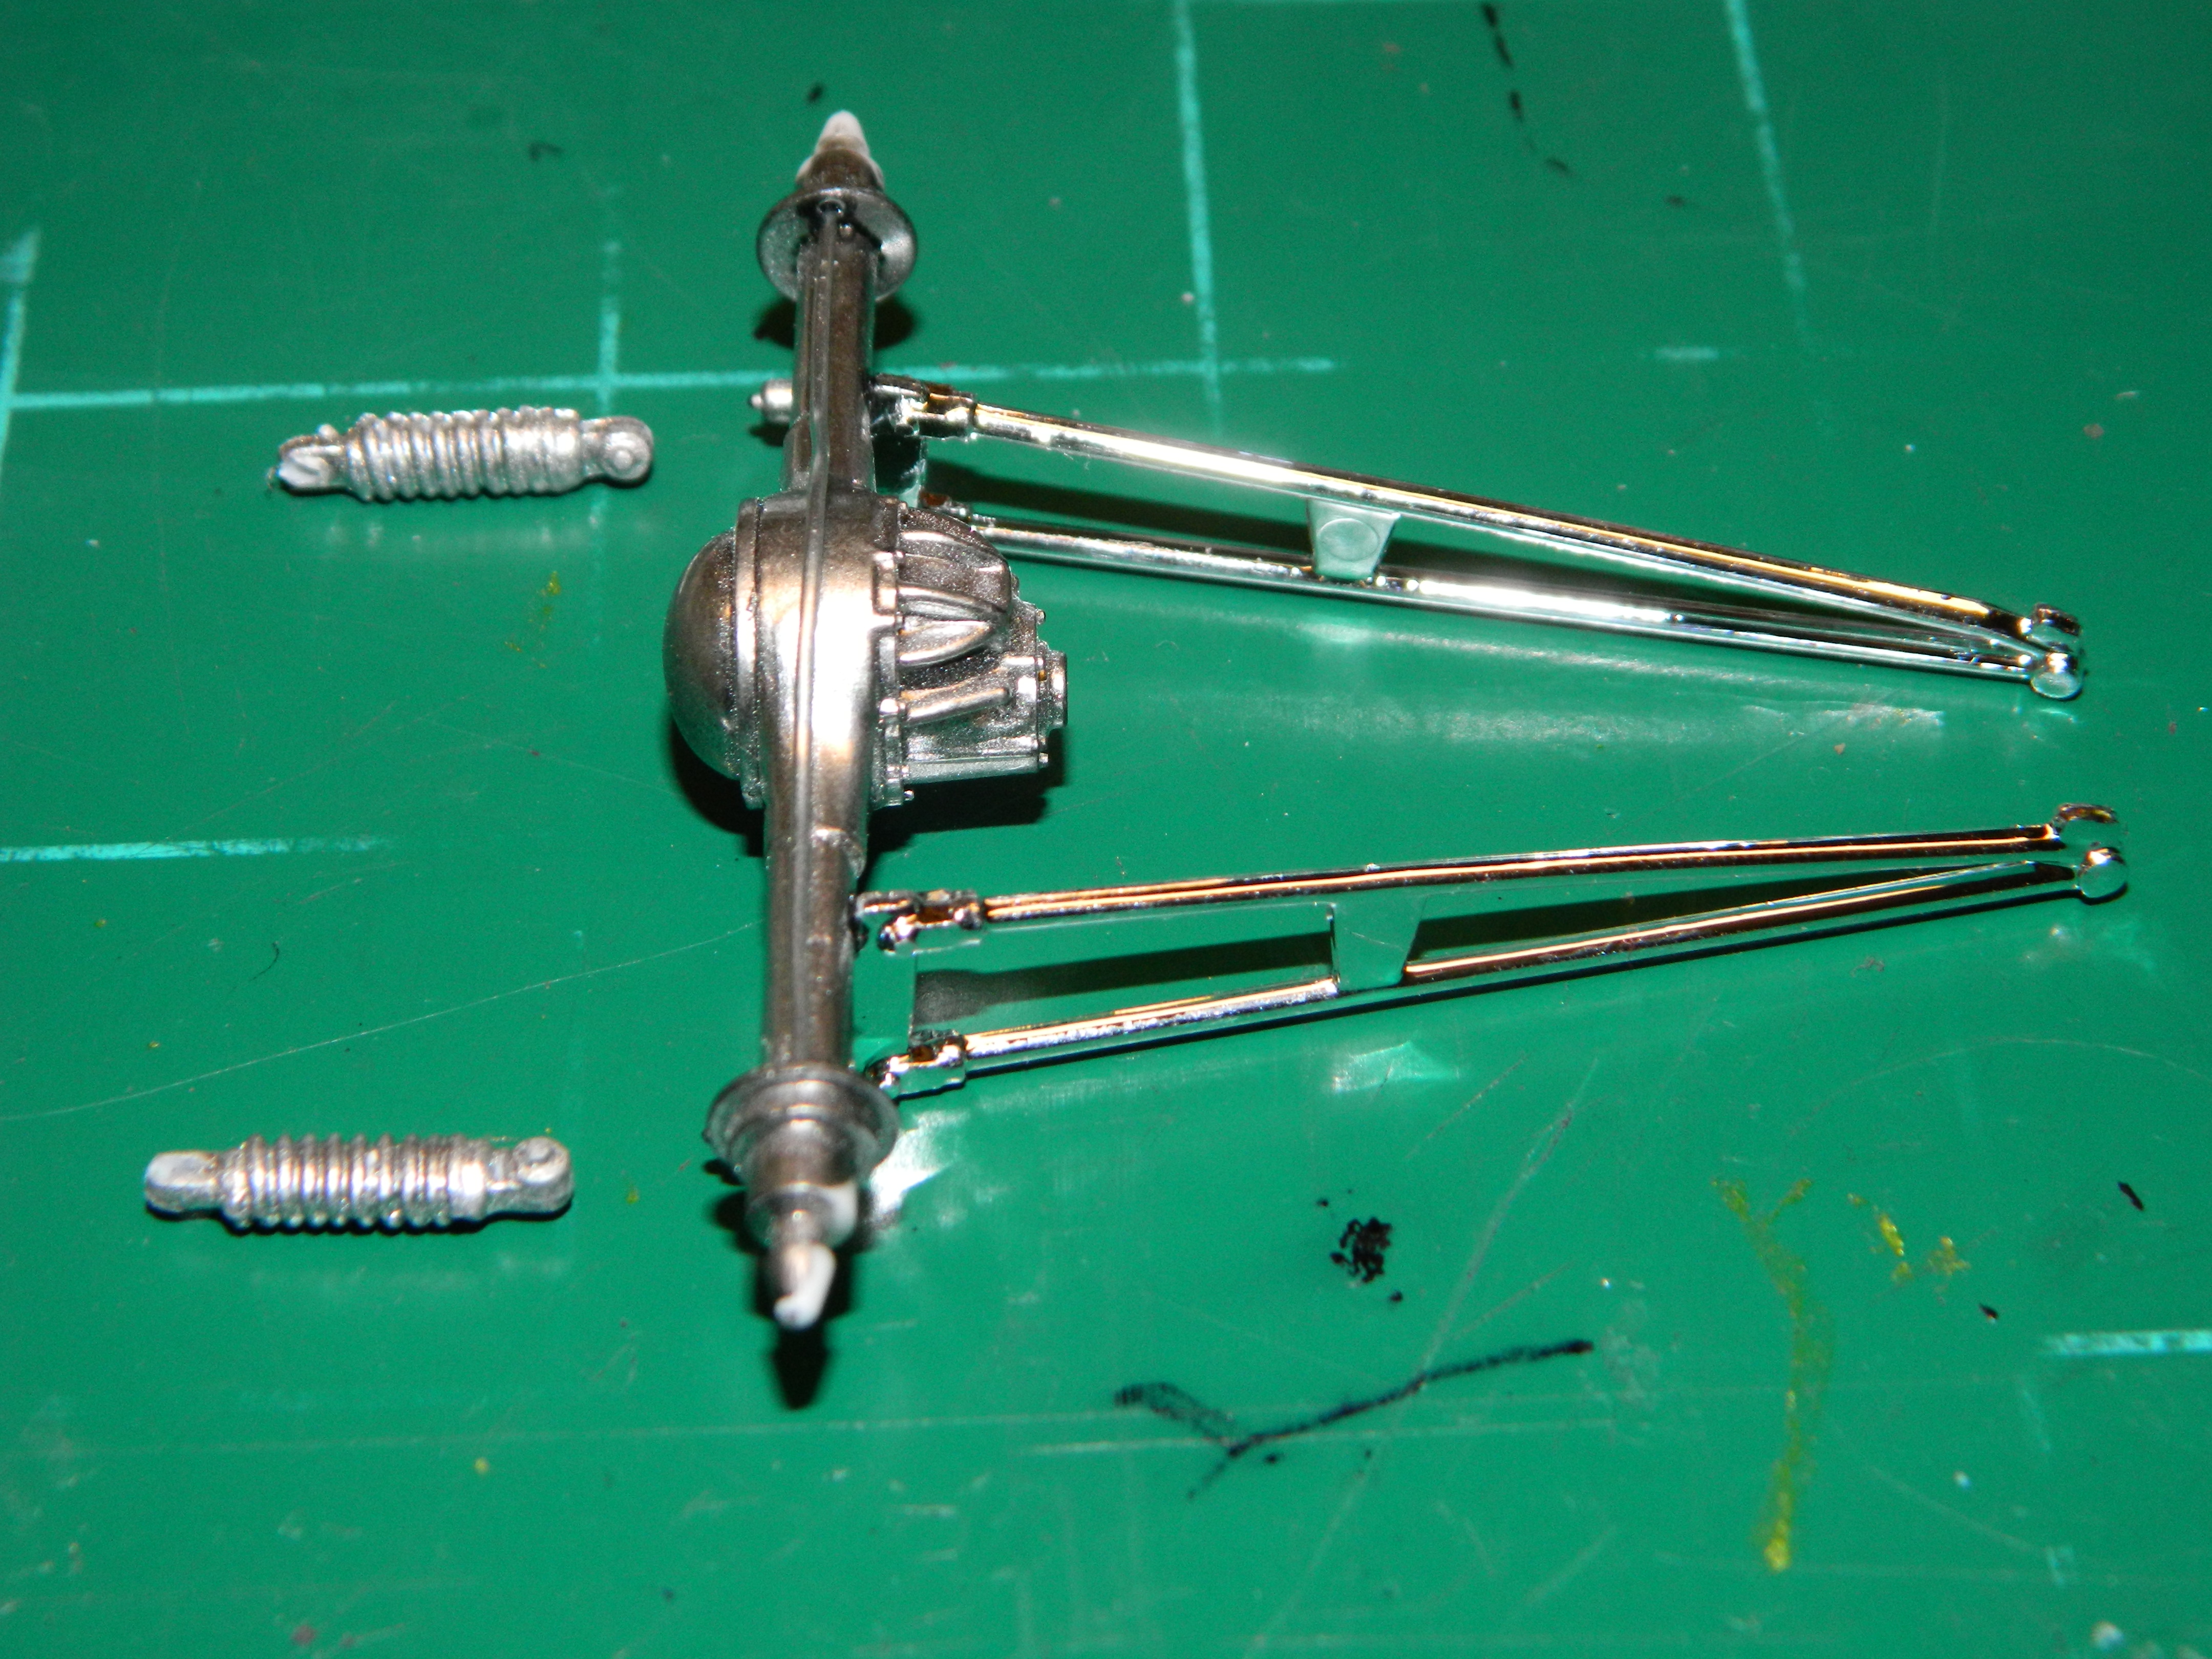
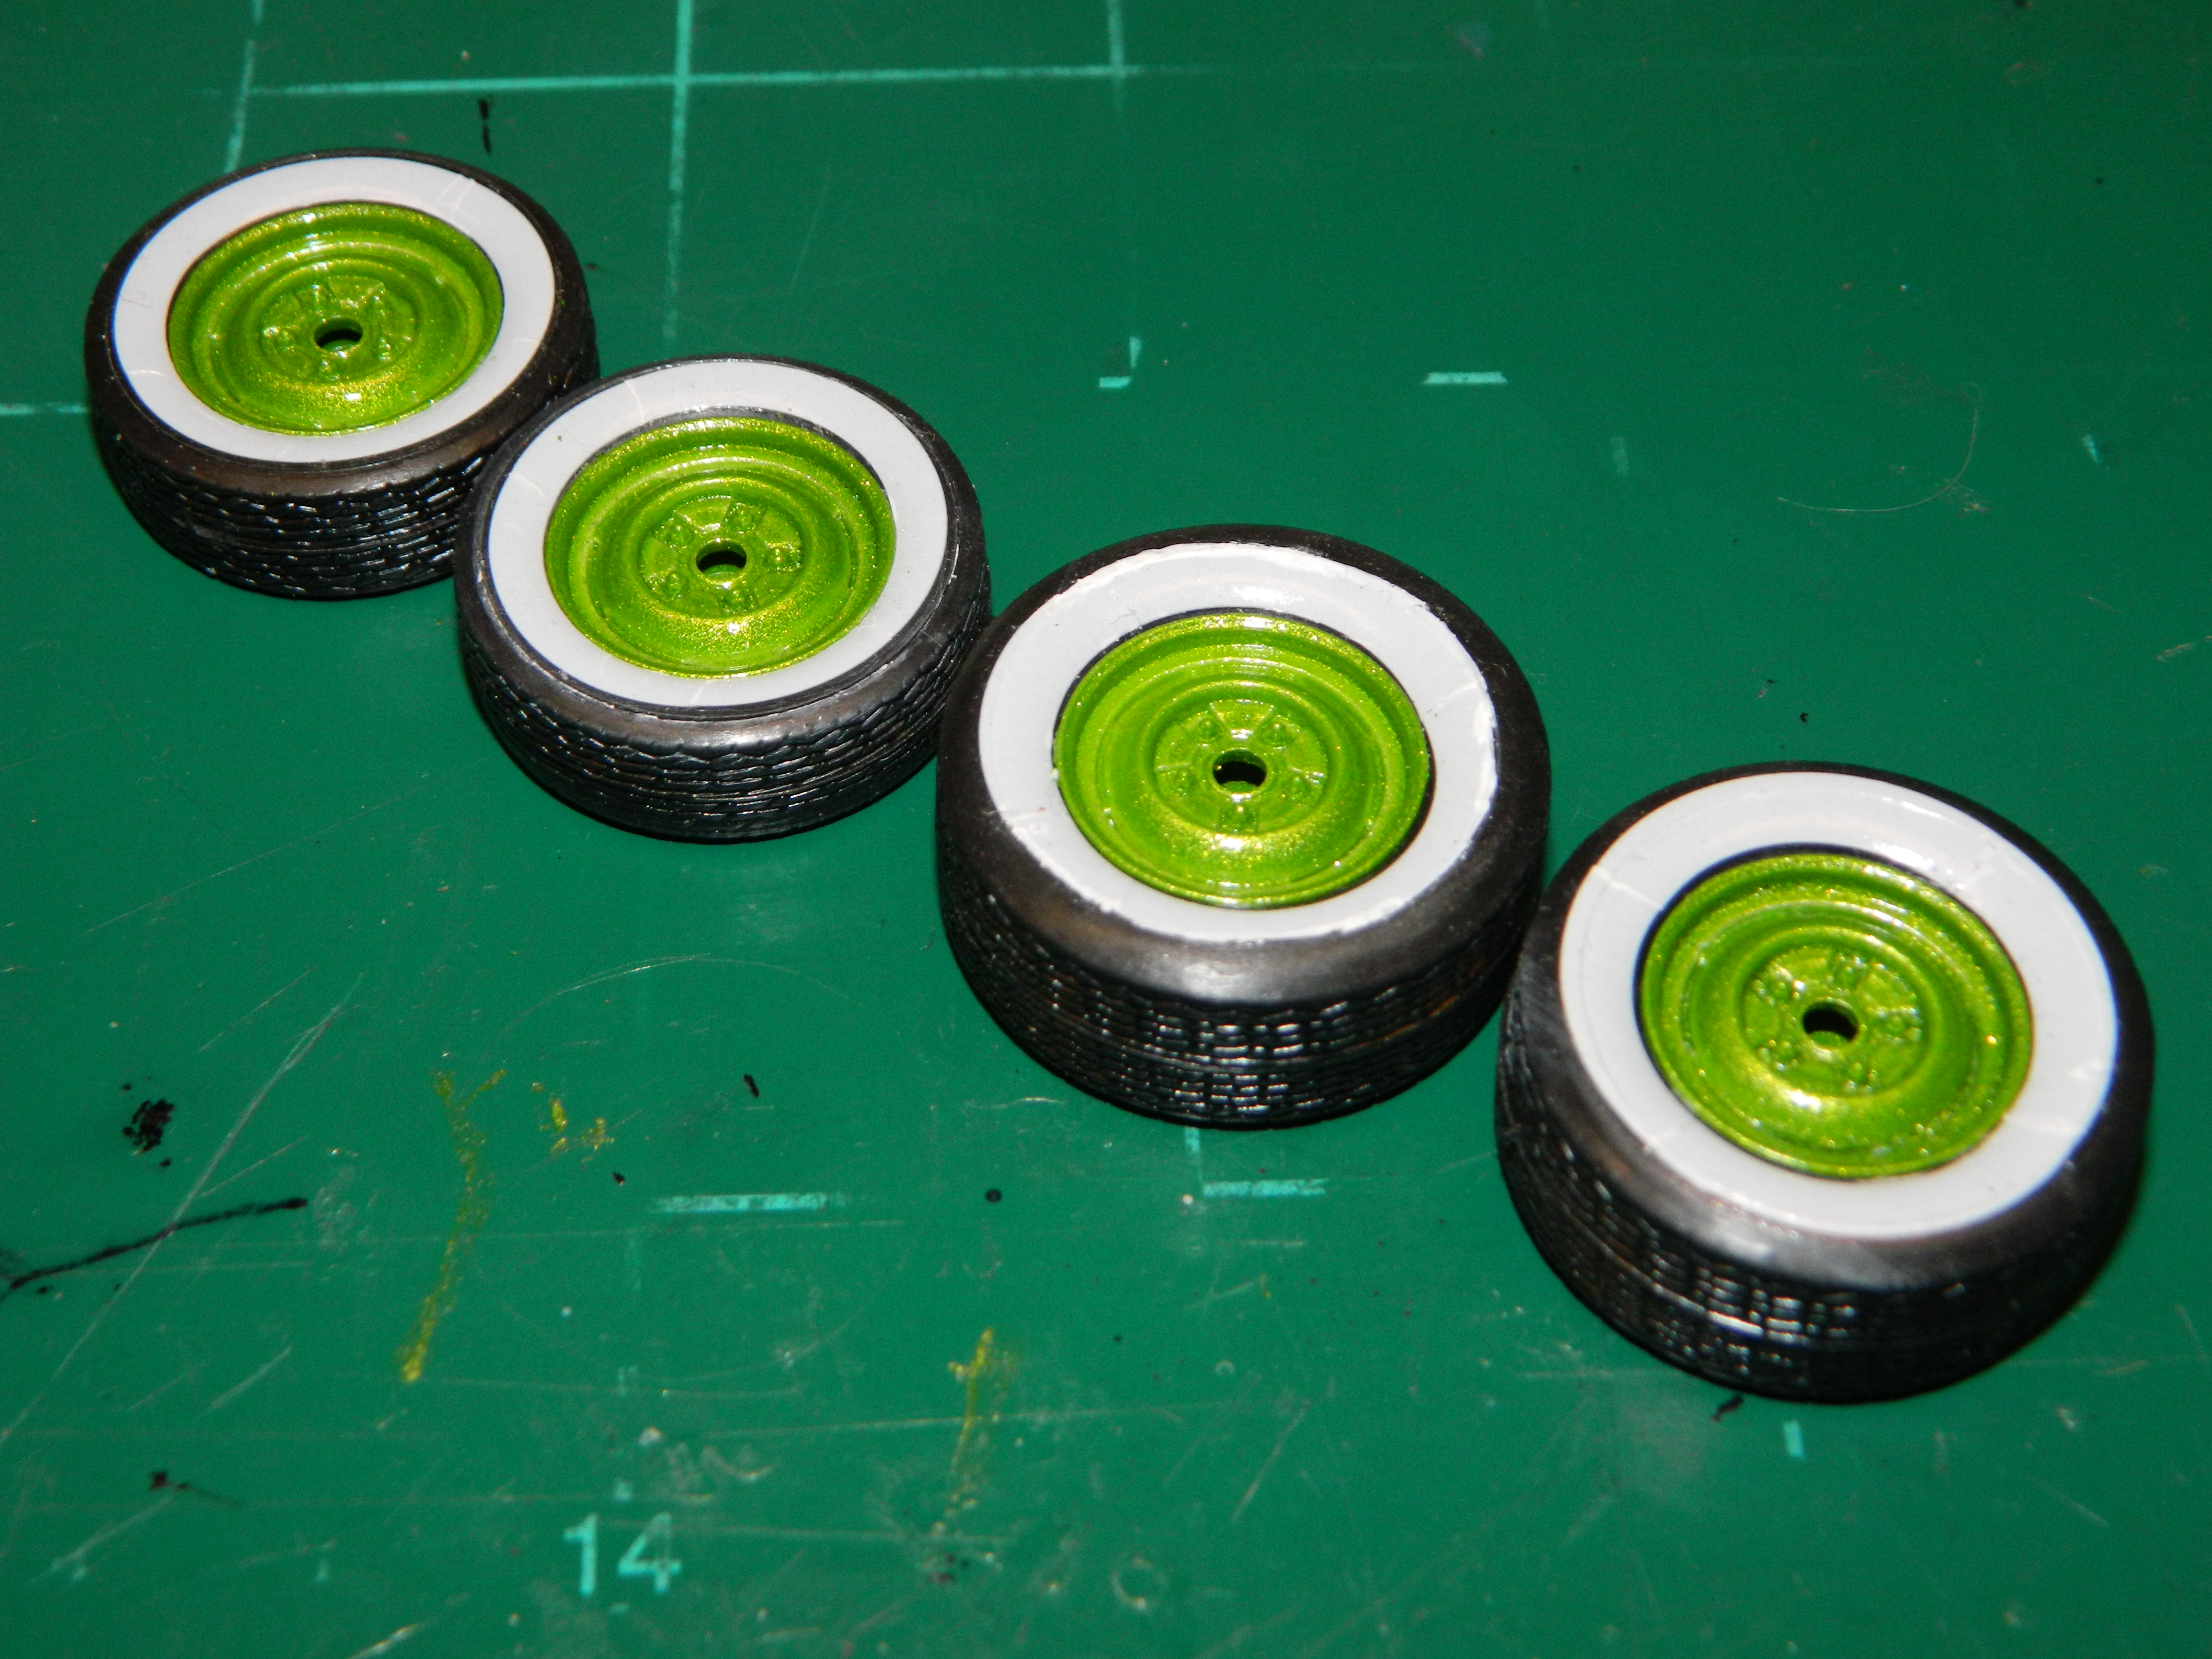
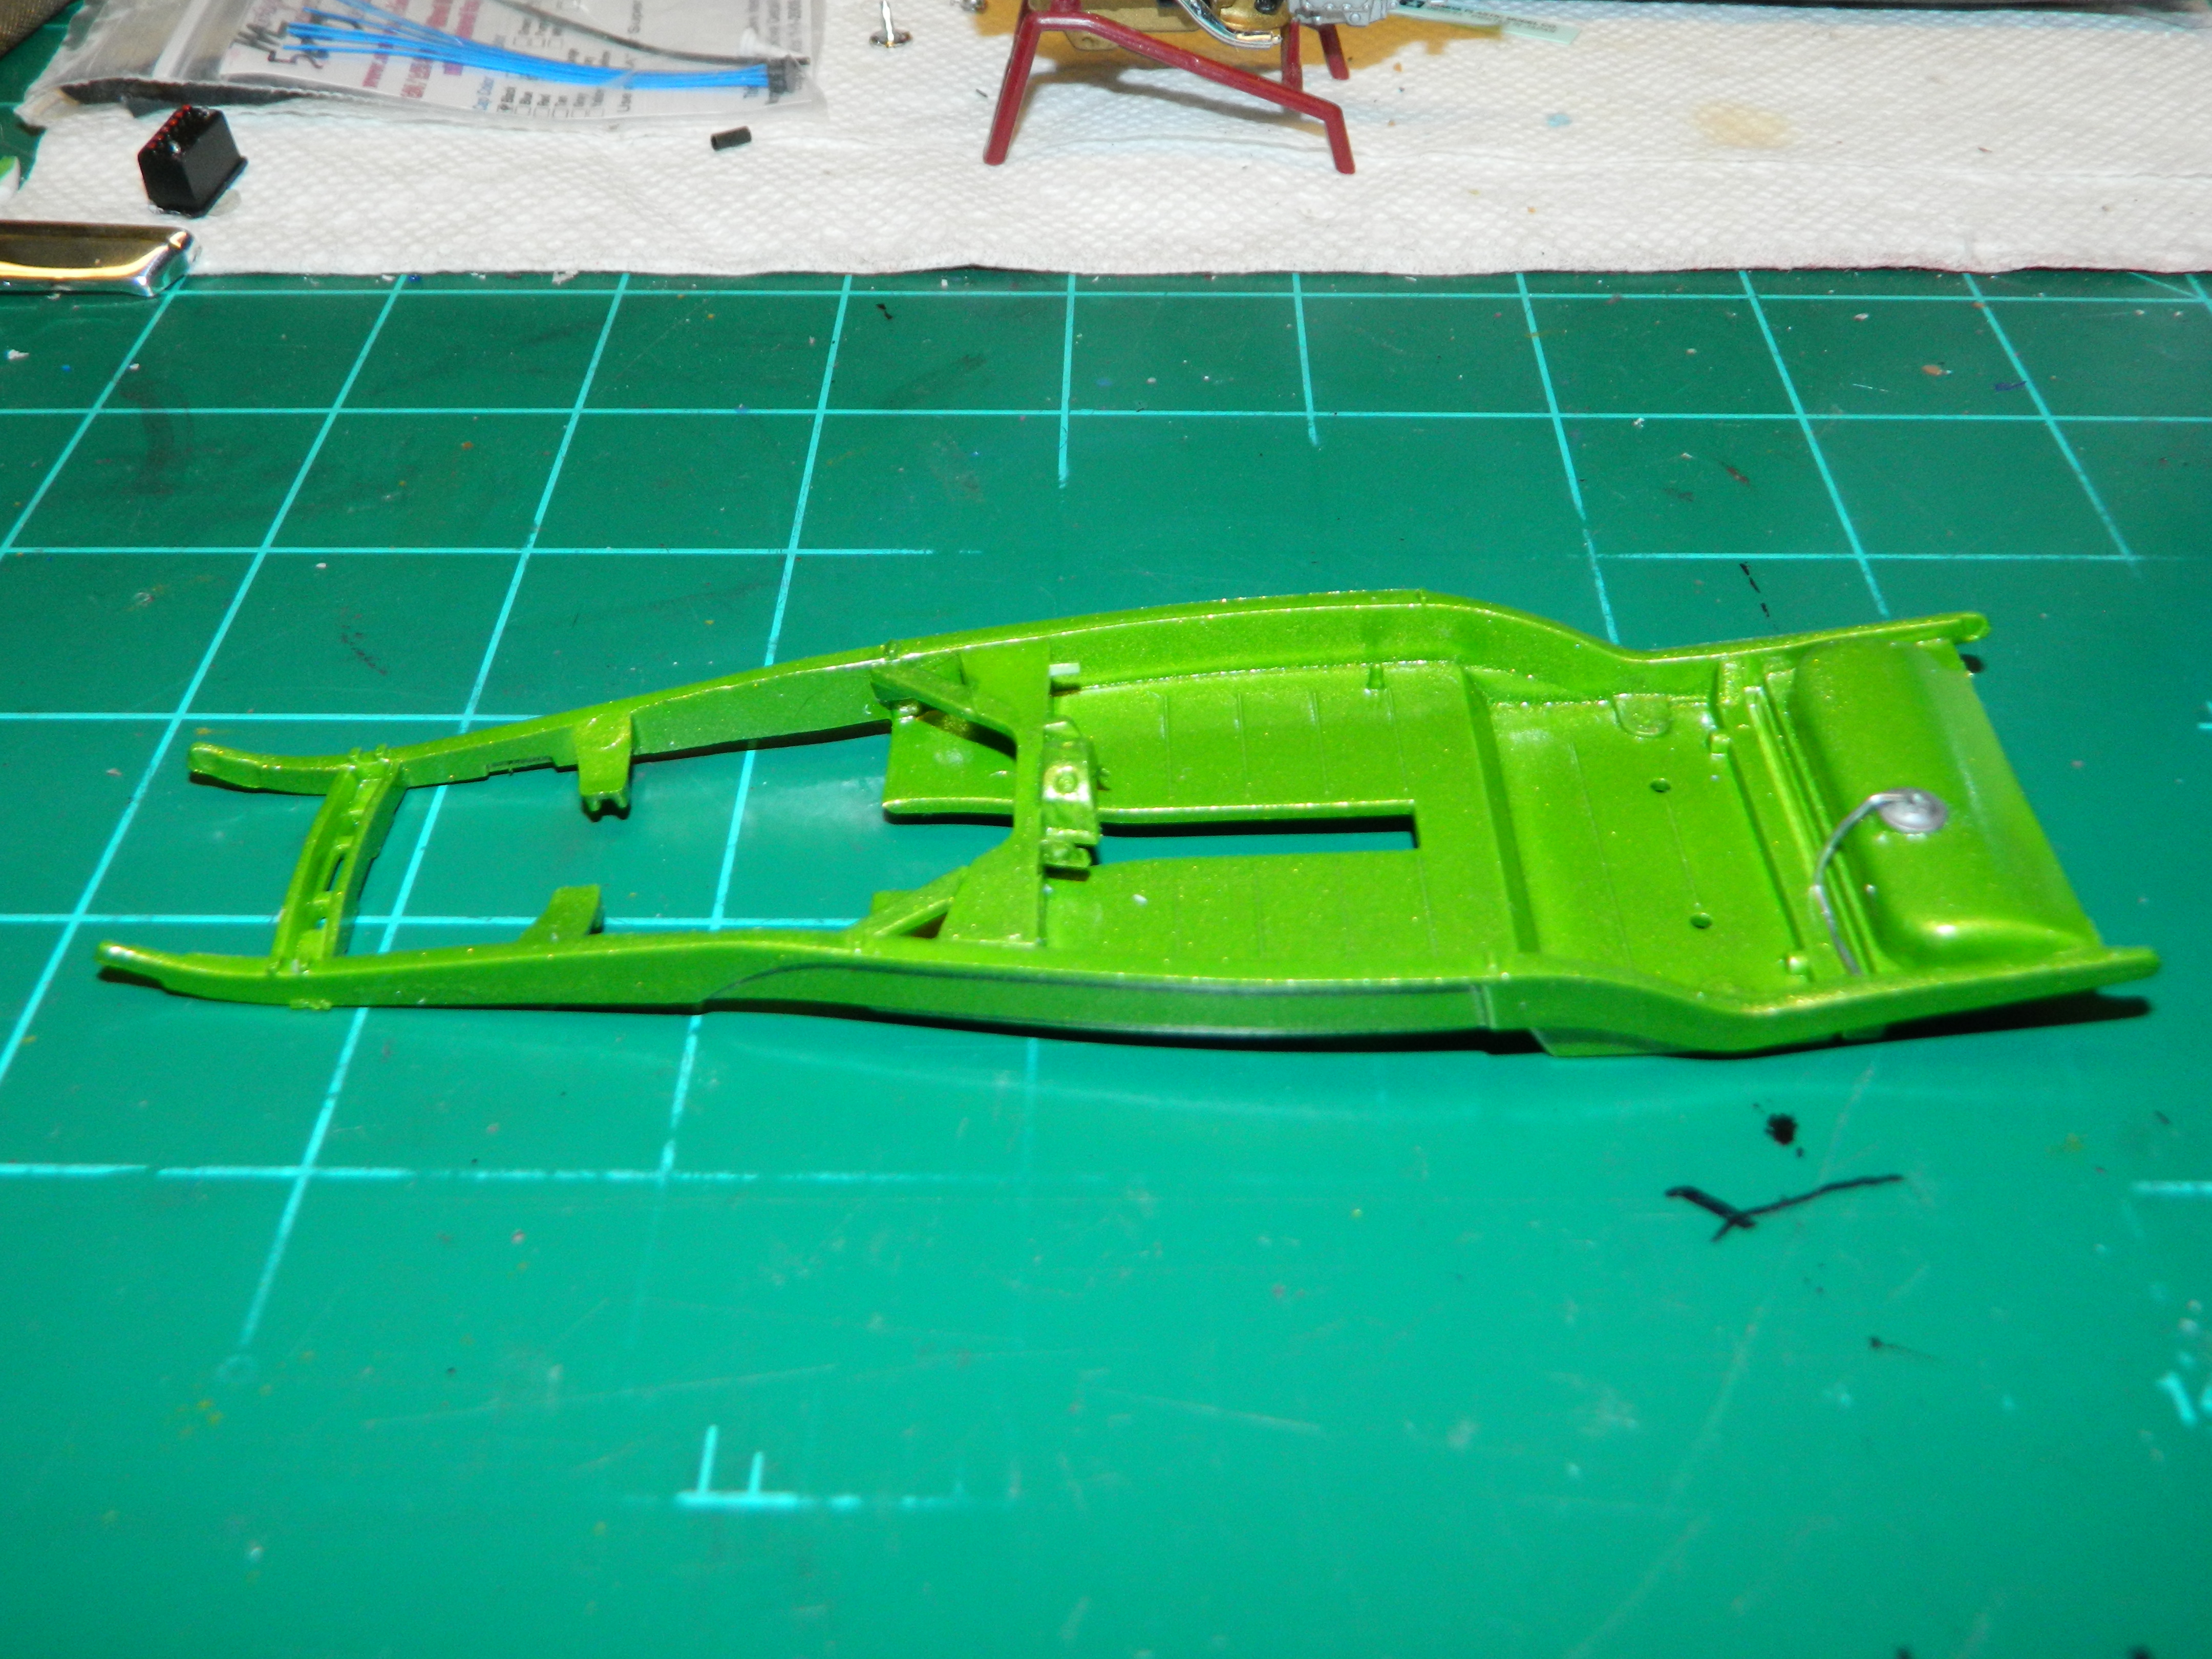
I thought I would do a couple of mockups to check my work. I mockup the body, frame, fenders, hood, and grille surround. I'm still working on the rear axle. I got the brake line on and the rear coil-overs are set for assembly with the frame.I pressed the wheels and wheel backs into the tires after I applied the decals. I was told that I should have applied the decals after pressing the wheels and wheelbacks into the tires. Hmmm, maybe if I had know about this prior... More to come...
-
Dodge Ram VTS Pickup
mrmike replied to mrmike's topic in Model Trucks: Pickups, Vans, SUVs, Light Commercial
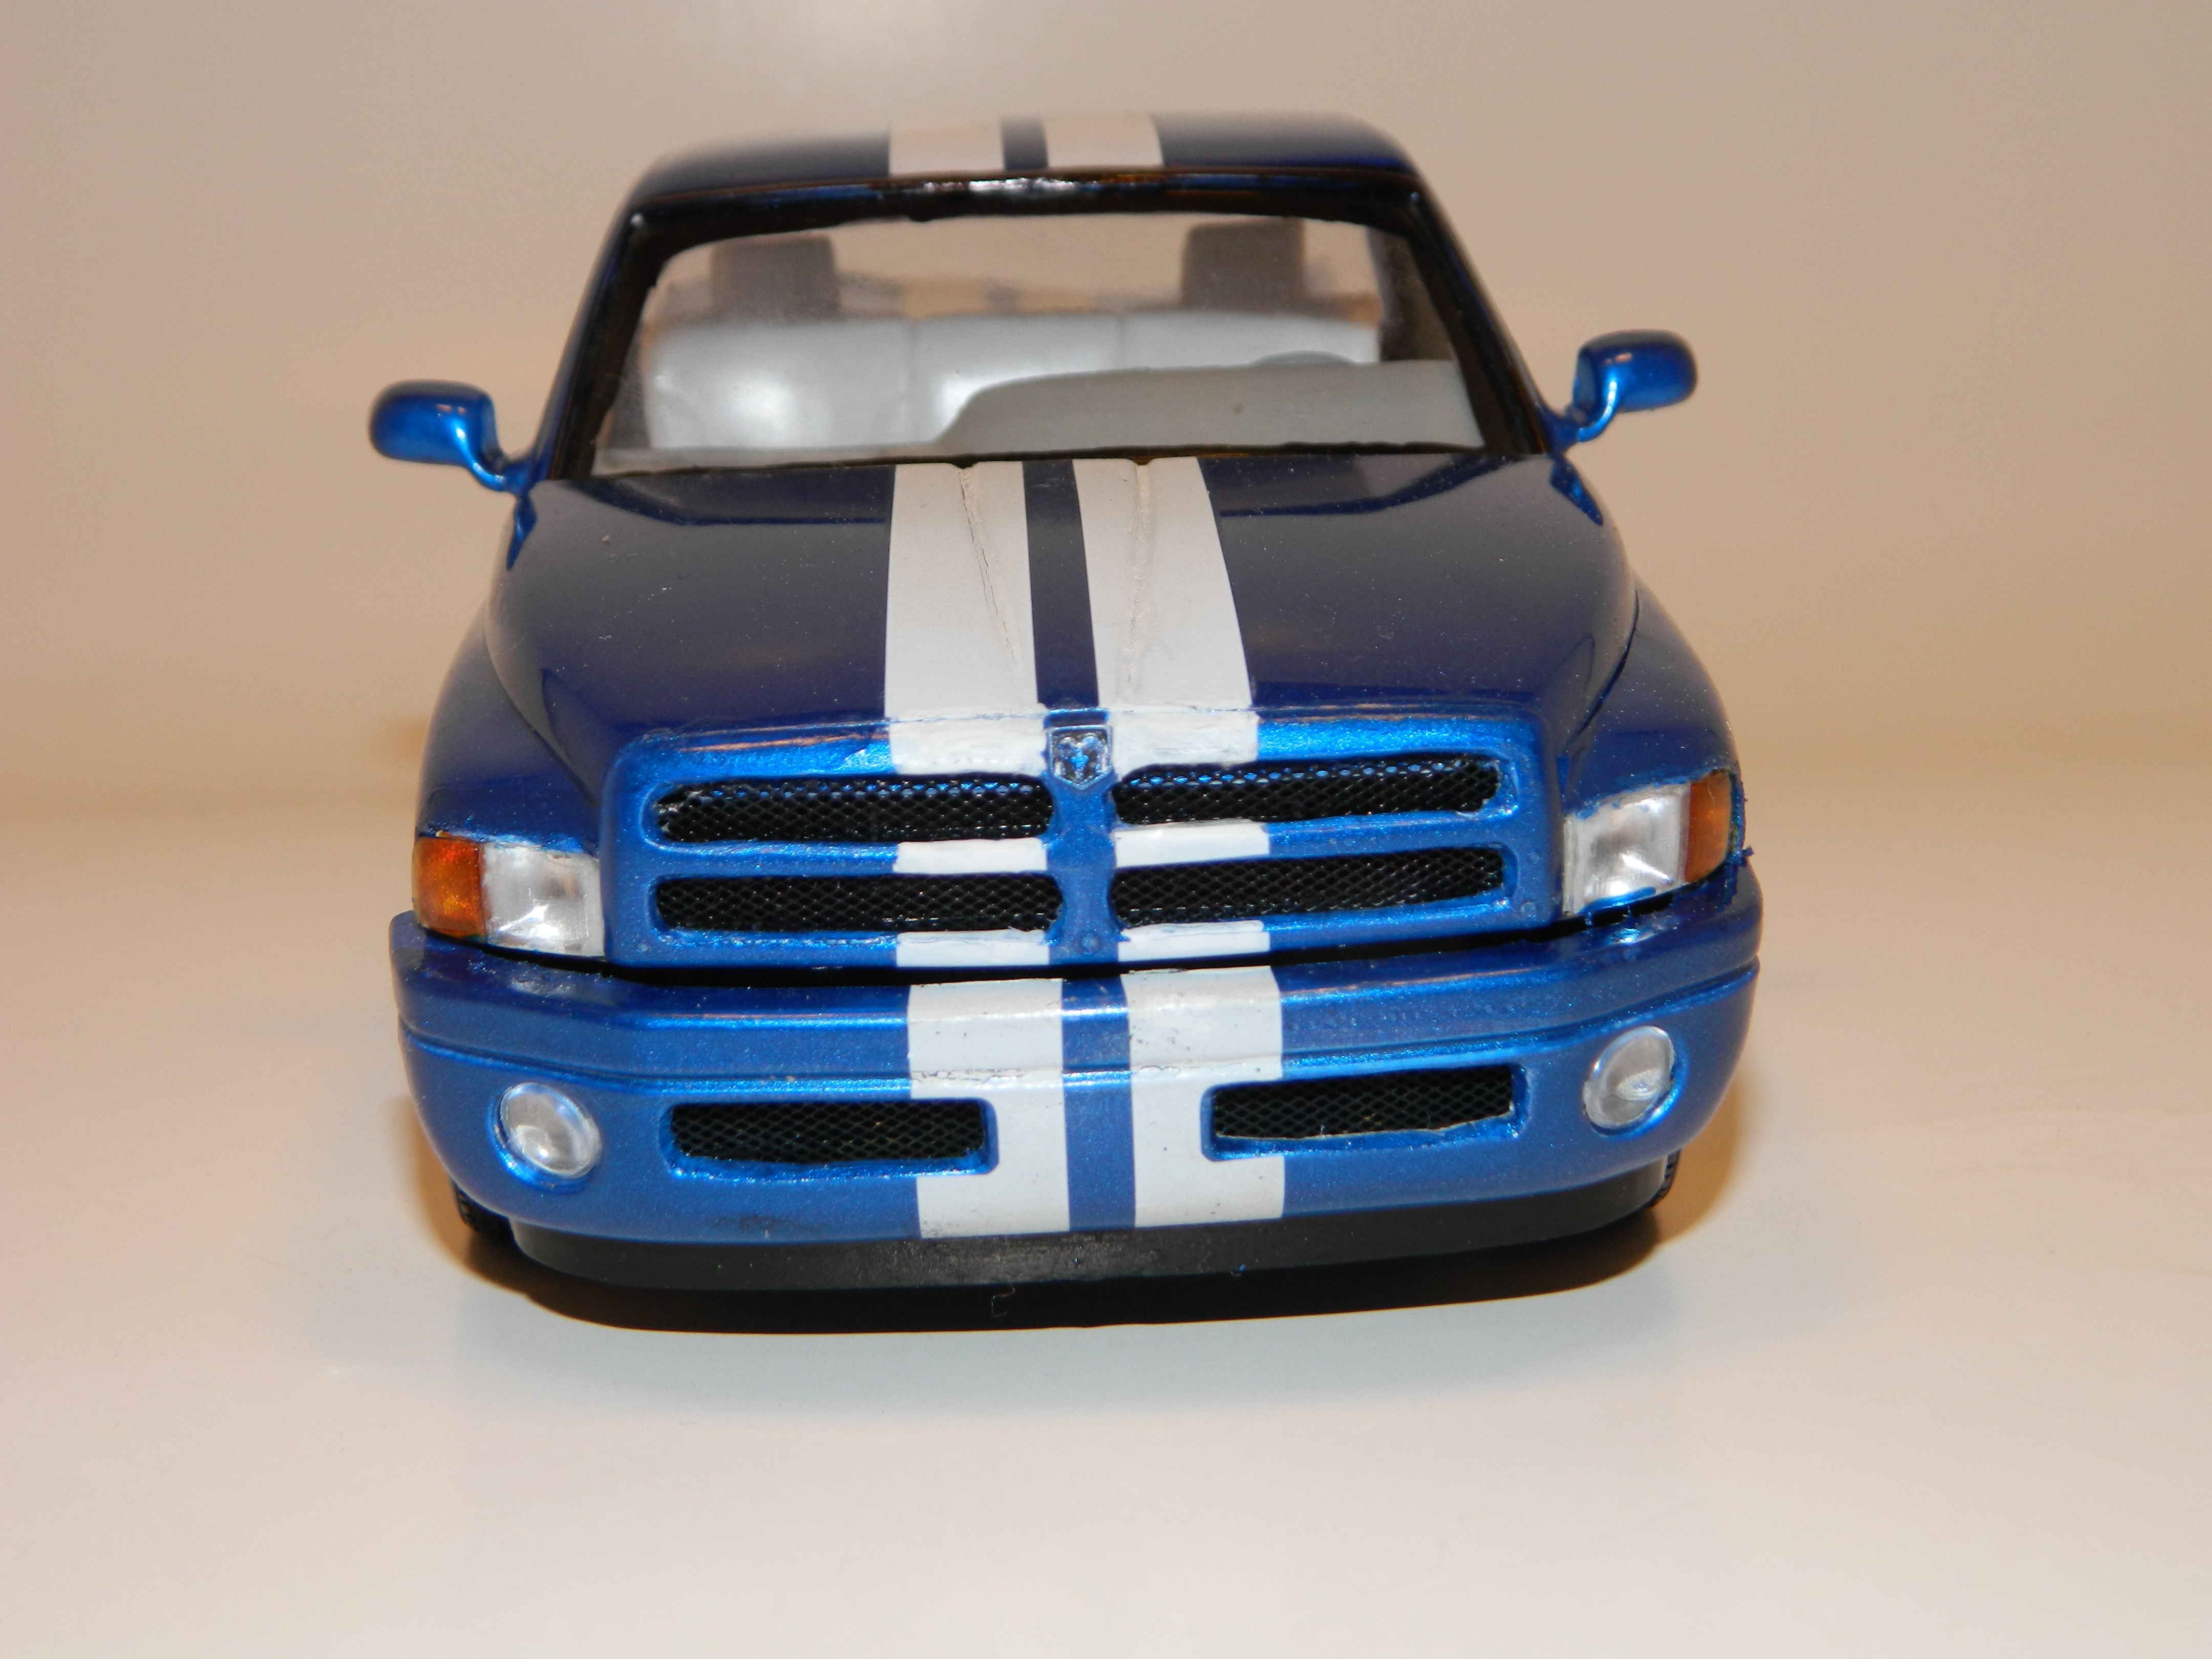
Thank you Chuck and Jim! I'm still not 100% crazy about the hood, but it's on the truck and it's not falling onto the floor. It's done and I'm moving on to other projects. -
Dodge Ram VTS Pickup
mrmike replied to mrmike's topic in Model Trucks: Pickups, Vans, SUVs, Light Commercial
Thank you Jim and Jeremy! -
Thank you Steve!
-
Come on Dan, Git-R-Dun!!!
-
Thank you Steve, Cliff, and Sam!
-
Thank you Anders and Jim!
-
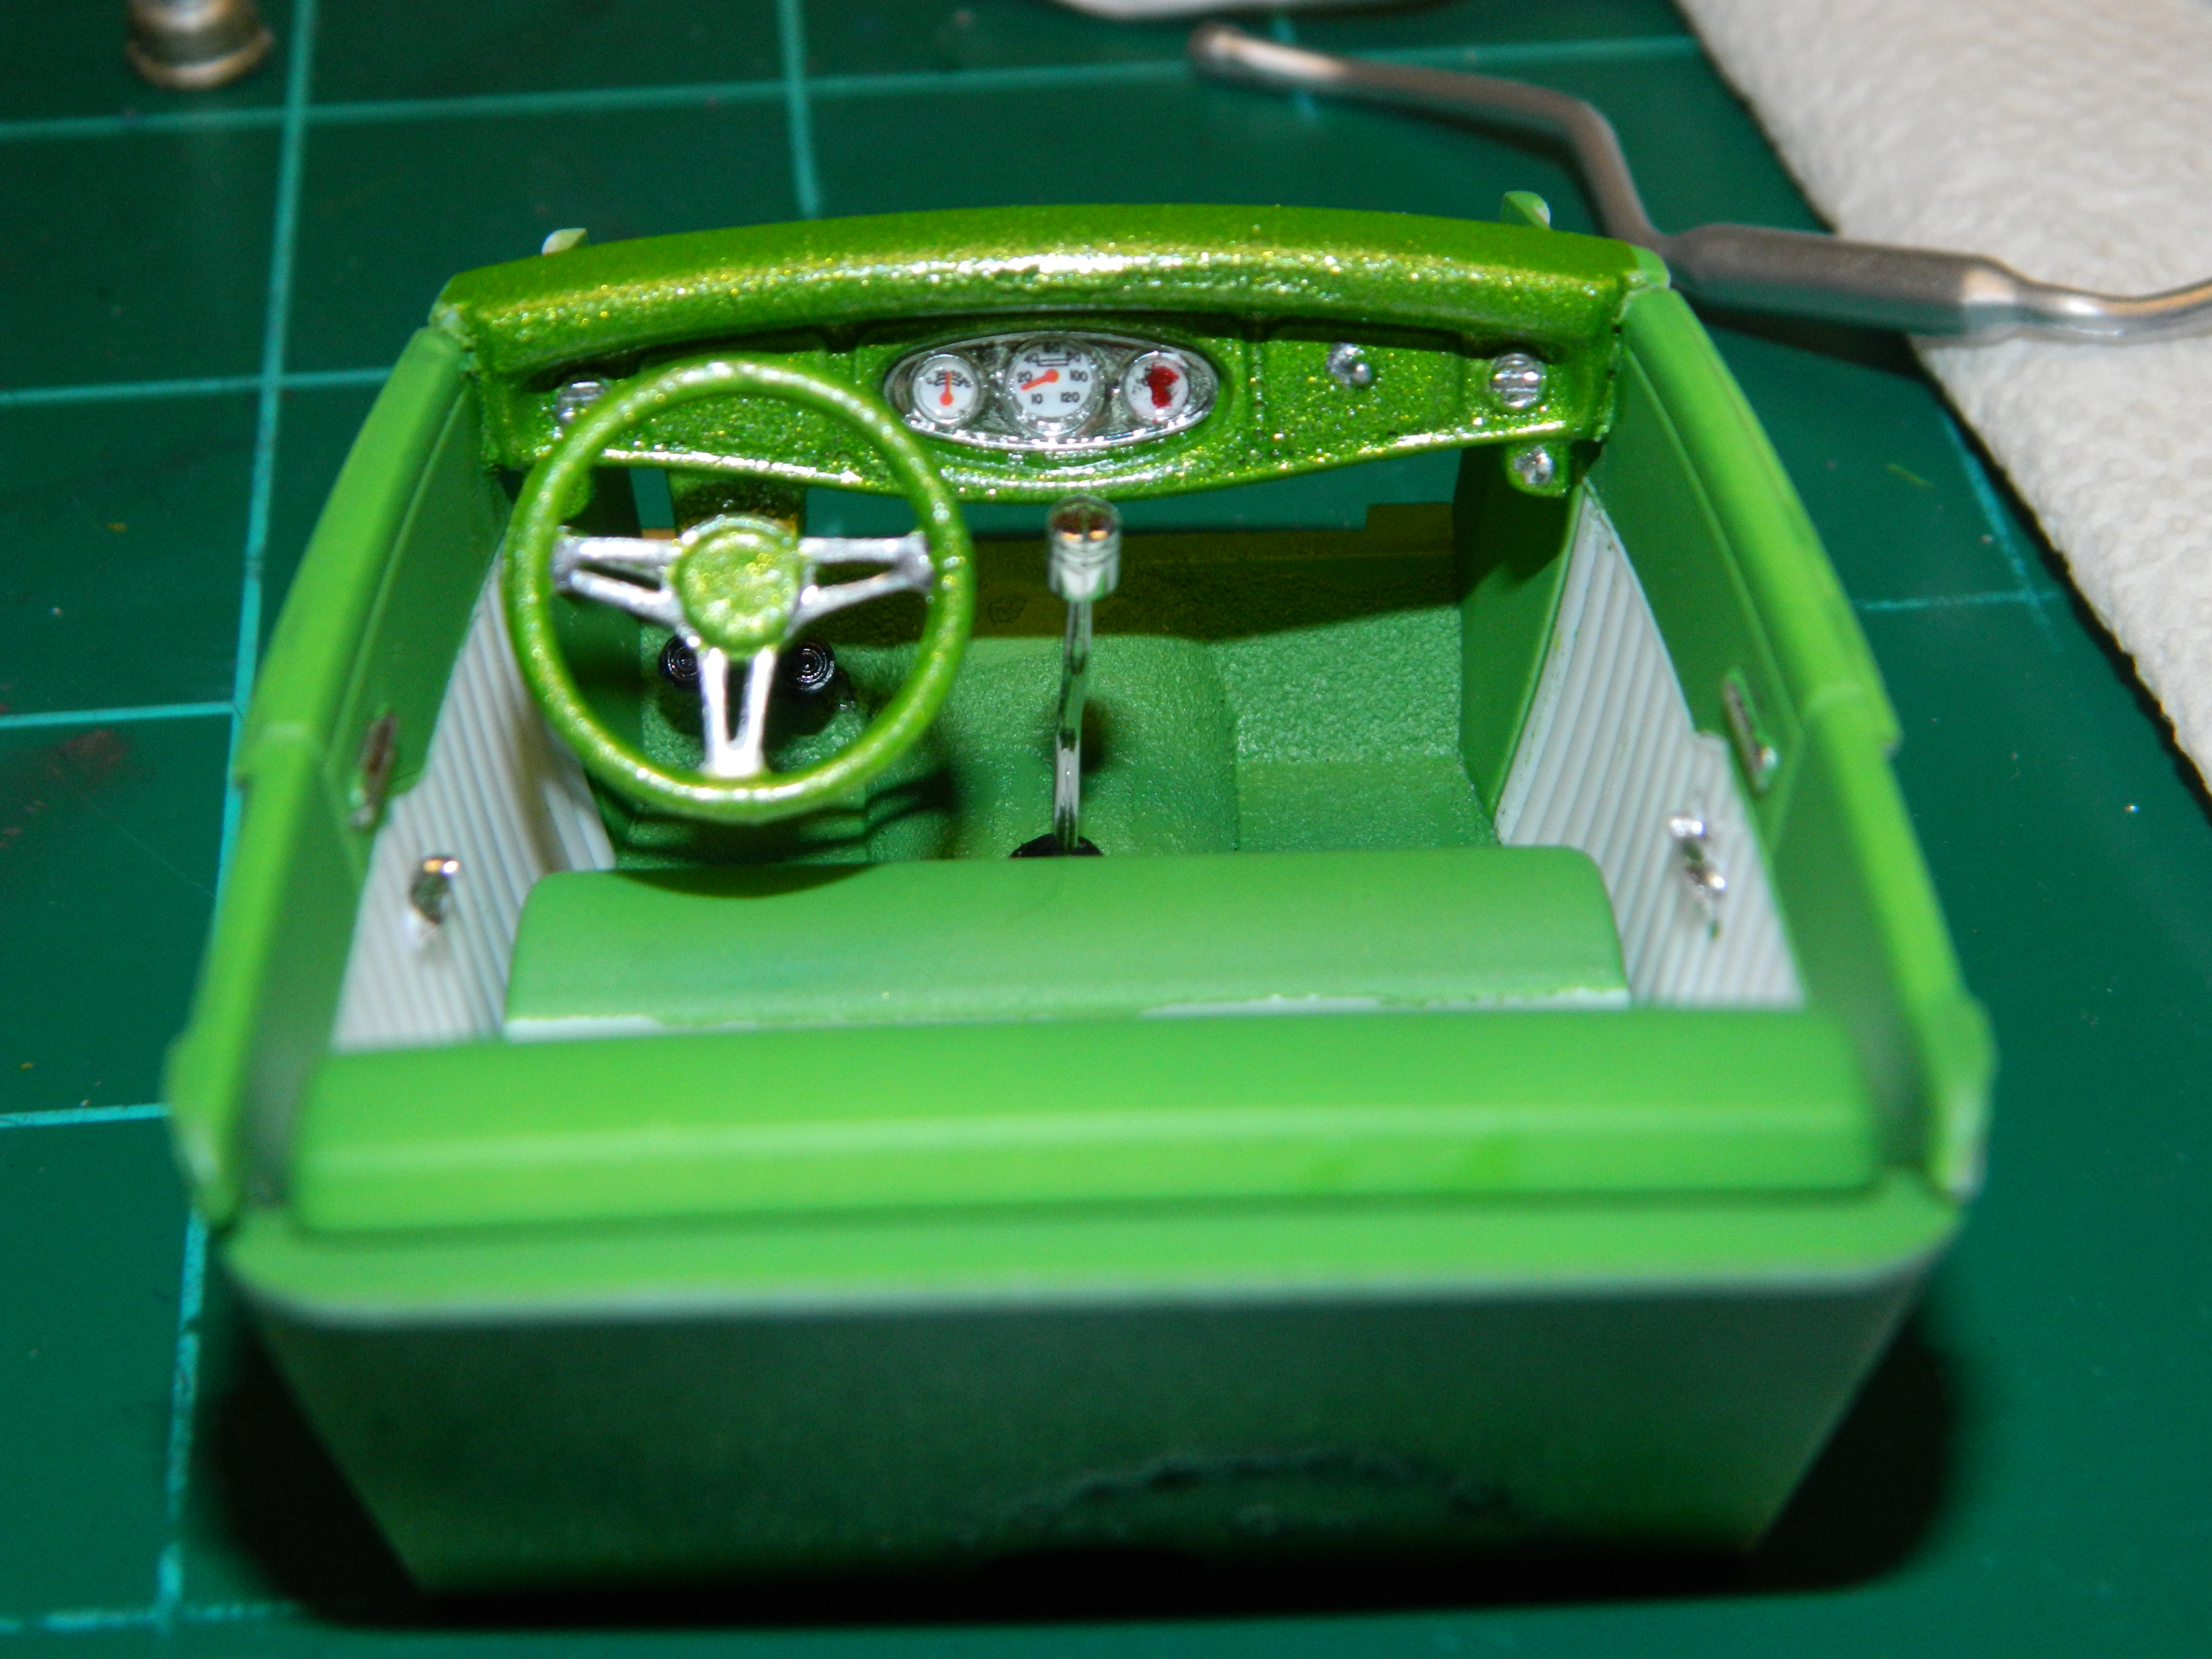
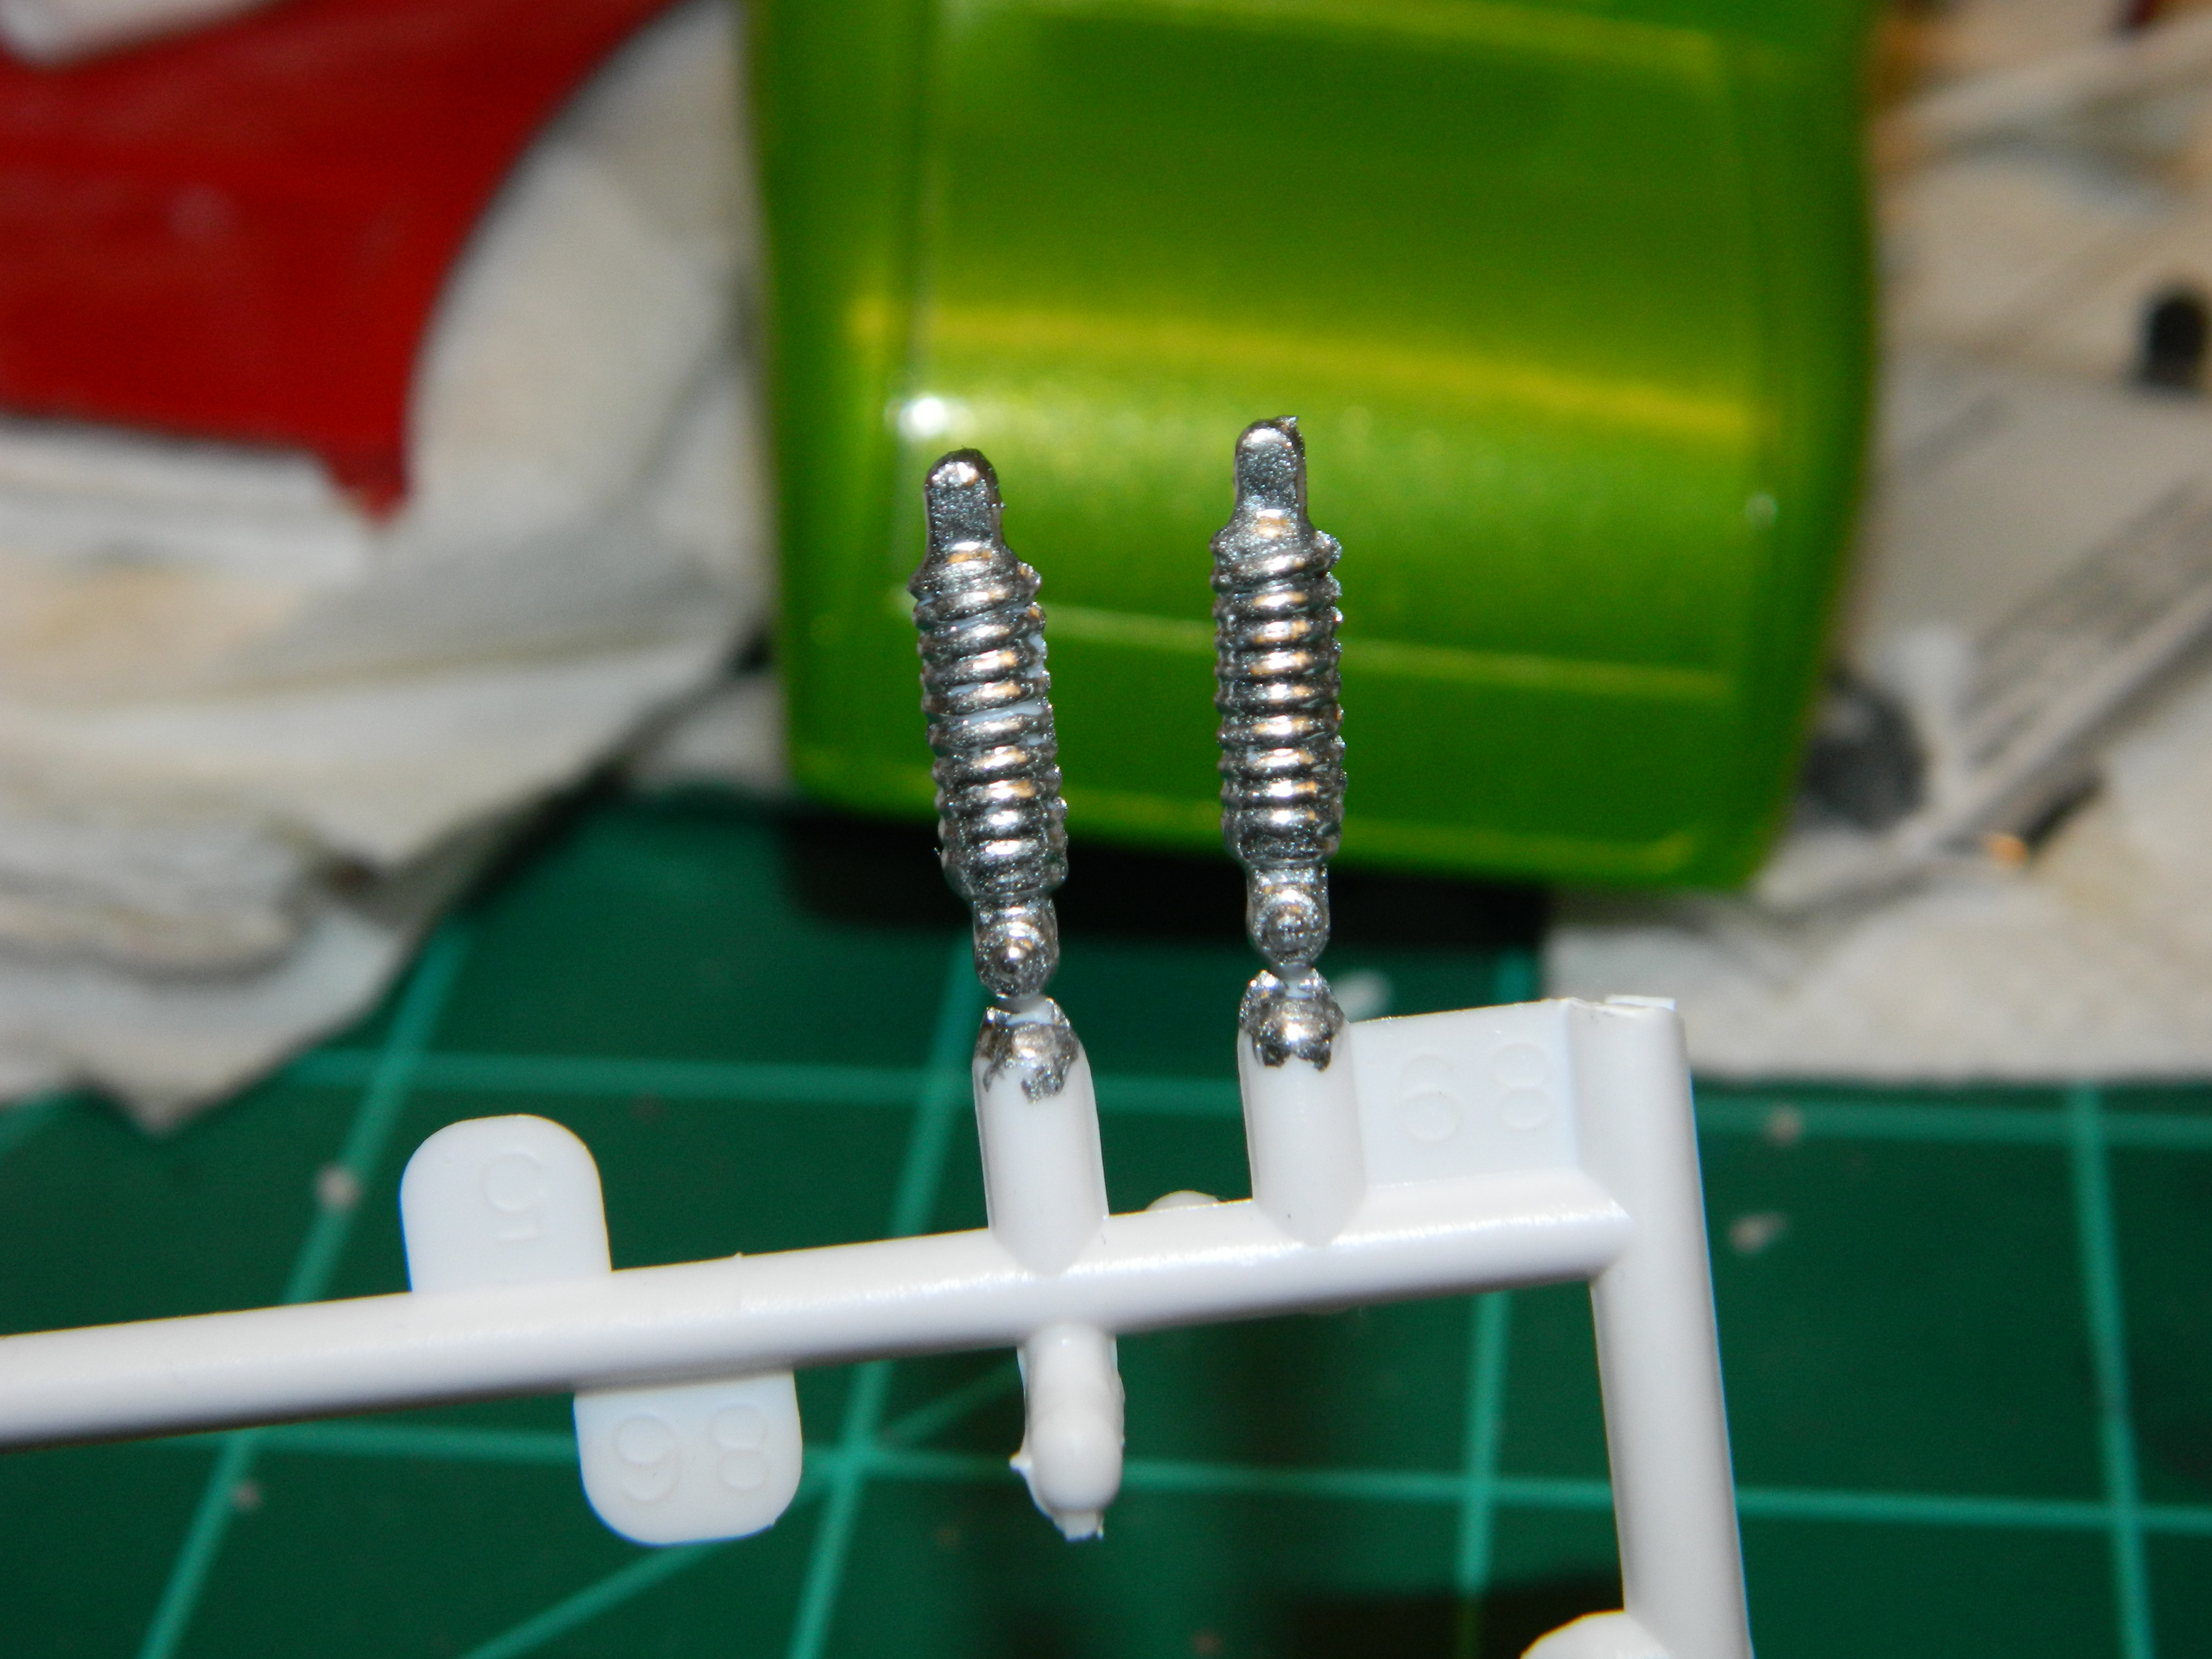
I have finished the interior. Normally, I would have painted the coil over shocks with Alclad II Chrome, but these are the only two items I have to be chromed. Instead, I used my Molotow 2 mm Liquid Chrome pen on the rear coil over shocks. I was going to paint the mufflers red and call them Cherry Bomb mufflers, but a Hemi would need a quieter muffler and I painted them the same as the pipes. More to come...
-
Take your time with it! Just remember that this kit is not 100% a Lil Red Express Truck if that is what you want to build. I would like to see what you can make of this kit.
-
I got mine at Hobby Lobby with a 40% off coupon. It's self healing, has 1 inch squares for measuring, although some of mine have been worn off from usage and chemicals.
-
Dodge Ram VTS Pickup
mrmike replied to mrmike's topic in Model Trucks: Pickups, Vans, SUVs, Light Commercial
Thank you Carl! -
Thank you guys! I find that if I leave some of my parts on the sprues, it is easier to prep and paint them tan to remove them. I can't be bothered to remove all my parts from the sprues, prep them, remount them on something, and then paint them. To me, this just makes for more work. After removing the parts from the sprue, I touch them up with a fine detailing brush and a little paint.
-
Here's mine without any metal axles!
-
Thank you Marty!
-
Sounds like a nice project, Mike! I'm back on the '32 5 Window Coupe for today. Cranked up the paintbooth and painted the rear axle, drive shaft and steering box and shaft with Alclad II Gloss Black and then with Alclad II Chrome. I started work on the frame. I added a fuel line from the tank to the frame where it won't be seen. I also added the transmission cross member and noticed all the spots not covered by paint. Out came a touchup brush and some Lime Ice Lacquer. I got started on the interior with some assembly. I need to finish the dash and install that into the interior. More to come...
-
So far the morning, I have remounted the side steps and added the stacks. The side view mirrors have been reworked. I made a couple of mounting plates and mounted the mirrors sideways to better replicate a stock mirror. I removed the battery so I can try to fit new air tubes from the core support up to the air cleaner. I reattached the tailgate and repainted the taillights including adding blue dots to the taillight centers. More to come...
-
Thank you Christopher and Ray!
-
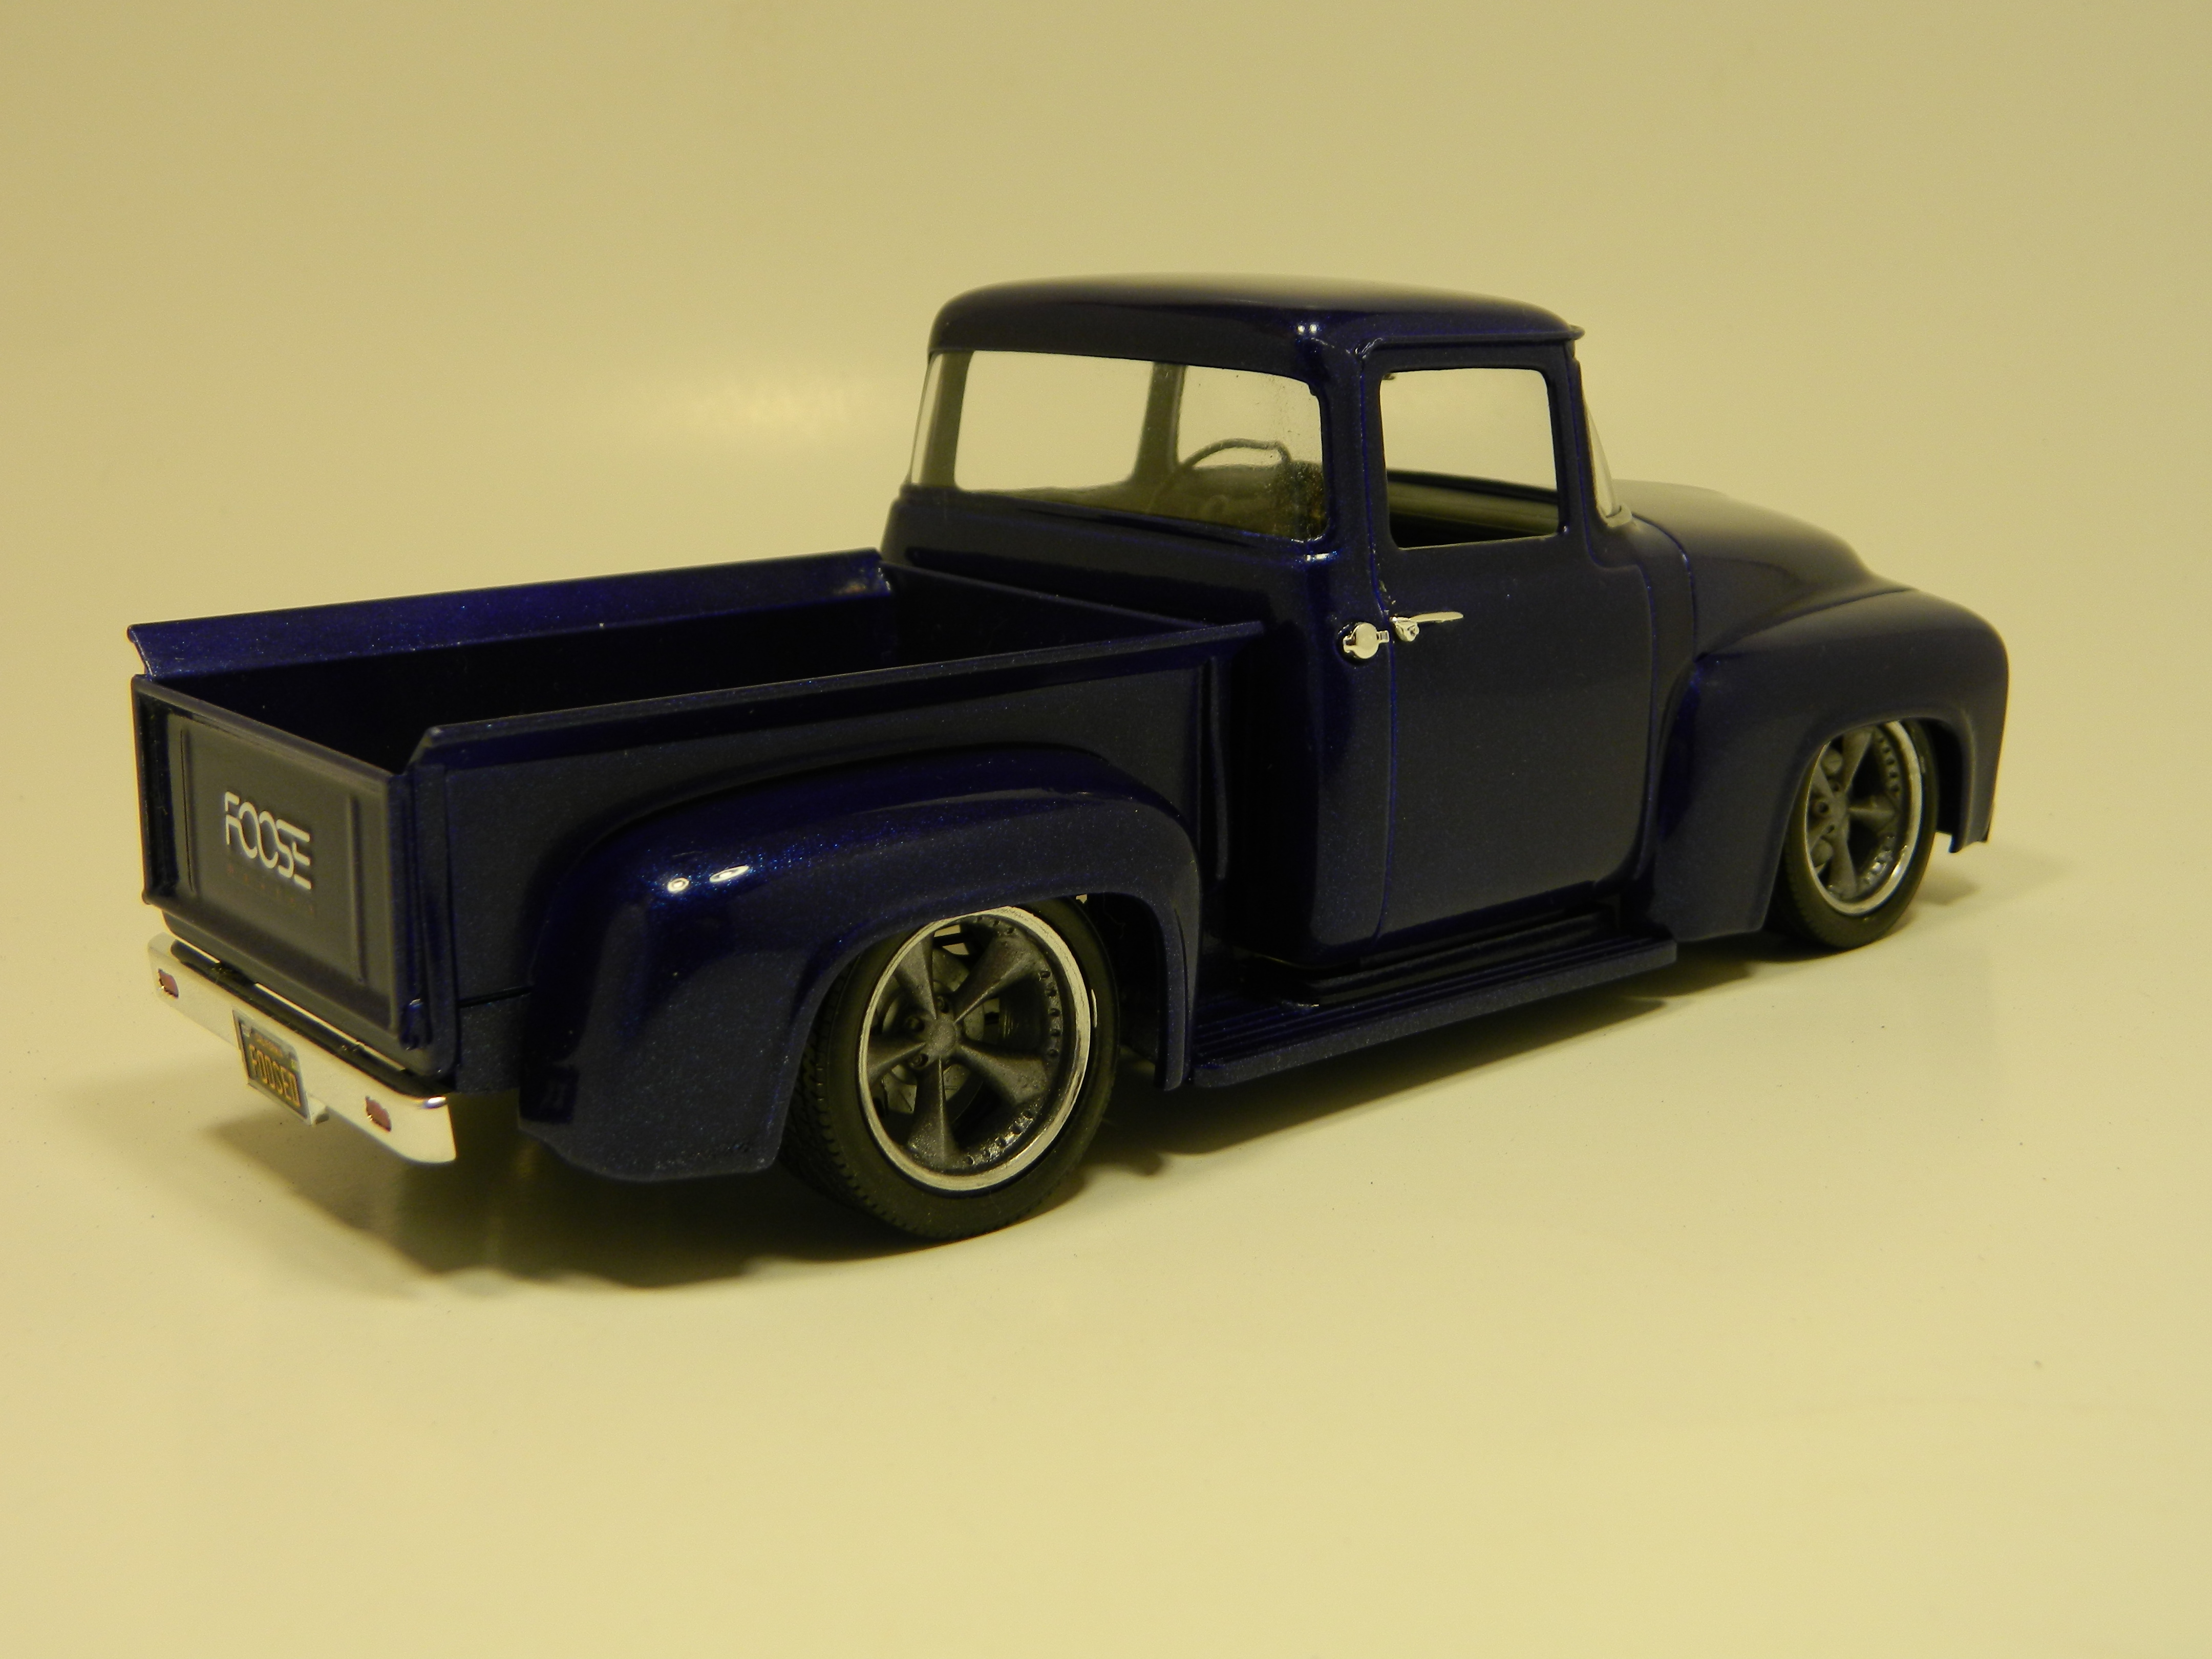
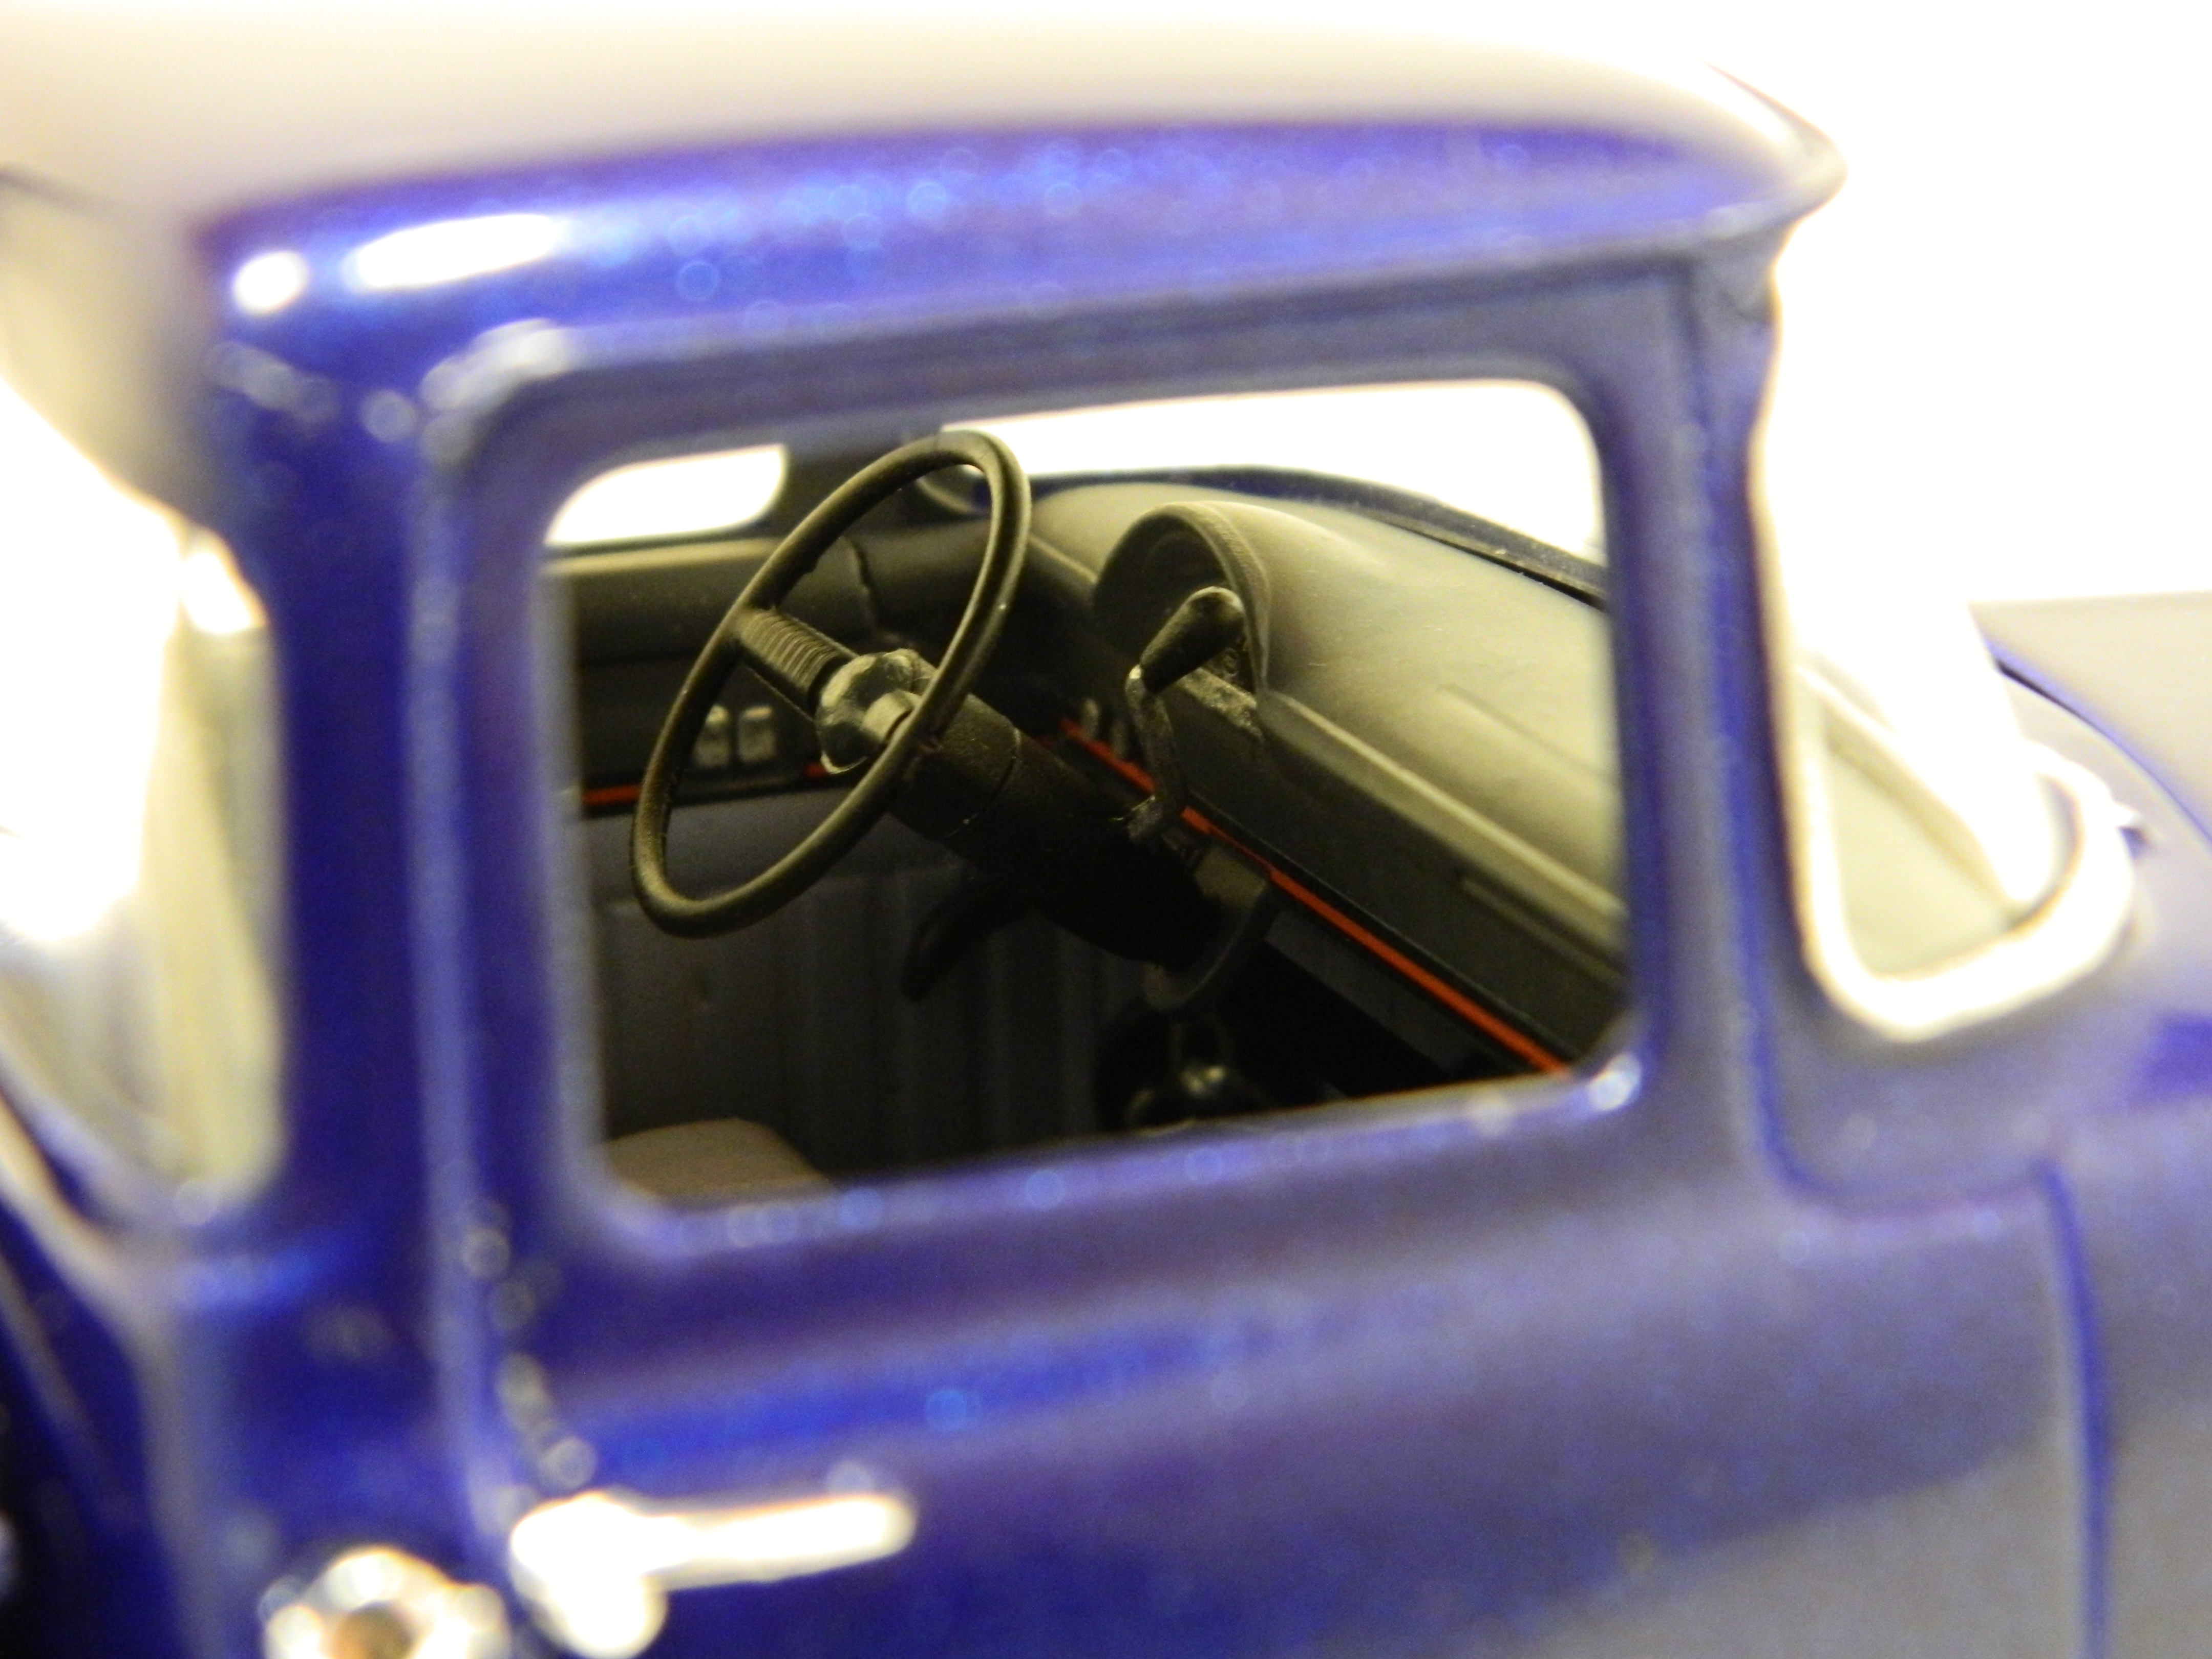
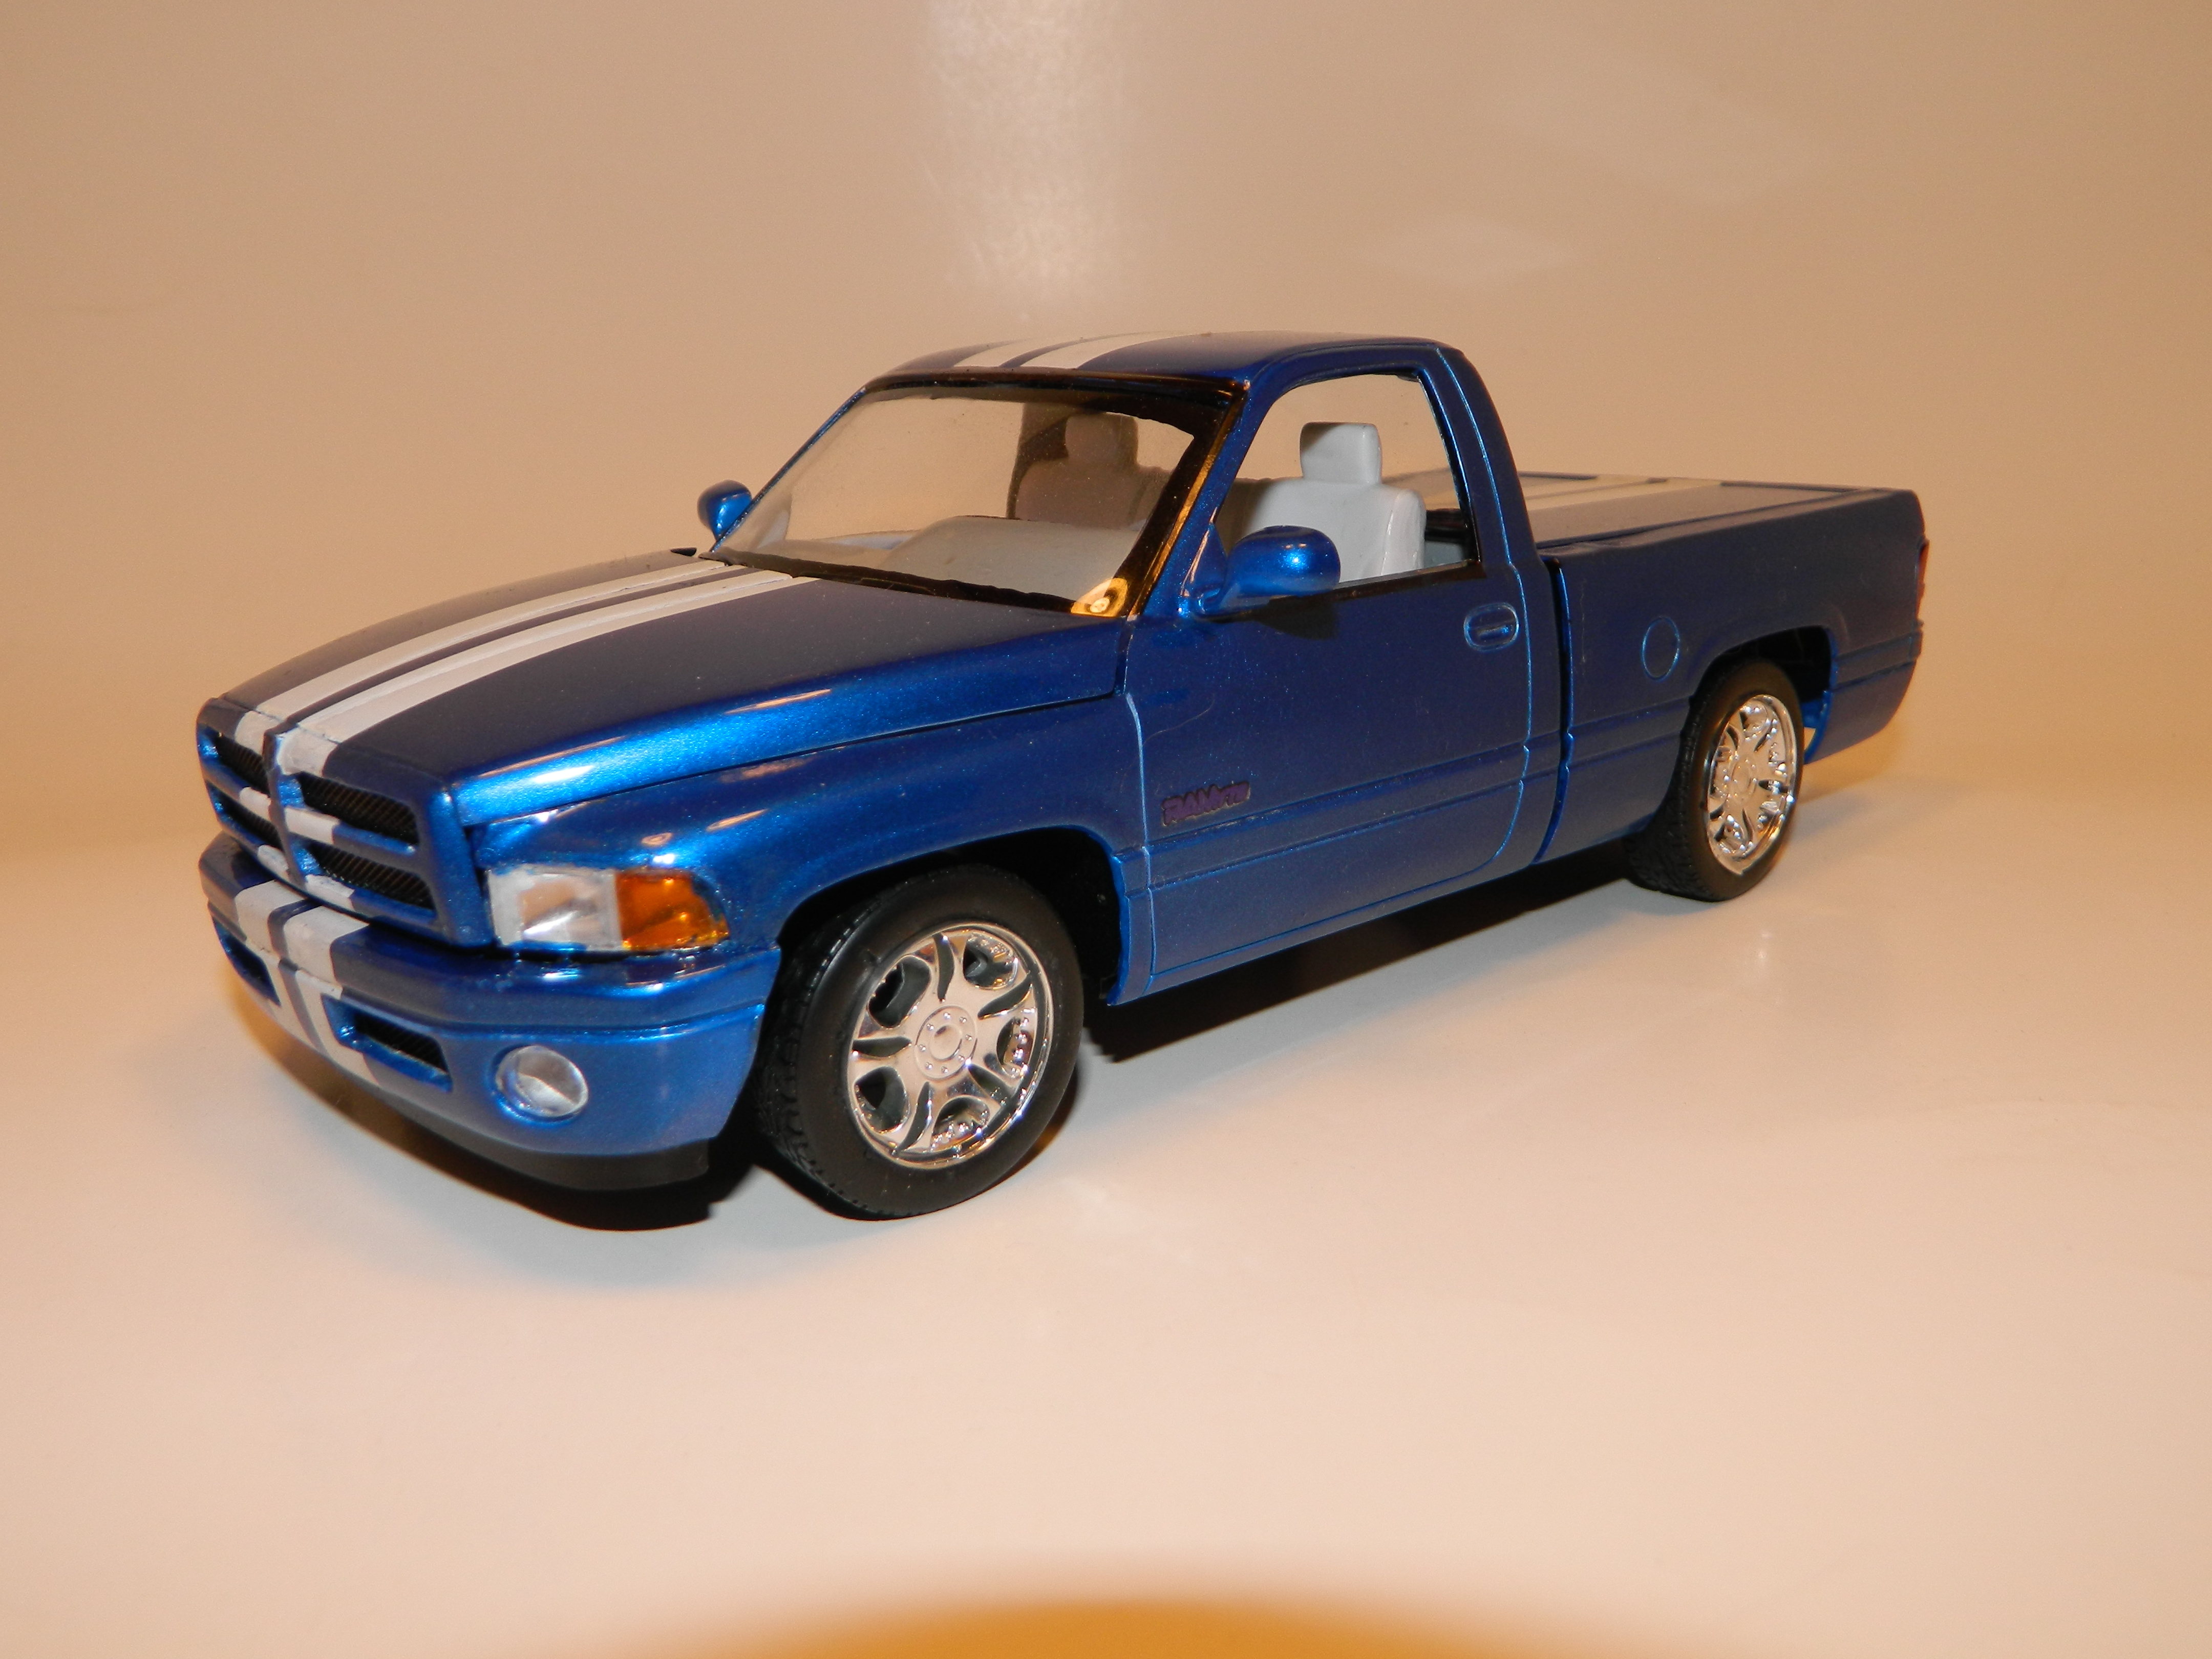
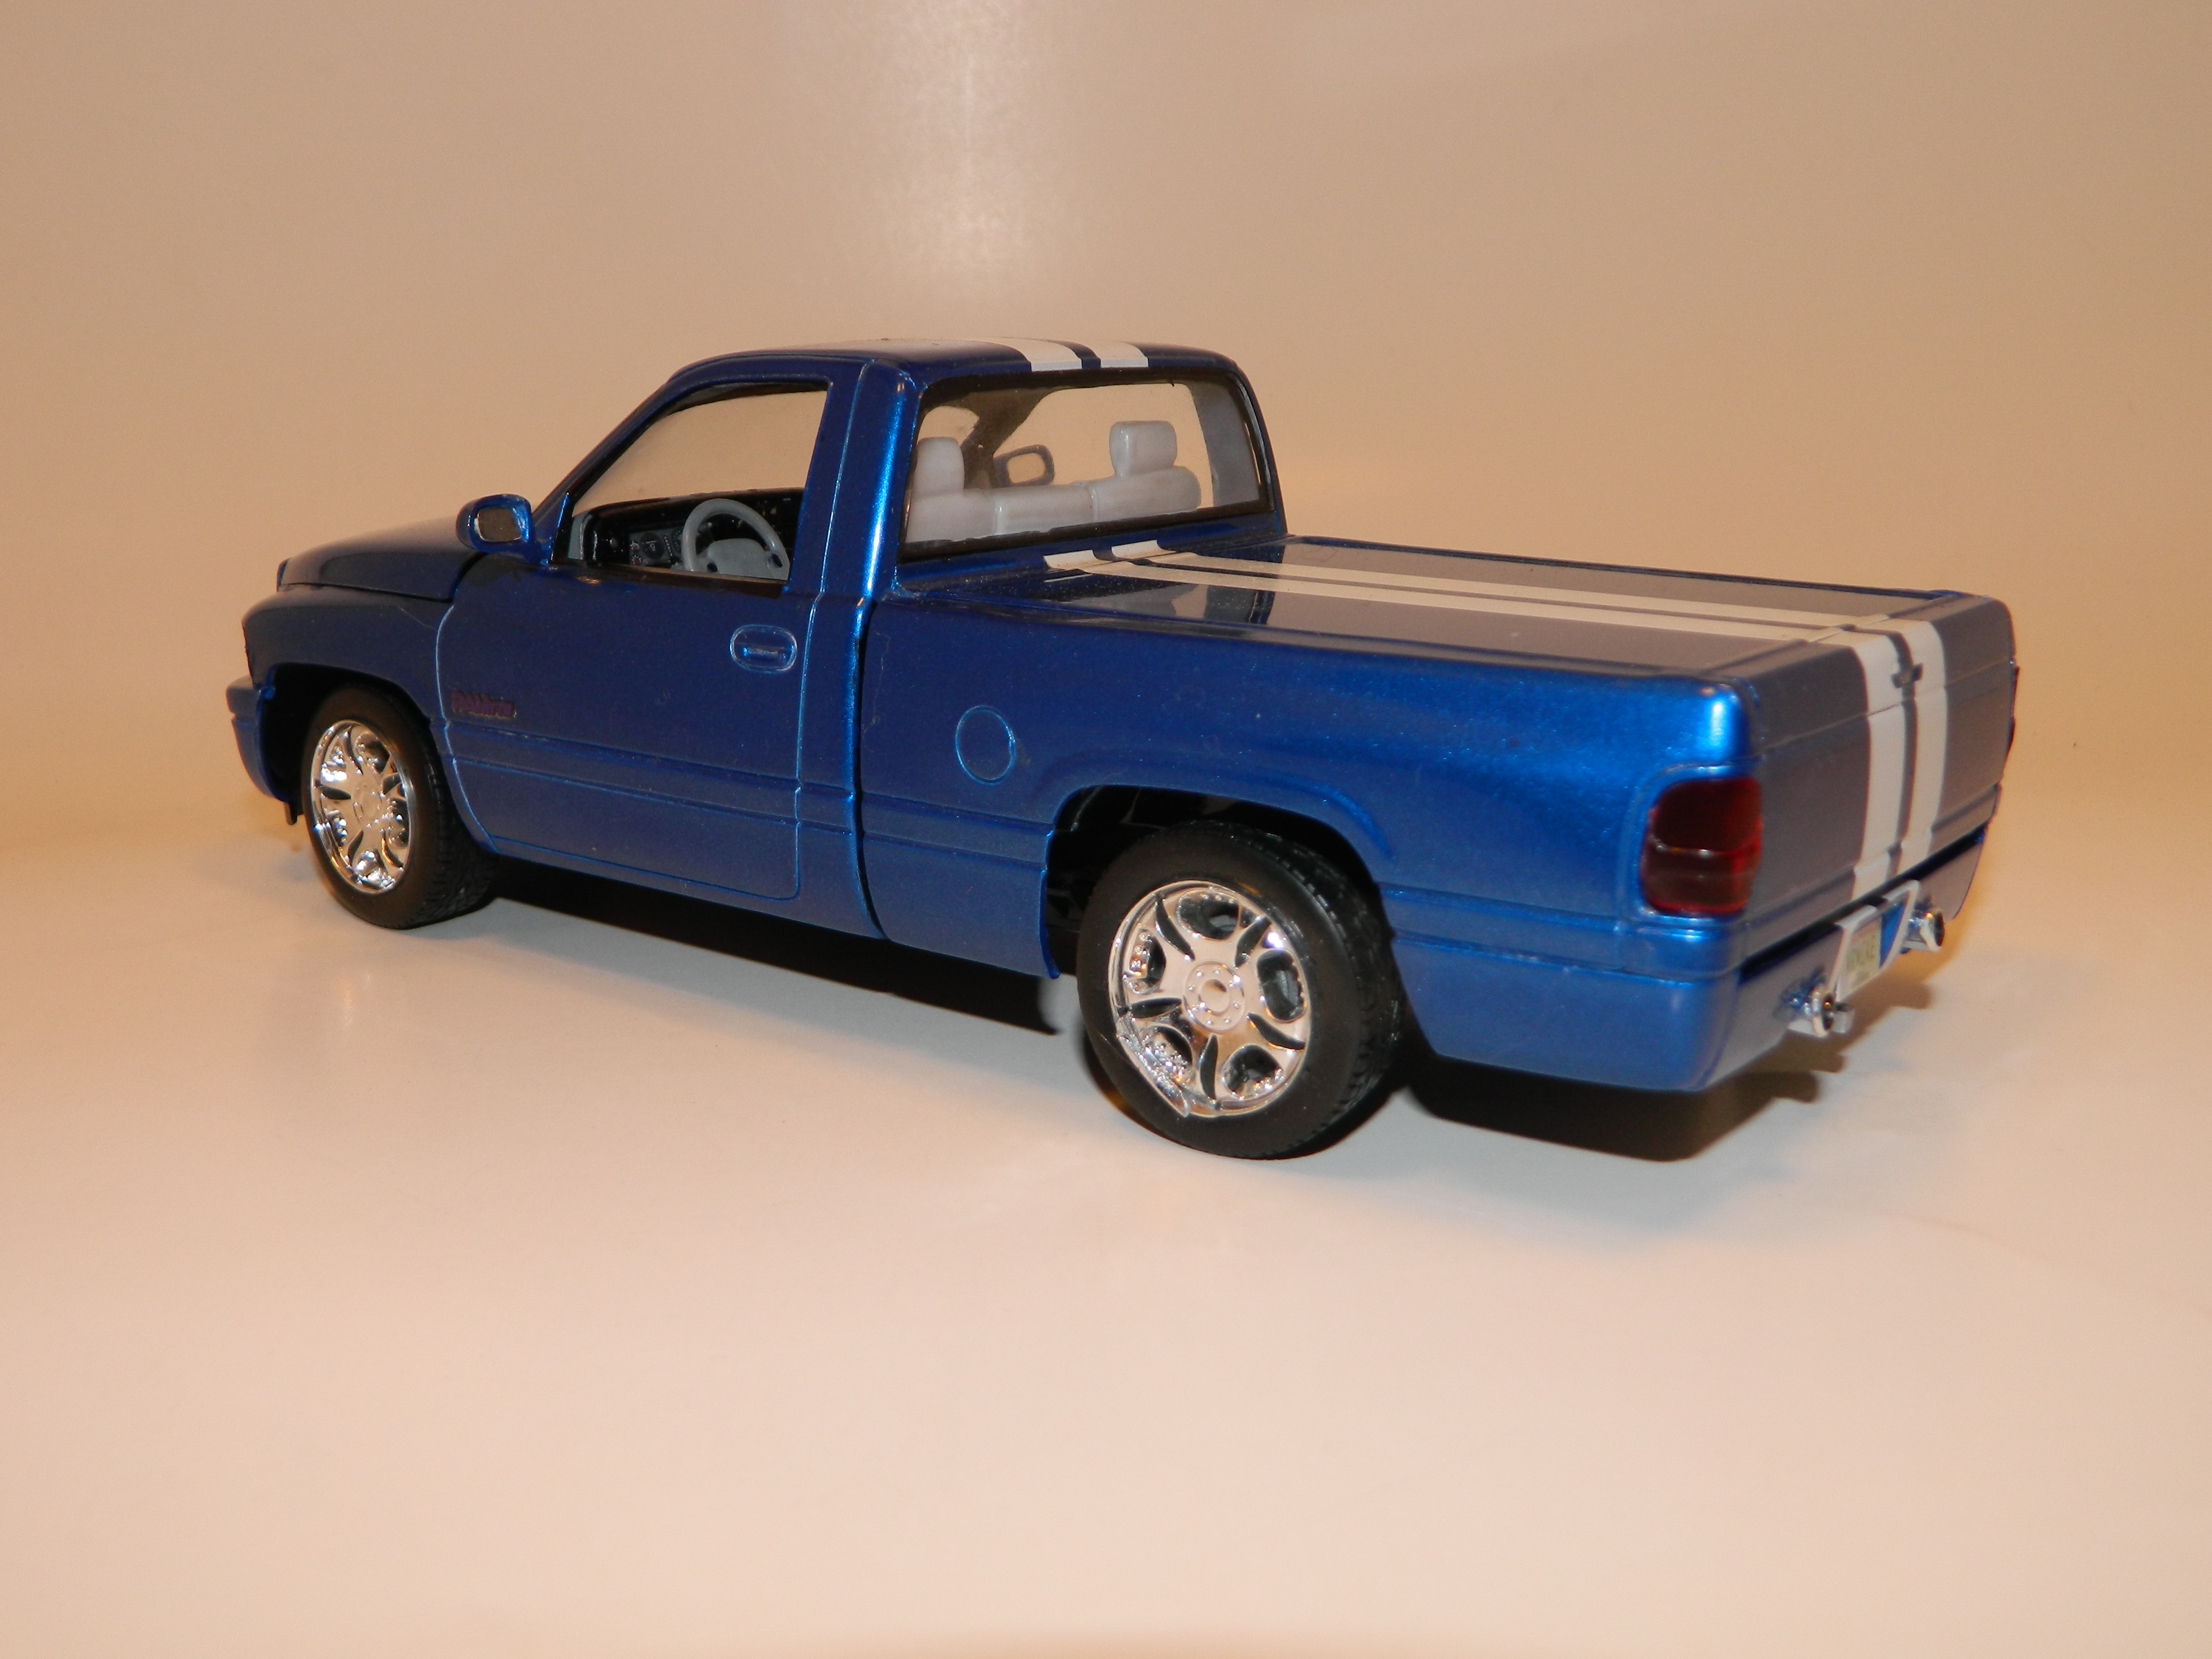
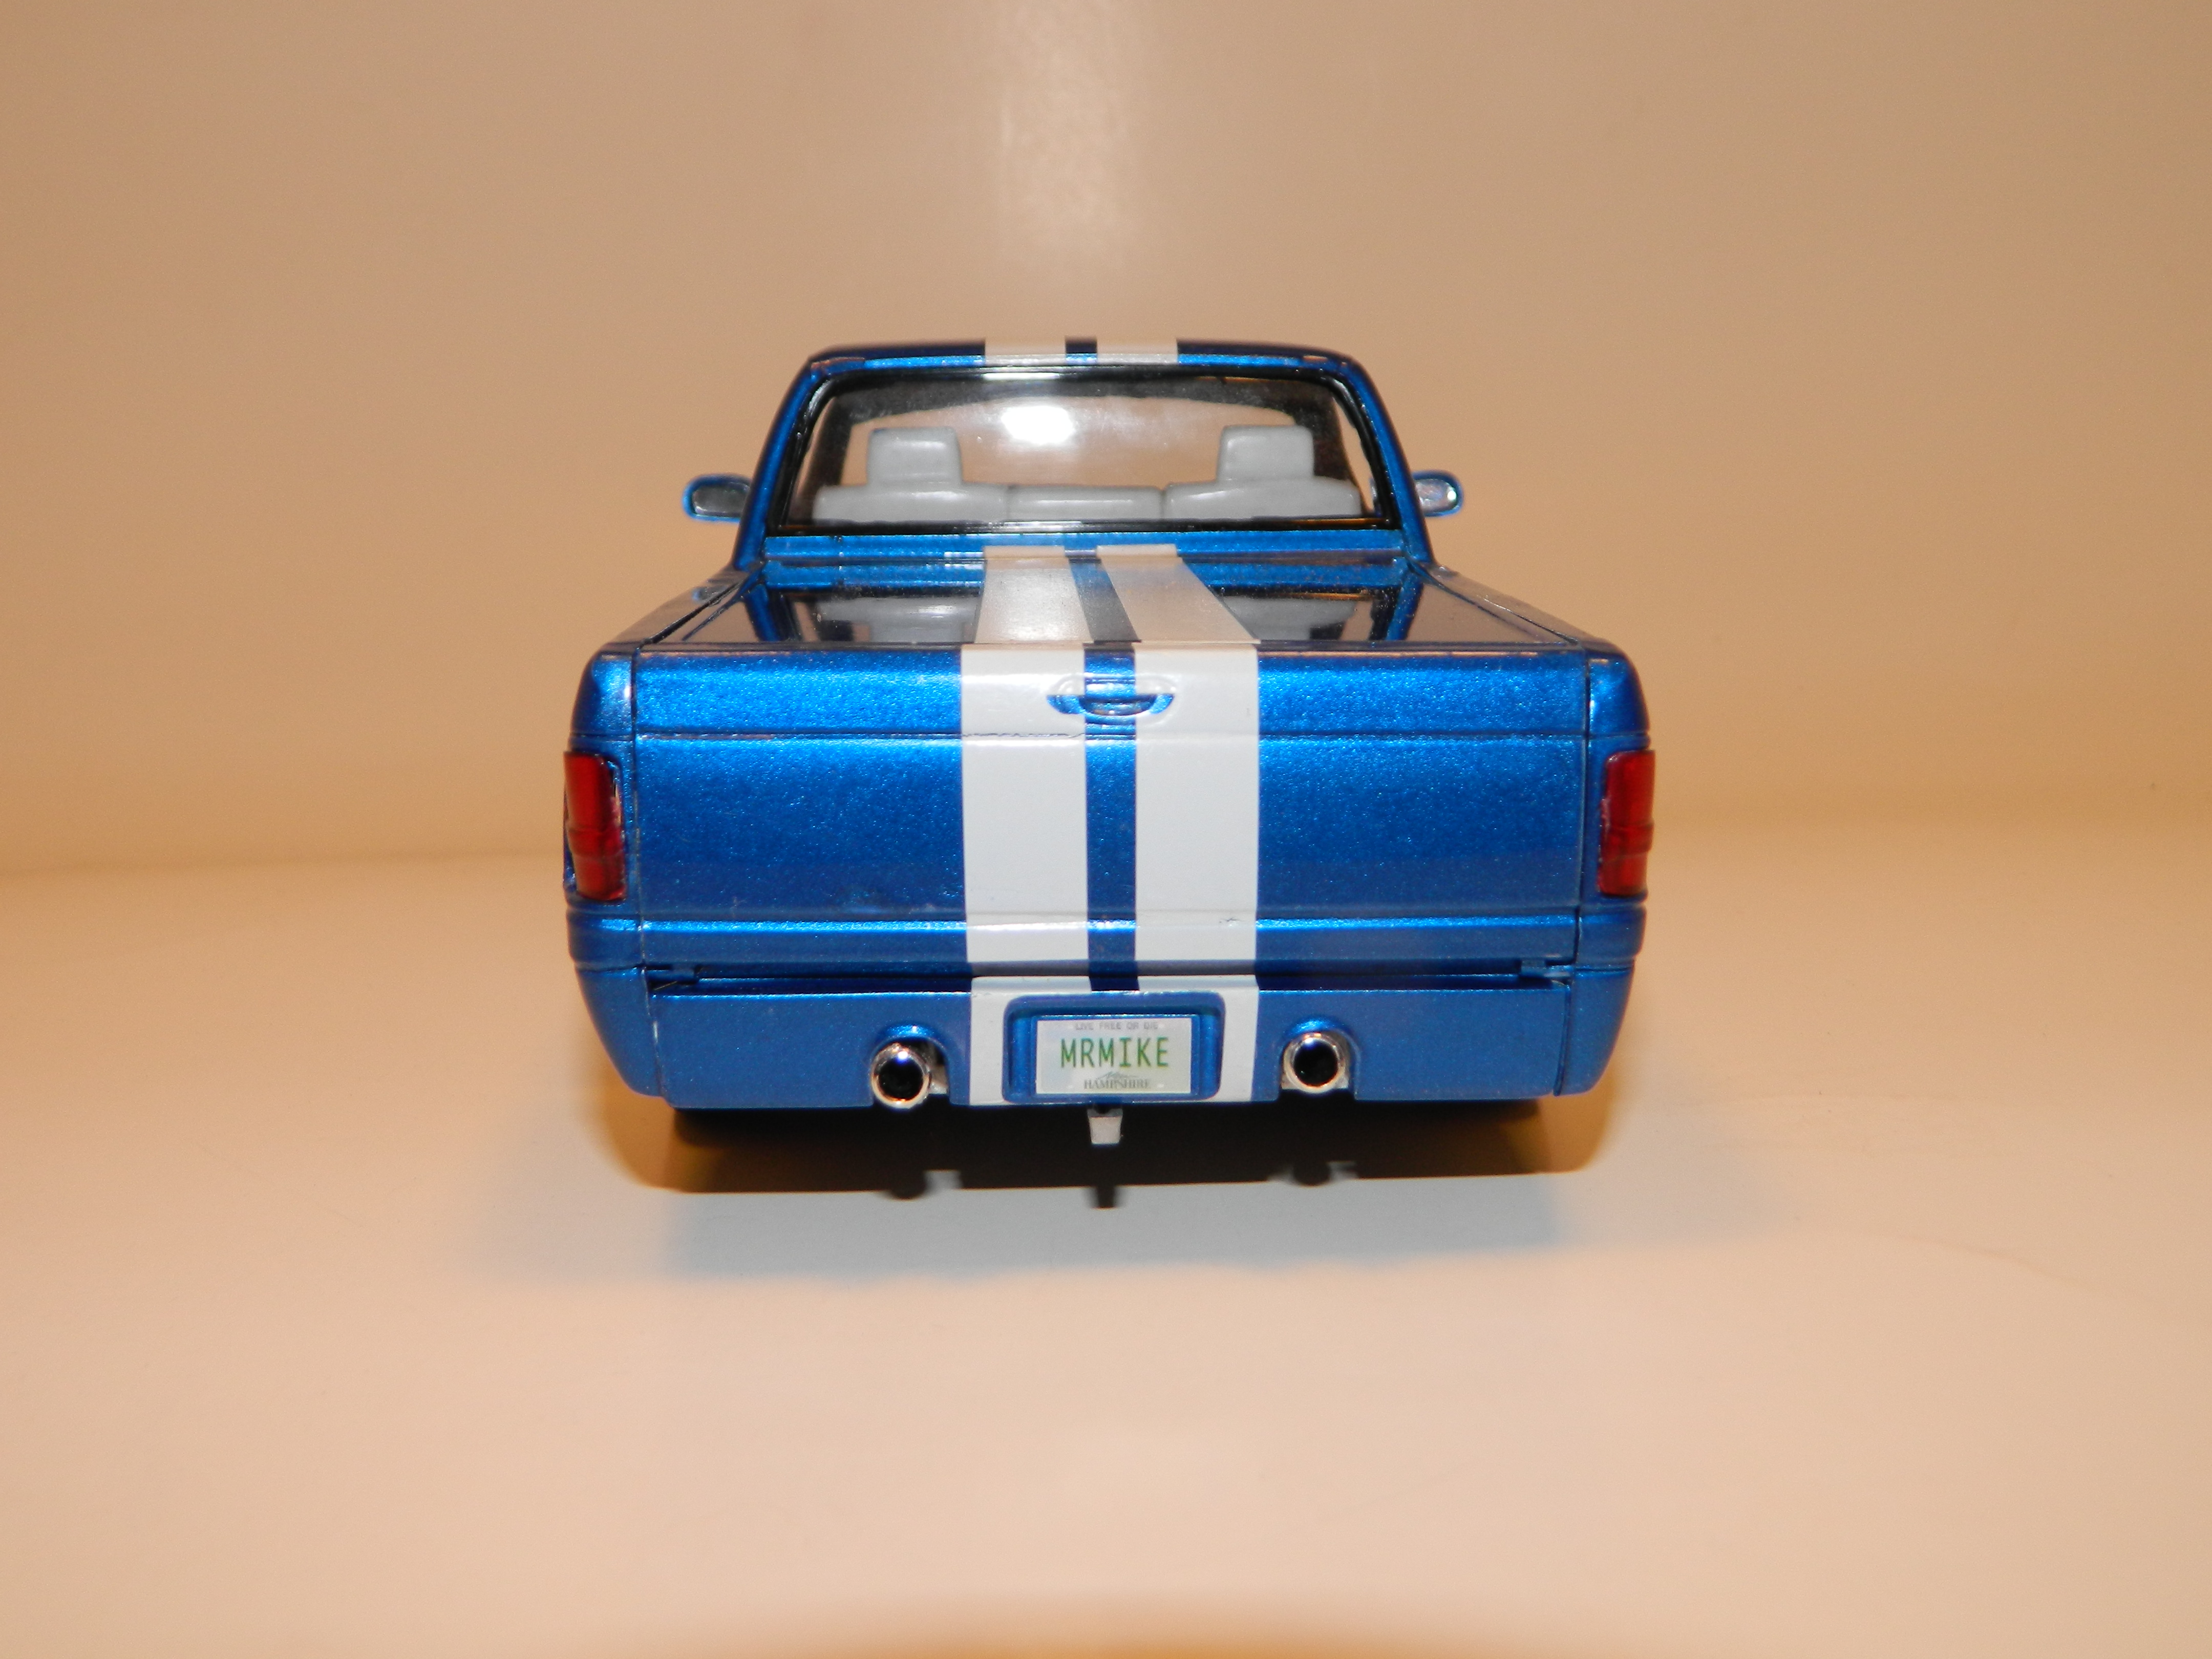
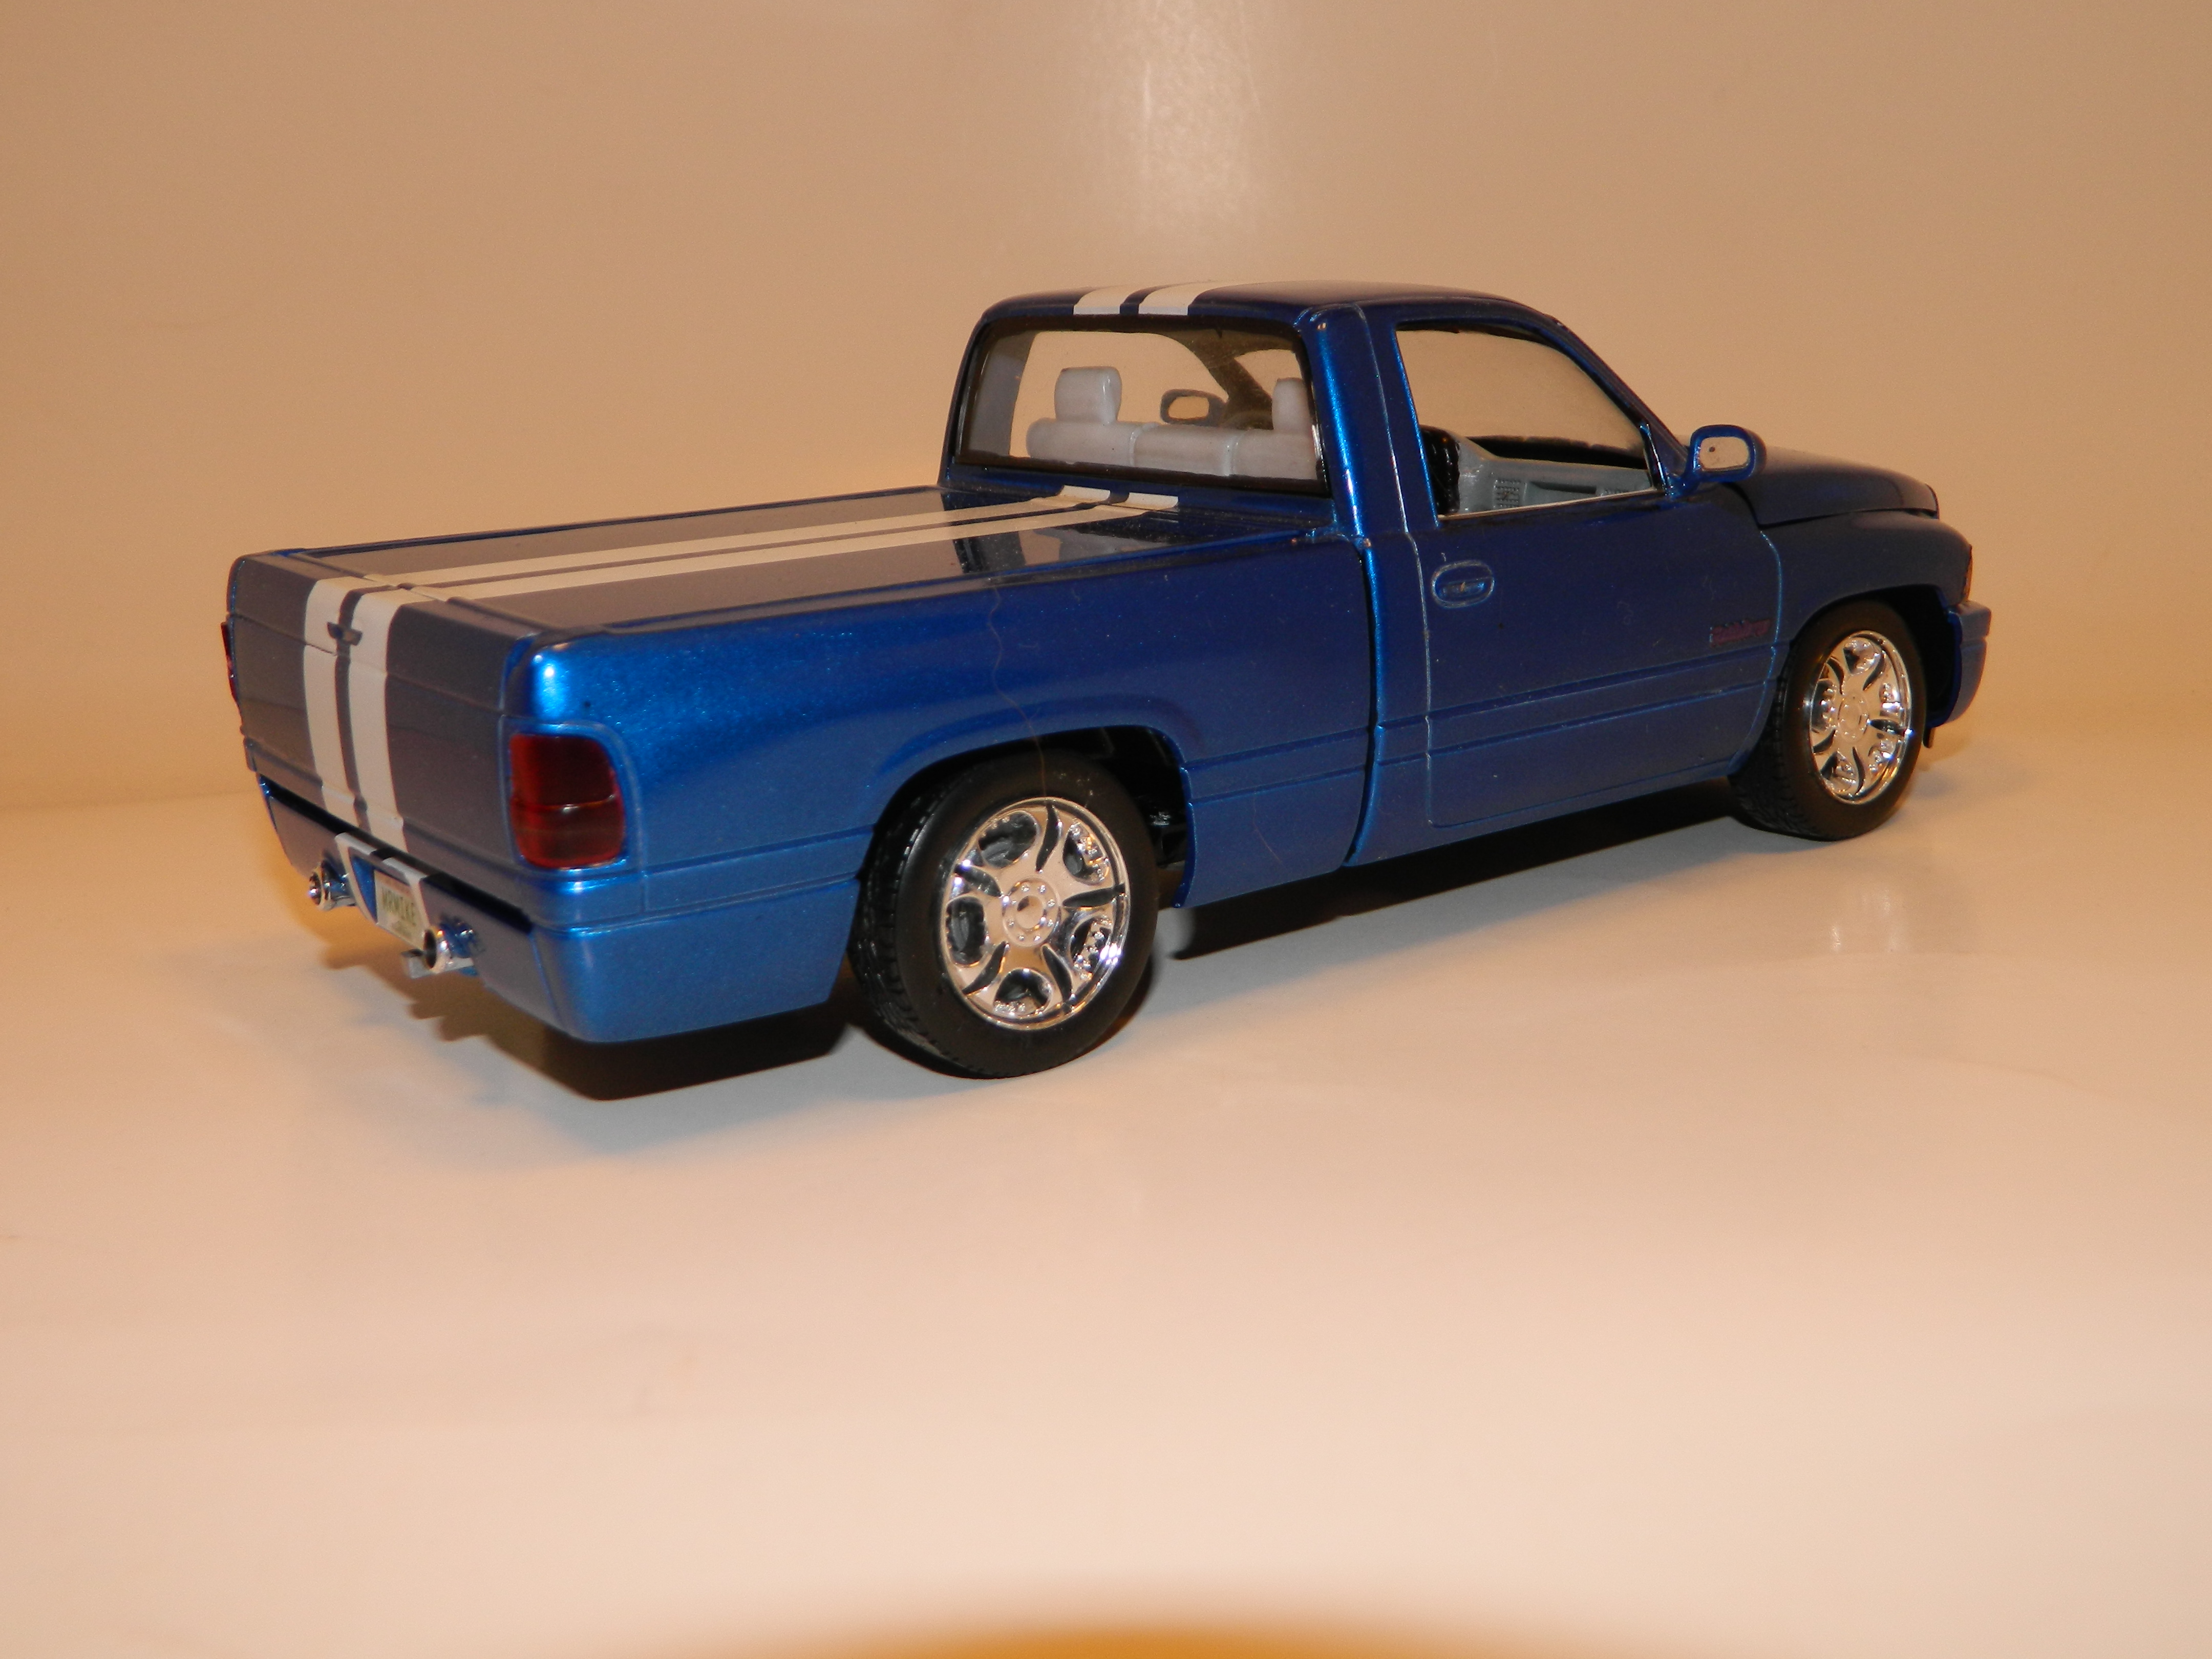
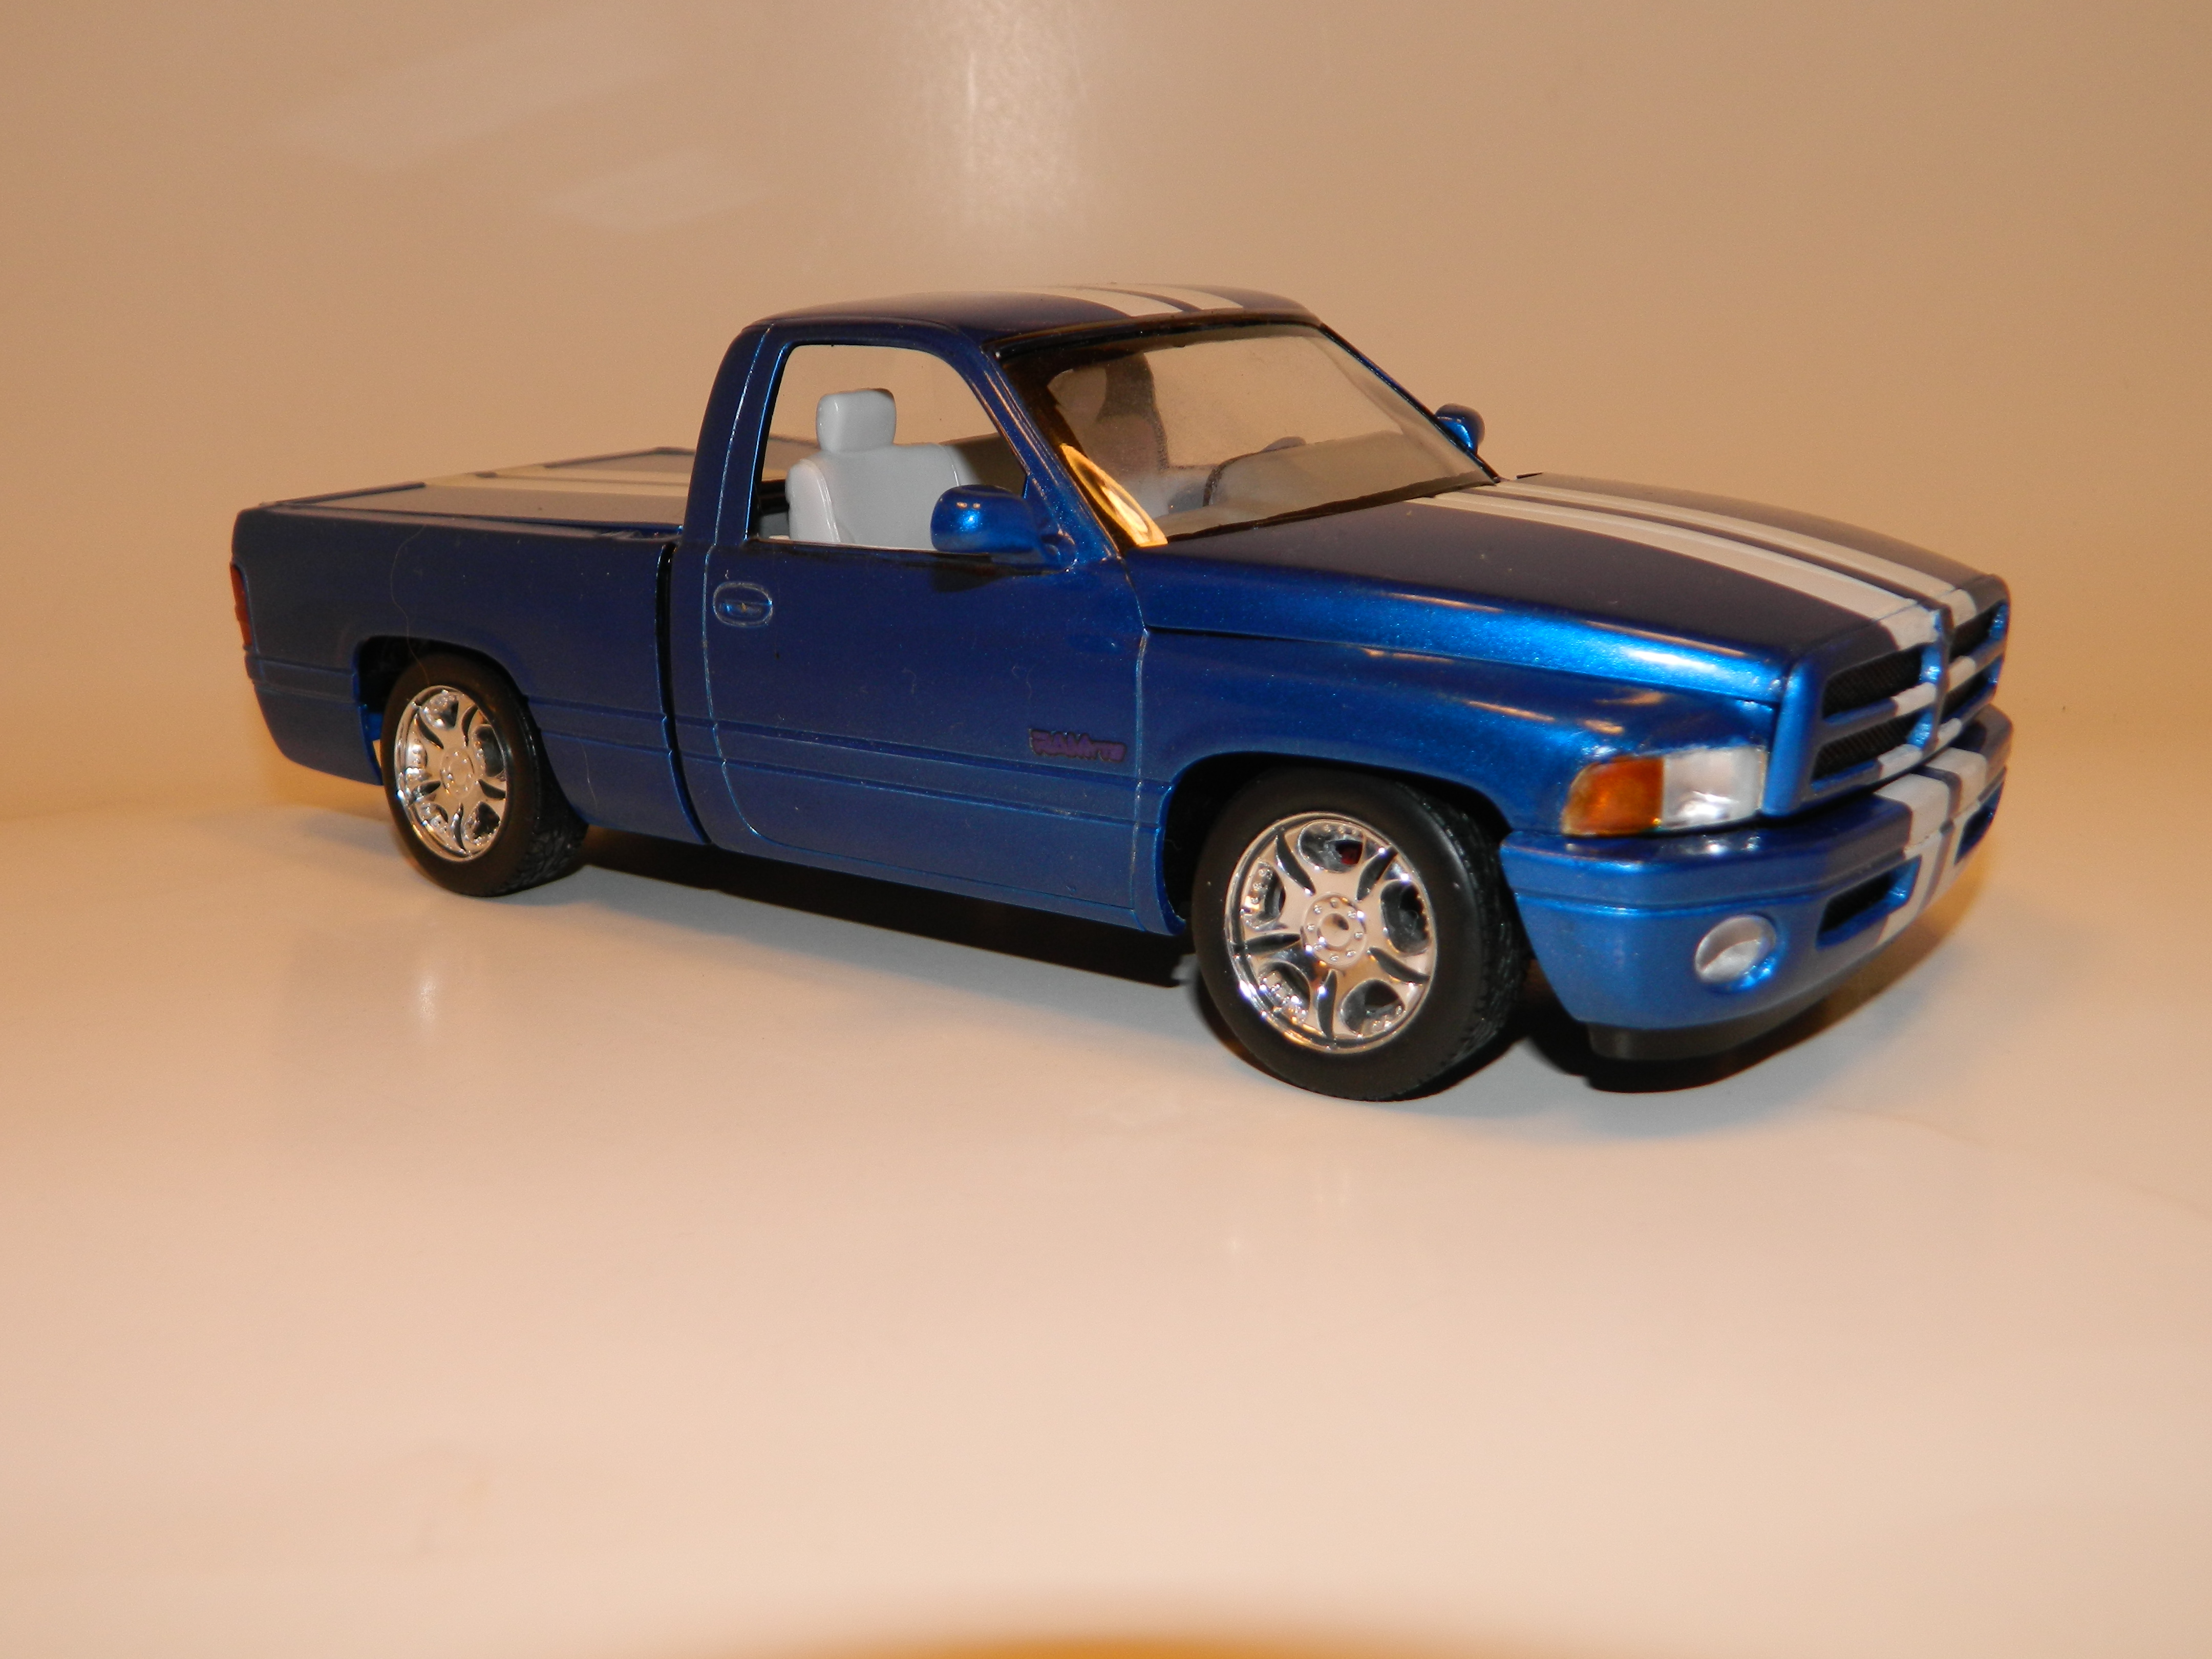
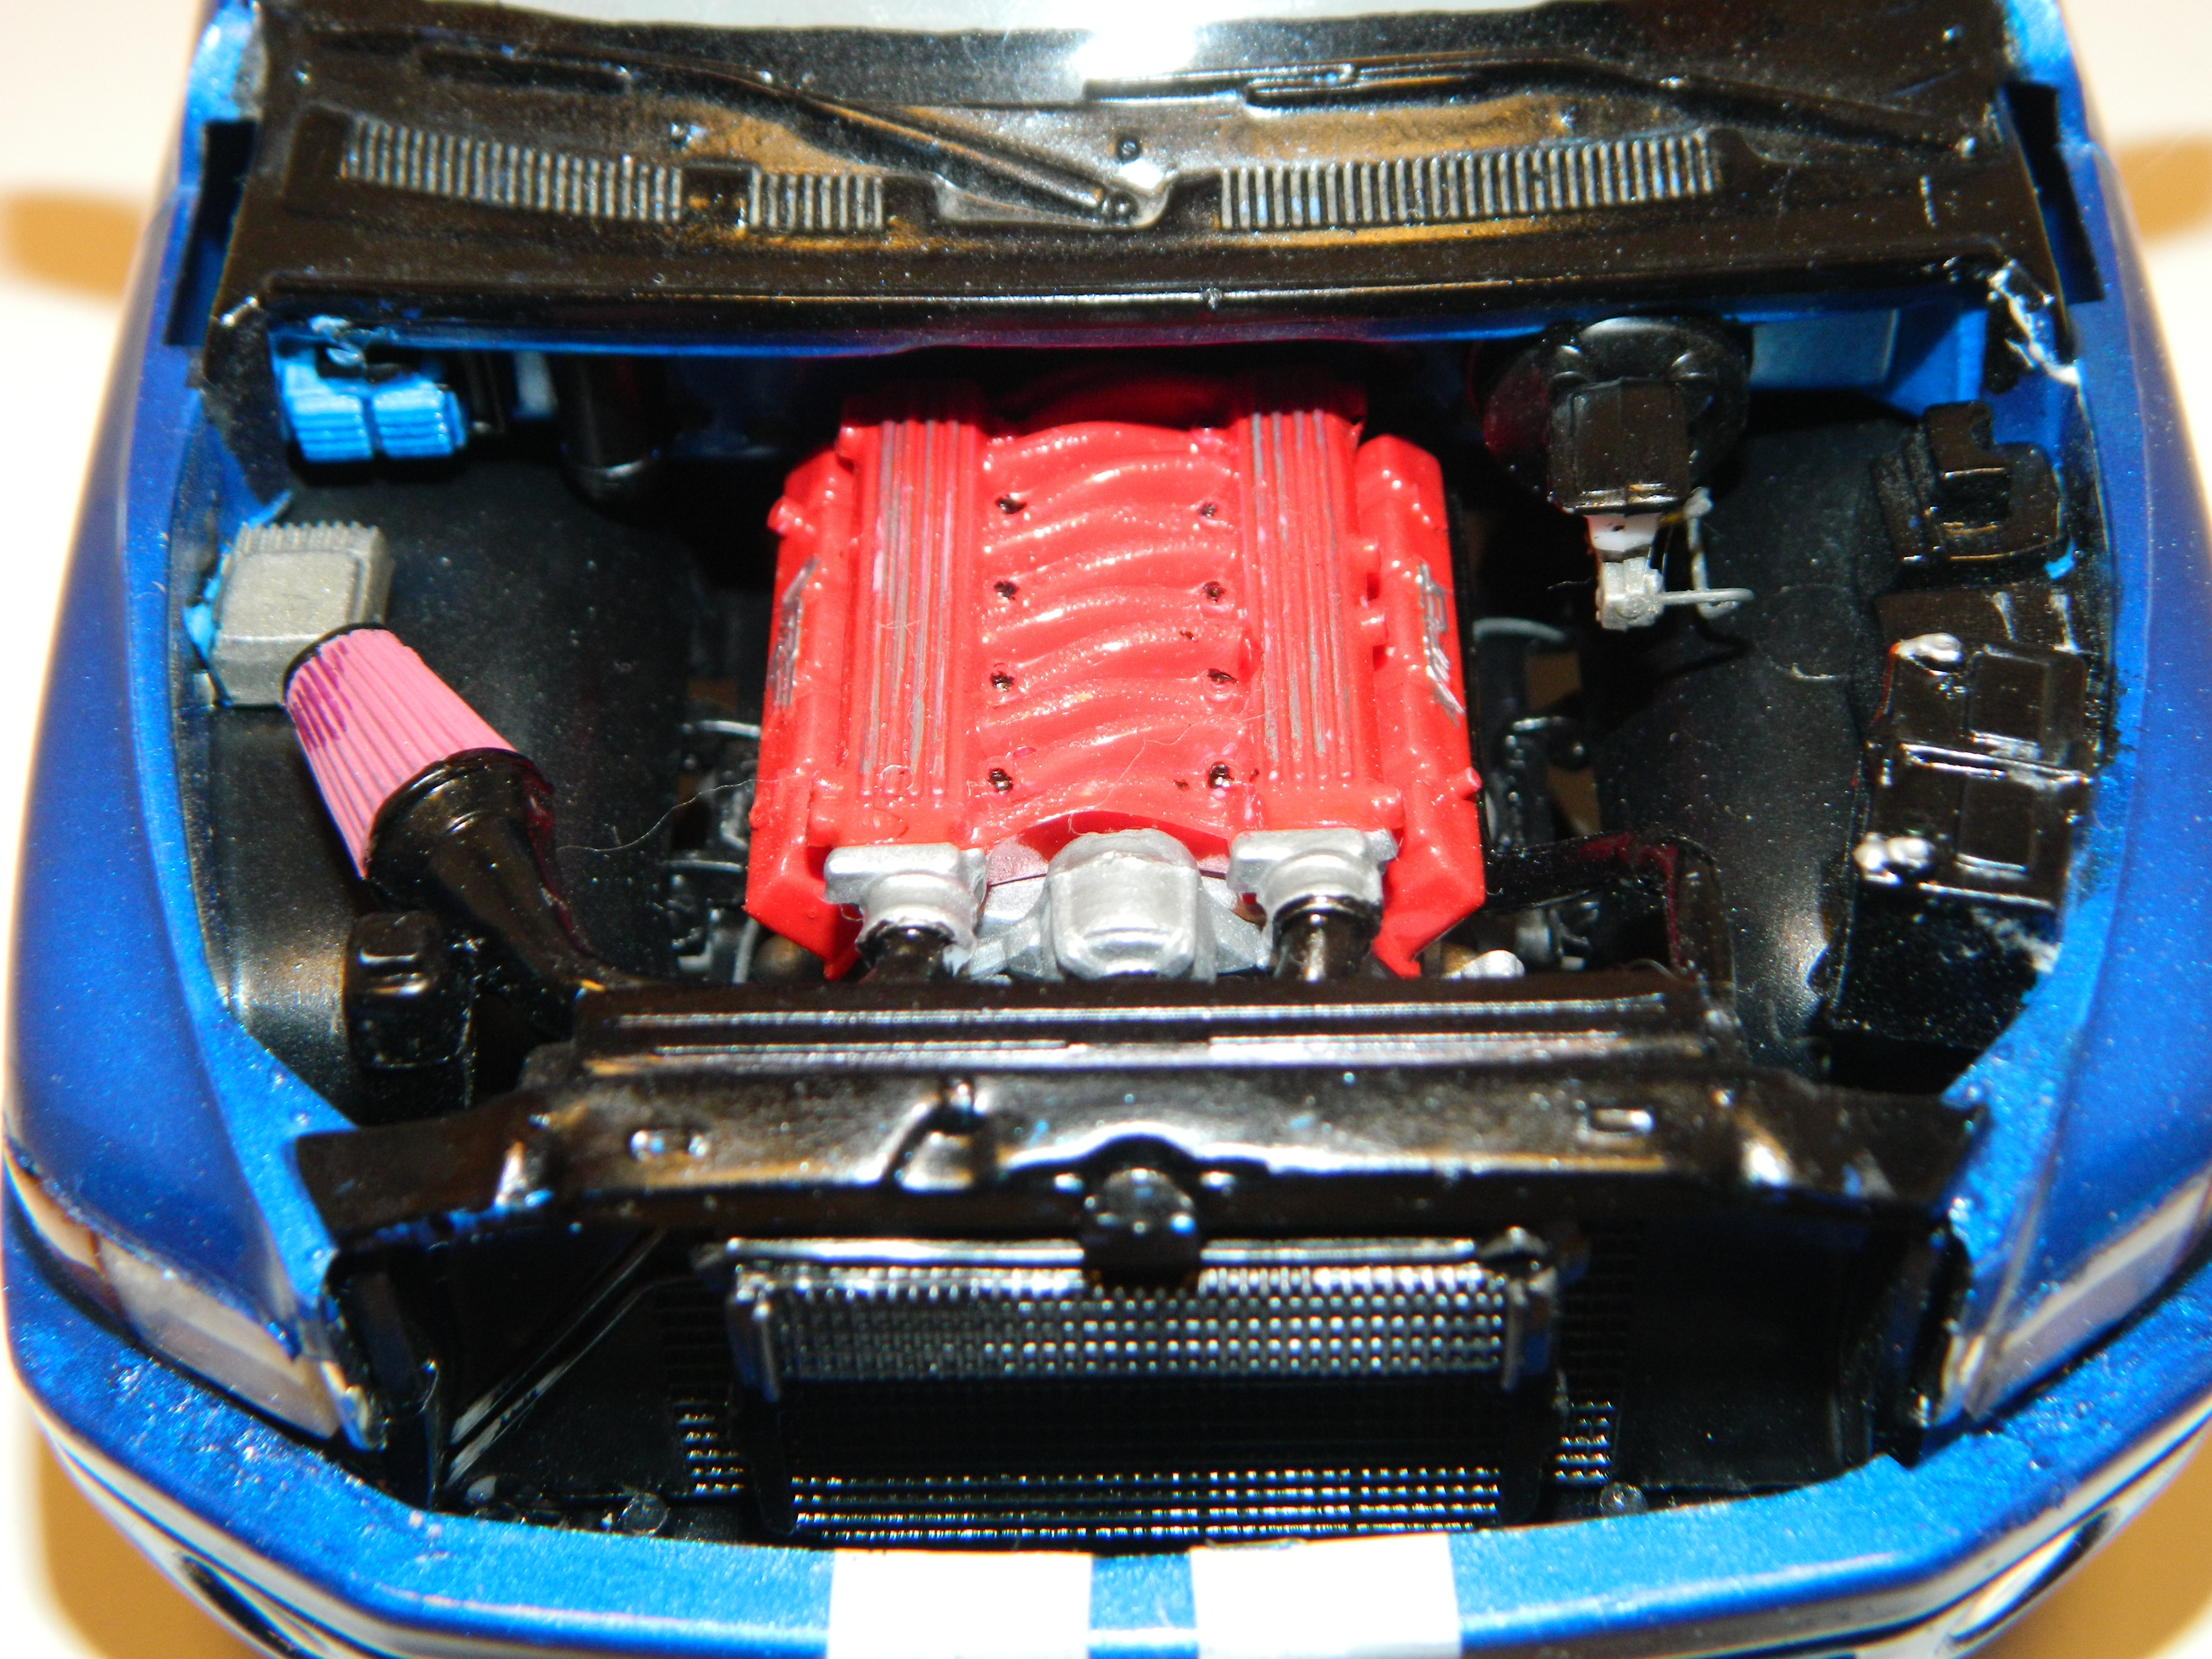
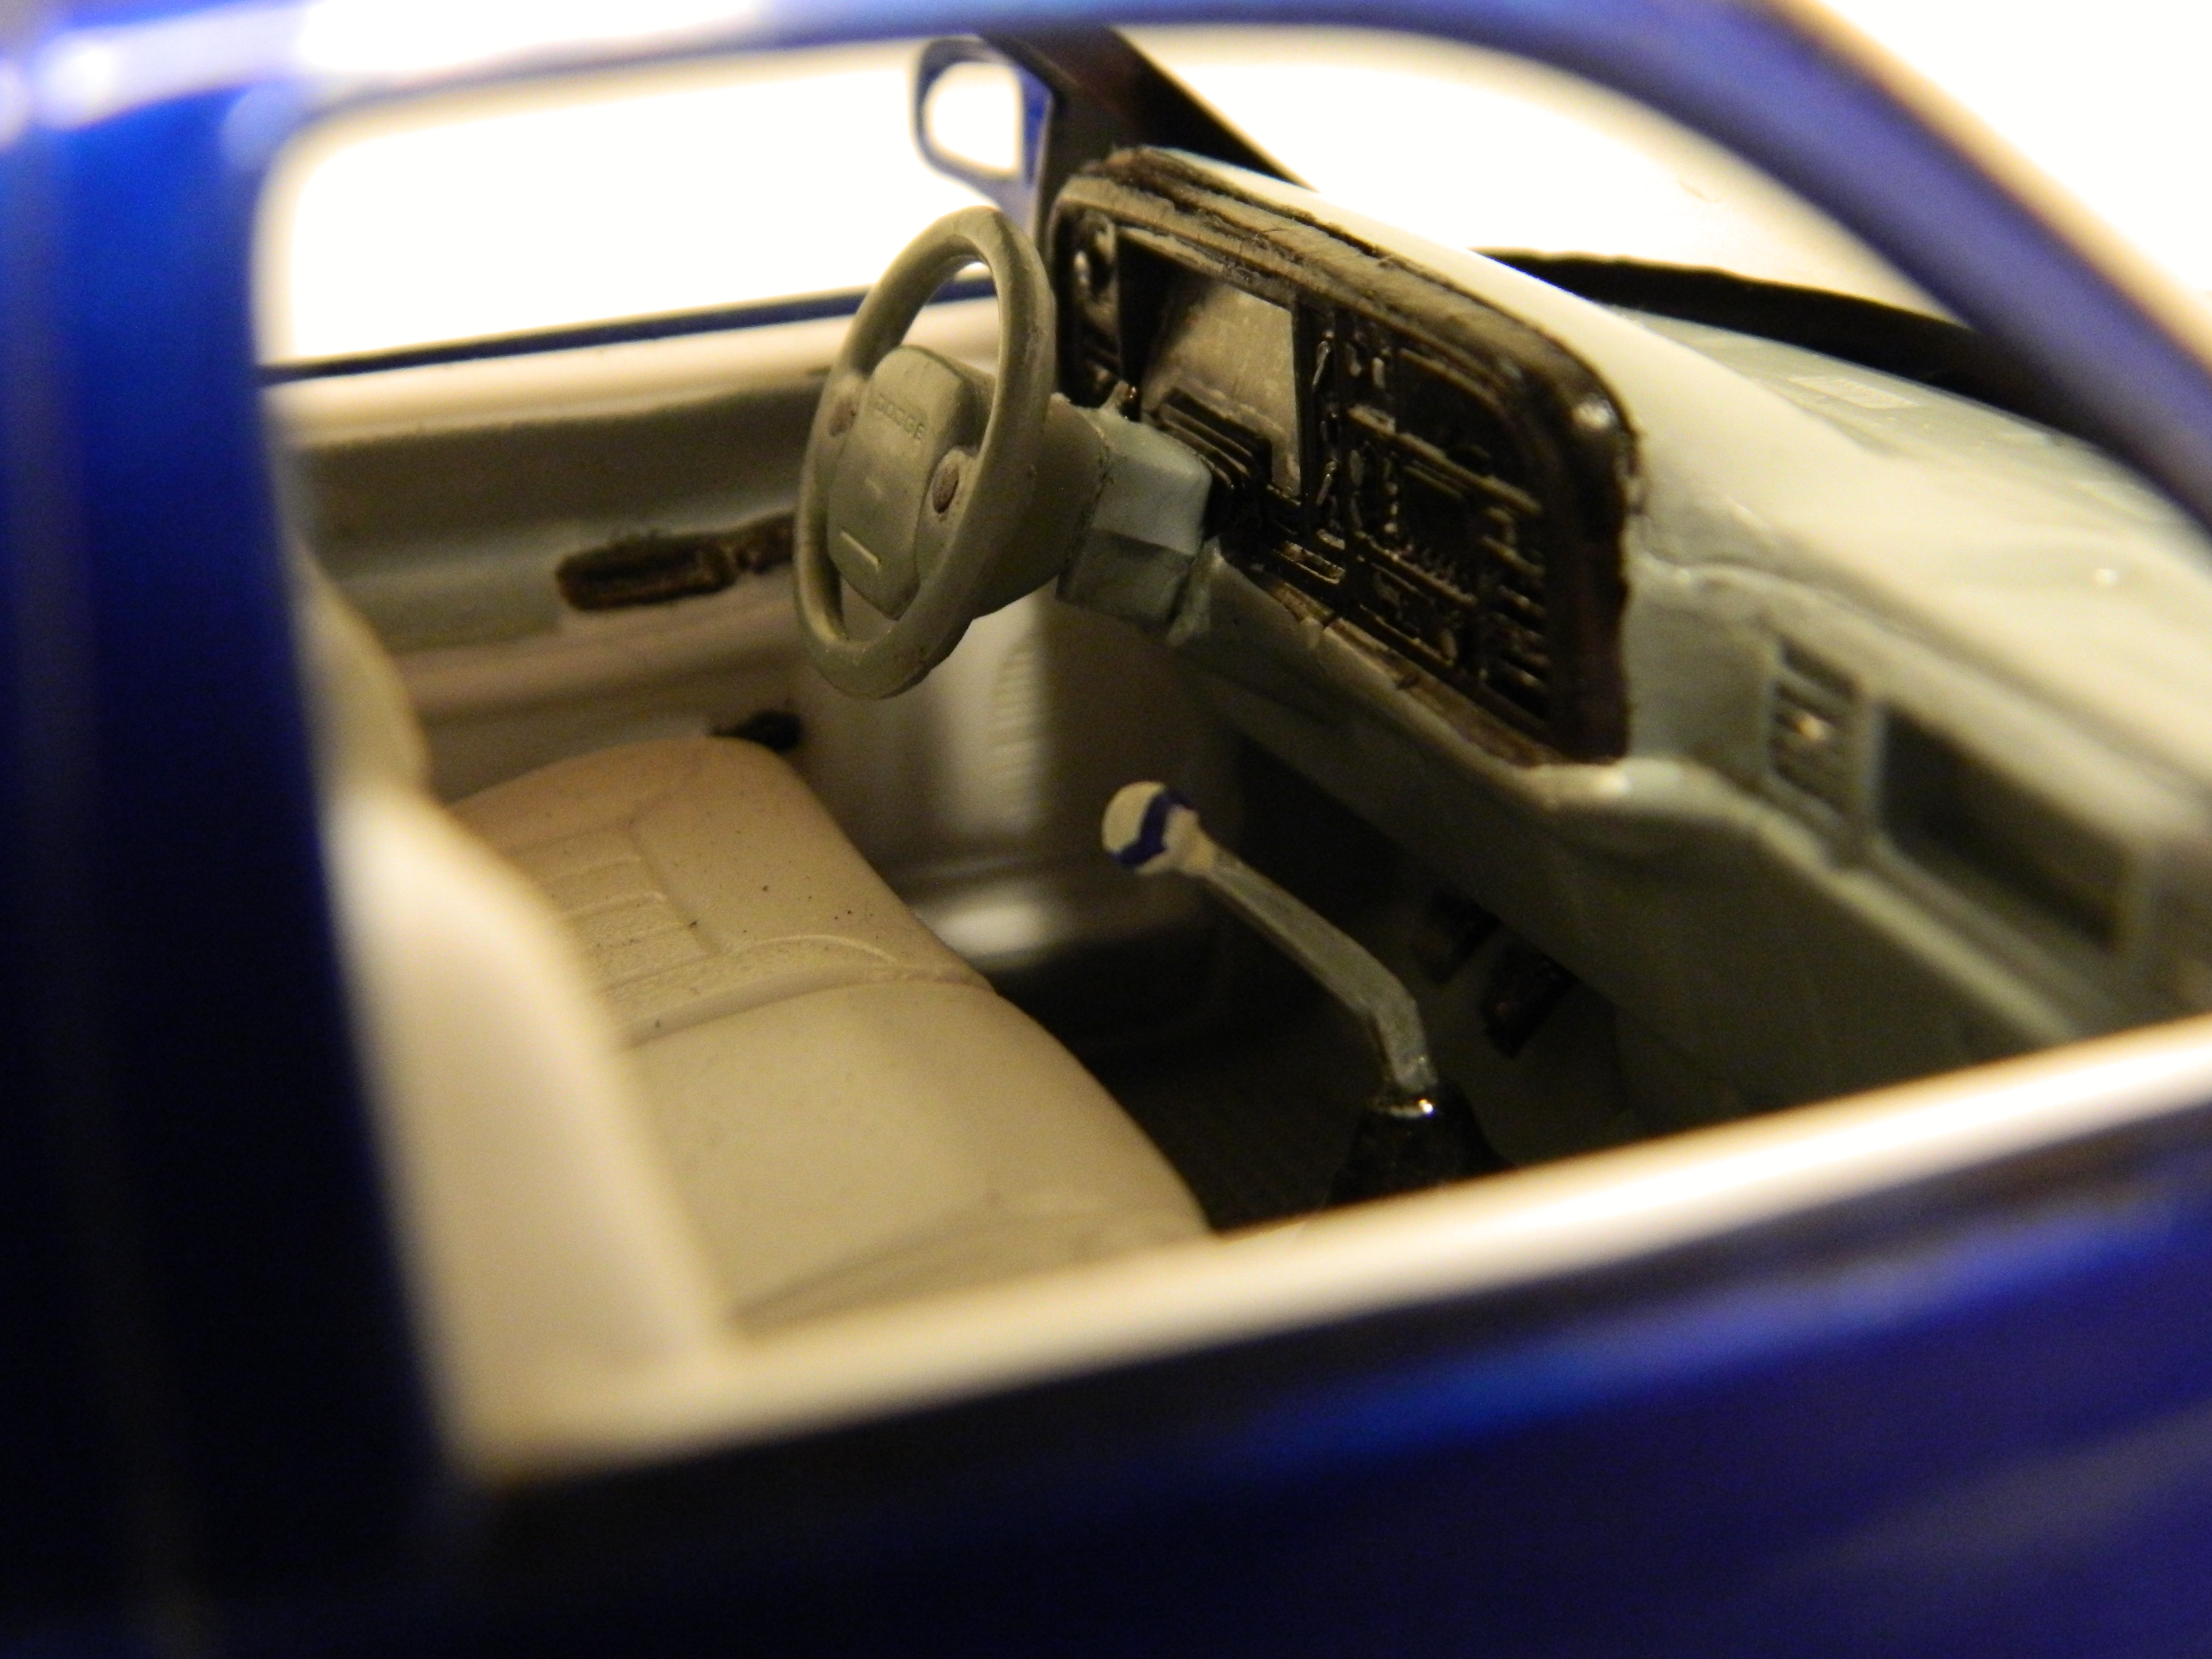
This is my Ram VTS Pickup that I pulled off the shelf for a cleanup and quick rebuild. It is painted with Tamiya TS-50 Mica Blue. The wheels are from the Maisto BMW Z-8 and looks a lot better than the kit wheels. I spent almost an hour on the grille and front bumper and I still don't like the appearance.
-
Thank you everyone! There is something I like about some of these "big boats". Imagine cruising along in a Hemi powered land barge like this...
-
I built this LRE about 10-12 years ago. It needed and good cleaning and a rebuild. I spent some time working on the grille of this truck and I'm not 100% happy with it. I found these air tubes in my parts box. I'll see if I can make them work... More to come...