MrObsessive
-
Posts
9,785 -
Joined
-
Last visited


.thumb.jpg.793df0629701a058b7f80ff815800d25.jpg)


Recent Profile Visitors
37,933 profile views


MrObsessive's Achievements
MCM Ohana (6/6)
-
 OK..............Here's what I found when using the Boolean Modifier in Blender, and then having the holes show up strange in Chitubox slicer. I work most of the time with .OBJ files, and I find that when the model is exported to the .STL format, that cleans the holes up much neater as it adds edges in that format, and keeps any sealing of the holes at bay. I don't know about Lychee-----I had that slicer program, and found it to be too glitchy for my tastes. Also, using the Boolean is very dependent on the surrounding mesh. If the mesh is made of large quads, the Boolean won't cut as cleanly after the file is exported because the surrounding mesh isn't as dense. If the part was created using Blender's SSM on Level 2 for example, that should make the wireframe mesh dense enough where the Boolean feature won't leave holes so "messy" after the object is exported. Hope this helps!
 -
The Chrysler Norseman emerges from the depths...of my resin vat.
MrObsessive replied to Pico's topic in WIP: Model Cars
Thanks so much Pico! Yes.........I get messages all the time about this or that model shown on a site, and I have to caution the person asking that the model as seen is just the rendered file. It cannot be printed as is, as the whole car must be given wall thickness, and/or made manifold from bumper to bumper. That's not an overnight task, and as you know some cars are MUCH TOUGHER than others to make printable (I'm dealing with one now), and like model building, will require lots of patience to see it through. The major upside is the number of vehicles out there is literally endless, because if a file exists of said car, it can be had via printing. One reason I try to encourage others to learn the tech of 3D, and not fret about why X, Y. or Z company won't make this or that as a kit. -
Using automotive paint
MrObsessive replied to Bryan Brogan's topic in Model Building Questions and Answers
If all else fails, you can always test paint out on the flip side of the hood for example. That's not going to be seen once the model is built, and you could always either strip the paint, or cover the underside with a cloth type material later to represent insulation. -
I'd try putting supports on the inside of the body on the sides. For whatever reason, Chitubox only wants to place them mostly in a vertical direction, leaving IMO voids along the sides that can be supported. Putting them on the insides along the sides of the cab will also keep print shifting at bay, which in a convertible for instance is important, since you don't have the real estate of a roof to place supports. Hope this helps!
-
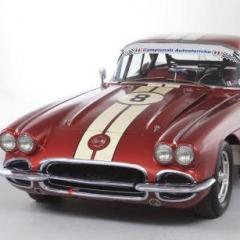
Wintersteen Grand Sport Corvette
MrObsessive replied to Mark W's topic in Other Racing: Road Racing, Salt Flat Racers

-
I don't have a specific tutorial as far as designing, because all that I do was self taught. A lot of info I did get off of YT, but there's no one single set way to designing, although there are certain principles that should be followed. One of them is to work in as large of quads as possible, and in the case of Blender, you'd want the SSM to be turned on in the background. This will keep the surface relatively smooth, especially after it's exported into either the .obj, or .stl format. There is a site I've heard people talk about-----CGMasters.com is a site that's like a course setting where you go through different stages of getting a car designed. I believe it's subscription based, and while that's not where I learned to design, those that I've heard use that say it's a good program.
-
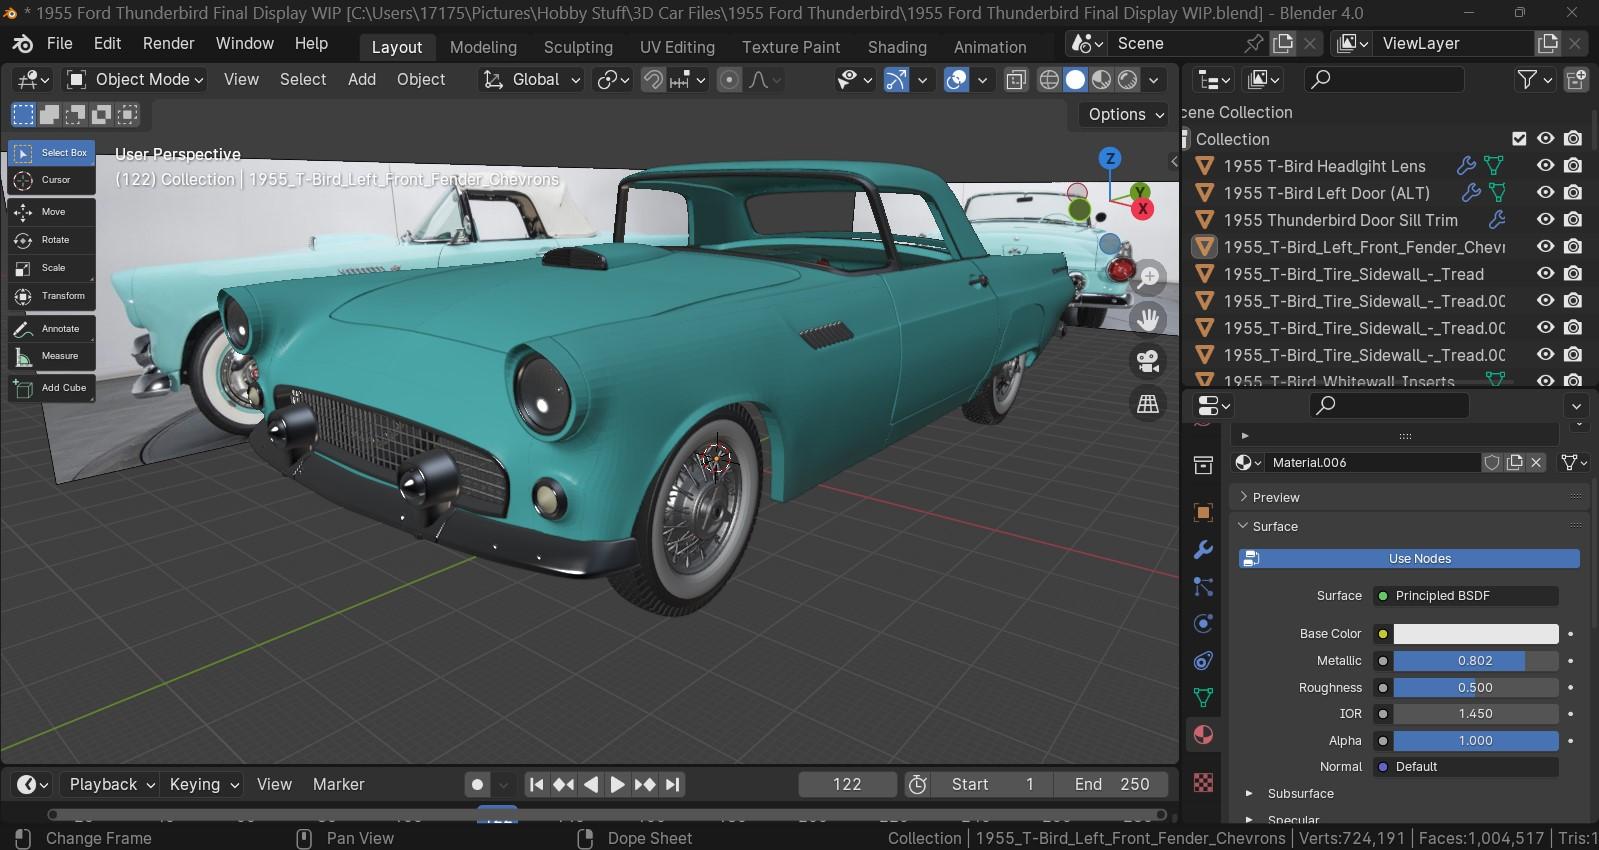
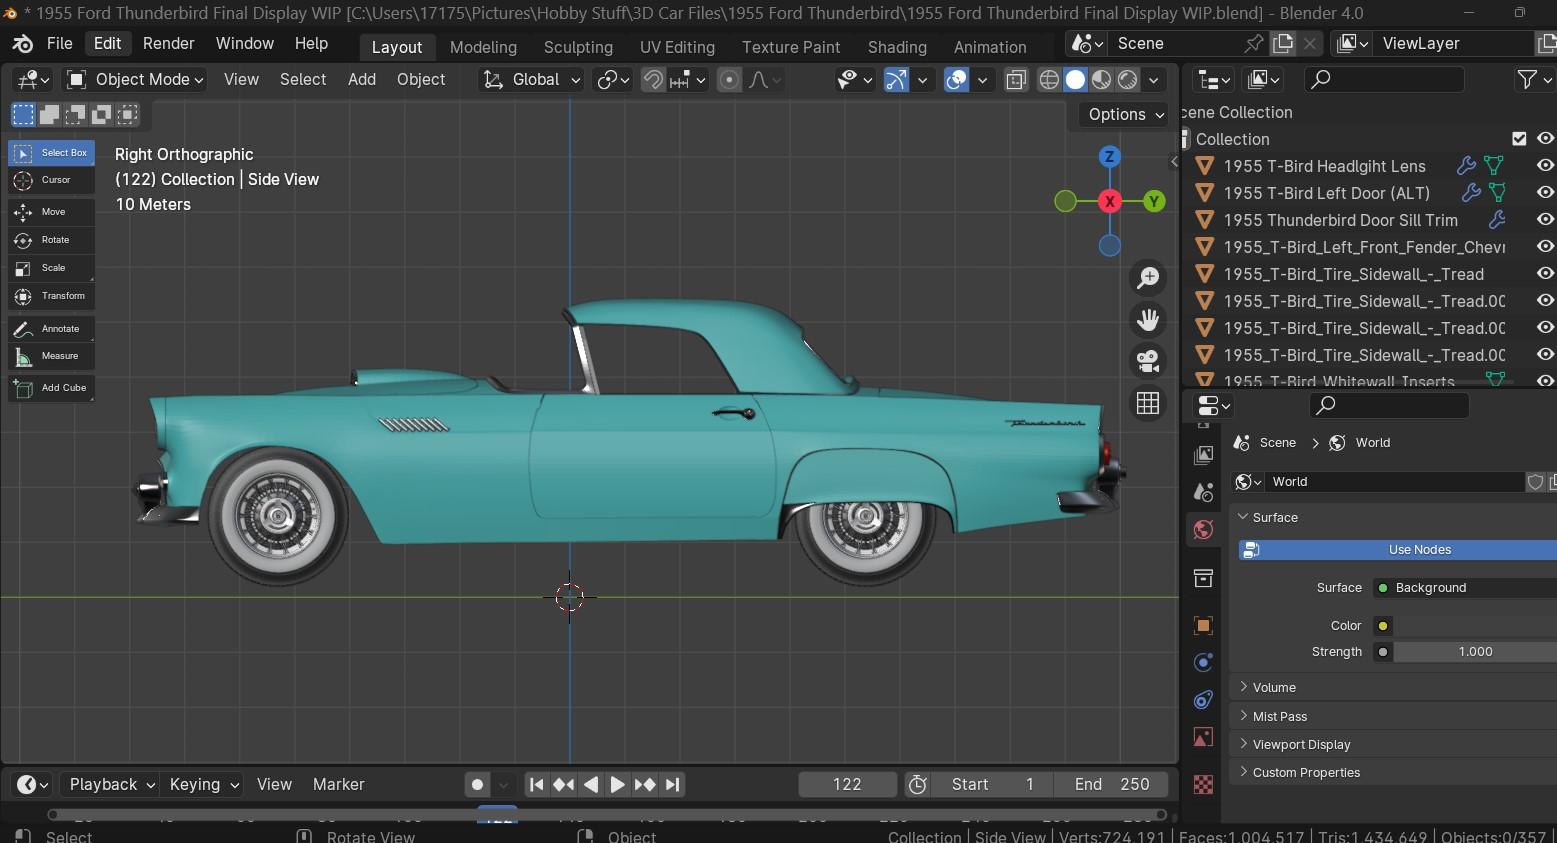
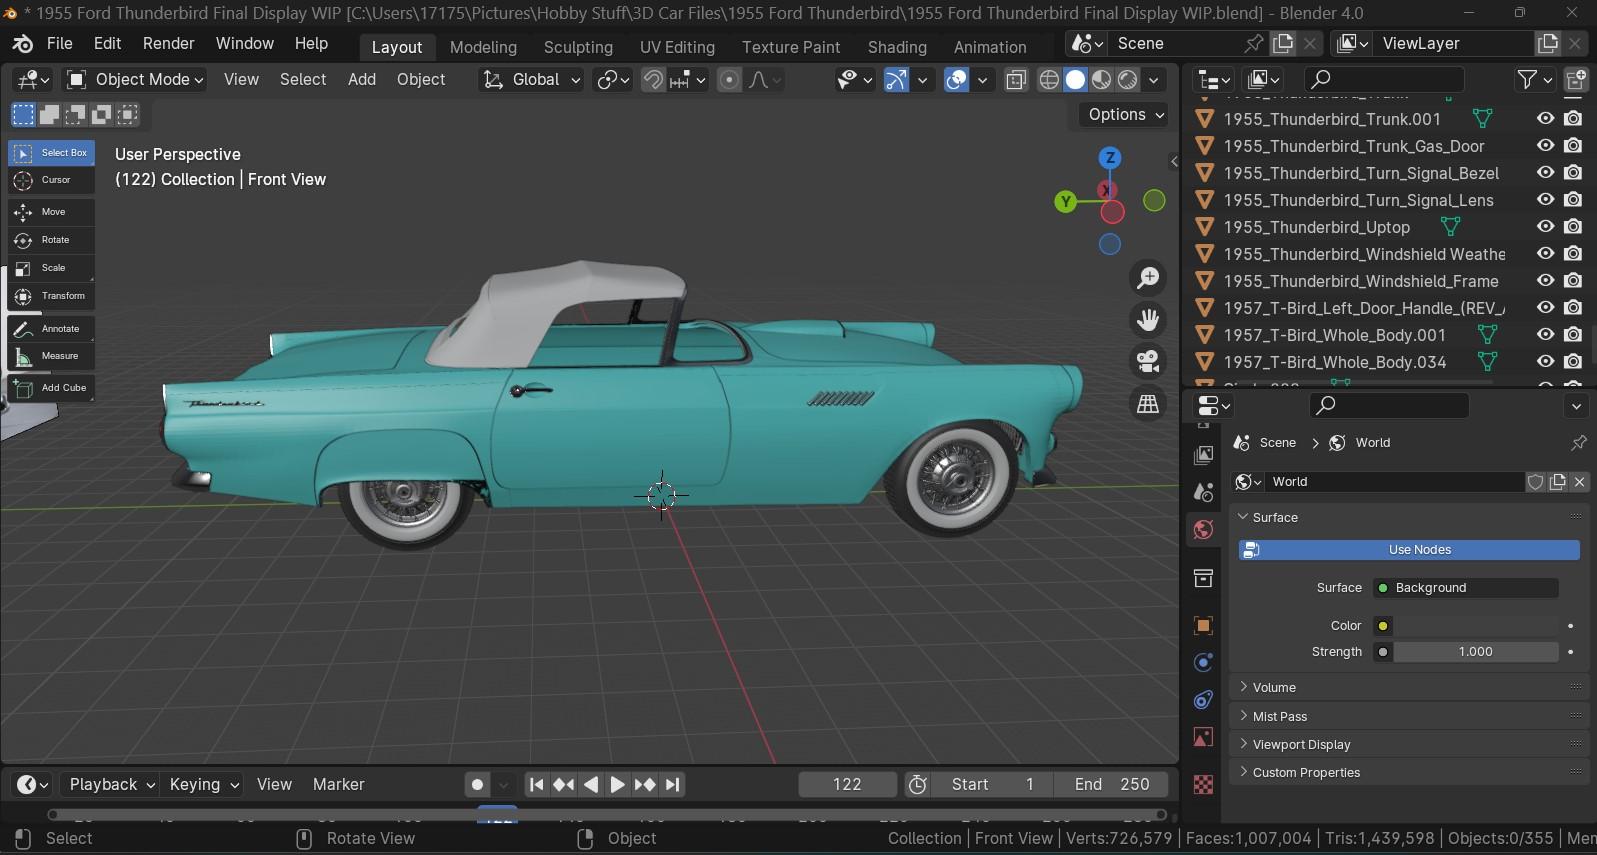
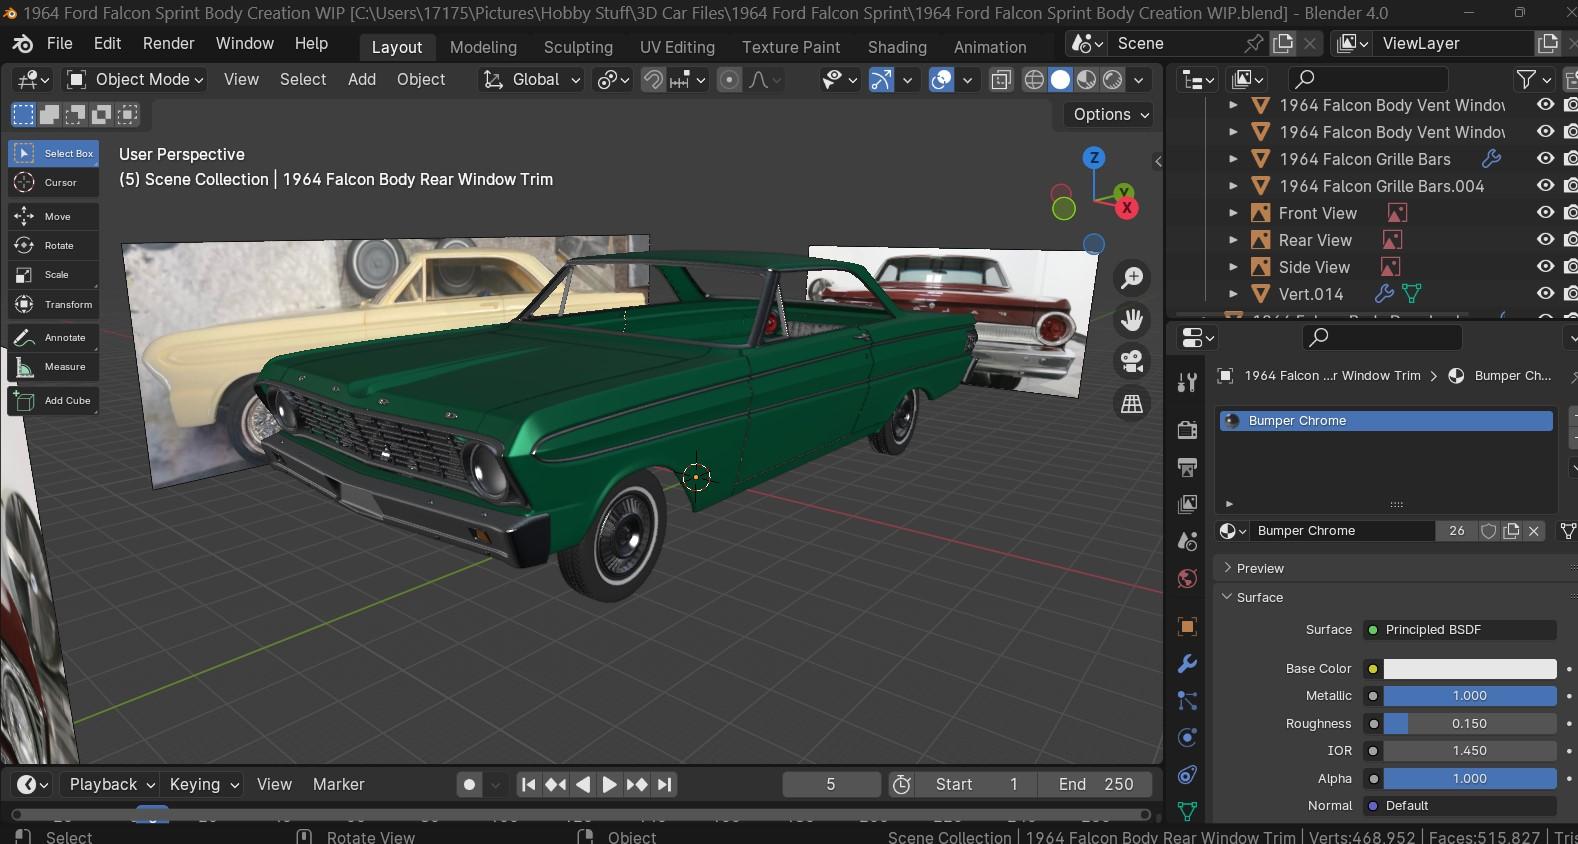
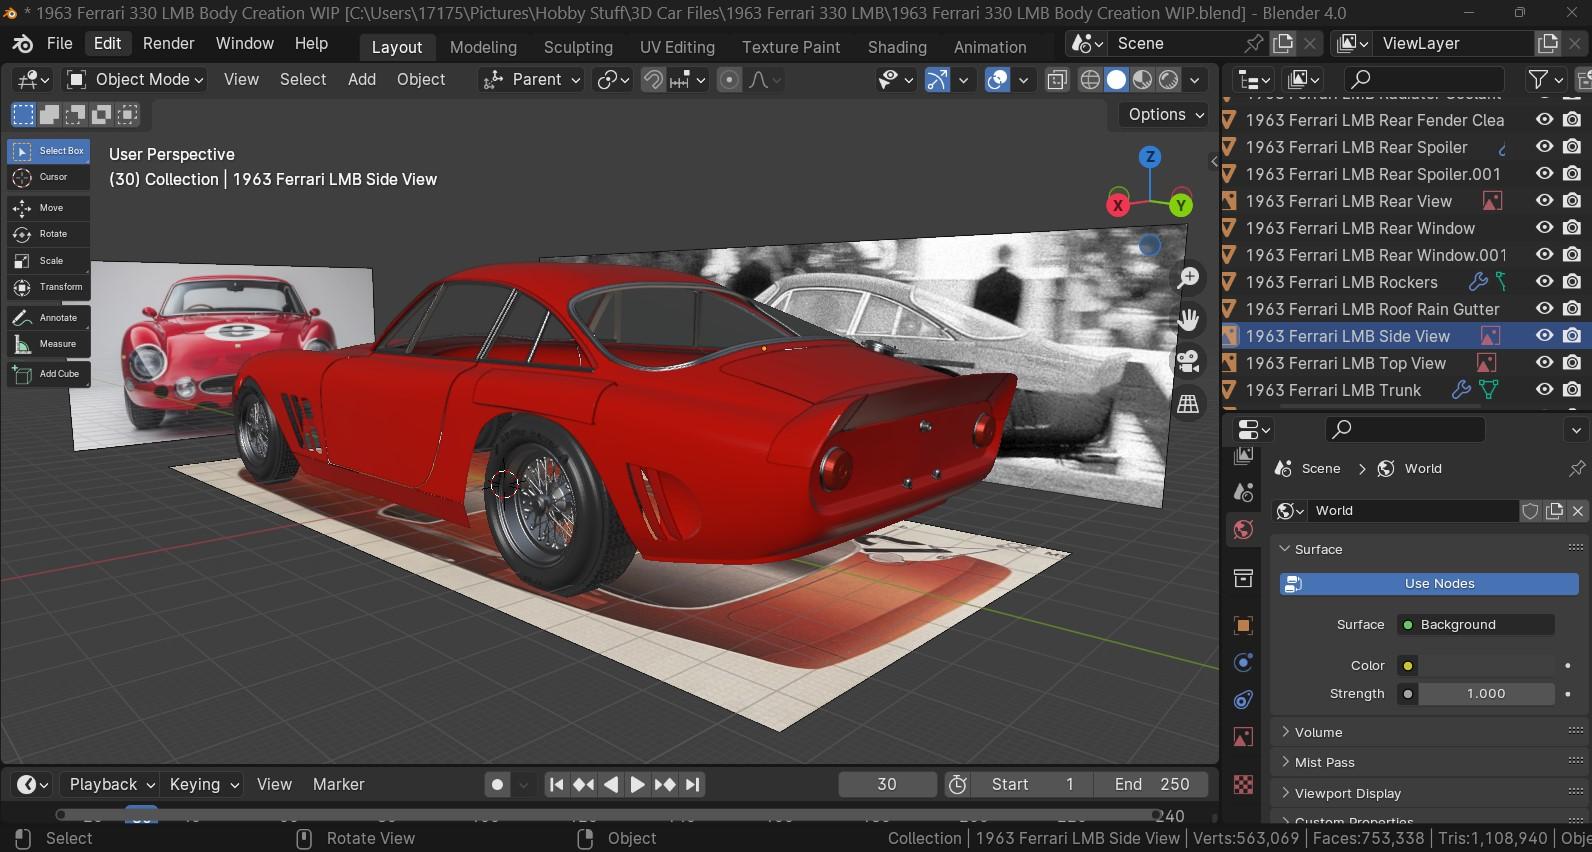
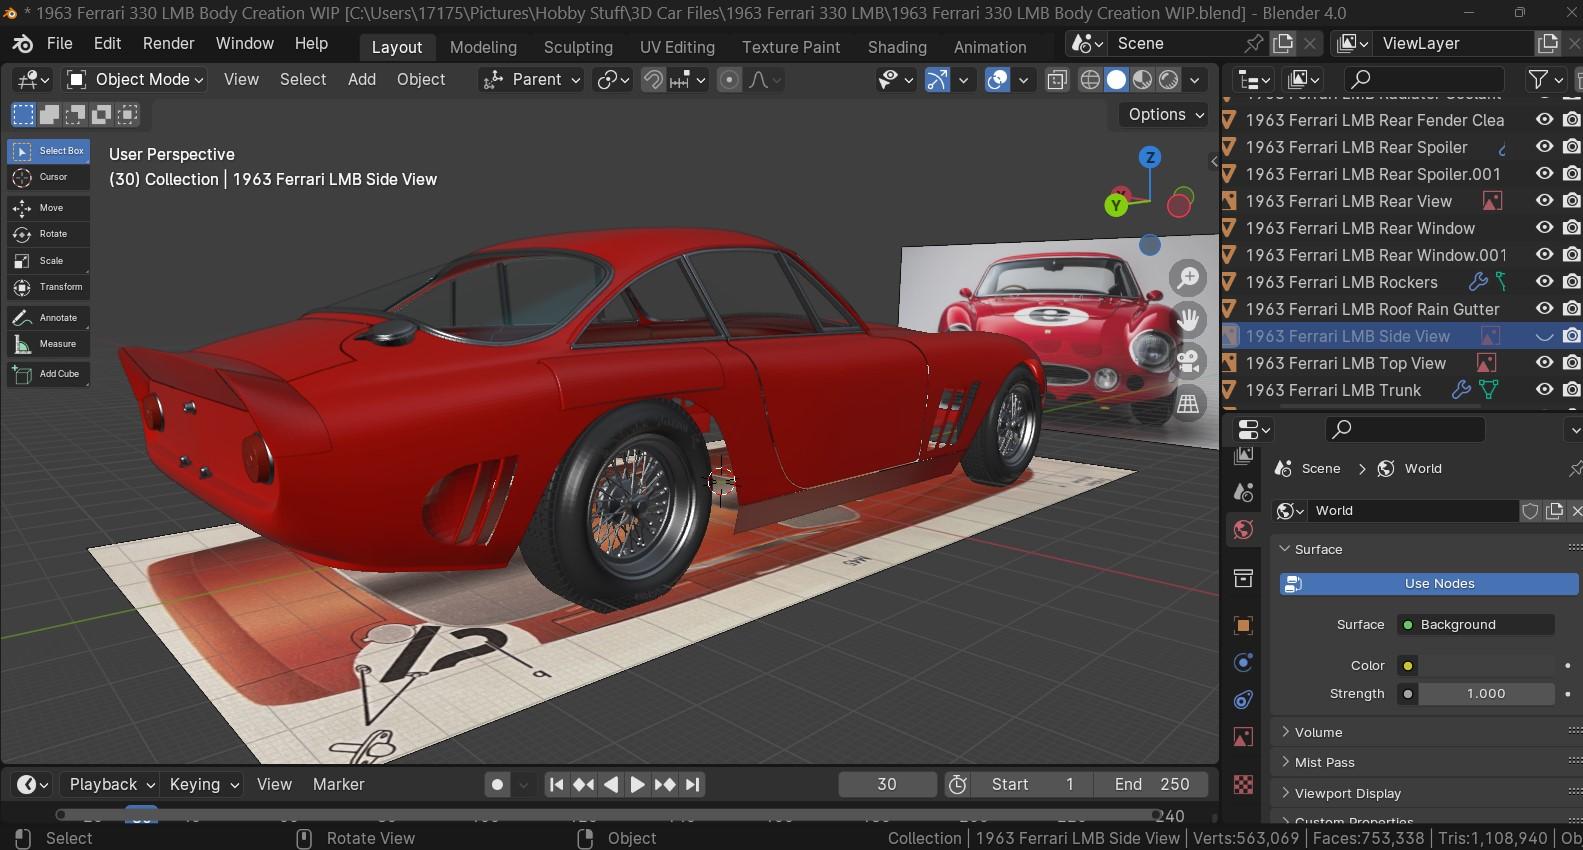
Ok.......I thought I'd post a few more of my recent designs. Only one of them is printable right now (T-Bird), and I do have a whole bunch of others that I've completed. There's too many to list here though, so I thought I'd post what I sent to a friend that messaged me as to what I've been doing lately. First up is a '55 T-Bird which I just recently made printable............ 1964 Ford Mustang III "Shorty" (Yes, this car does exist) 1964 Ford Falcon Sprint 1963 Ferrari 330 LMB I don't do interiors until after the wall thickness is done, as it's much easier for me then to account for that, than trying to guess tolerances beforehand. I have made interiors in the past, and as long as I can get decent pics at different angles, those can be done. Waaaaay many more I've made in the last period of time, and there's too many to list here. I'll try to keep the forum up to date, but I won't be able to list every detail of how I created what. That's too much typing, and frankly not one of my favorite things be it laptop or smartphone. Oh................I don't get this as an issue here, but I have to say that I don't sell prints or files. Everything I do is strictly as a hobby, and yes I do build what I've printed, as I have a Pontiac Banshee convertible in the works at the moment. I may do an update on that later, but pics of that are mostly on my phone, and have to be transferred so I can post on my laptop. I hate smartphone keyboards. 😣
-
Dave, I was able to get back to my own username, but I did change the password for safekeeping. All's well now. 😎
-
OK, I changed things up yet again, and all's back to normal. 😁
-
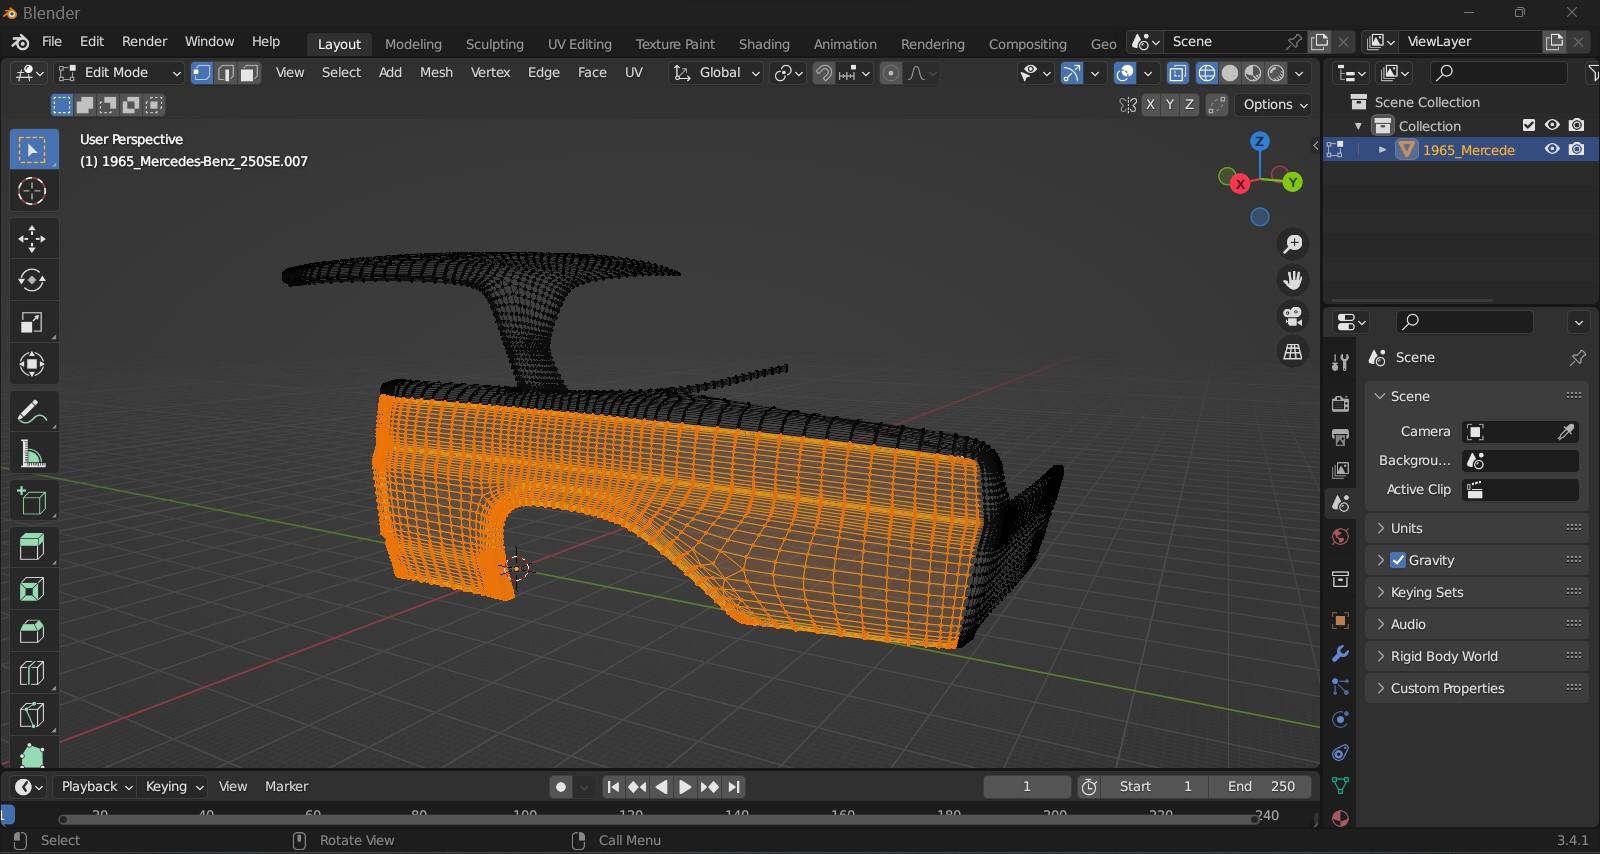
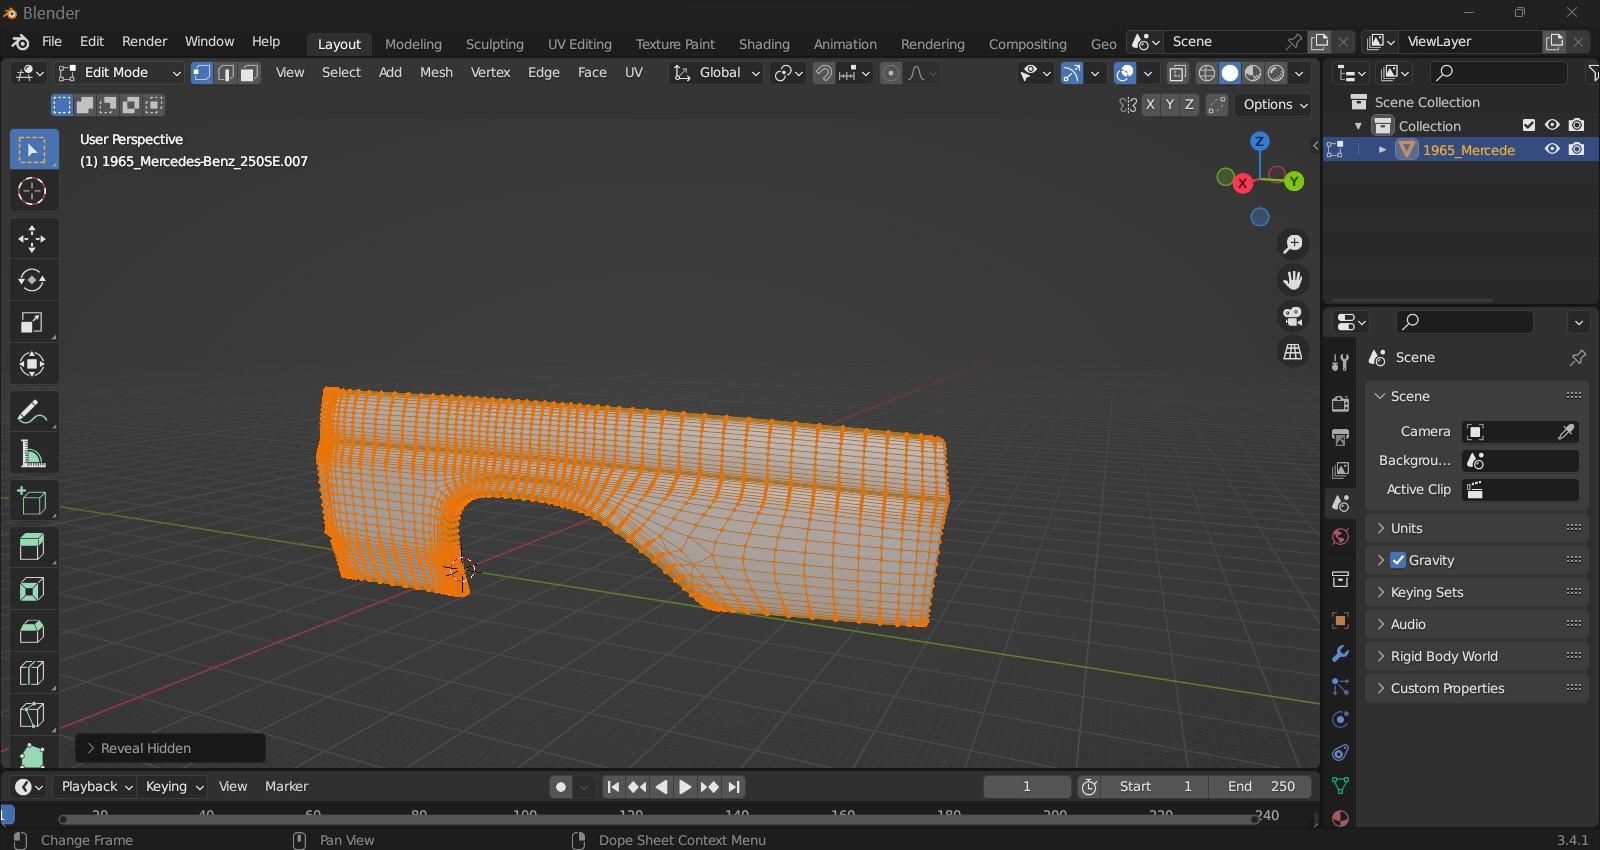
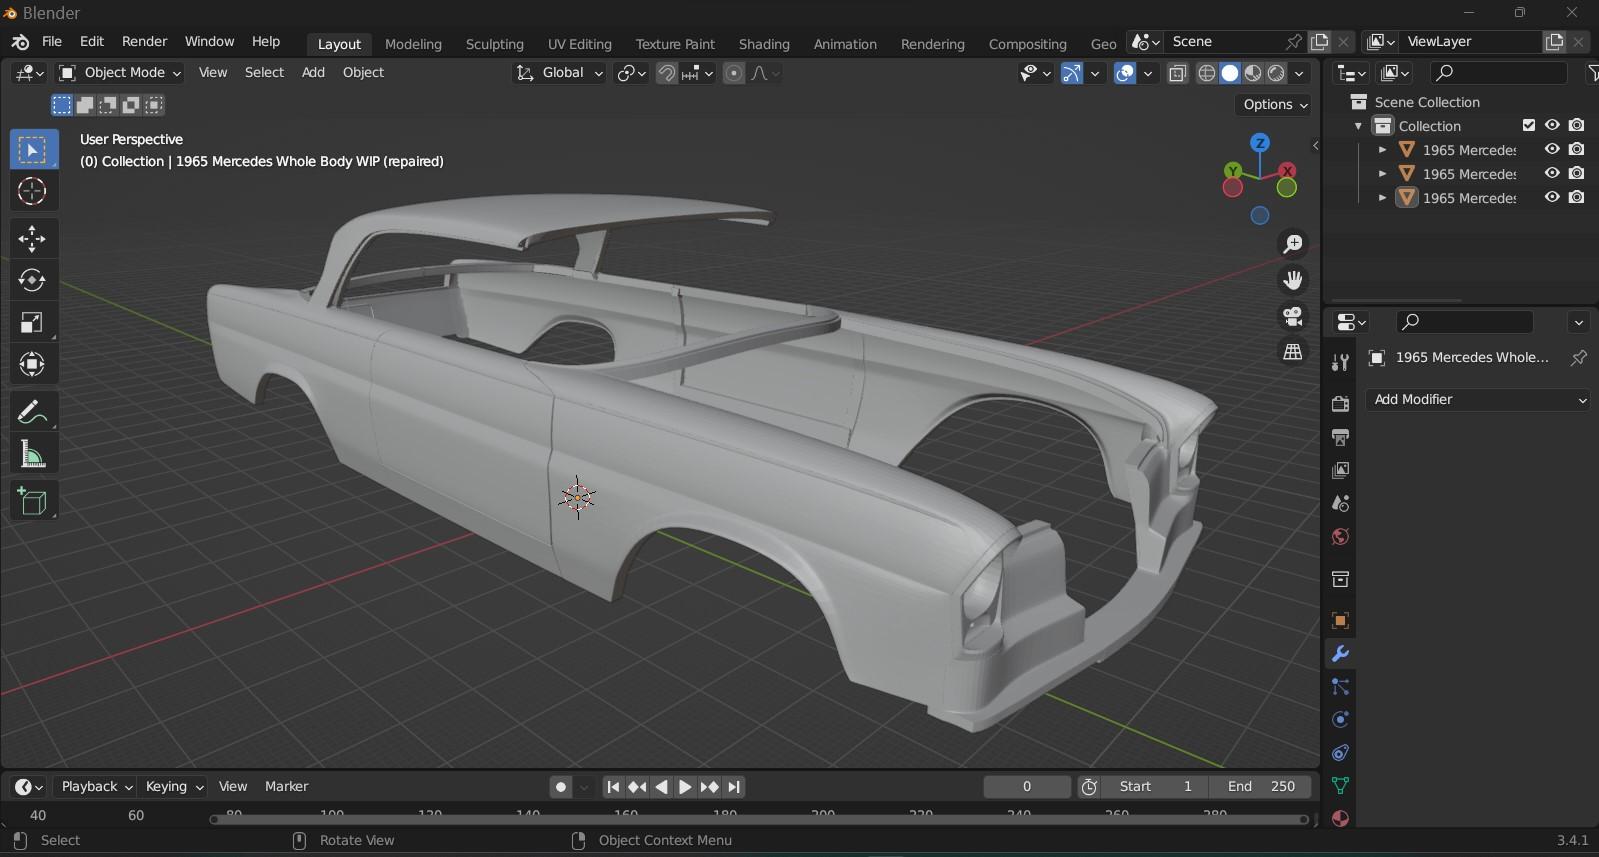
What Doug showed is correct, and it's one way to get wall thickness. I did wall thickness on that very car, and as I showed in my YT video, I separated the different body parts into sections on their own, and with the body panels in place (don't move them from their original position), I did the extrusion (E/XorY)/1.8mm's). The body panels then get extruded along the intended axis plane, and you may need to do some cleanup along the edges where there may be overlap. Blender can be a bit tricky at times to use, however the more you use it, you become familiar with how the program "thinks" and "reacts", and it becomes much easier over time. Here's the Mercedes I converted to print maybe two years ago now, which was made printable by the method I show in my video.
-
OK, if the body already has wall thickness and you want to make it thicker, that's next to an impossible task unless you want to do a LOT OF WORK. It's one reason I've taken on designing my own files and my own wall thickness. I've gotten one too many files that were simply too thin, and in the worst place such as the fenders and rockers. The only thing I can show you is a video I did if you haven't seen it on wall thickness, and I can also tell you that Blender's solidify modifier IMO is worthless when it comes to wall thickness on bodies. The caveat is the body MUST already be a single shell file. Dual shell files with wall thickness is a whole 'nuther kettle of fish. The roof can be given thickness BTW-----I do this ALL the time when I'm creating a print file, which I'm in the middle of now in fact. Hope this helps..............
-
Now those look GREAT! ❤️ 8-9 years ago I ran a thread on building a 3D printed 1958 Plymouth 318 Polyhead V8. I had said back then in other threads on this forum that 3D printing would in fact be the next big wave to hit the hobby. This was before Don and Carol Holthaus announced they were retiring, and no plans to transfer the business. My reasoning was that if a file exist of any particular object, whether it's a car, wheel, model part, etc...........the part will always exist as long as the file does. No need to worry about molds wearing out or getting busted. Some poo-pooed the thought of that, but as you mentioned, the future is now, and I don't see 3D going away any time soon.
-
Four Door 1957 Chevrolet?
MrObsessive replied to Jonathan's topic in Car Aftermarket / Resin / 3D Printed
It came from this fellow here. I should warn you..........the model is VERY complex, and it's going to take a ton of work to make it printable. LOTS of separate parts this has once it's separated into individual pieces. -
Anton, I strongly suggest that with any type of resin, especially if it's the first time using it, I'd run a calibration file/print on the machine first before running any type of long running model. The files are out there online----there's various types to check out, but that will go a long way into zeroing in where your settings should be. I'm one that doesn't like to throw out setting values for this and that, because even between the same make of machines, there's too many variables that can affect how the print will turn out. I can suggest a setting, but then I don't have the same machine as you do, and what works for one may not work for the other. BTW, that looks like one of Andrey Bezrodny's files..........I've run a couple of his before, and I've not had any issues. My only complaint with his files is the file size is sometimes waaaaay too big, and that's wreaked havoc in Chitubox to the point I've had it crash.
-
Operating convertible top in 1:25
MrObsessive replied to BIGTRUCK's topic in General Automotive Talk (Trucks and Cars)
No, there were no blueprints. All that was done came out of the mind of yours truly, and what I could see in an assembly manual.