Kit Basher
-
Posts
2,431 -
Joined
-
Last visited
Content Type
Profiles
Forums
Events
Gallery
Everything posted by Kit Basher
-
Thanks, Jeff!
-
Thanks, Andy! Thanks, David!
-
Thanks, Michelle!
-
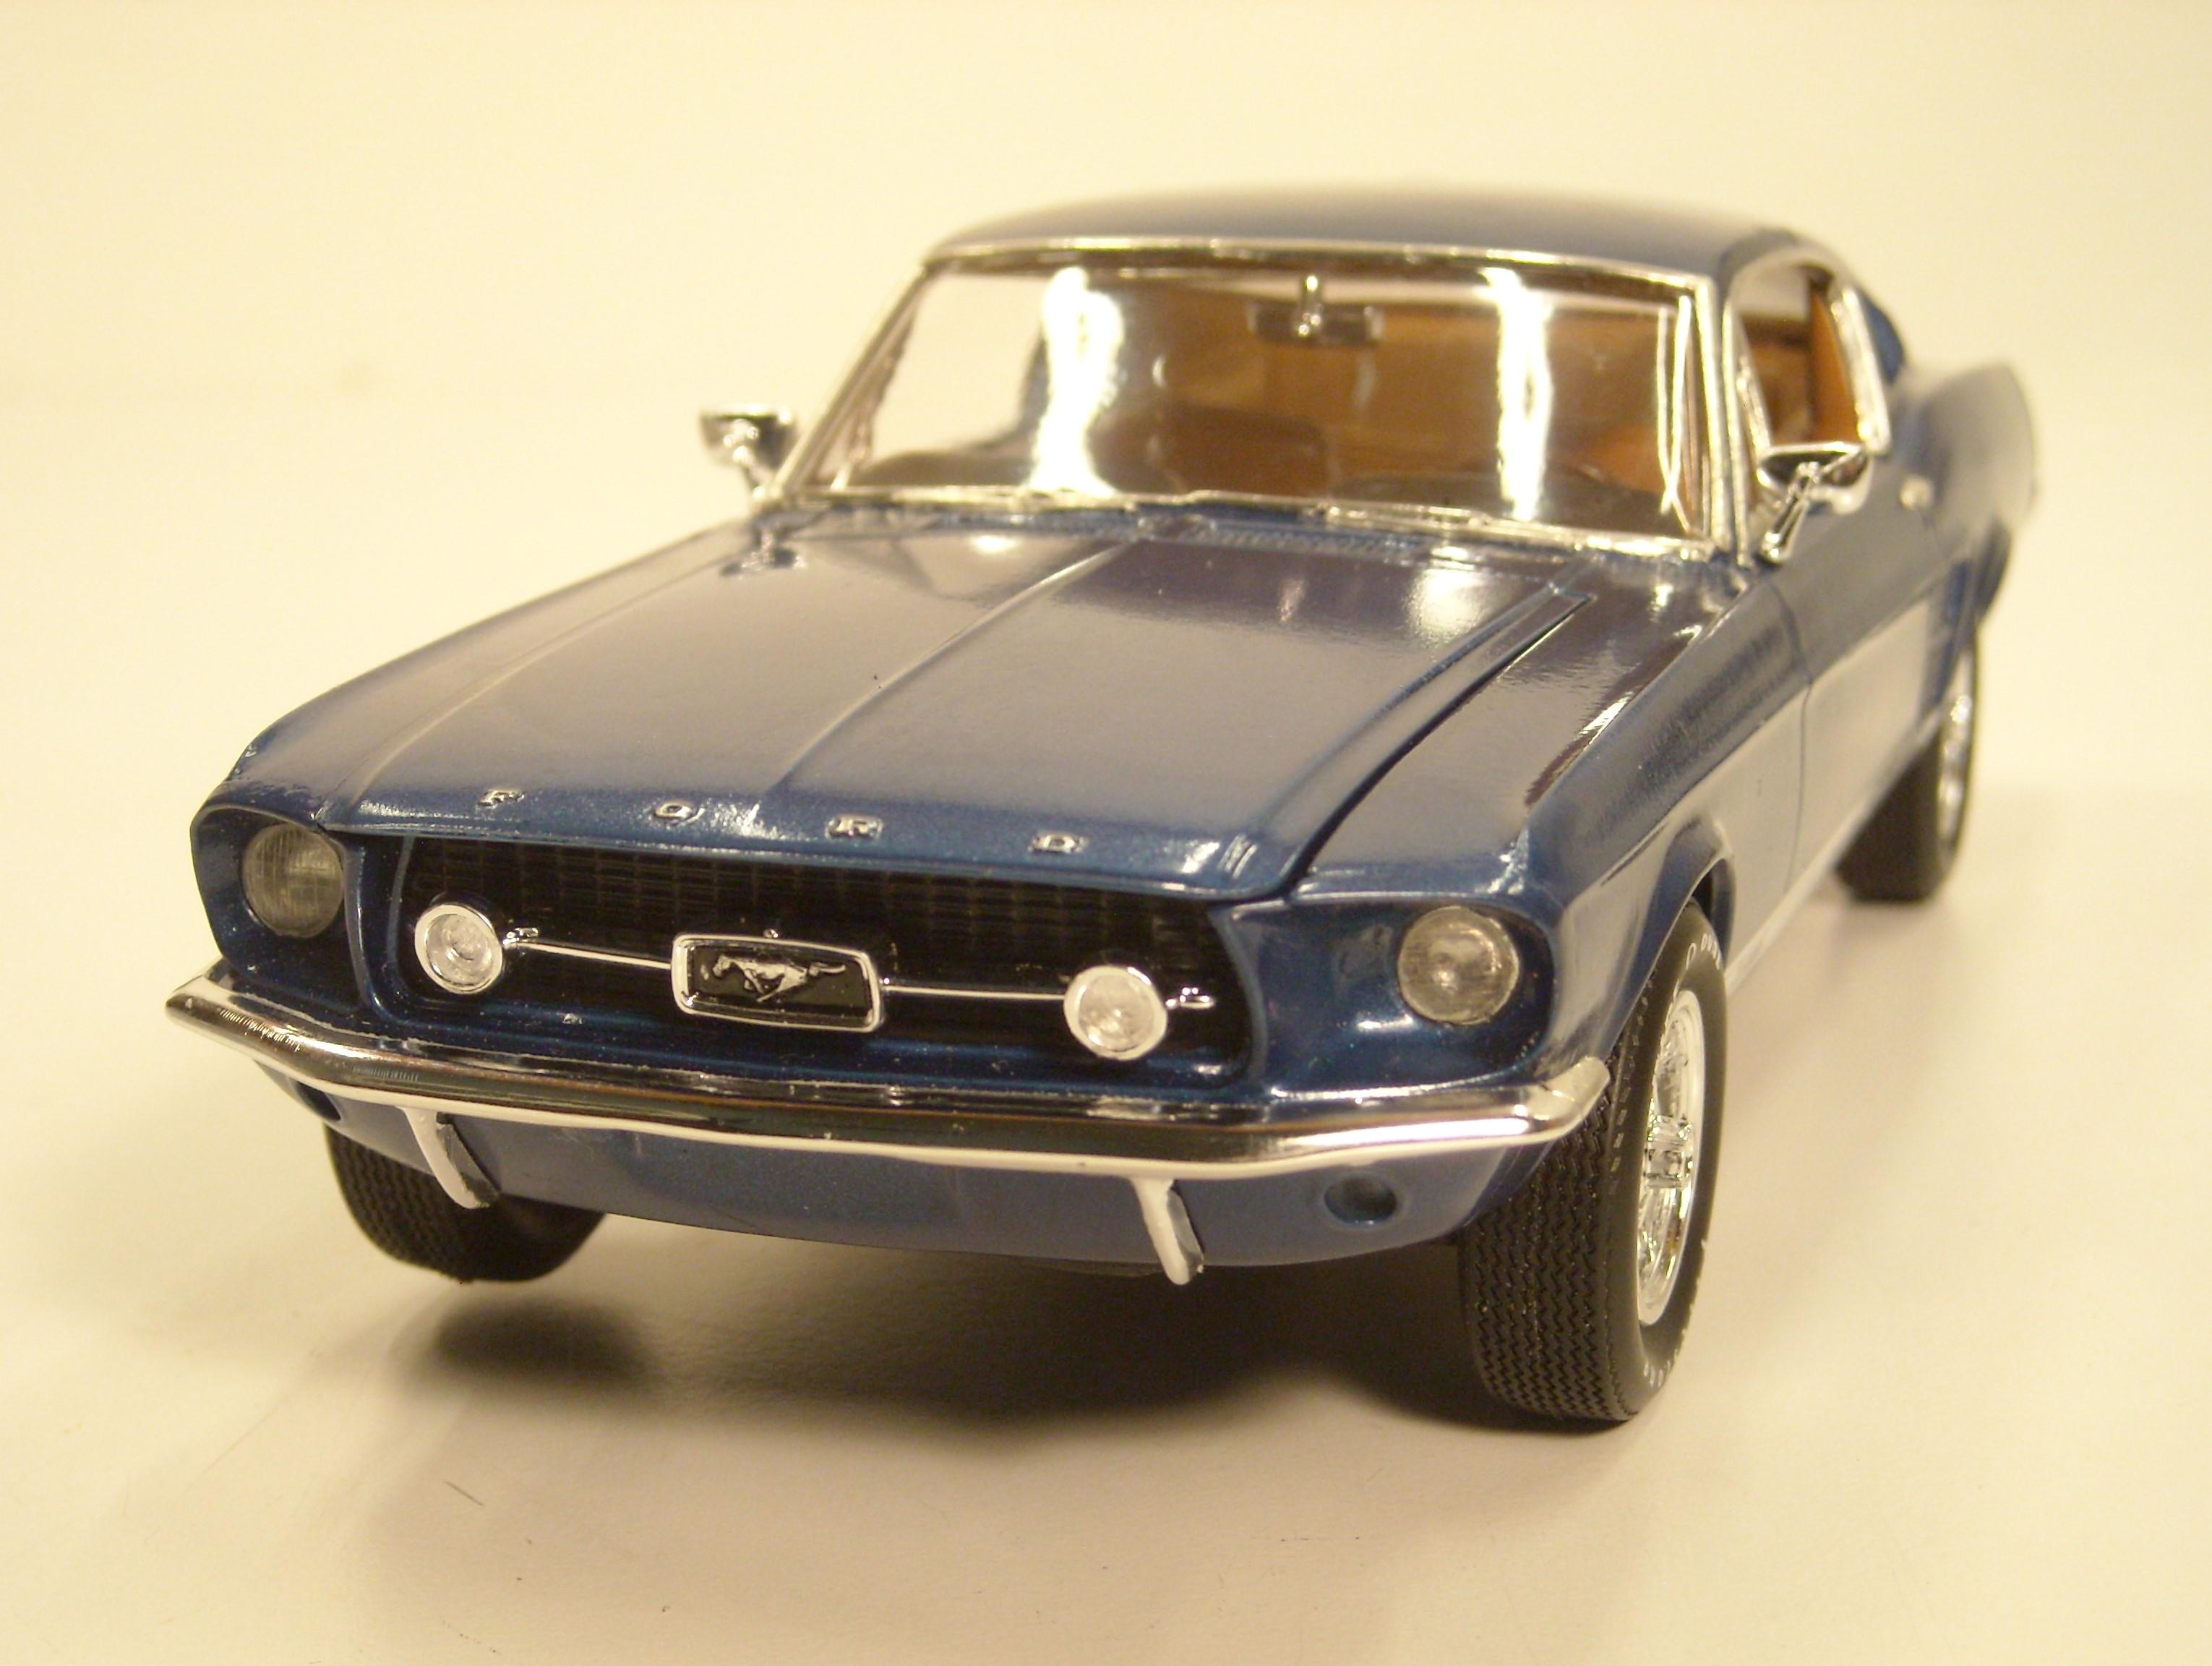
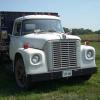
AMT kit. Straight out of the box. The paint is Testors square bottle "Arctic Blue". The only gripe I have with this kit is the width of the wheels and wheel backs. Unless I did something wrong, they are way too wide to fit the tires. I had to mill them down as much as possible, and they're still wider than they should be. Overall, though, fun to build.

- 29 replies
-
- 13
-

-
Thanks, David! Thanks, Ken!
-
Thanks, Jeff!
-
Thanks, Carl!
-
Nice job on a beautiful car! The purple really works.
-
Thanks, Larry!
-
Thanks, David! Thanks, Helmut! The hood fit fine. I think Revell resolved that problem, at least with the kit I got. They did a good job with this kit, IMO. The fit was so accurate that a coat of paint would keep the parts from going together. With bare plastic, everything went right where it was supposed to go, and stayed there. I even dry fitted the front framework, no glue, so I could paint it body color. It stayed there thru the airbrushing, no problem. When the paint was dry, popped it loose, applied glue, back in place, done deal.
-
Thanks, Donato!
-
Thanks, Bart! Thanks, Craig! Thanks, James! Thanks, Bruce! Thanks, David! All I did to the engine was wire it, the rest is all Revell.
-
Thanks, Chris!
-
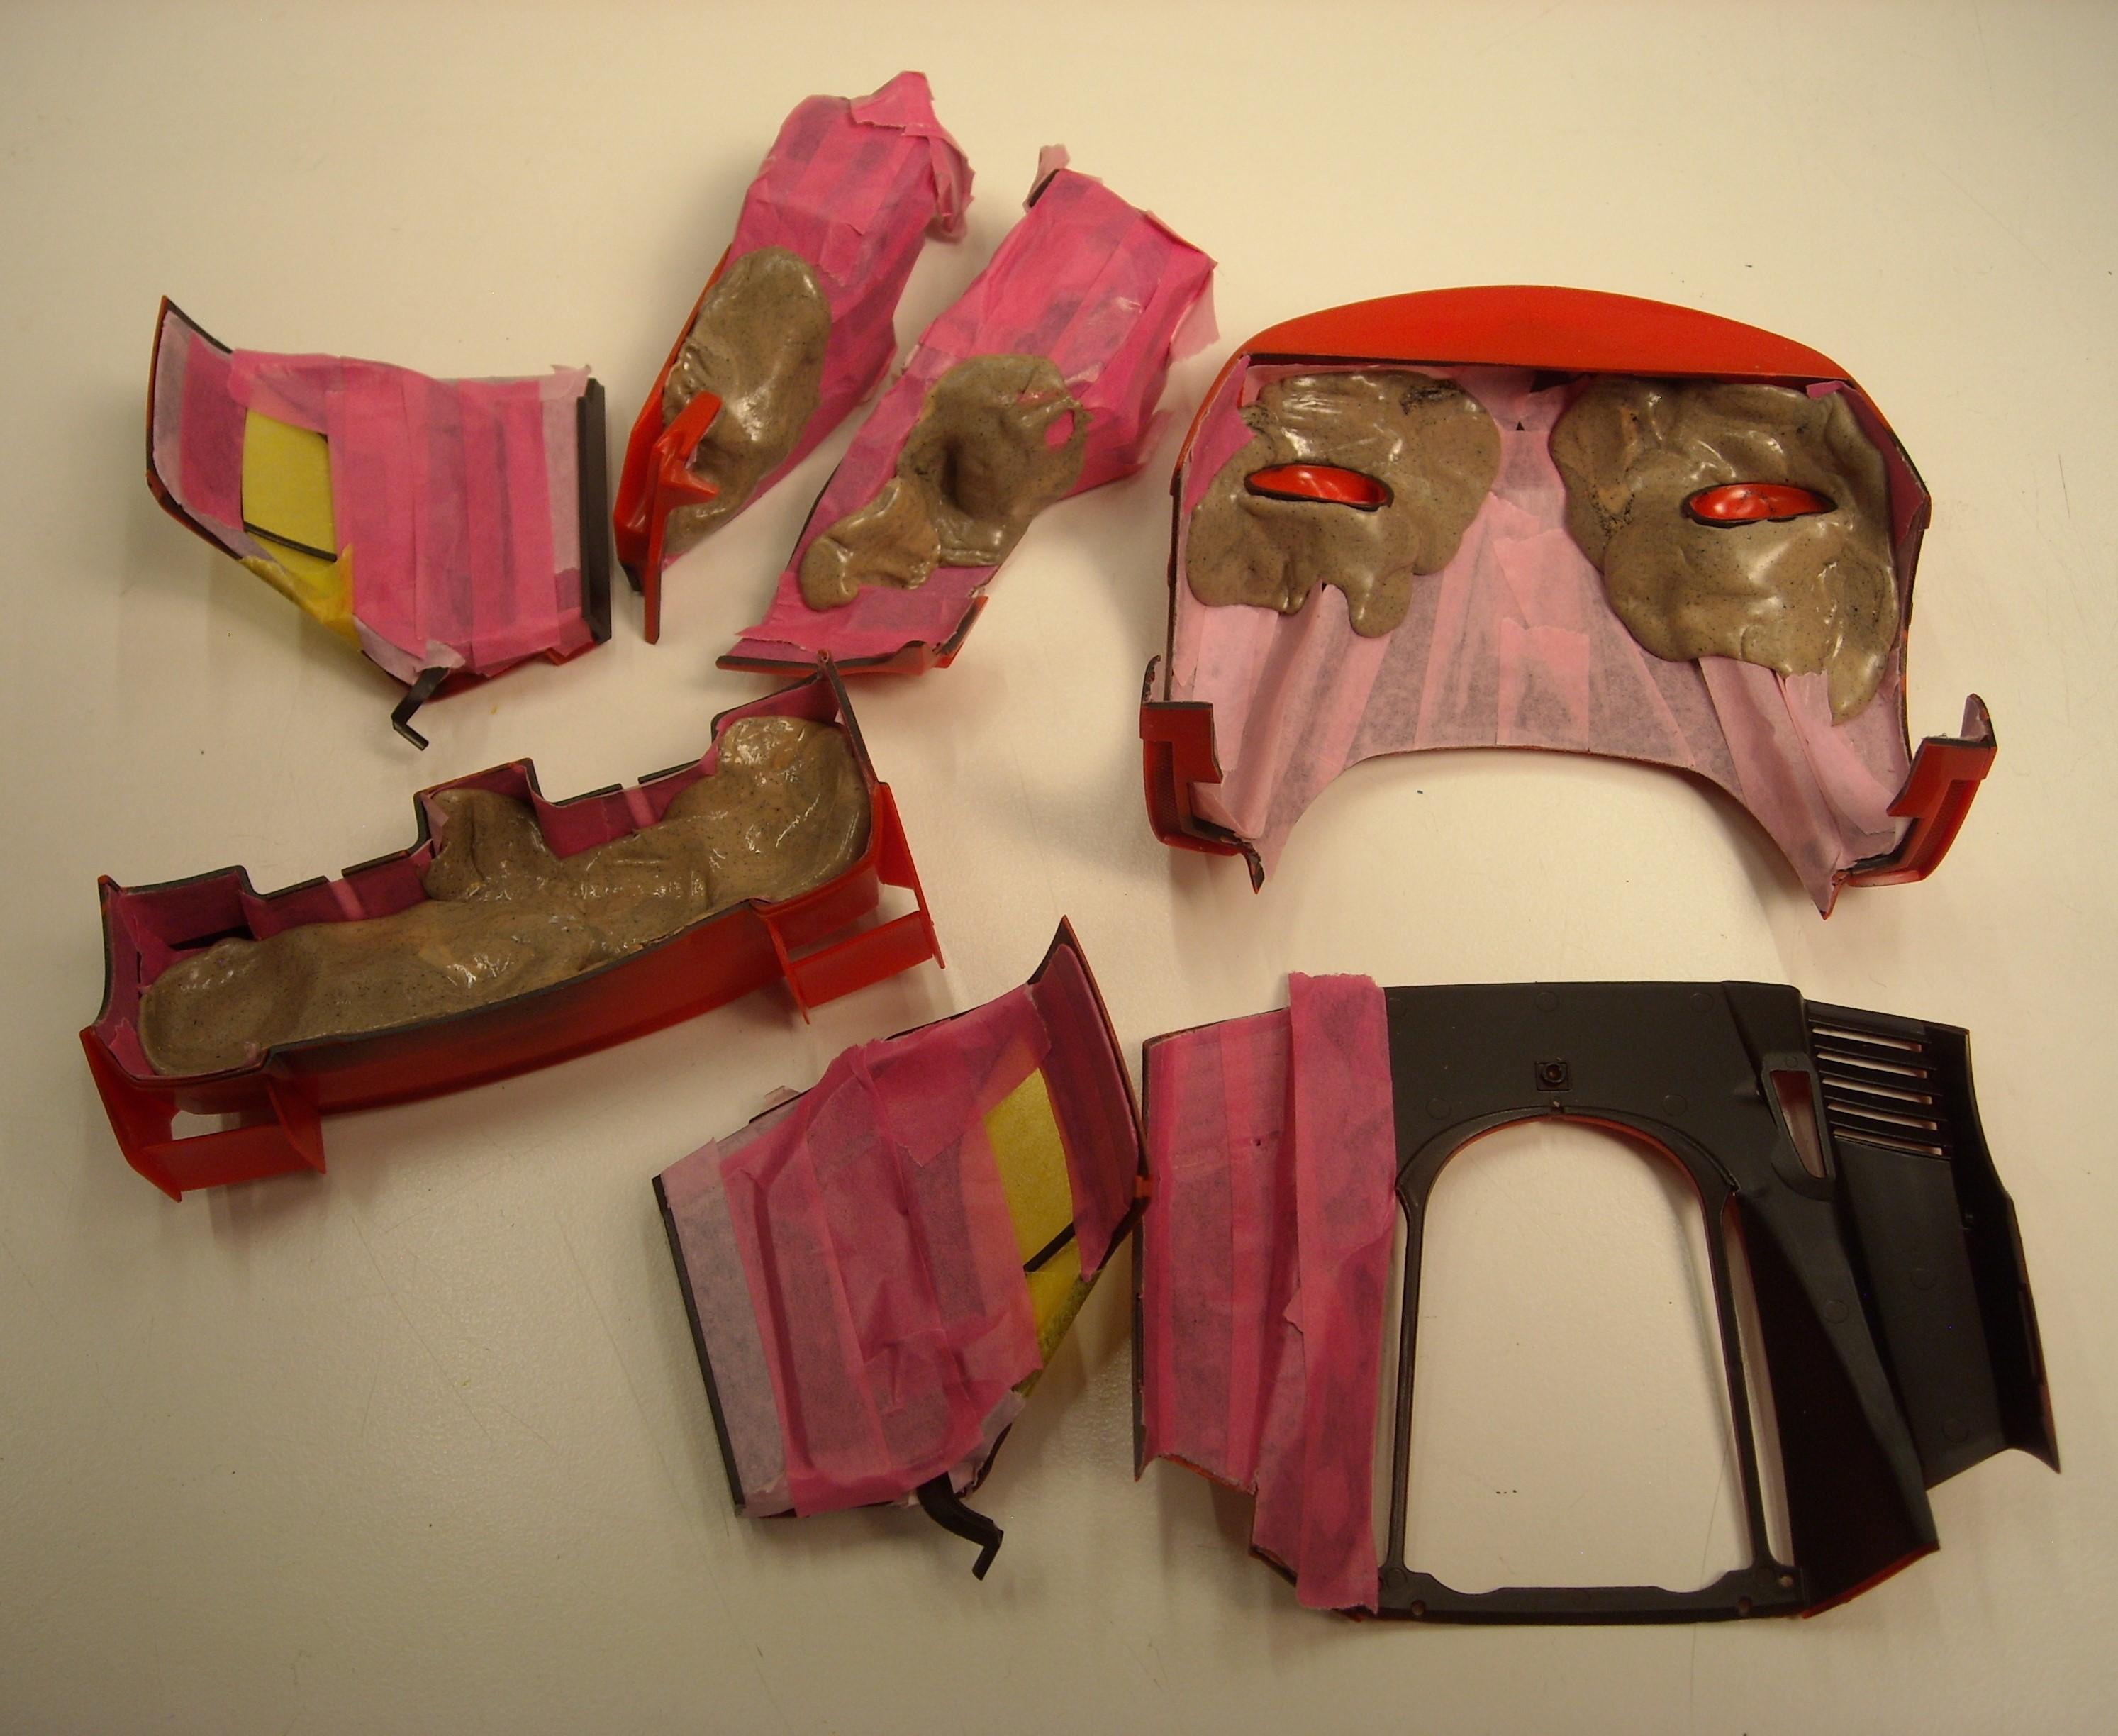
 Making progress on the Ferrari FXX. Lots of crazy masking so it can be black on the inside and red on the outside.
-
Revell new tool kit. Really nice kit, went together well. The paint is Testors square bottle "Teal". Thanks for looking.
- 22 replies
-
- 17
-
-
Finished the engine for the Tamiya Ferrari FXX. I might have bitten off more than I can chew with this kit. It might be above my skill level, but I'll keep plugging along and see how it goes.
-
I got the door handles for the Revell E-type attached. I can't believe these things didn't fly out of the tweezers and into the 7th dimension.
-
They all look great, and the shed is awesome. Nice mud!
-
F-14 Tomcat
Kit Basher replied to JET.'s topic in All The Rest: Motorcycles, Aviation, Military, Sci-Fi, Figures
Such a great kit to build. I did one a while back and enjoyed every minute of it. Yours looks fantastic! The weathering is perfect. Great job! -
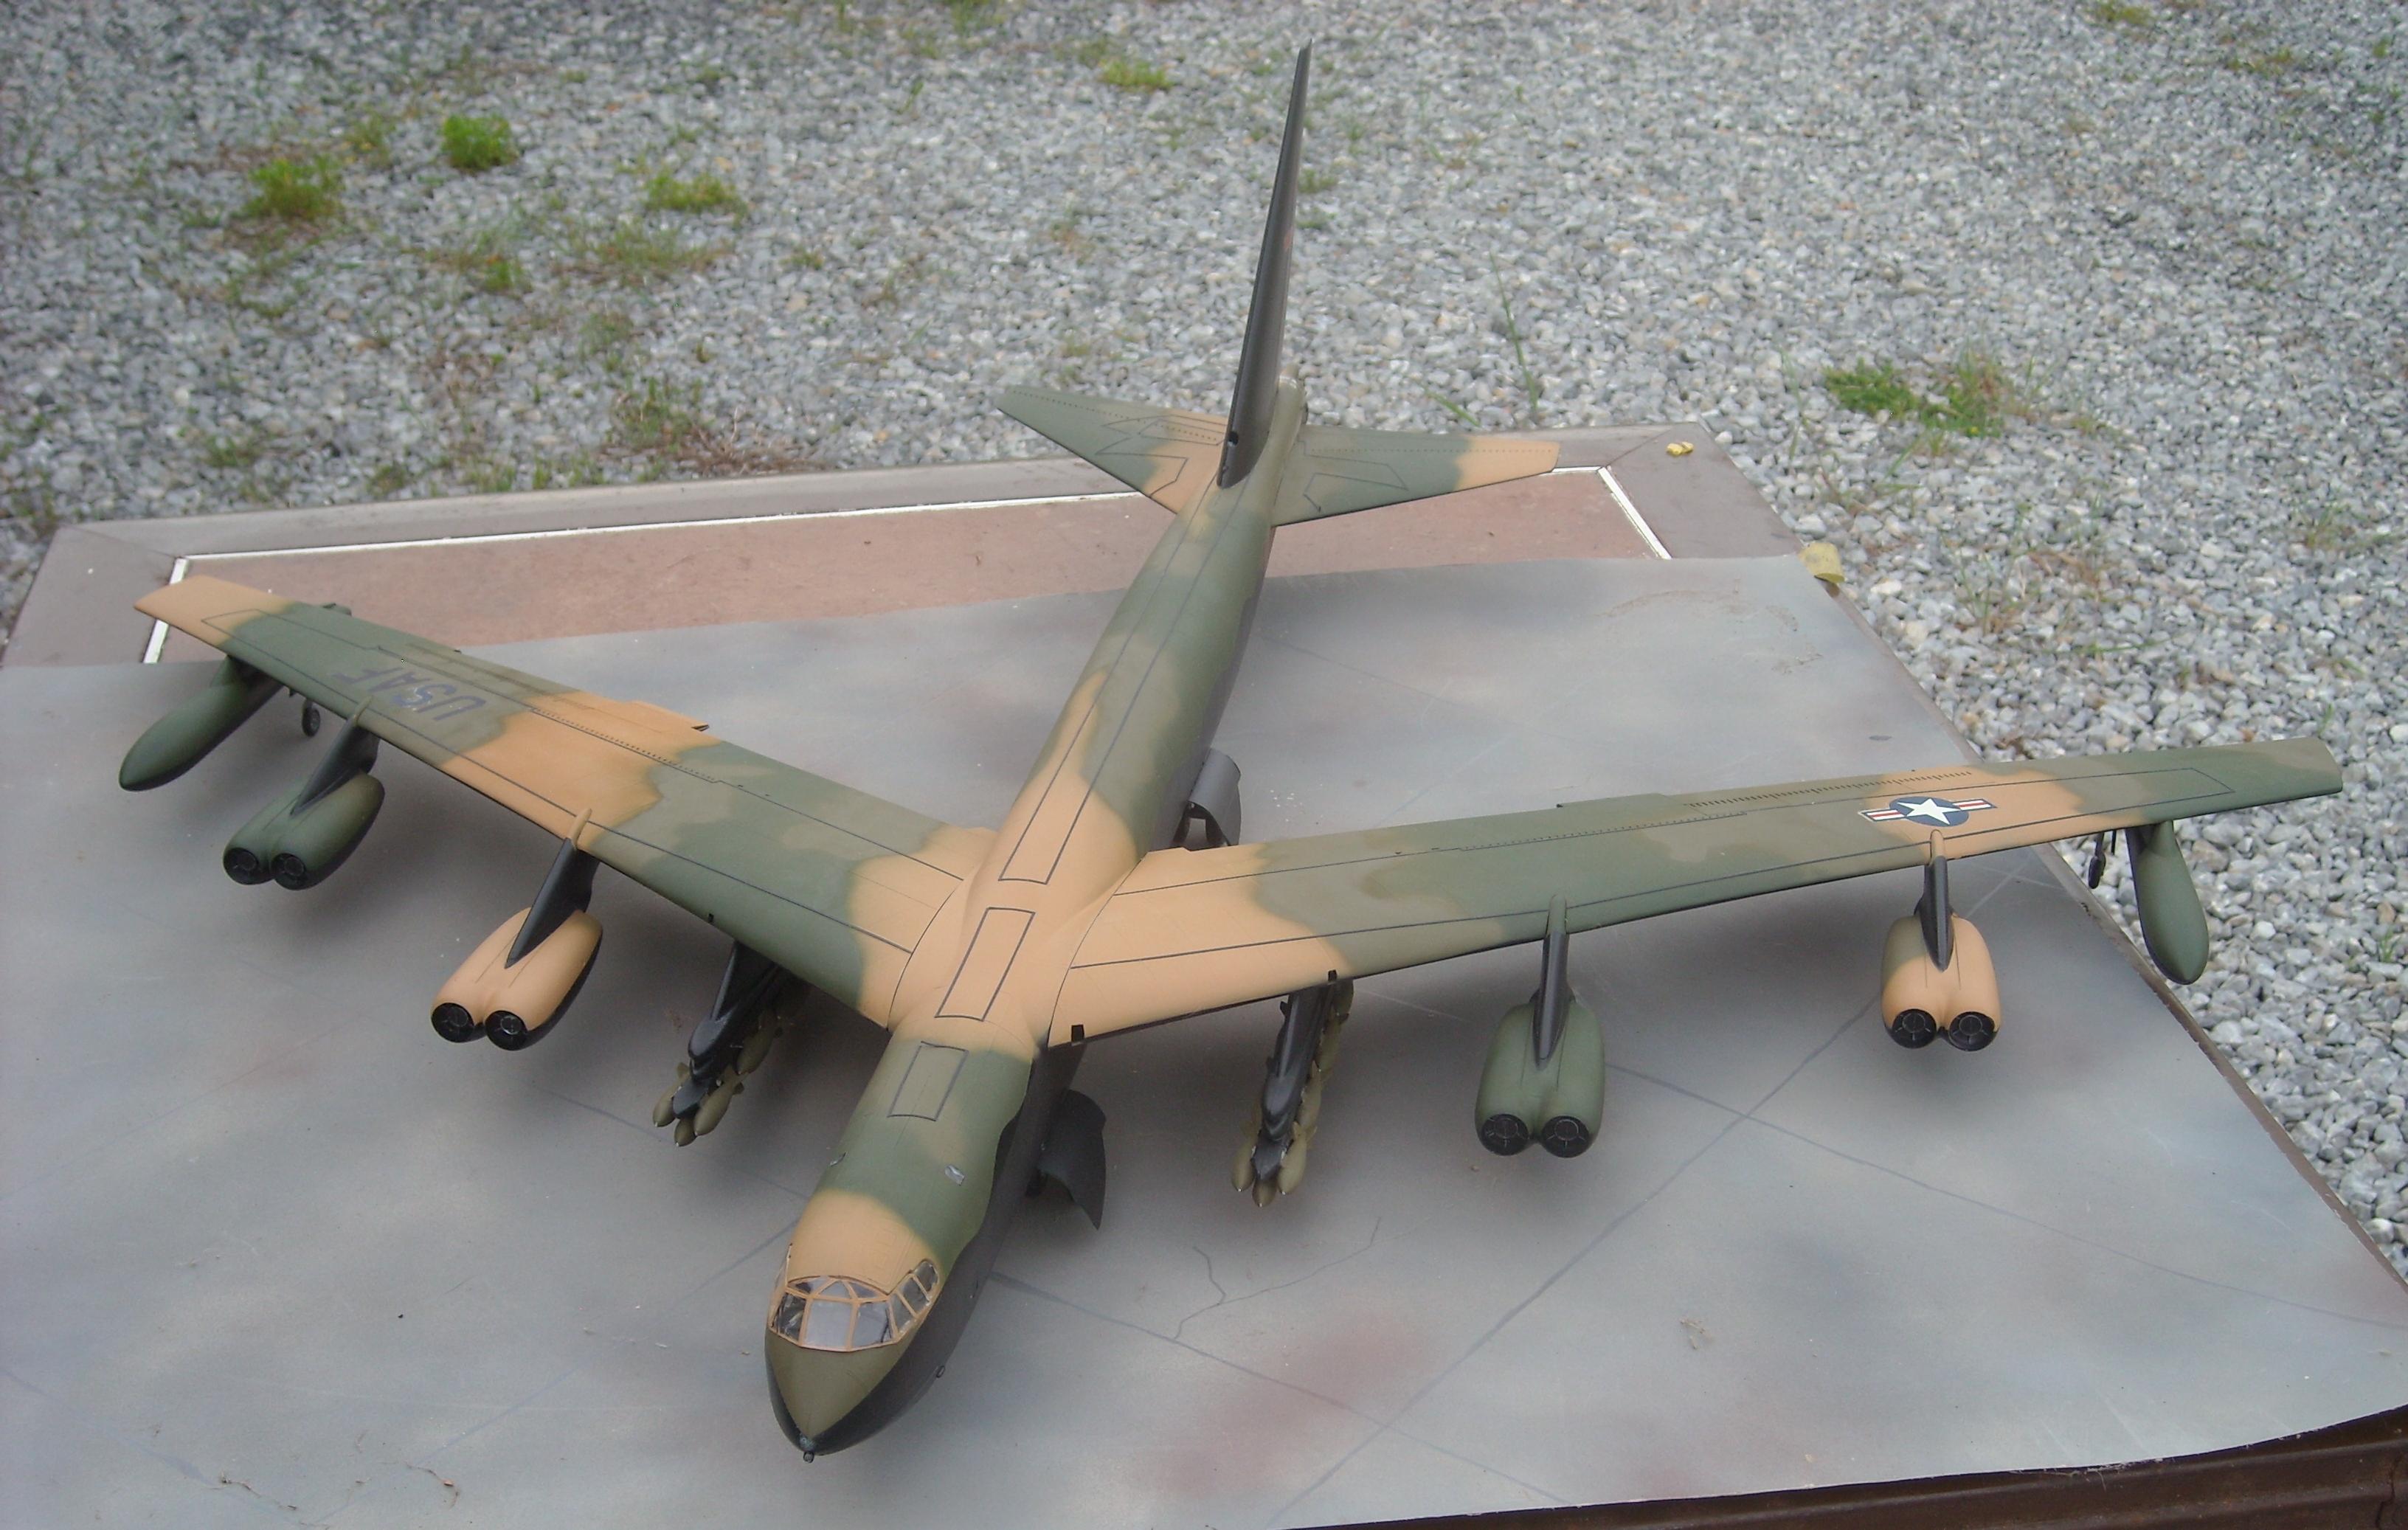
I have used the Chartpak tape and I like it. One warning, tho, it is not a perfectly consistent width, it varies a bit as you go thru the roll. You can usually get a piece long enough for what you are doing, but you have to pay attention. It might be a little thick too, but should work. I used it for the outlines on the wings of this B-52. This is the 1/32" width.
-
Most of my models are more or less stock, and don't have decals. The exception is my most recent build, a race car with lots of decals, but I didn't want it to be glossy, so no clear. That's just me, you can do it however you want. You might want to do some research on this forum, tho. I have seen some posts where the clear killed the decals.
-
You can. I usually don't clear over decals, but a lot of people do. So you can do whatever works best for you.
-
For water based paints, dry sanding is recommended. If decals cause a problem, you may have to use a non-water base clear.
-
Need painting tips; Tijuana Taxt
Kit Basher replied to gregthec's topic in Tips, Tricks, and Tutorials
Try stirring the bottle paint. Testors paints can separate a lot, especially if they have been sitting awhile. The pigments in some are pretty heavy, and shaking doesn't do much. Stir until the blob of pigment on the end of the stir stick is gone, then stir some more. I've had good luck brush painting with Testors on bare plastic, one coat covers well, as long as the paint is well mixed. -
Excellent work! It looks amazing. Downright mean! Those decals must have been a real challenge, they look great.