502
-
Posts
328 -
Joined
-
Last visited
Content Type
Profiles
Forums
Events
Gallery
Everything posted by 502
-
Finished
-
Just finished this one up.

-
It’s a water slide decal that comes with the revell 50 Oldsmobile.
-
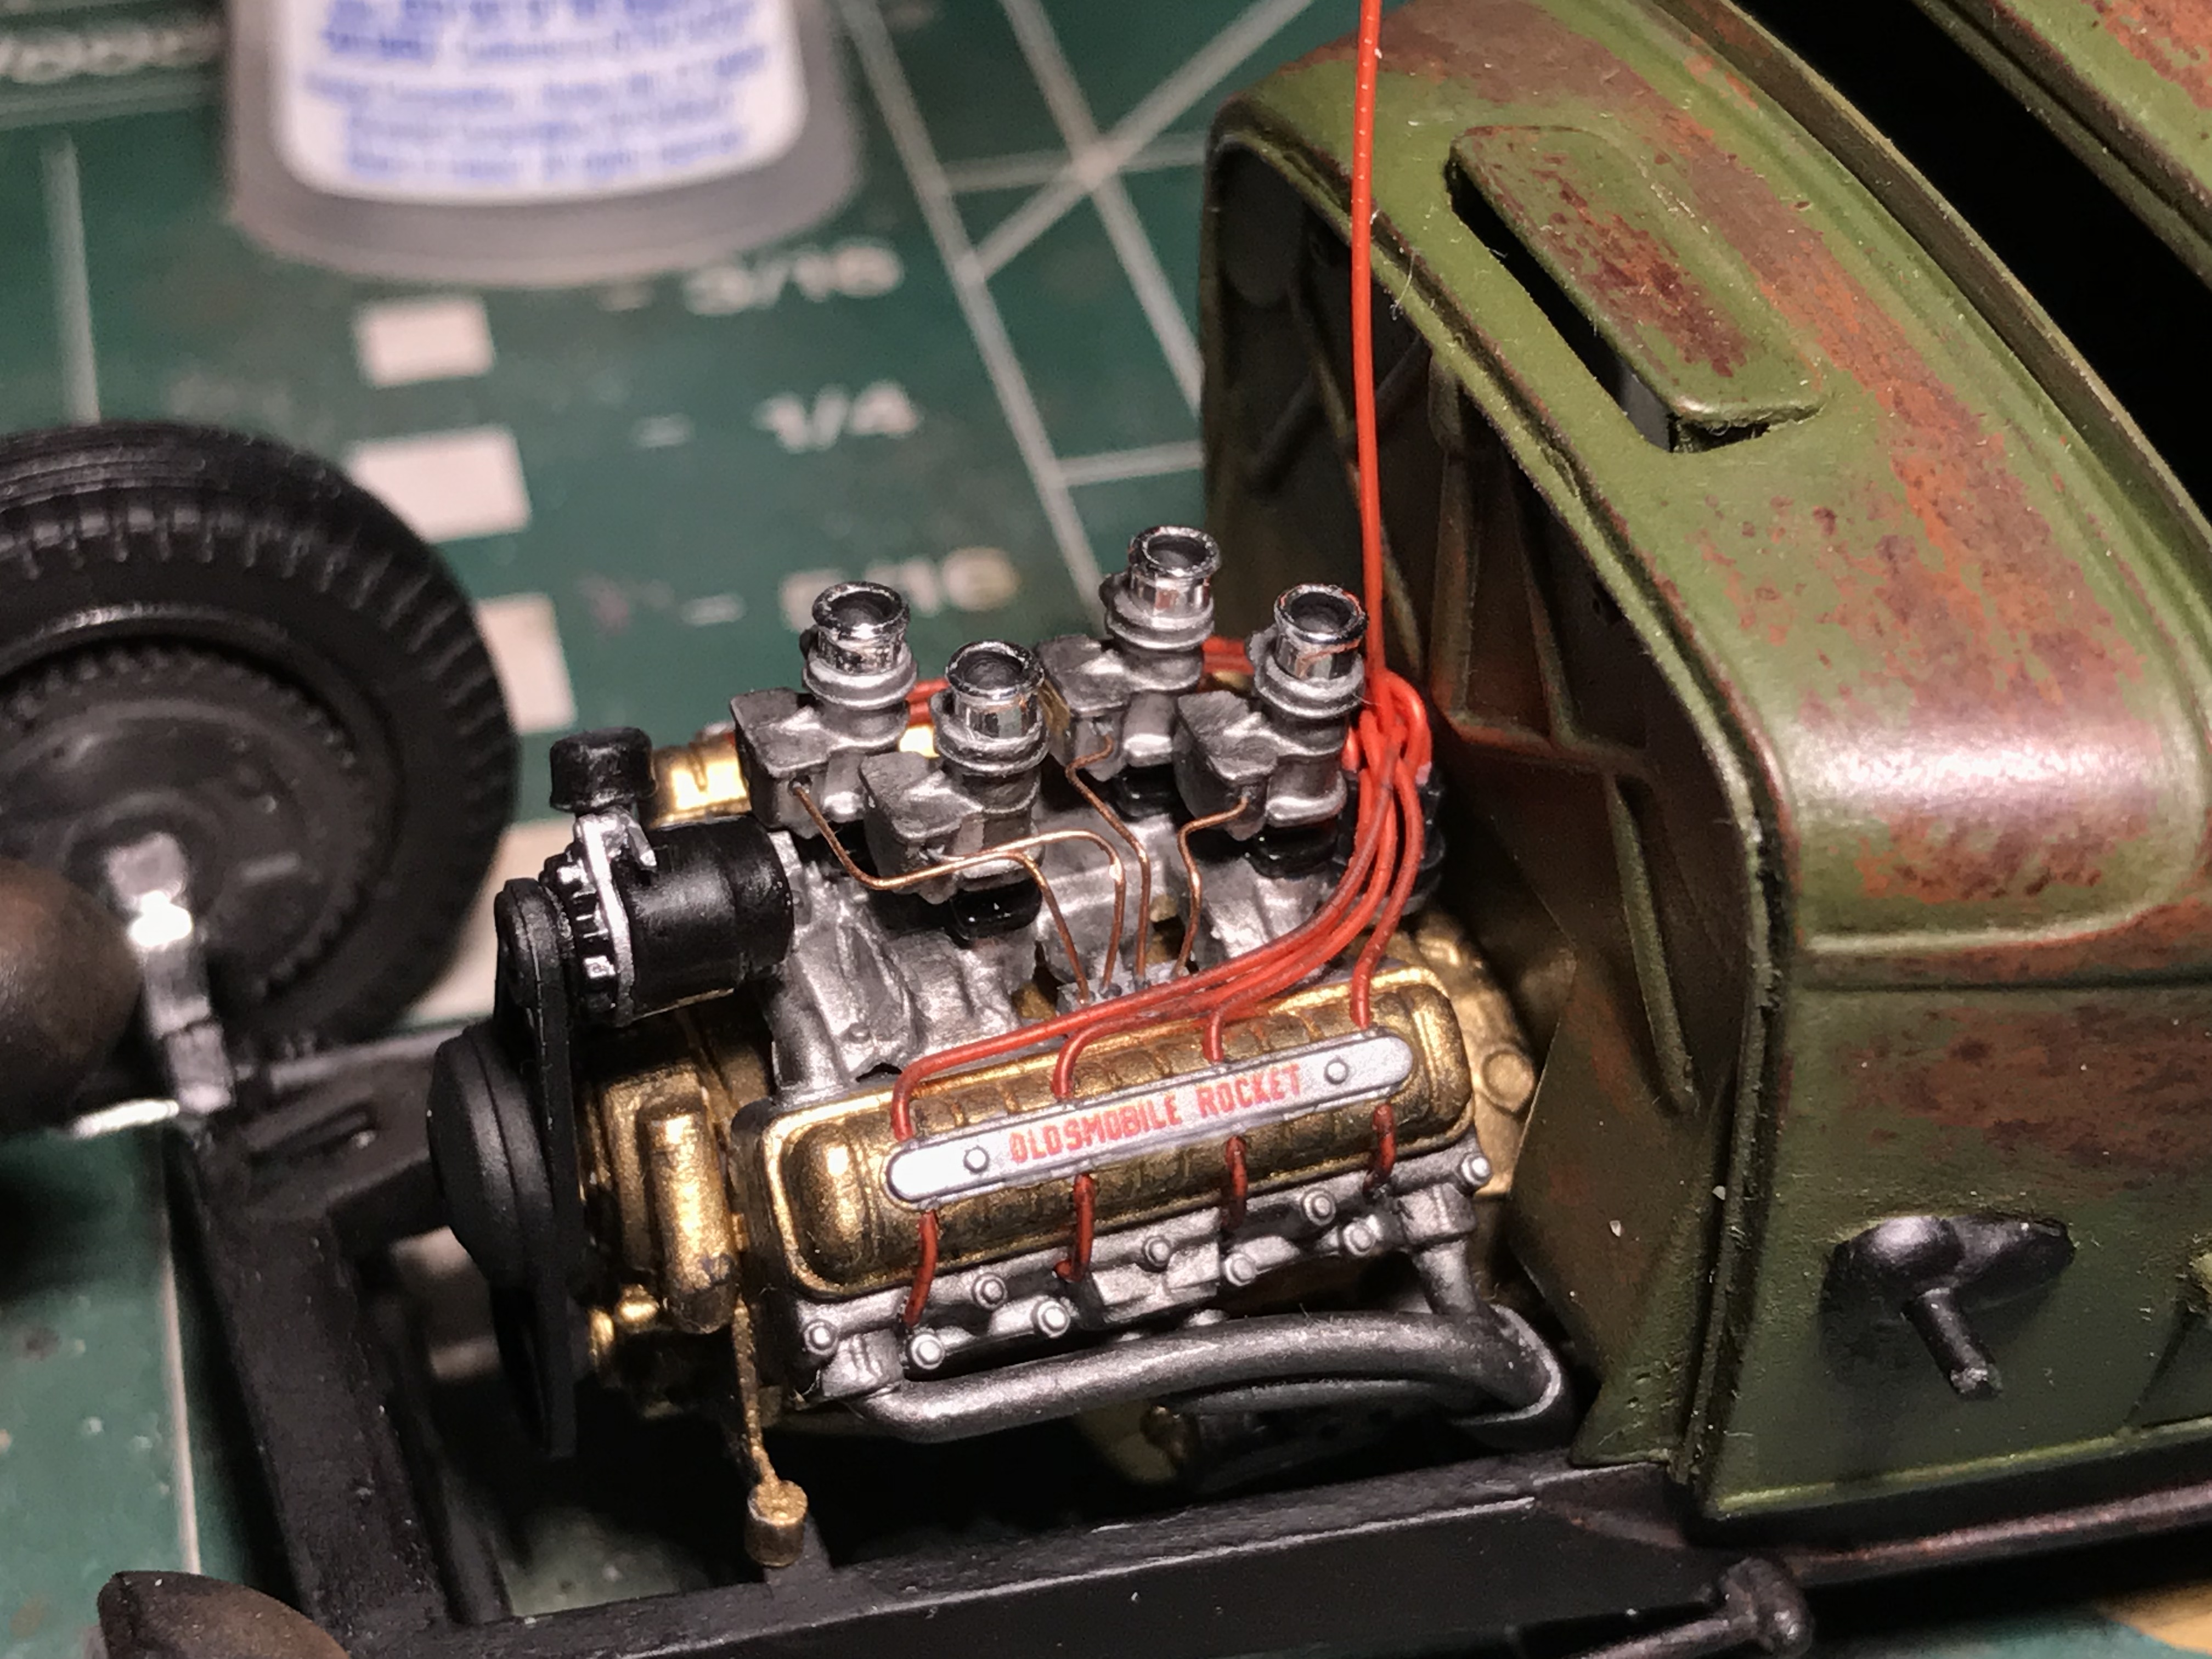
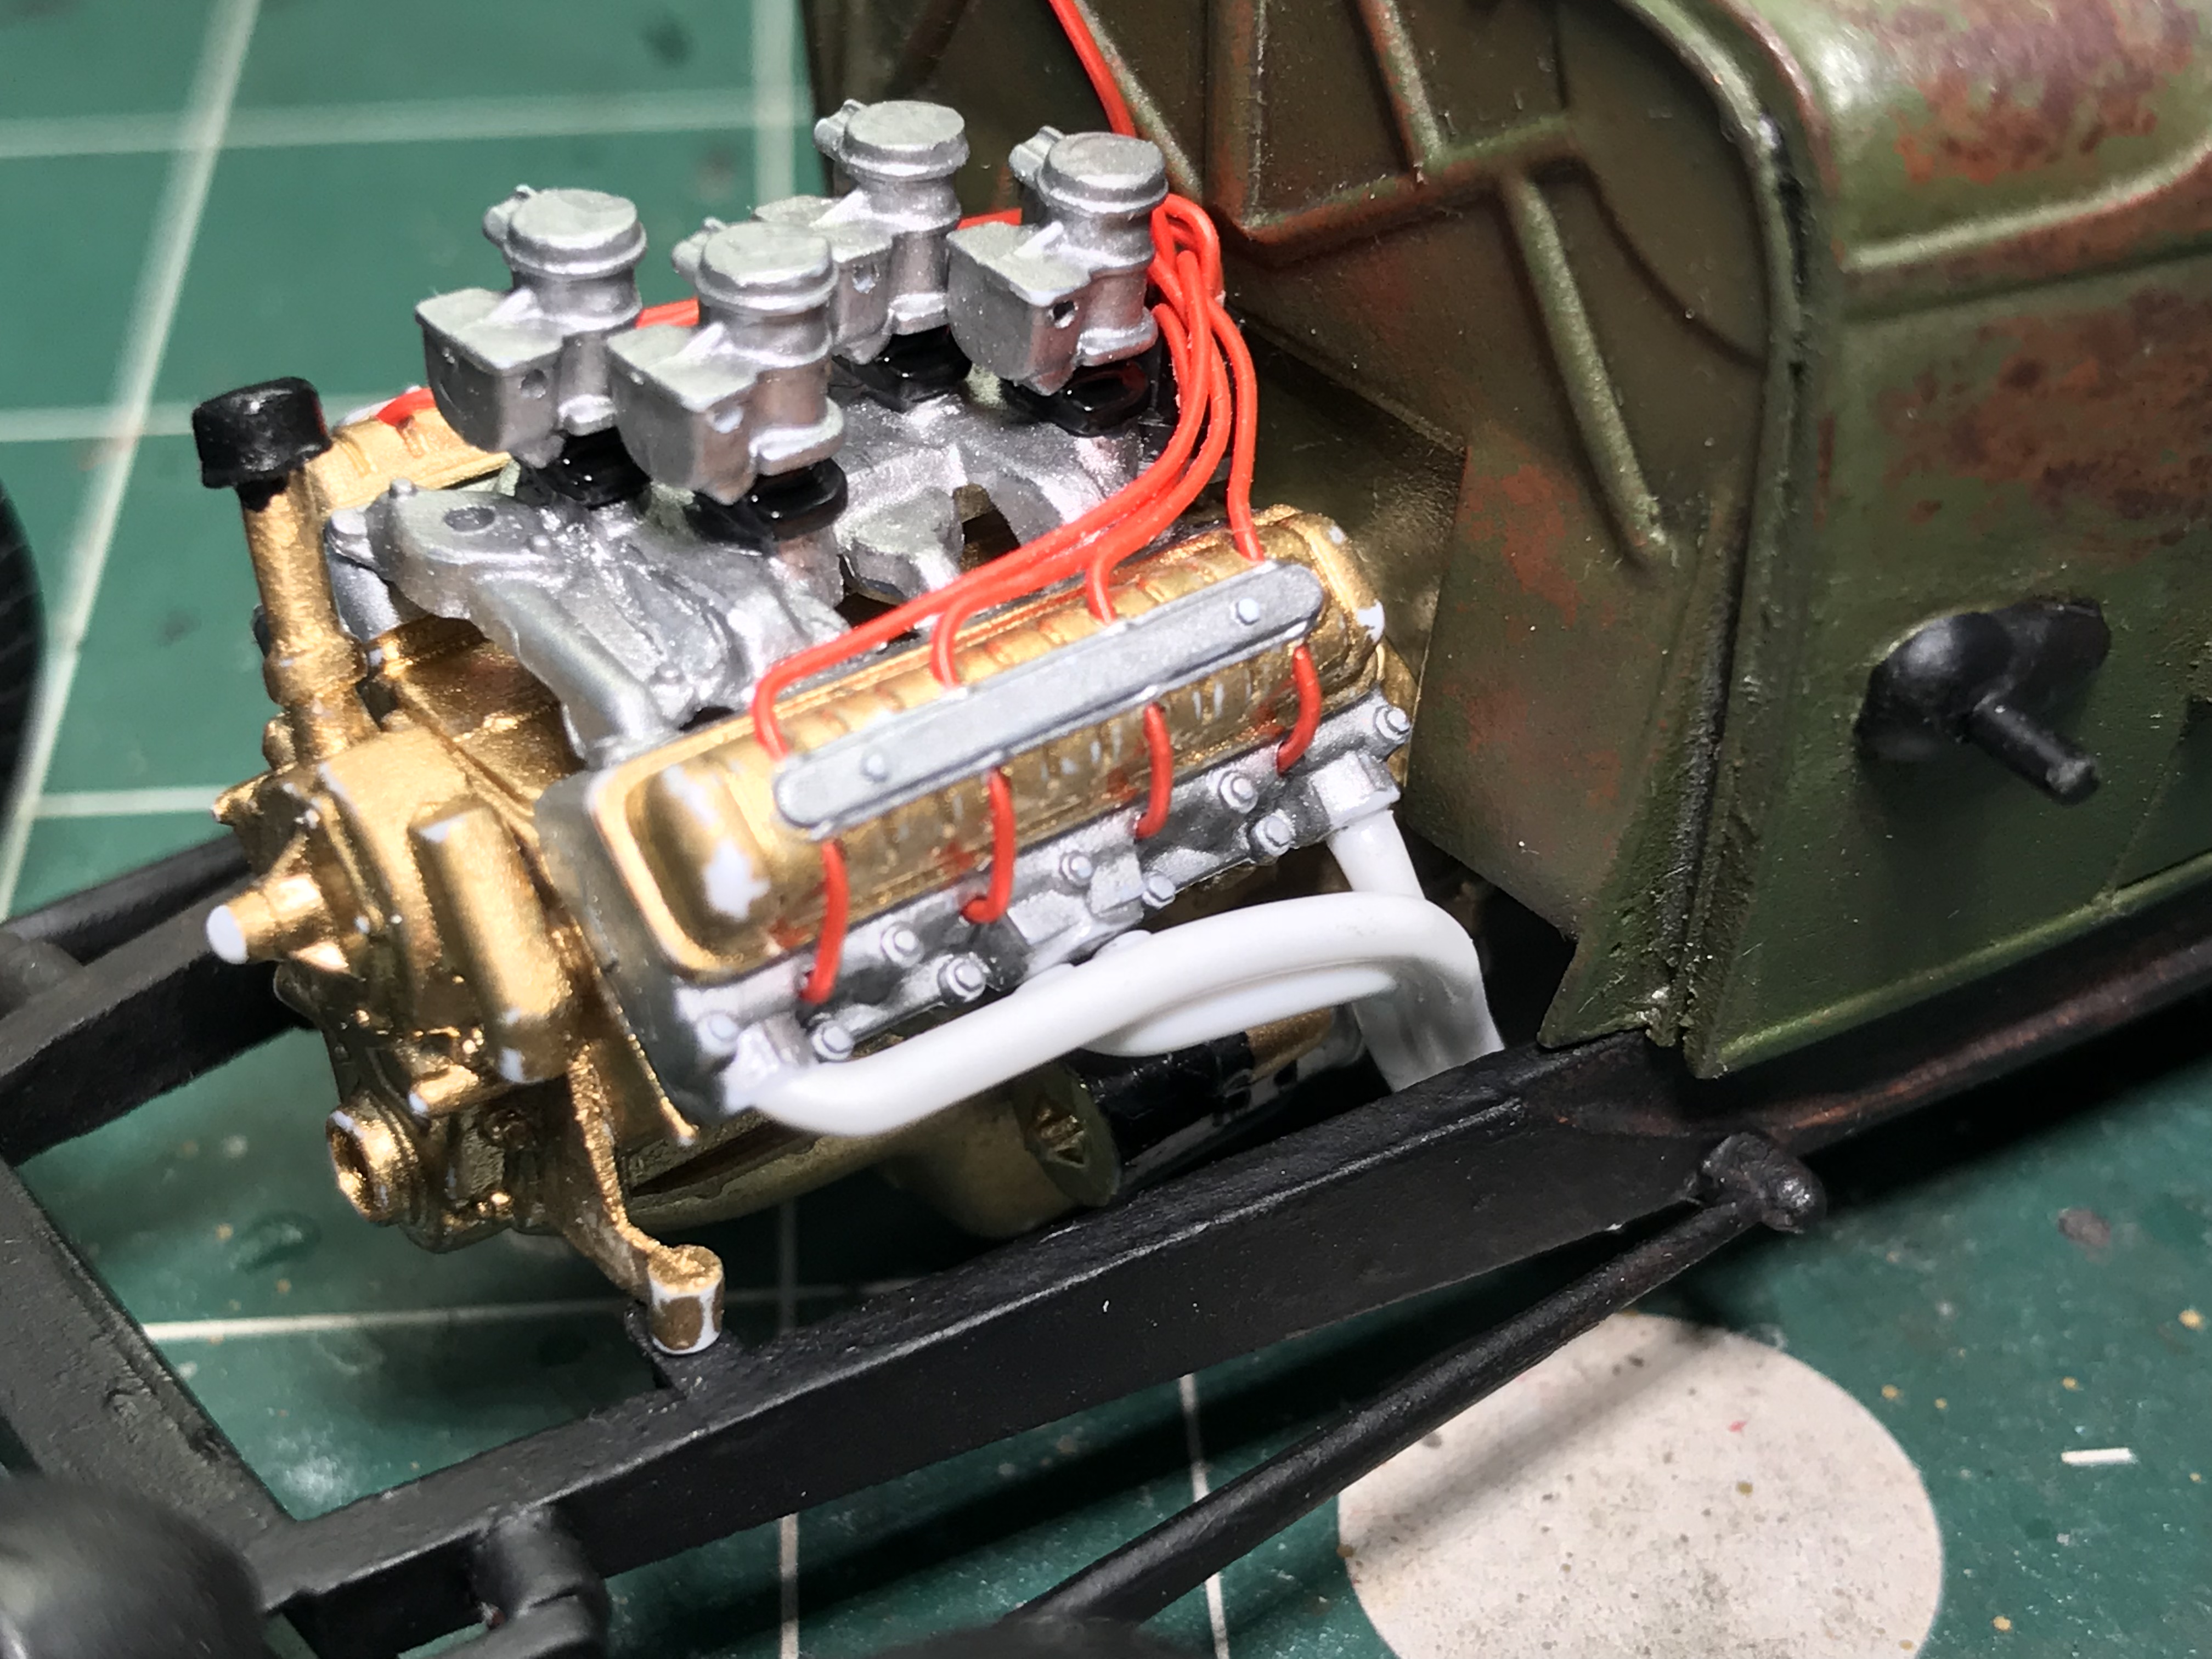
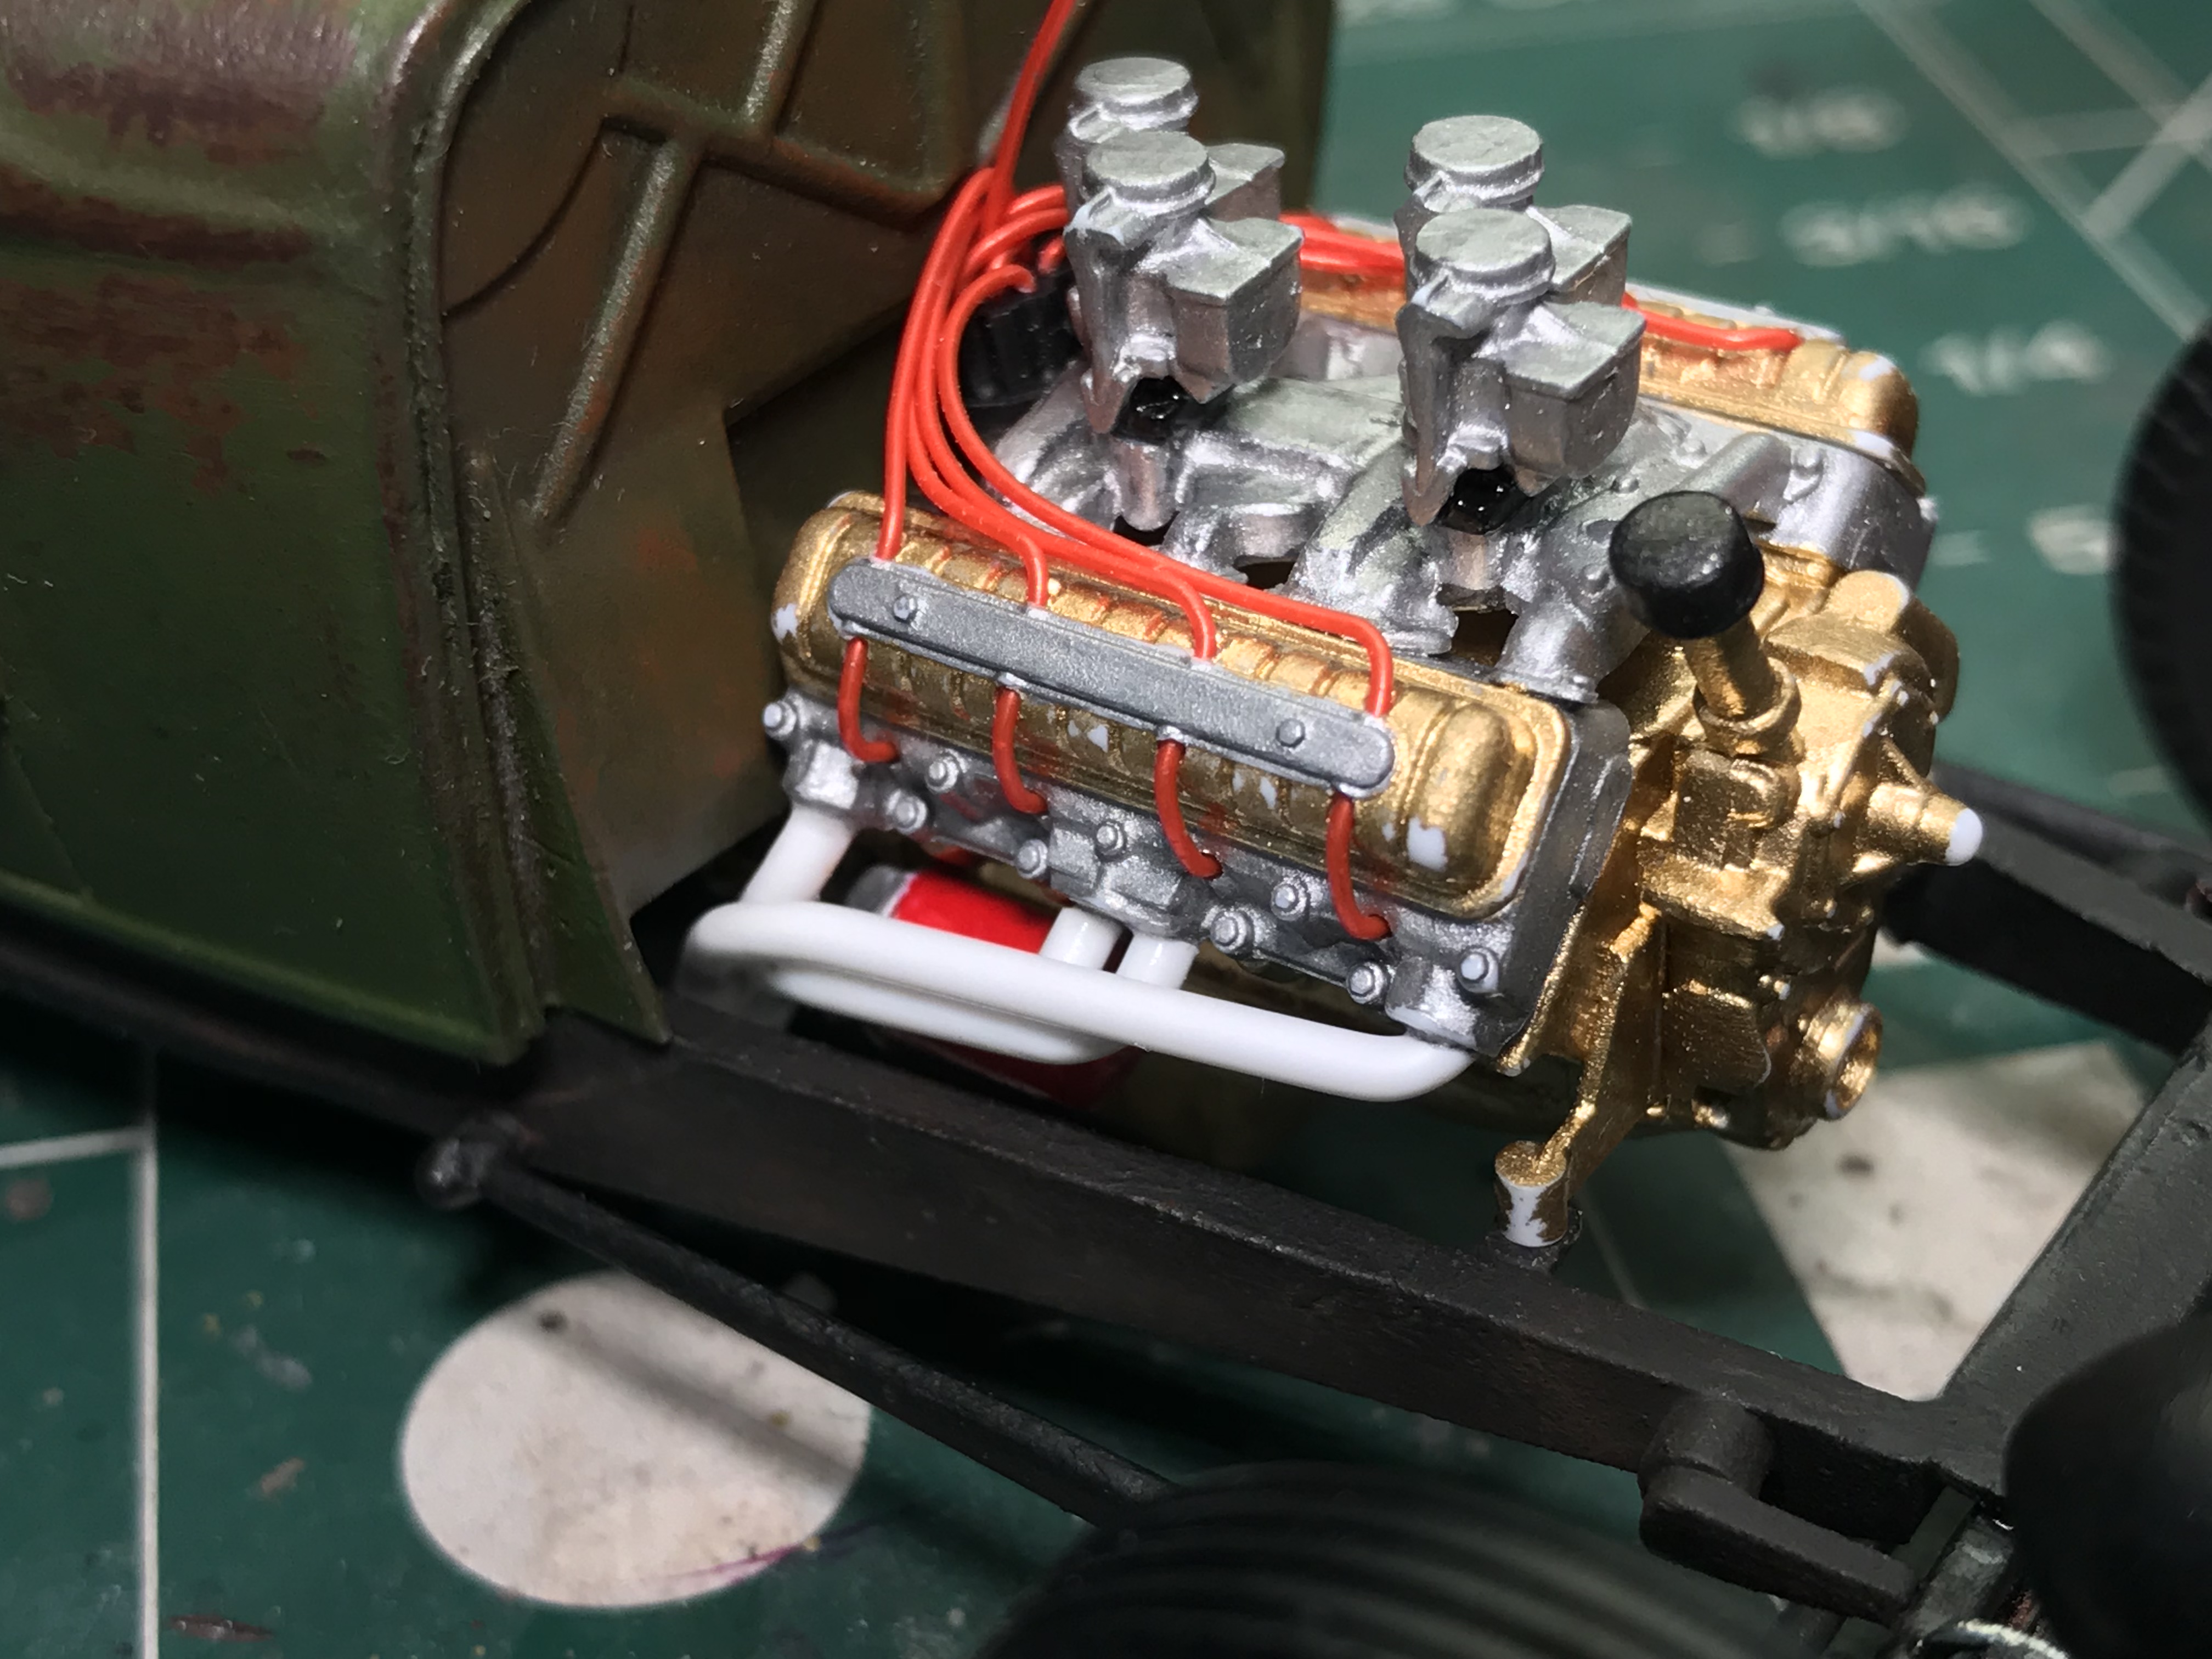
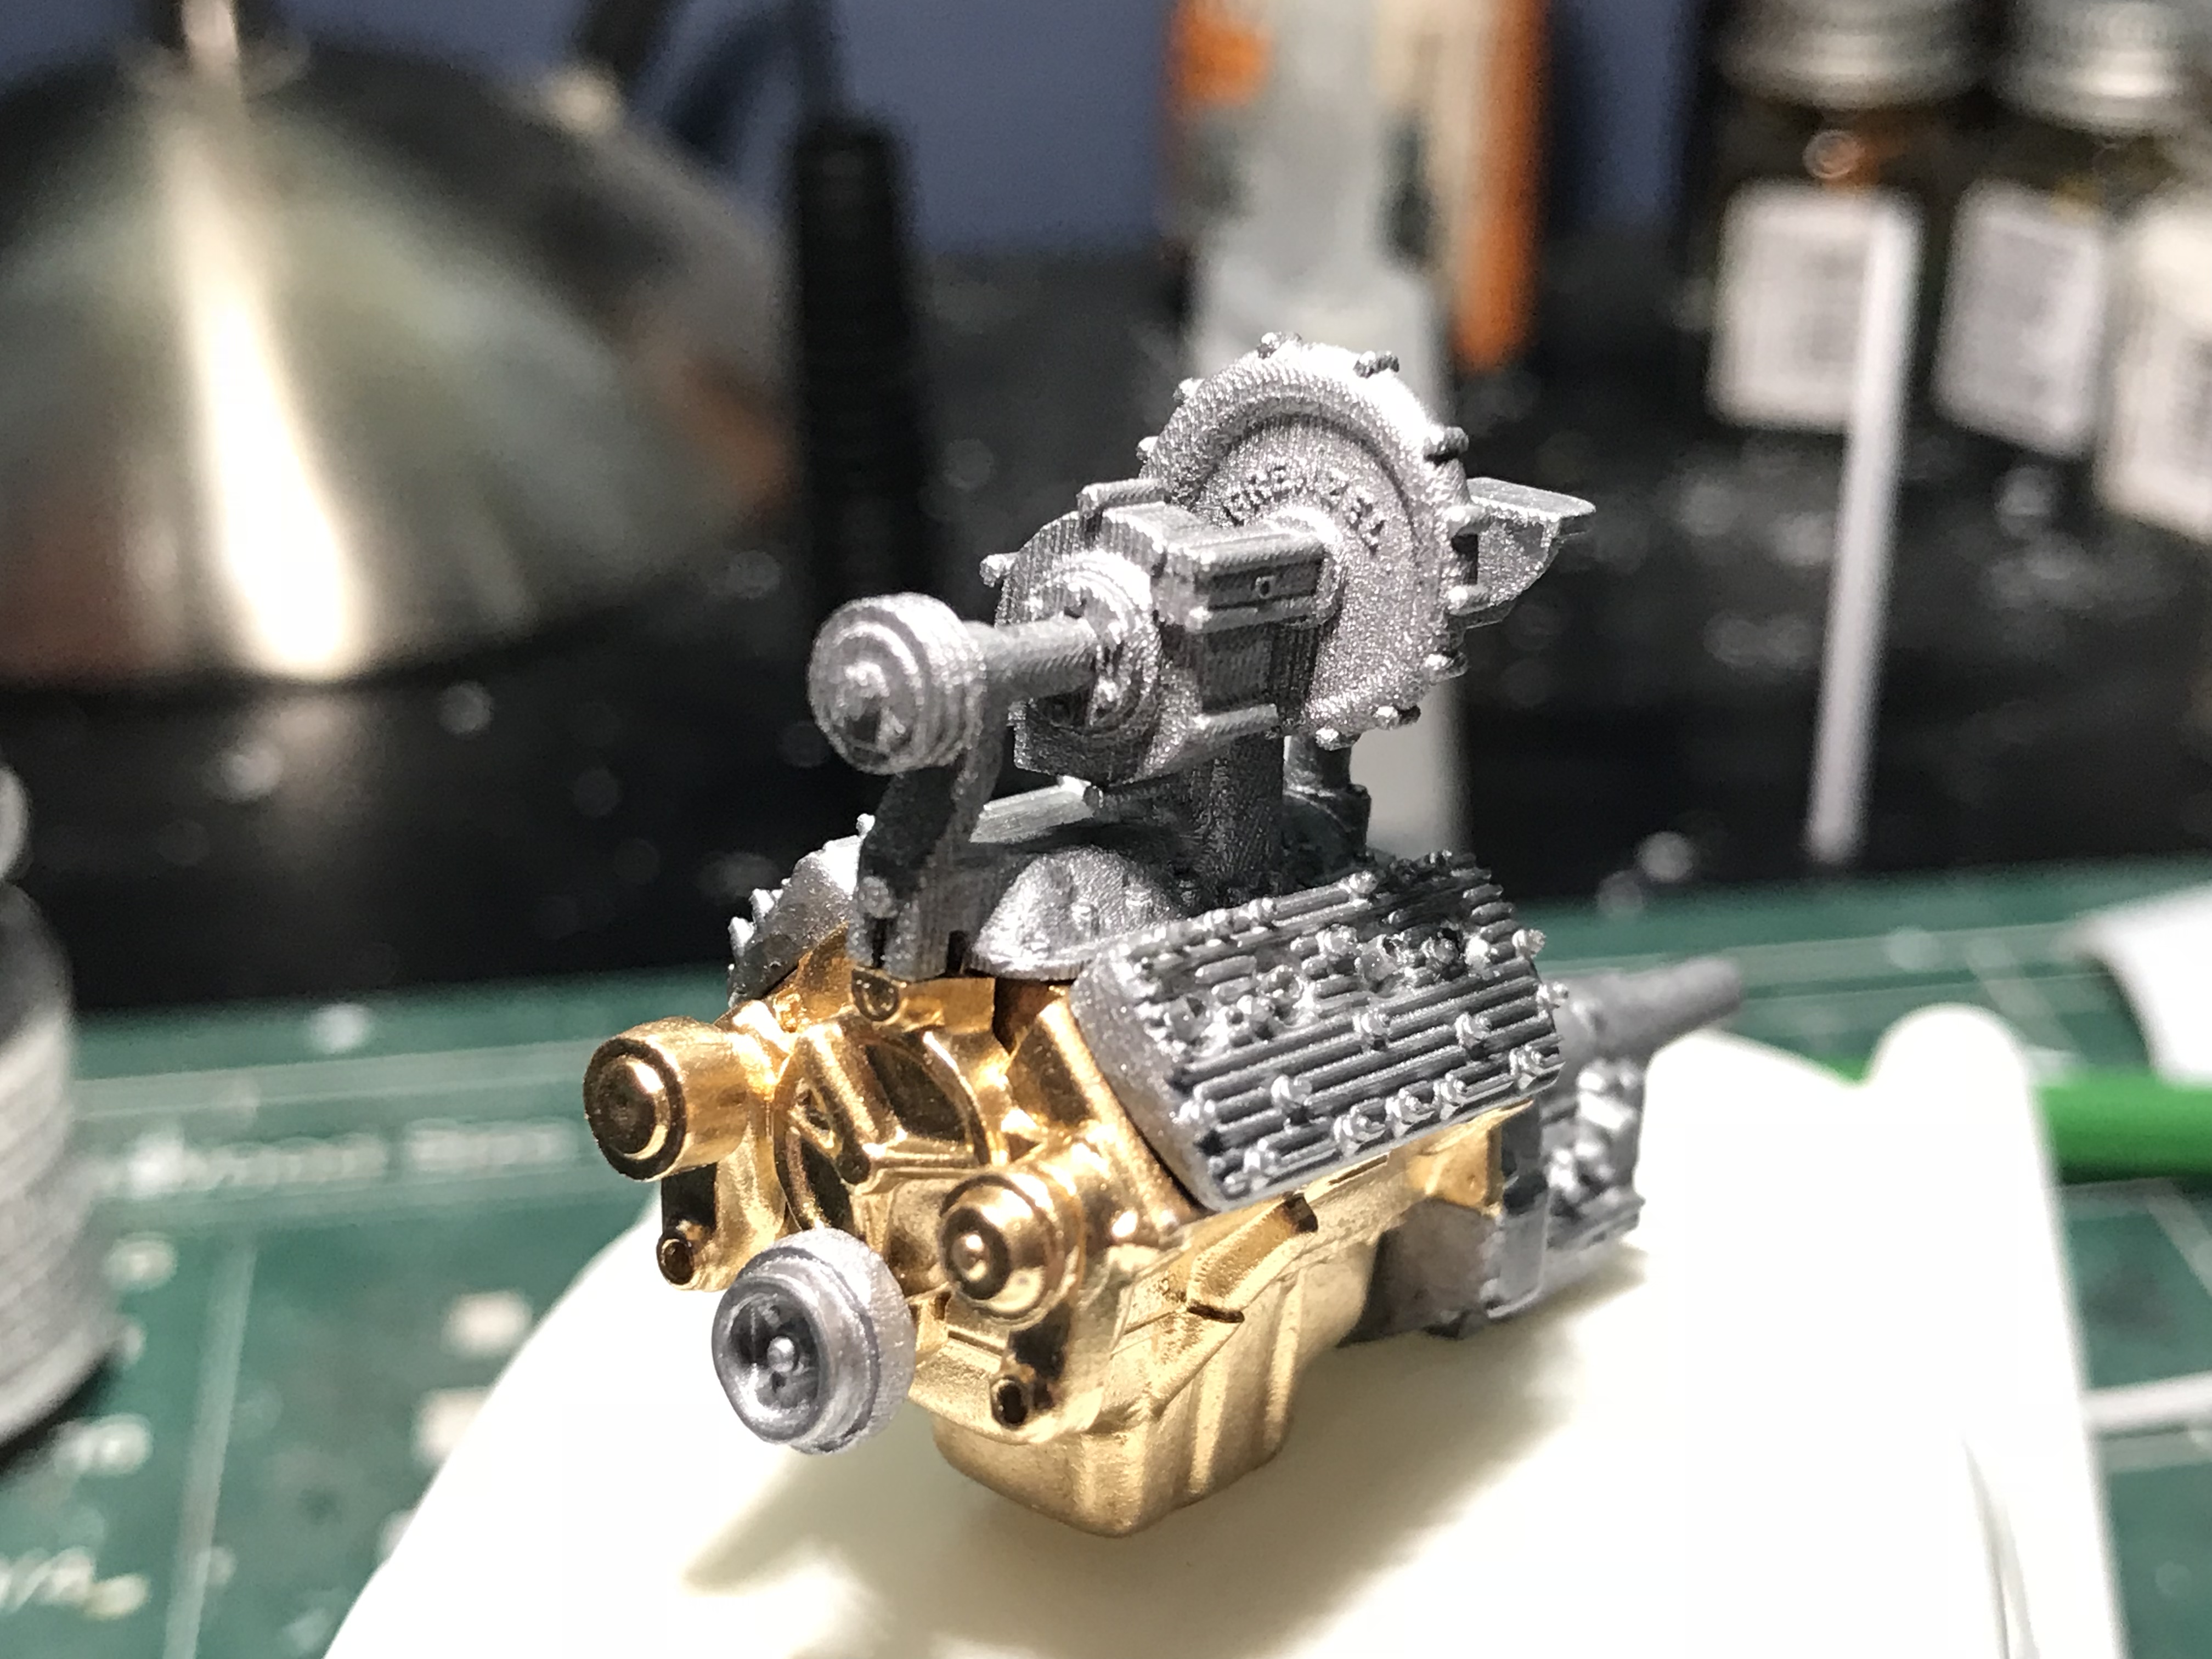
Engine is done!
-
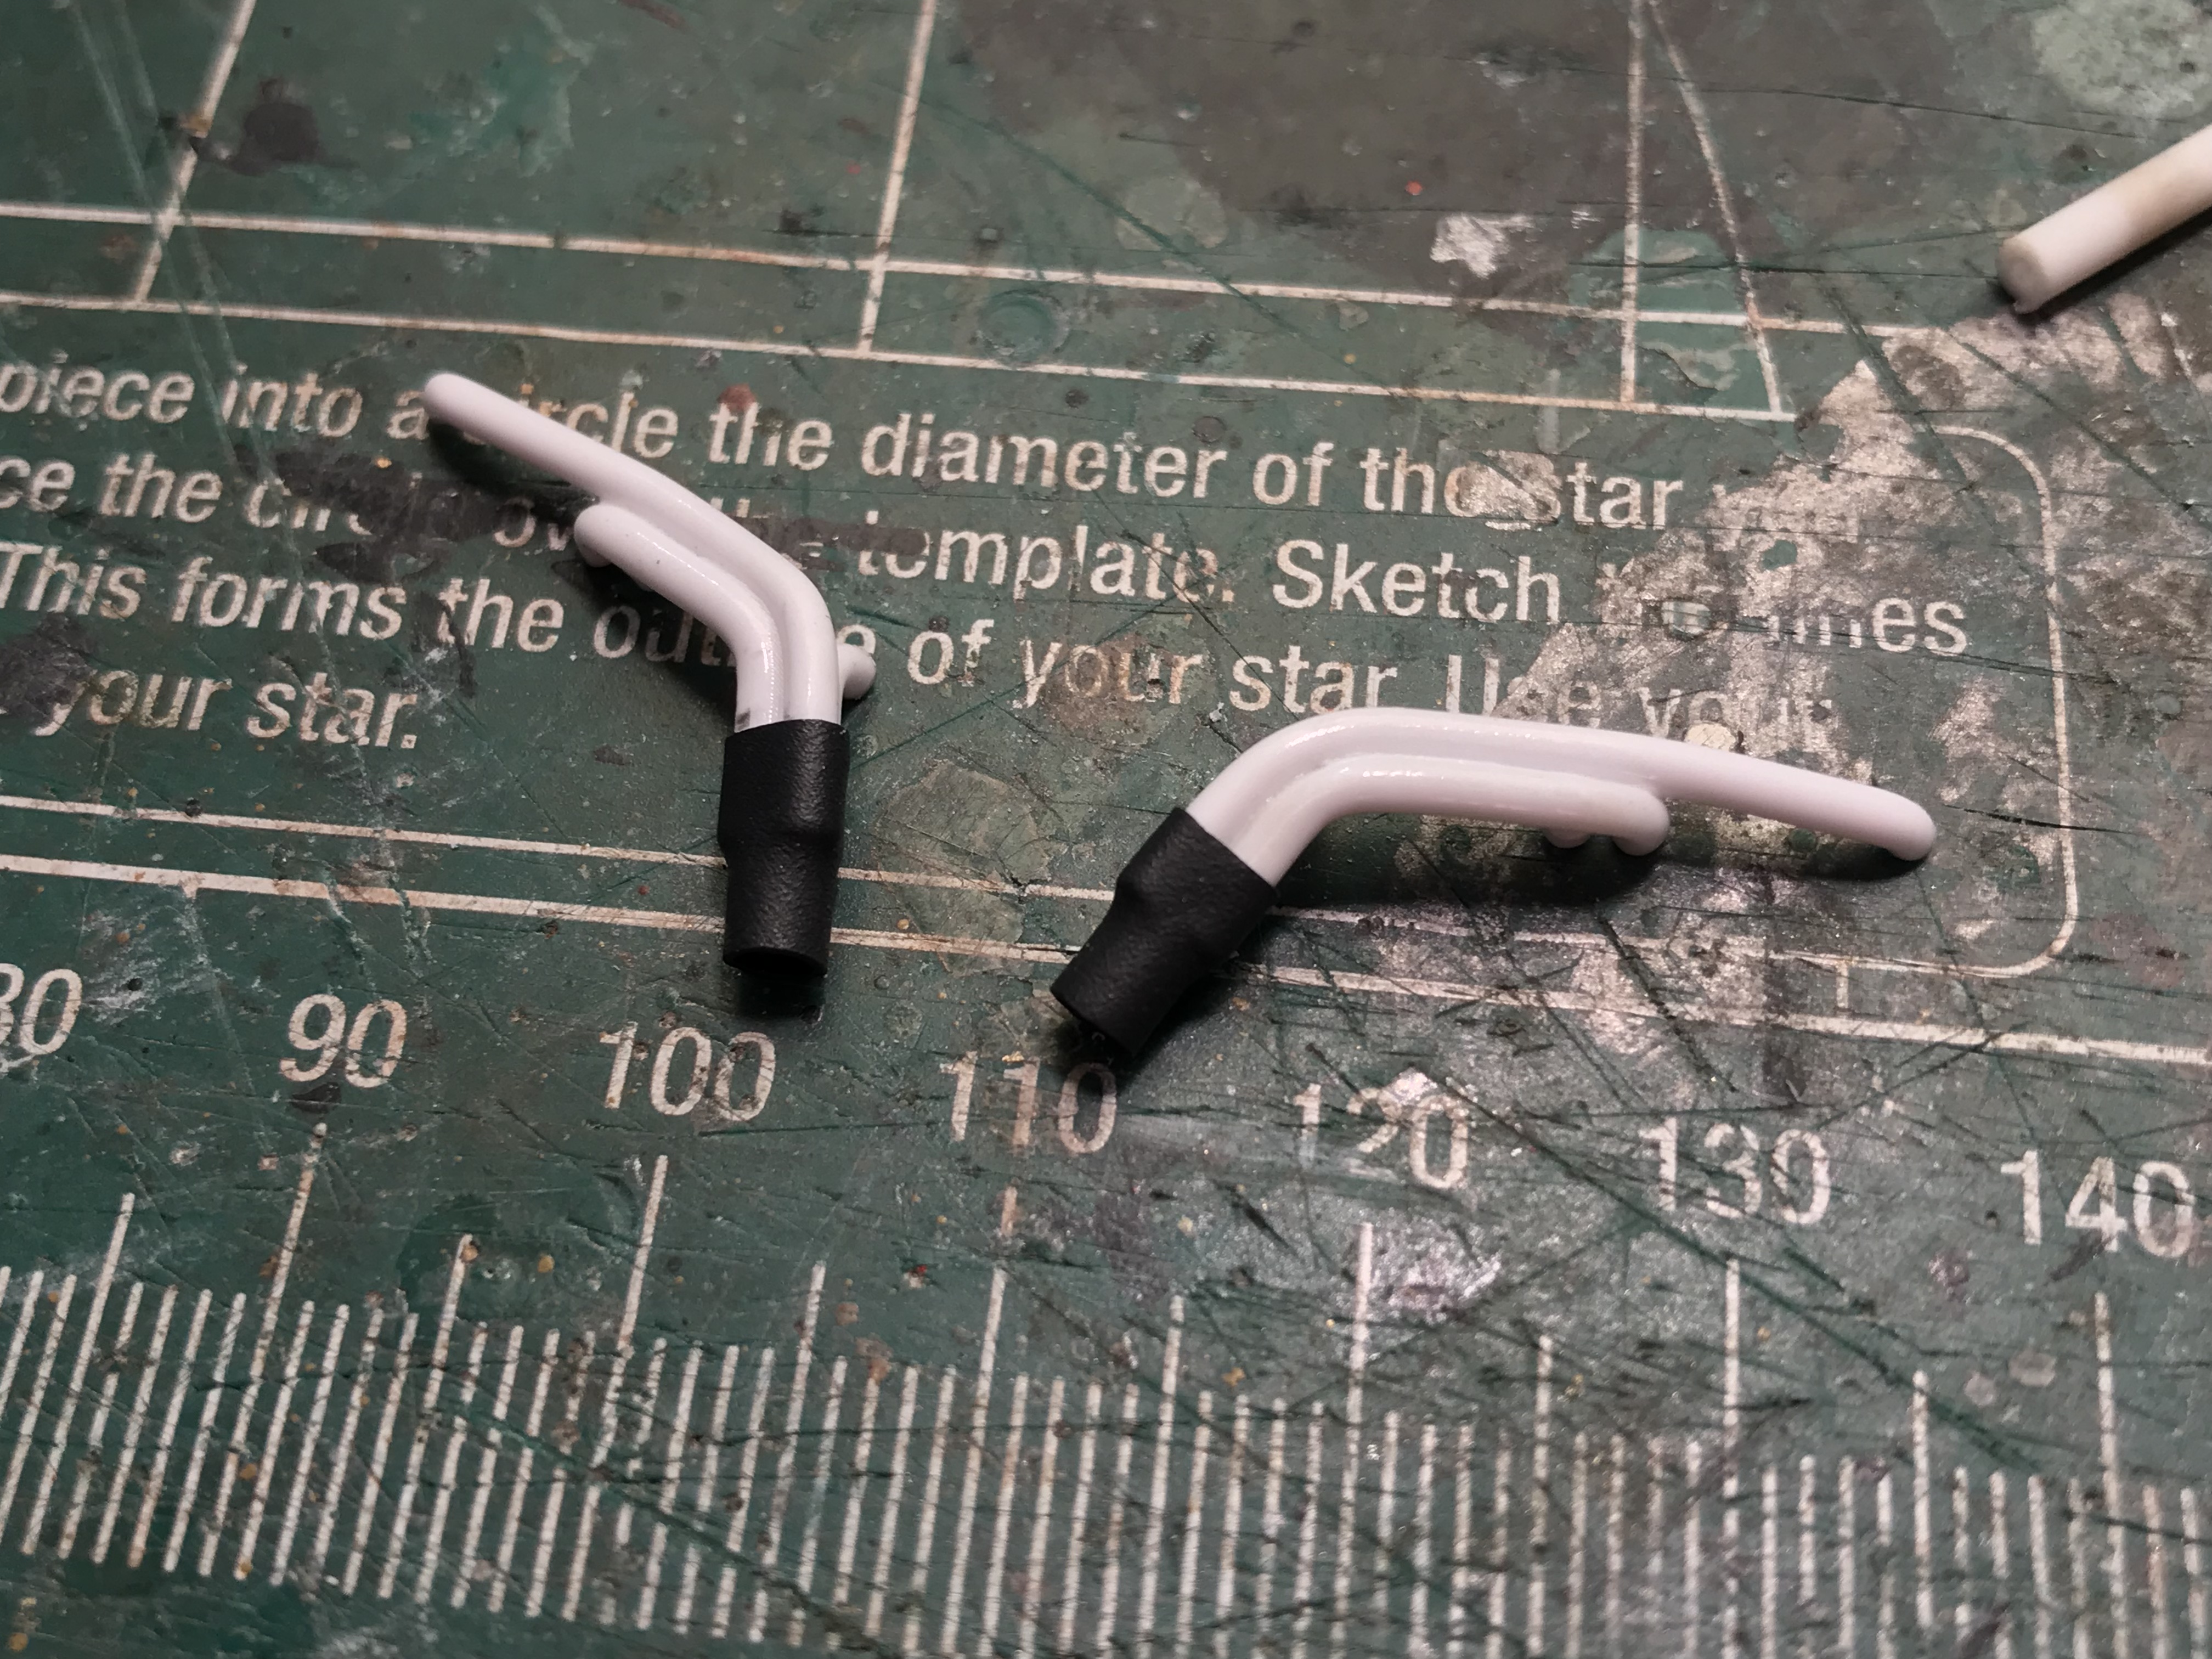
Well mine aren’t exactly right, I was trying to make them similar to what I’ve seen on a real deuce. When I started I didn’t feel like scratchbuilding my own so I modified the stock ones from the kit. They weren’t long enough to reach exactly where they needed to be hence their location. Also I didn’t have enough space to clear the floor pan which is why they lay a little flat. I’m not sure why the 2nd picture won’t load but check the link. Here’s what I was going off of: 9CA39C33-6FEA-471B-BB69-4E4DE7596D41.jp2
-
The headers were a challenge but I managed to squeeze them in there. Don’t judge me for the all the paint wore off the engine lol. I’ll have to touch it up. I do this with every build, knowing I shouldn’t paint anything till I have all the parts made for it.
-
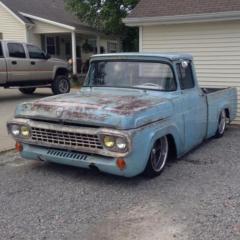
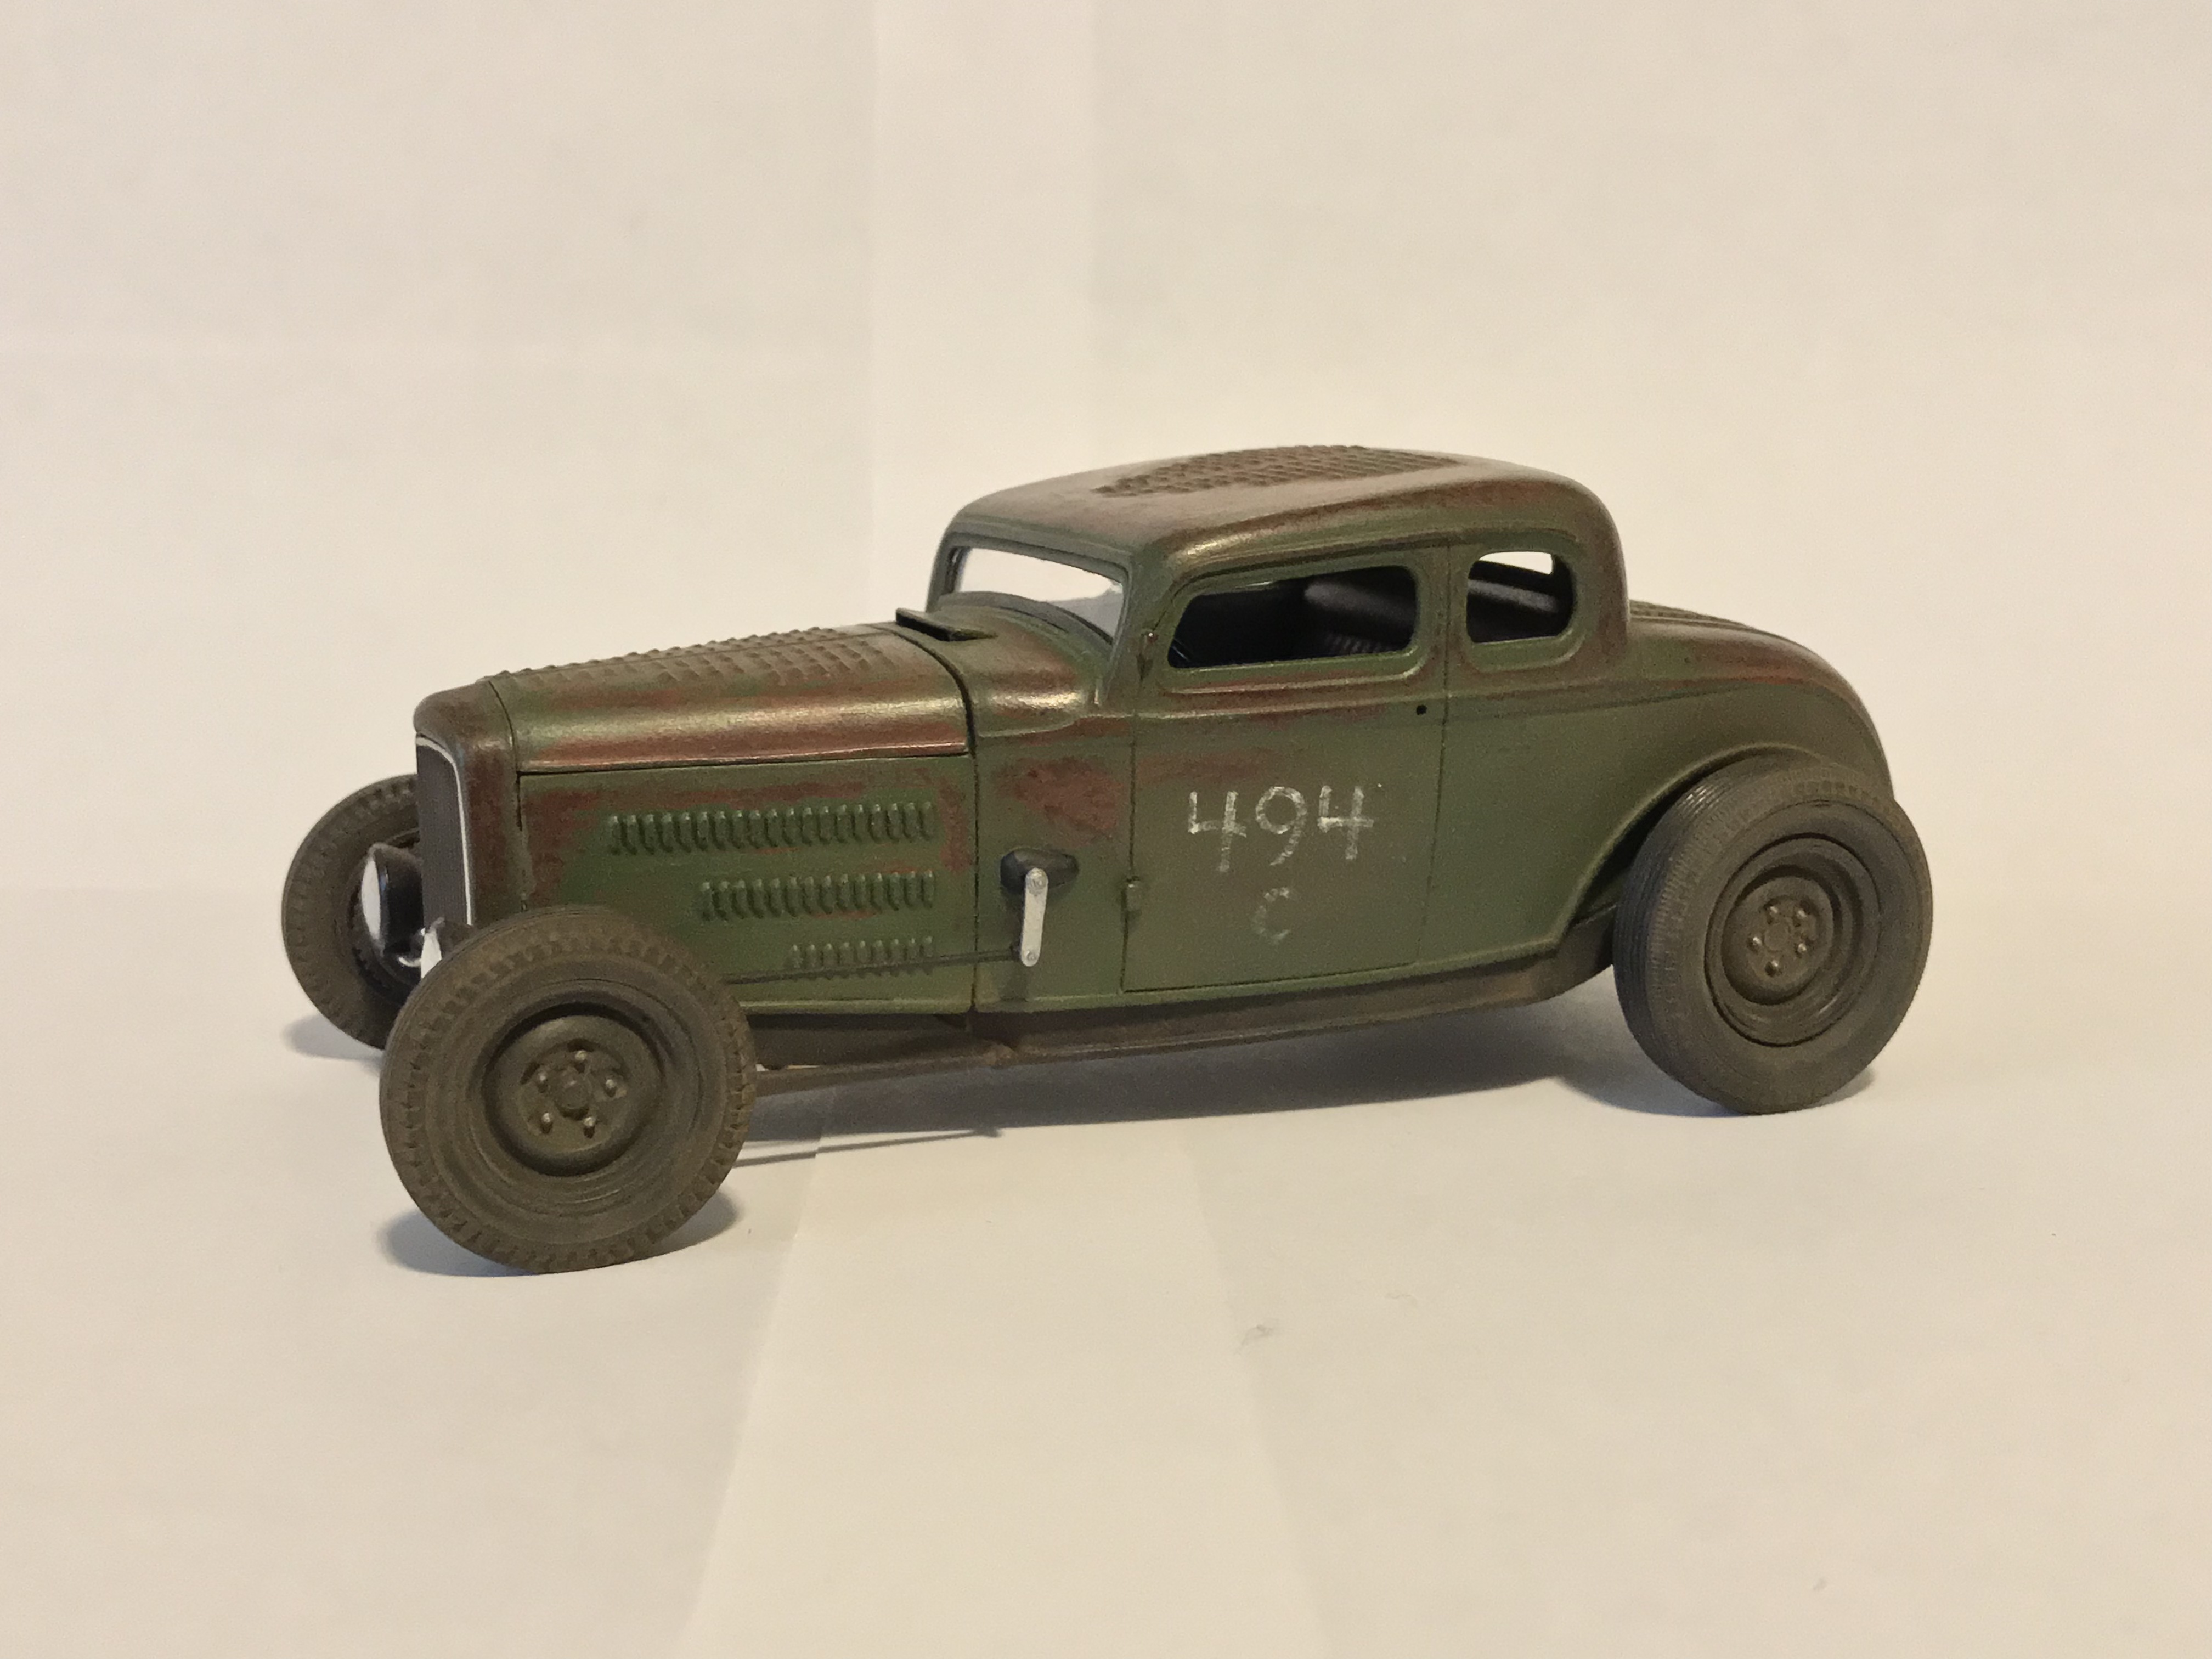
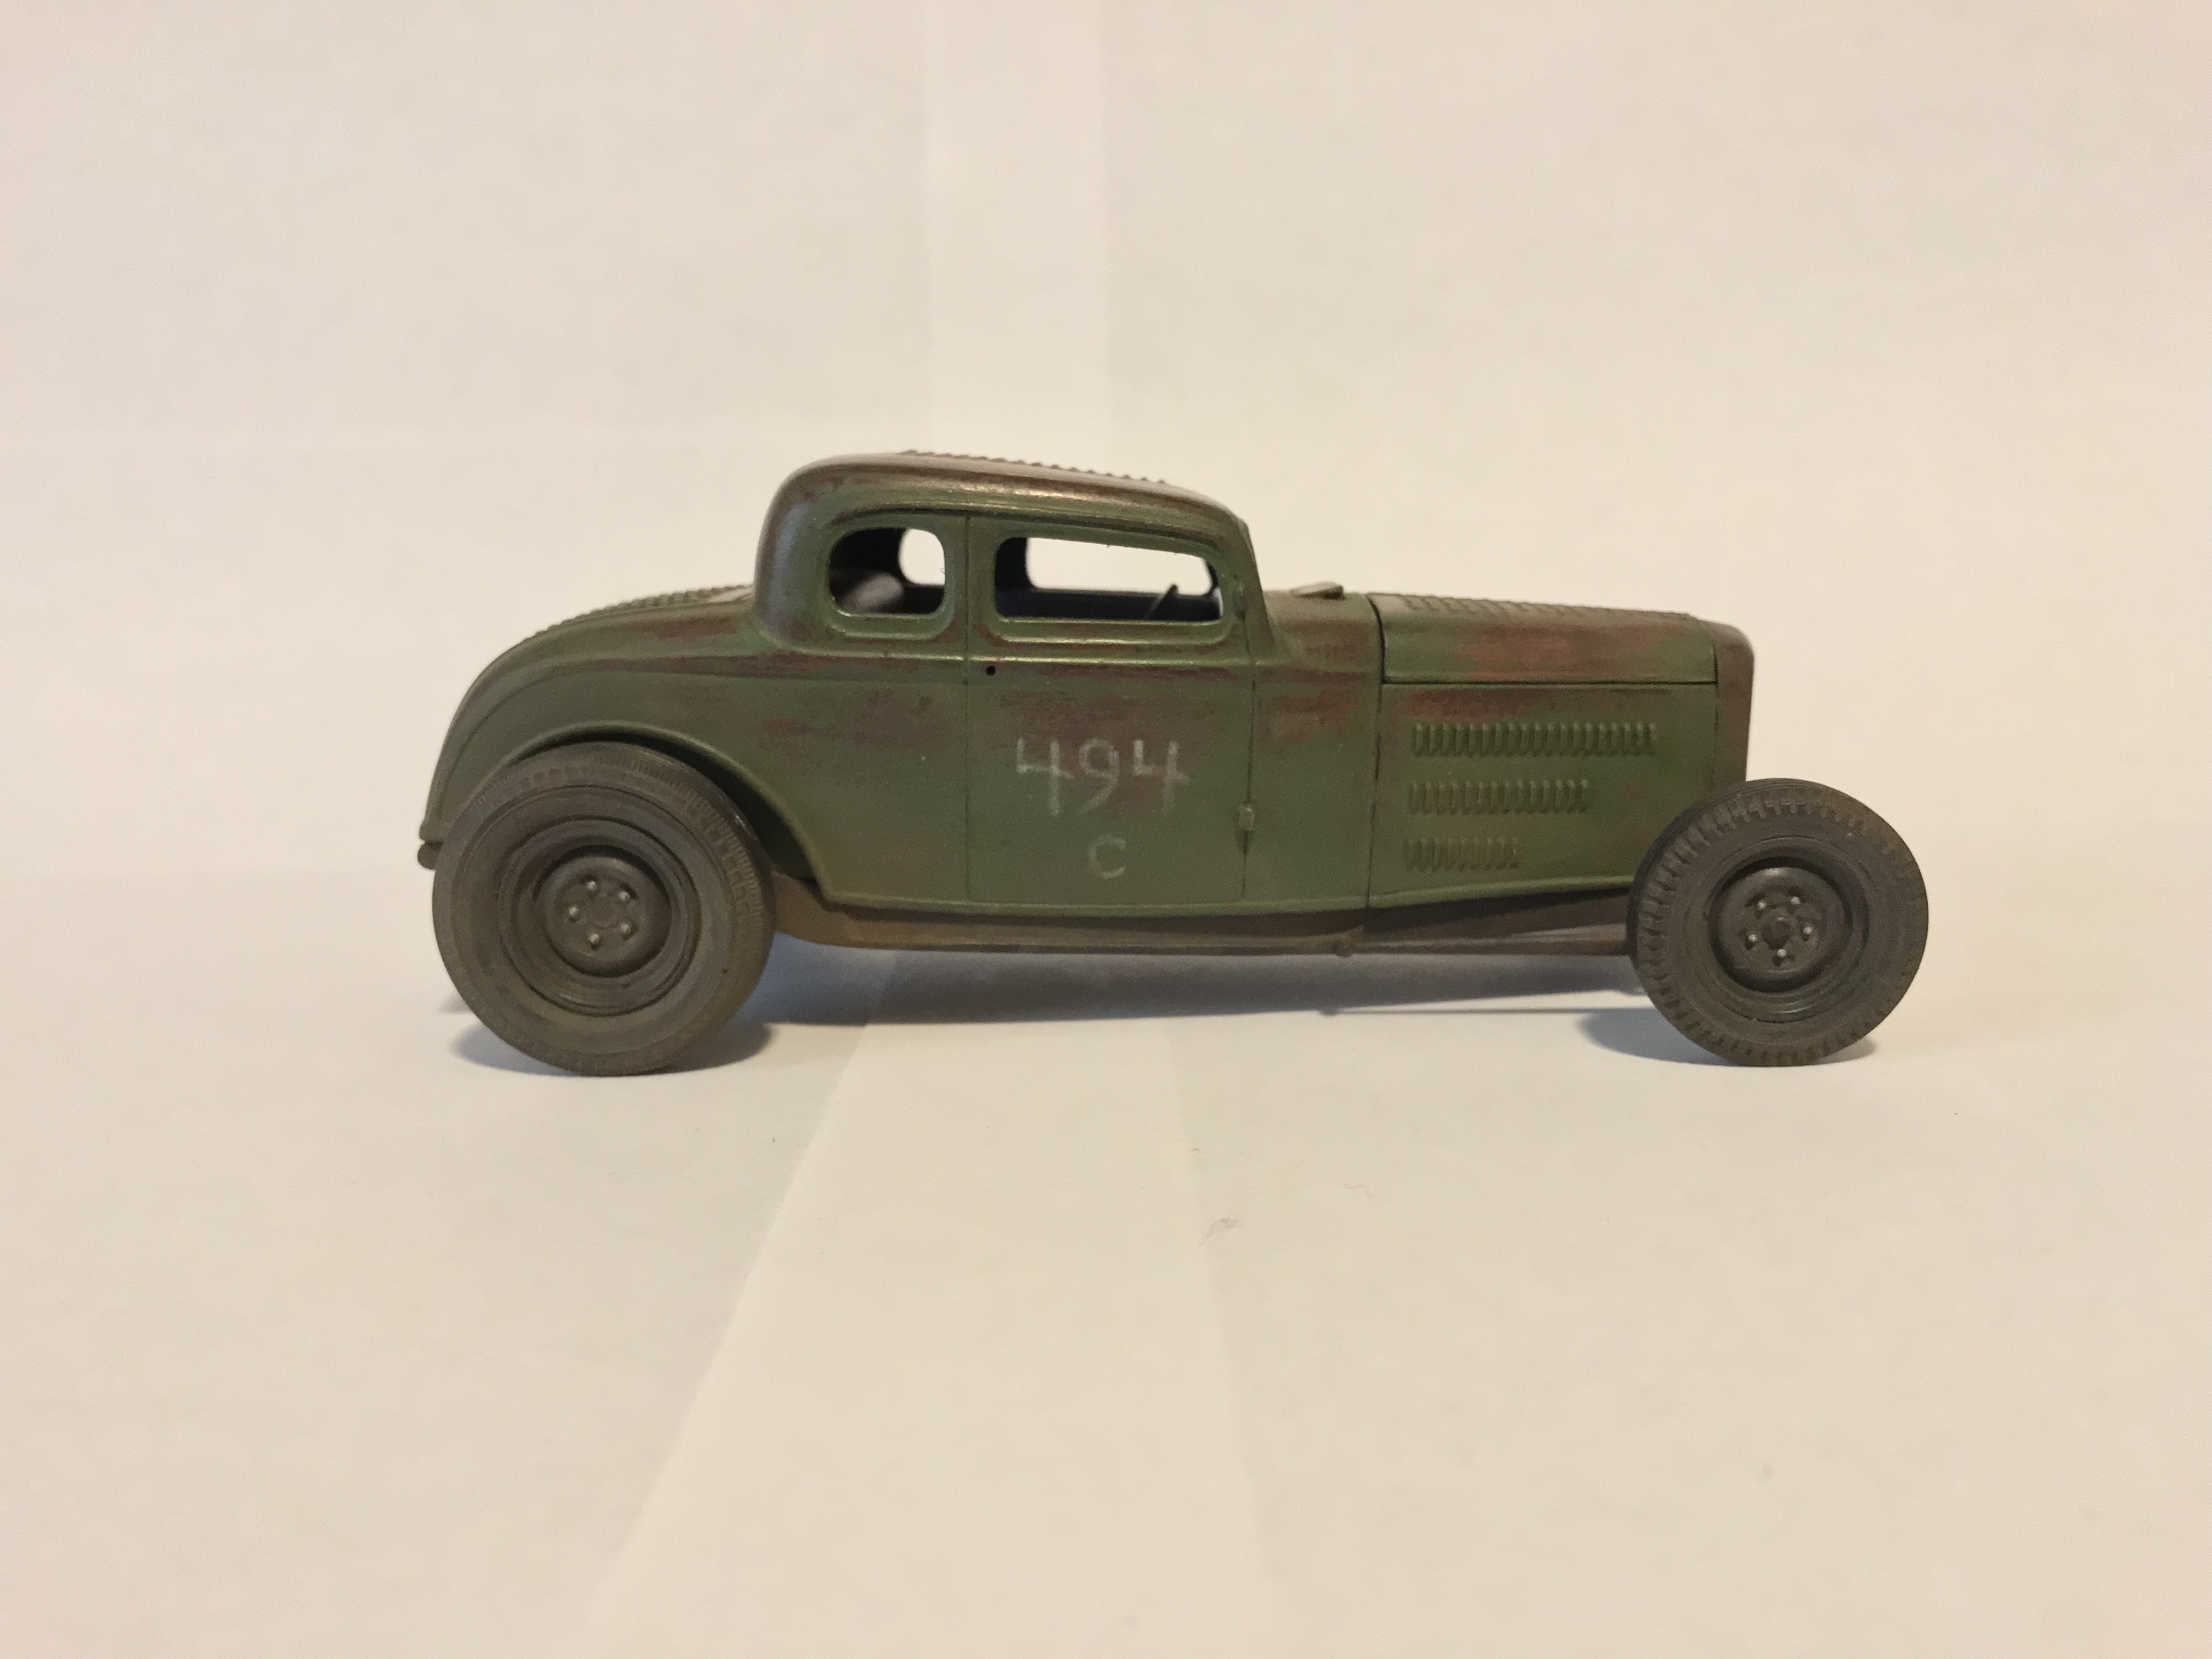
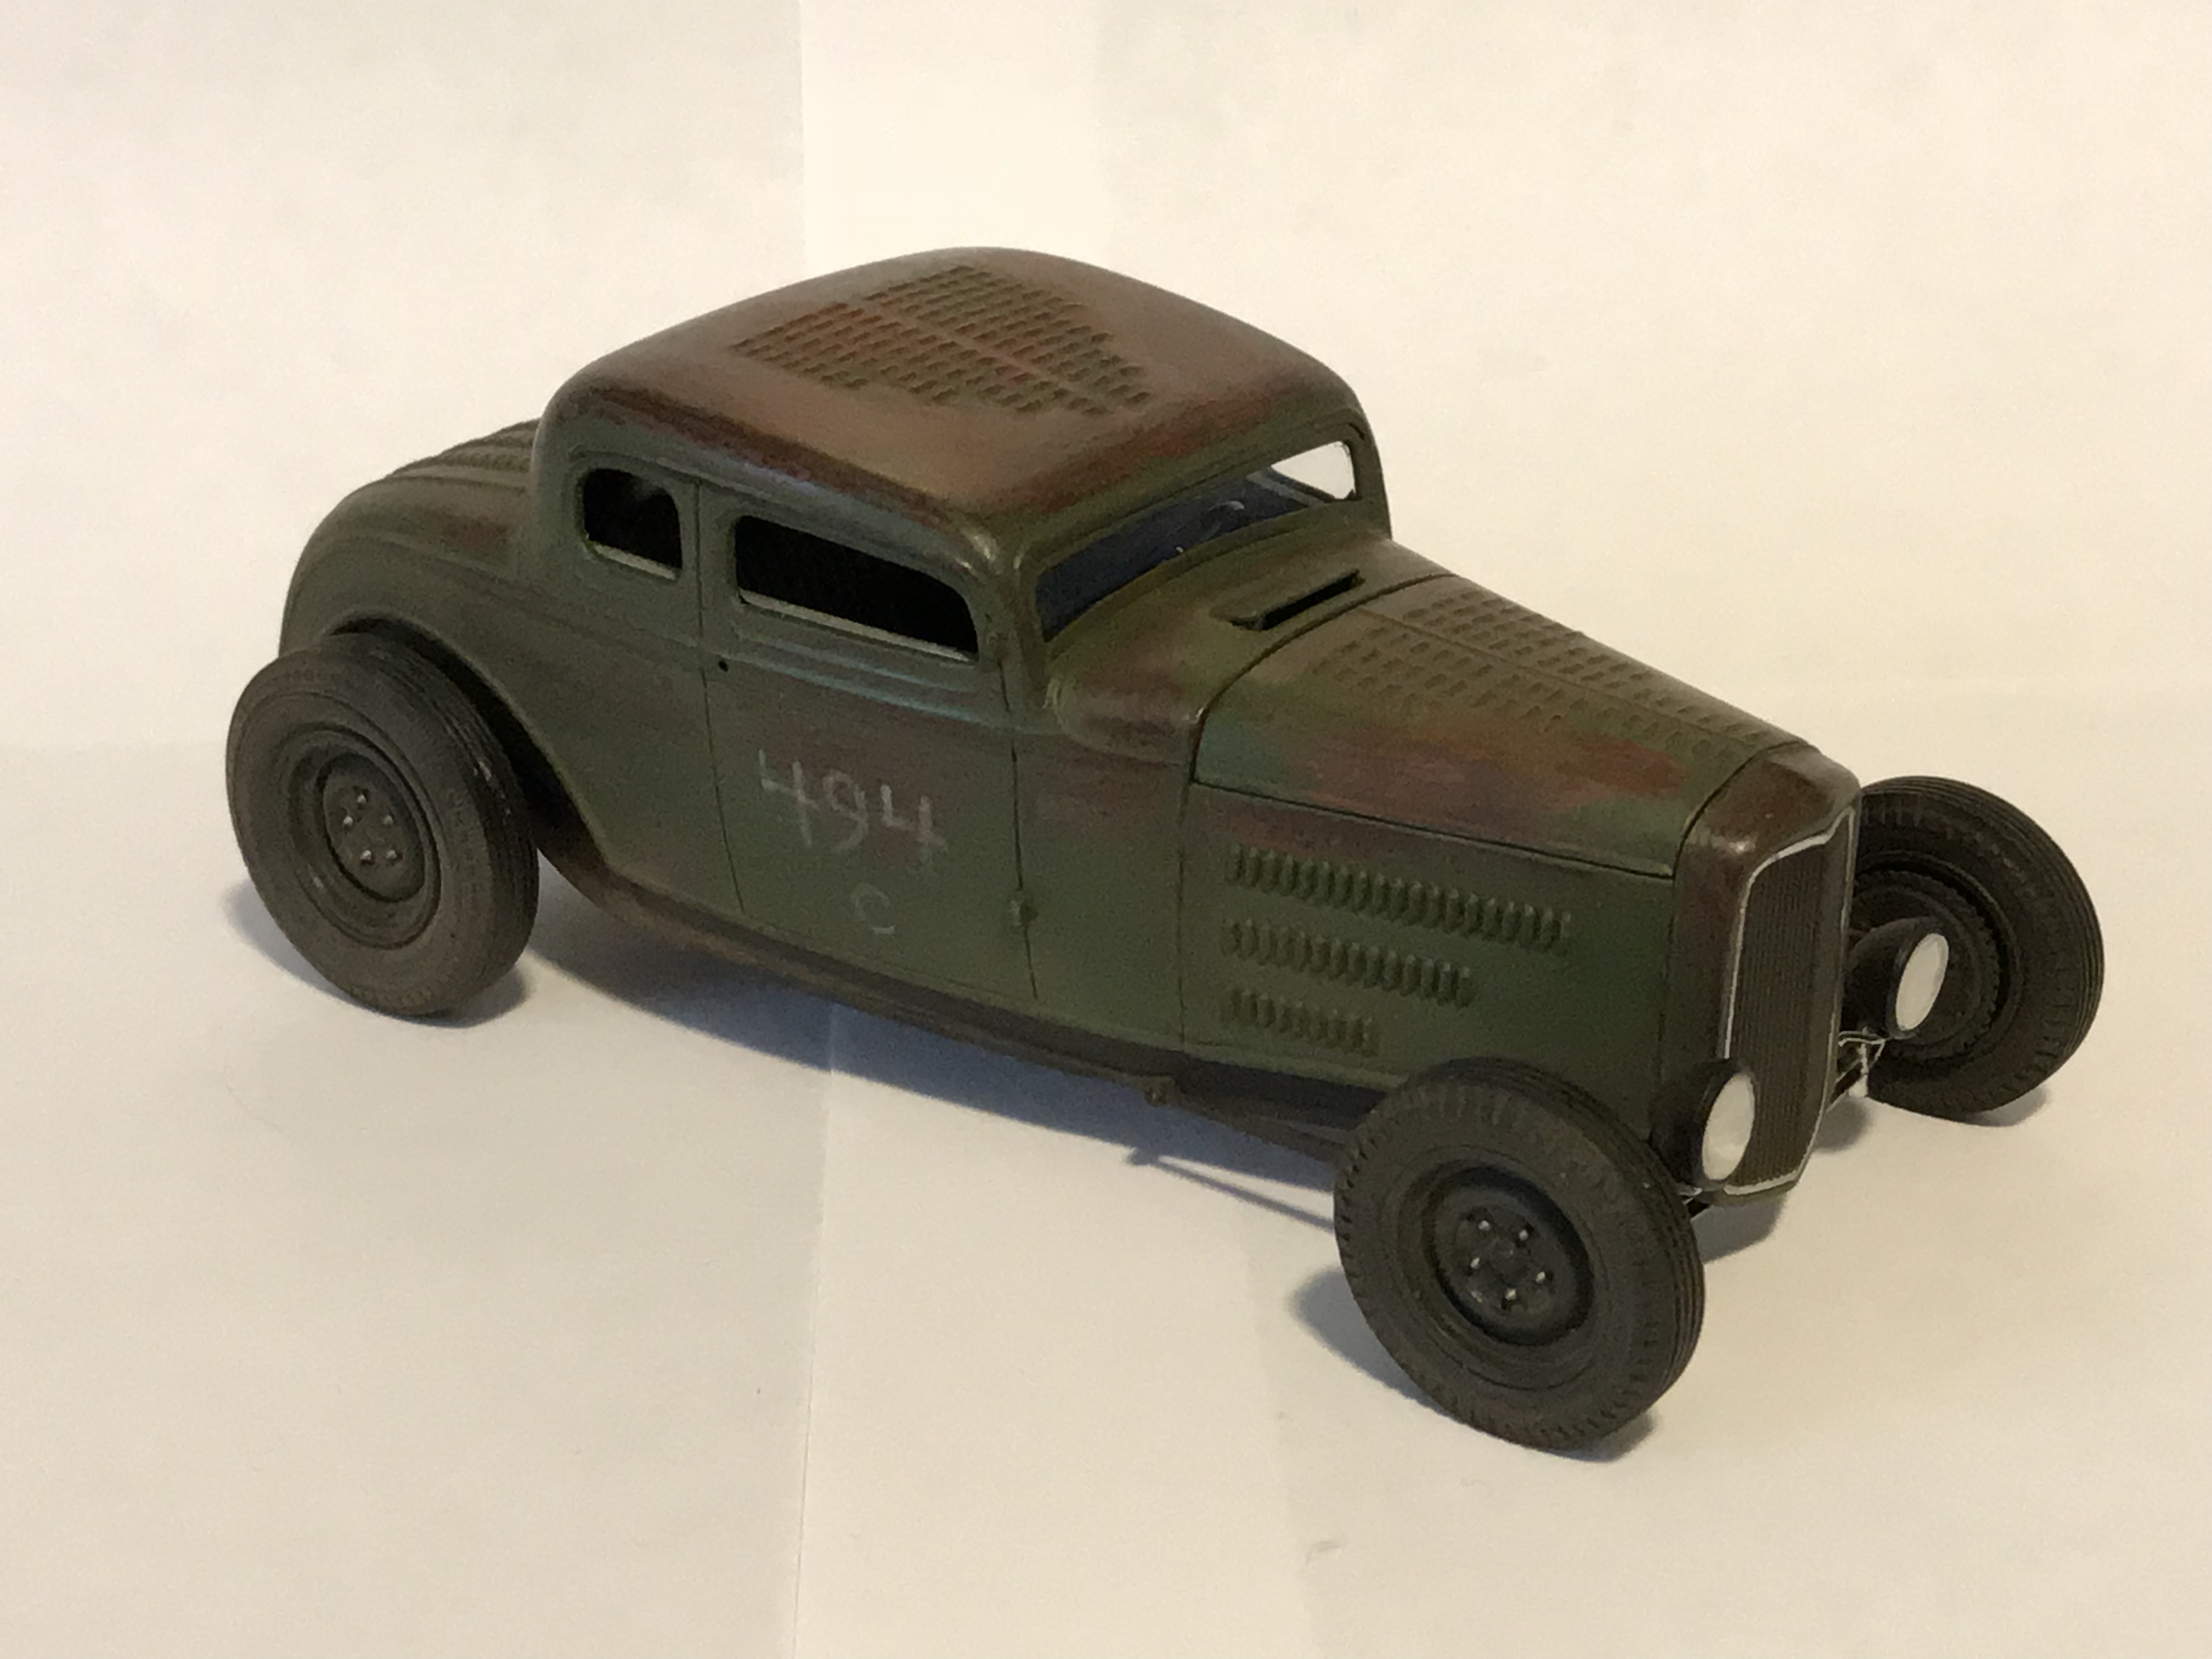
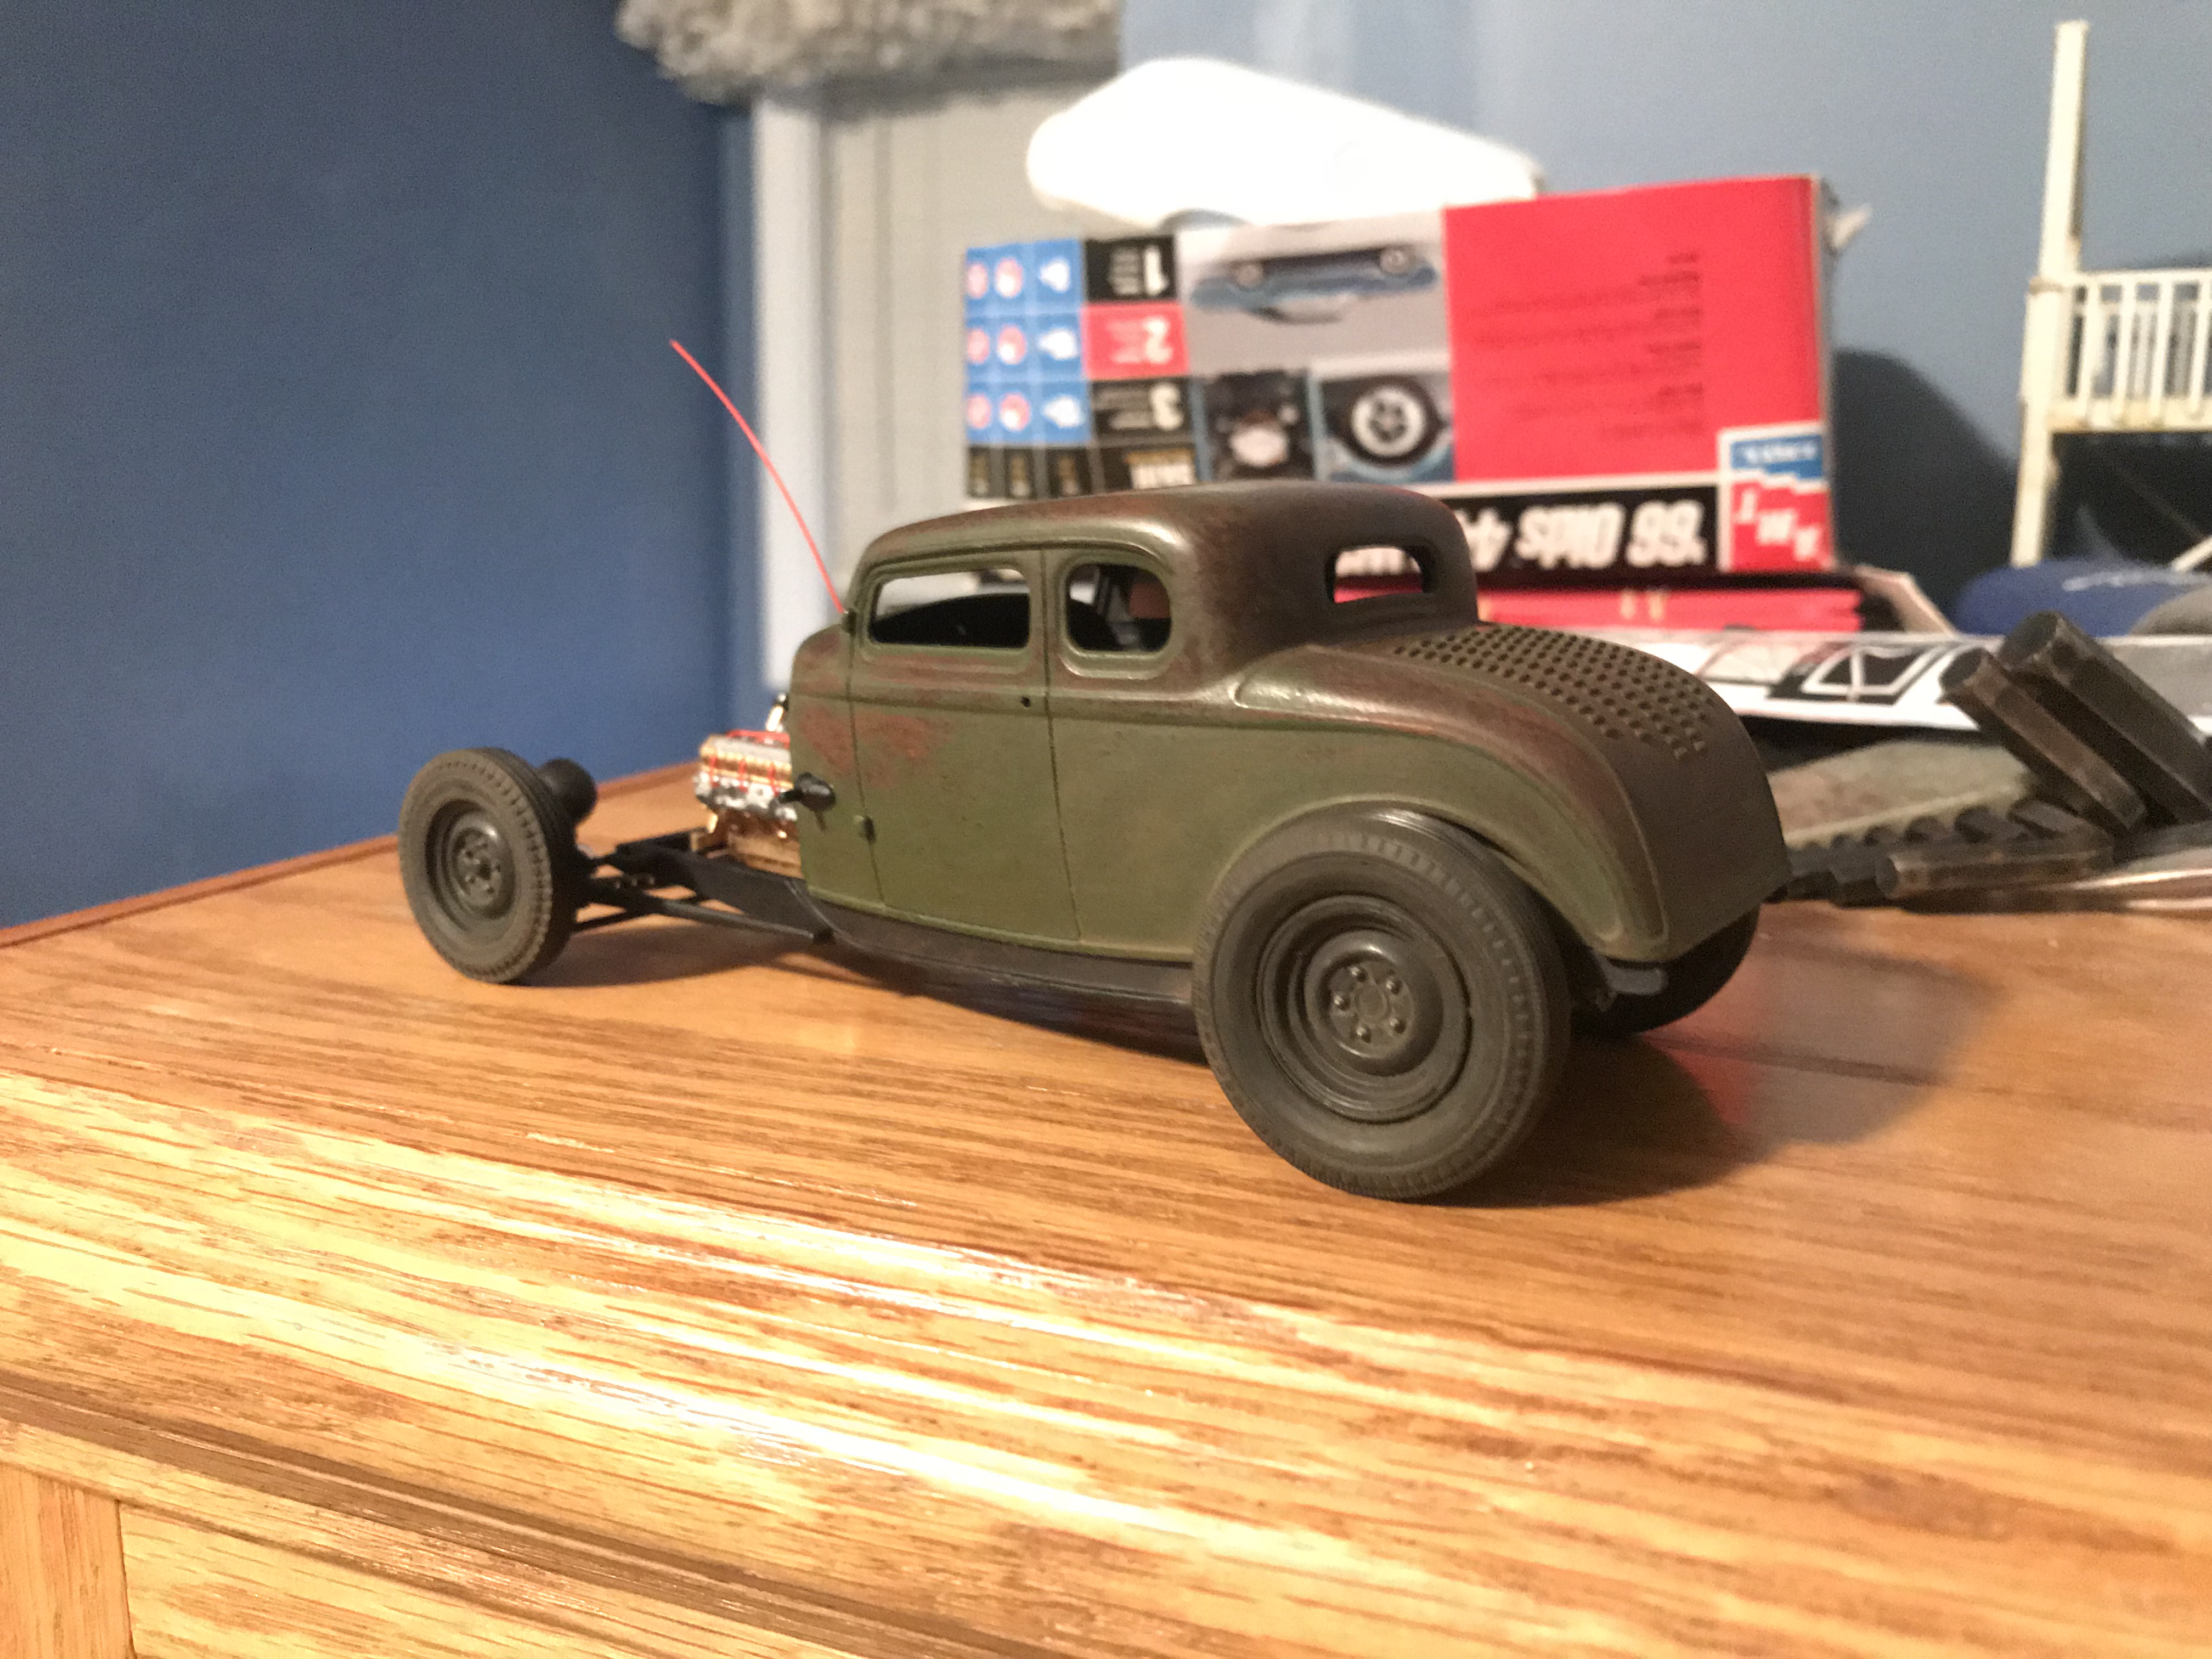
Body is done! For the finished look I’m wanting this car to look as if it just came off a dry lake.
-
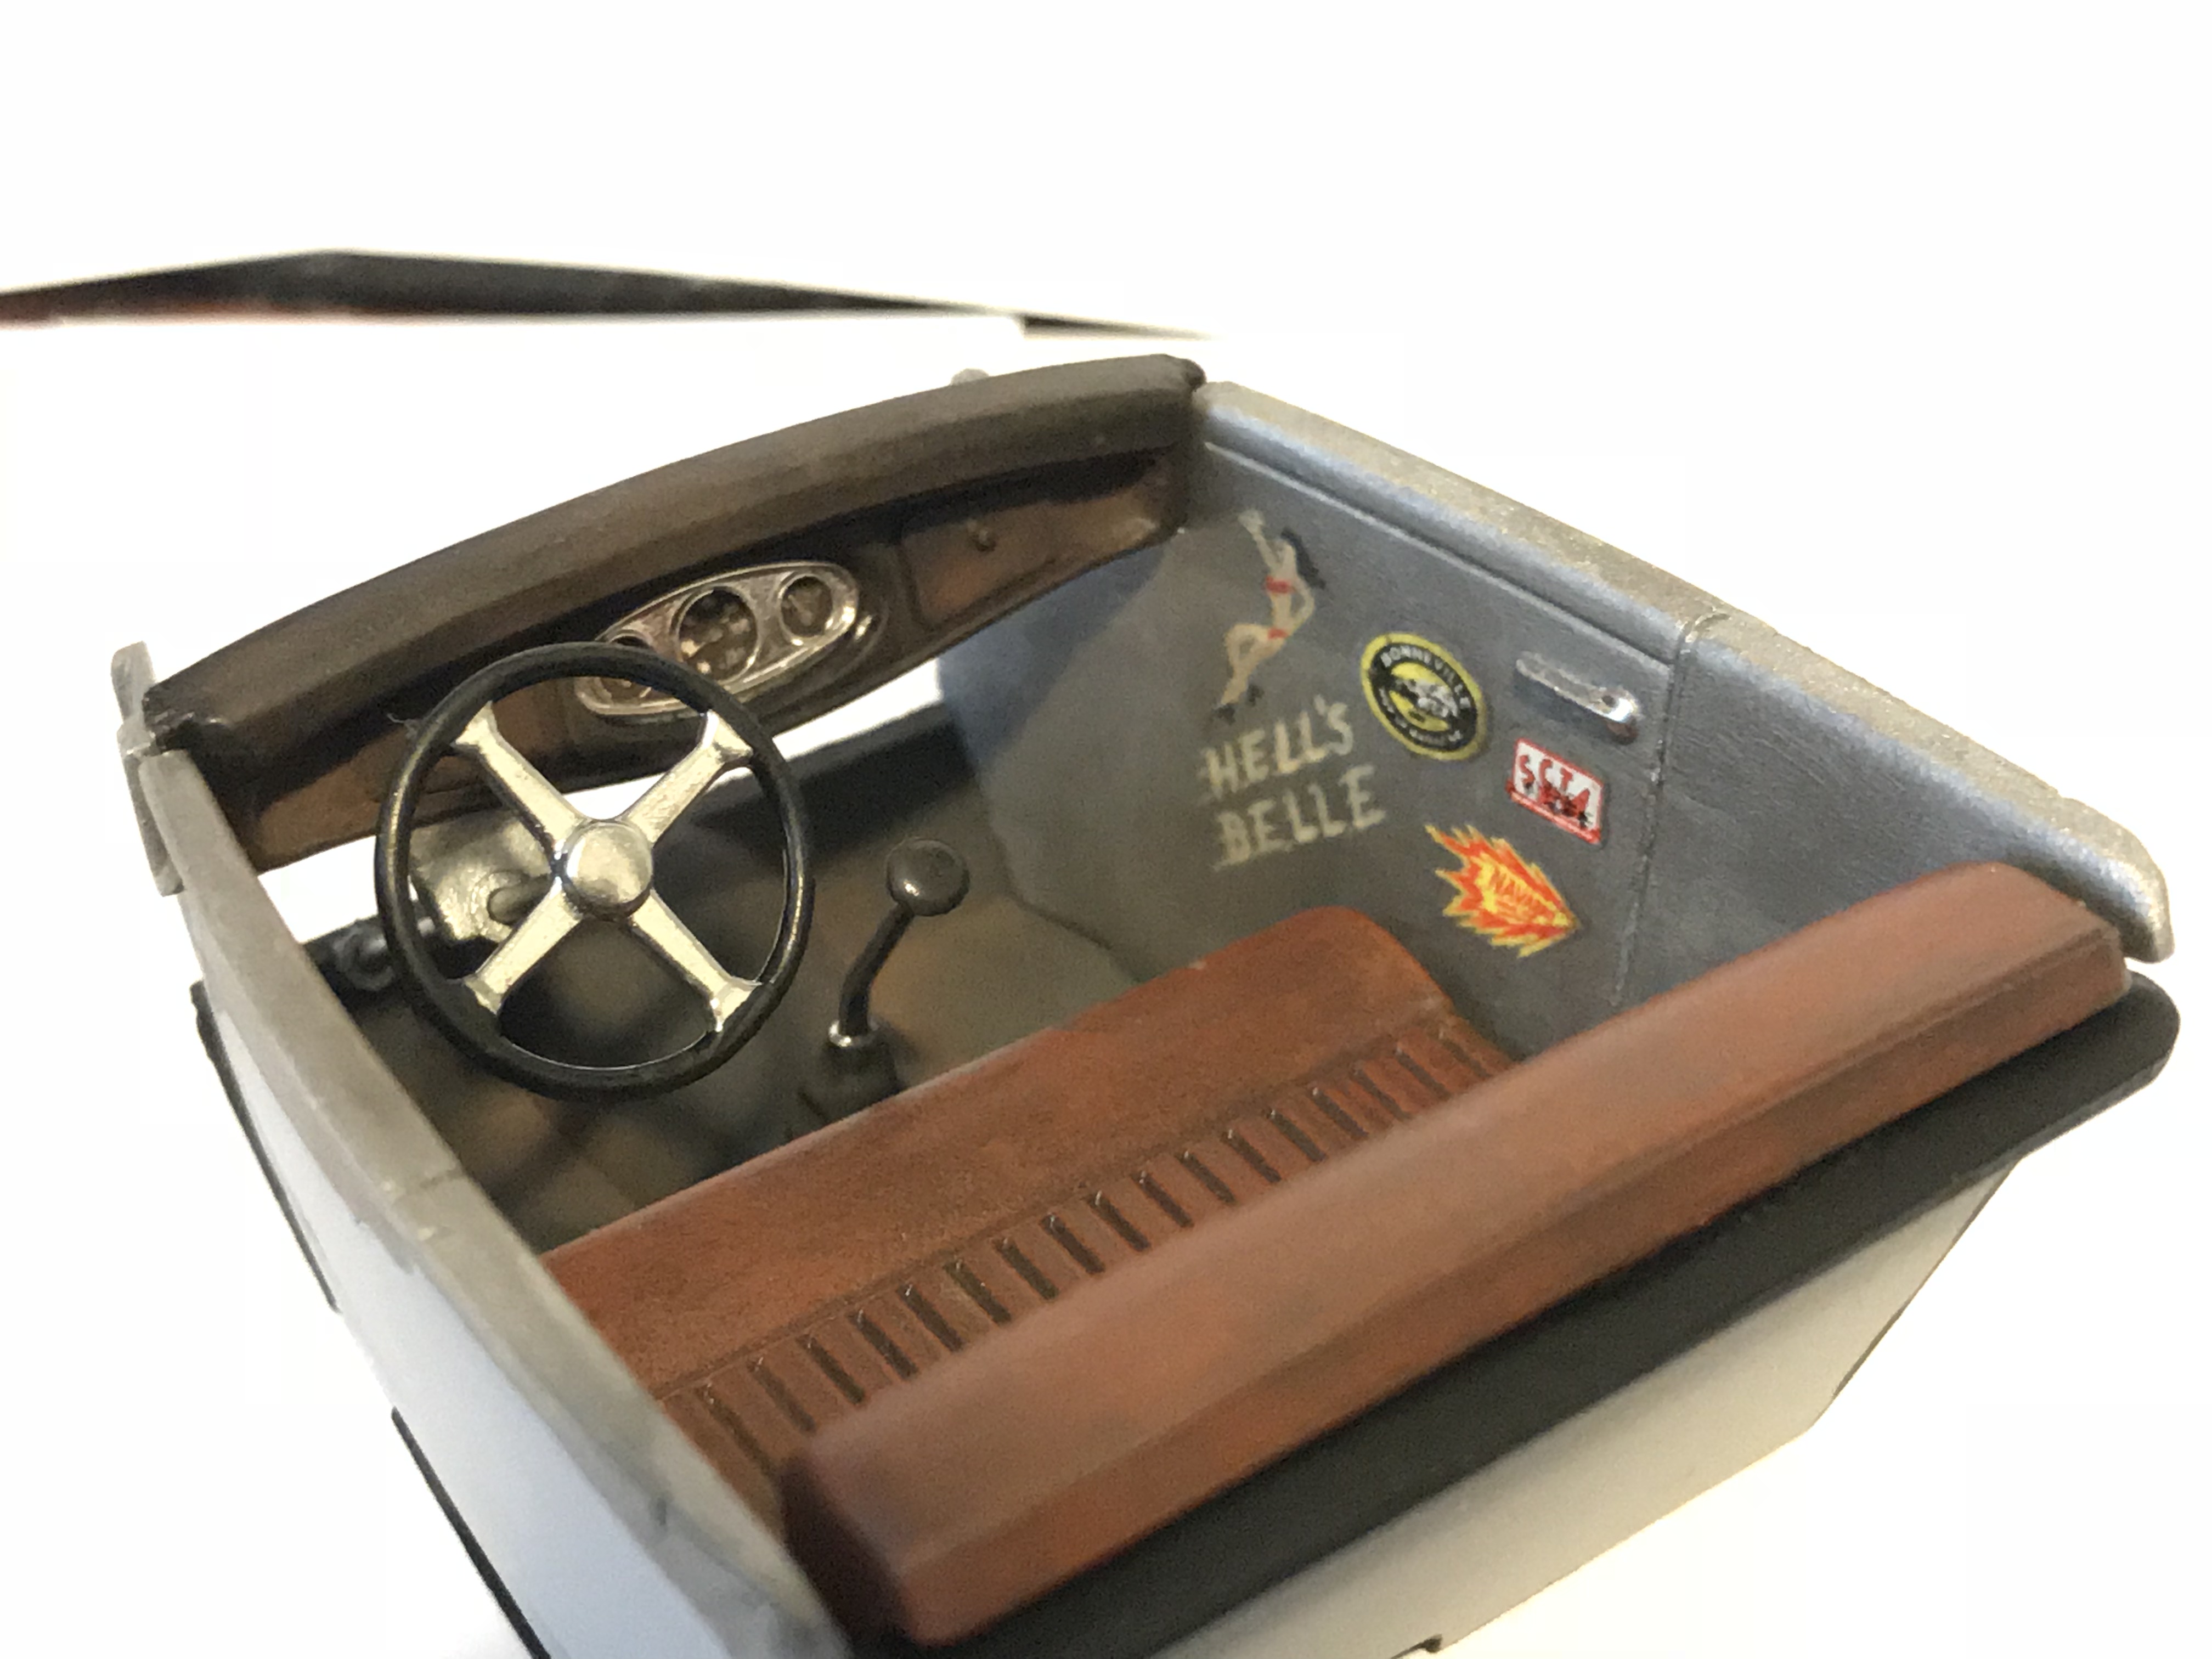
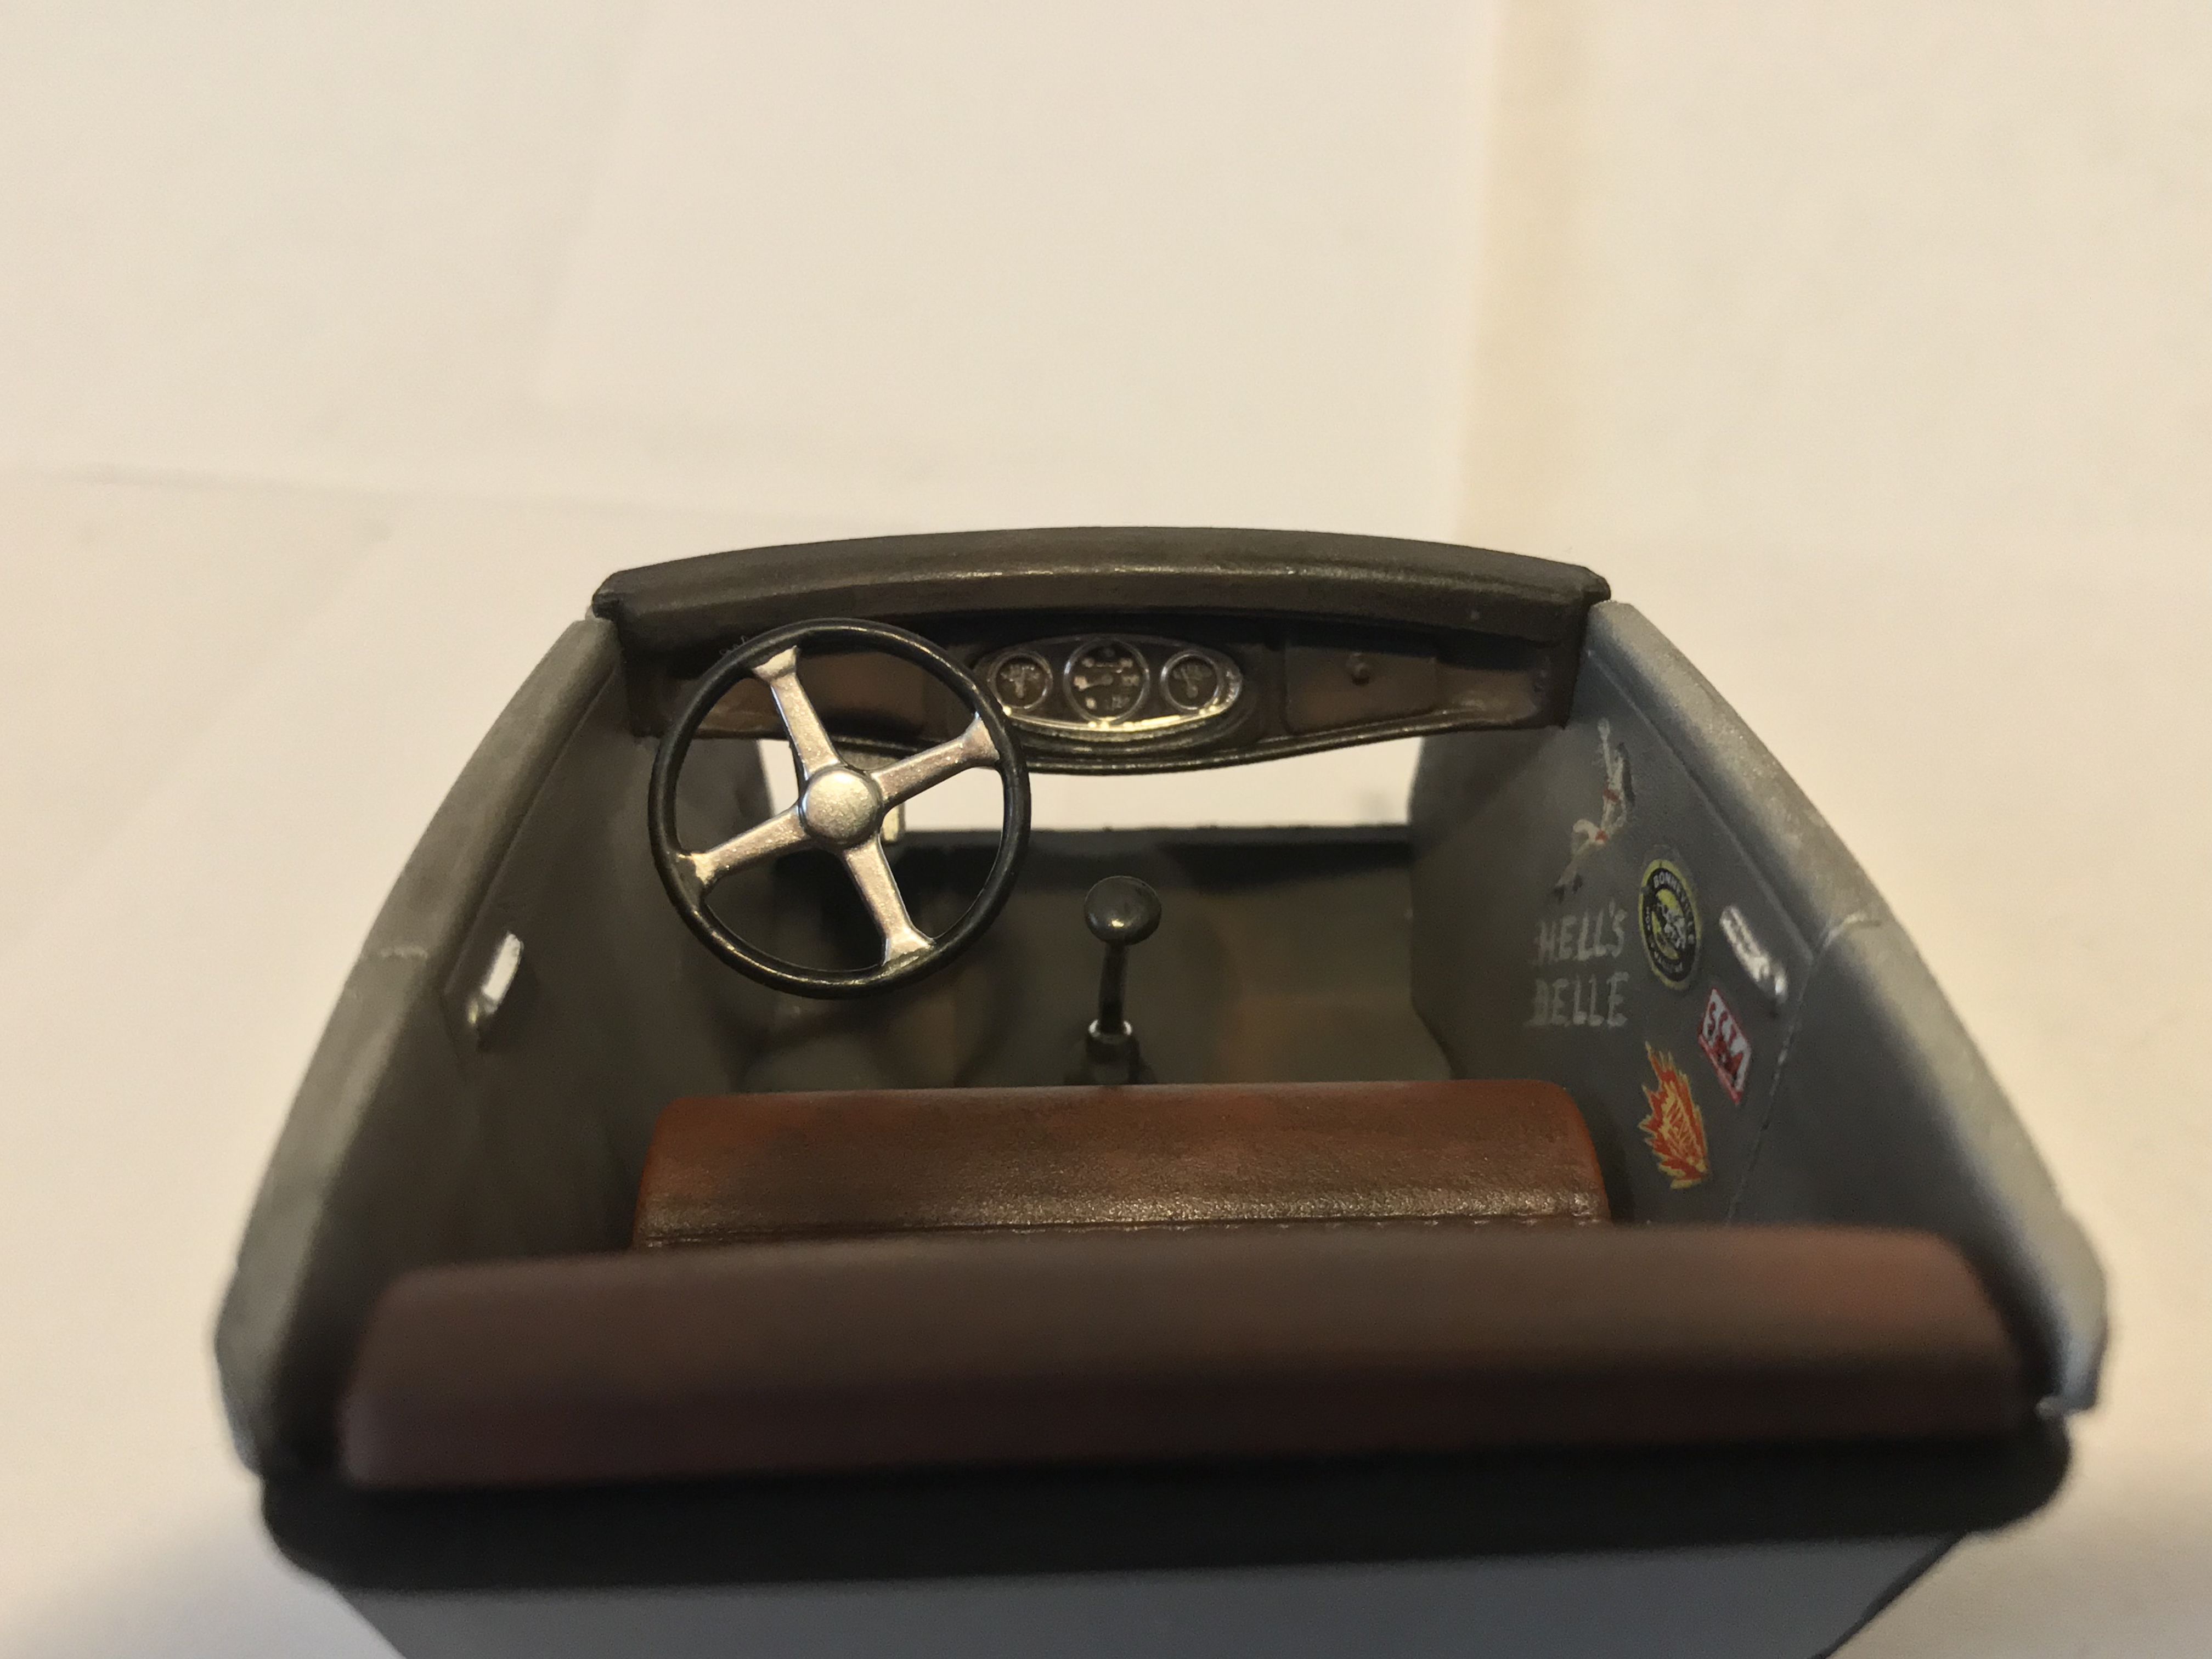
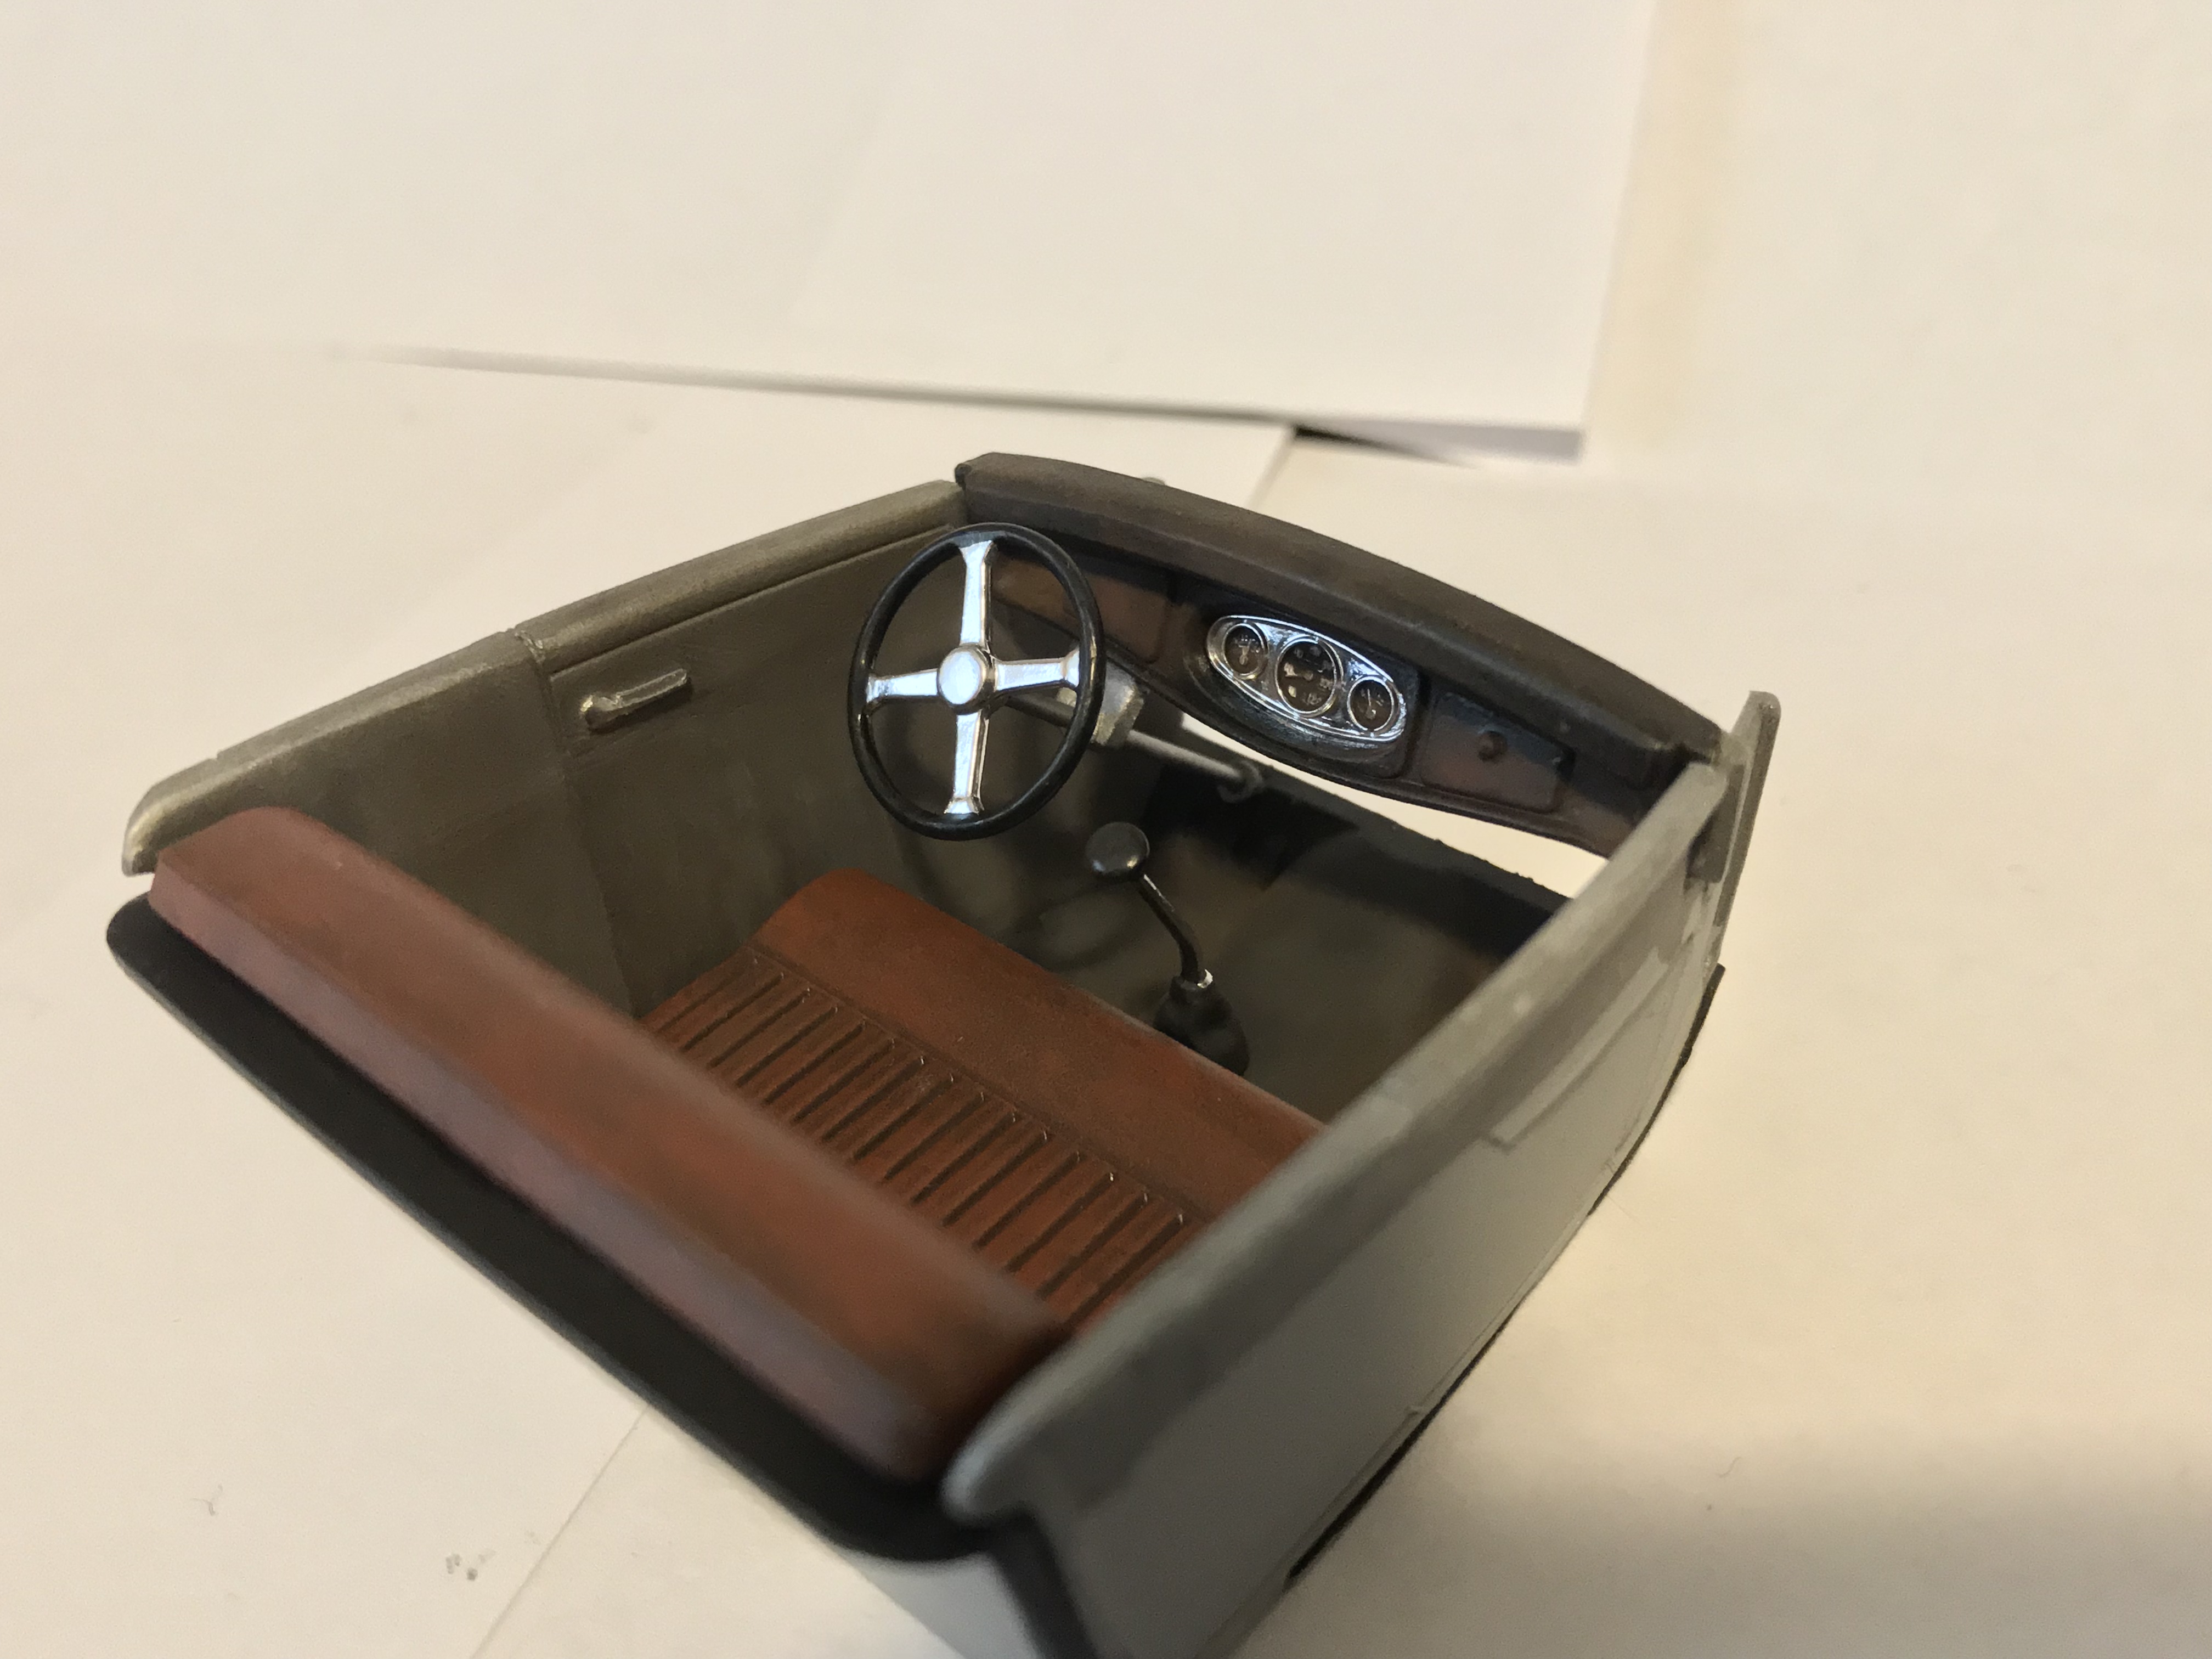
Finished up the interior.
-
Great work! Look forward to seeing your next build.
-
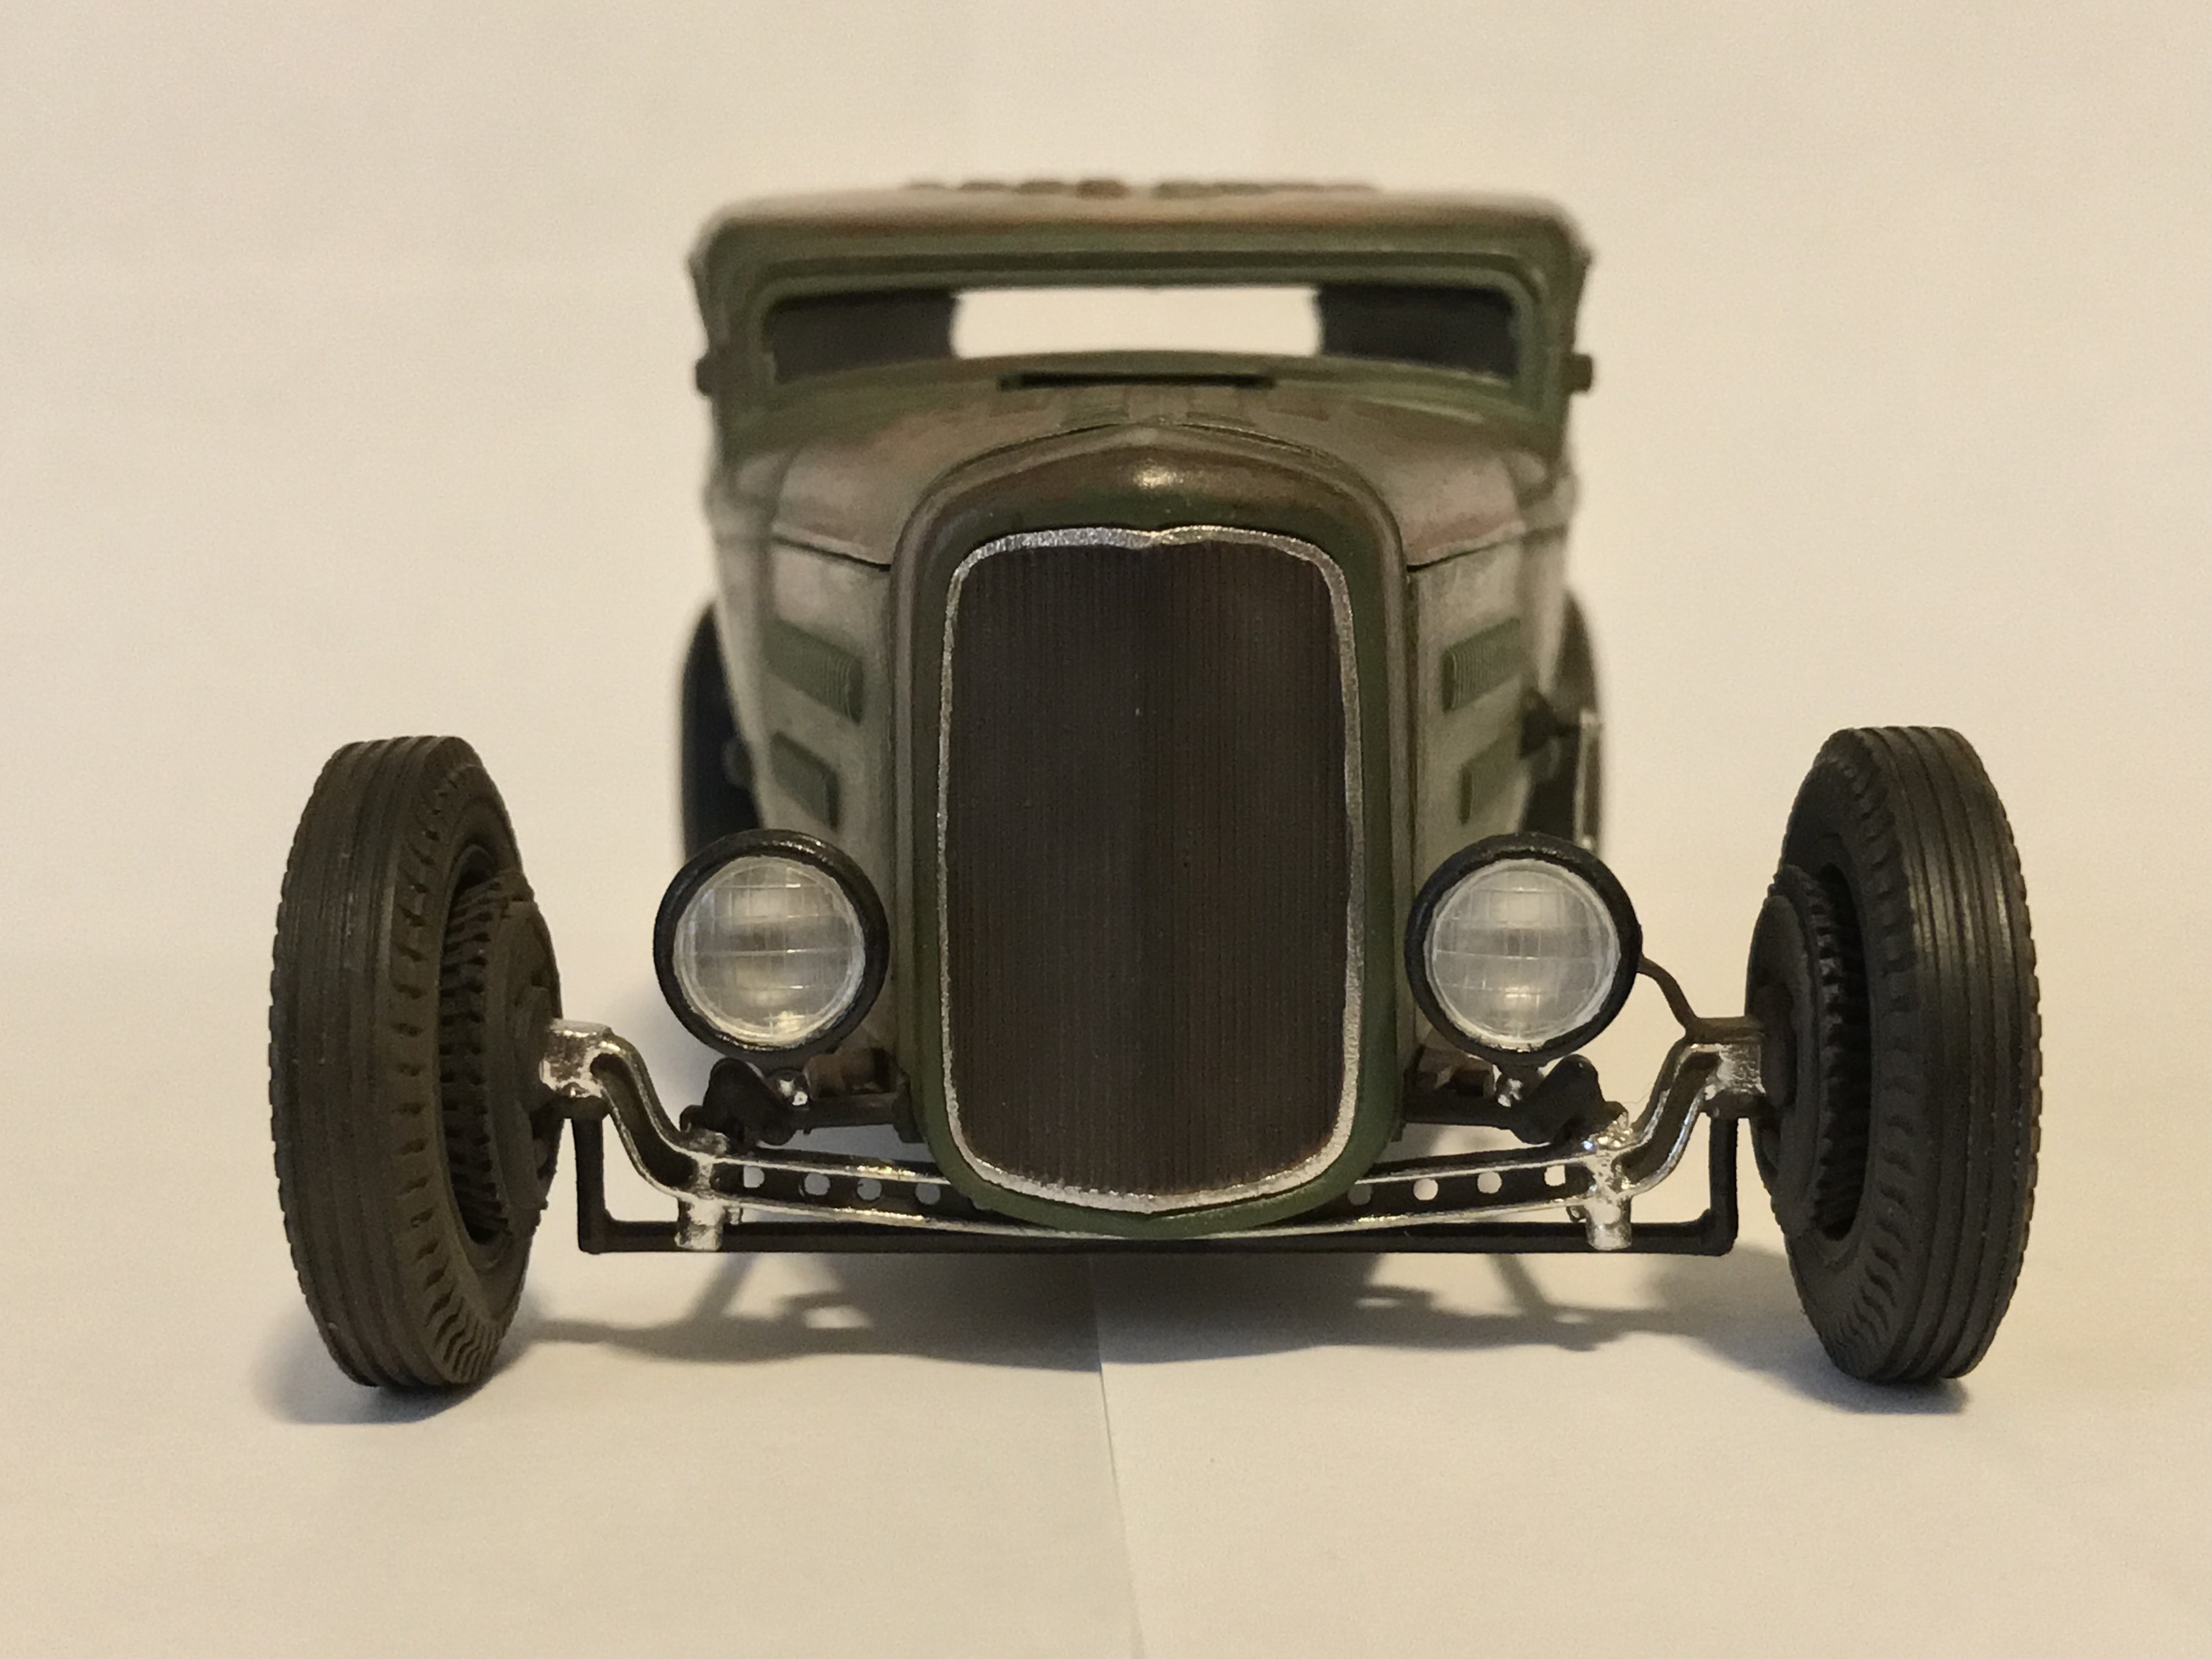
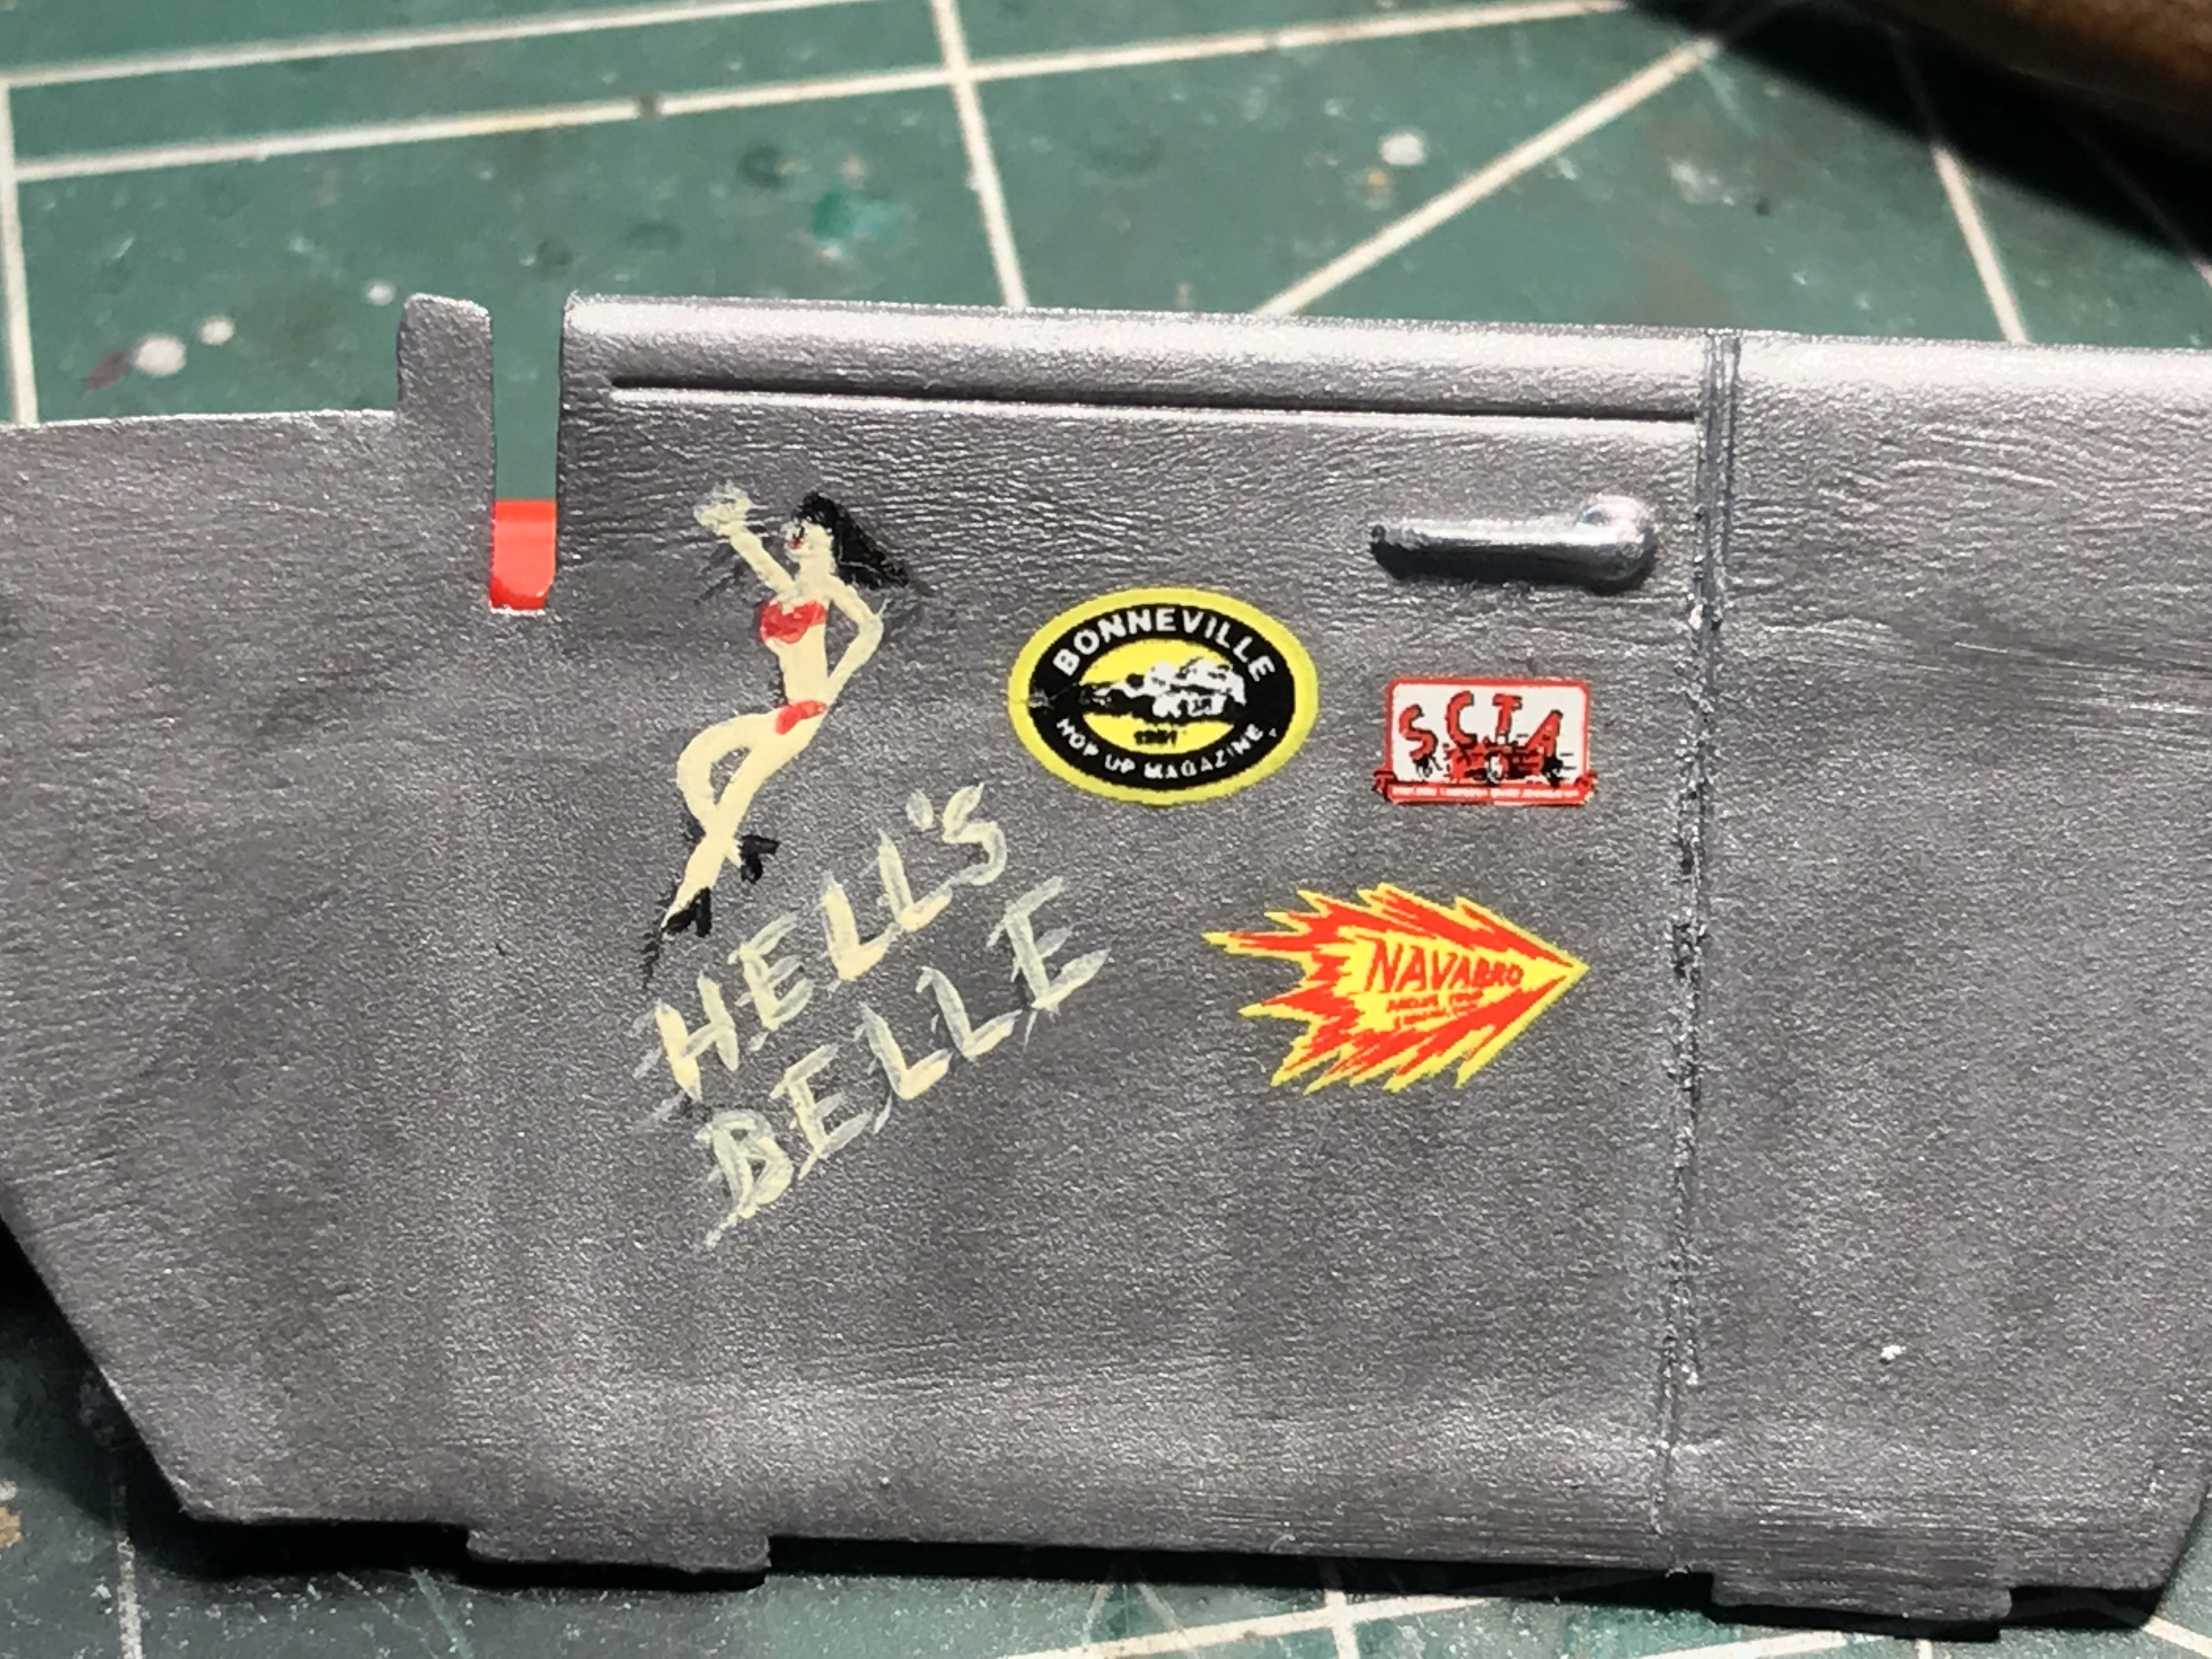
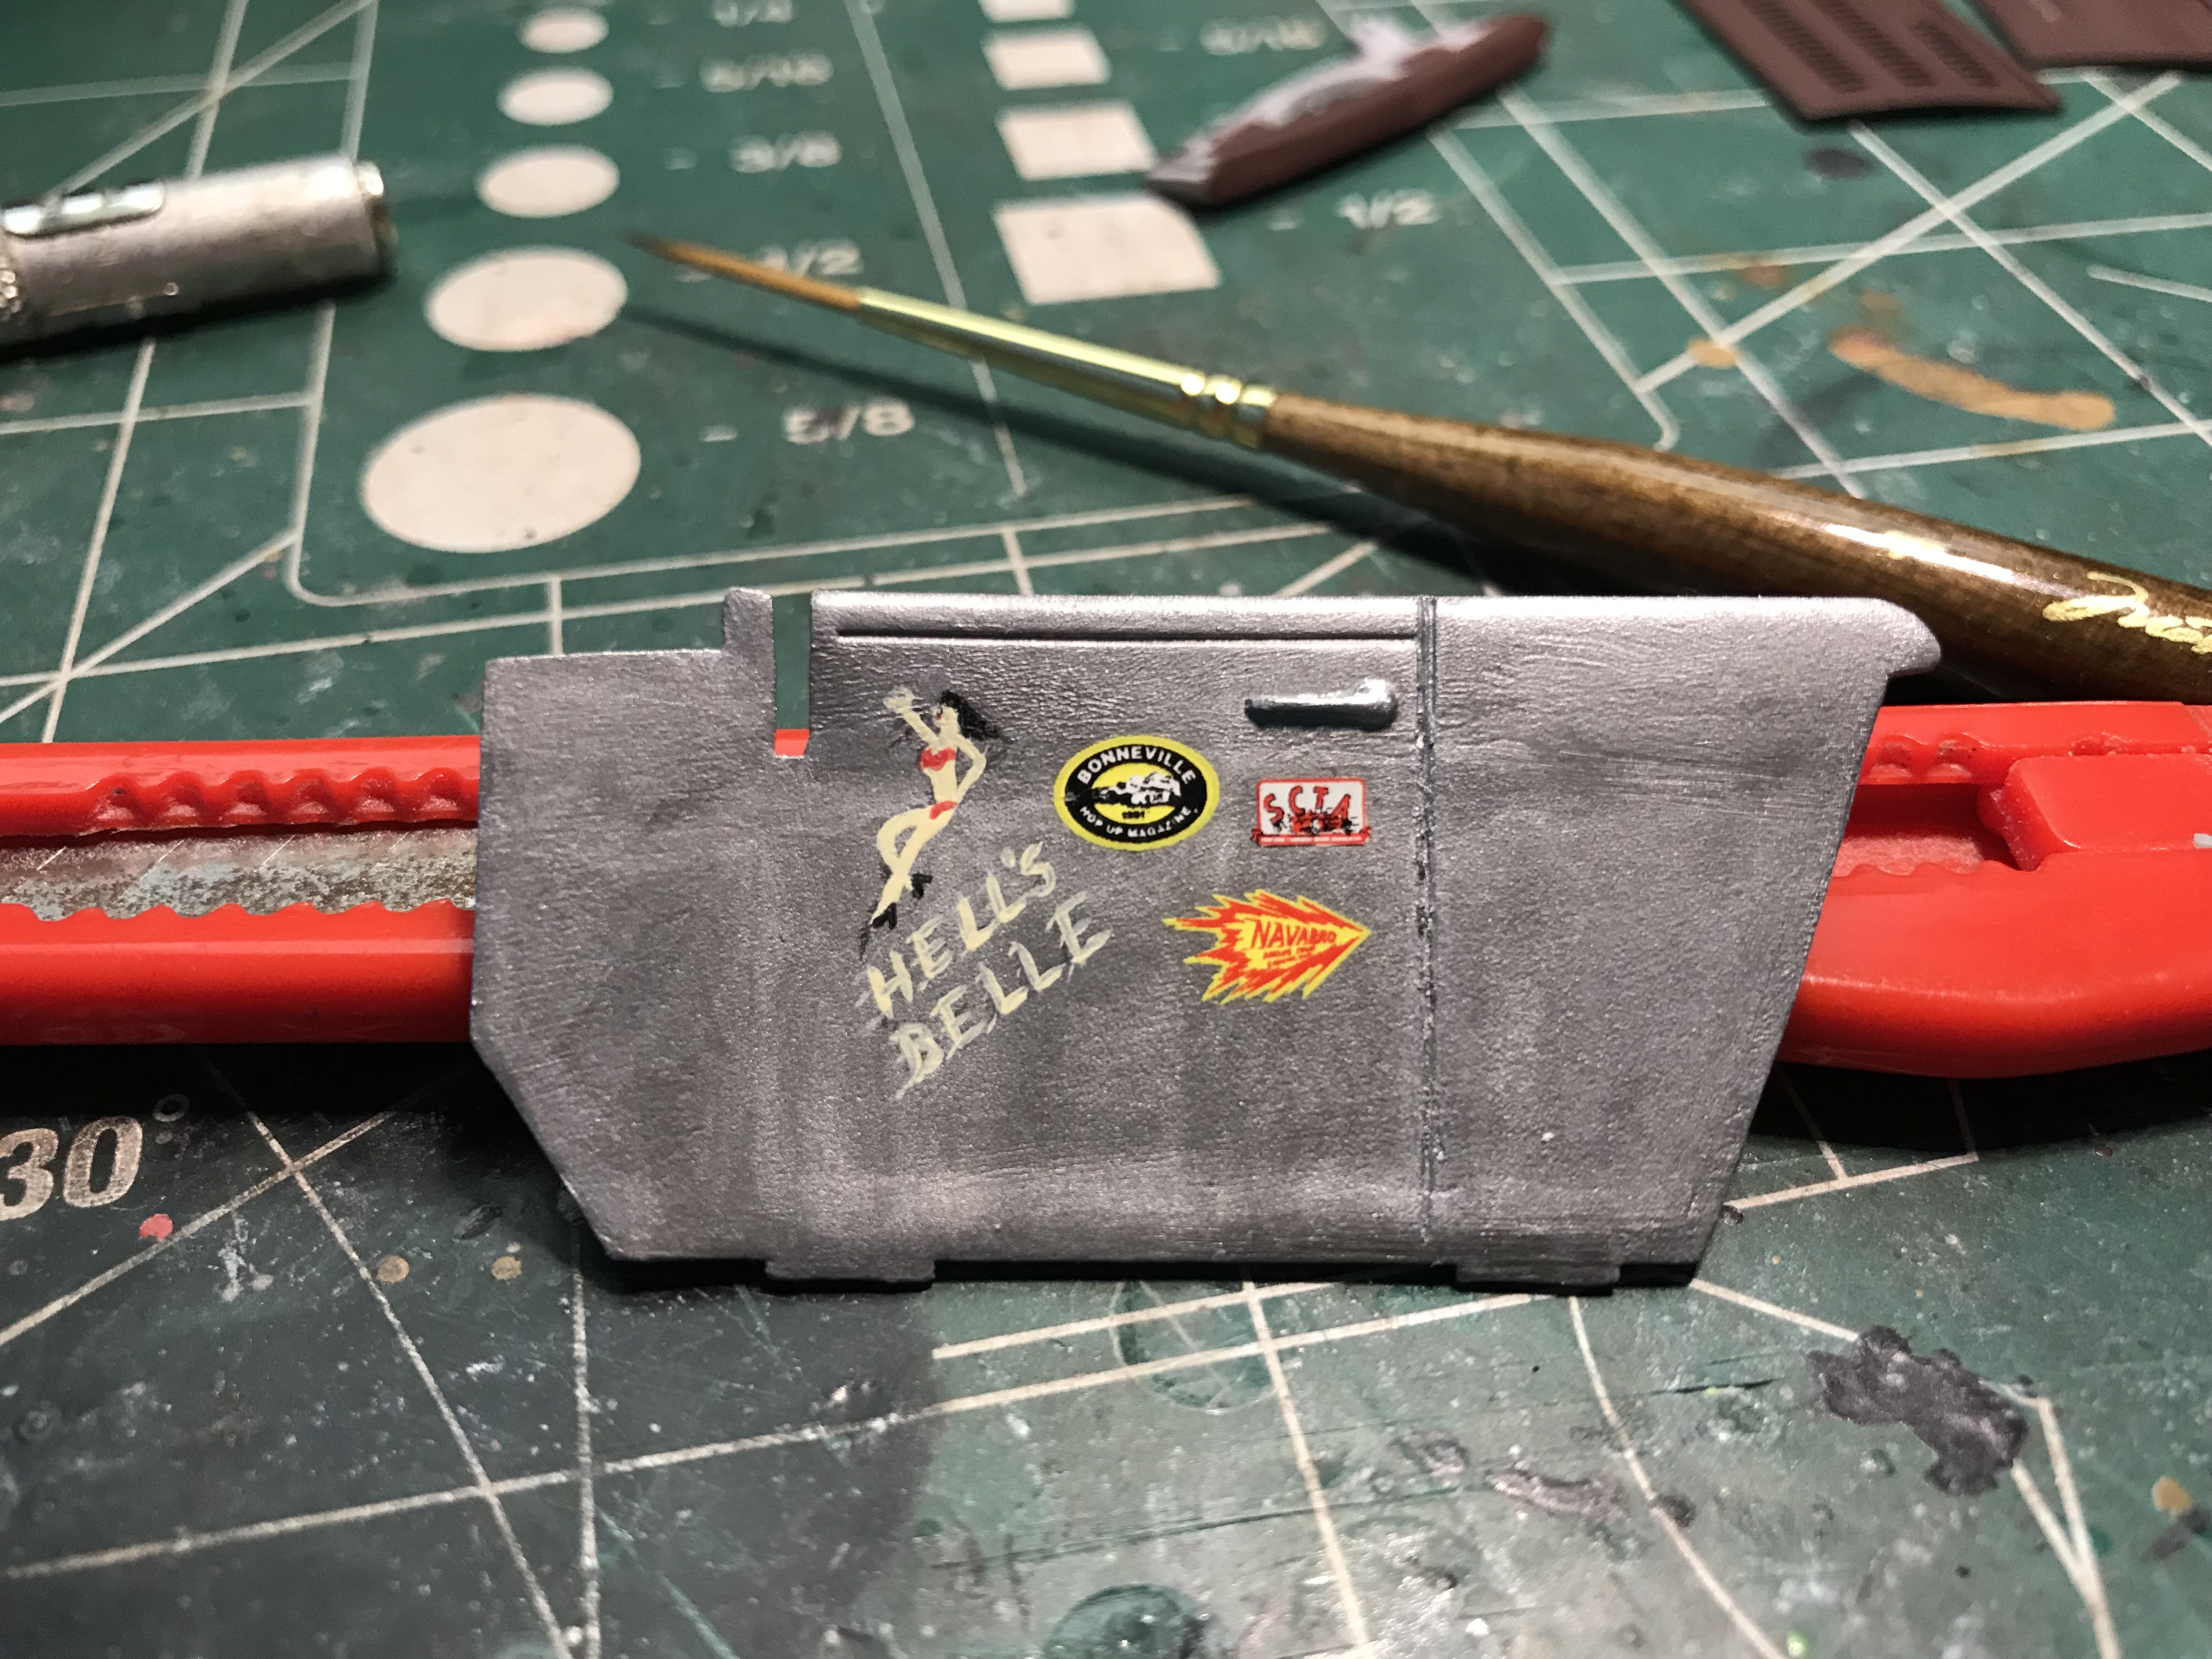
The painting continues! I’ve decided to name this car “Hell’s Belle” after a b24 bomber from WWII. It was part of the 494th bombing group so this car will be numbered 494c.
-
Cleaned the desk up, now we’re ready for paint and assembly.
-
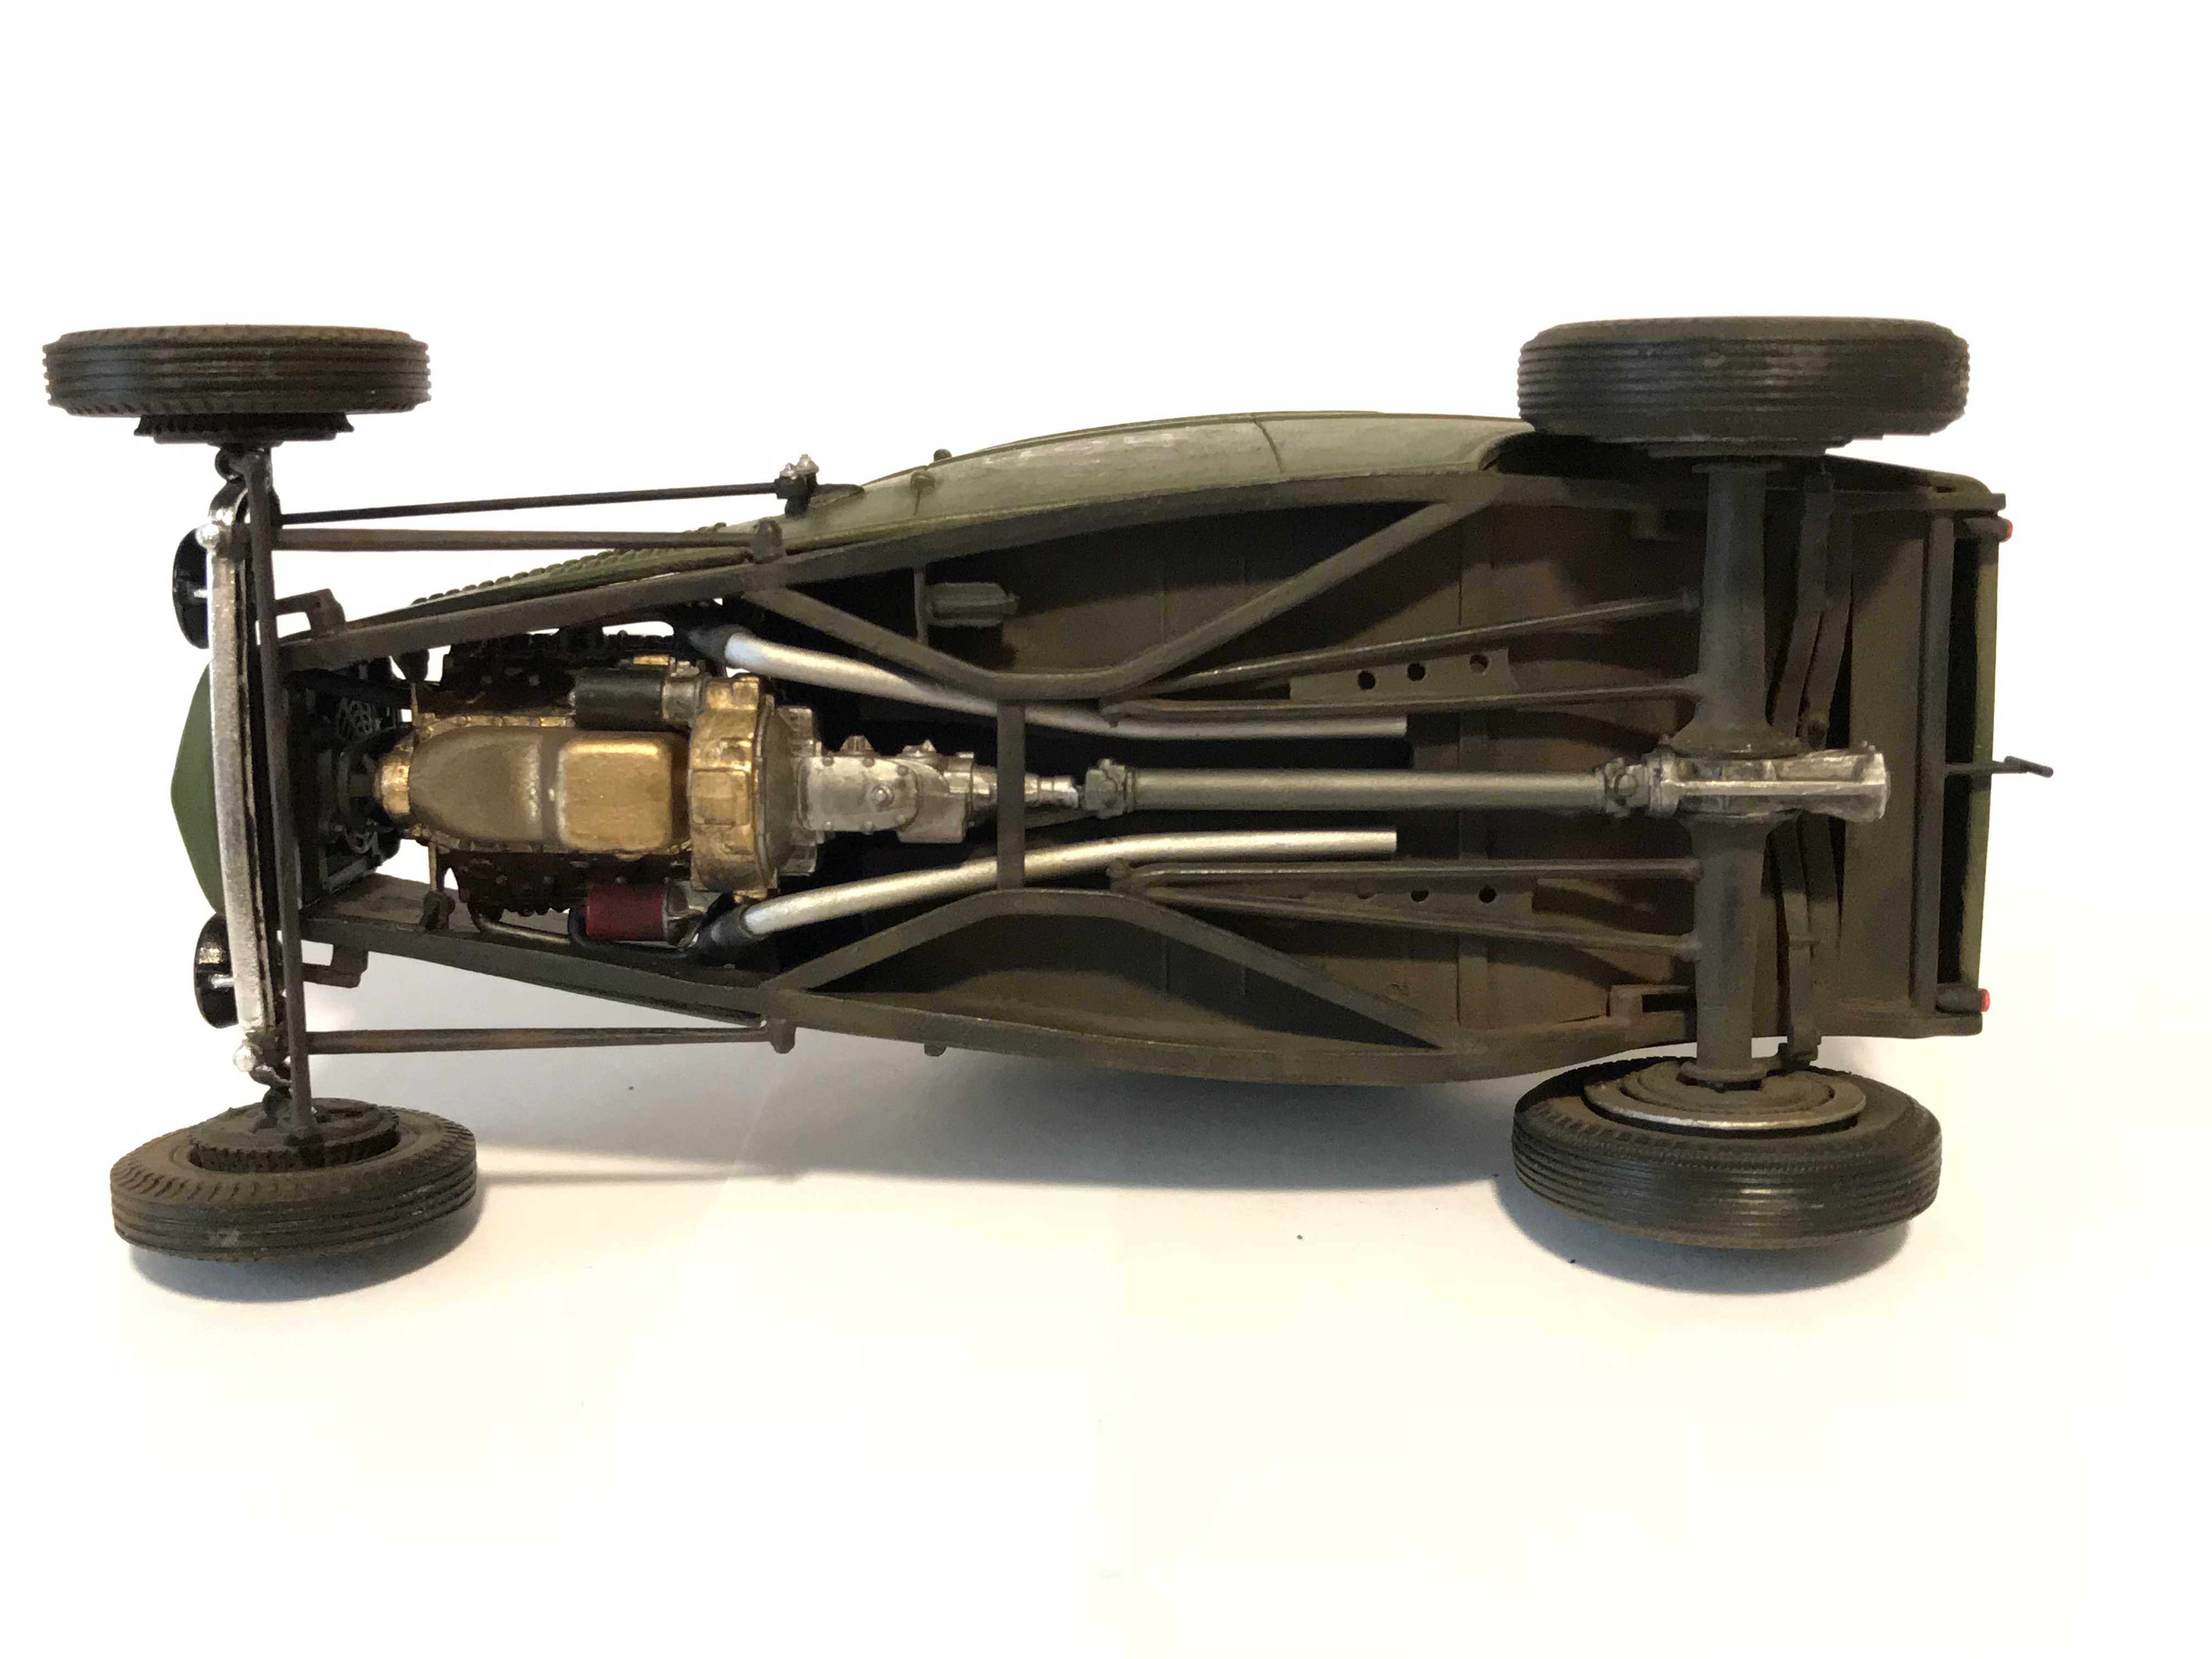
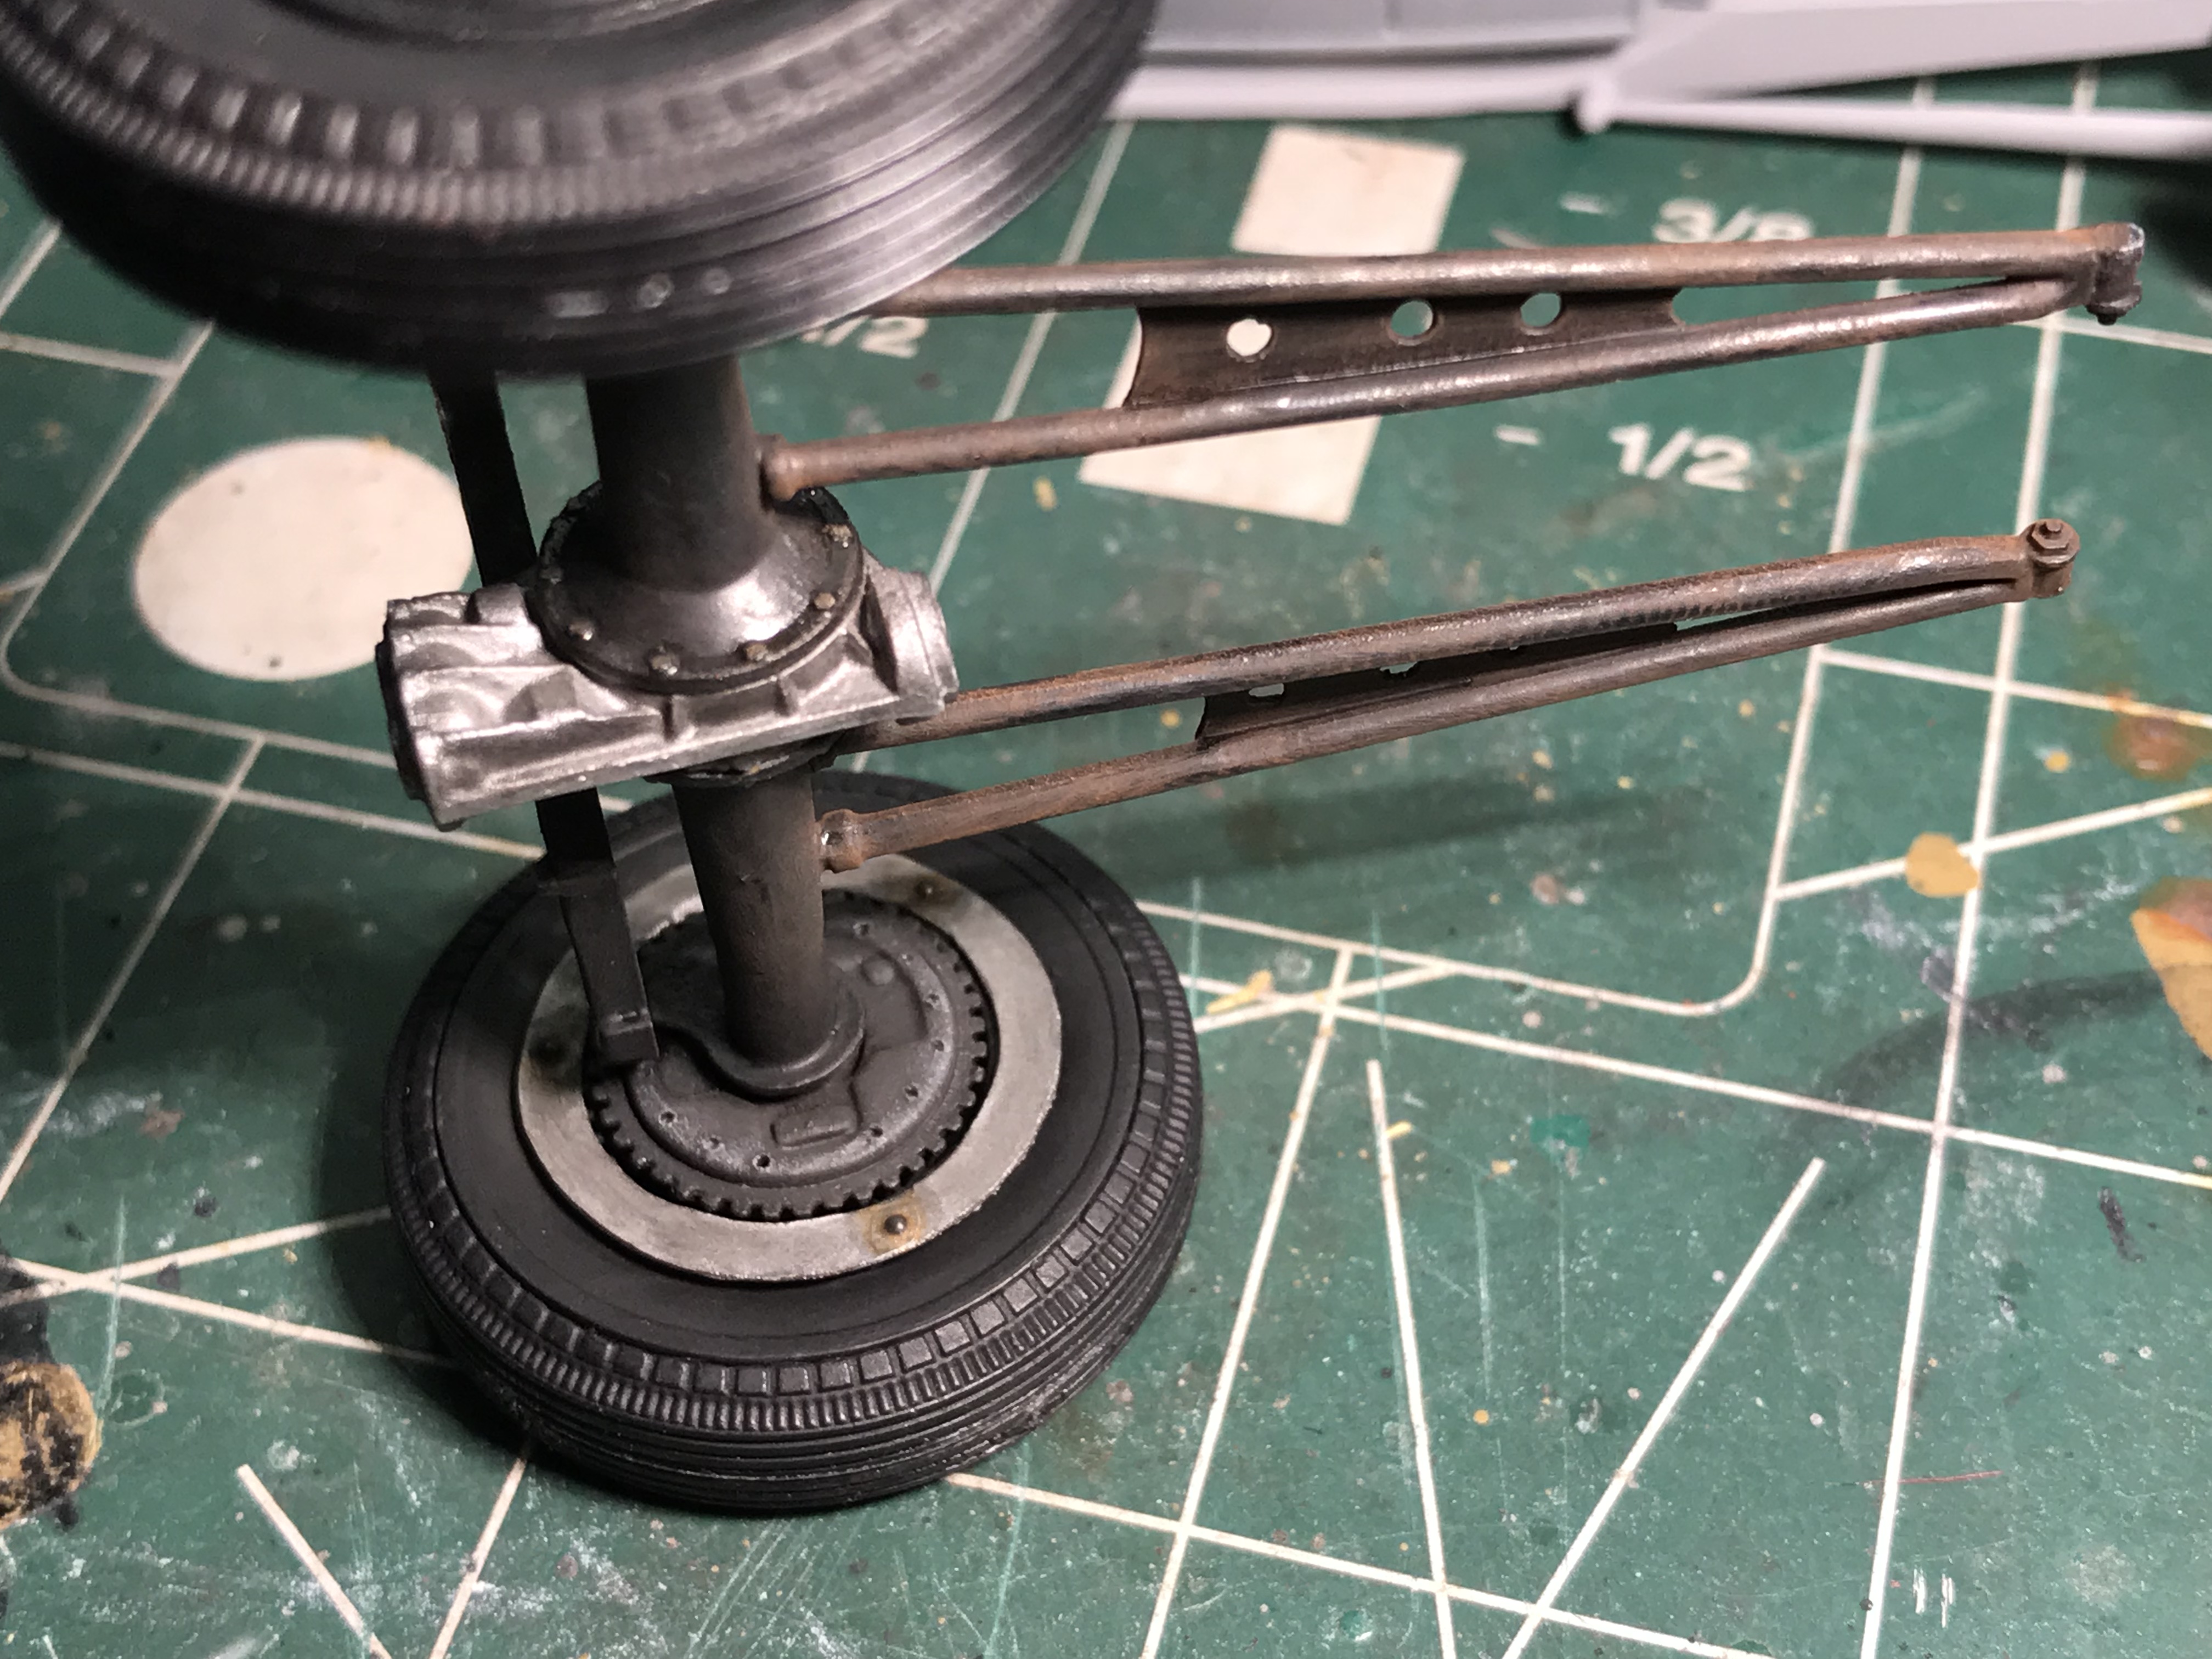
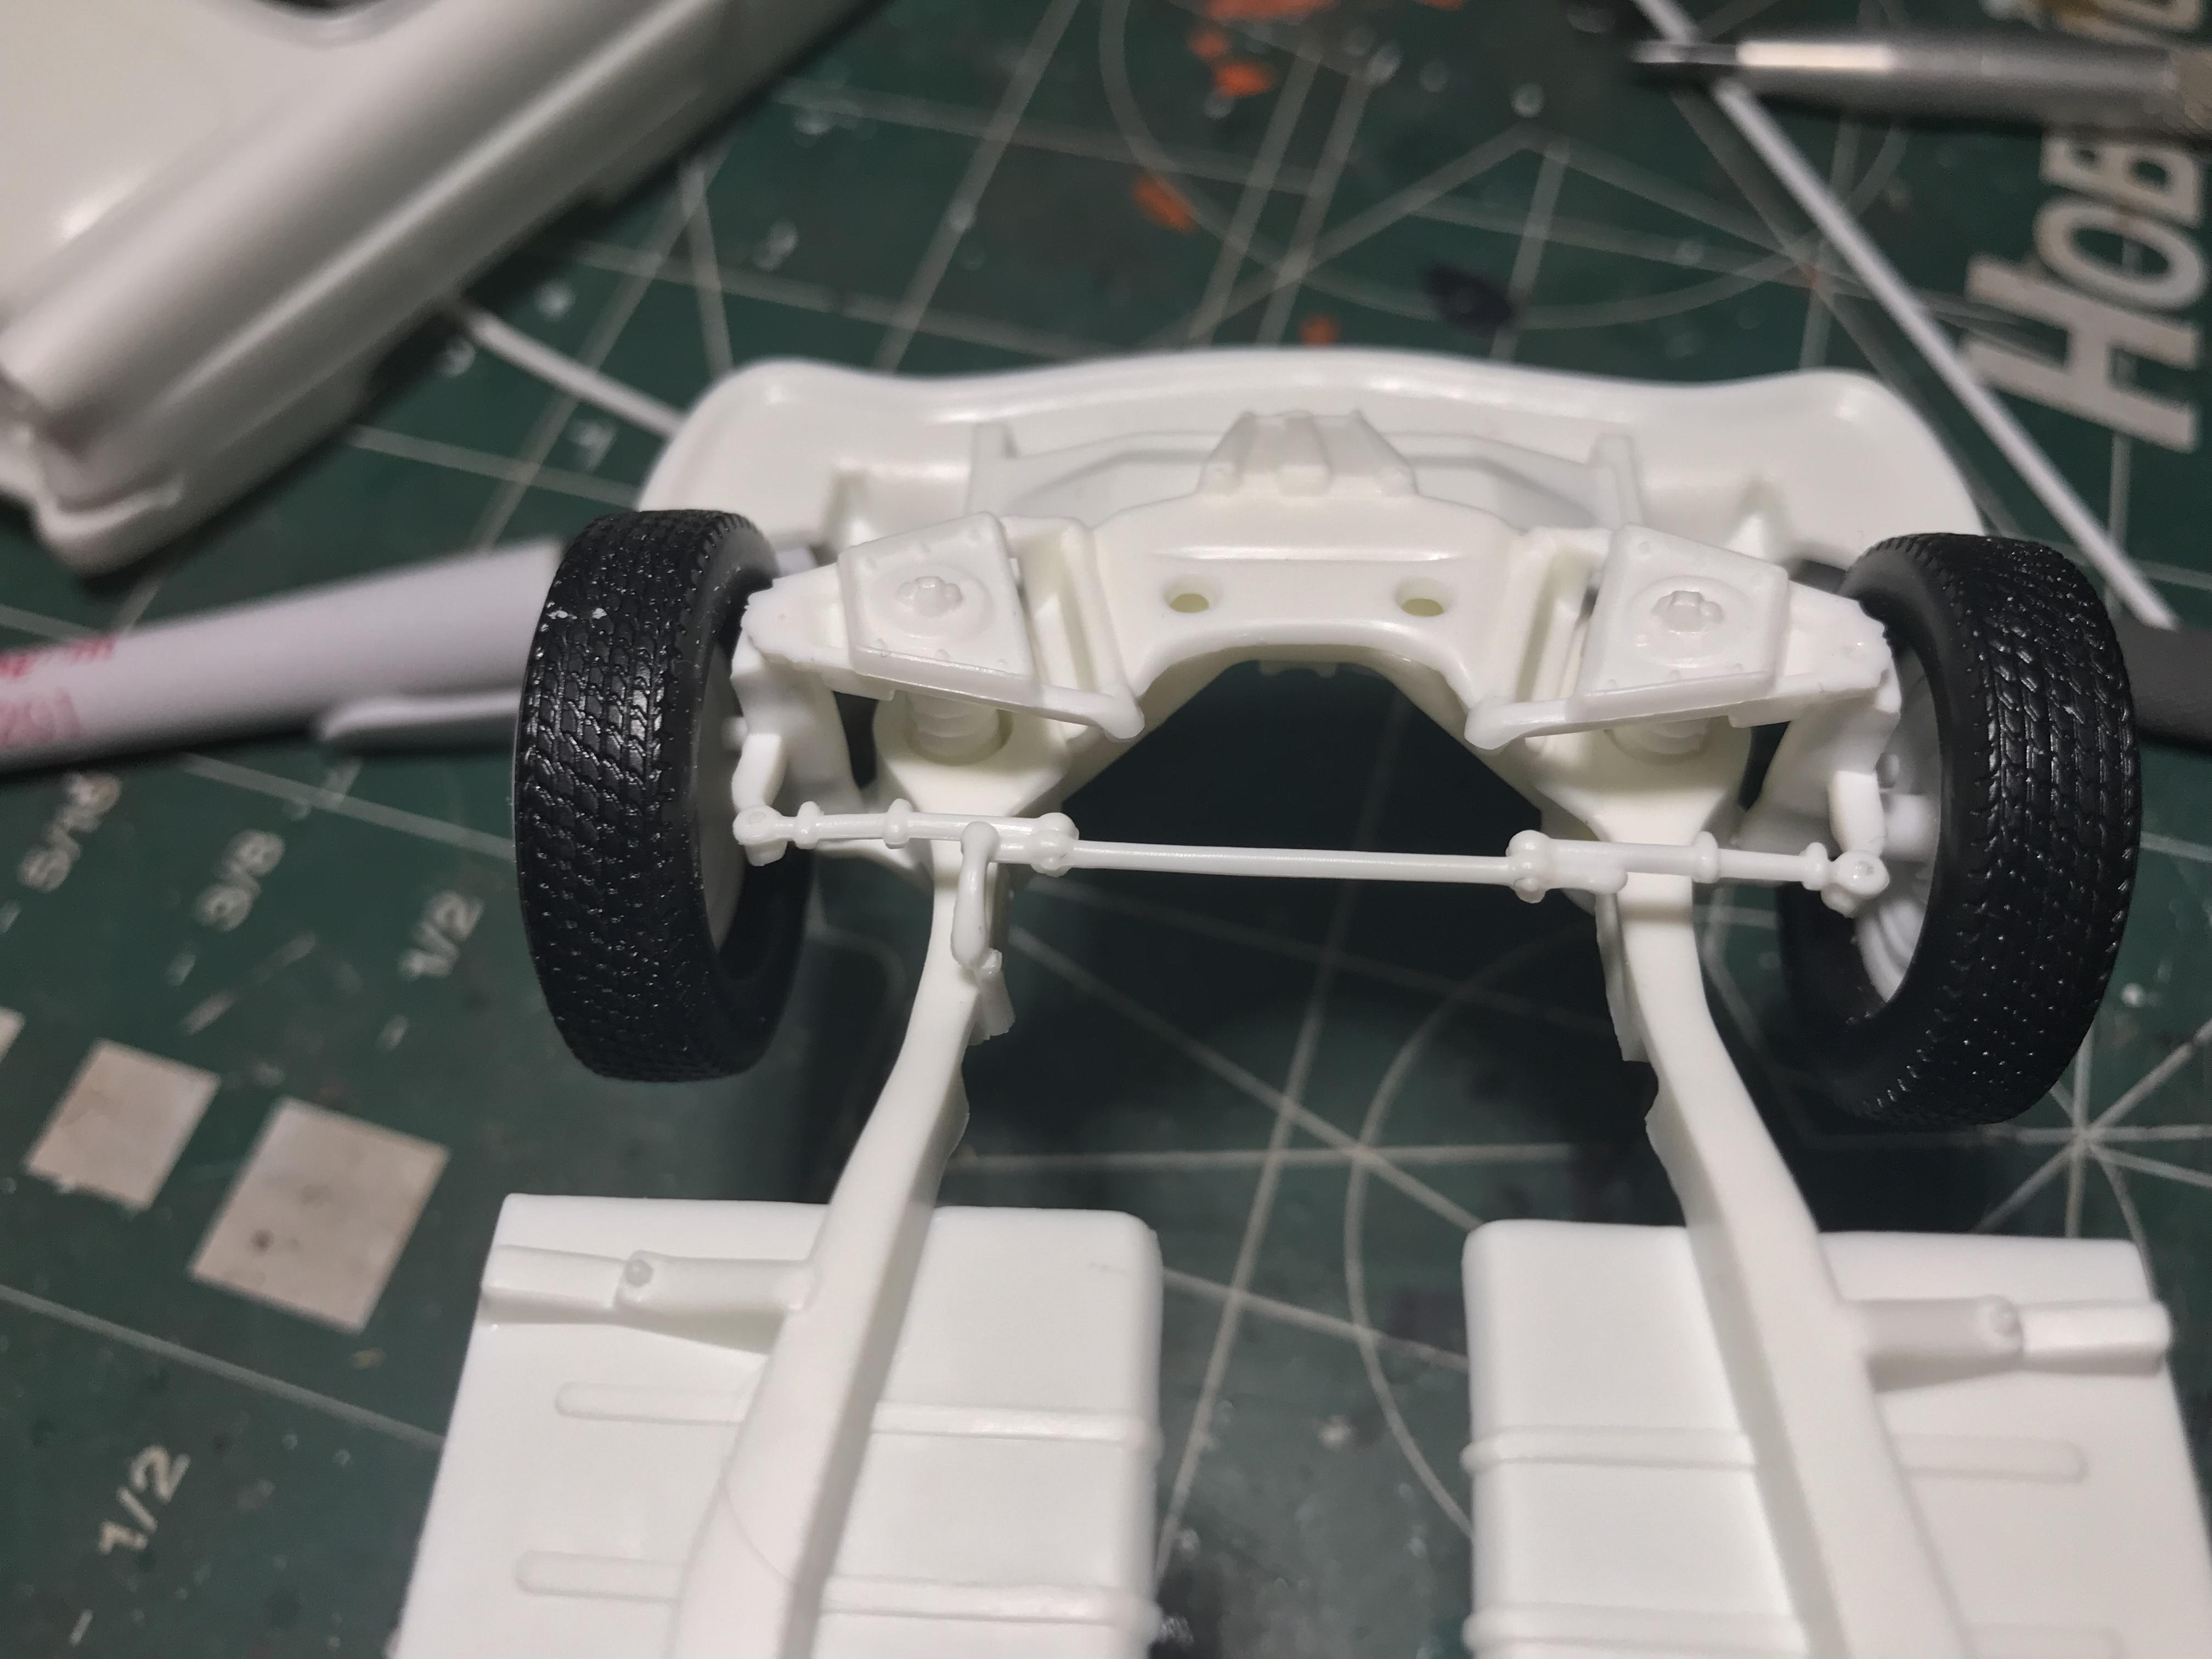
Most of the steering components are done, I still have a few little things to do once I start assembly.
-
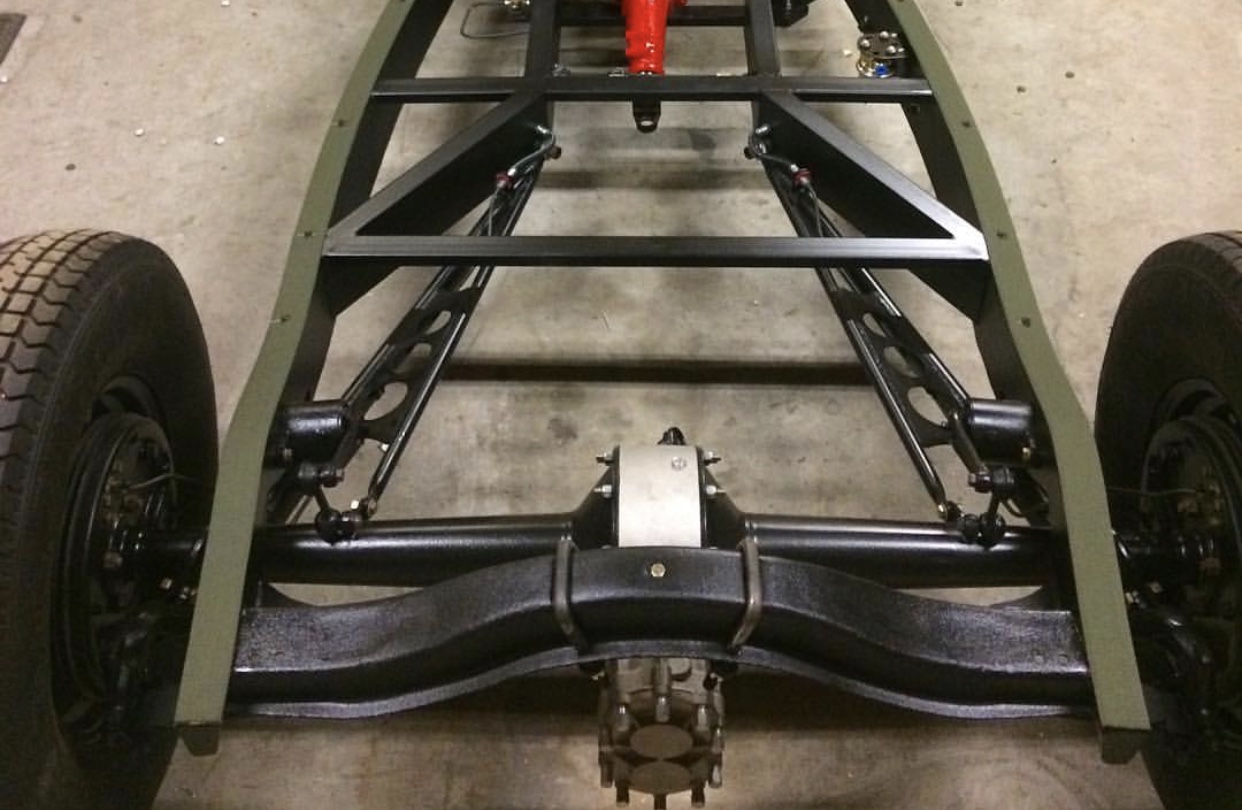
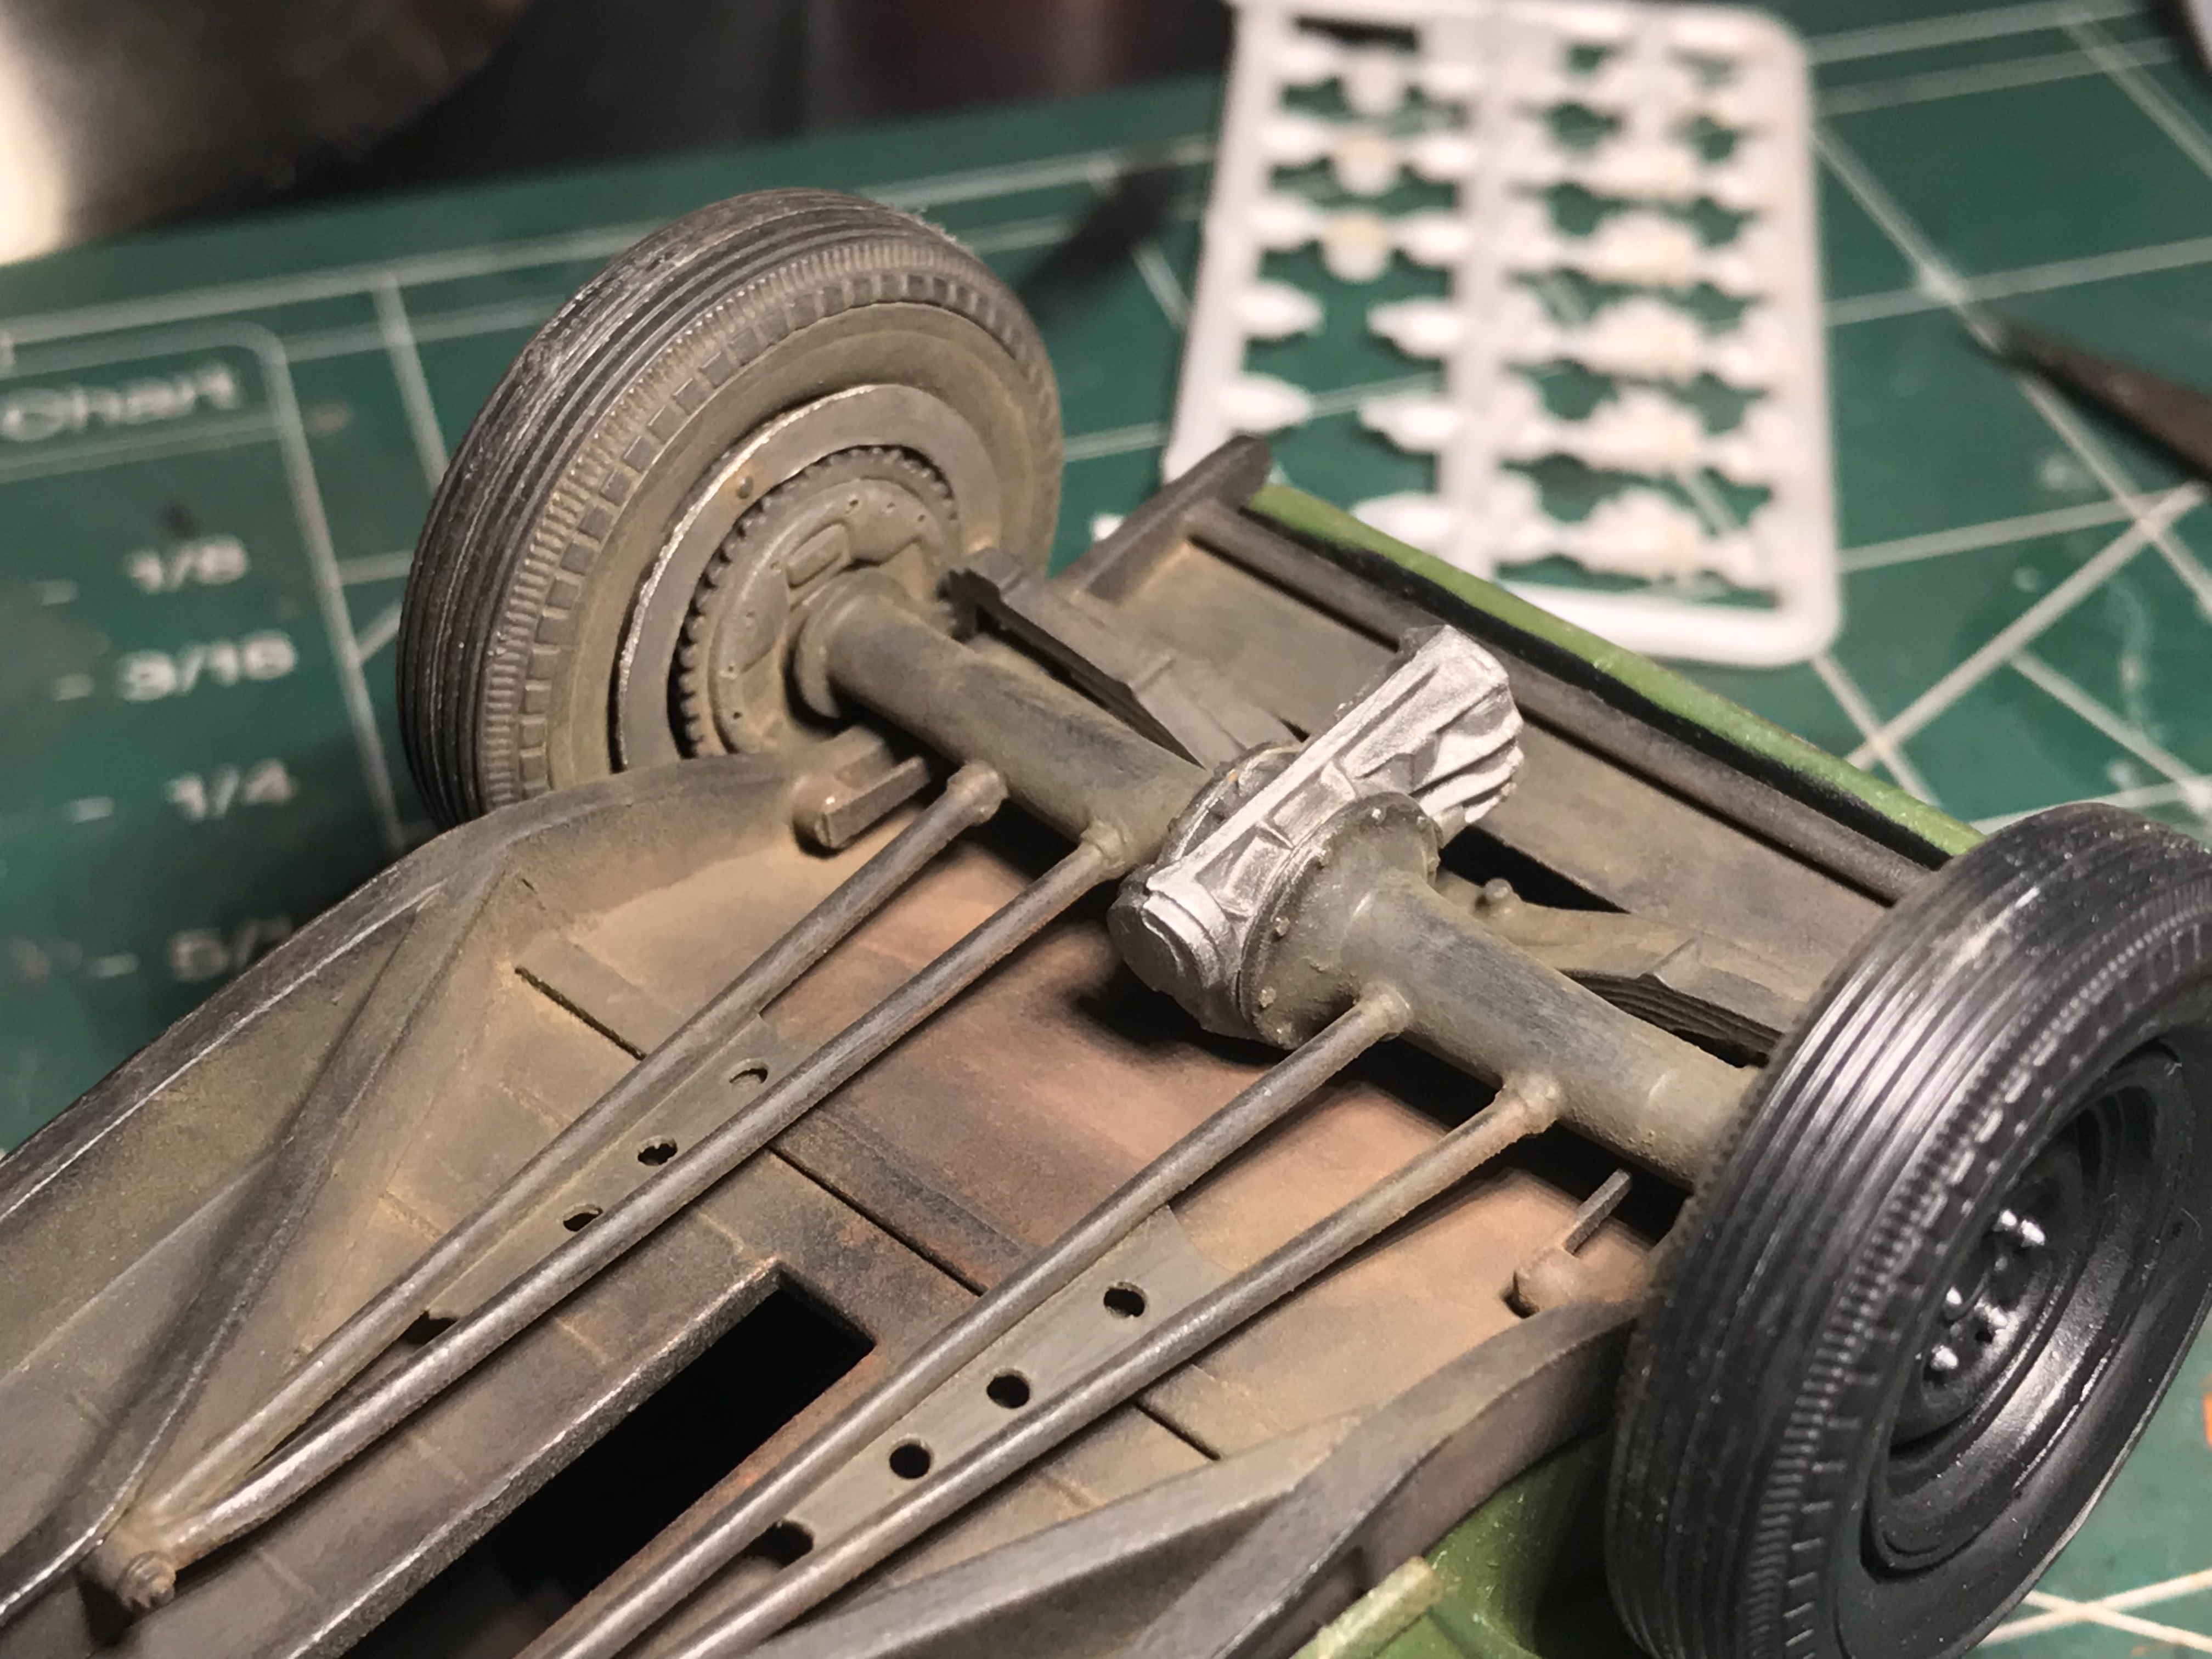
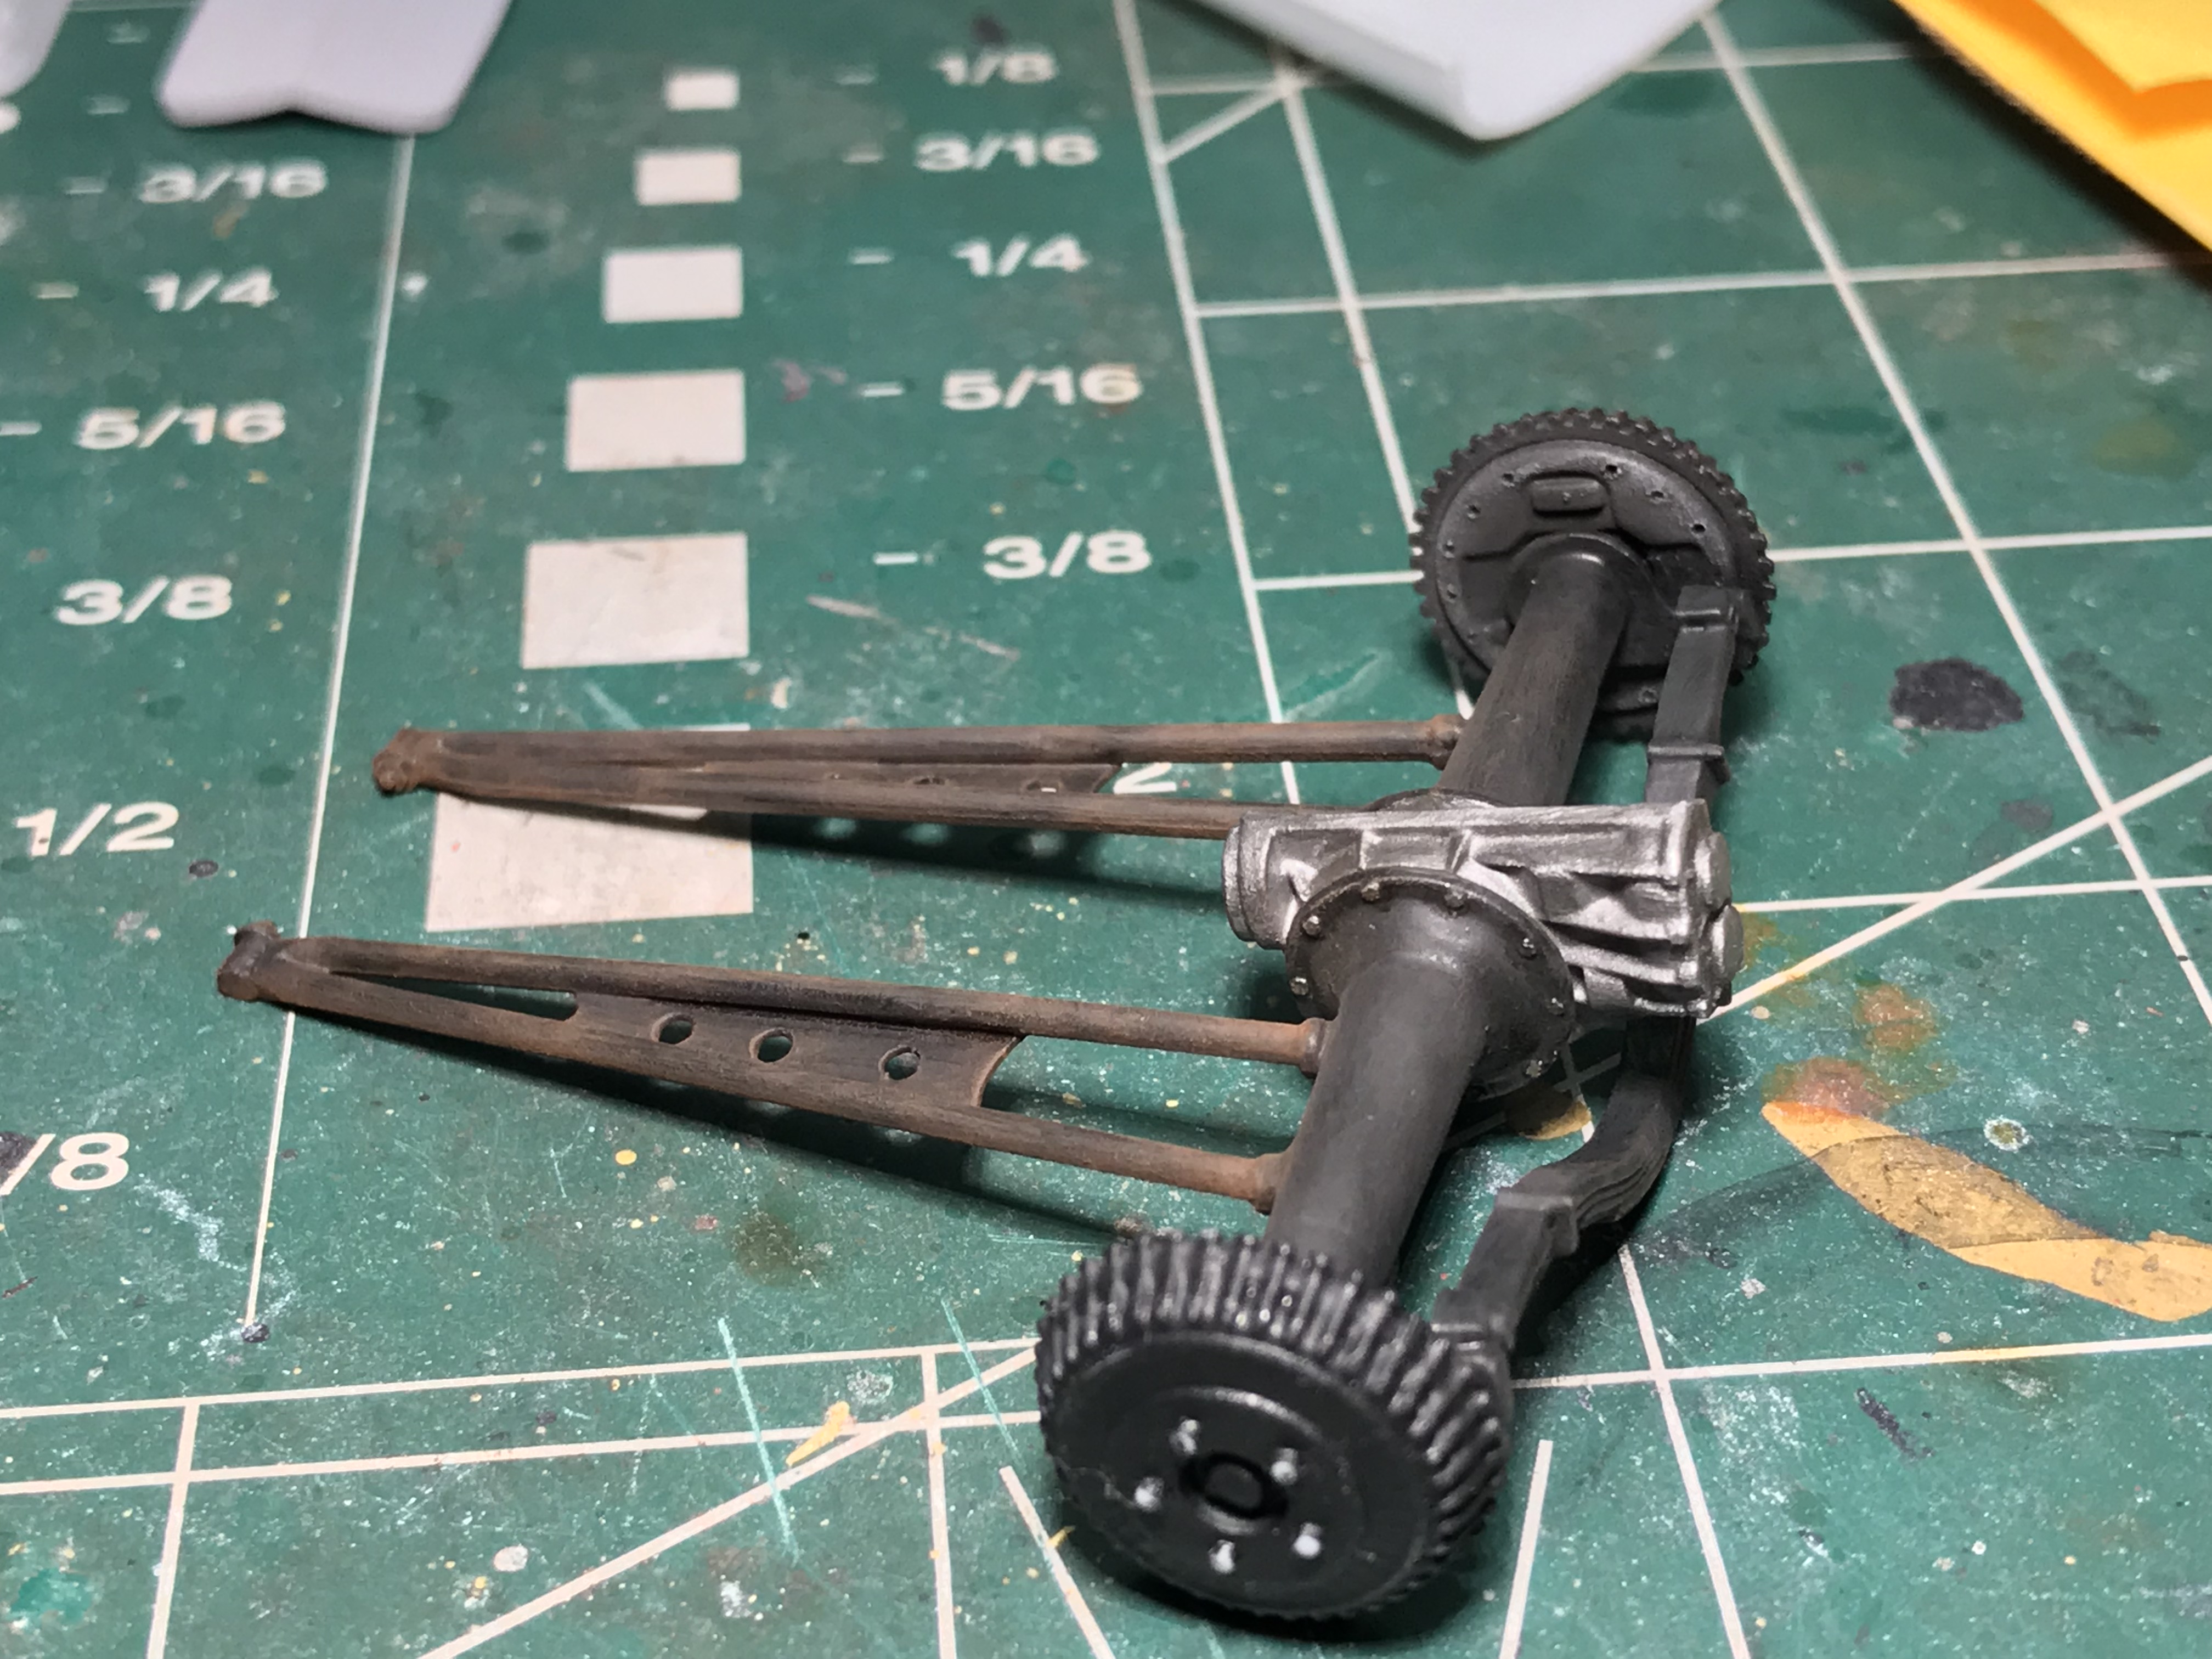
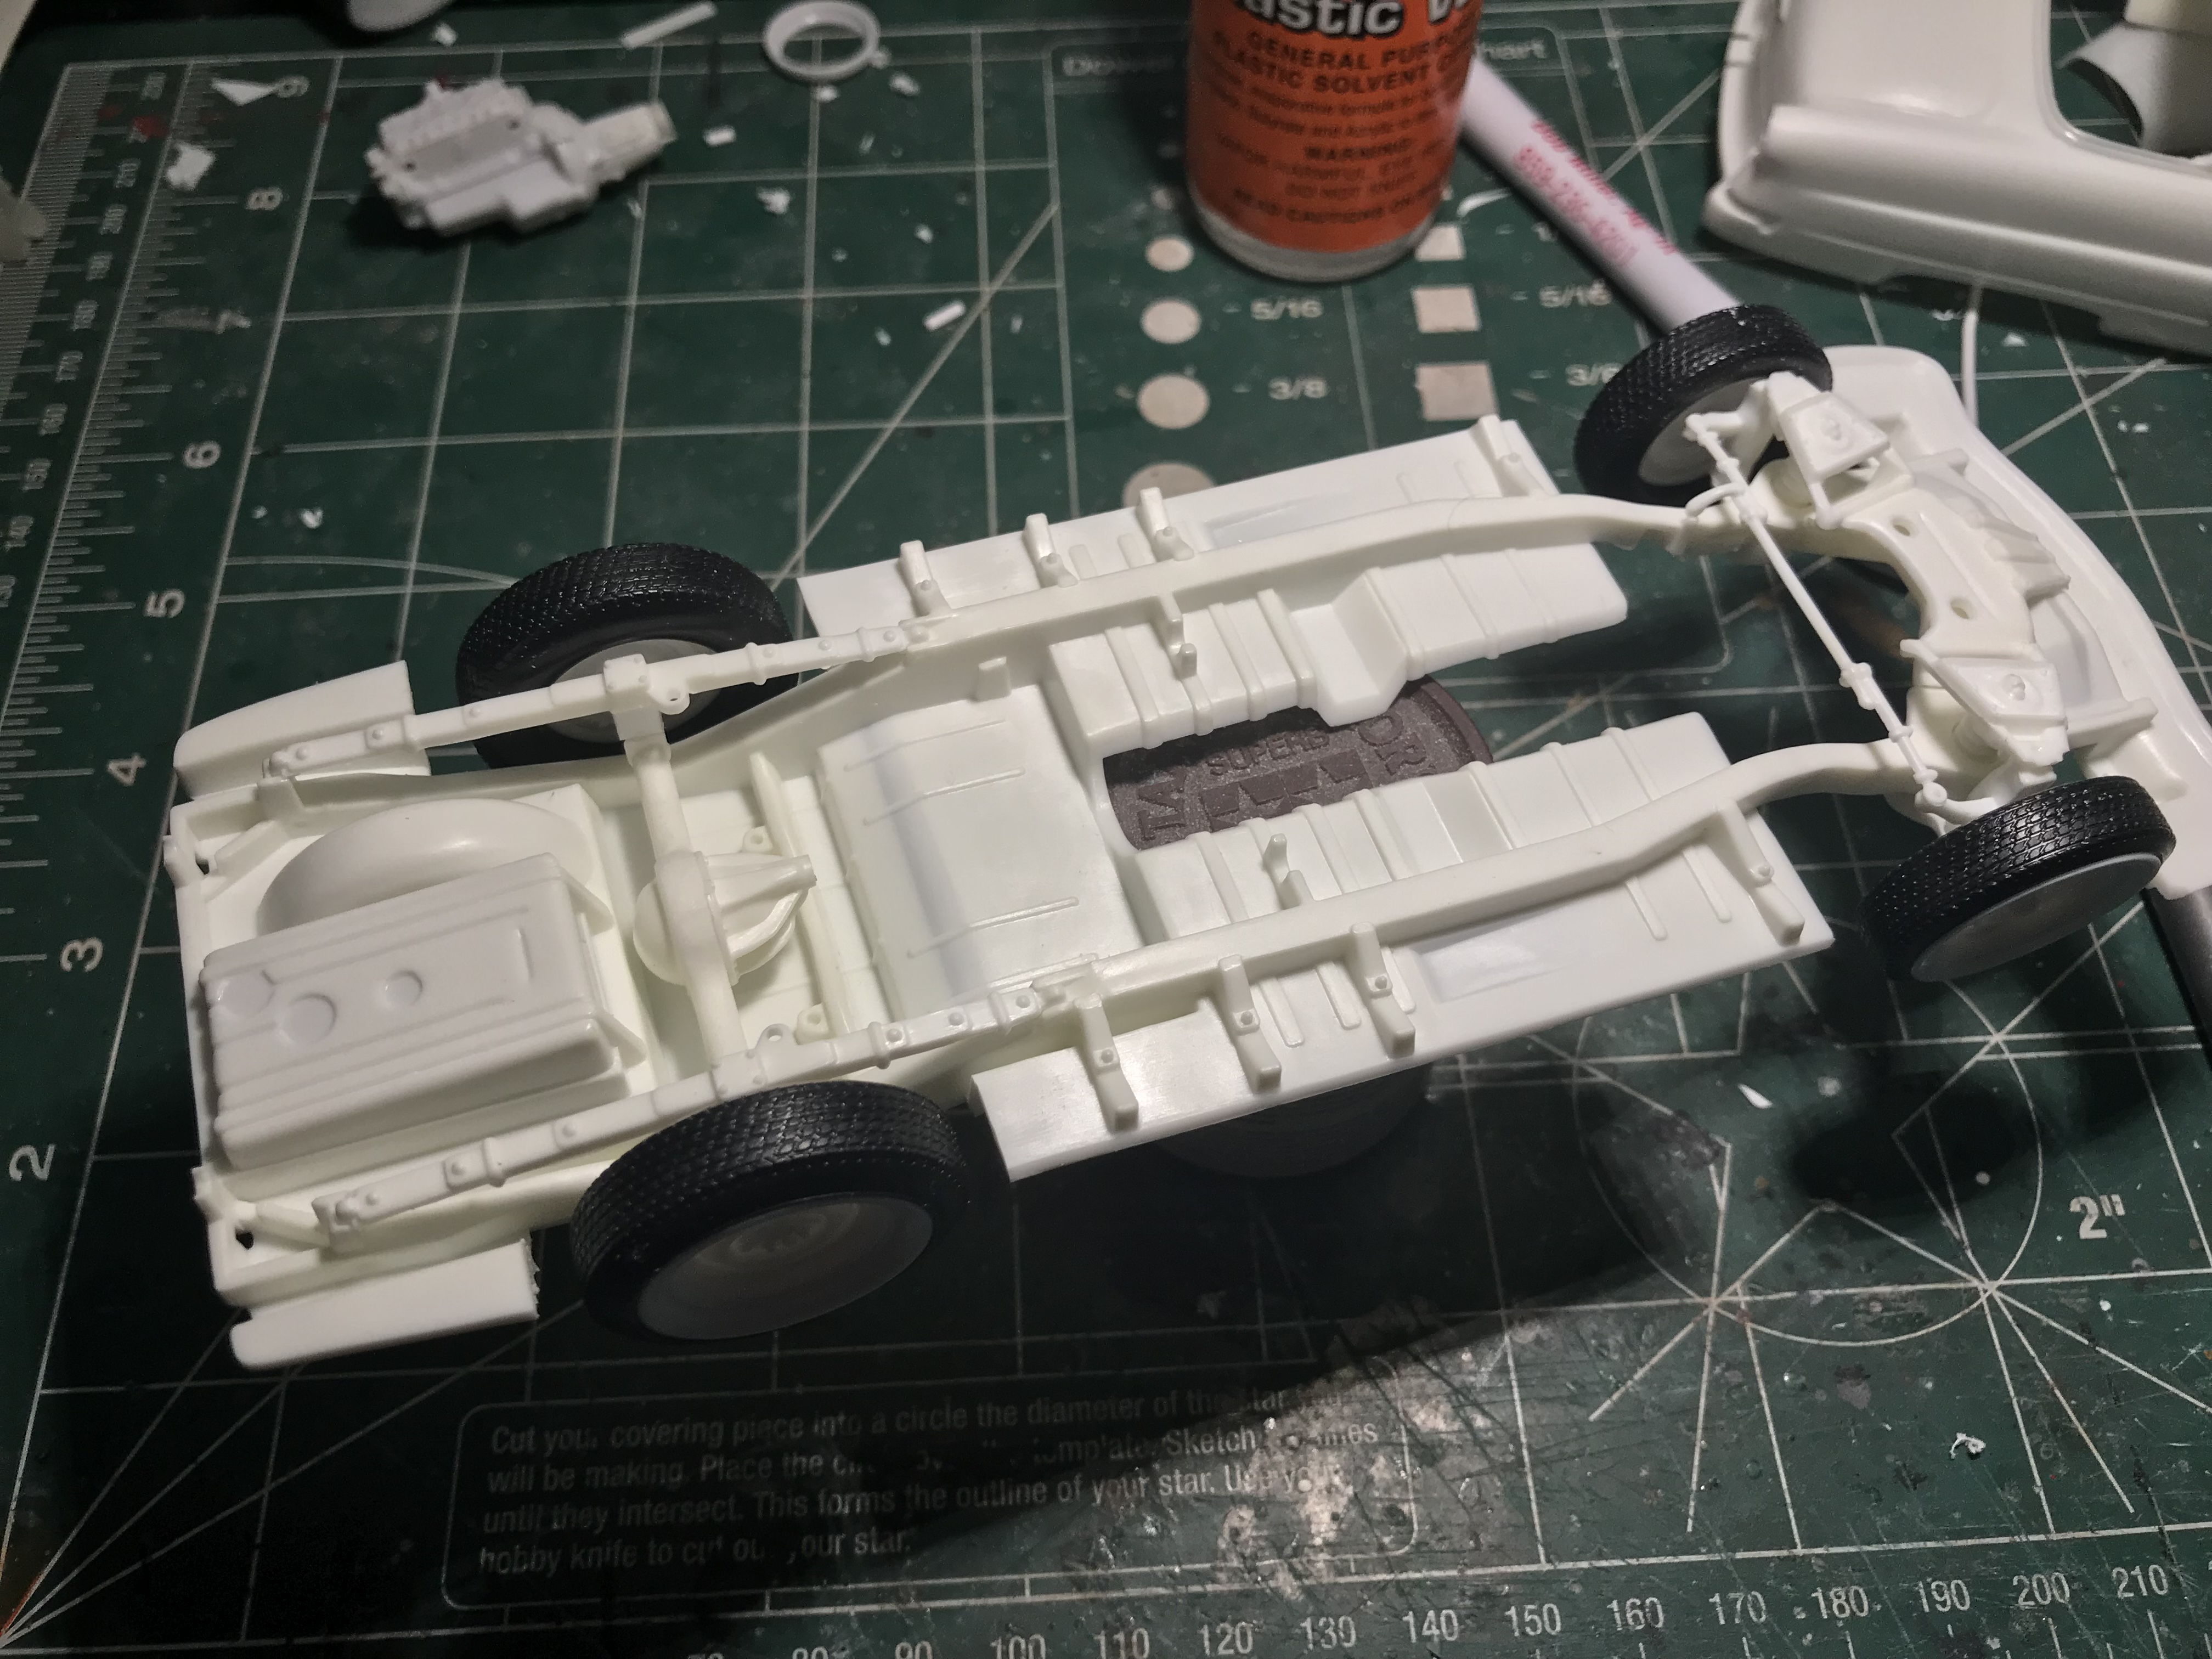
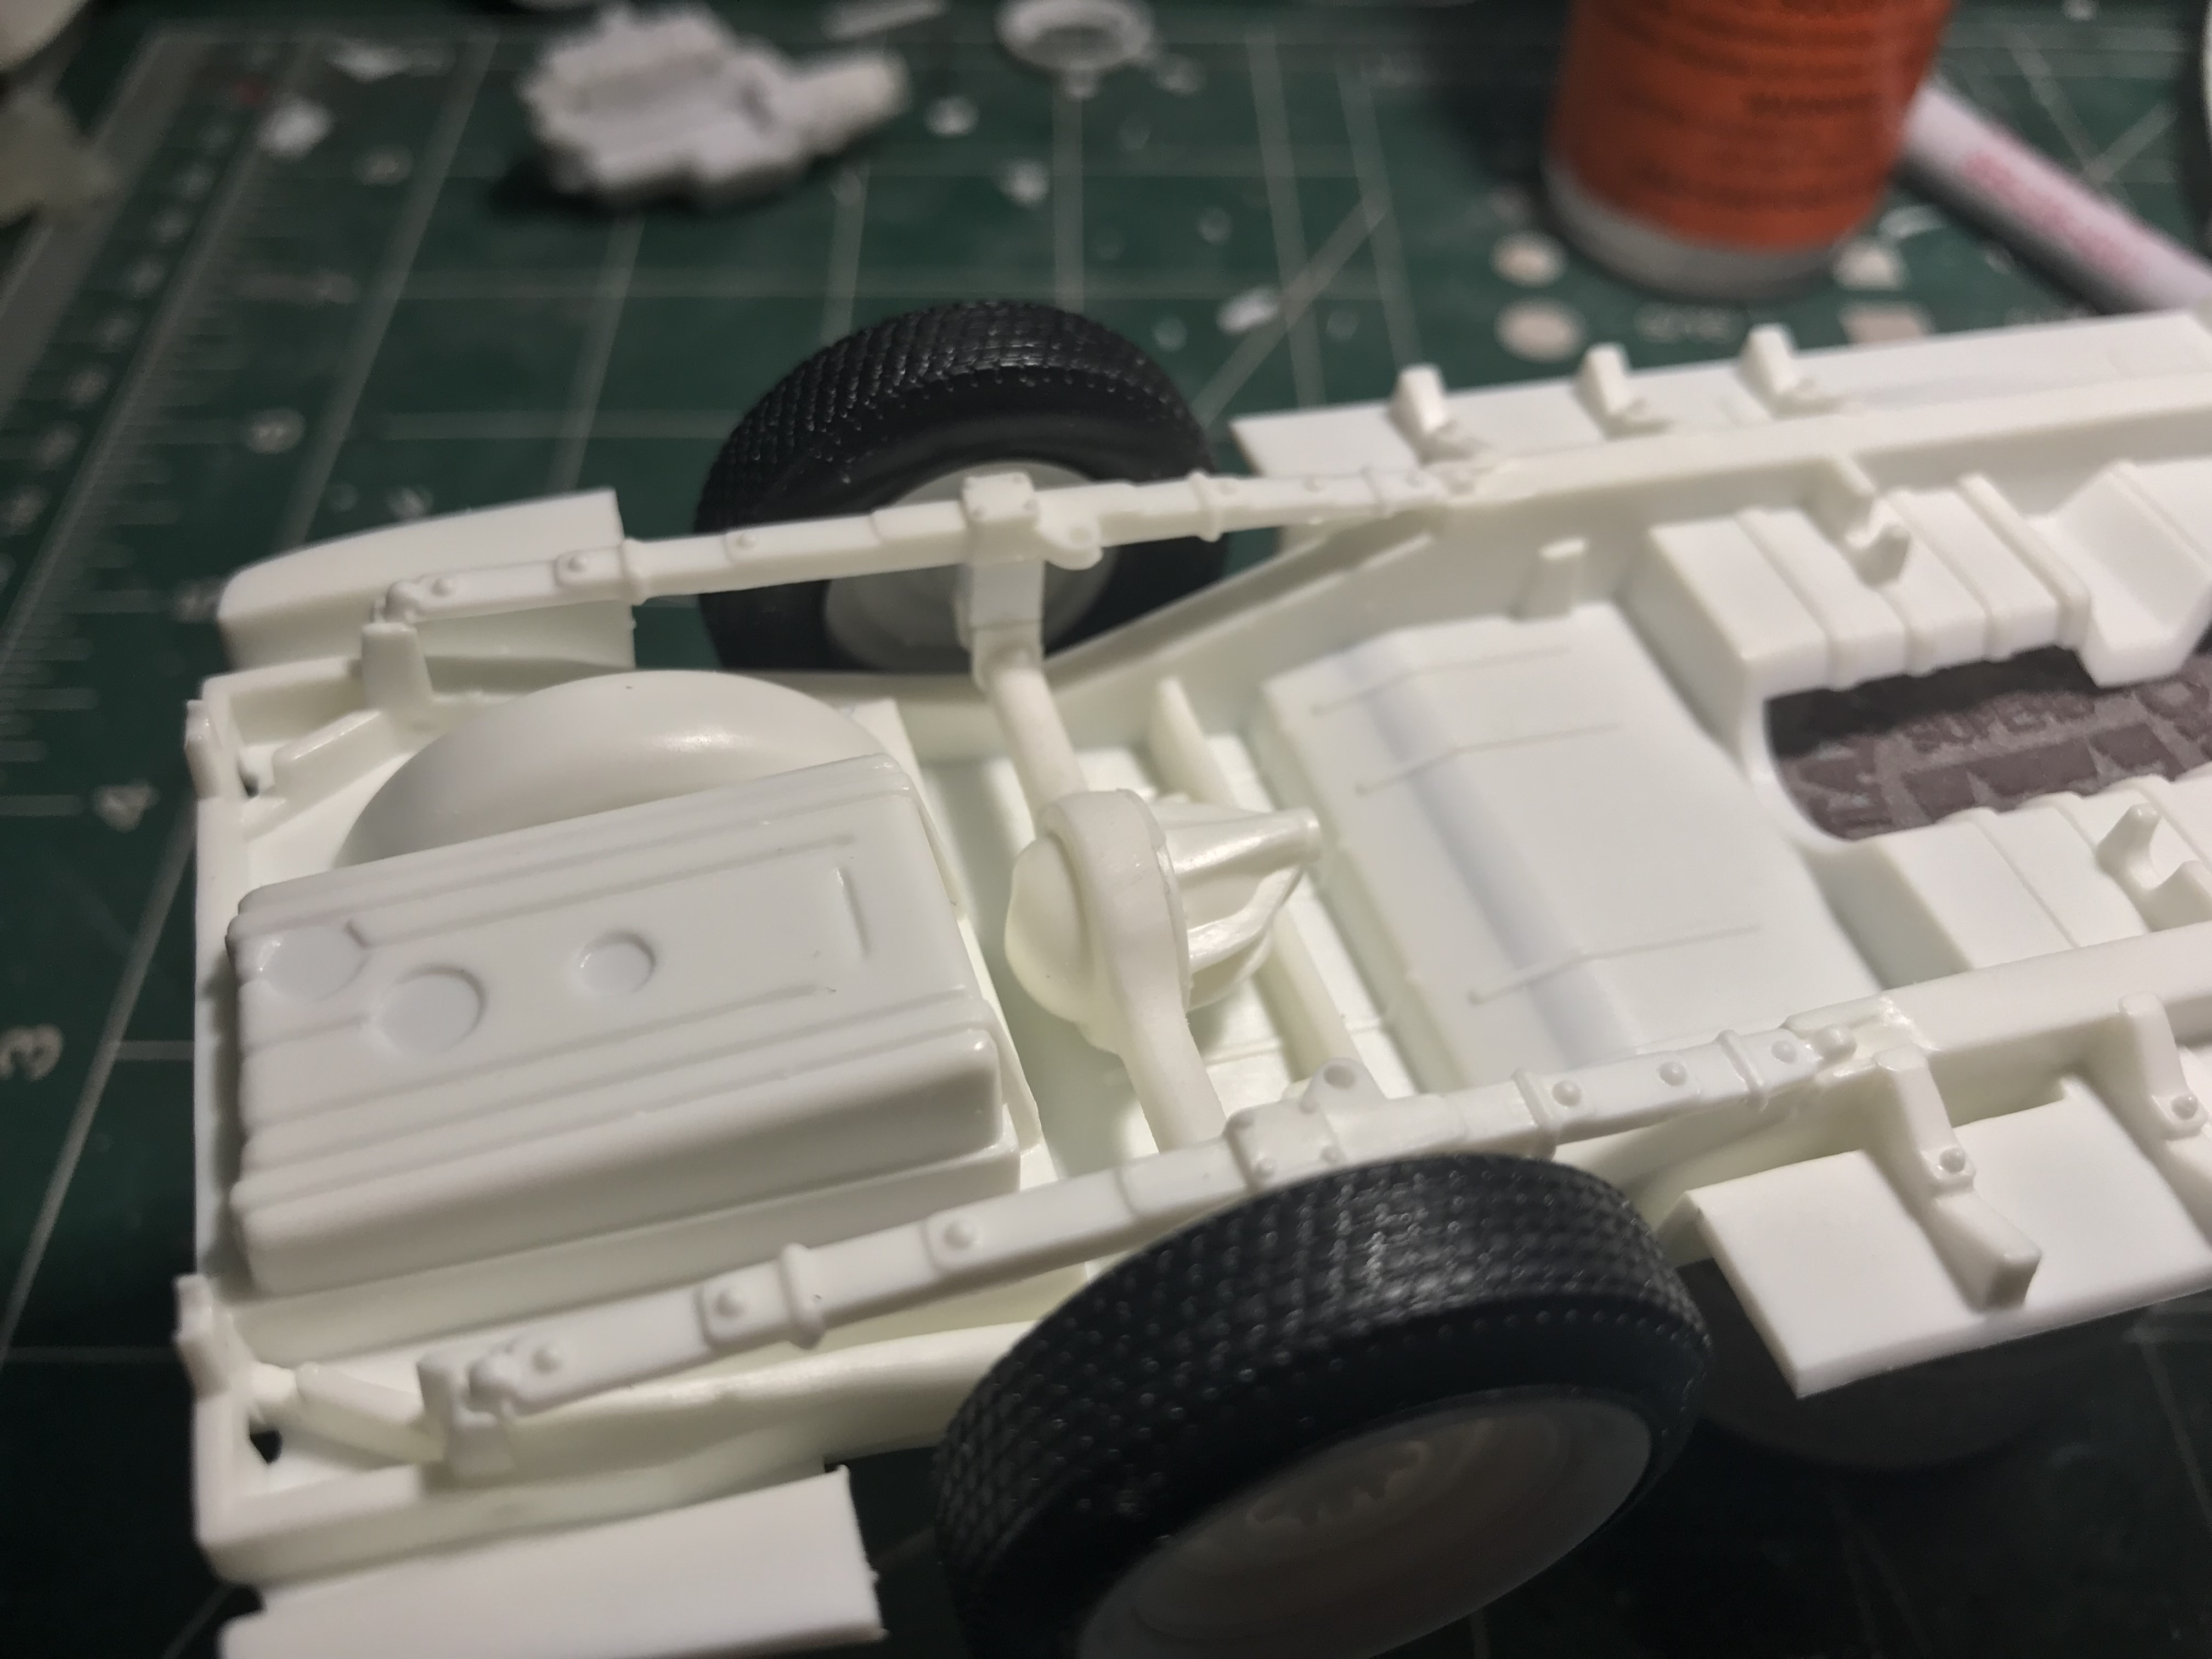
I’ve finished the suspension but still need to build the cowl steering setup. As soon as I finish that, the frame should be ready for paint. The radius rods for the rear aren’t quite what I wanted. Ideally I’d like them to sit a little further to the outside of the axle. I just modified the stock ones from the kit and that’s what I ended up with. It’ll work fine for this build, the exhaust will exit out the side so no clearance issues to worry about there.
-
Thanks for the comments. I was hoping to have the body work finished up but ran into a few small issues. I sprayed some krylon primer and it seems to have had a bad reaction with the plastic or something. The surface was smooth as glass but after spraying it bubbled up. Edit: after looking at it some more I took my exacto and barely scraped the surface. The flaw only exist on the surface of the paint. Anyone have any info on this? I’m going to try a different paint.
-
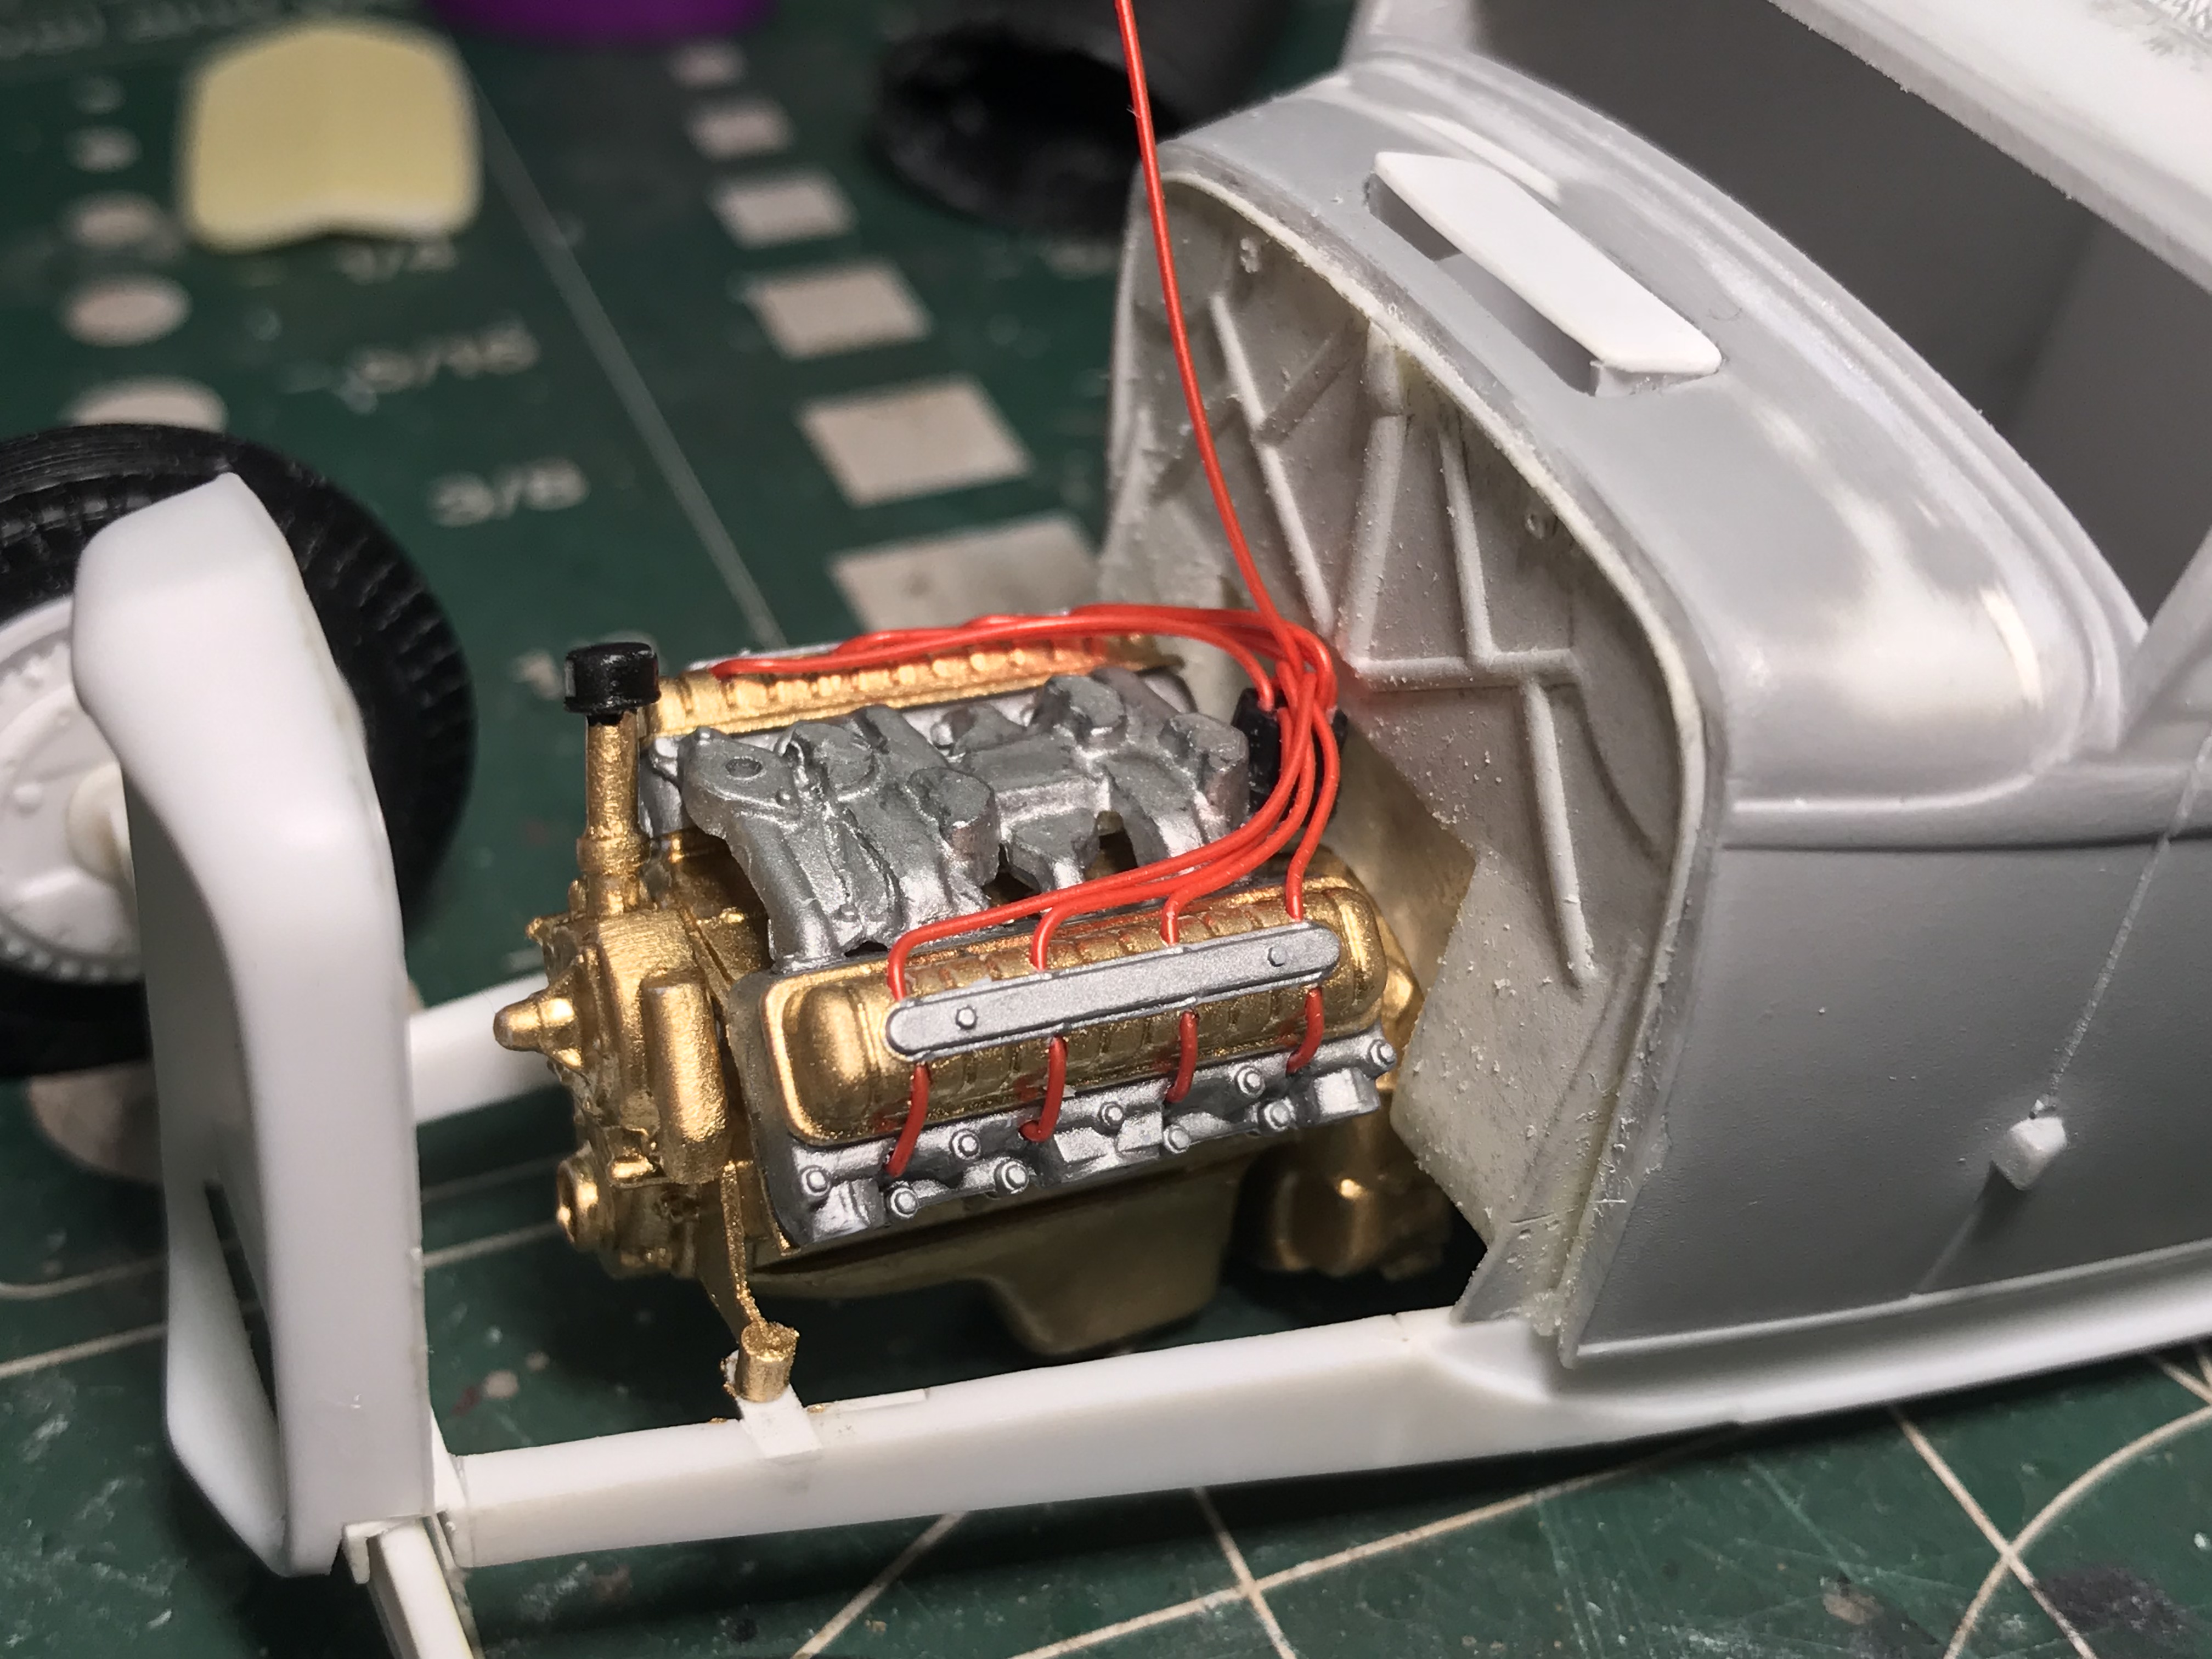
Back on the bench with this one. Hoping to finish it up for a show next month. Let me tell ya, wiring up this rocket motor was a massive headache! I think it was worth the work though.
-
Got the car in primer today. At this point everything is ready for paint.
-
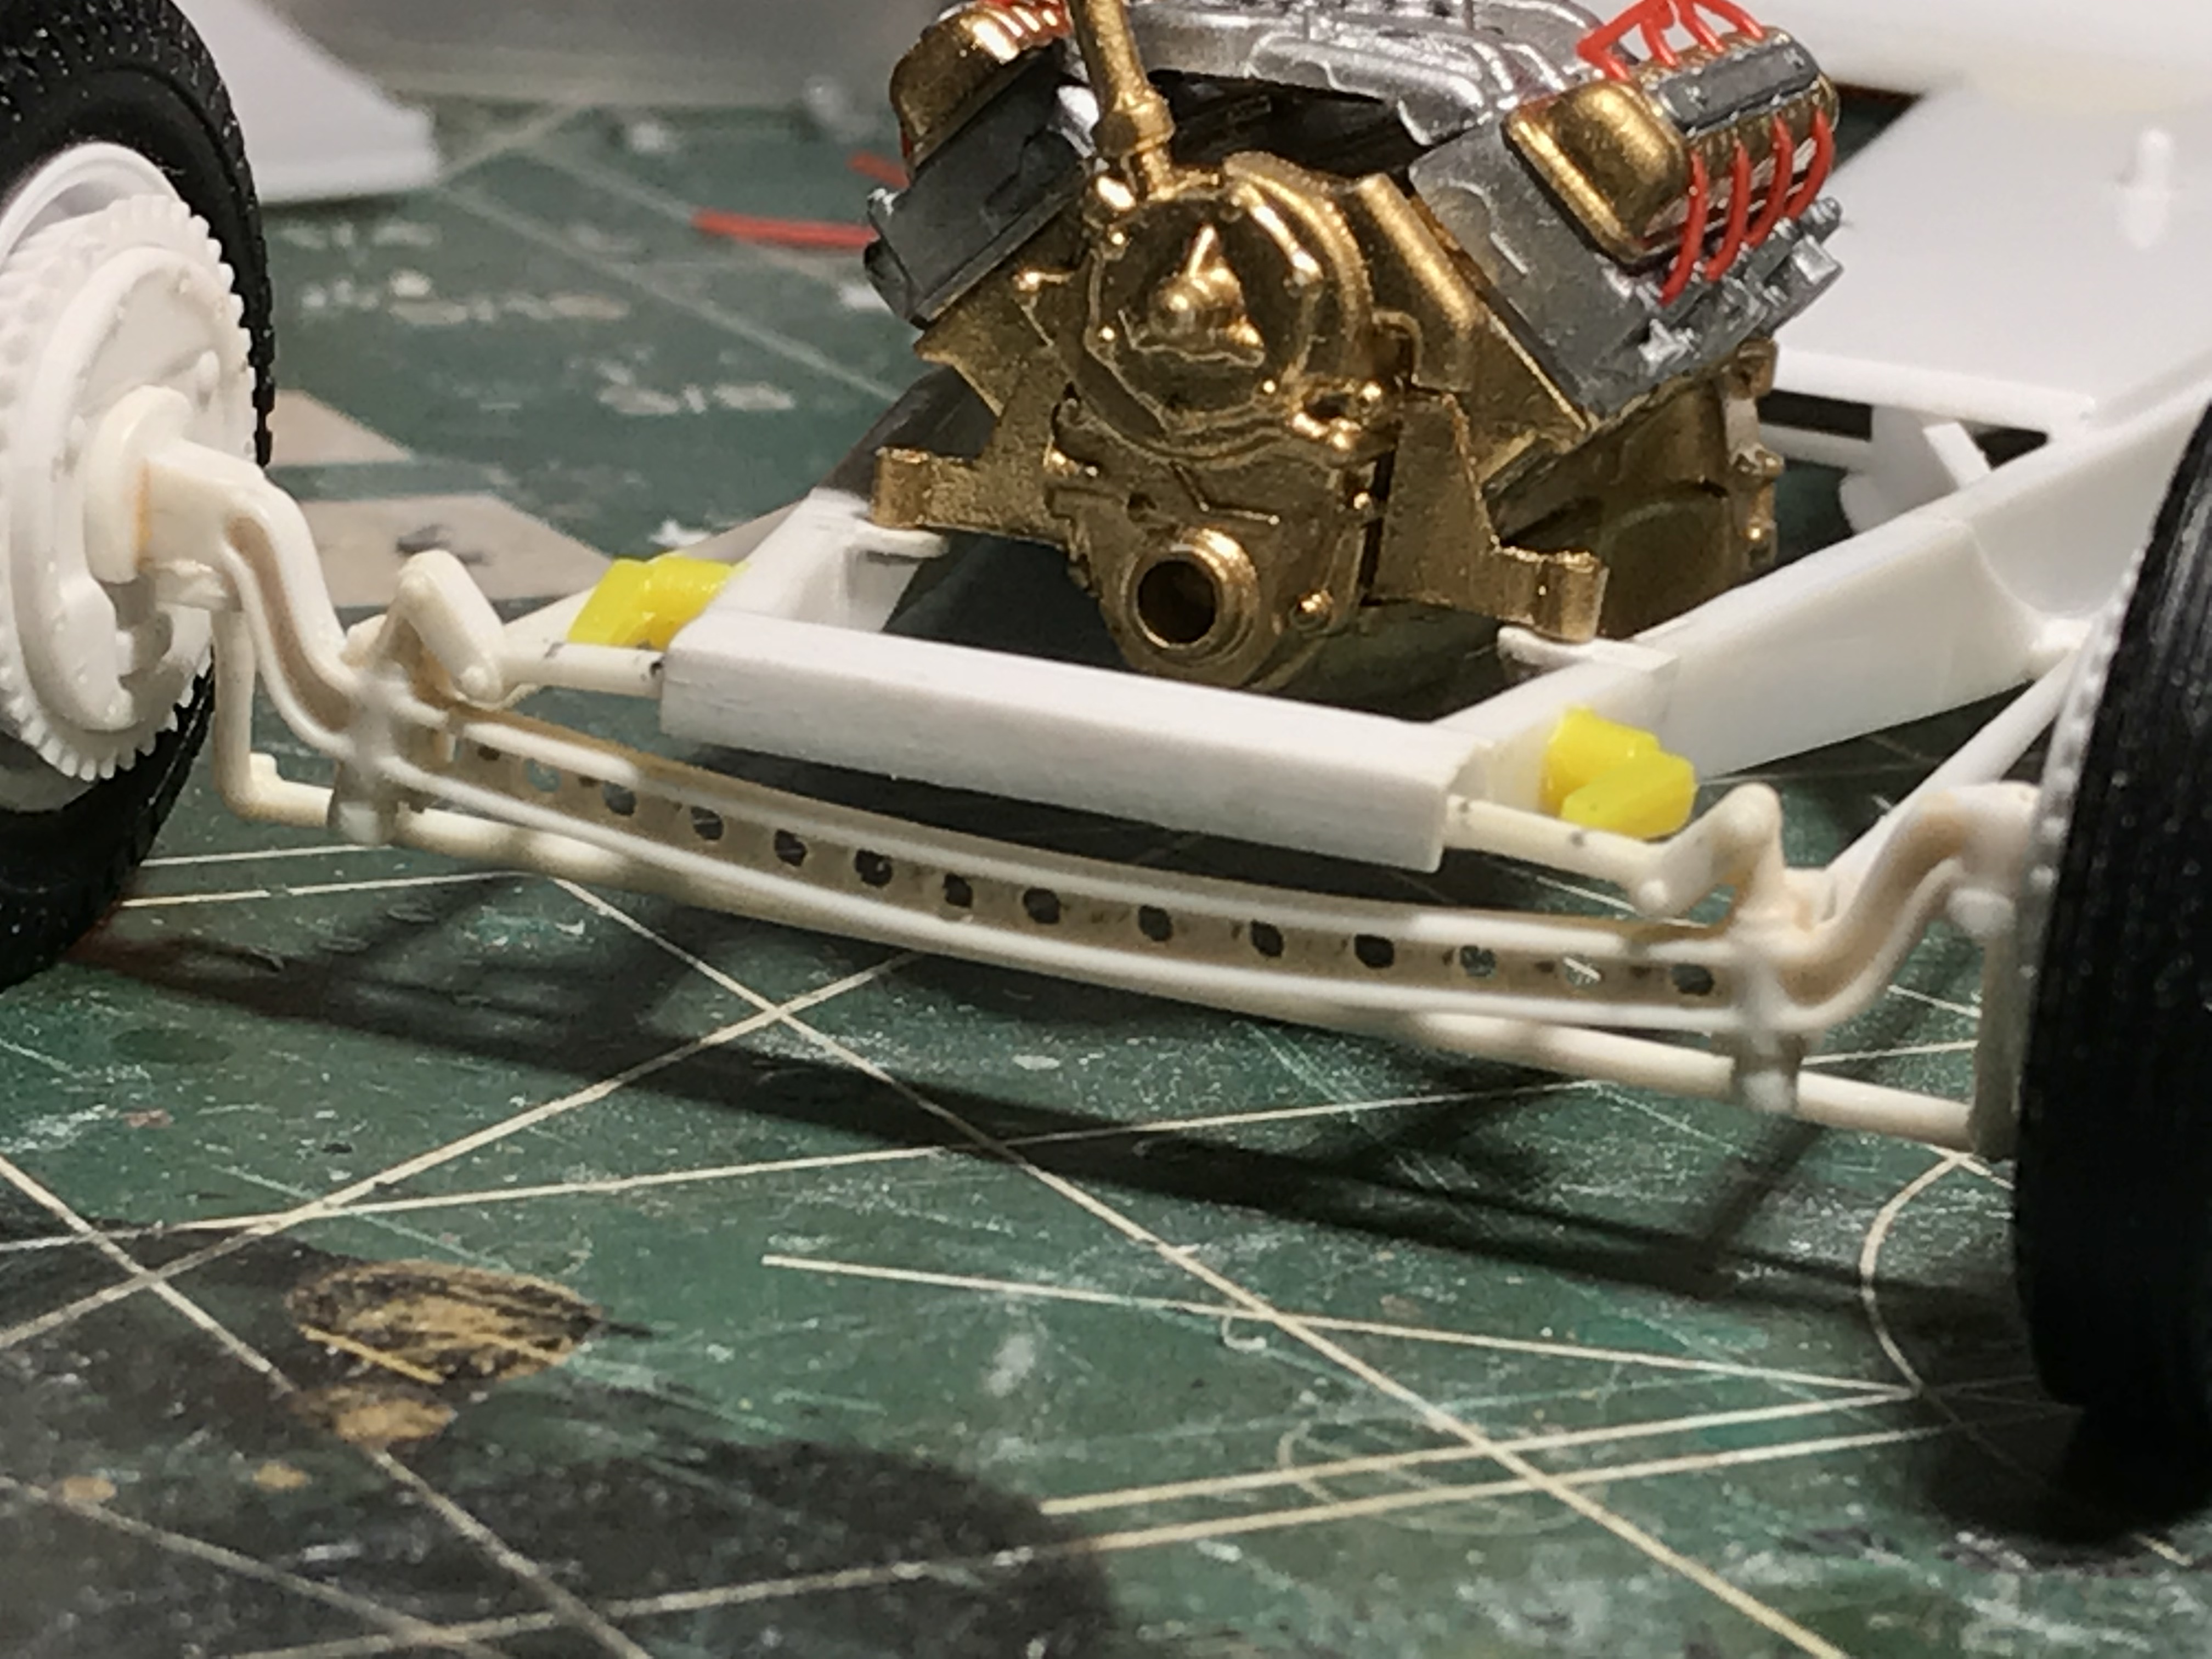
Any and all input is welcome. The paint is testors metallic gold.
-
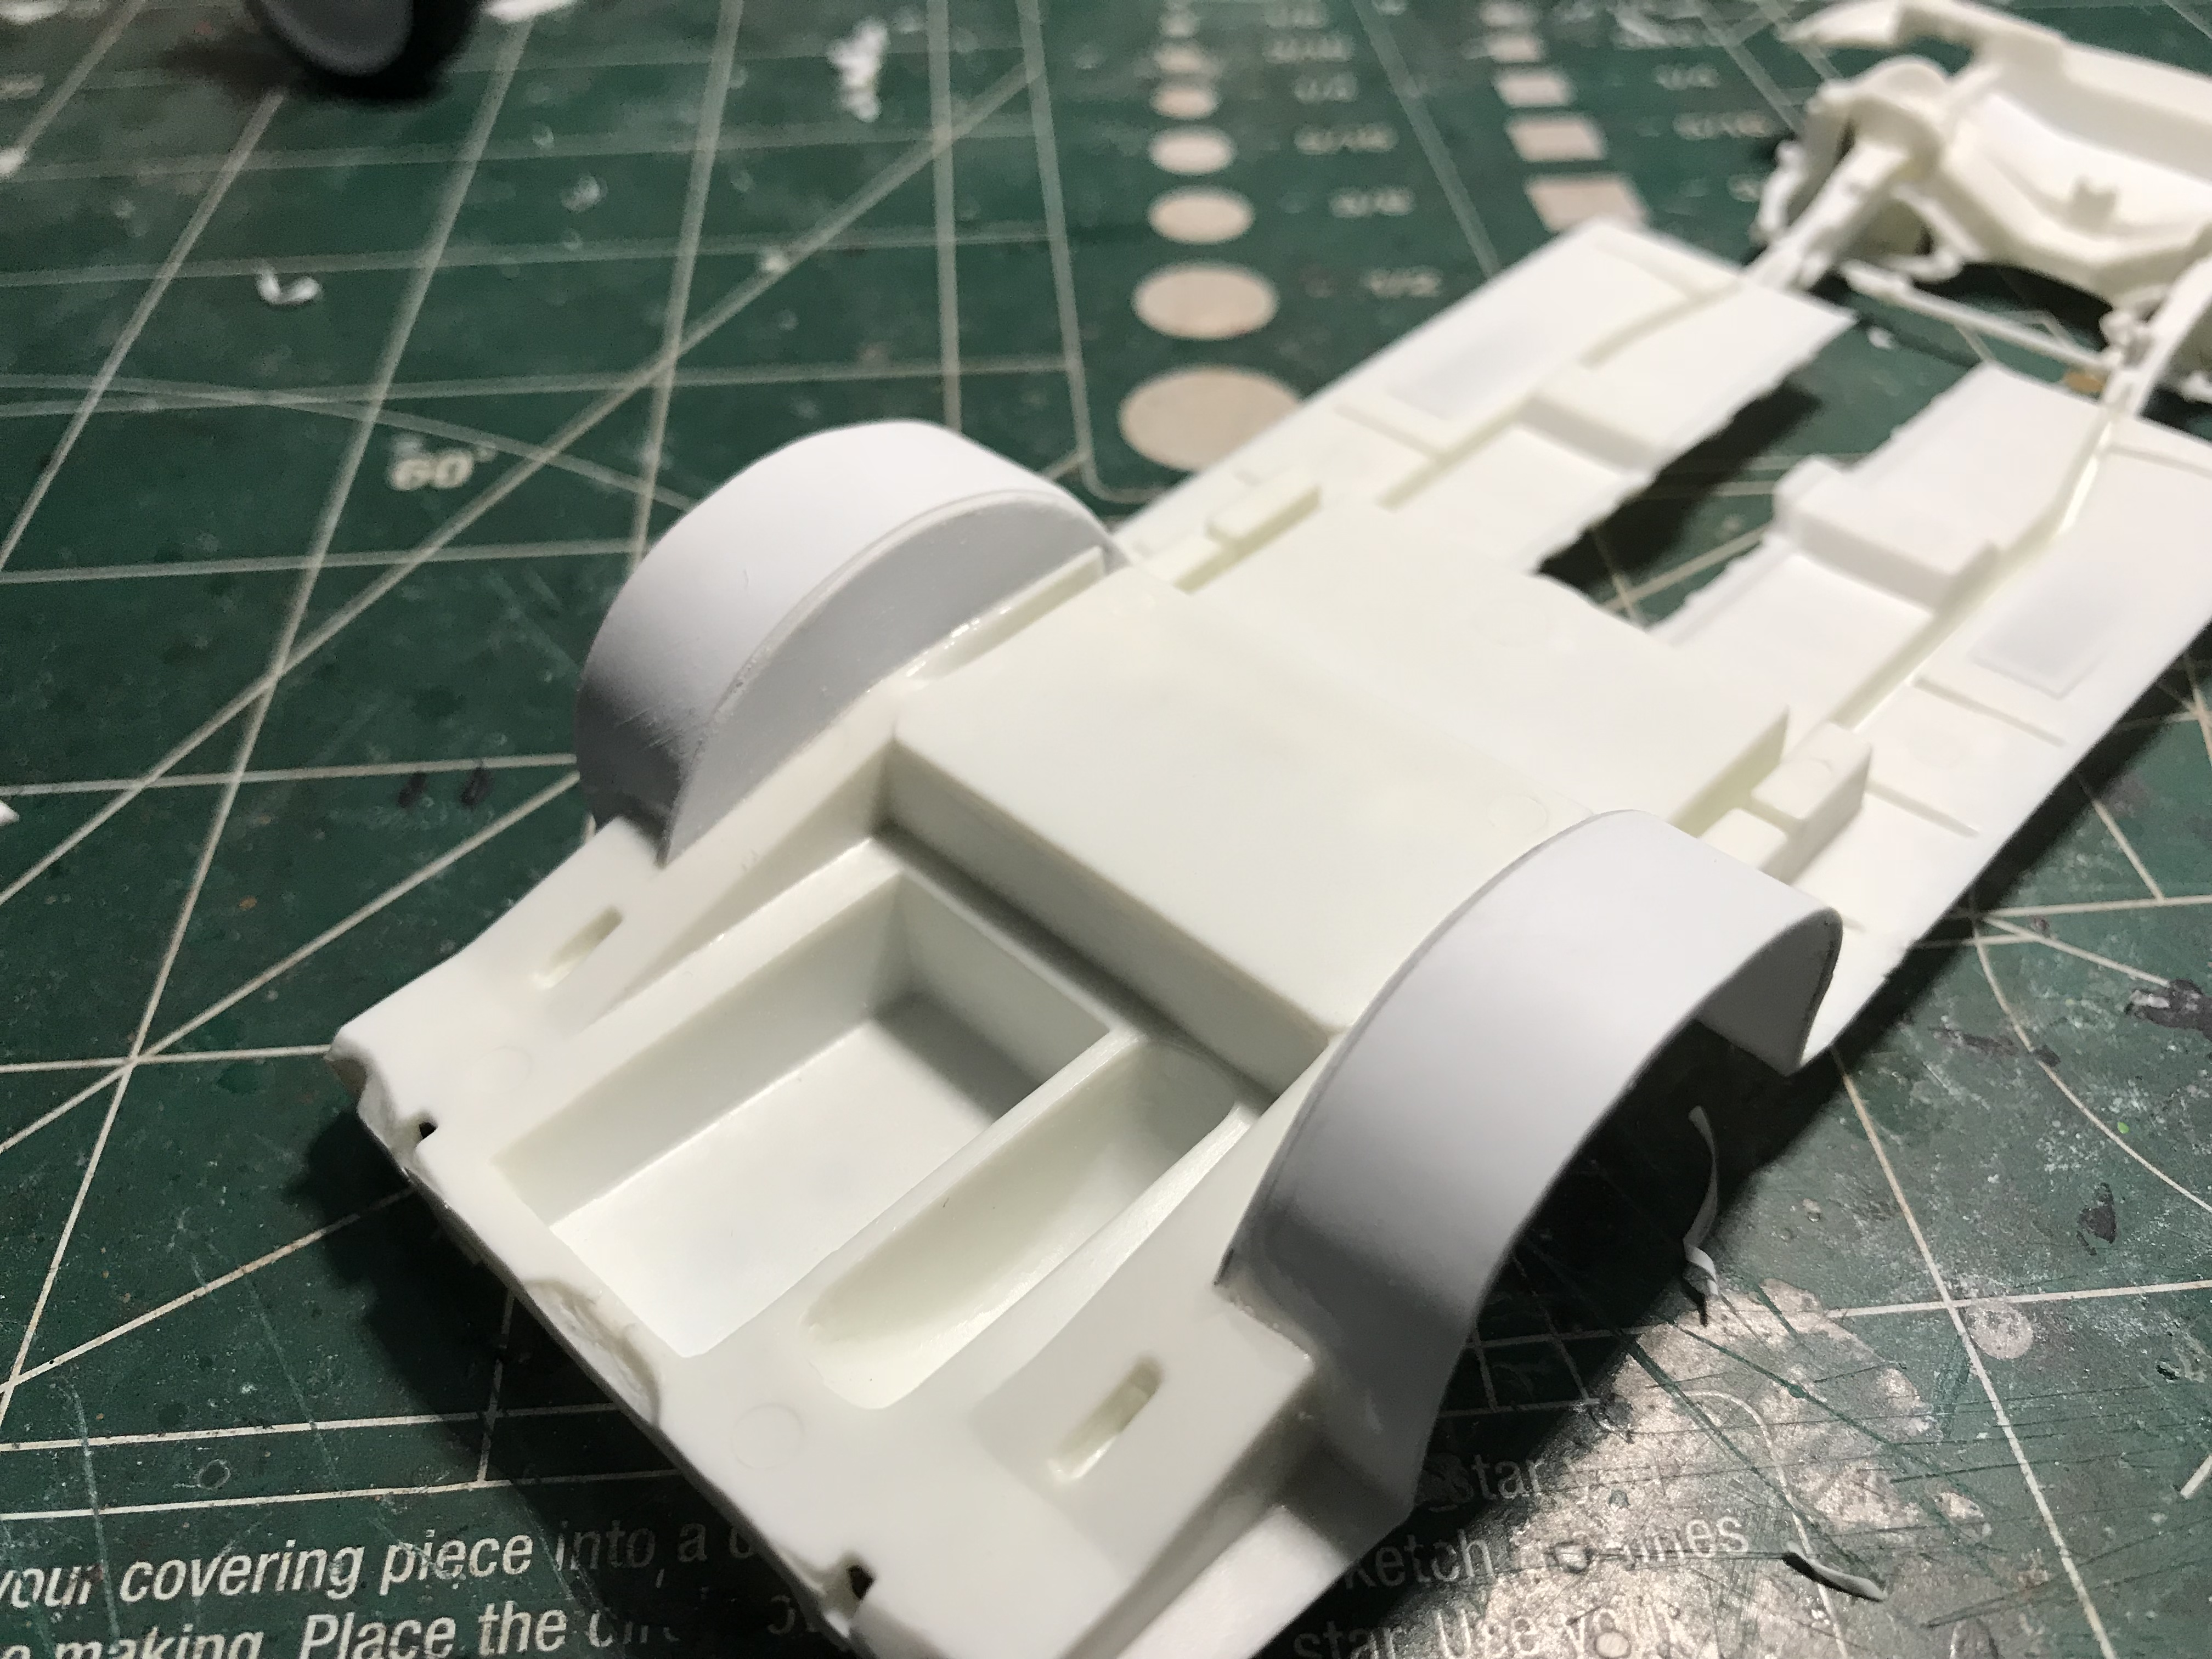
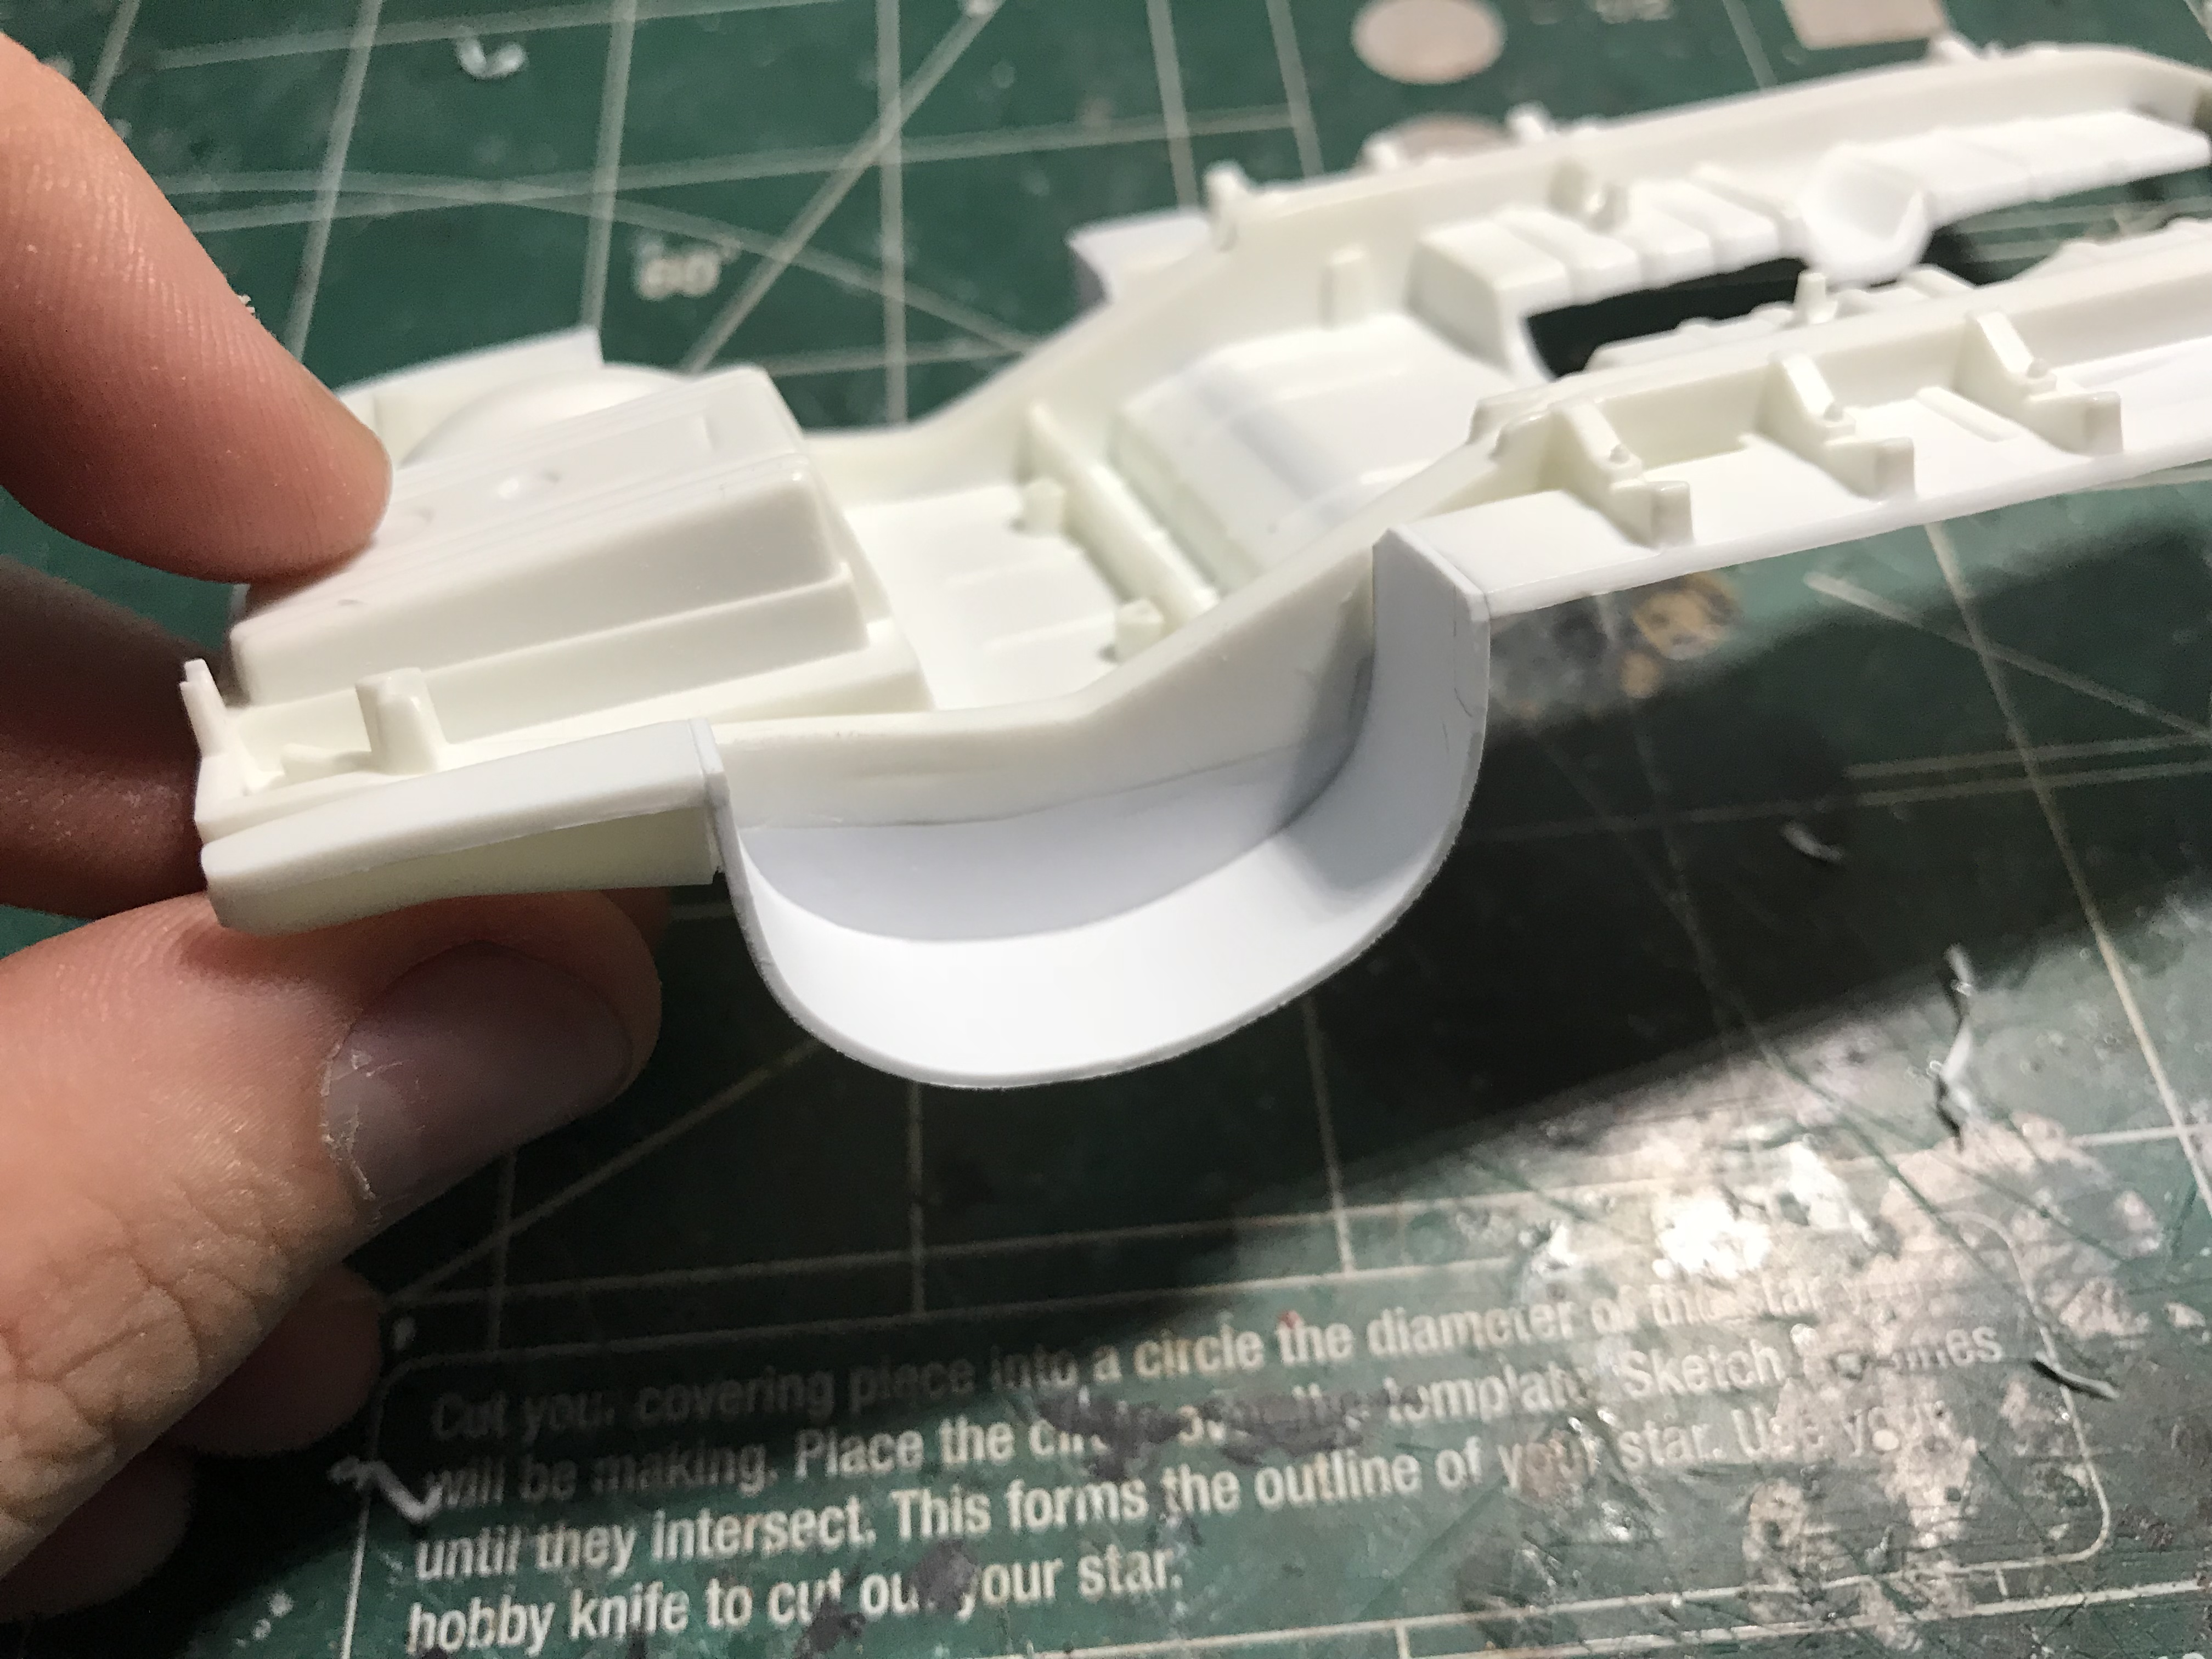
I made some wheel tubs for the rear. I’m going to work on getting the car in paint tomorrow.
-
Thanks for the comments! You know I actually like that idea quite a bit. I’m starting to steer away from the heavy patina look. While I still plan to age it I’m gonna try for something kinda light. I’m also thinking about flaking the roof.
-
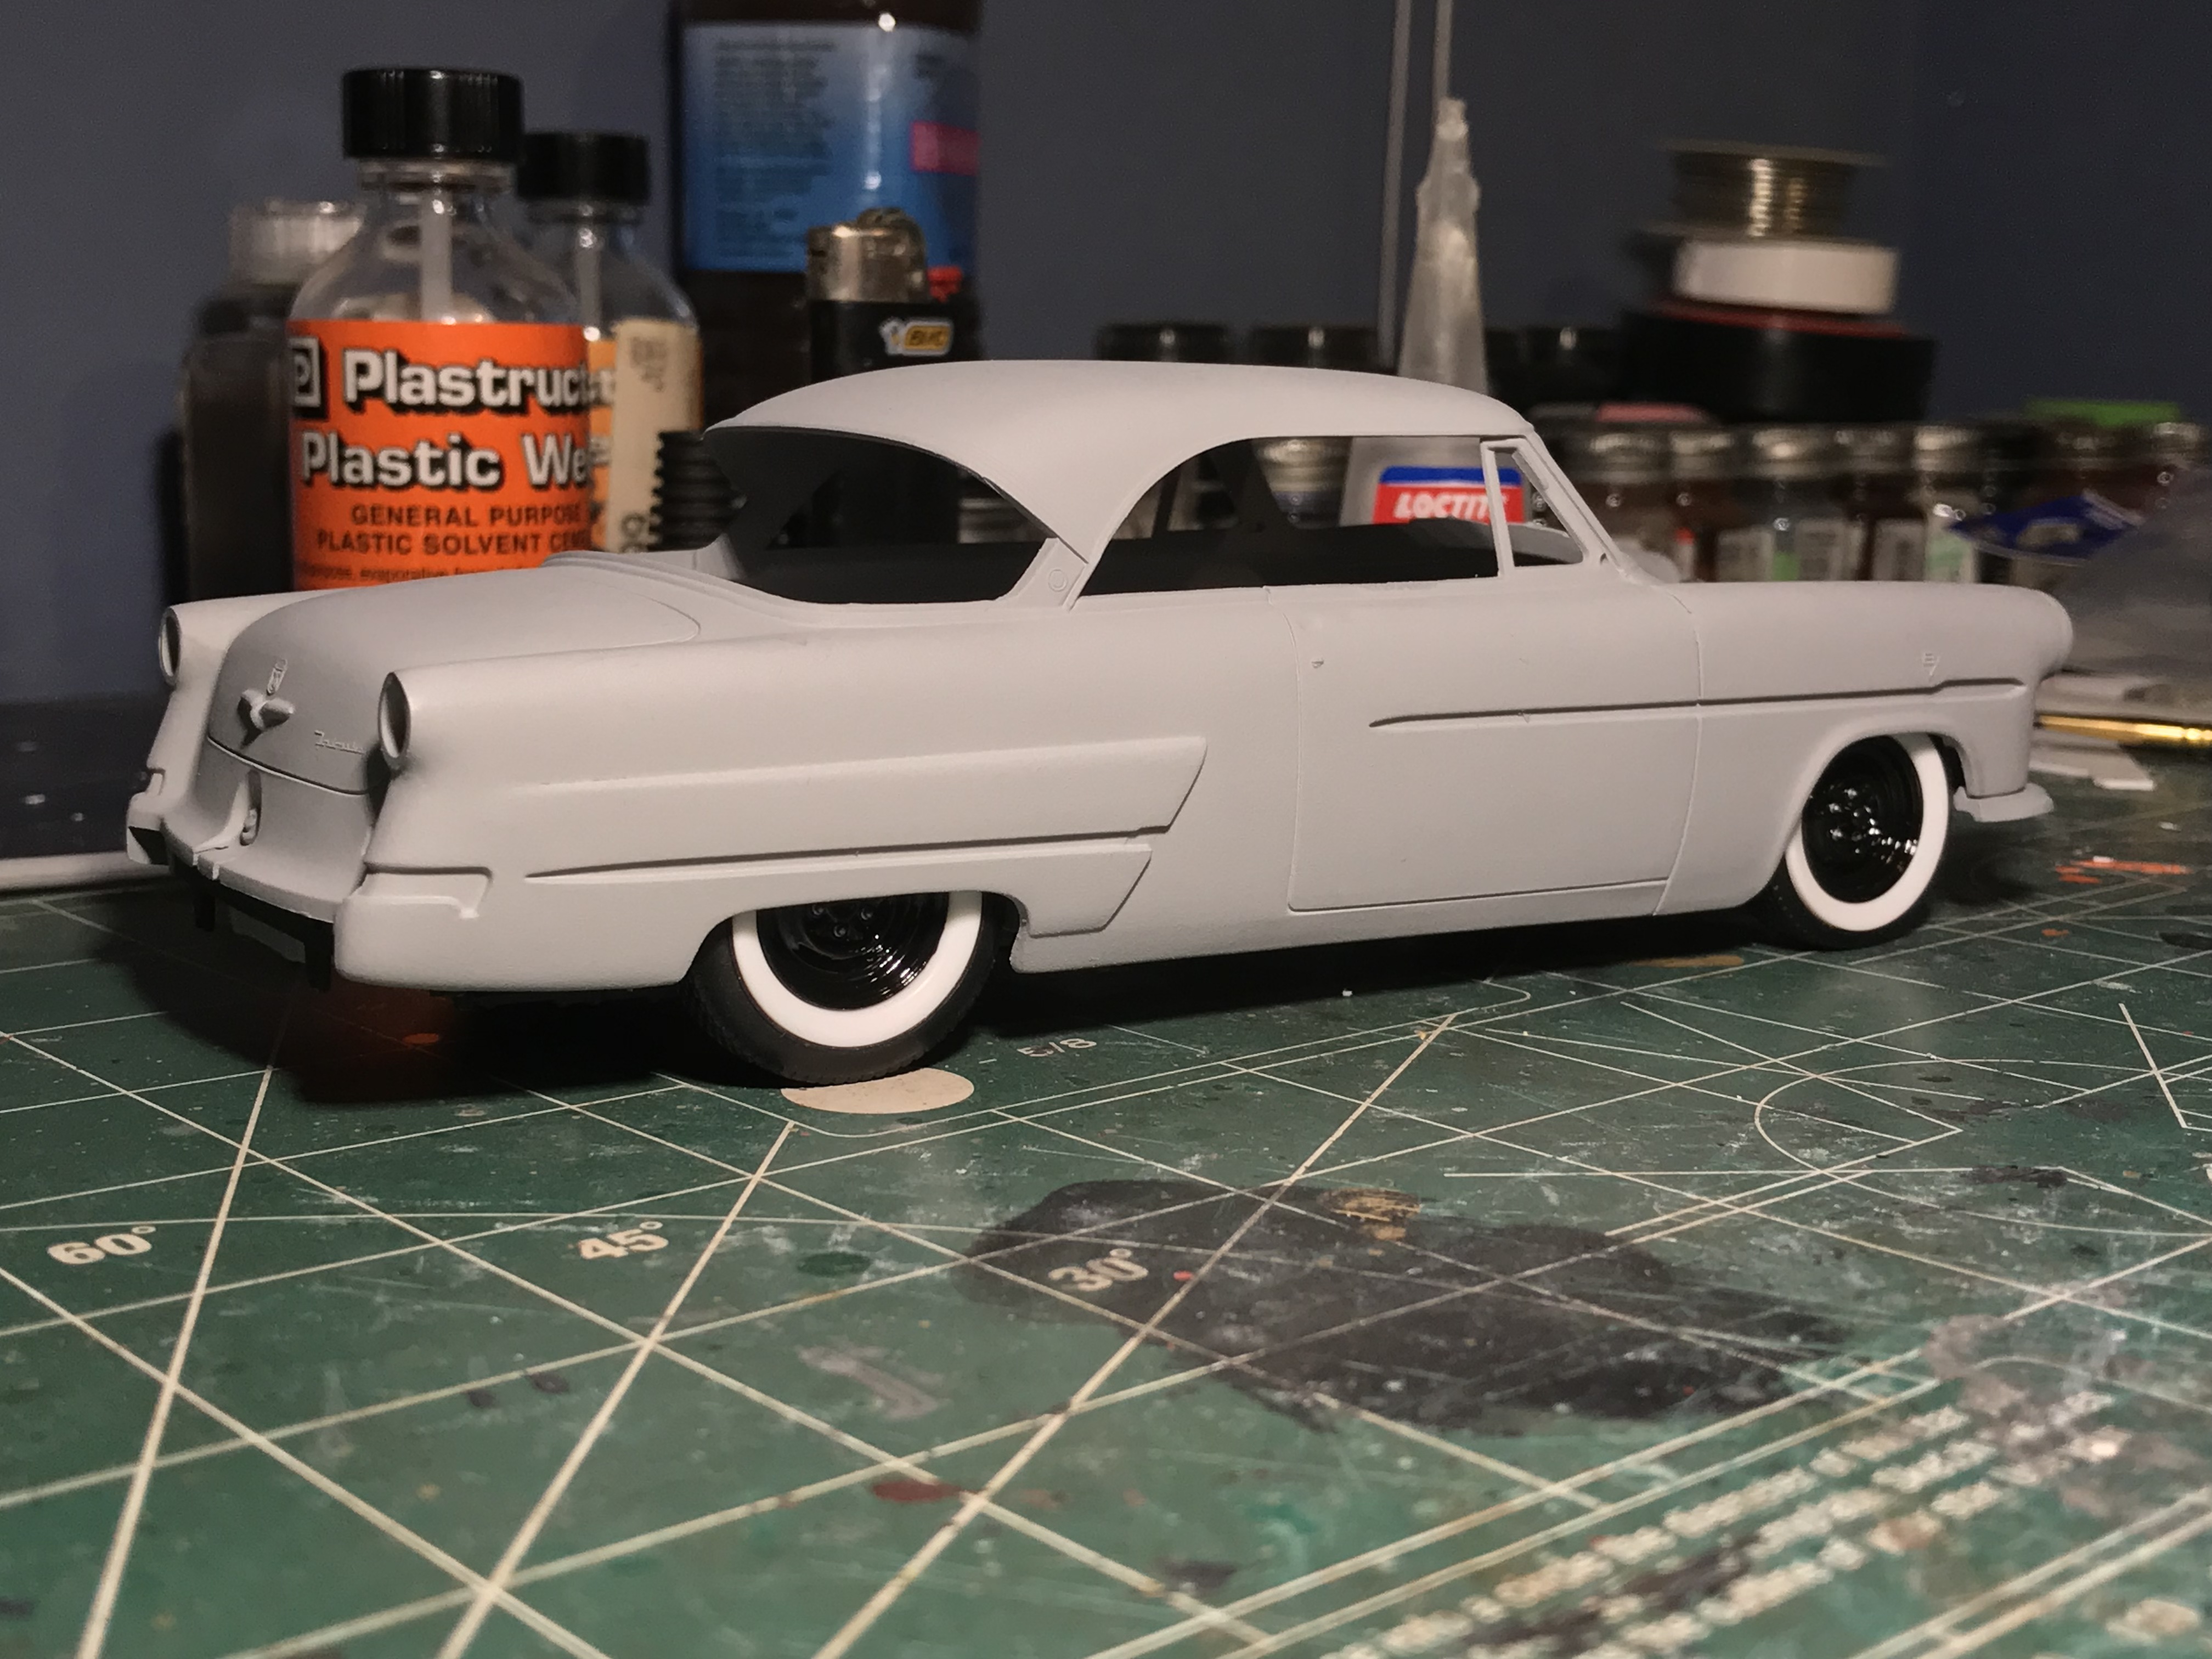
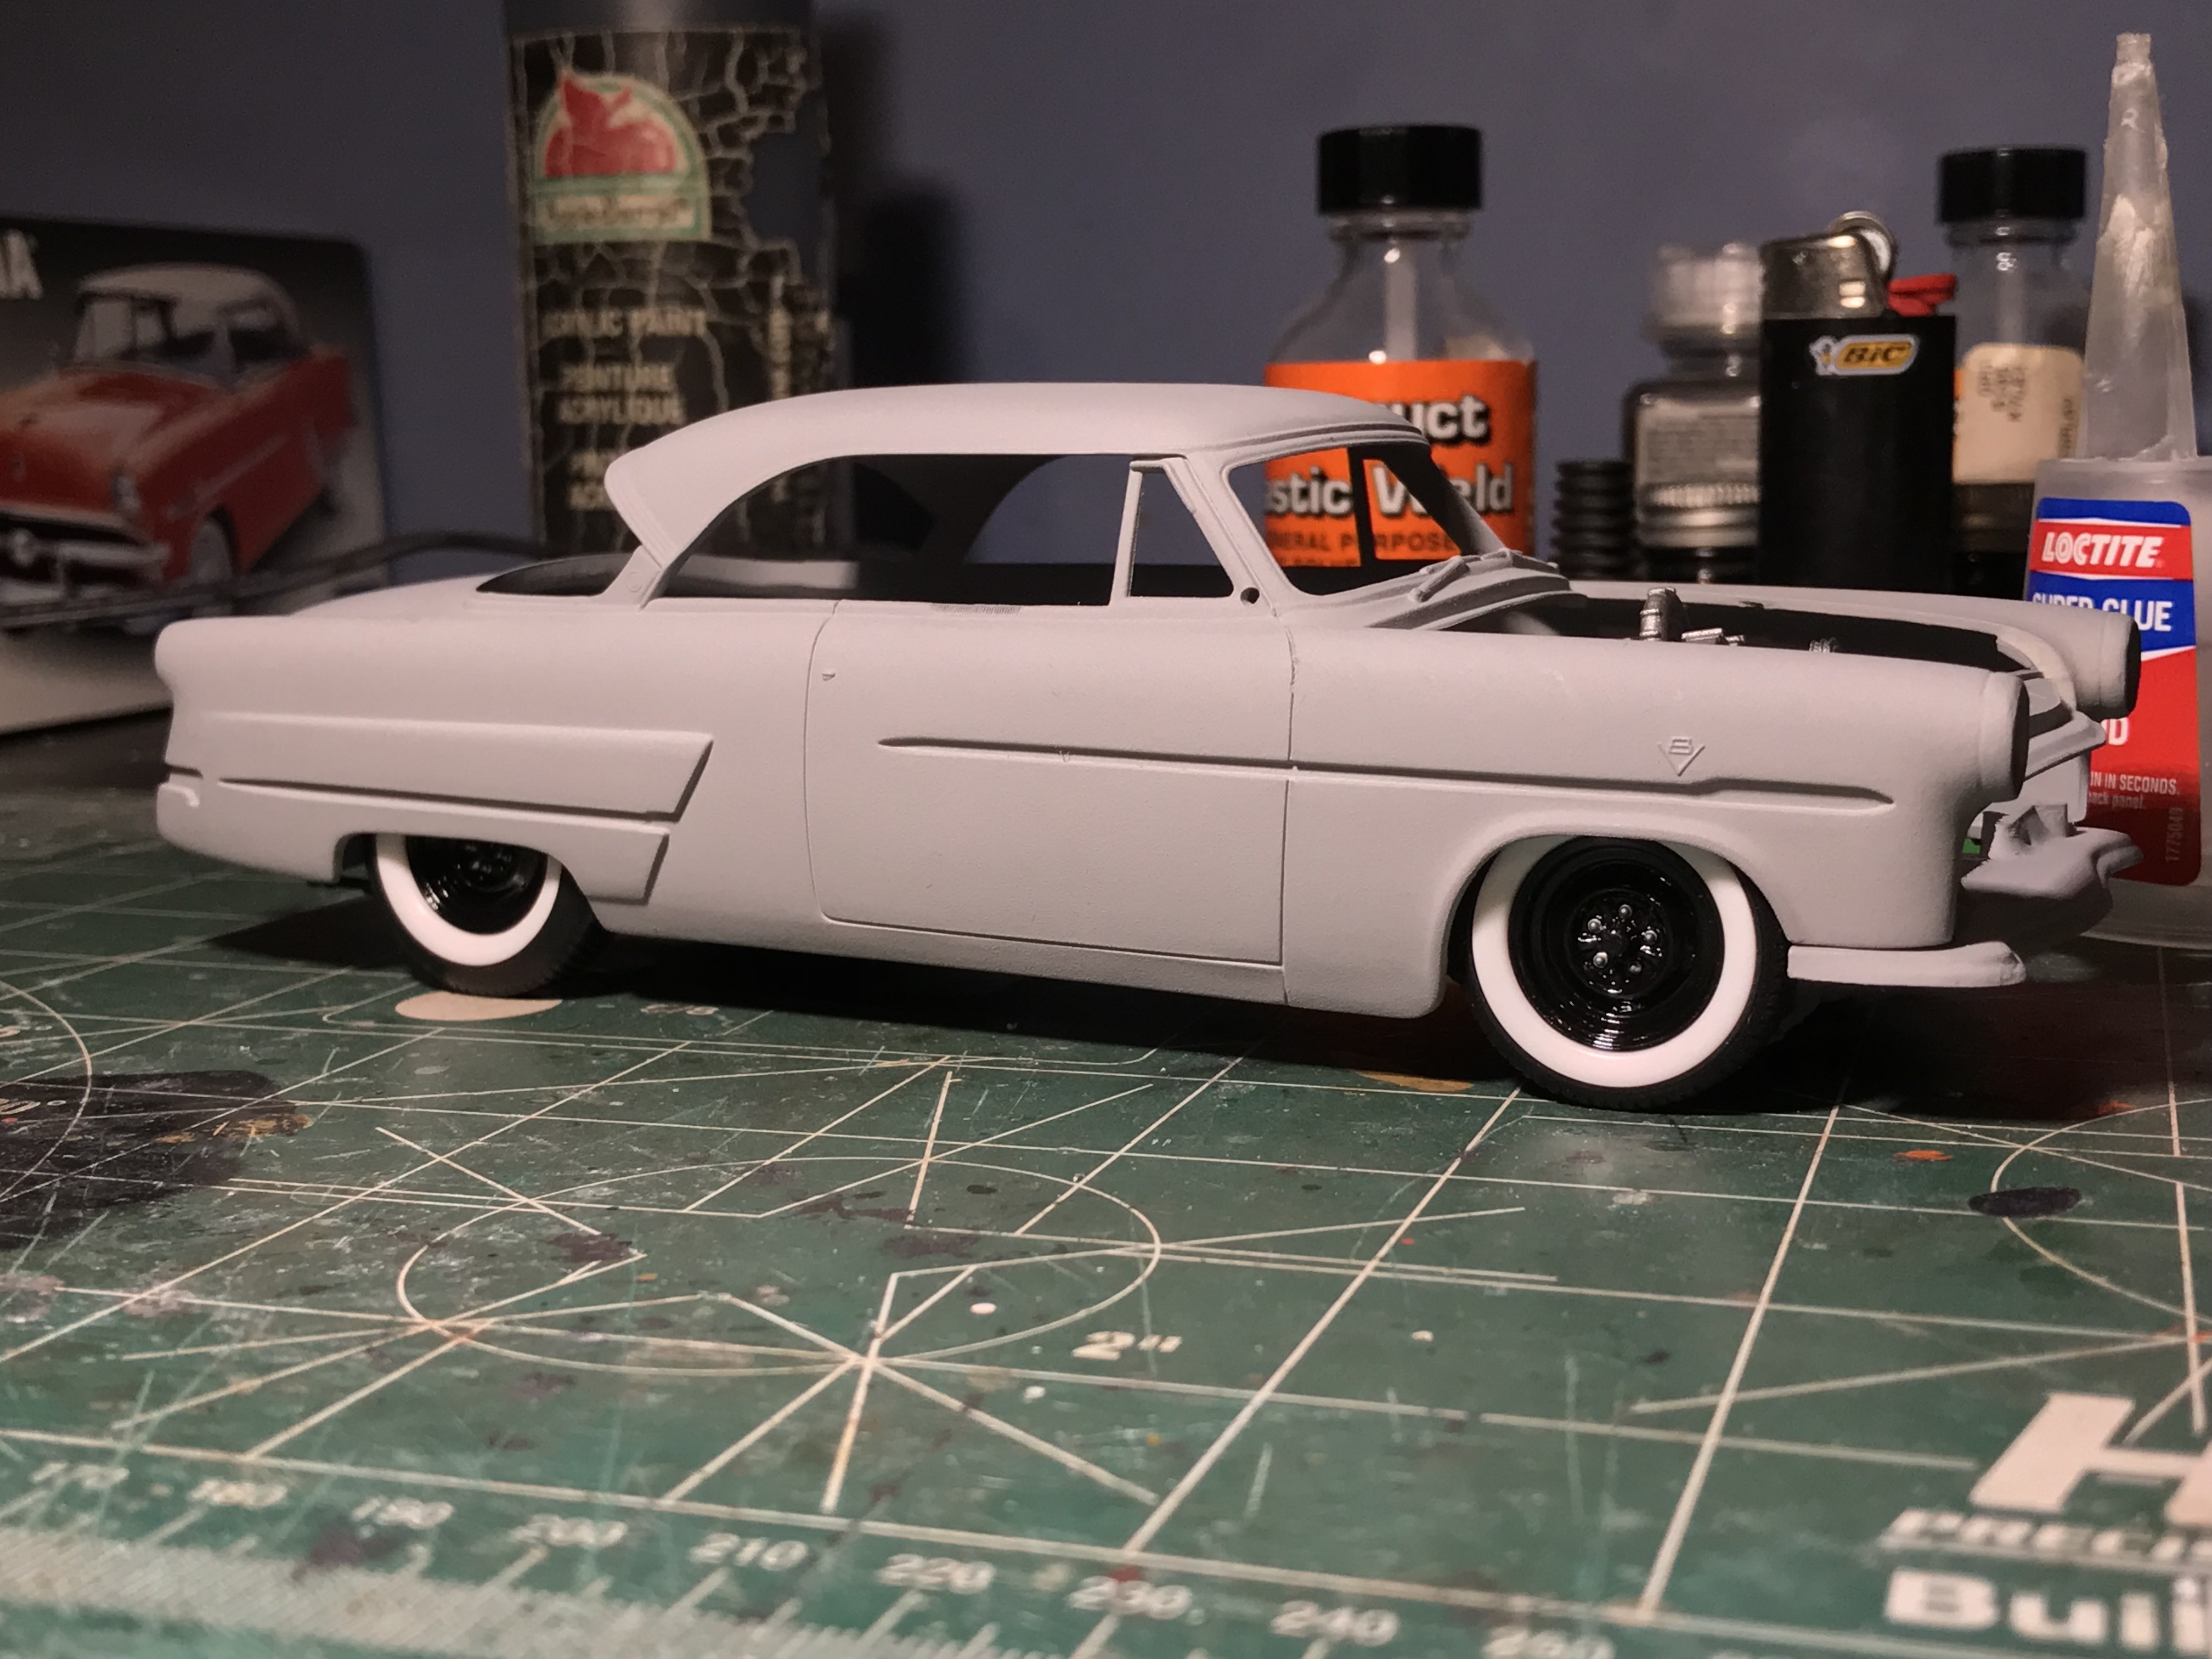
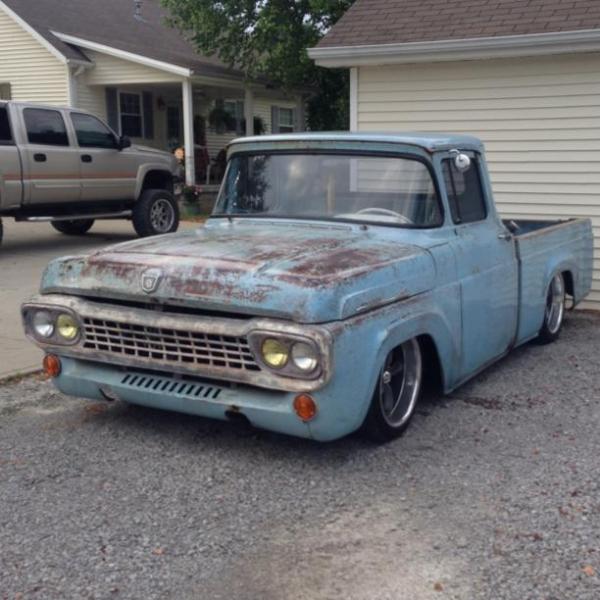
That’s a good question, I’m having a hard time deciding on paint. I’m thinking about doing a white patina similar to what’s pictured below. Might try giving it the look of a survivor hot rod.
-
I started putting some color on the engine today.
-
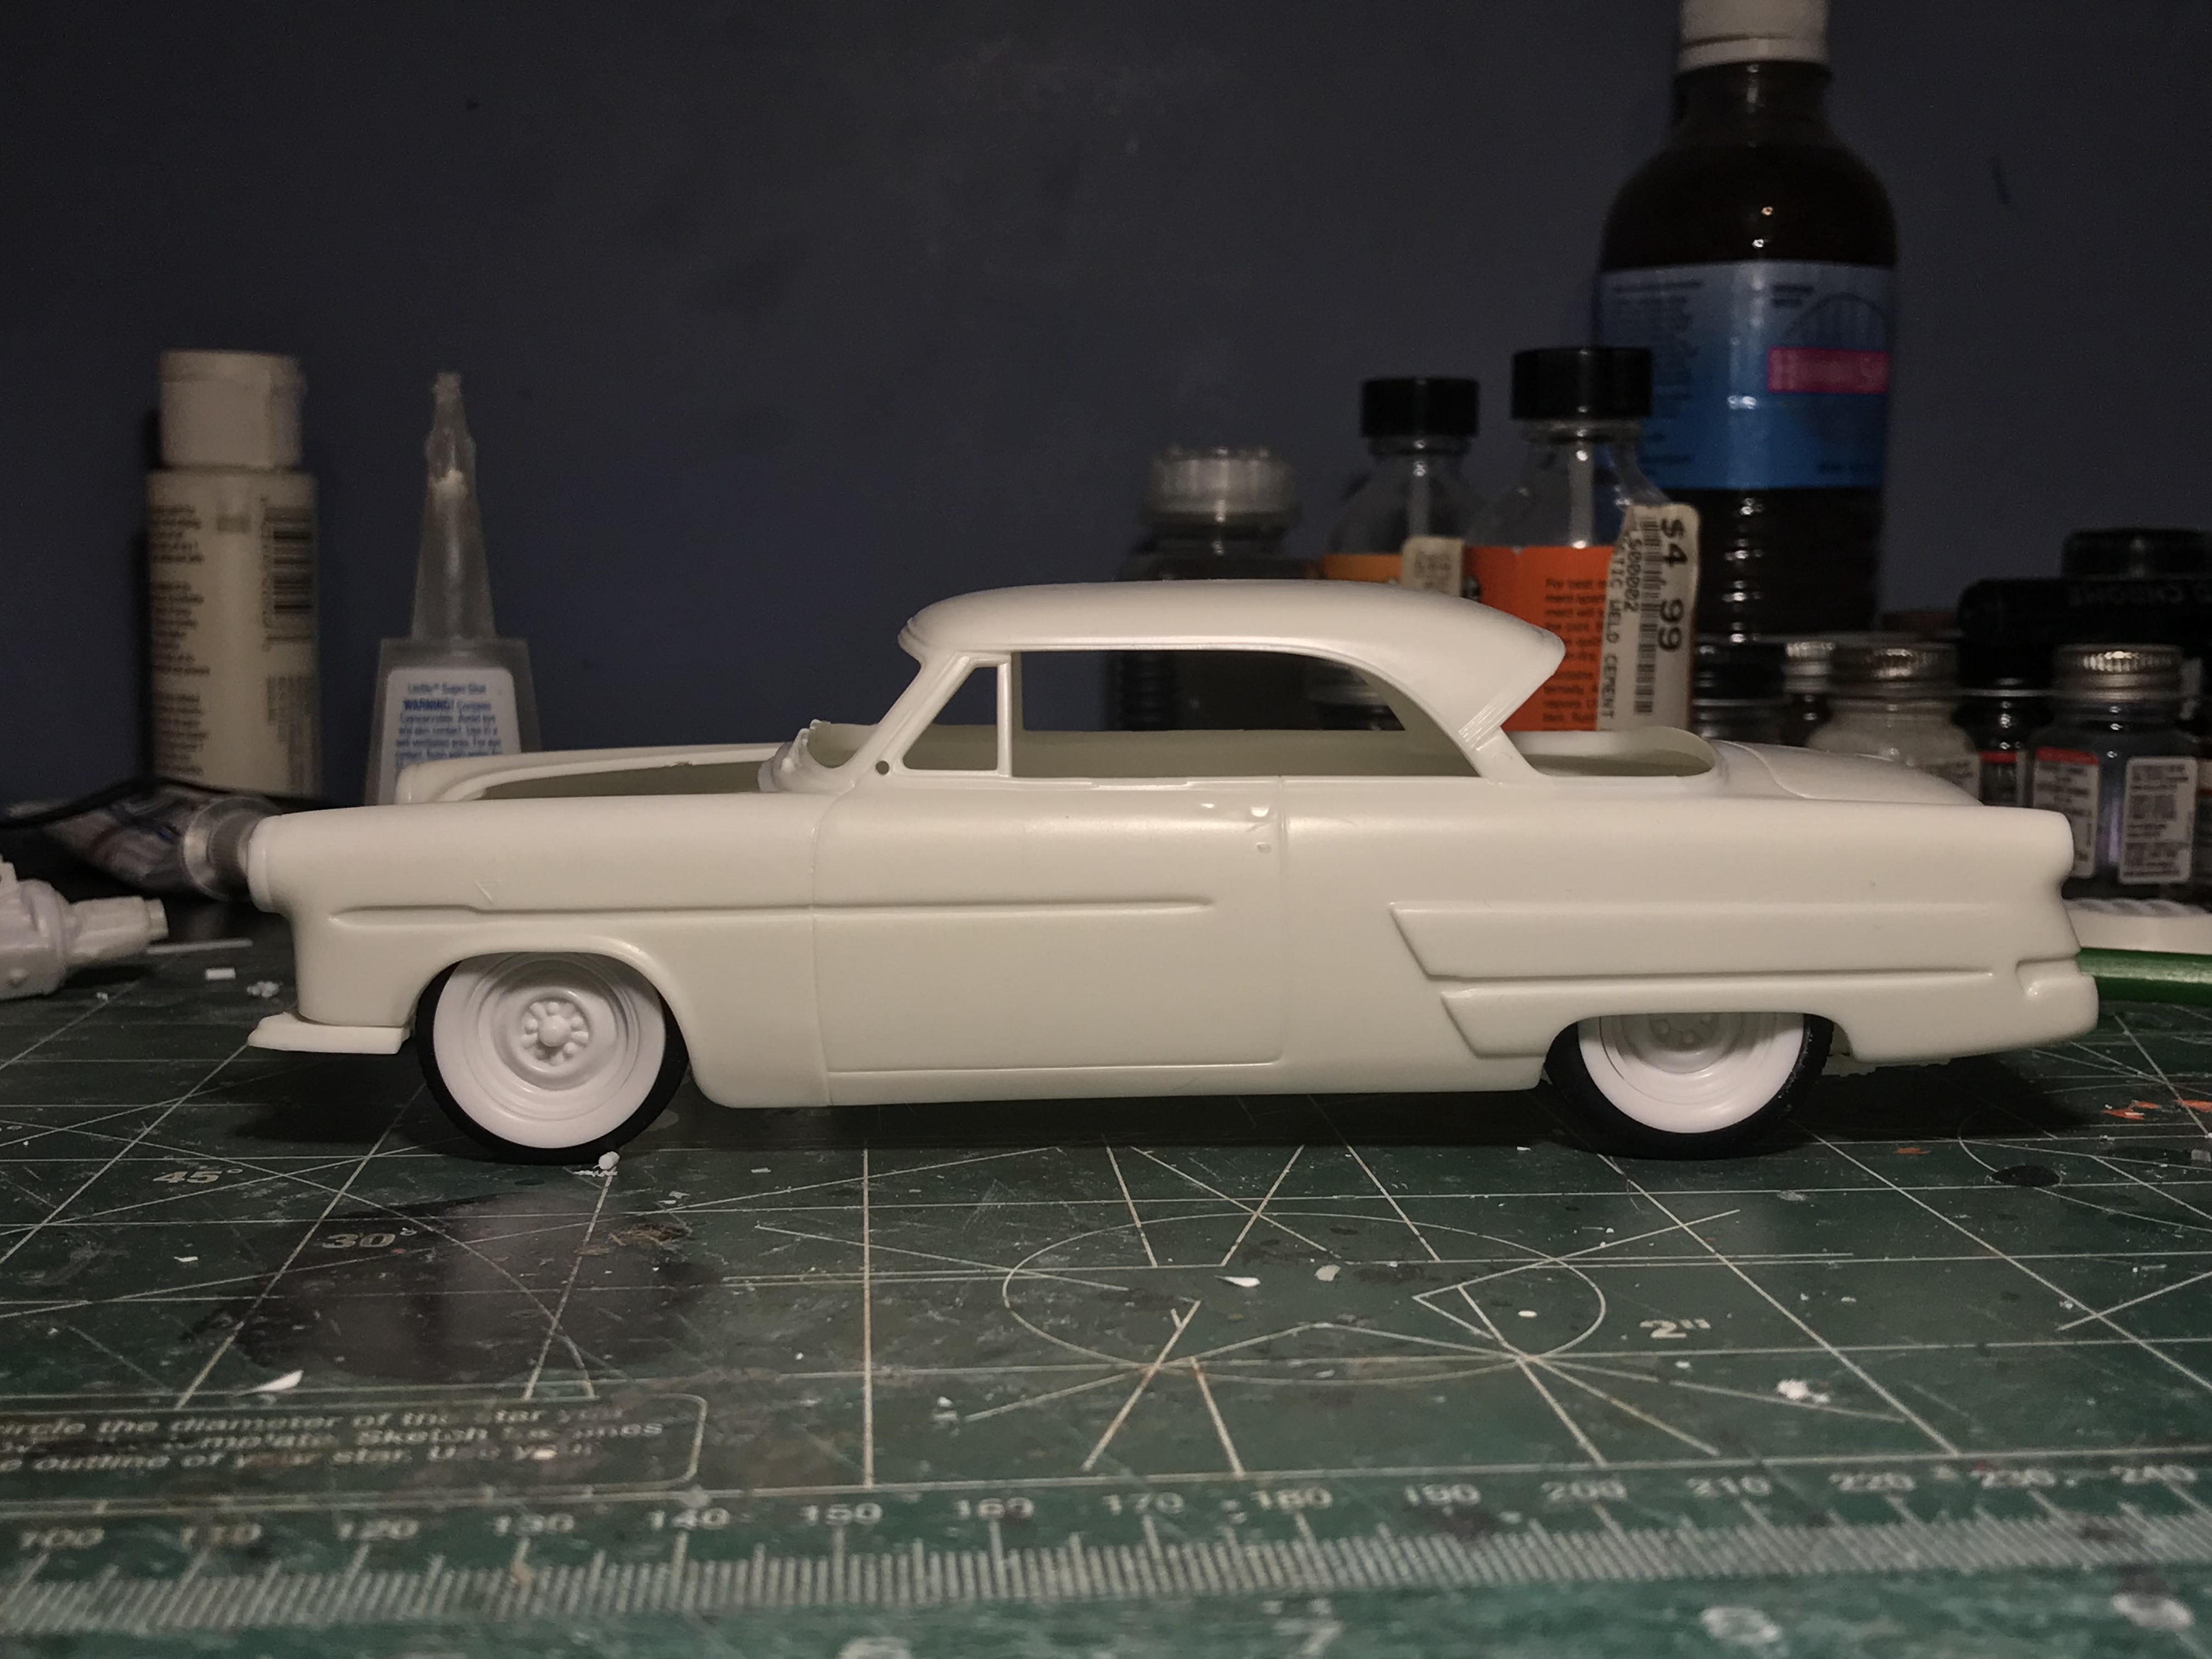
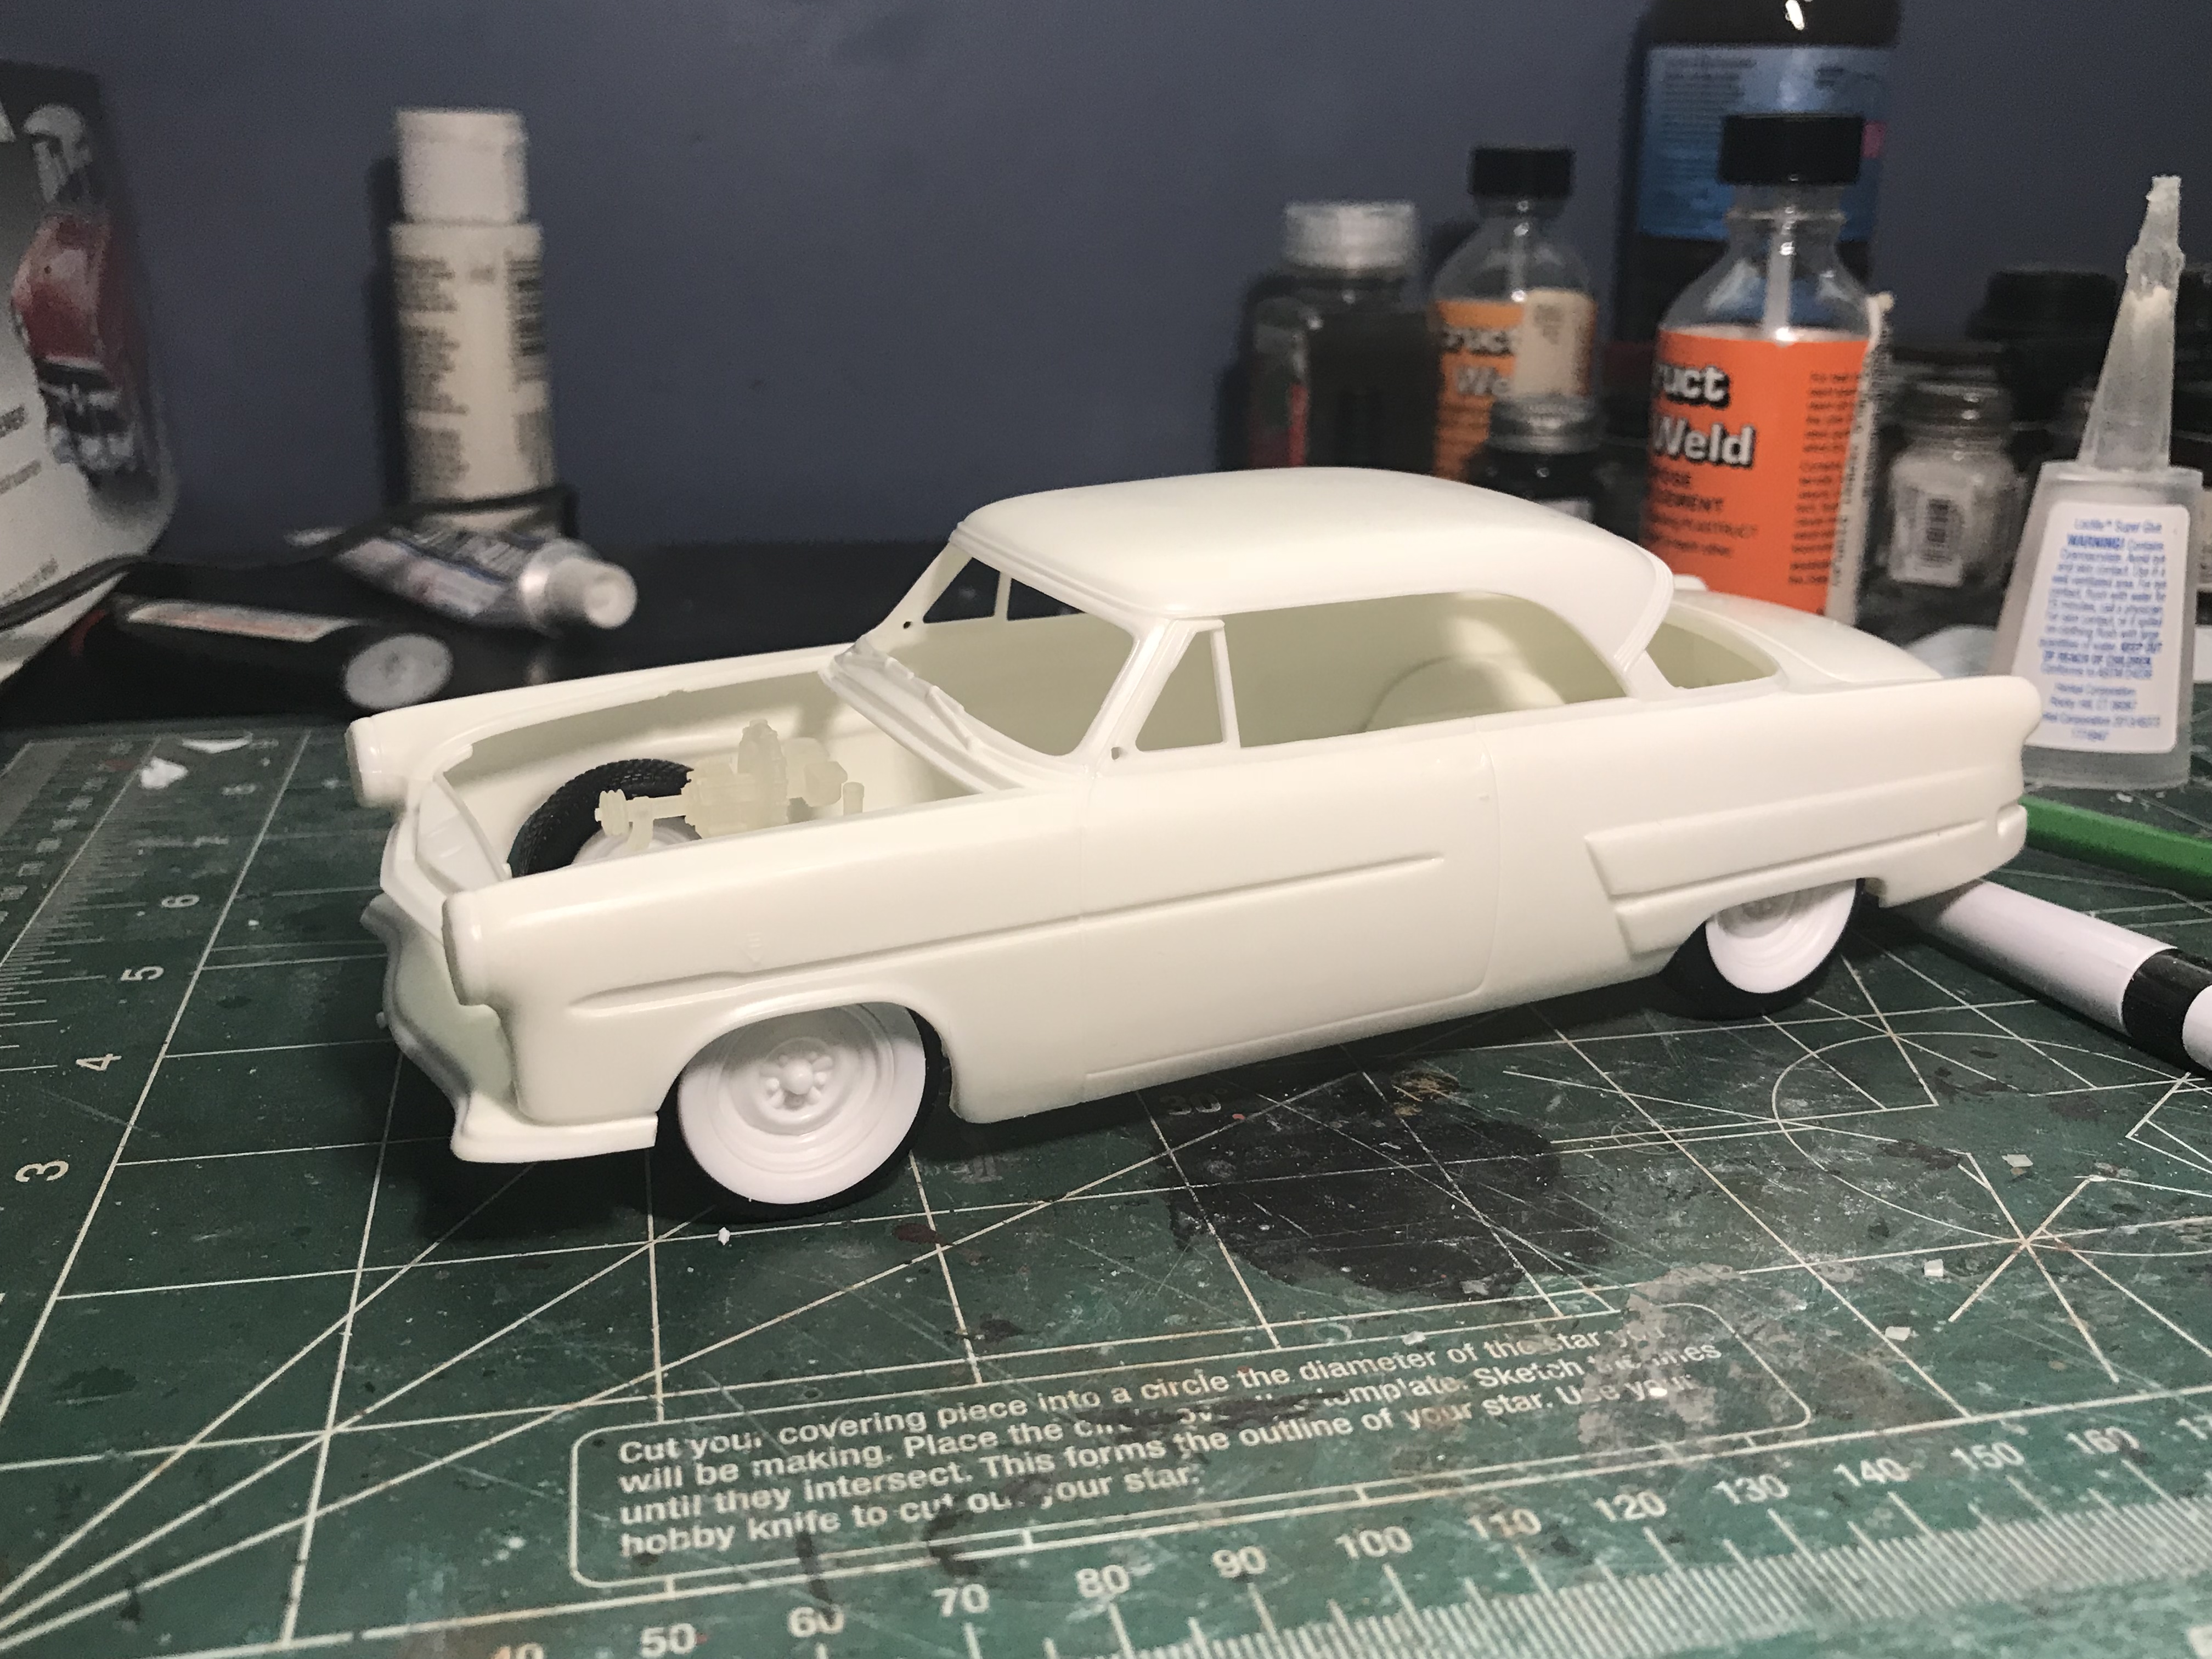
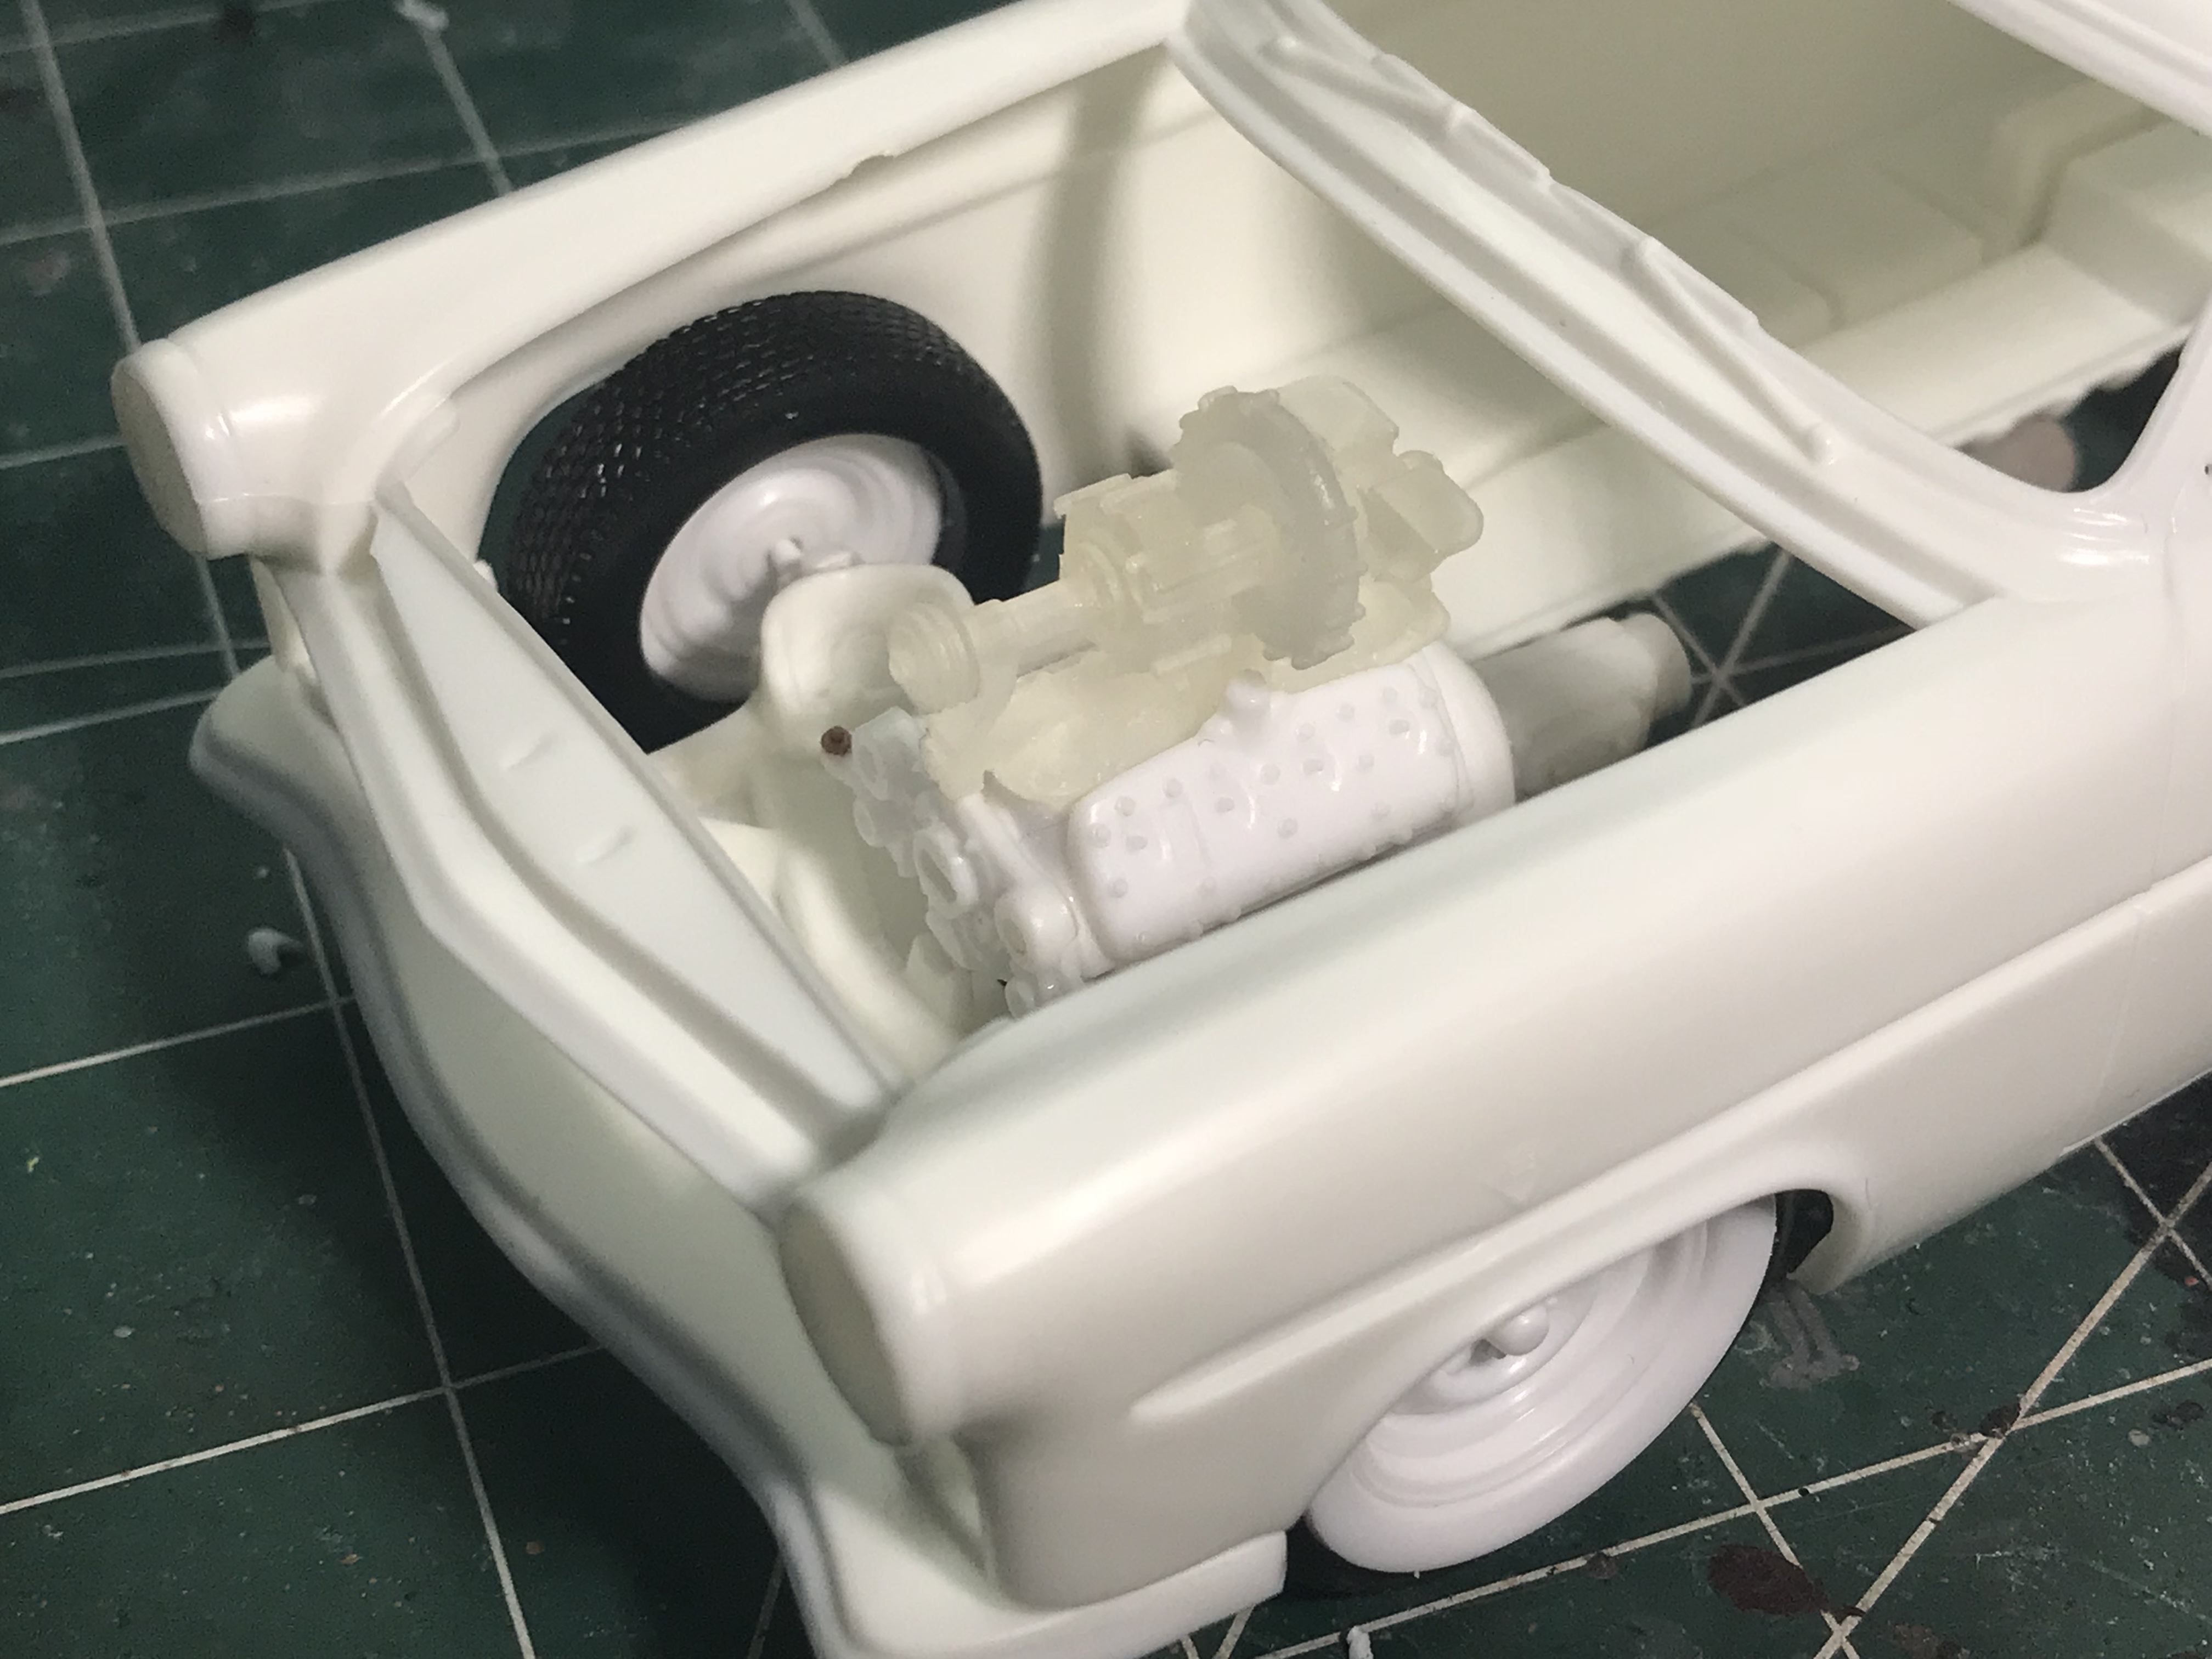
So here is the actual ride height. For the front I just drilled out the top of the spindle and glued in a piece of .060 rod for it to attach. In the rear I just made some blocks. This is intended to be a simple build as I’m needing a break from my 32 5 window if anyone is following that build.
-
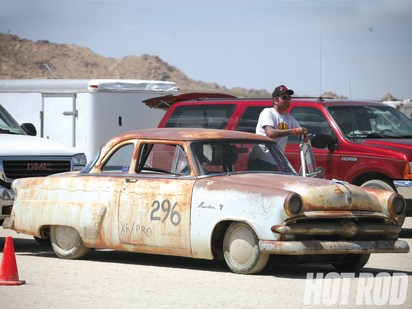
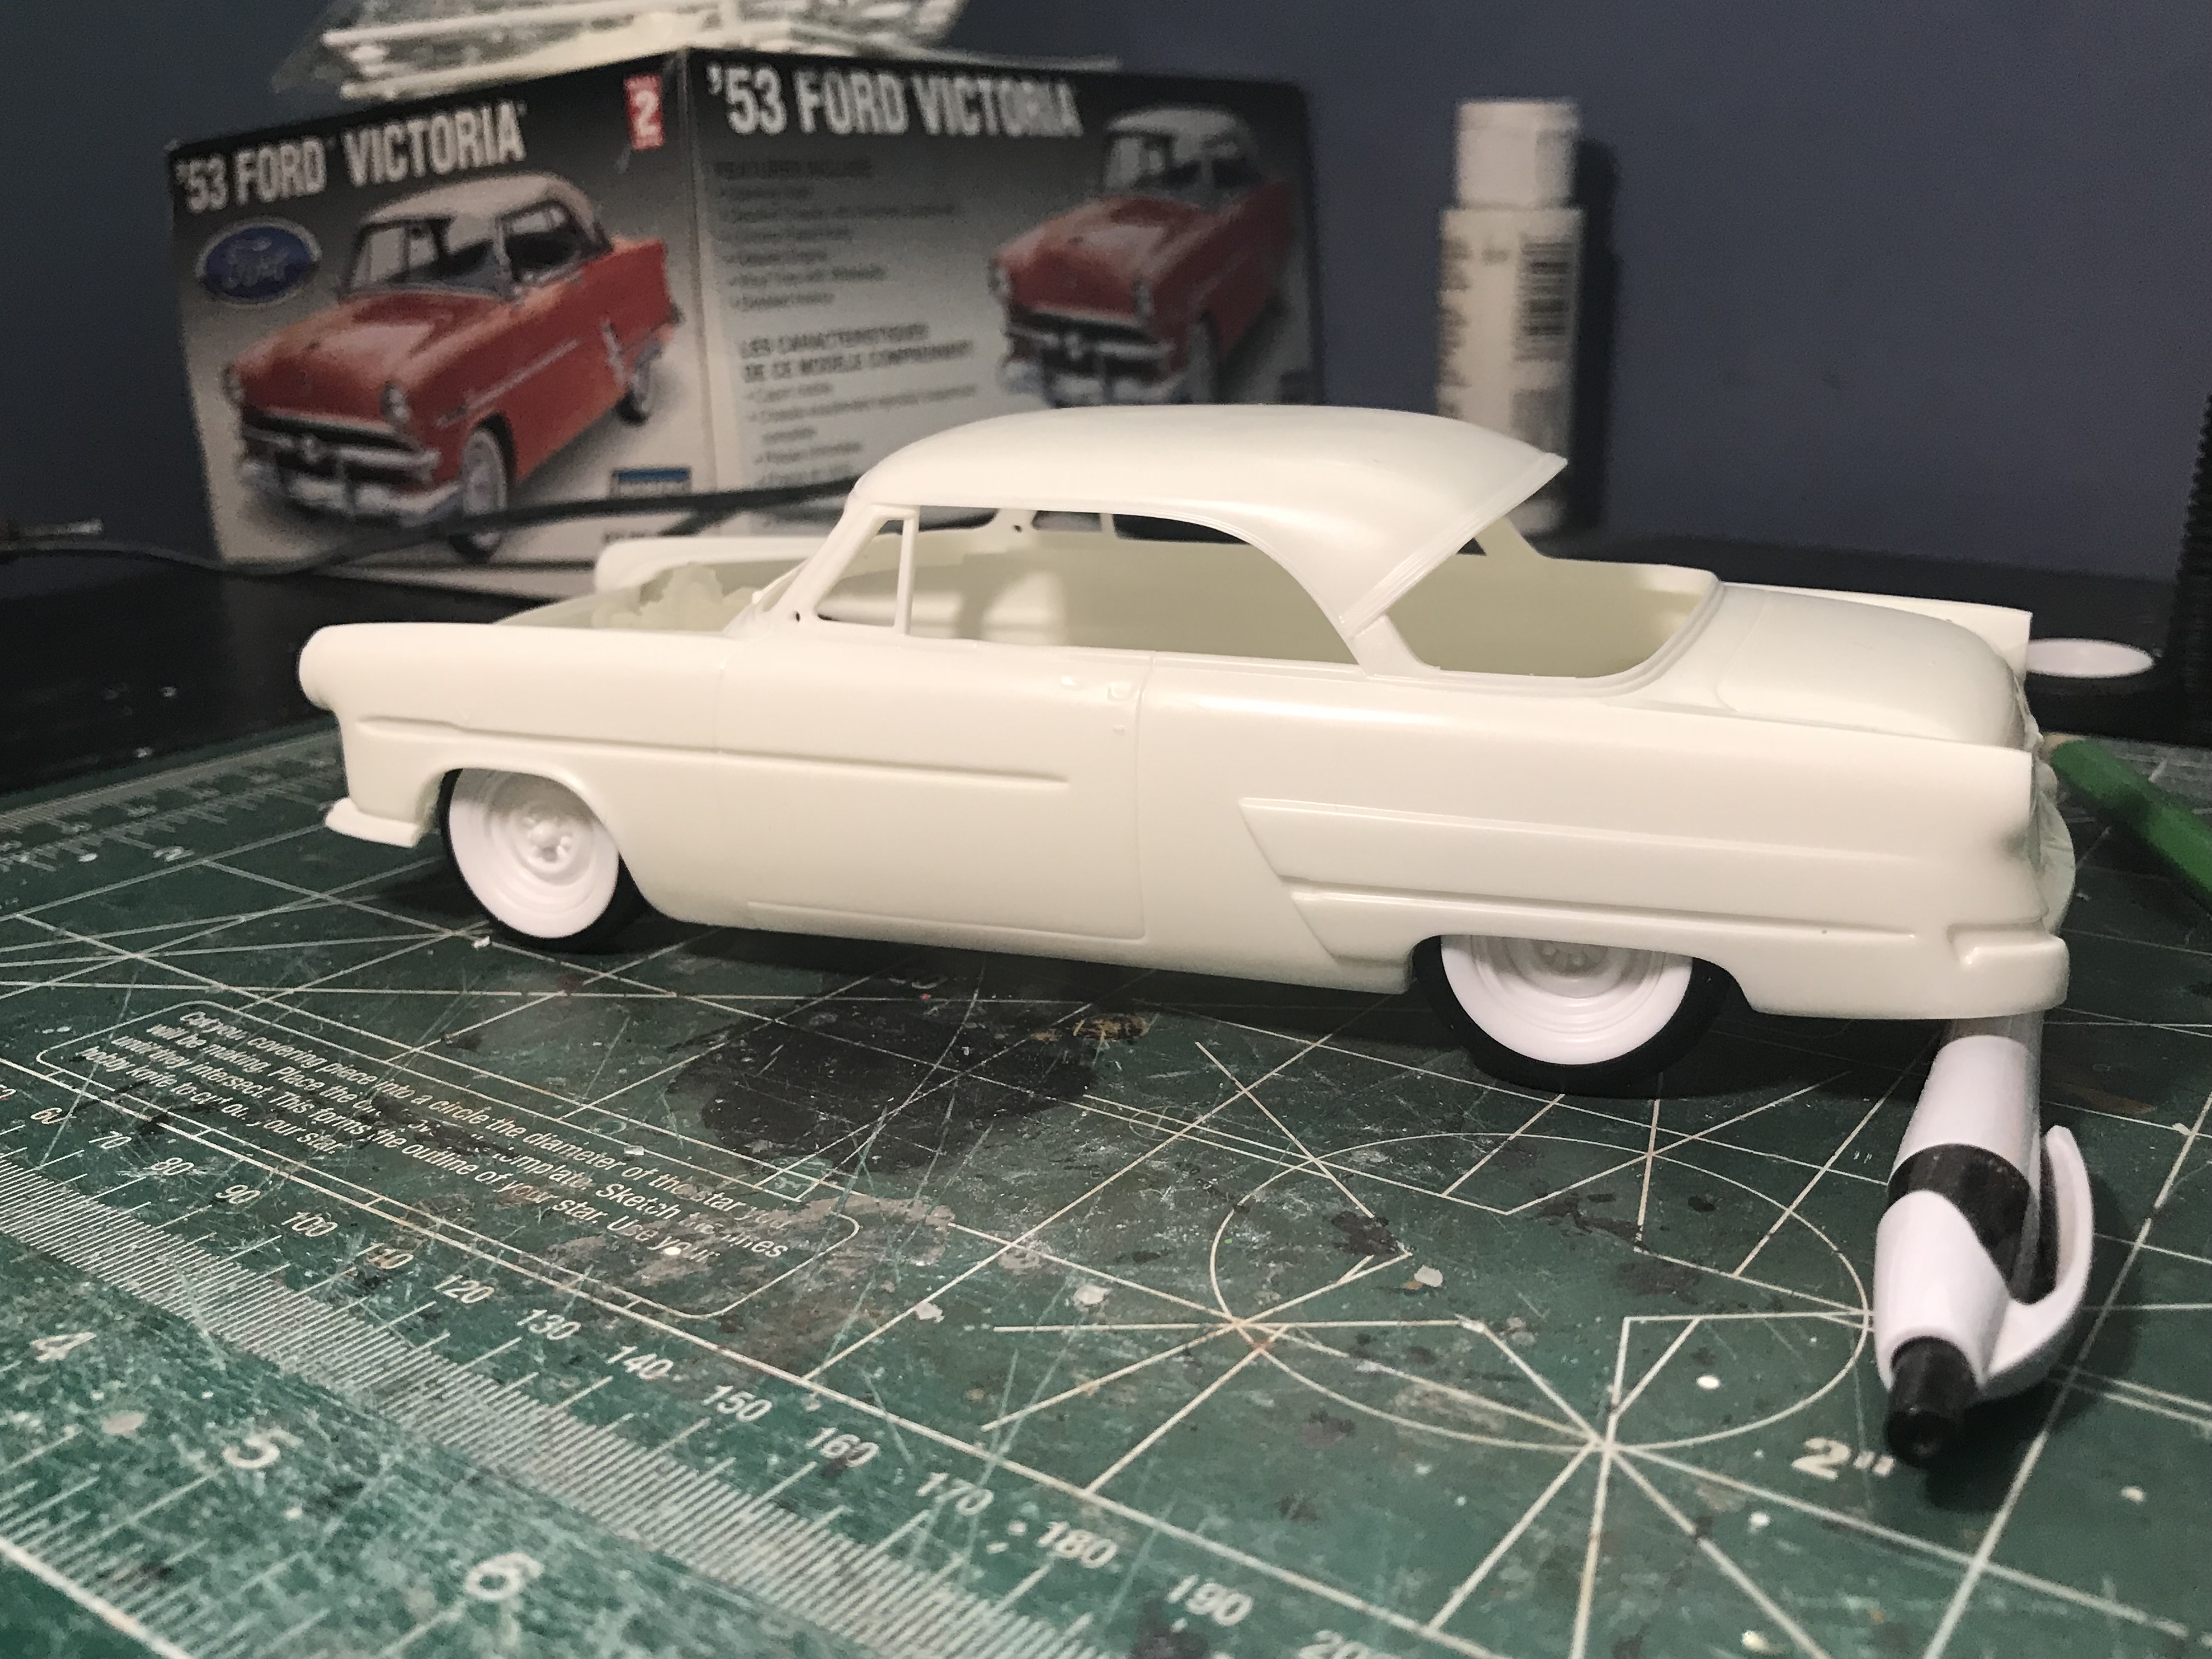
I picked up this Lindberg 53 ford on trade awhile back. I just had an idea so I’m going to run with it and see where it takes me. Wheels and tires are from the revell 29 model a pickup. Frenzel supercharger came from eBay.
-
Thank you, I wish there was a way I could show off more of the little detail. Being a black car that makes it even harder. I need to get a mirror base, I also considered making the top removable to show off the interior detail. Thanks
-
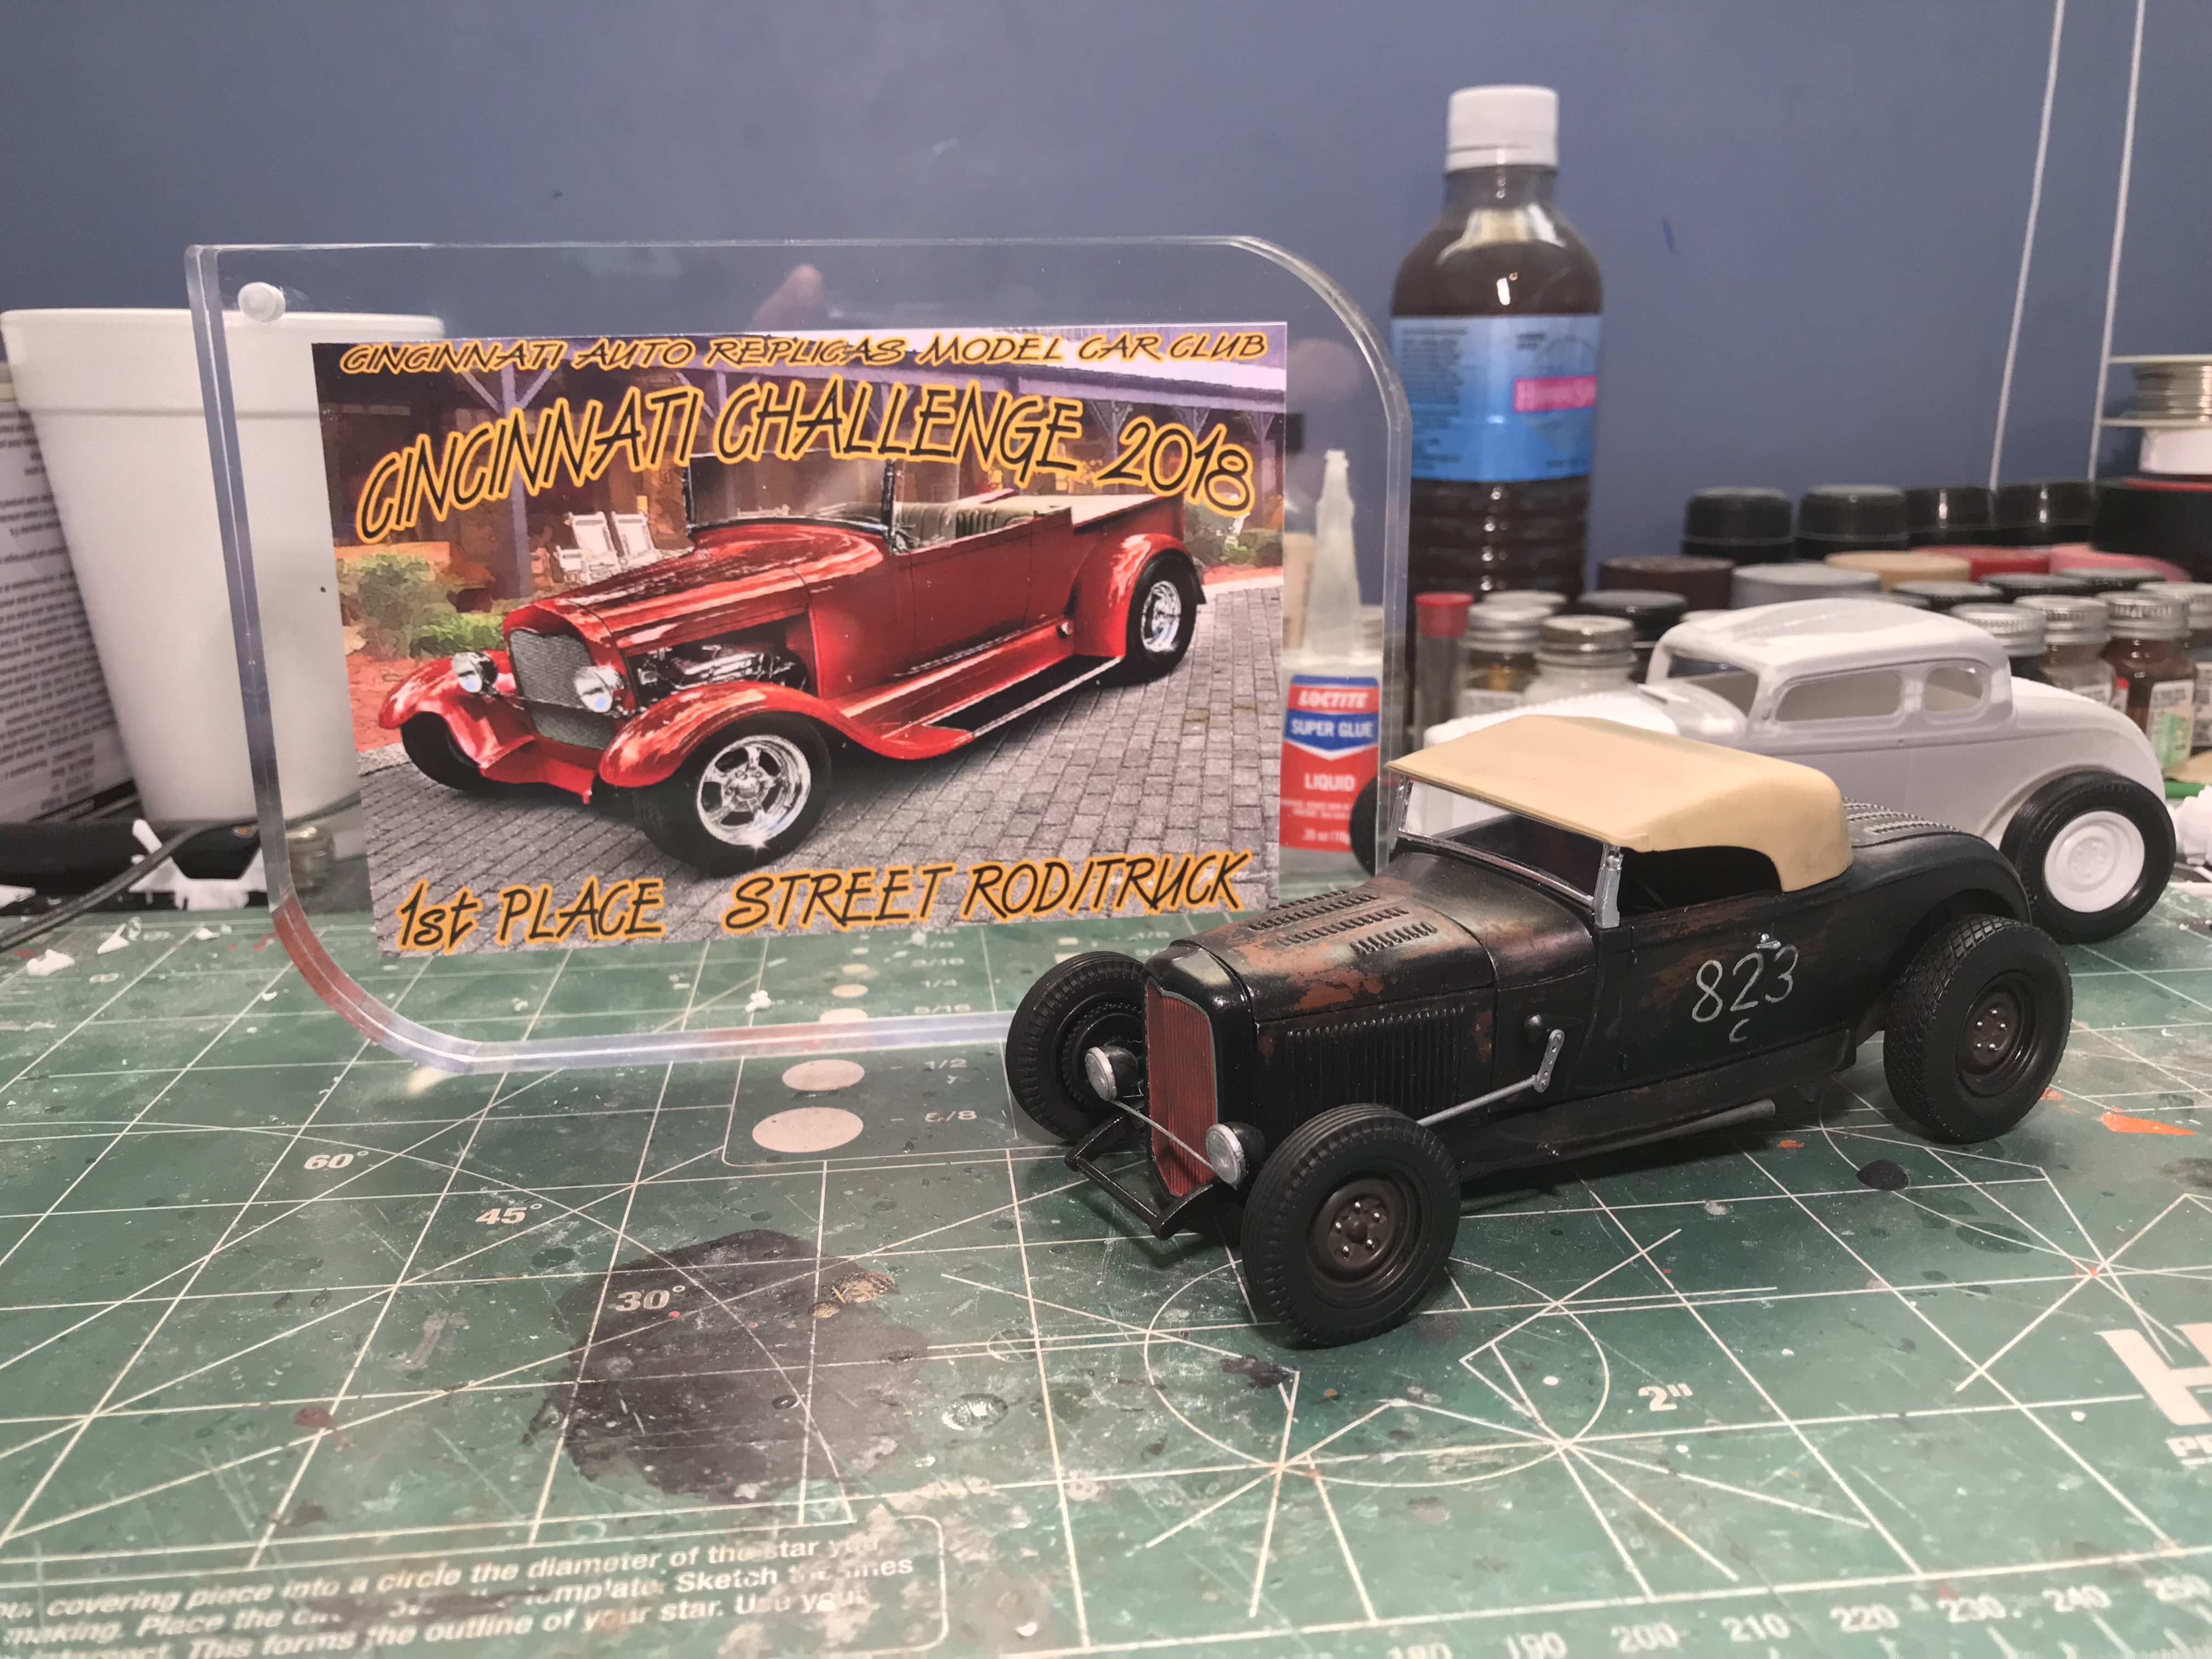
Brought home a little hardware from Cincinnati Challenge today.