Search the Community
Showing results for tags 'mini'.
-
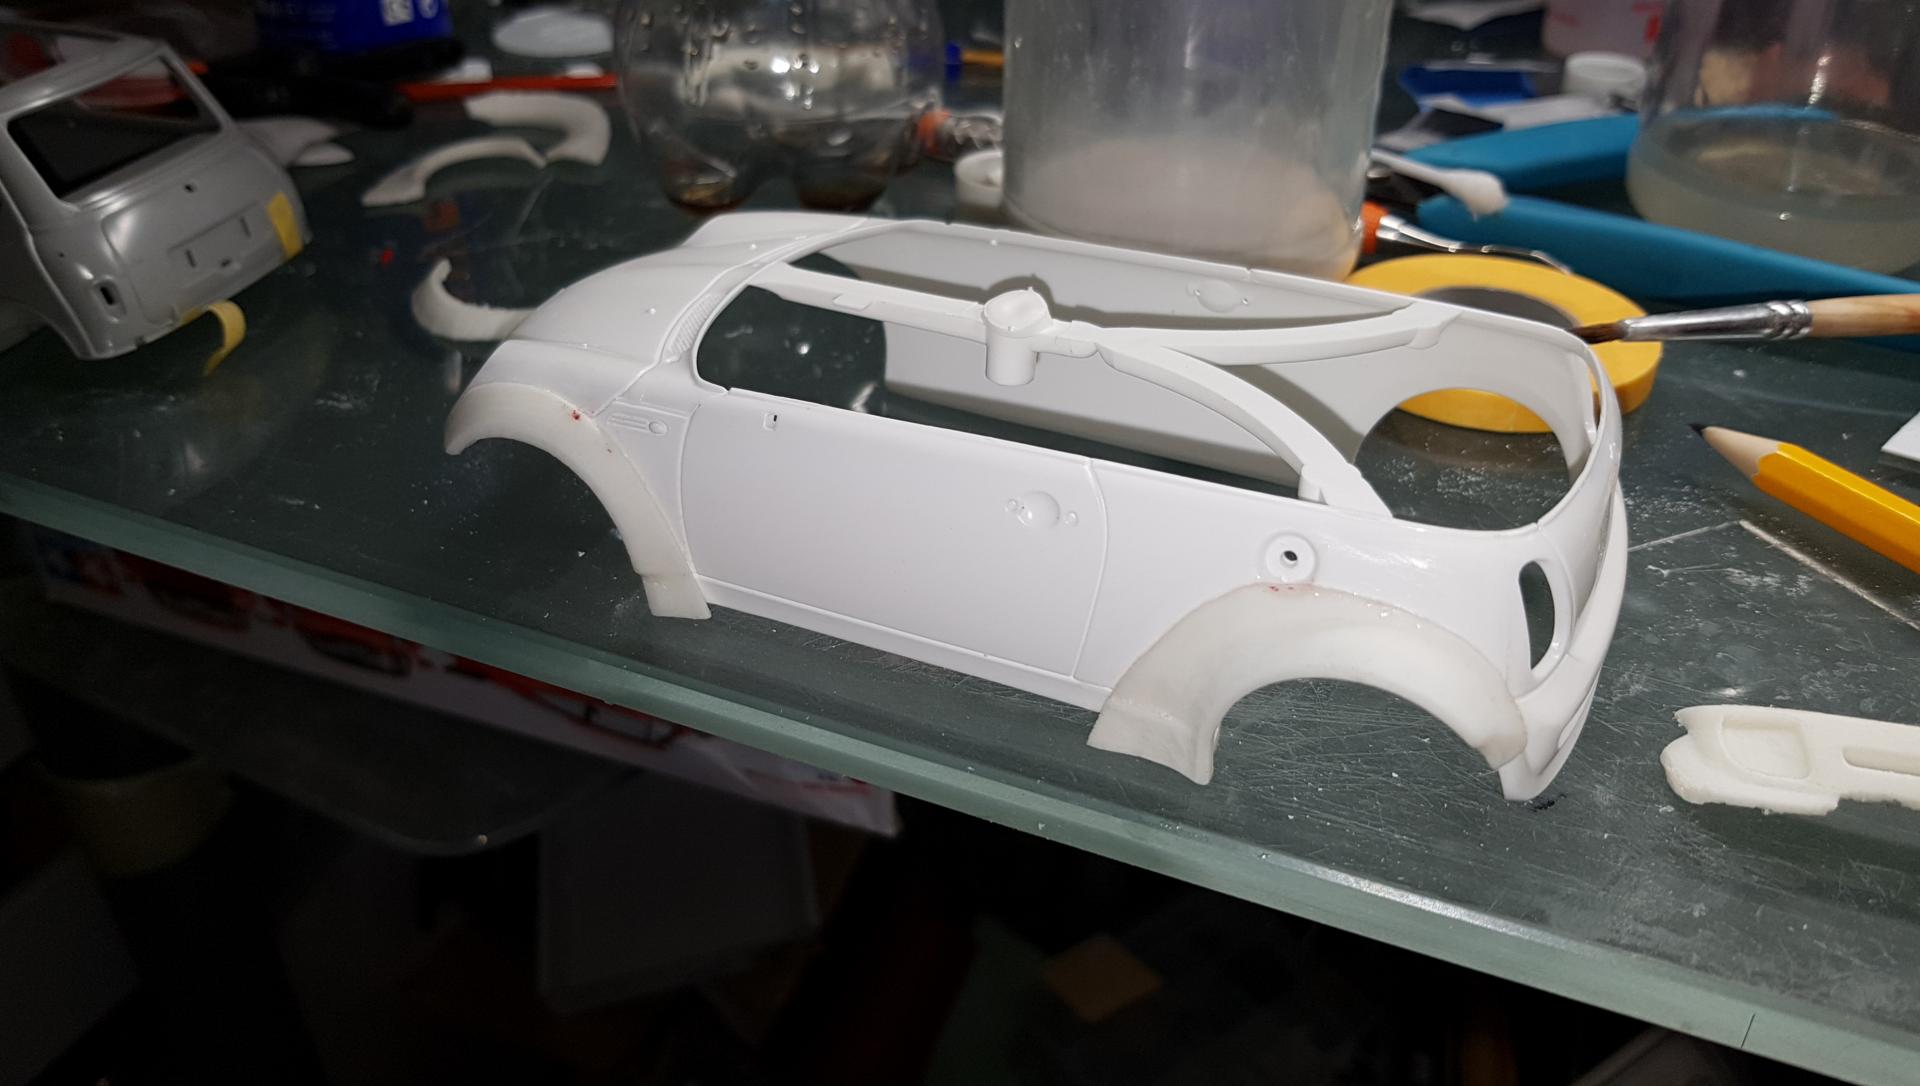
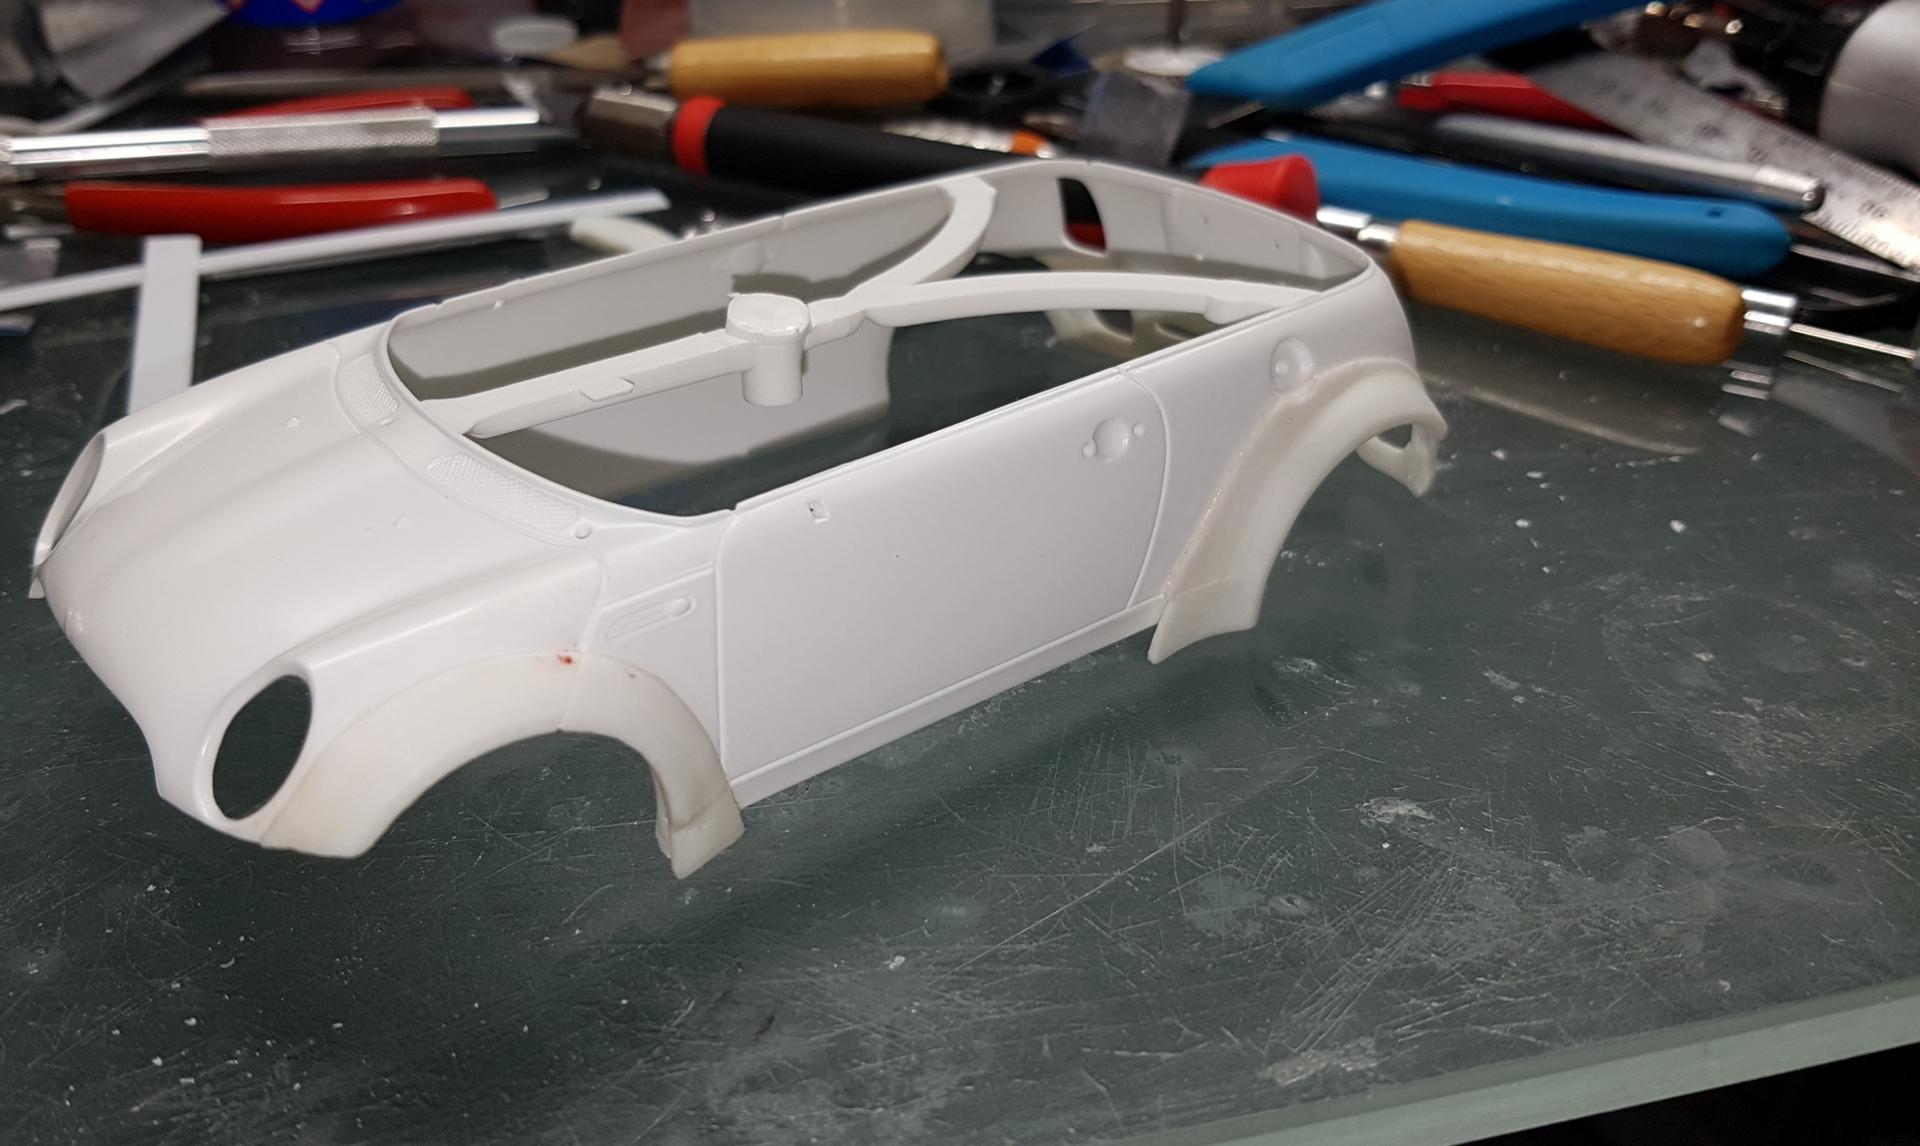
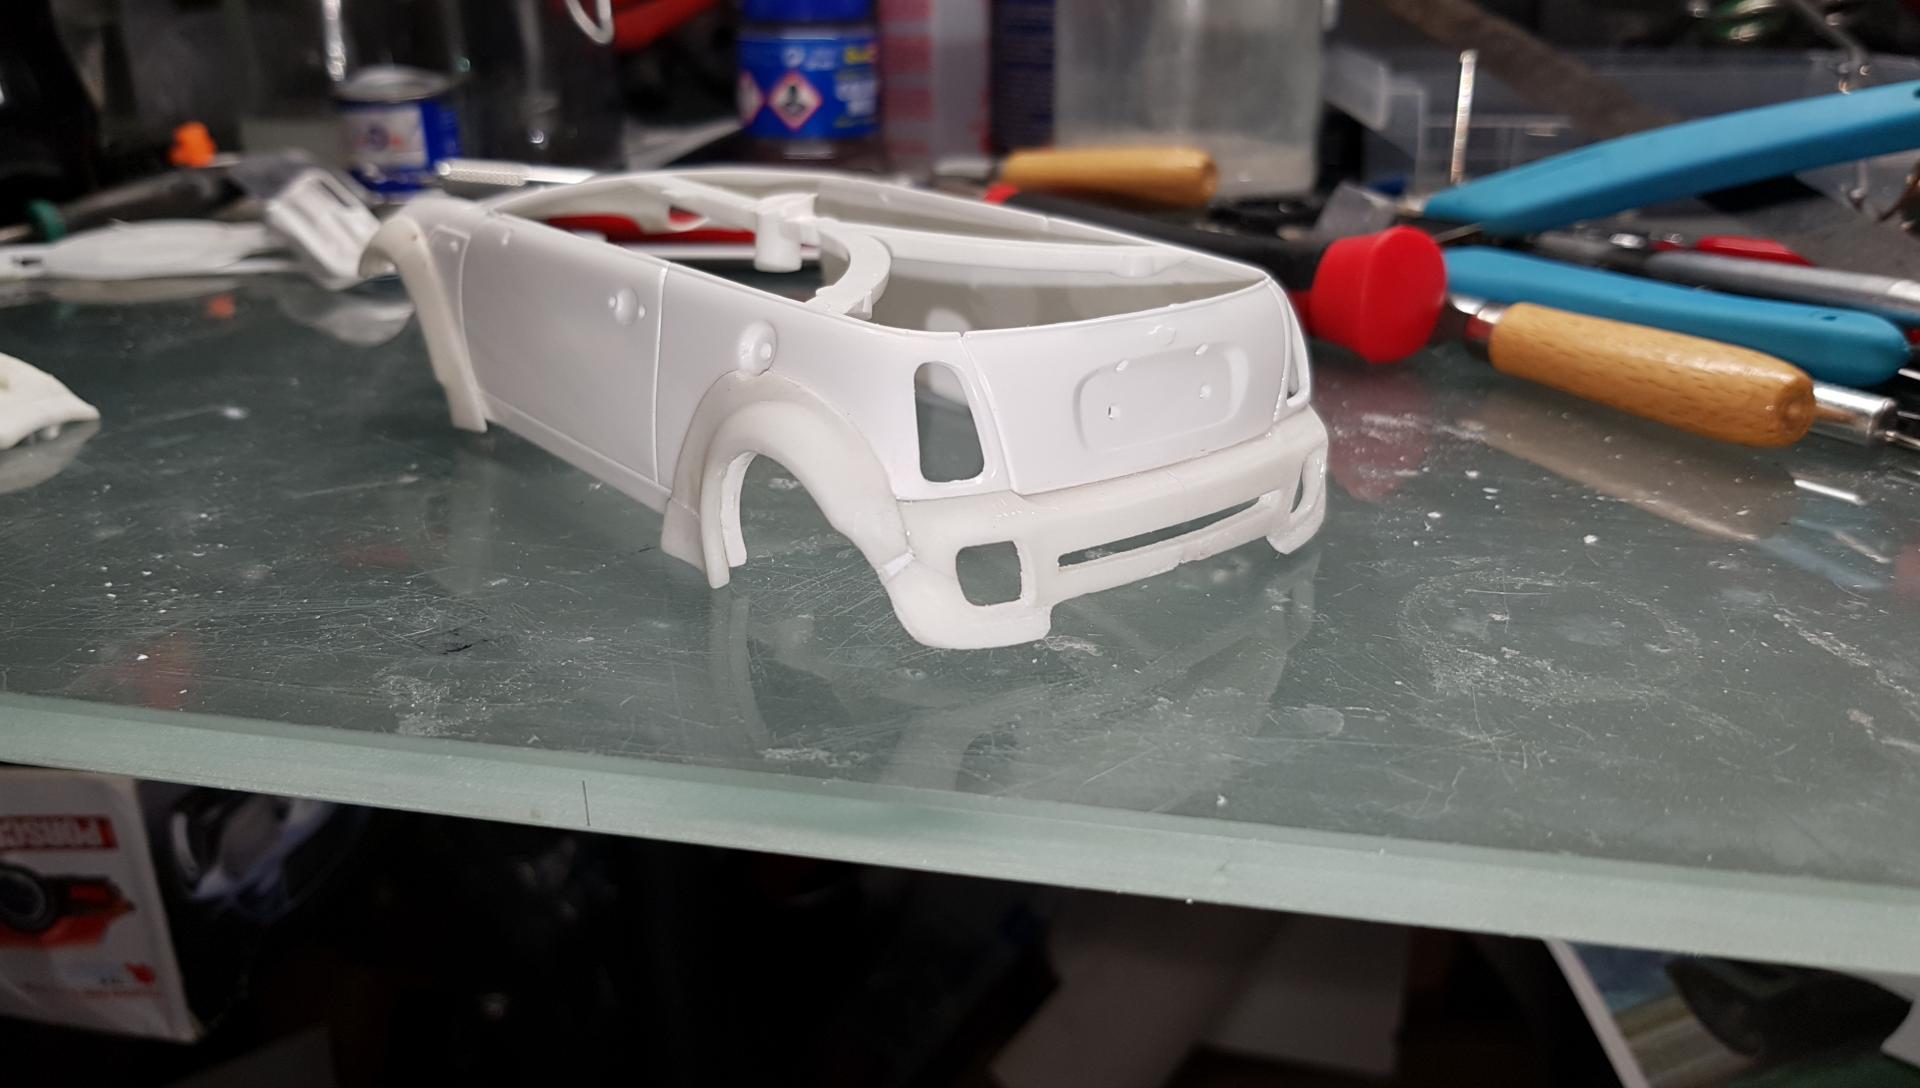
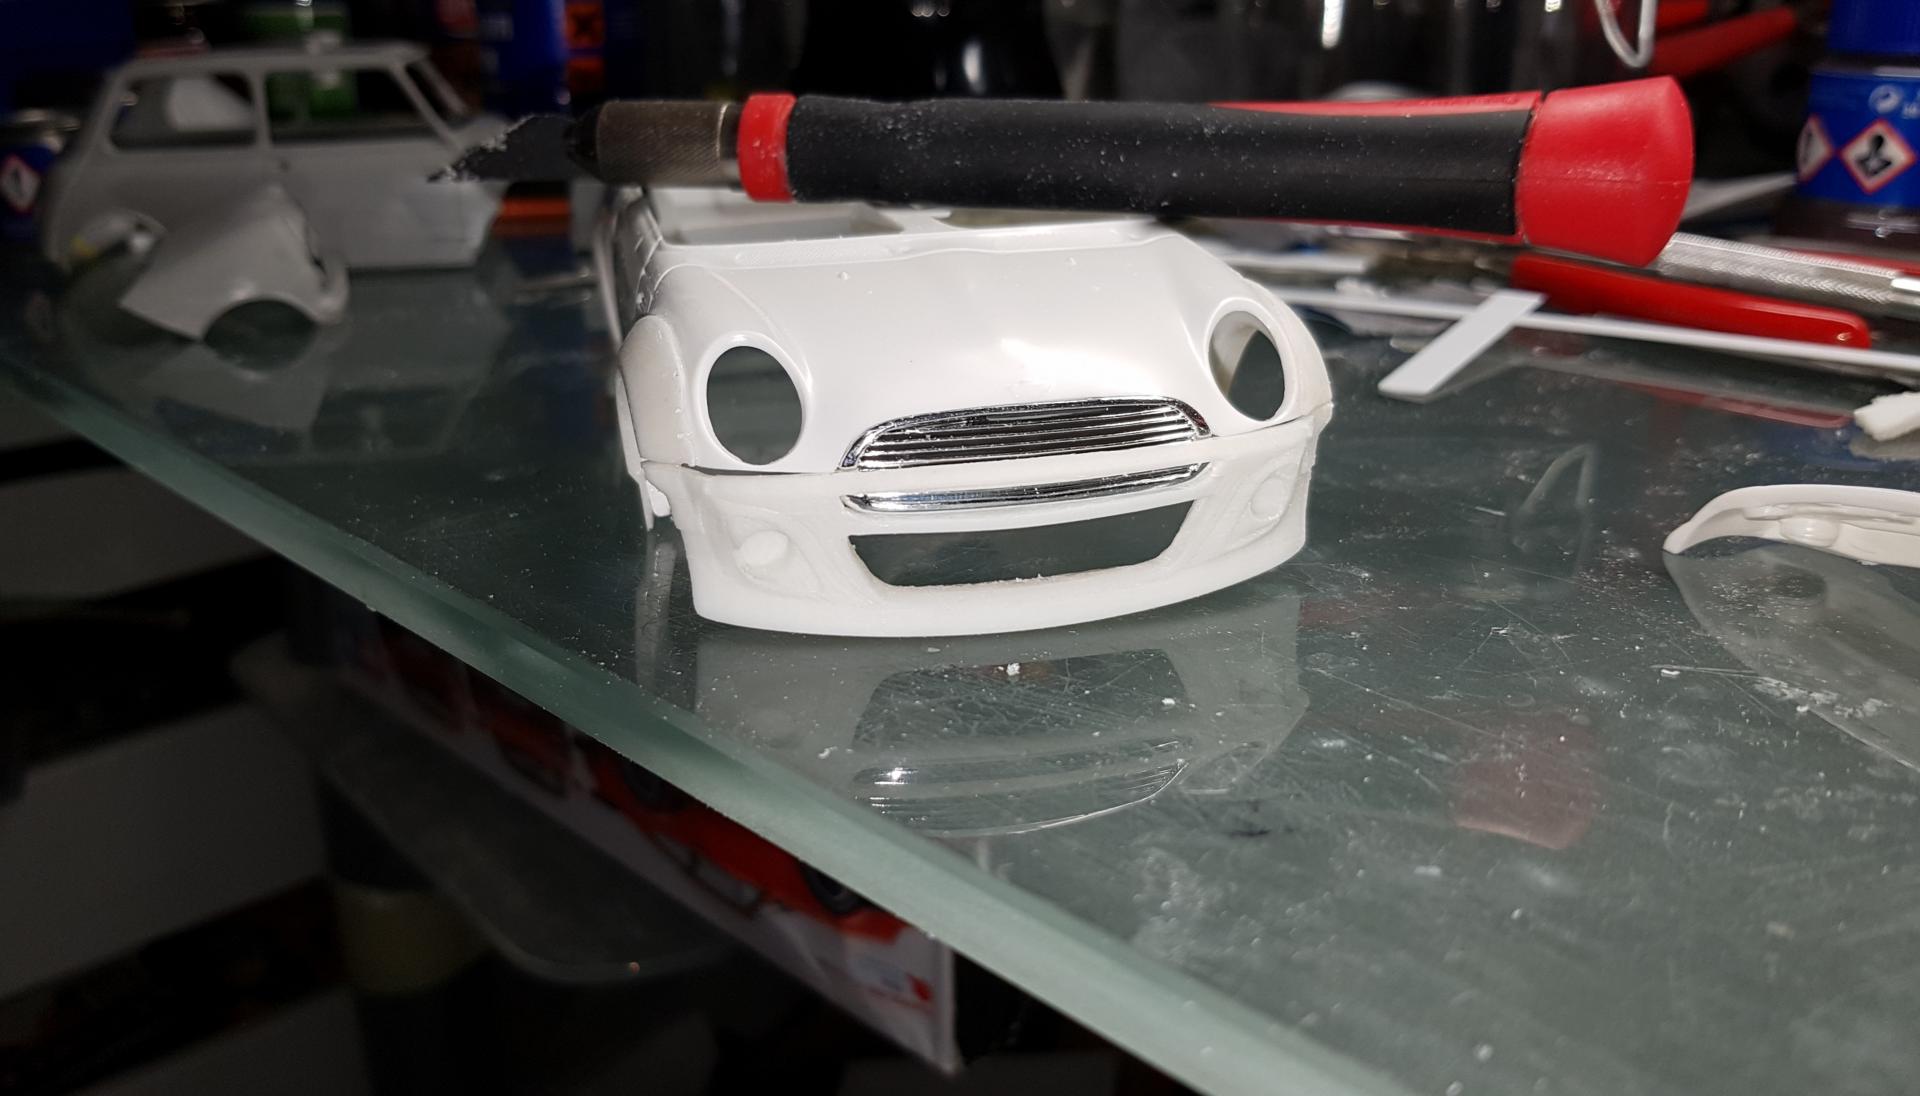
Hey, everyone! here is where my custom Mini is right now. The body needs decals , and clear, and the rest of it just needs to be detailed, and assembled -should only take a LITTLE more time, lol -Photo 1-3; I removed the factory fender flares, and made me own out of Milliput. The wheels came from a Fujimi Skyline GTR 2000 , and the wide tyres came from a Tamiya racing VW GTI -old kit....Oh ya, i lowered the ride height too. -Photo 4; Miscillanious bits ready for detailing, and assembly...alot of Fixed-up Minis even have center columns -this will too!
-
-
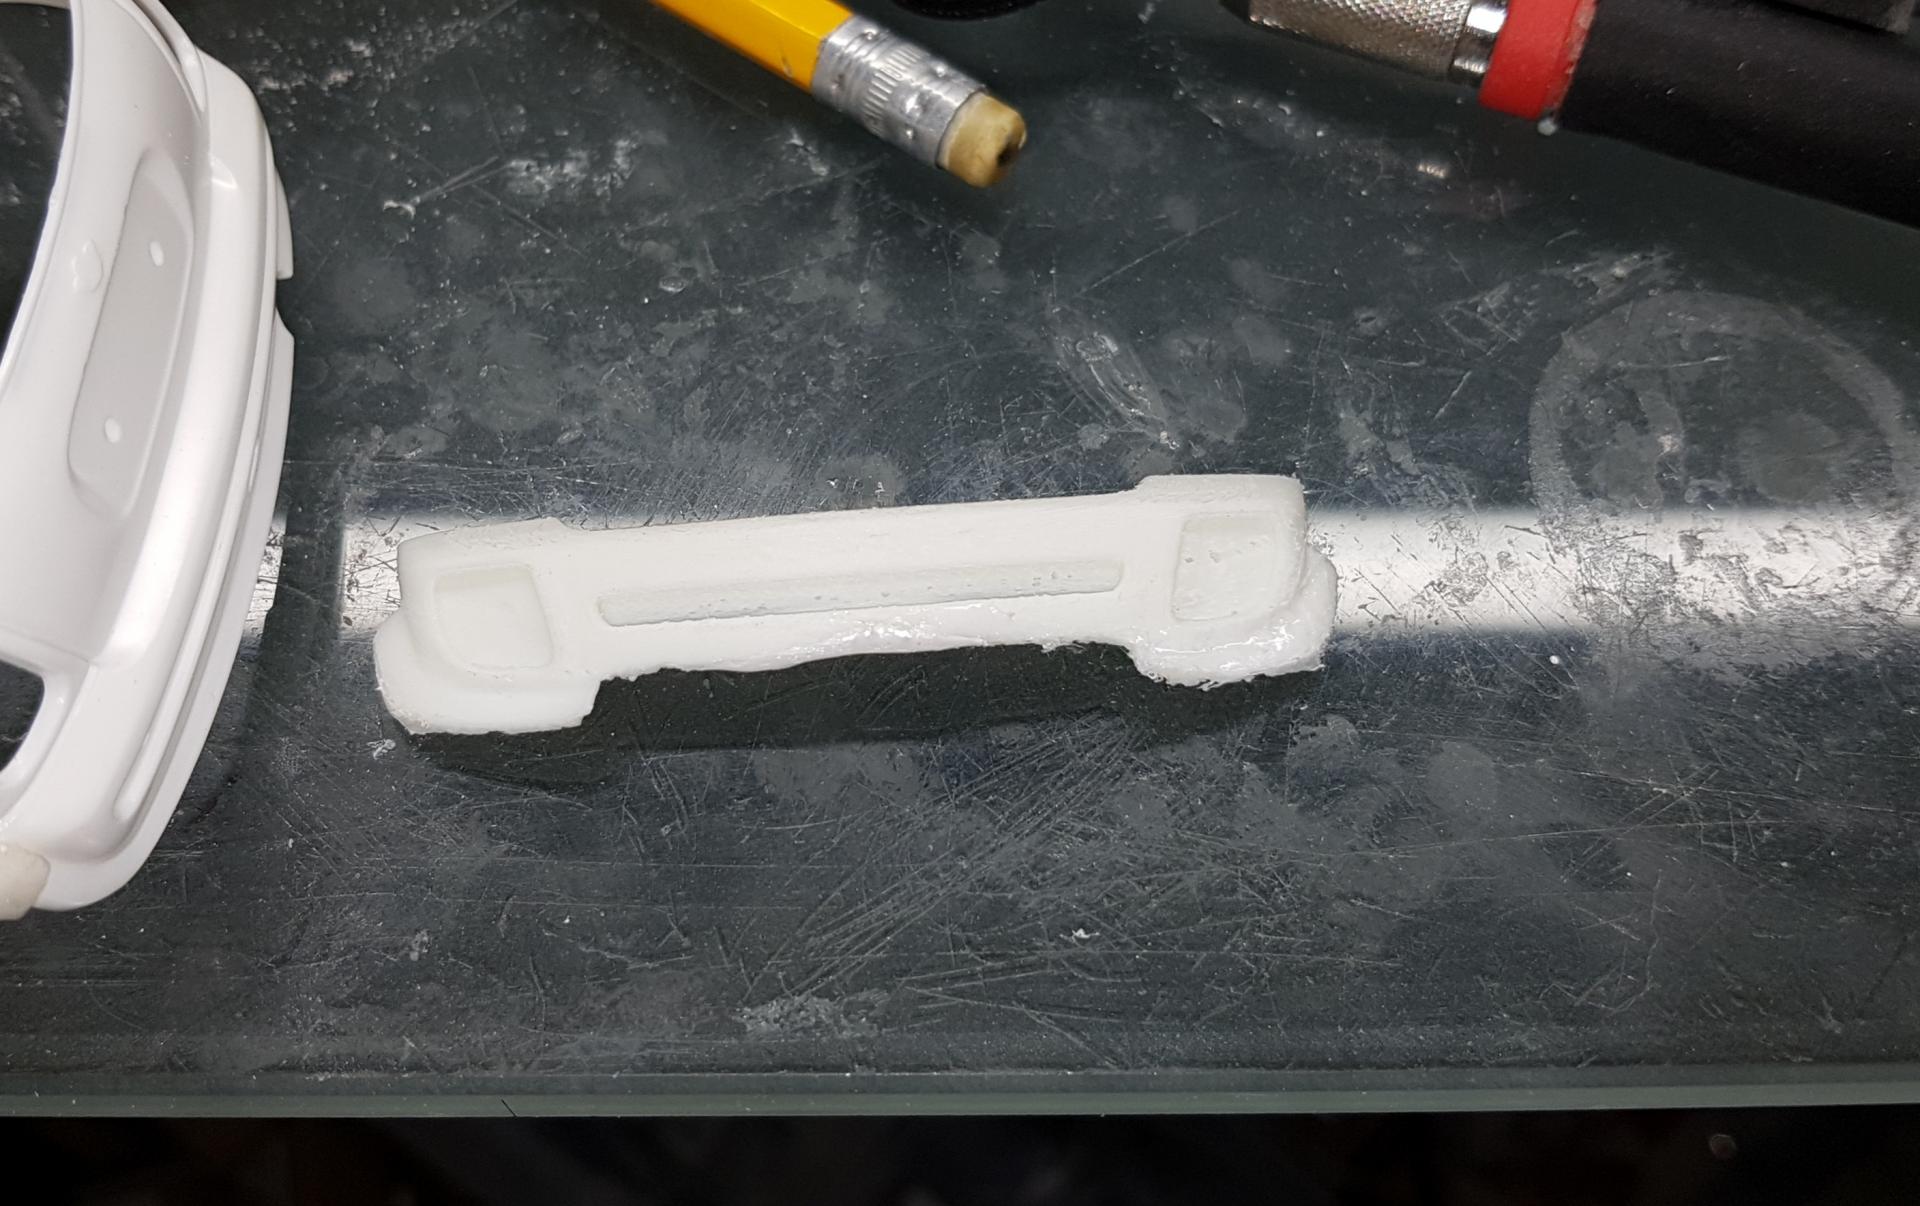
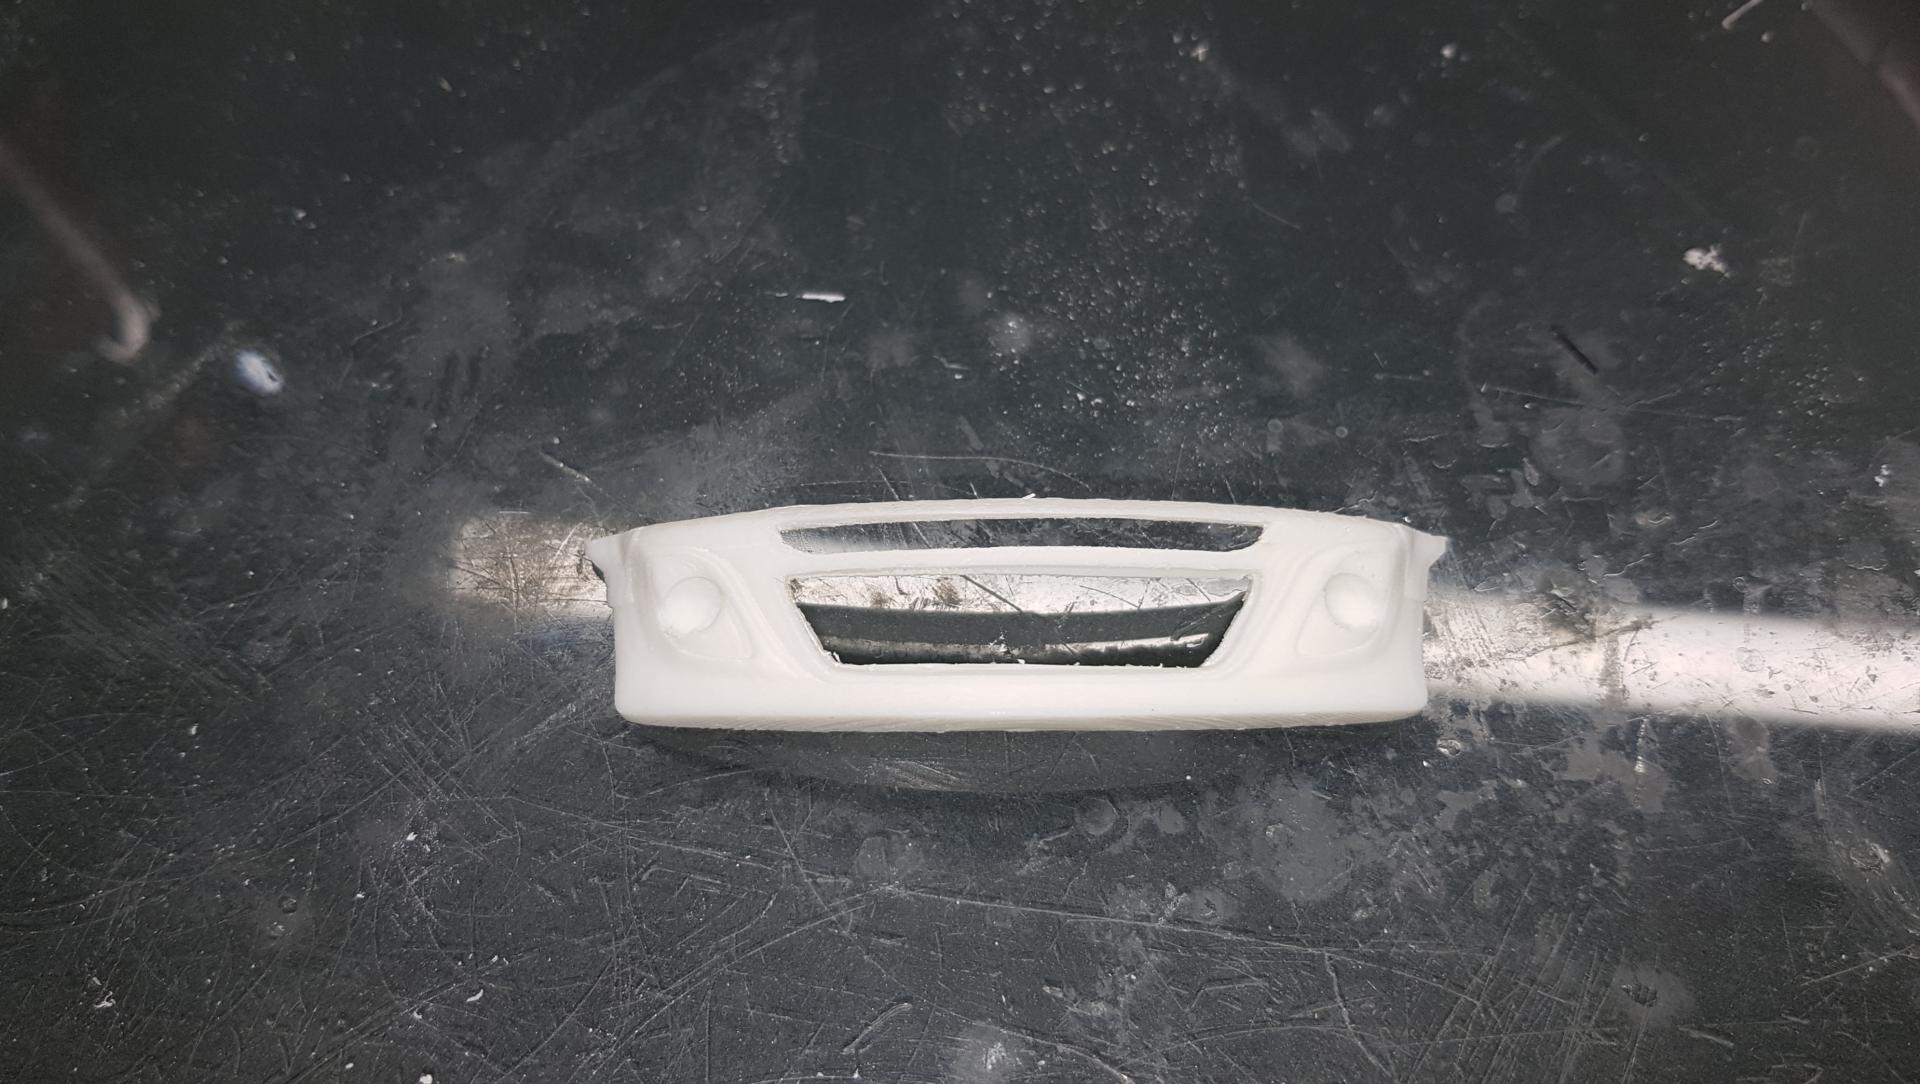
Hello, I dare to make a construction report here. A mini will be built in a Liberty Walk robe. The entire Liberty Walk Kit I have created on the PC and printed using my 3D printer. Here is the progress so far. Here are the bumpers. And with body.
-
I first saw one of these earlier this year and had to build a model of it. I made the roll cage, battery, fuel cell, exhaust, rear quarter windows, washer bottle, fan and radiator. Aftermarket parts were; Detail Master 5-point harnesses, 13" aluminium wheels from Scaleproductions.de, resin Honda B-18 V-Tec engine from Studio 81, resin louvres from Arcer fine transfers, aluminium extinguisher, braided hose and fittings, and a decal on the roof. I hope you like it
-
Hey everyone!, this is my Tamiya BMC Mini Cooper by Tamiya. I wanted to see if I could build an interesting model within a week, so I decided to build this. Somehow it looks right at home up there...lol!! This was just suppose to be pure fun, and it was!, everything under it is from an Aoshima Hilux kit, the dash is from a Renault Alpine, and the engine is laughably from a Tamiya Jaguar XJ220! -I think I will go back and add a few things to it, like a winch....
-
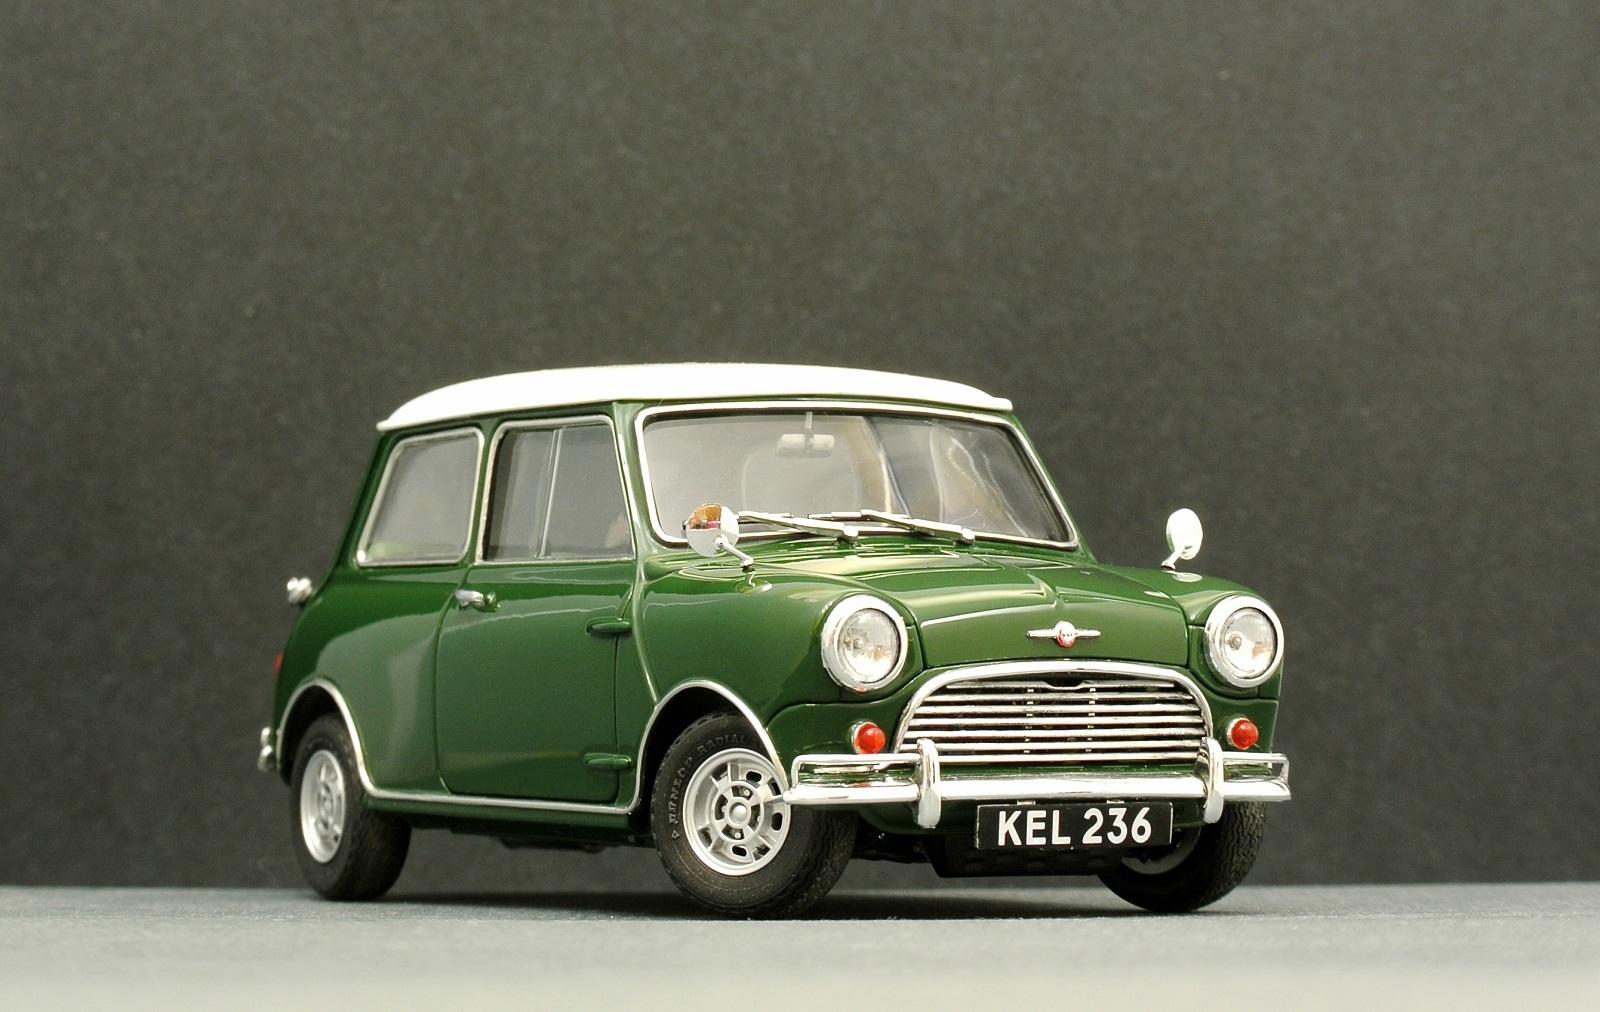
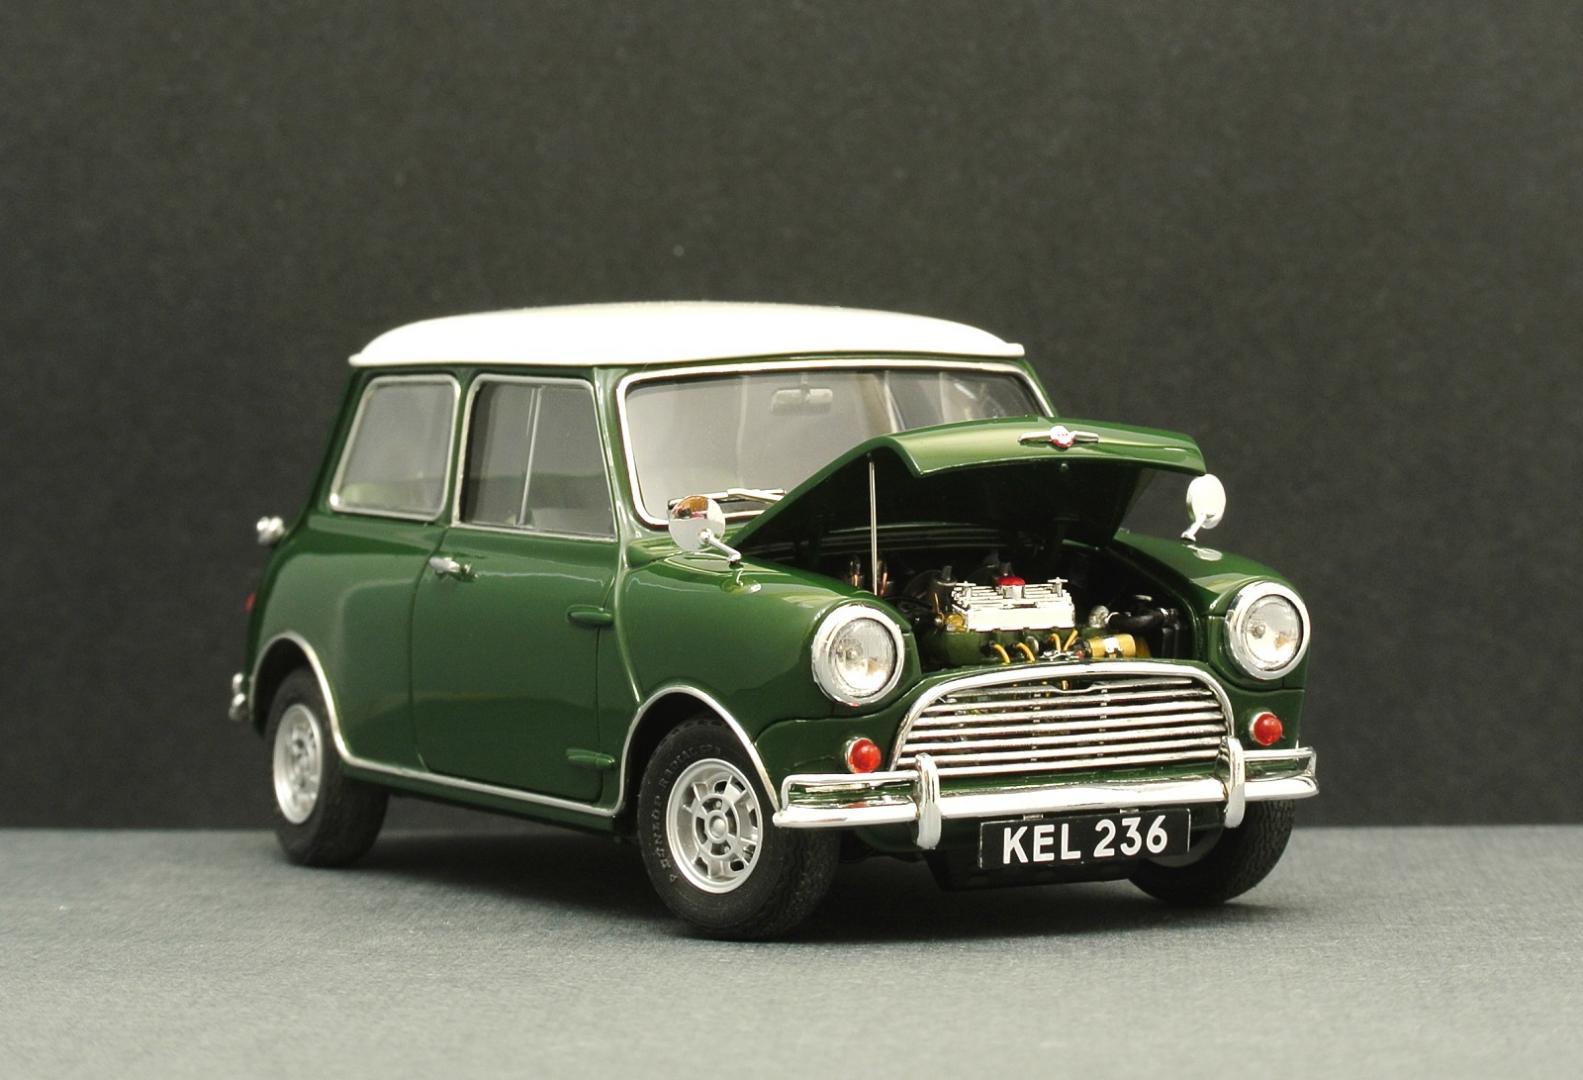
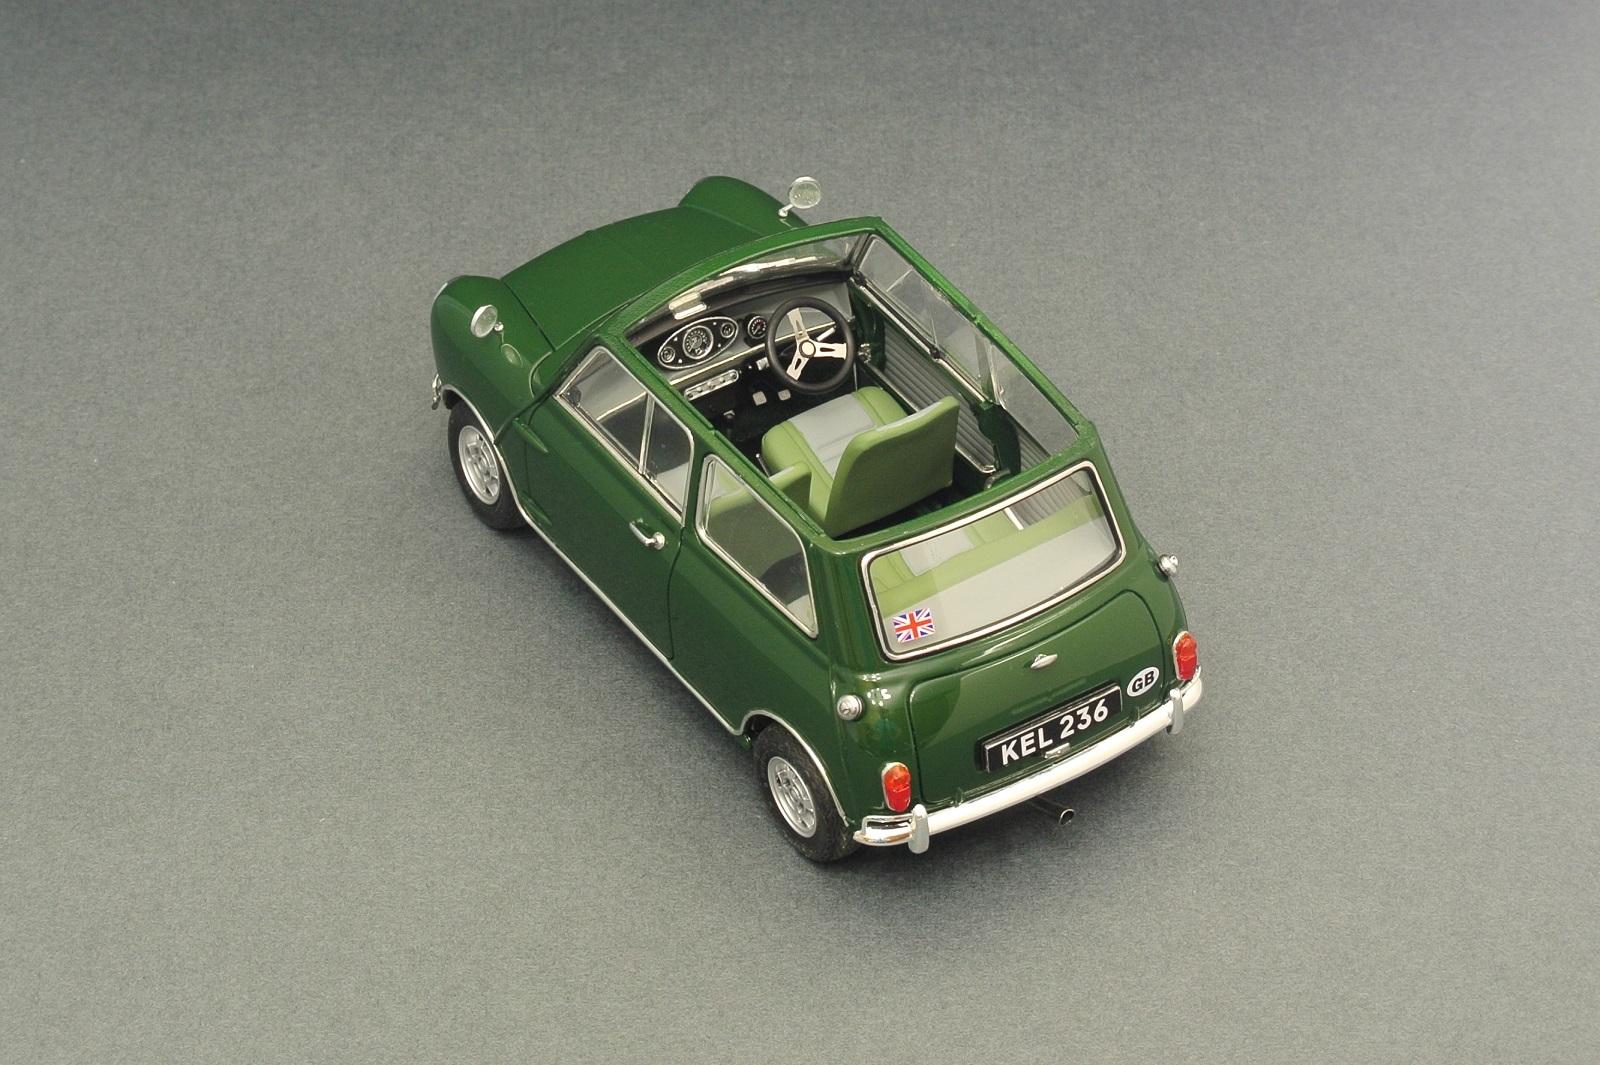
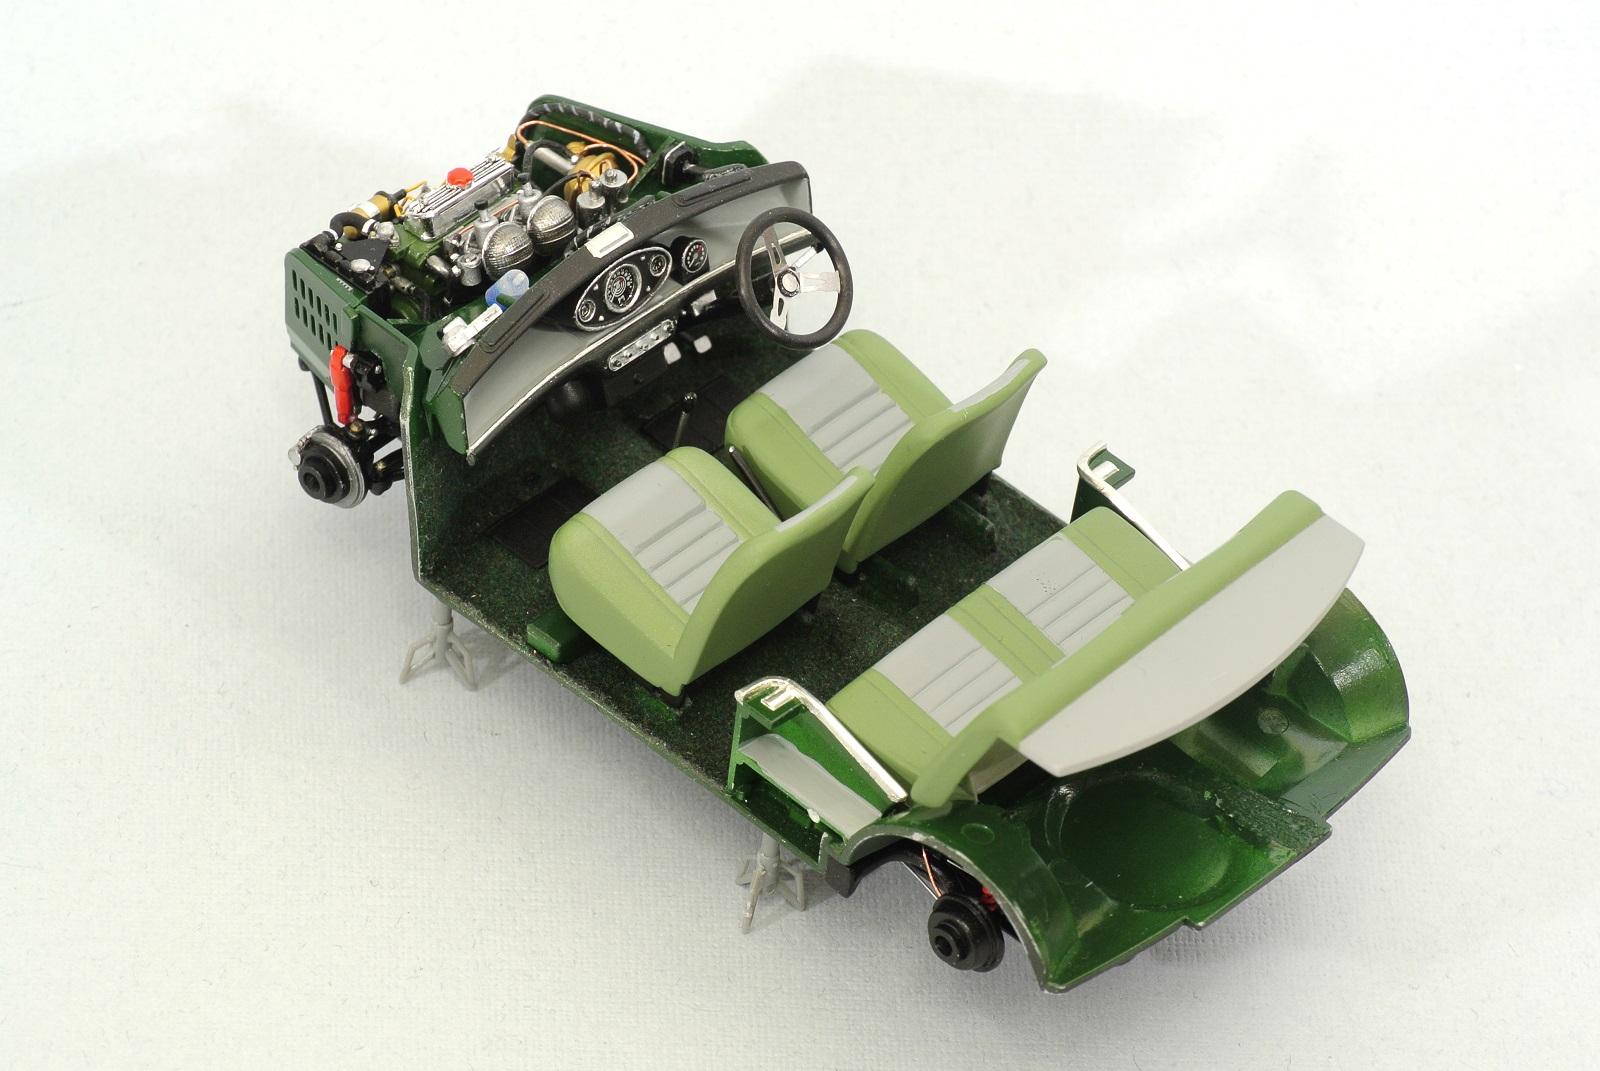
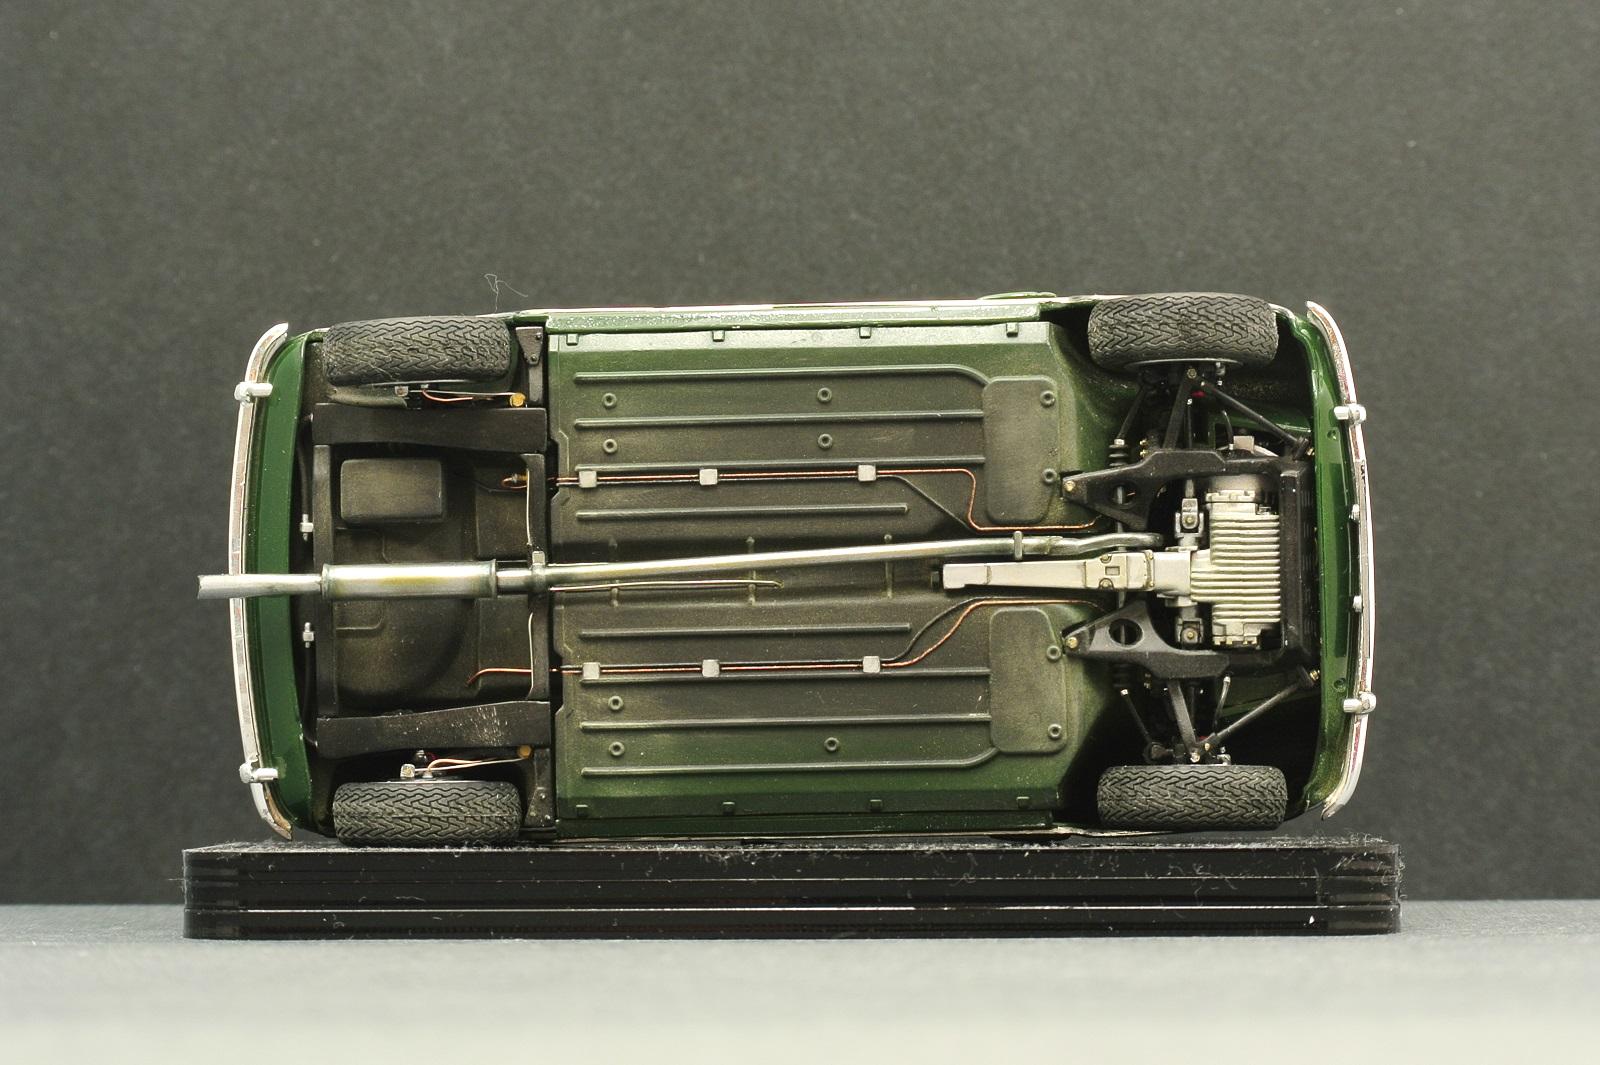
Hi all! I would like to show you my second build - Morris cooper mini Mk.1 Tamiya. Model was finished 8 months ago. The body is painted with green acrylic Mr.Hobby, top is covered with 2k varnish. The rest of the details were painted using the paints Tamiya, Testors, Mr.Color, AlcadII. I decided to maximize the detail of the engine compartment under the hood and the brake lines under the bottom, using a wire of different color and thickness. Also, many scratchbuild parts were added under the hood such as the radiator cover with the brackets, the oil dipstick with the engine tide, the clutch cylinder, the generator relay, the heater crane, the engine support, the speedometer niche and the salon air intake. As a whole there was still a lot of work to be done, but I can not enumerate everything. Only one significant mistake i made - logos on back door. I decided to paint it after varnishing, but I get thick coat of lacquer in this place and left unpainted as is Enjoy....
-
Hello, here is one of my latest builds.. Its Tamiya`s Mini with brush paintjob and some added details, not much since its allmost out of box model..
-
Just got this finished.. Its made from Fujimi kit, its curbside.. Brush painted and added some decals and finnish plates..
-
Here it comes - my competitor for the Cannonballrun 2015 - "The Sleeperball" It bases on the Tamiya Mini in 1/24. Studded with fine parts out of a Honda Integra (engine, transmission), Honda Civic (exhaust system, interior) and self made little things. Some more cutting on the engine and engine compartment as well as the dash board as supposed were needed but in the end it fits properly. I looks clean like an oob without seat belts or such things. My priority was fitting the "foreign" parts and the clean look. Here the pictures. Feel free to say, what you think If you like it, please vote for it here http://www.modelcarsmag.com/forums/topic/106766-2015-cannonball-run-cbp-completed-builds-thread/

.jpg.22fe94e785ce85885163b795d1b982e6.jpg)

