Search the Community
Showing results for tags 'spyder'.
-
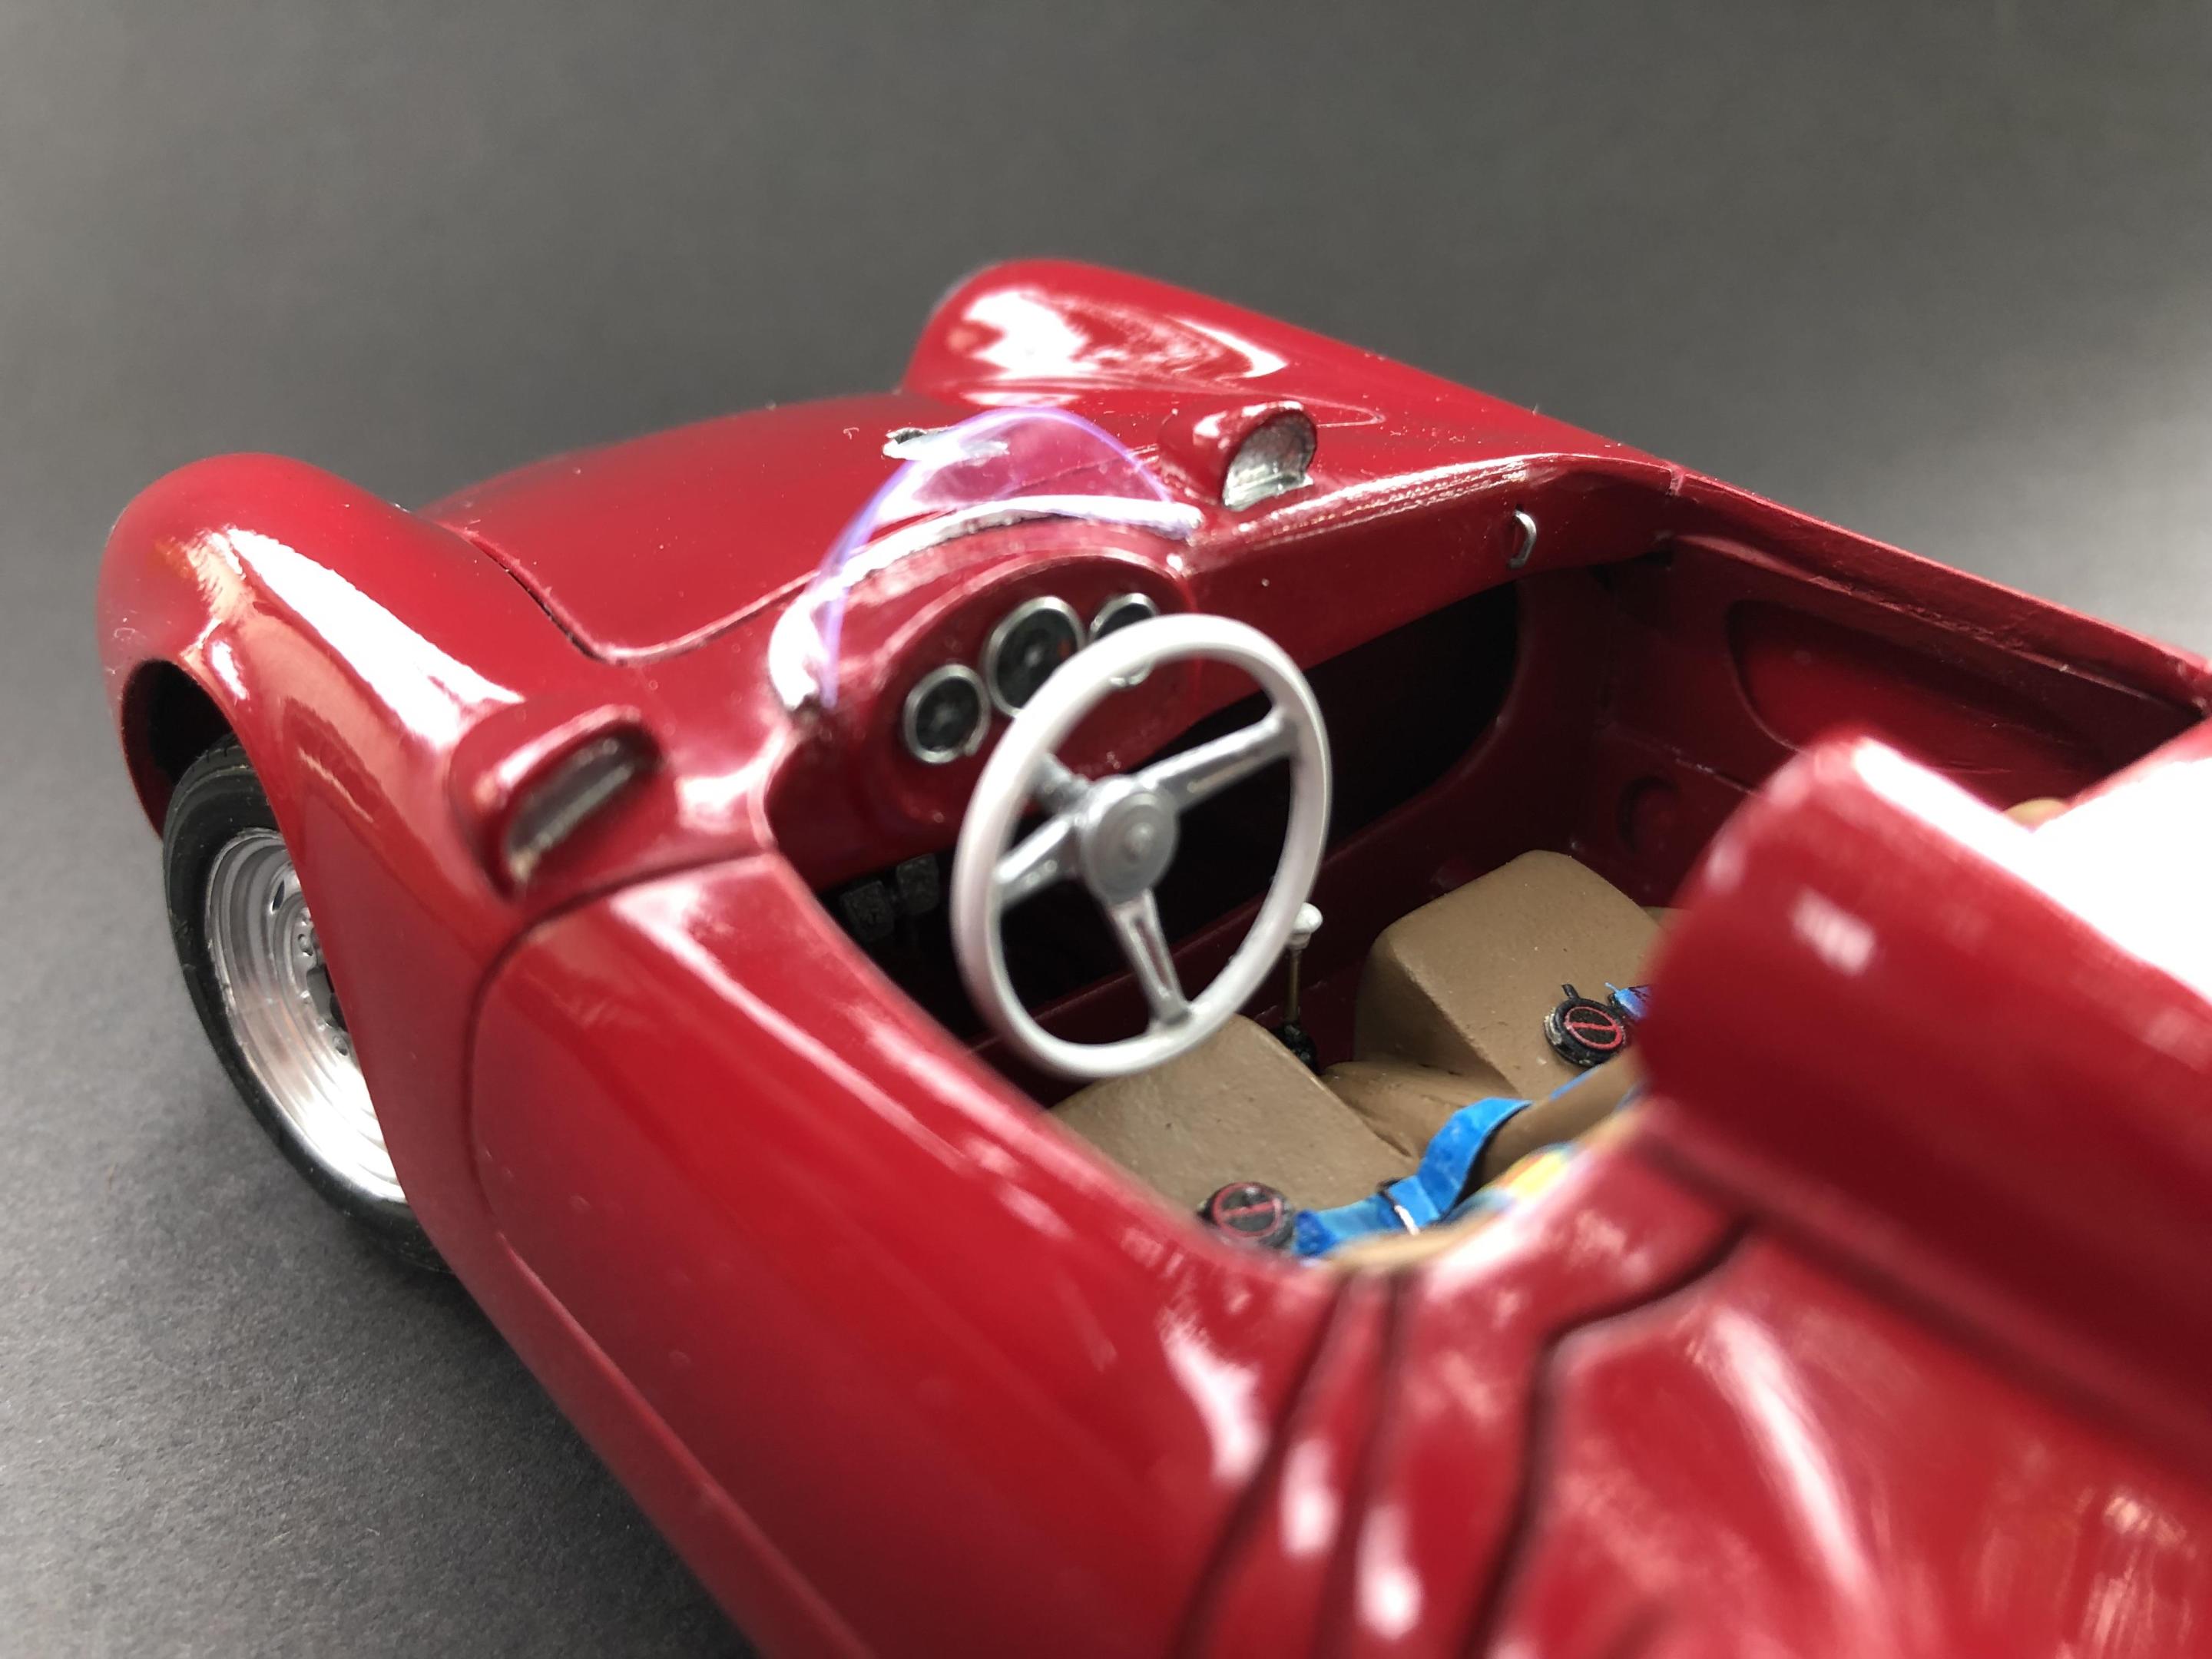
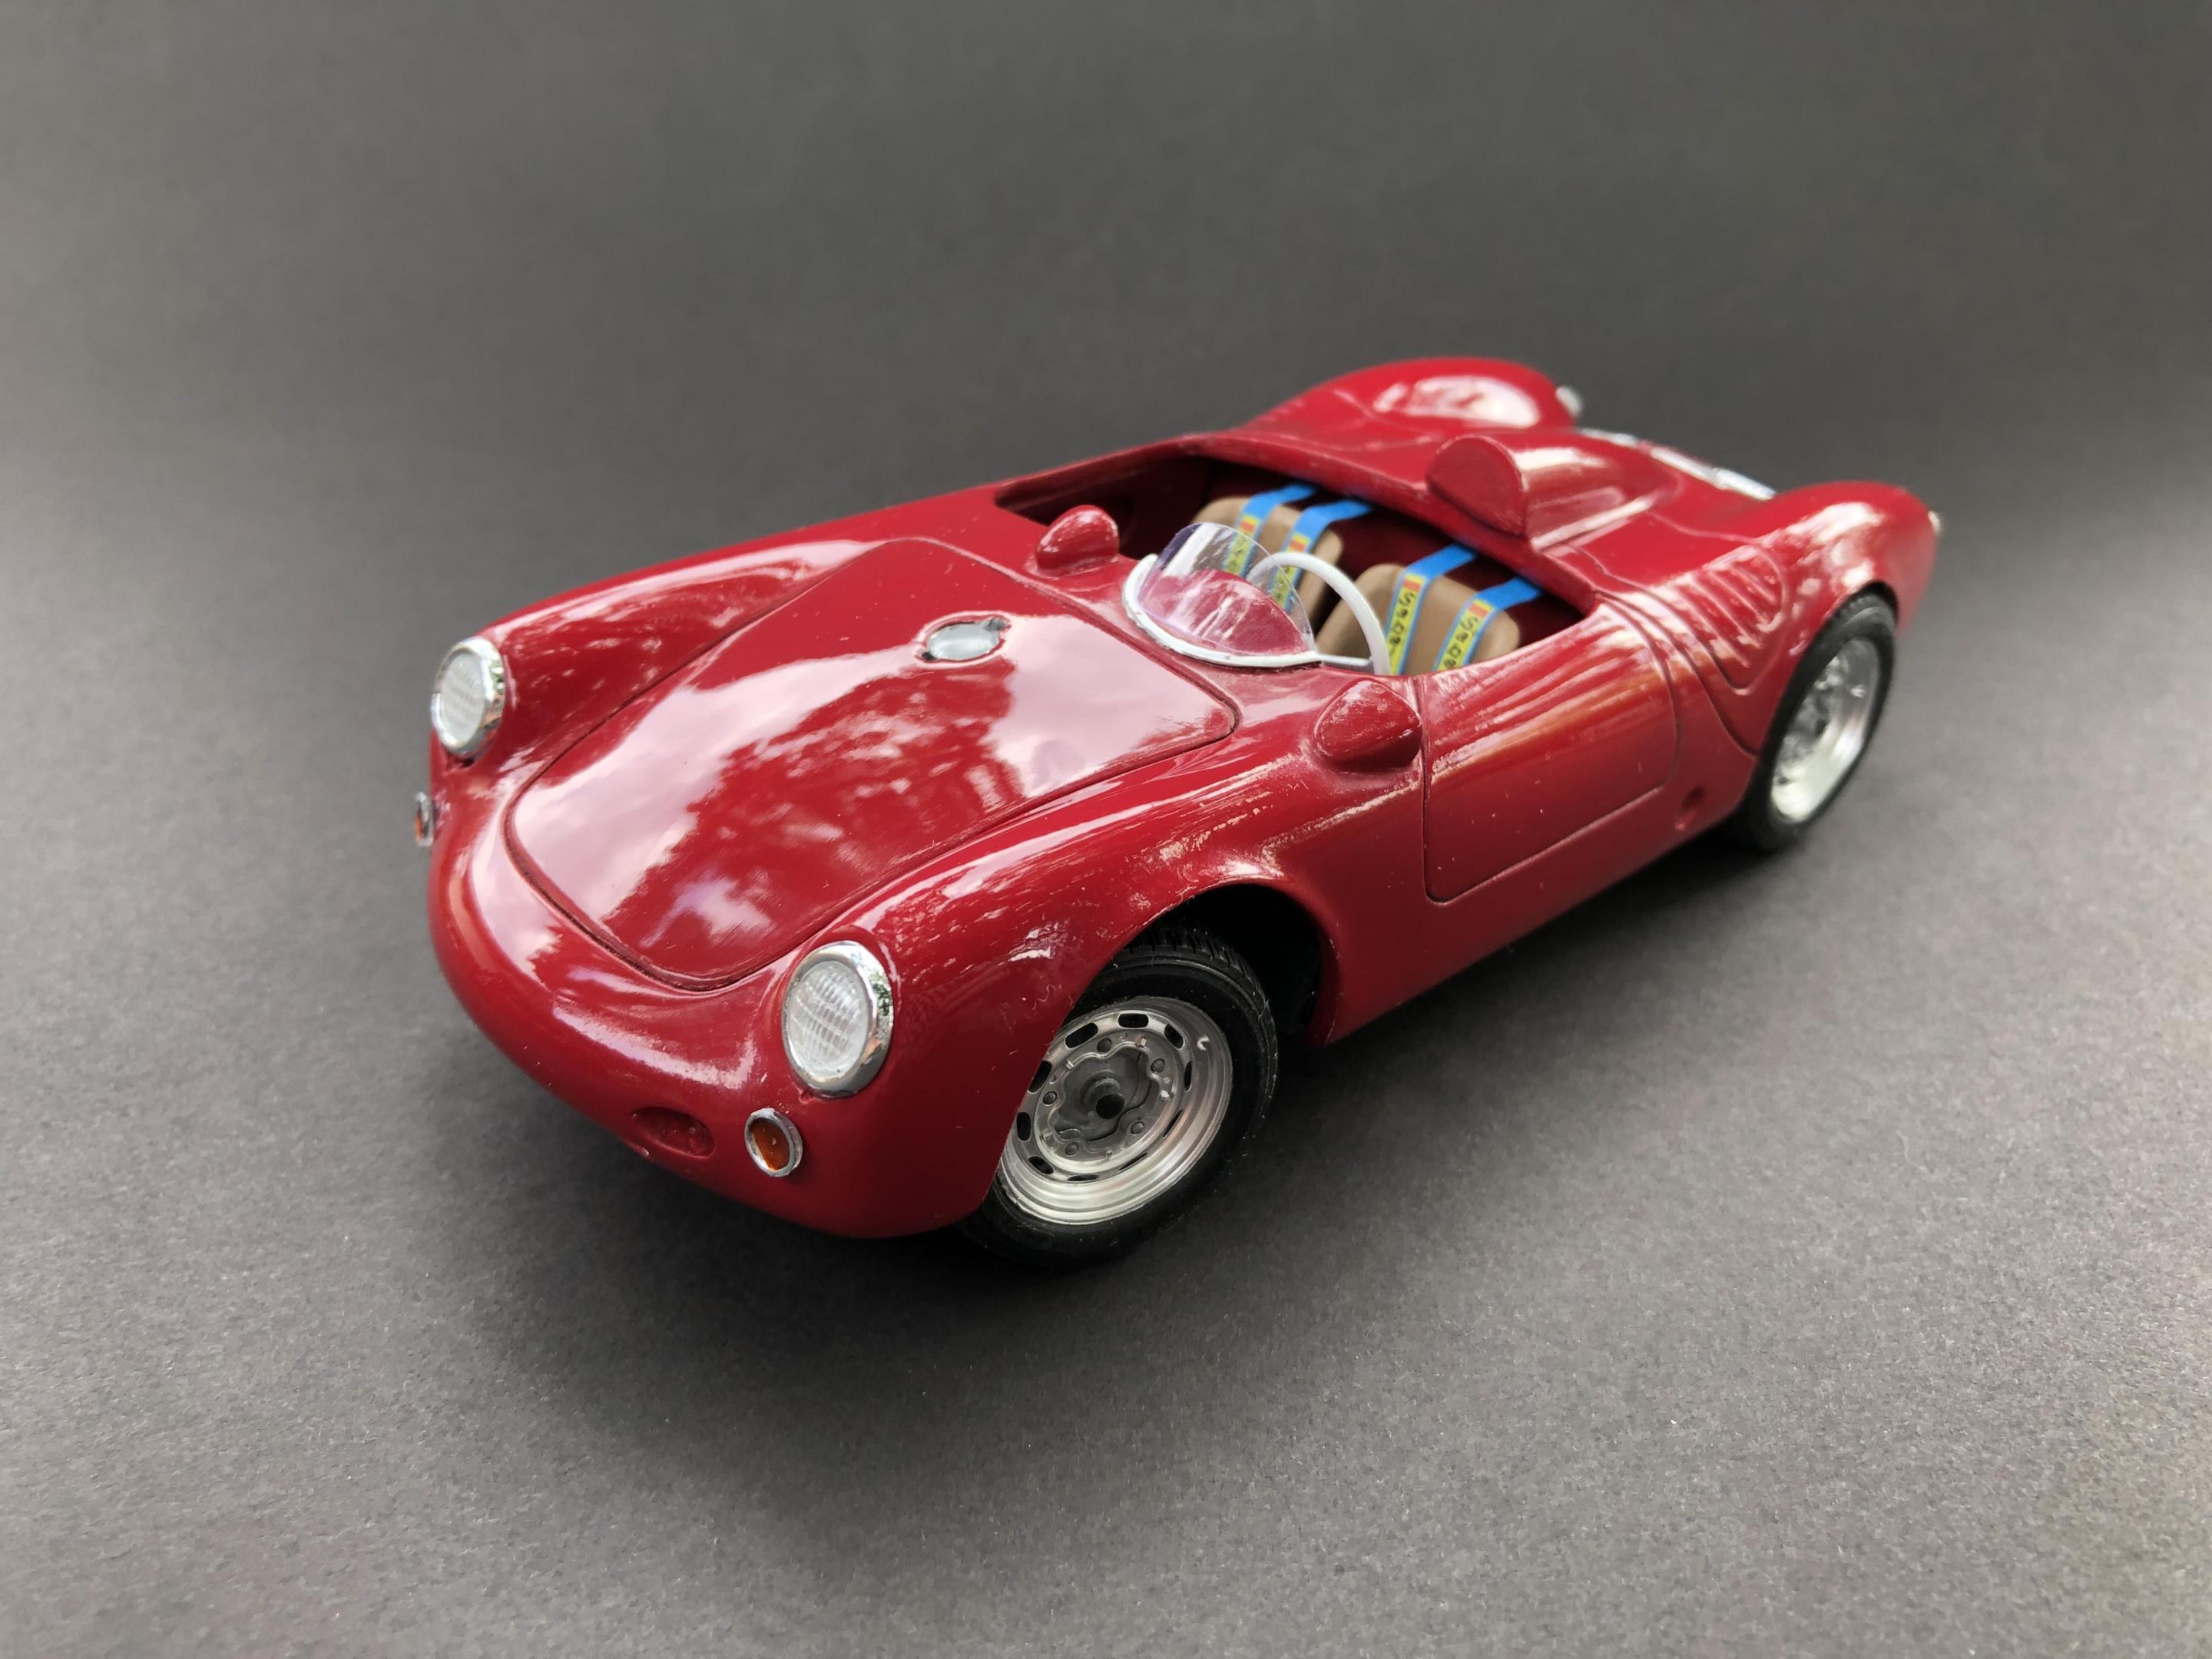
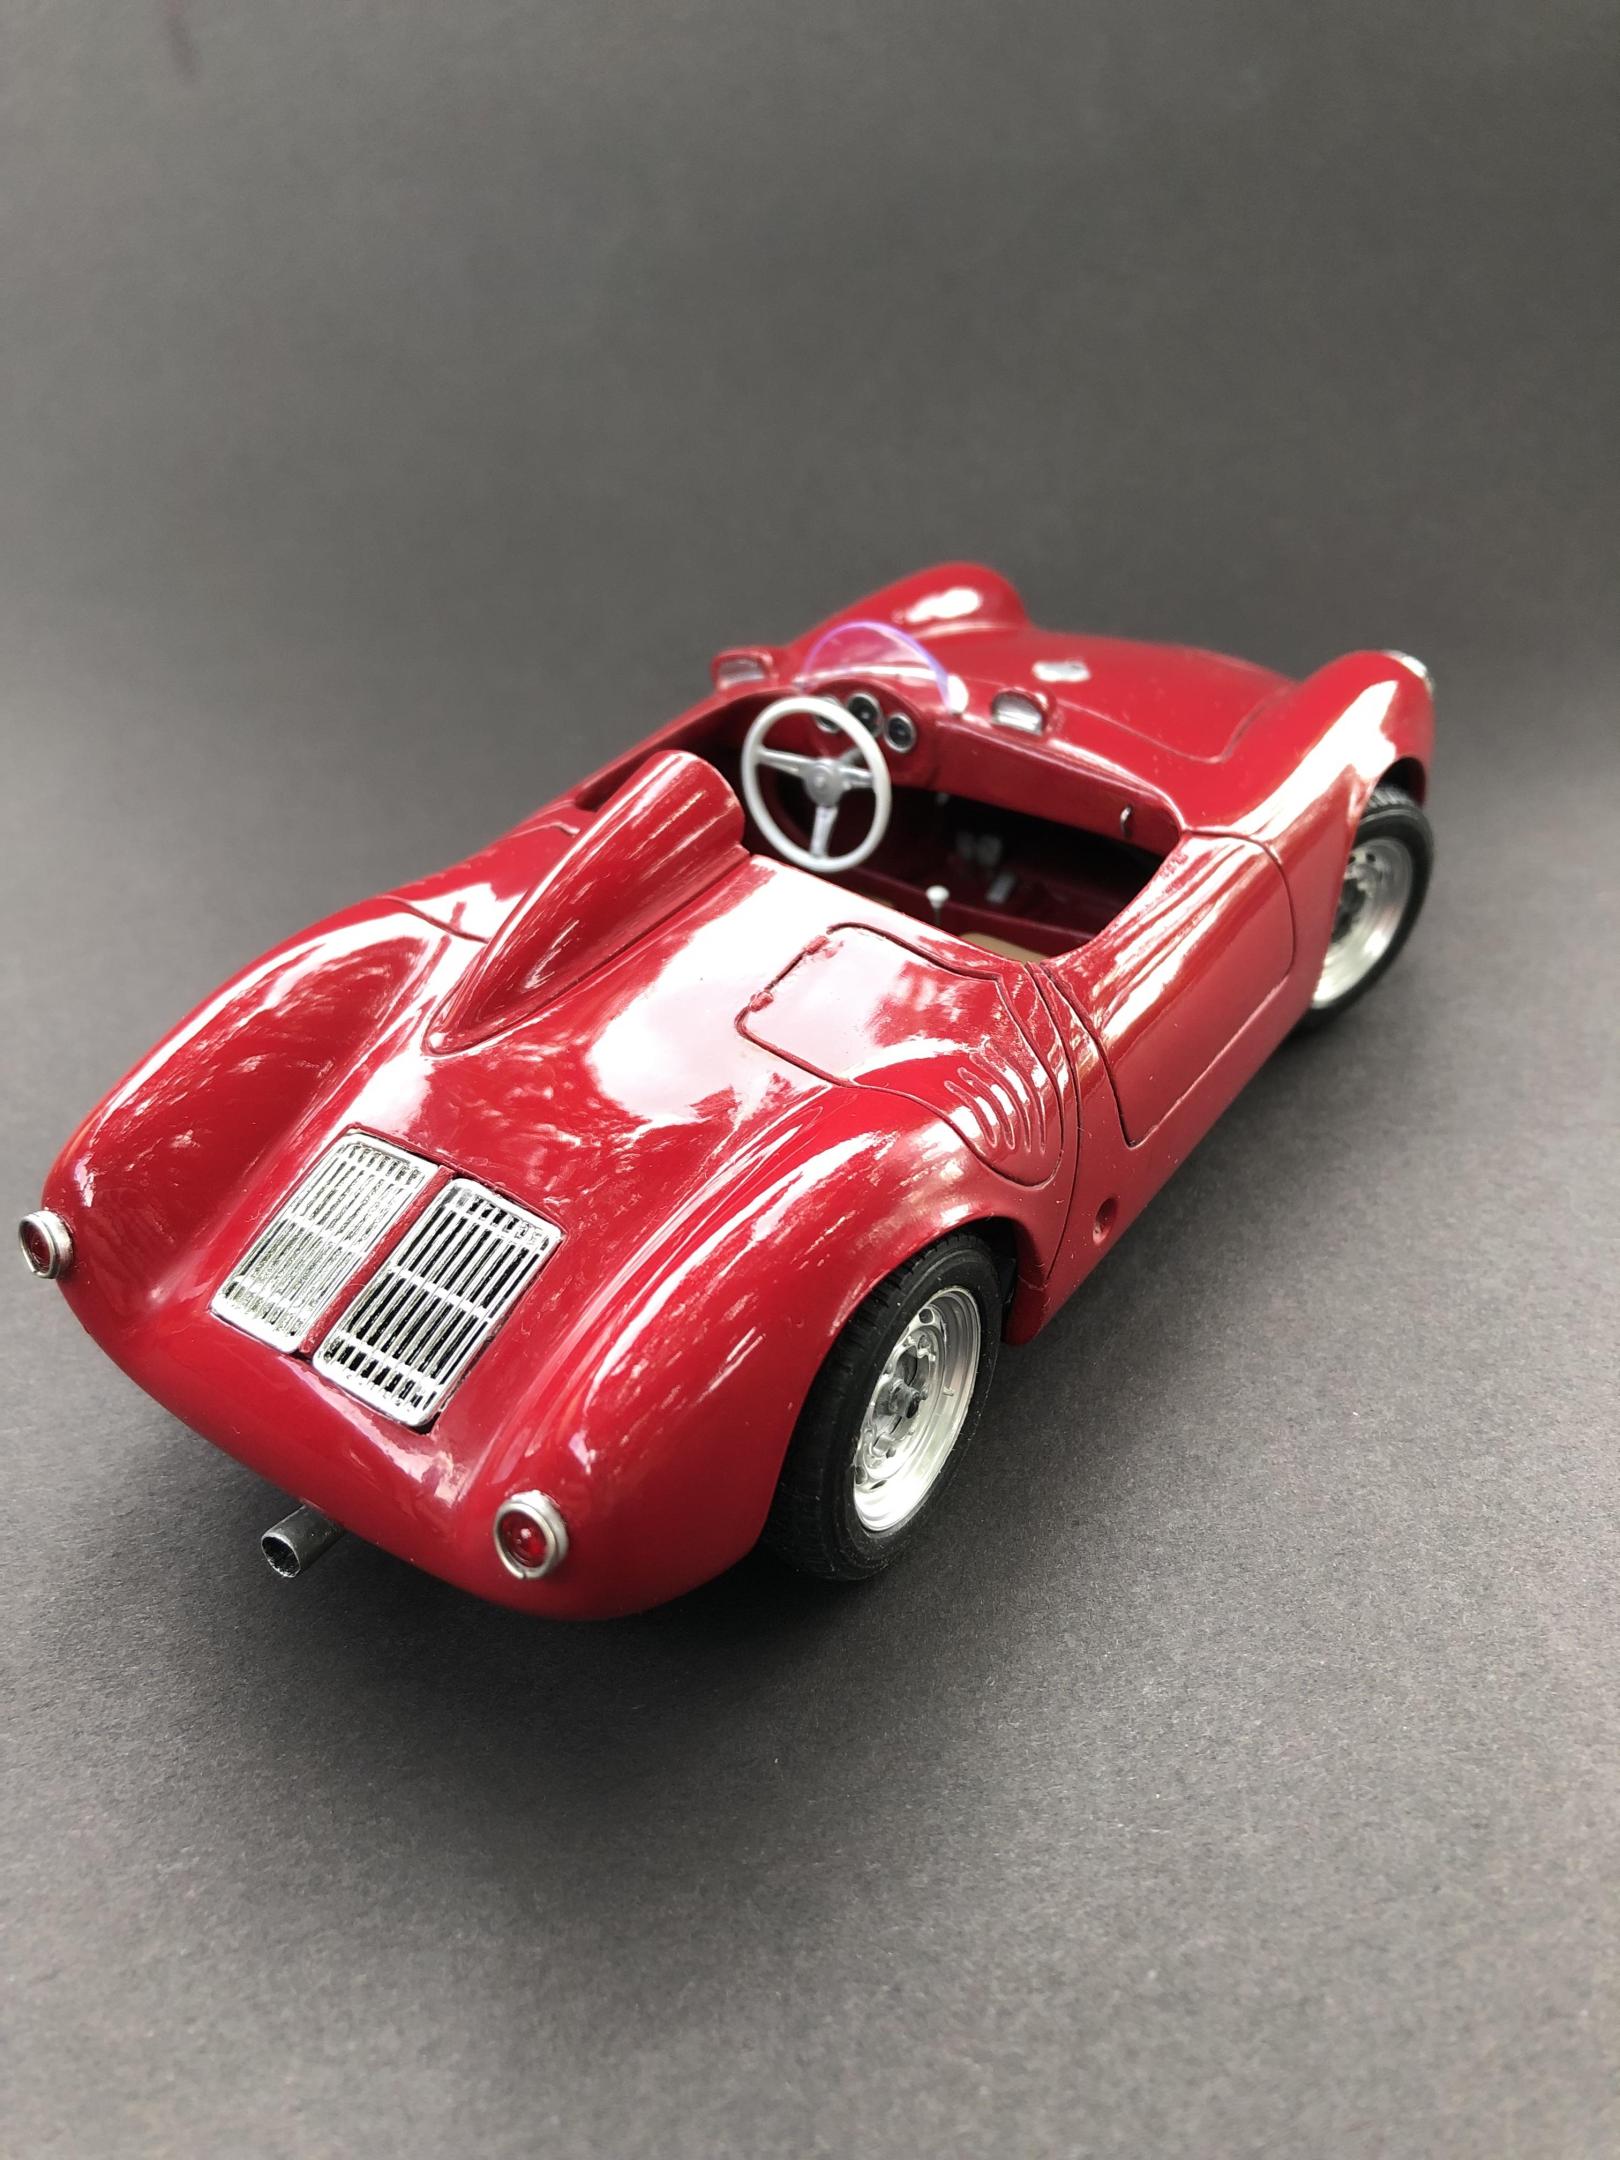
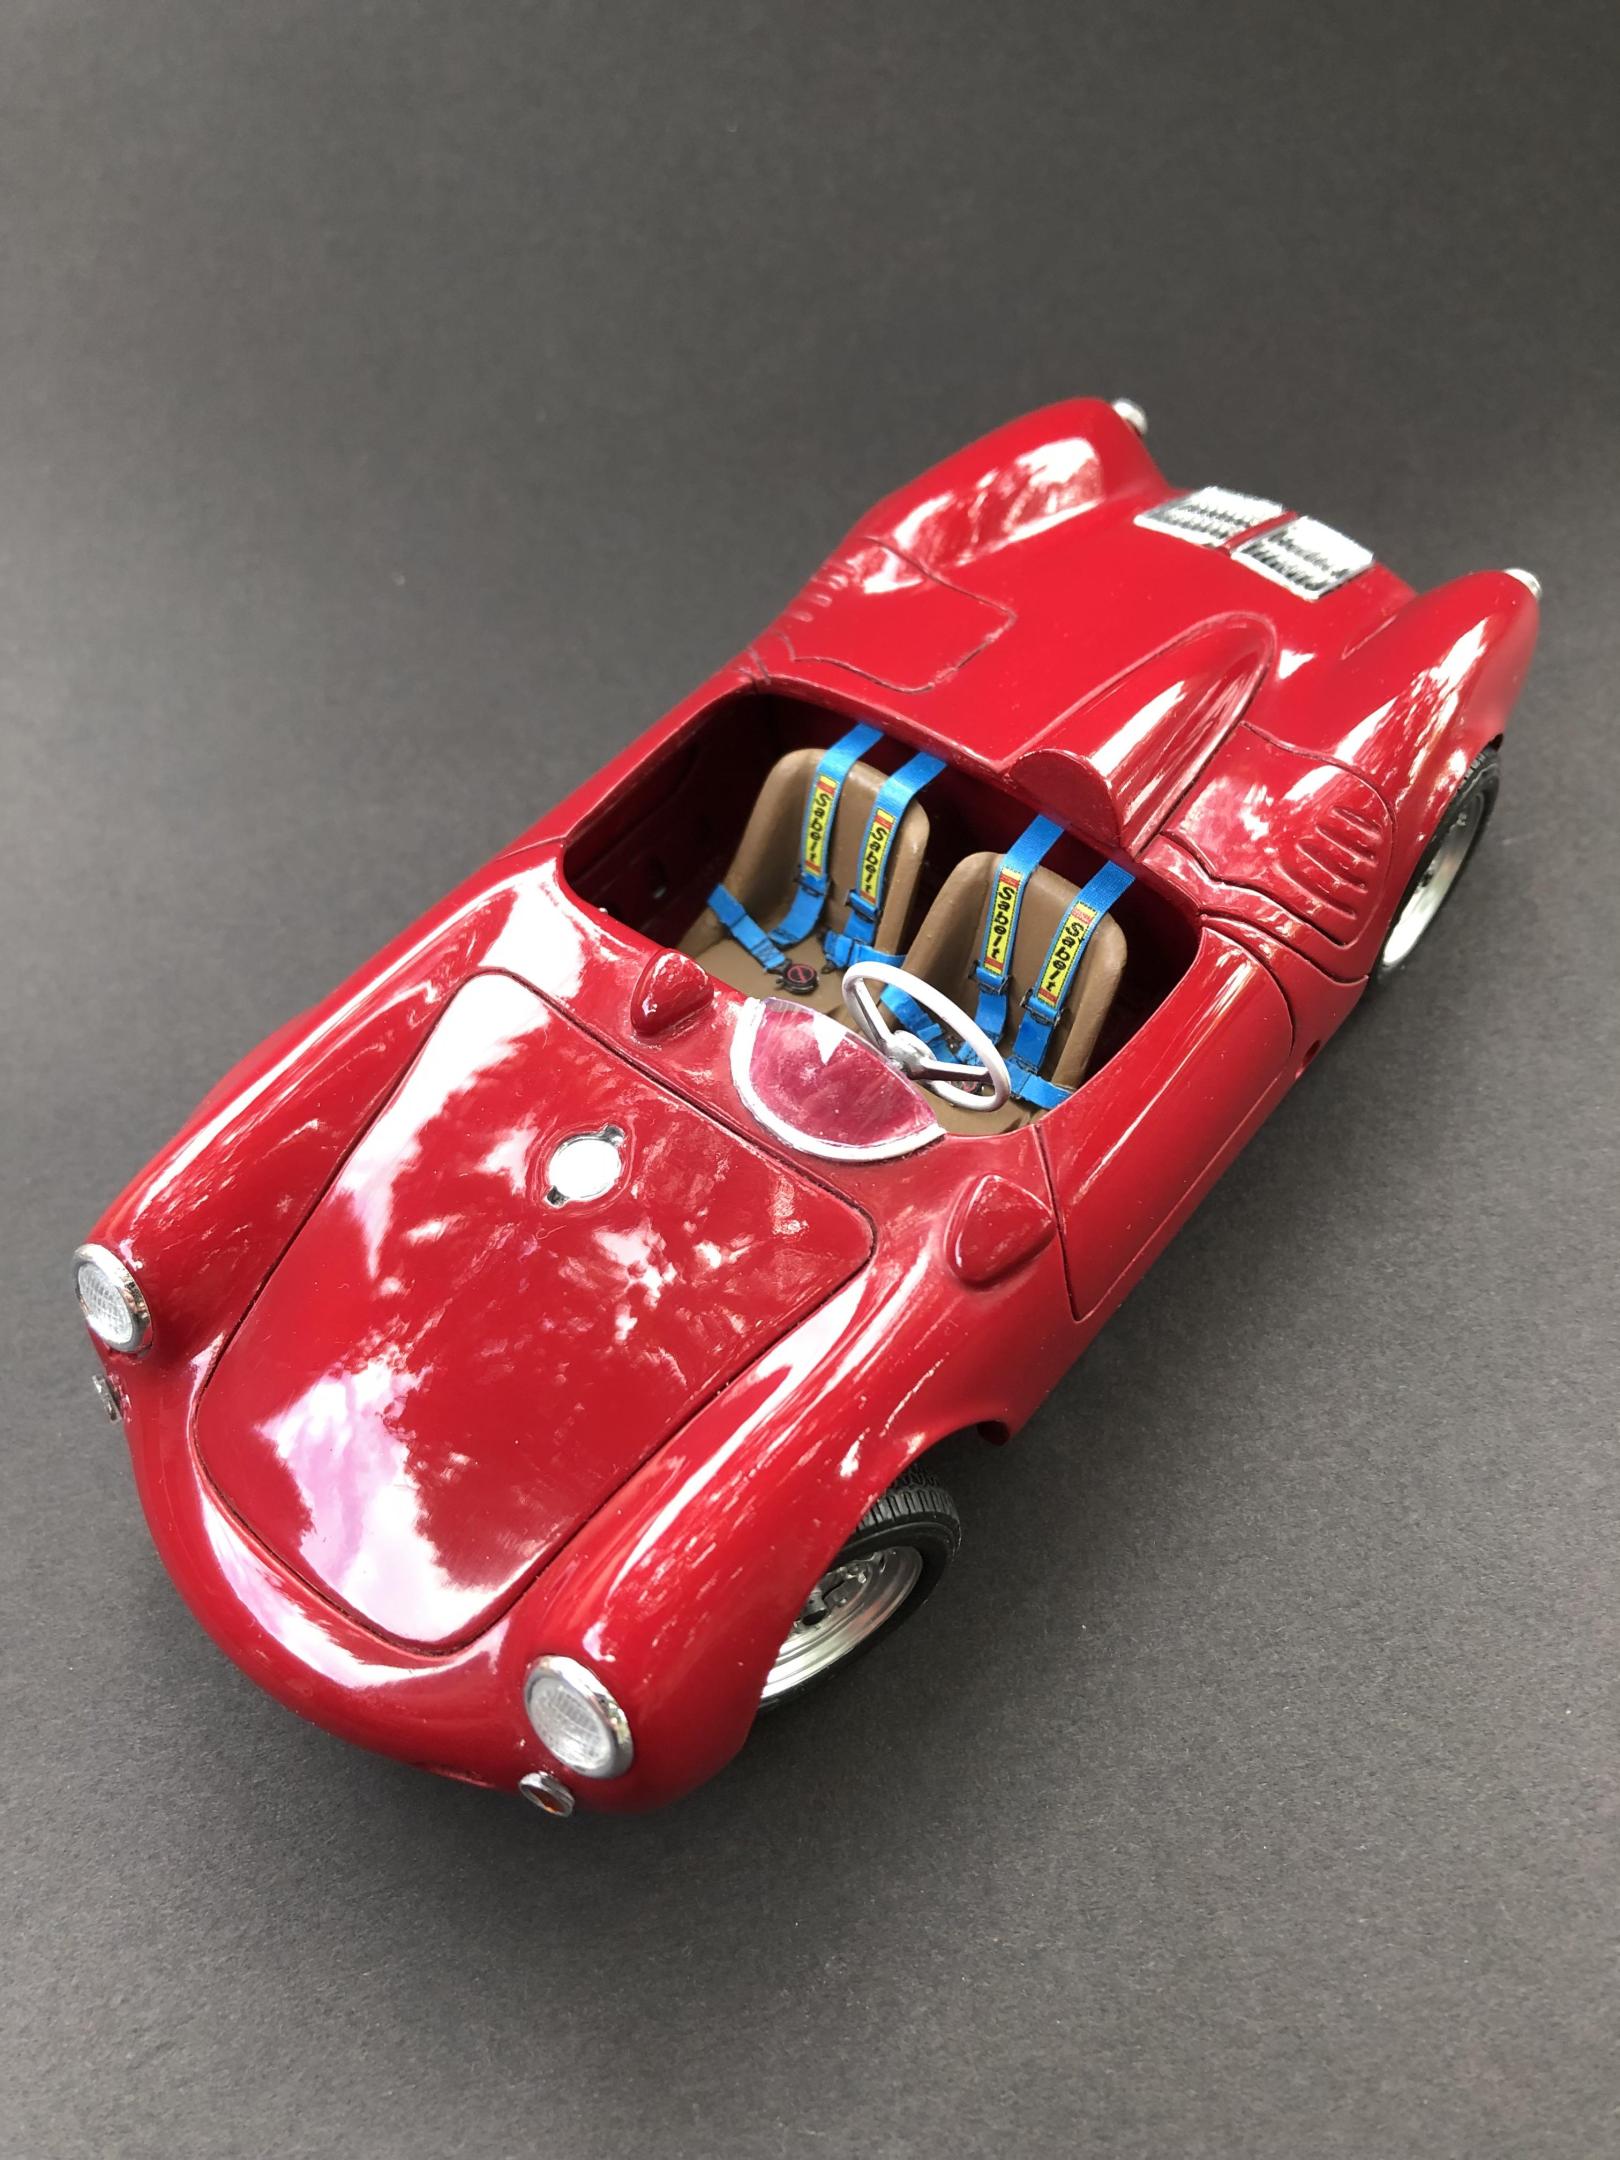
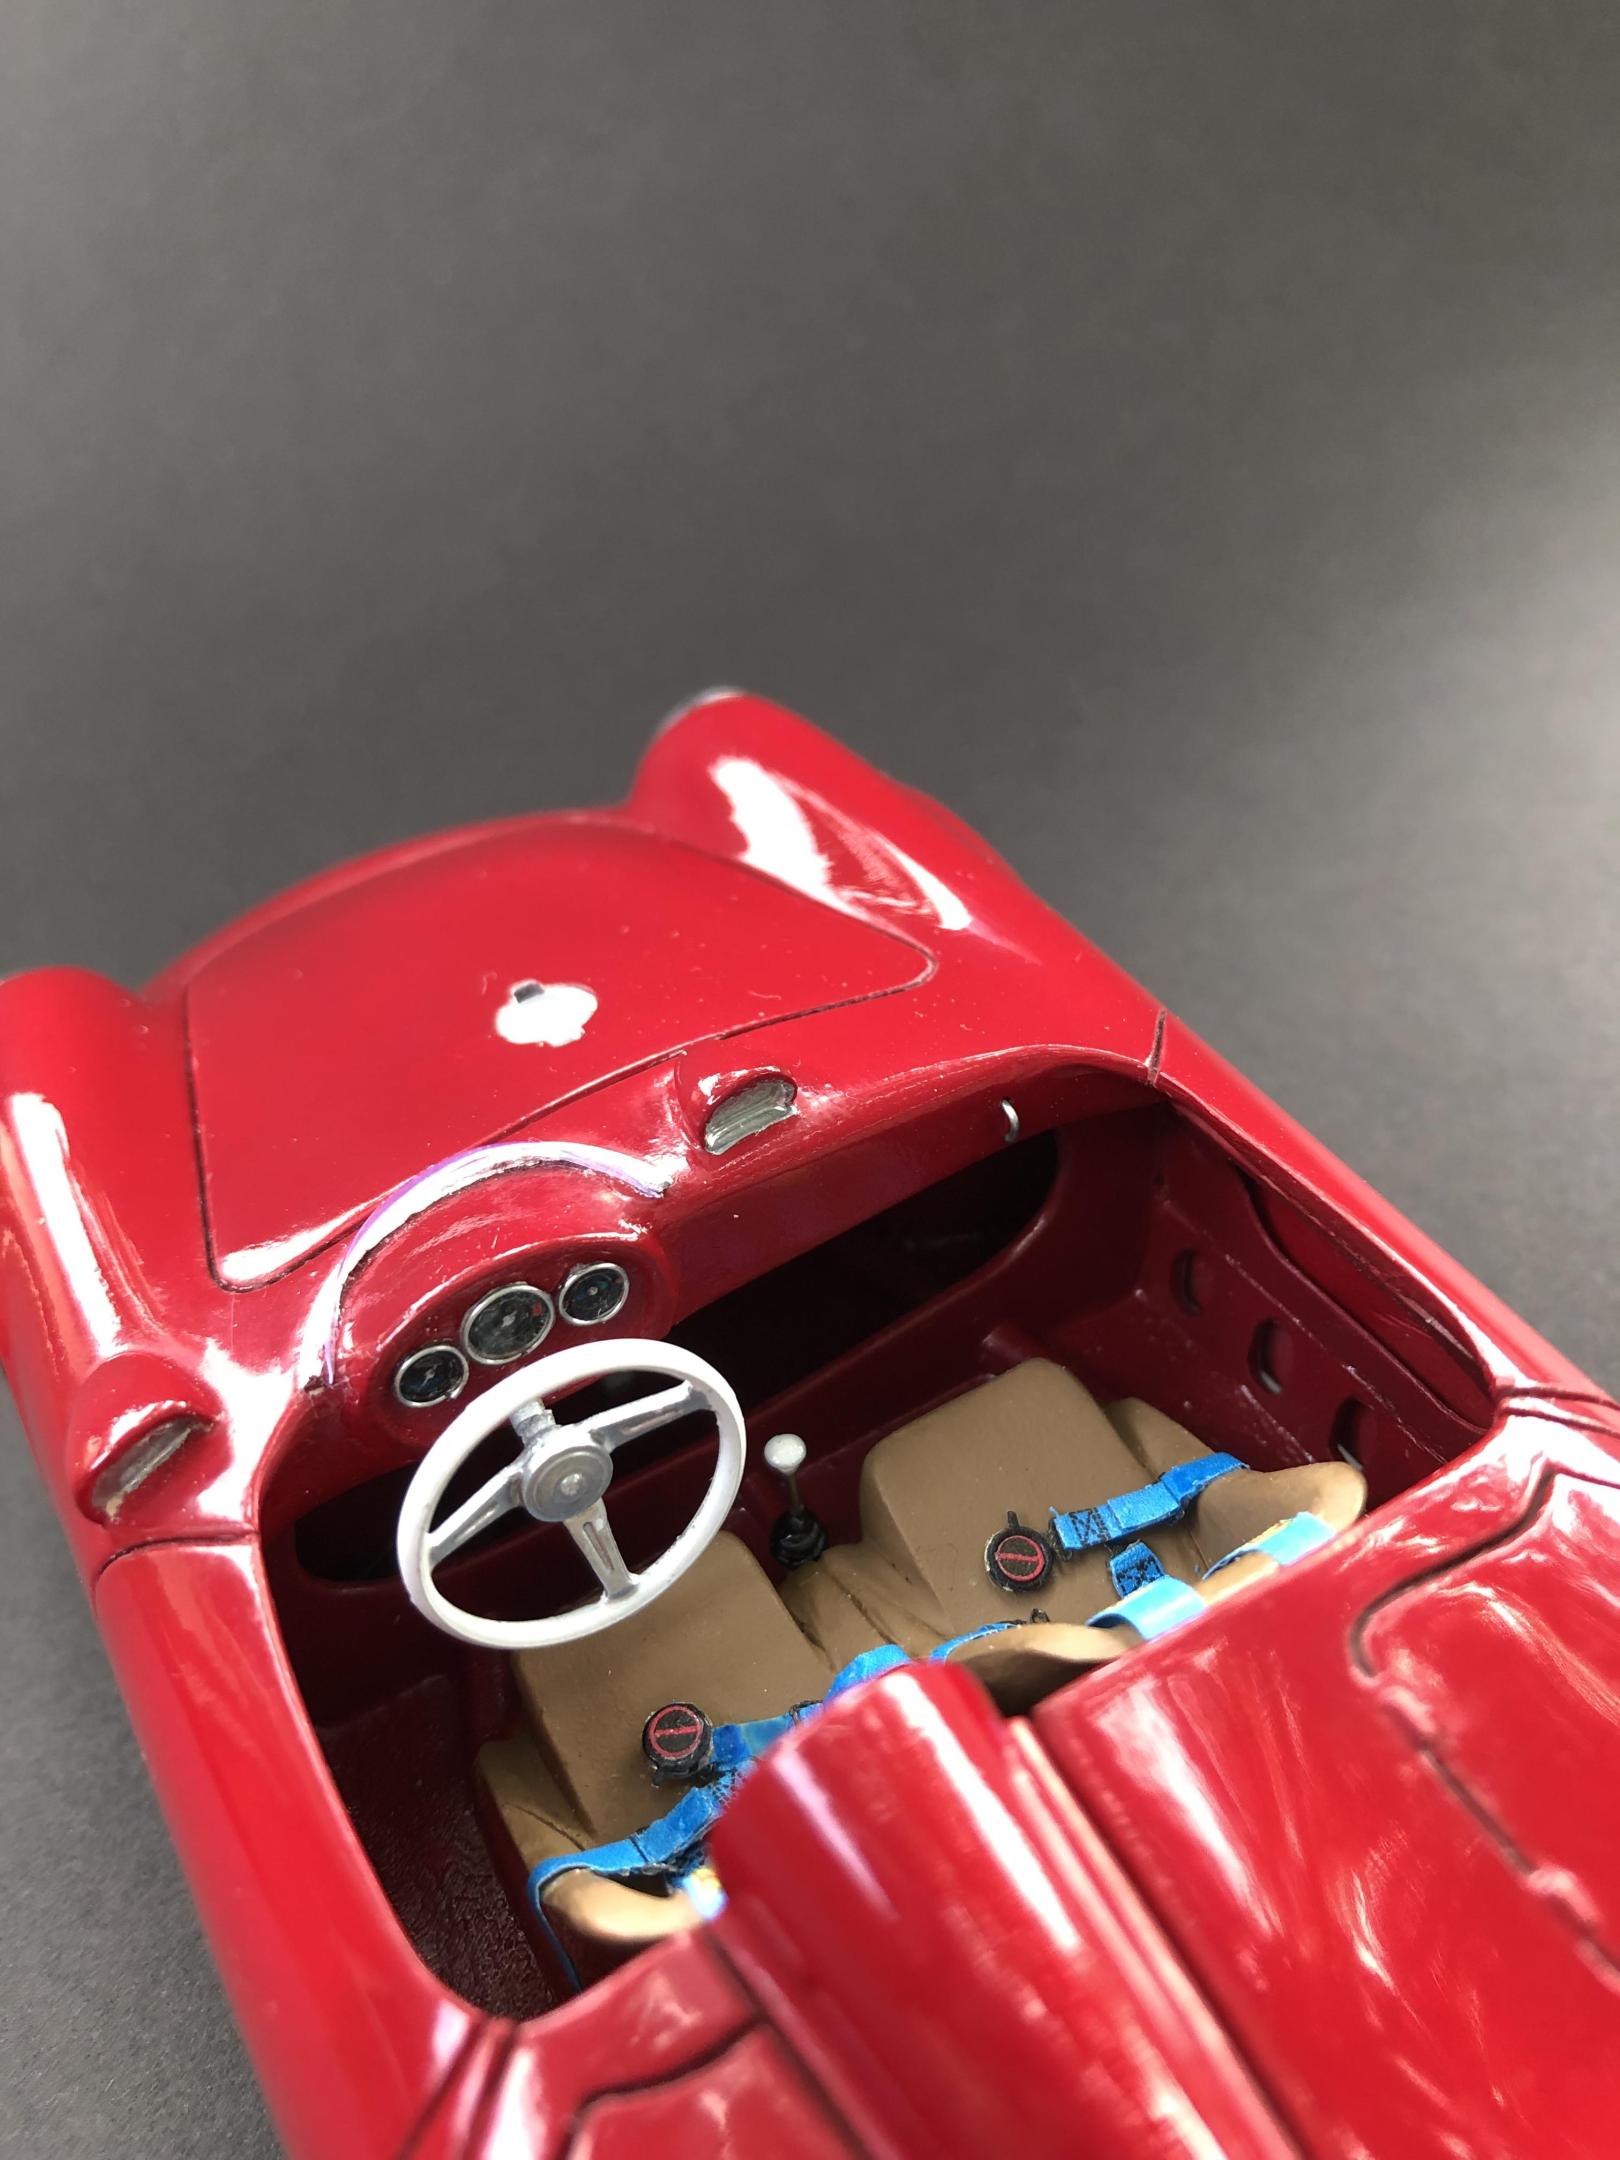
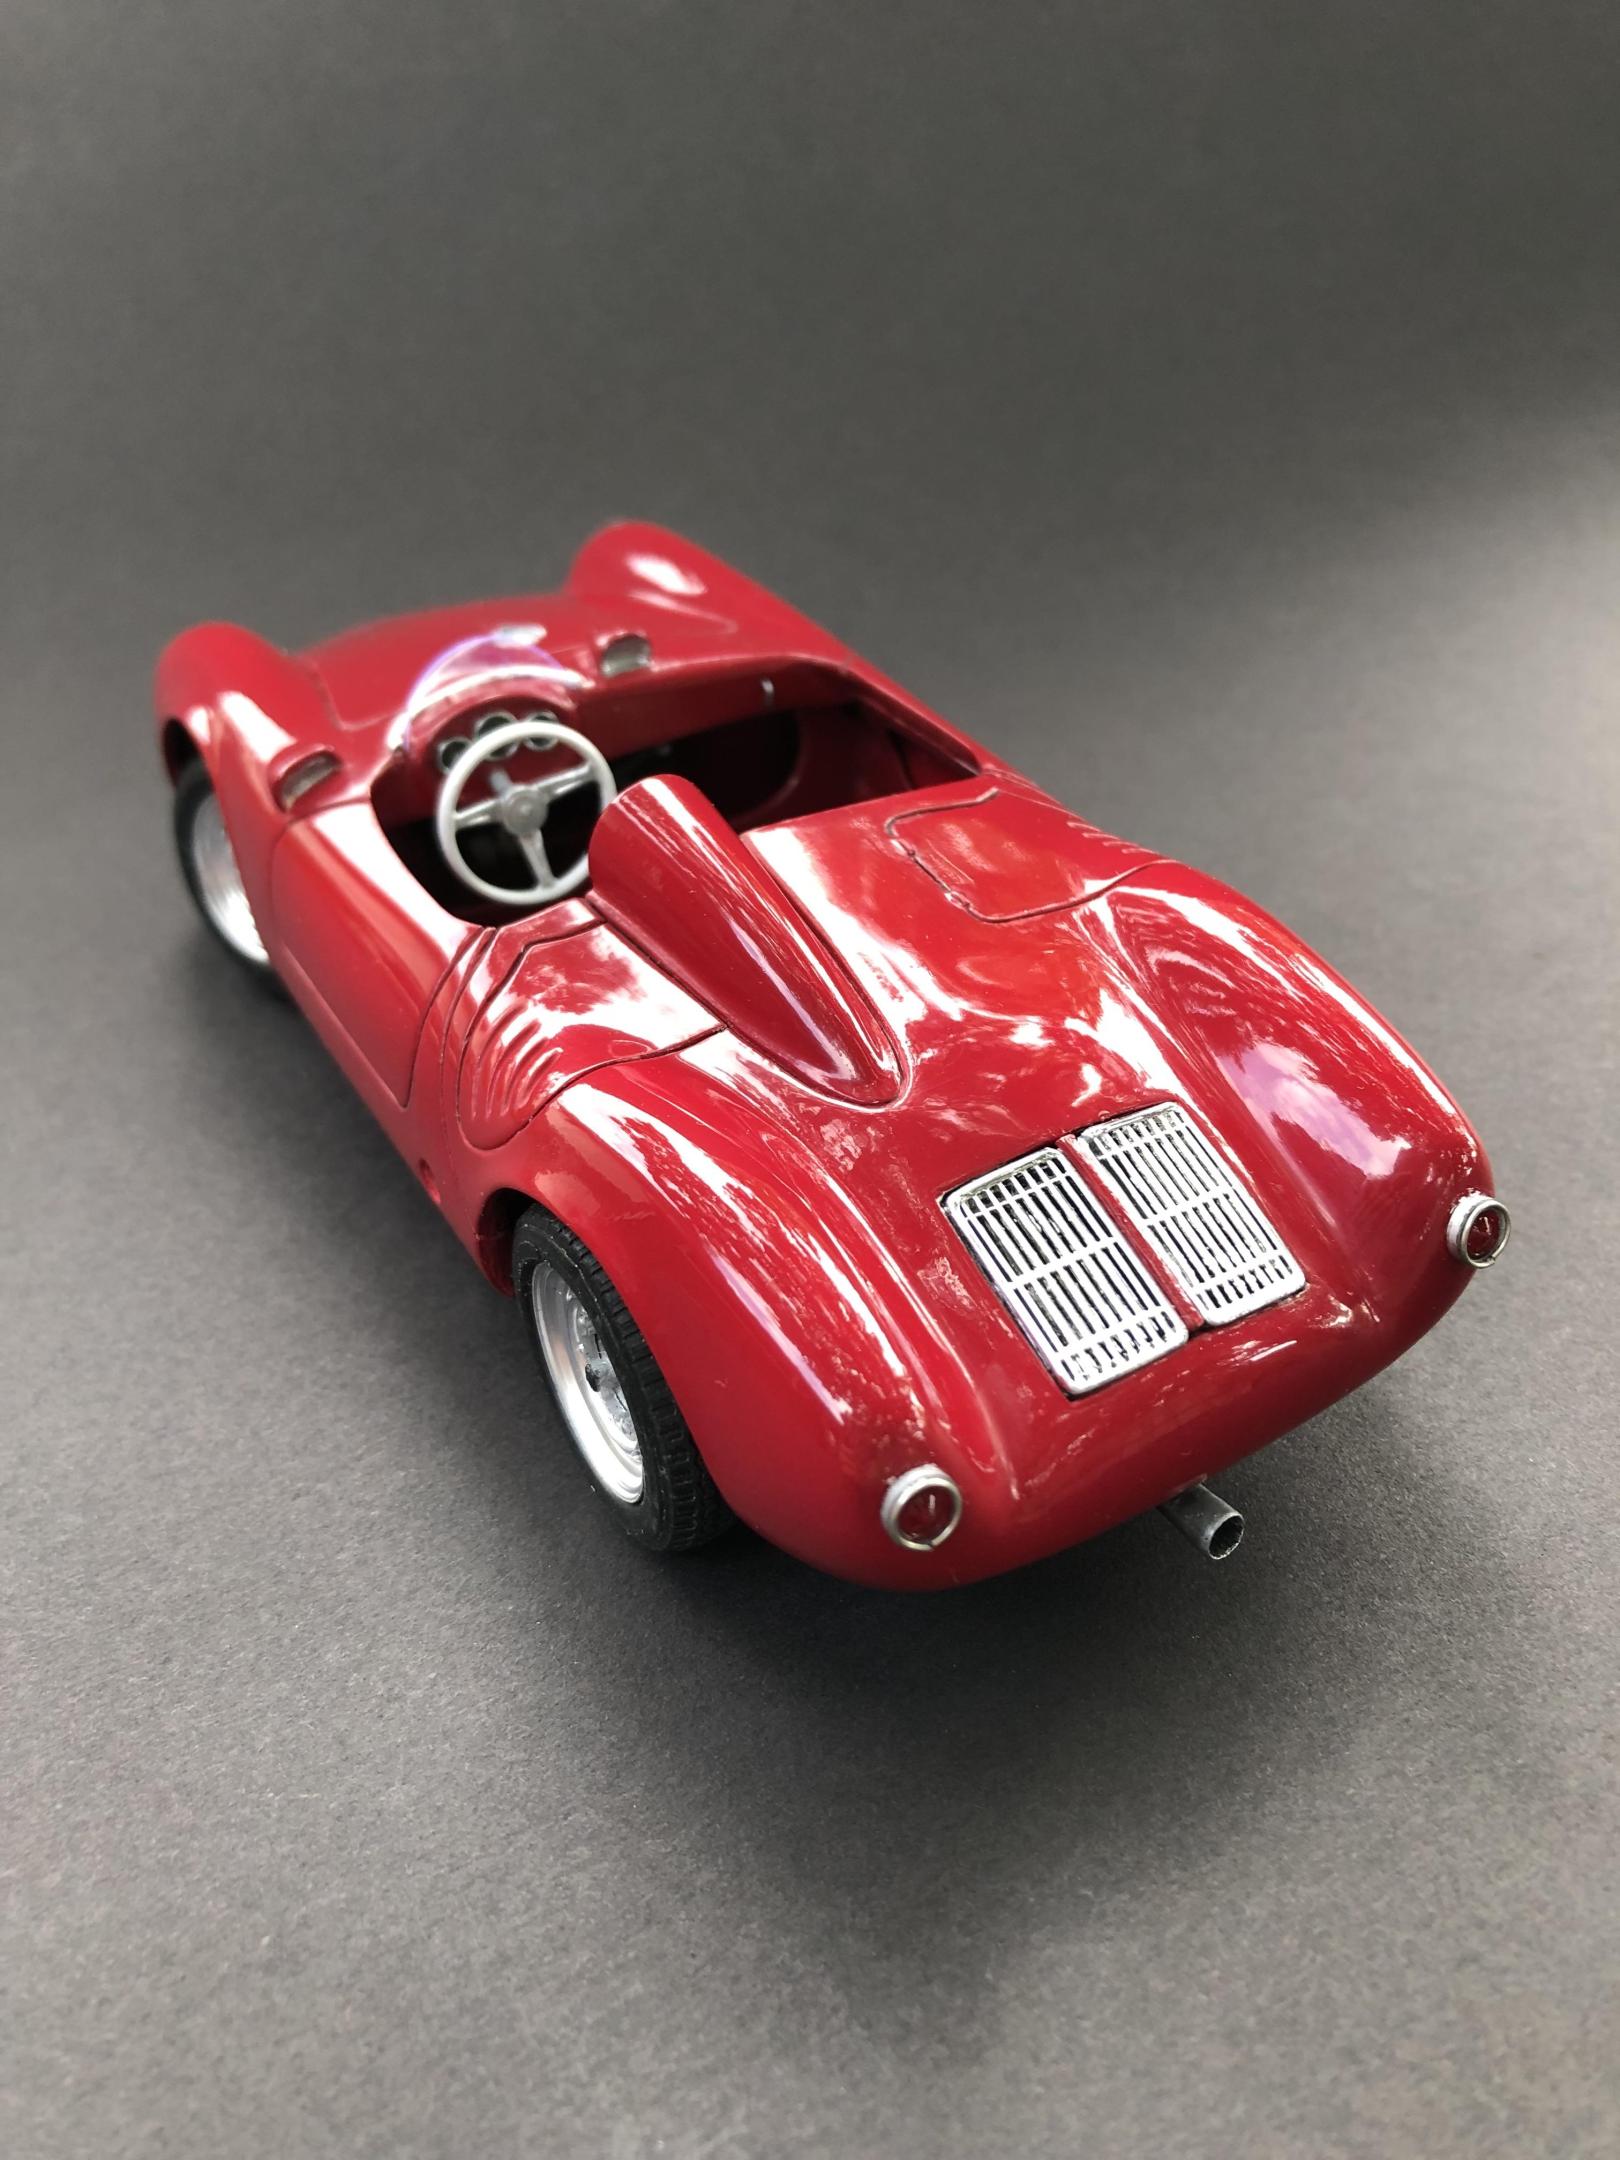
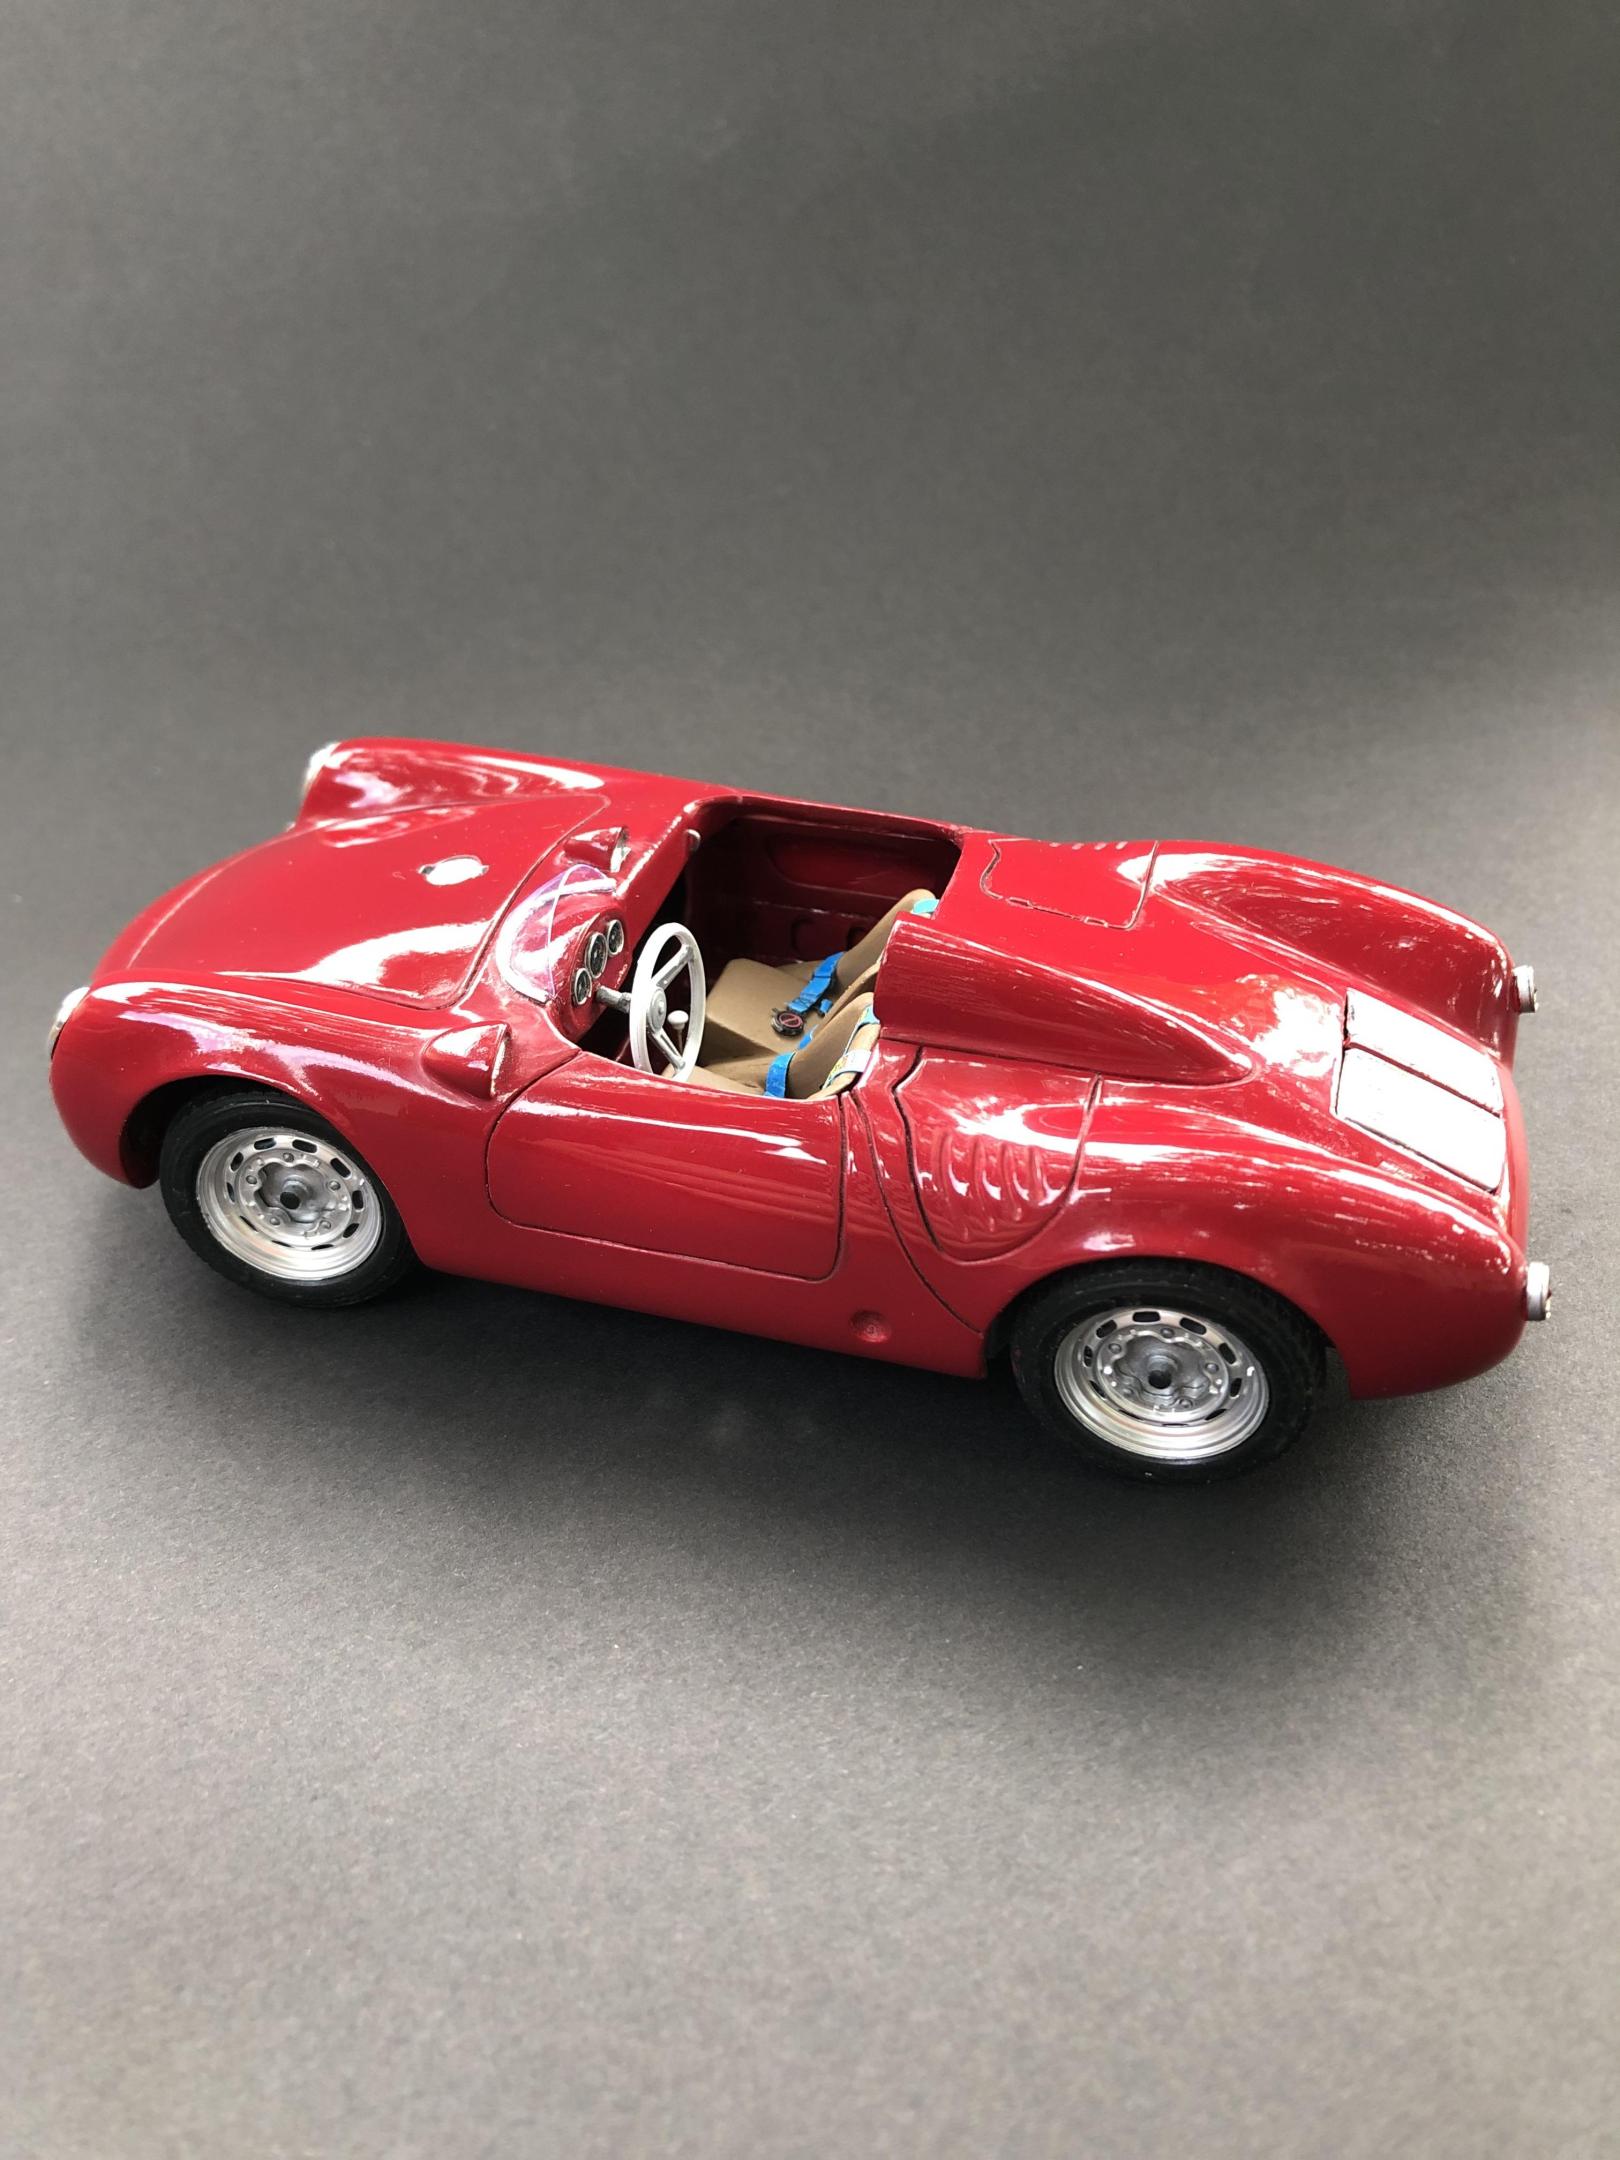
This is the Jimmy Flintstone resin offering with a few parts from the Fujimi Porsche 356 kit. This was a club build that was made possible with the extreme generosity of Rob, a member of my club. I added the interior front bulkhead and side panels, the windscreen, the gauges and seatbelts. I ground down the ‘bustle back’ on the rear end to give it a more mainstream 550 Spyder look. I’m in search of some better, more accurate headlights for it. The paint is Vallejo acrylic ‘heavy red’ cleared with Model Master wet look lacquer. Thanks for looking!
- 22 replies
-
- 10
-

-
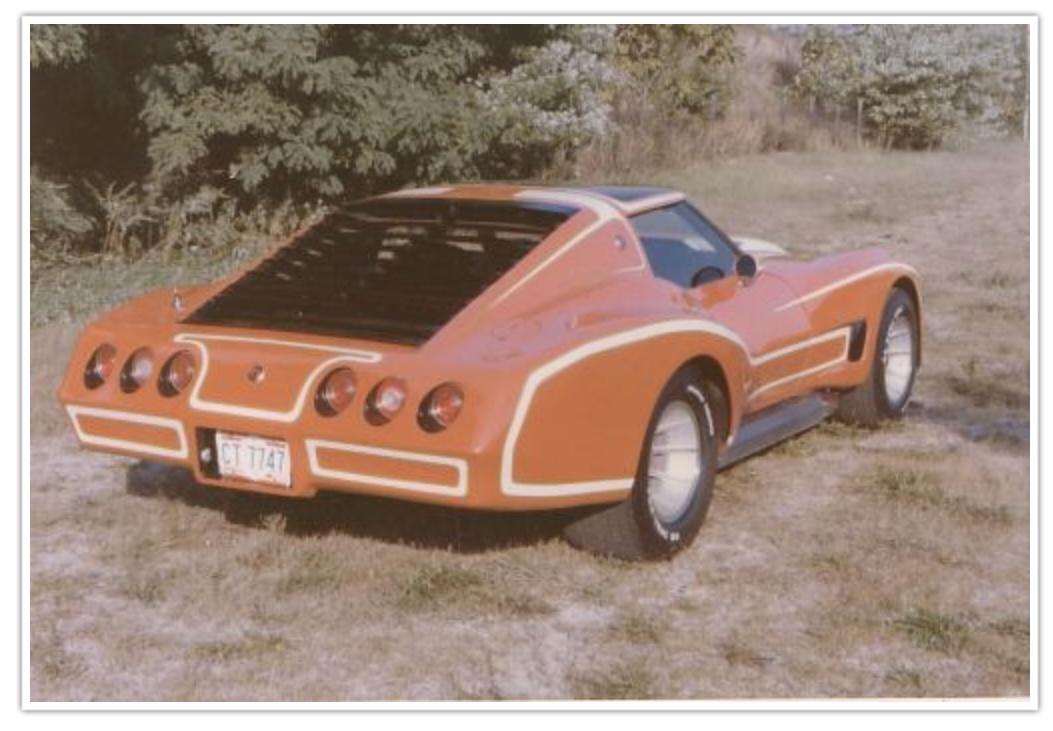
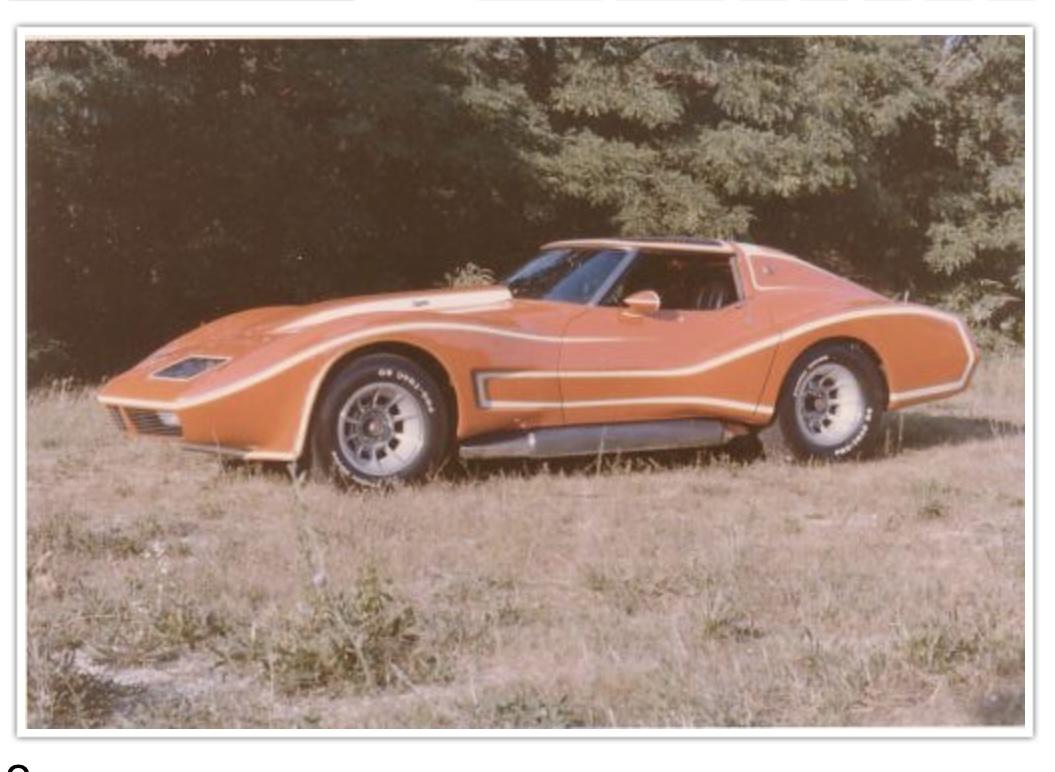
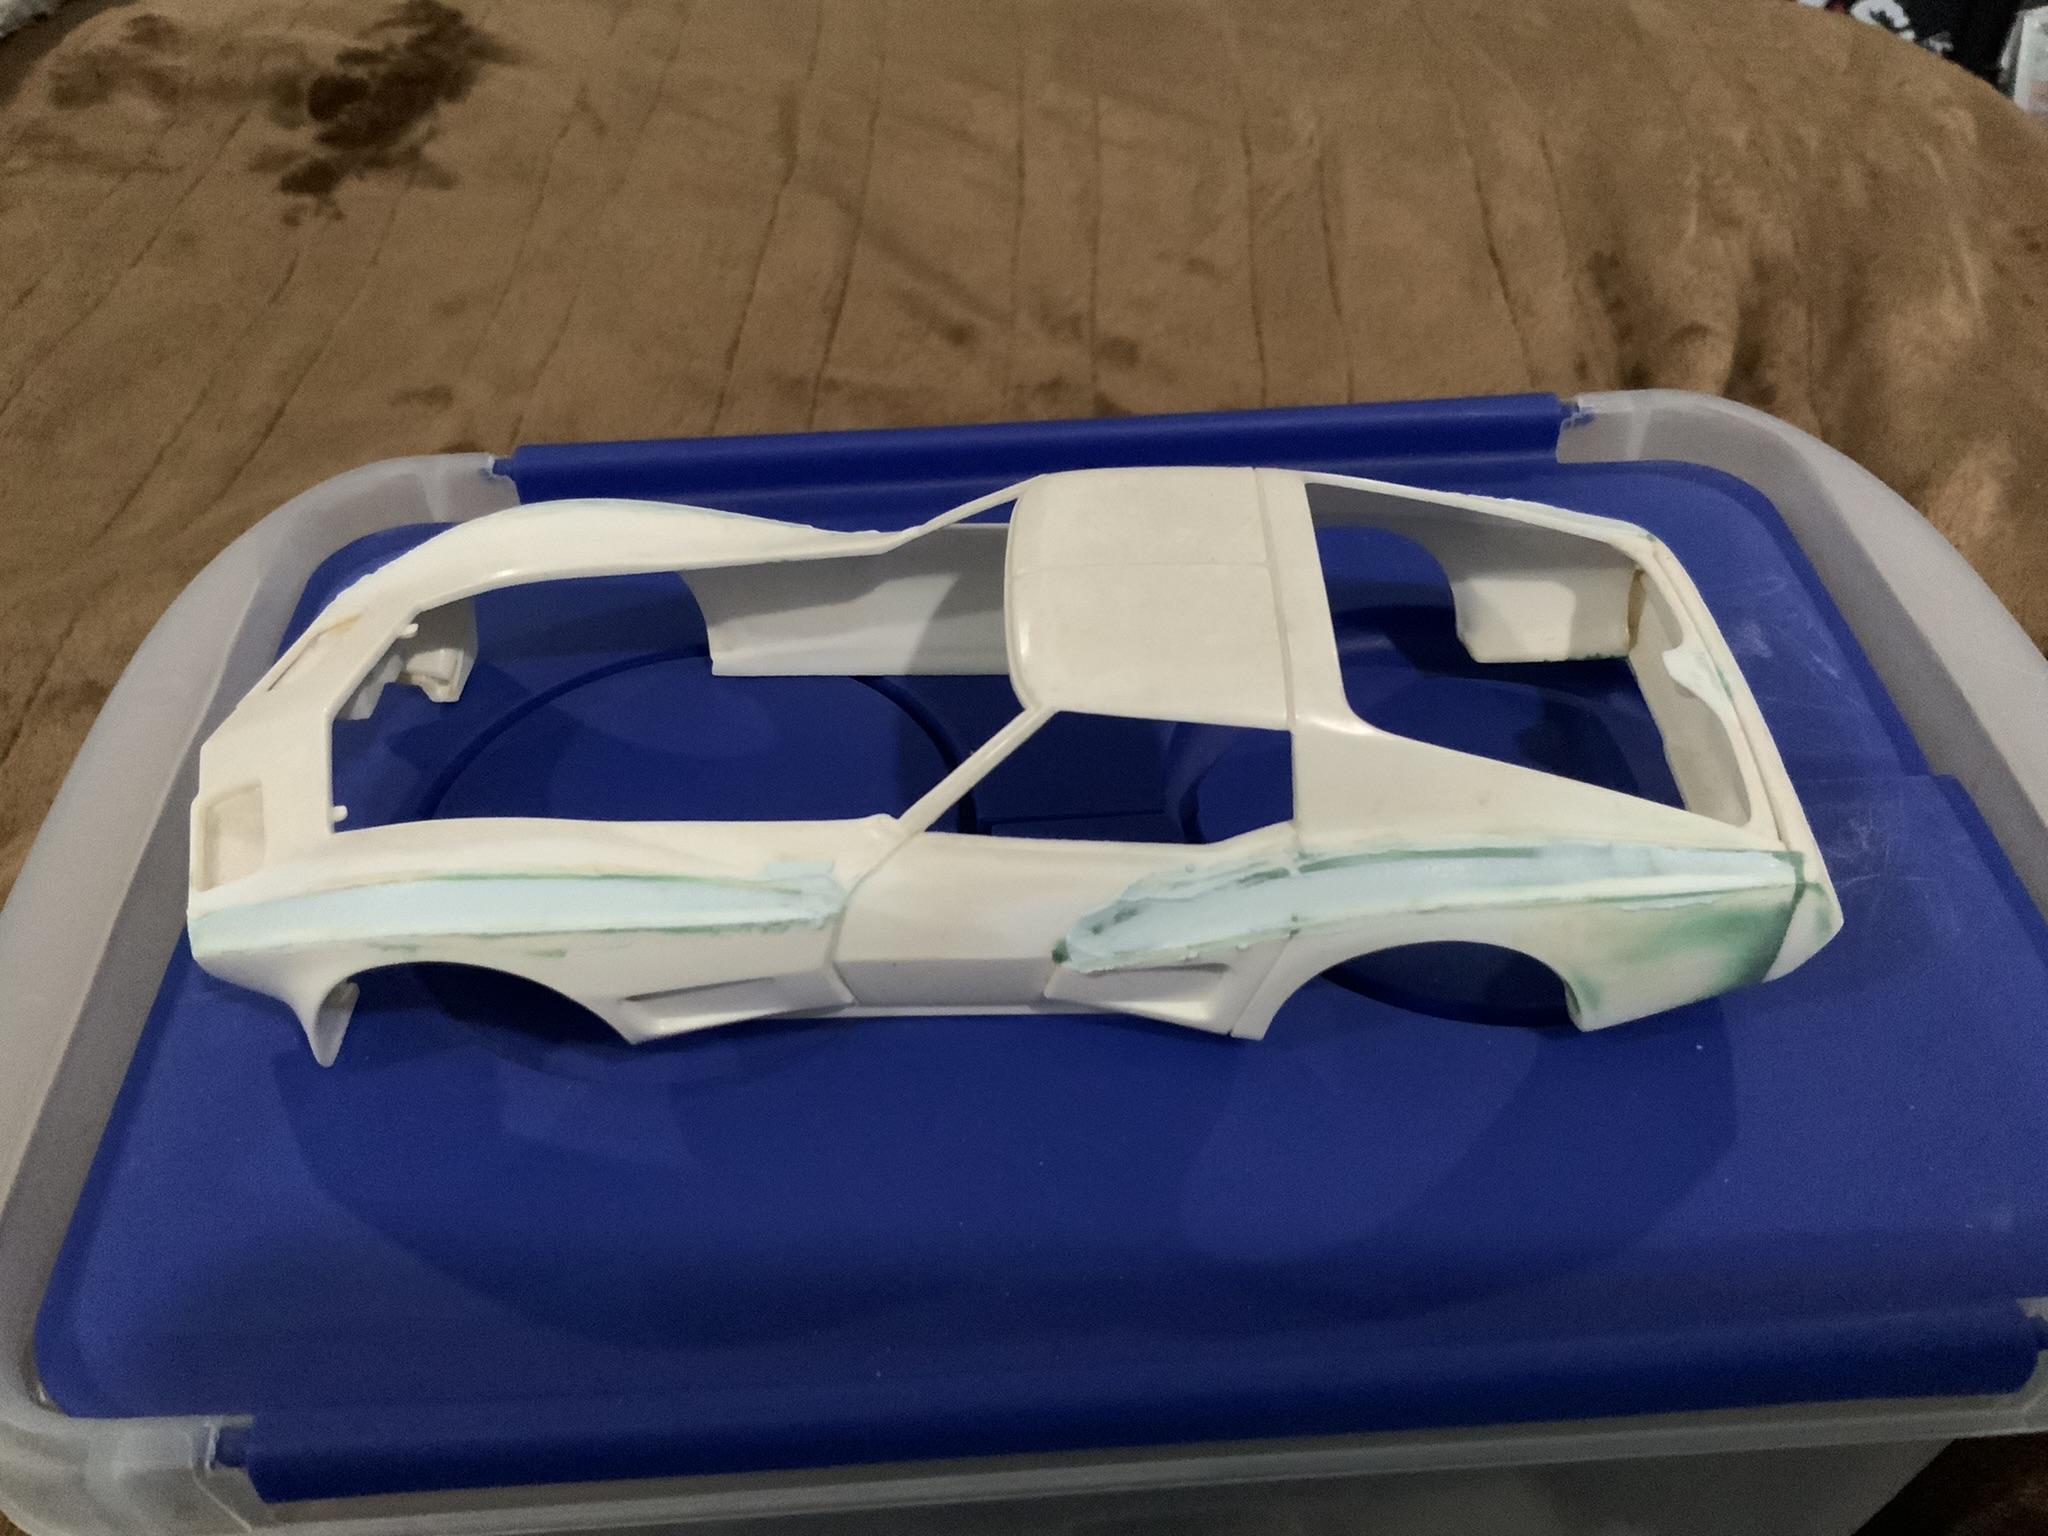
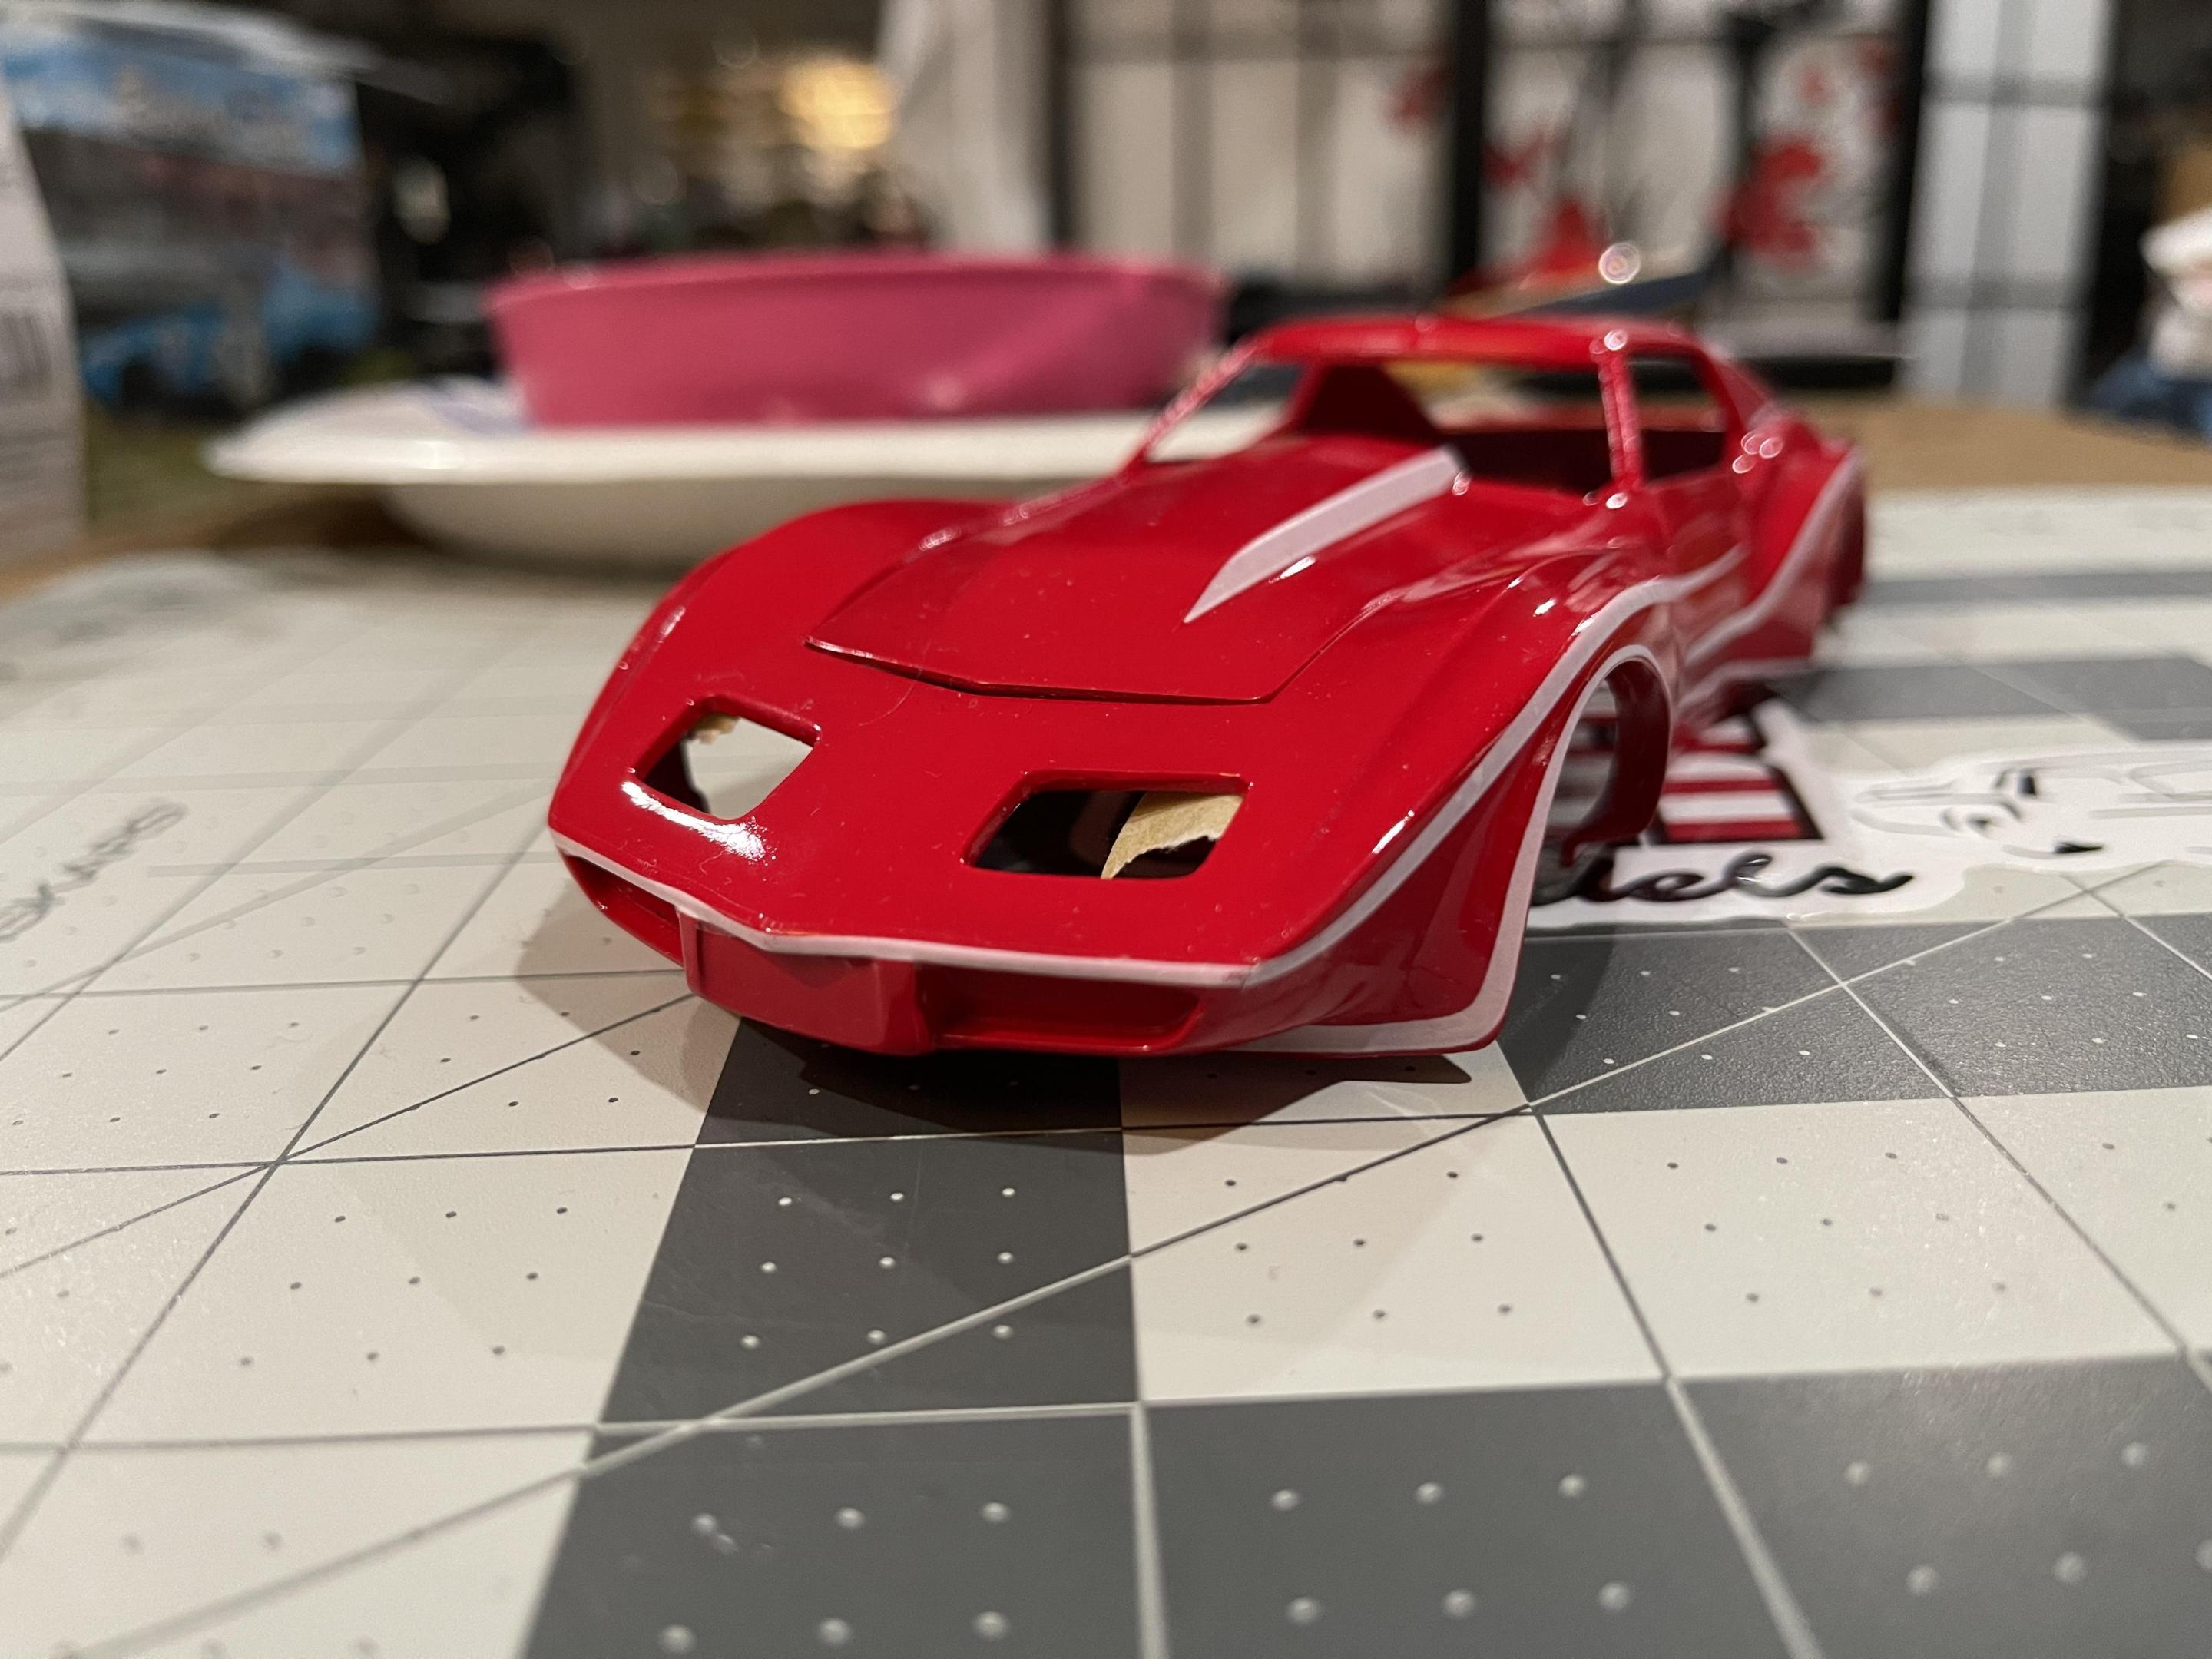
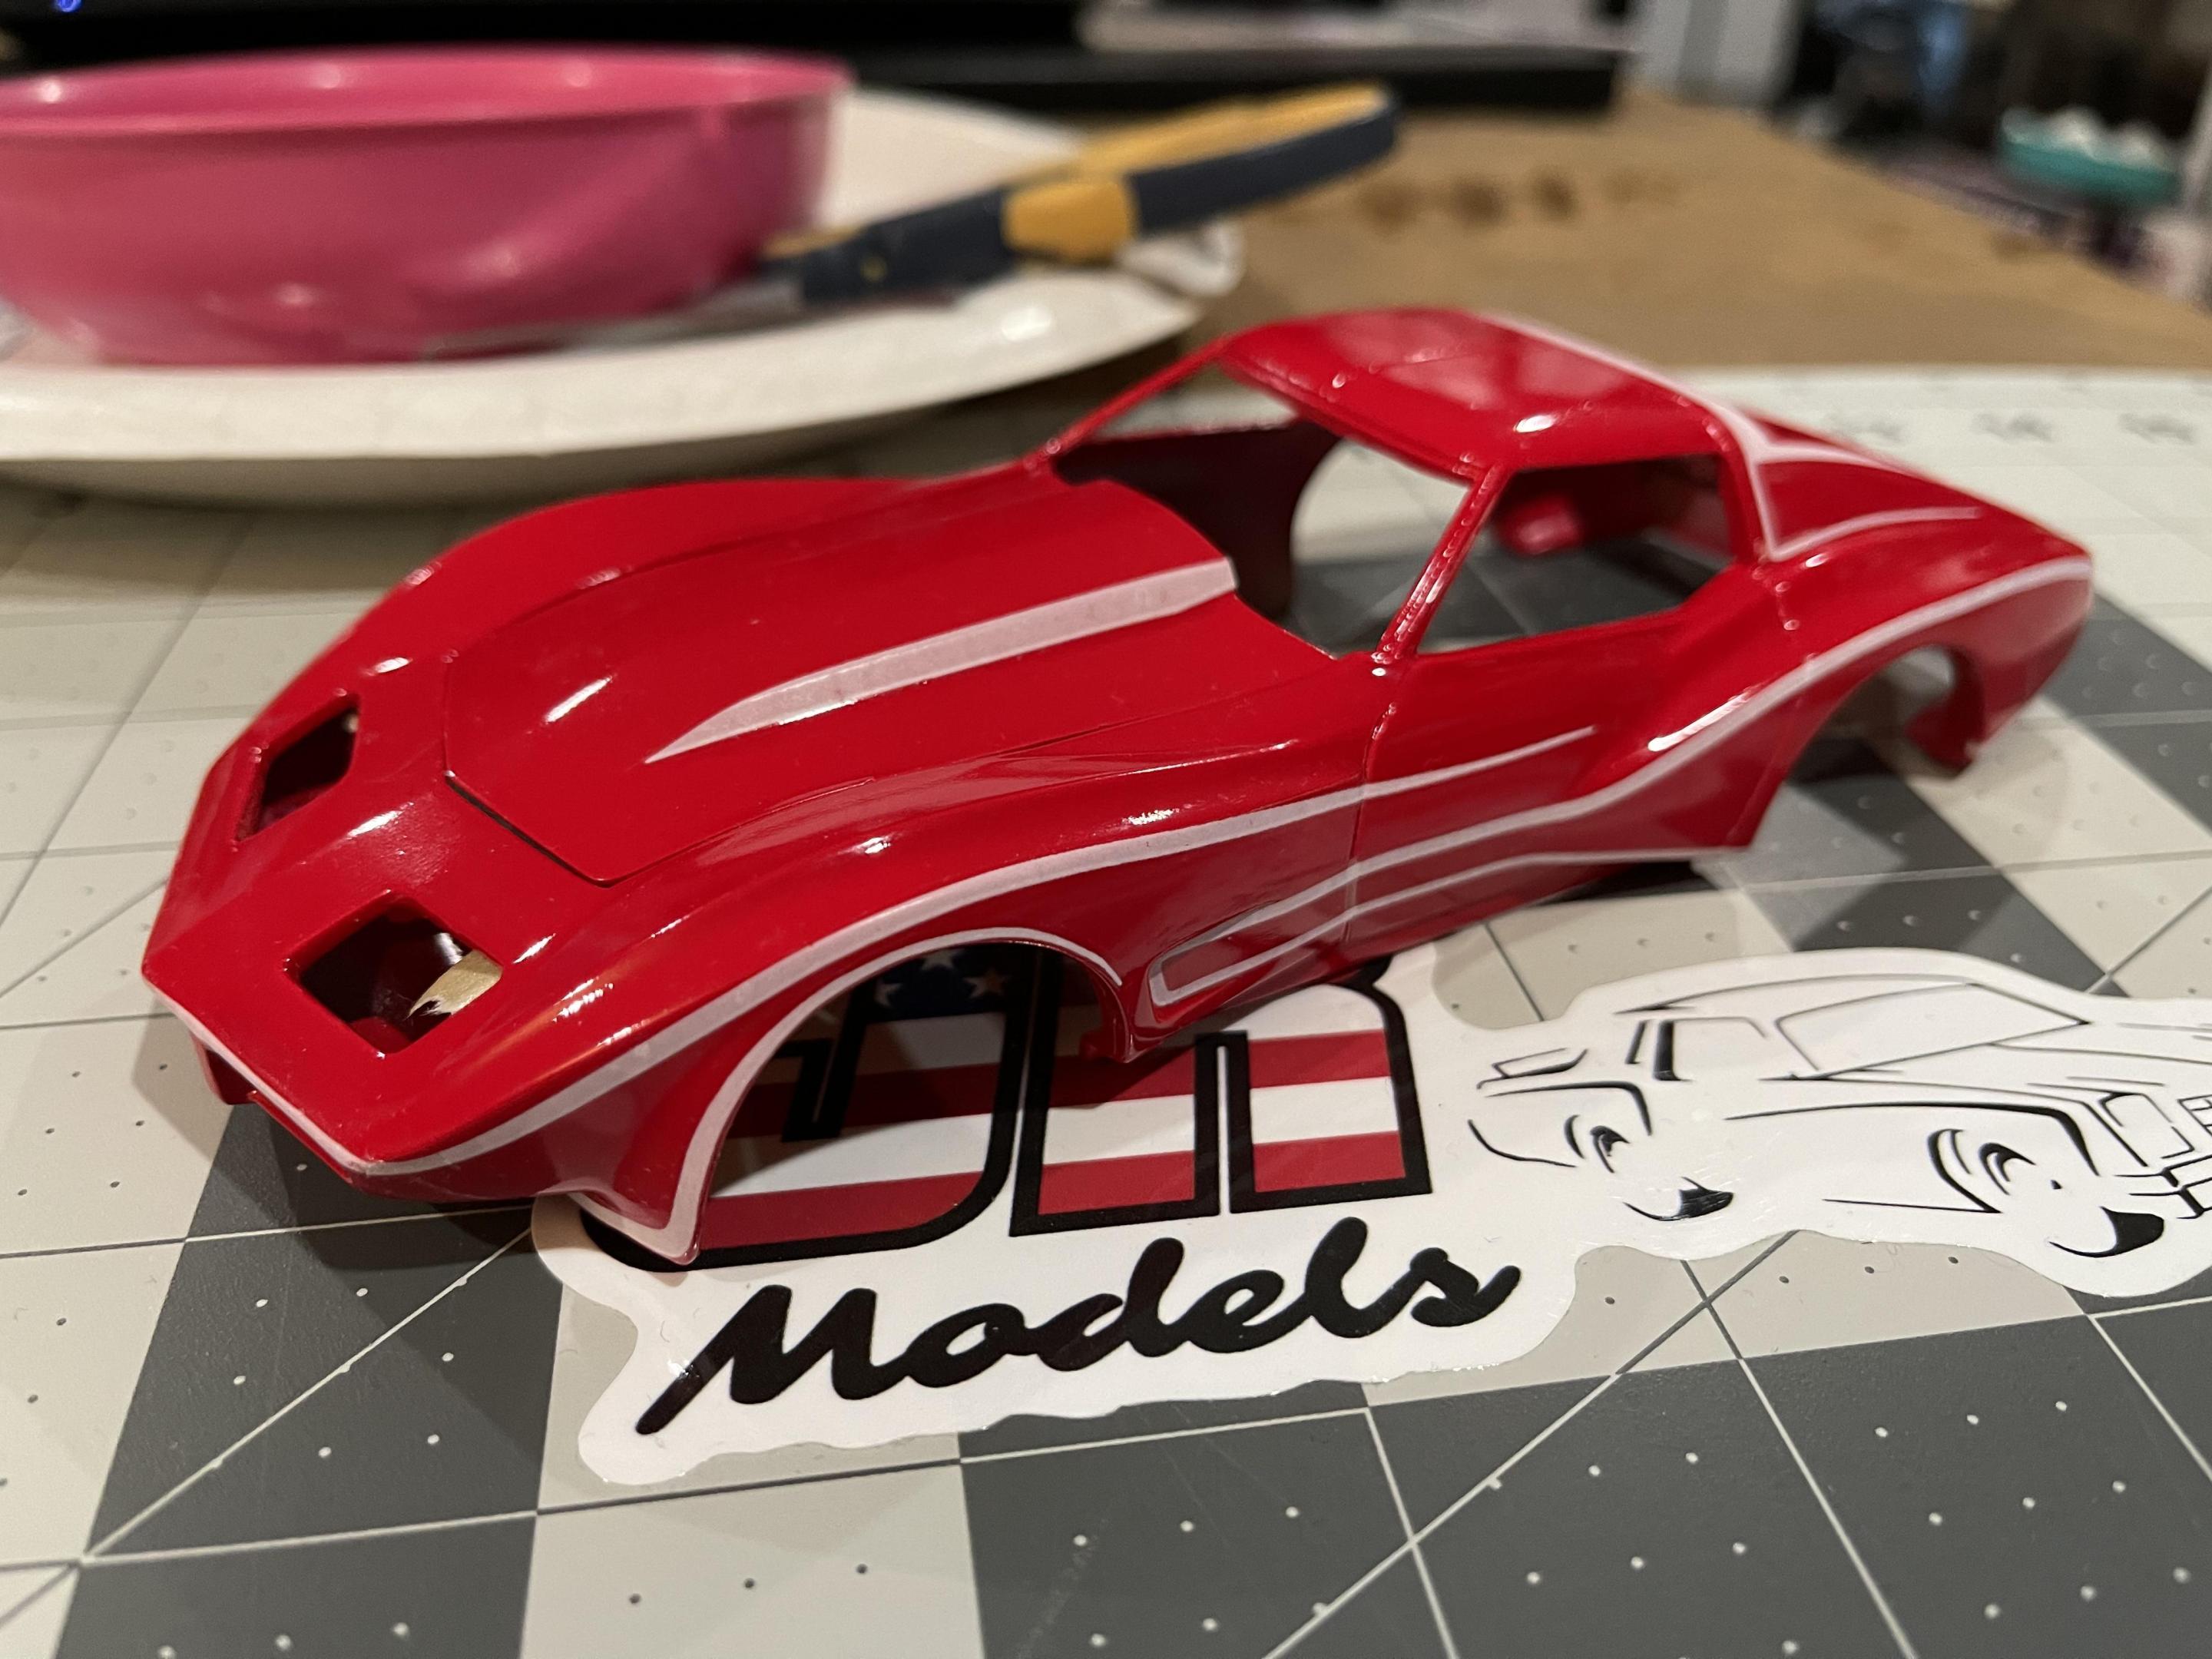
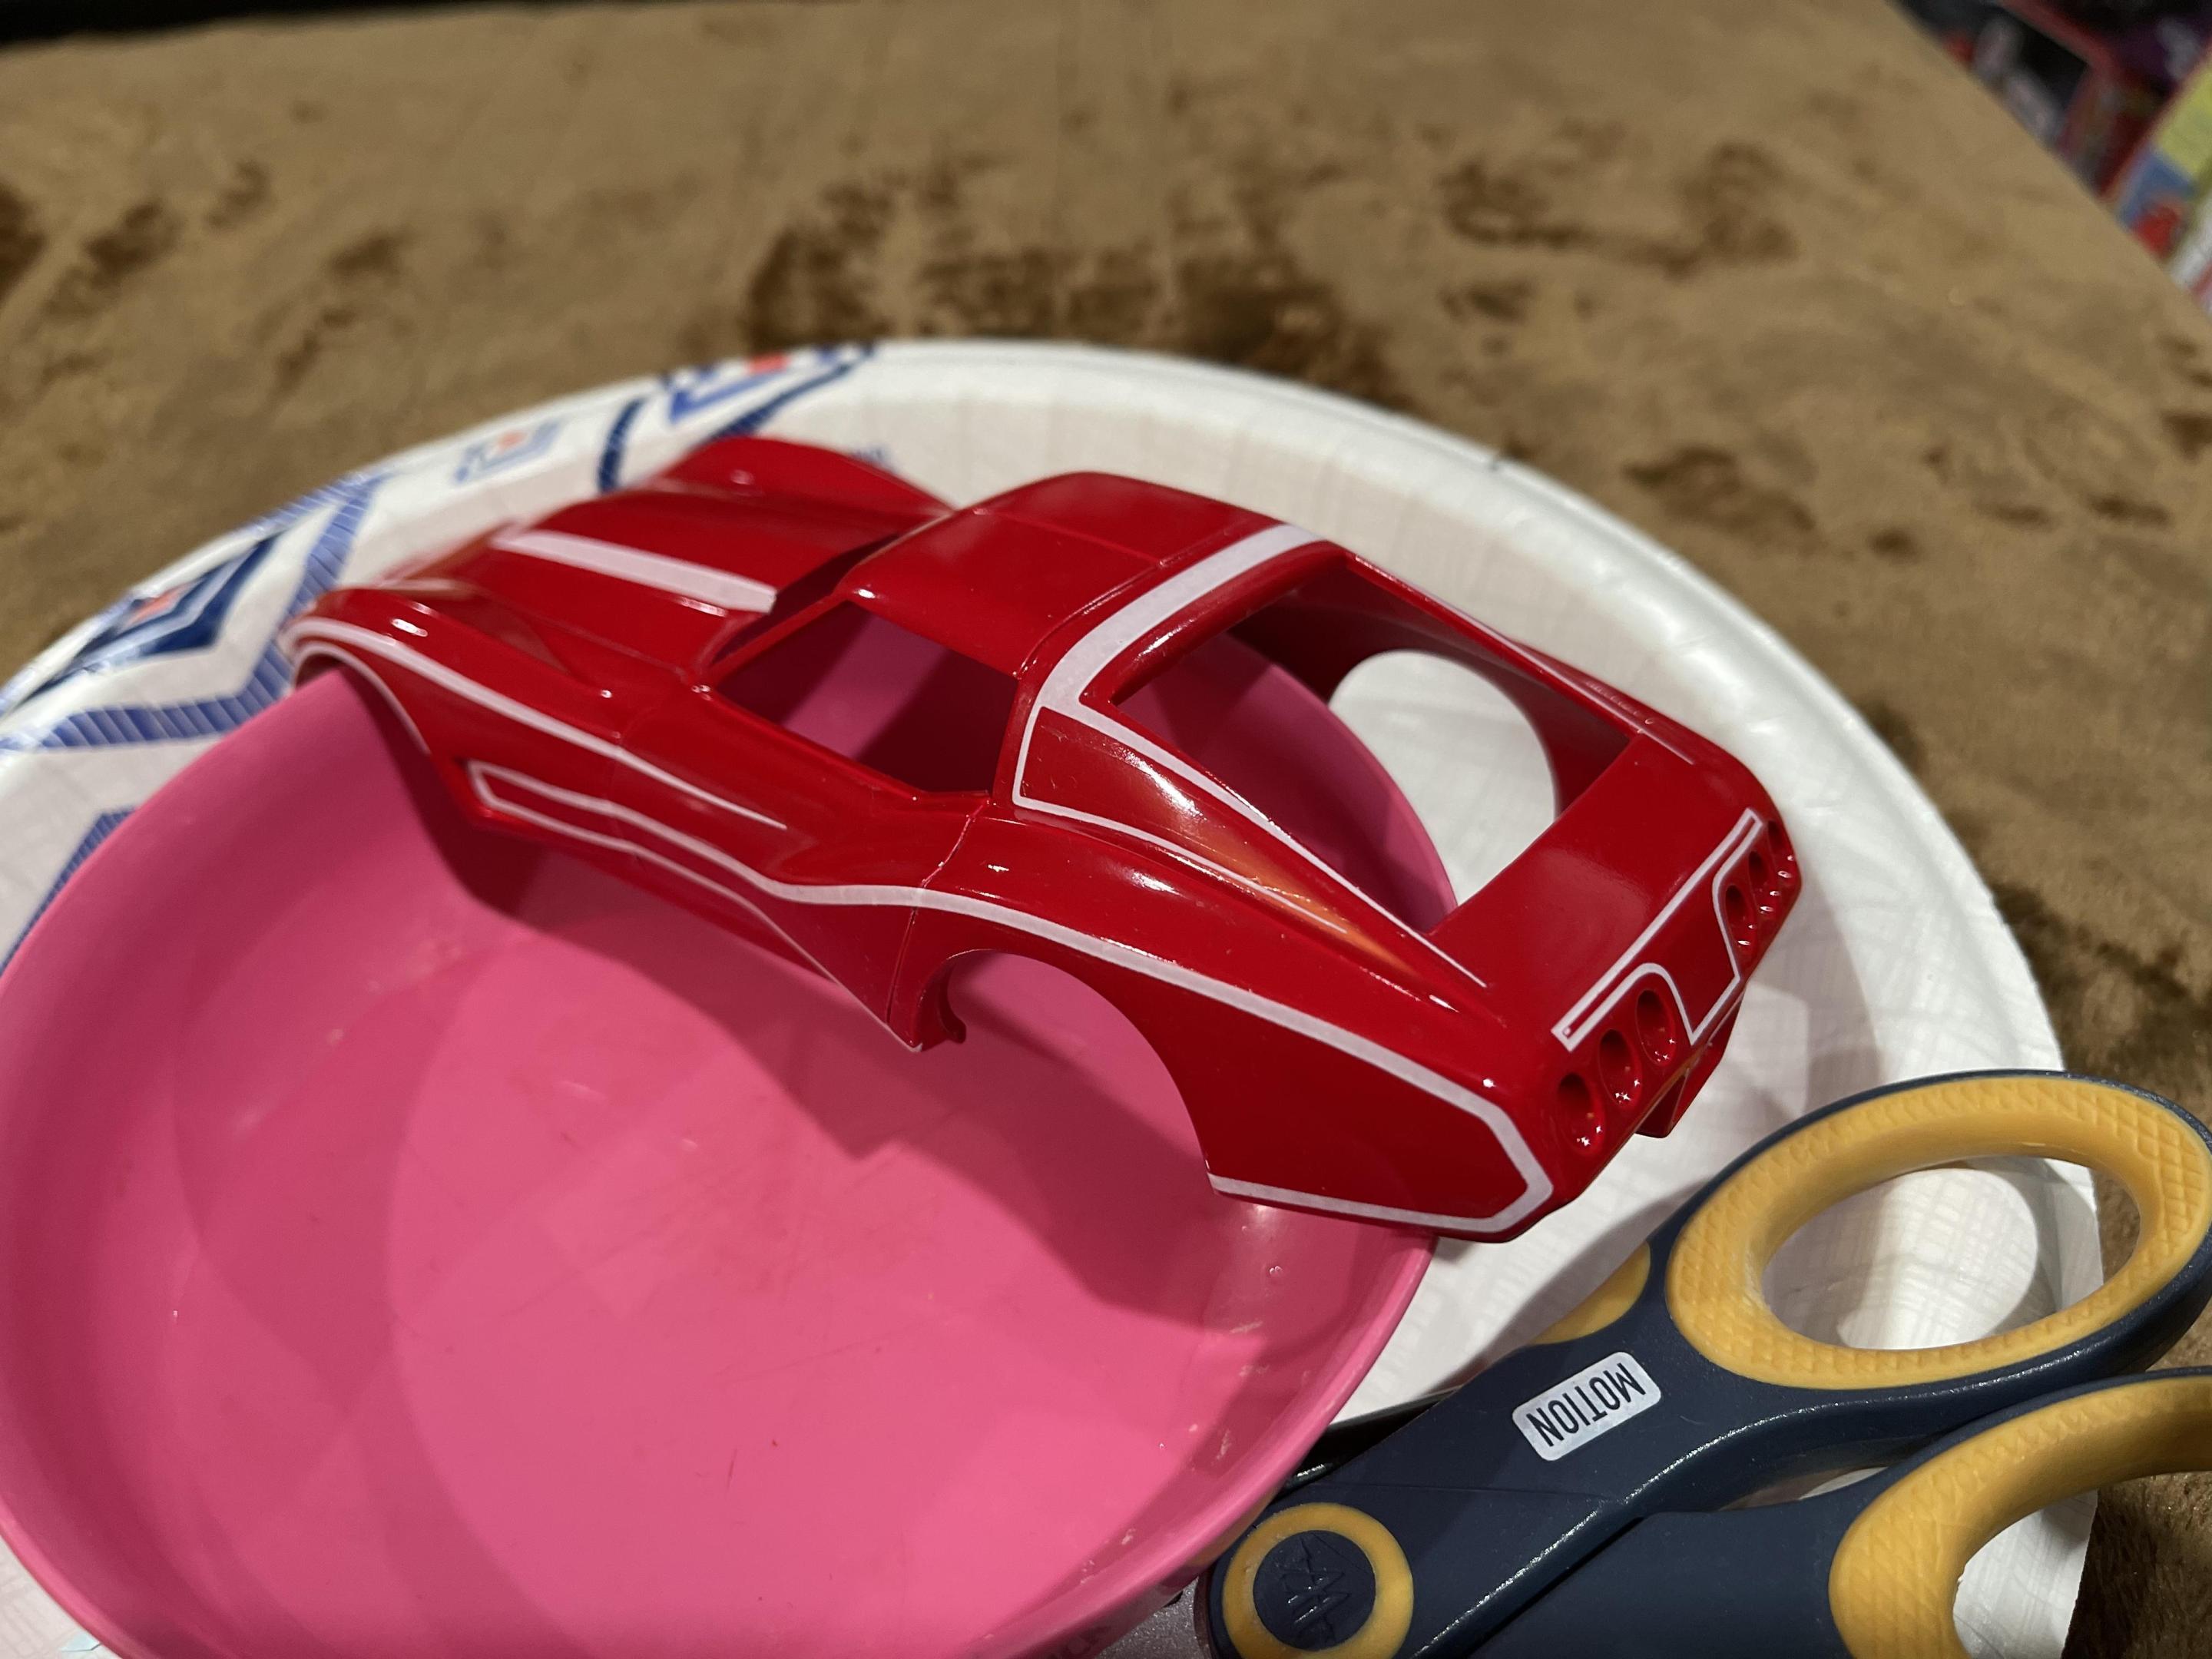
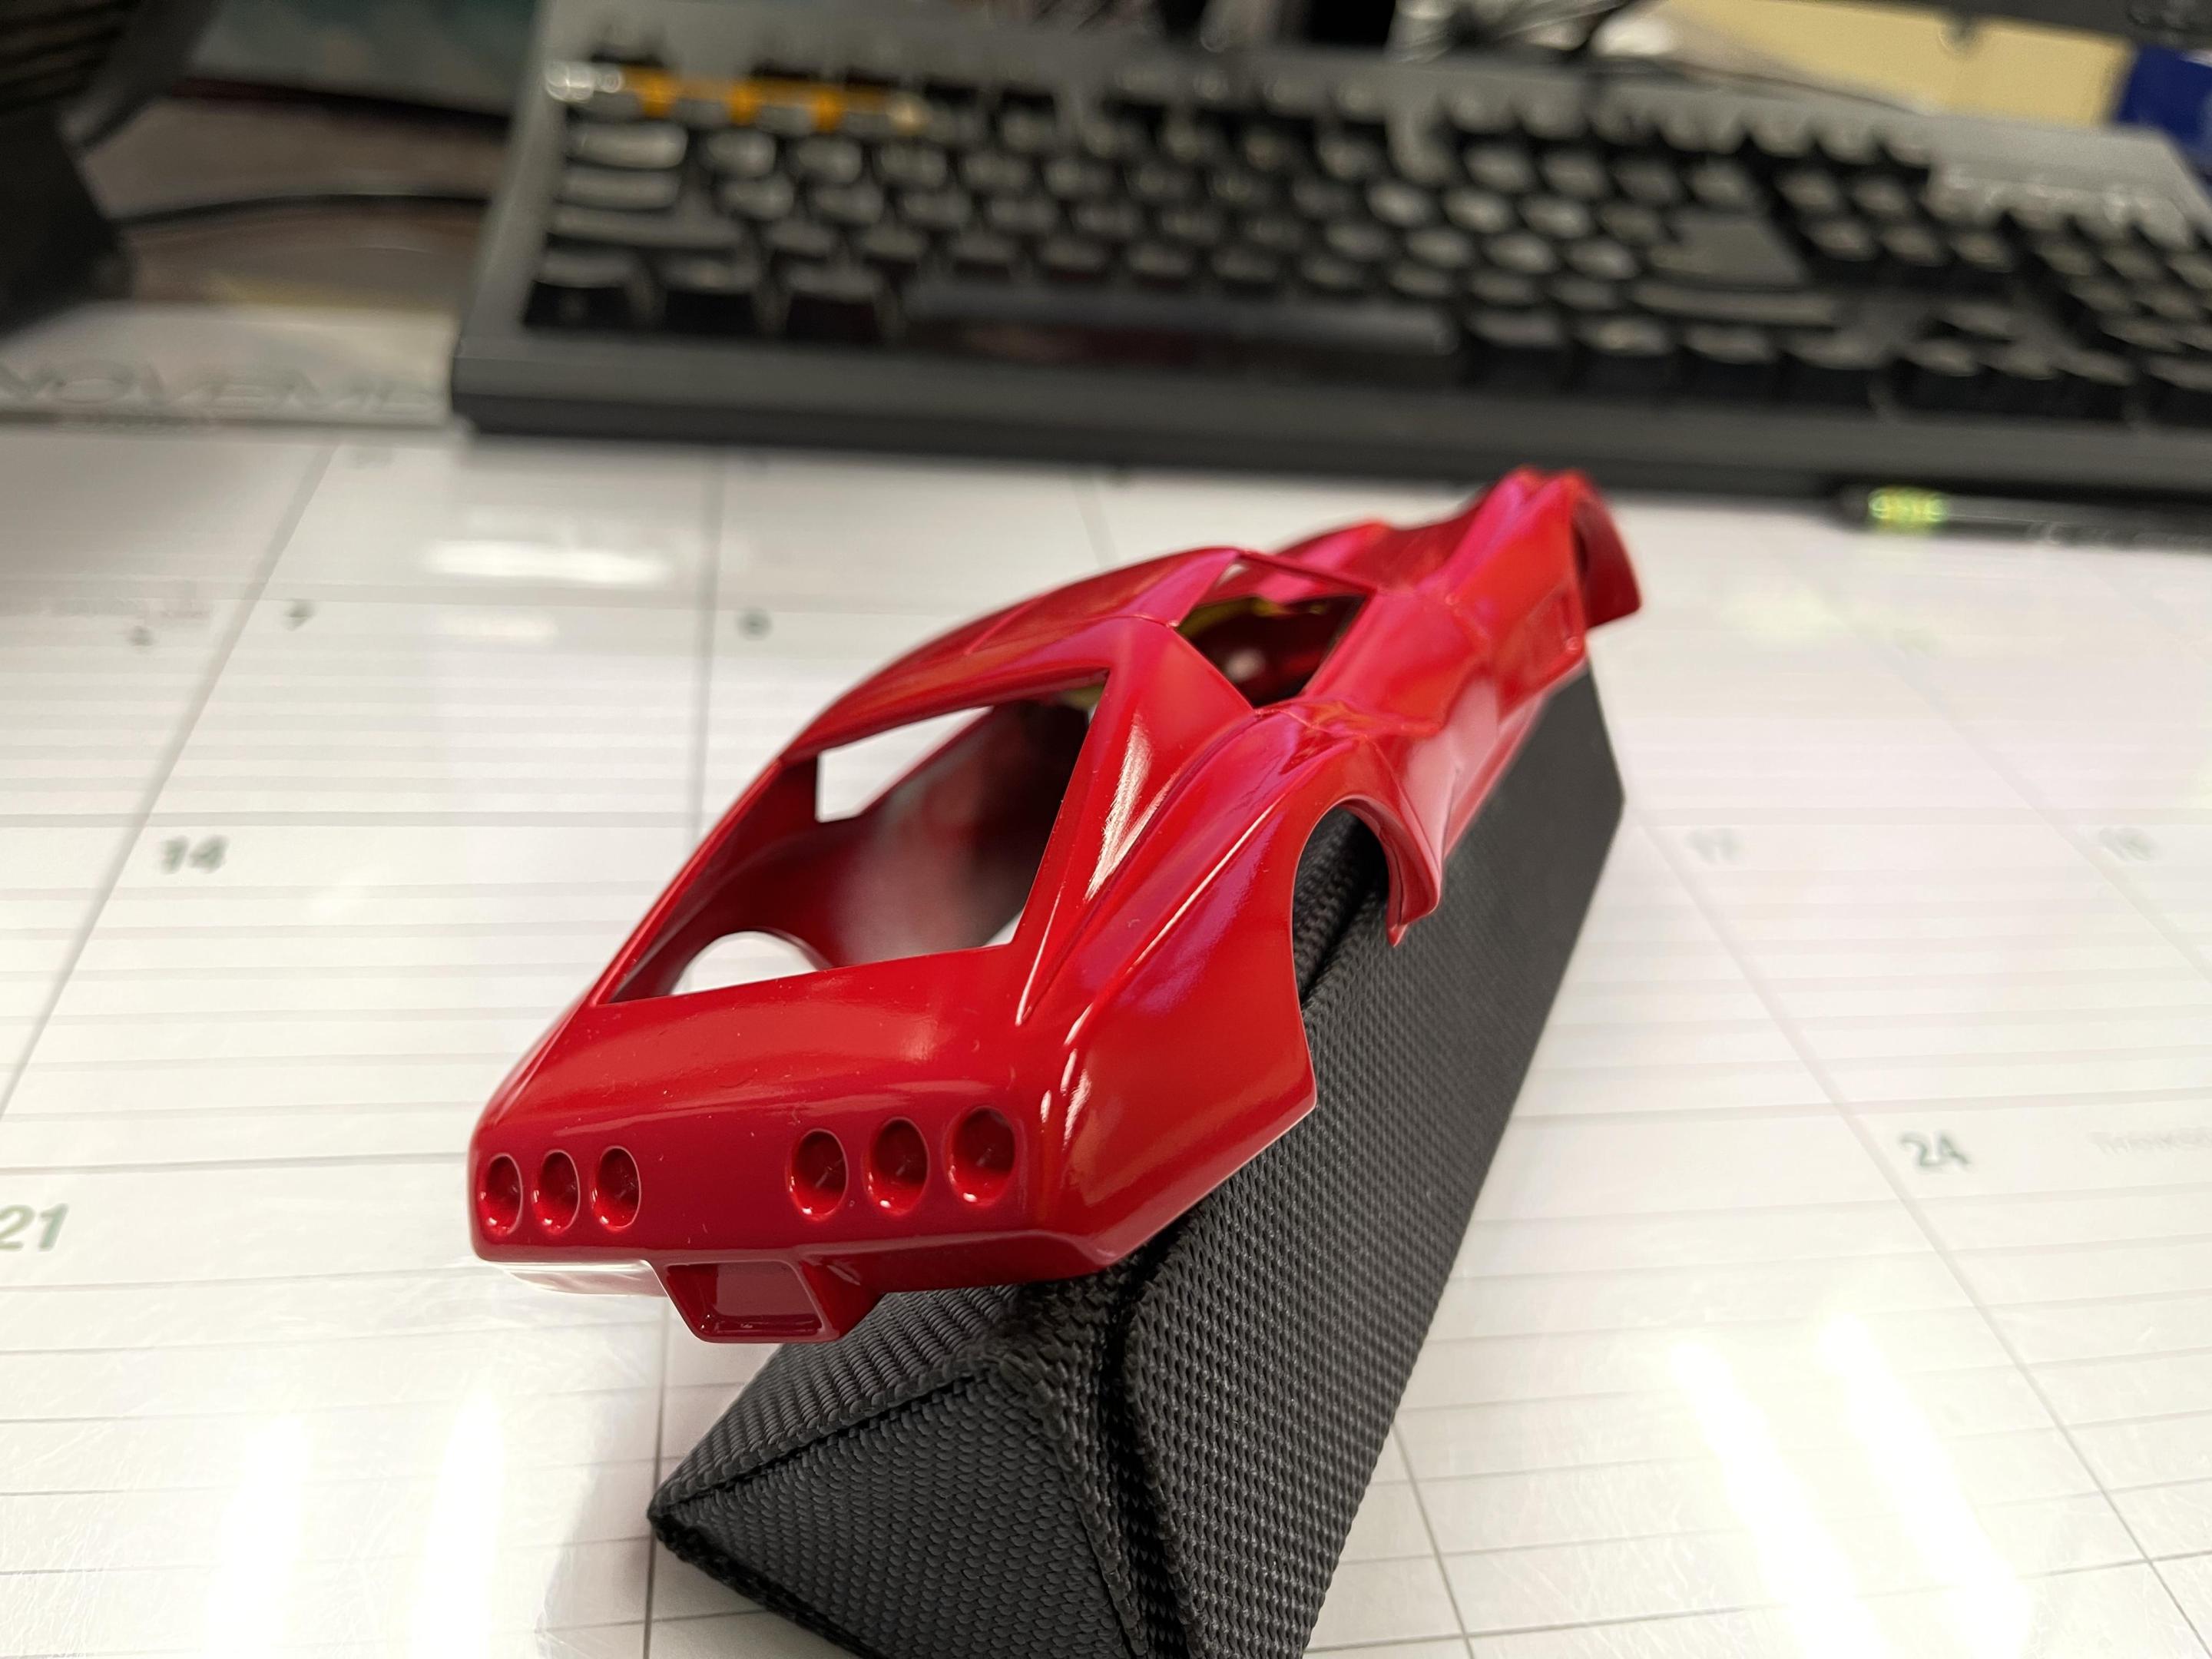
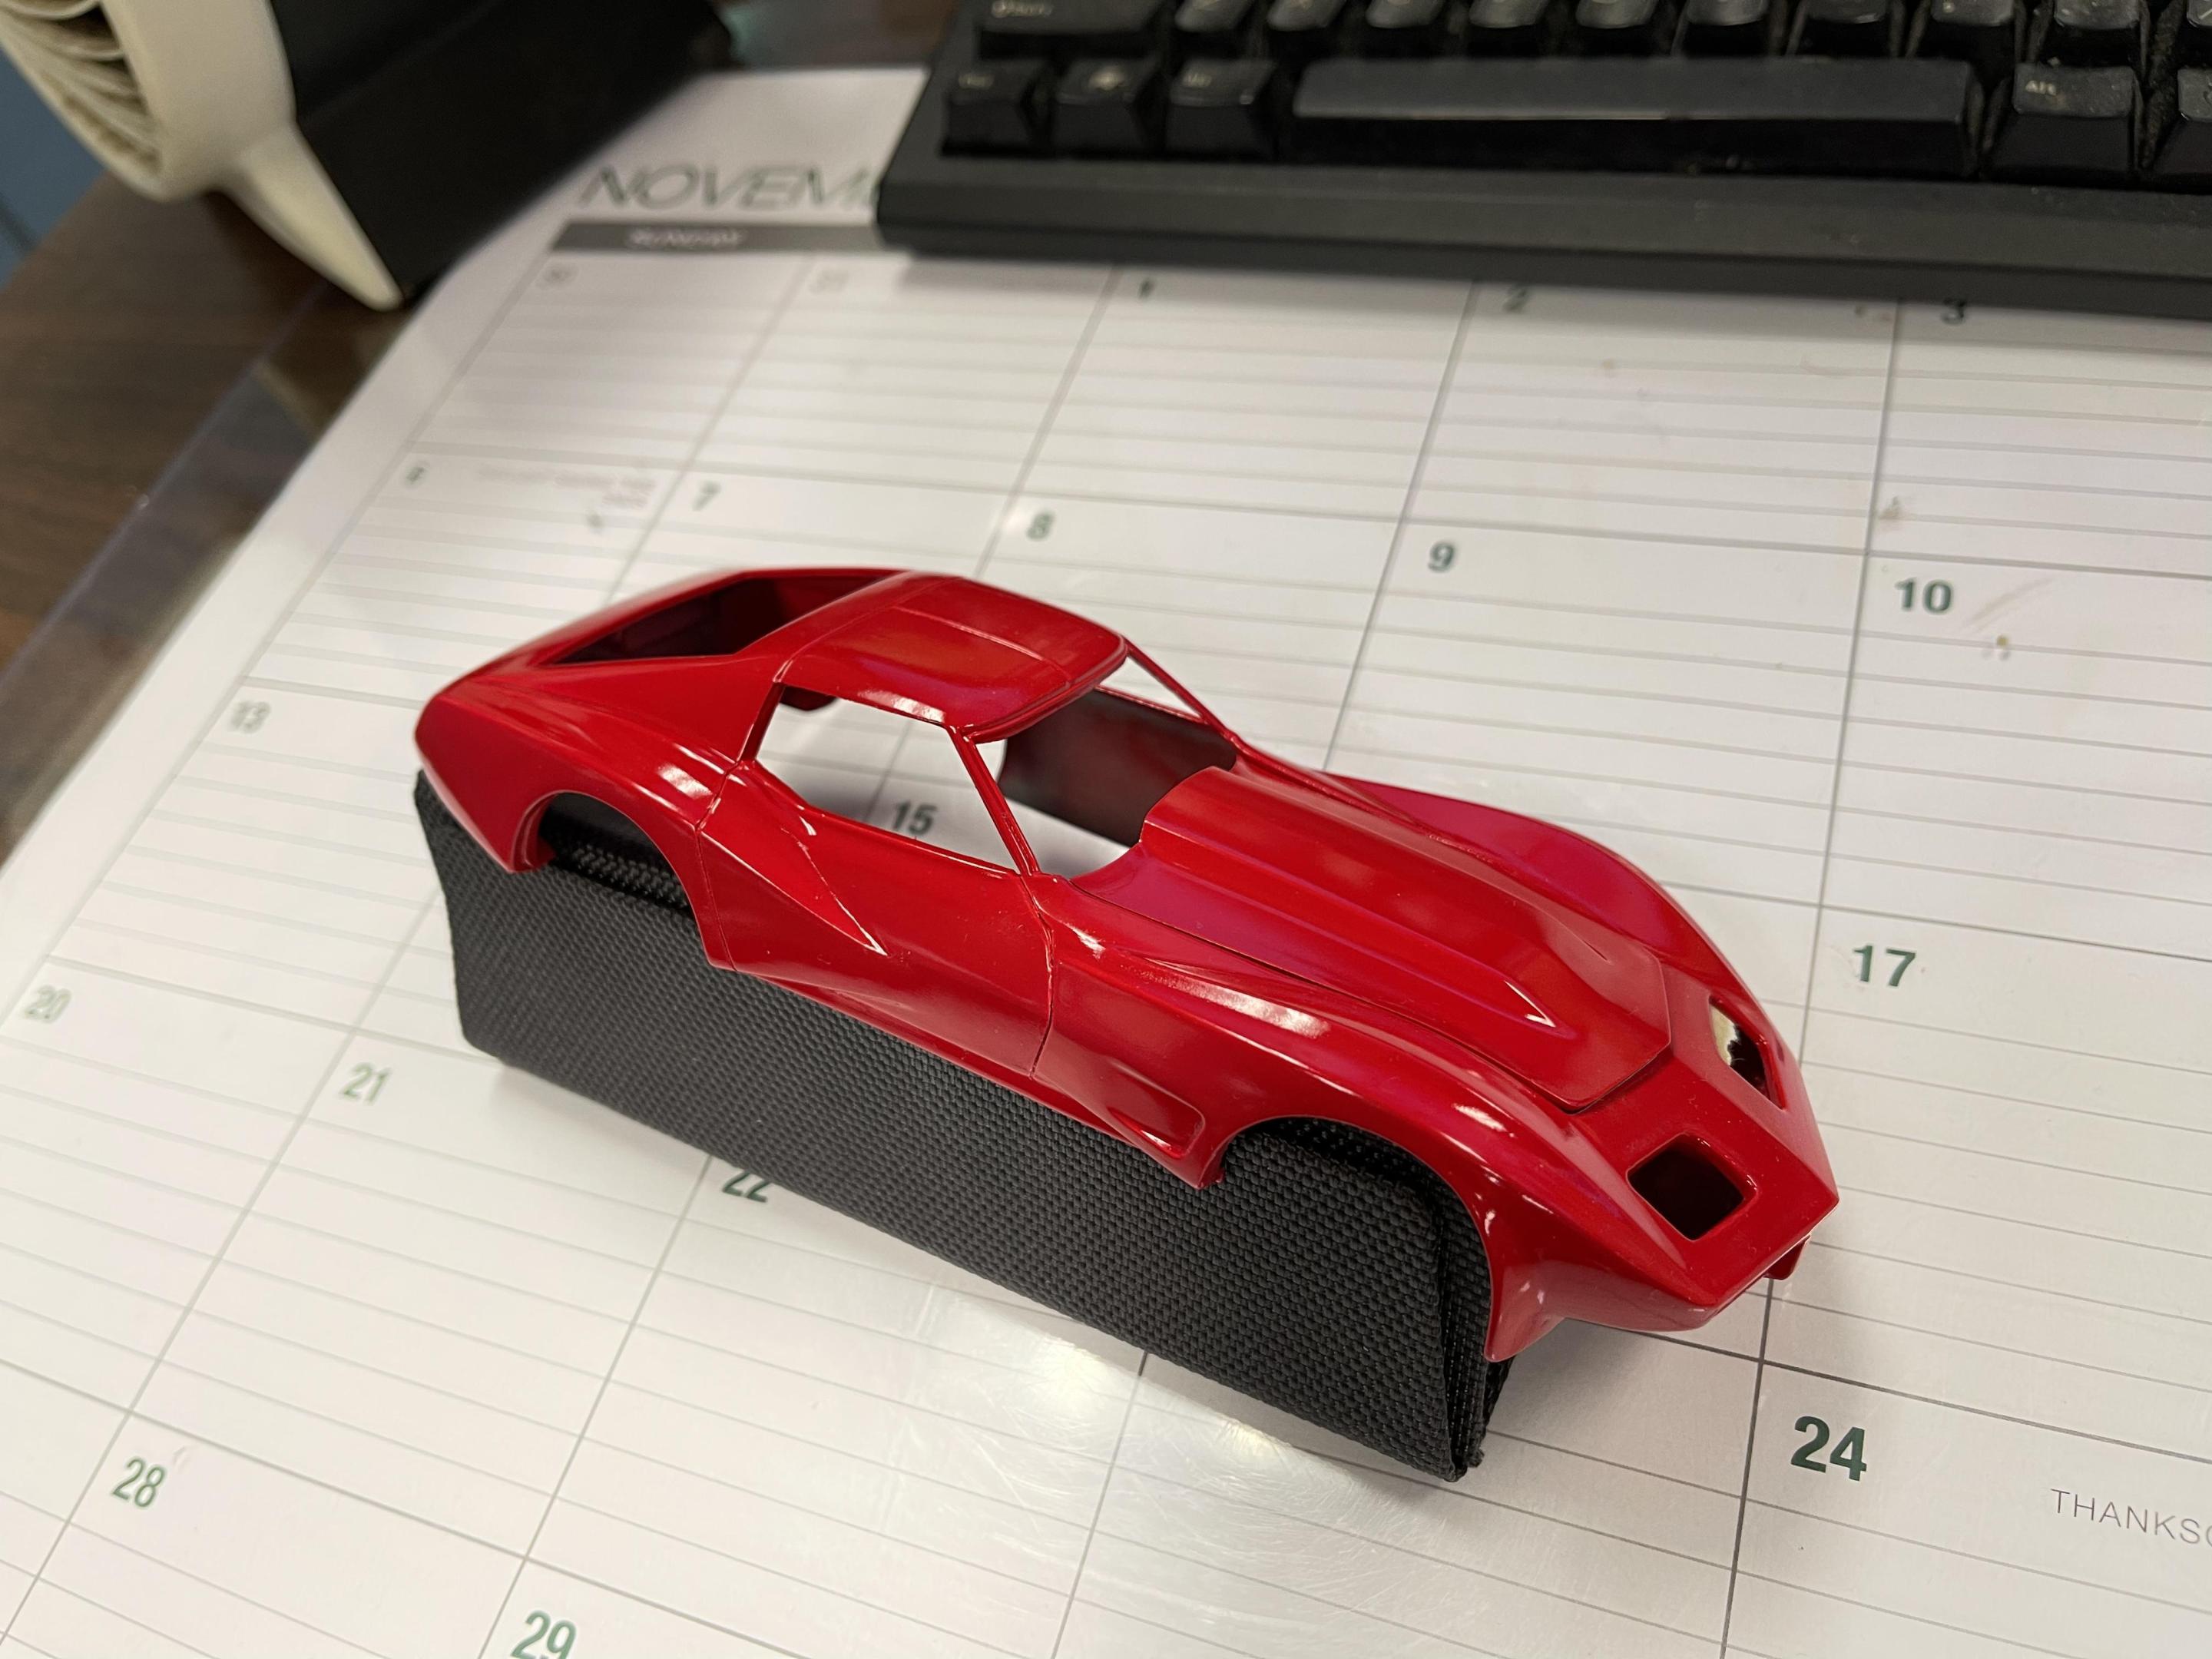
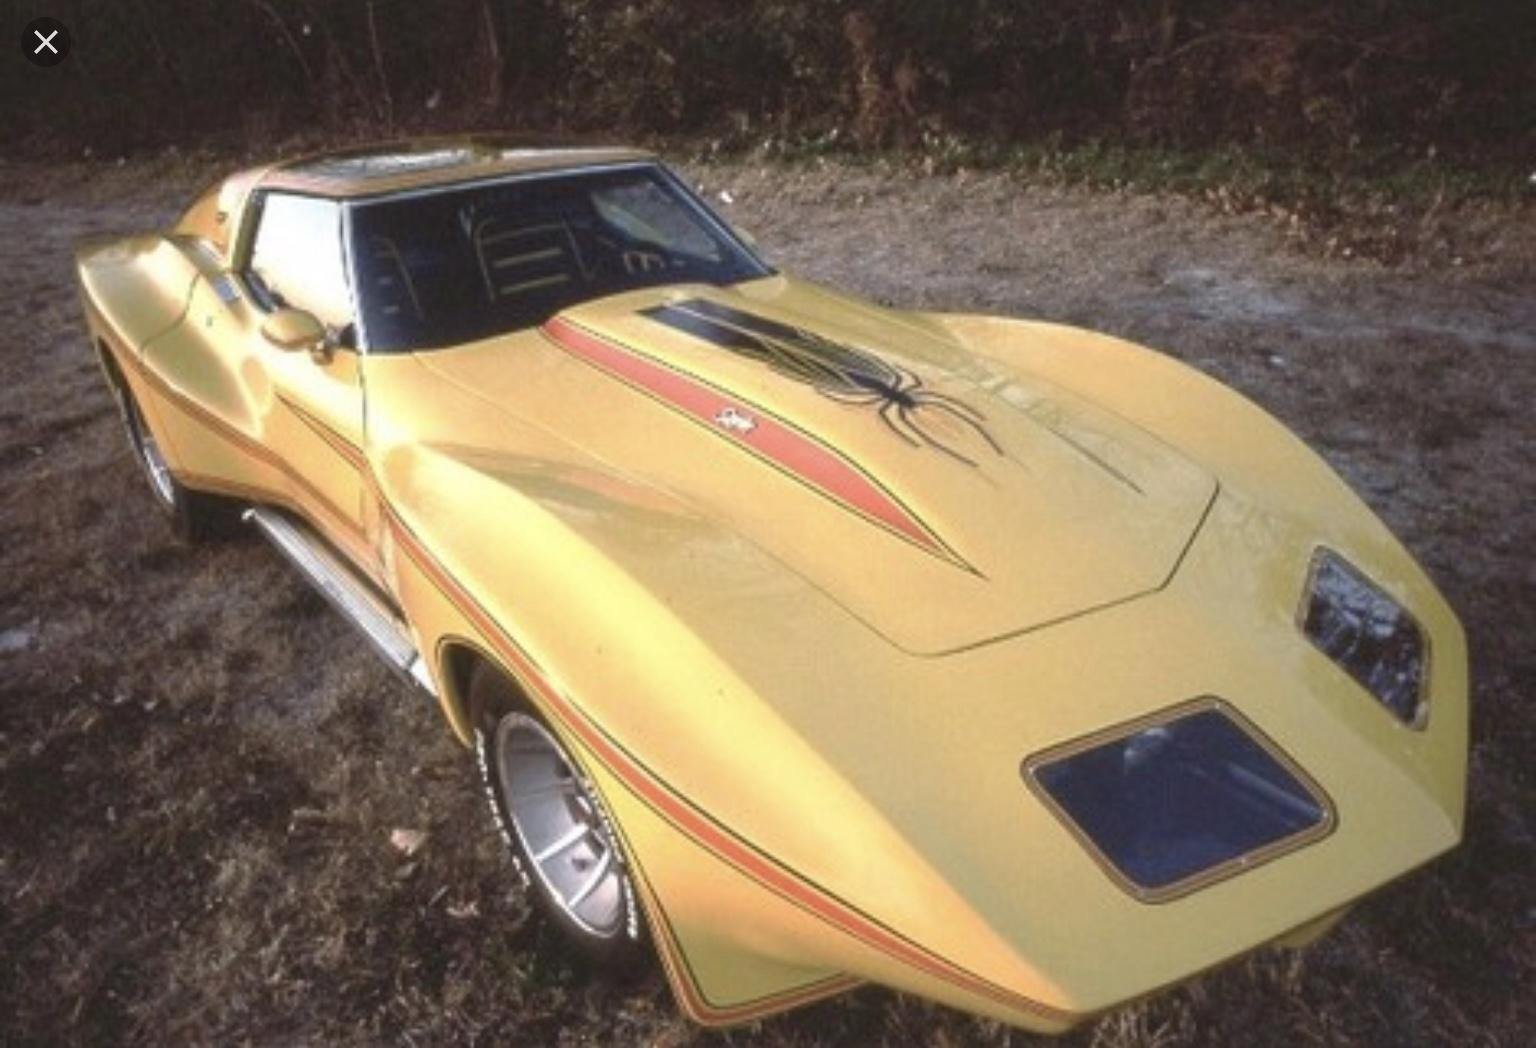
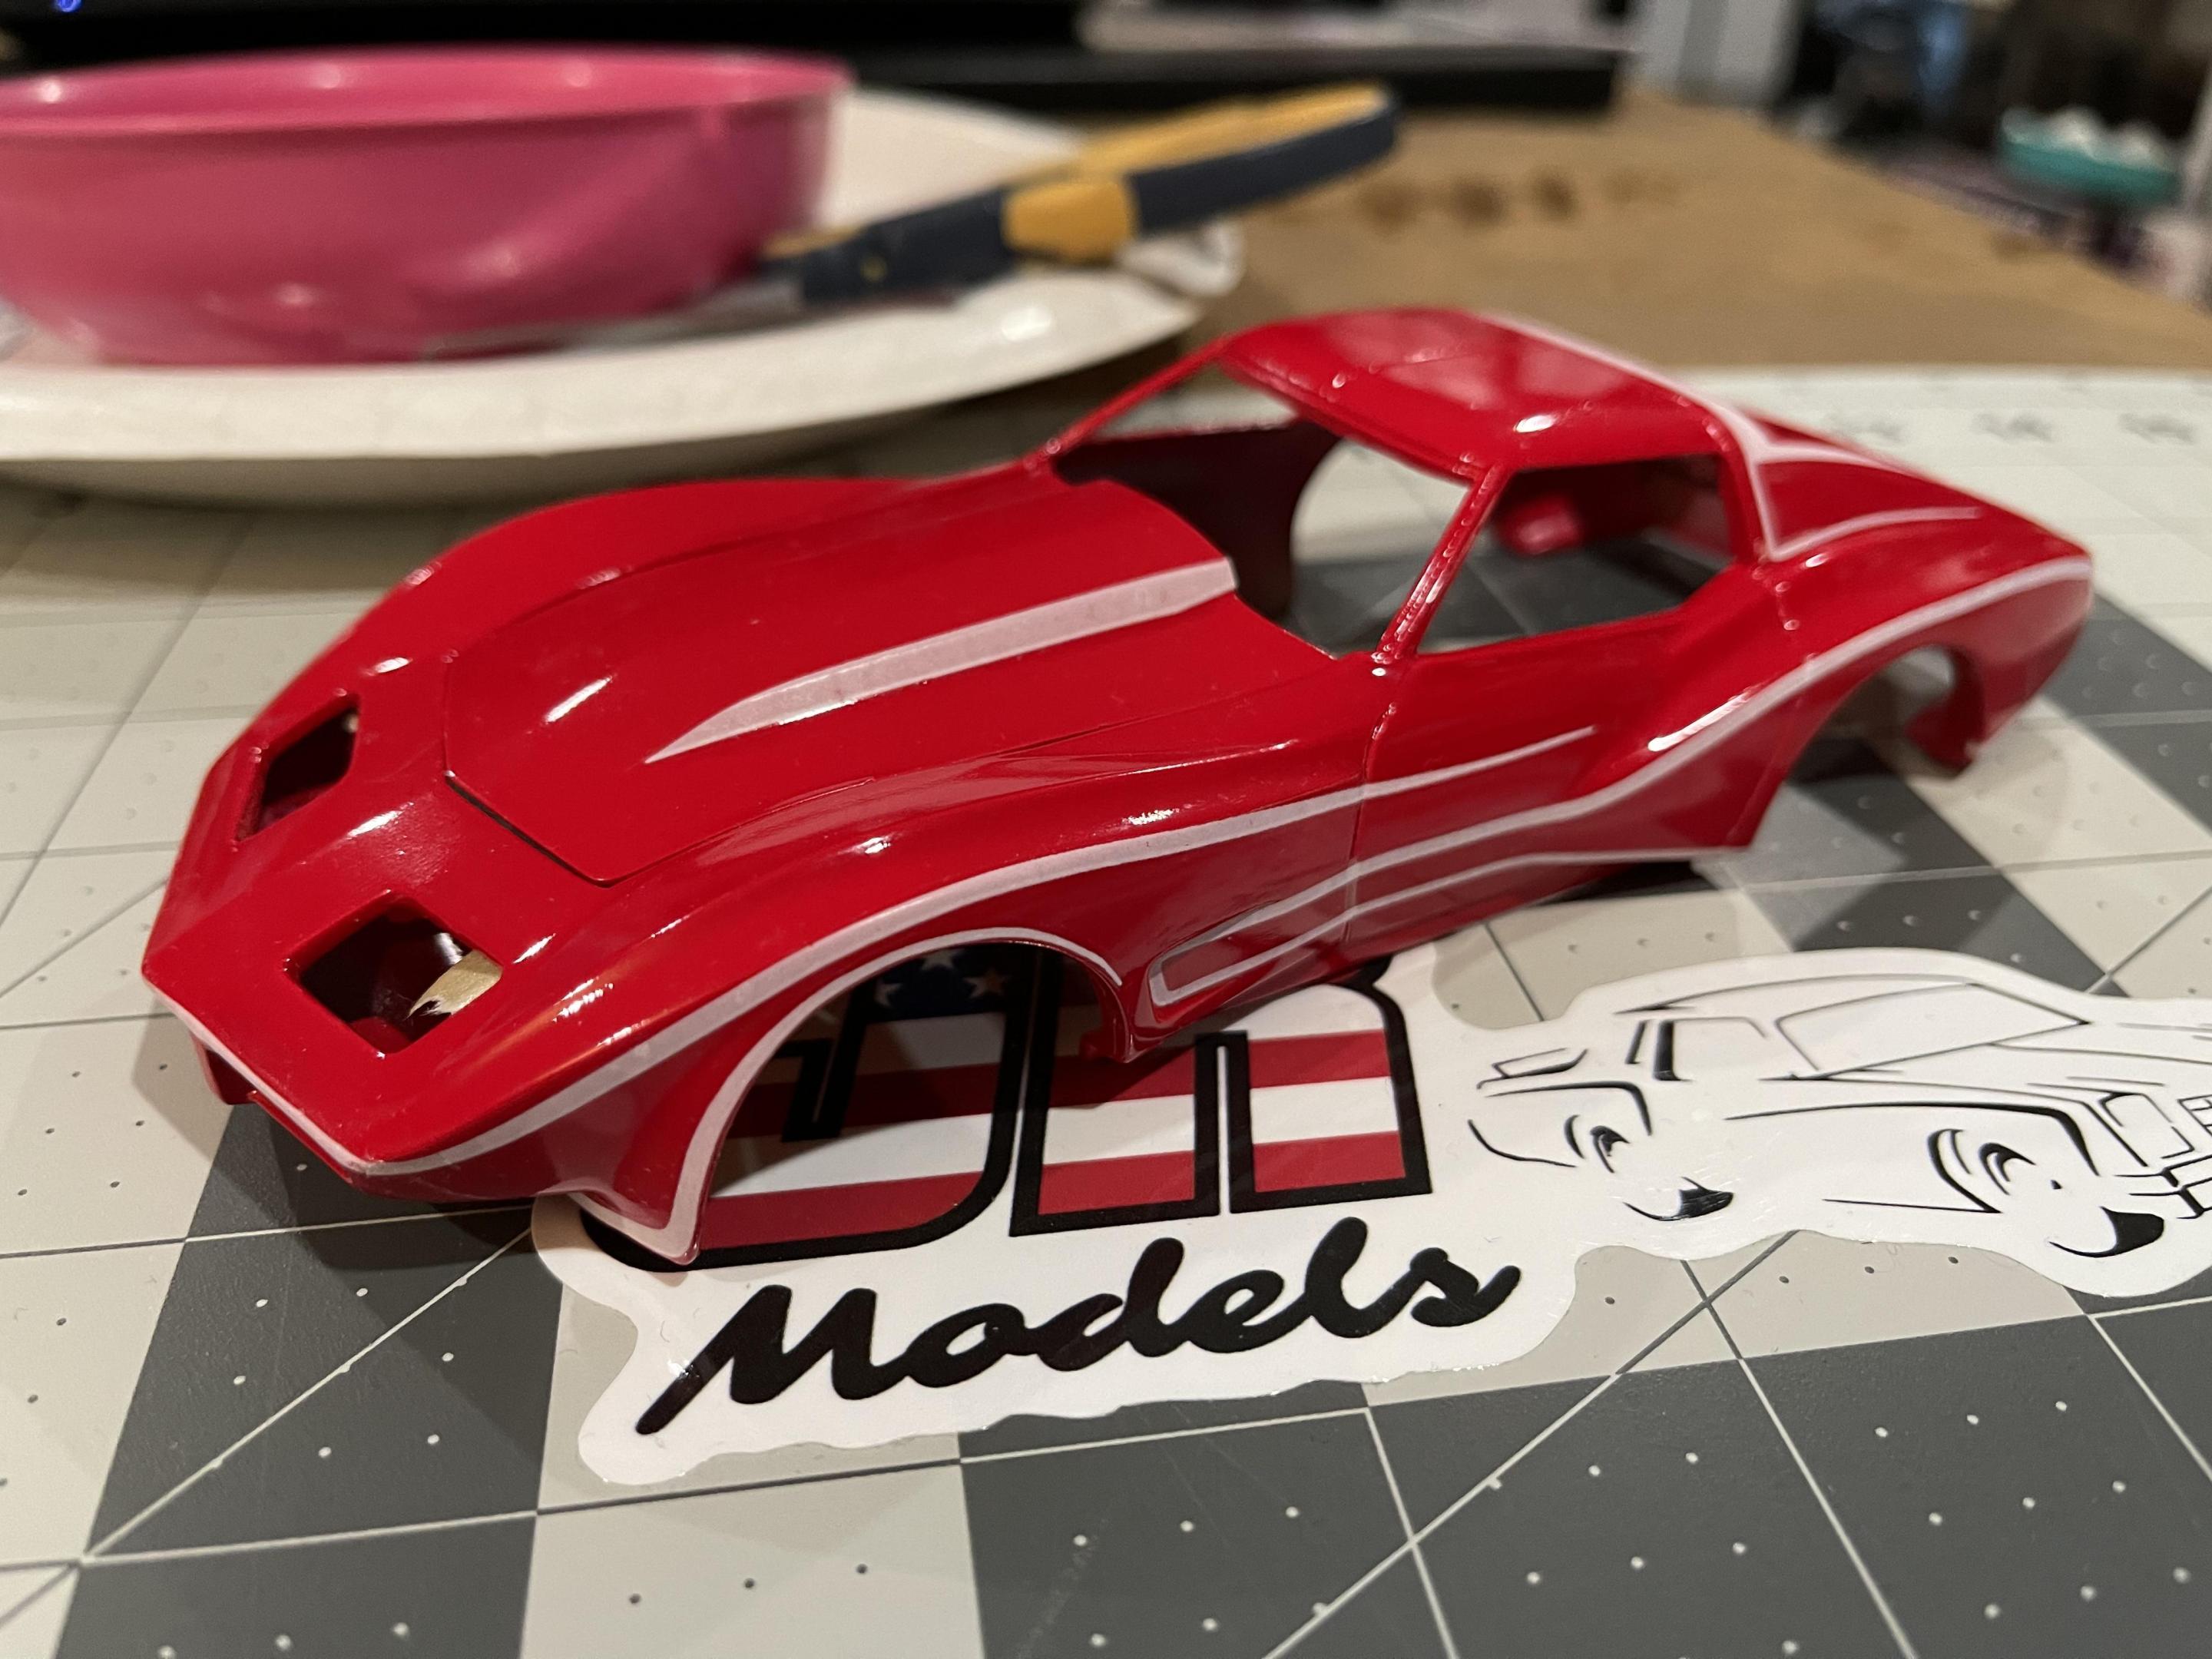
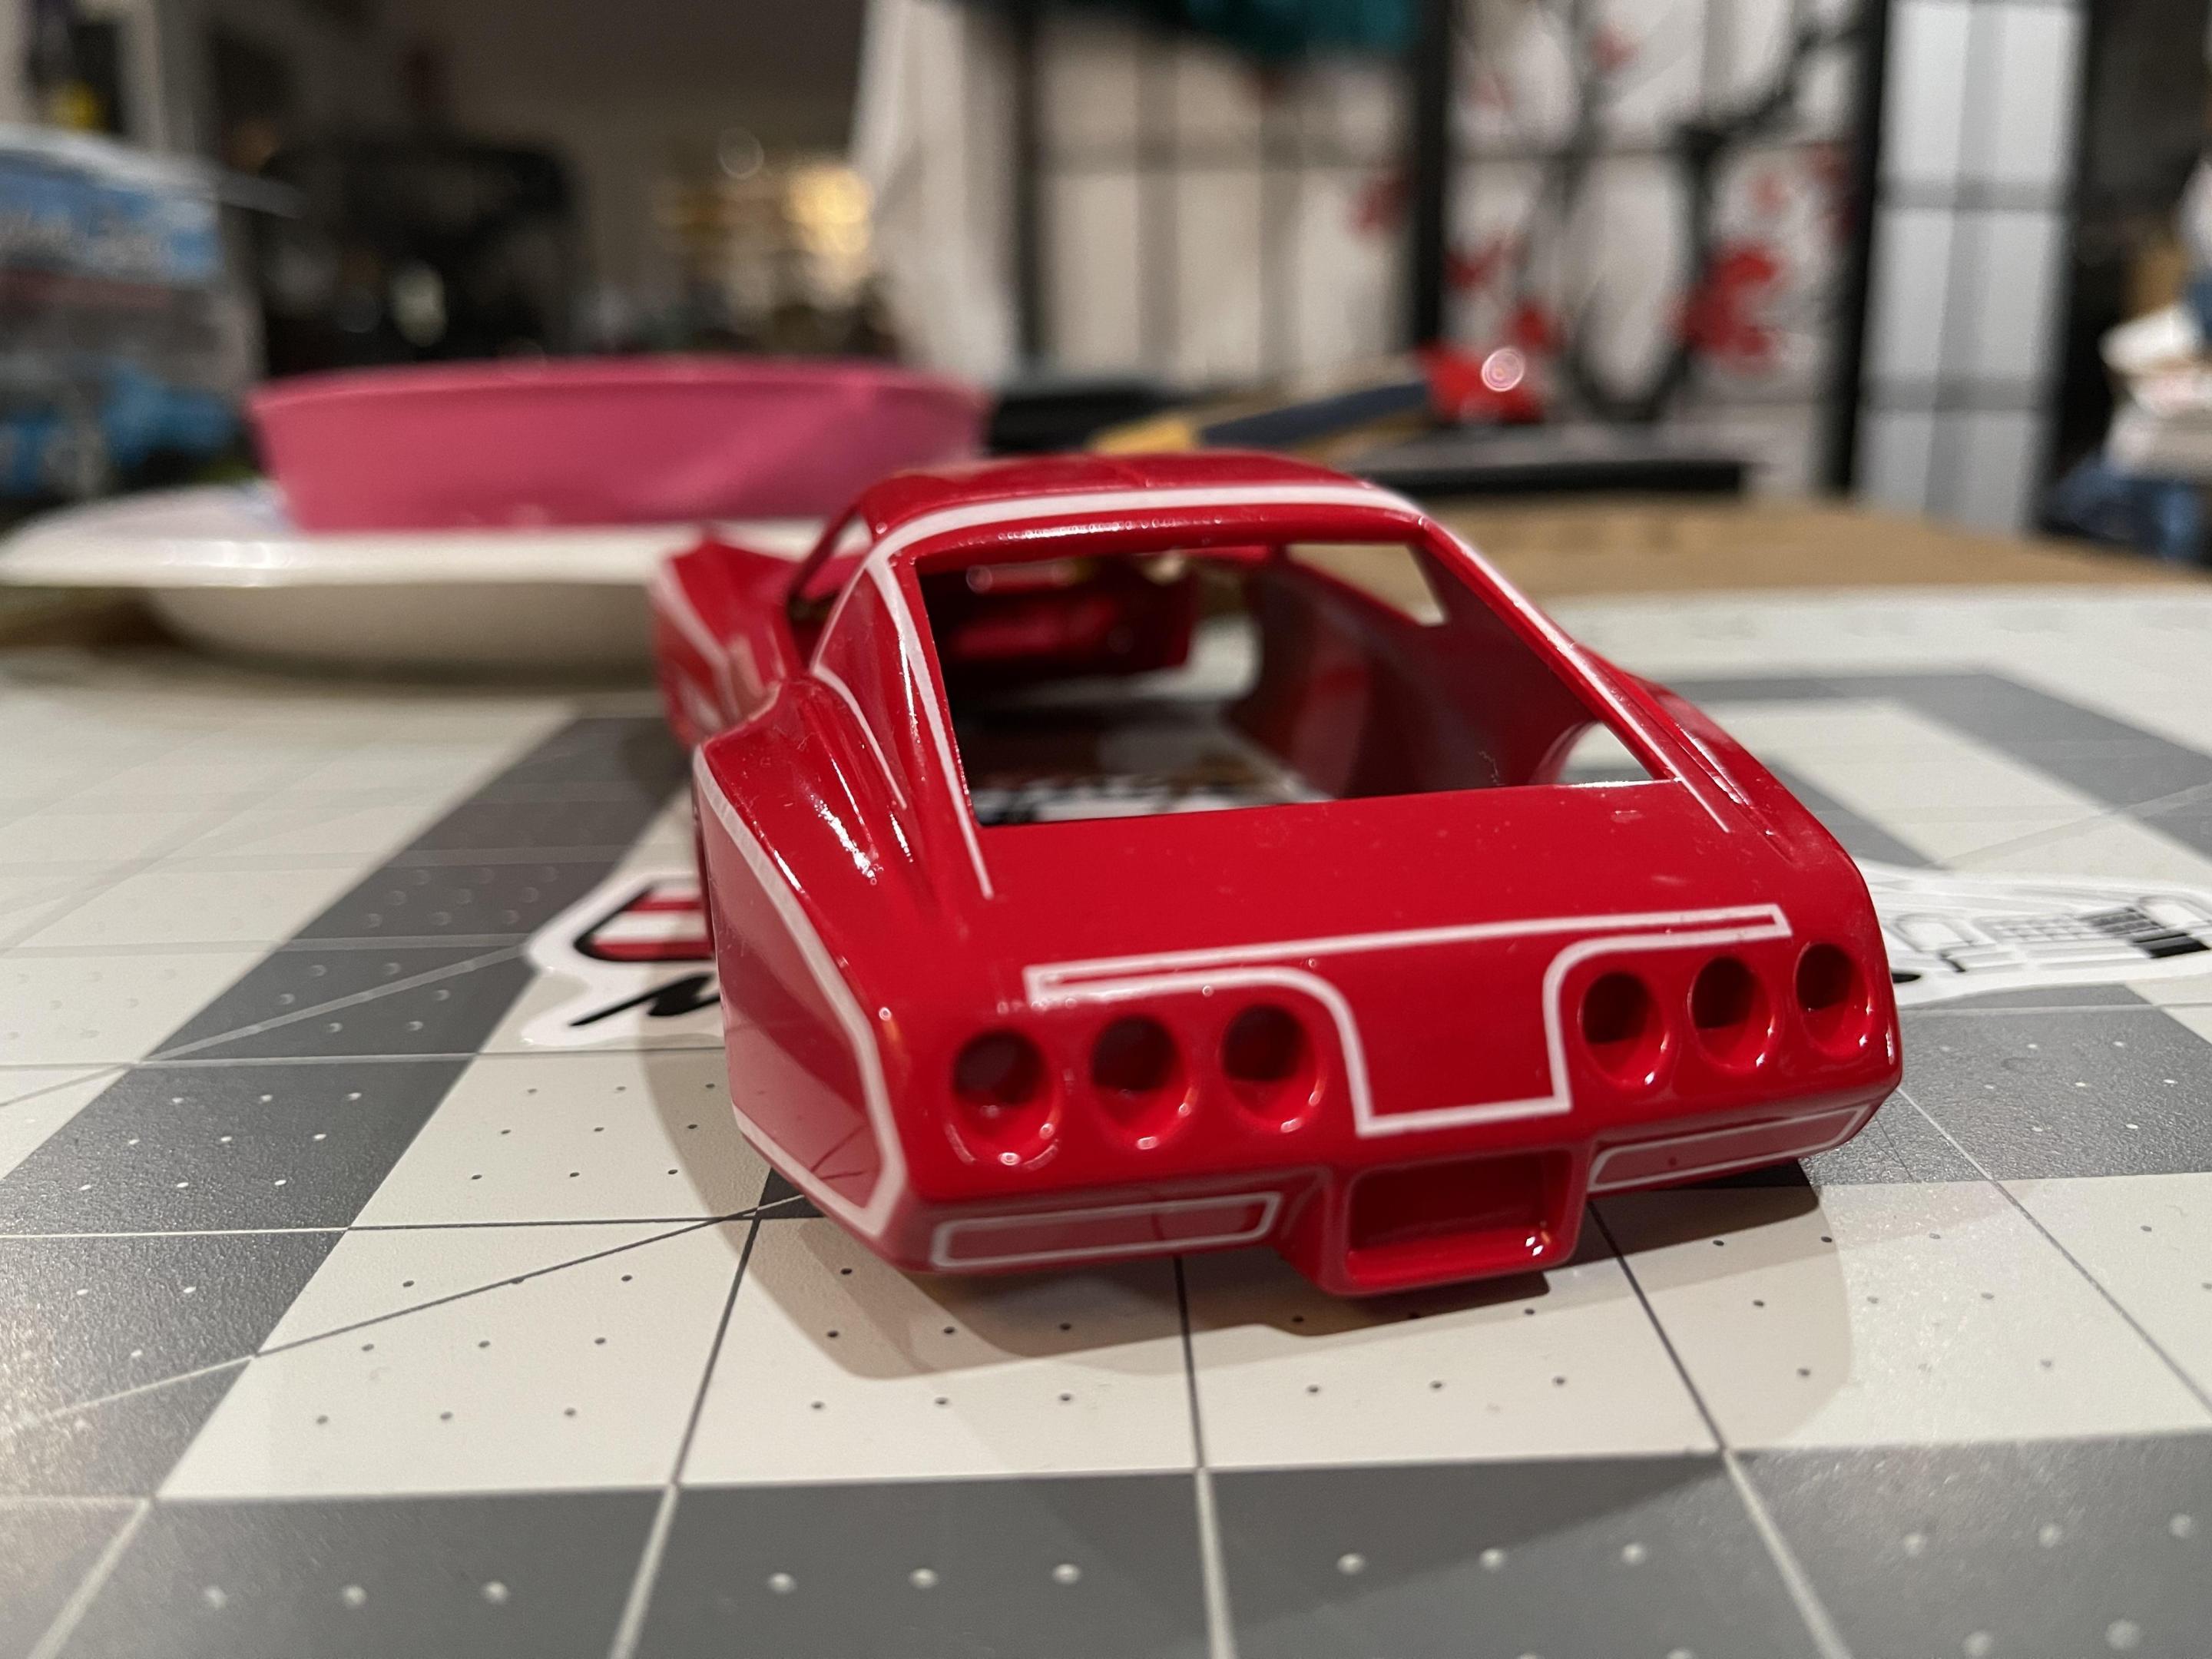
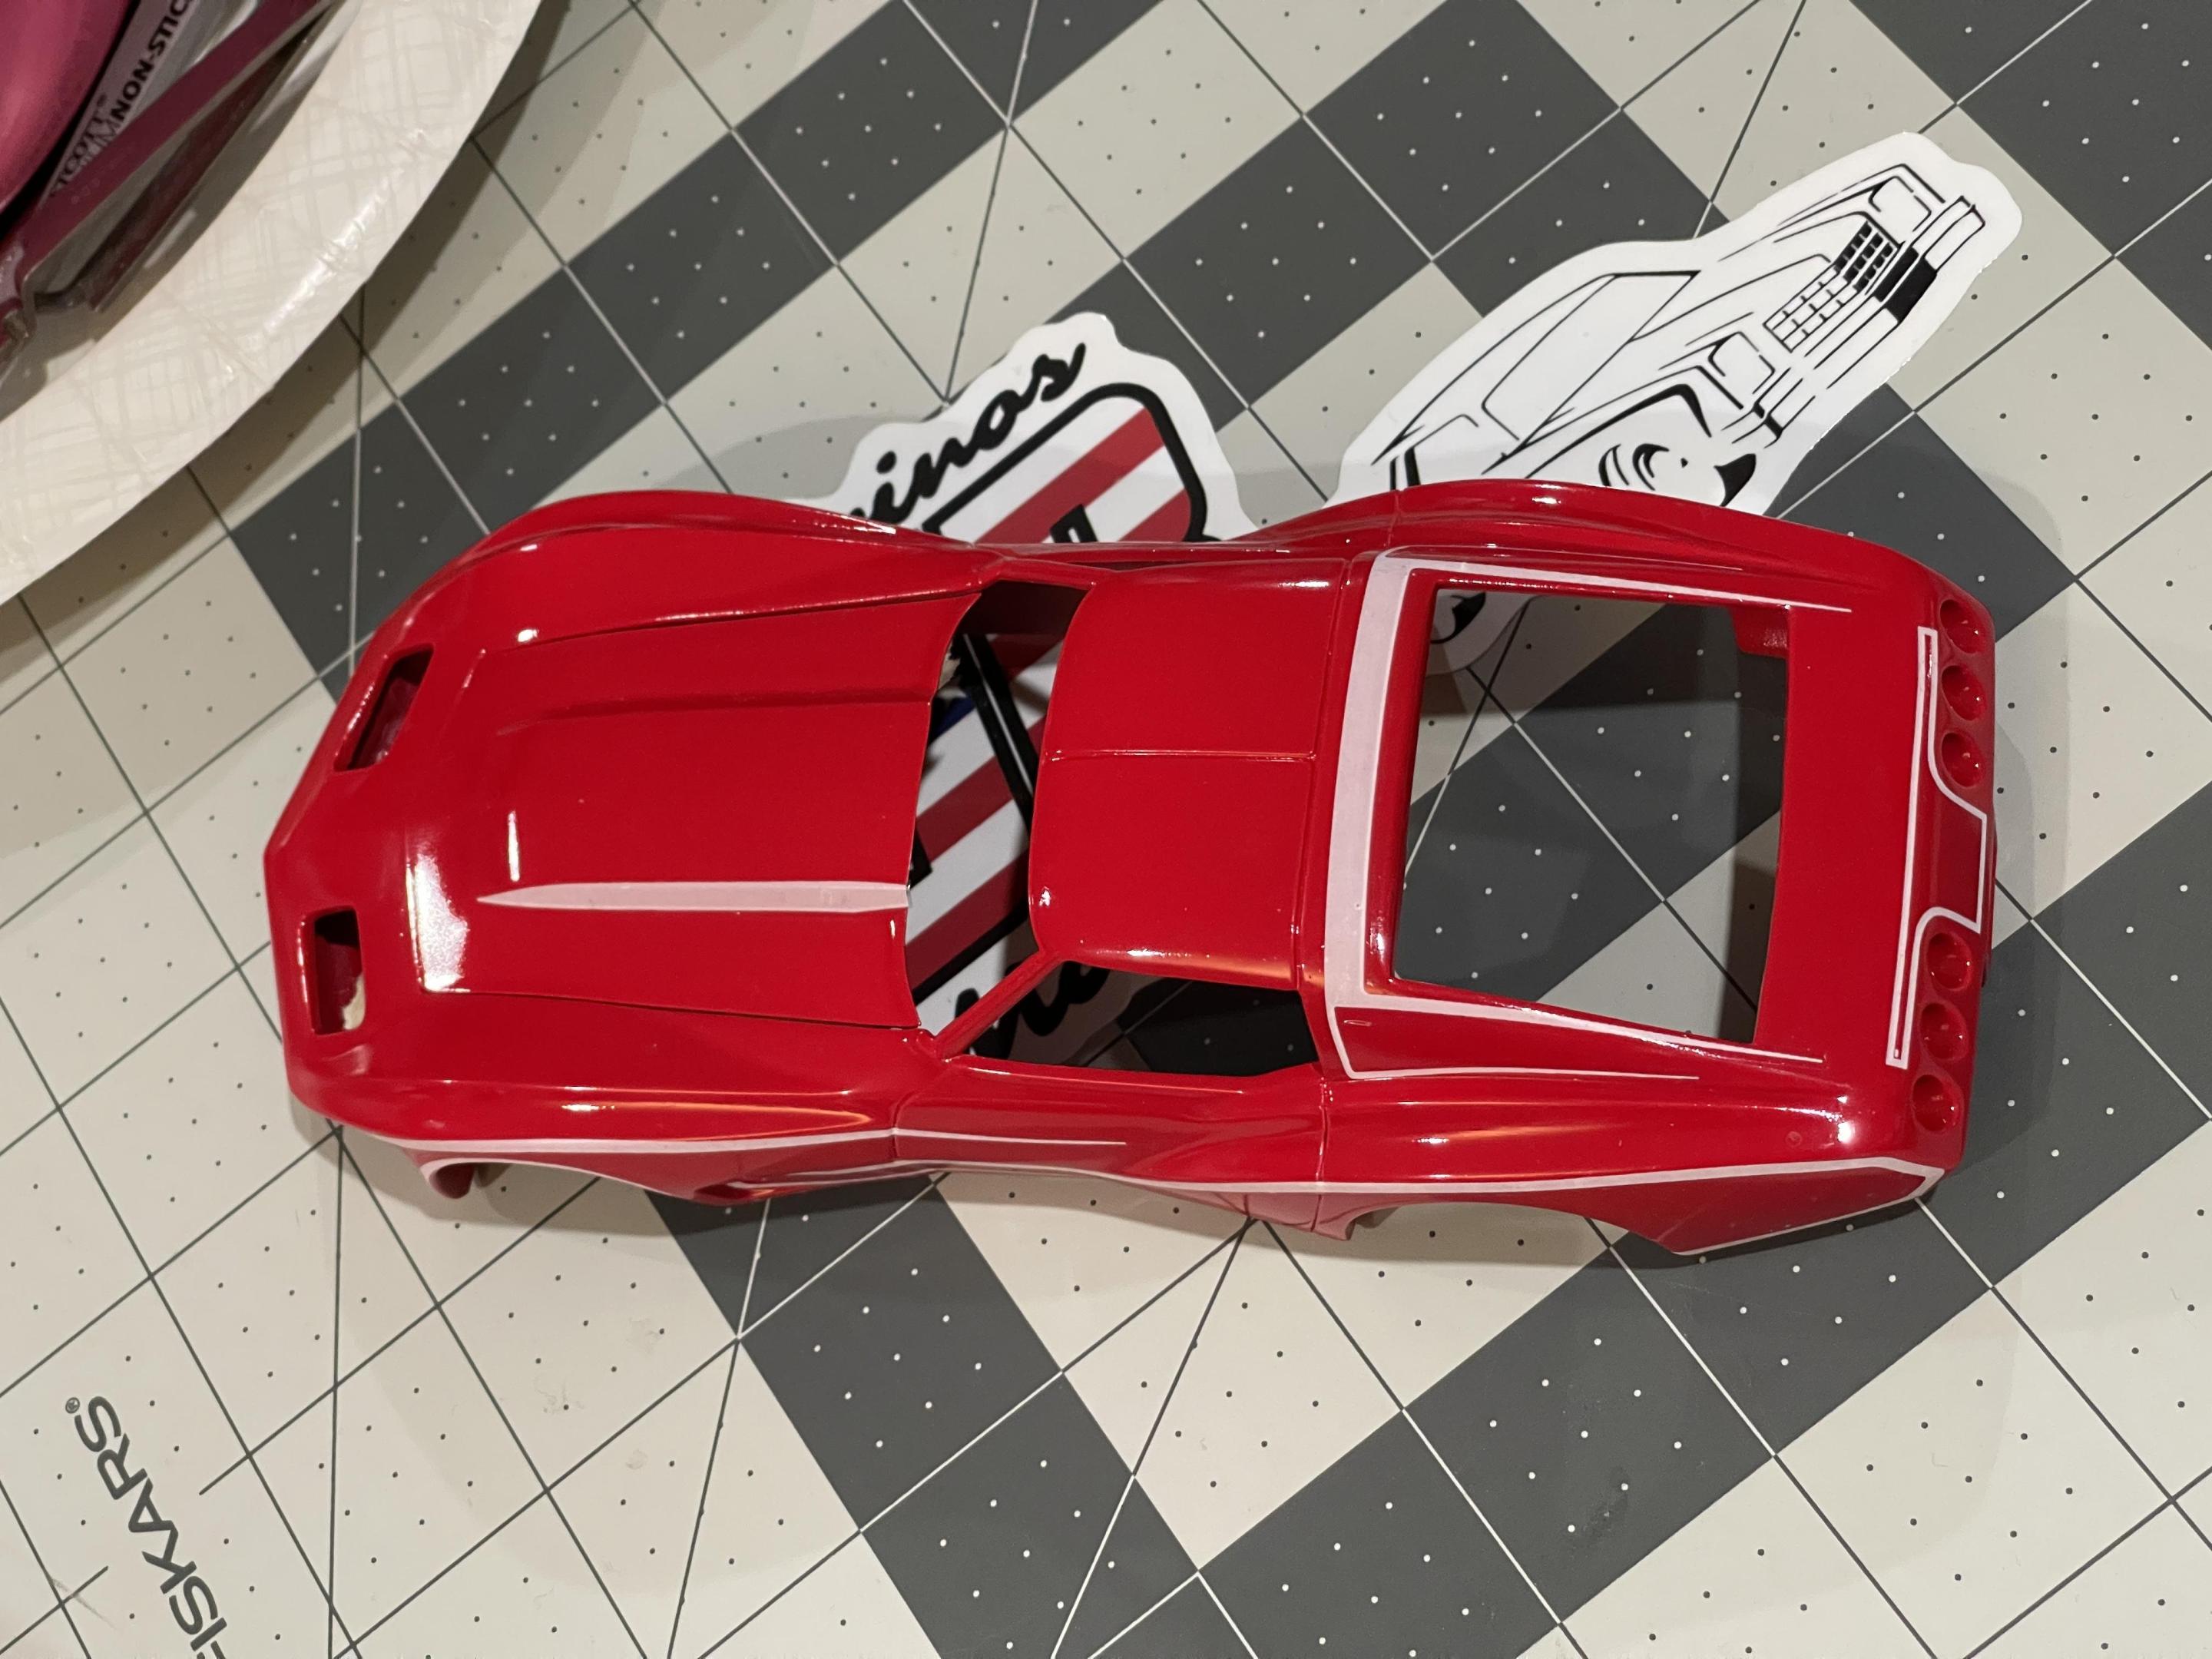
I always have a lot of Motion projects in the works. Some of them have gotten pushed back quite a bit. Working on the Eckler‘s Can-Am Corvettes recently brought these two Corvette projects to the surface. In 1993 Joel Rosen gave me three pictures of a red Can-Am Corvette built by Motion. I had never seen these types of Motion cars before, but I knew I had to build one. AMT had just released the Eckler‘s Corvette kit, so I grabbed a couple. Started over 25 years ago, as evidenced by the squadron green putty. (I haven’t use that stuff, since at least that long ago!) If it hasn’t cracked by now, I guess it won’t! One was molded in red plastic and the other in white. So it was a no-brainer to do the candy cane car using the red plastic model. I finished up the bodywork and put the car in primer. A couple little tweaks here and there, and it was ready for paint. I decided to use Tamiya Italian red on this car. Since Joel was always fascinated with Italian style sports cars, I figured it was a good choice. The plan was to draw the decals in my artwork program and print them out with my special ghost printer cartridge. It’s a white toner, LaserJet cartridge, that you have to fool the printer into thinking you’re printing black. Works pretty well! I had a couple rolls of automotive pinstripe hanging around and thought I might give that a try. Cutting it to the correct widths and getting it on the car wasn’t too much trouble. But in the end, they did not look right. They kept popping up in corners and you could see the scale thickness was out of whack. So I carefully peeled it all off and set about my original plan, drawing the decals. After a couple test prints on standard paper, I was where I wanted to be. I ran the Decal film through the printer and was on to Decal application. Some of the decals are quite delicate, especially about the back window. That was put on in one piece. I didn’t want any seams between any of the decals. I did, however, end up with three seams on the car. I’m happy with the way. It turned out this time around. Joel Rosen has officially pulled himself out of the automotive industry. At 83 years old, he’s had enough. He was recently in the hospital, so I had a mutual friend of ours, pass these pictures along to him. As for the real car, last I saw it was in the Dan McMichael‘s collection. It may have gone to auction in 2012.
-
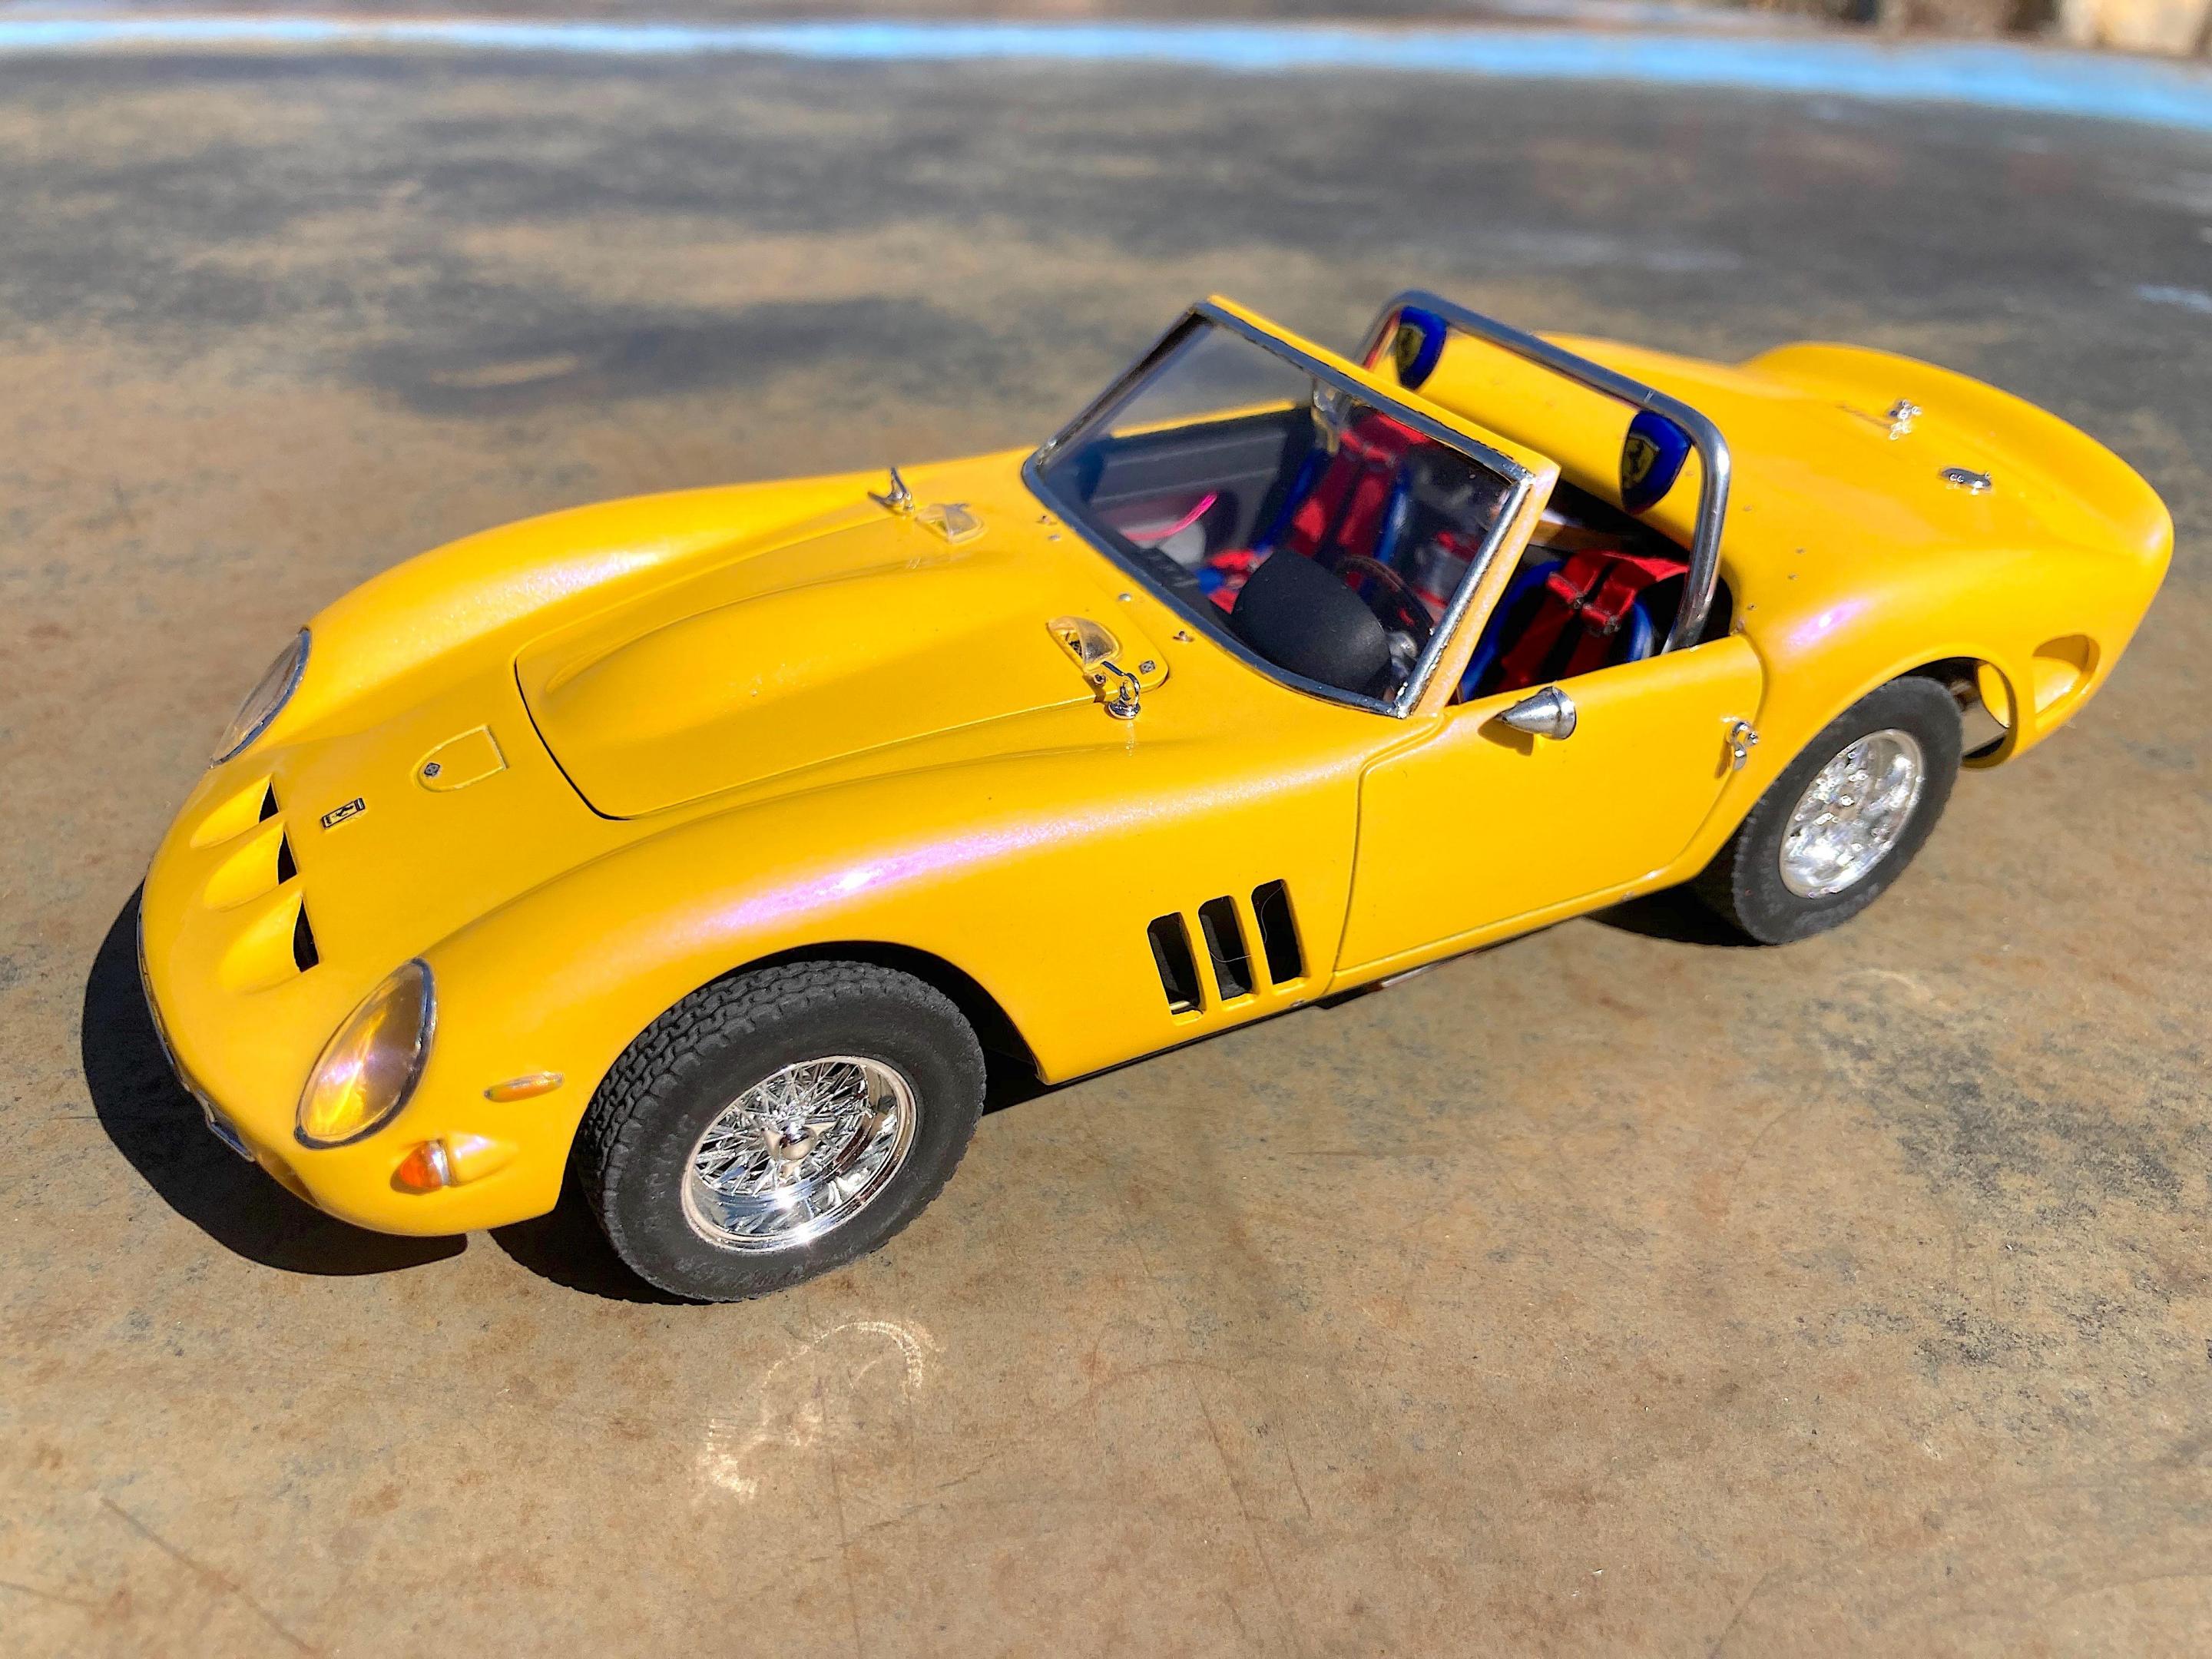
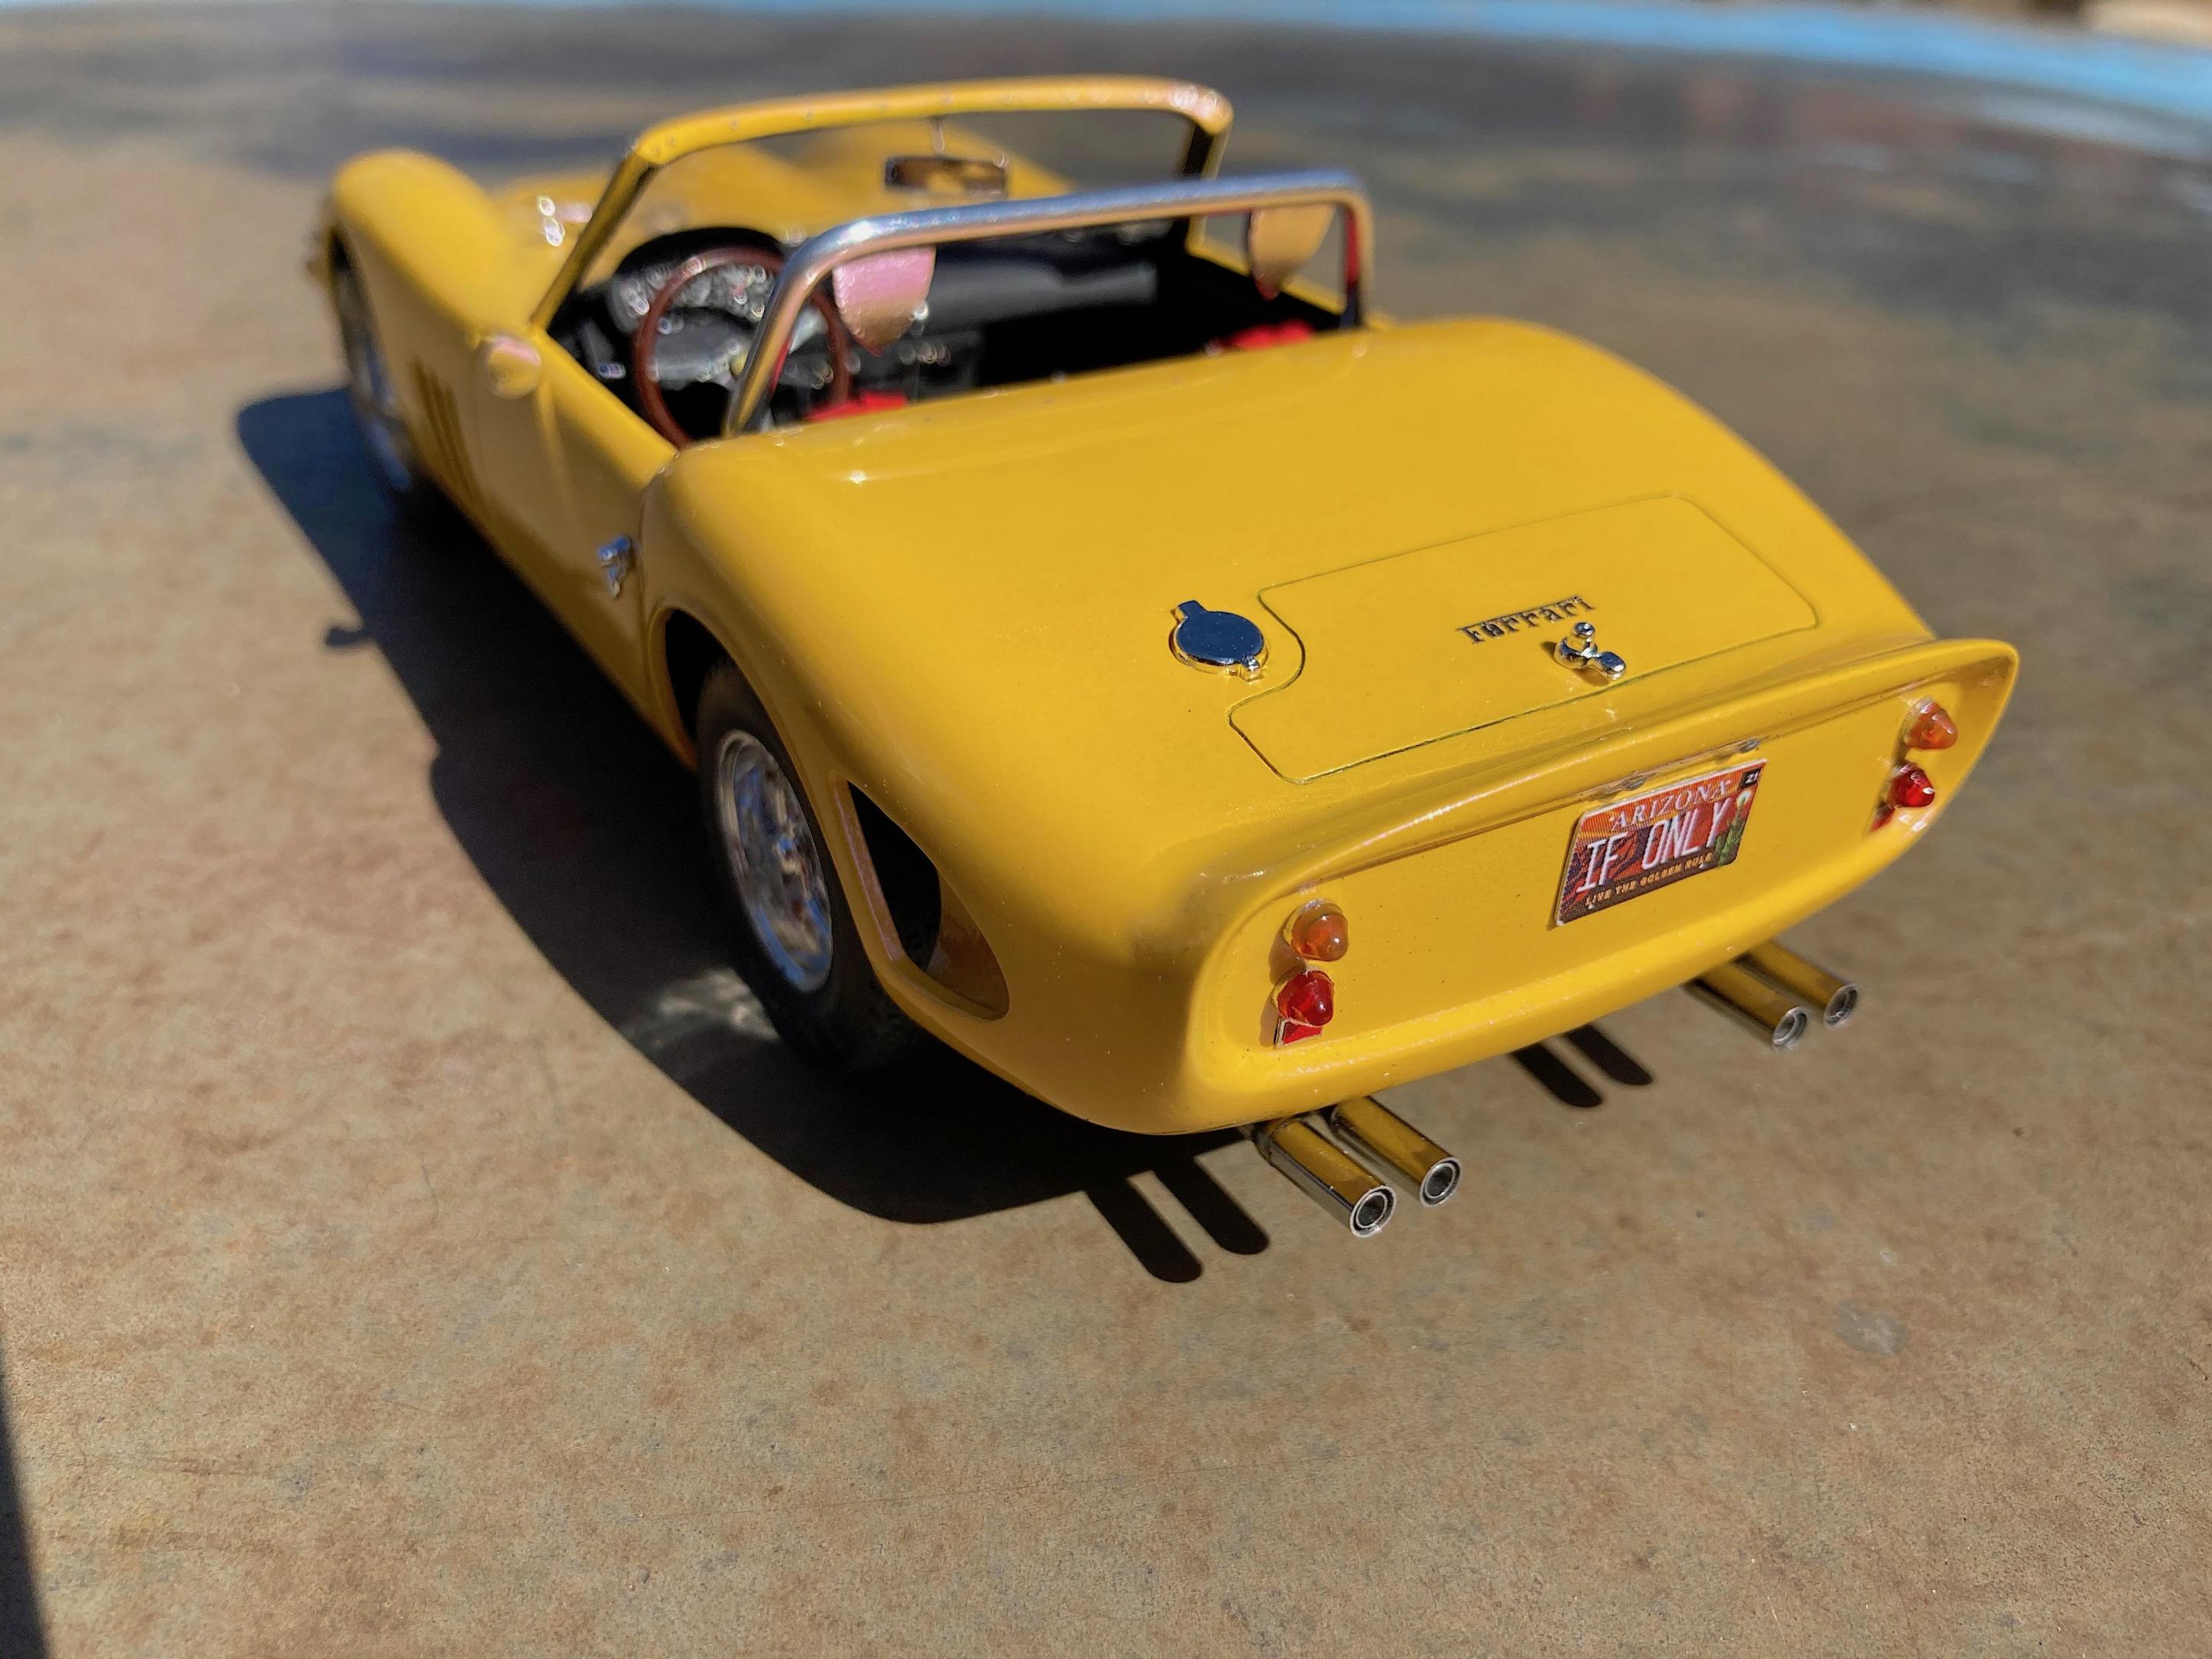
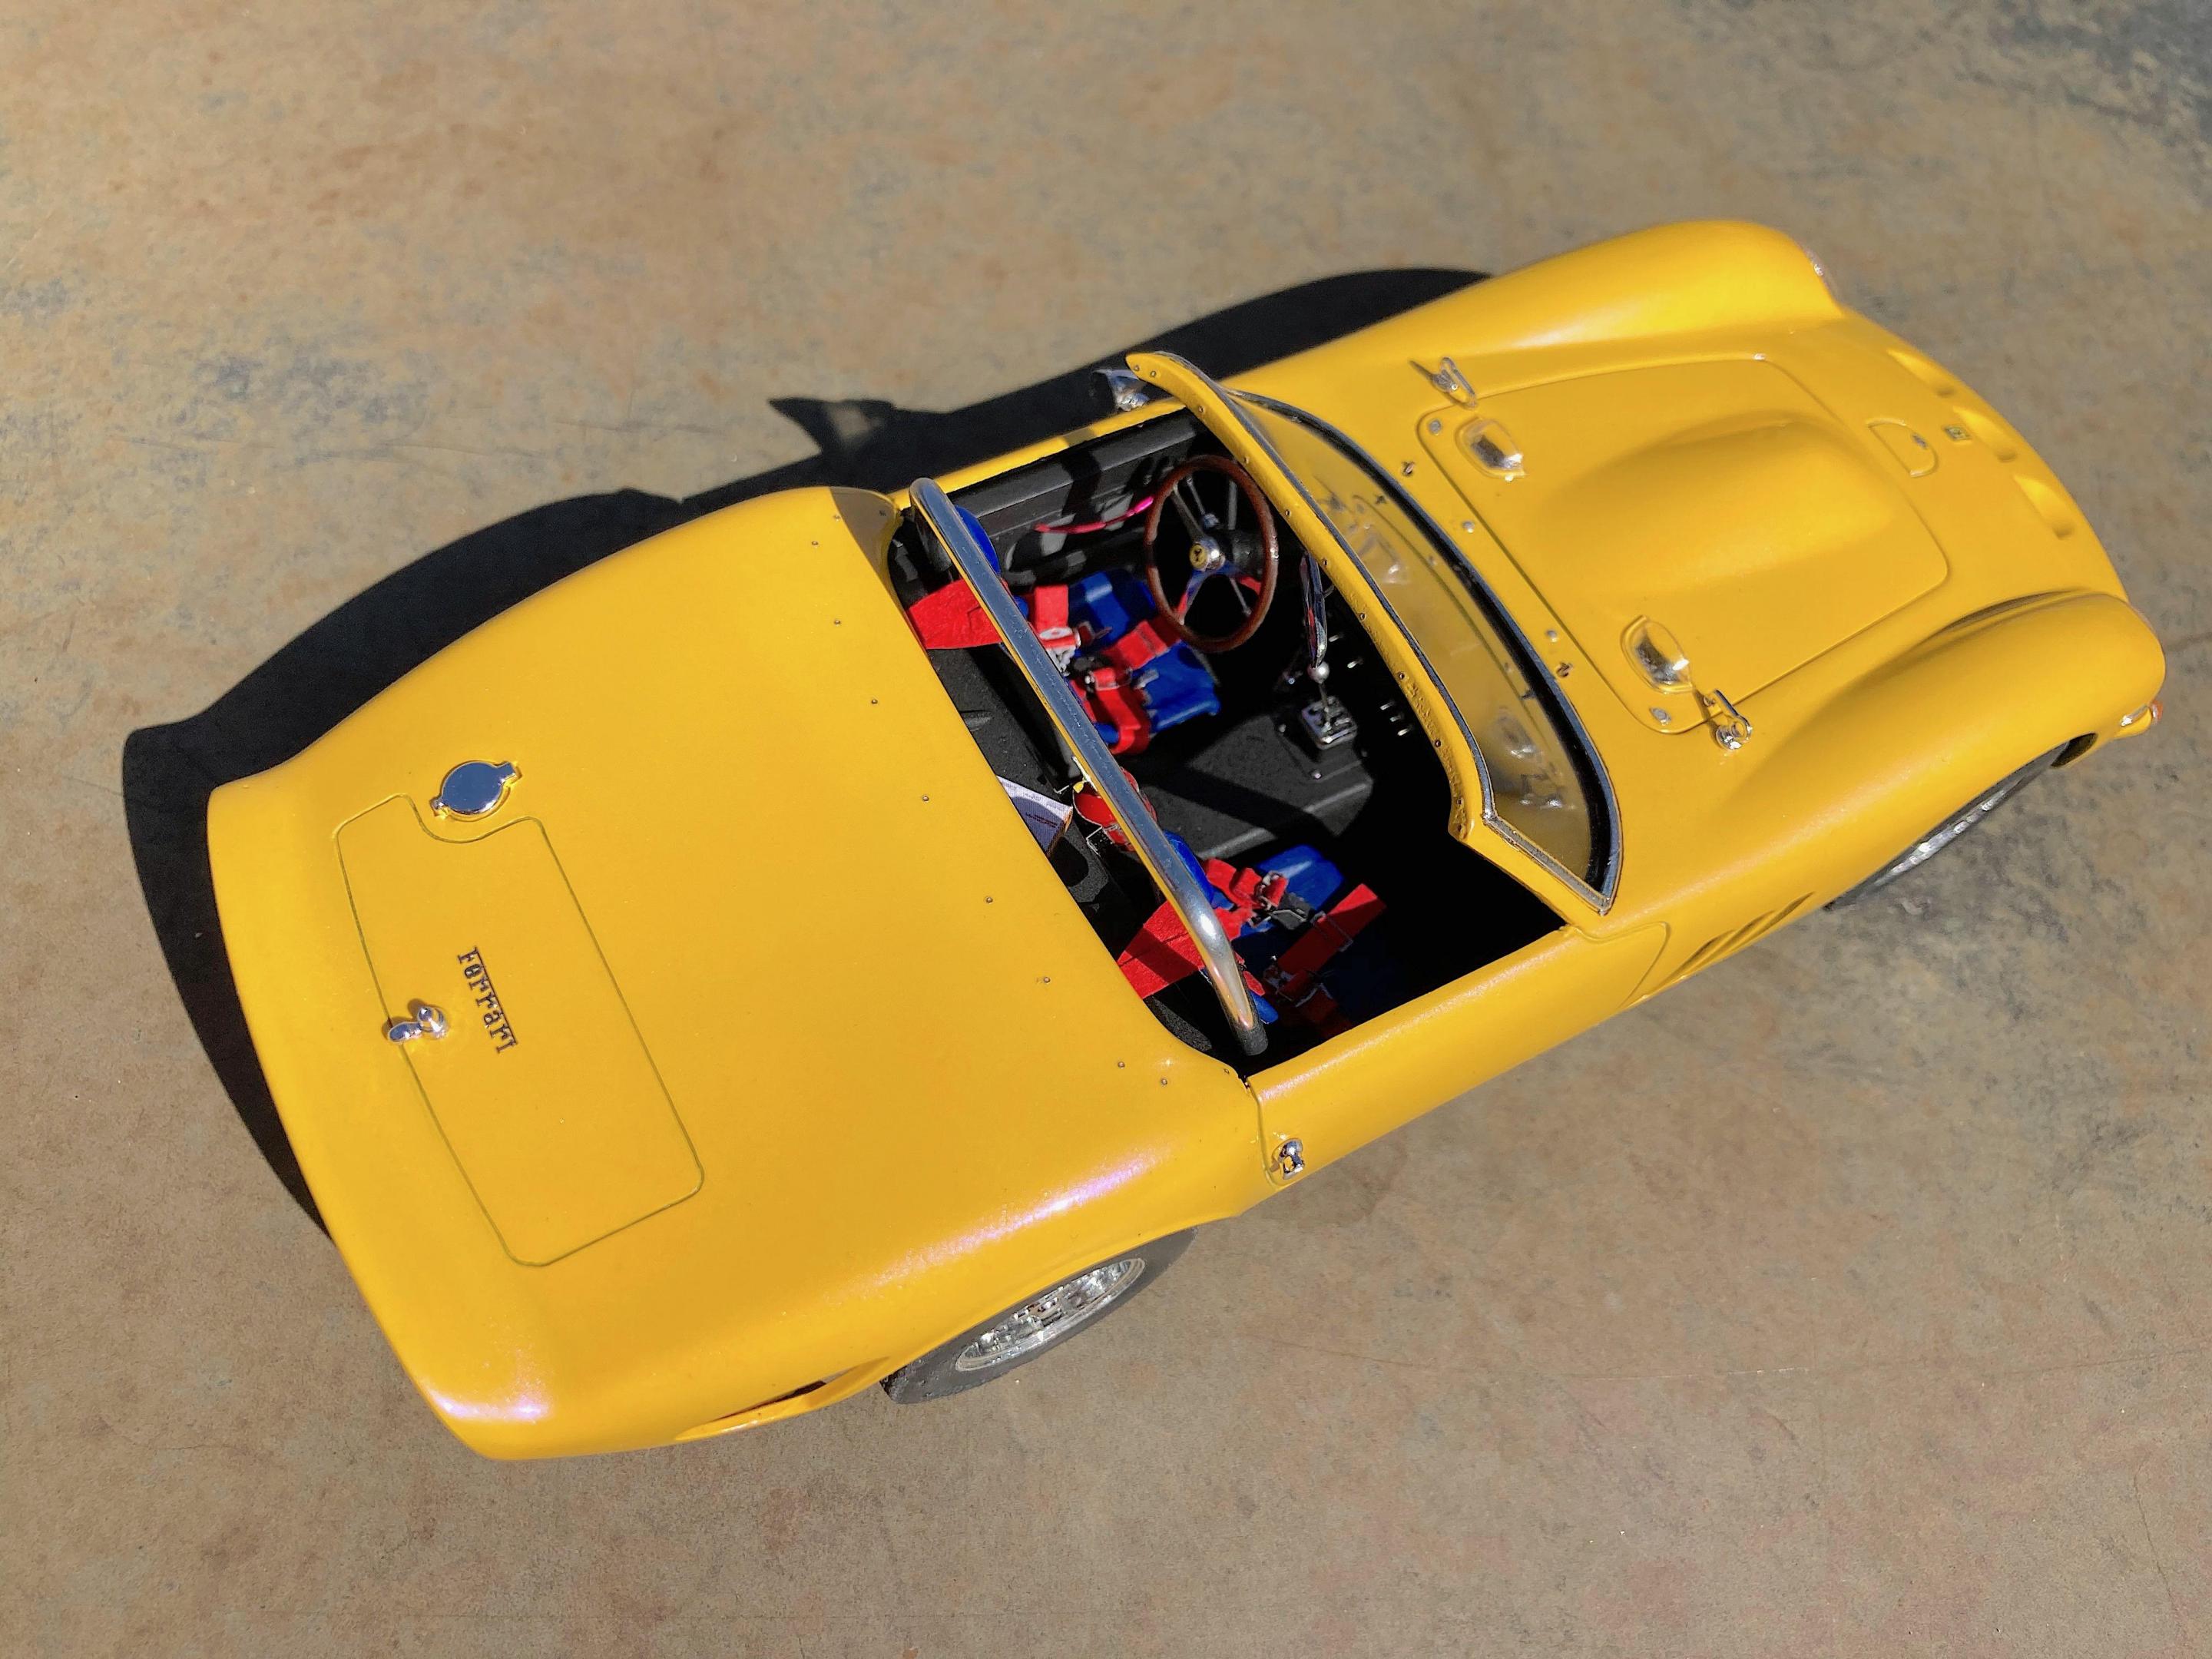
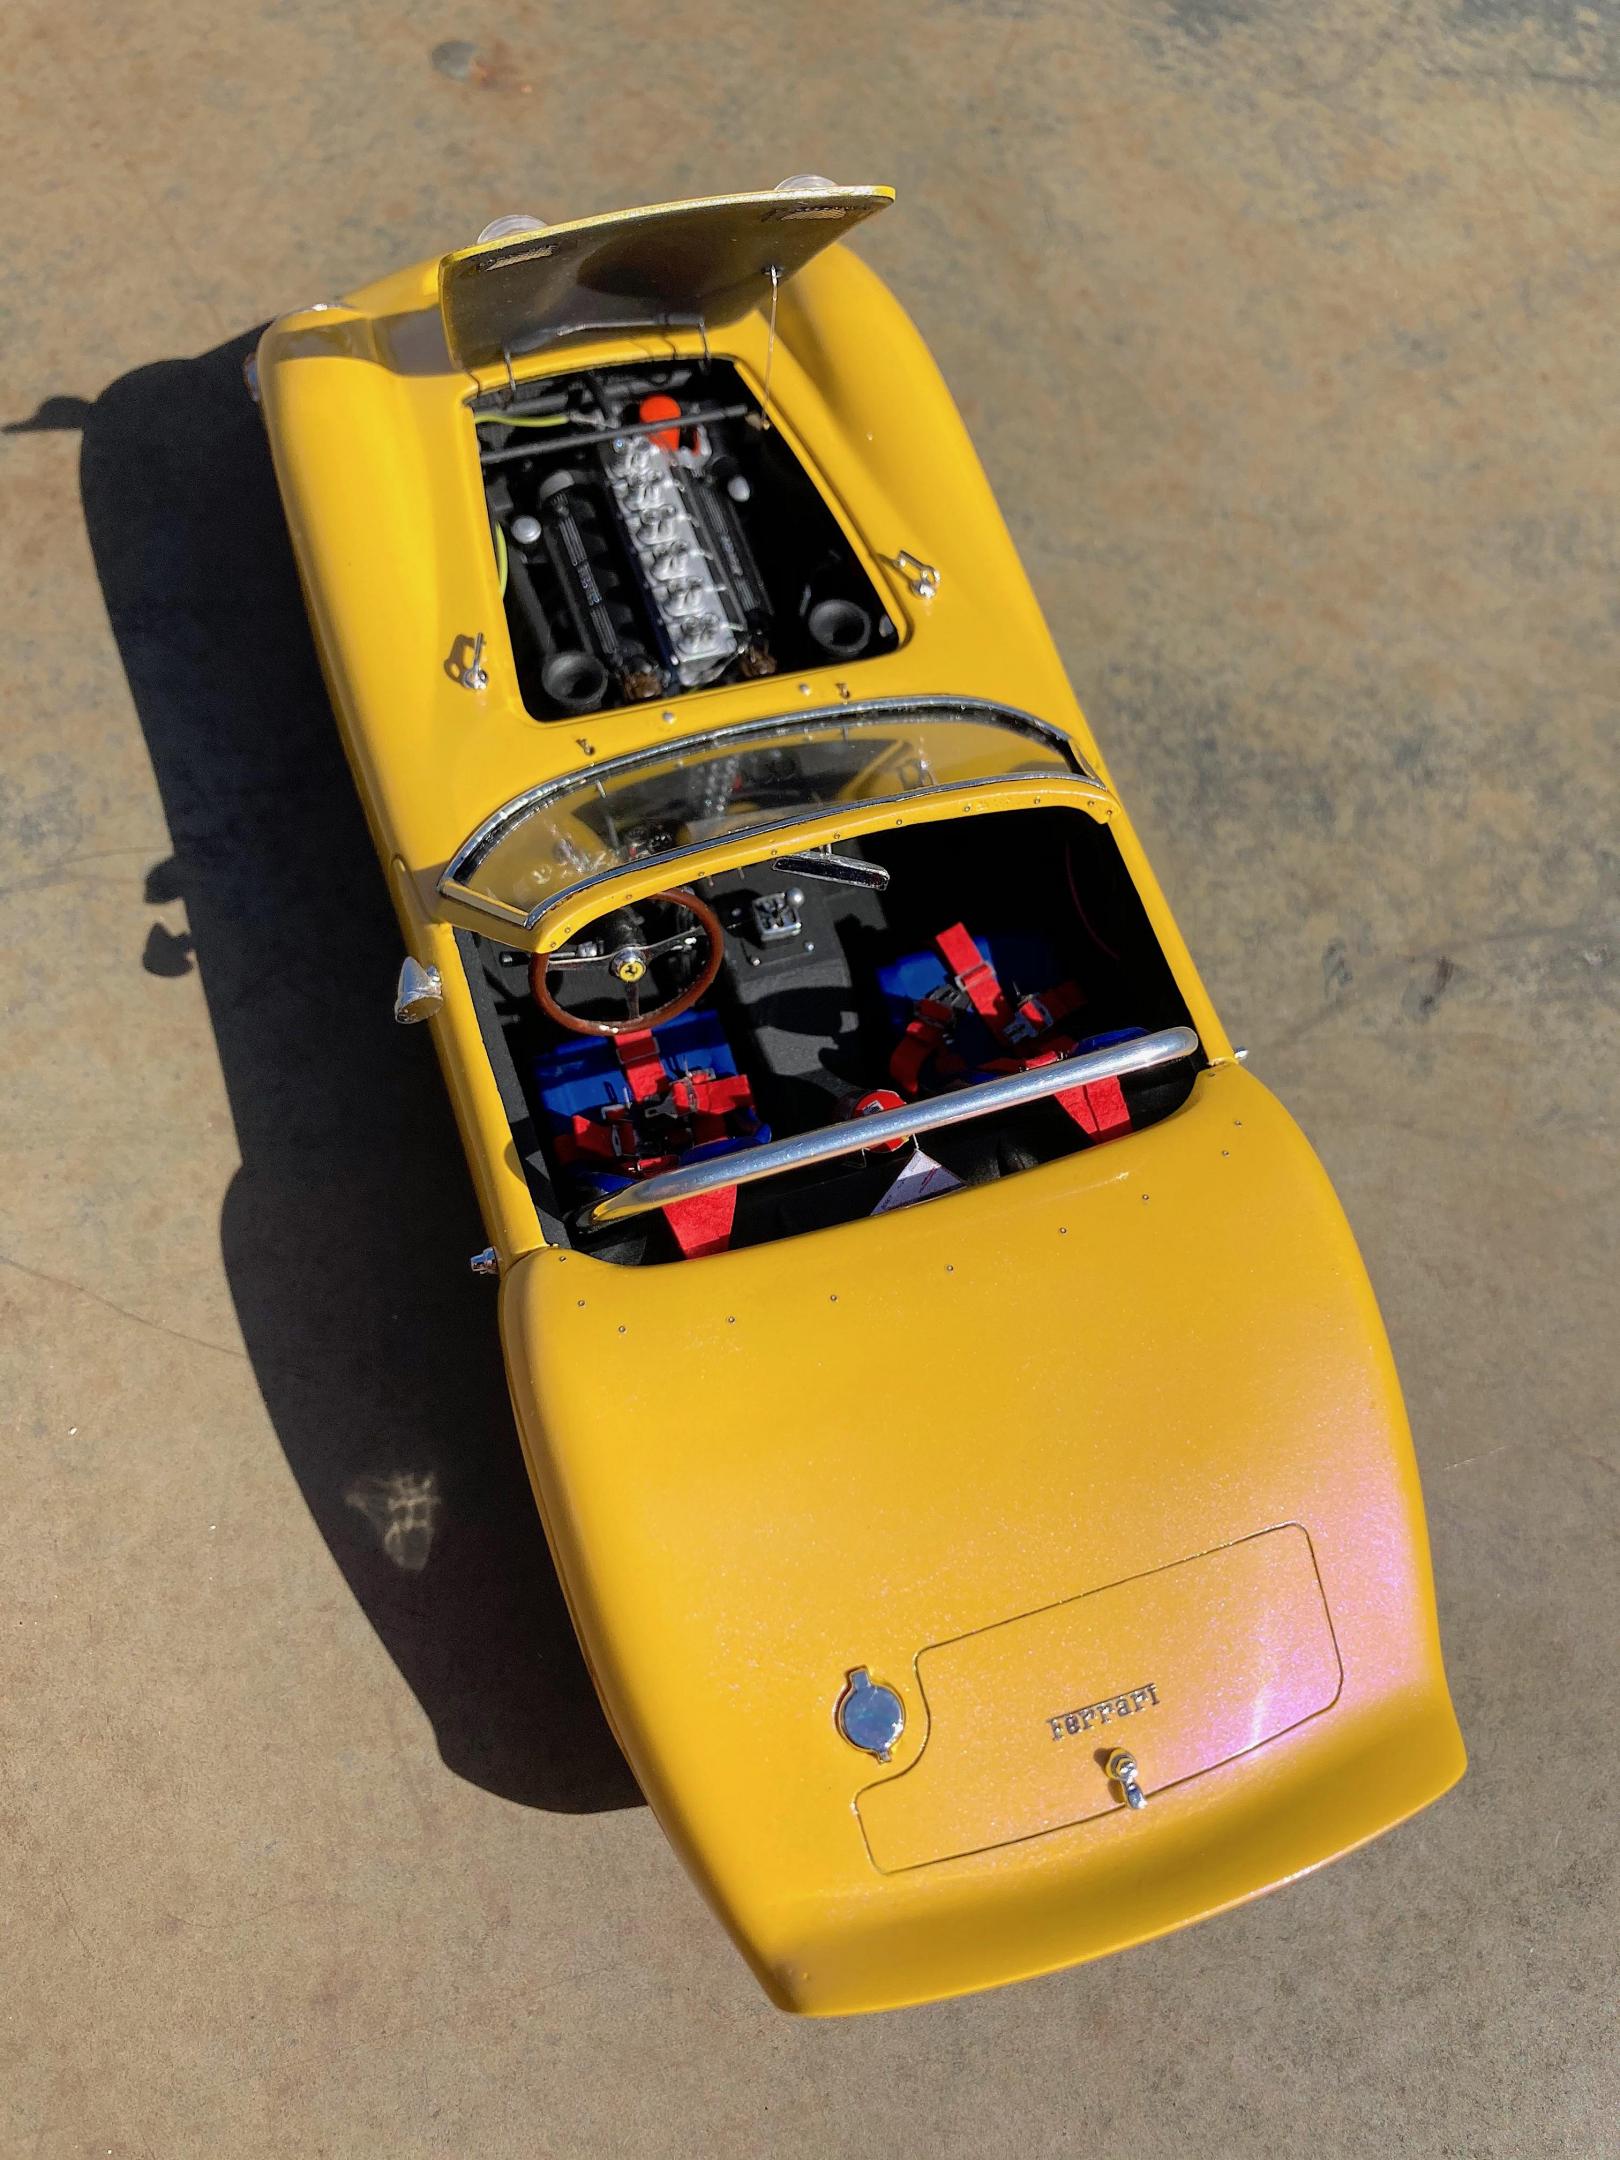
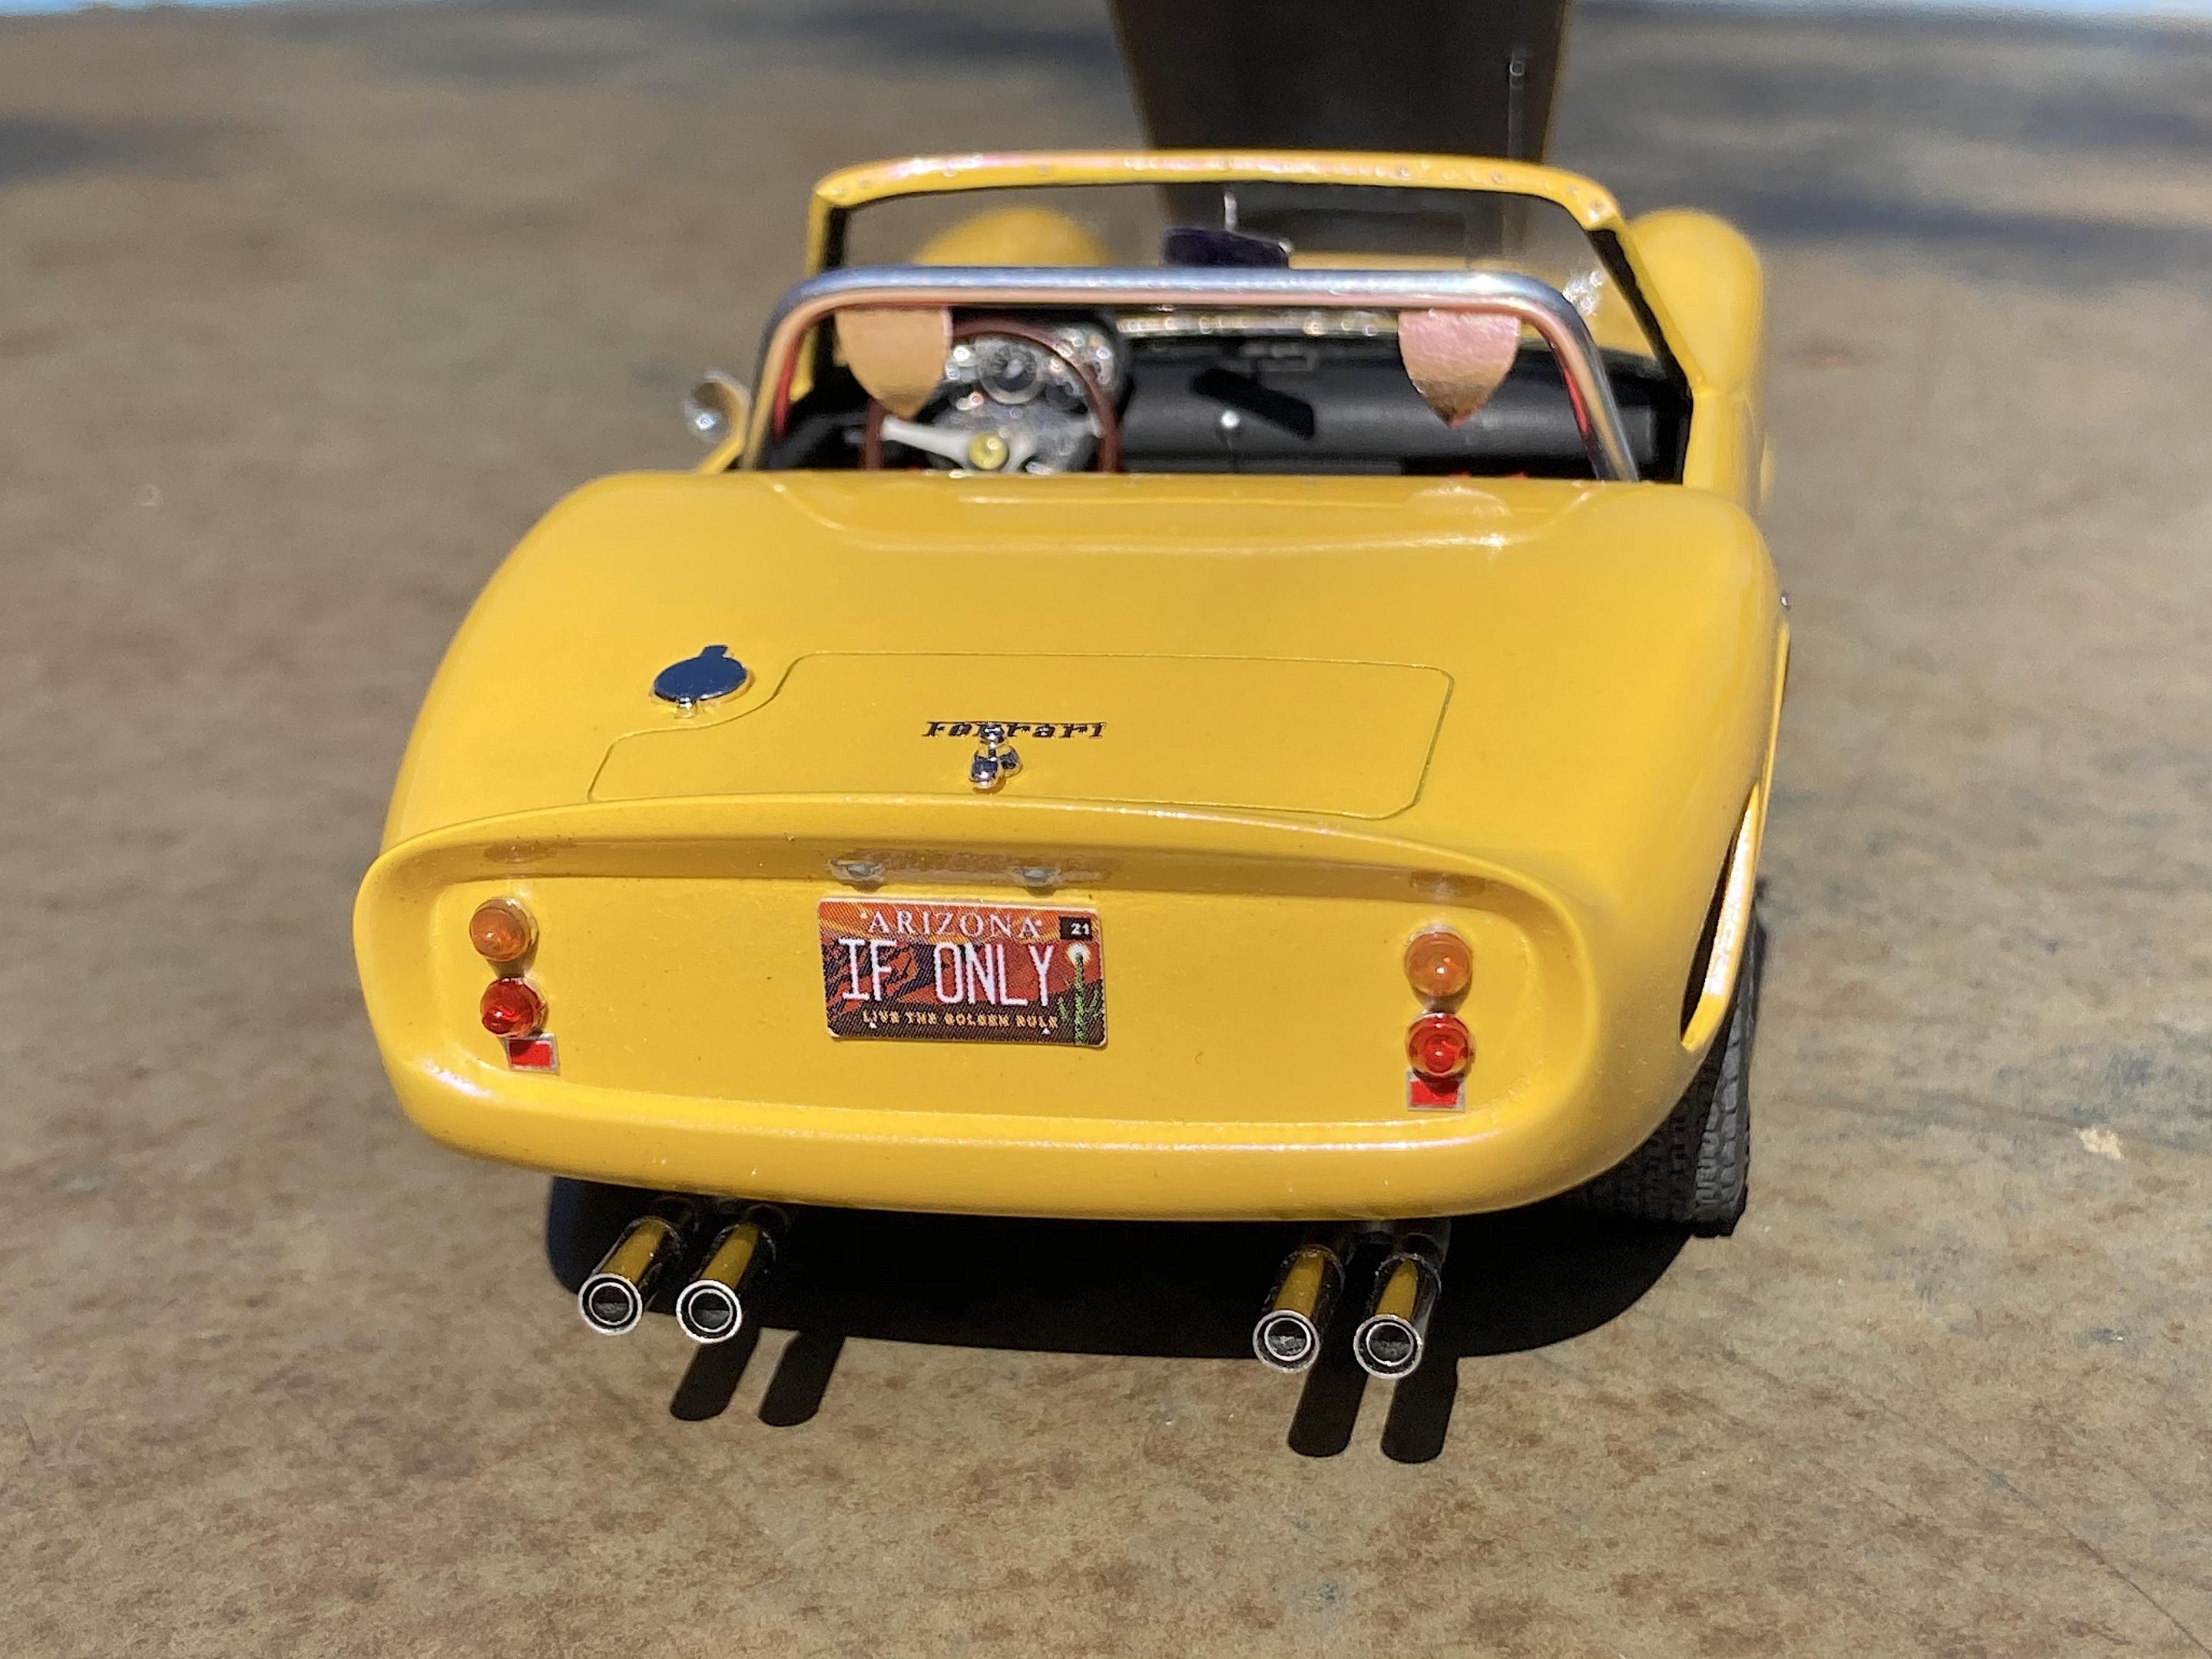
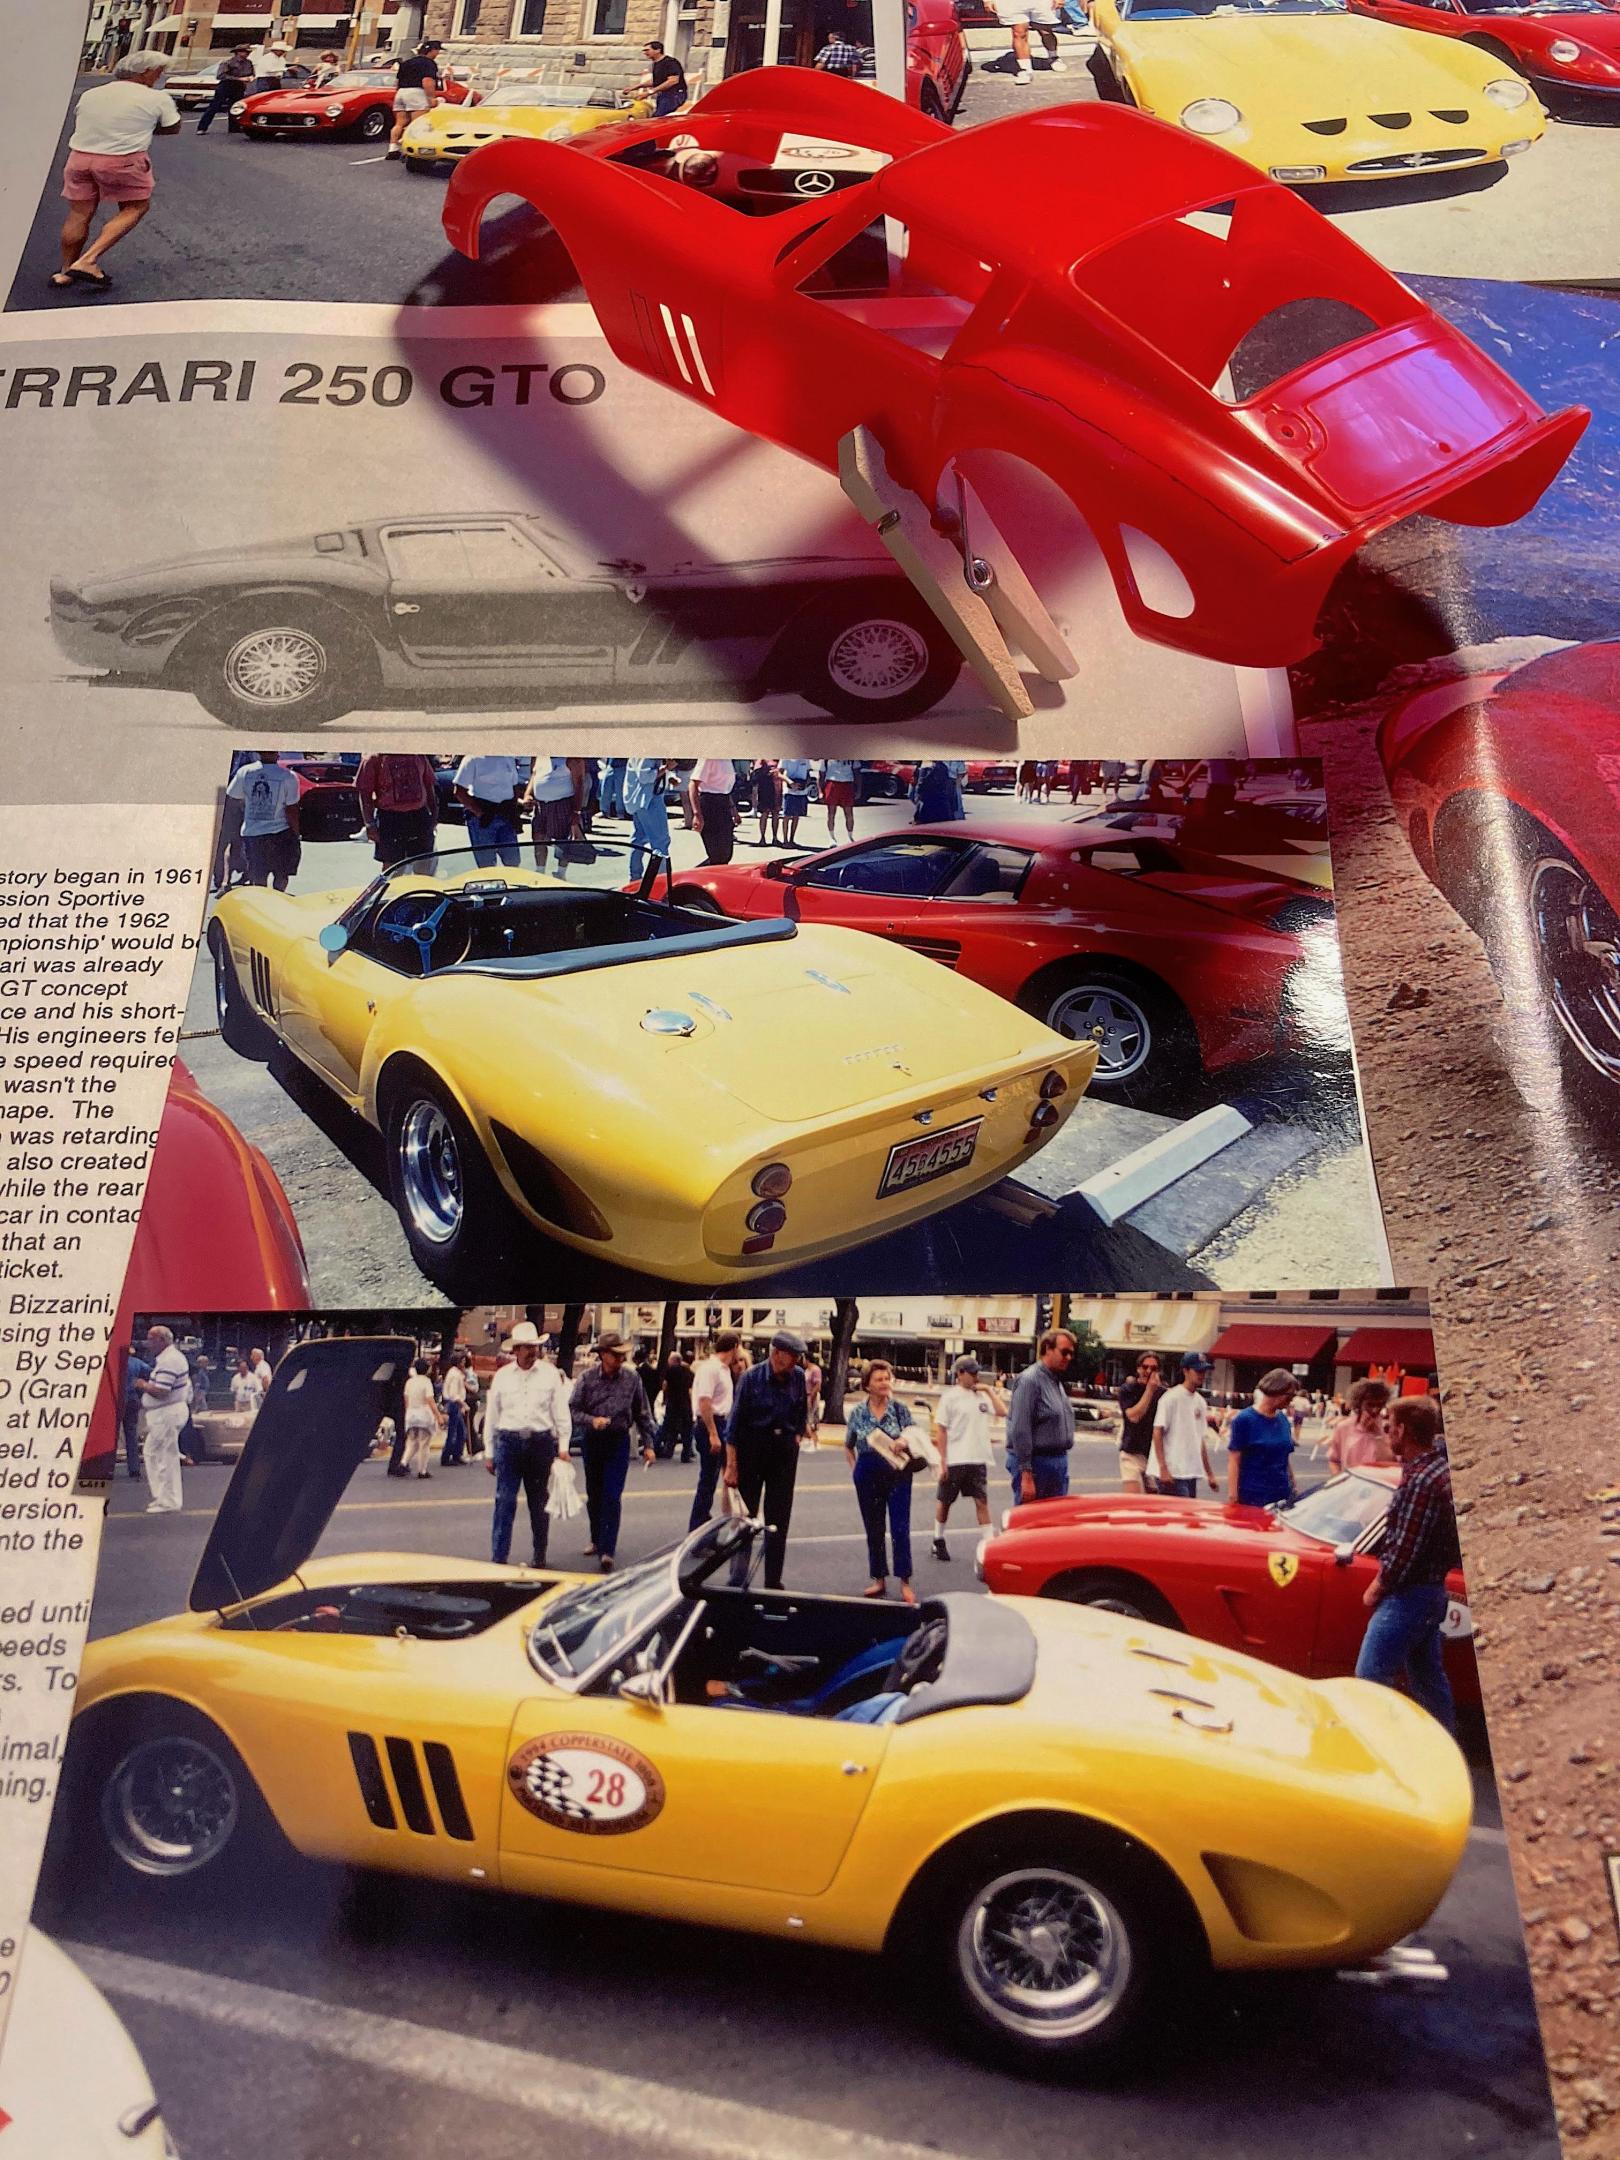
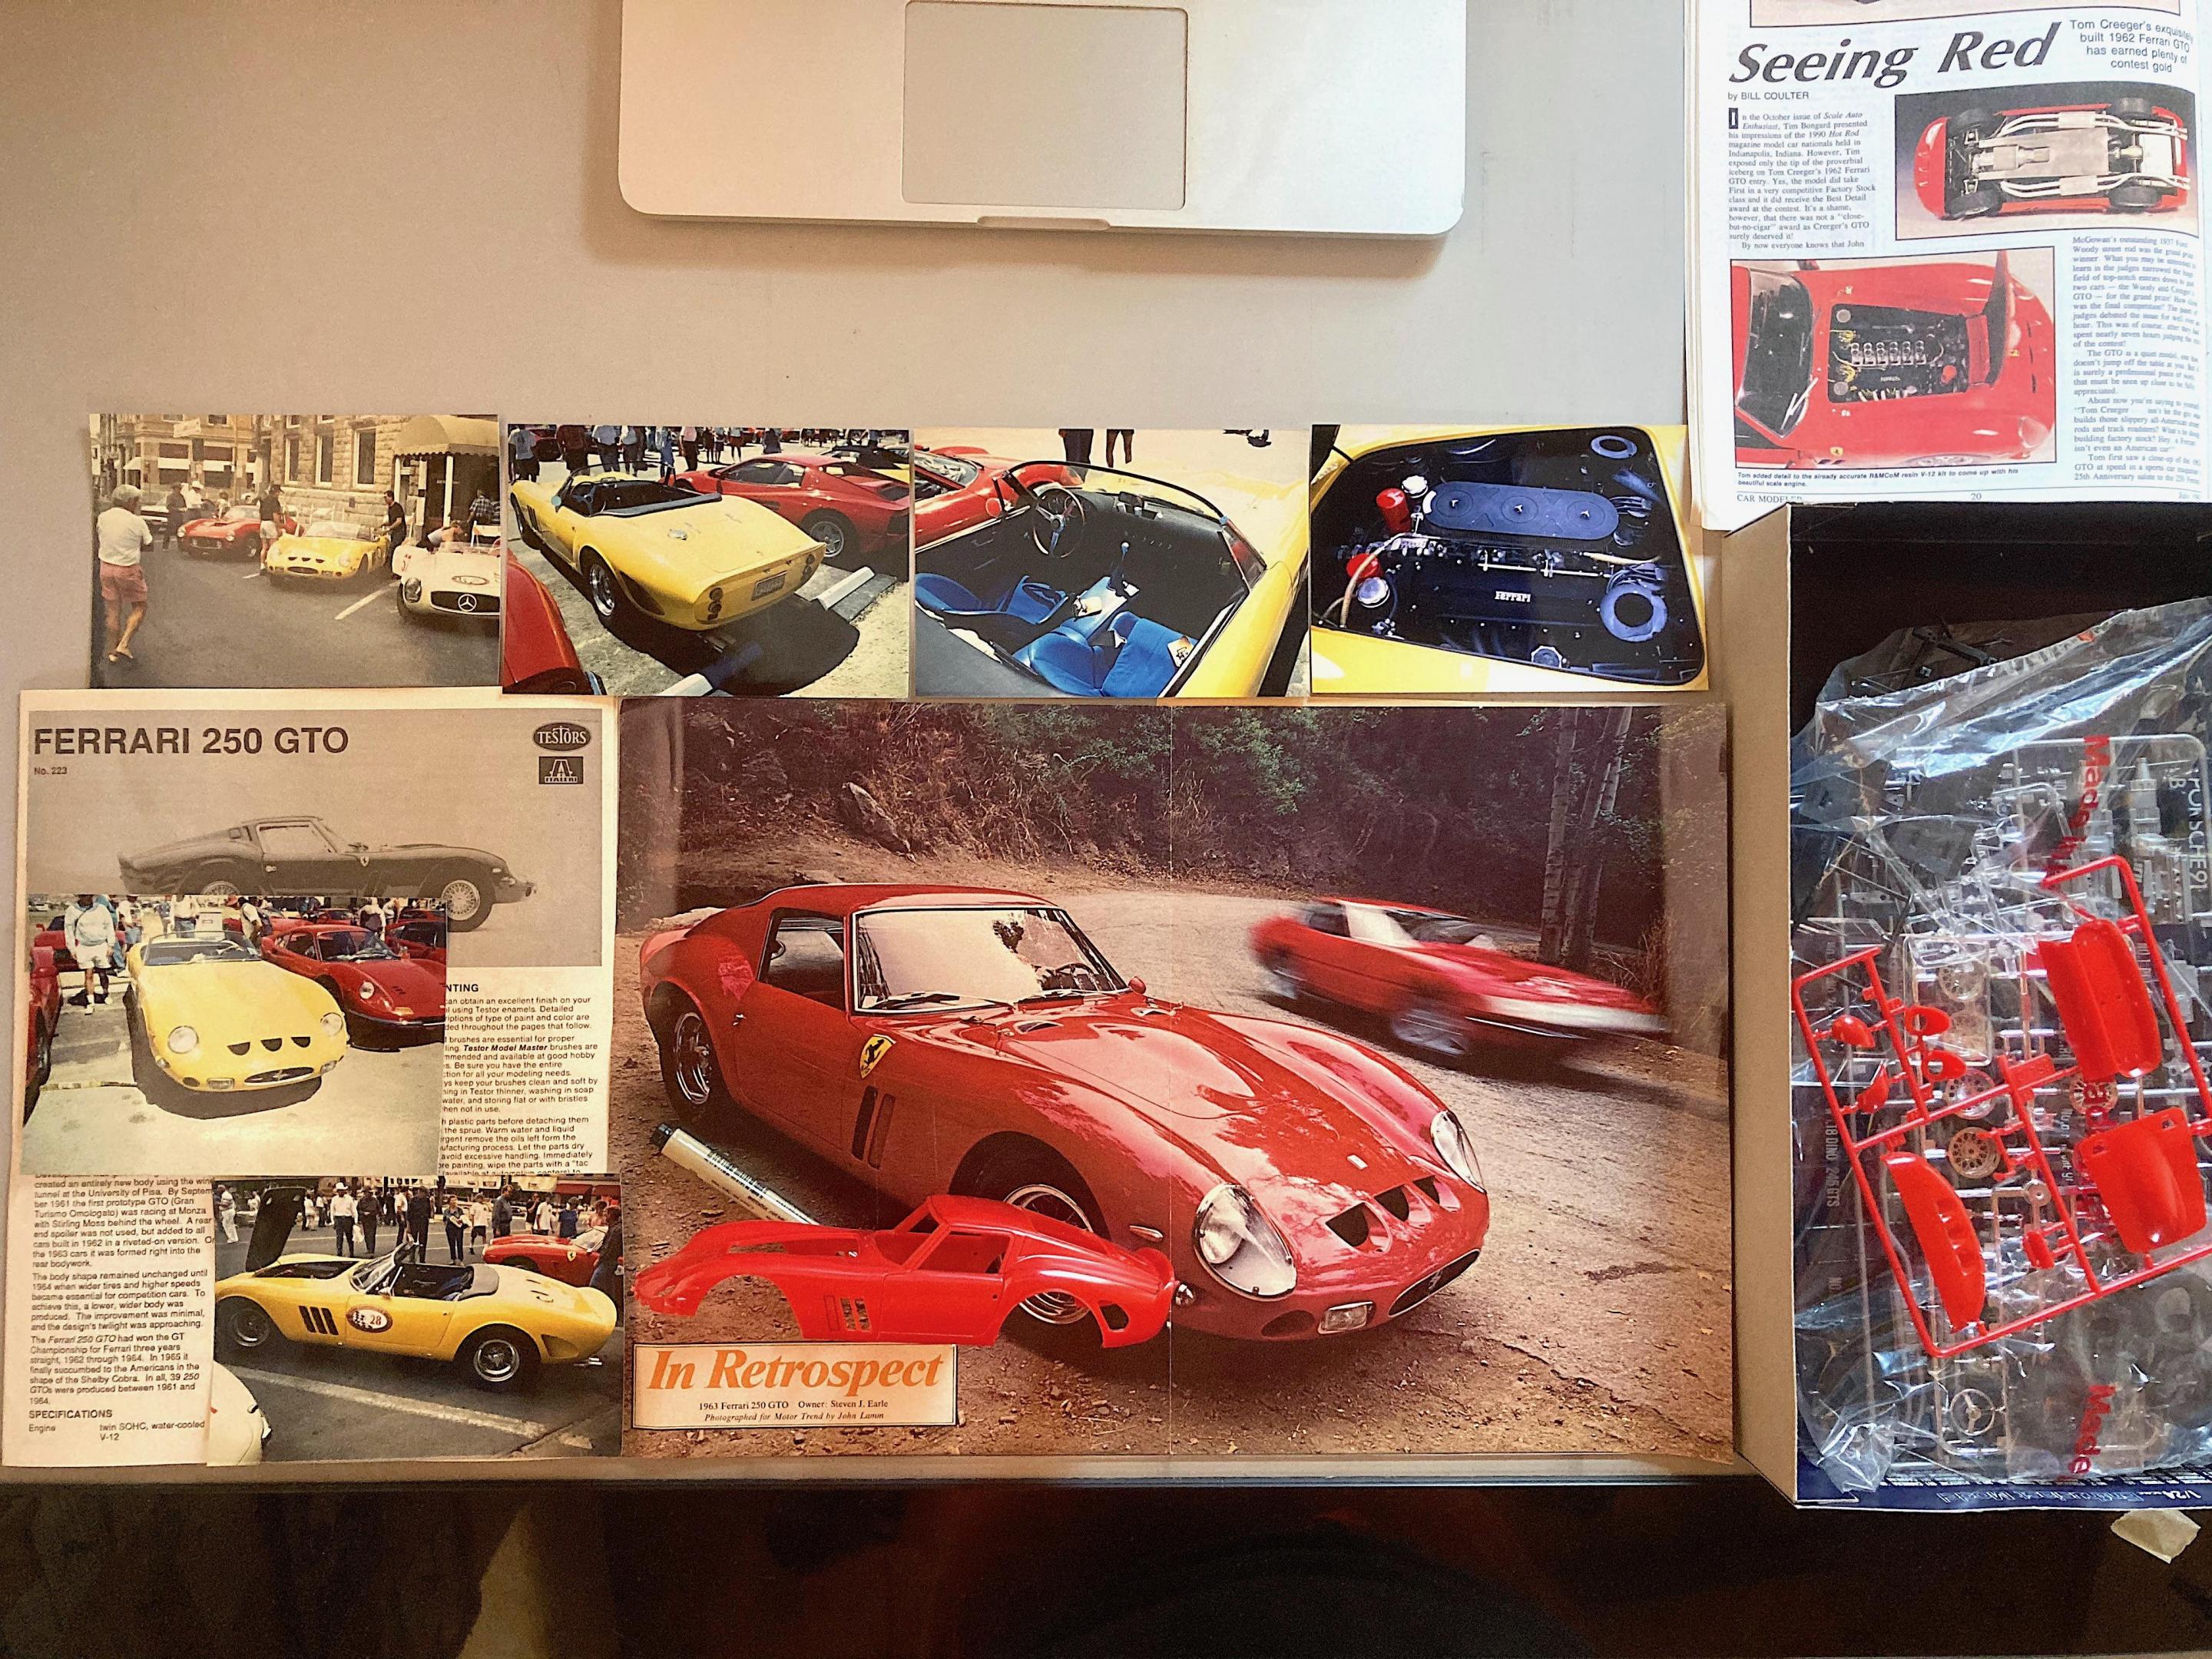
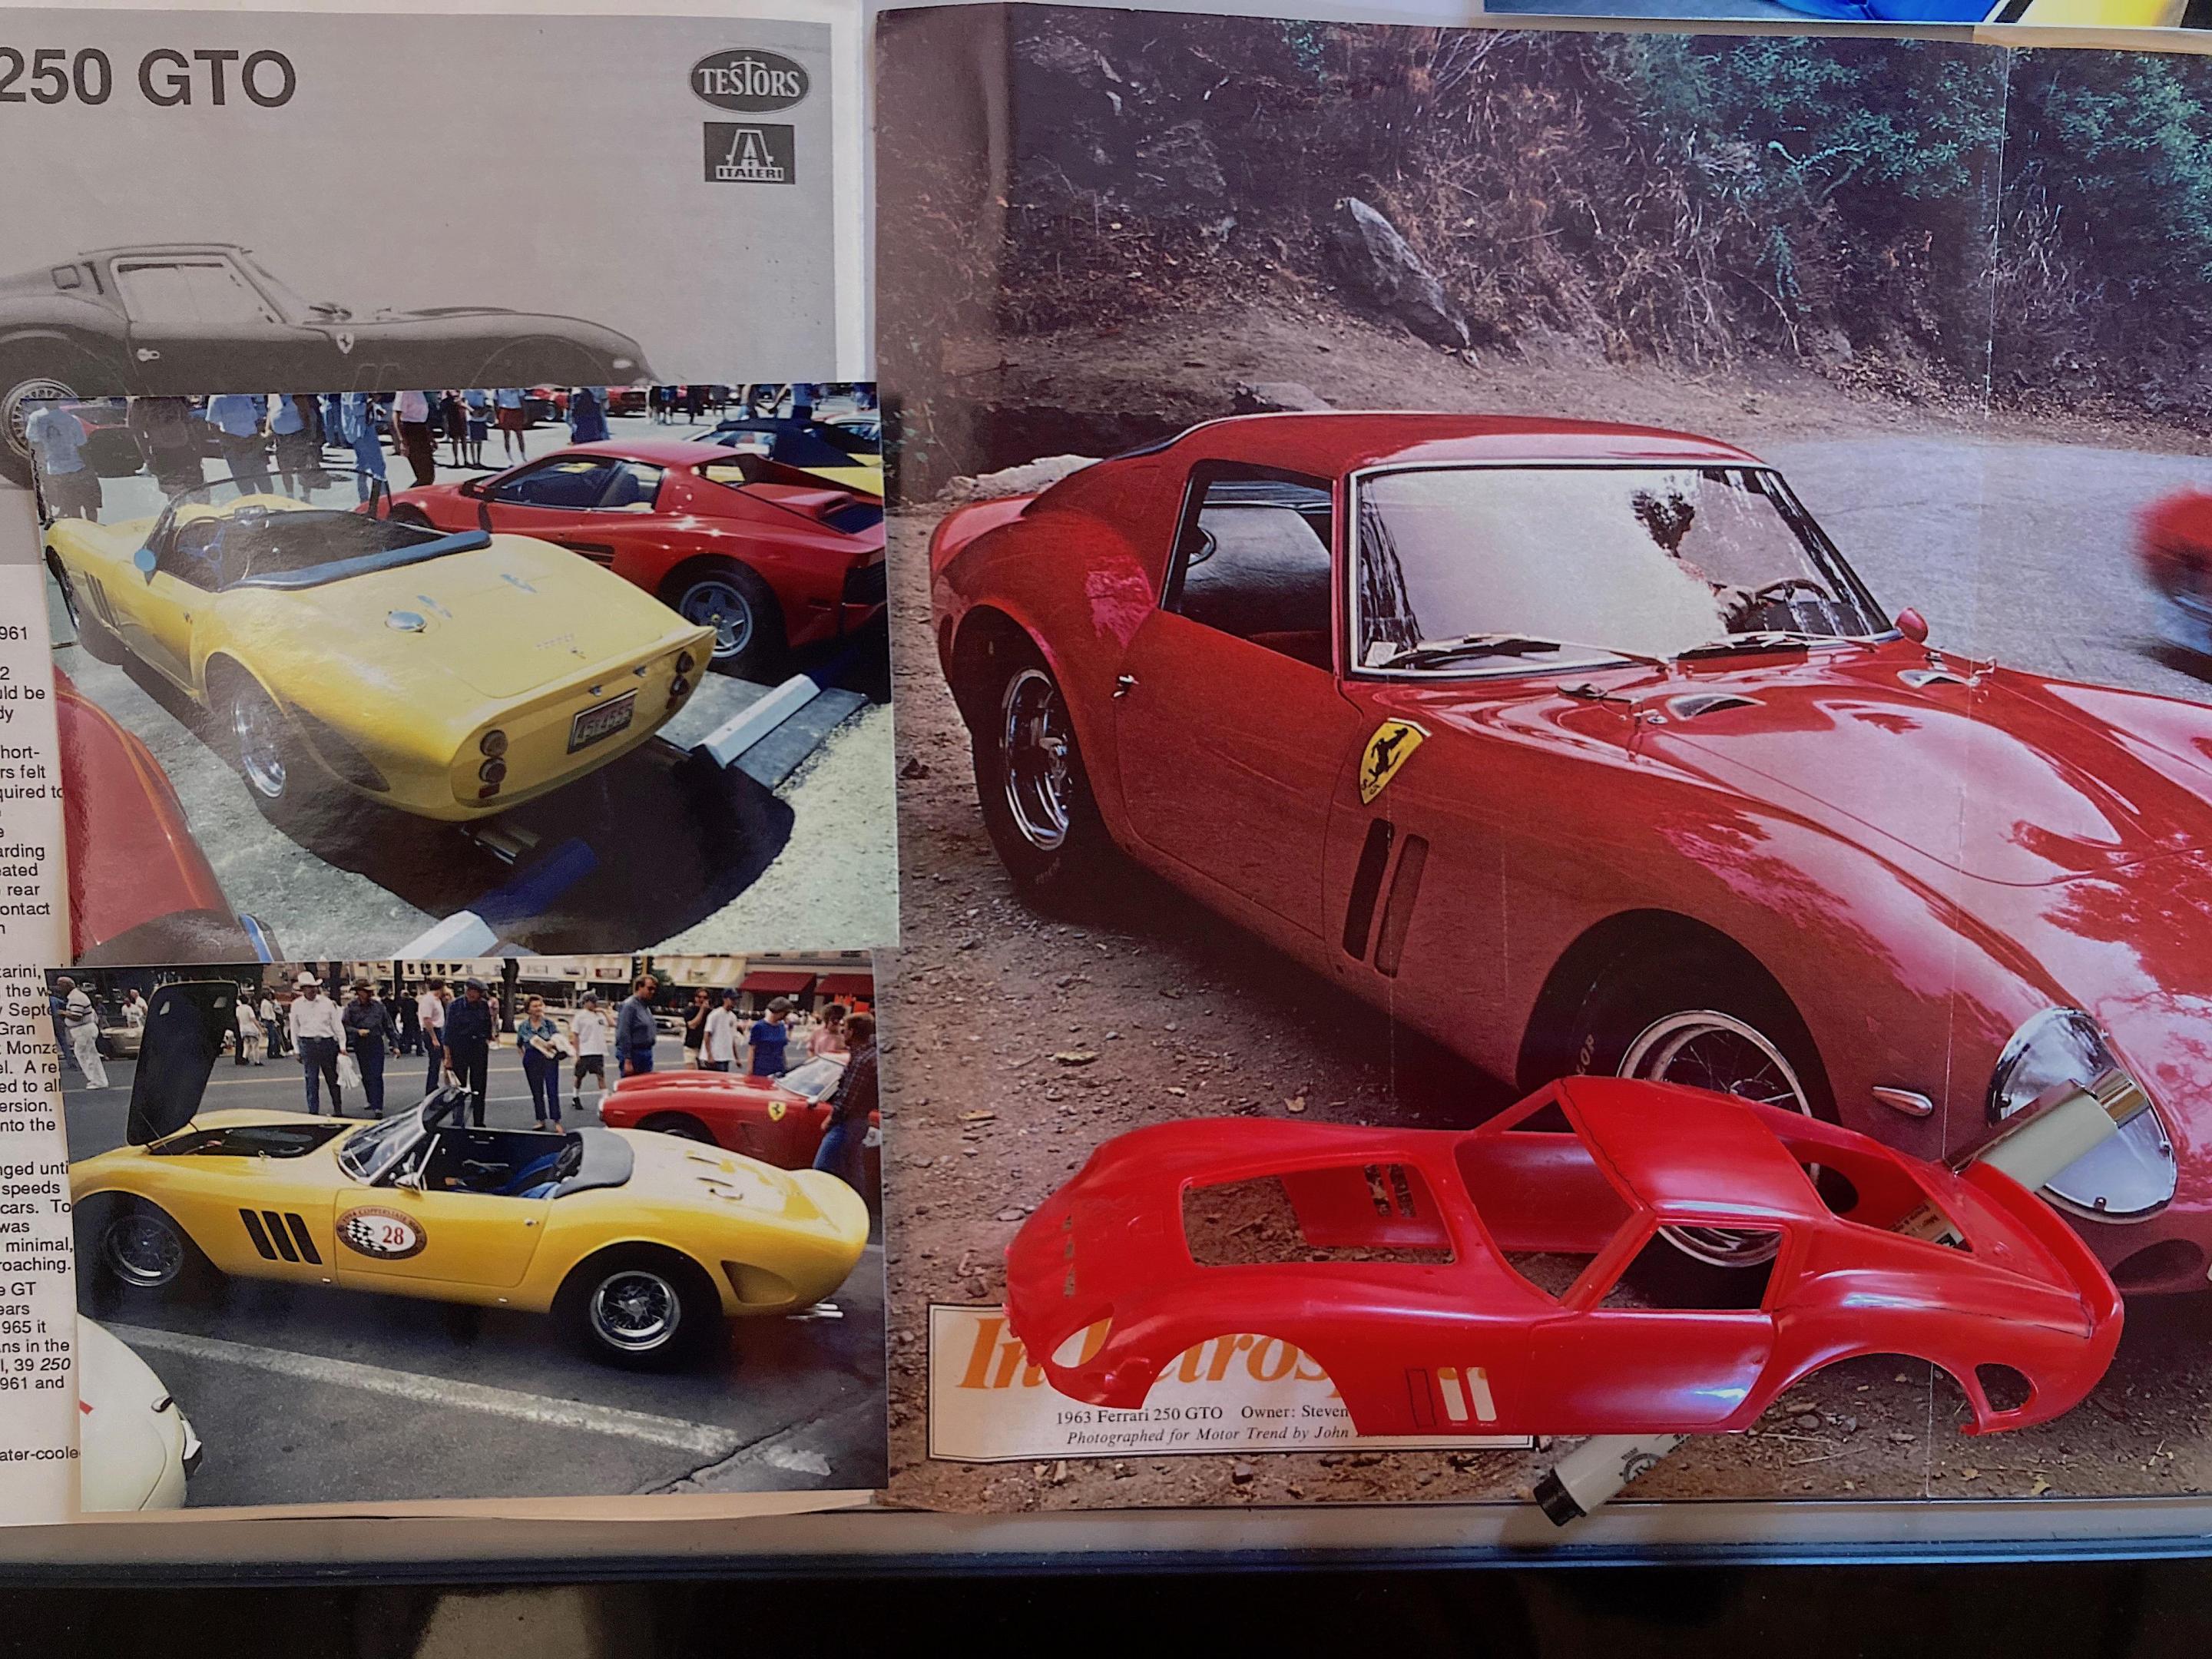
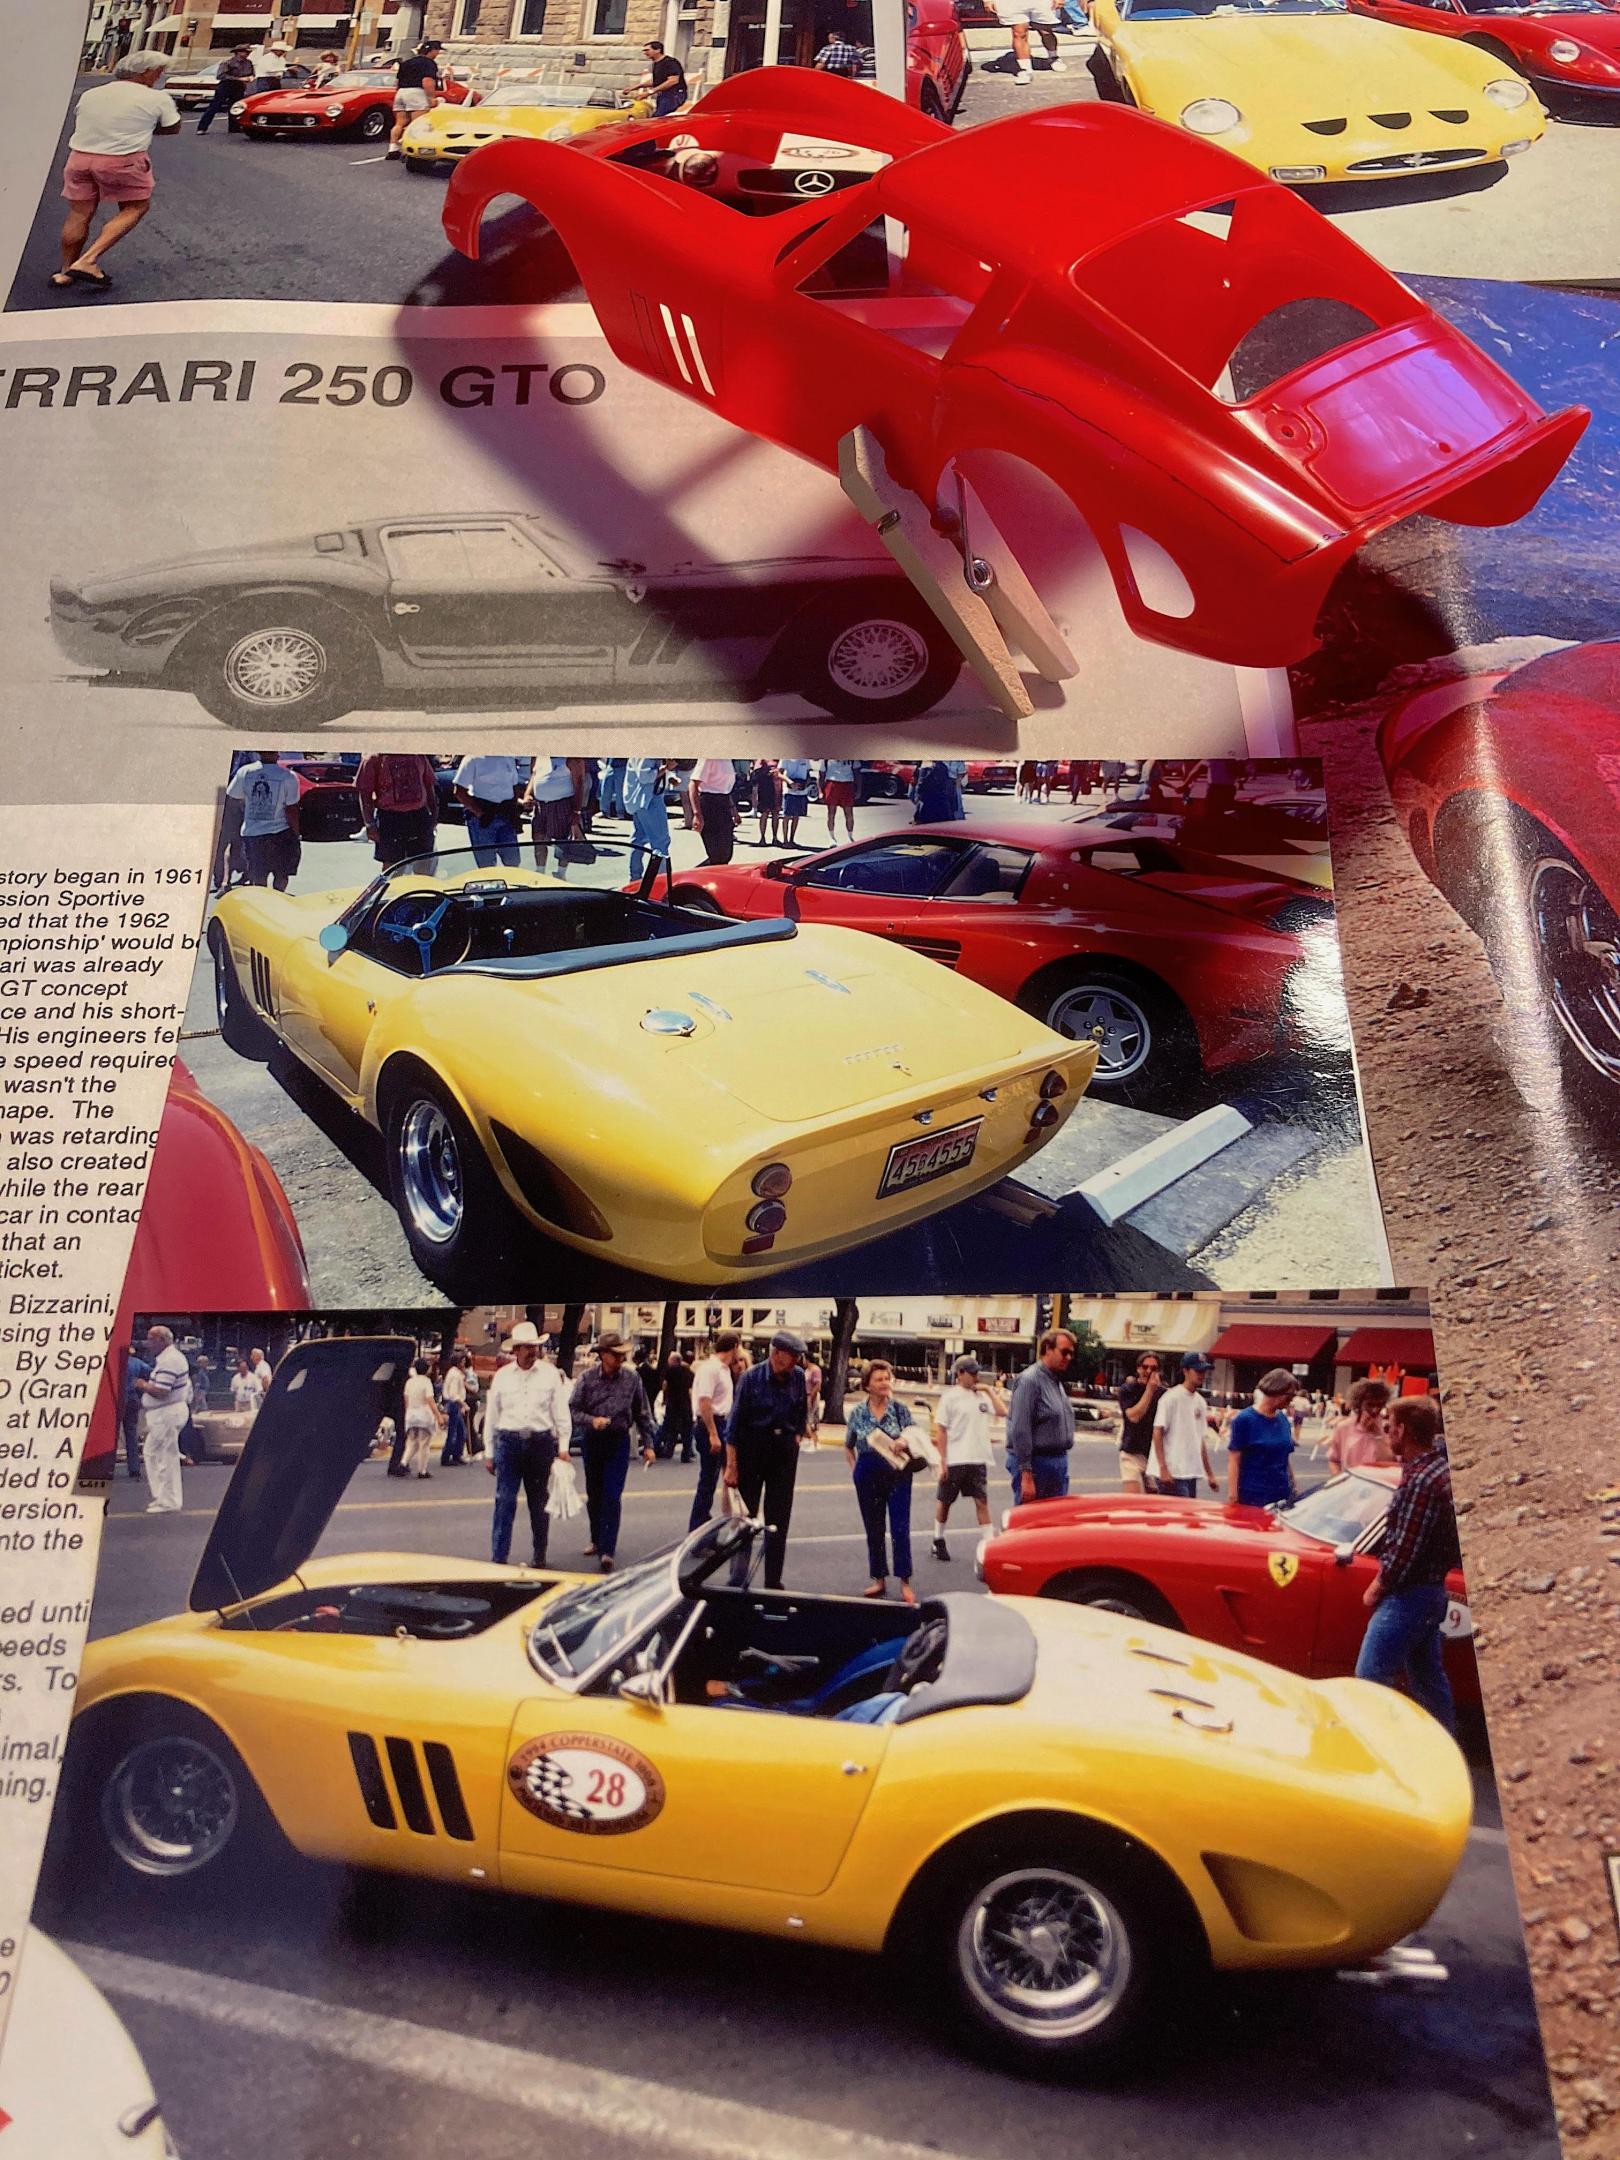
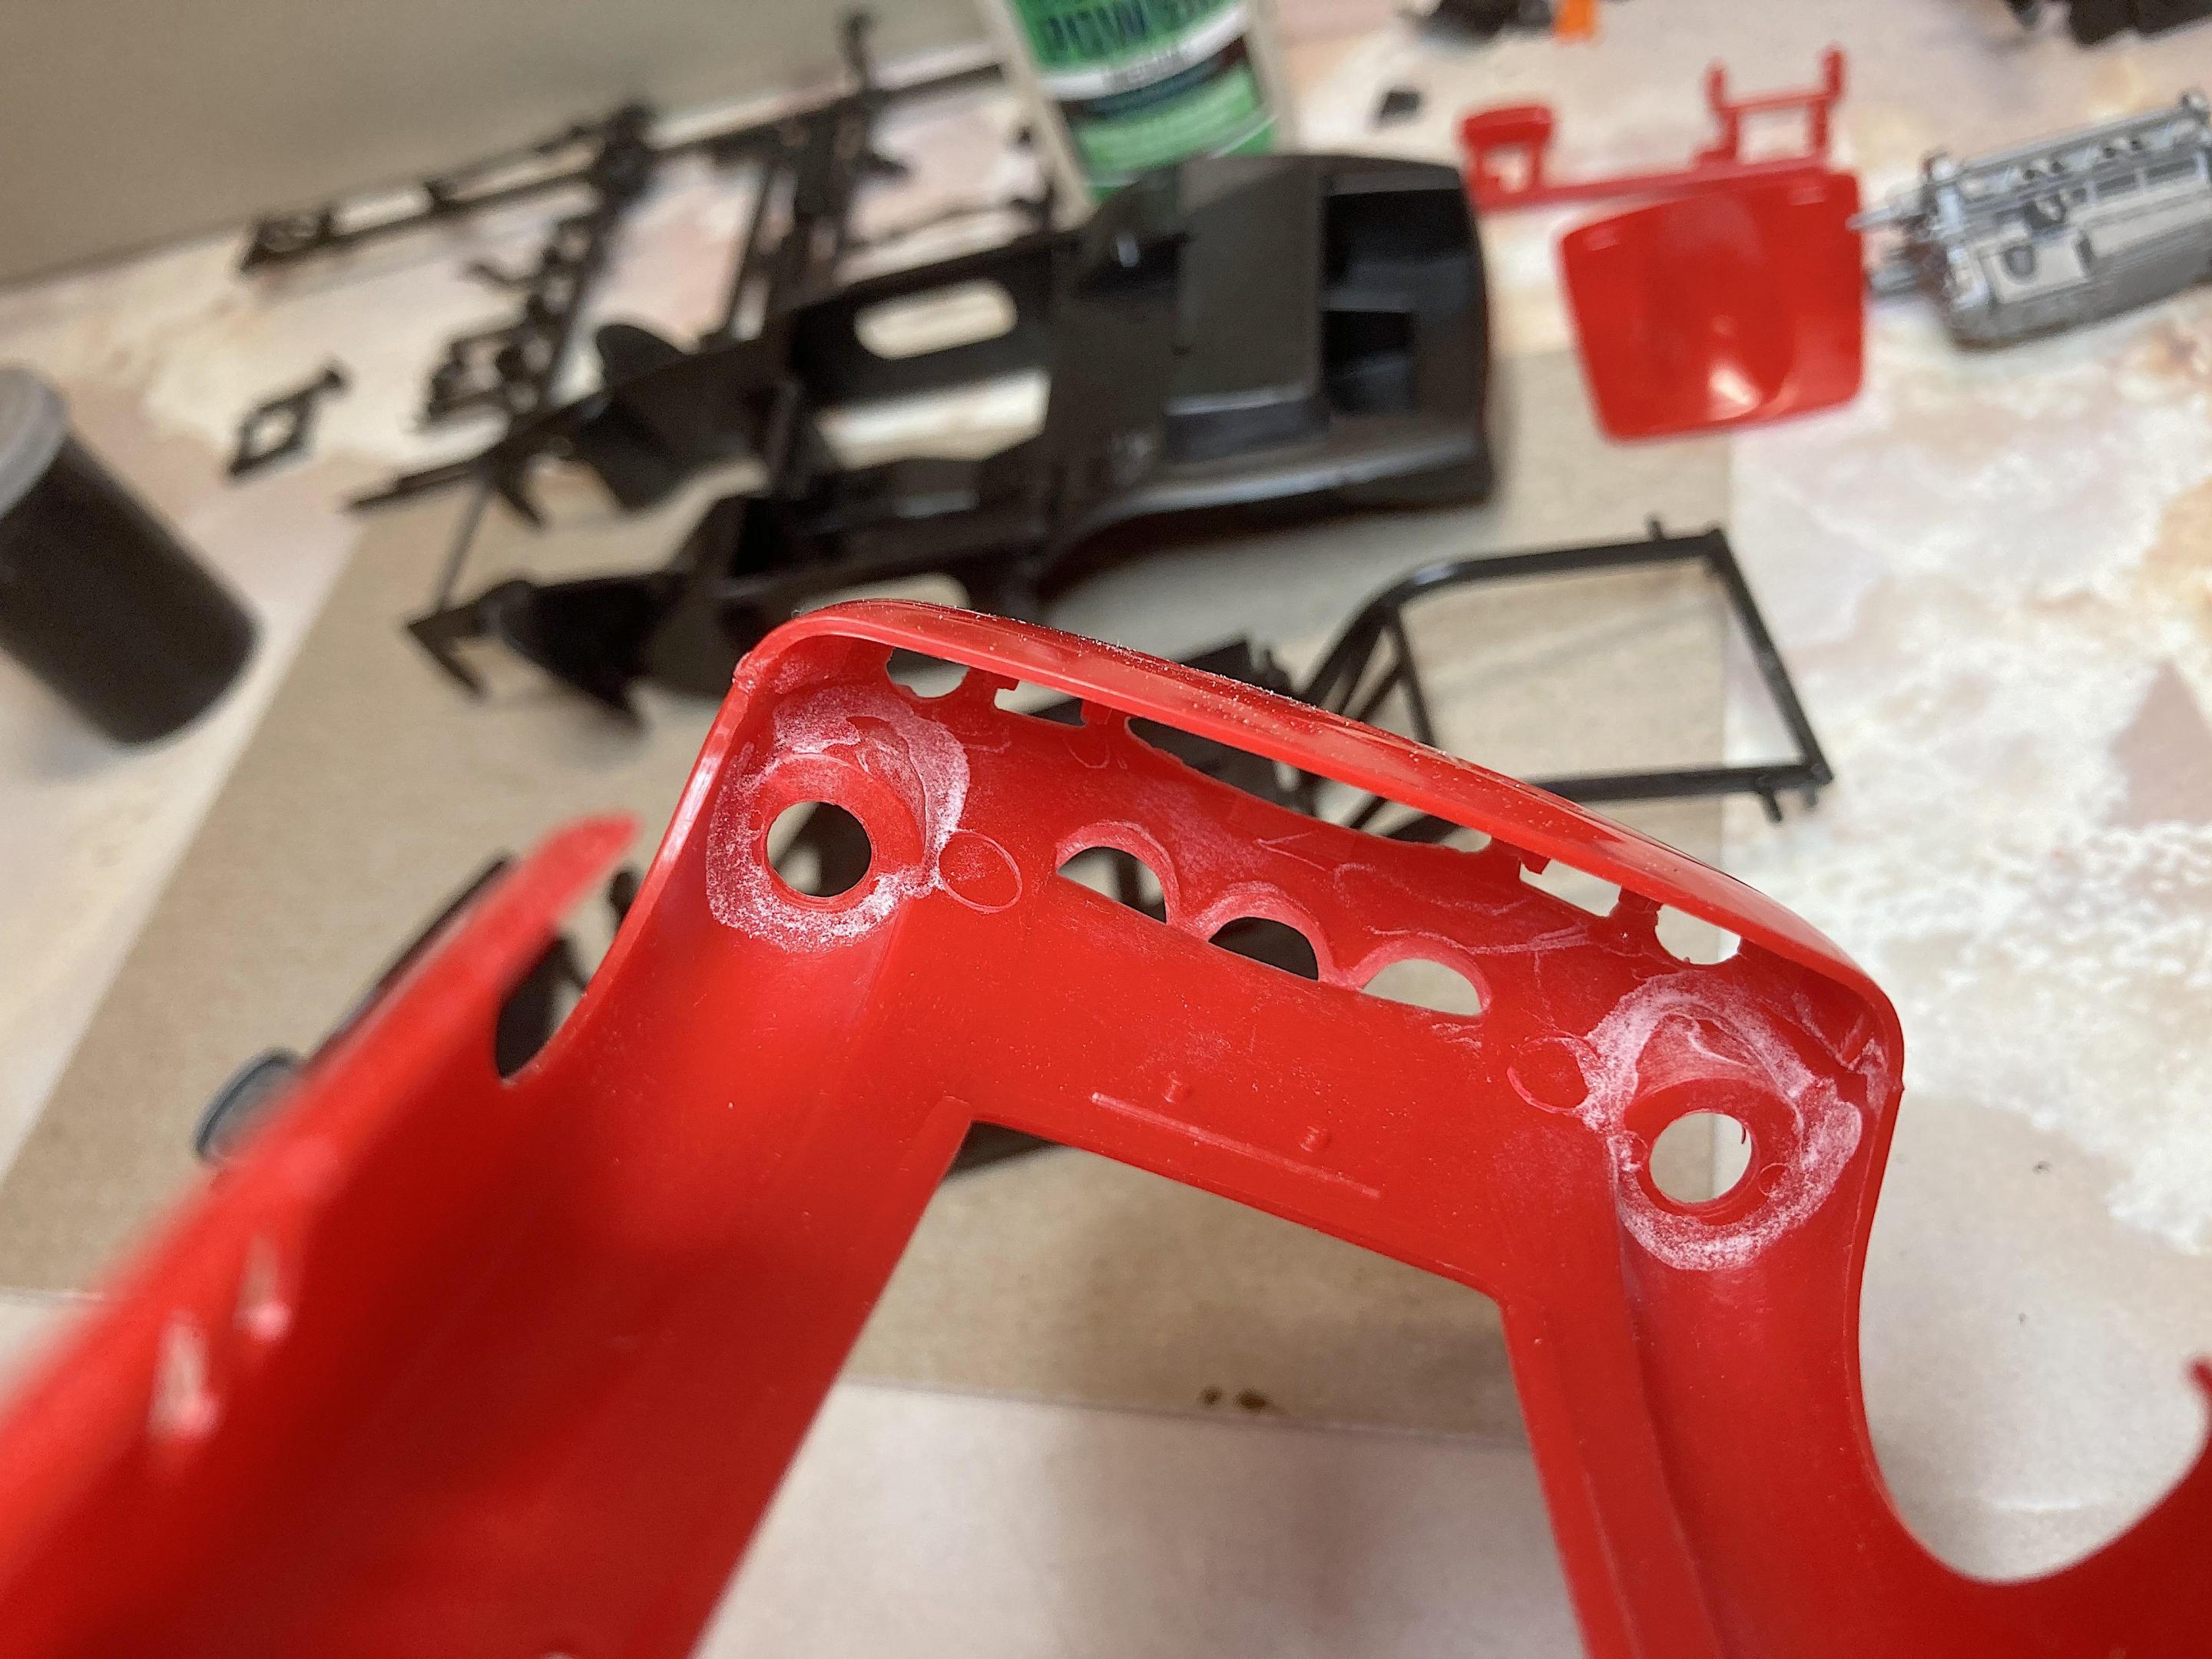
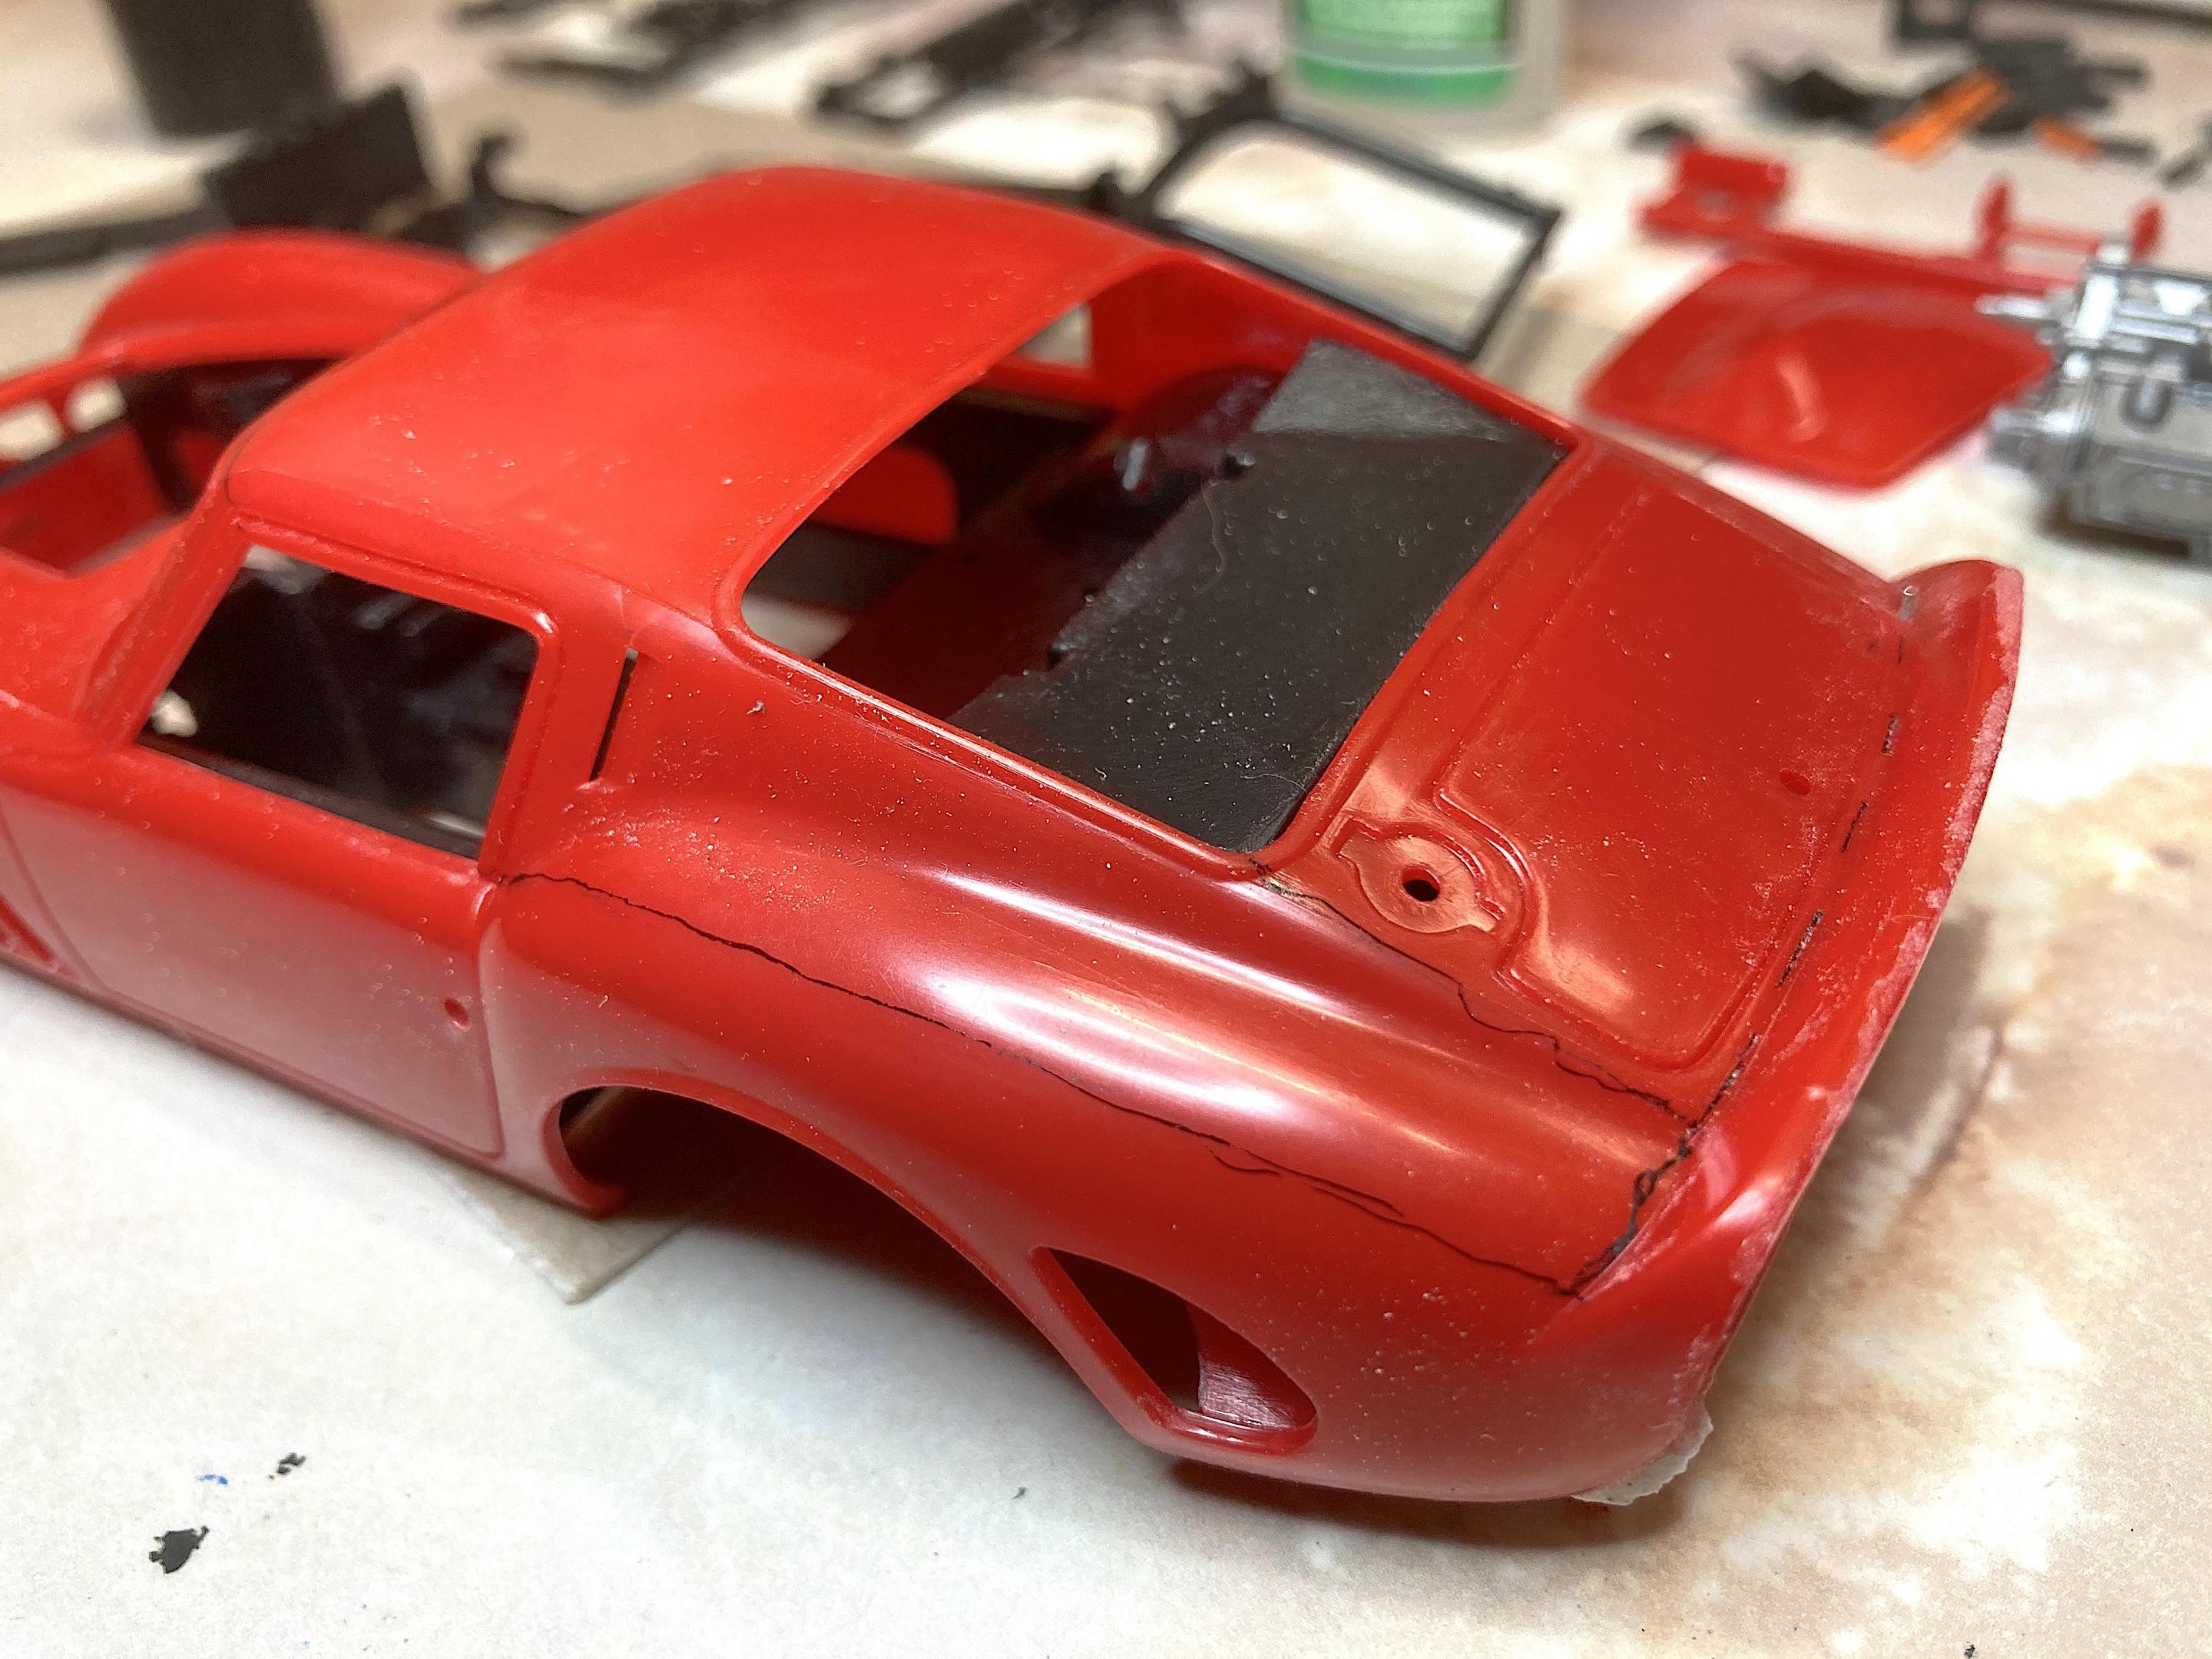
Unofficial reveal, of the Italeri (Testors) Ferrari 250 GTO Spyder. WIP: Italeri/Testors Ferrari 250 GTO Spyder The factory never built a Spyder of the famous GTO, two cars were coach built on average Ferrari chassis (is there such a thing?). I saw the convertible twice, once in my town when the Copperstate Rally parked downtown, and at a Monterrey Historics. This is not an exact replica, added some features such as the roll bar. I will take better pictures when the weather cooperates.
-
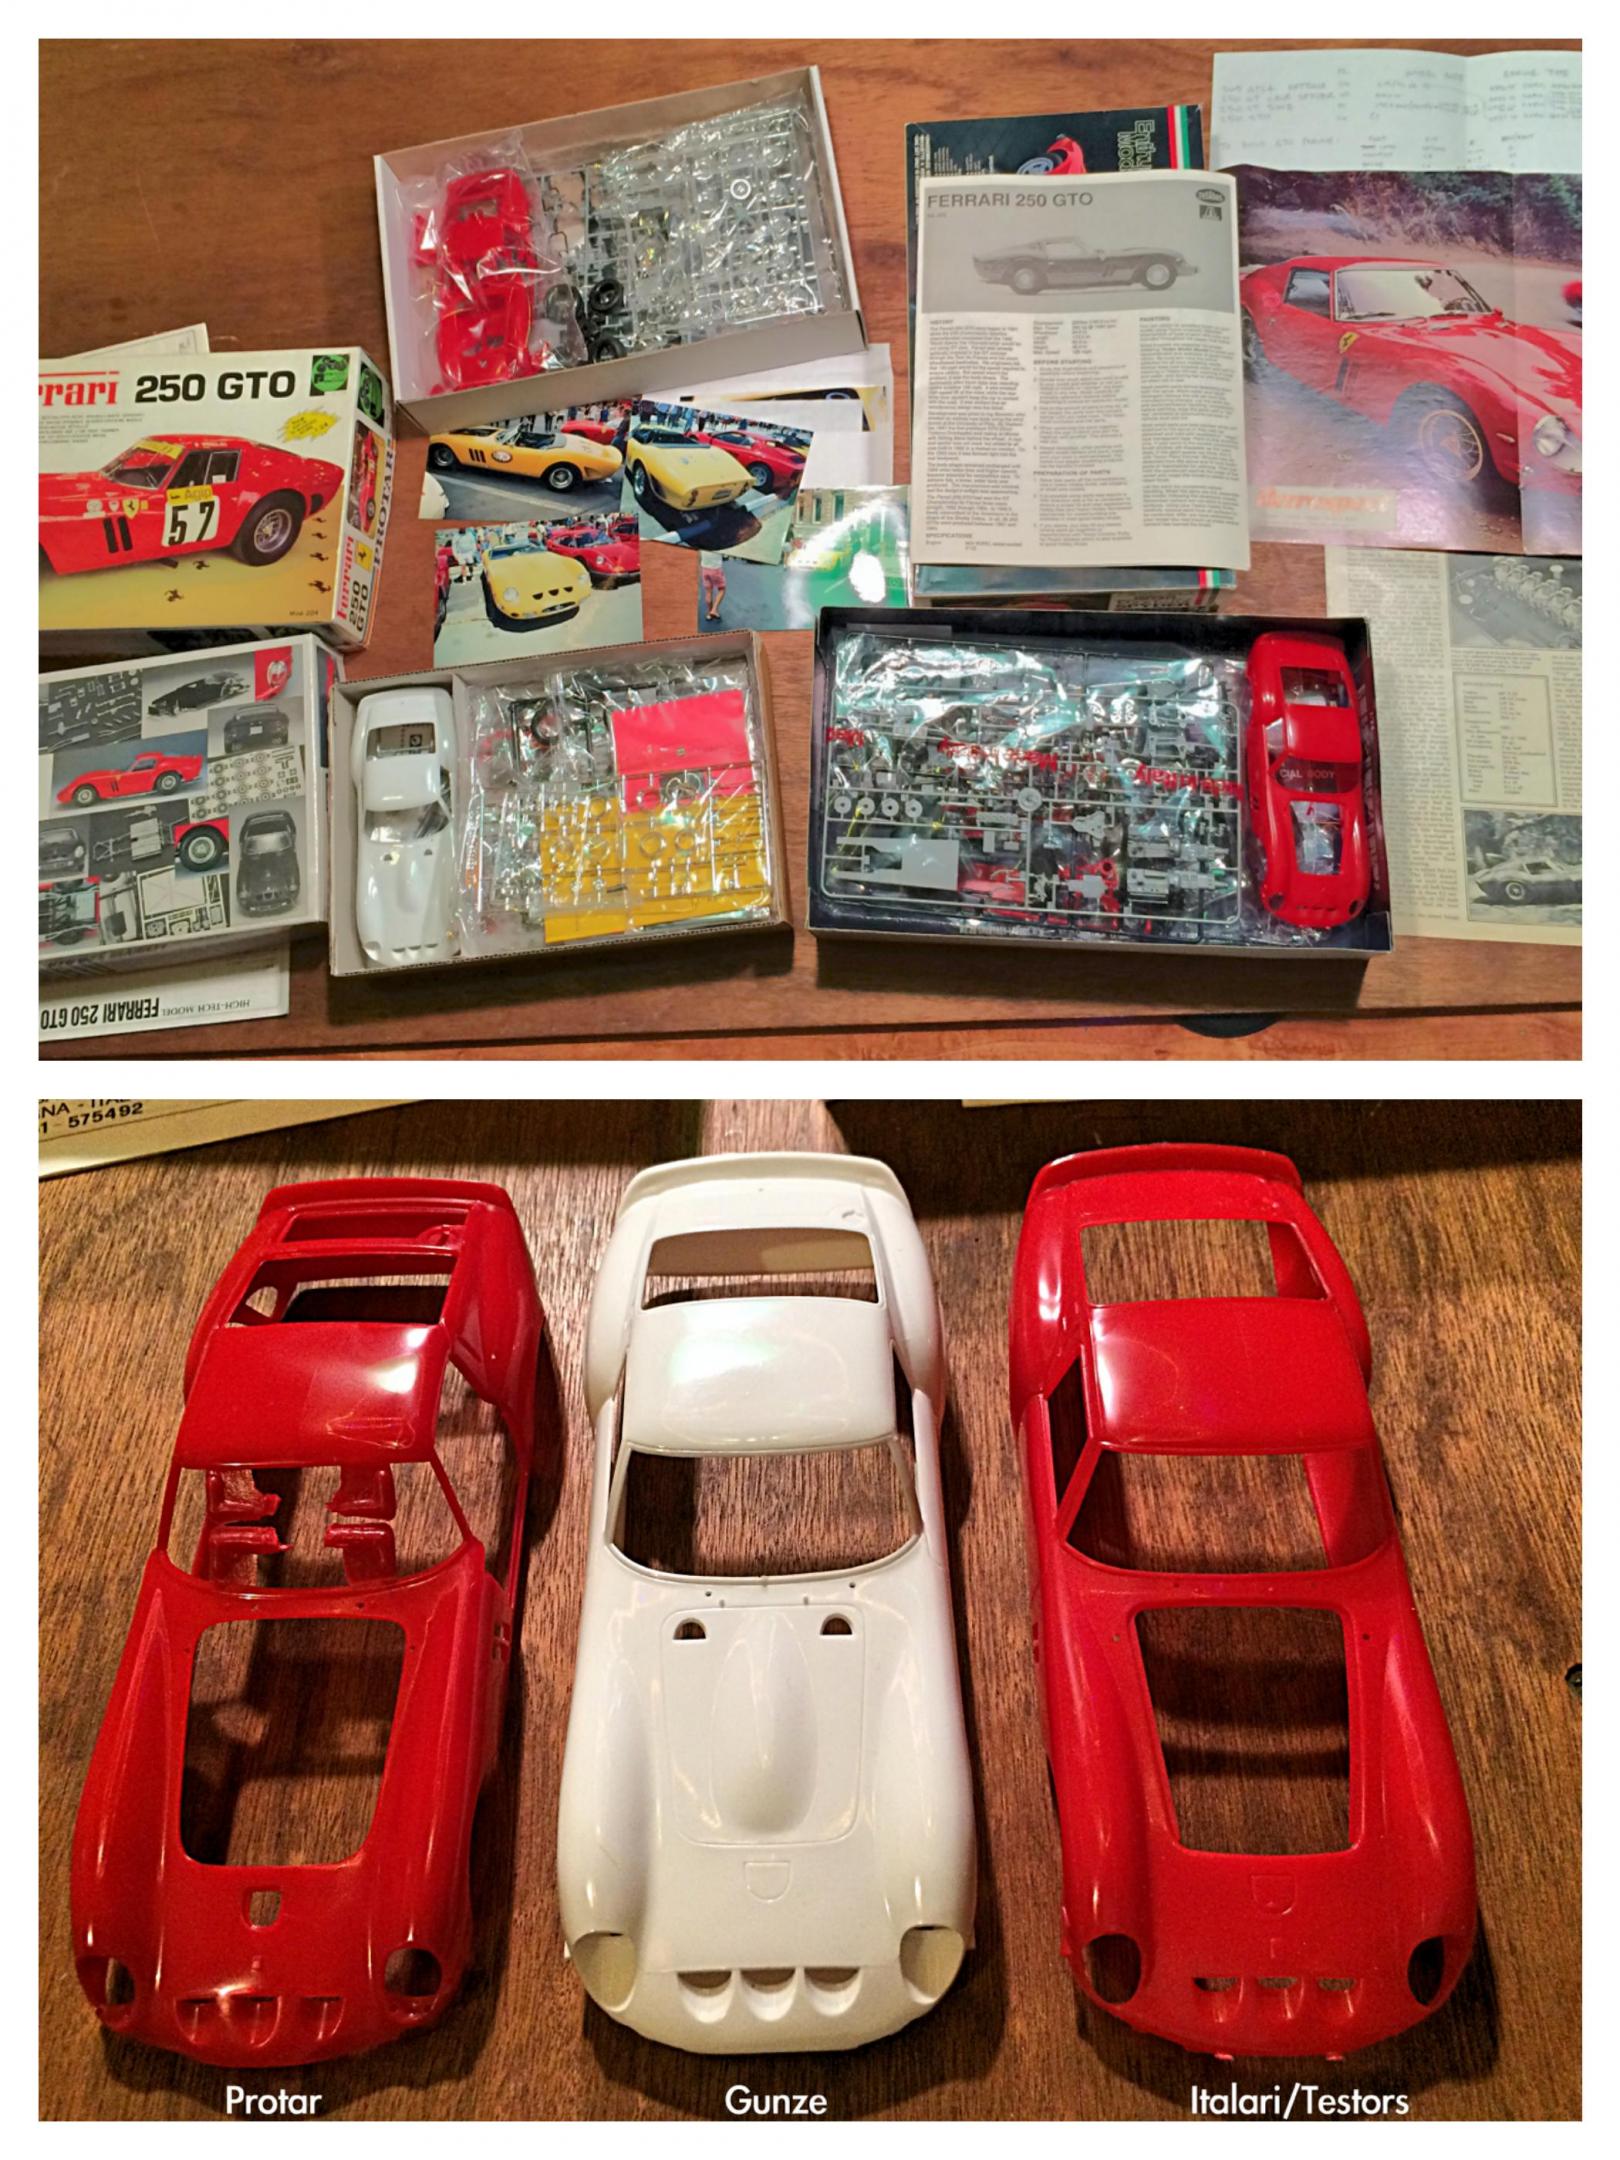
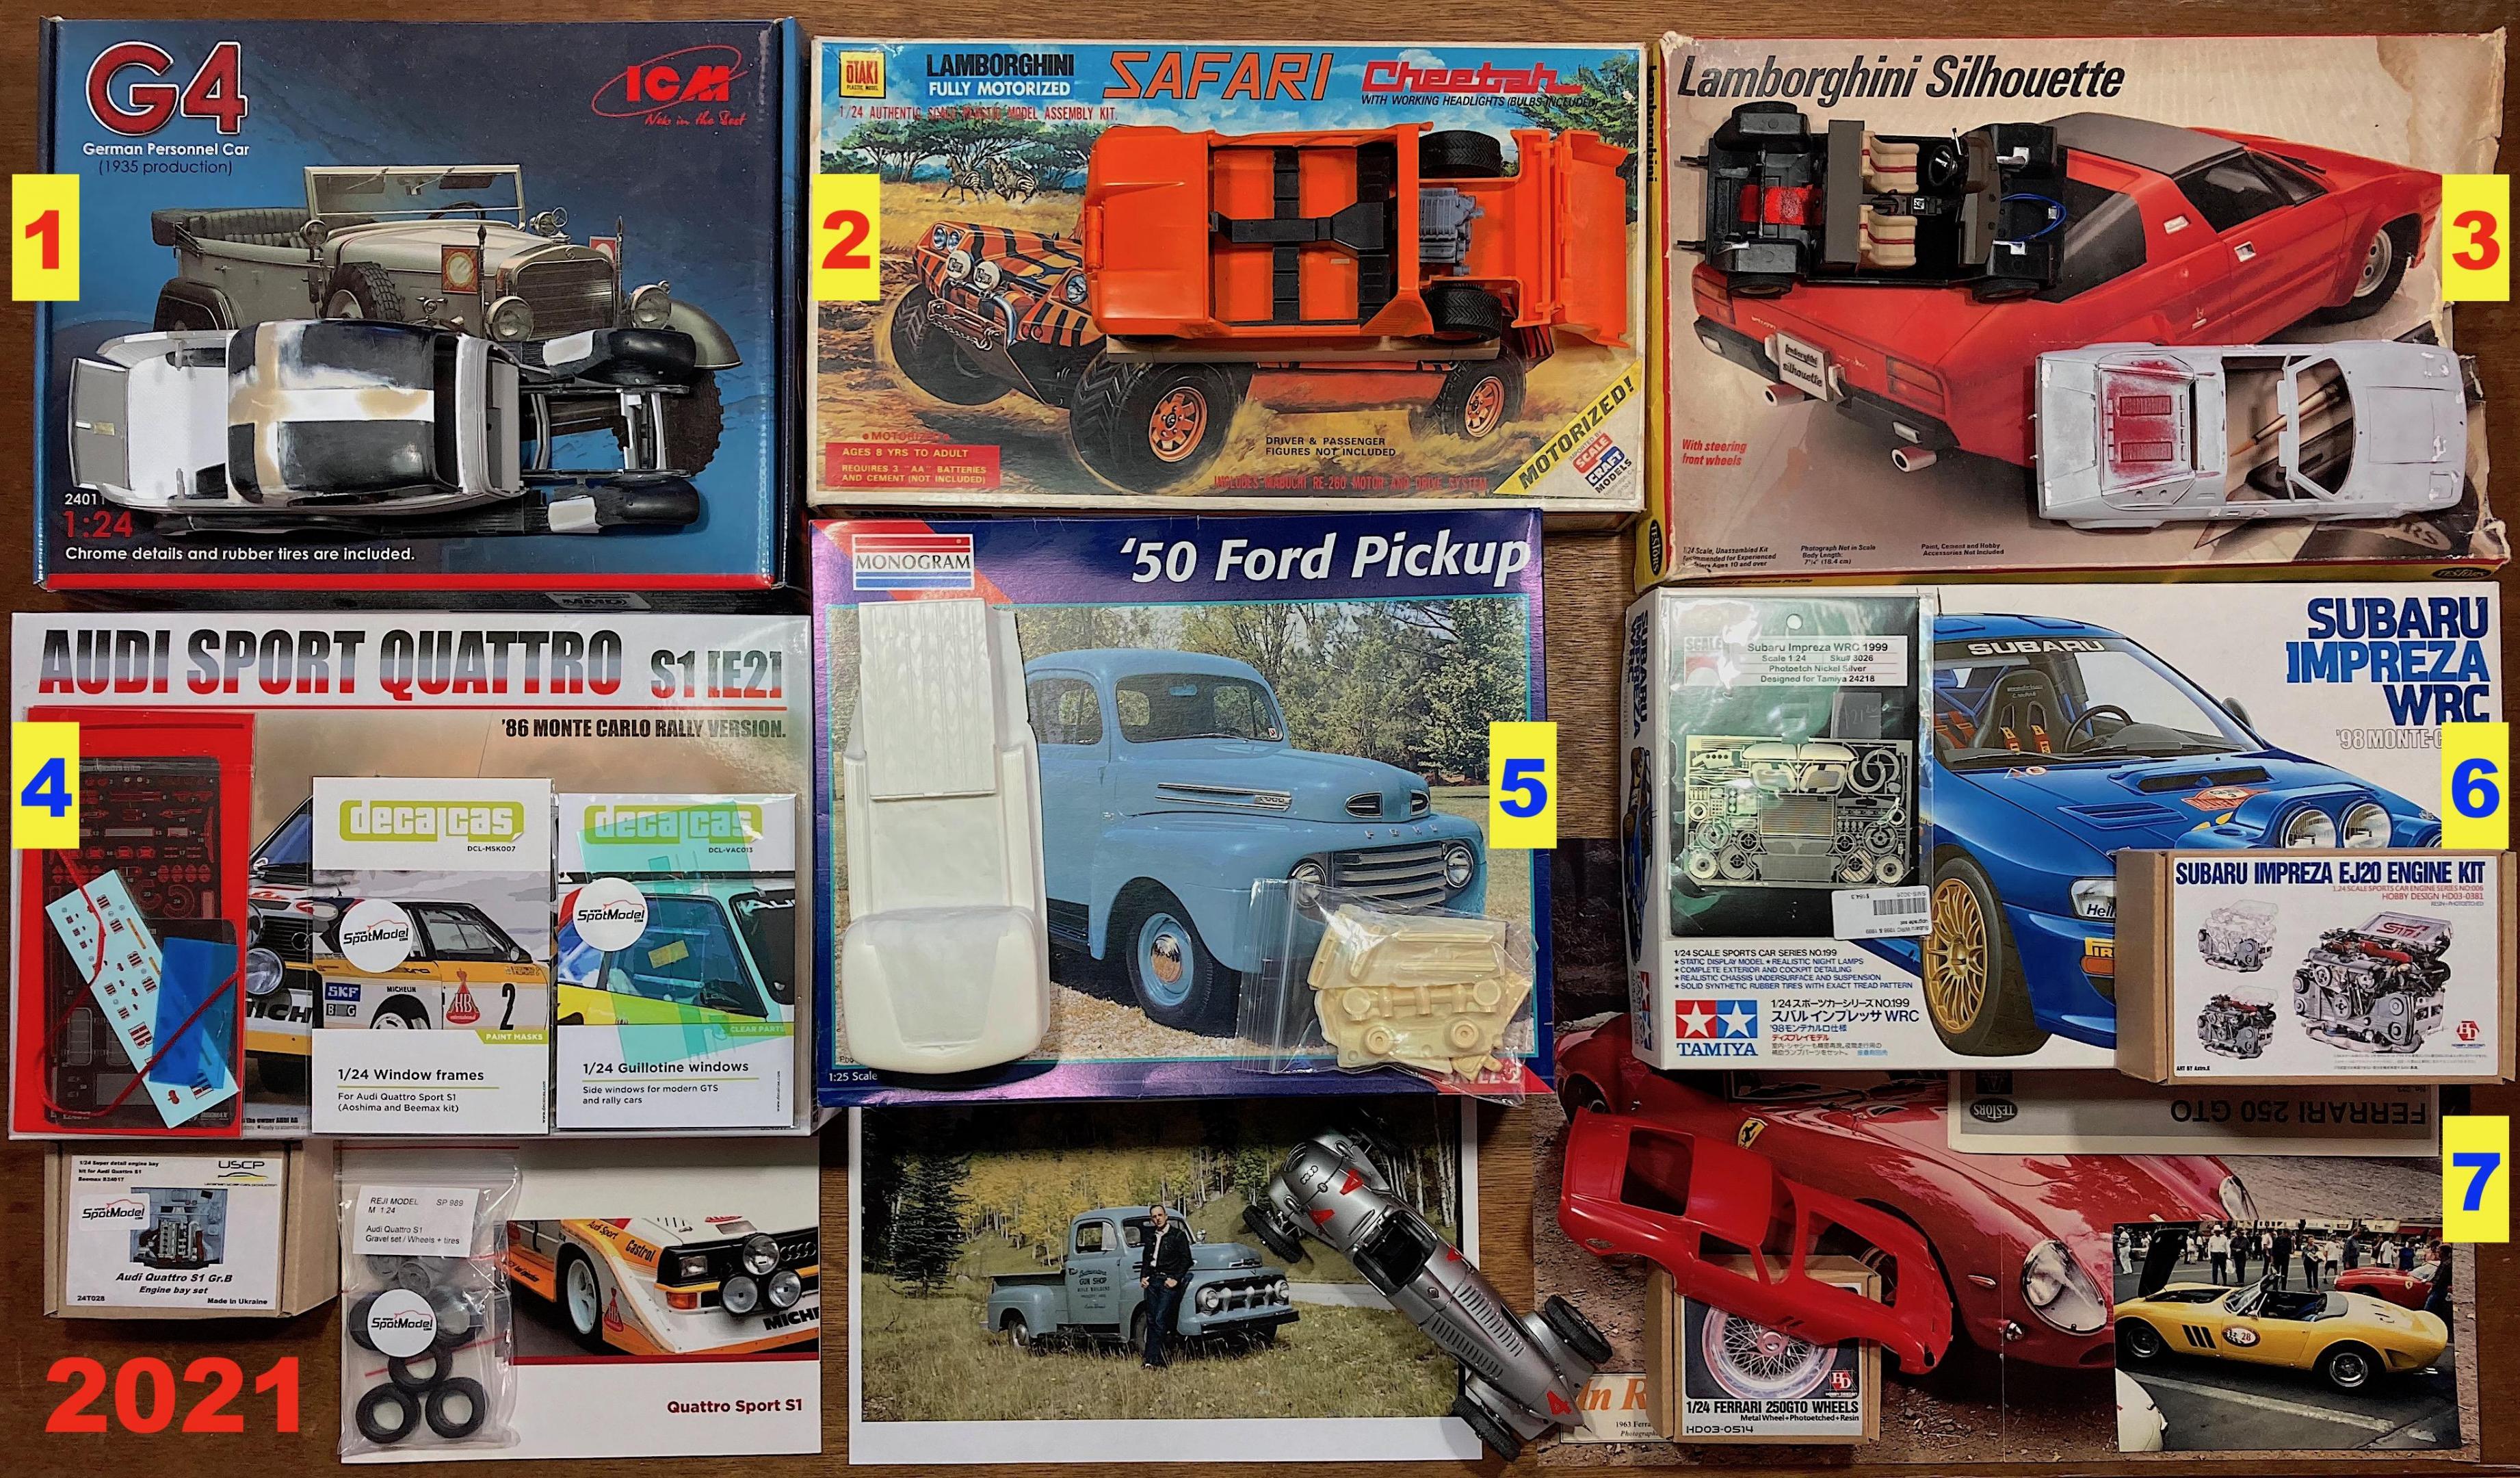
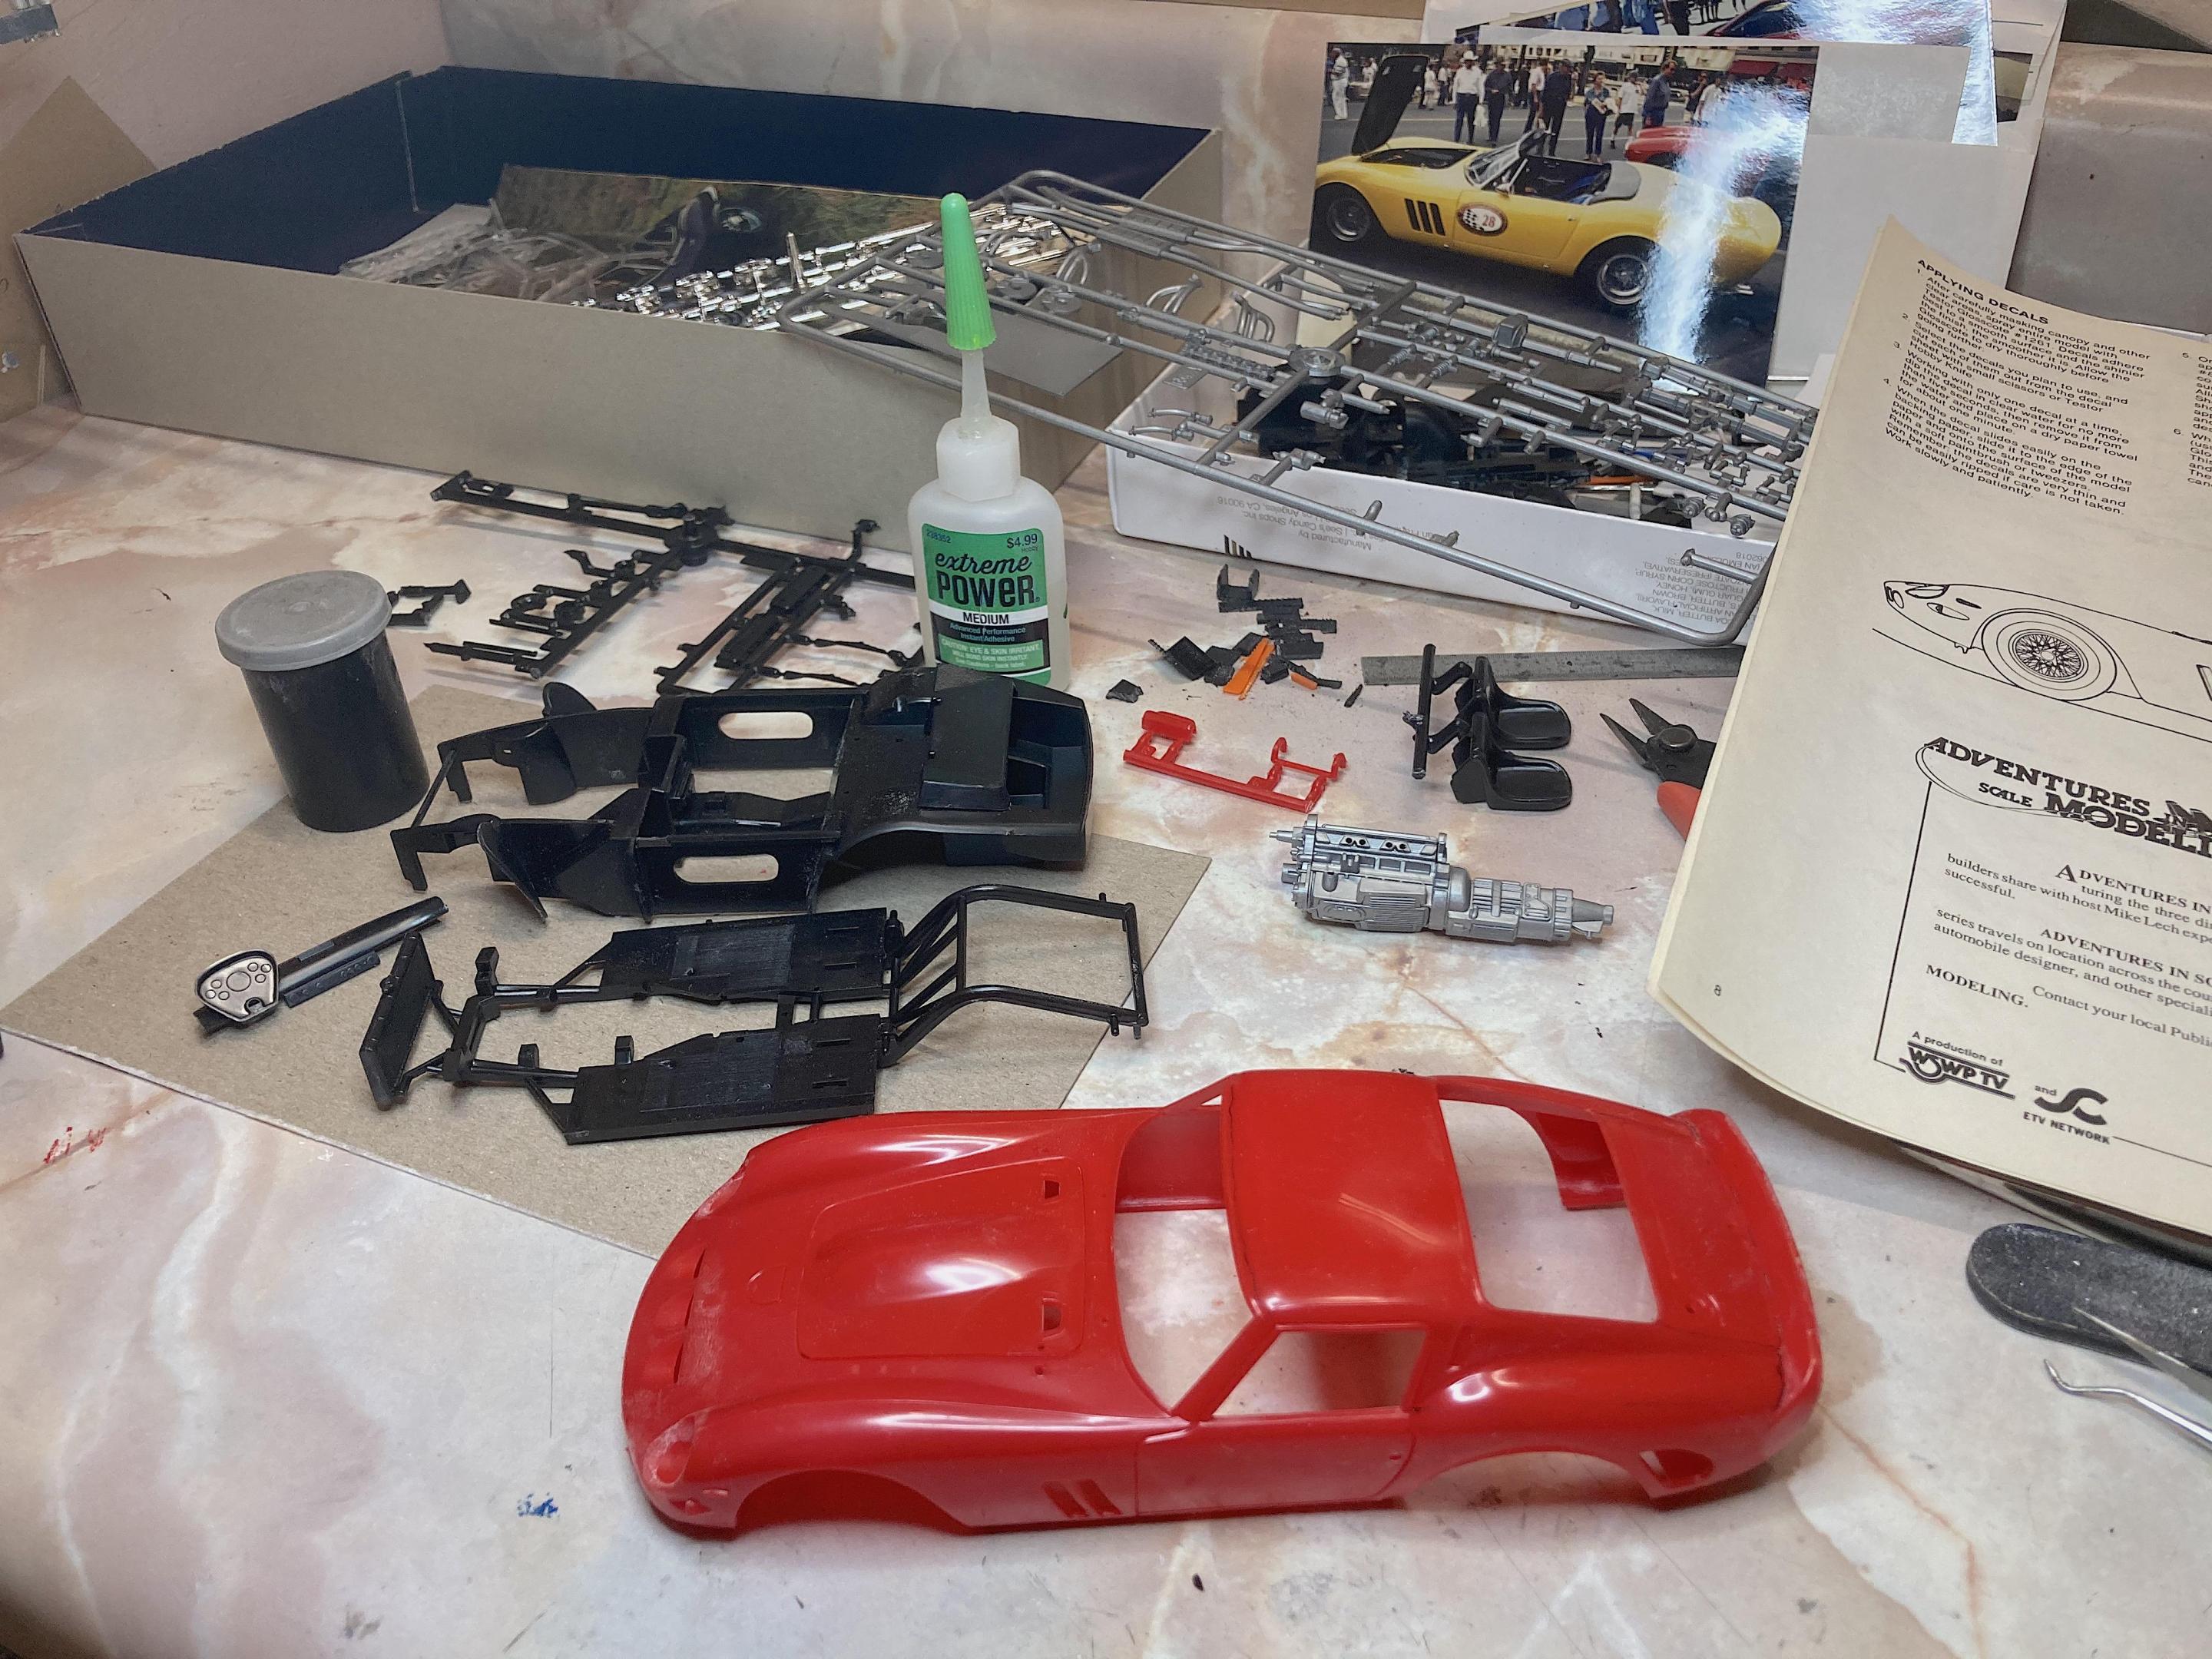
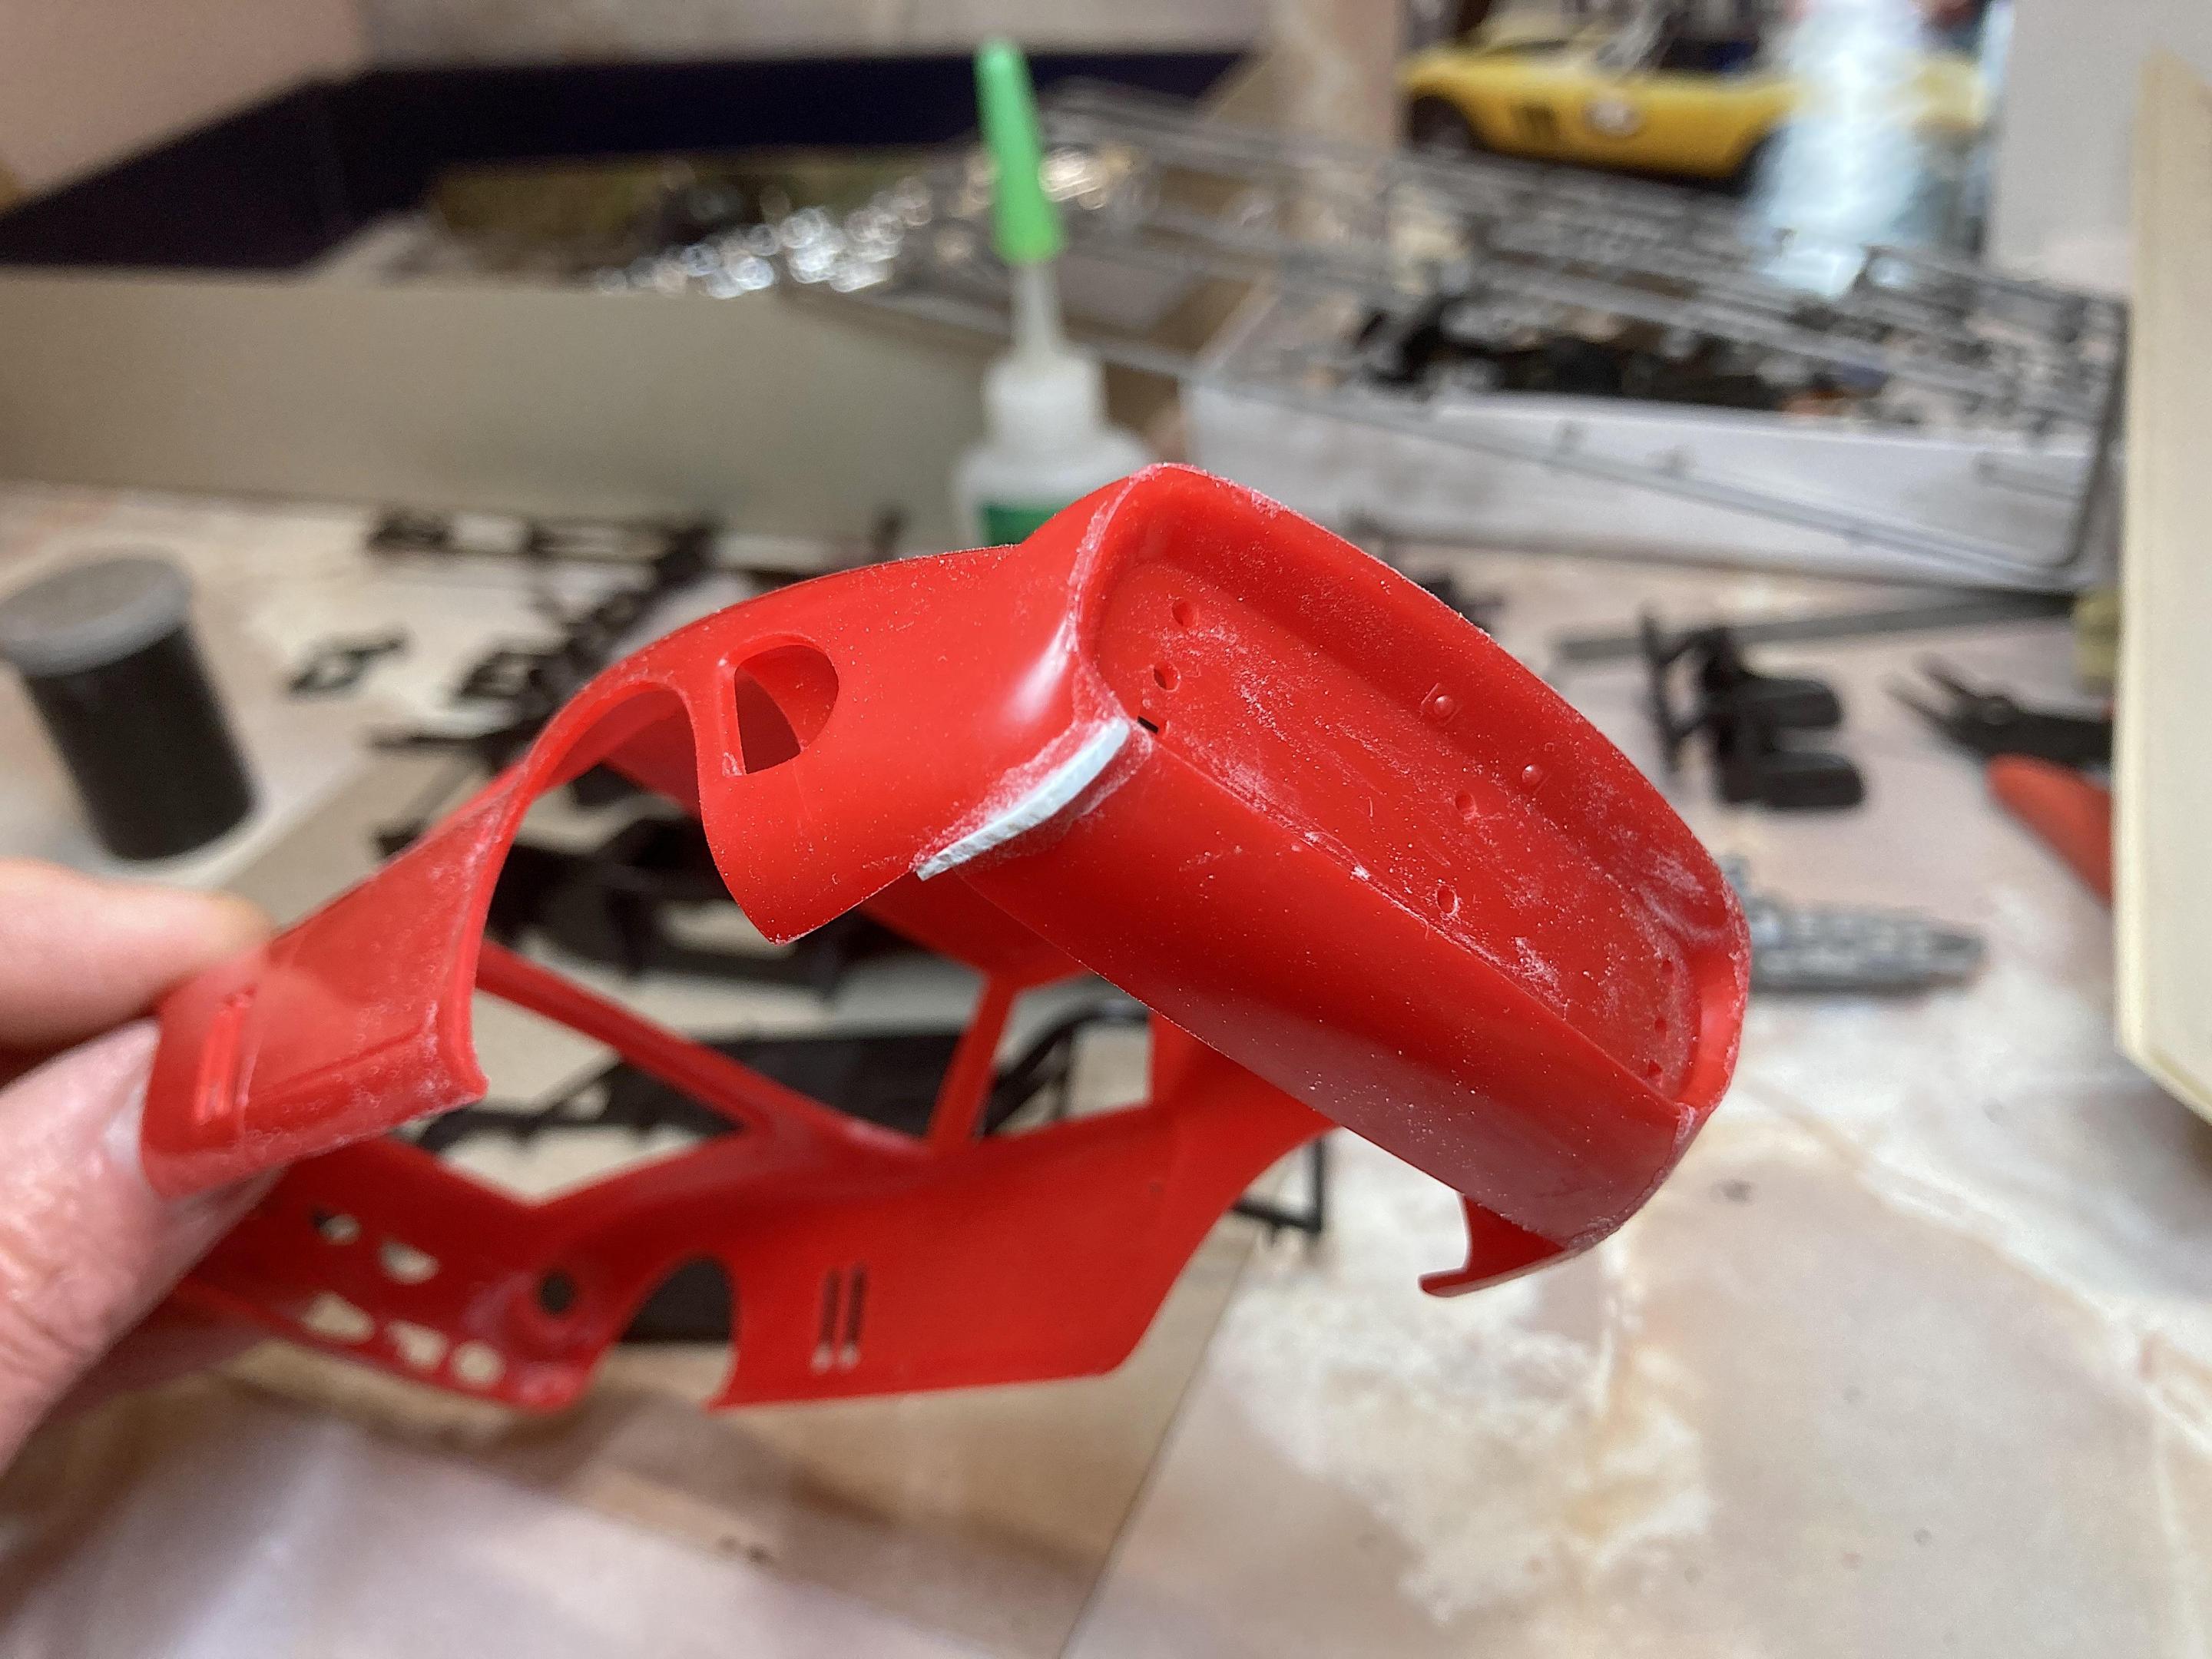
Because a Facebook group is having a Ferrari theme group build, it lit the fuse to get this done. I've only been wanting to build this 250 GTO Spyder for about 18 years. The pictures I took were in Prescott at a Cooper State rally, and the Monterey Historics 1994 when Ferrari was featured. There isn't much on the web about this particular car. It's not a real GTO for starters. This kit was chosen just because it was a bagged kit (no box), found at a model show. I have 3 other brand kits still in the stash, so I could build a real authentic model, someday. I had decided to build it this year anyway, so it got bumped up in my priority list. Comparison between kits (Fujimi kit was bought after taking this picture): My 2021 Resolutions list: Taking a look before starting: First session, got the body, interior tub, and short block glued together. It's a nice kit, so far everything fit together. Exception is a big gap filled with plastic, not a big deal. The headlight buckets needed some work to fit snug. All joints are lots of superglue with baking soda. Rough cut lines drawn on the body. I might do the whole deck with one piece of sheet styrene.
-
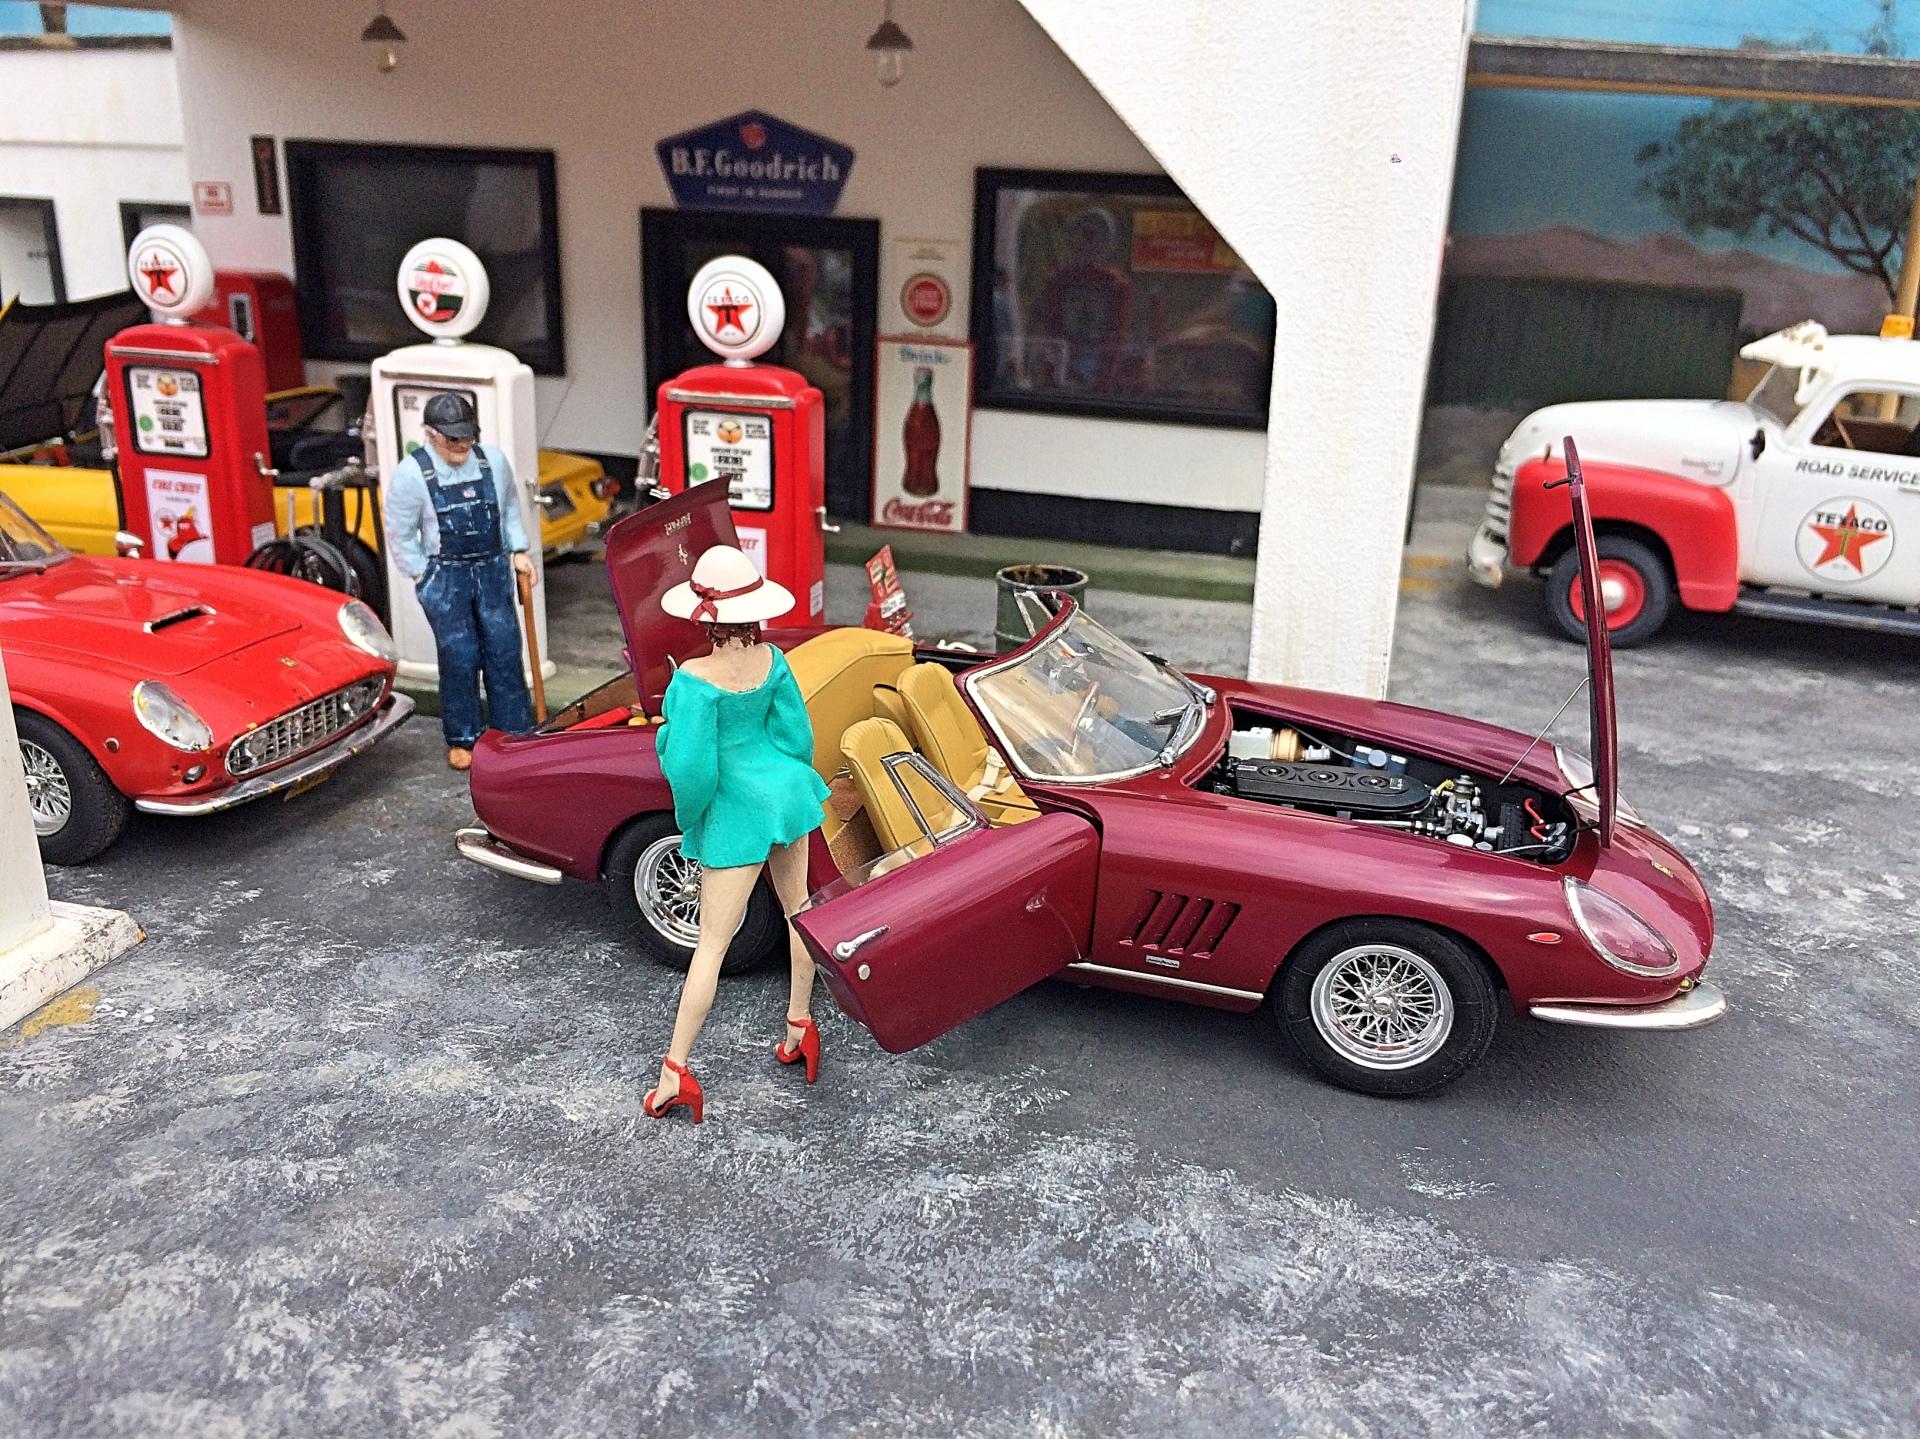
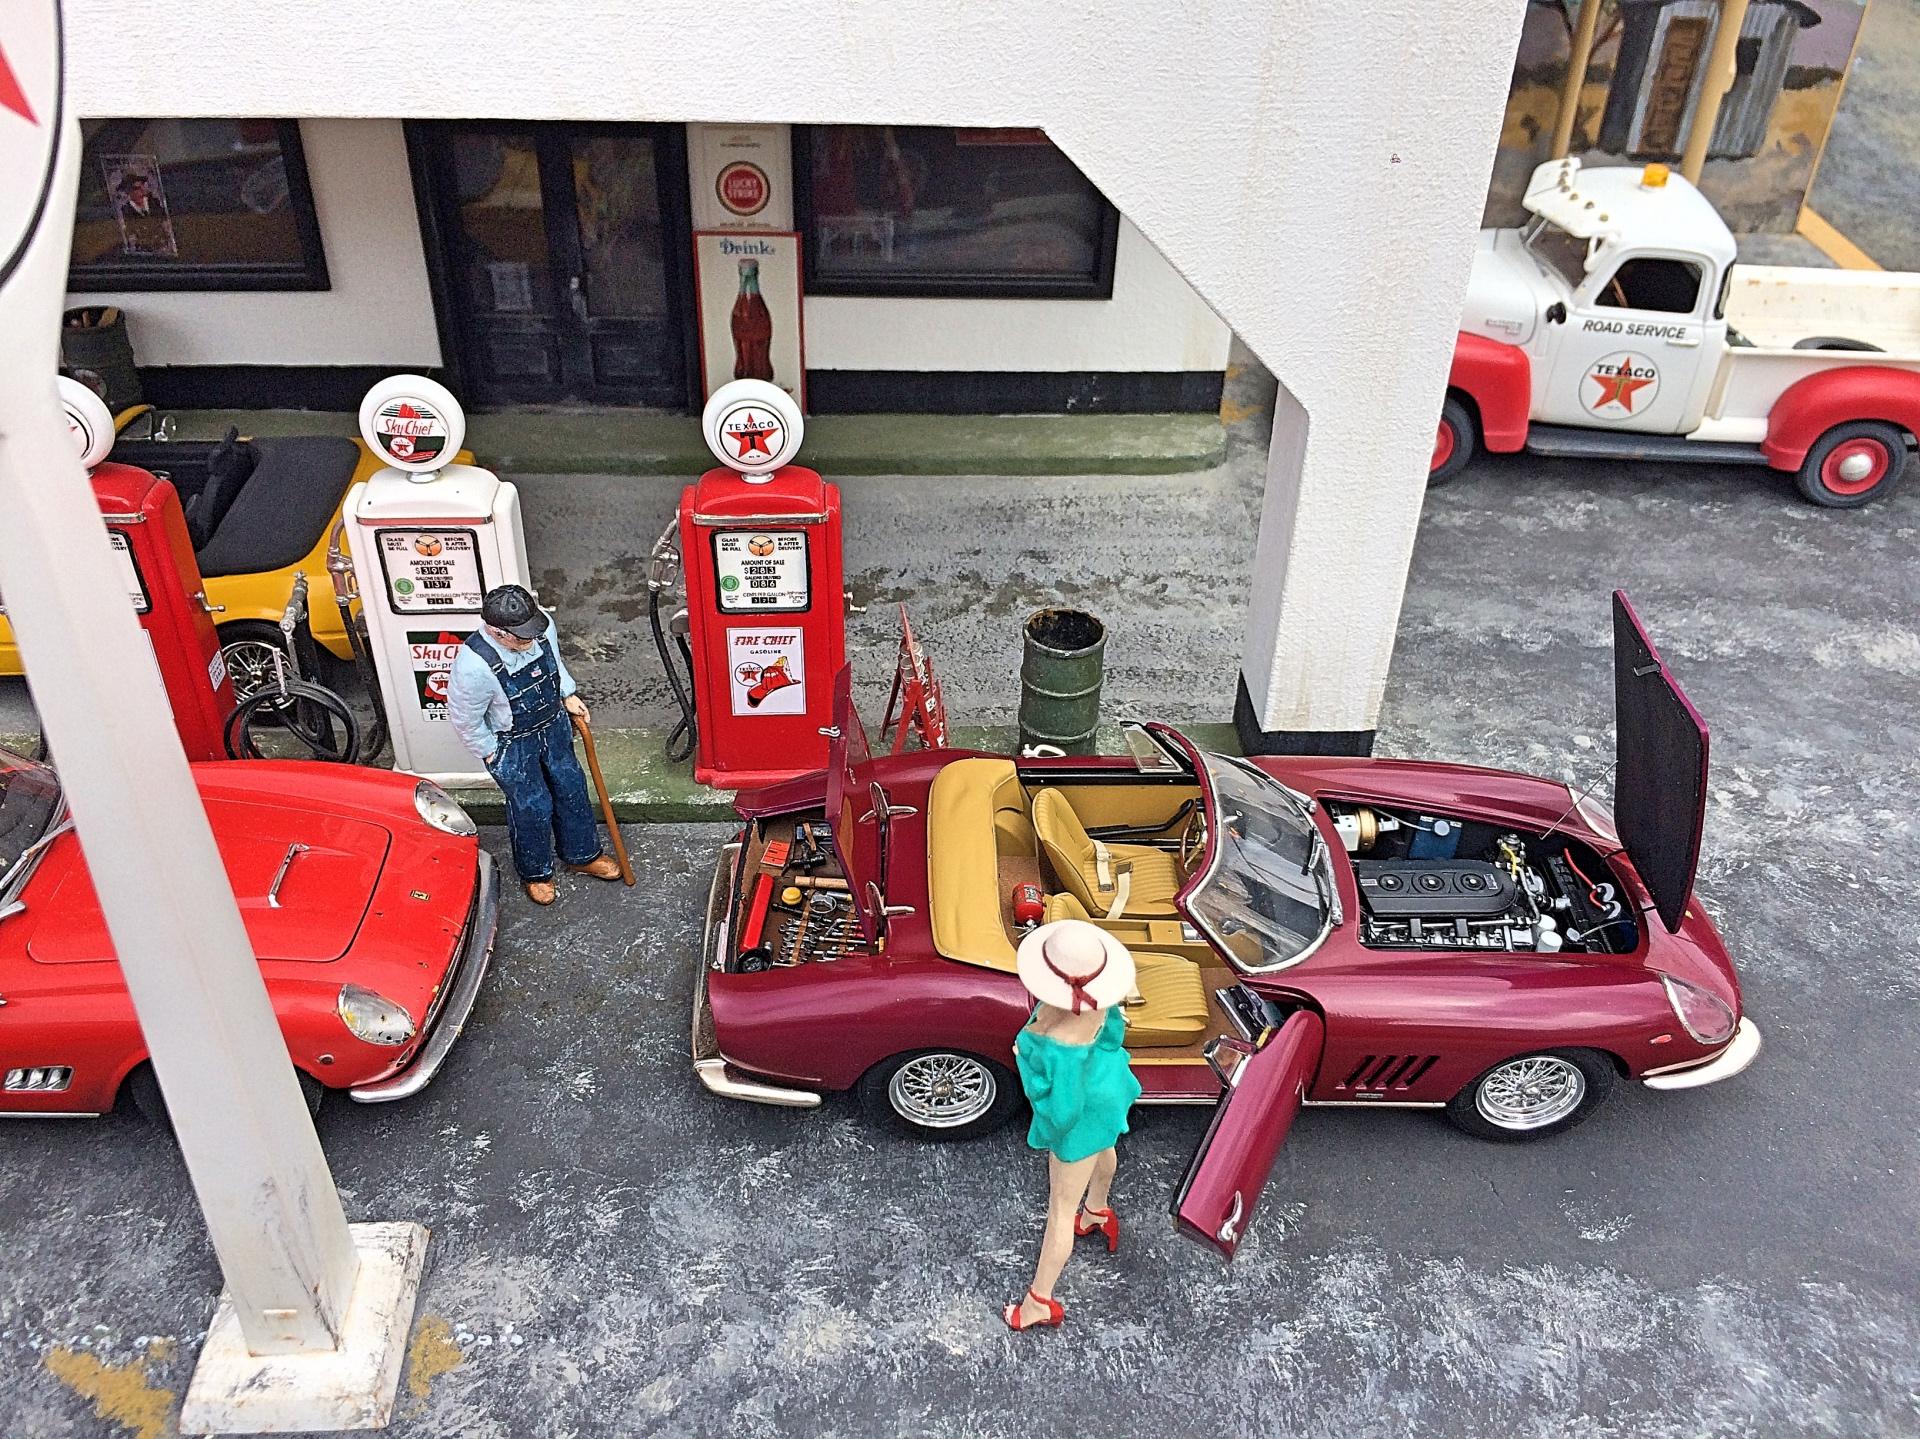
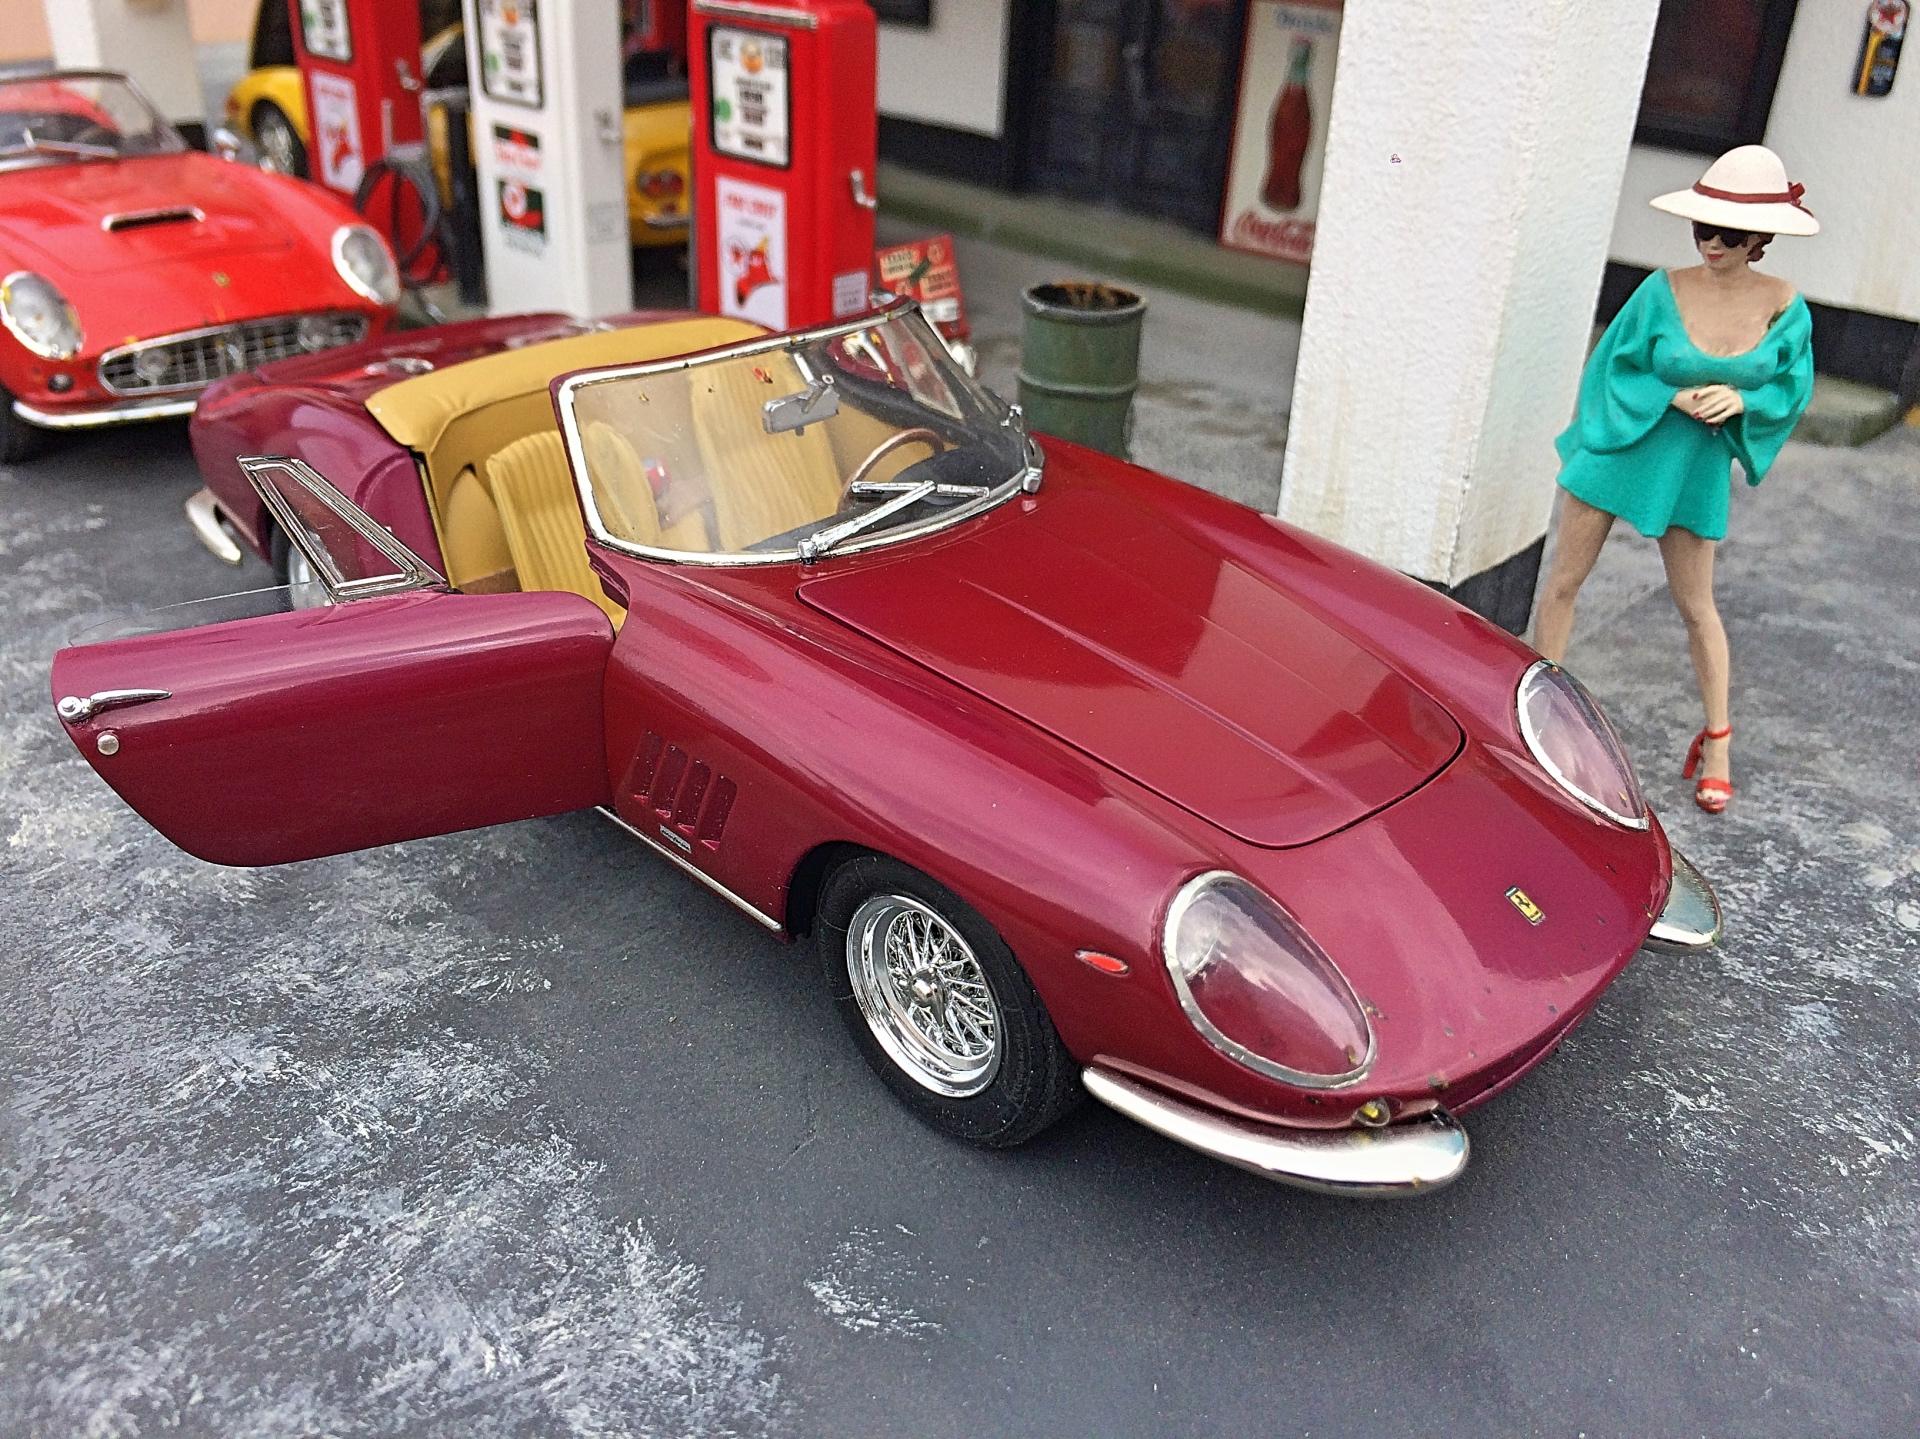
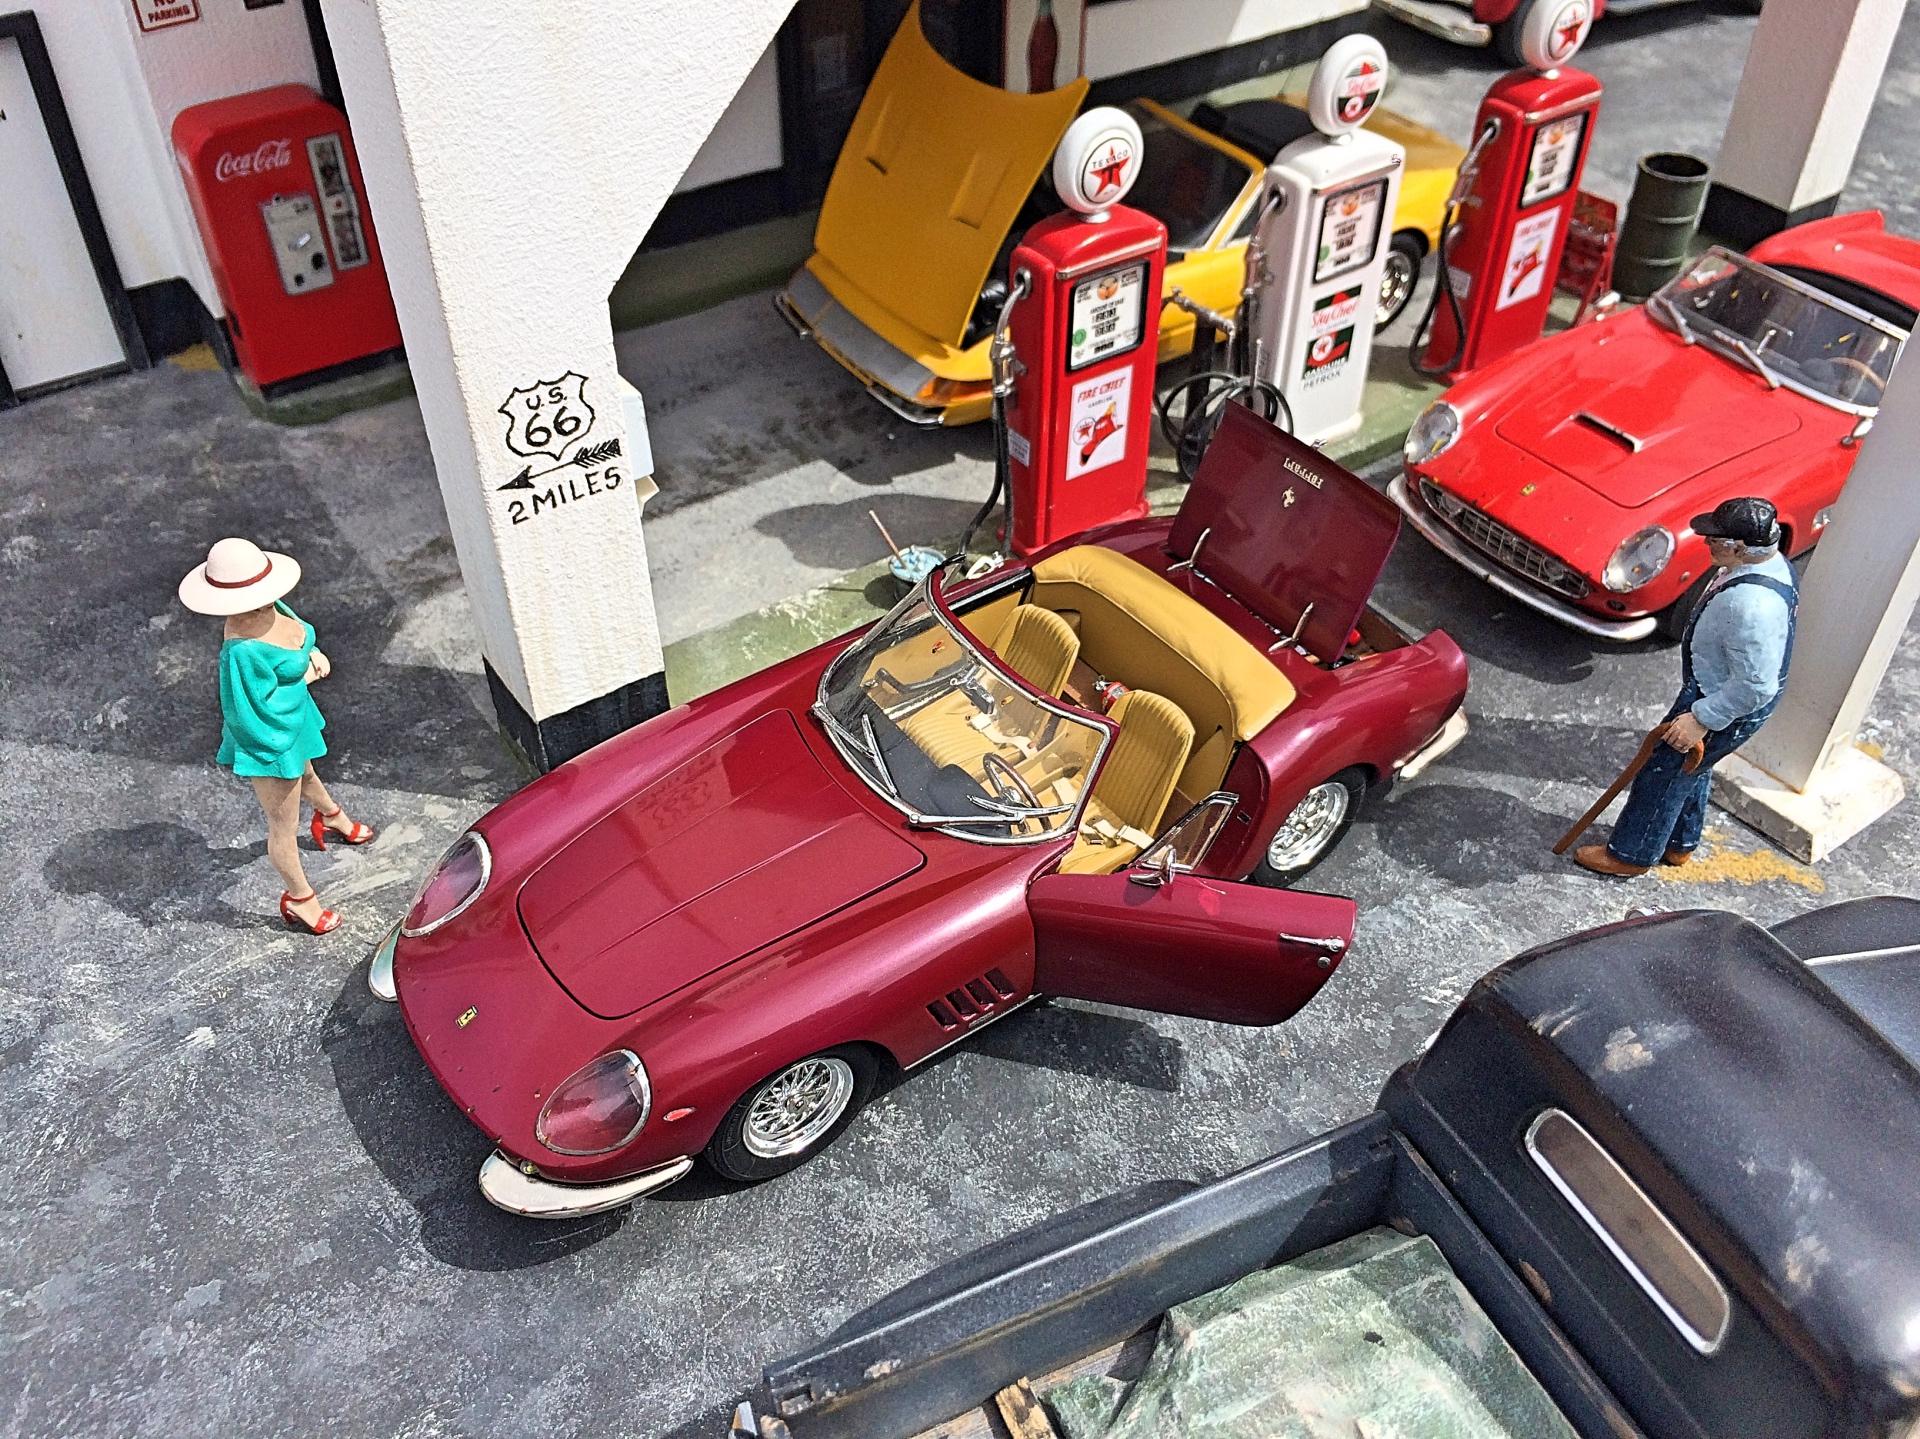
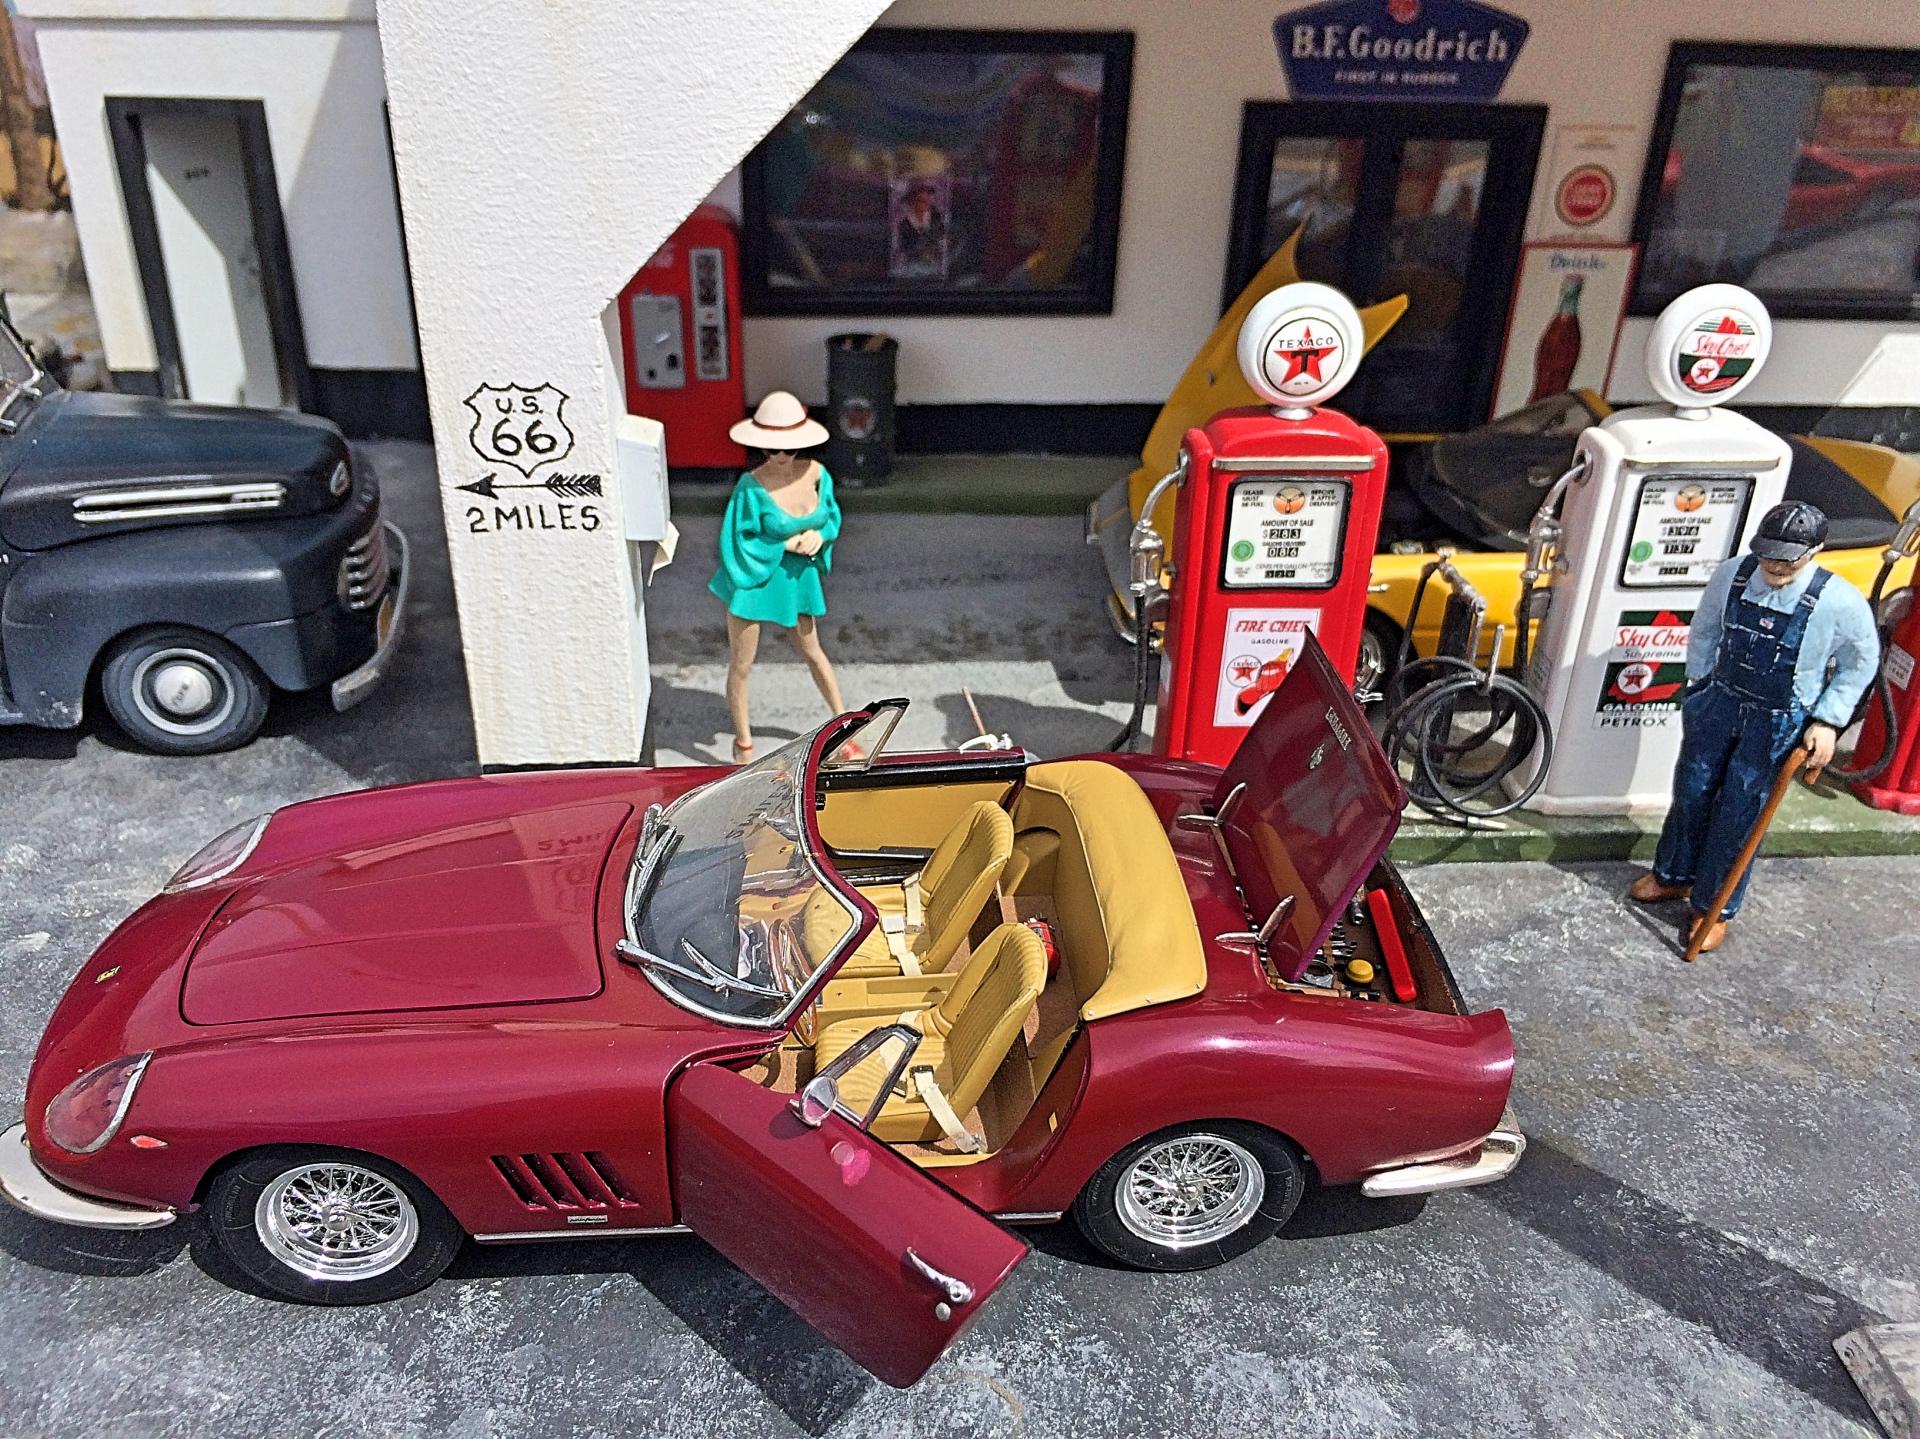
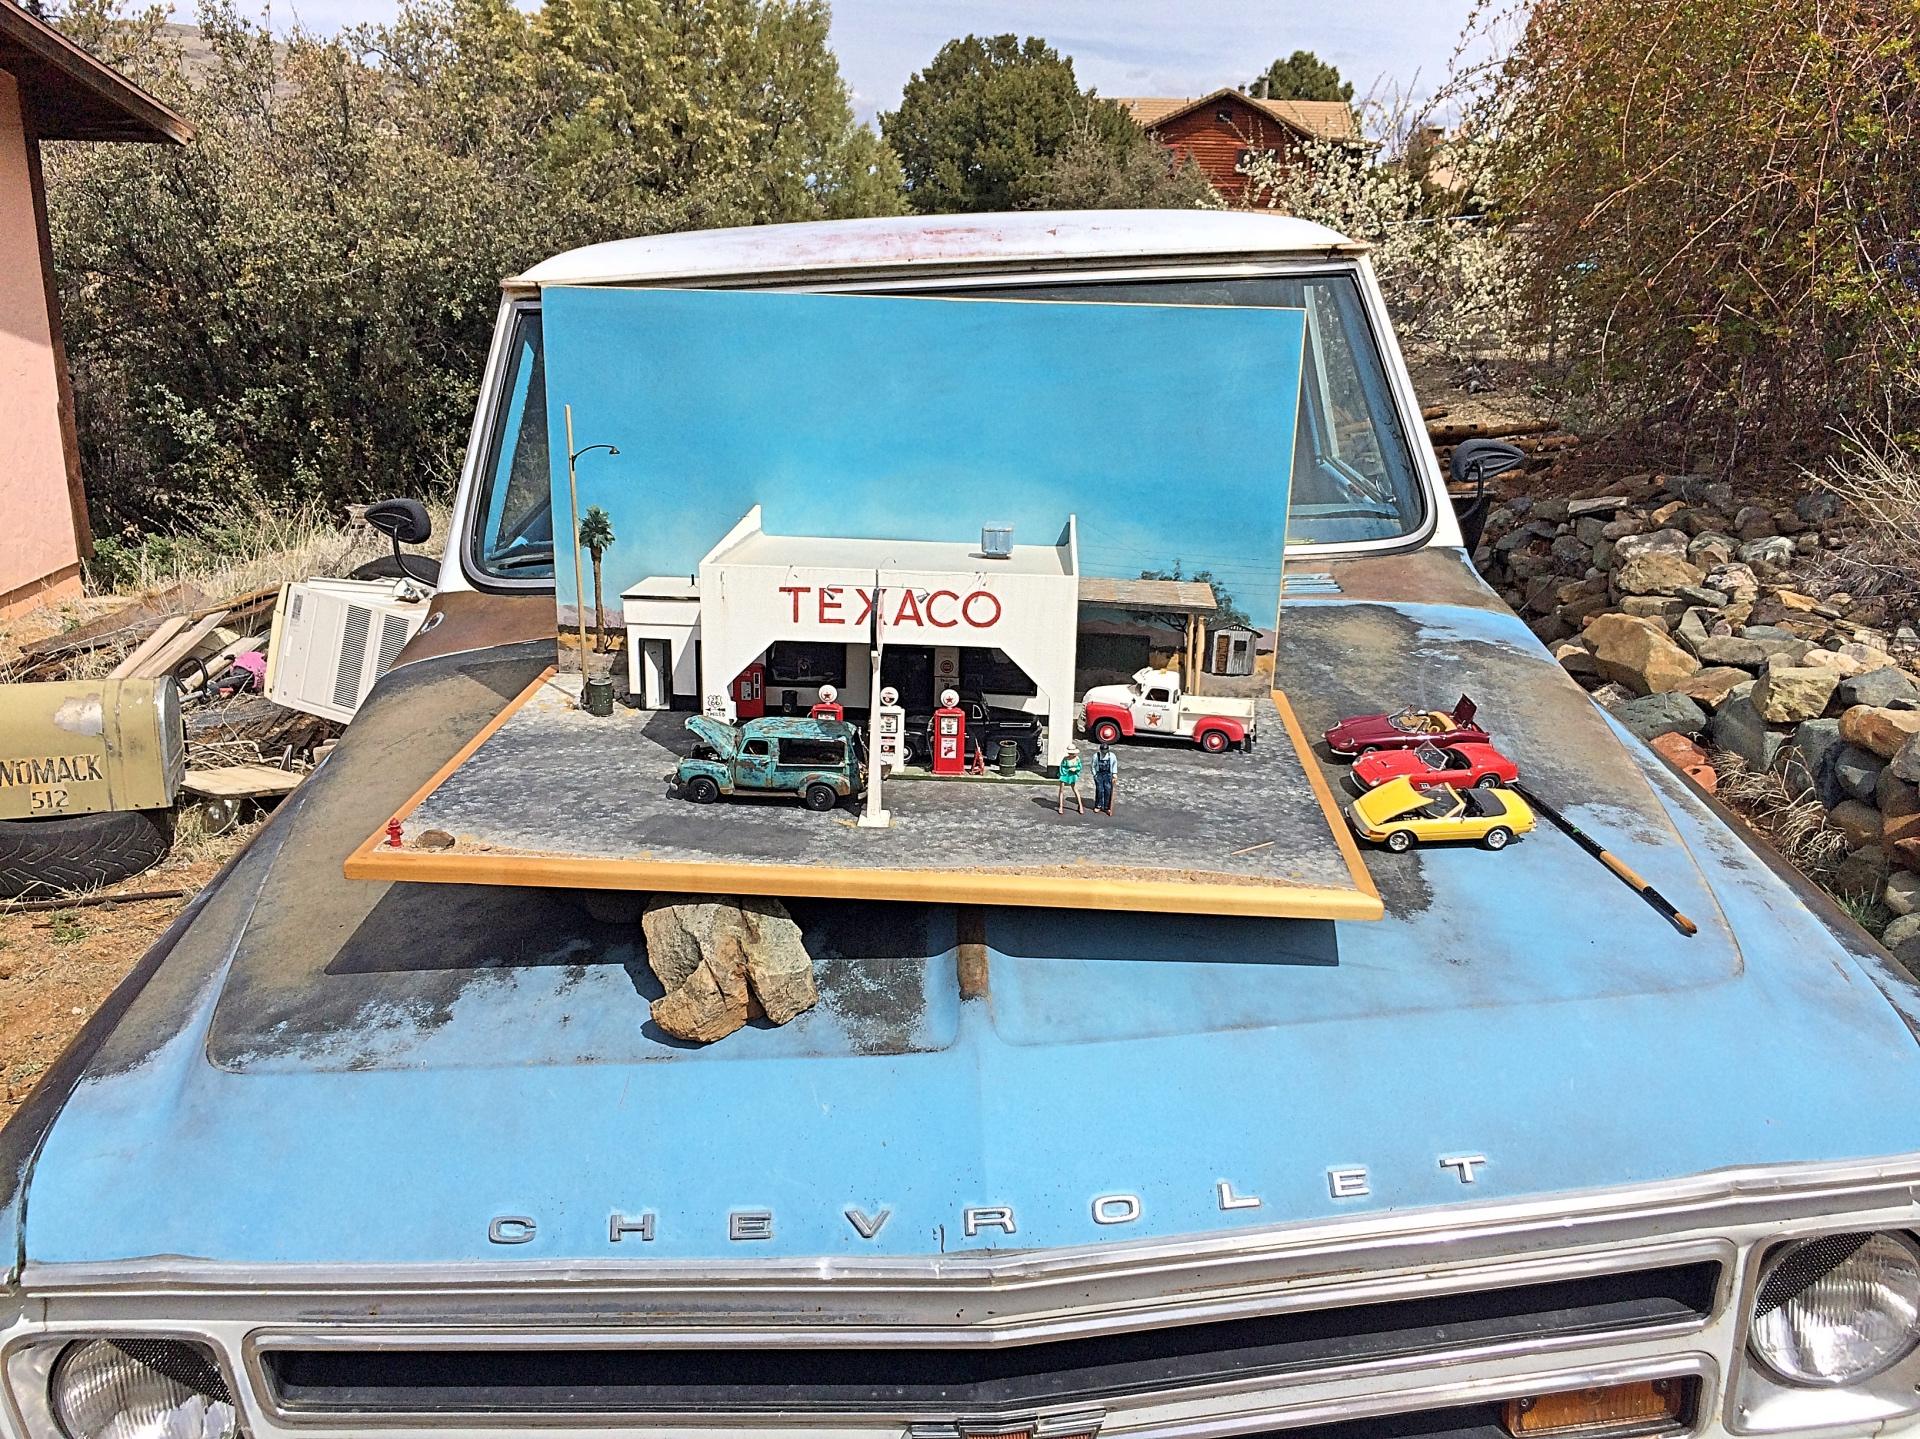
WIP: Italeri - Ferrari 275 GTS (Spyder N.A.R.T.) Started October 1, 2019, finished March 11 after over 186 hours. A decent kit to begin with, other than truck tires which ended up on my '69 Chevy pickup. ? Opened the doors and trunk, painted with nail 'polish', many scratch-built parts added. Not an exact replica of the Thomas Crown Affair car which had the alloy wheels. Woman is a Shapeways product. Diorama is California Pit Stop, the California Spyder is the focus of that project, but have been utilizing for a studio. My studio, was waiting for an overcast and not breezy day. ?
- 26 replies
-
- 1
-

-
- ferrari
- 275 n.a.r.t.
-
(and 2 more)
Tagged with:
-
Hey everyone!, this is my Italeri Ferrari California Spyder. A lot of people don't like Italeri, or Testors-Italeri, but apart from slightly brittle plastic, and a million ejection pin marks, they have some great details and textures! I would build one any day over an AMT, REVELL, Monogram, or Lindberg! Its fully detailed, and has Fujimi wheels n tyres, and seats from my spares bin. The carbs are SB from many bits of styrene.
