Jiml0001
-
Posts
120 -
Joined
-
Last visited
Content Type
Profiles
Forums
Events
Gallery
Everything posted by Jiml0001
-
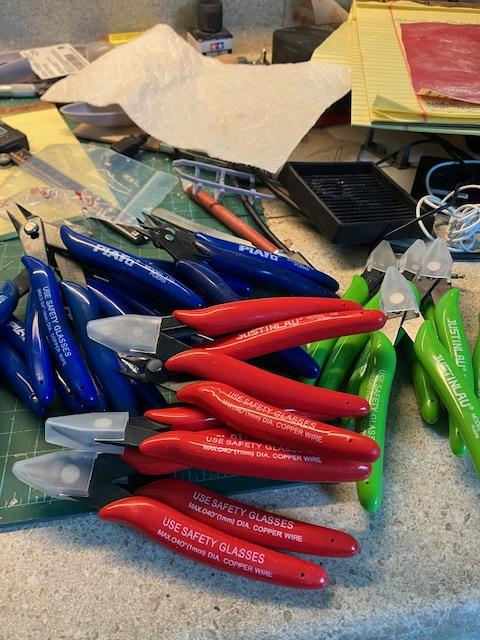
A couple of years ago when I got more into 3D, I needed something to cut flush leaving no extra. Removing parts from 3D print platforms means cutting dozens of attachment points for every part you print. I picked up these flush cutting nippers for about $5 dollars thinking I would see if they hold up. These turned out to be the best nippers I ever used and they cut flush. Also the tip is narrow so I can get in tight spaces. I love them. When it came time to find another pair for a spare I looked on line and found them on TEMU. Five pair for $10 plus $3.00 shipping. Well, my hoarding self took over and as a result I now have 22 pairs. You never know, right? I find these great, flush cutting, narrow tip and they hold up real well for an unbelievable price.

-
Rod ends / heim joints
Jiml0001 replied to blackbeard's topic in Model Building Questions and Answers
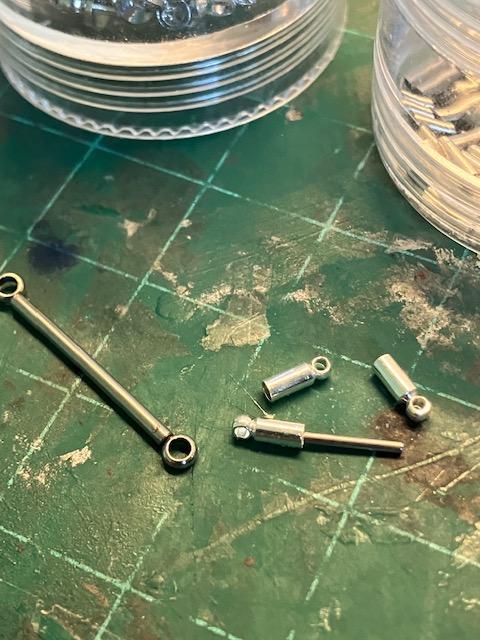
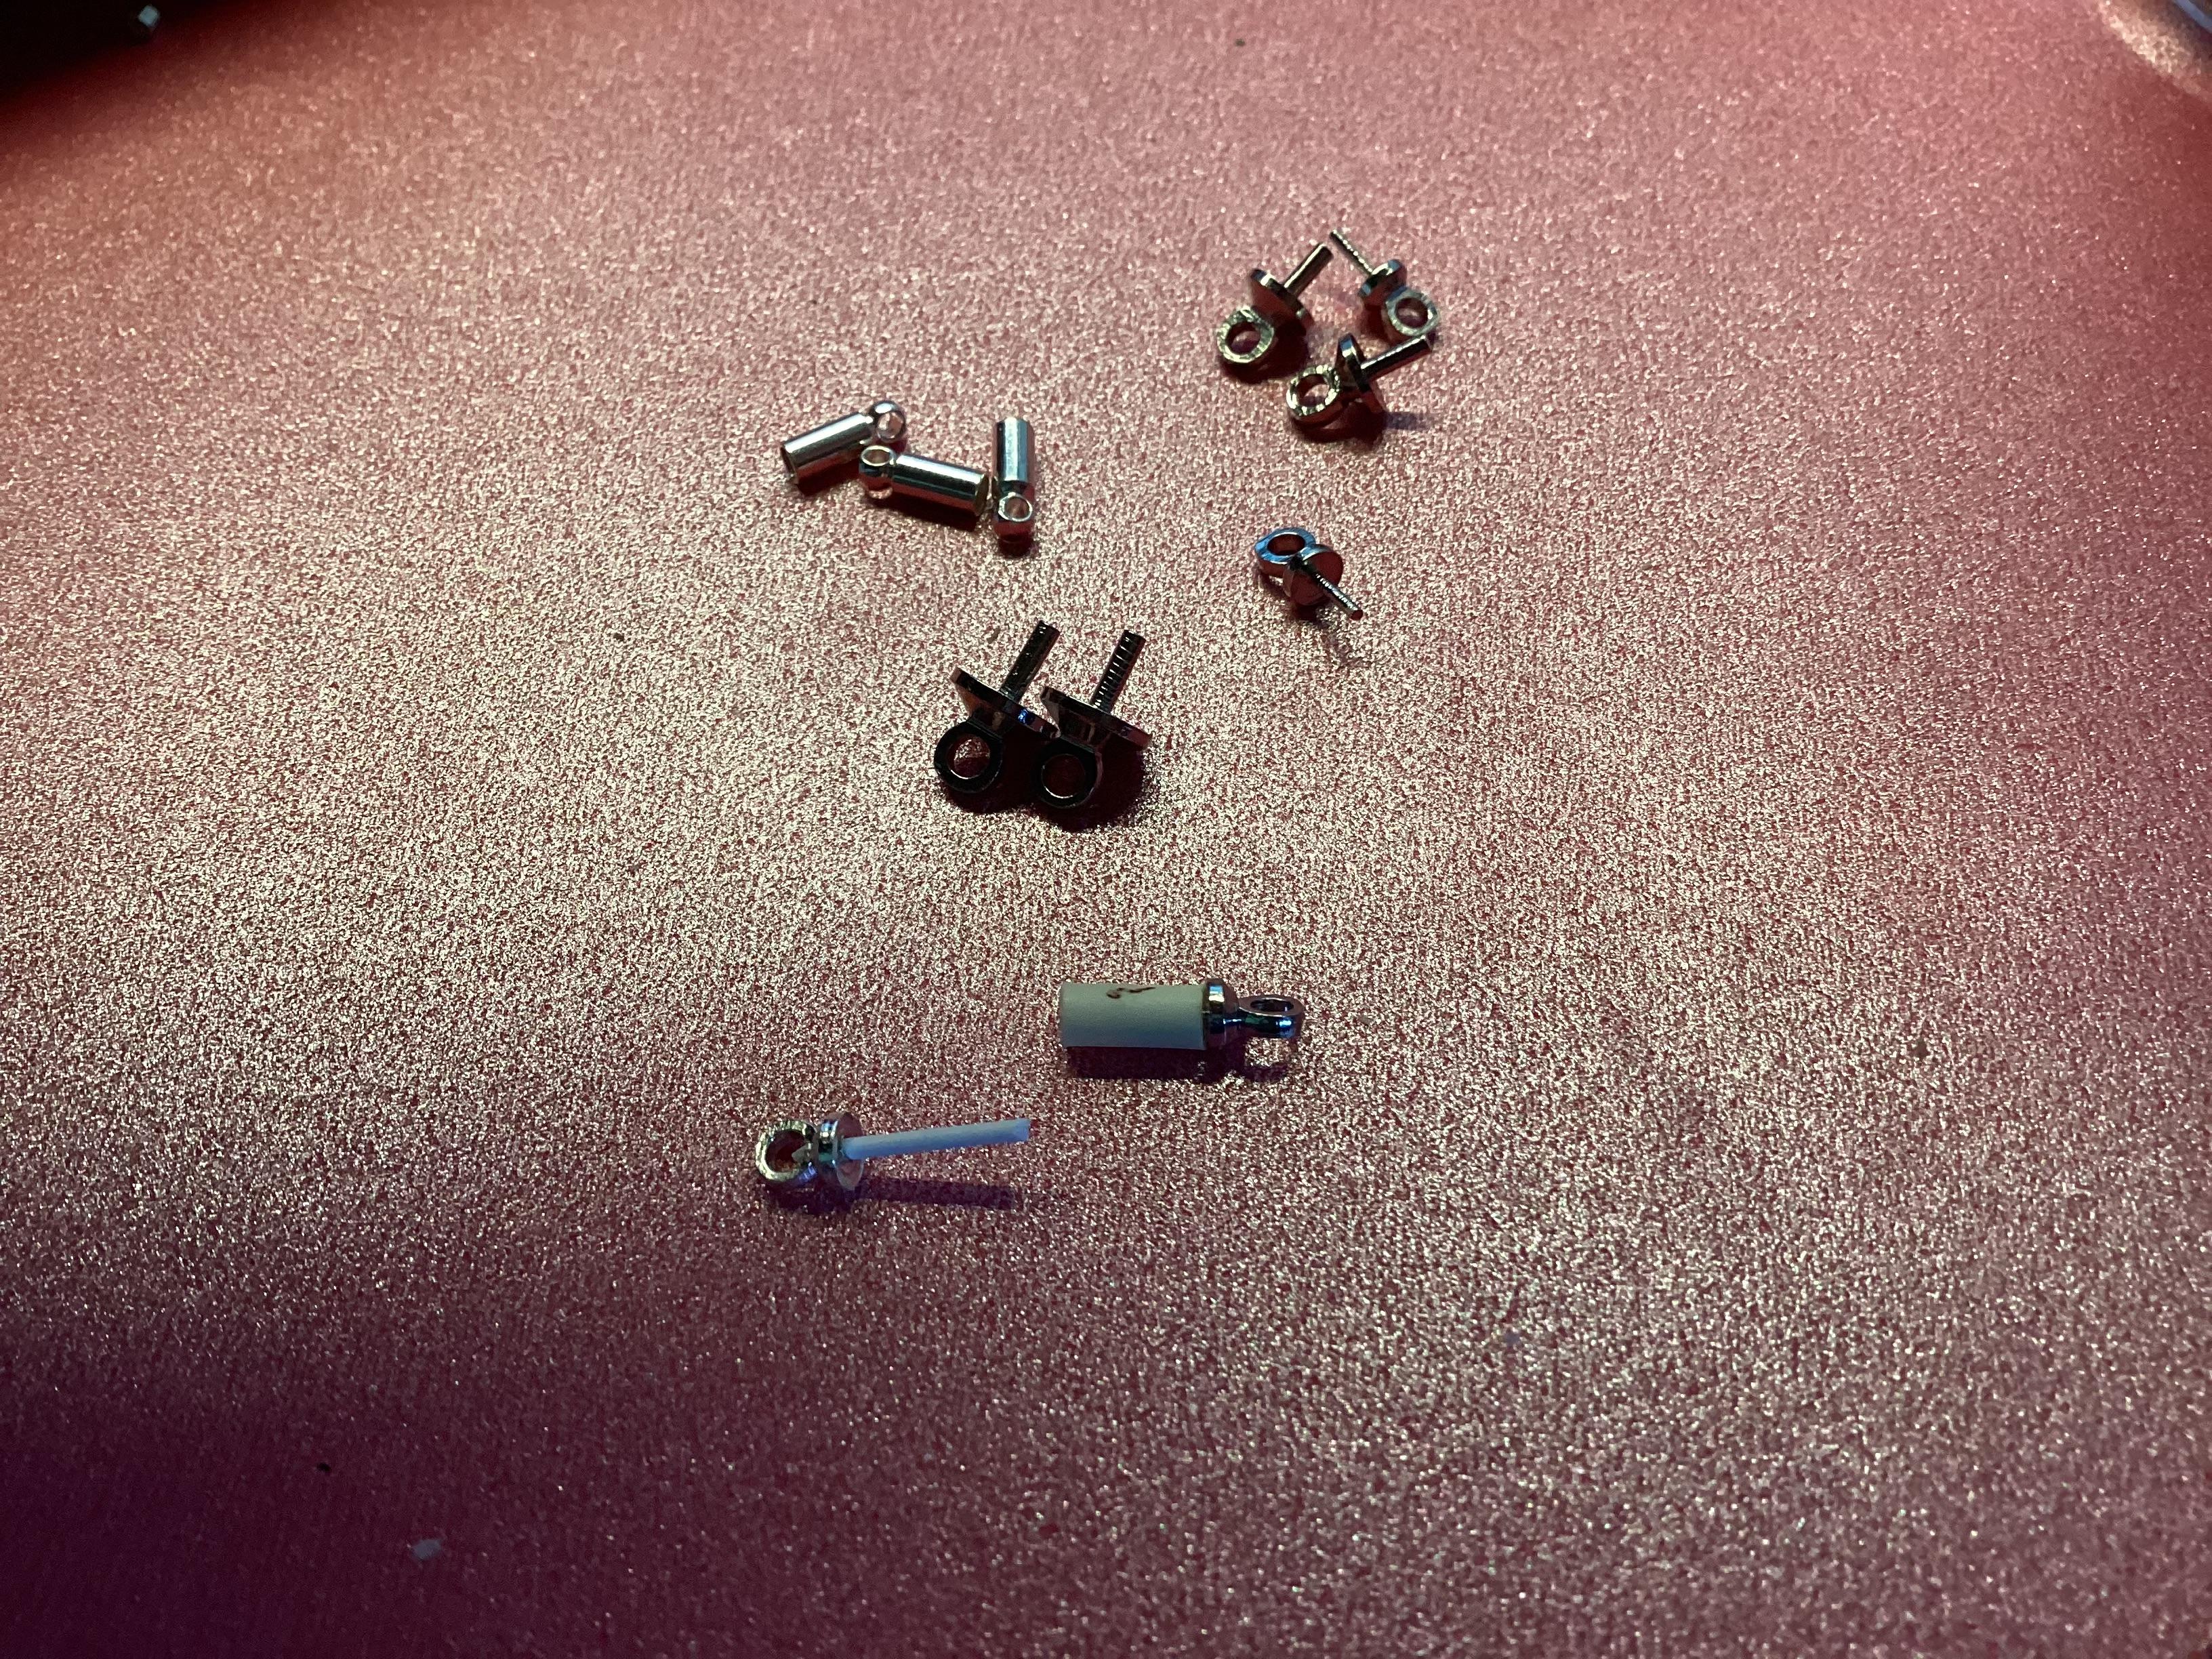
Looking in the jewelry findings there are parts that can make good looking heim joints Also there are good looking 3D examples that can be printed in any size you want
-
Best spark plug wire size?
Jiml0001 replied to V8tiger's topic in Model Building Questions and Answers
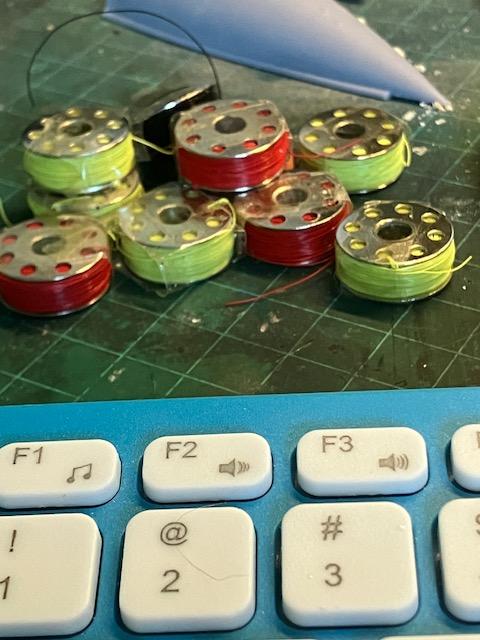
This wire is single strand .28 mm or .011 inches outside diameter which is almost exactly a quarter inch in 1/24;scal -
Best spark plug wire size?
Jiml0001 replied to V8tiger's topic in Model Building Questions and Answers
I keep a lot of red, yellow and black in stock. Probably lifetime supply for me and at 15 cents a foot a real bargain.
-
Best spark plug wire size?
Jiml0001 replied to V8tiger's topic in Model Building Questions and Answers
Here is wire on EBay I use for standard plug wire. It has an outside diameter of .28 mm which is almost exactly a quarter inch in 1/24 scale...Five dollars for 10 meters and many different colors available ALMOST GONE 10 meter 7/0.05 ultra slim Dia. 0.28mm 0.011" super thin cable Wire orange/amber New $4.99 + $2.49 shipping 59 sold ALMOST GONE 10 meters 7/0.05 ultra slim Dia. 0.28mm 0.011" thin cable Wires Yellow New $4.99 + $2.49 shipping 117 sold ALMOST GONE 10 meter 7/0.05 ultra slim Dia. 0.28mm 0.011" super thin cable Wire Black New $4.99 + $2.49 shipping 428 sold -
Shapeways, TDR Innovations 3D Printing???
Jiml0001 replied to Shel's topic in Model Building Questions and Answers
Those are Weber 45DCOE carbs. Can print them without stacks, short stacks or long stacks (shown). I would need to know exact width of bottom flange (mm if possible). Give me an address and how many you want -
Shapeways, TDR Innovations 3D Printing???
Jiml0001 replied to Shel's topic in Model Building Questions and Answers
Were you looking for something like this?
-
Belly Tanker
Jiml0001 replied to slownlow's topic in WIP: Other Racing: Road Racing, Land Speed Racers
I have 3D printed P38 style tanks in 1/24 scale. Let me know if you are interested
-
race car plug wire, thick, 1/24
Jiml0001 replied to fiatboy's topic in Model Building Questions and Answers
Another earlier discussion on plug wires -
race car plug wire, thick, 1/24
Jiml0001 replied to fiatboy's topic in Model Building Questions and Answers
Here is an earlier post about scale wiring -
Found some interesting stuff in the jewelry world. All kinds of shapes and sizes
-
Belly Tanker
Jiml0001 replied to slownlow's topic in WIP: Other Racing: Road Racing, Land Speed Racers
Please delete Thanks -
Belly Tanker
Jiml0001 replied to slownlow's topic in WIP: Other Racing: Road Racing, Land Speed Racers
If you ever get the itch to try one.......Let me know These are P38 scaled to 13 feet long and 36 inches in diameter (1/24 scale) )
-
Unconventional Materials - From the jewelry area
Jiml0001 replied to Jiml0001's topic in Tips, Tricks, and Tutorials
Straightliner59 - what scale is that dragster? What did you use for the tie wraps on the roll cage? I understand that there are differences in cable Construction but I am looking for scale visual appeal. To me the less expensive option has a more pronounced three dimensional visual appeal where the braids cross each other. Also there are more braid “twists” per inch. No matter what advertisments say I am sure that after market braided hoses are taken from coaxial cable just like mine is. The process of braiding wire requires that there is a core cable to wrap around. I am a bug for scale accuracy. 1.1 mm coax is easy to find and I believe that is what aftermarket braids are made of. After removing the core and stretching the braid it will get pretty small but to me the weave becomes more flat and elongated. I searched and found .81 mm coax. Rare but the braid is less distorted when stretched out. Also it can get down to a half inch in scale size. I am also picky on wire sizes. I don’t like plug wires that aren’t accurate. I found sources for very small wire so on my engines my older system wires are a quarter of an inch in scale. I also have 3/8 and 1/2 inch scale wire for HEI systems. These actually “appear to the eye” as too small because we are used to out of scale wires on model engines. Again, the scale wire was hard to find and I tried many times till I found what I wanted. I chronicled all about wire sourcing in a past post. Also I found sources for correct scale wire for a couple cents a foot instead of two dollars a foot for out of scale aftermarket wire. I can get 60 feet of .25 mm wire for six dollars. That scales out at a quarter inch in 1:1. looking for less expensive options doesn’t mean I sacrifice accuracy and in fact when it comes to hoses and wires I think my sources are more accurate and look better. And if you want accuracy I can show you how to create real hoses in any size down to a quarter inch in 1:1 scale for pennies per foot. Let me know if you are interested in that option.
-
Unconventional Materials - From the jewelry area
Jiml0001 replied to Jiml0001's topic in Tips, Tricks, and Tutorials
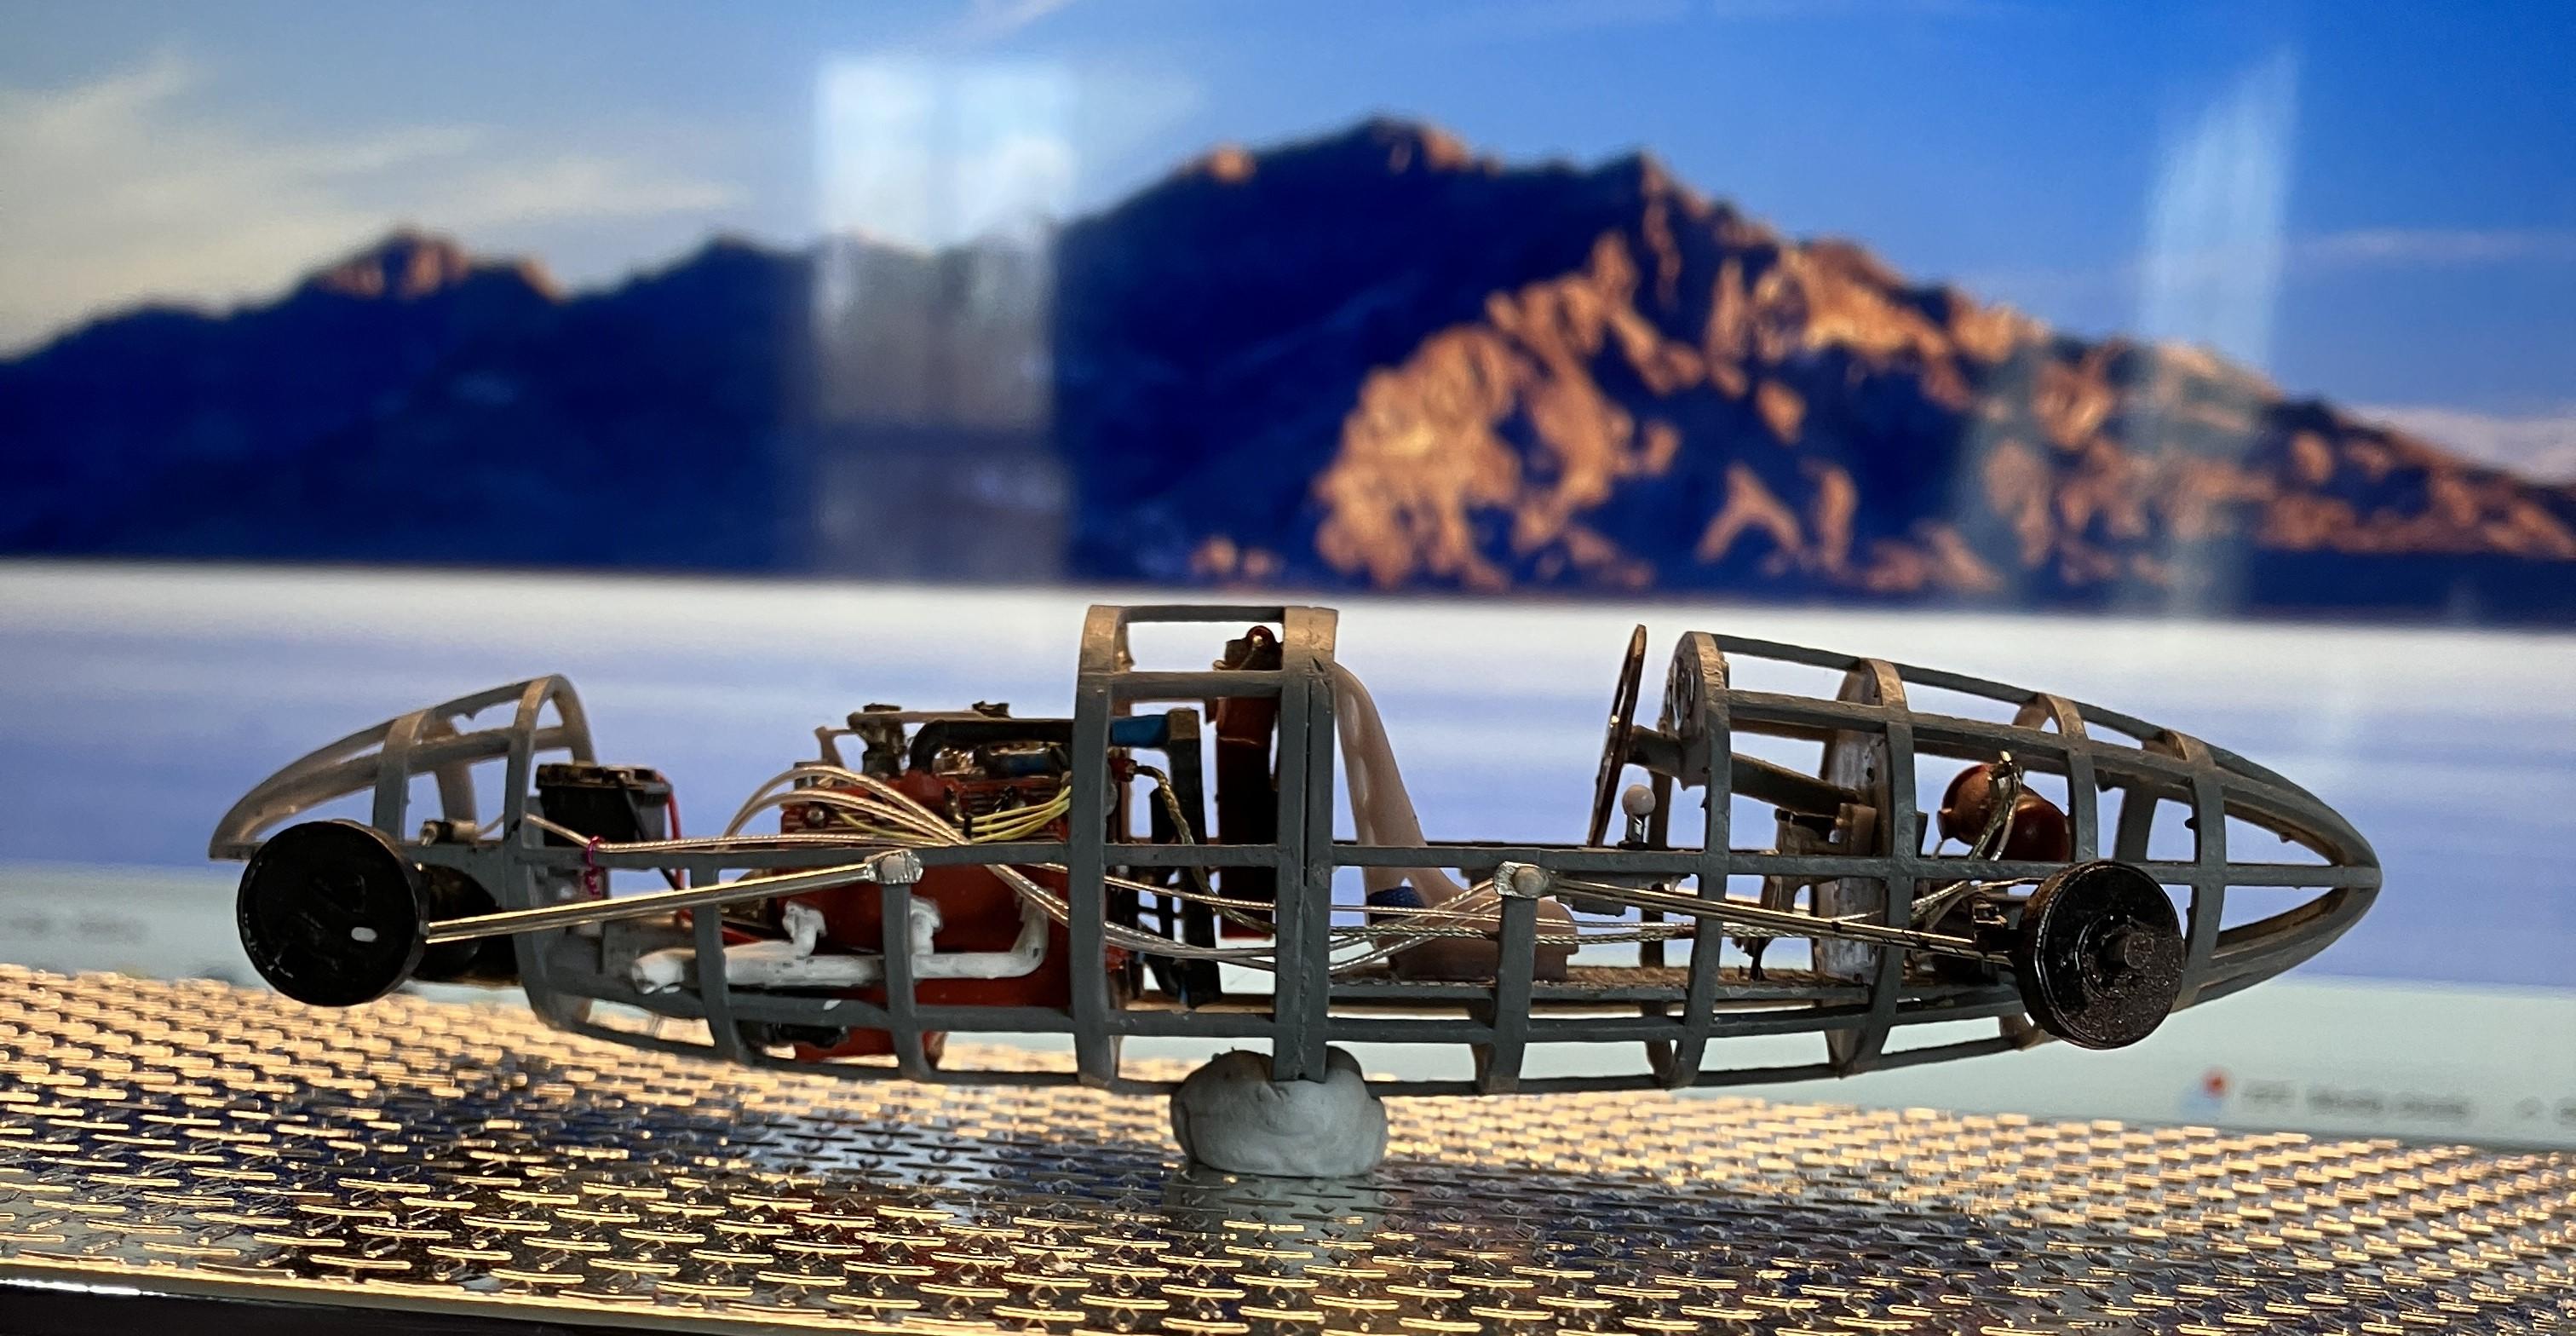
Just in case anyone is actually interested, the braid on the right costs less than a penny per inch. The one on the left costs forty times more. For me the one on the right is much better. More strands, tighter weave, better all around. Some say you get what you pay for. Some say a fool and his money are soon parted. I come here to post material tips and ideas to help modelers enjoy their hobby. Maybe get some ideas. I hate to see it become a referendum not about the model but about the person building it. The feedback on my post informs me that i am not discerning and settle for poor quality because my “eye just sees what it wants to see” so I accept a poor effort because my poor effort is better than no effort. Also I am not rich enough or serious enough to invest the money that others do so I just “cheap out” and am not “picky” enough. It is sad when feedback stops being about the item and becomes all about the person and how they don’t stack up. anyway, I am not without some modeling talent. This complete belly tanker was all of my design and construction. Other than plug wires, there are NO aftermarket items anywhere on it.
-
Unconventional Materials - From the jewelry area
Jiml0001 replied to Jiml0001's topic in Tips, Tricks, and Tutorials
"The cheapest cables will have the worst braided covering whereas the higher quality ones will have a finer, tighter, and higher percentage of coverage over the inner insulation core; you get what you pay for. In any case, sometimes the eye just wants to see what it wants to see and something overscale is often more acceptably pleasing than nothing at all." God knows that my old eyes are pretty weak and my modeling ability and pride are much lower than others. In the picture above, one braid costs less than a penny per inch. The other braid costs 31 cents per inch. Should be a no-brainer to tell which is which. Let me know your guess.
-
Unconventional Materials - From the jewelry area
Jiml0001 replied to Jiml0001's topic in Tips, Tricks, and Tutorials
There is also .81 coax on AliExpress. Search for RF0.81mm and you will see it. 20 meters (over 60 feet) for less than $10.00. -
Unconventional Materials - From the jewelry area
Jiml0001 replied to Jiml0001's topic in Tips, Tricks, and Tutorials
There is currently some .81 mm coaxial cable on eBay. Out of Germany. He is selling 100cm piece (just over 3 feet) for about $5.00 US. With shipping about $11.00 US.
-
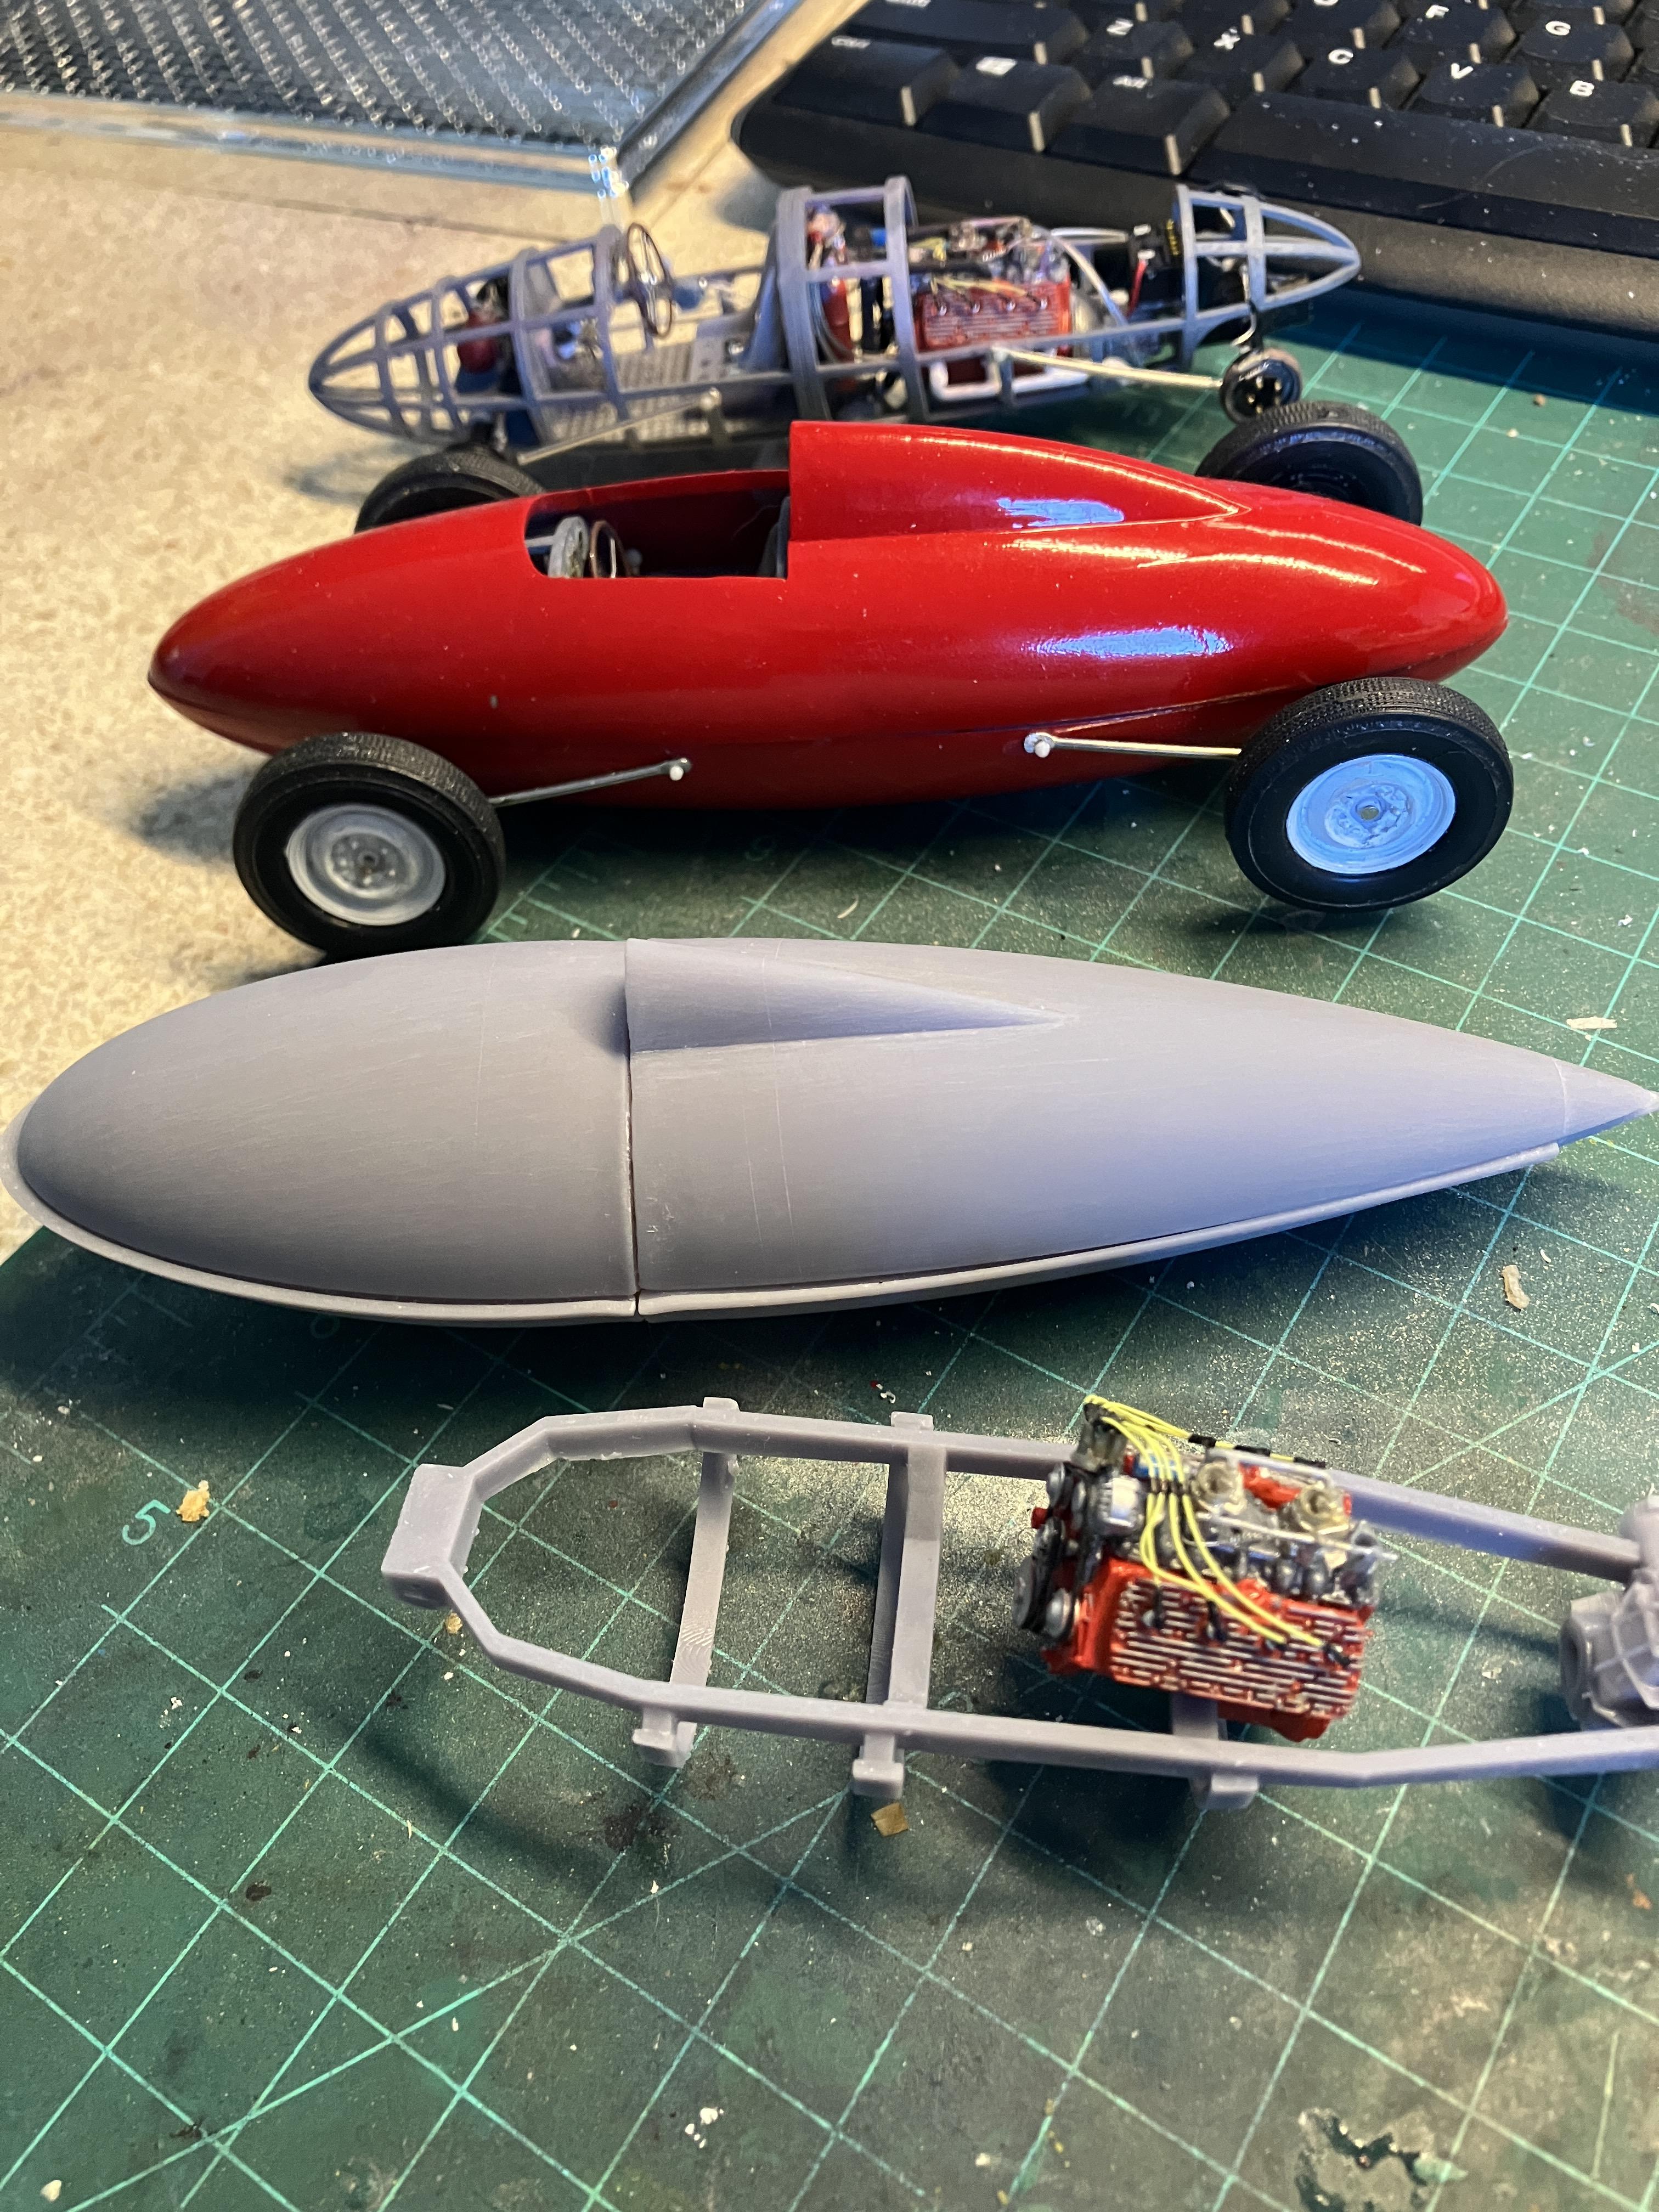
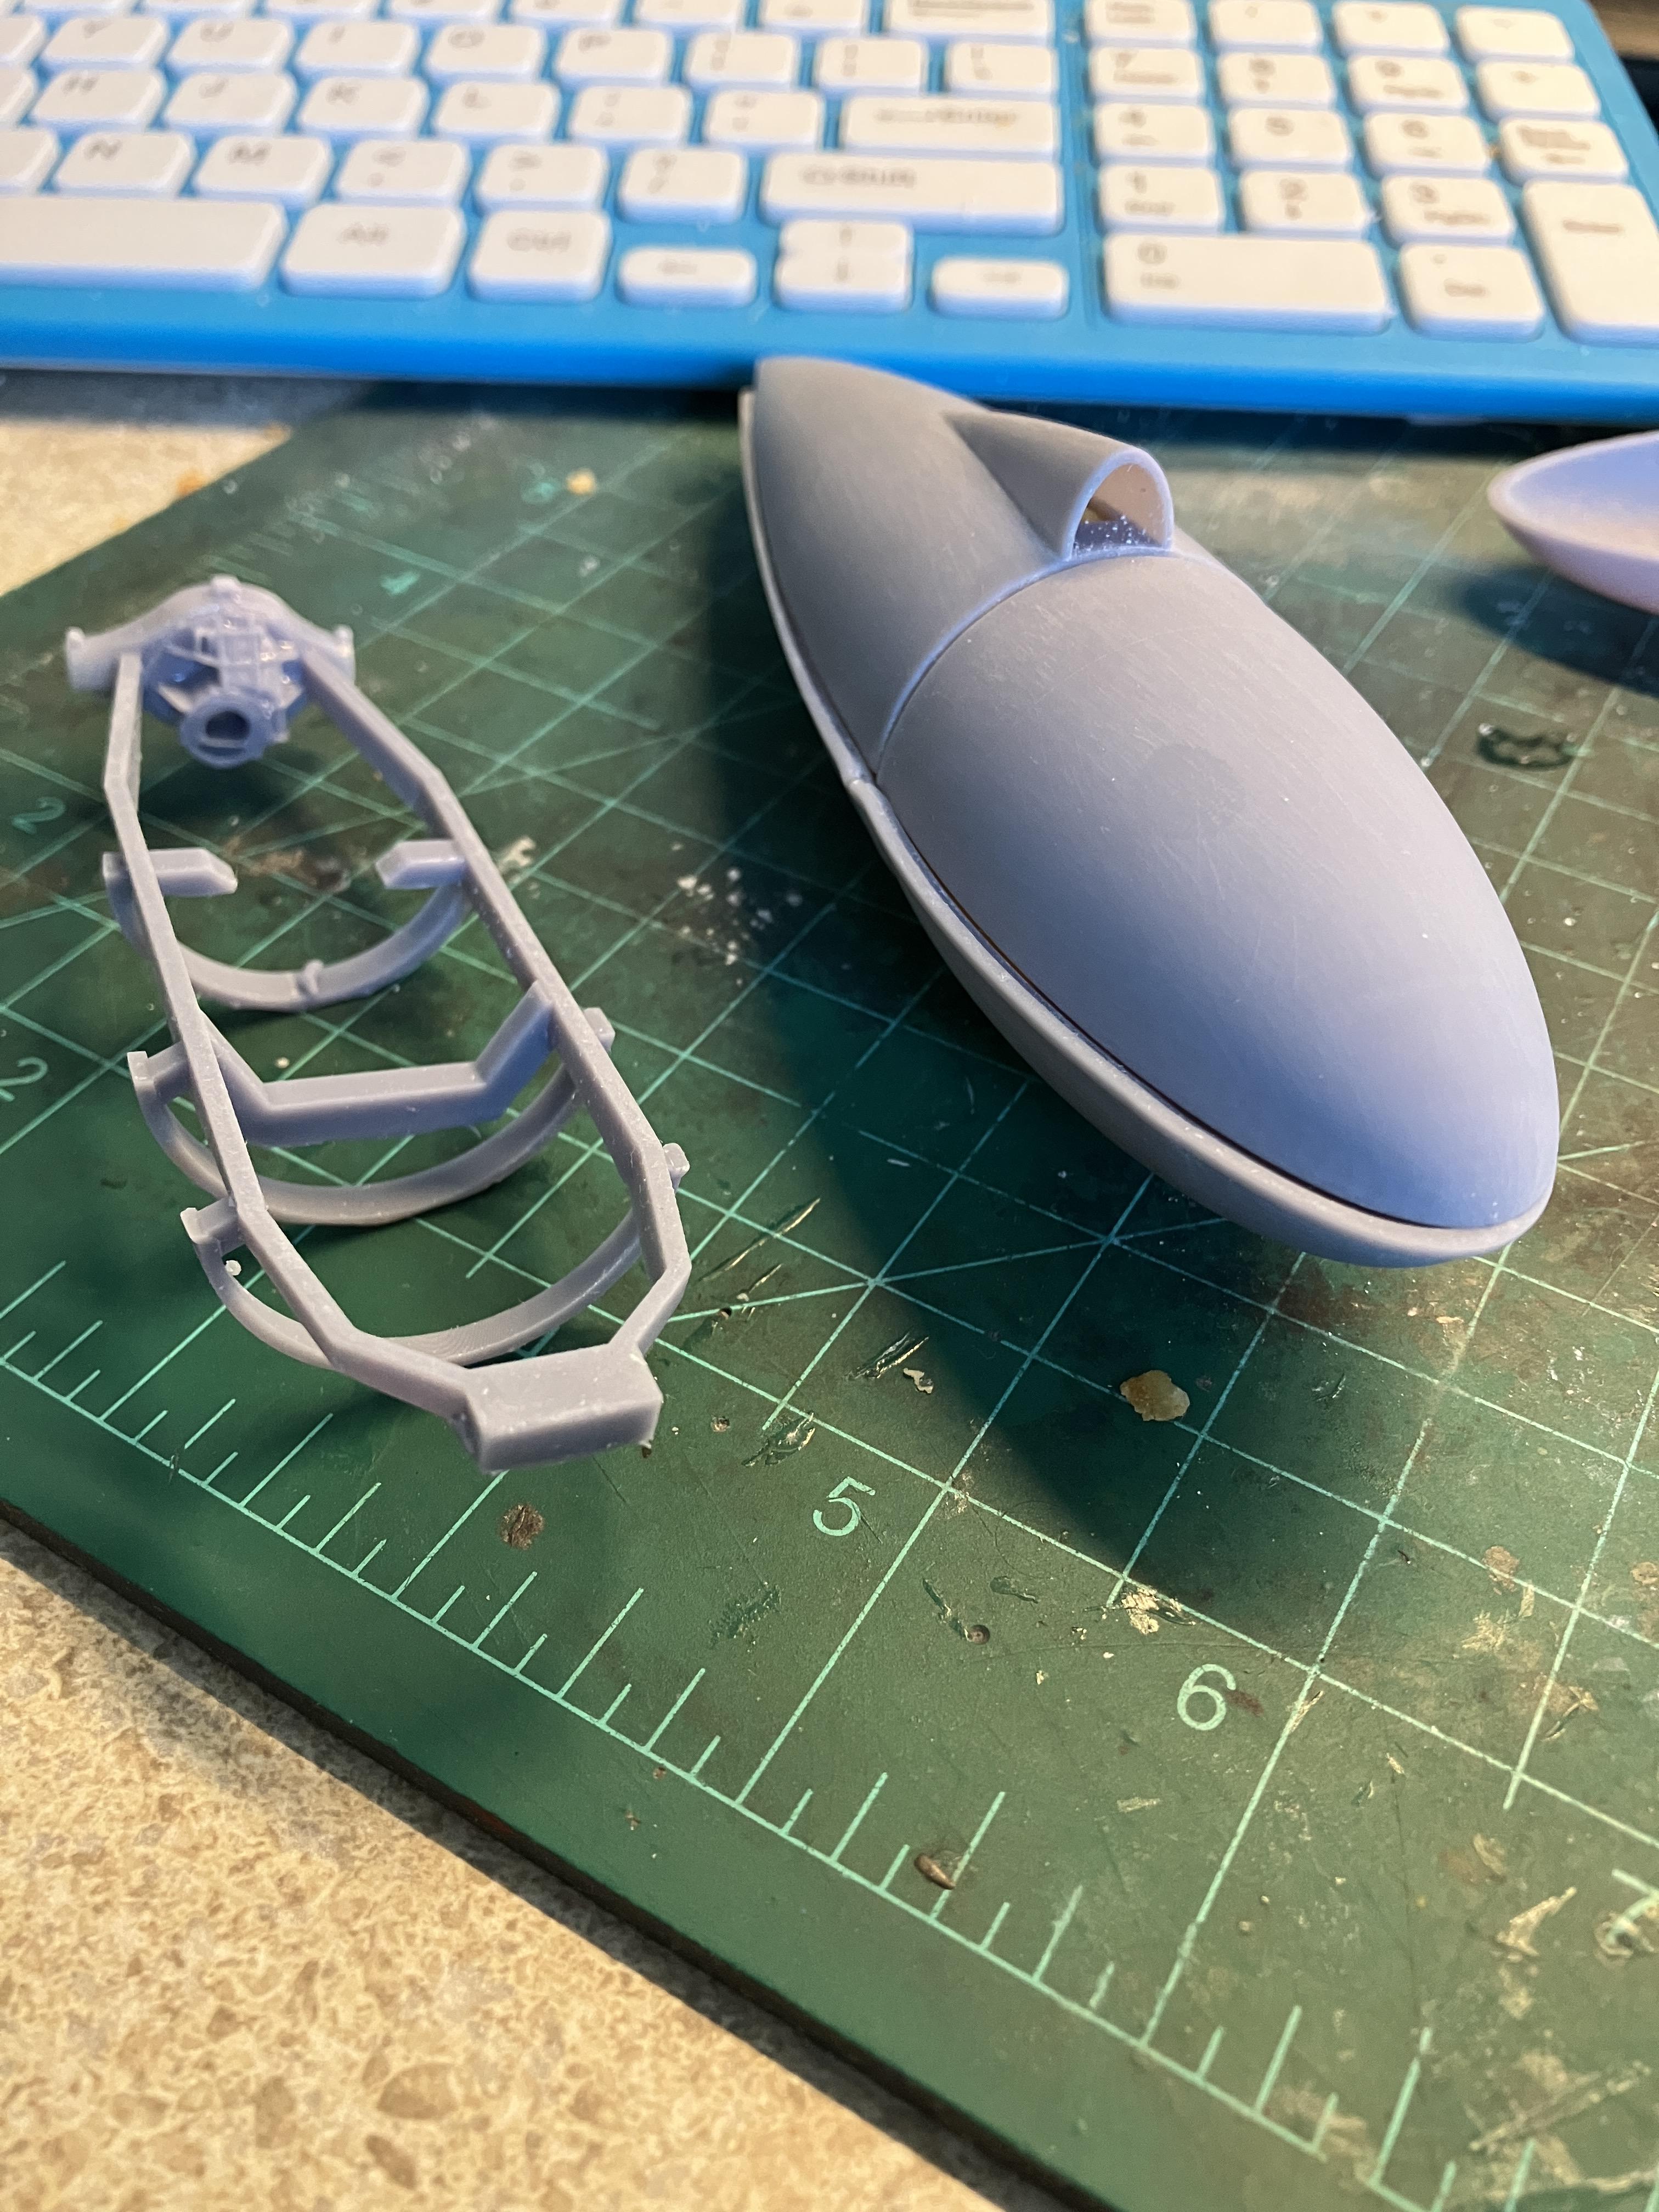
Here is the P38 large tank drawn in 1/24 scale. It scales out to 13 feet, 6 inches long and 36 inches in diameter. The ladder frame is like the one used by the Lakester. You can see the shape difference to my homedrawn example in red. I will share the files with anyone that wants them or I can print one if anyone is interested.
-
Here are some other fun stuff I found looking around the jewelry making section:
-
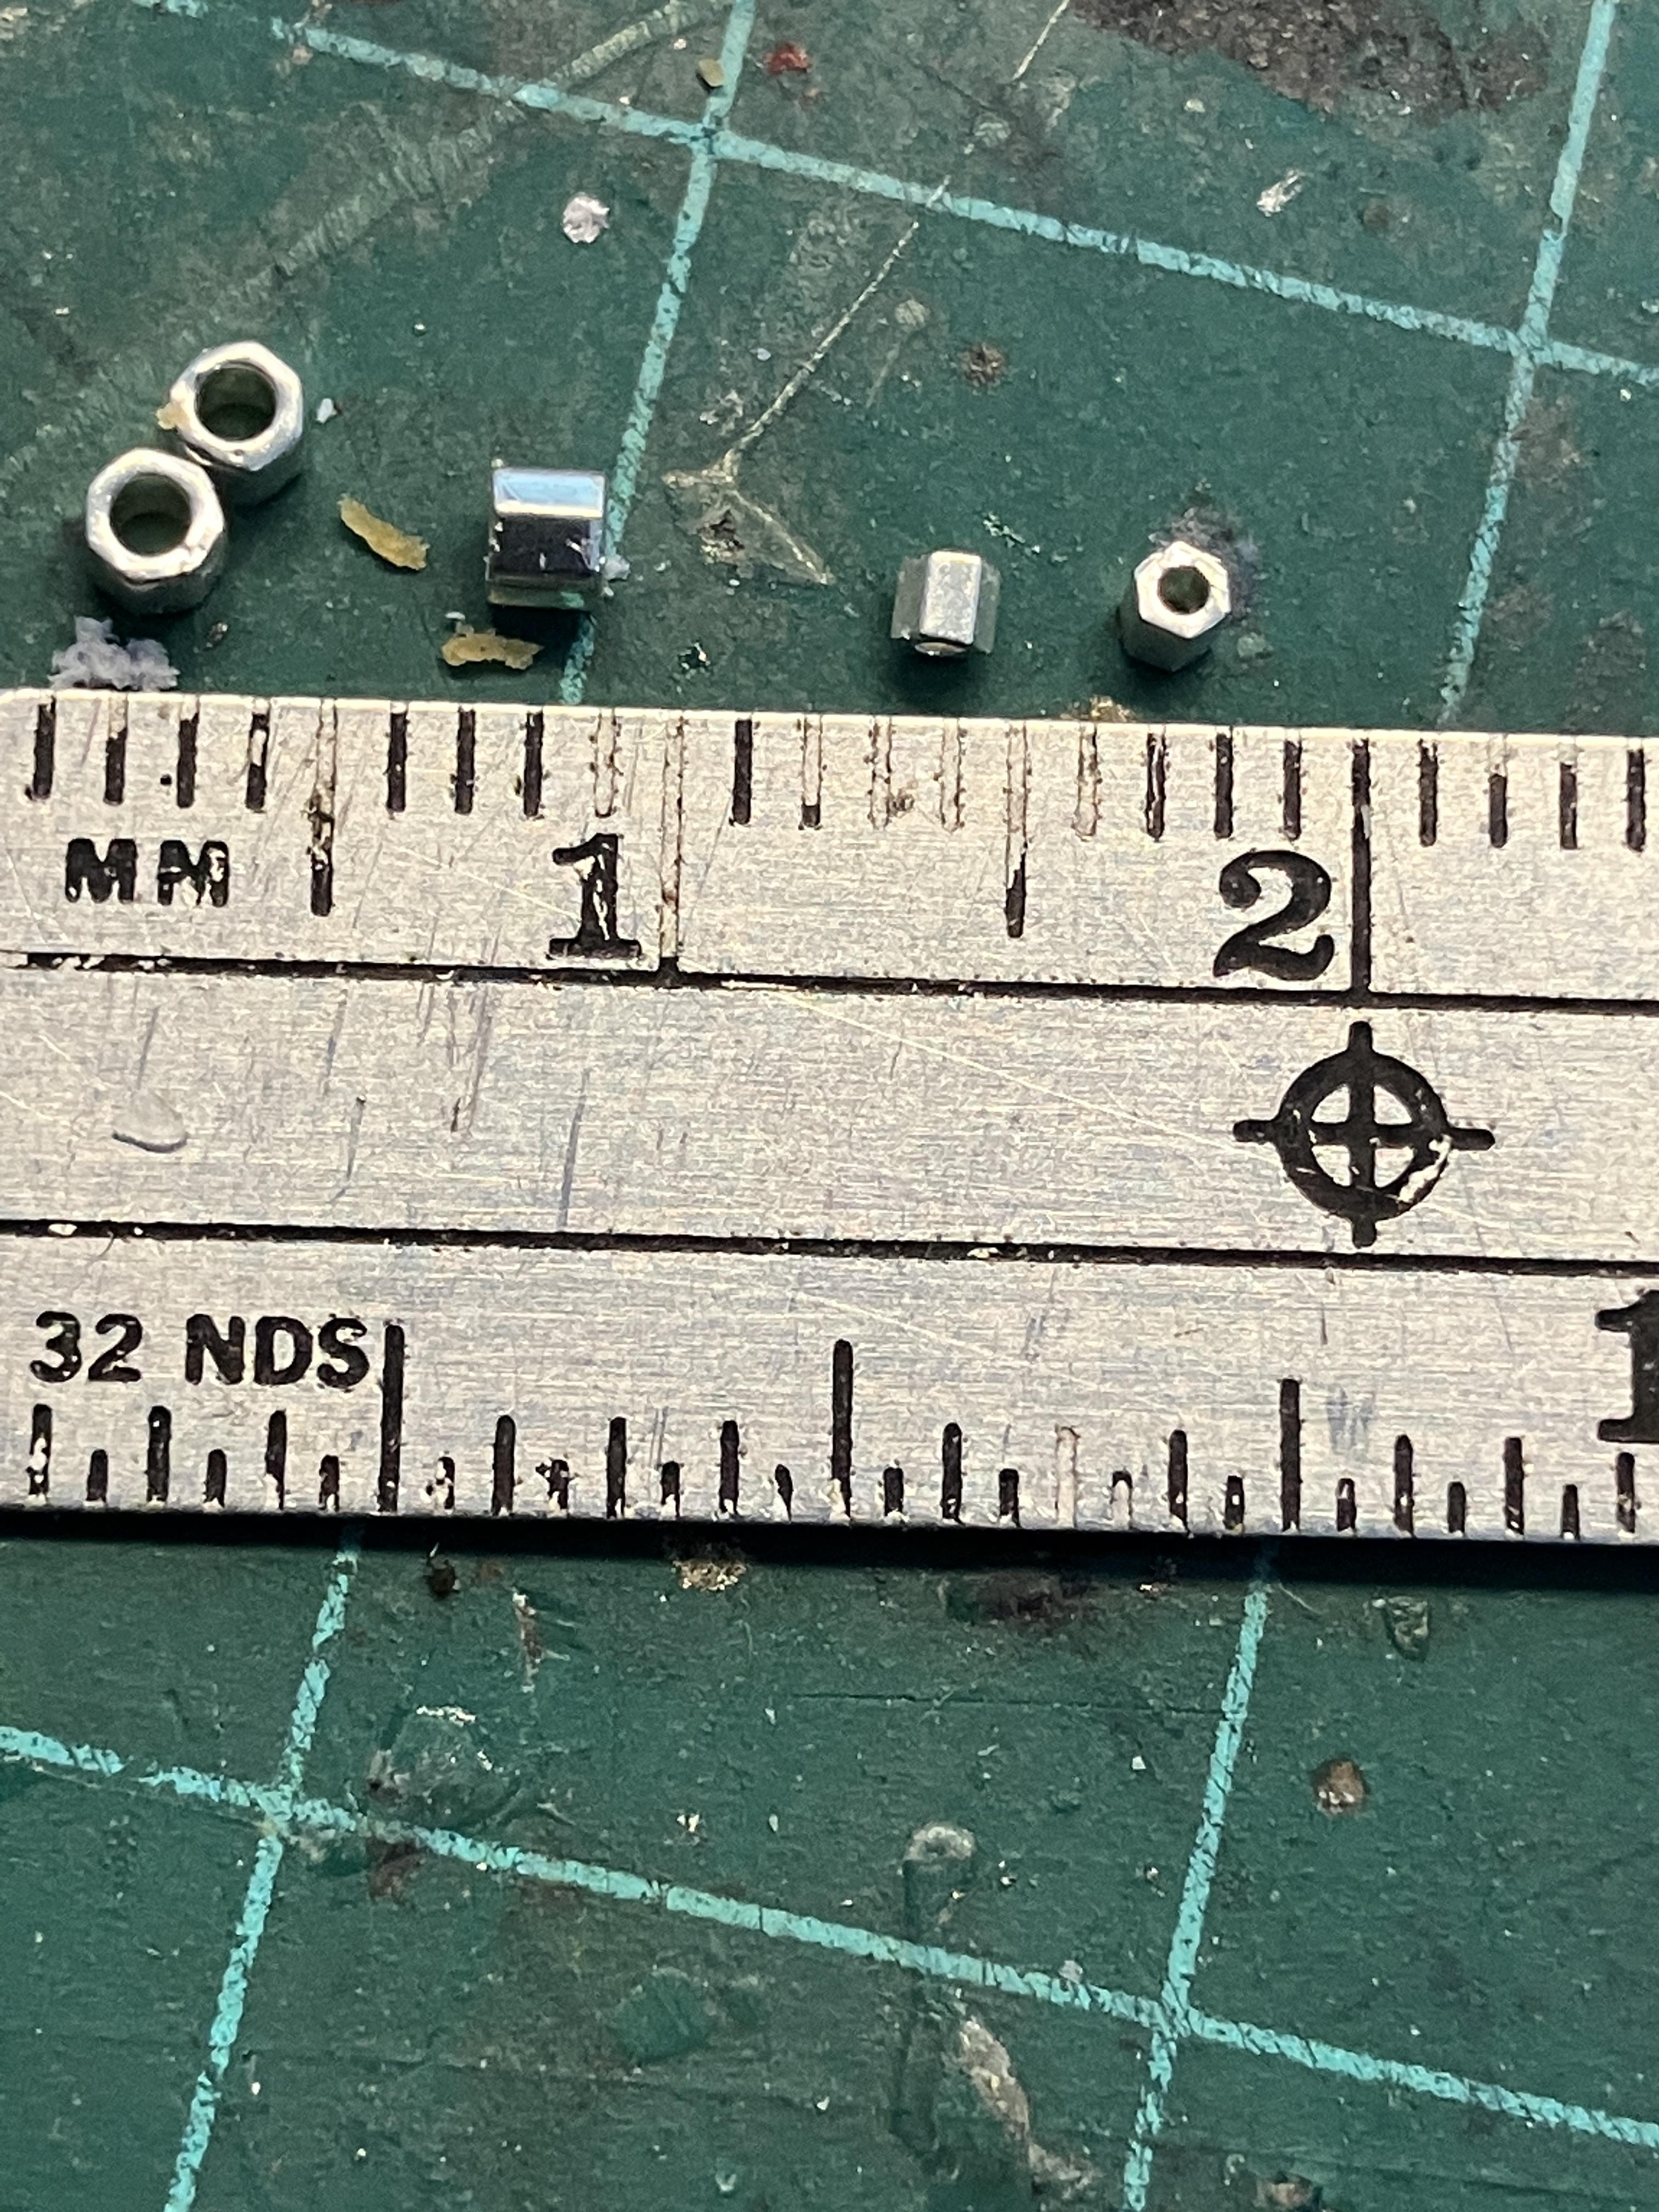
The smallest hex beads I have found are the #15 size. They are 1.3 mm (or a little less that 1 1/2 inches in 1:1). The next smallest is #10. Those are 1.9 mm or almost 2 inches in 1:1 scale. I found these at Fire Mountain beads on line. I've never seen these sizes at Hobby Lobby, at least around here.
-
I found the tank on line from a model airplane. It was a solid piece. Everything else is my design pretty much. I found the engine on a warehouse site for free but made substantial changes. The big challenge was the sheer number of parts. In all I have well over 100 3D files to make everything. I will share these files if anyone is interested
-
I did this using resin 3D printing in 1/24 scale
-
Belly Tanker - 3D Printing Exercise
Jiml0001 replied to Jiml0001's topic in Other Racing: Road Racing, Salt Flat Racers
All the files are available for the whole thing. Every piece is printable and there are well over 100 files. I can send you a link if you want them. the chassis was not based in reality, just a flight of fancy. I'm sure nobody actually used a chassis like mine. -
Belly Tanker - 3D Printing Exercise
Jiml0001 replied to Jiml0001's topic in Other Racing: Road Racing, Salt Flat Racers
This is 1/24 scale


.JPEG.43e799eefd6cb7529a5c989858a294e0.JPEG)
.JPEG.fd7d30134db9418b0b4c9639287470d3.JPEG)
.JPEG.364c237e46115625a3105a760aca96d1.JPEG)
.JPEG.0198af1637e1d8b4664109b82a652501.JPEG)