customline
-
Posts
3,791 -
Joined
-
Last visited
Content Type
Profiles
Forums
Events
Gallery
Everything posted by customline
-
Thanks, Sam. The end result is credited to Bill for what should have been, for me, a no-brainer. I got a lot of practice, though, for making tail lights from sprue. The big take-away here is those red bullets from the AMT '57 Fairlane kit are a real good fit for this application so add it to your data base ?. Thanks for your interest, Sam. P.S.....I kept the red bullets that I made for some future project. You never know.?♂️
-
Well, we'll just have to wait and see what I come up with. ?. I just found a replacement for the engine I stole out of the Impala kit. Gonna hafta think real hard about cuttin' 'er up. (Actually, Steve's idea is a pretty good one. I'll probably start there ?)
-
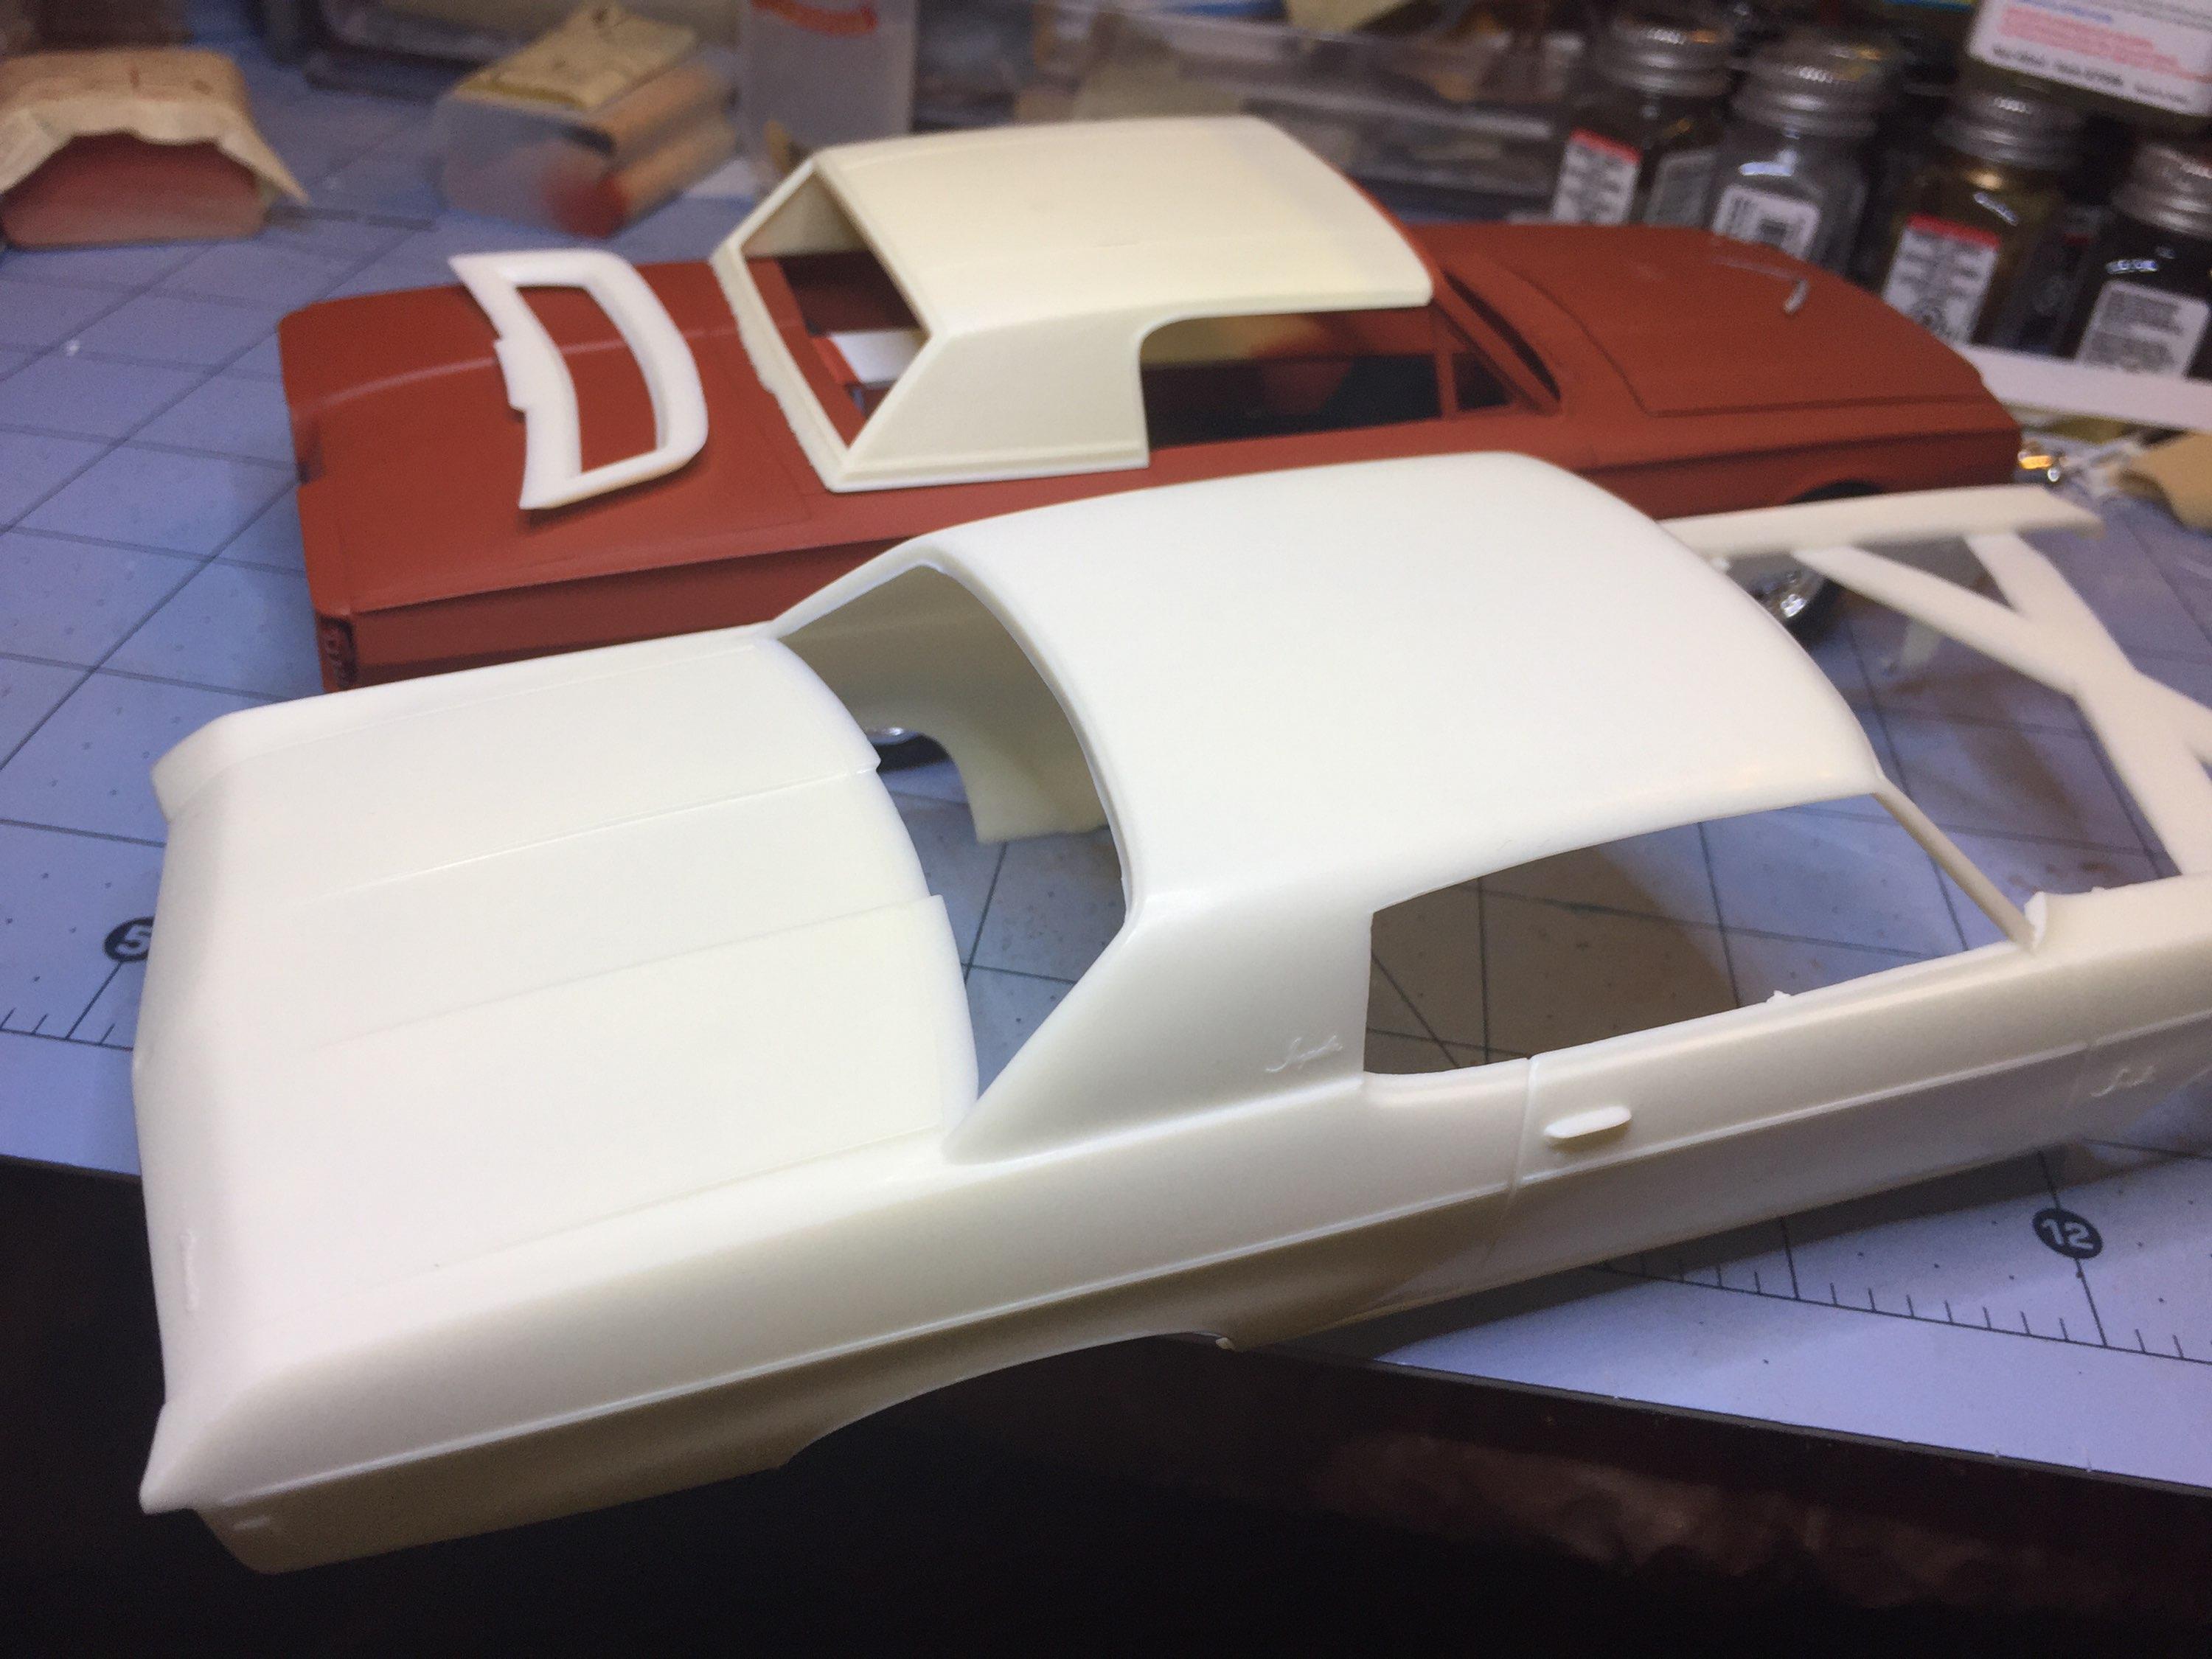
Absolutely, Steve! Customizing is unmitigated freedom. For better or worse ?. Beauty is in the eye.....well, anyway....I'm still entertaining roof swap ideas and I can't shake this one. I really like that Impala roof but not wanting to cut up a good Impala, I'm thinking about incorporating just the custom backlight panel into the 'Bird roof and duplicating the angles of the Impala C-pillar. I'm just kicking it around. ? it's a custom, right?

-
It's a great idea, Steve, as you photo proves. I will admit, though, that I have toyed with the idea of adding a "porthole" to the roof (please don't tell anybody ?). I would like to remove the "vinyl" texturing but my hands can be very painful after a job like that. Your idea would necessarily involve smoothing that roof but it does look really good in your photo (how did you smooth yours?) I will seriously consider your suggestion as I am at that point now. I'm just a little indecisive about how to proceed. It will be a hardtop, that much I know and I thank you for your input, Steve.
-

Chopped, full-fendered '34 Ford 3-window AMT/Monogram mashup
customline replied to Ace-Garageguy's topic in WIP: Model Cars
The possible answer to all the "why" questions is simply they didn't think anyone would notice. Or....it was not that important to them. They thought the kids wouldn't know any better. Simple. Most 11 year olds had never seen a real one except on the pages of Rod & Custom. The target market was not 70 year old car nuts like us. ? -
I like the way that flock job looks, Steve. Almost makes me want to try it again.....oh, wait....OK, I'm over it. ?.
-
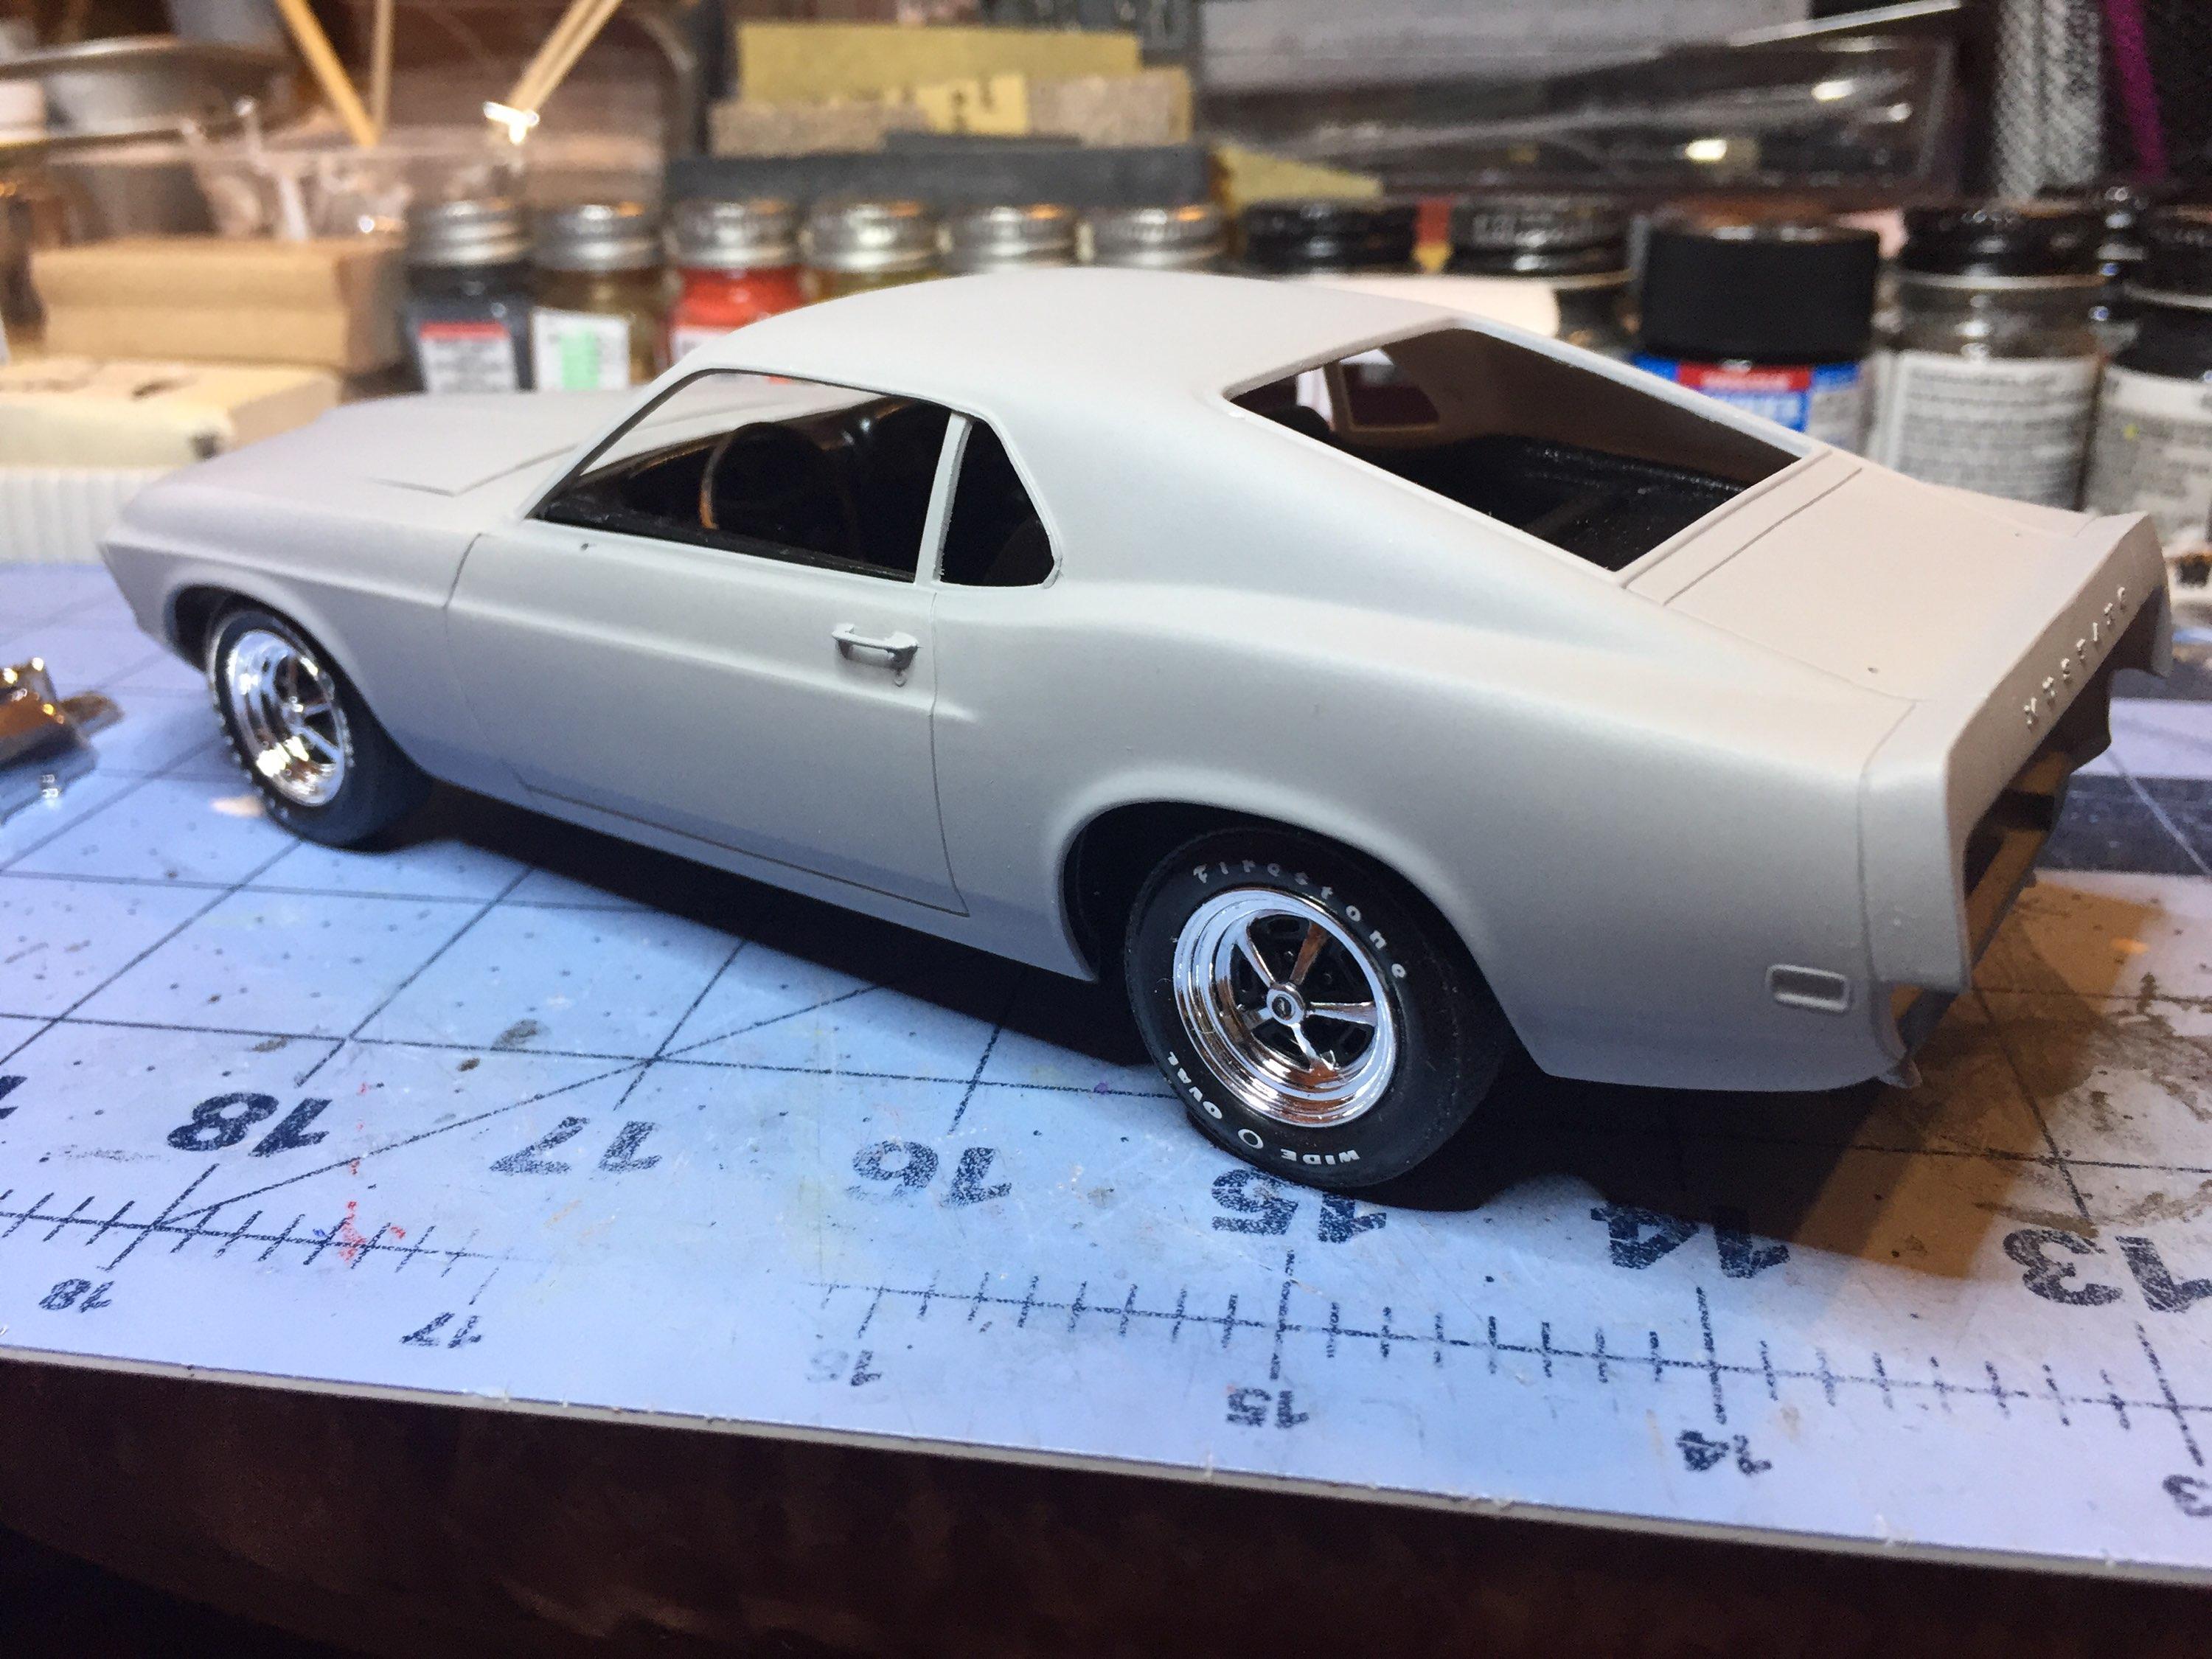
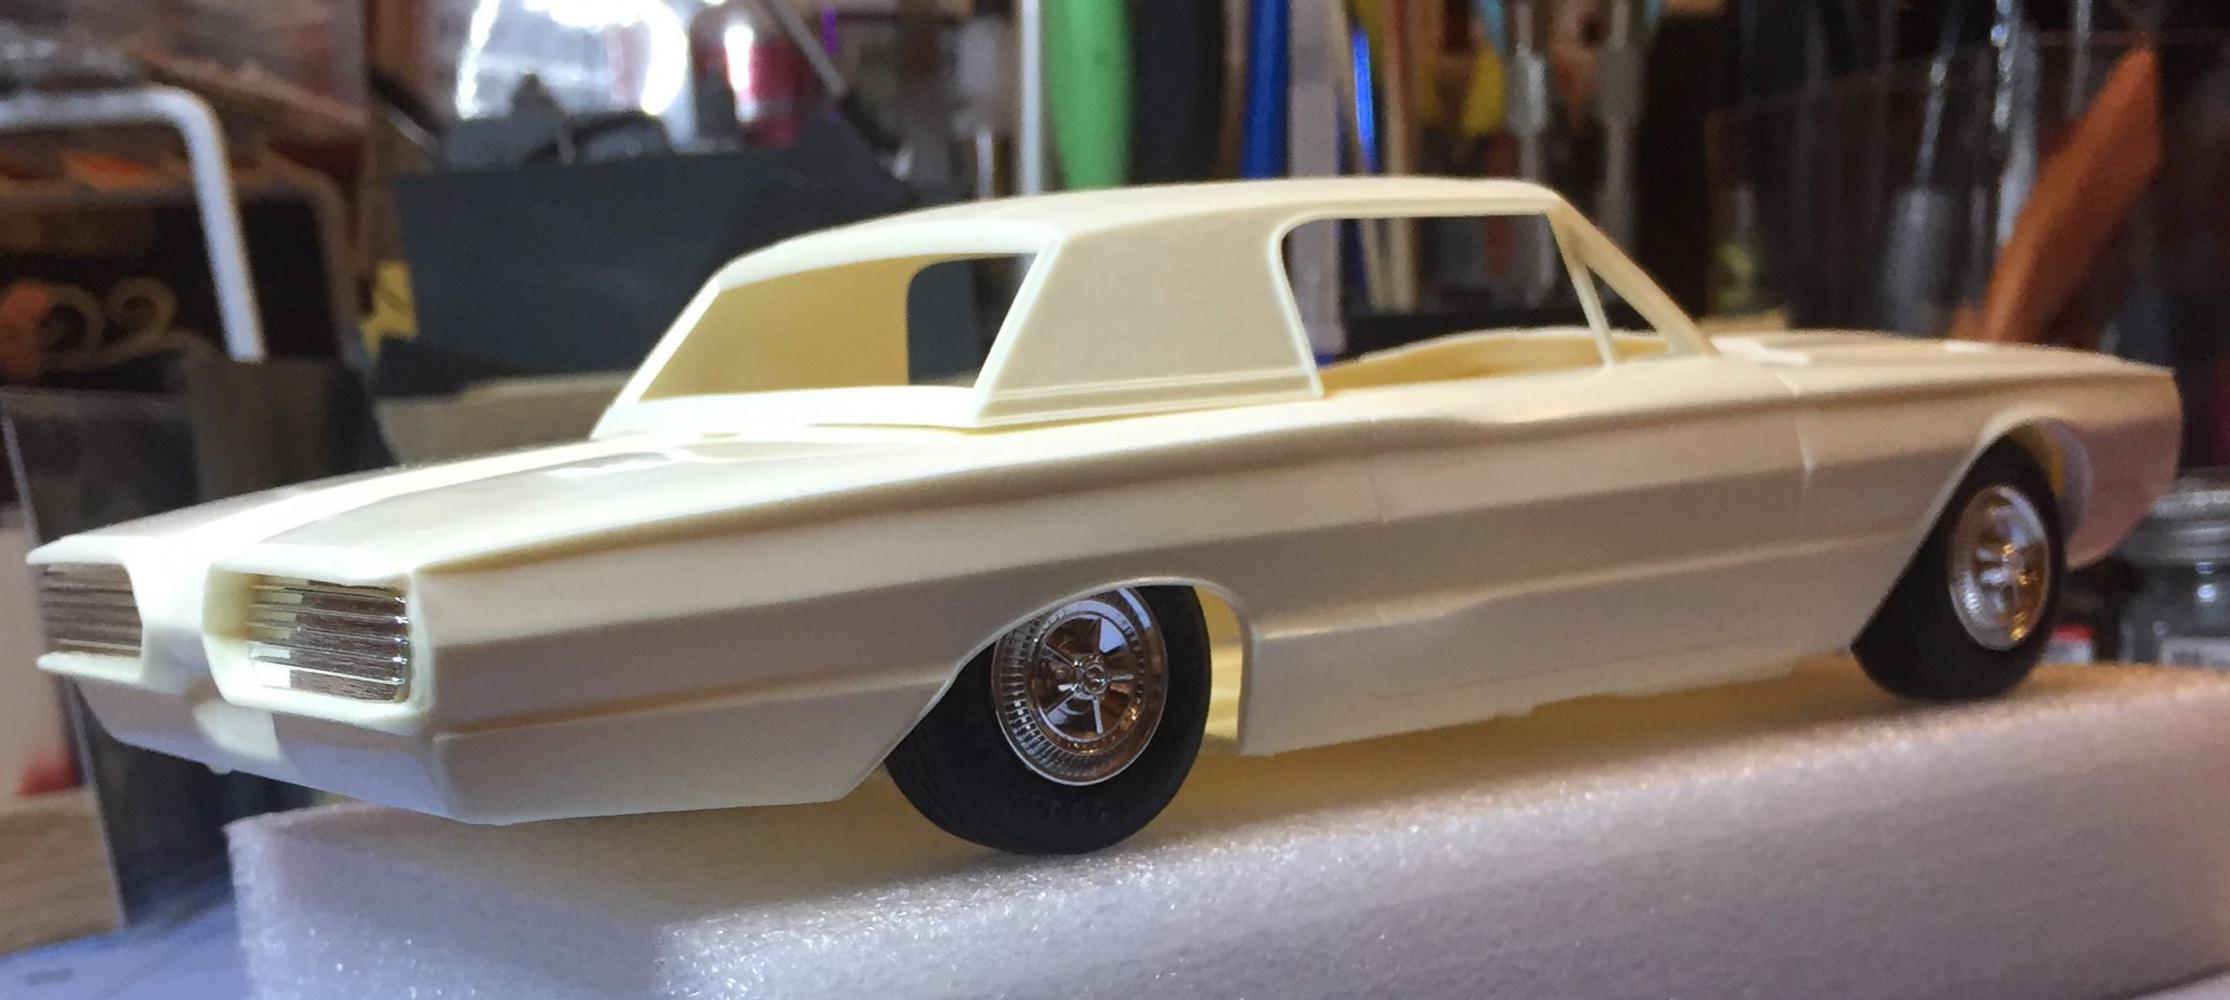
It's all good, Mike, I appreciate your interest. I just didn't want anyone to get the wrong idea. Very often I will just buzz through a thread that catches my fancy and not read everything. I guess I was projecting. My bad. ? Basically, this is a straight out of the box build of a kit I "won" on flea bay (and paid too much for). A few things were missing which included the tail light lens. I didn't want to pay $6 + $5 shipping for a little piece of red clear plastic that could have been sent for less than a buck, so I figured I would just build the custom version. The custom junk in this kit is kinda cool. The kit's custom wheels, though, don't work for a customized Thunderbird. They would look better on an F-250. I can't imagine what they were thinking. I found some mags in the '41 woody kit (a really cool kit but I've cannibalized it something awful). Not the greatest, (I may keep looking) but they're workable. No decision on the skirts yet nor paint scheme. I got it in primer that seems reluctant to dry and I have some clean-up to do on the body work. The floor pan/chassis has a nice bow, down in the middle,that prevents me from getting a clean mock-up to illustrate the low stance. It shows a bit high in front, presently. Its pretty flexible though,so it should be fine once I push it up and glue it to the installed interior bucket. There should be more in a few days. Thanks for looking in. ?
-
Your timing would seem to indicate your comments referred to the car with the mustang roof which was just a picture I found on the web and has no connection to my build. If I am mistaken about this you have my apology. My build threads often run off on tangents and I thought you had become a victim of it.
-
I knew it! Roof swaps are the new big thing! ? Torino, huh? ( I already thought of that one, Steve). I'm drawn to the '70 Imala. it's a bit long and wide for the 'Bird but I think it would work esthetically. Just a little minor surgery is needed ?. I really like that roof but it does look good on the Impala. ?♂️. What about a later mustang like a '69/'70 ? That's a great roof! Right?
-
Thanks, Michael..... but you may have missed something ☺️.
-
That's what I'm sayin' ?. I dunno, this pic looks like a composite, not a real car. ? the mustang roof is way too recognizable as a mustang roof. It just doesn't work as an improvement over the crisp, sculpted t-bird styling. Maybe, maybe.....the Shelby roof with the glass instead of the phony vents would work better but I won't cut up a perfectly good mustang to try it. But hey, I'm always looking for good ideas, even not-so-good ones like this ?.
-
How about a roof swap? ? . a fast roof would be cool but not that one ?
-
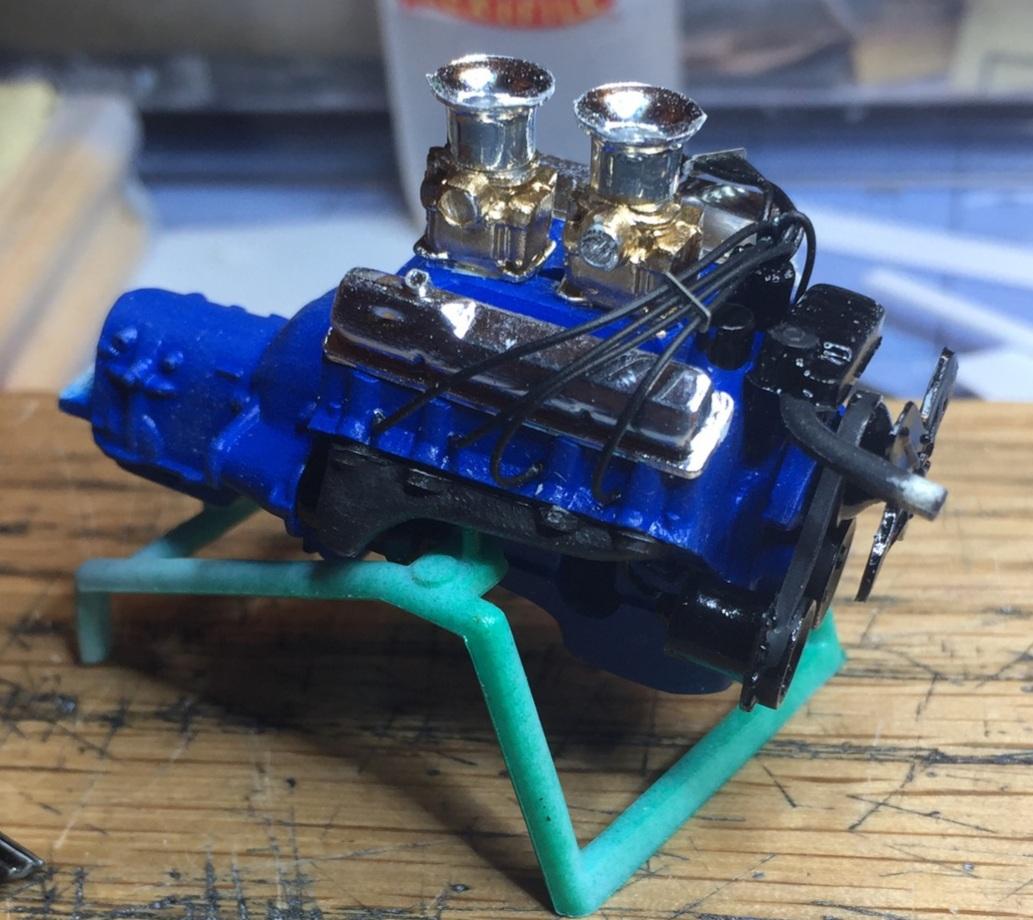
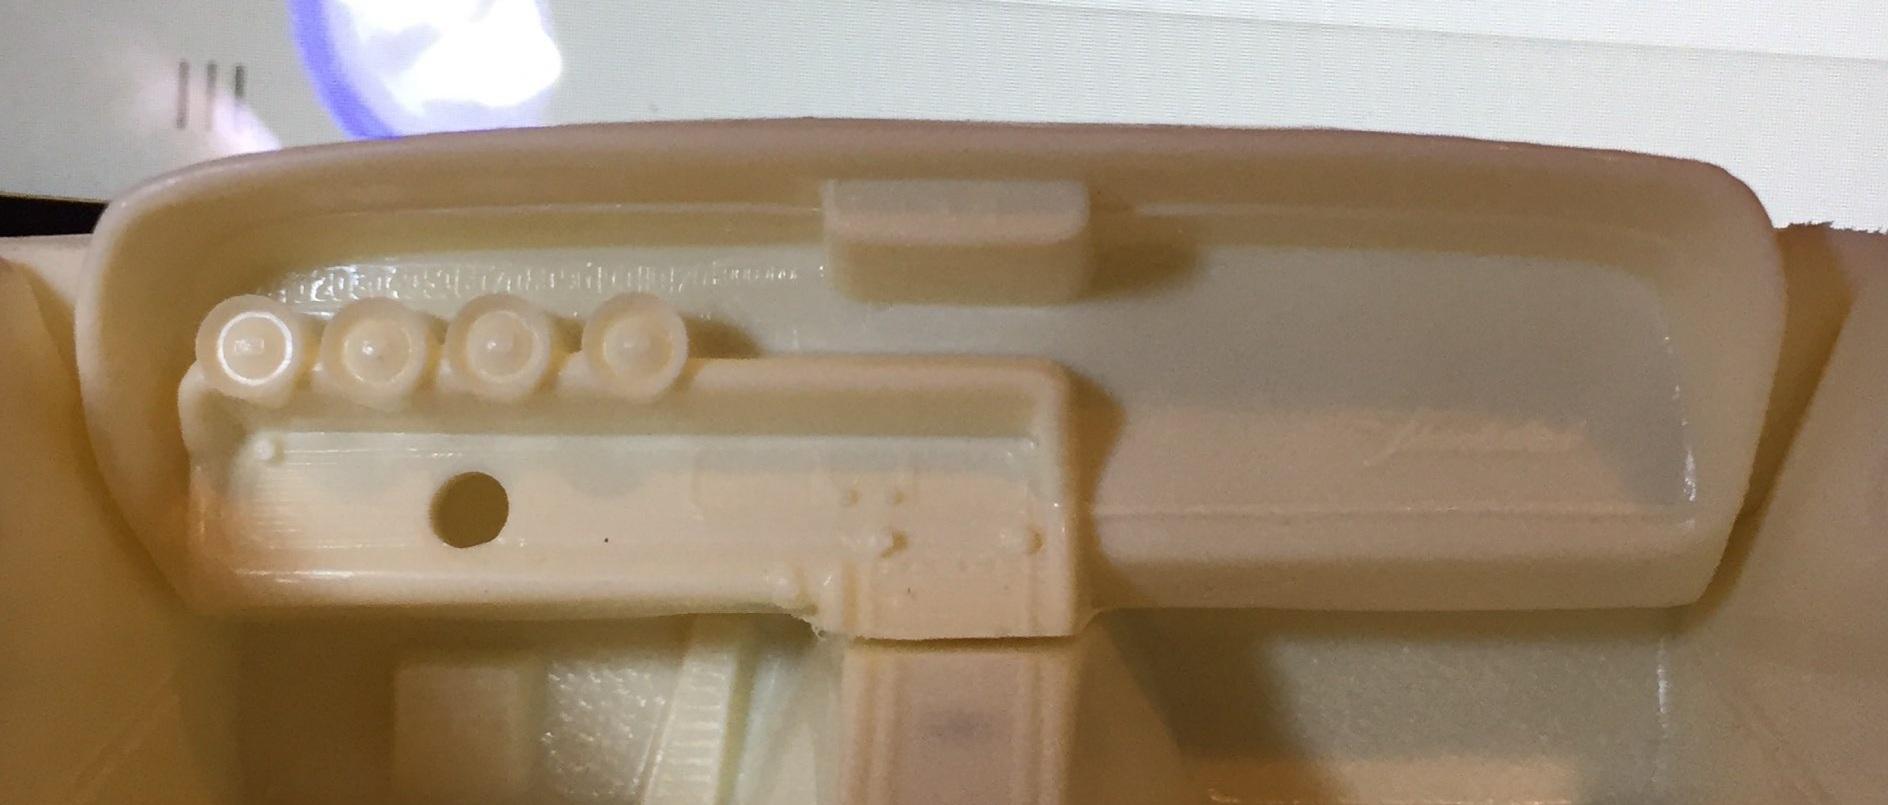
Yeah, I suppose..... my bash stash isn't that extensive, Rusty. I like the way the dash flows into the console so I want to keep that. I just won't be able to be anal about the detailing of the dash. I added some .010 sheet to the backs of the buckets in order to accommodate the metal trim. My thinking (at the moment at least) is an oxblood interior using Krylon "burgundy" over black. It will show off the chrome better than the white I had planned earlier. I added some "sheet metal" to form some sort of radiator support to hide the screw bosses. The radiator provided in the kit seems a bit short. ?. Anyway, I got the body in primer so I can clean up the body work. The engine is now Ford blue but not all together yet. Got the grille and tail lights prepped. I am considering smoothing out the roof; I don't think the vinyl roof would look good on this one. Comments welcome...Thanks for your interest.
-
Yeah, now I'm pondering how to deal with the dash/console/ interior trim. I gotta make this Look like this It's not gonna be fun ?.
-
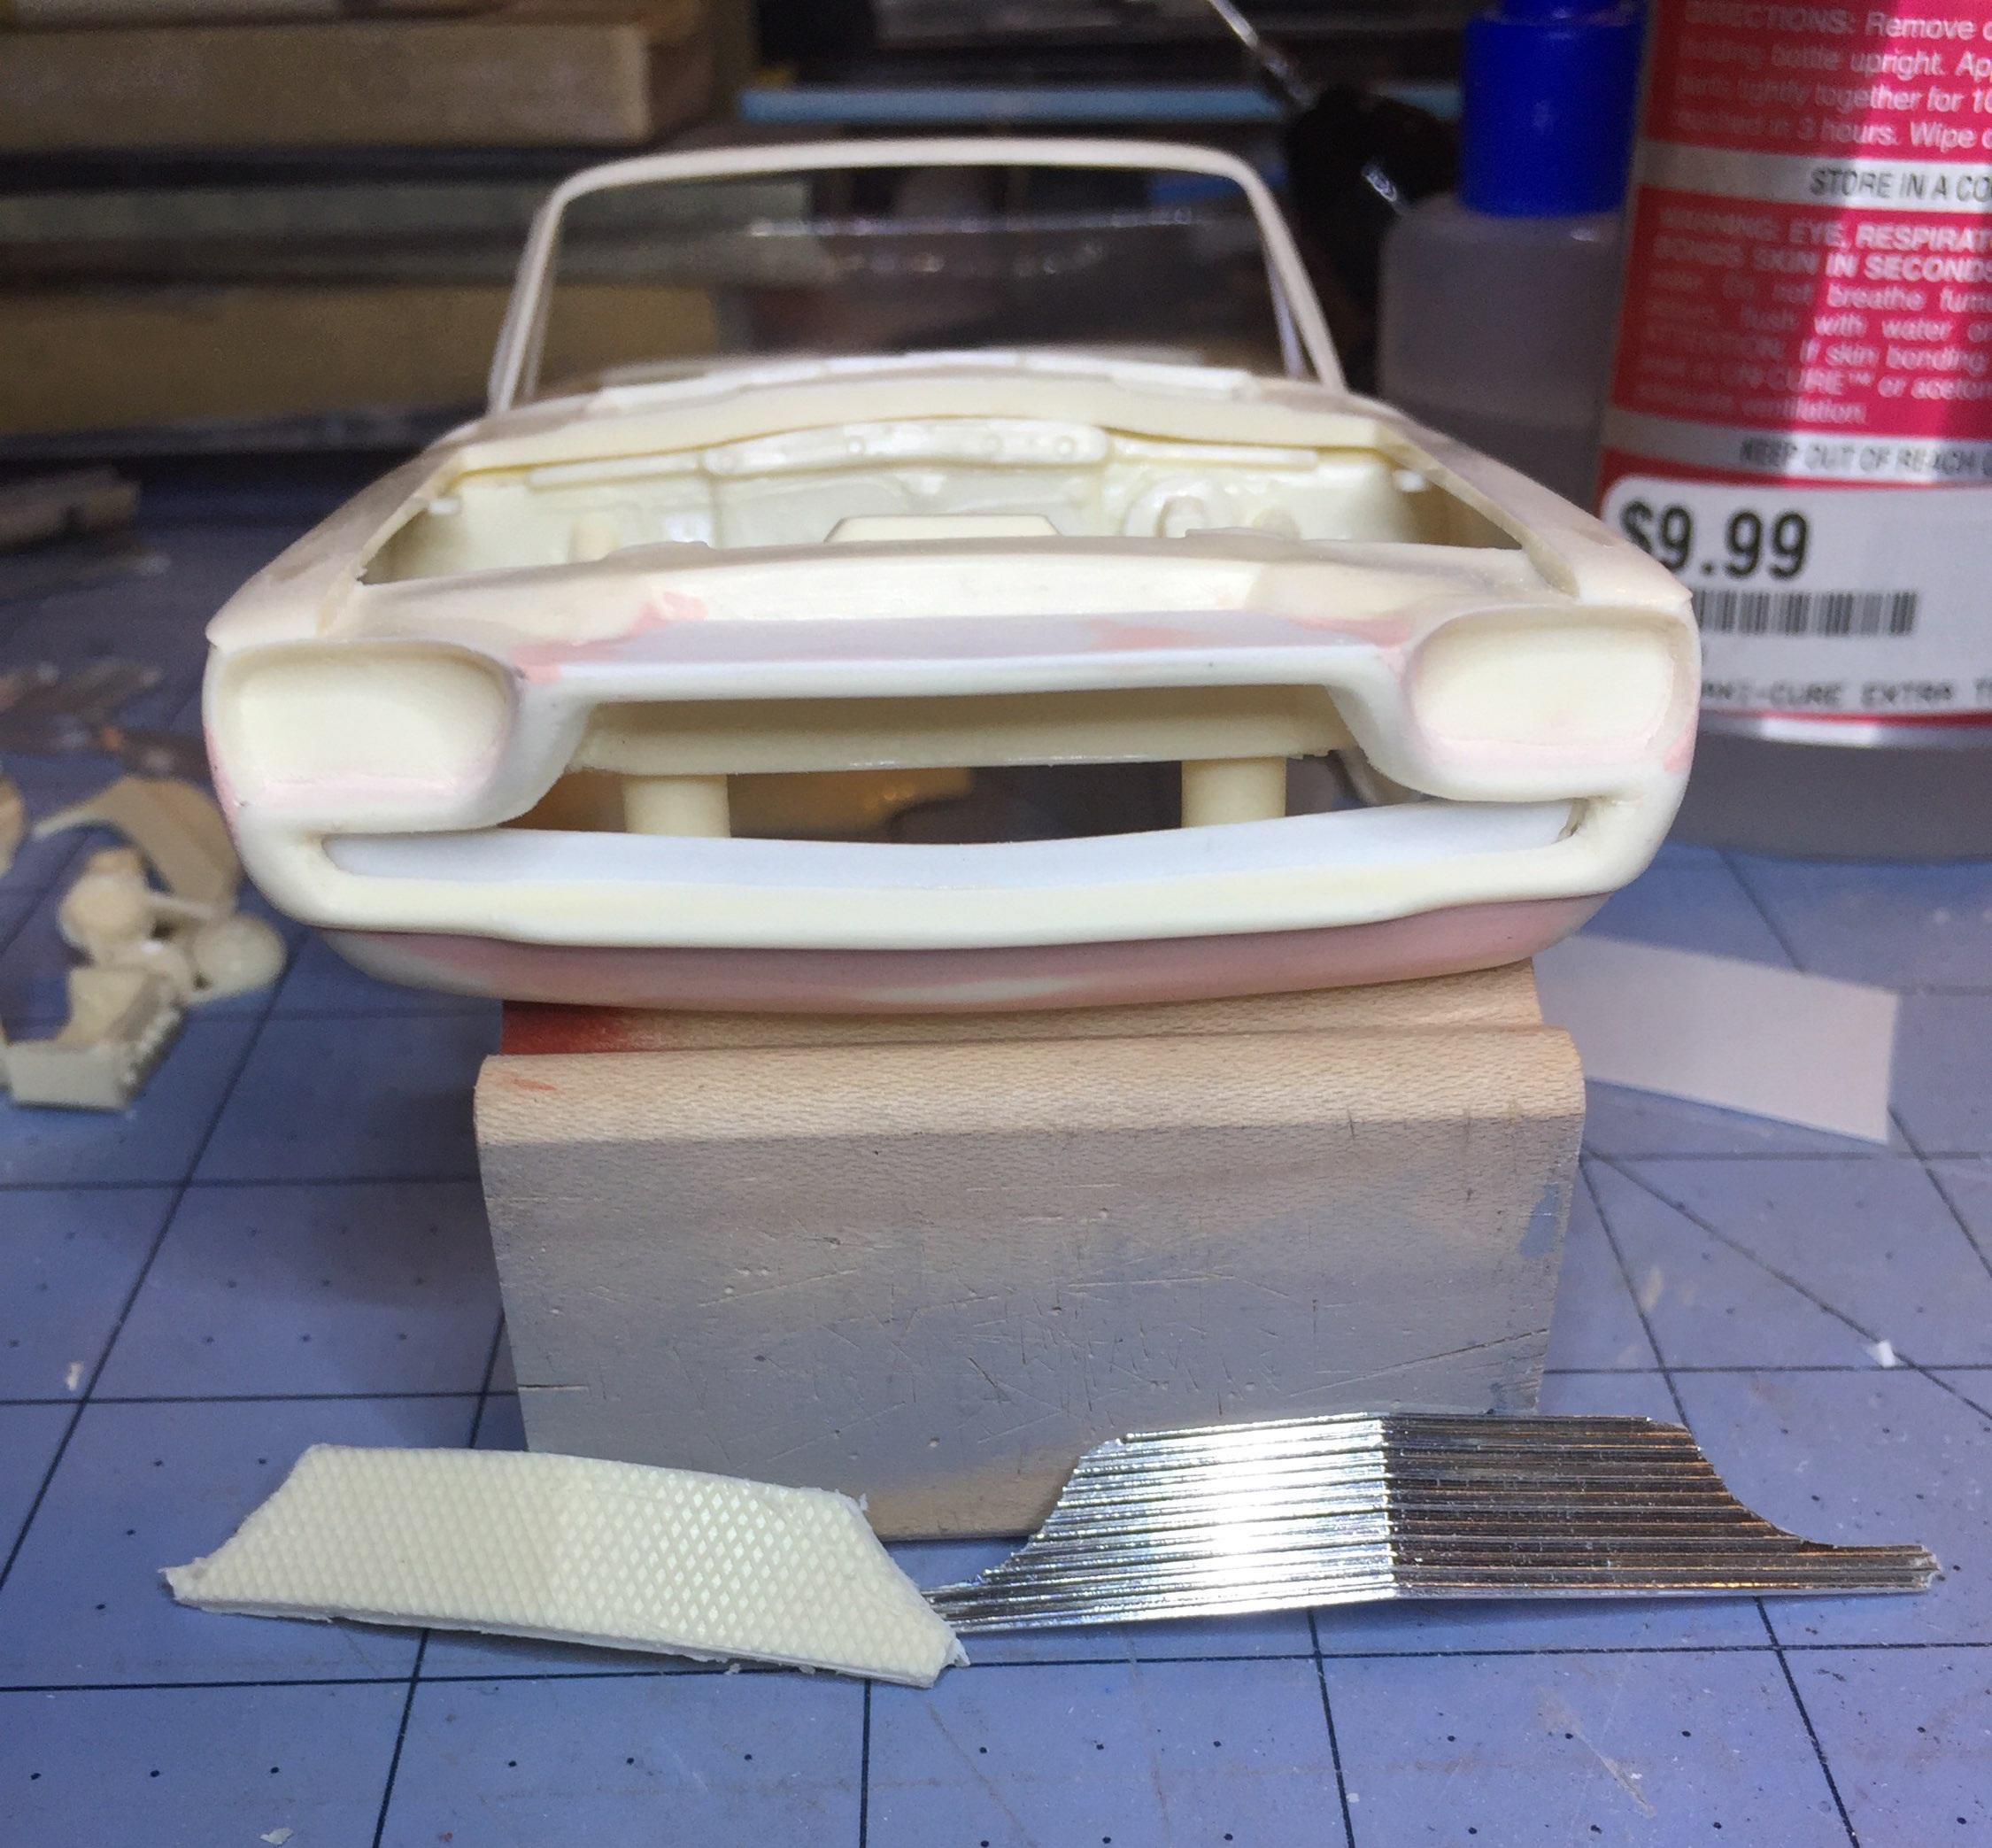
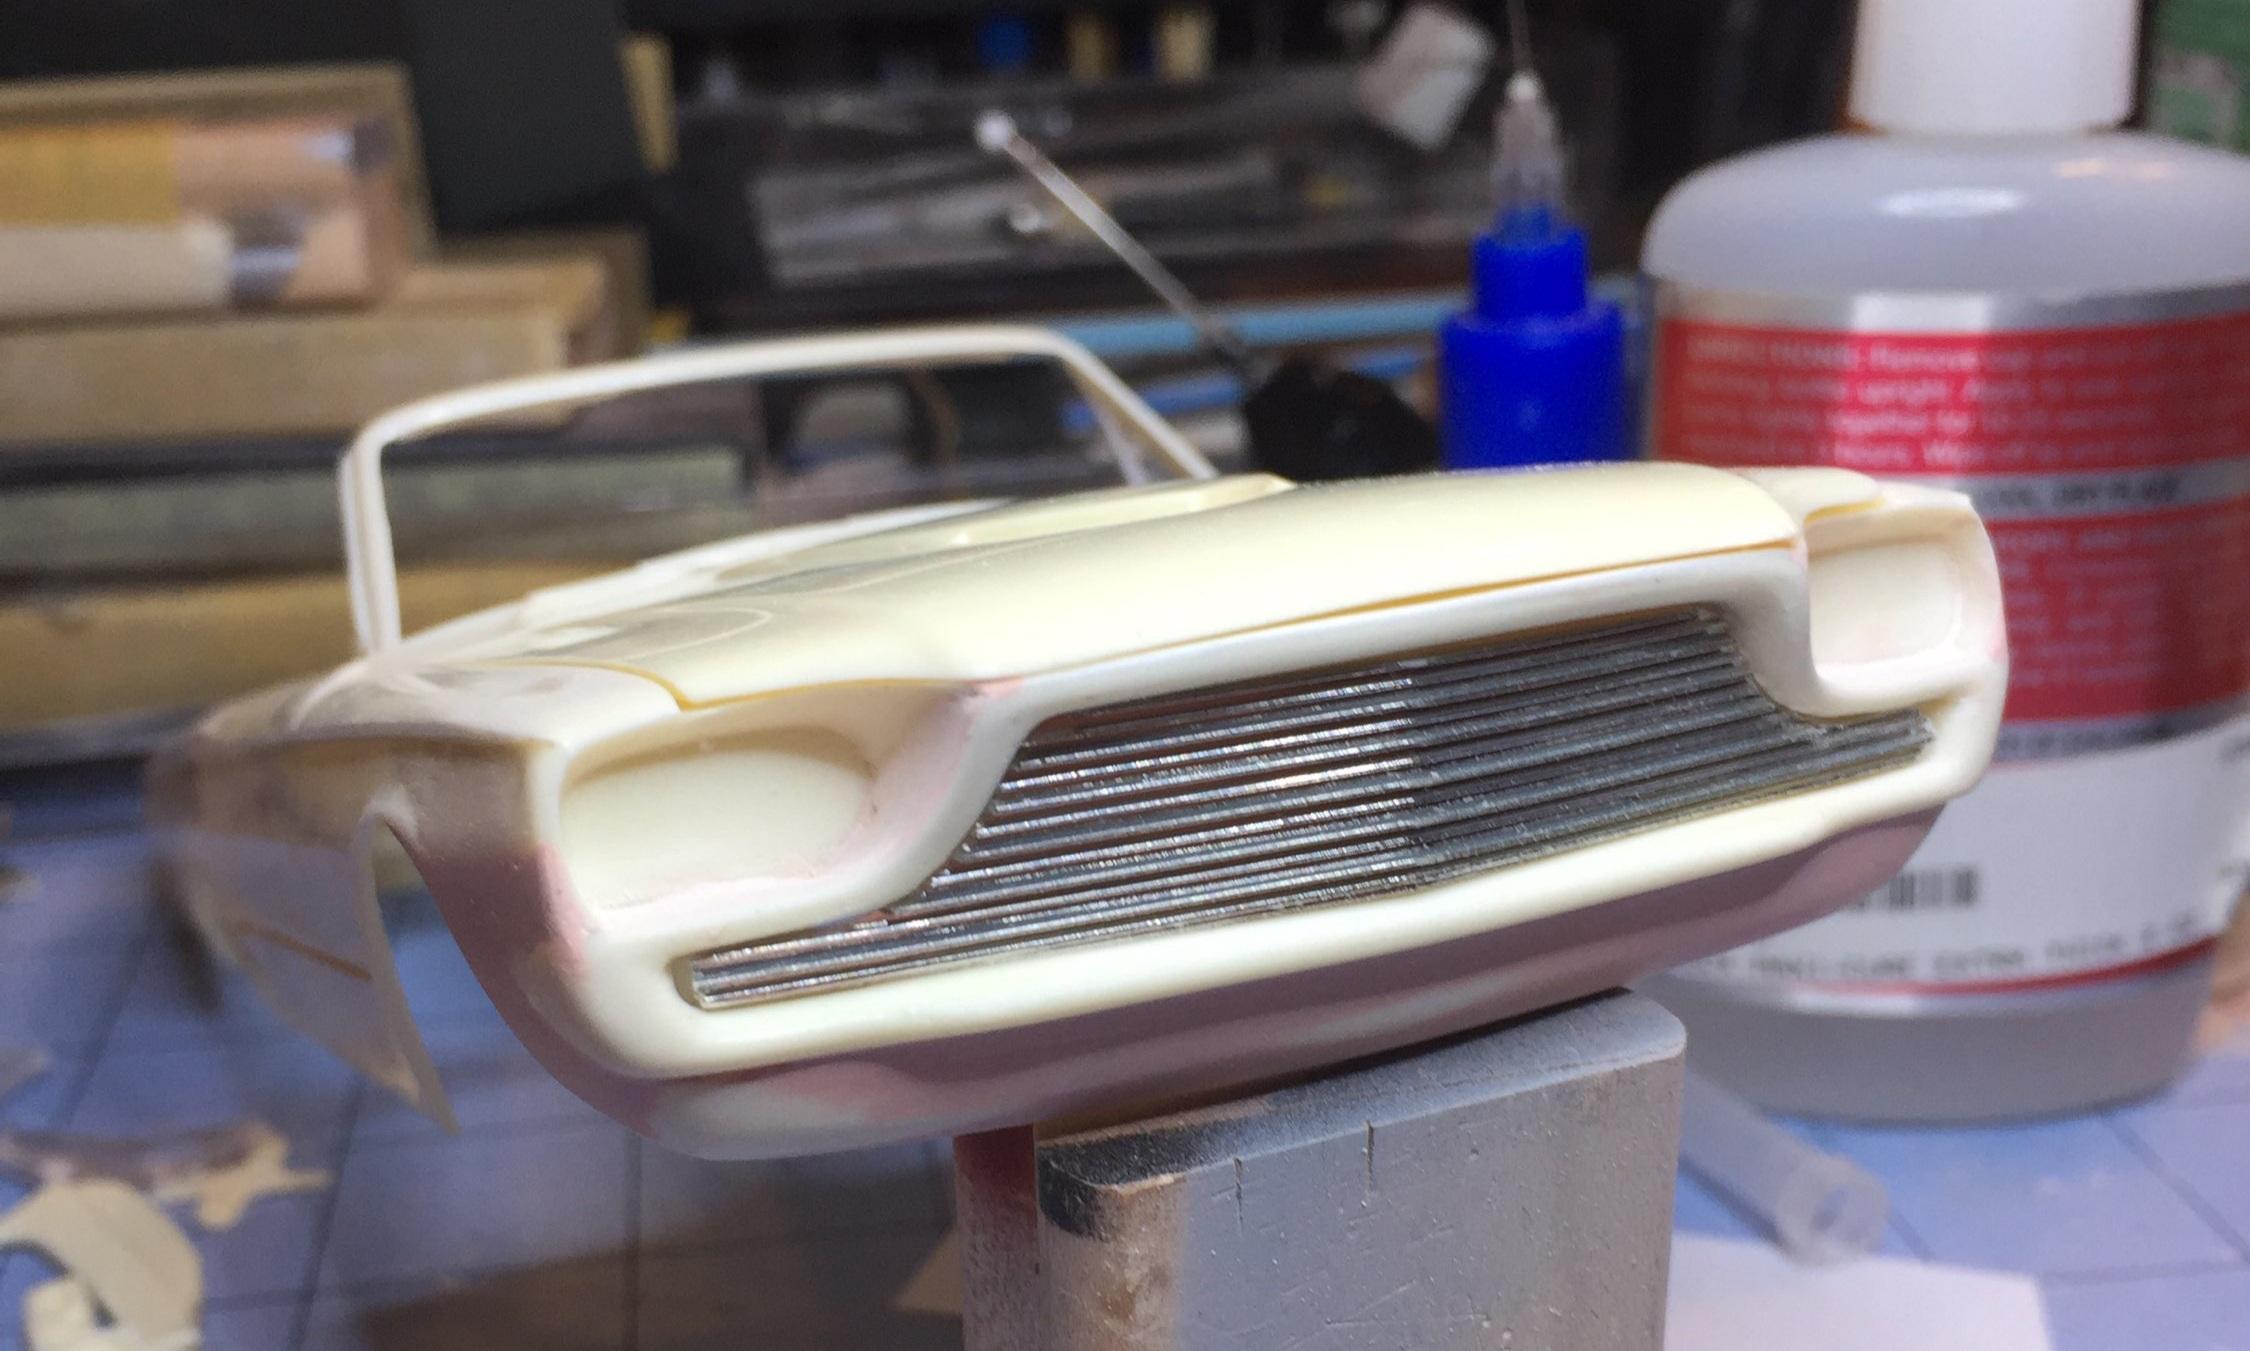
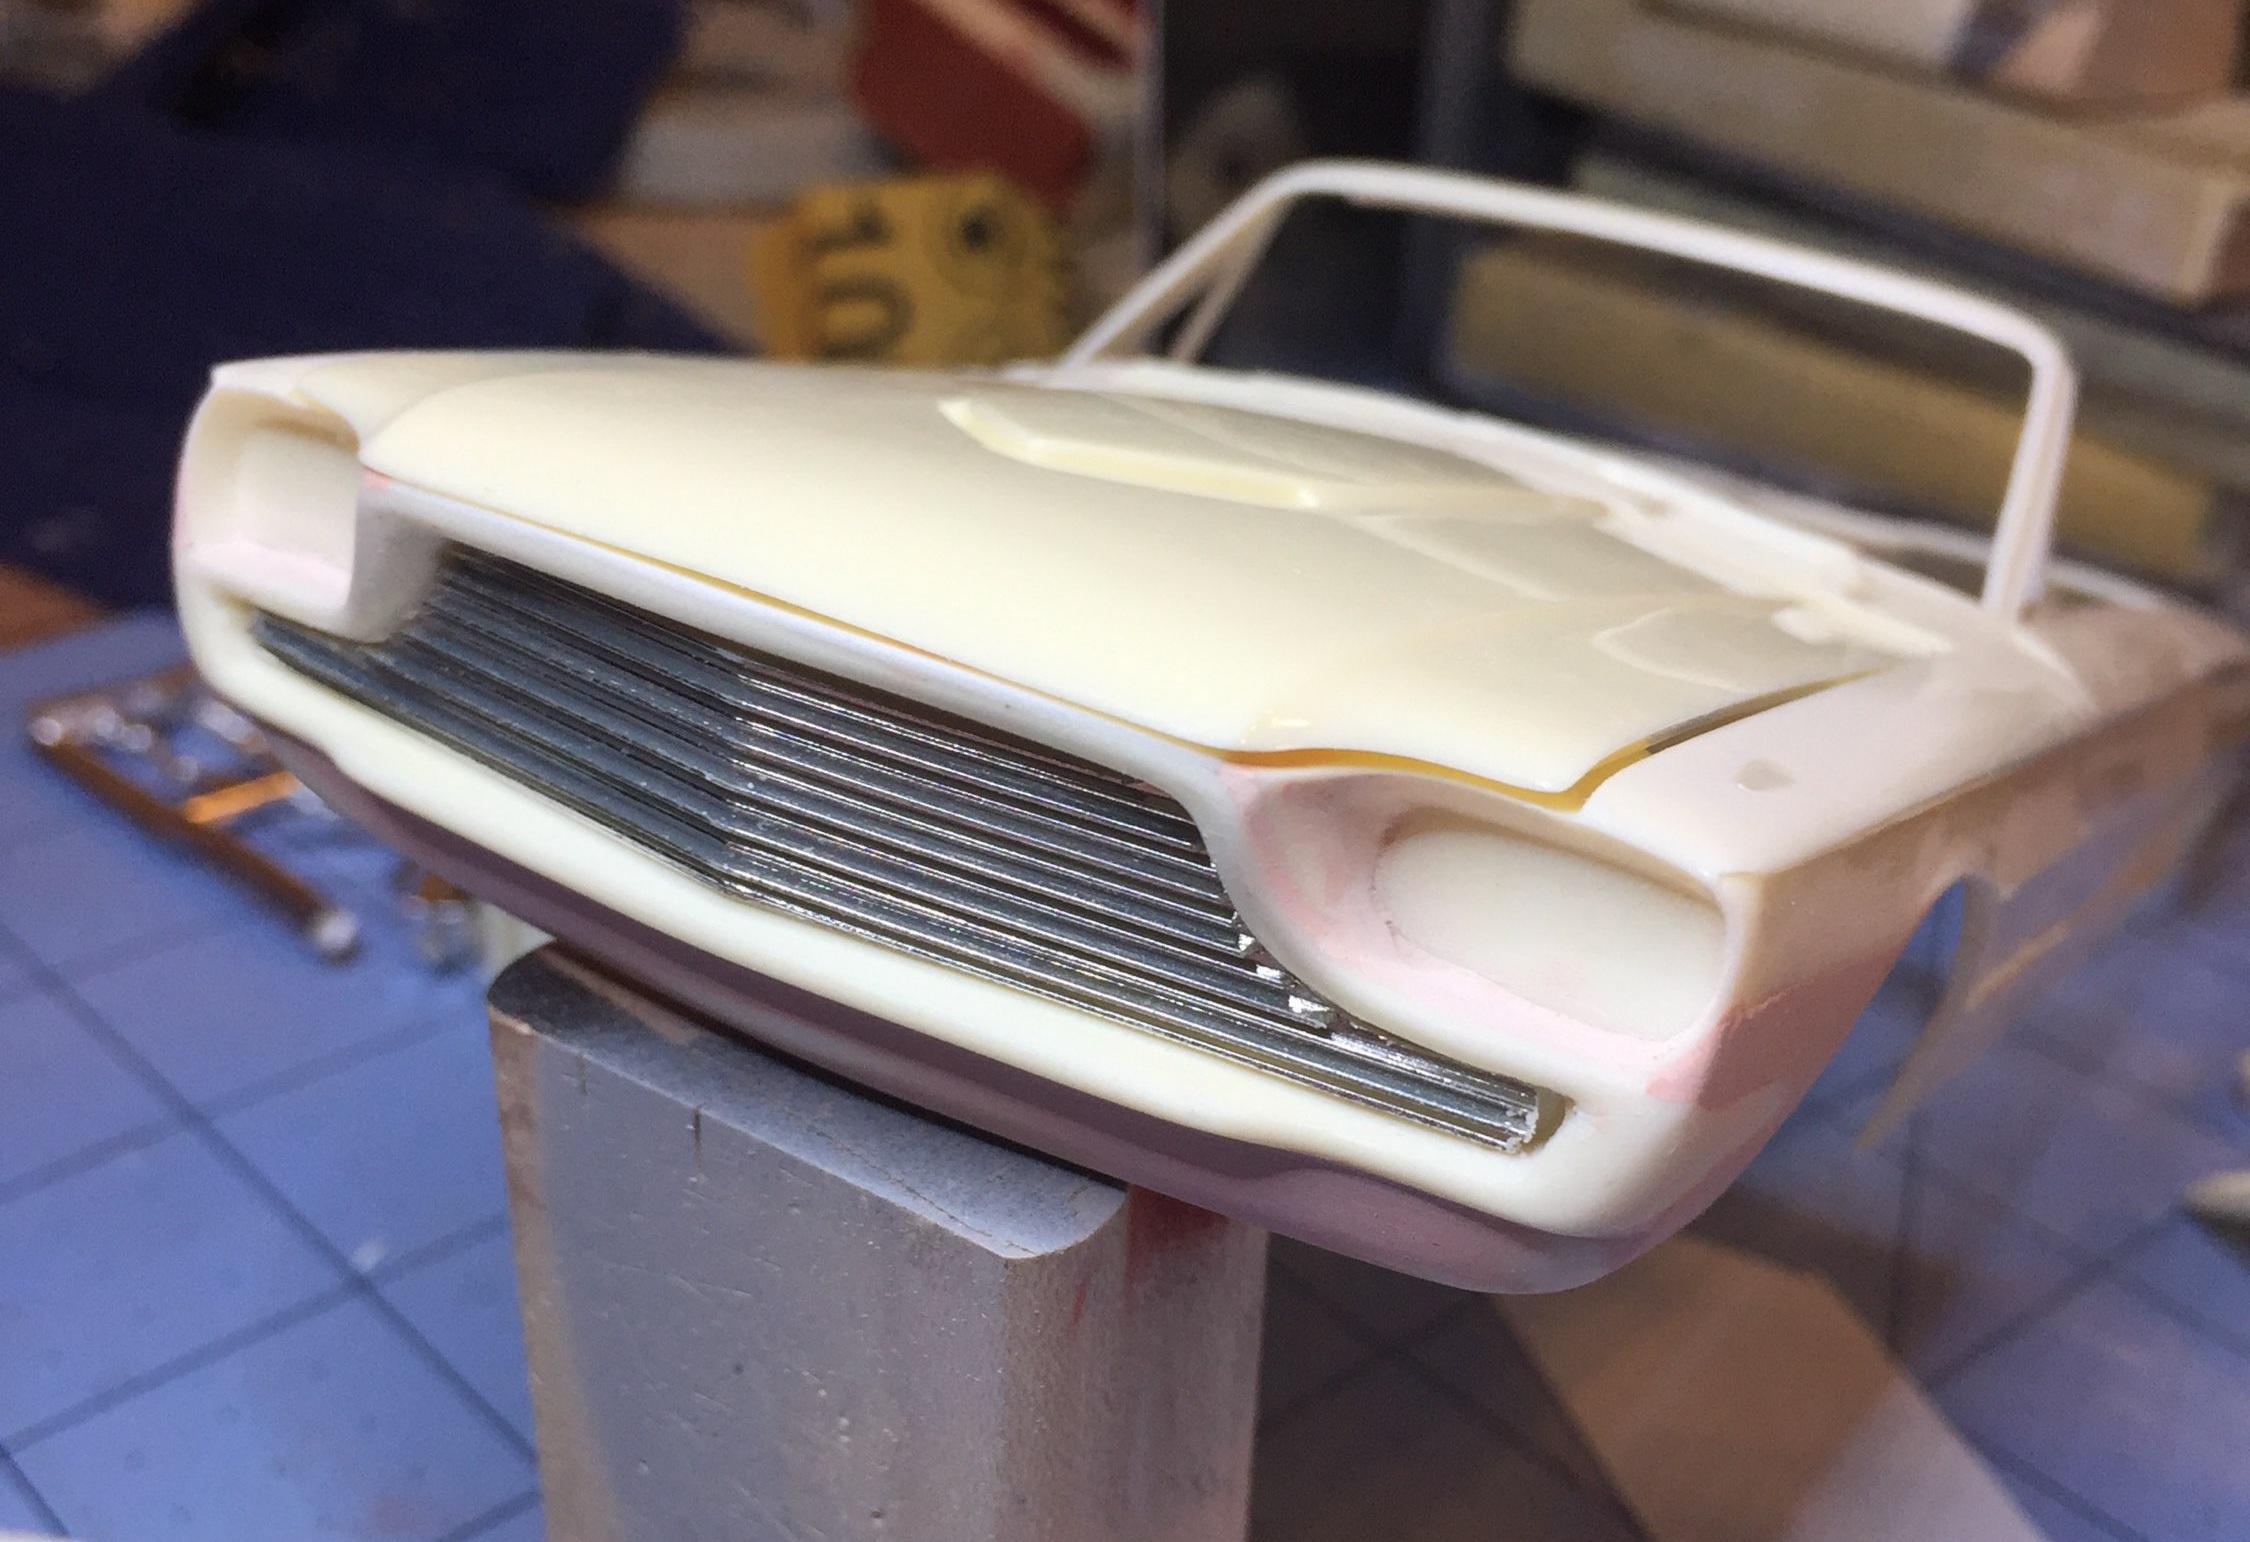
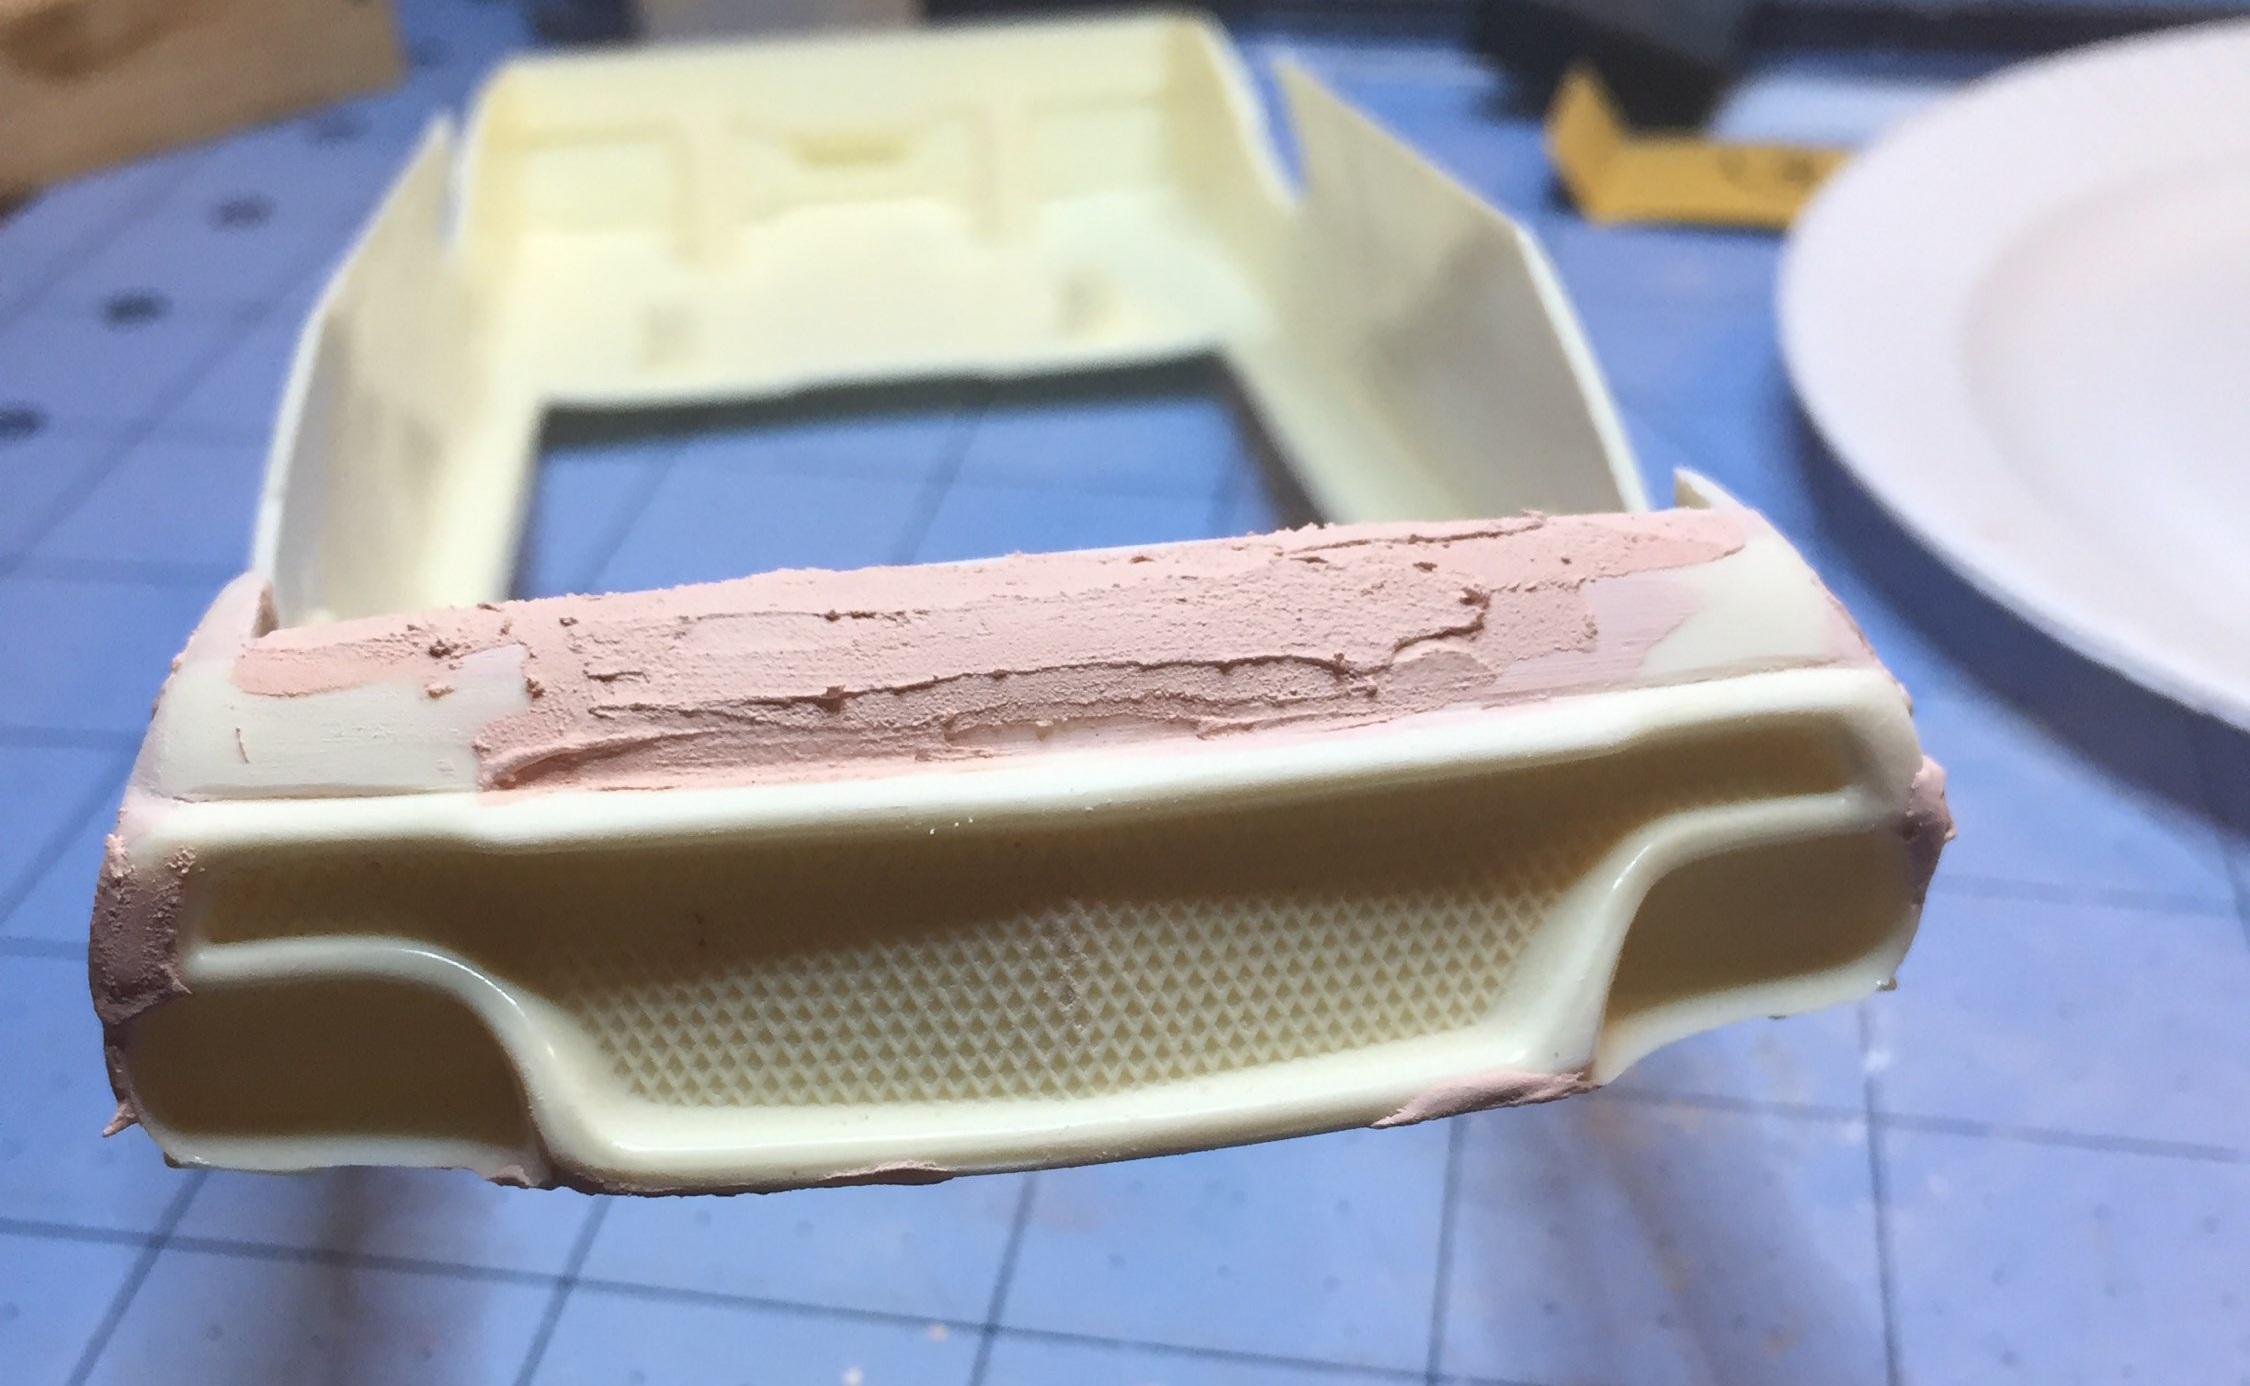
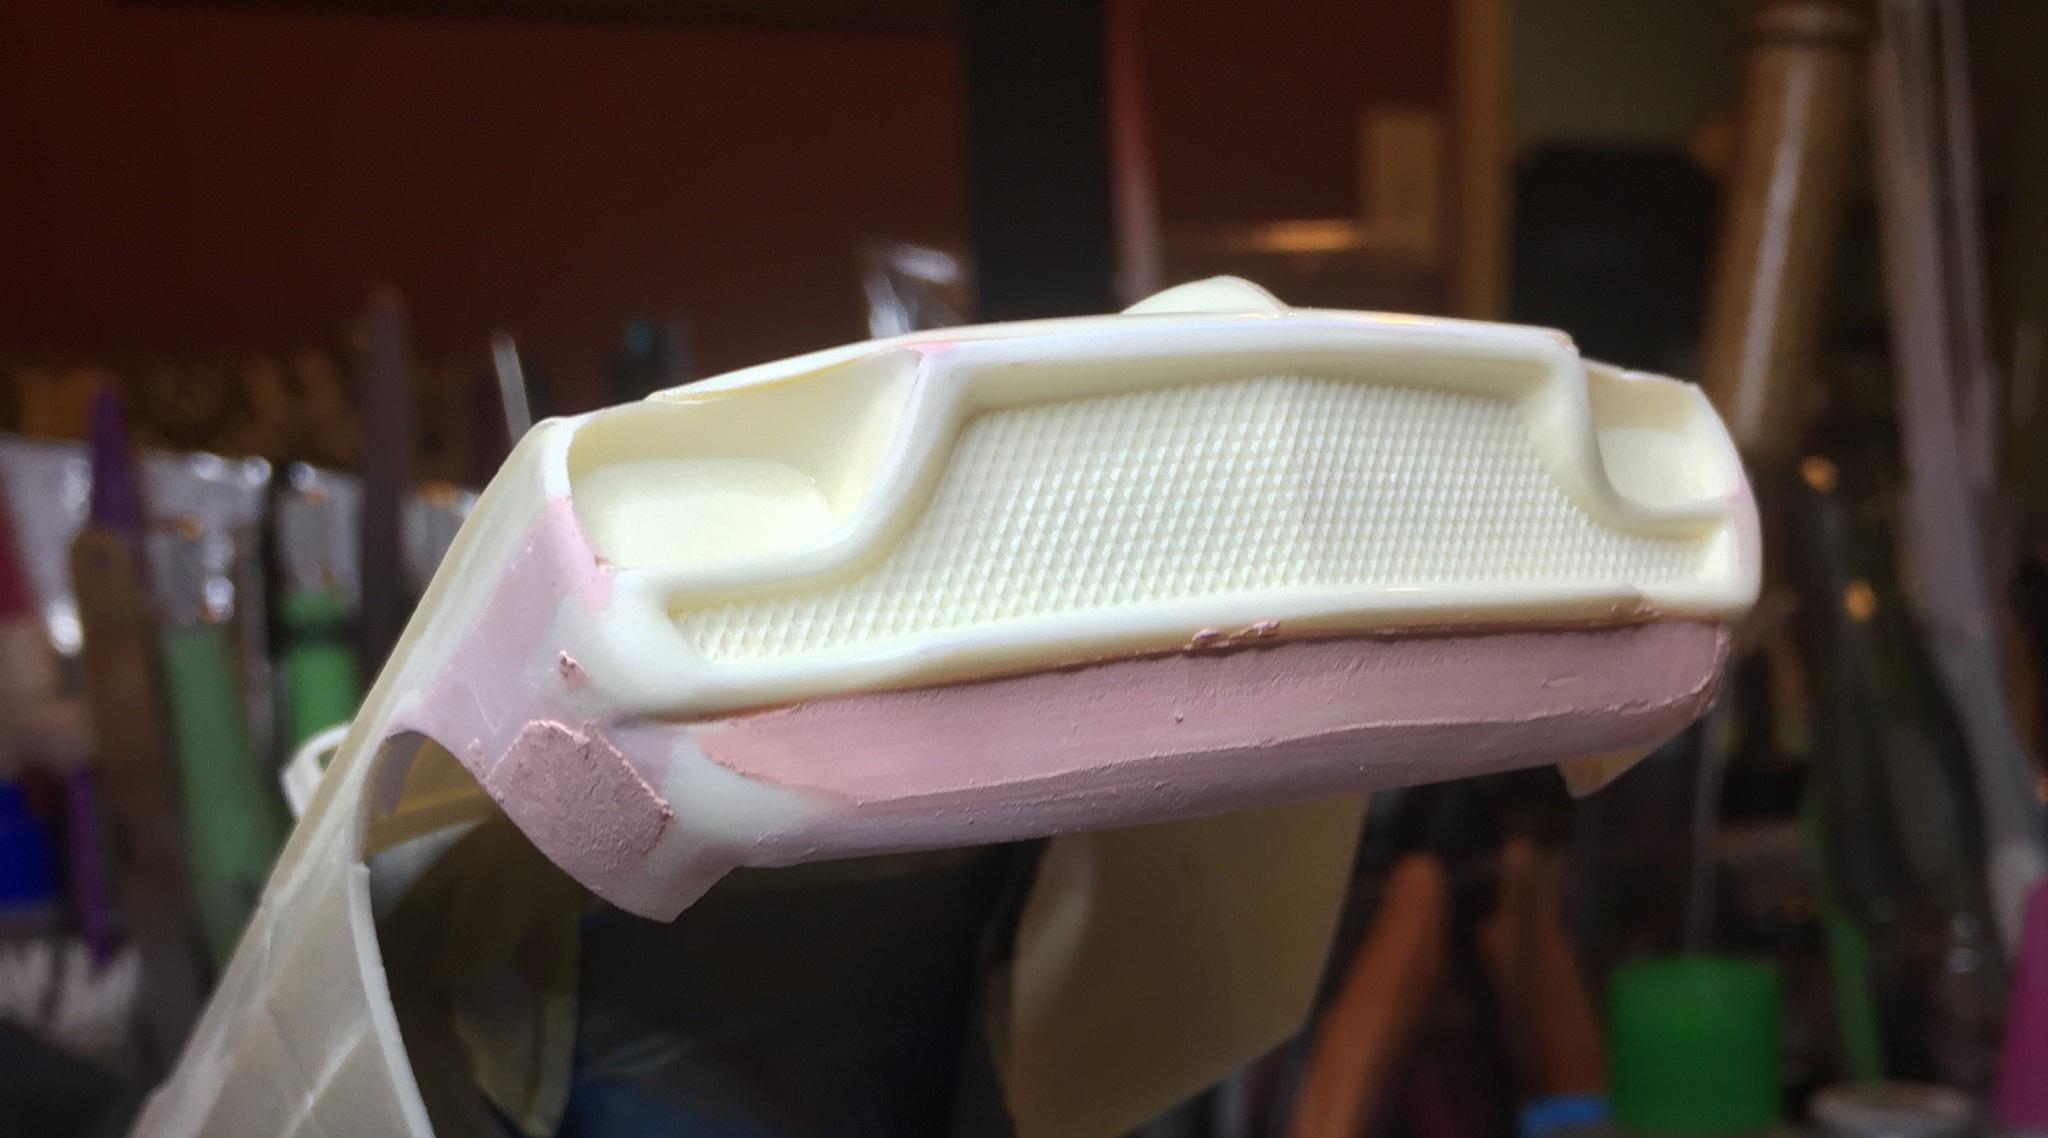
Rusty thought I should "french" the tube grille. OK, y'all don't think I listen to y'all's ideas, do ya? Well... I do when I think you're right ?. This is a home run for Rusty. And I caught the ball!
-
The interior detailing using thread is a cool trick, Steve. The color theme carries over to include the dice. Very retro. It's fun to look back at earlier builds.
-
Steve, does the "Scratch X" contain wax or silicone? I like the Novus 2 but I'm always running out. Anything with a wax or silicone ingredient could be a problem for any subsequent touch-up that my be necessary.
-
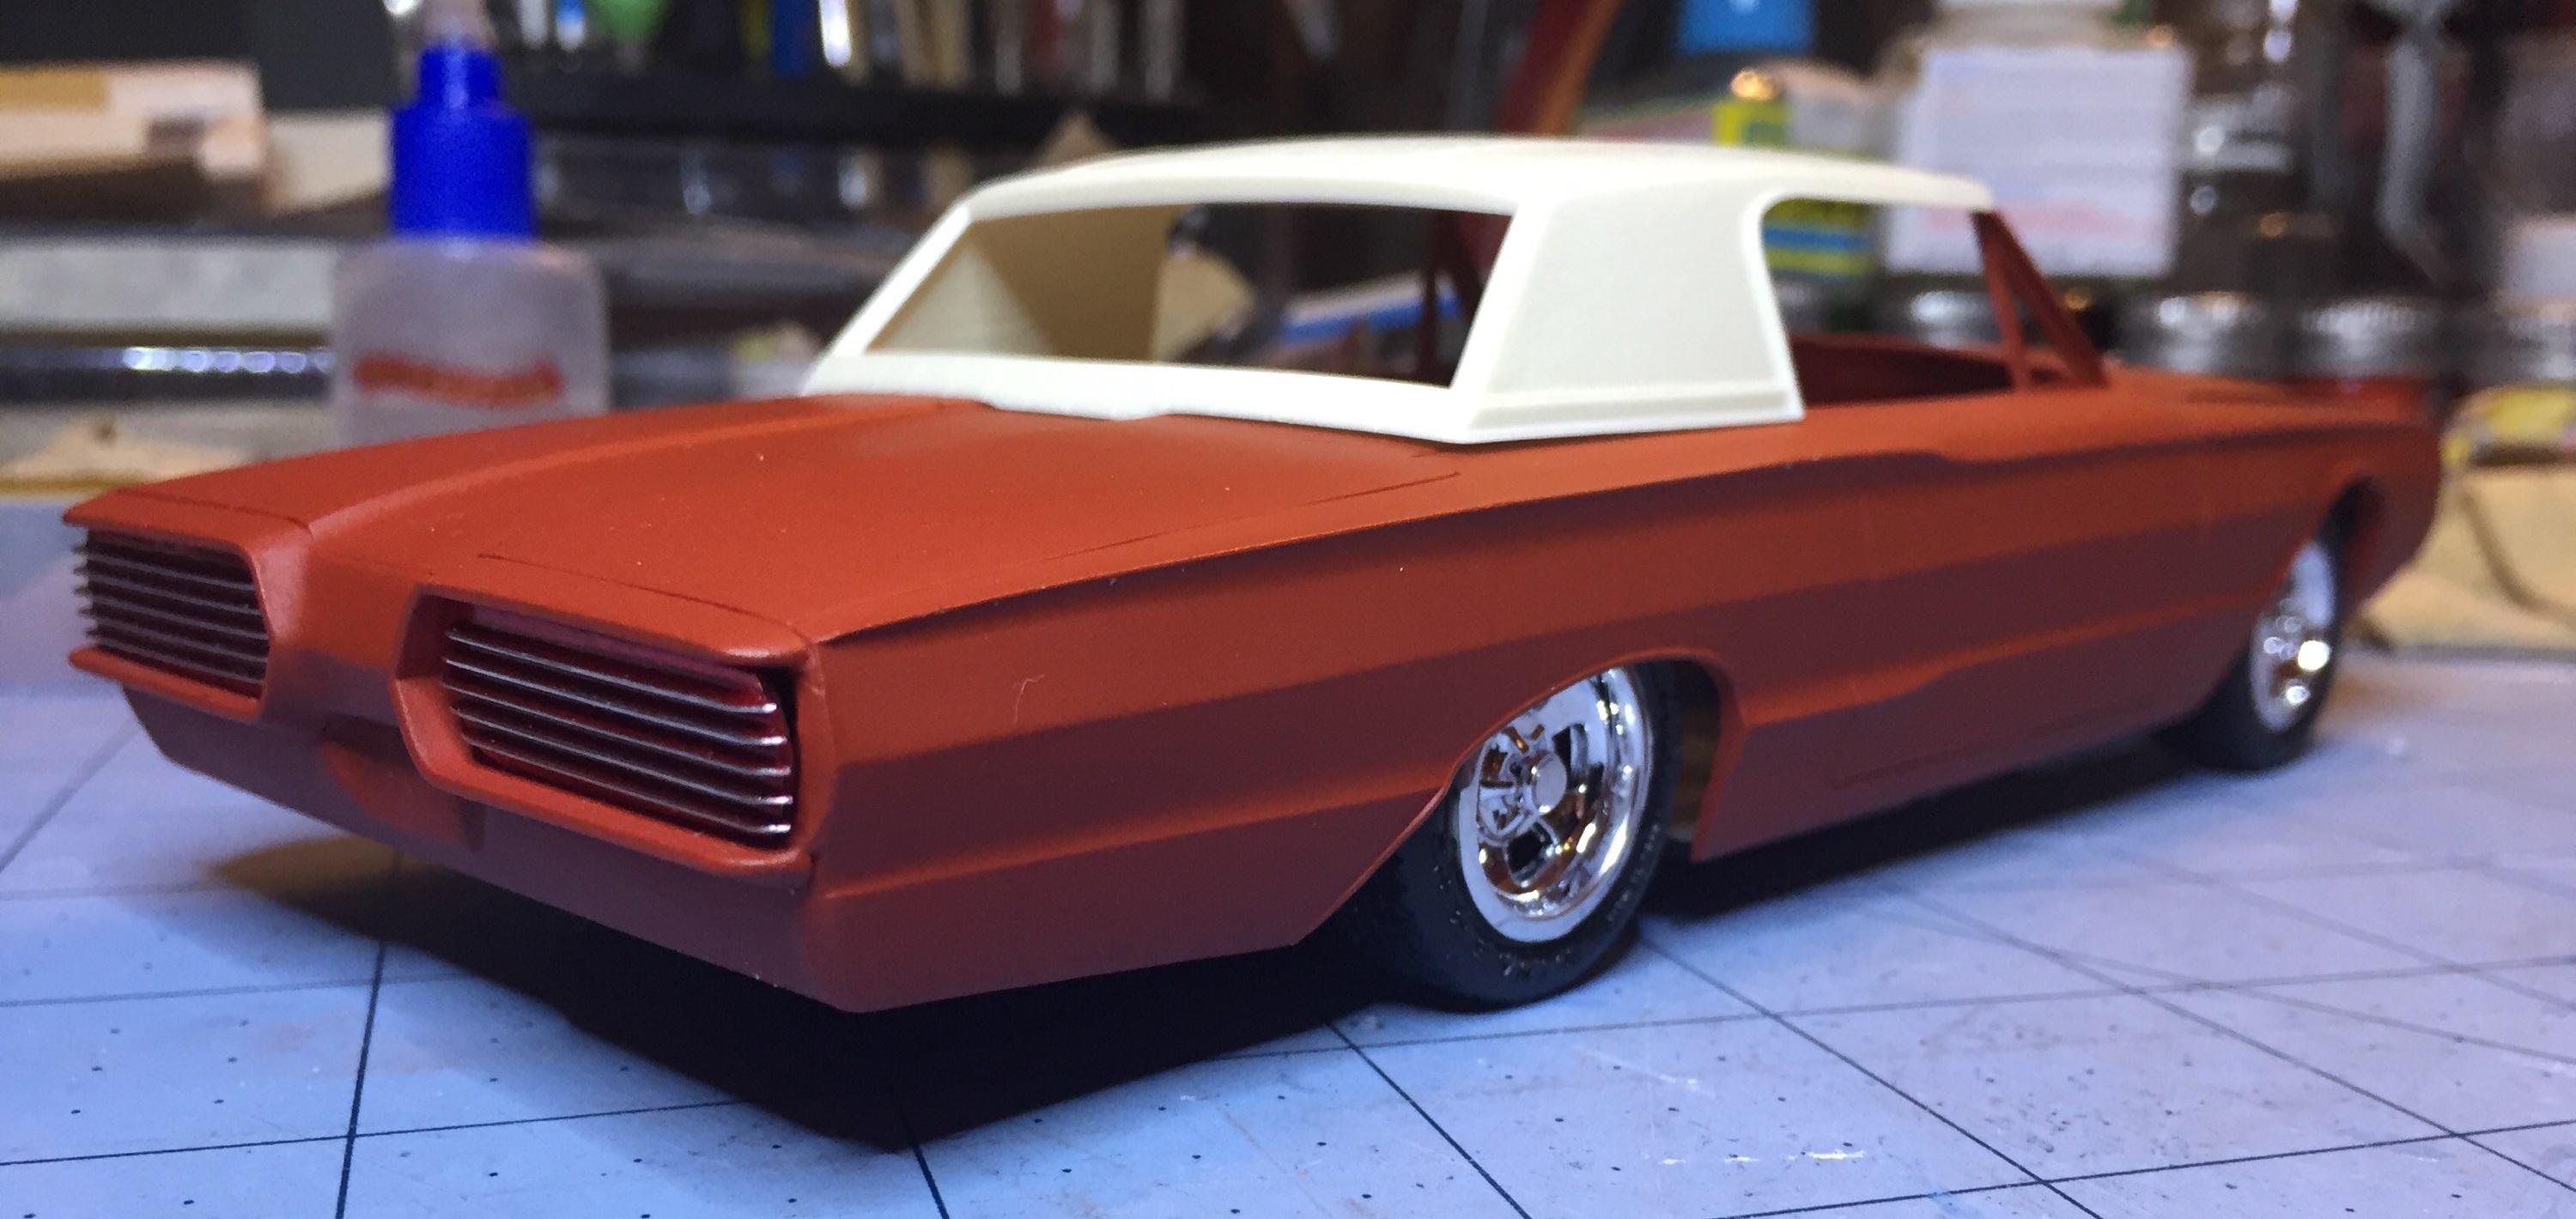
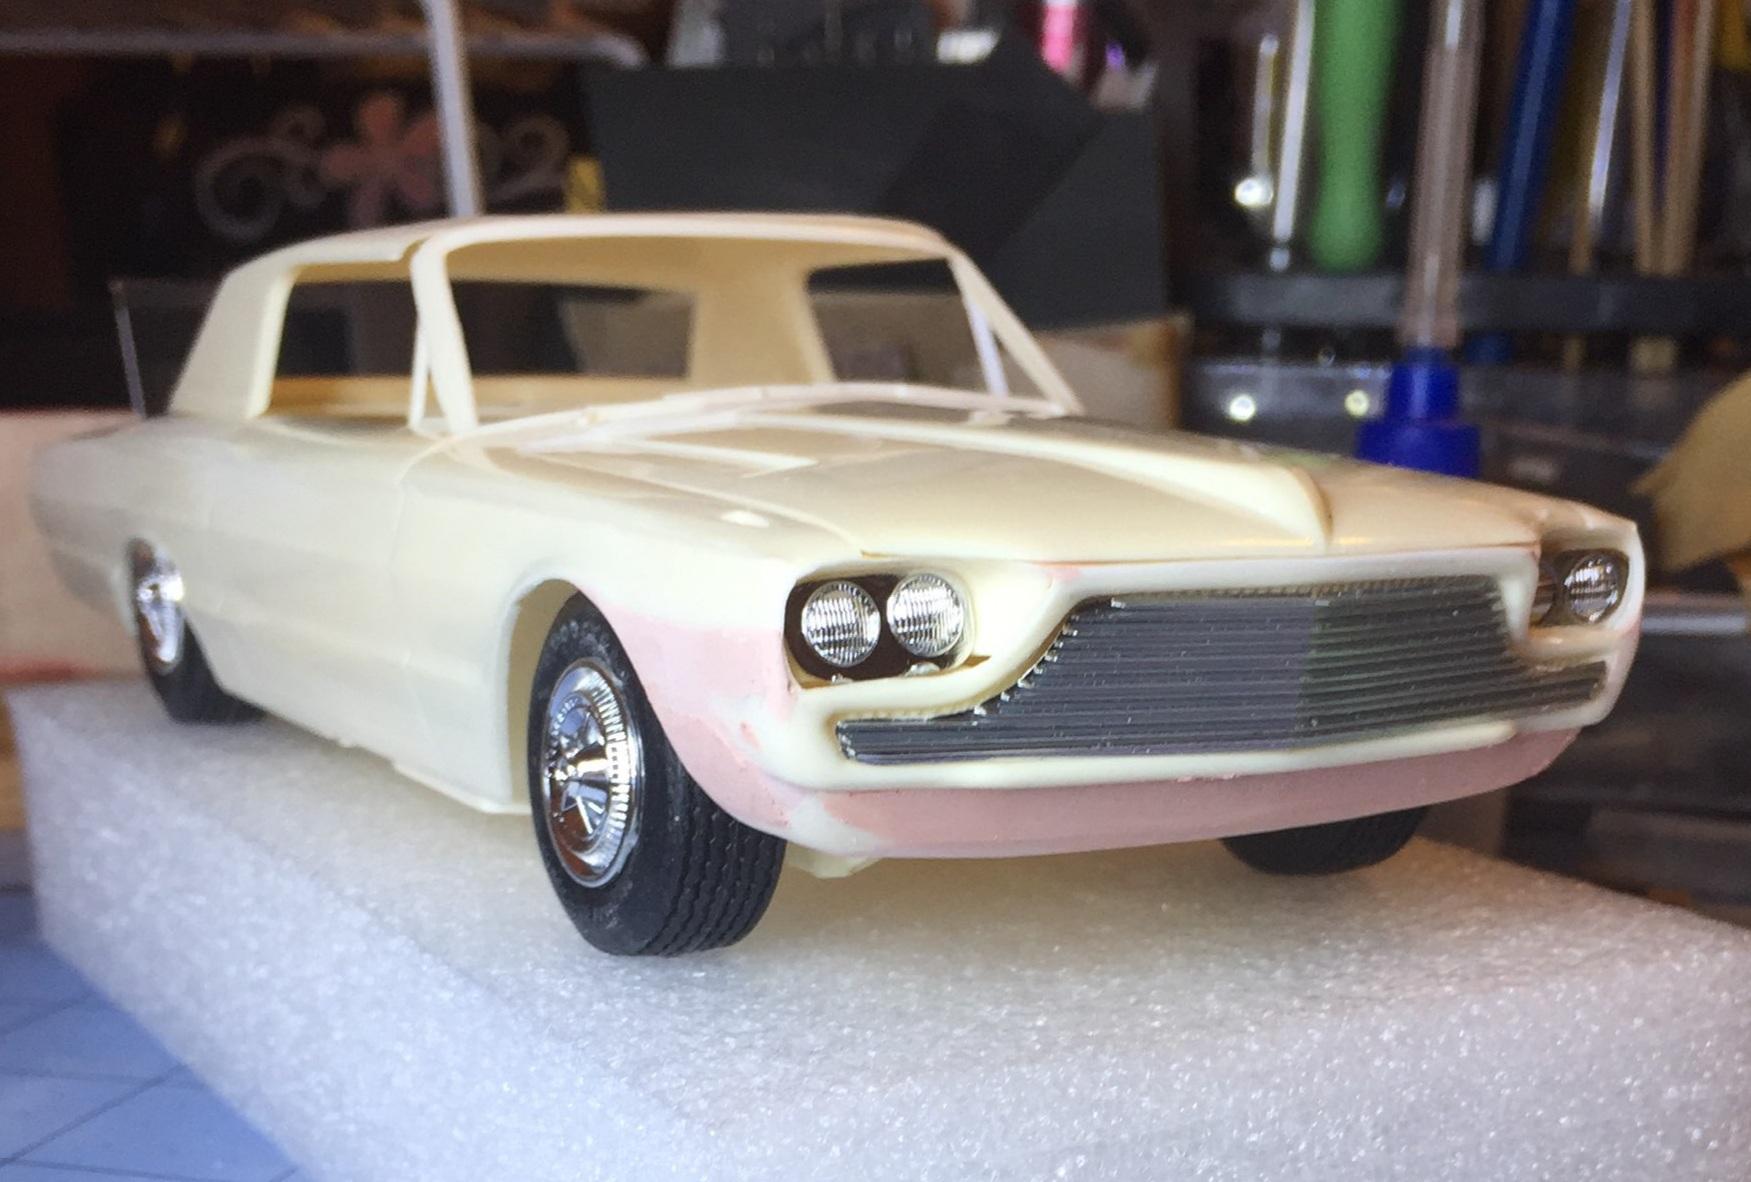
Rusty, I think you are right about the grille. It needs frenching a bit. I shall investigate that possibility as soon as I get off my a$$. I wanted to foil the mesh and black wash it but I feel like the tail lights needed the same treatment so I'm sticking with the tubes, front and rear. I'm not sure about paint yet but I have a lot of paint to look at. Candy from Alclad II, Createx iridescent, Testors rattle cans, Boyd's, etc. I'll find something. As far as the roof goes, I like it but it appears to be slightly out of shape. I wish I had a soft top for it. I may use the stock hood, that custom hood doesn't work for me either. Besides, the scoop on the stock hood says "Thunderbird" pretty loud. I filled the fender ornament holes (almost missed that.). Glen, I really did think about headlight covers. I don't think I can pull it off cleanly. It's just too small an area,for me, to execute that sort of thing. Too bad the designer of the custom parts didn't think of it. I will go with the ones he did give me, the rectangular Cebie units. It's bad enough I had to use filler in the headlight recesses. The fit of the custom surround was less than ideal and I didn't get a real good install. But I love working in the body shop! Thank for your great ideas, gentlemen!
-
Oh....you don't know my missus ?
-
What type of bleach and how long does it take to do the job? I like this idea. ?
-
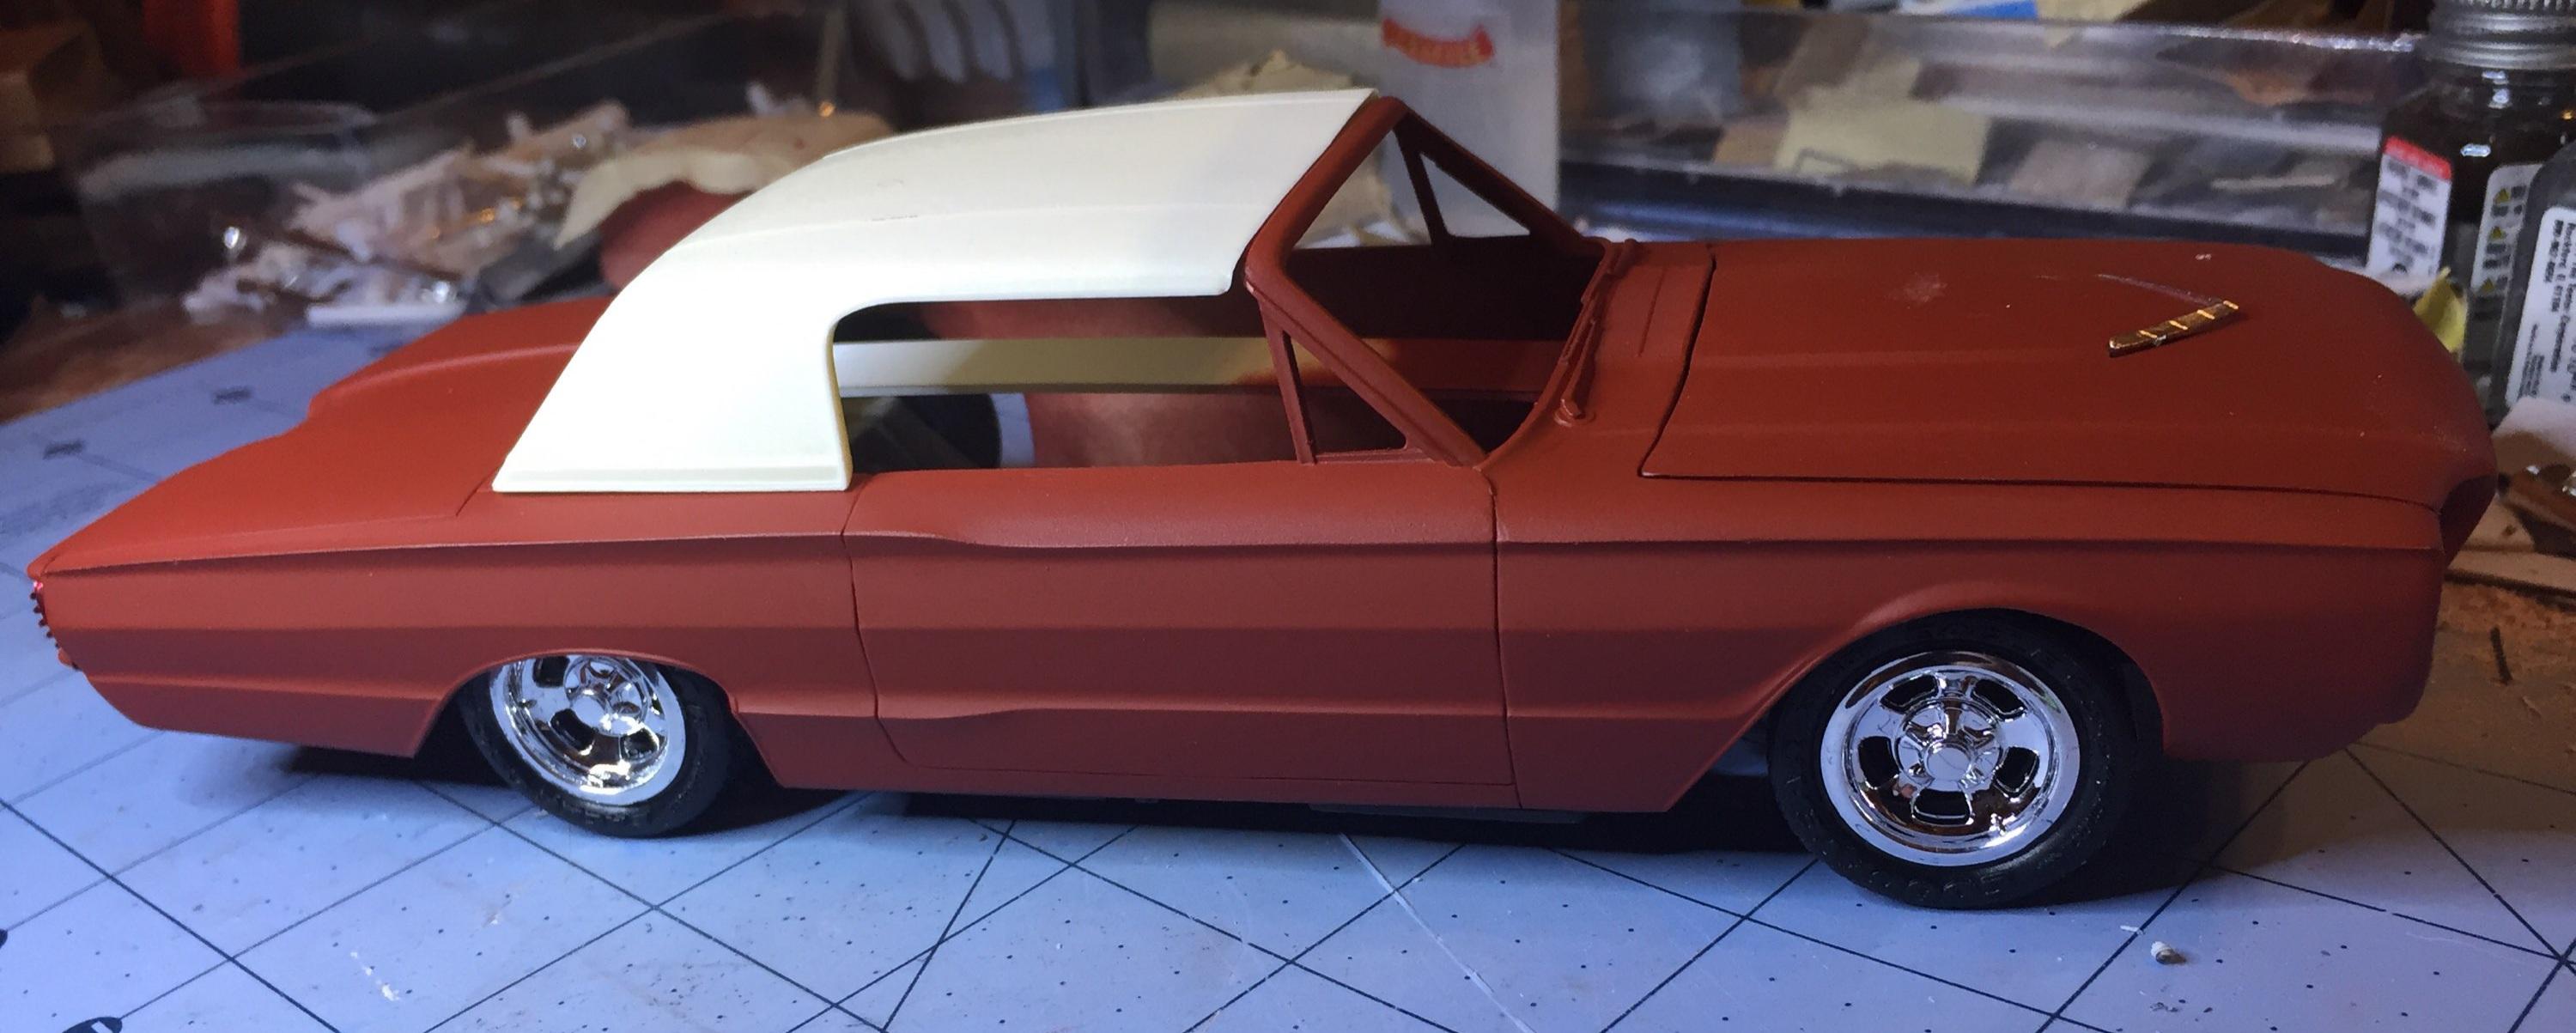
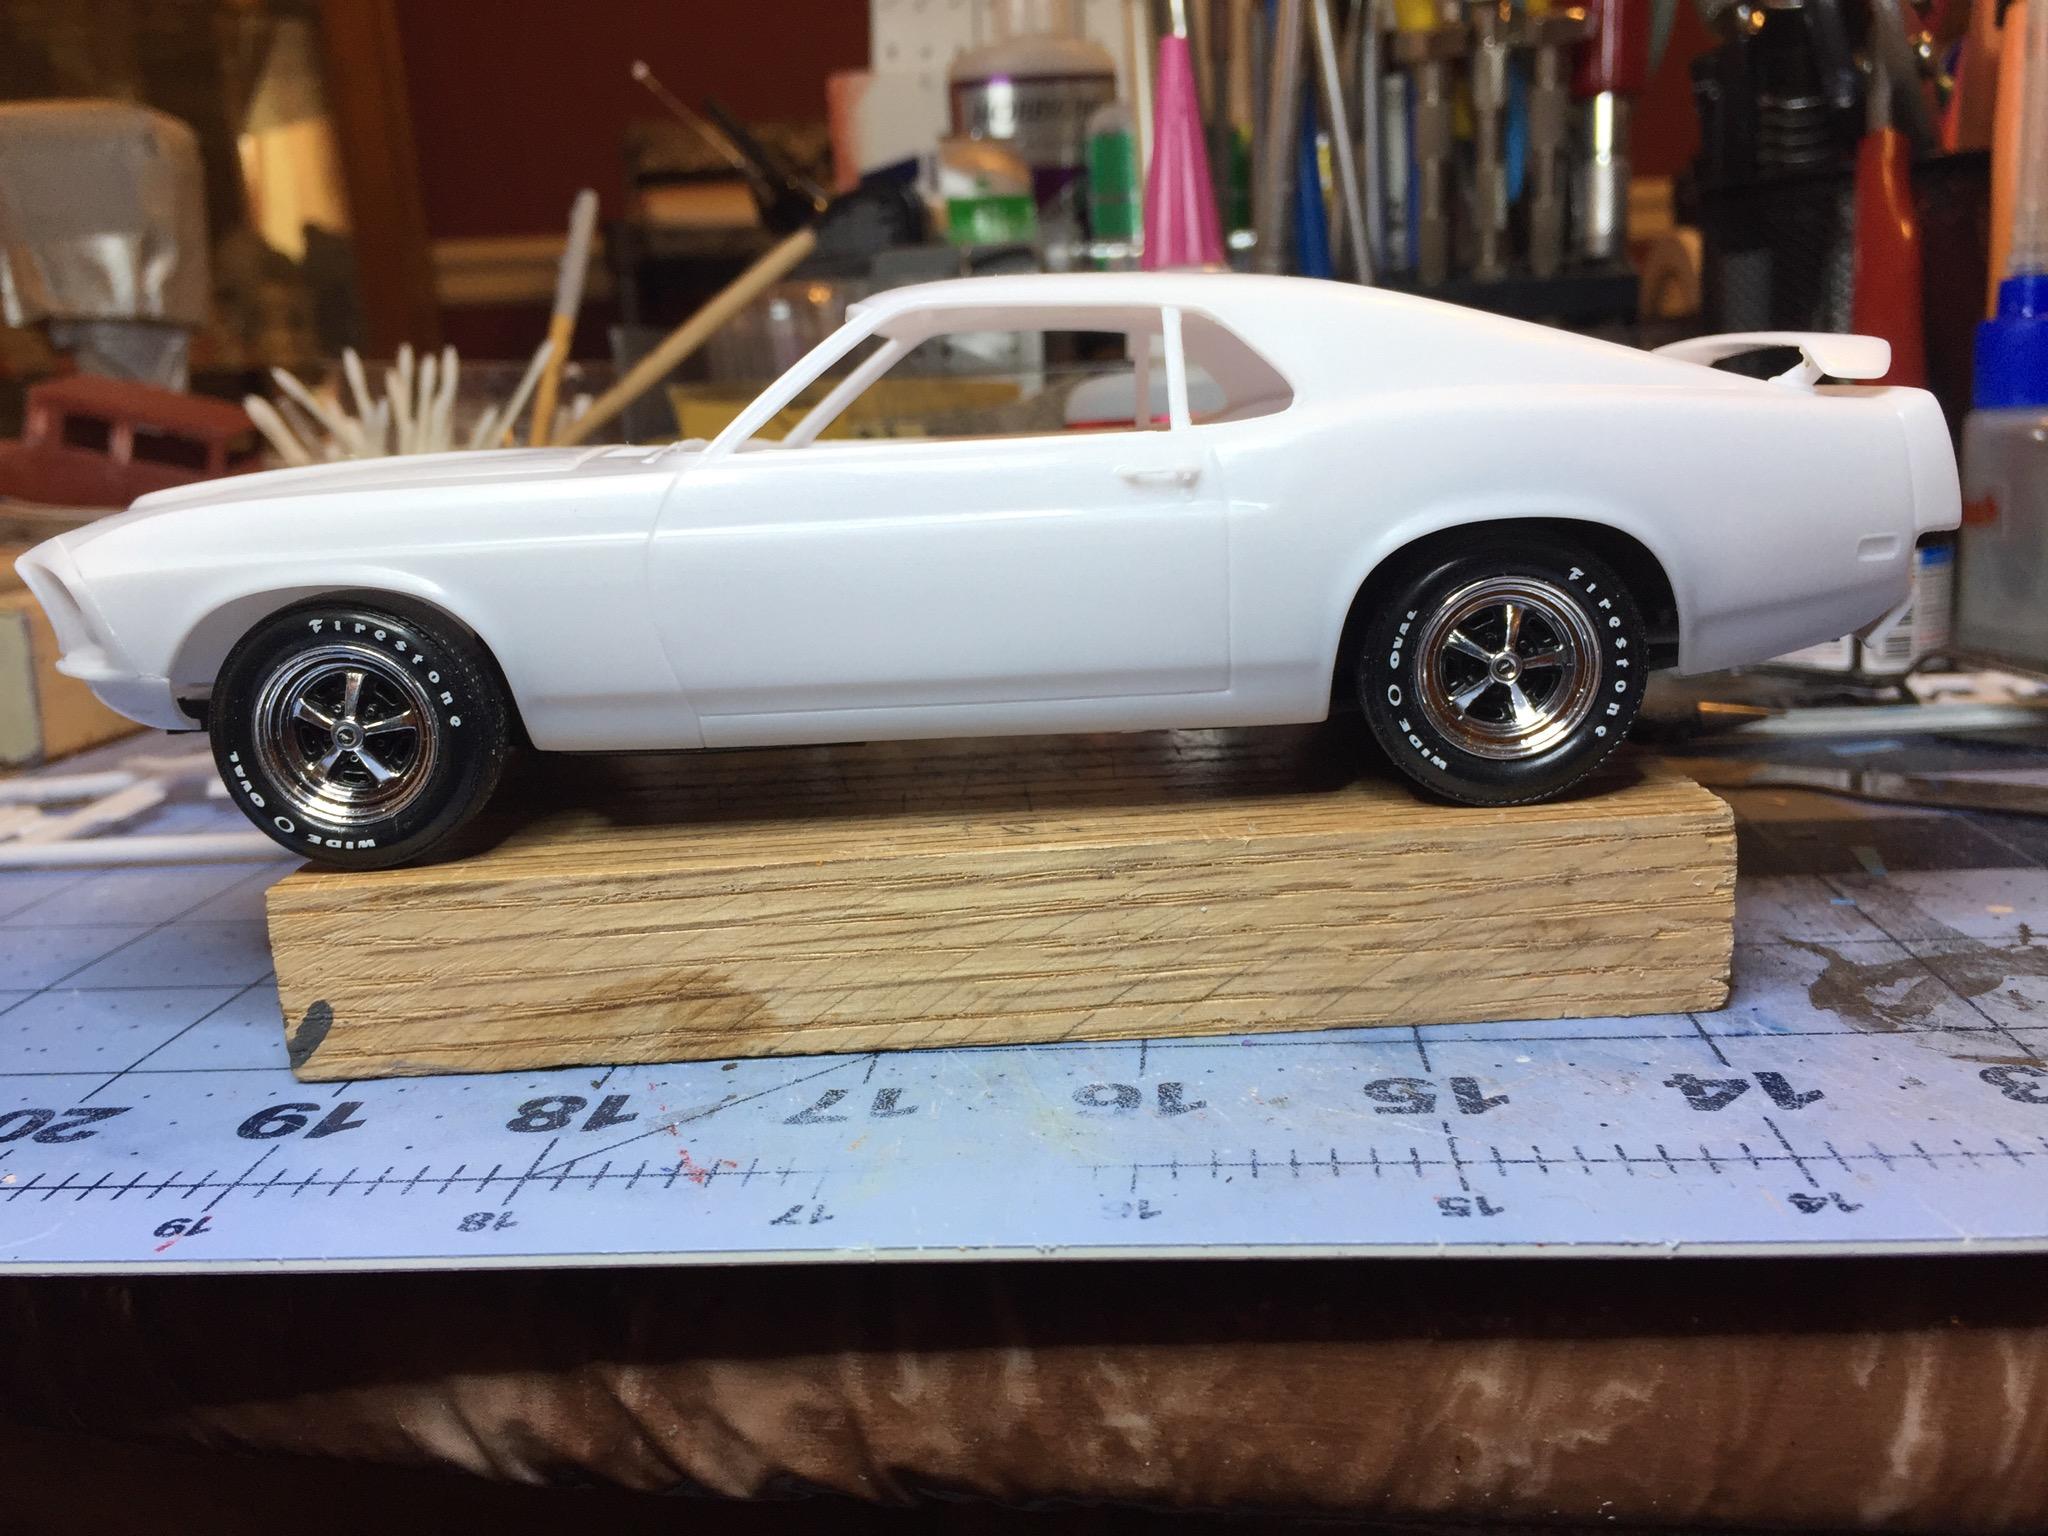
I shaved the badges and handles. Corrected some agregious mold mess-ups on the rear quarters, replaced a vent window pillar, installed the custom rear panel, the custom grille surround and added to the bottom for a full rolled pan (not fun). The custom surround is a little too wide and I didn't want to narrow it, nope, not a chance. Added some scrap .010 sheet to the front wheel openings as a dam for the filler and to hide the ends of the added panels. I applied Bondo to make it all work. Sand, repeat. The thing that worries me is losing the character line at the front between the wheel opening and the end. The necessary filling results in a different, flatter angle. I Installed the firewall( YAY! A FIREWALL!) Had to trim the front of the chassis to clear the added stuff in the front. I did the mock-up with the tires that were in the box. They are L60 15 Goodyears. I need to look for a better set and some "fitting" rims. Keystones or Cragar S/S. If I can find 'em. It will be a street custom. Thinking about making the vinyl top smooth and shiny. My mother's car had a vinyl top. Not my cool street custom. ? Although....if I make it a white vinyl top....with a white interior......I dunno, your ideas are as good as mine. In my mind I'm seeing a very dark blue metallic with a white vinyl roof and landau irons (and regretting it) I guess it could work. ?
-
I knew better. But I was curious. I grabbed the box off the shelf and I was just going to look at.....couldn't stop. Here's where I'm at. I was missing the tail light lens. I noticed that the custom parts in the kit are actually pretty cool, not like that weird asymmetric nonsense in the '63 Impala kit. I had to just check this and that and 6 hours later
-
A beautiful build of a great kit.
-
That Impala is absolutely dreamy,Tim. I've been itching to start mine. Ditto on all the color comments. ? .
-
Agreed, Claude, I'm pondering a recipient of a '53 Ford roof. And another for a '63 'Vette.

.jpg.40386f80a64fa4fe1d0b91cc816d7a25.jpg)

.jpg.ef433986fa923519c2ce77948617d144.jpg)
.jpg.e29e4423c5fb3179b617bb4bd56498cc.jpg)