customline
-
Posts
3,794 -
Joined
-
Last visited
Content Type
Profiles
Forums
Events
Gallery
Everything posted by customline
-
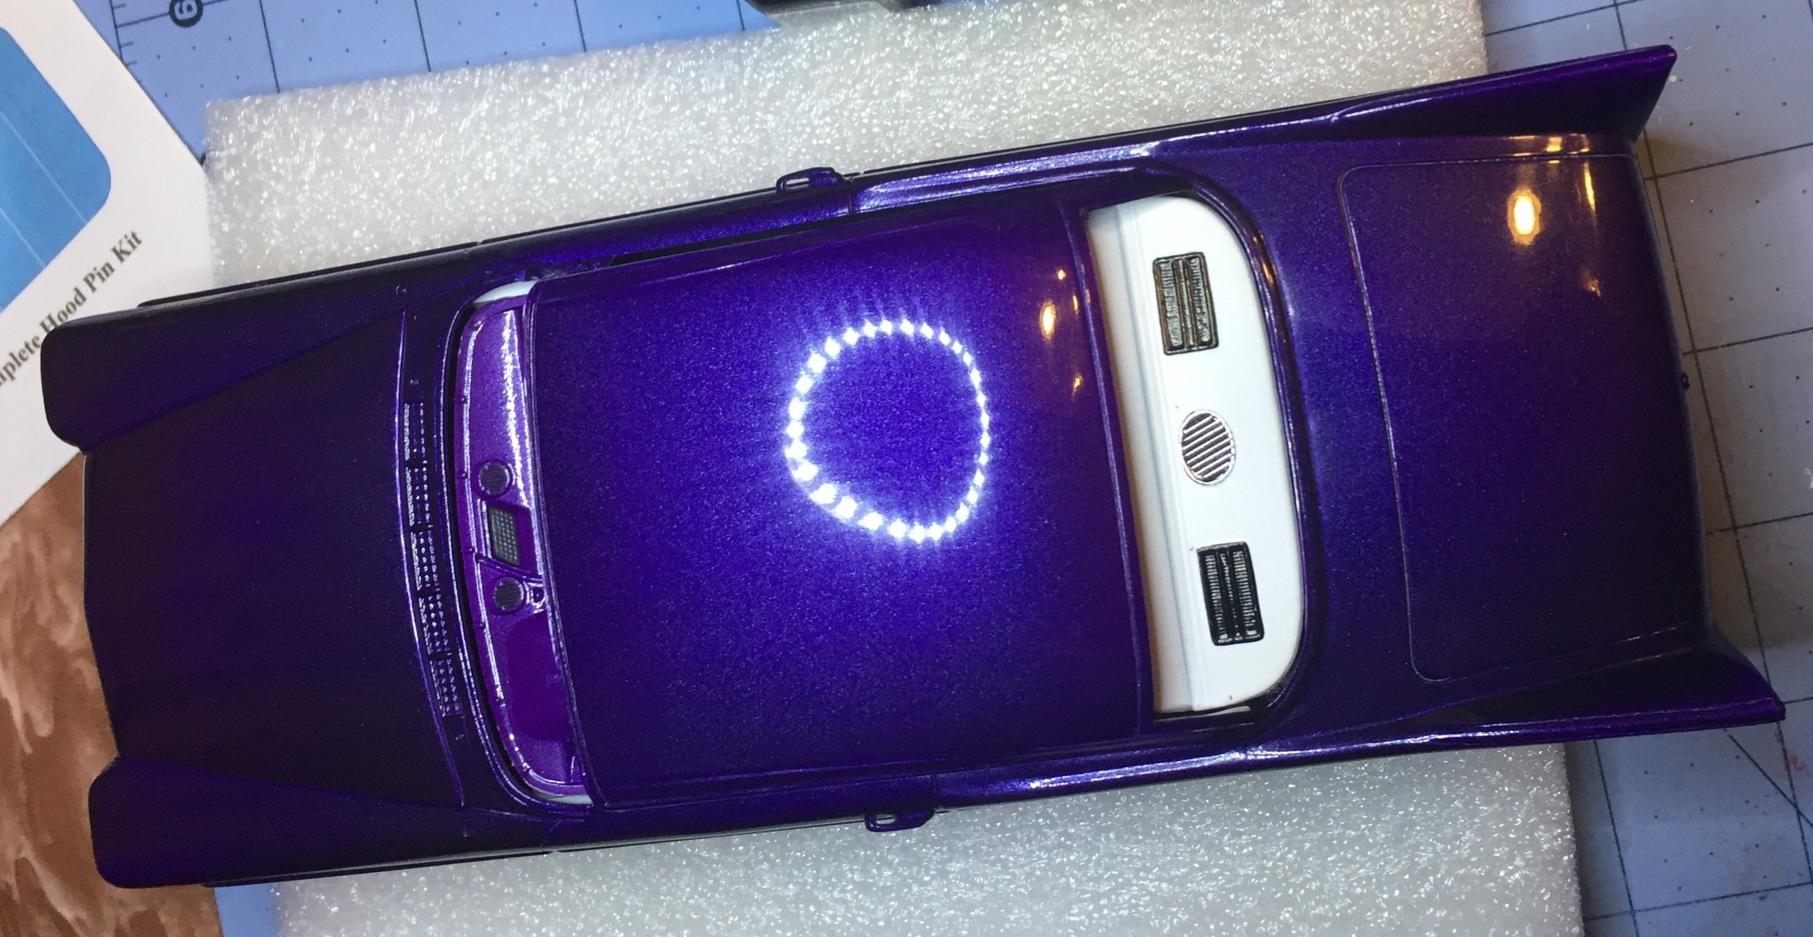
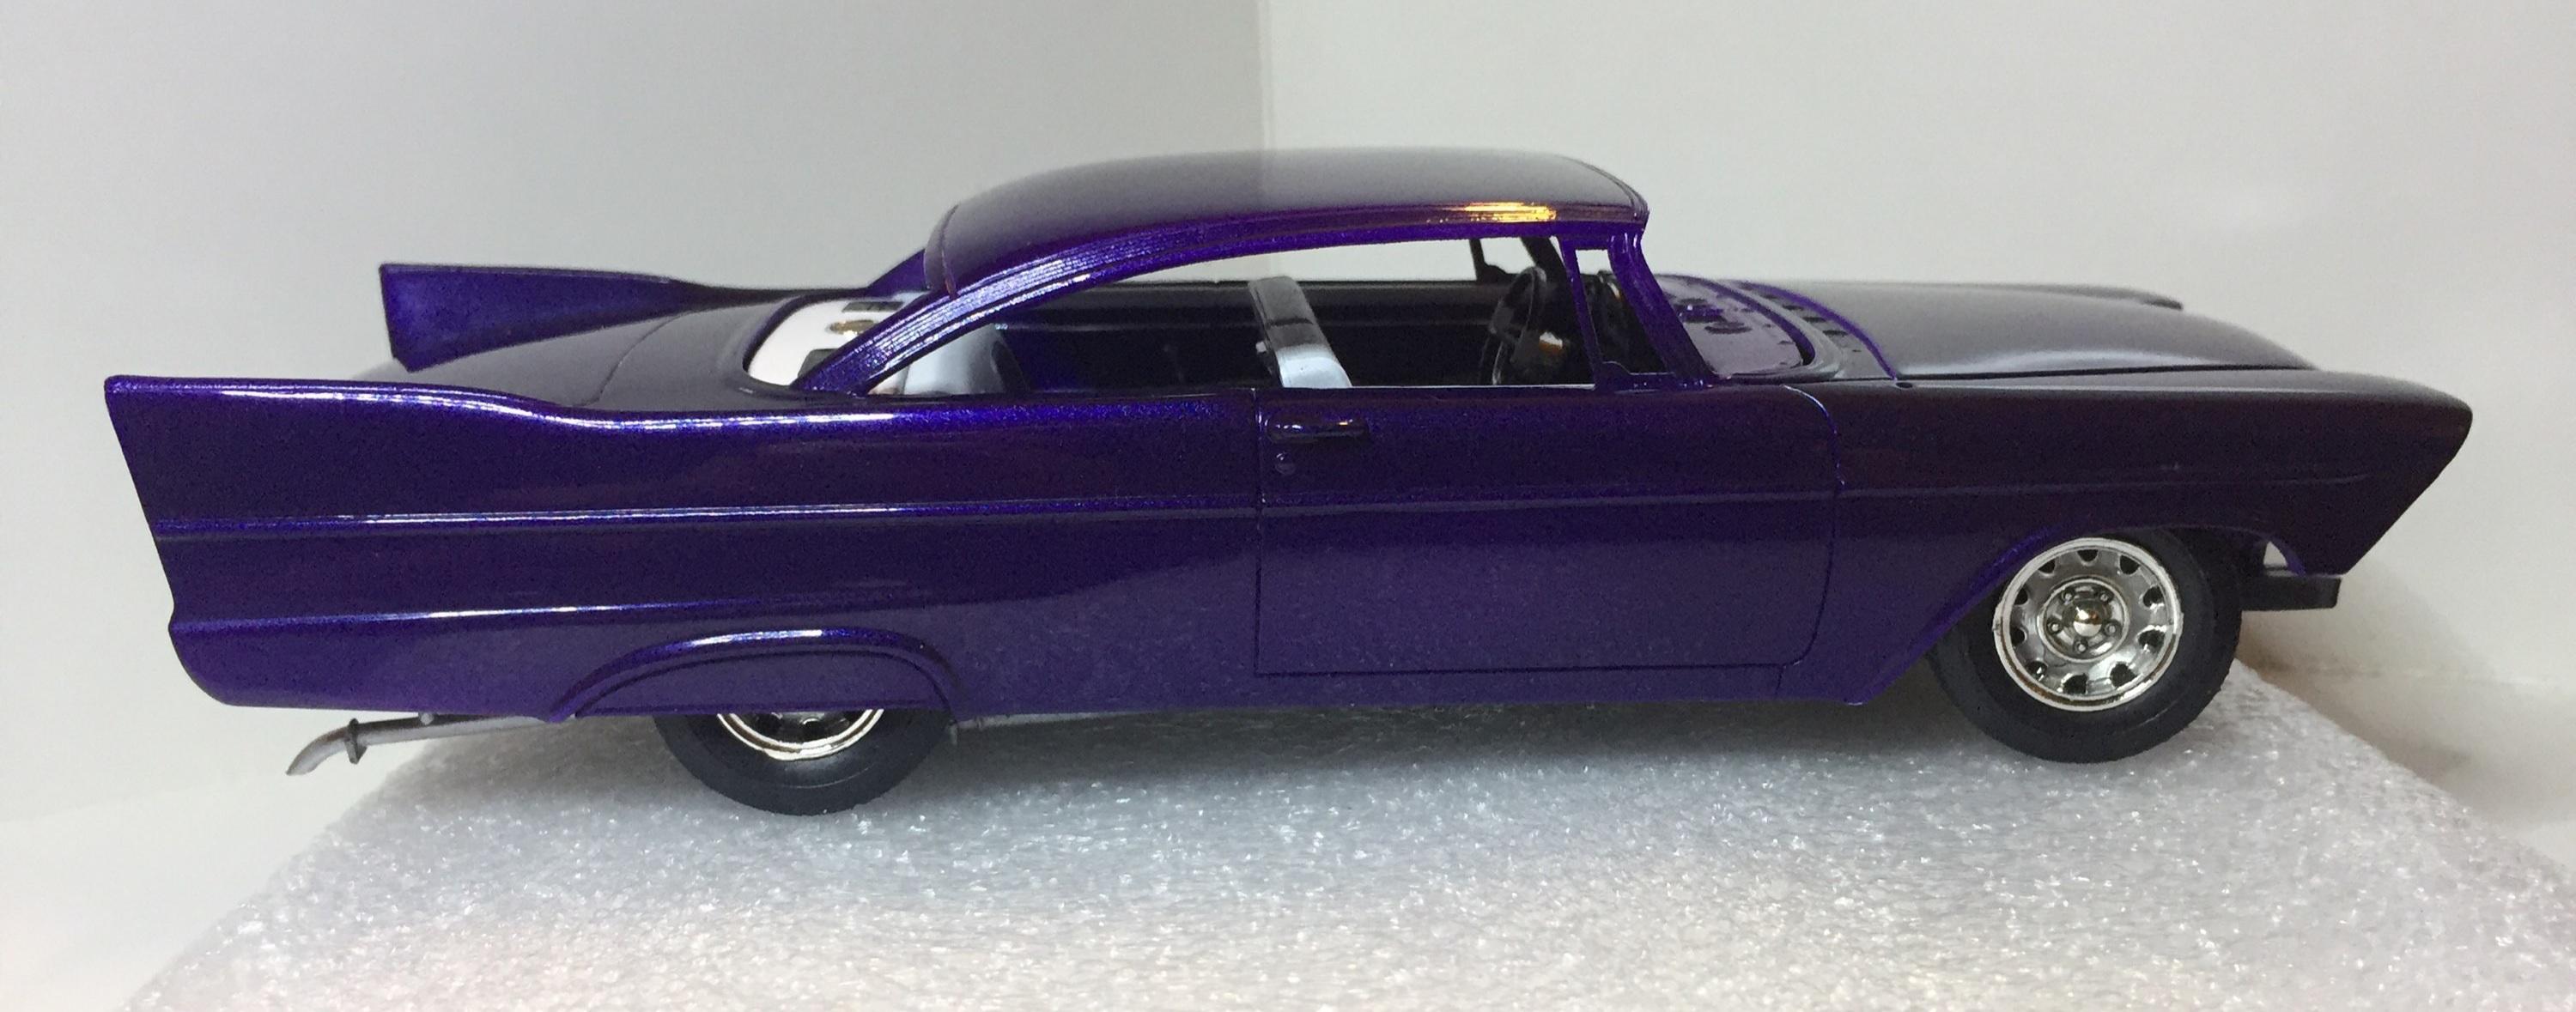
Hello. Remember me? I know, I know... it been a while ?. Anyway, she's finally painted, polished, and getting put together. Here's a few pix to get 'er back on the front page. I'll have more after I finish the foiling. Thanks for looking.

-

'63 Galaxy lightweight planned build
customline replied to customline's topic in Model Building Questions and Answers
It seems I have the 2000 issue and it has only the single quad intake but I must say it's a beauty. The whole engine is super nice. I have a Thunderbolt but it's getting built so no bashing allowed. Those decals look good, Tom, I'm going to check them out. Thanks, Tom. J -
'63 Galaxy lightweight planned build
customline replied to customline's topic in Model Building Questions and Answers
I hope you don't mind me picking your brain, Tom, I don't do this type of build very often and I just hope you can point me in the right direction on some things. I now have both the '63 kit and I found an affordable Starliner (a truly great kit from the looks of it) but it looks like I'm going to need an intake setup to emulate the Tasca car. I think what they ran was a mid-rise Edelbrock with a pair of 650 Holly's. Do you know of an aftermarket caster who has this? I think the 66 427 Fairlane kit might have it but it's getting expensive. Any thoughts? Thanks, J. -
Thanks, David, it's probably best to go to the source. I am on it! ?
-
Hey, David, im glad you mentioned the BMF. Which variety of BMF did you use and from what vendor? I need to get some and maybe I can catch the same lot you got yours from. The stuff can vary...I'm sure you know ?.
-
Oh boy.....coincidentally, I have run into a similar issue today. I may need to cut off my rear wheels so I can move the rear axle housing back 2 mm. It's that or get the dremel out and remove some styrene. I will take the path of least resistance ?. Should you put it back in the box, I'll take that engine ?.
-
Is There Room For Another 41 Plymouth or Two?
customline replied to LennyB's topic in WIP: Model Cars
That nose on the coupe looks legit, Len. You got it. Decide on a color? -
I'm happy to see you back on this project, Len. It's quite an adventure. Lotsa good info. I think I need a much bigger junk yard ? ......but I'm workin' on it ?
-
I will say this about the kit...it looks like they got the engine right. It looks like you did a real nice job on it too, John, as well as all the rest of it. ?
-
Sounds good to me! Let's see....where shall I start? ?....oh.... I know....a choice of two V8s and a six in every kit...and....and four...no, five wheel choices including steelies with doggies and side glass...yeah, side glass in every kit and no more freaking Coca Cola BS....?....oh, and pad printed white walls and raised white letter tires too.....?......and....and....oh, this is so easy....no more metal axles ever.....?.....no holes in the oil pans.....or big fat fans....yeah...
-
I agree about the tires, John. I'll never understand why anyone thought those red lines looked good anyway (unless you had a red car ?). This drag car would be devoid of mirrors but you would think they would still be on the tree. The radio was still there, right? This tells you about who designs these kits. Shouldn't they have an expert making these decisions? Sorry, there I go again...?
-
Yup. Good point, David. The '41 is still sitting there but I've been working on some other projects and have been fortunate with perfect painting weather over the weekend. I'm getting my messes cleaned up. I appreciate the commisseration, David, it makes all this hobby stuff more enjoyable. Hi. Remember me?
-
Yup! Yesterday it was 70 here and the RH was around 25%. I got paint done! Wooo hooooo! And more today! Oh....Sorry, Lenny ?
-
That looks great, John. The wood grain is a nice detail. AMT has apparently used the same interior tub as the previous "normal" street versions. This version attempts to depict a rare lightweight special, a 427 equipped race-ready model. Only 53 were built. They were equipped with "slow steering" to be more user friendly on the strip. No sound insulation, hood hinges, or radio among other things. All were painted white. It seems a roll bar wasnt required to run in the Stock classes; they weren't fast enough, I guess (??? ?). I wonder if they even required a seat belt. I would add one, just to be diligent (but I wouldn't wear it ?).
-
The red one is sweet, JR. I just looked at a couple of reviews on this kit and my thought is that the car depicted for this version is kinda, sorta, almost a Thunderbolt and it wouldn't take much to get it there. Just add a crossmember and some traction bars like the '64 'Bolts. The hood depicts what could be a fiberglass lift-off with those pins on all fours. I'm just thinking of maybe picking this one up. The reviews are good and I like the box art. Was the hood scoop a separate part? Edit: https://www.hemmings.com/stories/article/fe-rocious-427-1966-ford-fairlane-500-427 Maybe you've seen this, but if not...
-
Oh...cool....I can't wait to see the rest of it as it progresses. Why am I not following this one? ? <- that's why....I am now ?
-
Yeah, thanks, but I kinda lost it when the paint crapped out on me. It still needs the battery installed and the body glued down. Too many distractions right now, David. I'm out of my "state" at the moment. It happens ?. but it's looking up ?.
-
Yup. Gotta get out there soon. Ollie's is a good source for bash kits at the very least. I just spent 28 bucks for a '63 Galaxie kit from Hobbylinc and it will probably show up at Ollie's next month for 16 bucks. I have three stores near me and I need to make use of them more often. Congrats on the completion, James, well done for sure! P.S. leave the roof off ?.
-
Thanks, Jeff. Good intel!
-
Hey, John, I see the hood looks like it has pins on all four corners but I can't tell if they are decals or "real" PE items. I'm just curious because I'm in the middle of using the Detail Master kit on a build for the first time ever. I'm also curious about this Fairlane kit as far as the chassis goes. Is it a full detail kit or another old screw bottom? ?
-
That sounds like an urban legend to me, D.G. ?.
-
David, this project is progressing beautifully and I know it's gonna be awesome when it is finally finished. It really looks good and you are in a state! It's a blessing when you get into that "state".
-
I am impressed with the kit that I see here and the great job you are doing with it, James. Very nice work on everything. I would like to get this kit just for the modern chassis that could be adapted for a number of different bodies.
-
Yup. There's some truth. A little common sense usually solves these problems.
-
'63 Galaxy lightweight planned build
customline replied to customline's topic in Model Building Questions and Answers
Ahhhh...OK. thanks for the photos, Tom, these are a great help. The rear end mods look very much like the T-Bolt. I should be able to use my T-Bolt kit for patterns to scratch the mods on the Galaxy rear suspension. To me, the frame on a '57 looks the same but if I can find the '60 kit then that would give me more usable material. This is terrific. Thanks again. ?


.jpg.b7882a315bcad66452adc94fd7920a22.jpg)