Byron5150
-
Posts
388 -
Joined
-
Last visited
Content Type
Profiles
Forums
Events
Gallery
Everything posted by Byron5150
-
Sounds good man, thanks for the suggestion. Thank you
-
Thanks man
-
Thanks so much David, I really appreciate the kind hearted words. The wheels took forever to paint probably a good hour Yea I tried waving at you guys and to try and show the reflection, Im getting better at paint jobs I think. Glad to here you like it!!
-
Nothing's set in stone man. But thanks for the concern. The front end suspension actually broke for this pic, but I do have to adjust it. Stay tuned!!
-
Looking great dude!!
-
Great build so far man!! Love the videos too, and your methods of plastic modeling.
-
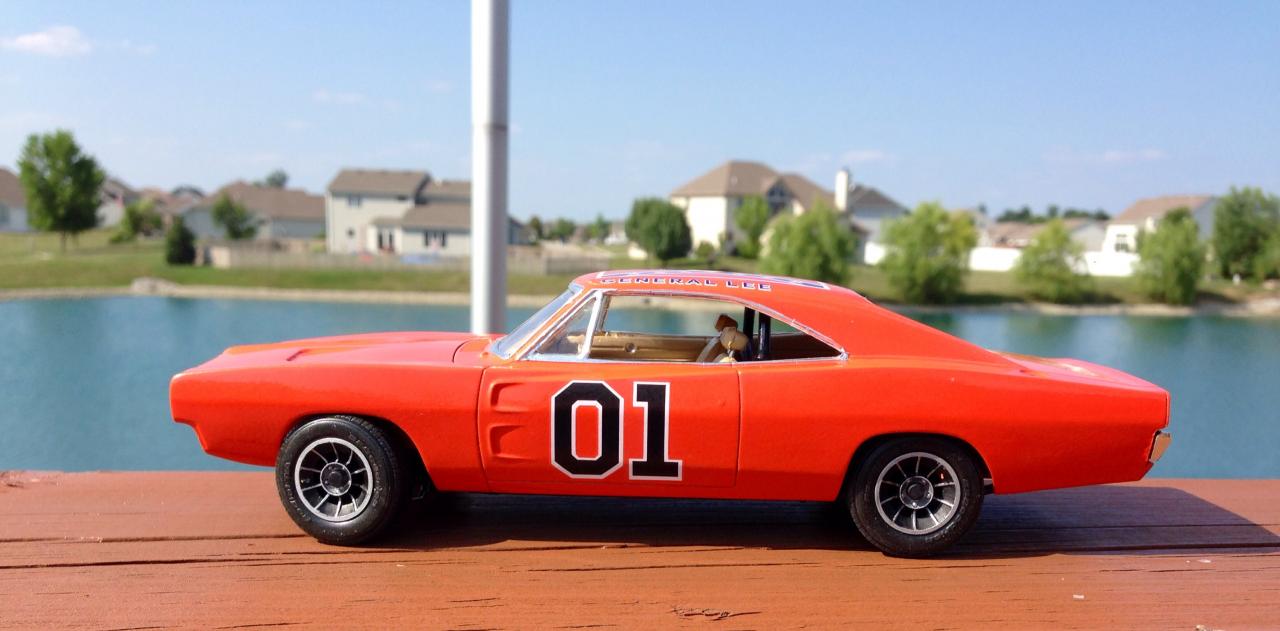
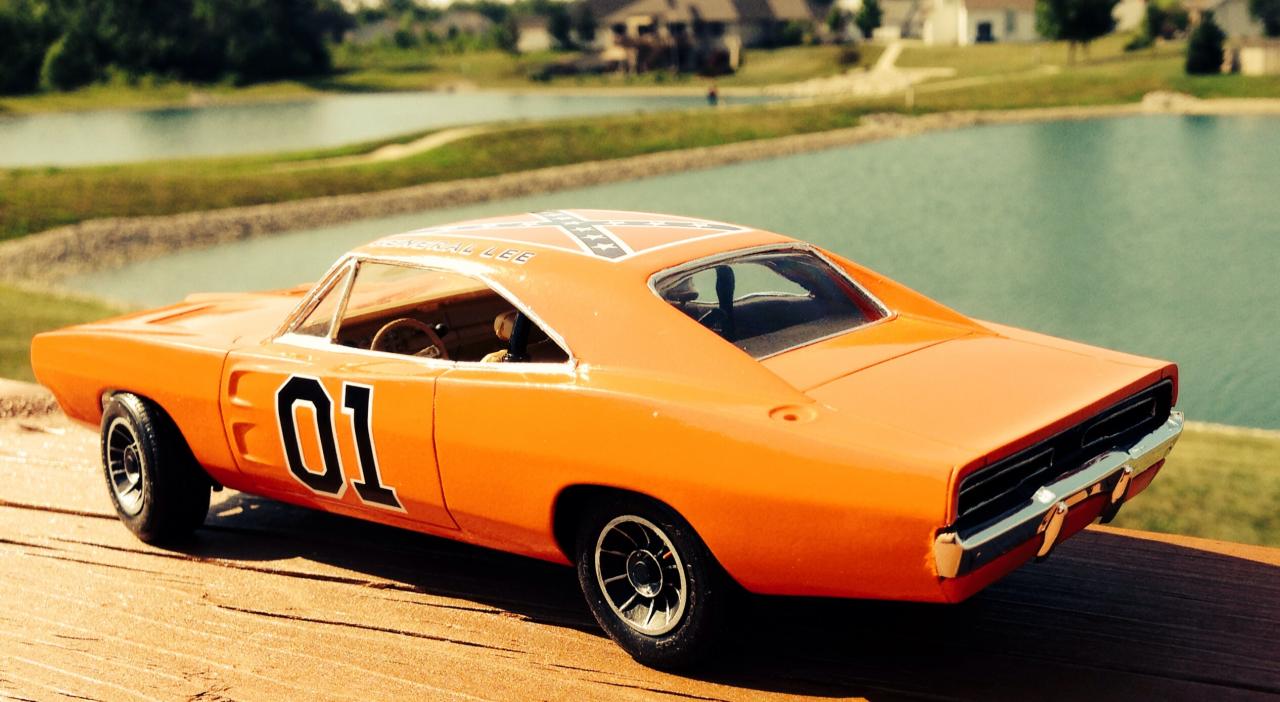
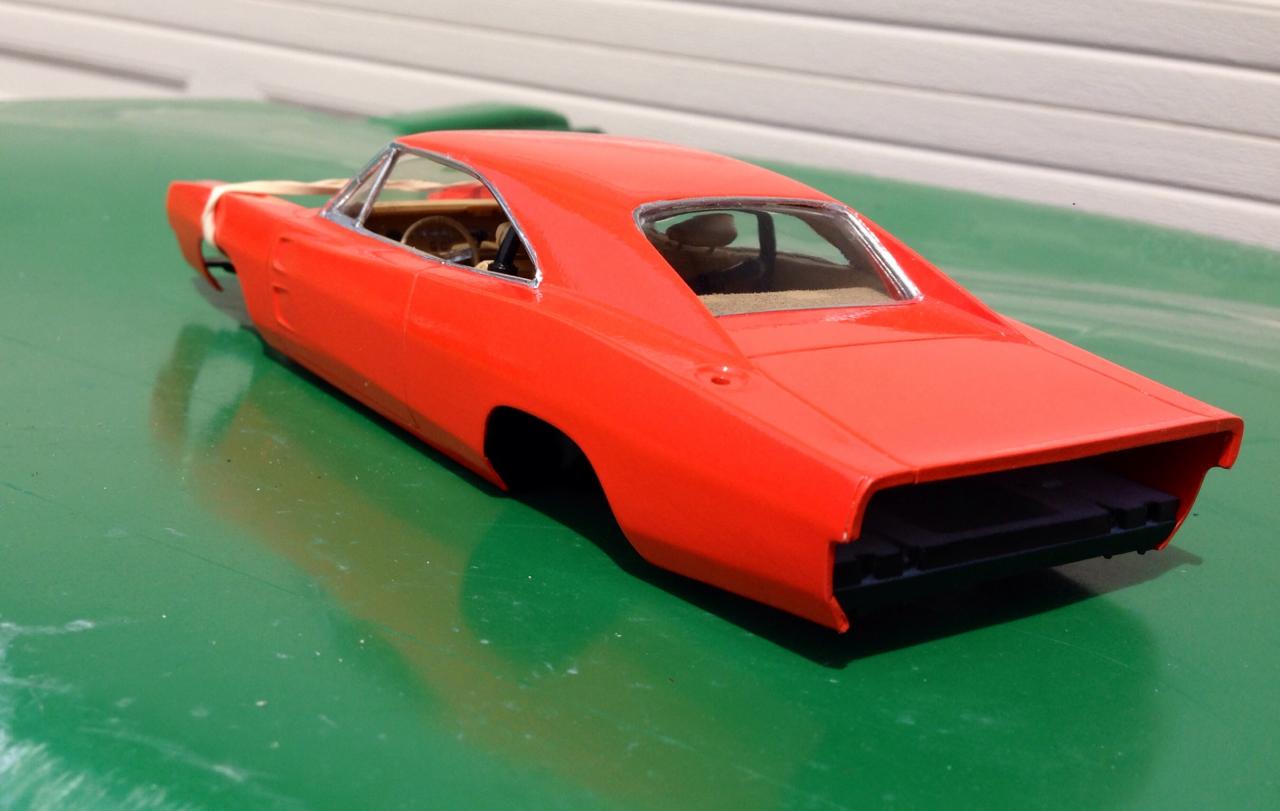
Got the decals on and rear panel on. No wheels are glued yet. I made it a turnable front end. Just to see how the wheels look. What ya guys think? Finally got all of the time consuming things done. So shouldn't be long. It's amazing how an orange charger becomes the general in a matter of two decals Put a filter on the last pic too sort of give that old Dukes Appearance.

-
 Nice save on the front right fender there, I knew with a little patience you'd be able to turn it around. Great job bud. Looks slick on all 4's
 -
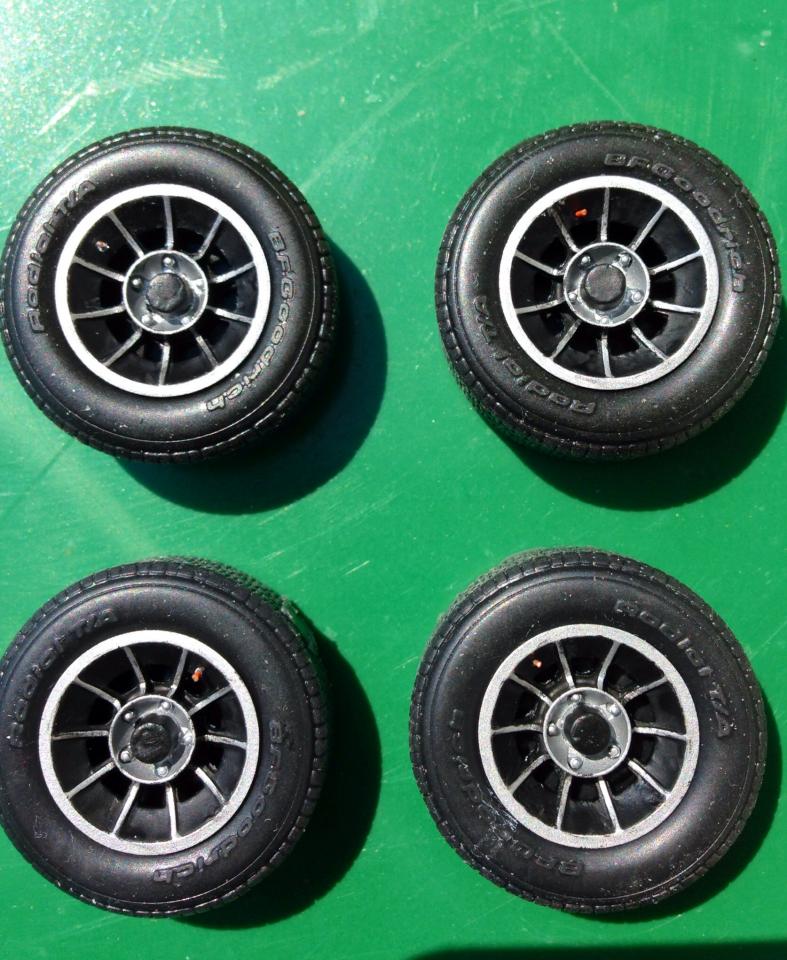
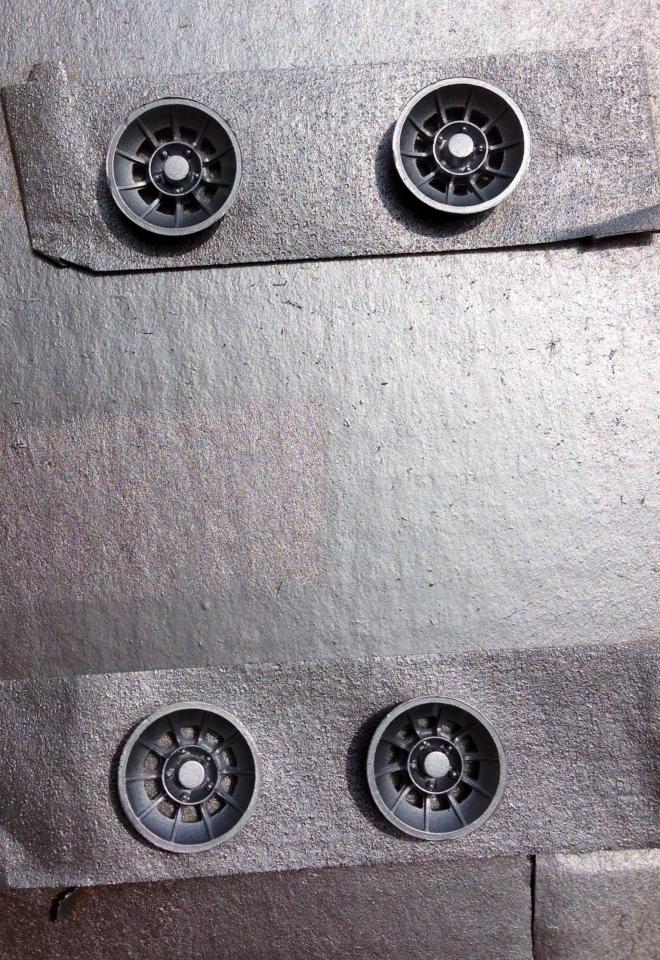
Thanks for the comment and suggestion guys!! I used ignition wire for the valve stems. Heres a pic of them I gotta paint them silver still. Decals are being applied right now as well.
-
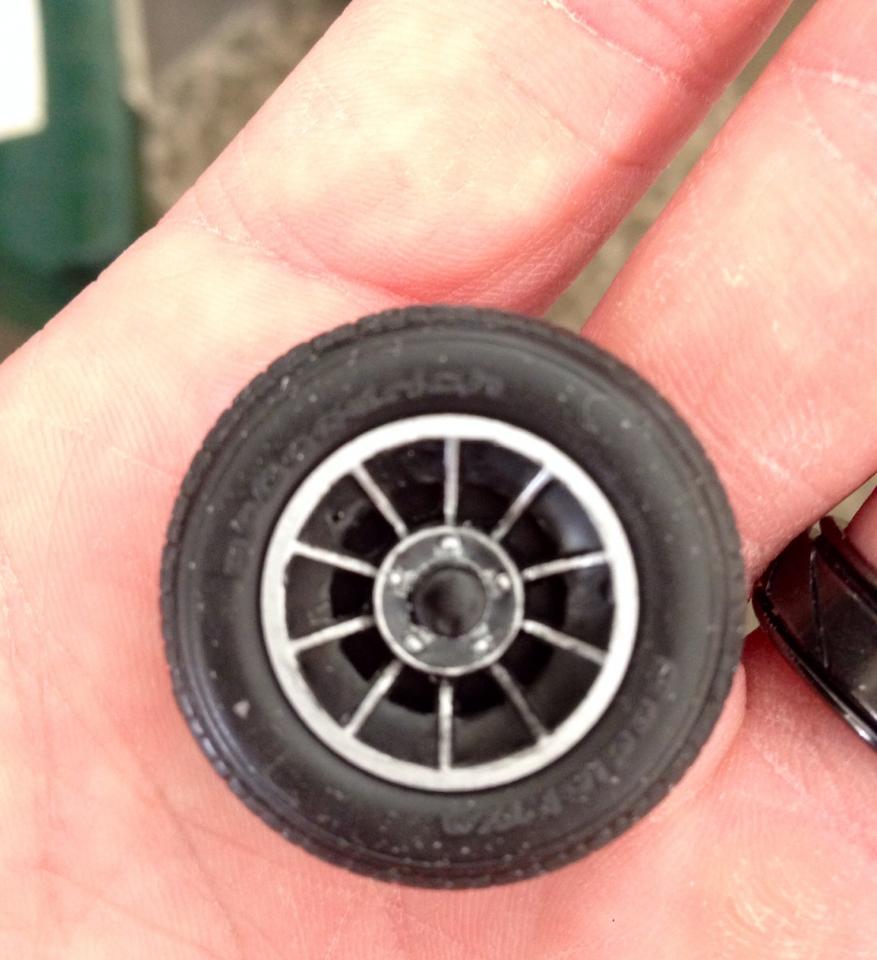
Got one painted so far. Still gotta put the valve stem into place. What do you guys think I should do with the raised letters? I was gonna paint em white and flip them inside out like the real deal. But not very many models come with raised letters any more. Should I face them out or in? Also what do you guys suggest for painting them? I've tried a tooth pic and I've tried pressing them flat... Still comes out a mess.
-
Thanks for the encouragement with the BMF. I may have to just try it with that. Yea I'm glad I found the wheels. Should have them detailed today
-
Dude this looks sick! Nice job so far
-
Looking great so far man
-
Thanks Dyno. I have a good idea on how I'm detailing them. Thanks for the pic!! That's the same one I was looking at! I could do valve stems. I'll do them silver. How do you guys go about thos? Just a piece of wire in it right? Or do you guys try and replicate the valve cap as well? I wanna make my own
-
Thanks bro!!
-
Thanks broski
-
Chopped '50 Olds fastback: Jus' a lil' closer...Oct.1
Byron5150 replied to Ace-Garageguy's topic in WIP: Model Cars
Looking great man. Great sanding and filling and epoxy job as well. I look forward to this build -
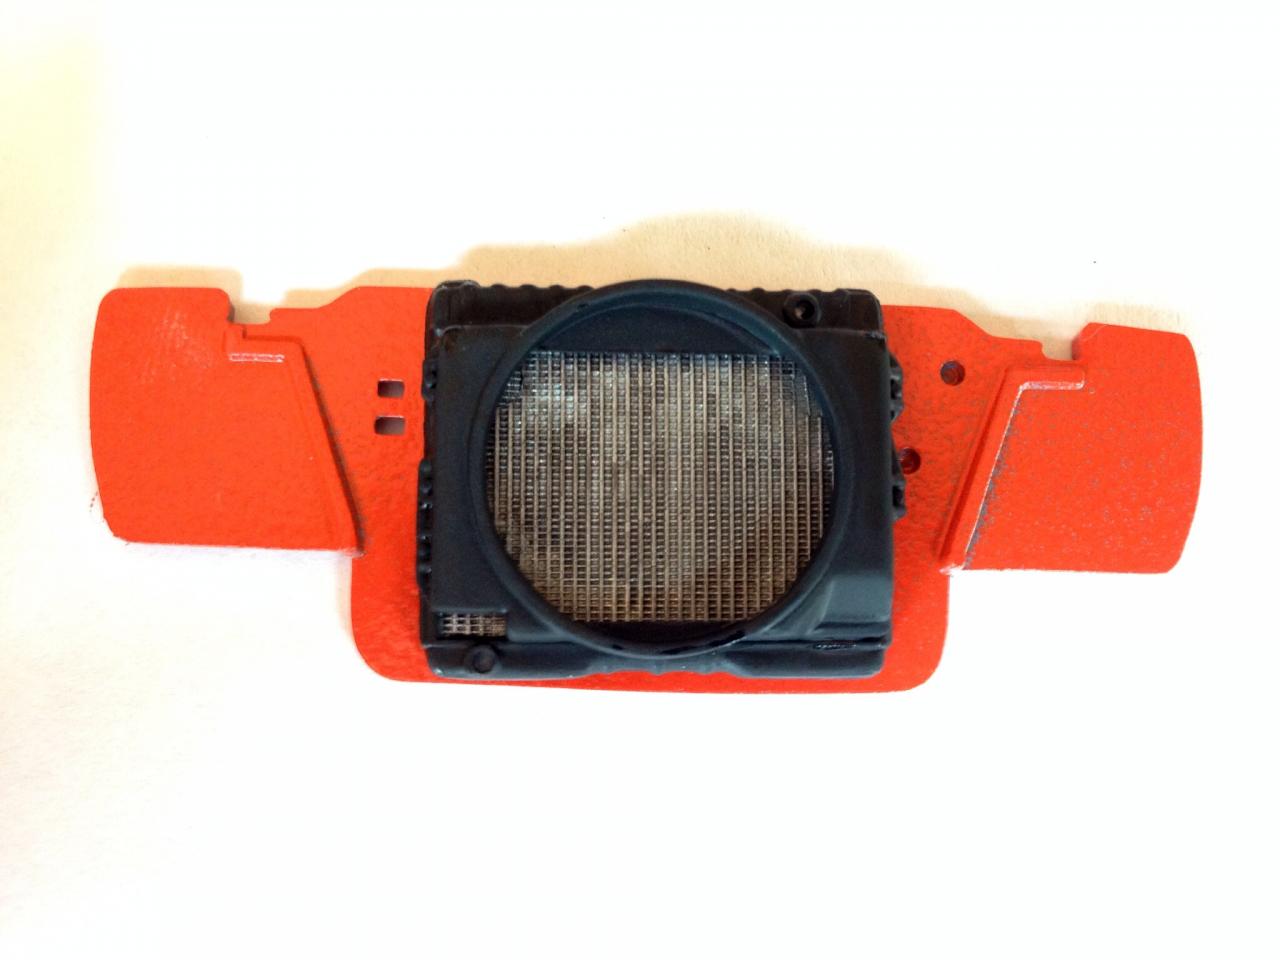
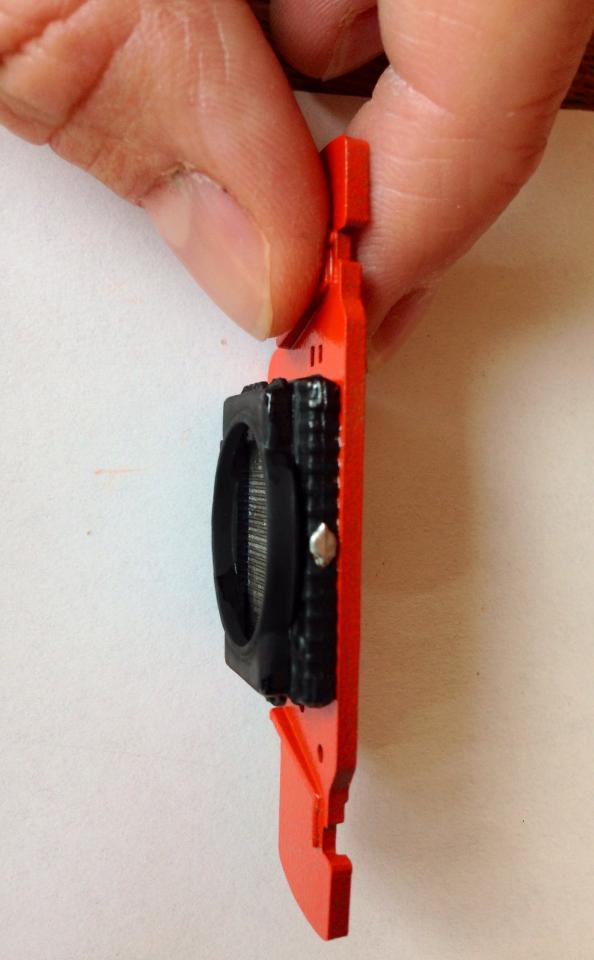
Here's the radiator. Painted it with Tamiya's Gloss aluminum as show earlier. The black washed it. The shroud and outsides are testors flat black. And the cap is testors metallic silver. I went ahead and sprayed the rims with Tamiya's Gloss Alluminum
-
-
Thanks for the color suggestion, although down where the holes are will be black anyways so don't really need a wash there, but the wash might help the aluminum color look right. I think tamiya's gloss aluminum might work ill have too see. Thanks again
-
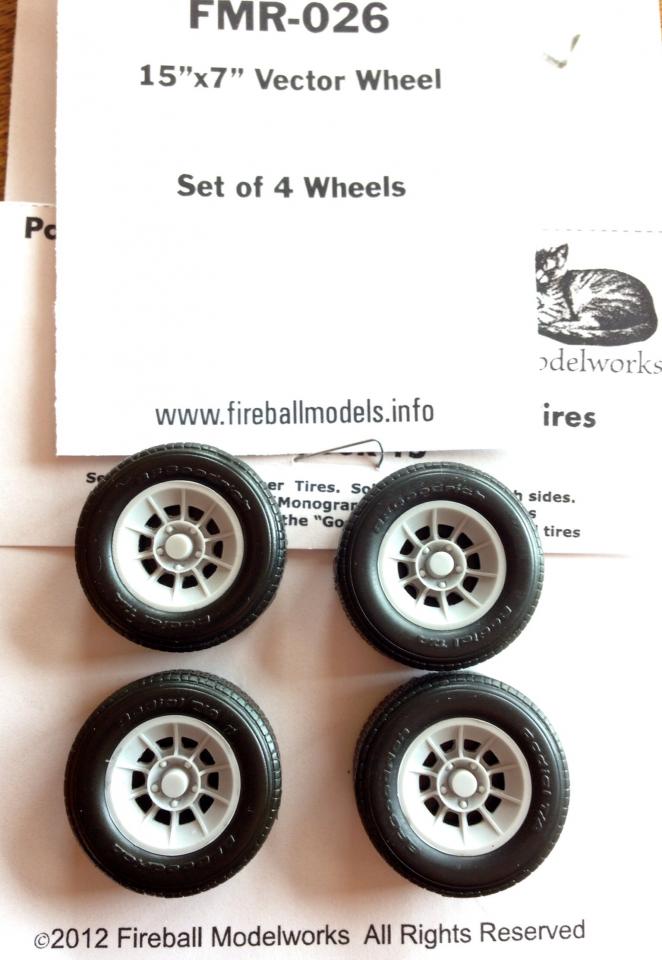
Got the chassis and interior glued in. And also got the BMF done, I'm not proud of the bmf on this car body wise, but I guess it looks alright. I'd like to give a shout out to Fireball Model Works, Aka Chief Joseph. For selling me a set of his accurate vector rims, and amazing cool and grippy tires. What aluminum colored paint would you guys suggest for these?? I have a few silvers in mind but I'd like to here some input. Cheers,
-
Oh I understand ya now. Yea the ones on the show with out the roll bar was the cars that had removable back roll bars for the camera. I cut the roll bar and tried to angle up there but couldn't so I just glued it back to it's normal spot. Thanks for the heads up and picture facts!! Cheers, Byron
-
Very nice job so far, this is a neat project, I've never really seen to many modeled camino's so this is awesome!!
-
Did you clear this? You may be able to wet sand and buff it out if your careful wet sanding, if not I think your masking and air brushing that spot would work fine. Also you may be able to clean some of the glue off depending on what the clean up method is for your glue, if it will mess the paint up then forget it. Like tamiya is suppose to be cleaned up with water, so personally I'd use some water mixed with a small ratio of alcohol, and hope it takes some of it off with ruining the paint there, that's based on the normal paint & glue I use That may help aid in with the wet sanding, I'm sure with whatever you do, you'll be able to get that spot looking just how it did before the Mishap. Good luck bro, and sorry to hear that!
-
Thanks man, very true