Byron5150
-
Posts
388 -
Joined
-
Last visited
Content Type
Profiles
Forums
Events
Gallery
Everything posted by Byron5150
-
Thanks bro
-
Very nice!! Awesome looking green to!! I thinks that's the same green I see on my nova
-
Incredible work so far. Nice mock up, I'll definitely being watching this closely!!
-

Revell's '69 Camaro Z/28 RS (Second Build)
Byron5150 replied to SpeedyOne18's topic in WIP: Model Cars
Looking great so far mate -
Incredible detail and work on this. It was a pleasure watching this build.
-
You are indeed correct the 4 speeds are A833, and the 3 speeds were A230. As for the torqueflite your probably right it's the name of the automatics
-
Thanks bro!! And I apologize if I came off too strong on that post I was just letting u and everyone else know that it's a good alternative. Thanks for the comment Byron,
-
Thanks so much man!! You are correct I just edited the post it's still a torqueflite. I googled it but didn't find an exact #
-
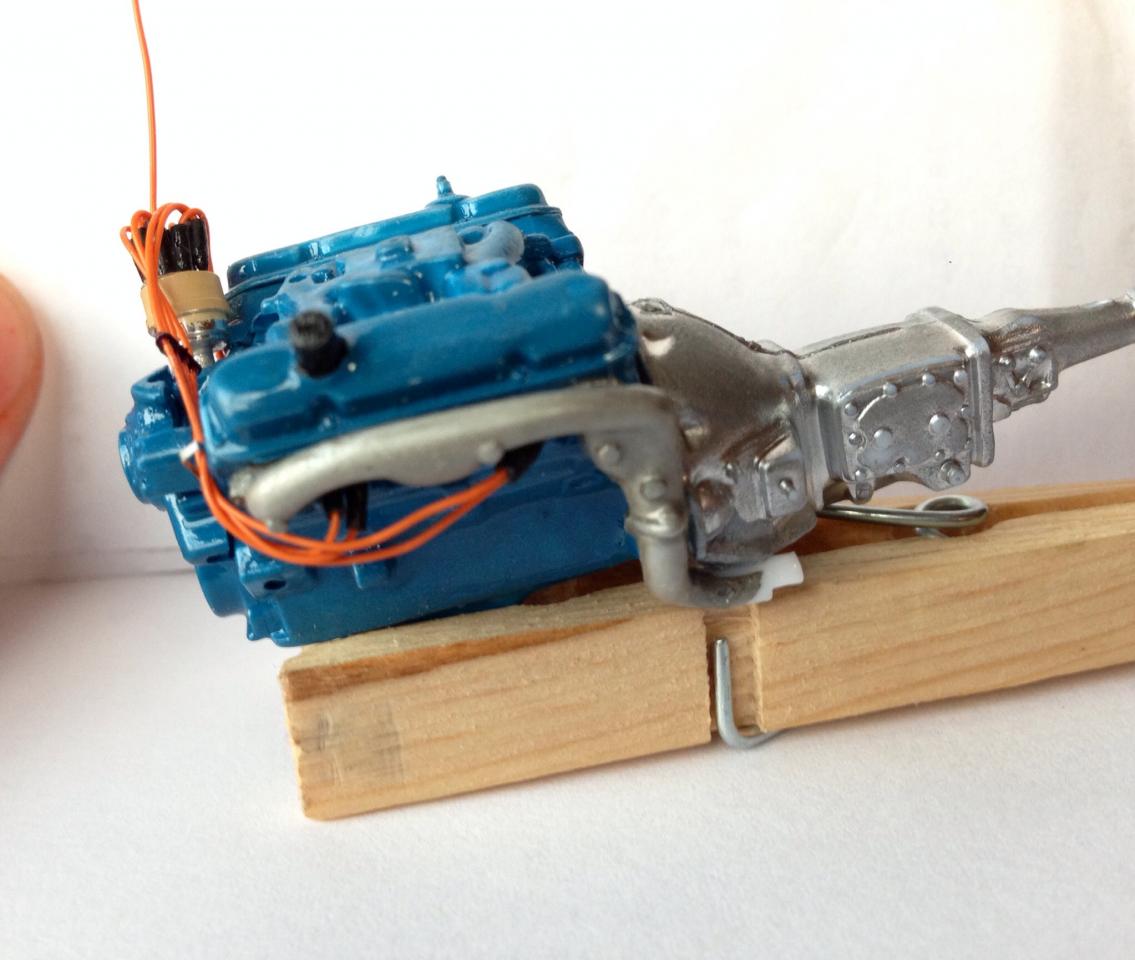
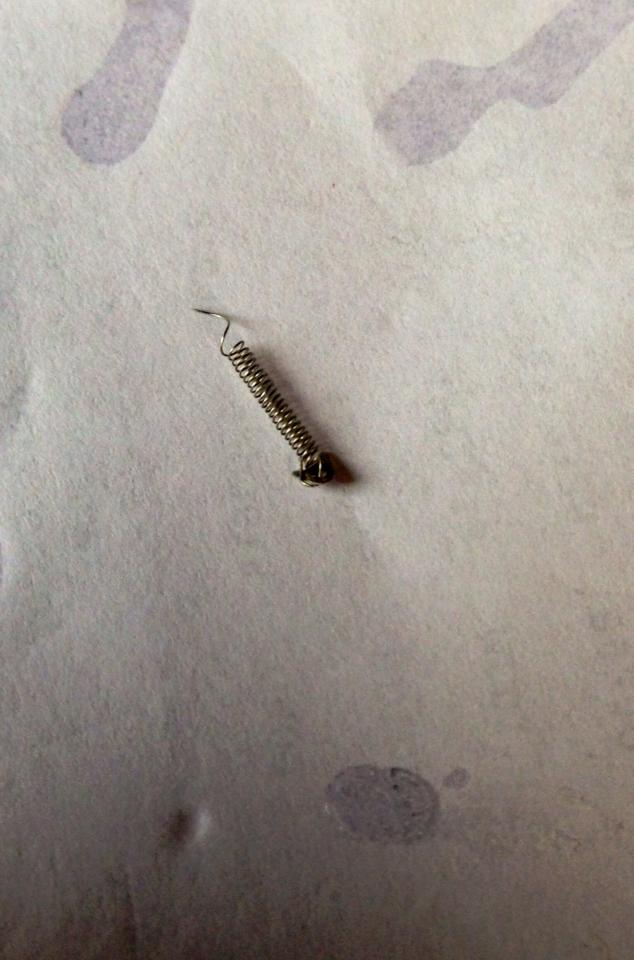
Alright took me about 5 hours to install the distributor and it's plugs. But she's done and I will say I like my engines having plug wires and will never make a model again without them. Unless it's a curbside kit or something where the engine doesn't need to be shown or something. Got the A833 4 speed transmission installed. As a helpful member told me it wasn't a torqueflite 727. Should have googled it The carburetor is being stripped in bleach right now. Also here's the return spring I made and a bracket put on it from my distributor kit. It's hard to see the bracket but you guys will see it when I mount it. Happy modeling , Also I think plug wire #8 is suppose to wrap around the backside of the manifold on the left side of the engine facing us, but I didn't have the wire long enough, and I don't wanna ruin what I already have done.

-
I can't wait to watch this progress. Should be interesting
-
Thanks man. Didn't even see them I guess I was worrying about other detail so much. I'll get them sanded out before I test fit Cheers, Thanks mate
-
Thanks man!! Honestly I wasn't saying that I use foil tape, because it's my first time using it. I was saying that's what I use. I've used it for at least a year now. That's what I used on my recent 69' nova, and I've used it on the door trims on this interior, basically when I say I BMF'd something that's what I'm using. I was just letting you guys know that's what I use and personally I think it's better for the money. As long as your paint is perfectly dry and you only push it down on where your conforming the lines too, there's no stick issues or anything. The only thing I will say for downfalls so far, is the colors that actual BMF have versus the tape I use. If you want black chrome, or ultra chrome or anything else, get BMF if you want a basic chrome look. This tape works fine for that. It was more of a tip, rather then me being new to BMF Hope this helps. Cheers, Byron
-
Thanks bro!!
-
This looks great so far nice detailing!
-
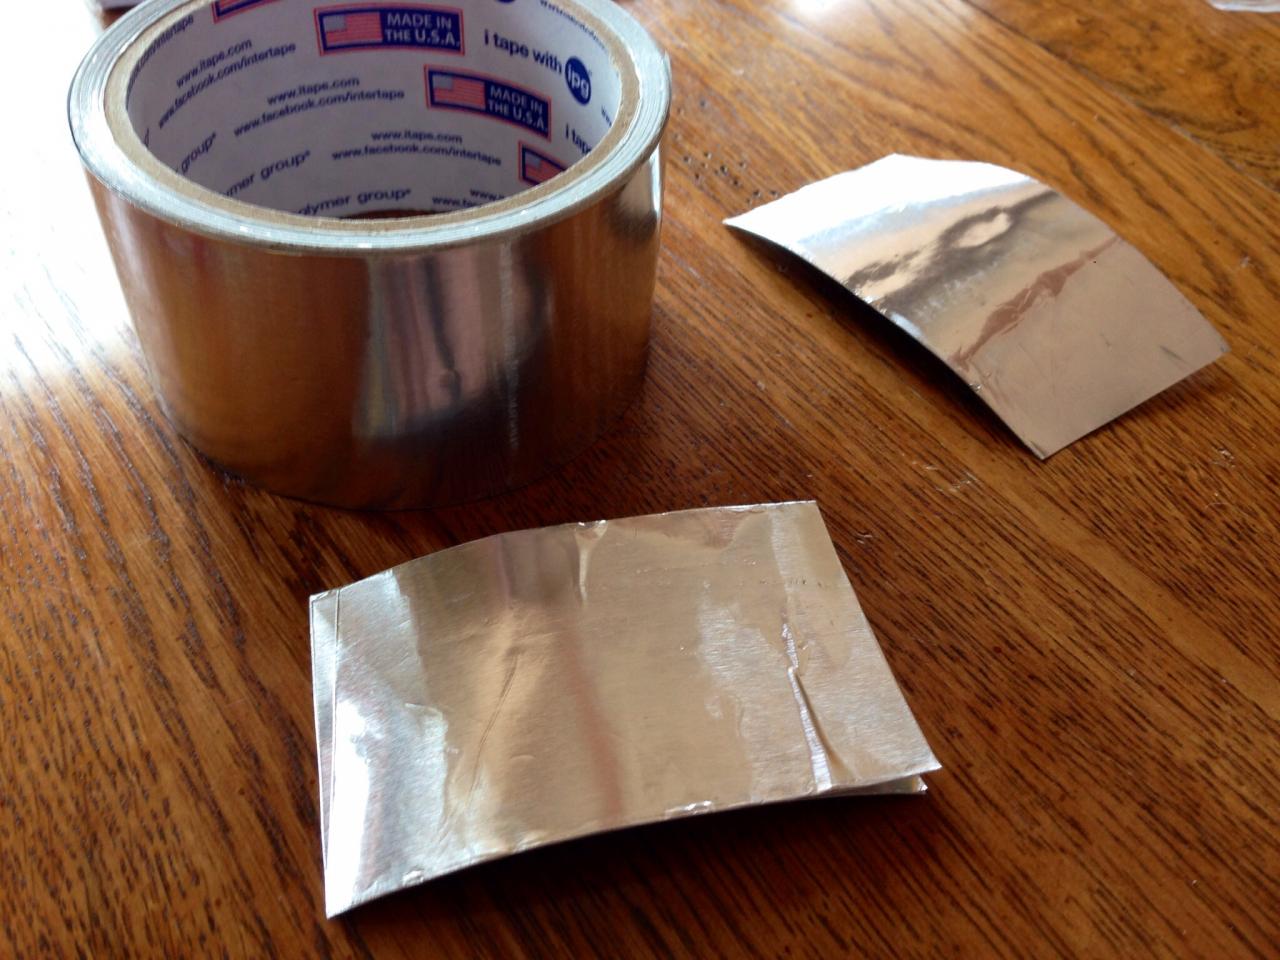
Got the body waxed with Mequiars Cleaner Wax Just have to BMF it and it will be ready for decals. Here's what the body looks like now. And here's my BMF it cost 4-7$ at the hardware store and you can do two cars almost 3 if you cut it right with a 2-3" piece and it's a 30' roll I think it's a little more well spent money wise then 1 sheet of Actual BMF. Also the interior is all done being painted. Now I have to mask and paint the underside of the hood. I could have filled/ removed the sink holes in headliner but you won't really see it unless u look hard at the roof Cheers, Byron
-
Alright got some of the plug wires ready and got the distributor painted and stem is glued in. Used the same color as the interior. It's been pretty easy so far. I have 8 for the plug wires and 1 extra for the coil. Happy modelling
-
Revell's Original Mini Cooper Final Assembly
Byron5150 replied to microwheel's topic in WIP: Model Cars
What an amazing job on the trunk there. I hope my modeling gets this advanced in the future. If I tried that Id be calling Revell and paying for replacements -
Thanks for the heads up I was wandering this my self. Although I could put a few drops of CA on it. Thanks for the comment I hope the engine detailing goes as smooth as everything else has so far. Cheers, Byron
-
Are you referring to the padding I added? You say that should be above the angled piece. Thanks man!!
-
Chassis and engine is looking great!! Nice factory markings and heat stains
-
I think that would look great on it!! Really fits well for a custom
-
Thanks mate
-
Sorry I meant too say it wasn't available after 1971 from the factory. I thought it would be good information but it doesn't really relate to your project. Sometimes I add useless information
-
Looks great bro!!!! Really nice work! And that grill does fit well nice job.
-
Got the roll bar finished by adding padding. Aka flat black electrical tape. Trimmed down to 1/2" for the driver and passenger sides. And used the normal width for the middle brace. Each piece was about 2" long and rolled. I think it looks pretty scaled. If I didn't mention before, I cut off the fire extinguisher. Also the roll bar is from the 68' charger 2/1 kit # 85-4202 It's not glued in yet in case there's fitting problems which there shouldn't be since the kits are literally exactly the same even down to the part # Cheers, Engine detailing starts tomorrow!! Byron