Byron5150
-
Posts
388 -
Joined
-
Last visited
Content Type
Profiles
Forums
Events
Gallery
Everything posted by Byron5150
-
Thank you!!
-
Looks nice
-
For 1970 only, base hardtop and R/T hardtop models could be ordered with the more luxurious SE specification, which included leather seats, a vinyl roof, a smaller 'formal' rear window, and an overhead interior console that contained three warning lights (door ajar, low fuel, and seatbelts). Also mopar are you going with a 1970?? I just wandered because I'm not sure how accurate you wanted to be, because the shaker hood scoop wasn't available until after 1971 So wasn't sure if that's what you were doing or not.
-
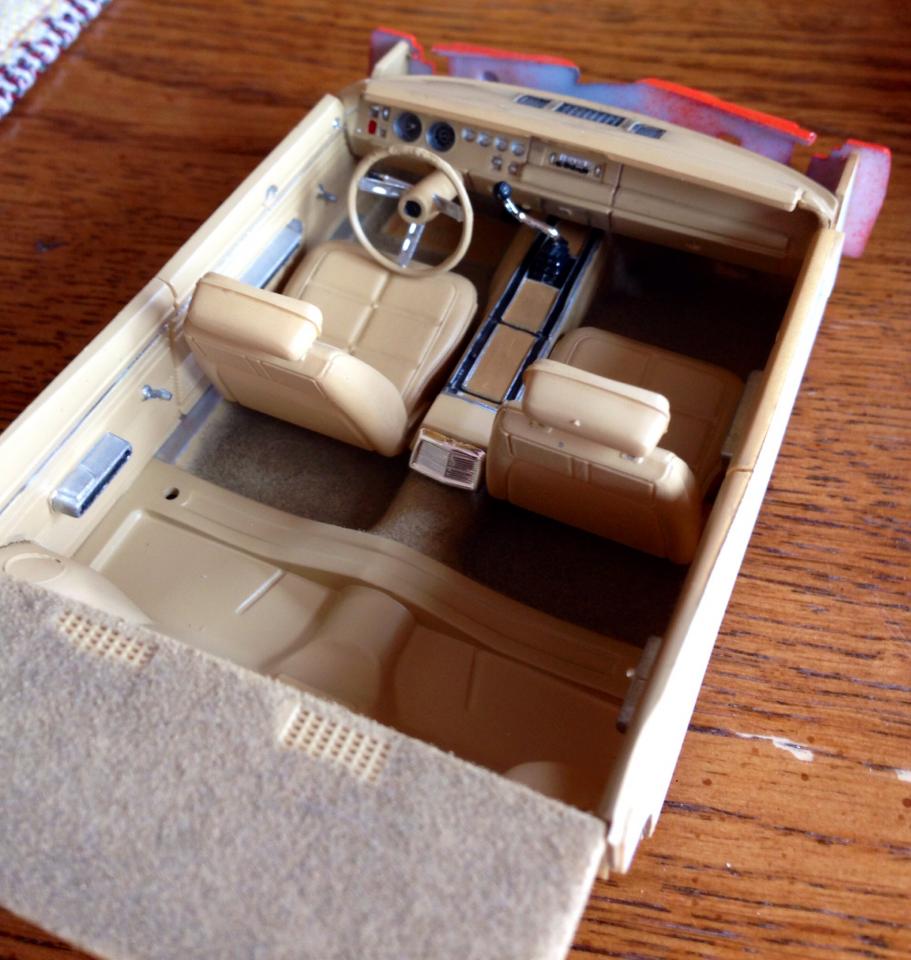
While we wait and I wait. Here's a few pics of the interior tub. Basically finished just gotta add the roll bar. I thought about doing the whole cage but will see I didn't paint the inside of the fire wall mainly because I got lazy and secondly you just won't see it once the bodies on. Heck you can barely see the pedals now

-
Thanks bro!! I'm using the ones from an mpc kit I required from a fellow modeller on here.
-
Thanks for the tip man!! There a lot more flimsy then they look I'll try not to get frustrated . And I have a back up 440 engine from the kit in case something goes wrong. Then engine built now is from my 68' charger kit.
-
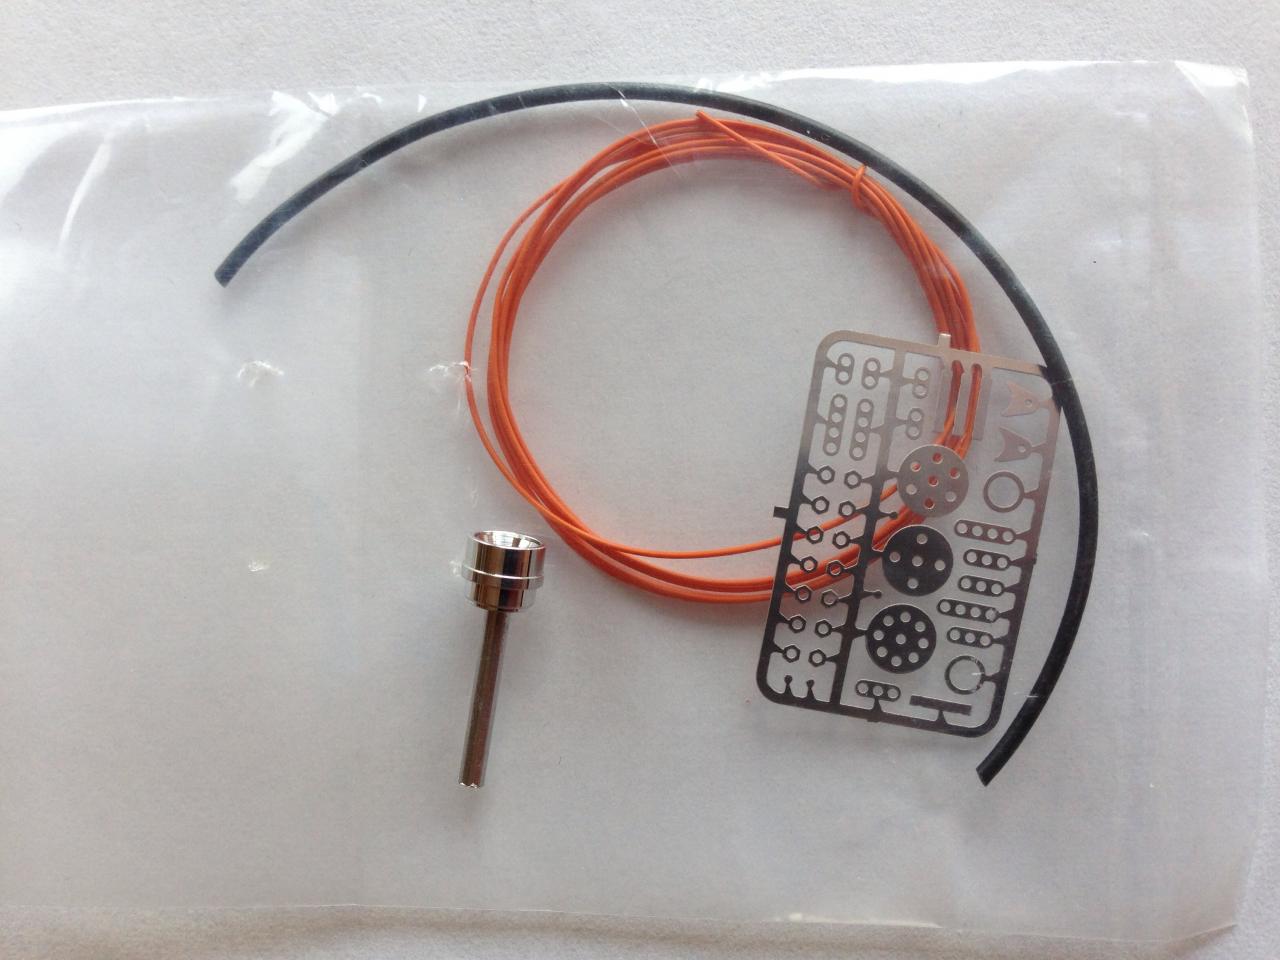
Here's the detail master distributor kit. This should be fun I've never done any photo etch or wires like this before. And the pic diagram for it is all blurry. Good thing I have a link to a pro model tip. Still waiting on rims and tires. I ordered some Mr. Mark setter, to help aid the decal to sit nicely and to help aid the silvering effect. I will say that Mr. Mark softer easily makes the decals look realistic and not decalish Also I know some people say that softing solutions can melt decals. But revells instructions due in fact say that you can use setting/softer solutions on there decals, so maybe they make them a certain way so they won't melt if too much is applied. And also waiting on my pin vise. I wanna wax the body before decals so those are on hold. Also I'm hand painting the inside interior on the body, using Tamiya's light tan. Because I didn't feel like taping/masking So still gotta finish it up but here's a progress pic and the distributor kit.
-
Thanks man! Thanks mate.
-
Welcome back to modeling. Very good progress so far it looks like junk (Meaning you did one heck of a job with the dents and dirt) Look forward to seeing more
-
Good choice for the interior the blue will look good in it
-
I almost always go box stock, color and all. Looks good so far, I love the green
-
Thanks I appreciate it Hopefully my rims and other details show up soon
-
Lawyer? I was just acting like it was getting sold from a private garage lol
-

Dusting Off More Old Projects - 49 Ford Sectioned Custom
Byron5150 replied to GasPunkAlley's topic in WIP: Model Cars
Neat project -
This an amazing build for sure!! Just got done over viewing the build process. Definitely cool!!
-
This will be cool
-
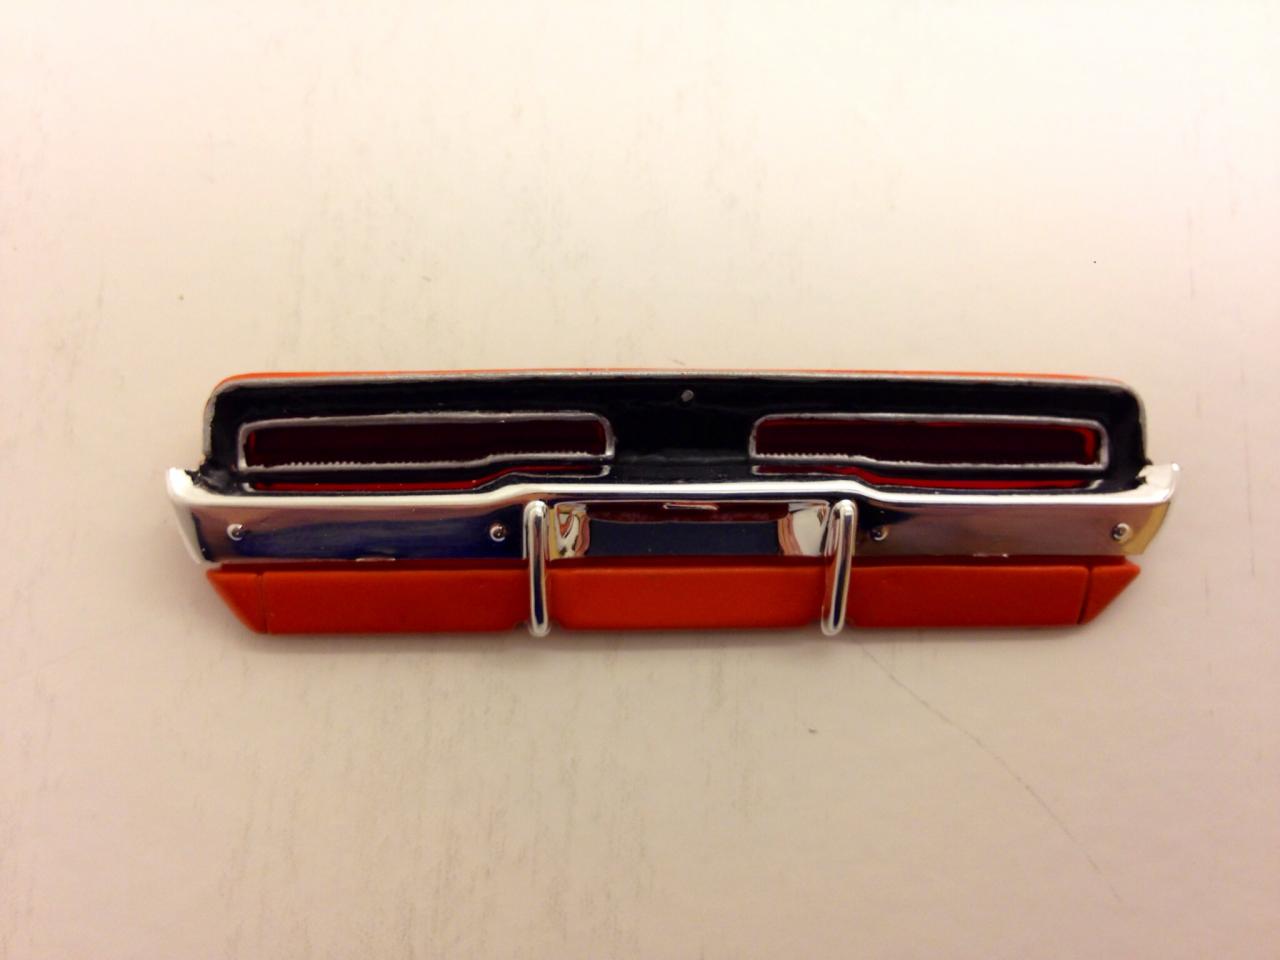
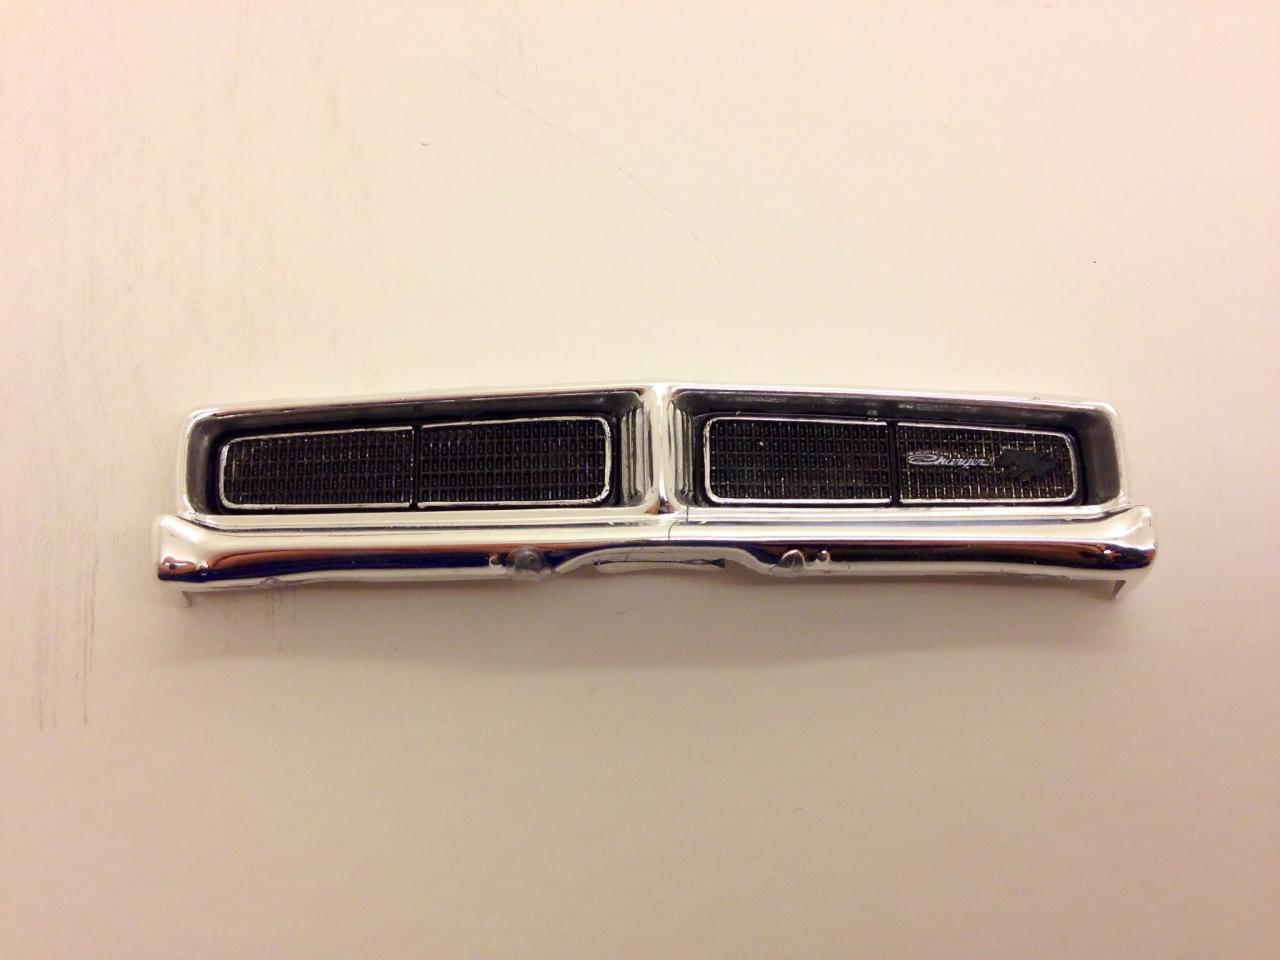
Rear bumper is all done. Painted the taillight trim with Testors Metallic Silver. Just gotta put the plate on. Also cut the walrus teeth off the front grill and painted the marks with the above silver.
-
Thanks Carl. Yea cardboard is re usable you can cut it to shape. I always blow my parts off and the cardboard with the air compressor right before I spray paint .
-
Very nice looking models, great detail on interiors and engine painting.
-
SWEEETT!!! Great looking build!!!
-
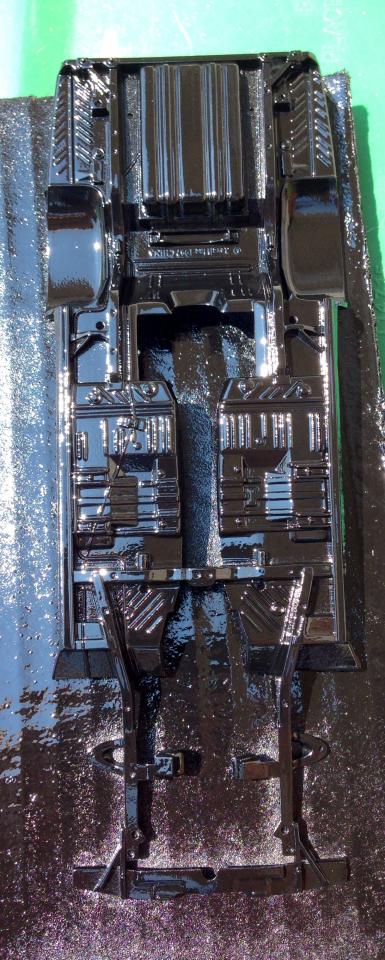
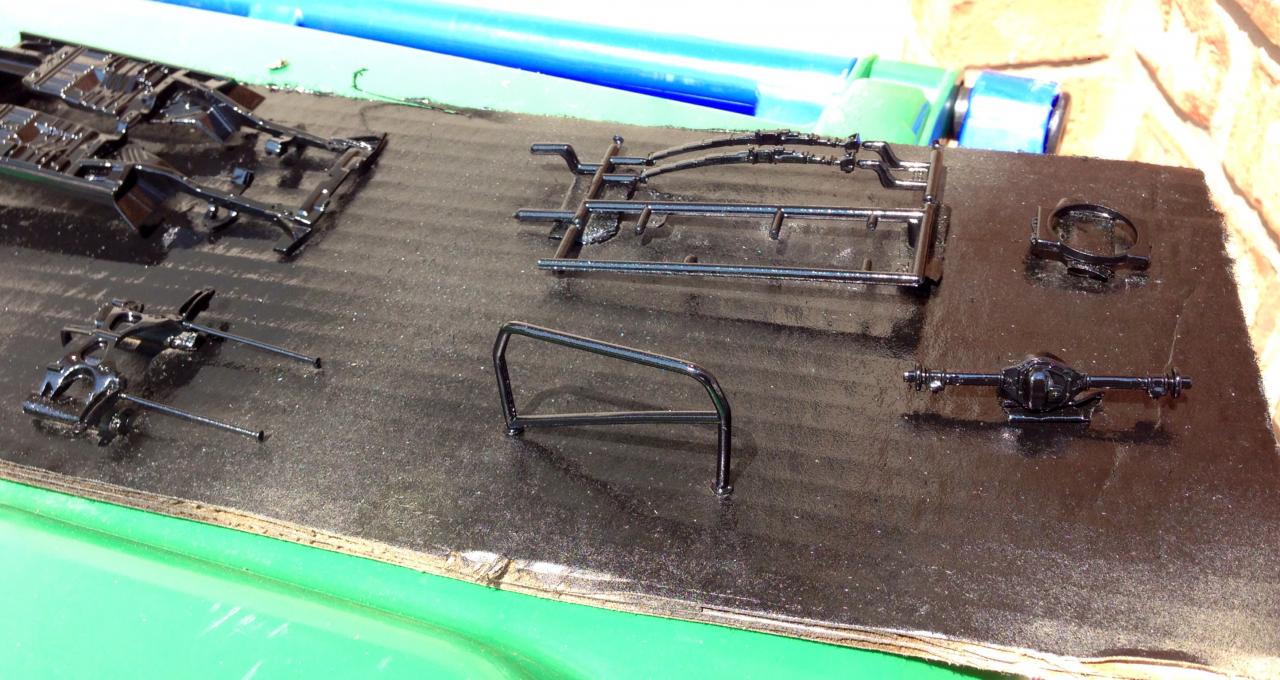
Quick Update.. Exhaust and radiator was painted with Tamiya Ts-17 Gloss Aluminum. The exhaust pipes will be hand painted a different shade. As well as the radiator will be black washed and will be painting the tops and bottoms black. The Chassis, Front suspension, Rear Axle, Leaf Springs, Fan Shroud, and Roll Bar. Were washed, primed, and painted Gloss Black with normal Rust-Oleum Spray paint. I may dirty up the chassis to make not as shiny but I'm not sure yet. The gas tank date marking from Revell was remove with 240 grit sandpaper, and finished up with 500-1000 grit sand paper.
-
Thanks Dom, That's my thoughts exactly. There's as many model replicas as there are actual cars. So none of them are perfect and none have the high rep unless there signed off from warner bros. I am a fan of the movie and Bo and Luke. Knoxville is always funny! But the movie honestly was awesome but the auto trader commercial and the tv series, gives me more inspiration and vibe from it. Thanks for the comments on the interior. They used a whole bunch of different shades of oranges. Corvette flame red, hemi orange. Competition orange. So that's awesome you had a color mixed for it. Personally I'm not a fan at all of the mpc kits unless it's big scale. I imagine the cop car would be decent because there's not much too it. Cheers, Byron
-
Looking amazing so far, and nice conversion!
-
Looking great so far man. I've been wanting to do vid progress like that as well but all I have to record is my iphone 5 Great paint work so far as well, I look forward to seeing this finished
-
Nice job on the window trims. She's coming along great!