Ridge Rider
-
Posts
641 -
Joined
-
Last visited
Content Type
Profiles
Forums
Events
Gallery
Everything posted by Ridge Rider
-
Thanks for the interest guys. Bench time has been hard to come by lately. I'm working on the front seats and have been cleaning up and sanding all the fill so not much to share yet. Thomas, I do not like putty so my filler of choice is styrene. I put evergreen scrapes in a paint jar and add some liquid cement like Tamiya extra thin or Testors liquid. I will let the cement melt the plastic. I like to start with a thick sticky base mixture as this seems to be a good plastic/cement ratio. For the picture you referenced I thinned it down with Acetone until it was like slow dripping syrup and dripped it on with a toothpick. As it starts to firm up it can be shaped a little with tools or a finger. This mixture can evaporate quickly even in a sealed paint jar but it will rejuvenate with just some Acetone. An added bonus is this bodywork is unaffected if I need to strip the paint and it's stronger than putty. Allen, I have never heard of a die cutter but will investigate it further. Thanks Steve
-

Anyone remember old paint cans?
Ridge Rider replied to RT6PK's topic in General Automotive Talk (Trucks and Cars)
I like that picture Andy, thanks for sharing. It's kind of funny to see even then they had no use for an E- it's just 'namel -
This was an earworm that I like
-
I have liked his singing but with his lifestyle we were fortunate to have Scott around this long. I hope he is at peace and my fav is also VR- Fall to Pieces
-
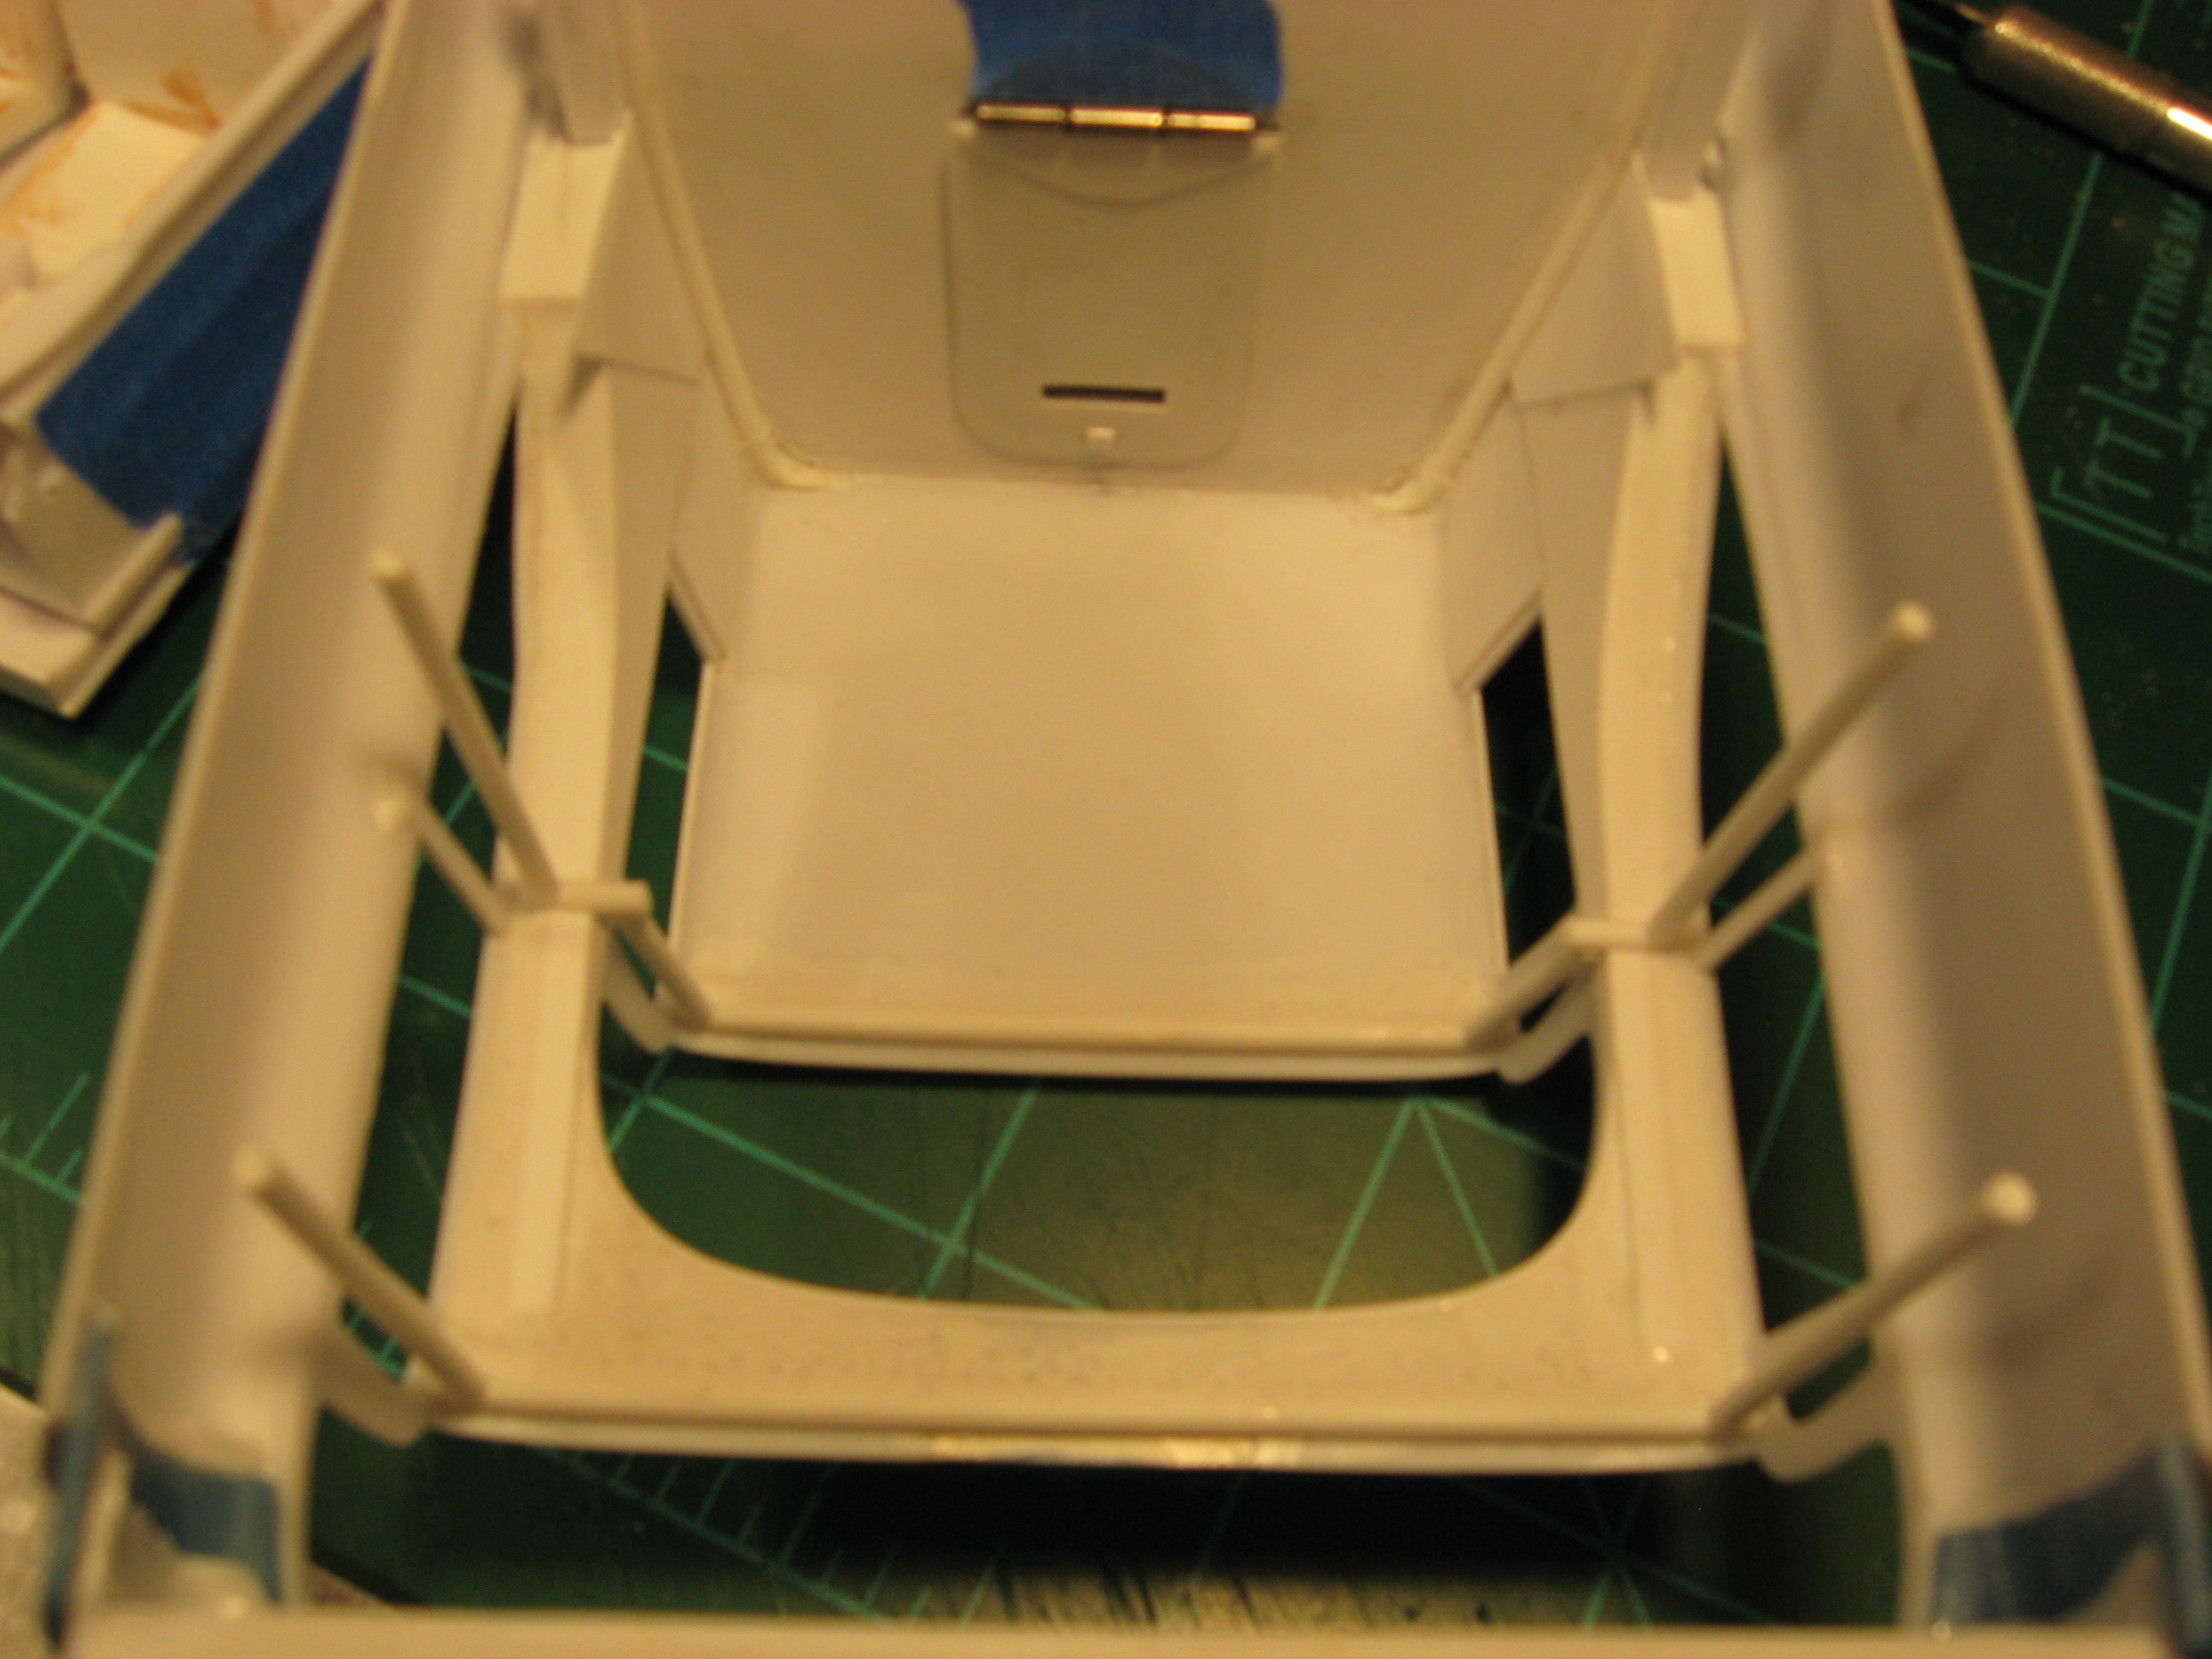
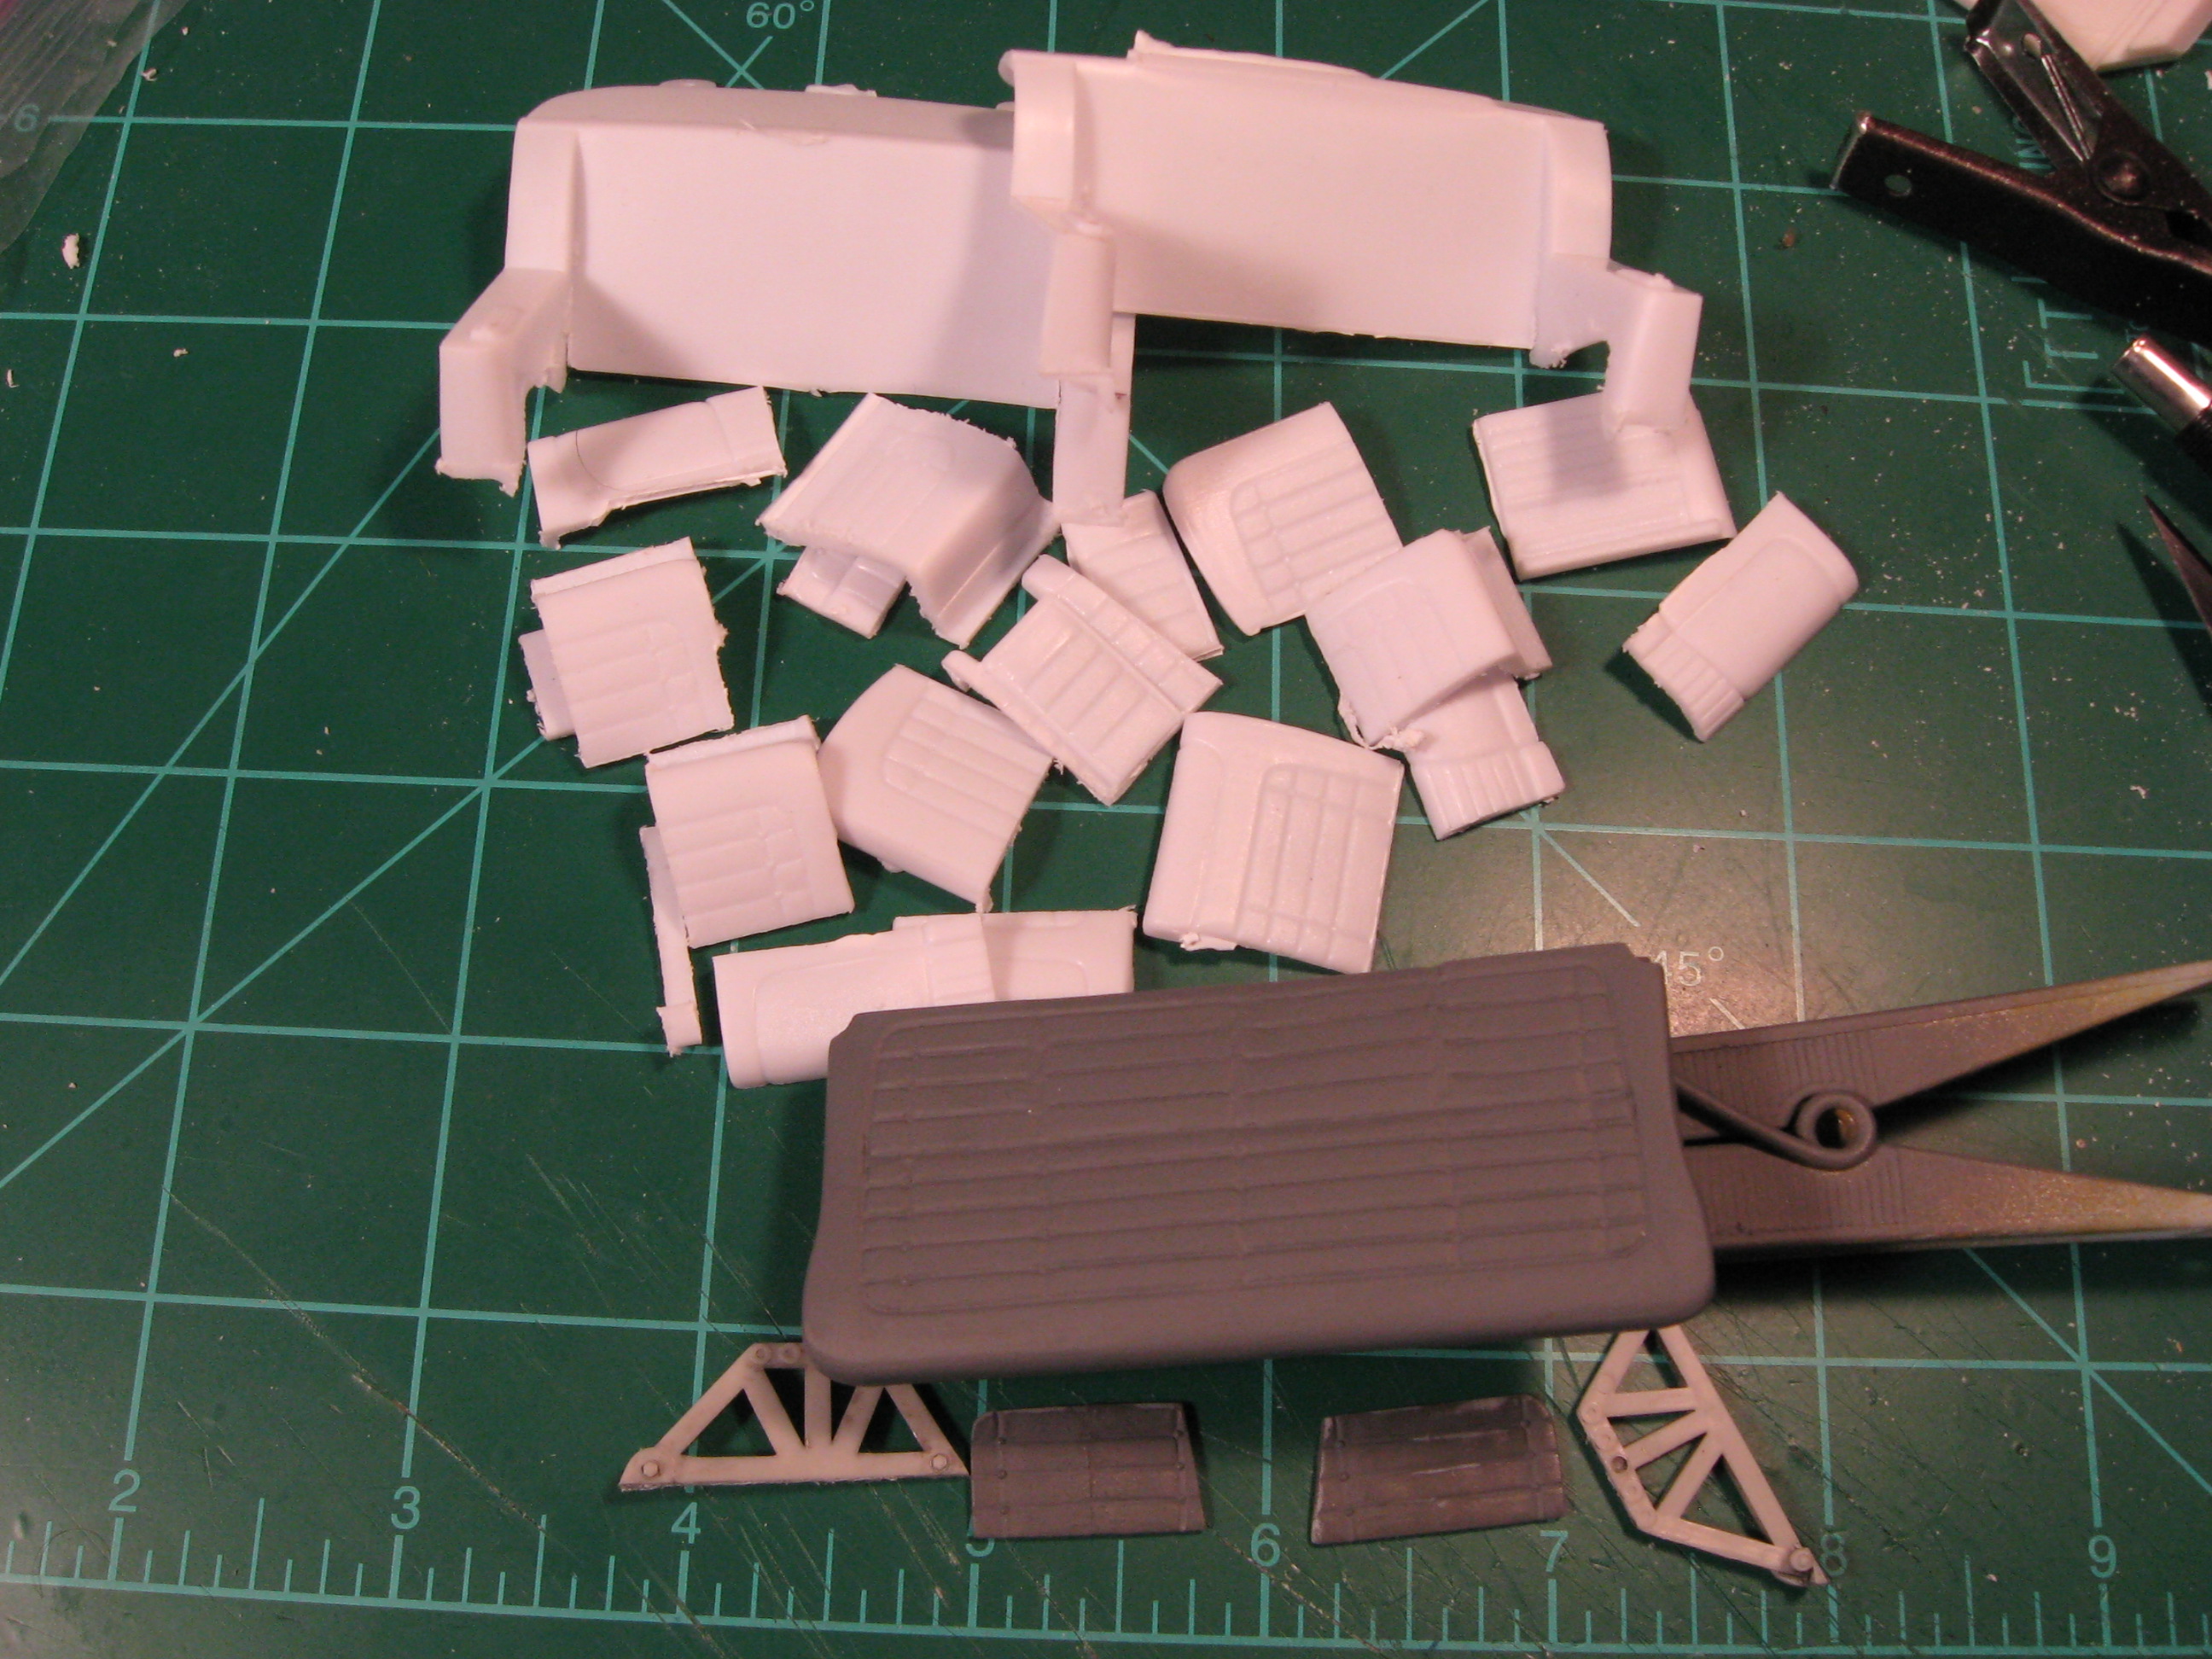
I have not had much build time but this project is still progressing. The rear seats have different elevations and looks depending on the camera angle/scene. I am going with the natural rear door folding down on the cushion. While not an exact match I am trying to make the stock seat parts work. After sectioning into six parts I have this. It is still rough looking but I hope to salvage it. Anyways I hope to make some more progress this weekend. Thanks for looking.

-
I like the idea, look forward to more.
-
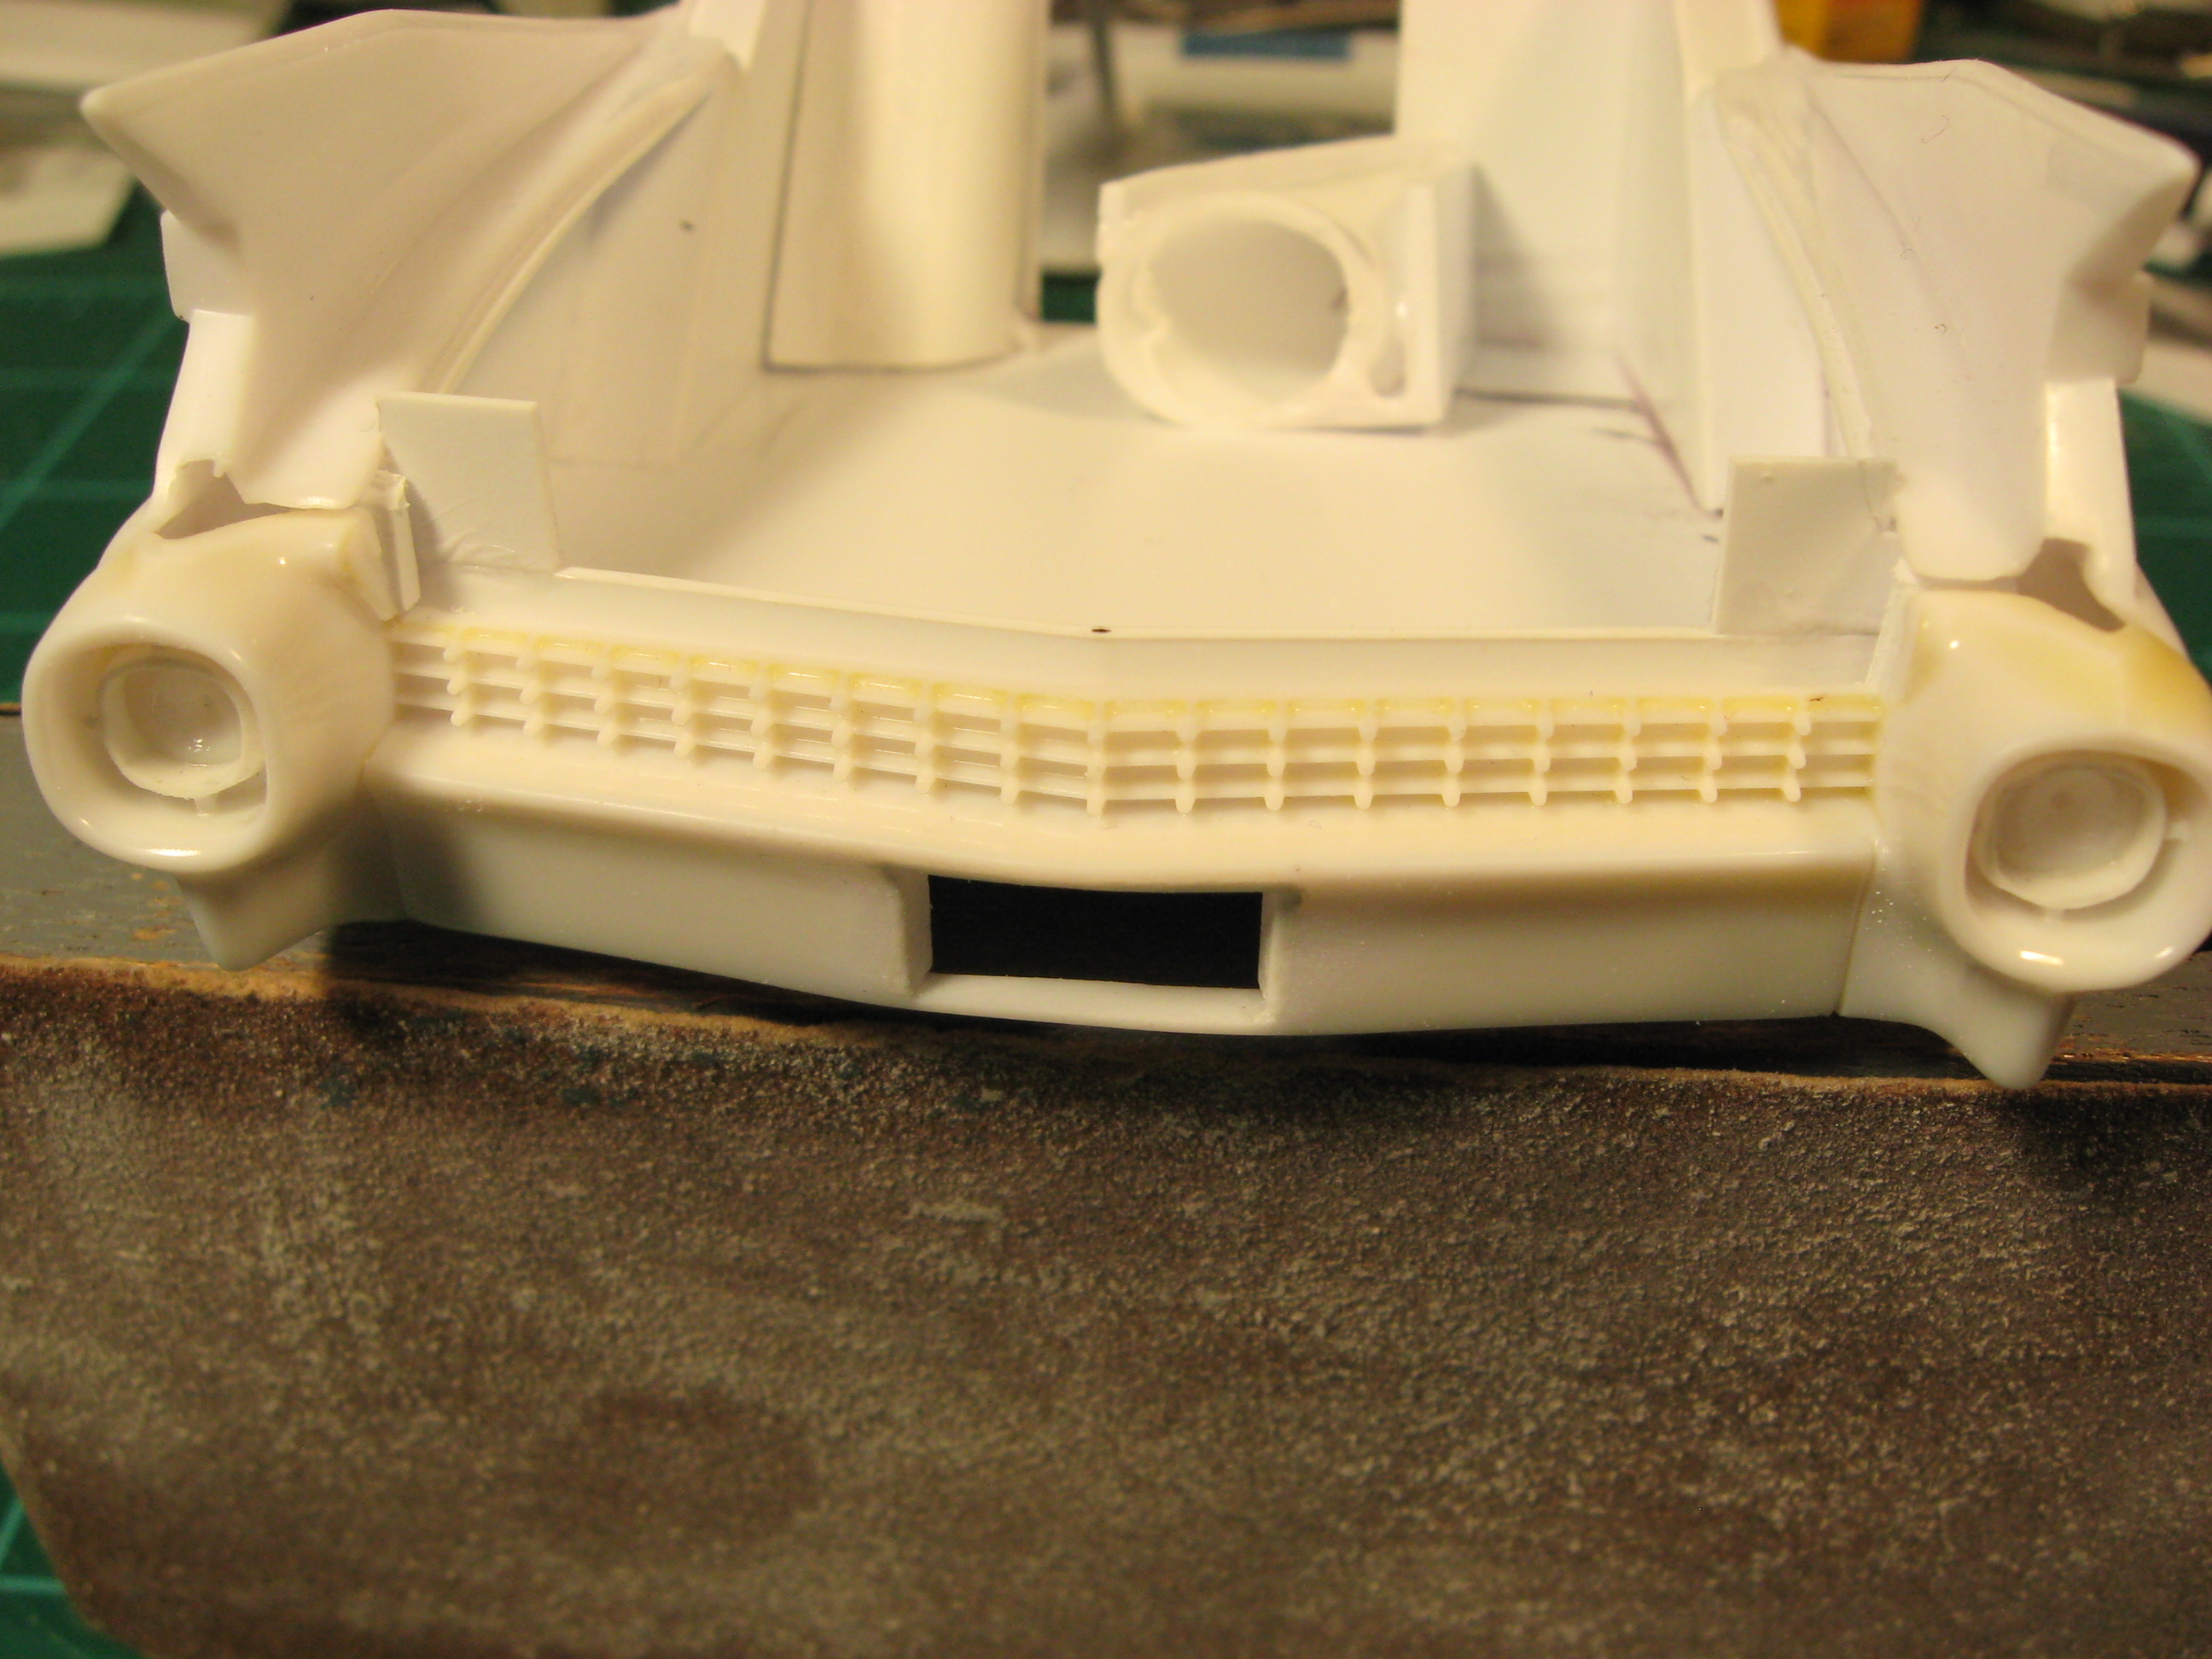
Thanks for the ideas on the dash. Photo Etch would look the nicest but $ and resin casting emblems would probably age me prematurely and shelve this build. Dave's idea had me do a google search and I found an image to mess around with. It might work. The interior of the Gigahorse is coming along. When the interior was curing I worked on the radiator shroud. The frame is .060" sheet, the vertical bars are .040 x .080" strip spaced .060" with 5/32 tube added to the sides . Thanks for the help and for looking. Have a Happy Thanksgiving.
-
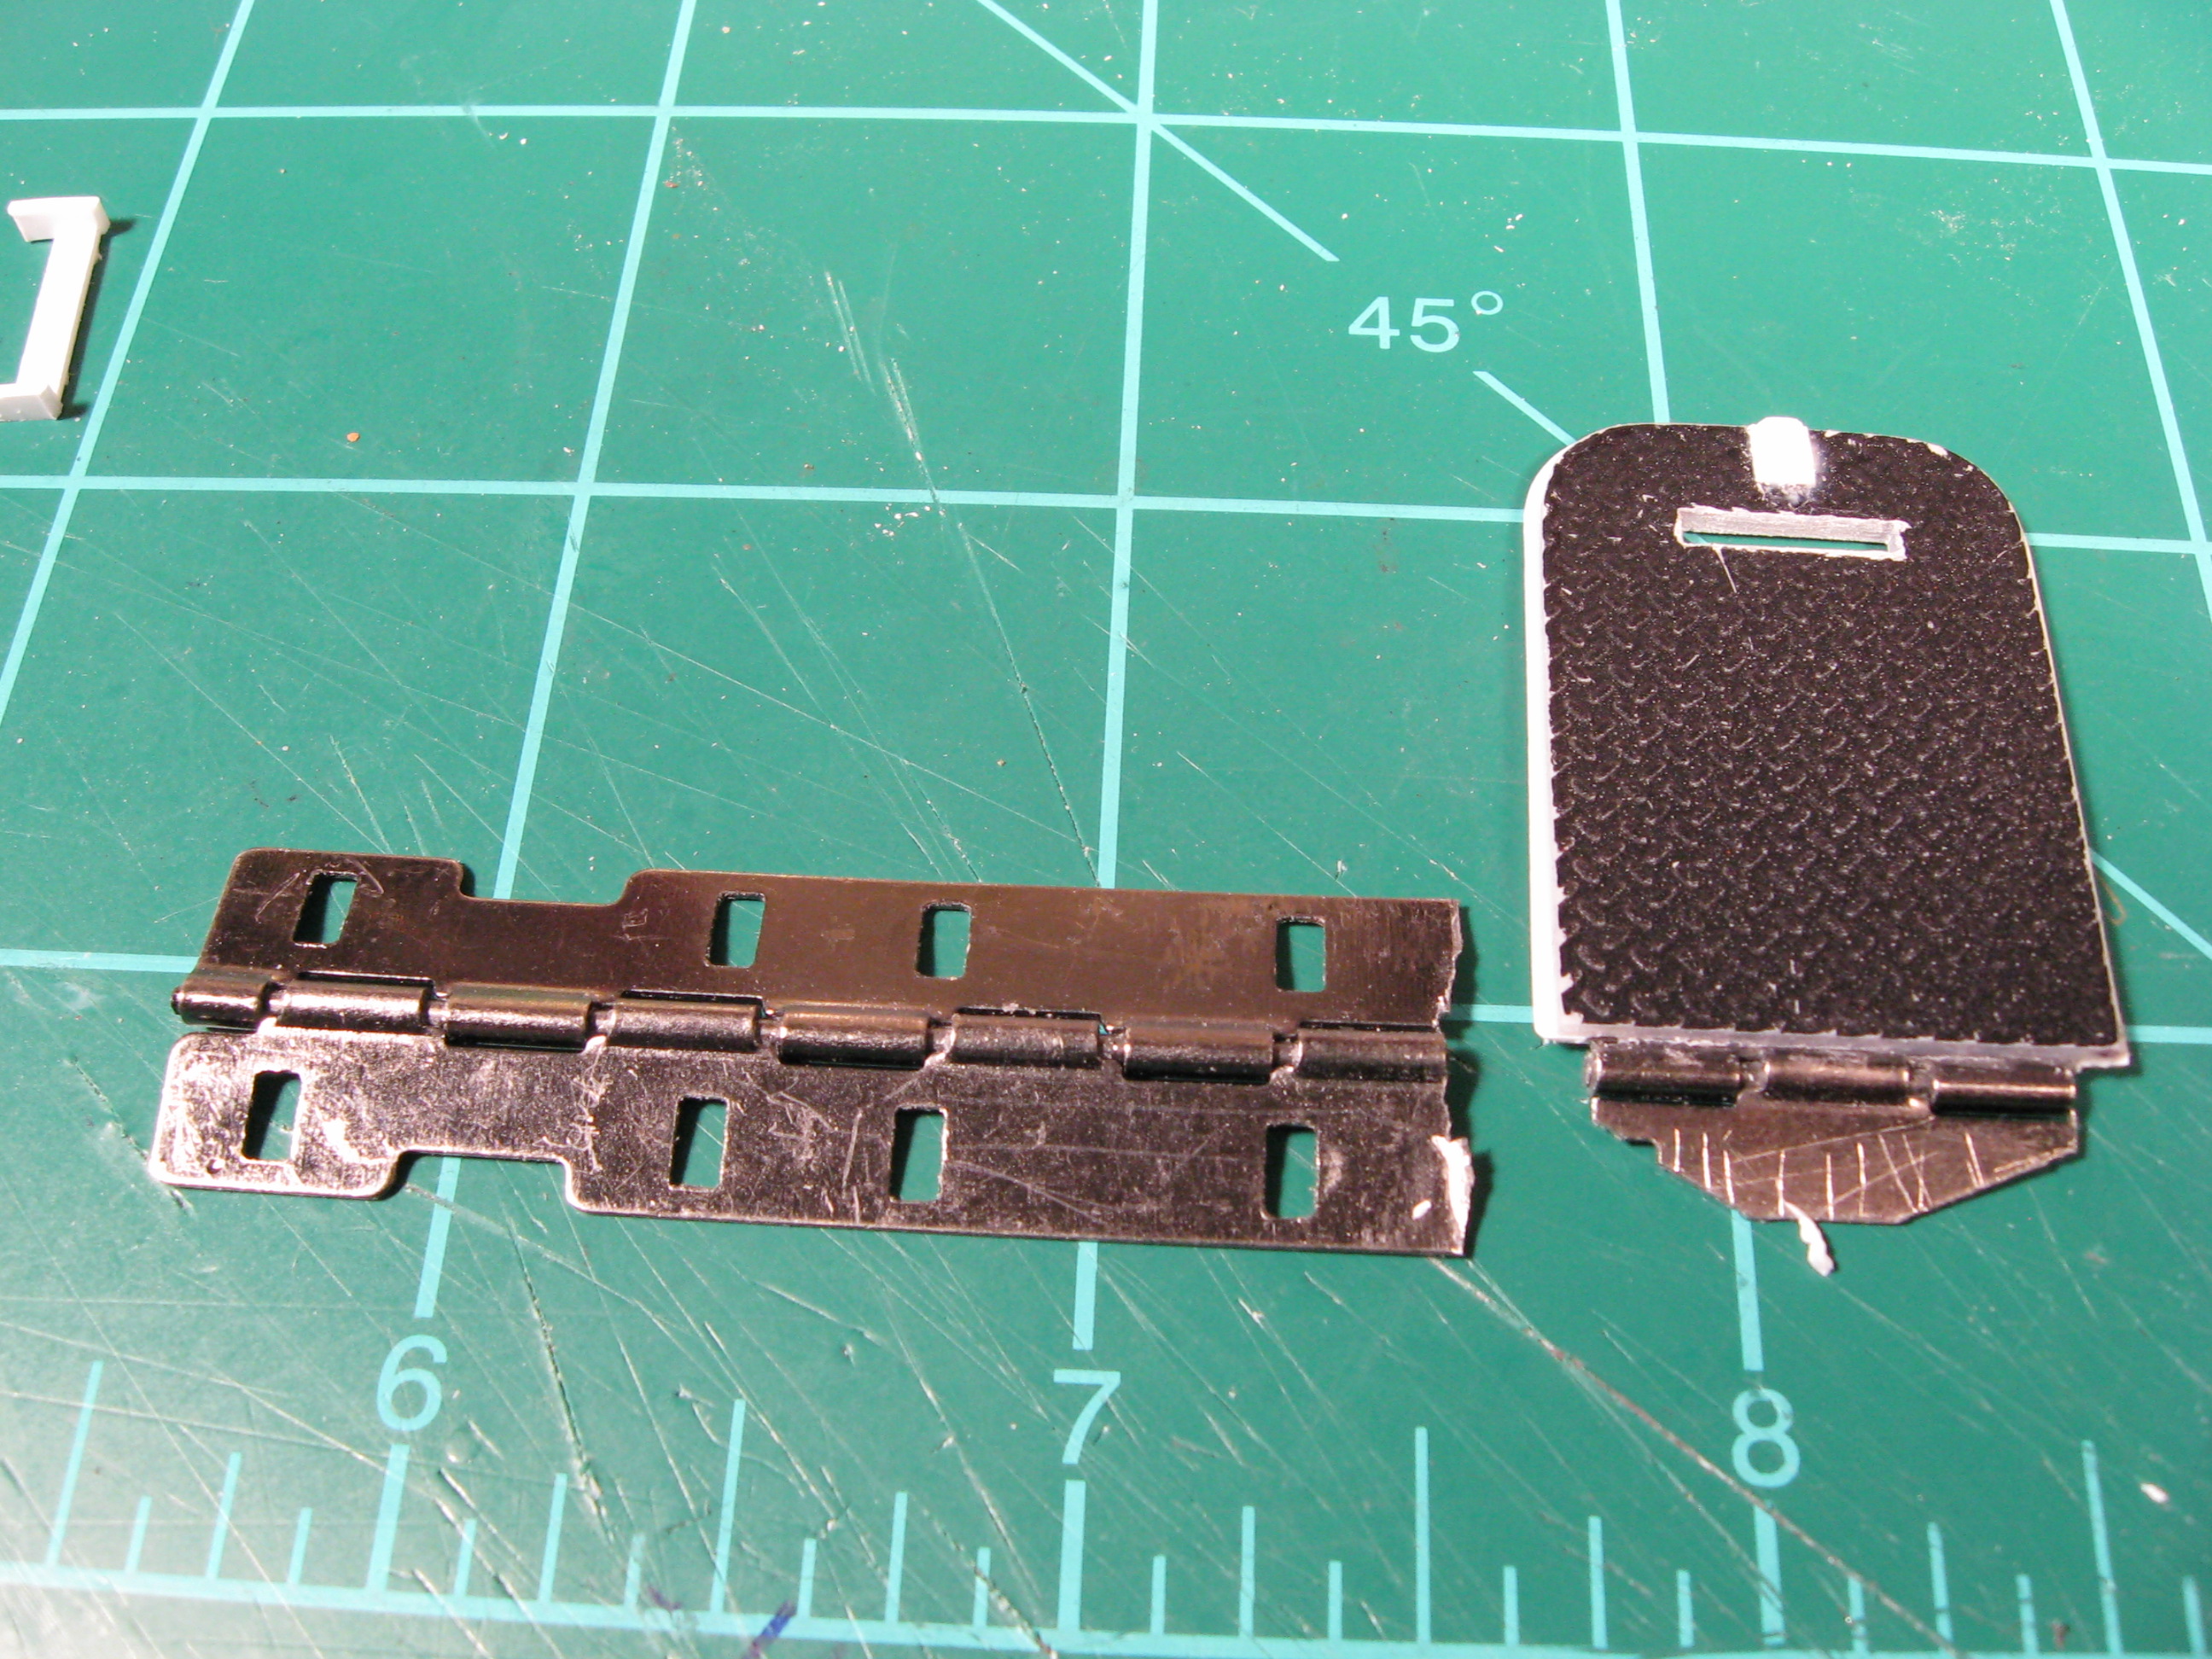
Thanks guys. I am still building up the interior. The roll bars are incorporated into the ceiling so I started with that first. I also don't see a way of replicating the dash and lower door panels but would be interested in ideas for some kind unique look or finish. and trying to figure out the fit and look of the middle roll bar-still a work in progress. I did liberate a hinge from an old eyeglass case and finished the door. It is getting a little challenging again and I have a feeling I will be finding out what doesn't work much quicker than what does. Thanks for looking.
-
That is a beauty. I think it looks much better than the S&H.
-
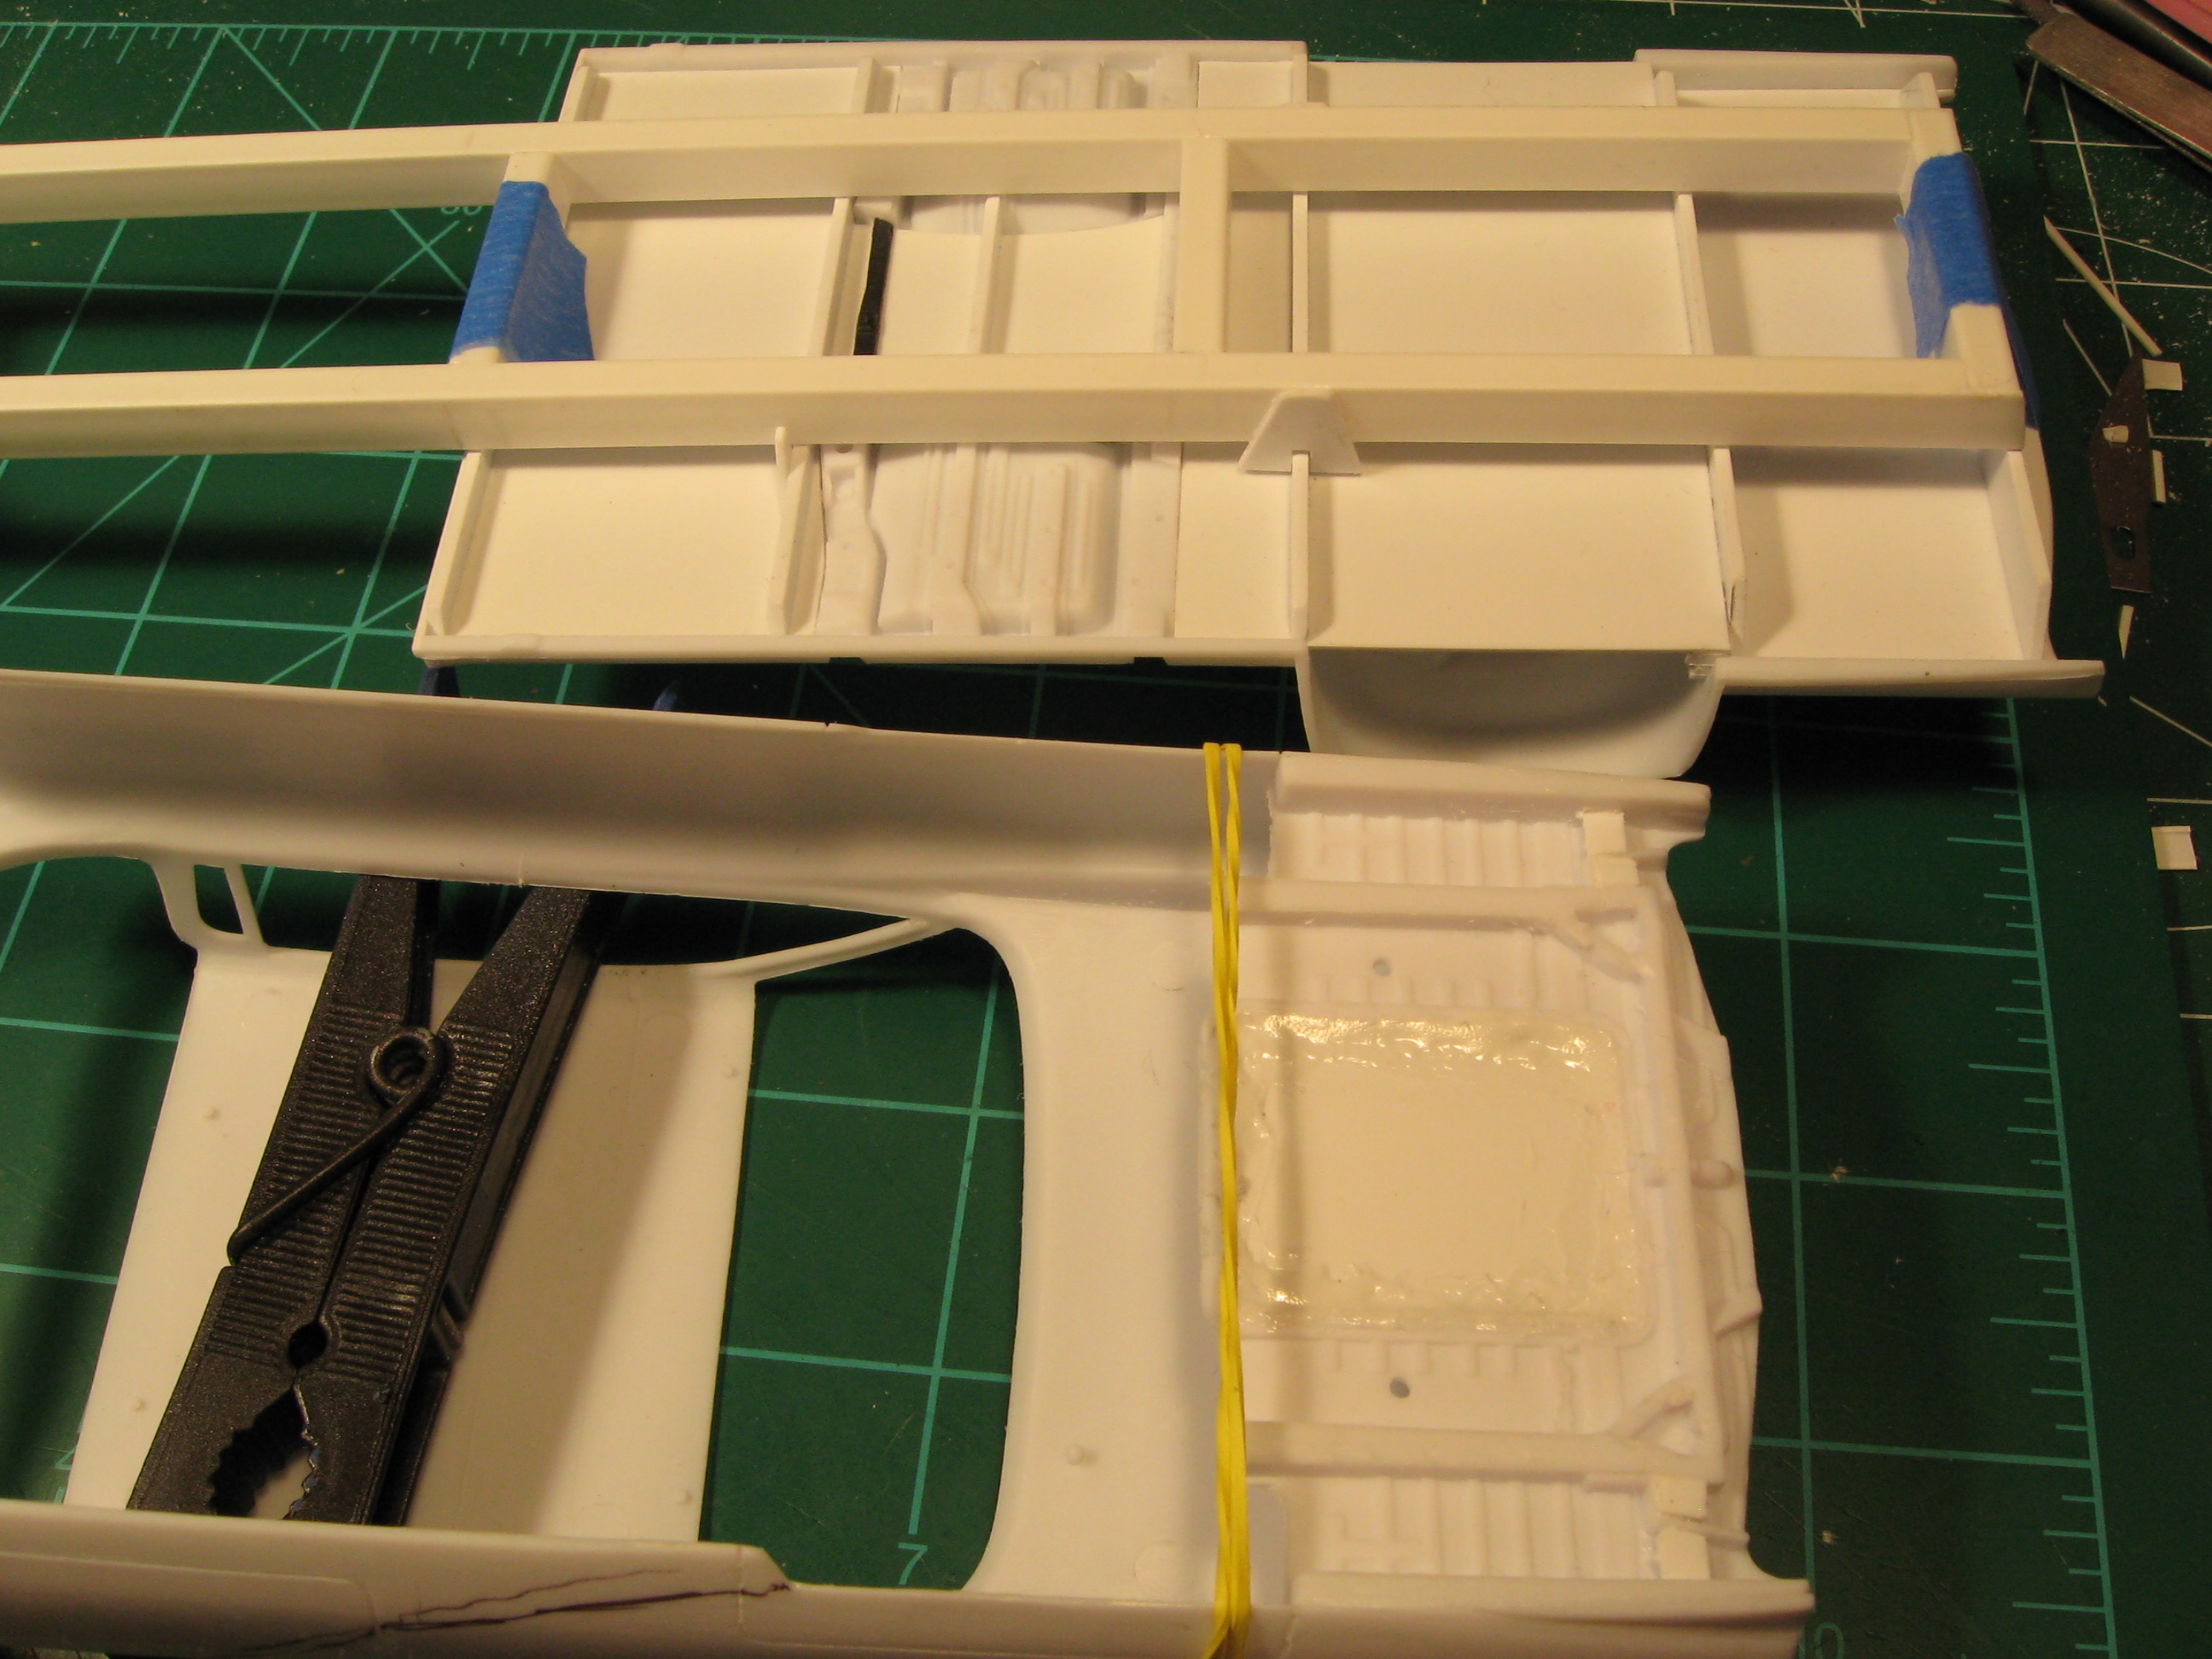
Been a little under the weather so progress has slowed. First off here is a link to info on the 1:1. http://madmax.wikia.com/wiki/The_Gigahorse The interior is boxy sheet metal in many pieces so here's a start. The door panel is sheet metal also so all detail was removed and it was extended to the back. Also built a pan under the upper trunk and did a quick test fit. I'm liking it. Thanks for looking.
-
Very nice project and craftsmanship. Thanks for sharing.
-
Thank you all for the encouragement, and that is some go info Tom on the Sharpie. I was using a mechanical pencil but I was having trouble with my own eyes and photos in seeing my marks. I hope there are no problems. Not much new but I have been doing a lot of work and sometimes you need to do quick mockup for perspective as well as motivation. The engine bay as of now looks very big but I am confident it will be right when it gets filled in. These photos get me excited for whats to come. I am still open to any ideas on sources for engines,superchargers, and air filters. This project is the proverbial - How do you eat an elephant? One bite at a time. But it is a big and fun challenge. Thanks for looking.
-
X17
-
1971 Ford Ranger XLT
Ridge Rider replied to yura1961's topic in Model Trucks: Pickups, Vans, SUVs, Light Commercial
I have to agree-very nice. -
I have to agree Simon, you have a nice collection there. Thanks for sharing. Since I'm here- a little update. It needs a little clean up and detail and the door needs hinged and a peep hole but the rough framing for trunk area is done. Well also all the weaponry and floor mat and... but it is good progress. Next though is interior framing. Thanks for looking.
-
Cartoony 55 Chevy Pickup
Ridge Rider replied to Ferbz's topic in Model Trucks: Pickups, Vans, SUVs, Light Commercial
Nice tribute. I like how both wheel wells turned out. -
Looking for Herkimer Battle Jitney ideas
Ridge Rider replied to Ridge Rider's topic in Model Building Questions and Answers
Thank you Wayne, that is some good stuff there. This project is still on my mind but I'm still trying to source materials and I'm in the middle of a big build at the moment. I will let you know when I decide to tackle this. Thanks again. -
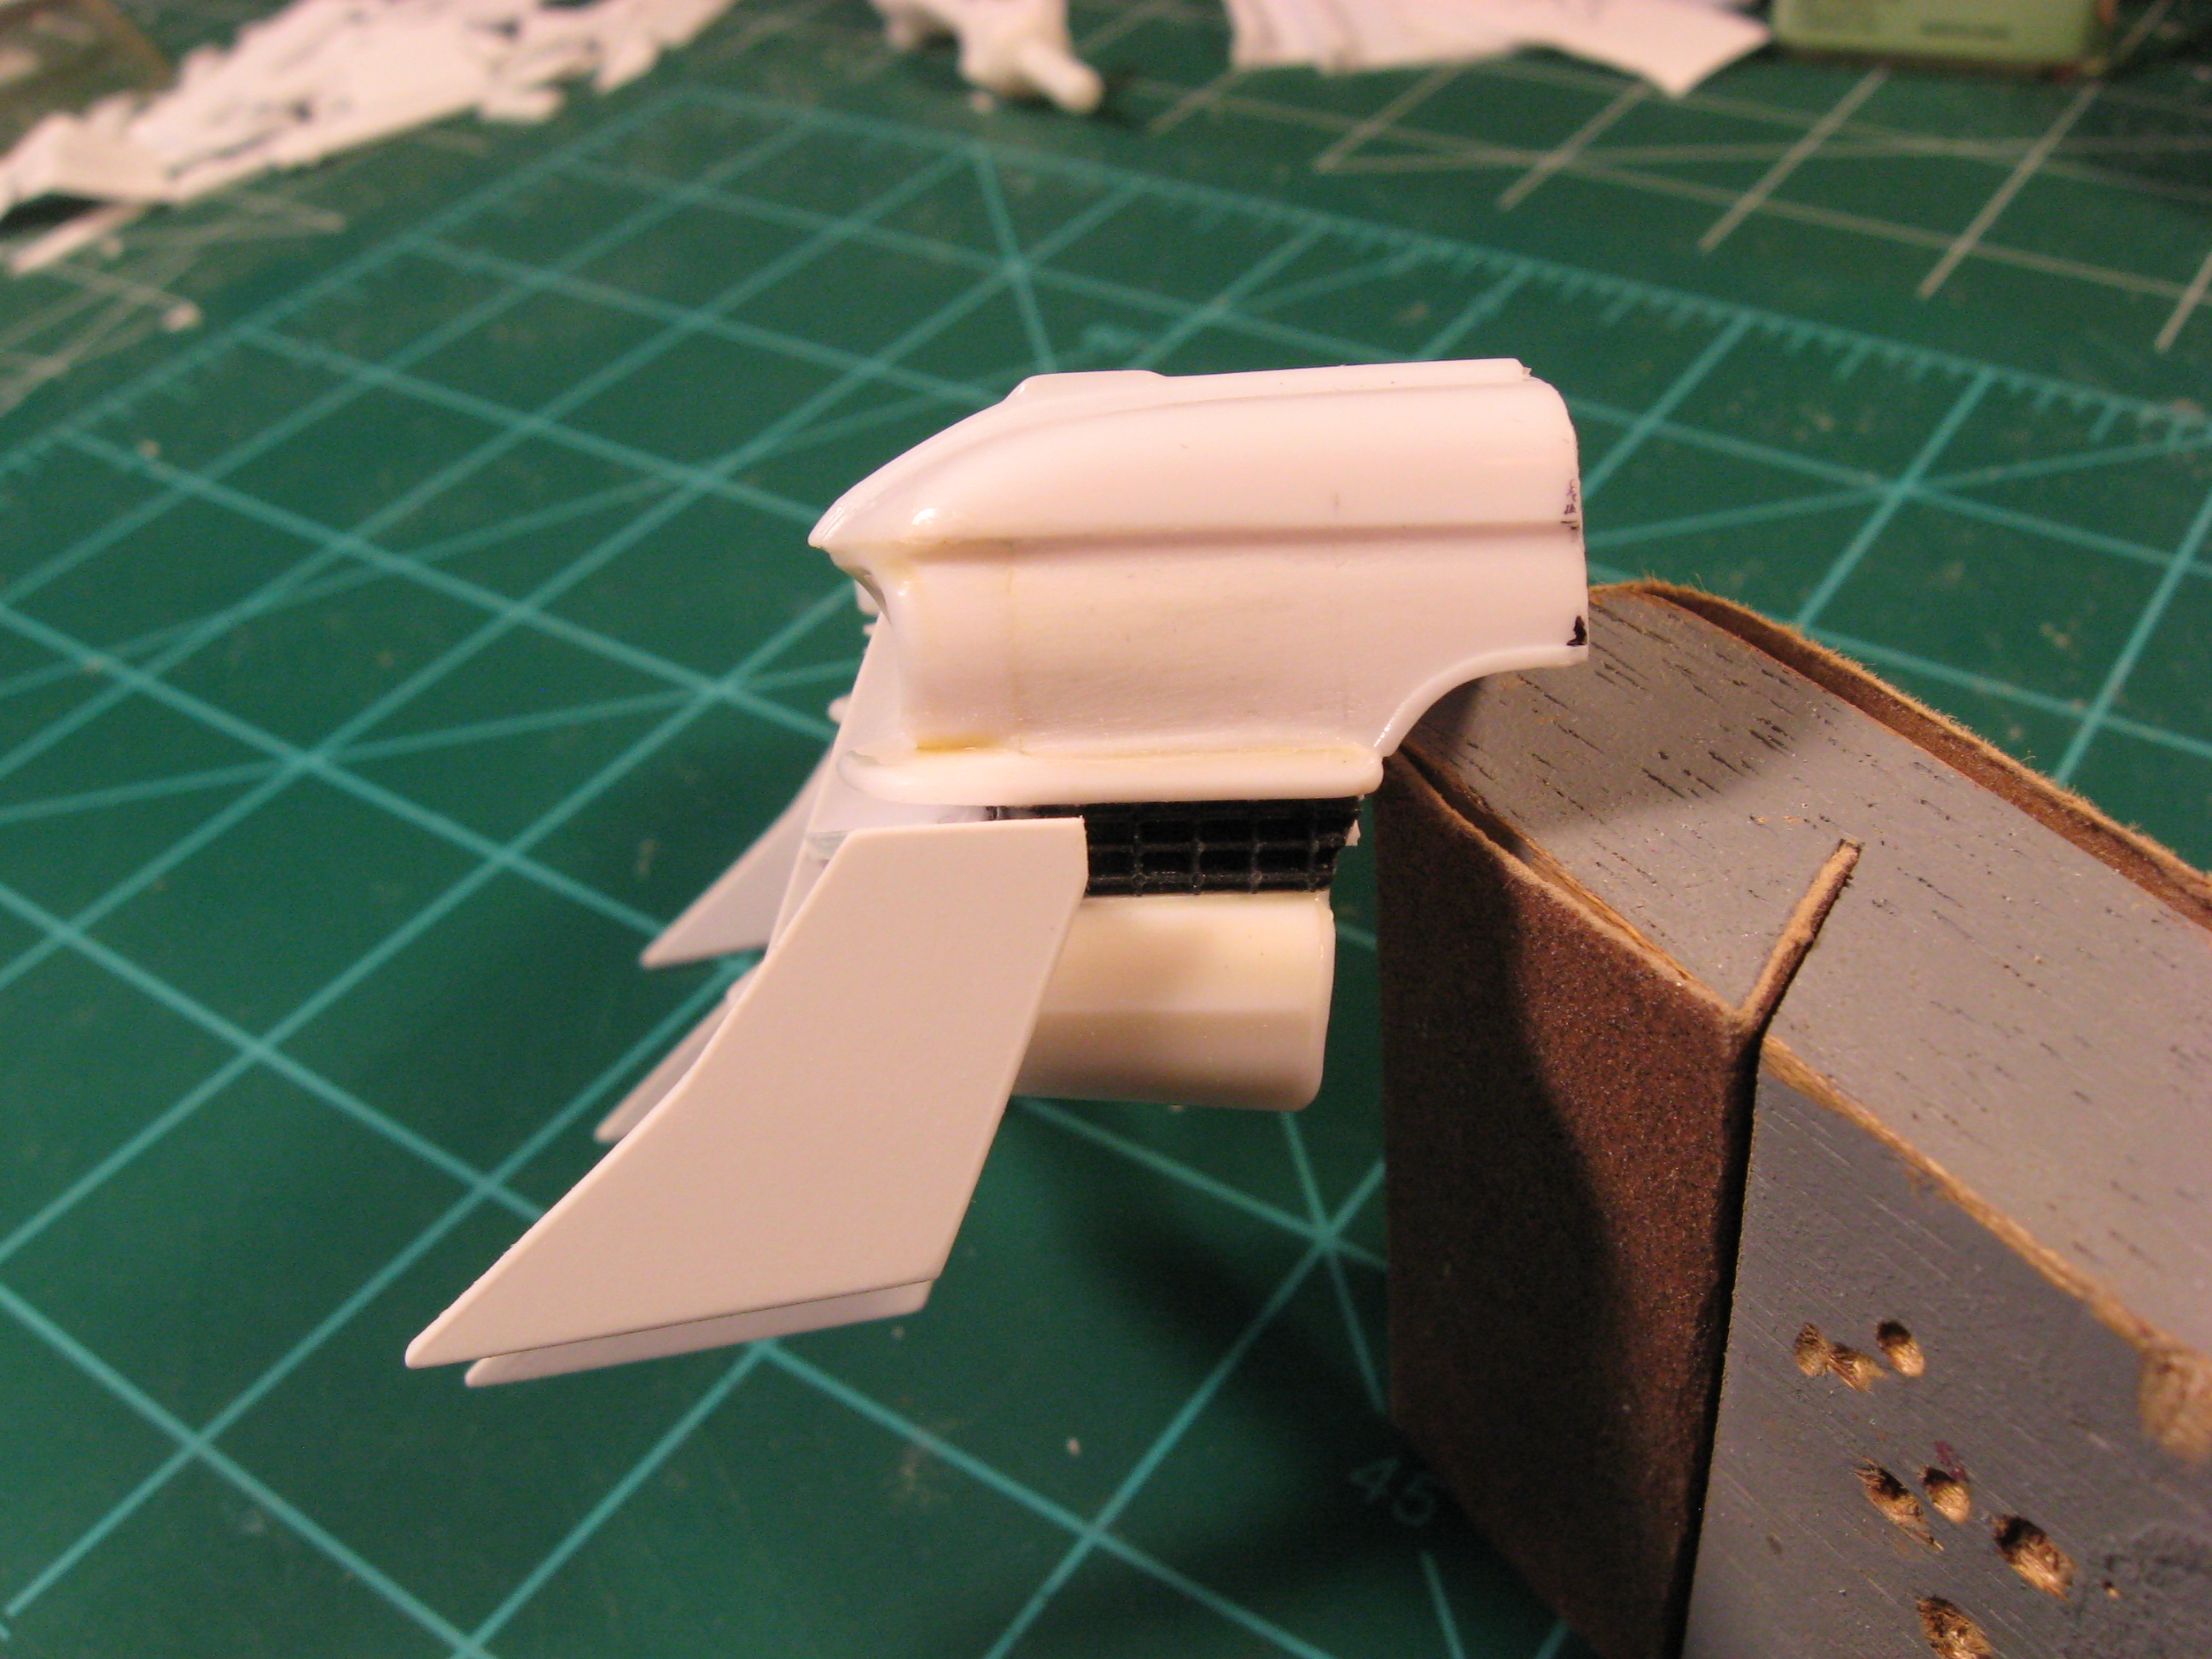
Thanks Dennis. A couple of rough in progress shots. The boxy door columns with one in place but yet to be glued. Also working on the trunk ledge and it's fit with the bumper. Thanks for looking.
-
This thing is so fun to build, so far anyways. Making some progress on the door/trunk area. Once again I am pleased with my progress and the results. Thanks for looking.
-
Very well done, it does look like it's moving. Thanks for sharing.
-
Nice progress. The frame looks great.
-
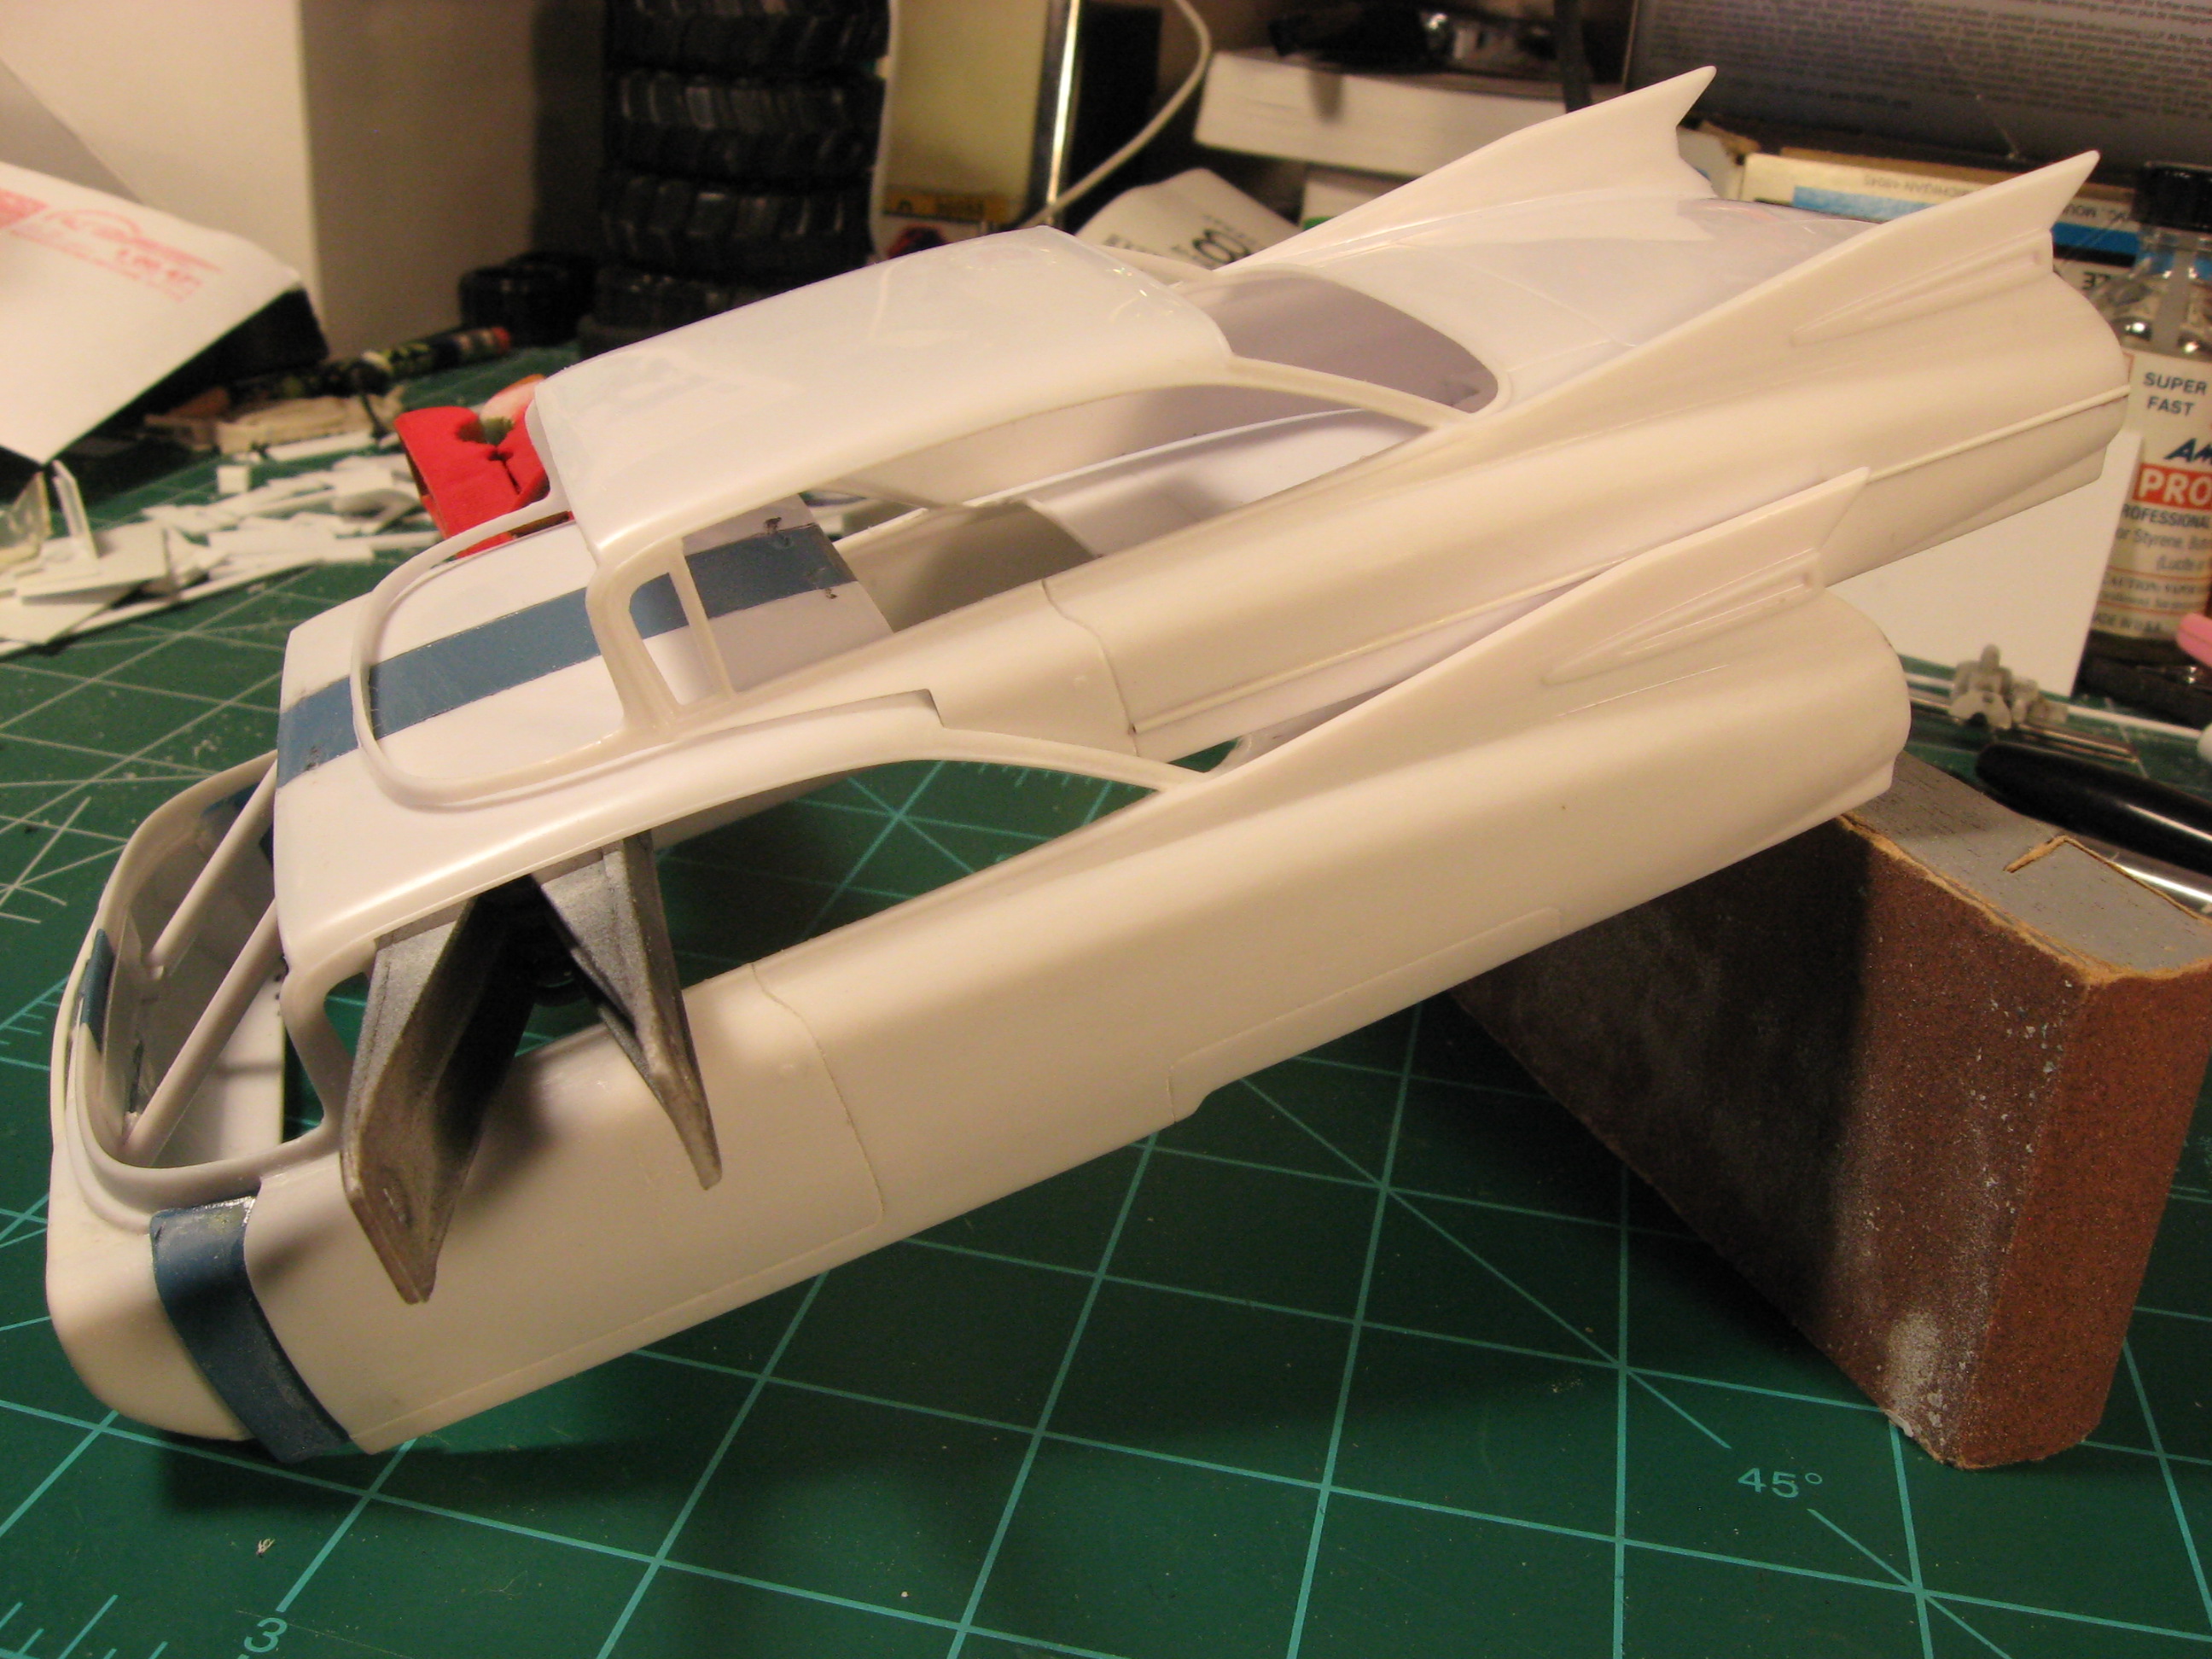
Thanks for the support. I needed to box out and build the upper window frames as well as reshaping the rear wheel skirt. I also established the upper floor but needed to shim the rear edge .040" to give me 1 3/8" clearance from the roof. After many screen shot views and measurements I believe the rear door to be 1 1/4" tall and 7/8" wide. This will be the starting point anyways. Hope to work on it this weekend. Thanks for looking.
-
Very nice. The decals look great. Thanks for sharing.
-
Thanks Dave. I am again pleased with the outcome so far. Next up I need to frame in a back door/wall and work on the interior trim. Thanks for looking.
-
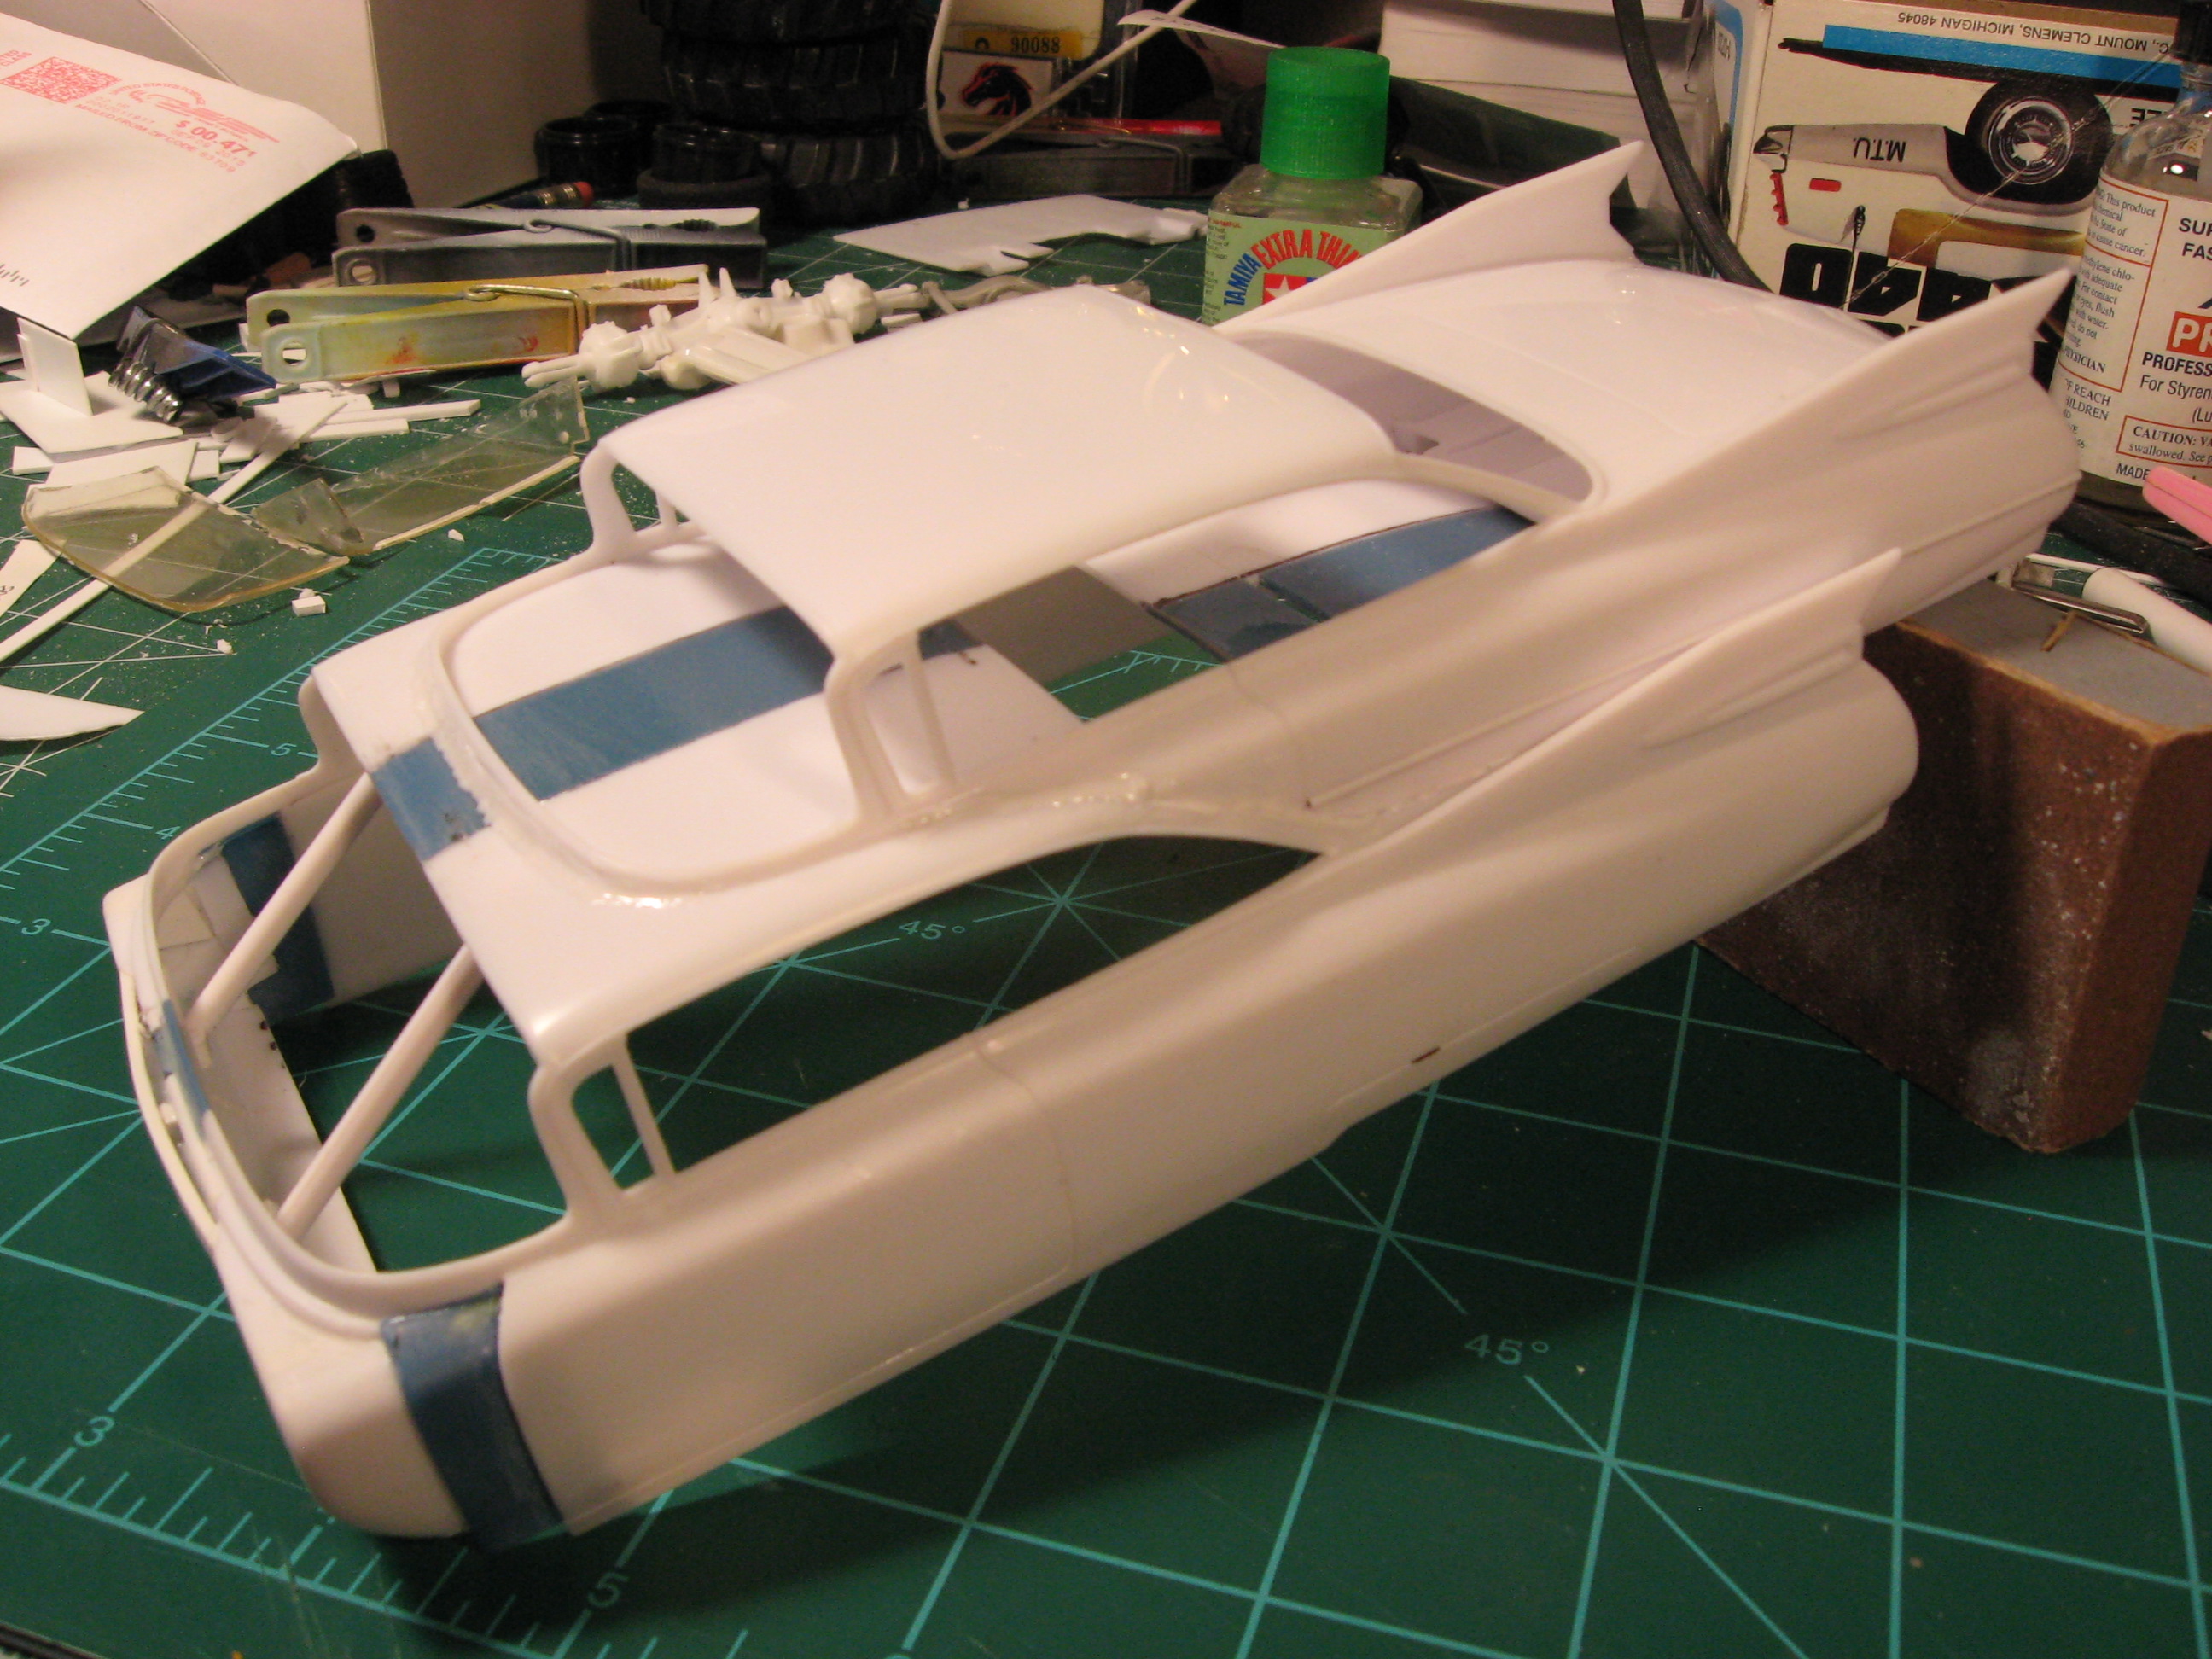
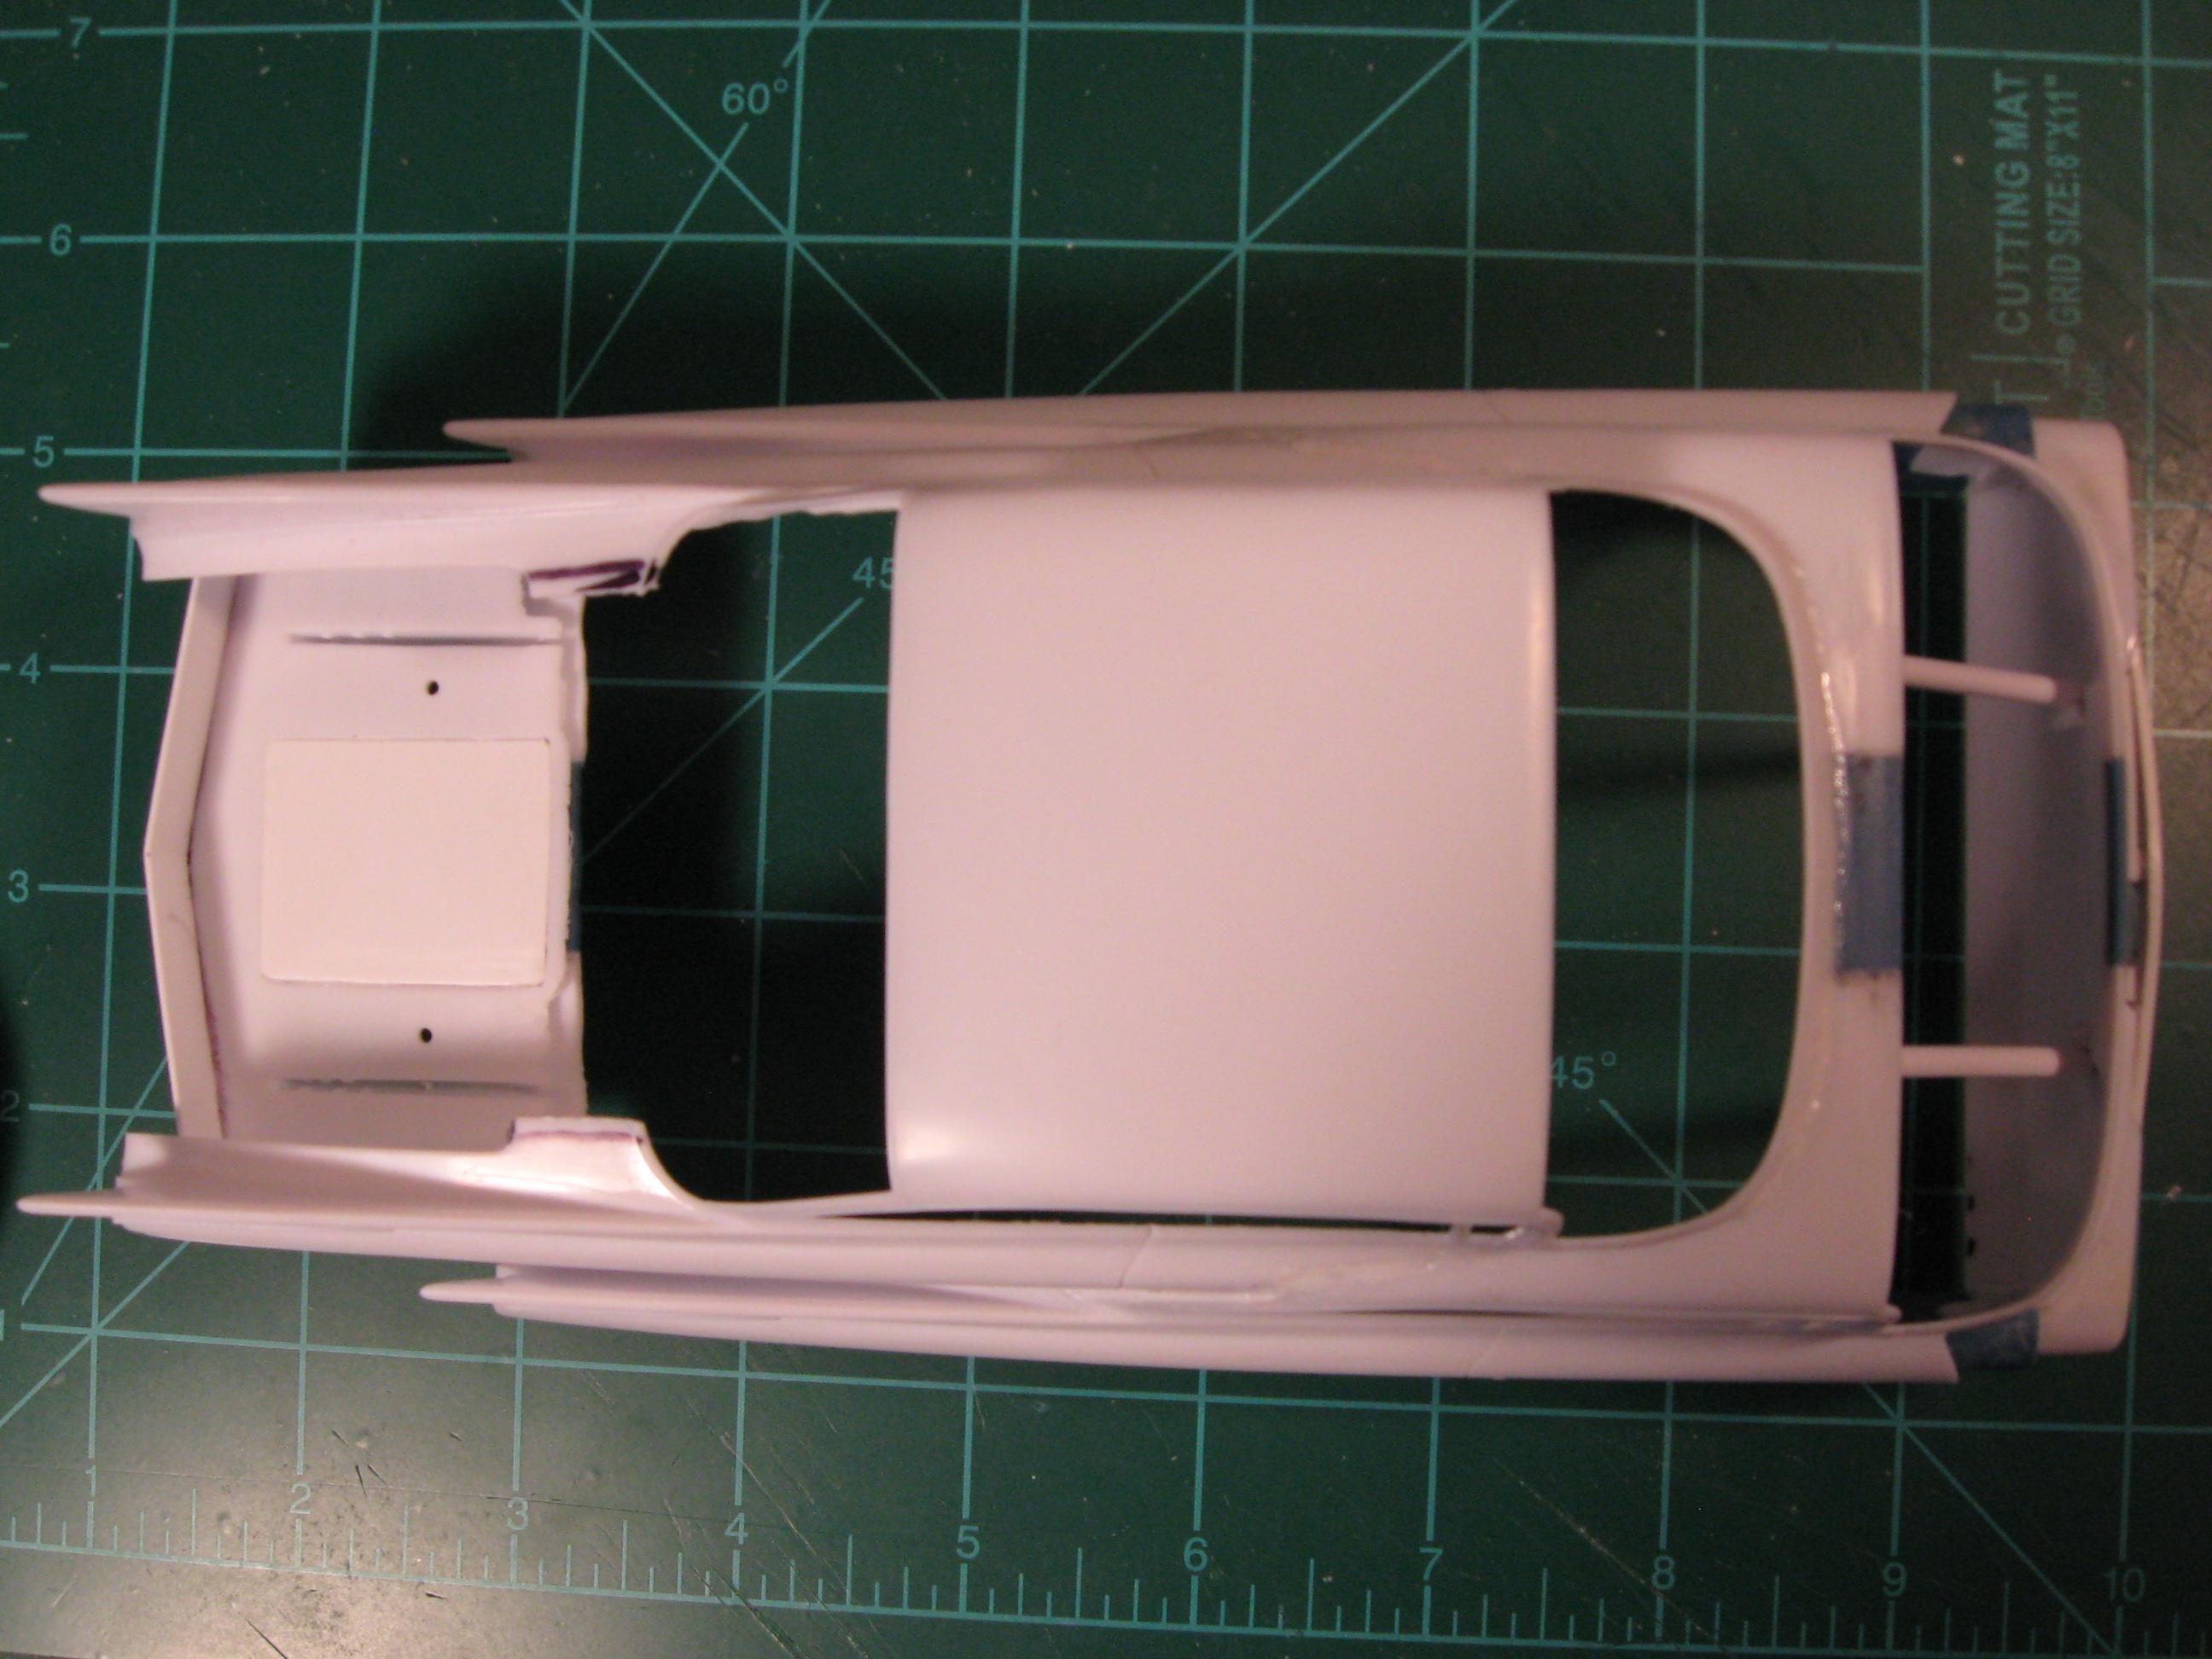
Thanks for the suggestions, I will investigate your ideas further. An in progress update- I have cleanup yet and need to remove trunks and most of the lower roof but it is joined together. I am not looking forward to painting and foiling between the fins. Thanks for looking.